Circuit Scribe Drawing Robot
by smalltortoise in Circuits > Robots
13108 Views, 112 Favorites, 0 Comments
Circuit Scribe Drawing Robot
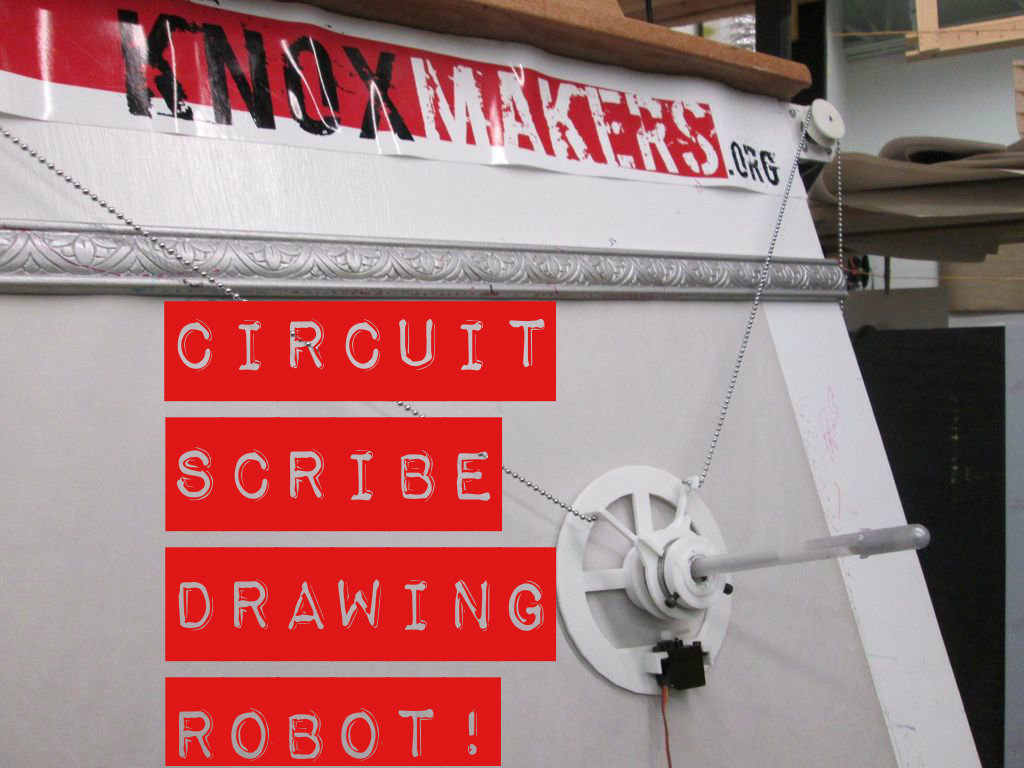
Is the process of drawing circuits with conductive ink pens too closely related to manual labor for you?
Or do you just want to see a cool thing happen?
This may be the solution for you. At one of our hackerspace's February Build Nights w/ Circuit Scribe, we decided to load up an SVG version of a Circuit Scribe sketch to Pablo, our Polargraph Drawing Robot.
After a little bit of sizing, we got this to work.
If you already have a polargraph drawing bot, keep reading.
This project was created at one of our February Build Nights at Knox Makers. You can read a follow up summary of our events here.
If you would like to build you own, Pablo is our version of Euphy's awesome Instructable:
Polargraph Drawing Machine, by Euphy
More resources
Open source SVG image editing:
Inkscape
Circuit Scribe:
Circuit Scribe home page
Circuit Scribe sketches at 123D Circuits
Our 123D Circuits sketch, for Circuit Scribe:
EDIT: Thanks to editors for checking us out! This project has been Featured in Technology >> Robots!!
Materials and Tools Needed
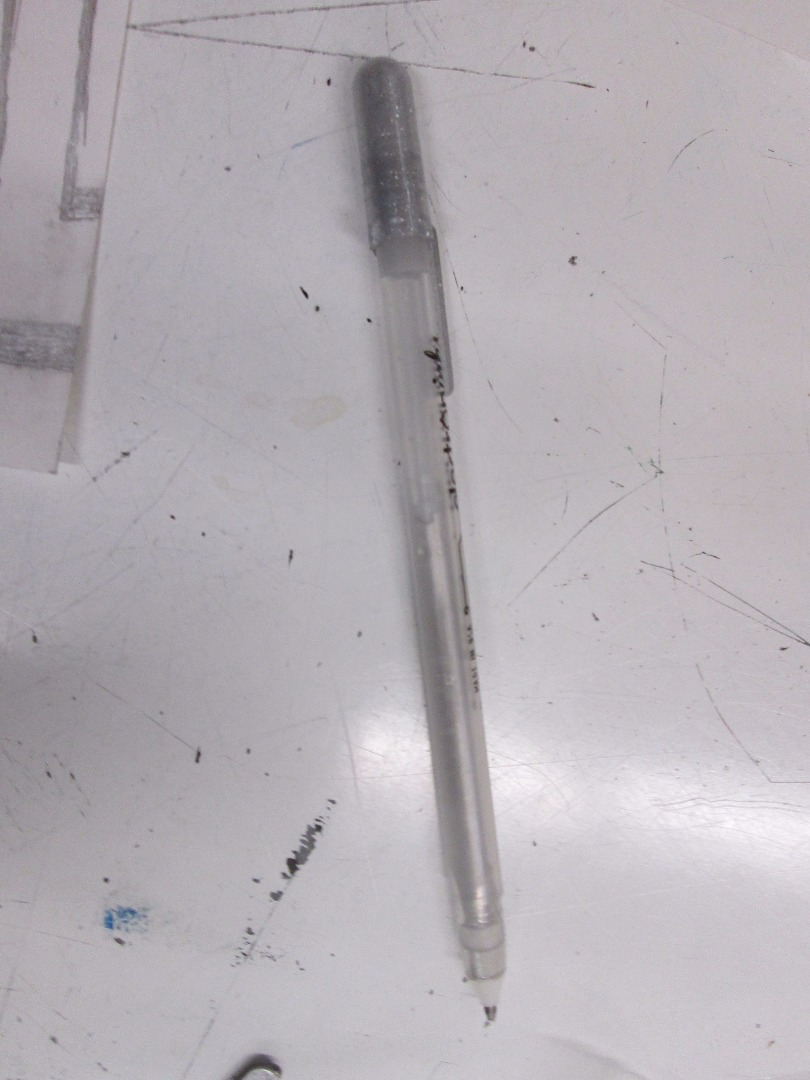
This project is fairly cut and dry. You do not need a whole lot once you already have a polargraph drawing machine. That being said, you will need:
- Polargraph Drawing Machine, by Euphy
- an SVG image editing tool like Inkscape
- a sketch made at 123D Circuits
- a Circuit Scribe kit
- a conductive ink pen (found in Circuit Scribe kit)
- metal backing (found in Circuit Scribe kit)
- paper
Create a Sketch on 123D Circuits
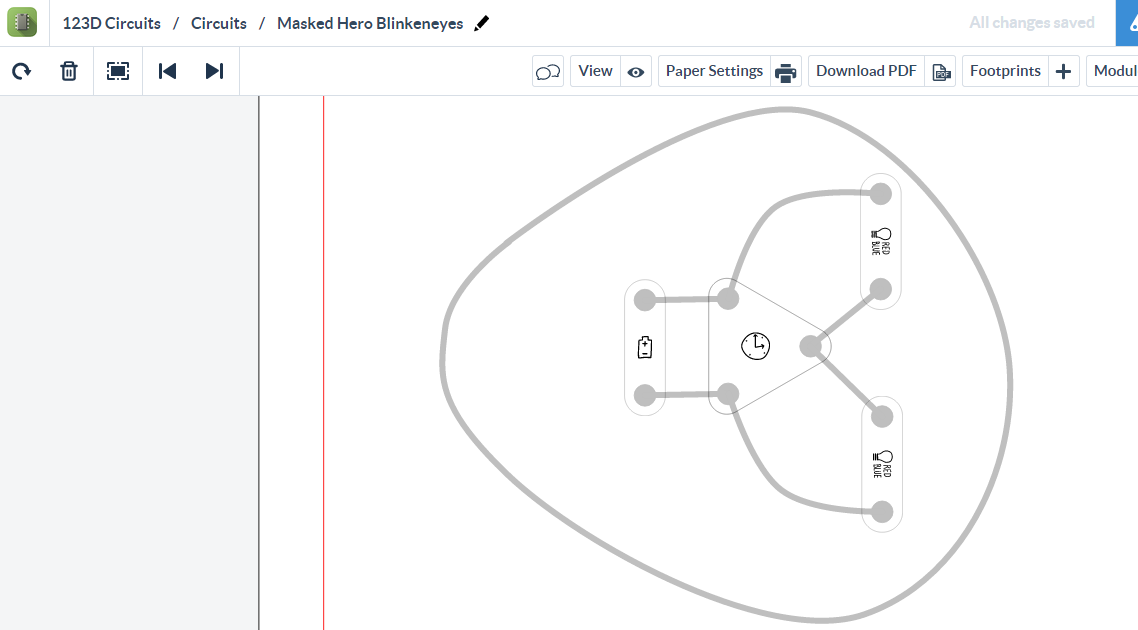
This is a fairly simple step.
First, create an account if you do not already have one at 123D Circuits.
Then, navigate to the "Circuit Scribe" link at the top of the page.
This will take you to an area where you can browse existing Circuit Scribe "sketches" or create your own.
When you think of sketches for this purpose, don't think of something like an Arduino IDE program. What they mean here is more a sketch as in a hand drawn doodle.
You can "sketch" out the traces that will later be drawn by conductive ink pen, you can plan for components to drop onto your artwork, you can watch a live preview of how the components should act on your project, and you can do things like embed your project:
We started with something fairly simple. We created what looks like a masked hero with blinking eyes, named Masked Hero Blinkeneyes.
Try making your own sketch. When you are ready, move on to the next step.
Nab a Screenshot
There are some great options at 123D Circuits for Circuit Scribe that allow you to do things like print off your creation. Once you have a sketch of a Circuit Scribe project you want to make, you can create a Bill of Materials (BoM) and a printed version that makes it easy to go back and trace over the important paths and nodes with a conductive ink pen.
However, we are not going to be doing that. We are going to get a screenshot to manipulate.
- First, make sure you are inside your project's sketch in edit mode.
- Next, click "View" towards the top.
- Make sure that you turn "Modules" off.
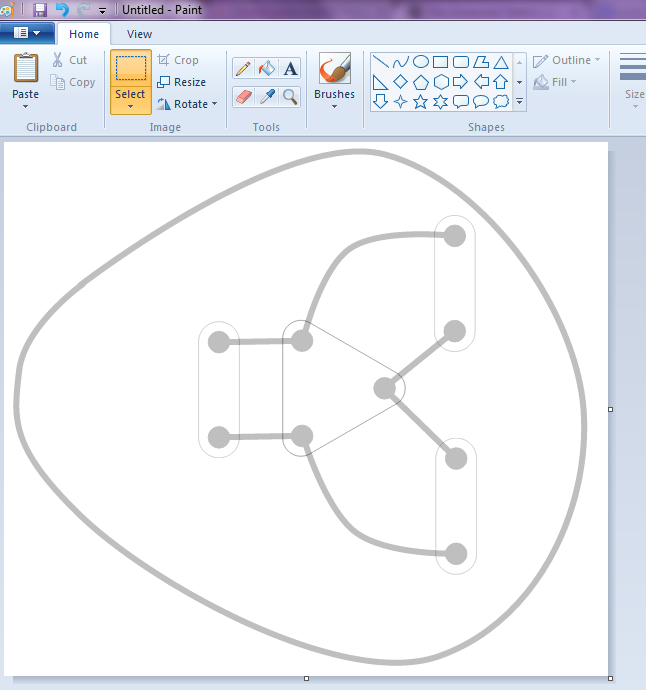
- To verify you have the right view, we want to see the paths of the conductive ink and the circles the components ("modules") should sit on, but we do not want to see the components right now.
- Get a screenshot!
Once you have a screenshot saved, you are ready for the next step.
Edit and Save As SVG
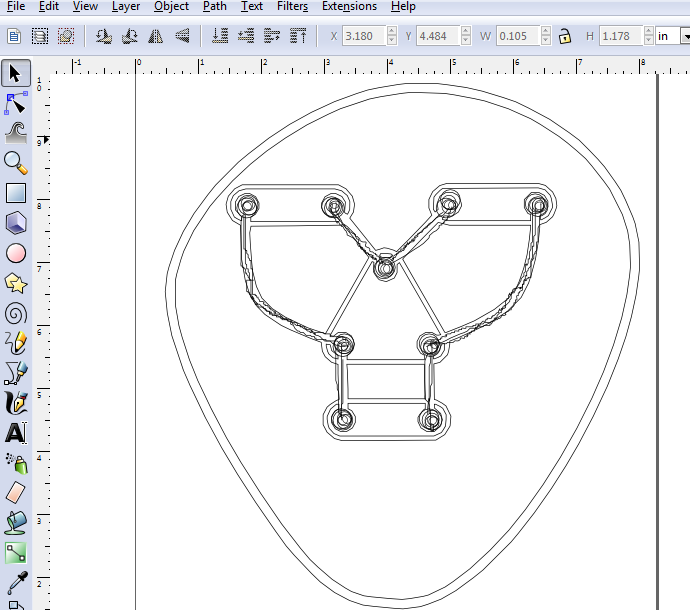
We used Inkscape here.
There isn't much to edit, but keep this stuff in mind:
- Change the orientation to how you want it to appear on your polargraph drawing machine.
- The best method here is to create a new layer and only trace over paths and circles and then erase the original image before saving as SVG.
- If you want, you can also draw artistic components as a separate file with a regular pen to save expensive conductive ink. Just make sure no lines short out any of your paths, or the components will not work as intended.
- Make sure you redraw multiple times over each path to be drawn out, and..
- Make sure you redraw each module node (the circles) multiple times.
Those last two steps are pretty important. You want your polargraph drawing machine to make multiple passes for each module node circle and path so that the conductive ink will be heavy enough and makes a solid connection.
Our poor little Pablo skips just a little bit, so one single line is not reliable enough.
Almost done! On to the next step!
Send to a Polargraph Drawing Bot!
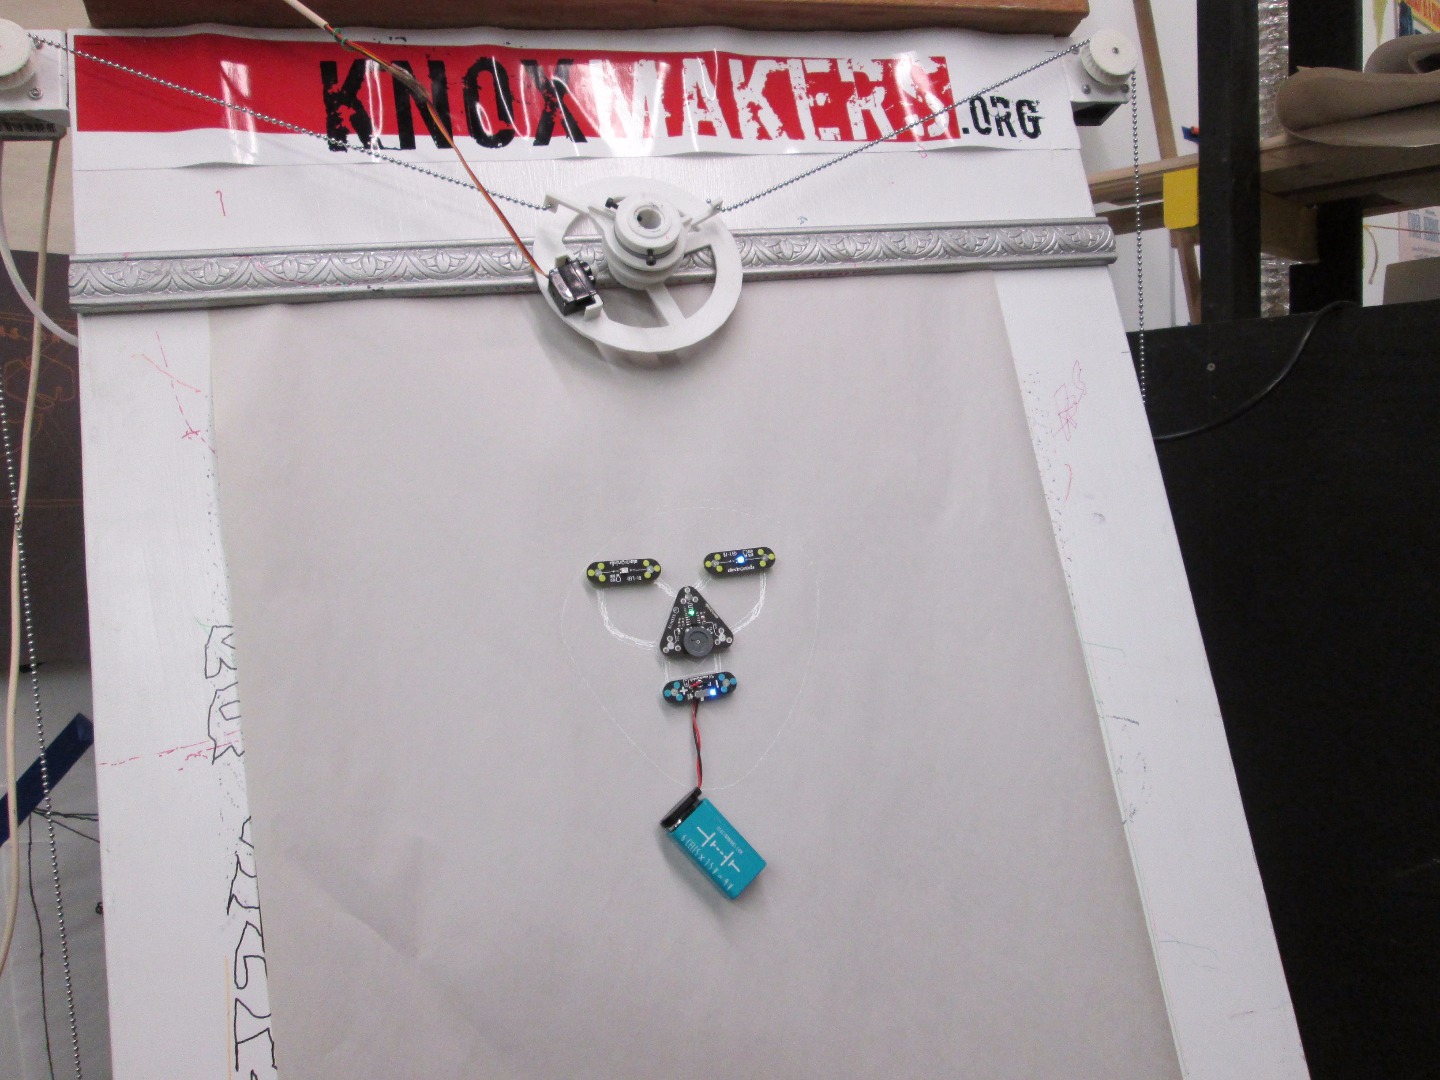
After you save your new image as an SVG, load that sucker up into your drawing machine, equip your drawing machine with a conductive ink pen, and BOOM!
Robots drawing robots.
If you are having trouble figuring out how to send vector SVG files to your polargraph drawing machine, consult the instructions and accompanying resources for your build. Euphy has documented a lot on this process in his tutorial linked at the beginning of this tutorial.
Once your robot draws a robot, place a metal backing behind the image and place your components on the front side of the image.
Test it out and see if it works! Ours did!
As a side note, you may want to adjust the size of your drawing. Since we are using Euphy's design, we can do this in the custom Processing program used to control our dear Pablo. It took us a test draw before we got the sizing right.
You might want to test with a regular pen before wasting conductive ink.