Circuit Playground Express Door Alarm
by krcelentano in Circuits > Sensors
697 Views, 0 Favorites, 0 Comments
Circuit Playground Express Door Alarm
.jpg)
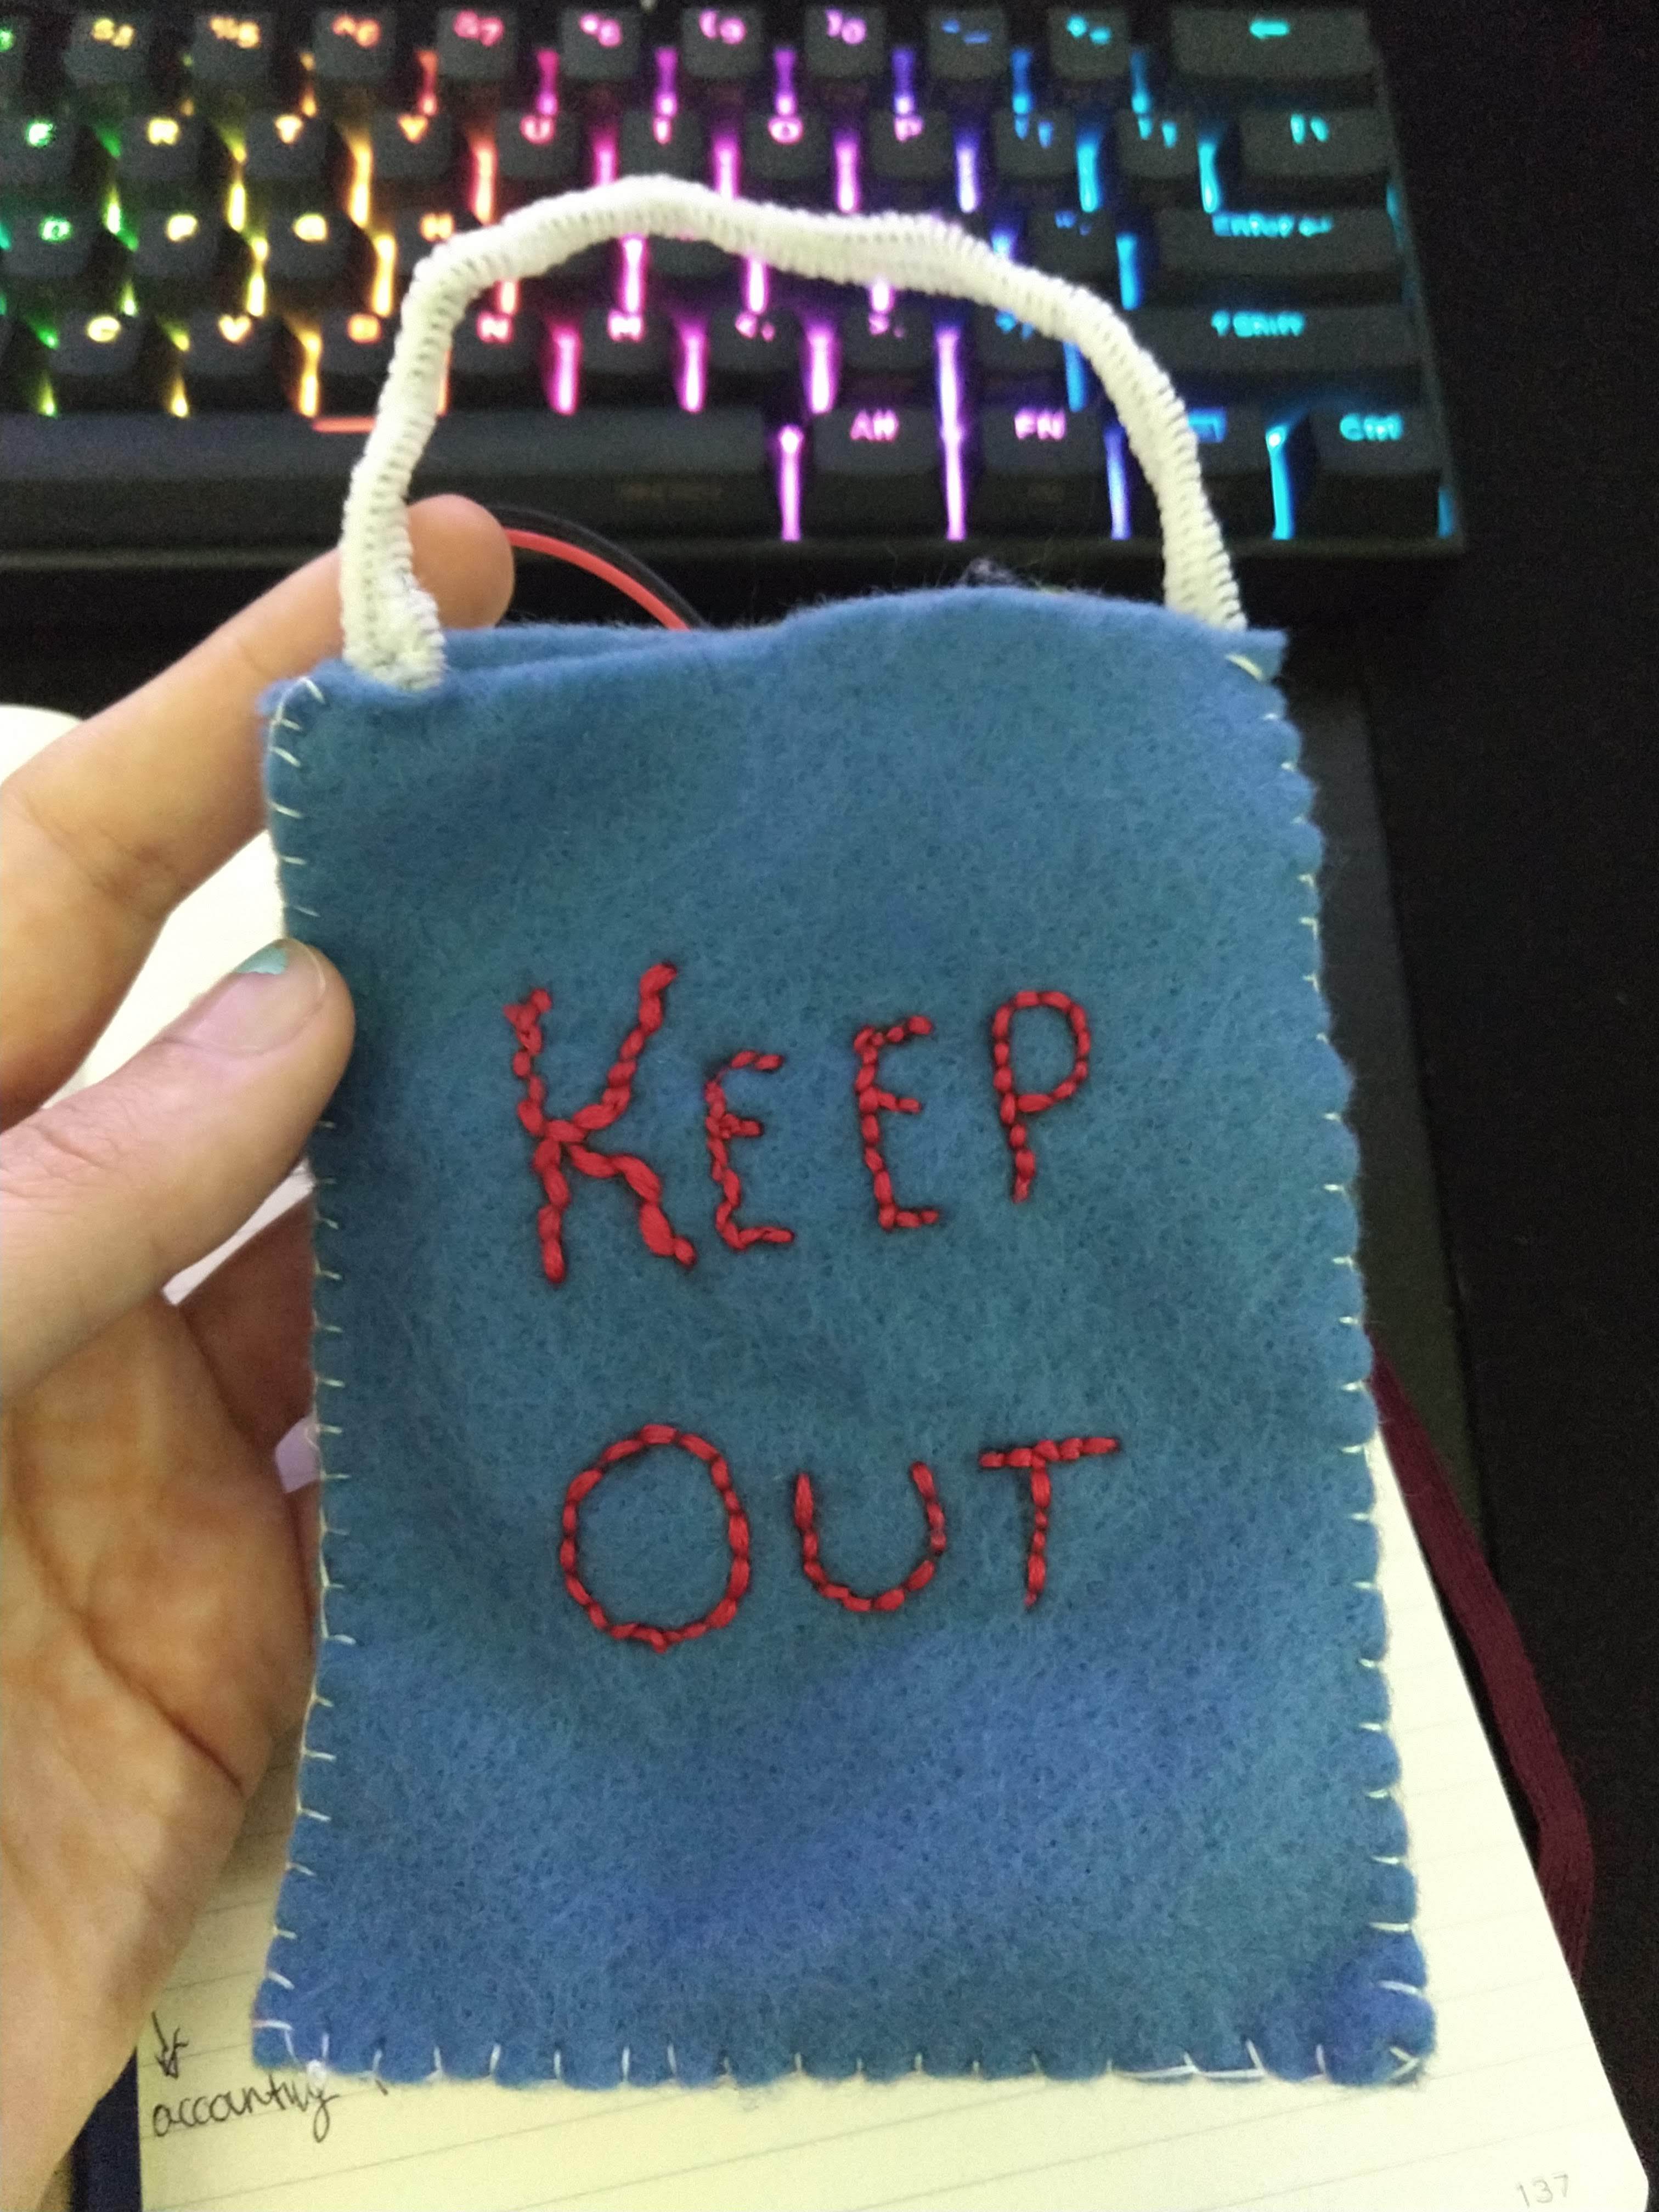
Have you ever wondered if family members are searching your room while you're not around? Do you want to scare them away? If you are like me then you need a Circuit Playground Express Door Alarm. I created my own door alarm because I am always curios if someone is going in my room when I'm not around and even if I'm not around to stop them, I sure do want to scare them into not opening my door without permission again.
Supplies
For this Door Alarm you'll need one circuit playground express kit, access to a computer with a USB port, a pipe cleaner, a sharpie marker (or regular marker), two pieces of fabric that are at least 5x4 inches (you want to make sure you have enough space to fit the battery pack into the pocket when it is done being sewn), two pieces of thread, and a needle. These threads can be any color, one is going to be used to stitch the fabric together and the other thread is going to be used for embroidery. If you do not have a pipe cleaner then extra fabric or string will work.
Step 1: Thread Your Needle, Sew Your Sides, and Draw Your Design.
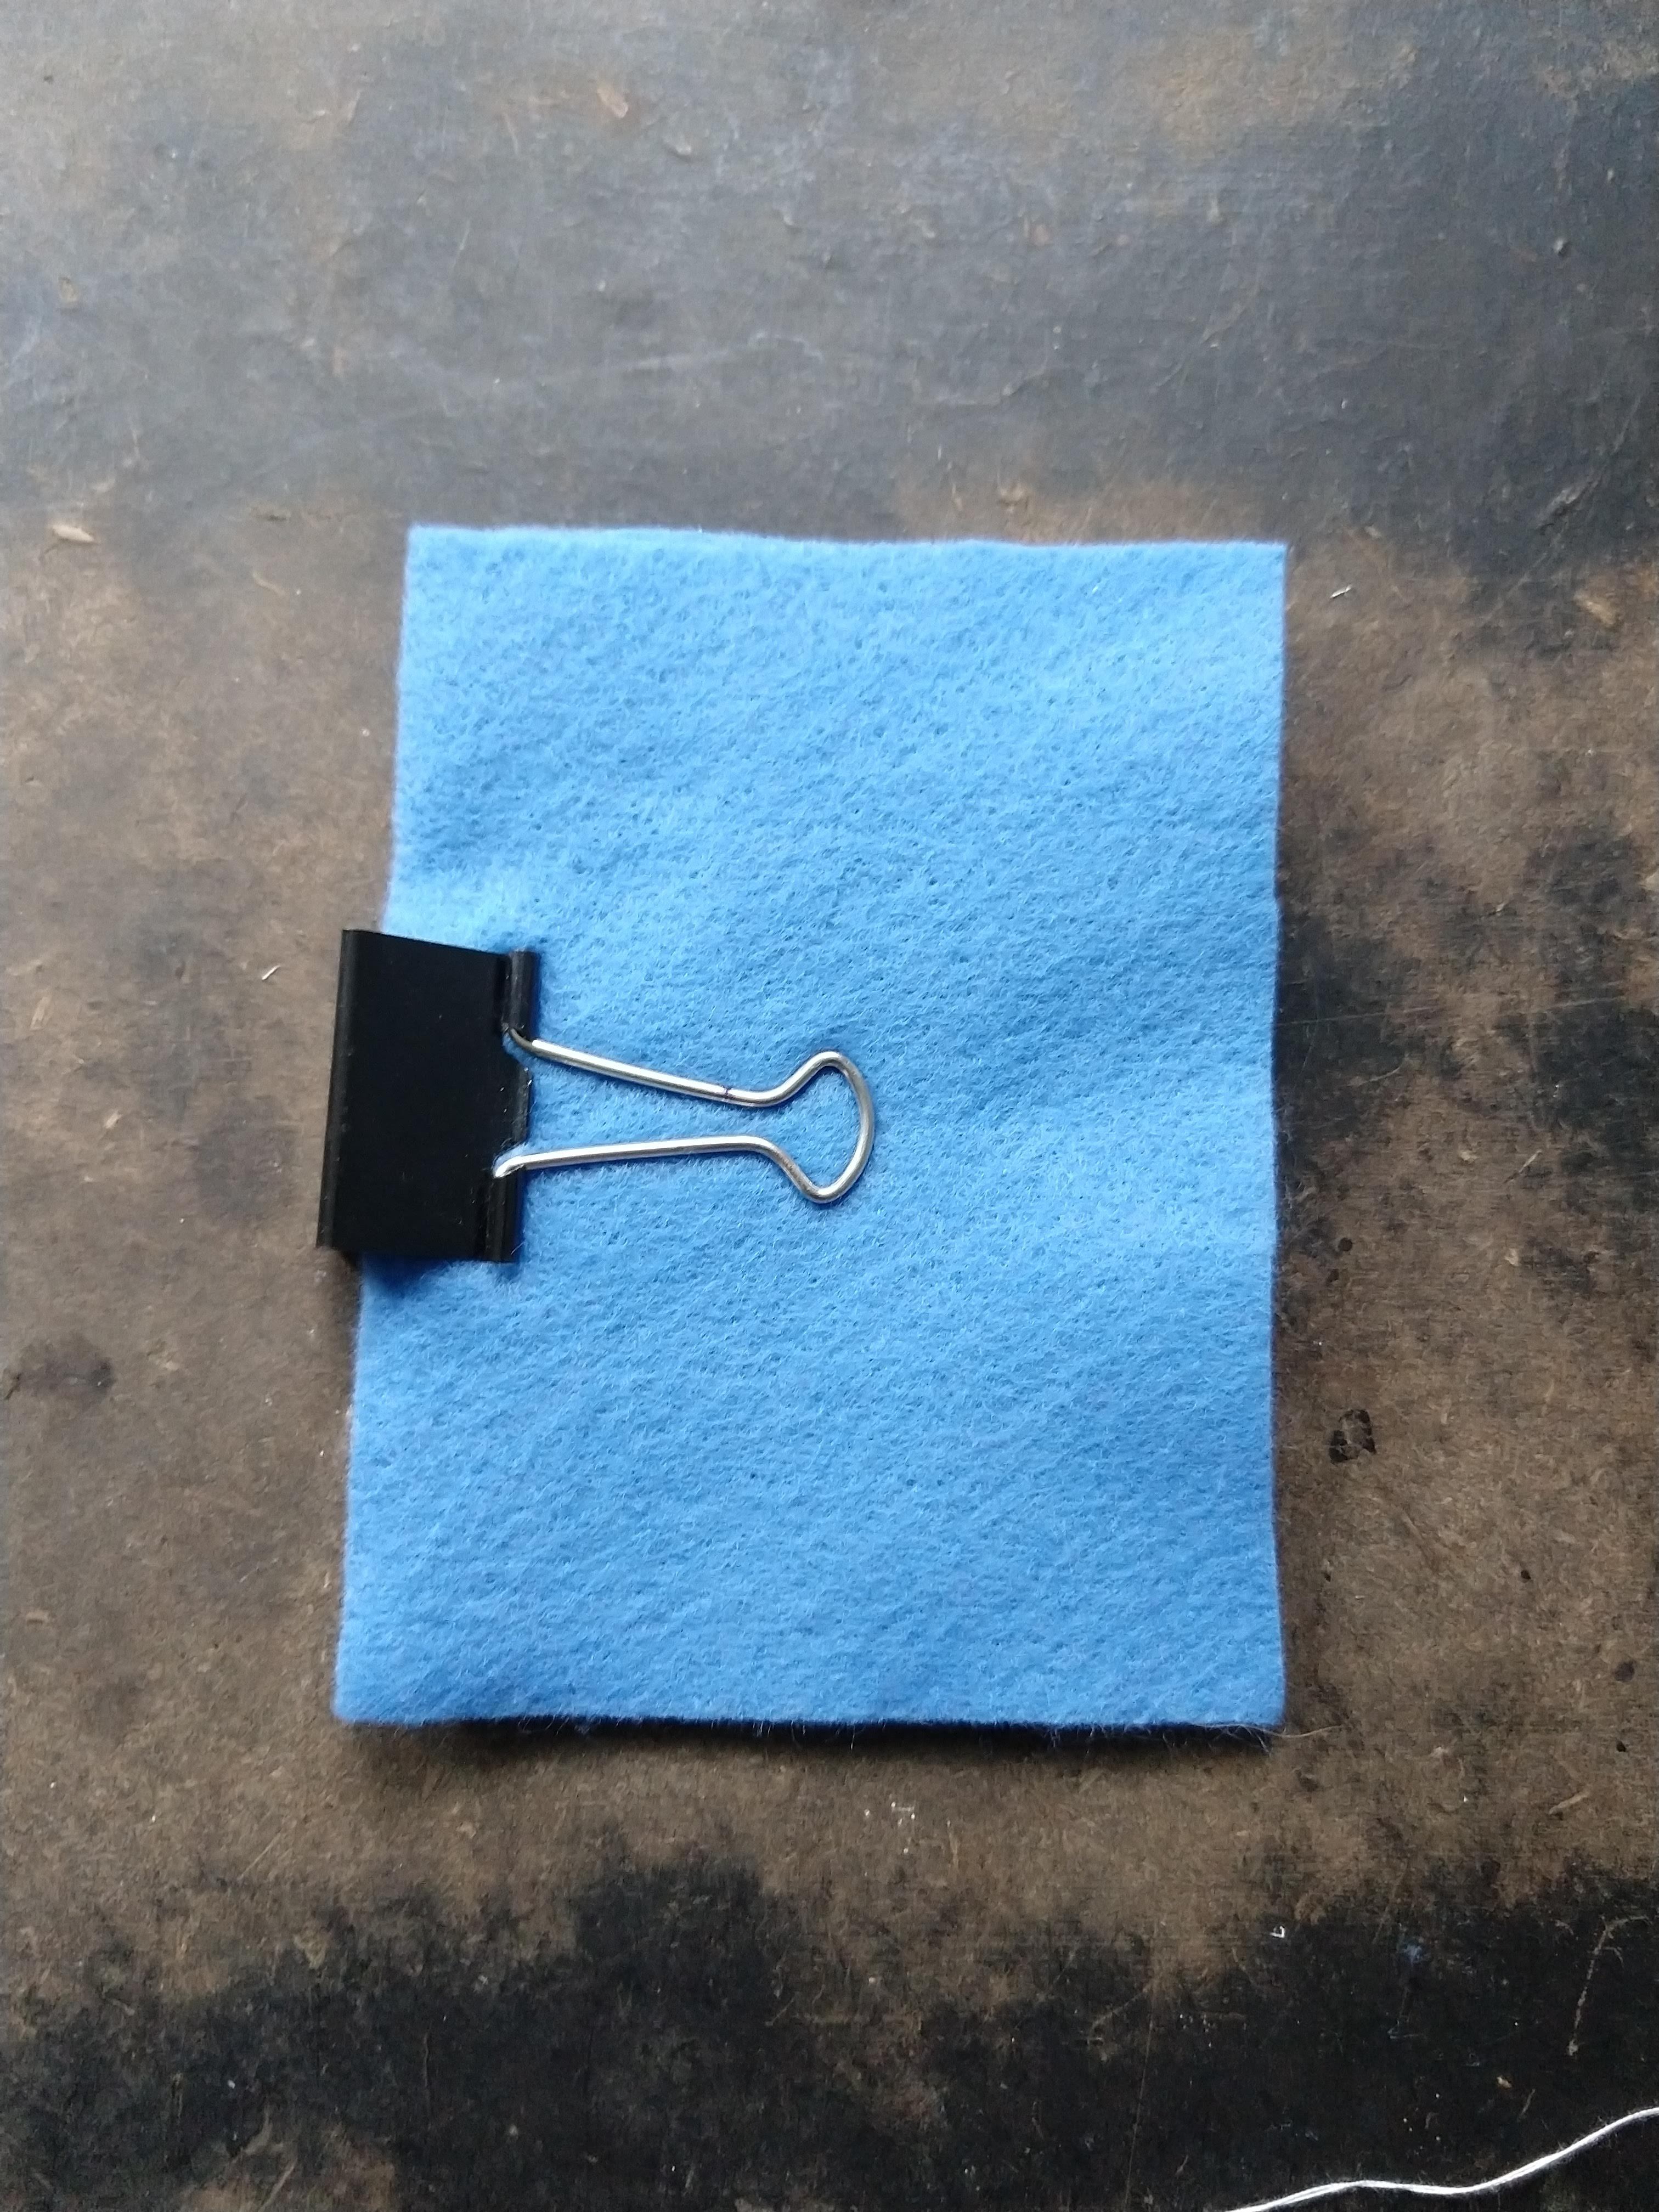
Once you have all your supplies together you'll want to get started making the pocket right away. I used two pieces of felt and used a binder clip to hold them together so that they would stay lined up.
The binder clip can get in the way of adding text to the front of your pocket so you'll want to take this opportunity to sew together the long side of the fabric that is not being held together by the binder clip. Once you have that side sewn you can tie a knot at the end of the string and remove the binder clip.
now you should have two pieces of fabric that are sewn together.
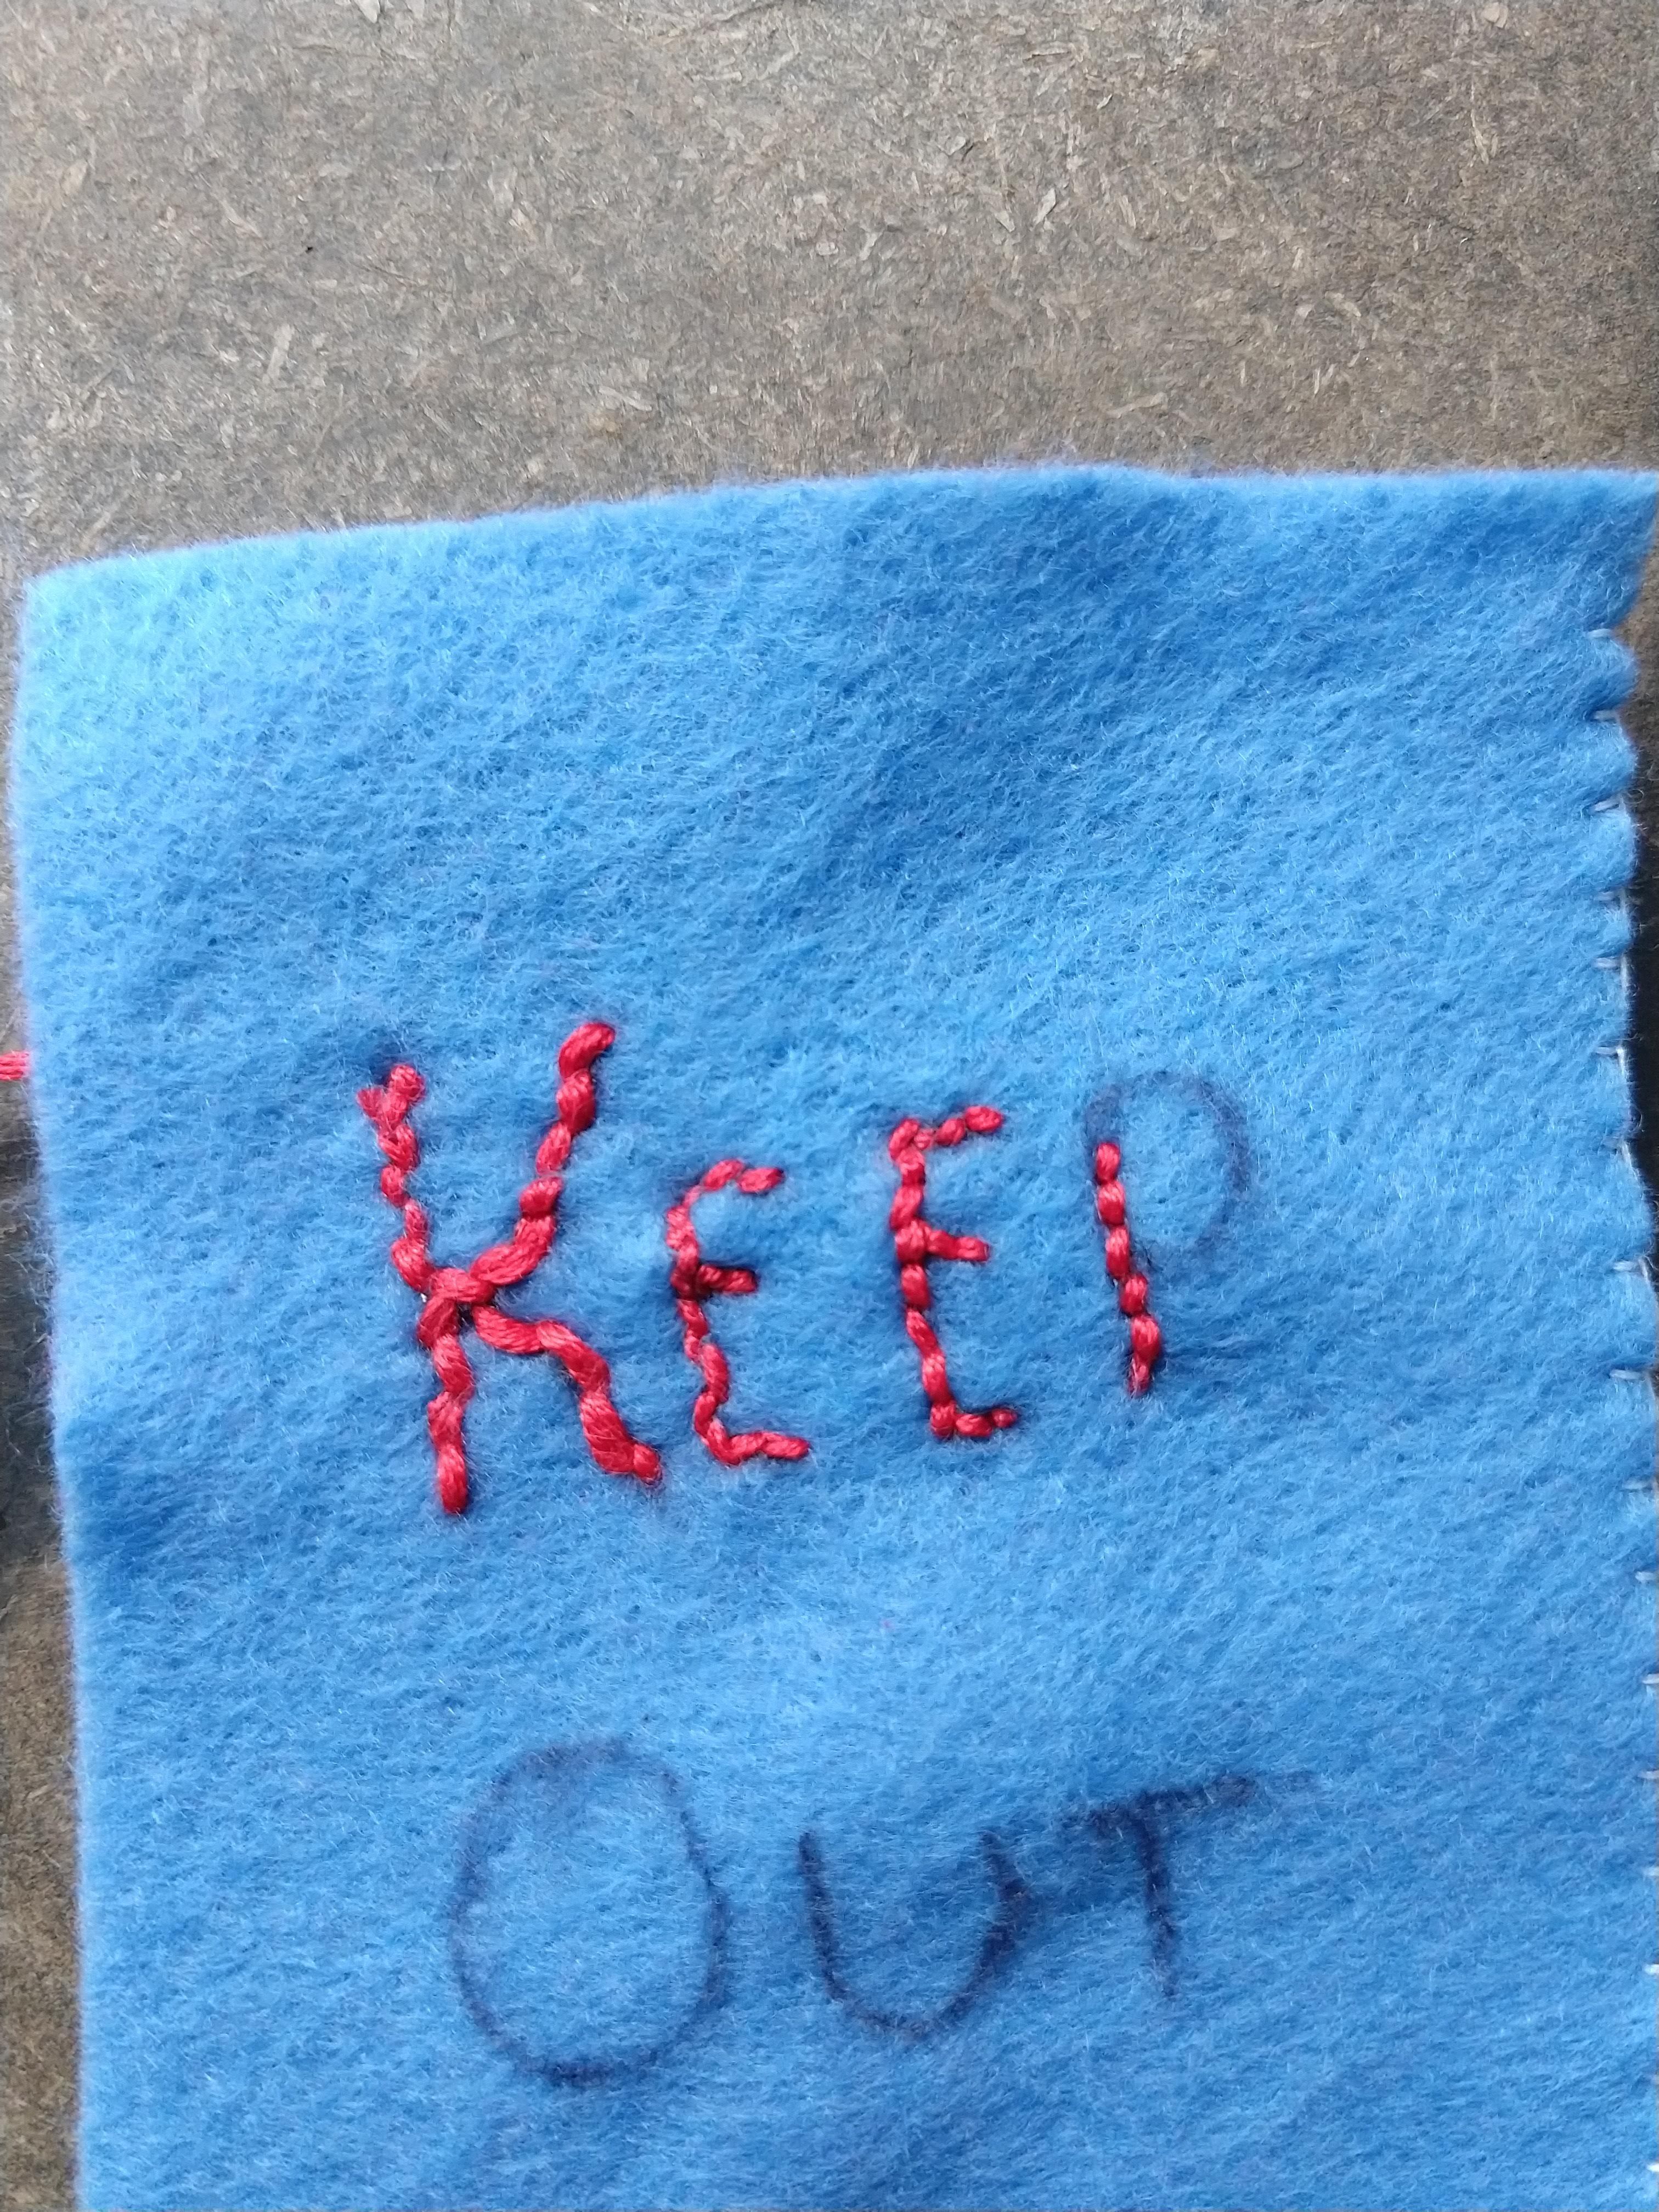
the next step is to draw on your fabric with sharpie marker. It might be best to practice your lettering on a scrap piece of paper before drawing on your fabric because the sharpie is permanent and you will not be able to erase once you have made a mark
Then you want to take your second piece of thread, thread it through the needle, tie a knot at the end, and start stitching your lettering from the backside of the top piece of fabric through to the front. You want to make sure to try to only stitch where your drew with sharpie and also make sure not to sew your two pieces of fabric together during this process.
Continue stitching until all letters are finished tie off the string to make sure it doesn't slip through the fabric. Then take your first string color, thread it through the needle, tie off a knot, and finish stitching the bottom and last side. Make sure to leave the top open so you can use it as a pocket.
Step 2: Add Your Handle
.jpg)
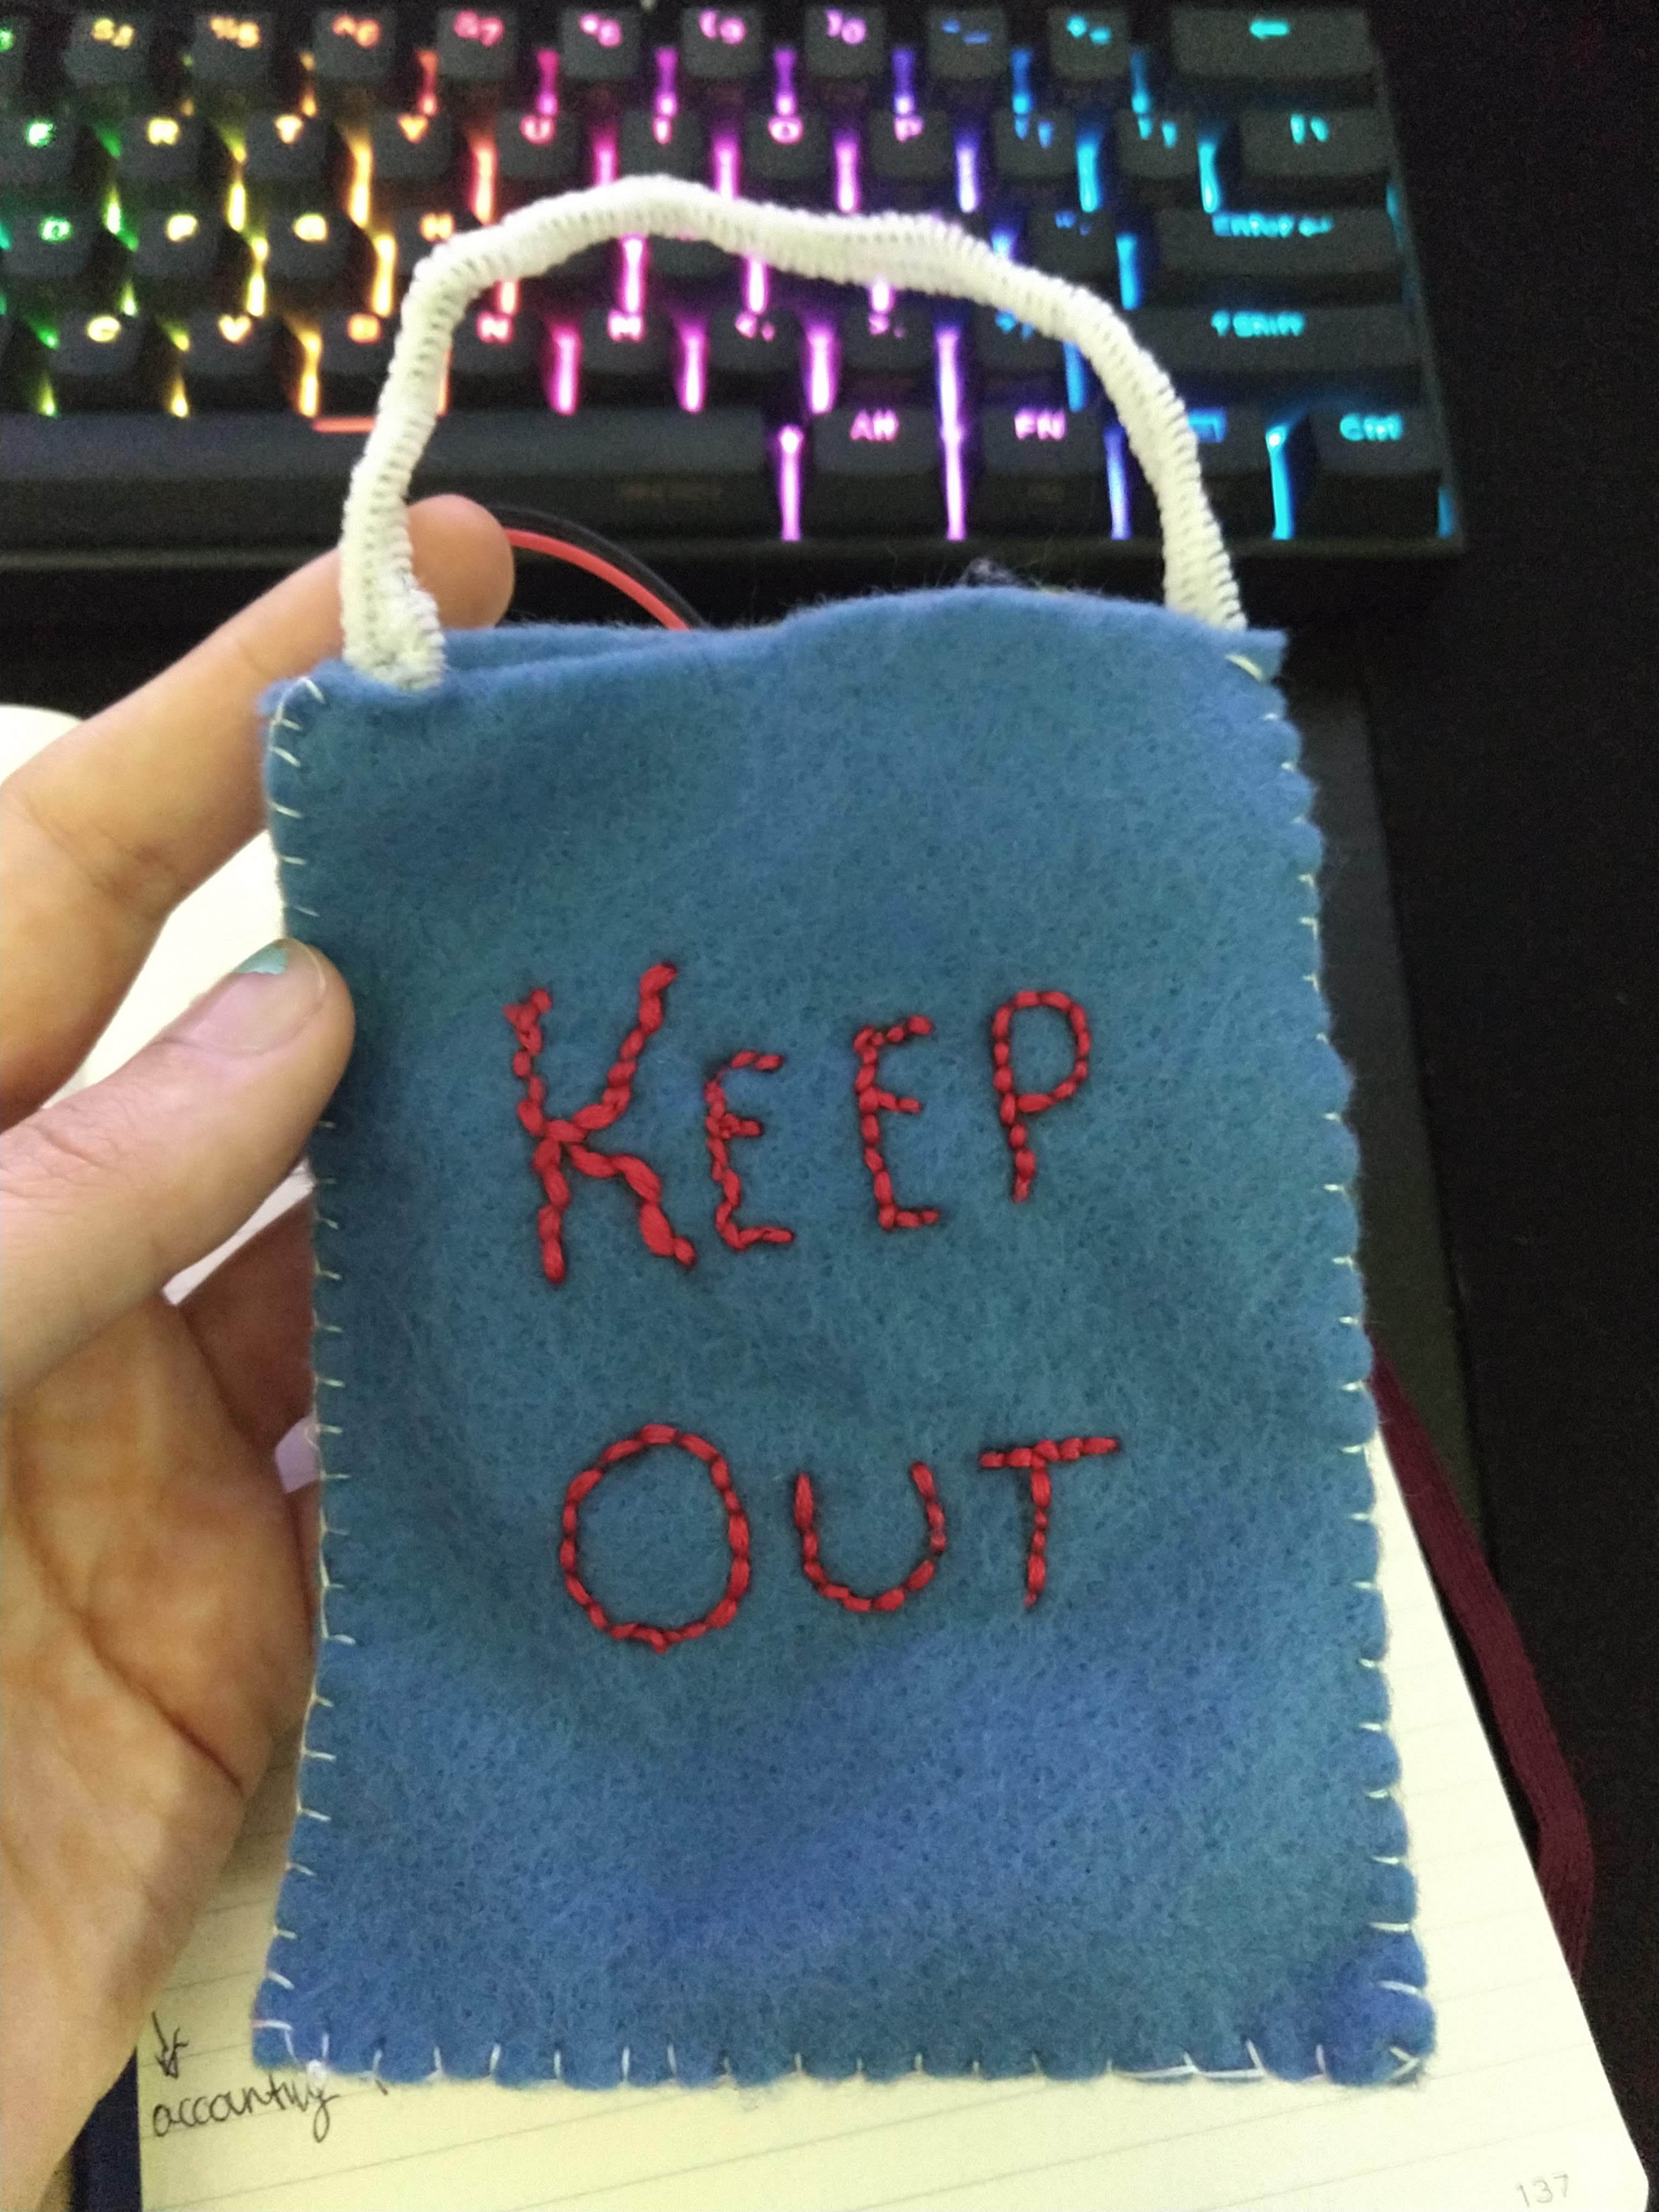
Once you have everything stitched you can go ahead and add a handle. I used a pipe cleaner that I folded in half. If you do not have a pipe cleaner then I would search for extra fabric or string. You want to make sure that you have enough material to fit over your door knob or your door alarm wont be able to hang
When you have a handle, sew each end to either side of your pocket.
Step 3: Time to Start the Code
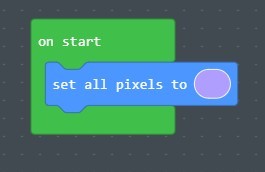
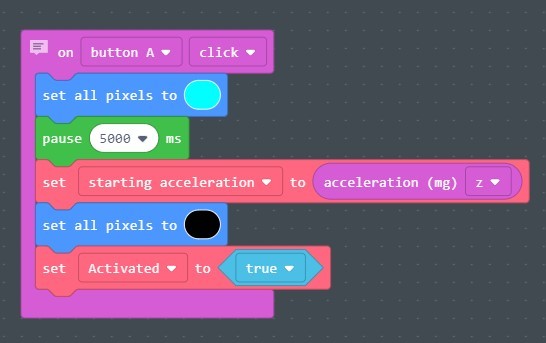
Now that you have your pocket done it is time to code the circuit playground express.
To start you want to make sure that your board will receive the program when it is downloaded so I chose to make my lights turn purple when ready.
Next you want to make sure your alarm arms itself when the Button A is pressed
so take the "on button A click" block and drag it onto your screen. This block will hold the next blocks within it.
We then want to make sure that we have time to arm the alarm and walk away so we do not set it off. I set all the lights to light blue and had the device wait 5 seconds after I had pushed Button A so that I could get away safely. You can set the colors and the amount of time to any thing you want just make sure you leave yourself enough time to get away.
Then you'll want to create a variable. The variable on my code is "starting acceleration." This can be named what ever name makes most sense to you. This variable is set to take the acceleration (mg) of direction z.
Then you want all your lights to turn off to tell you that everything has been set. Then you'll take another variable and call it "activate." This variable will be set to true.
This code is telling you that when Button A is clicked the program will take the current acceleration, set that number as the starting acceleration, and then set "Activated to True"
Step 4: Arming Your Alarm
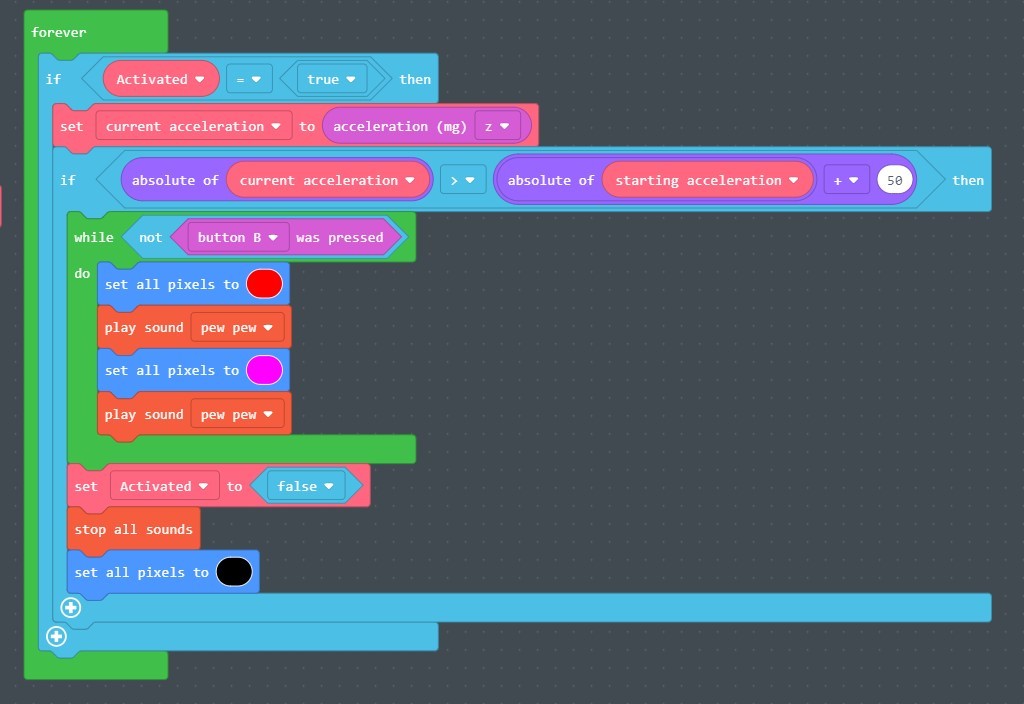
The final block is going to start with a "forever block."
Inside this block you'll want to start with an "if ()=() then" block. in the first circle you want to put the variable "activated" and set the second circle to say true. Then you want to take a second "set variable" block to say "set current acceleration to acceleration (mg) z. This ensures that when the variable "activated" is true then the "current acceleration" will be checked forever.
We then want to put a second "if()>()then" block in and make sure the sign in the middle is a greater than sign.
The first bubble will take the absolute of the "current acceleration" and the second bubble will take the absolute of "starting acceleration" +50. This last "If Then" has the program continuously take note of the current acceleration in the z-direction and compare the absolute values of the current and starting accelerations until it detects that the current acceleration is greater than the starting acceleration. We only care about the absolute values of the accelerations because we only want to know if the CPX is experiencing more acceleration not which direction its accelerating in. The +50 is in place because requiring the current acceleration to be over 50 mg greater than the starting acceleration means that the alarm will only trigger when the CPX was moved by the door.
Next we want to insert a "while" under the second if then statement that says "while not Button B was pressed. Inside that while statement you want to alternate between whatever sounds and colors you want your alarm to play and show while going off. I chose to use the colors red and pink while playing the 'pew pew' sound.
This code is reading that If the current acceleration is greater than the starting acceleration, then the inner “while” loop will trigger the lights to flash while playing sound until Button B is pressed.
Then we need to be able turn our alarm off so you'll want to
"set "activated" to "false""
stop all sounds
and turn all lights off
This ensures that when Button B is pressed, the “activated” variable will be set to false, all sounds will stop, and all lights will be turned off
Step 5: Down Loading the File and Sewing the Circuit Playground Express
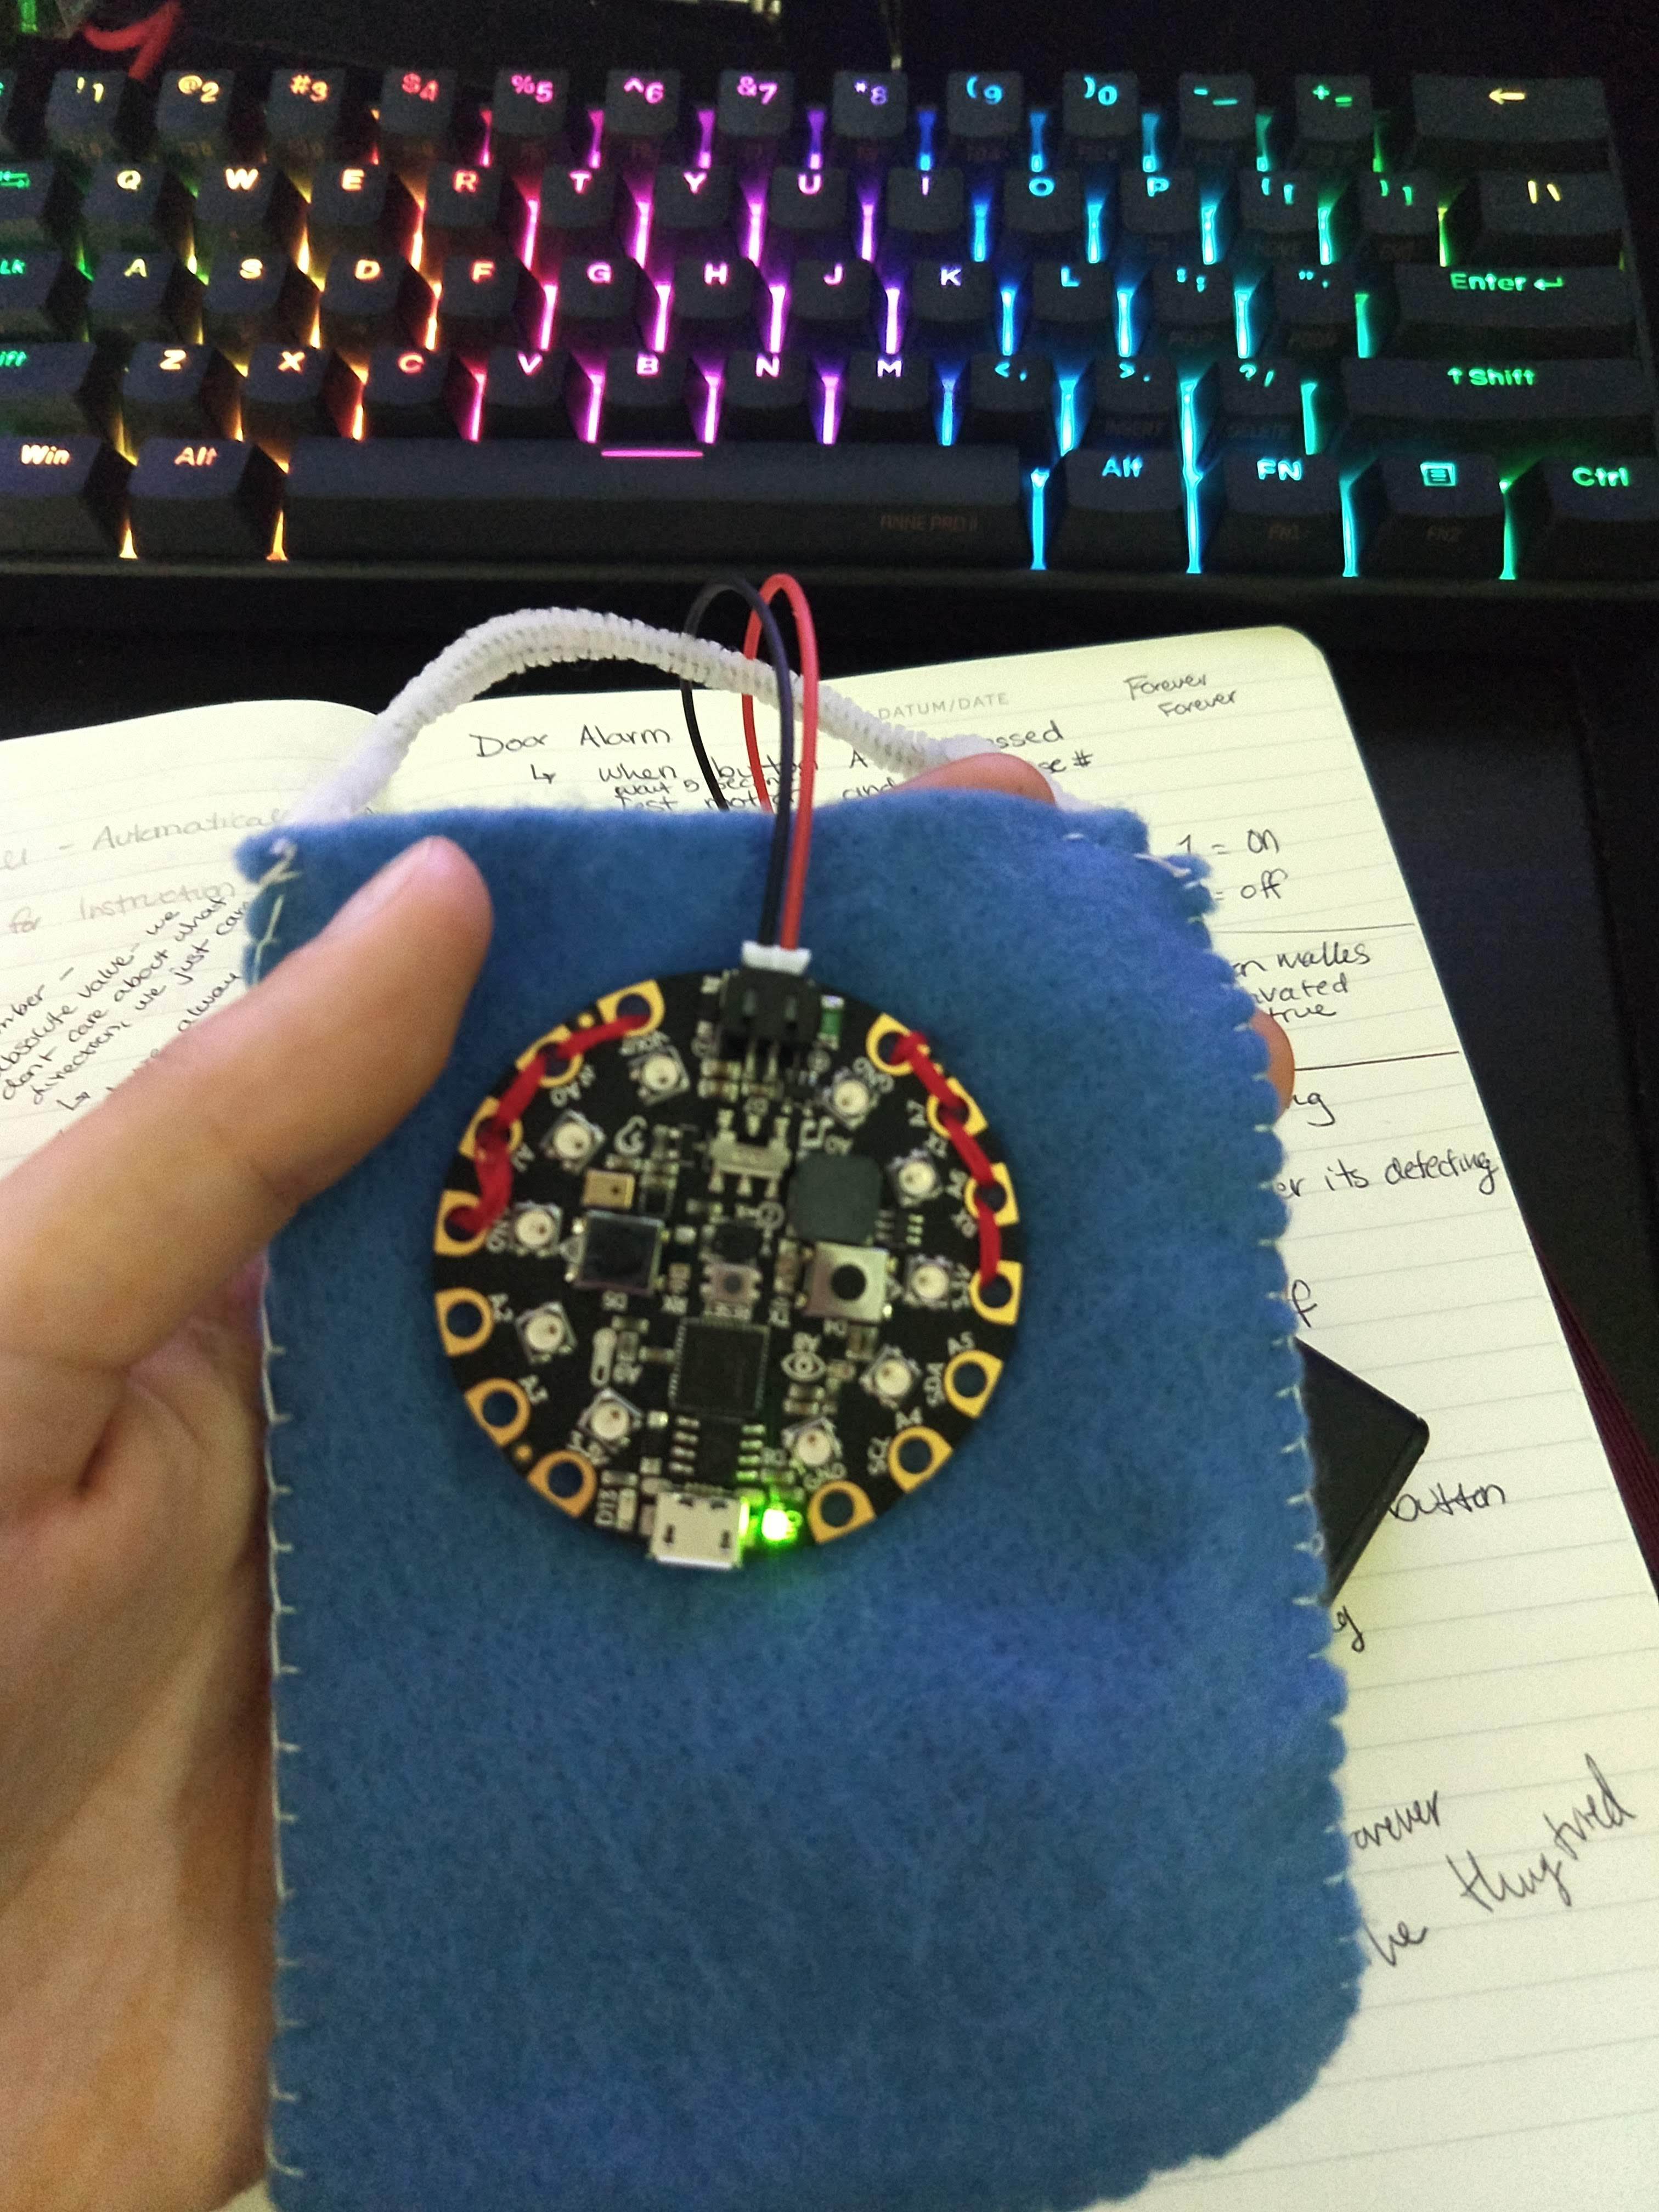
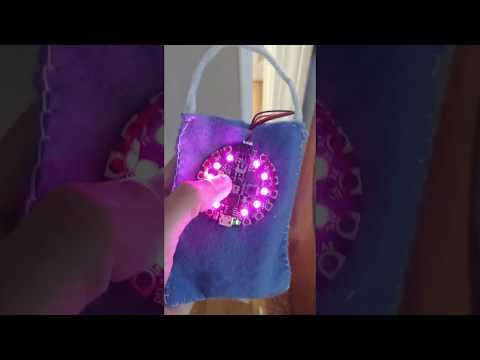
Once you have the code working you'll want to down load the file and check to see if your Door Alarm will work.
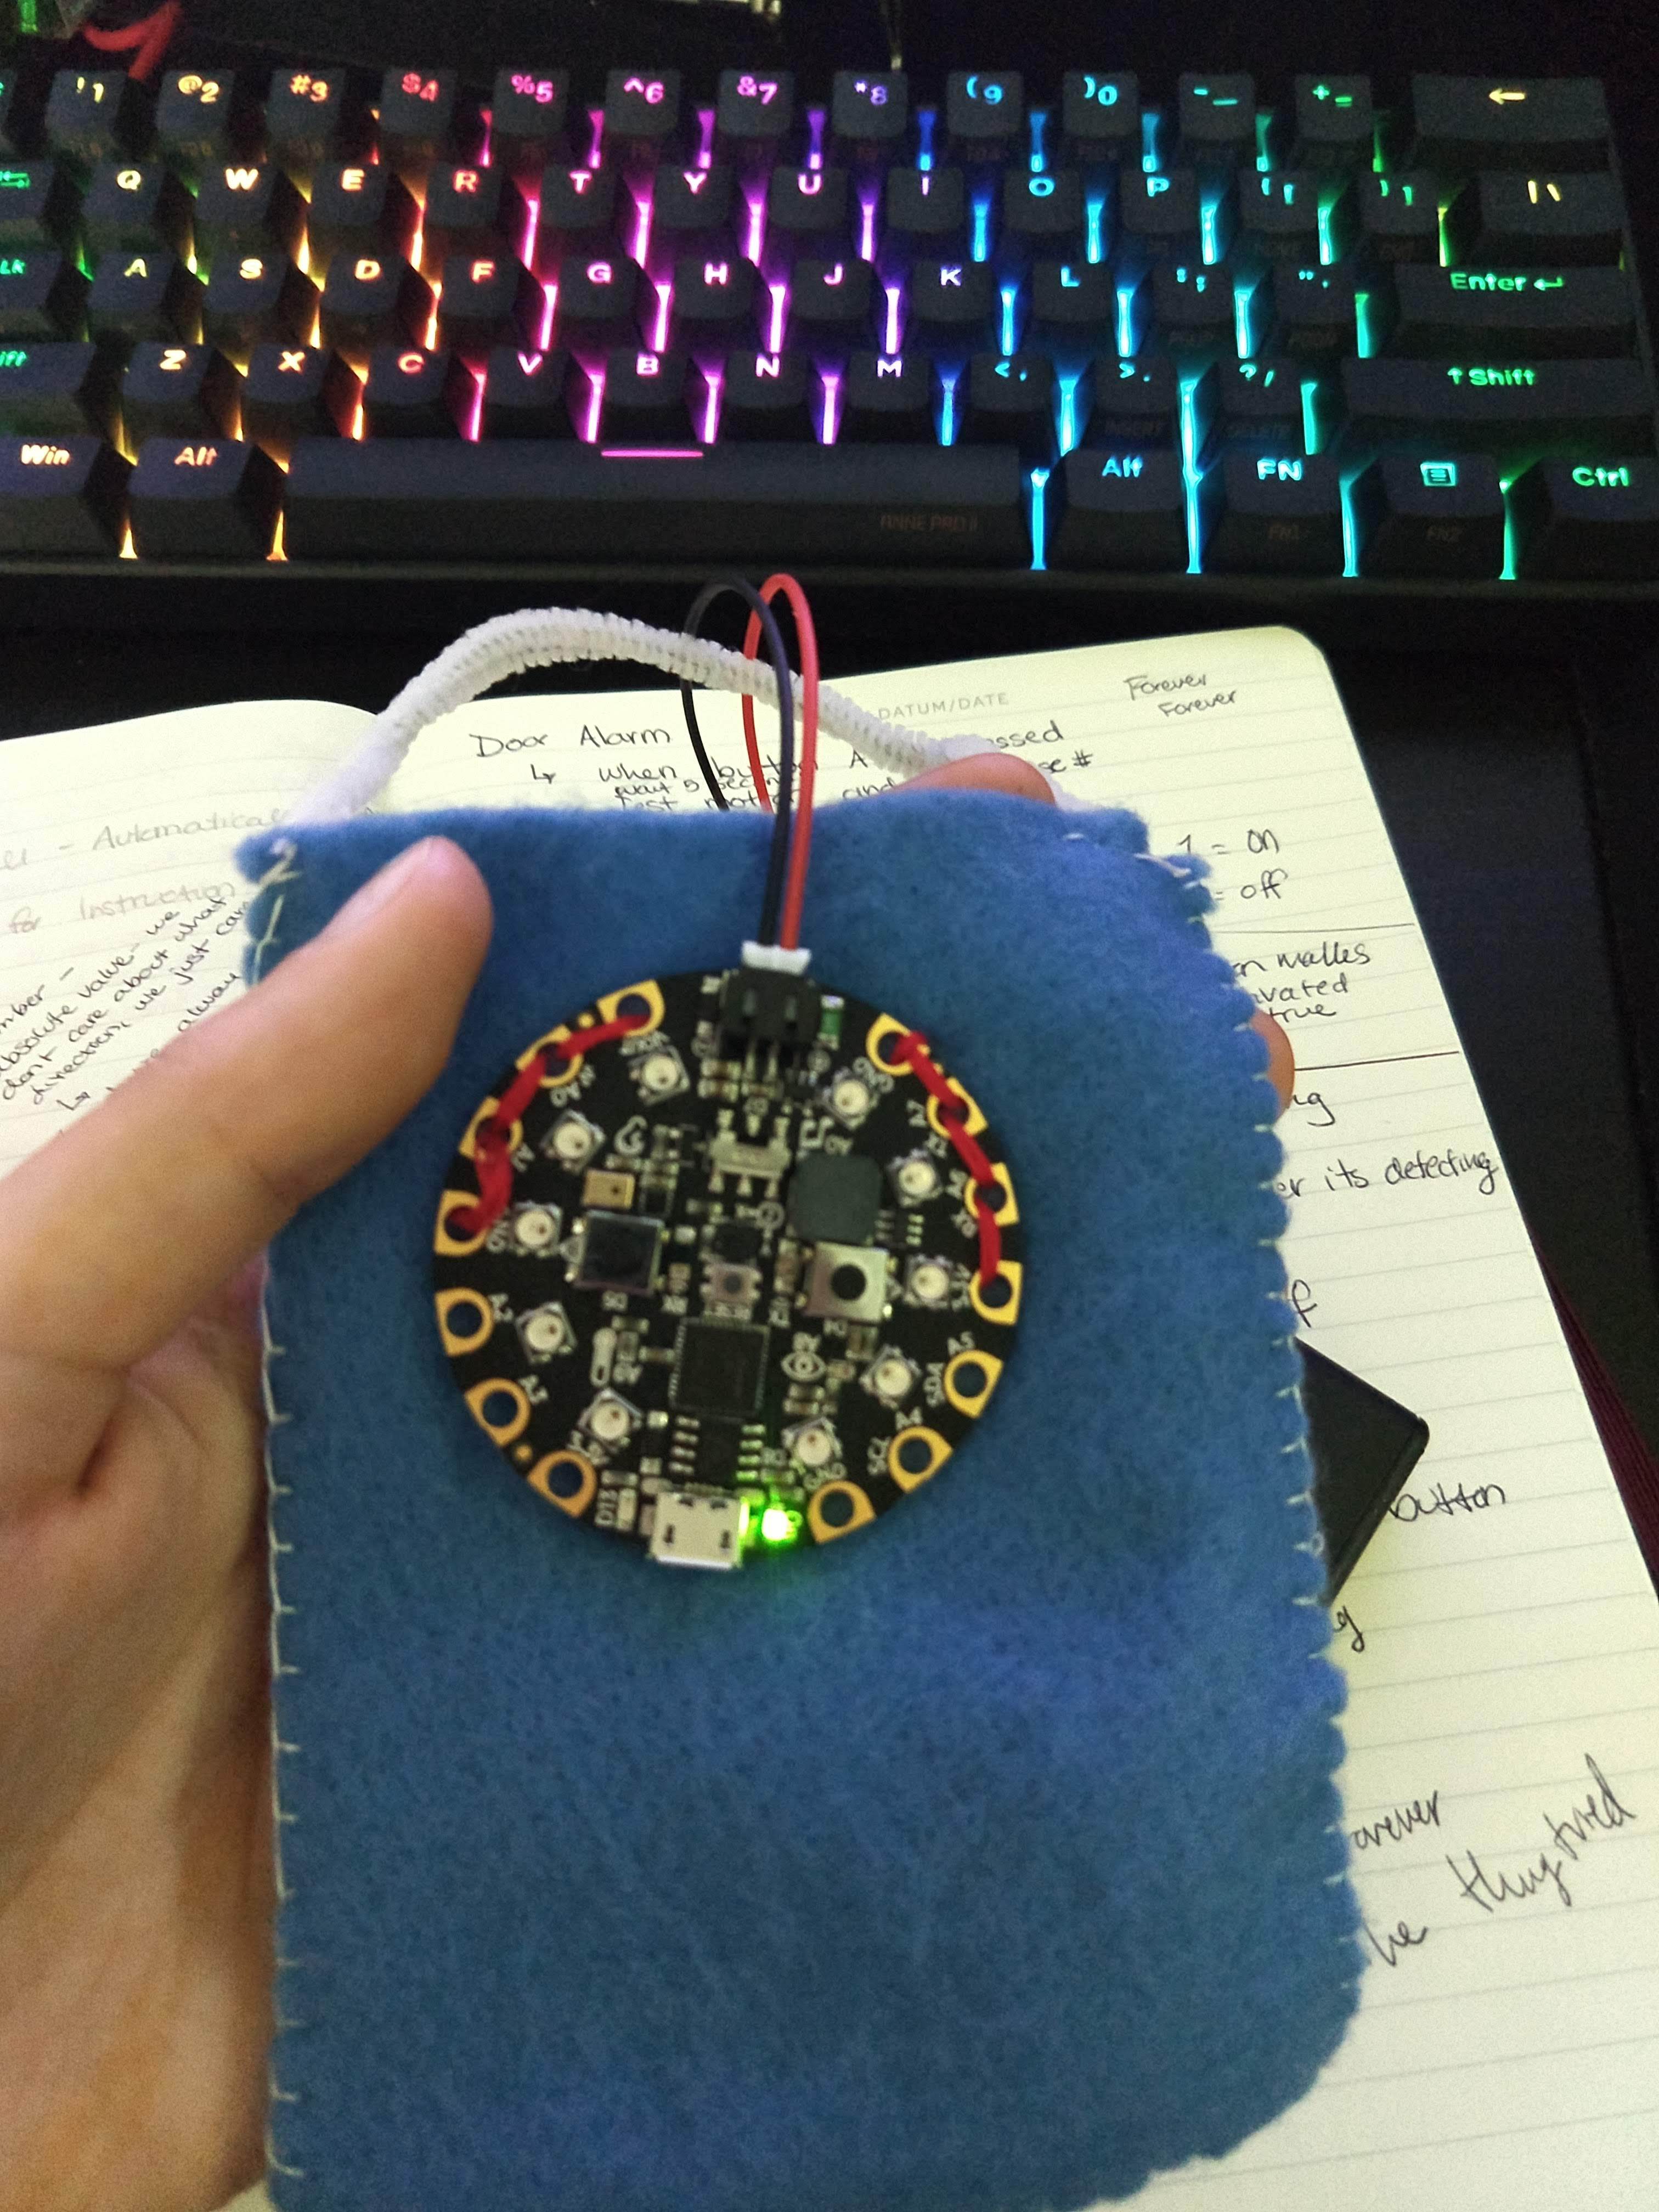
The last thing you'll want to do is secure the Circuit Board to the back of your pocket. I used the first four holes on either side to hold the board down.
Once you have it sewn down, place the battery pack in your pocket, arm your door, and wait for the first victim.
Enjoy!