Circuit Playground Express (CPE) Handmade Tote
by mapoirier8 in Circuits > Microcontrollers
343 Views, 2 Favorites, 0 Comments
Circuit Playground Express (CPE) Handmade Tote

In this Instuctable you will get the steps to code your Circuit Playground Express (CPE) microcontroller with MakeCode and make a tote from a flannel shirt and other fabric. There is lots of room for interpretation and innovation! What will you program it to do?
Supplies
Circuit Playground Express (CPE) microcontroller
Battery holder
3 AAA batteries
Fabric (button up flannel & sweatshirt used here)
Scissors
Fabric tape
Straight pins
Needle
Thread
The Code
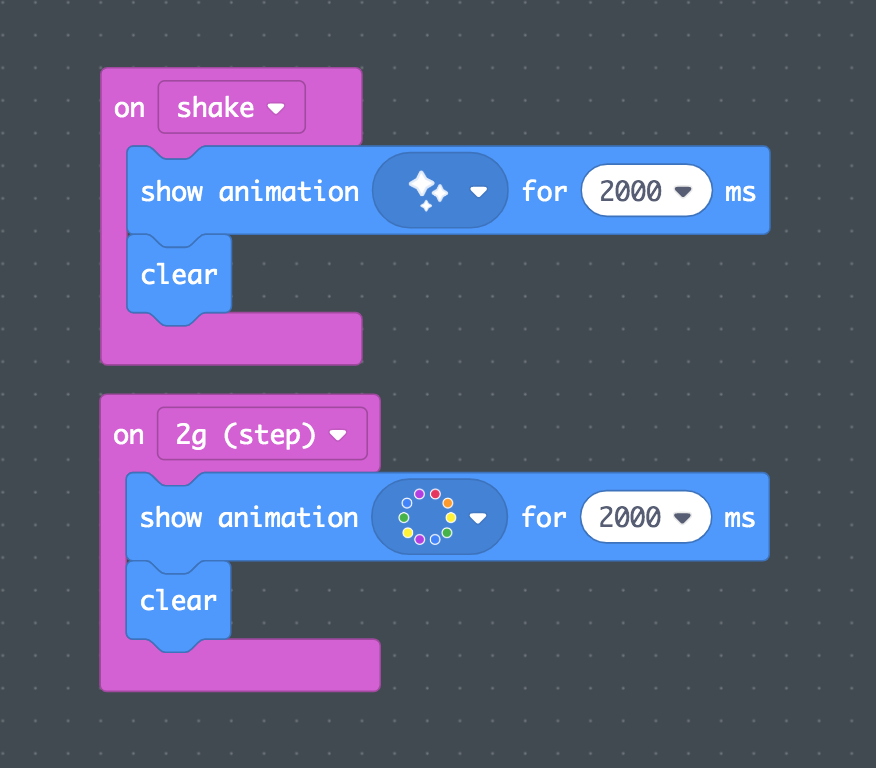
Using the Circuit Playground Express (CPE), a programable microcontroller and MakeCode, a block based coding software, you can make the CPE do lots of things!
In this tutorial we will make it move as the person holding/wearing walks.
You can find the "on shake" under input on the lefthand menu bar. Then under "Light" drag the "show animation" block in the middle. By clicking the down arrow next to the illustration, you can chose the twinkling lights option. Then drag "clear" under "light" to have the function stop when it's complete. Then copy similar instructions from the image attached to make the "show animation" rainbow.
You can always make it do different things, can you think of different ways to code the CPE?
The Tote - Sack

You can by pass the major sewing and buy your own tote, but where is the fun in that!
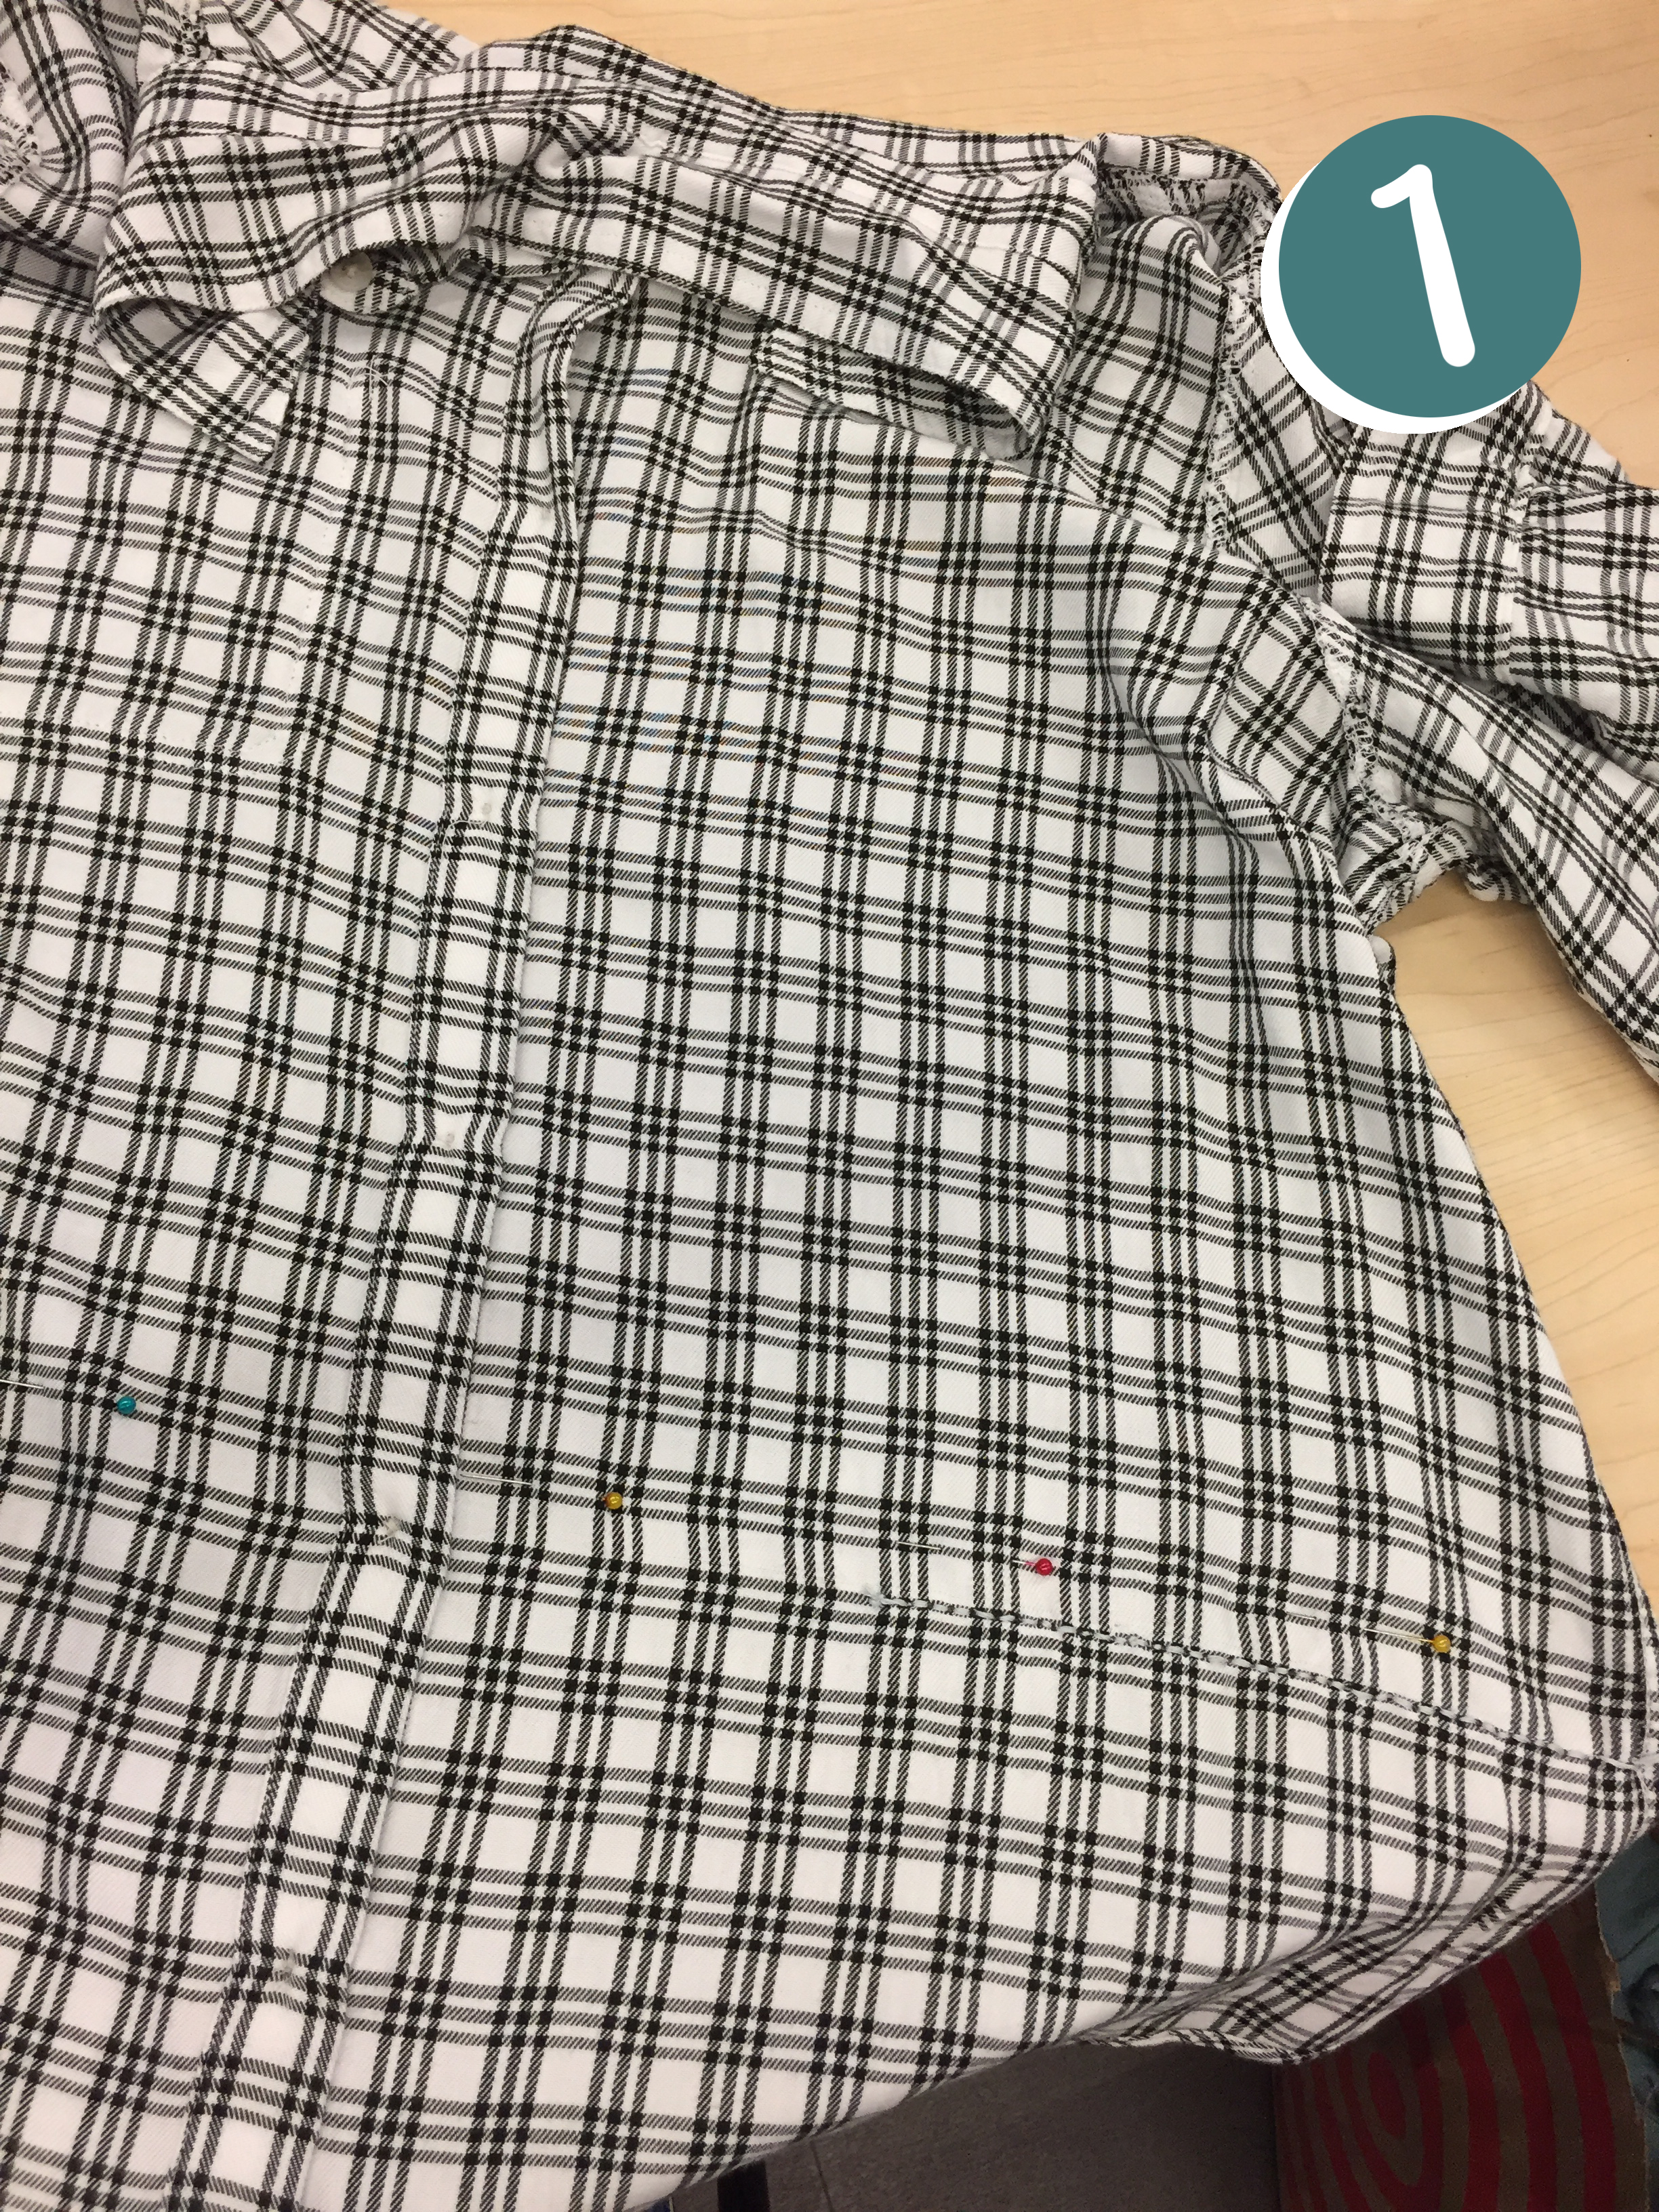
1. Start with a flannel shirt, new or used.
2. Turn it inside out
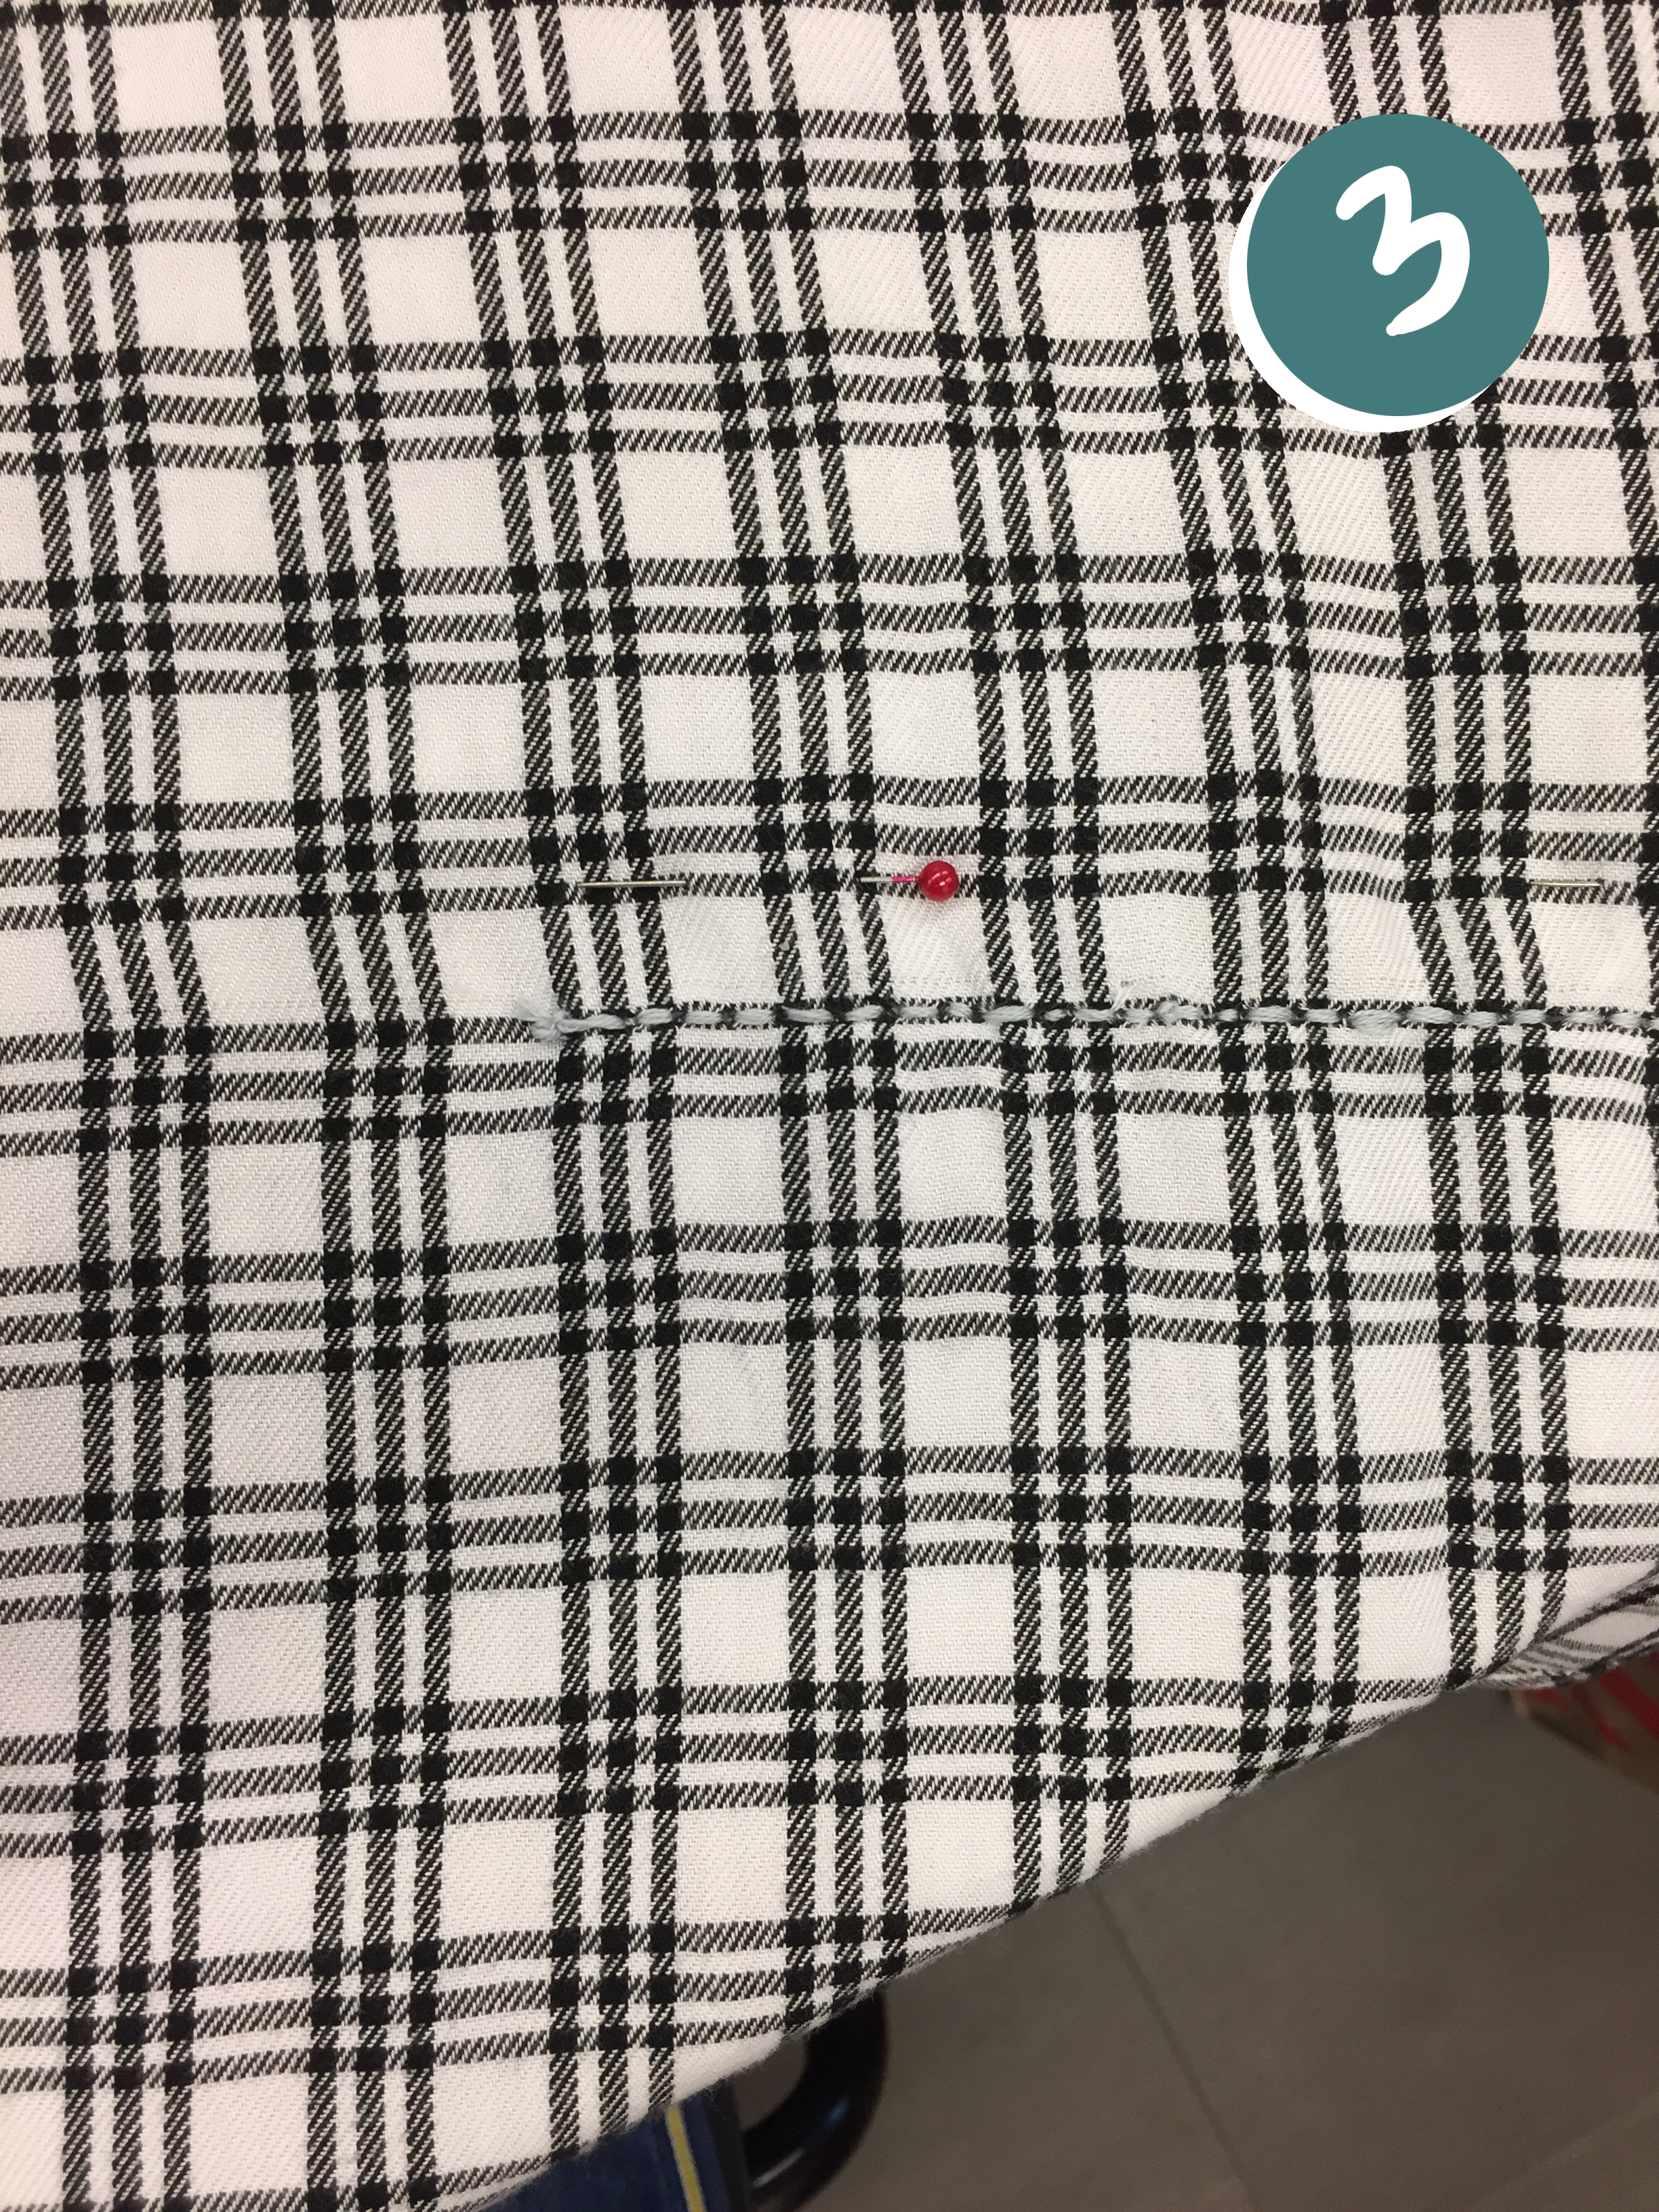
3. Use straight pins along the bottom of the shirt to make a straight closure. Sew along the bottom to create the sack, the plaid pattern is helpful to make a straight line. I used a back stitch but a running stitch or others is fine. Your stitches don't have to be picturesque, it's handmade so some imperfections are welcome.
4. When the bottom is fully stitched, cut across the fabric about a half inch down from the stitch.
5. Now the button front. To make sure nothing falls out of the bag, sew up the opening of the shirt.
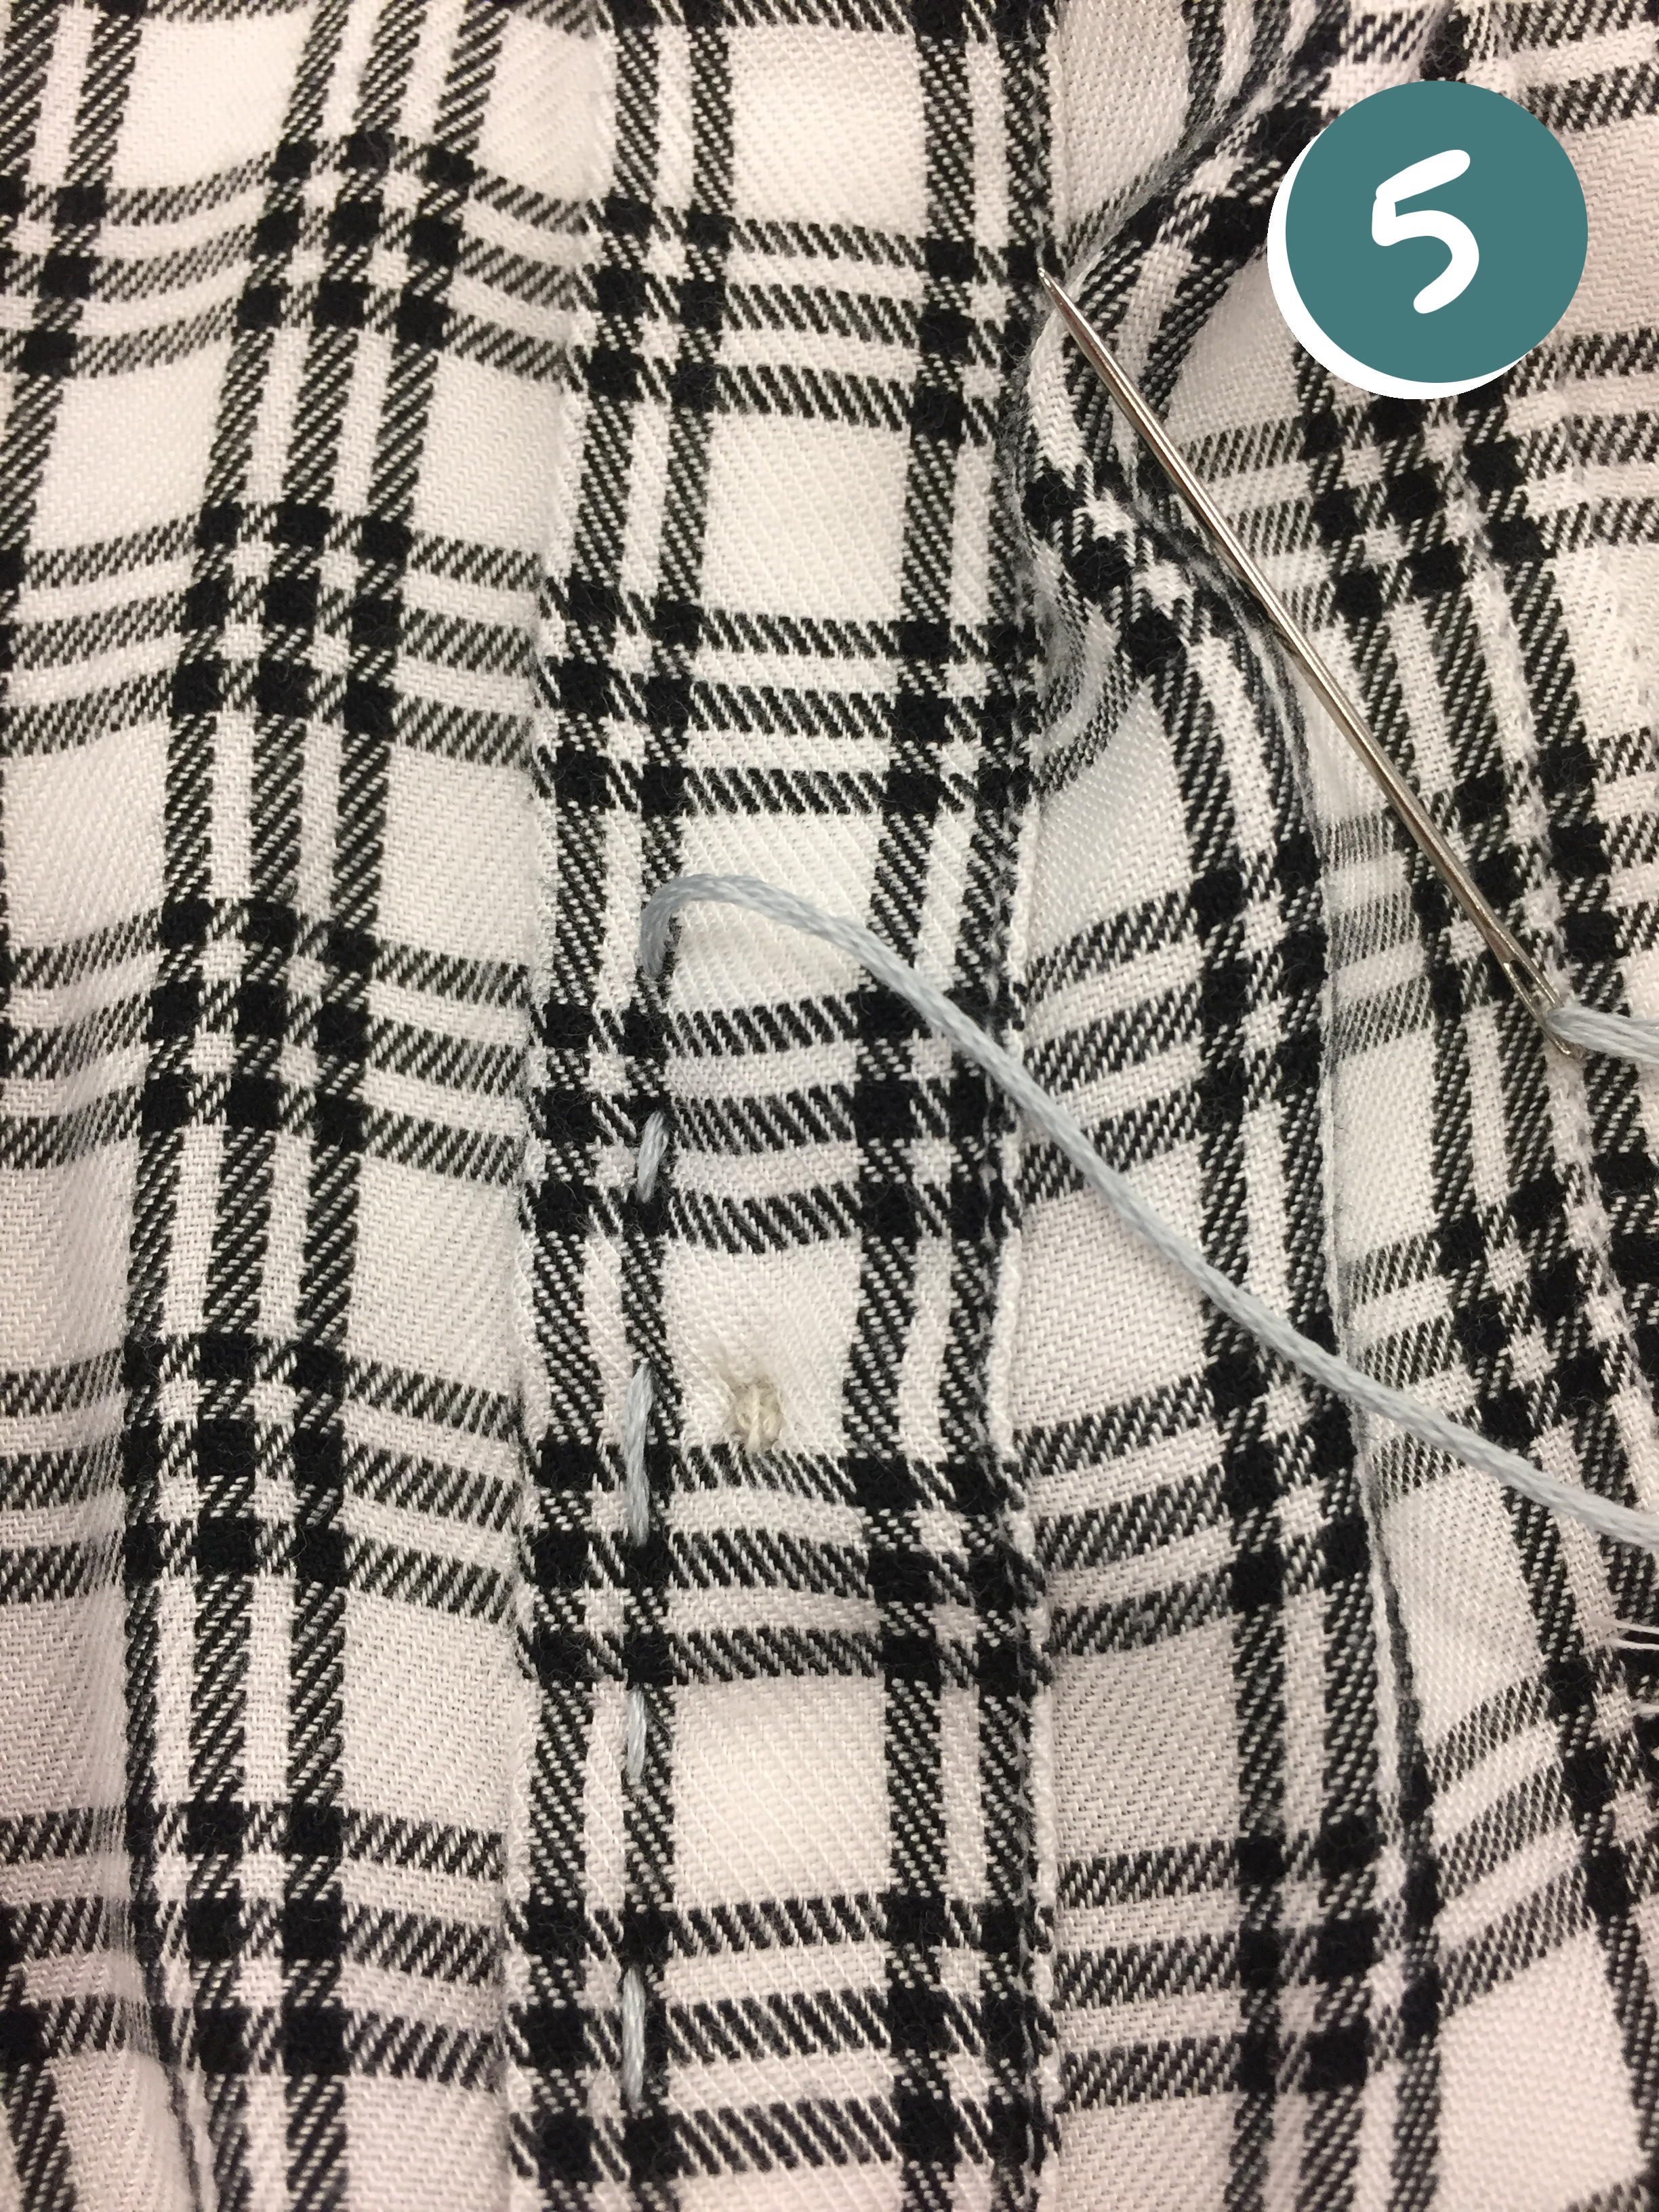
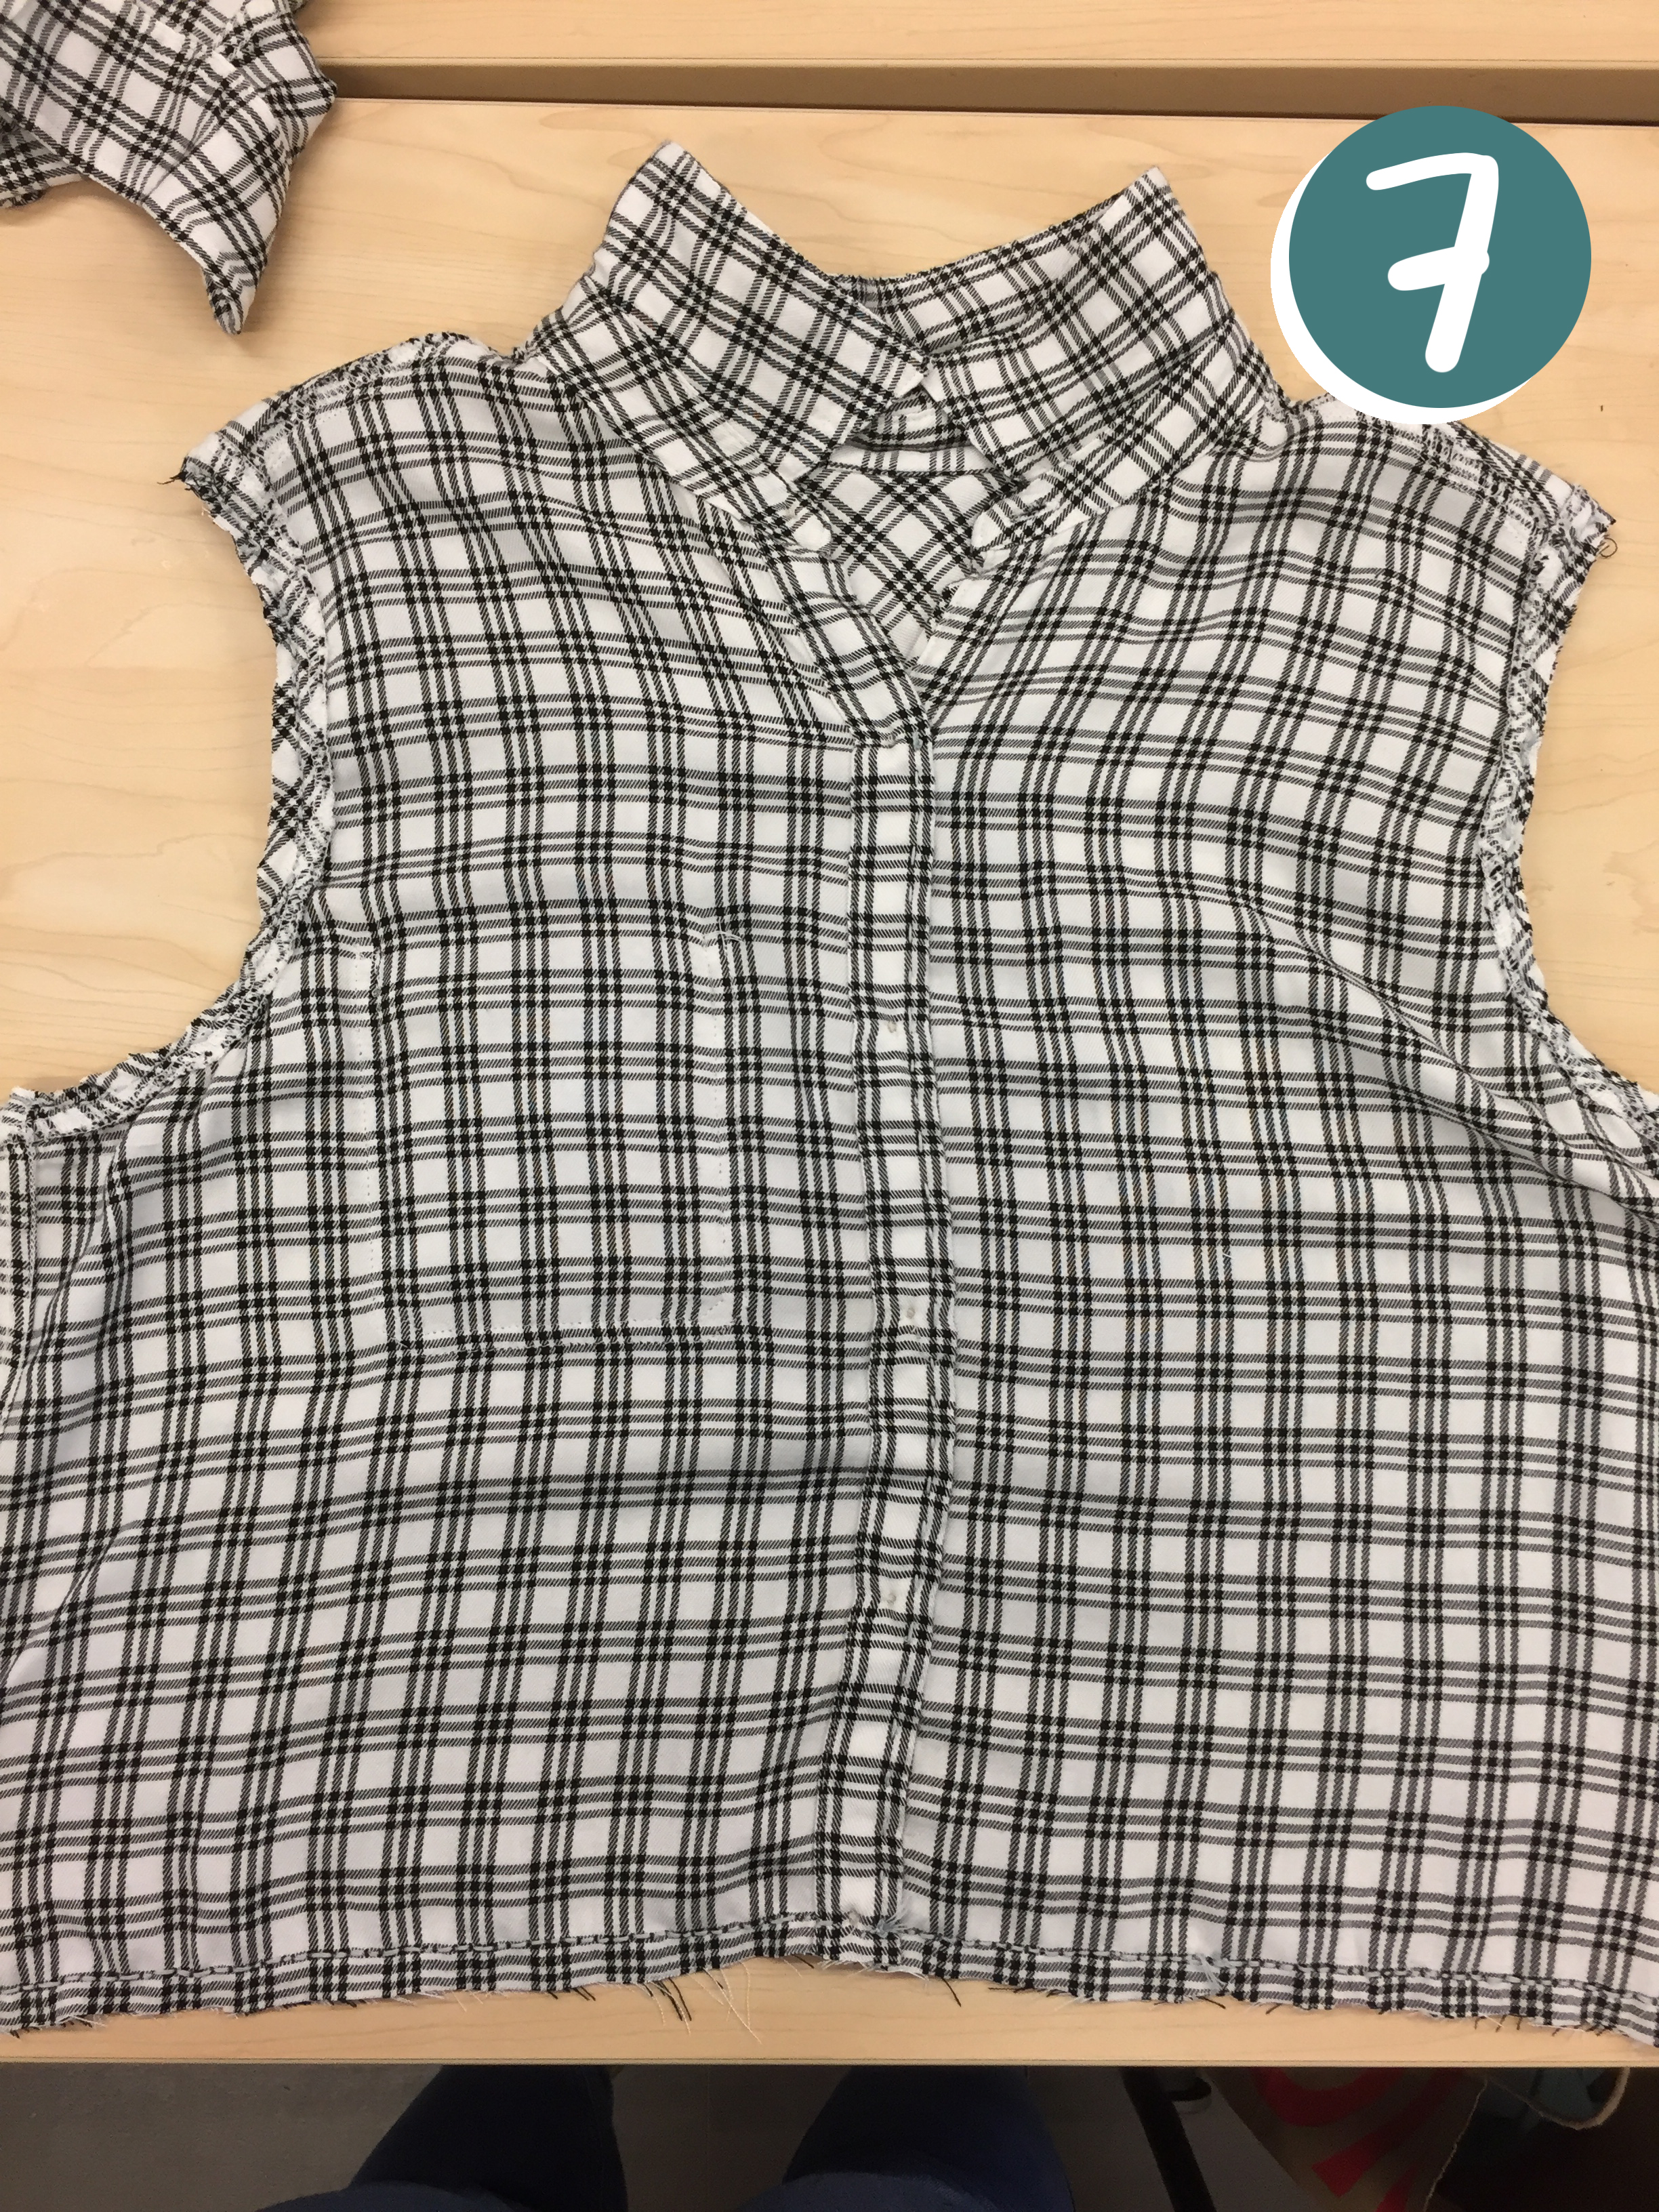
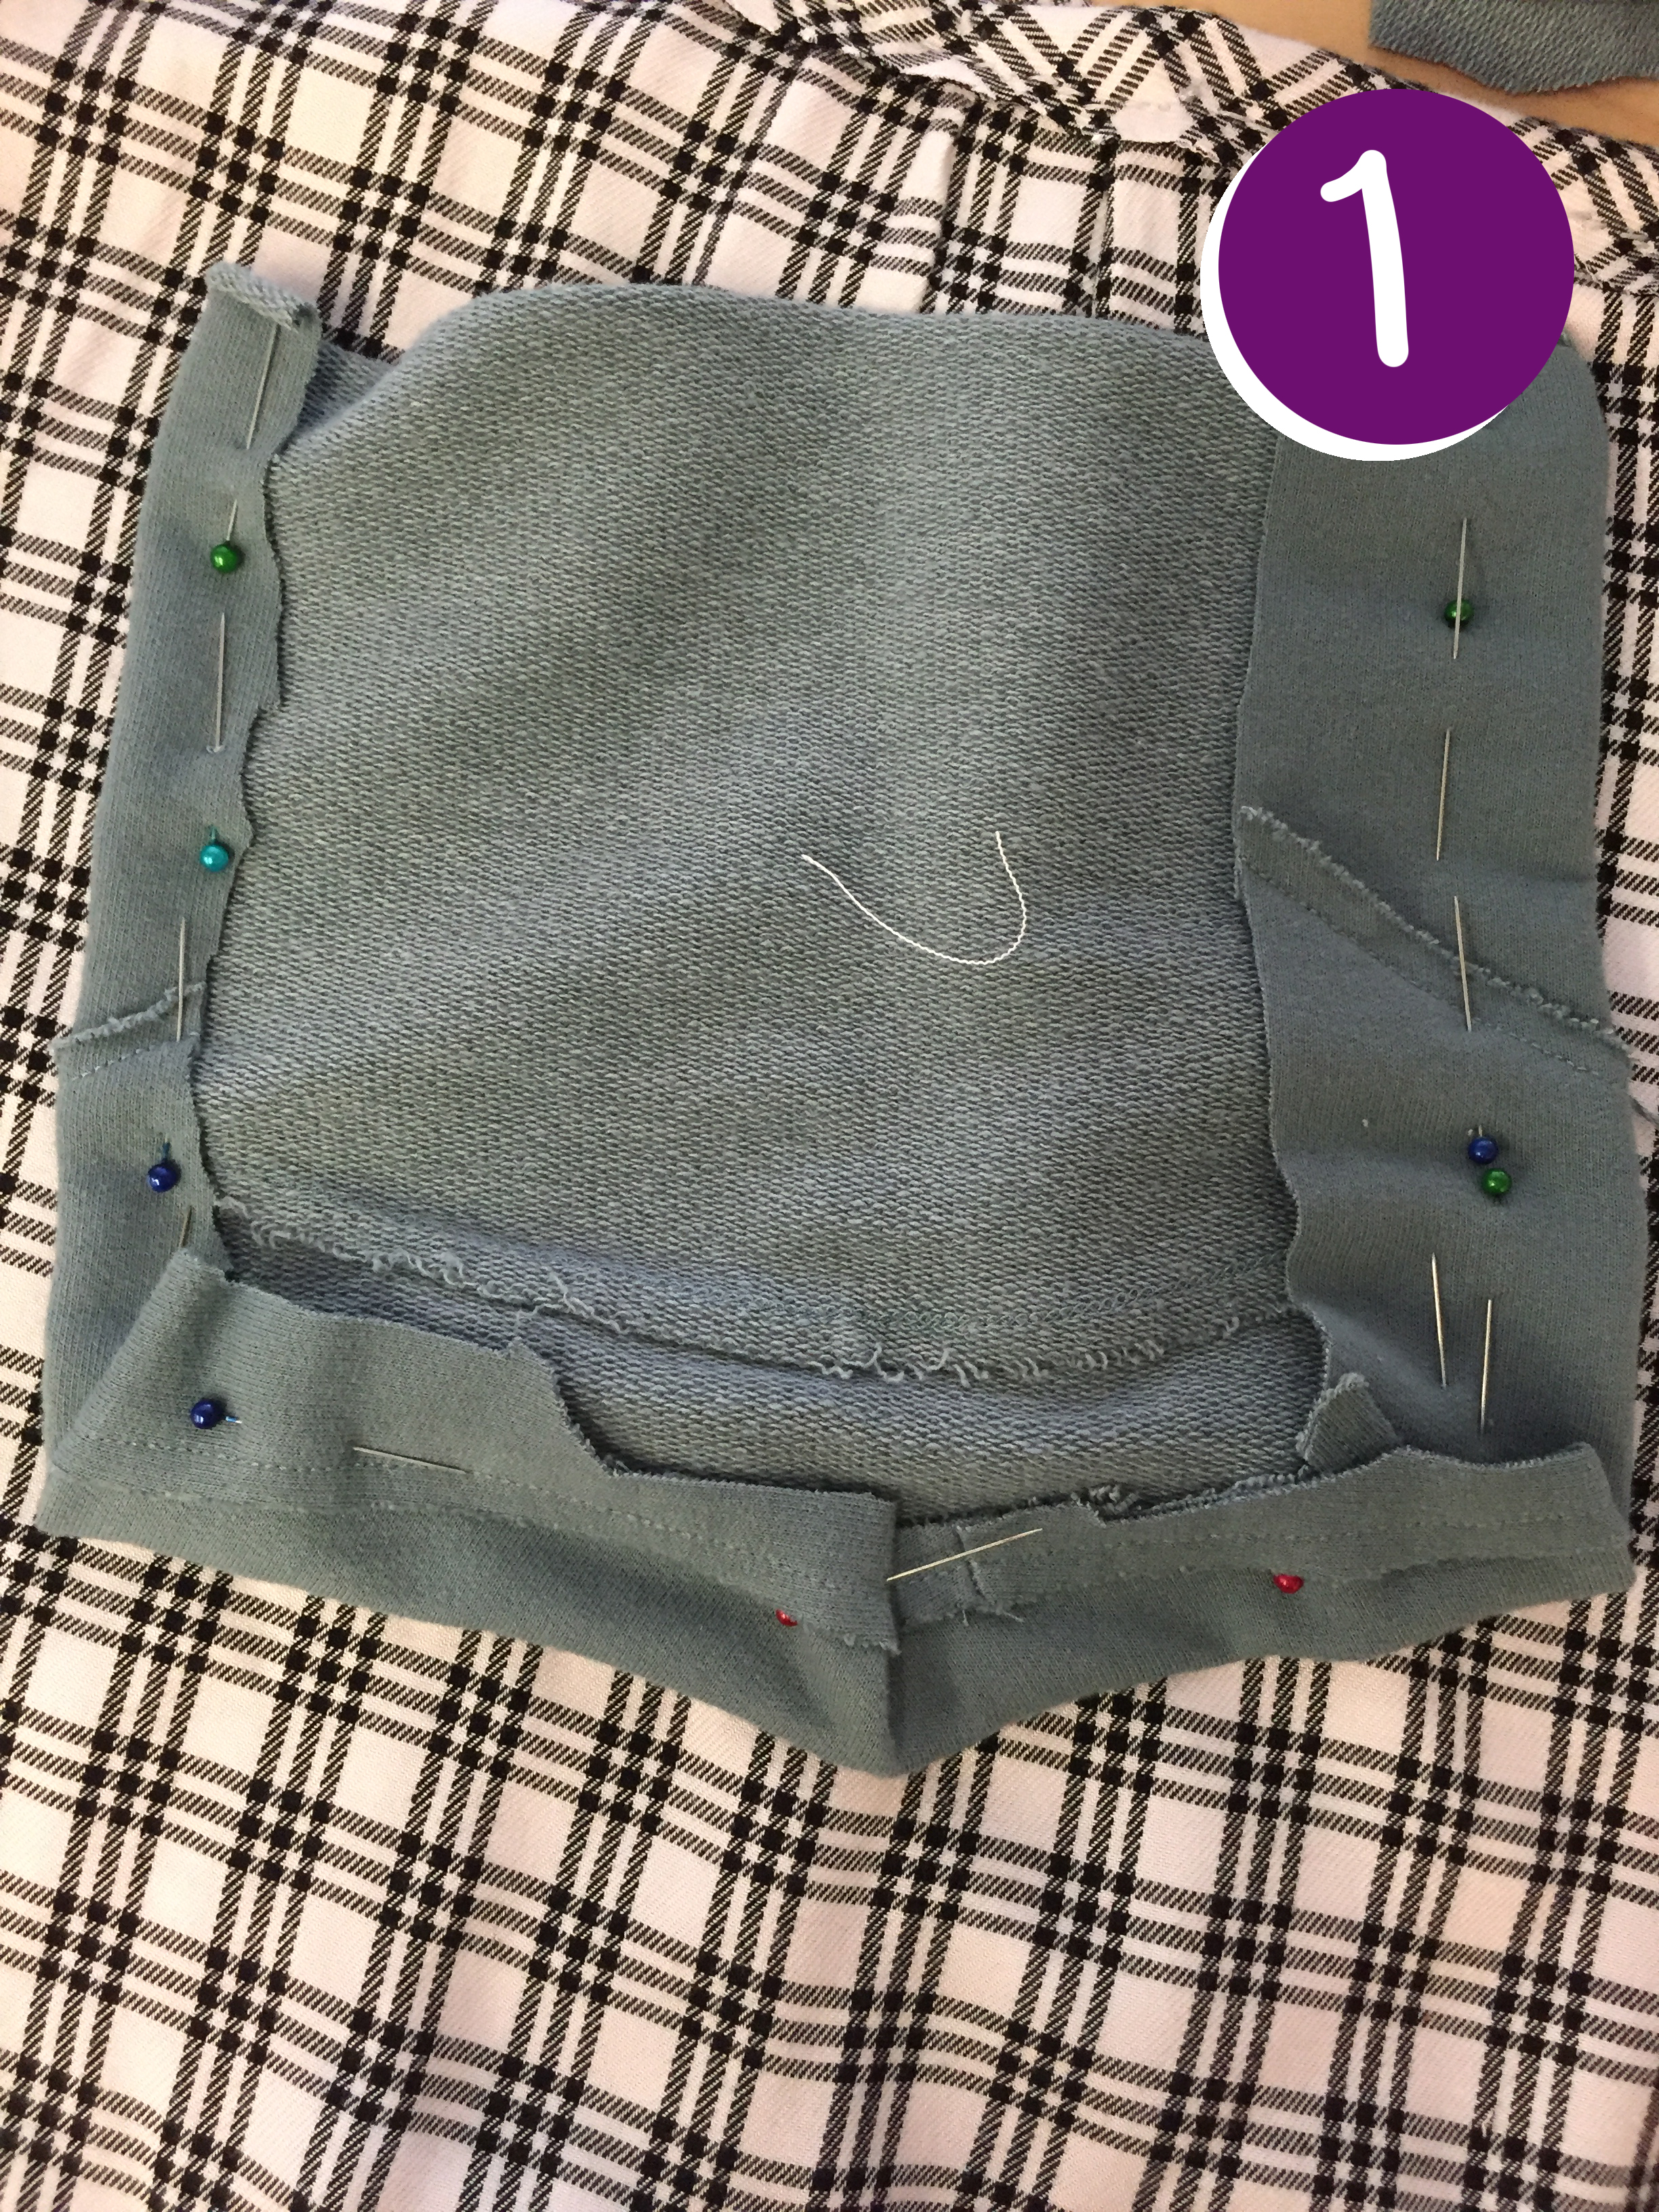
6. Next the sleeves. Using straight pins, follow the sleeve stitching to get it ready to sew up. Then sew along the other side of the sleeve seem to close up the arm hole. Once sewn, cut along the sleeve about 1/2 inch.
7. Repeat with other sleeve. (save the extra fabric, it can/will be used later)
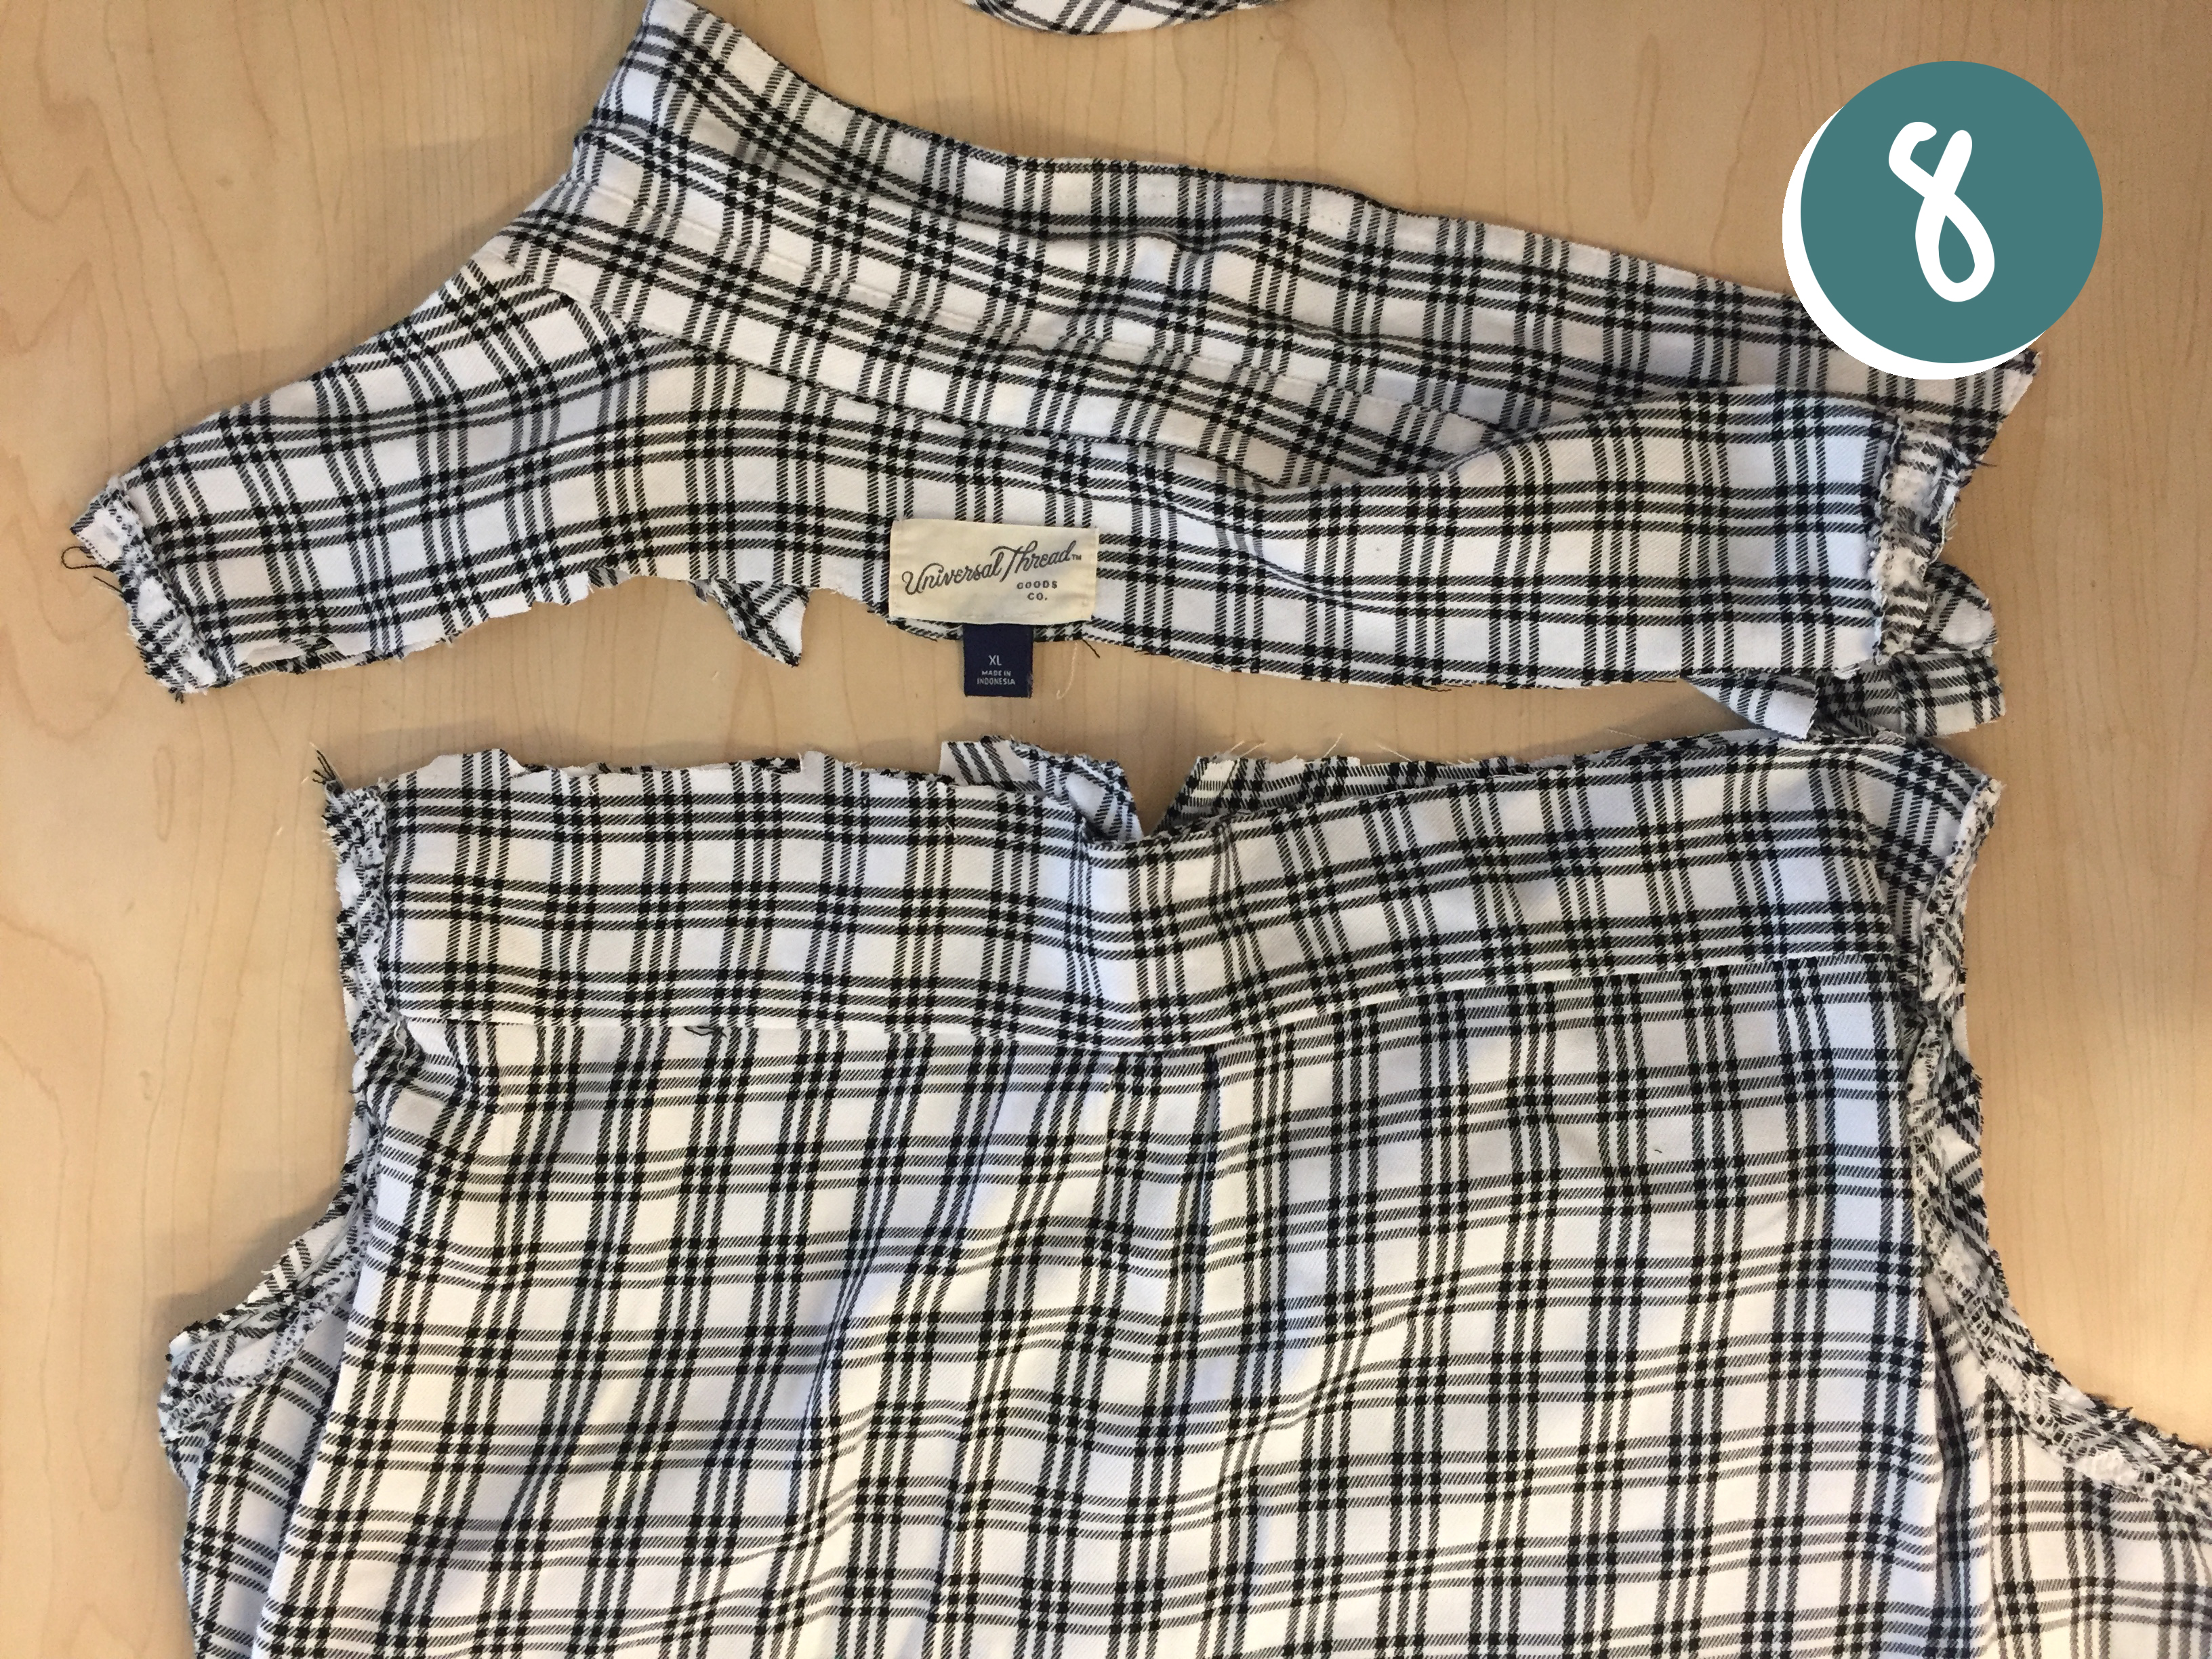
8. For the top of the bag, cut a straight line along the top of the shirt a little taller than you want the bag to be. Also be cautious if there is a pocket on the front o the shirt, you don't want to cut through it.
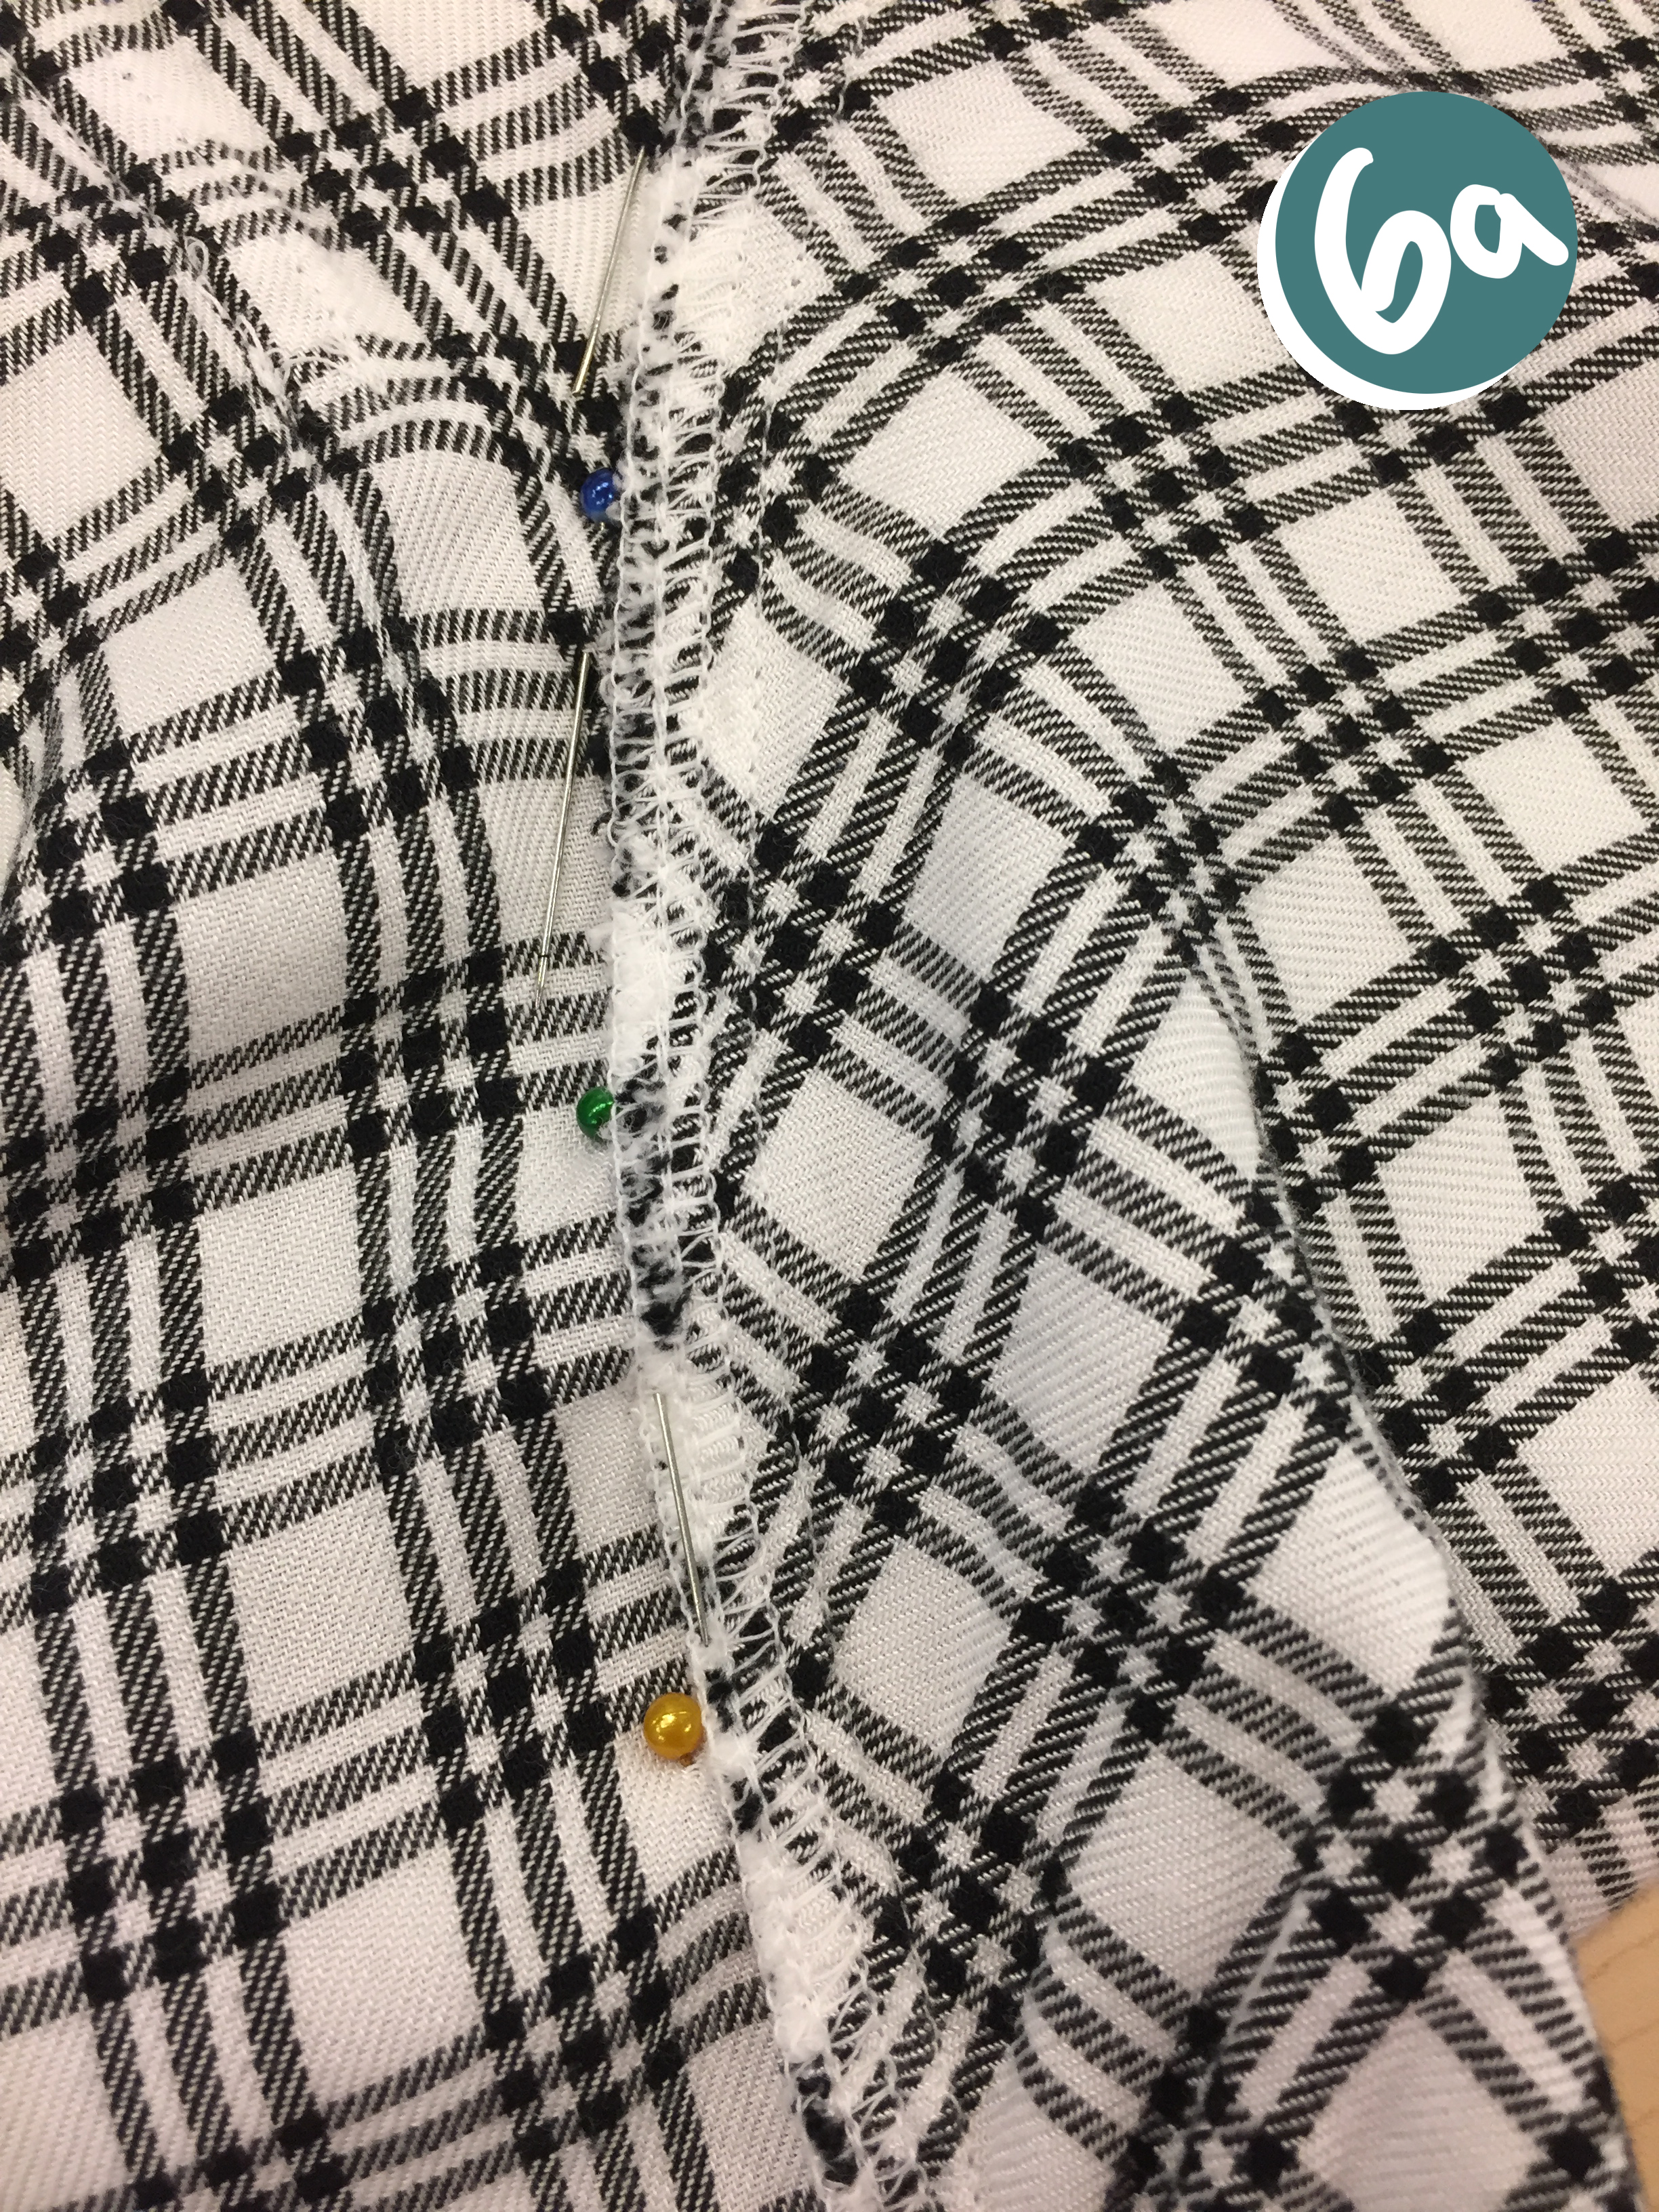
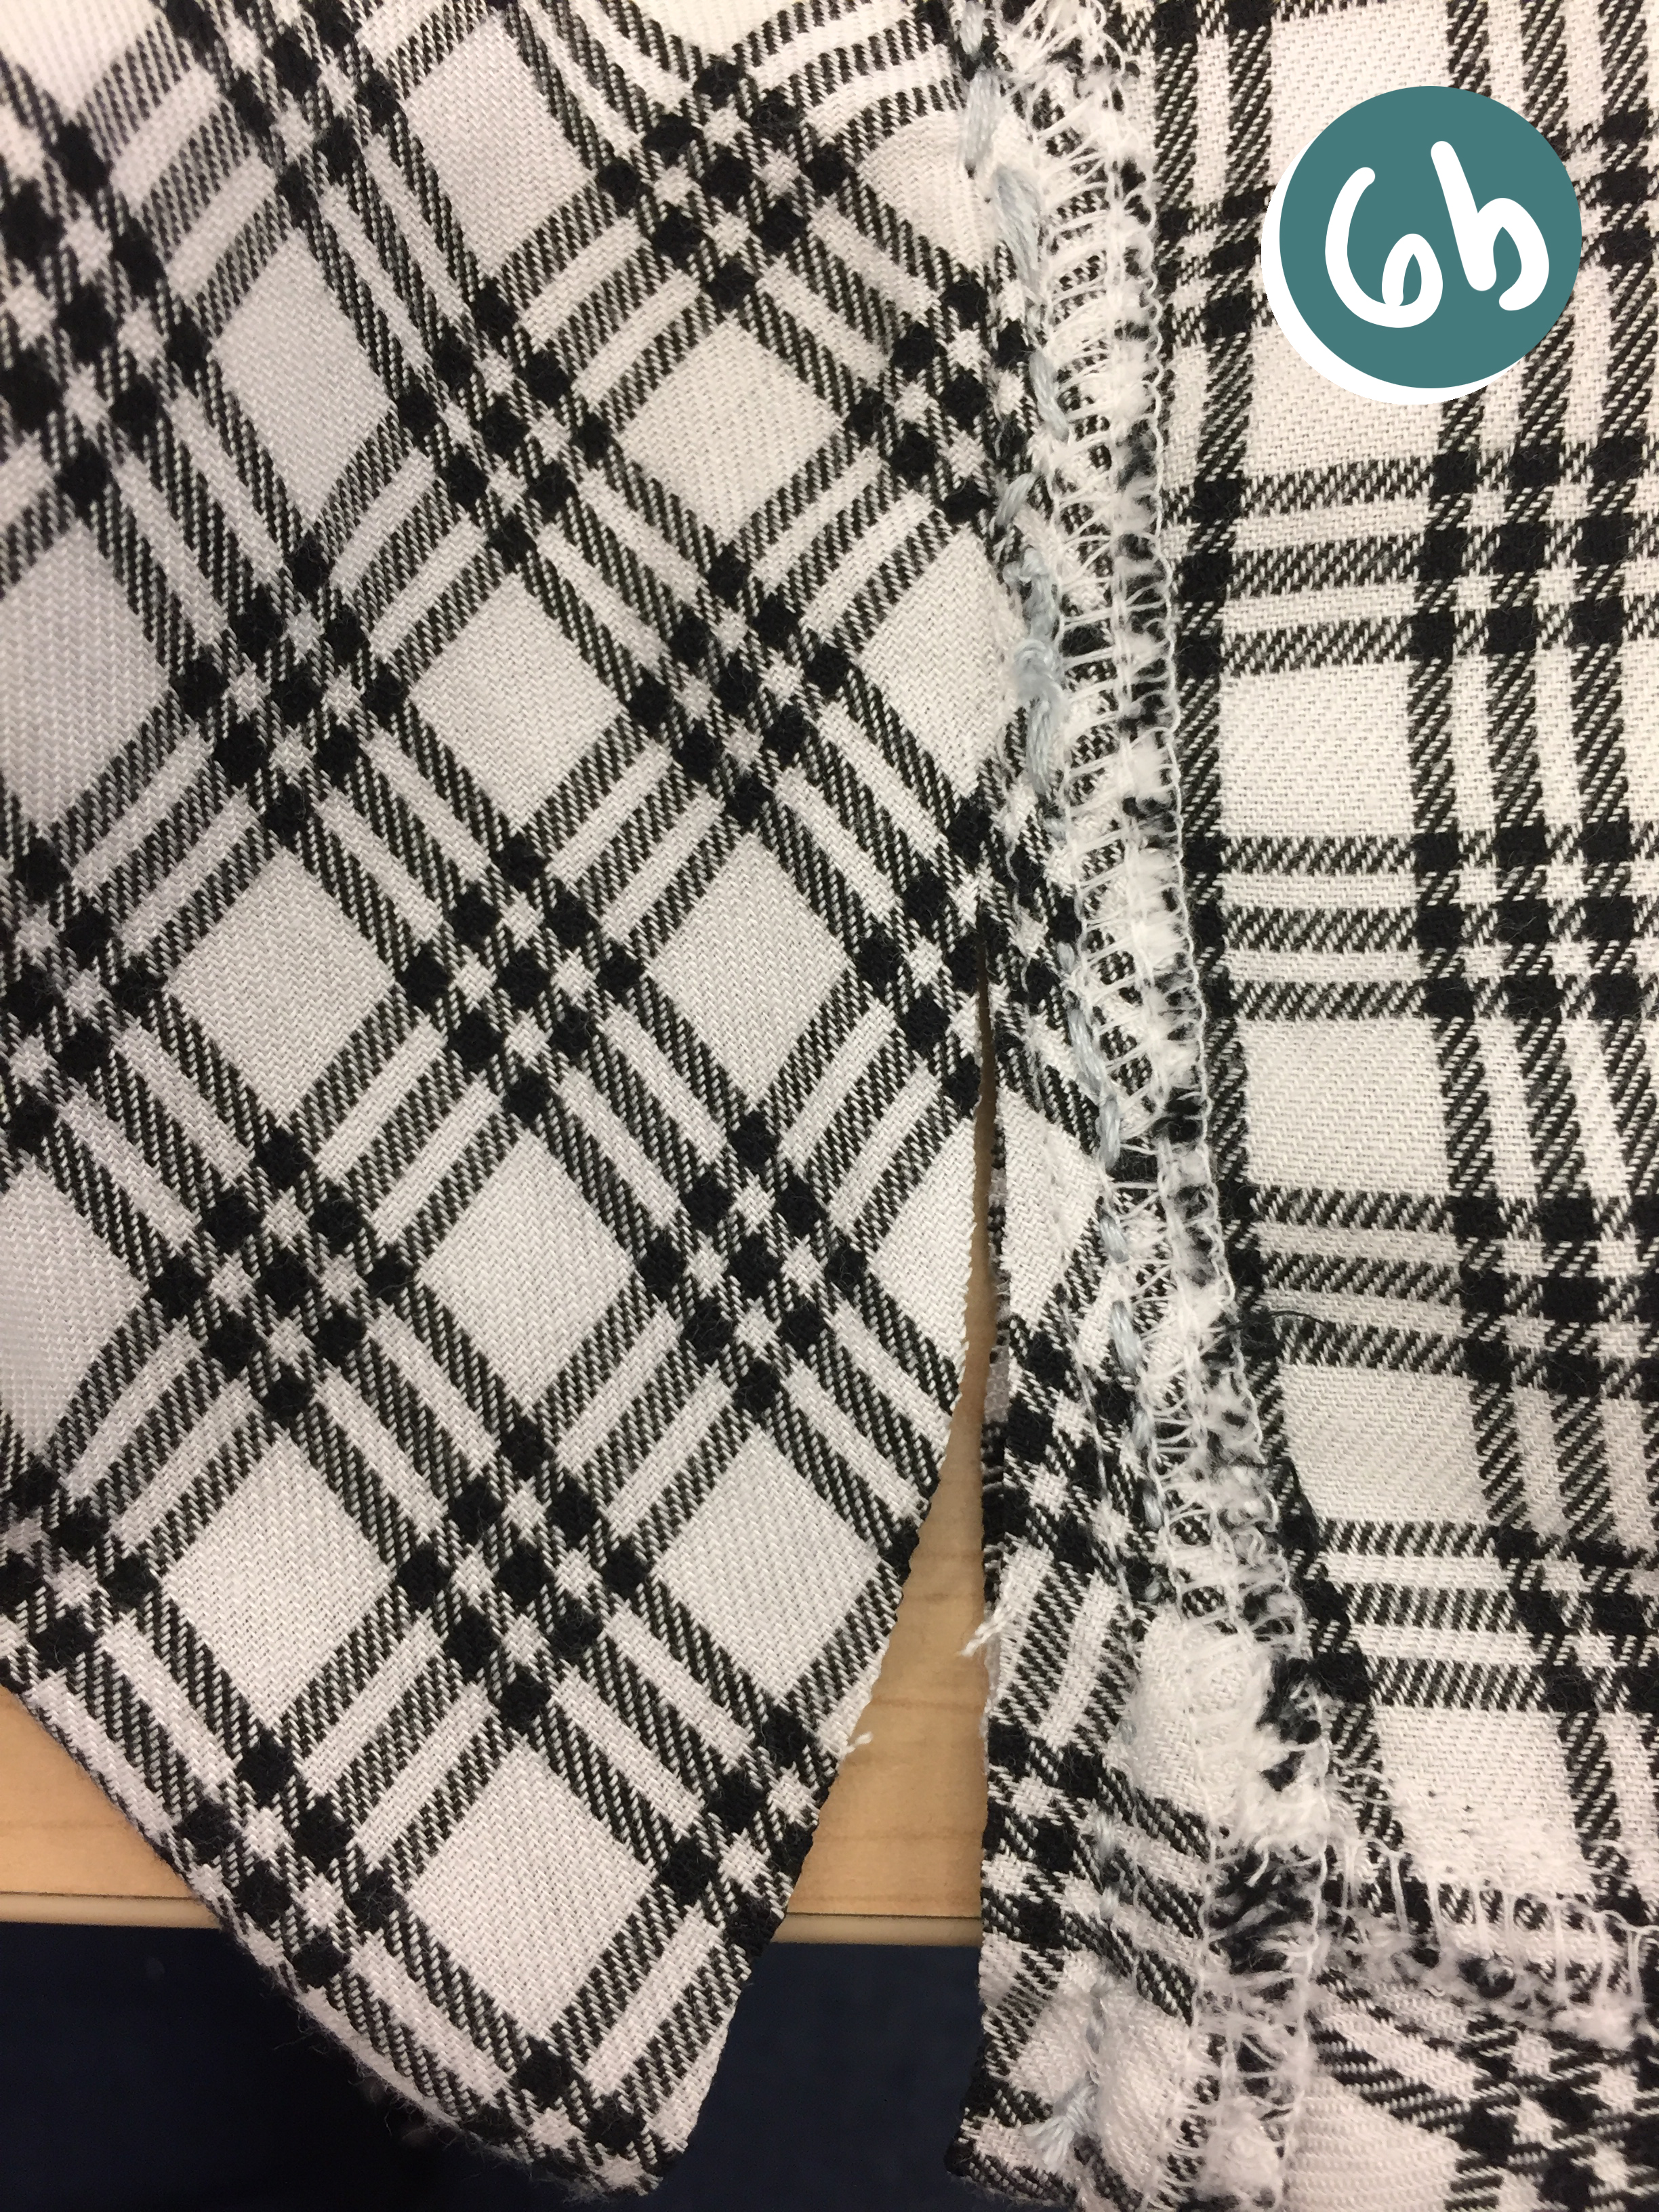
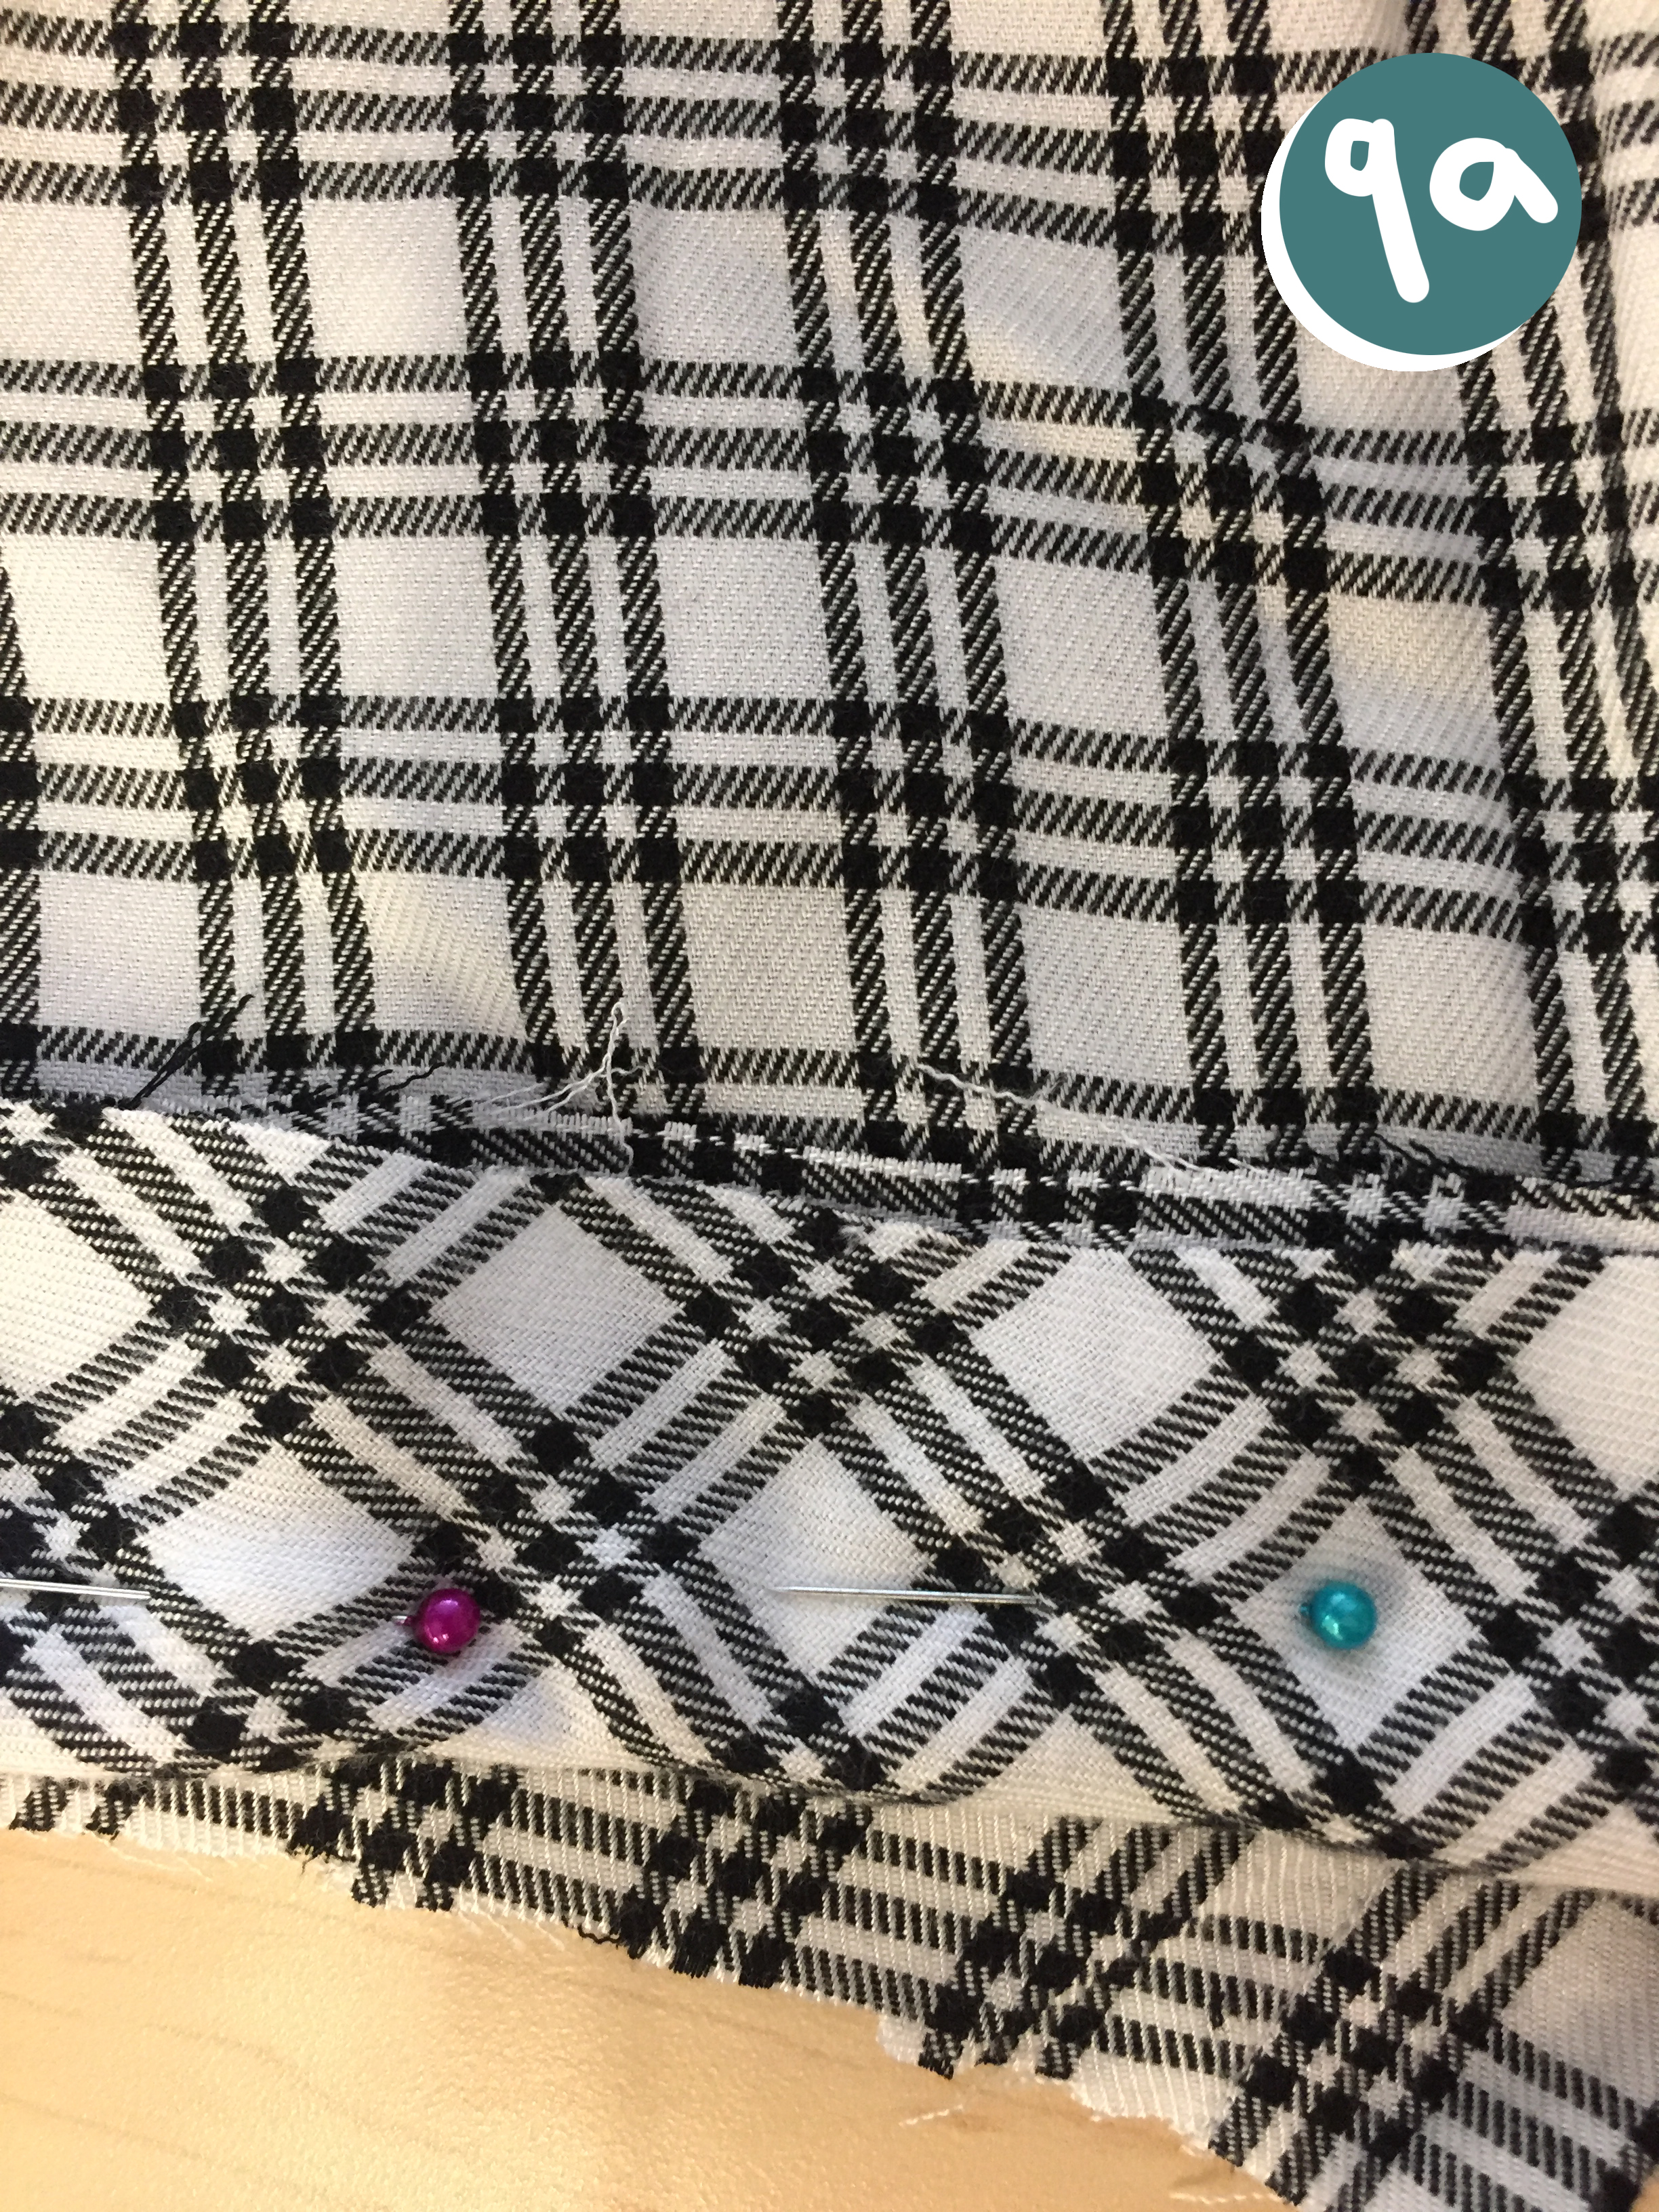
9. Fold over one side of the bag opening and straight pin it evenly along the edge. Then repeat on the back side.
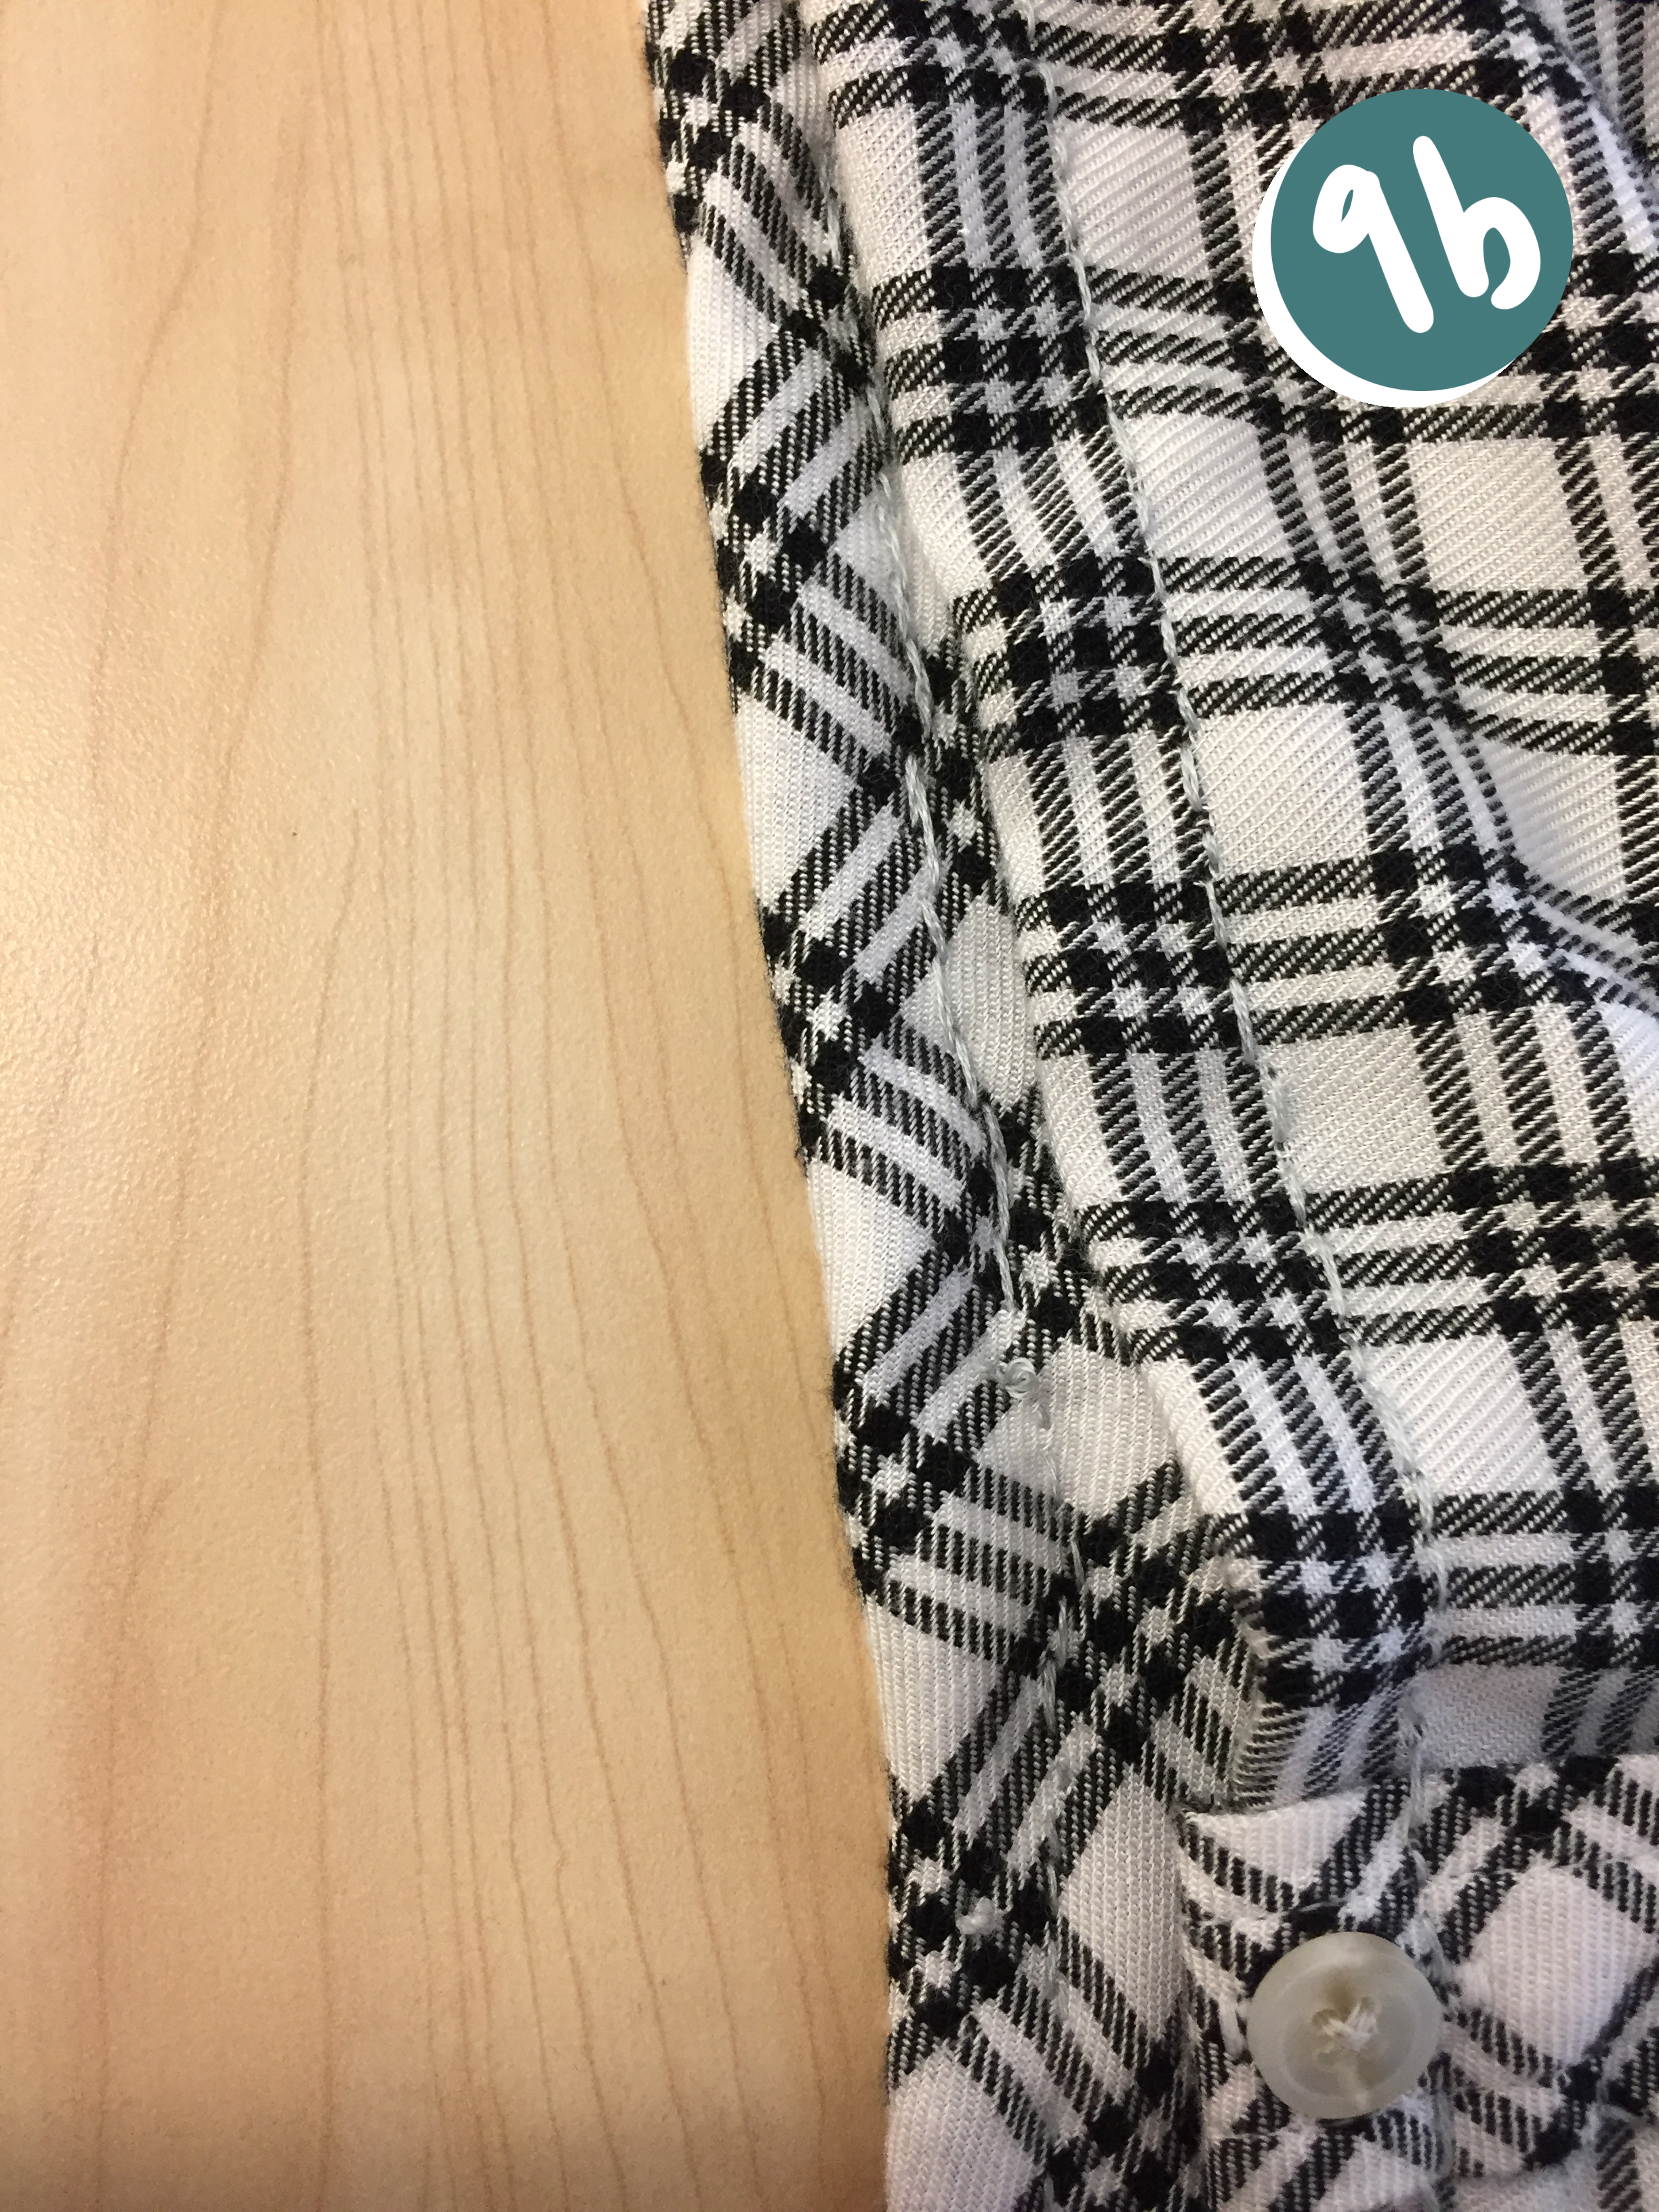
10. Sew the edge of the bag. cut any access fabric up to 1/2 inch to the stitch.
The Tote - Pocket (optional)

The following will show you how to add a pocket on the inside of the bag.
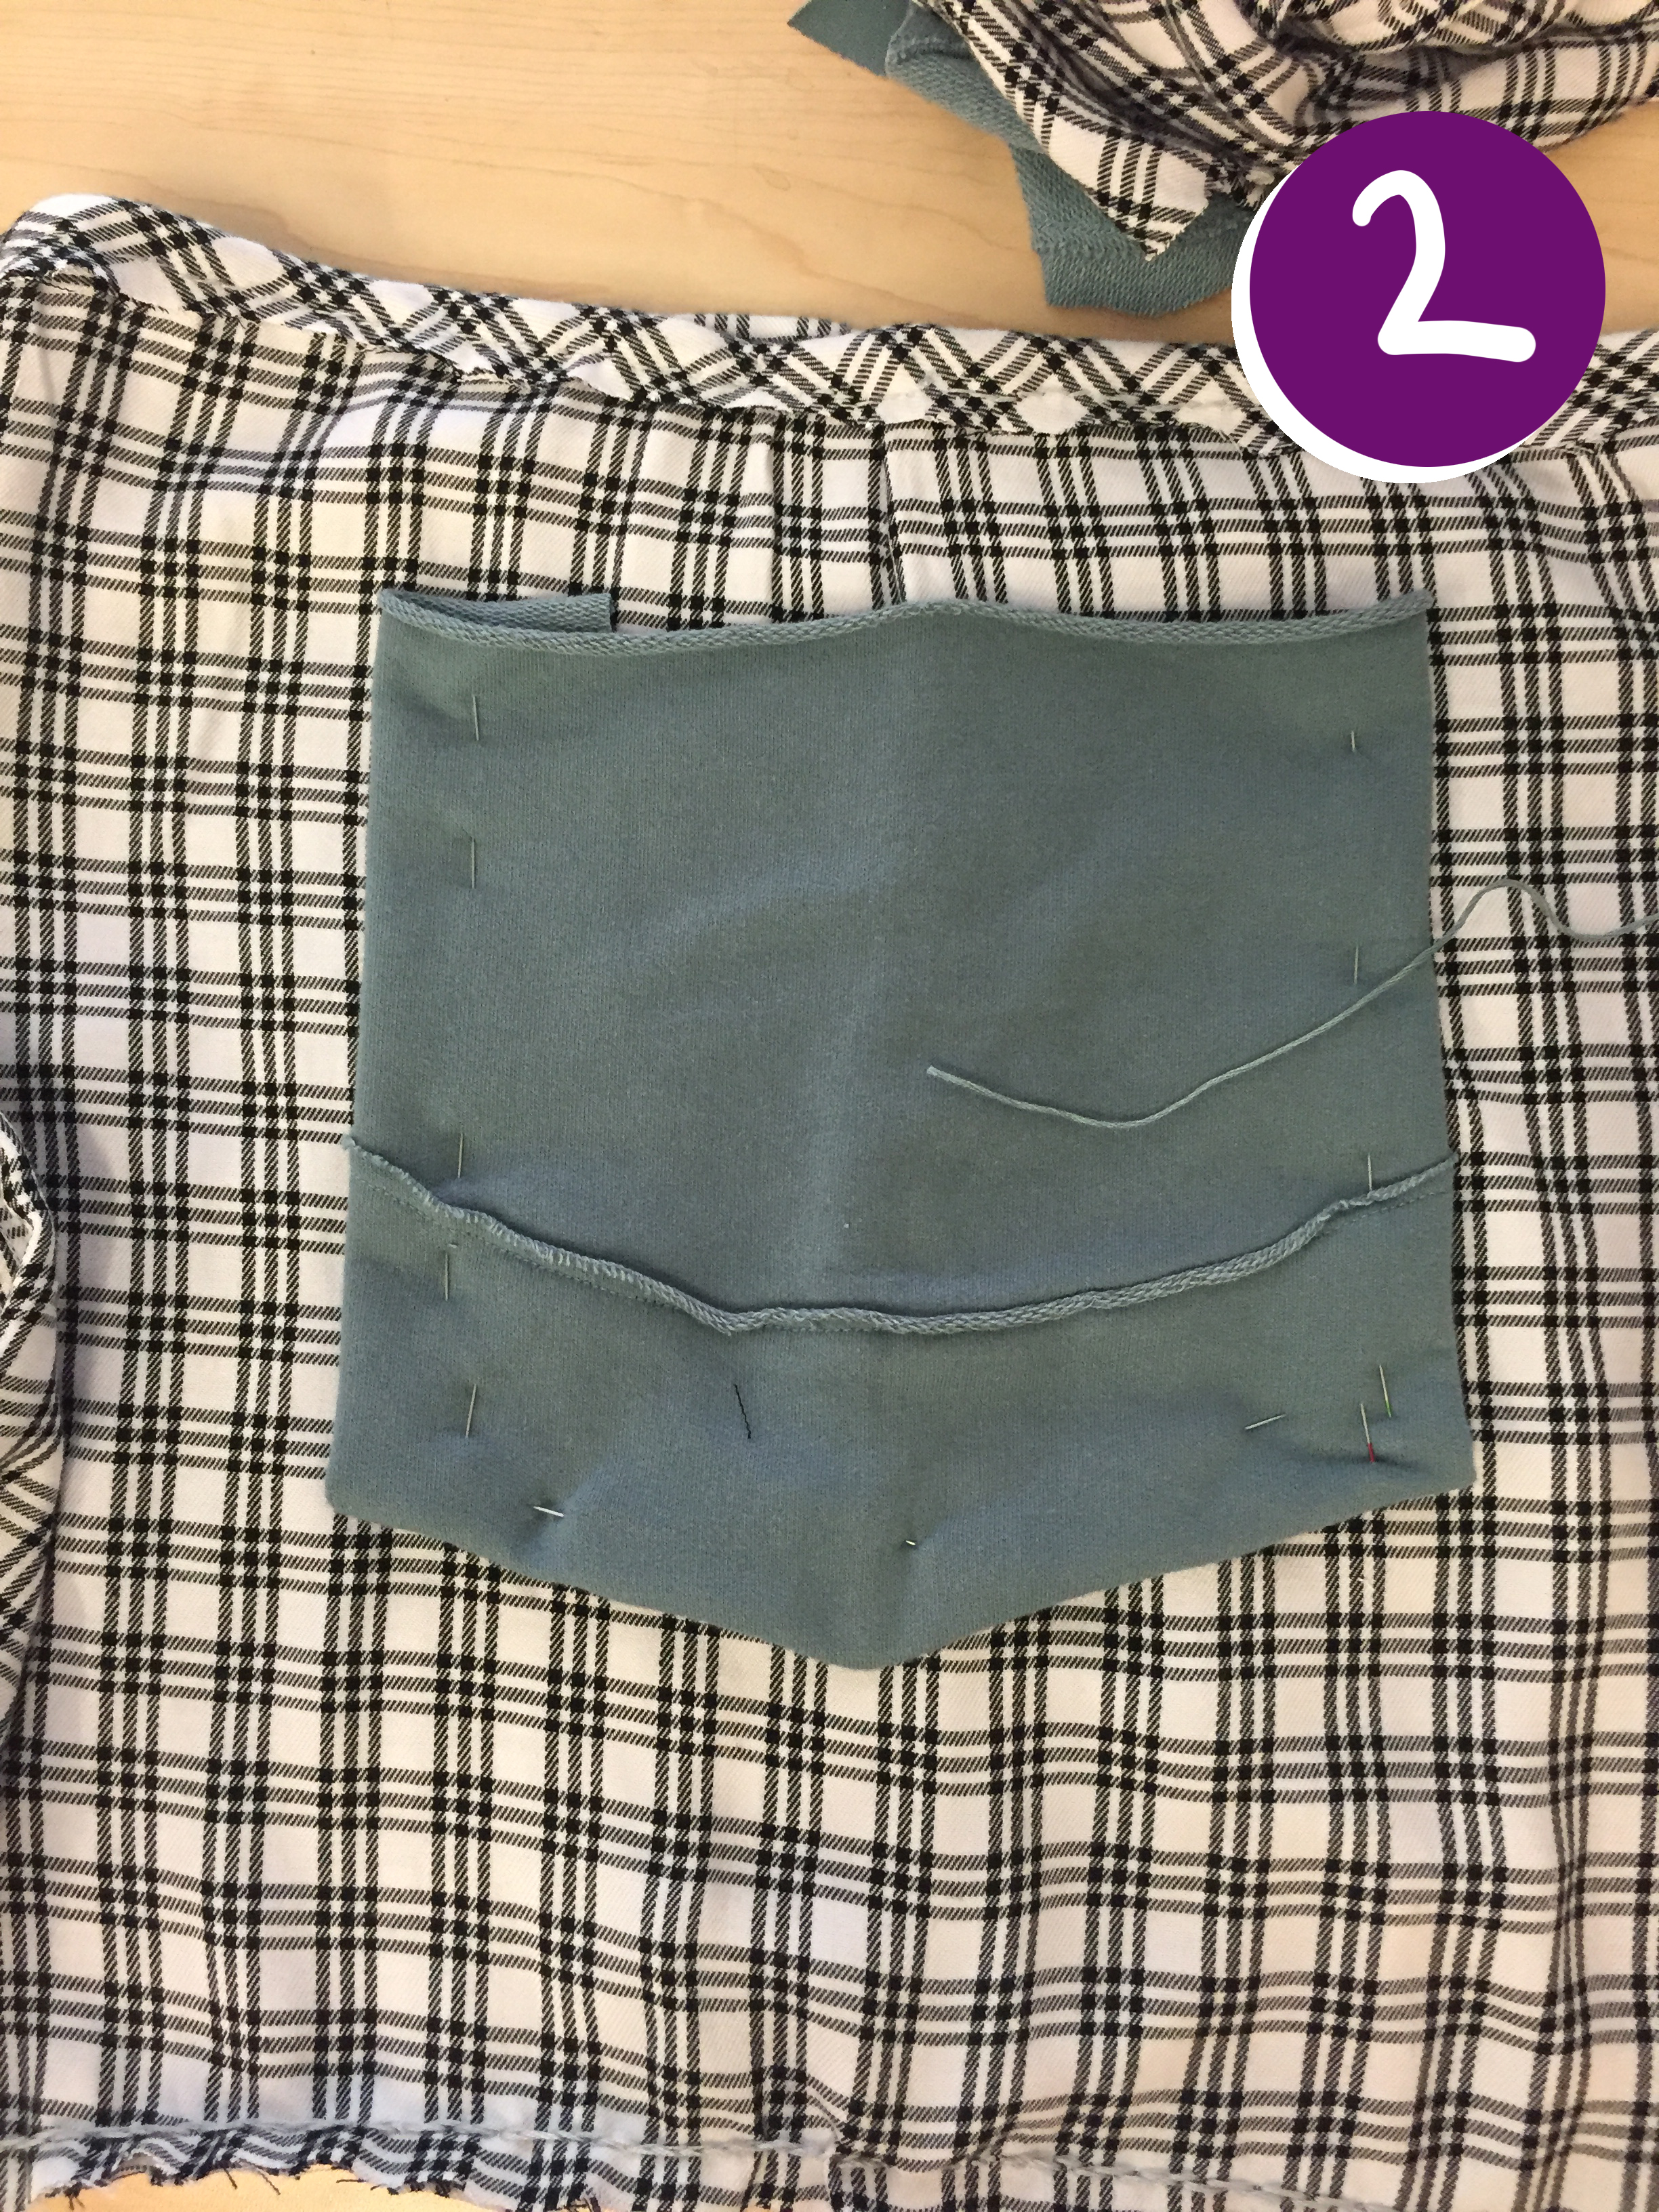
1. Using either extra fabric from the flannel or another source, cut out a square shape. Then fold over the edges on sides and bottom to be pinned.
2. Flip over and place the pocket where you want it to appear on the inside of the bag, still with the sack part inside out.
3. Sew around the edges except for the top.
The Tote - Straps
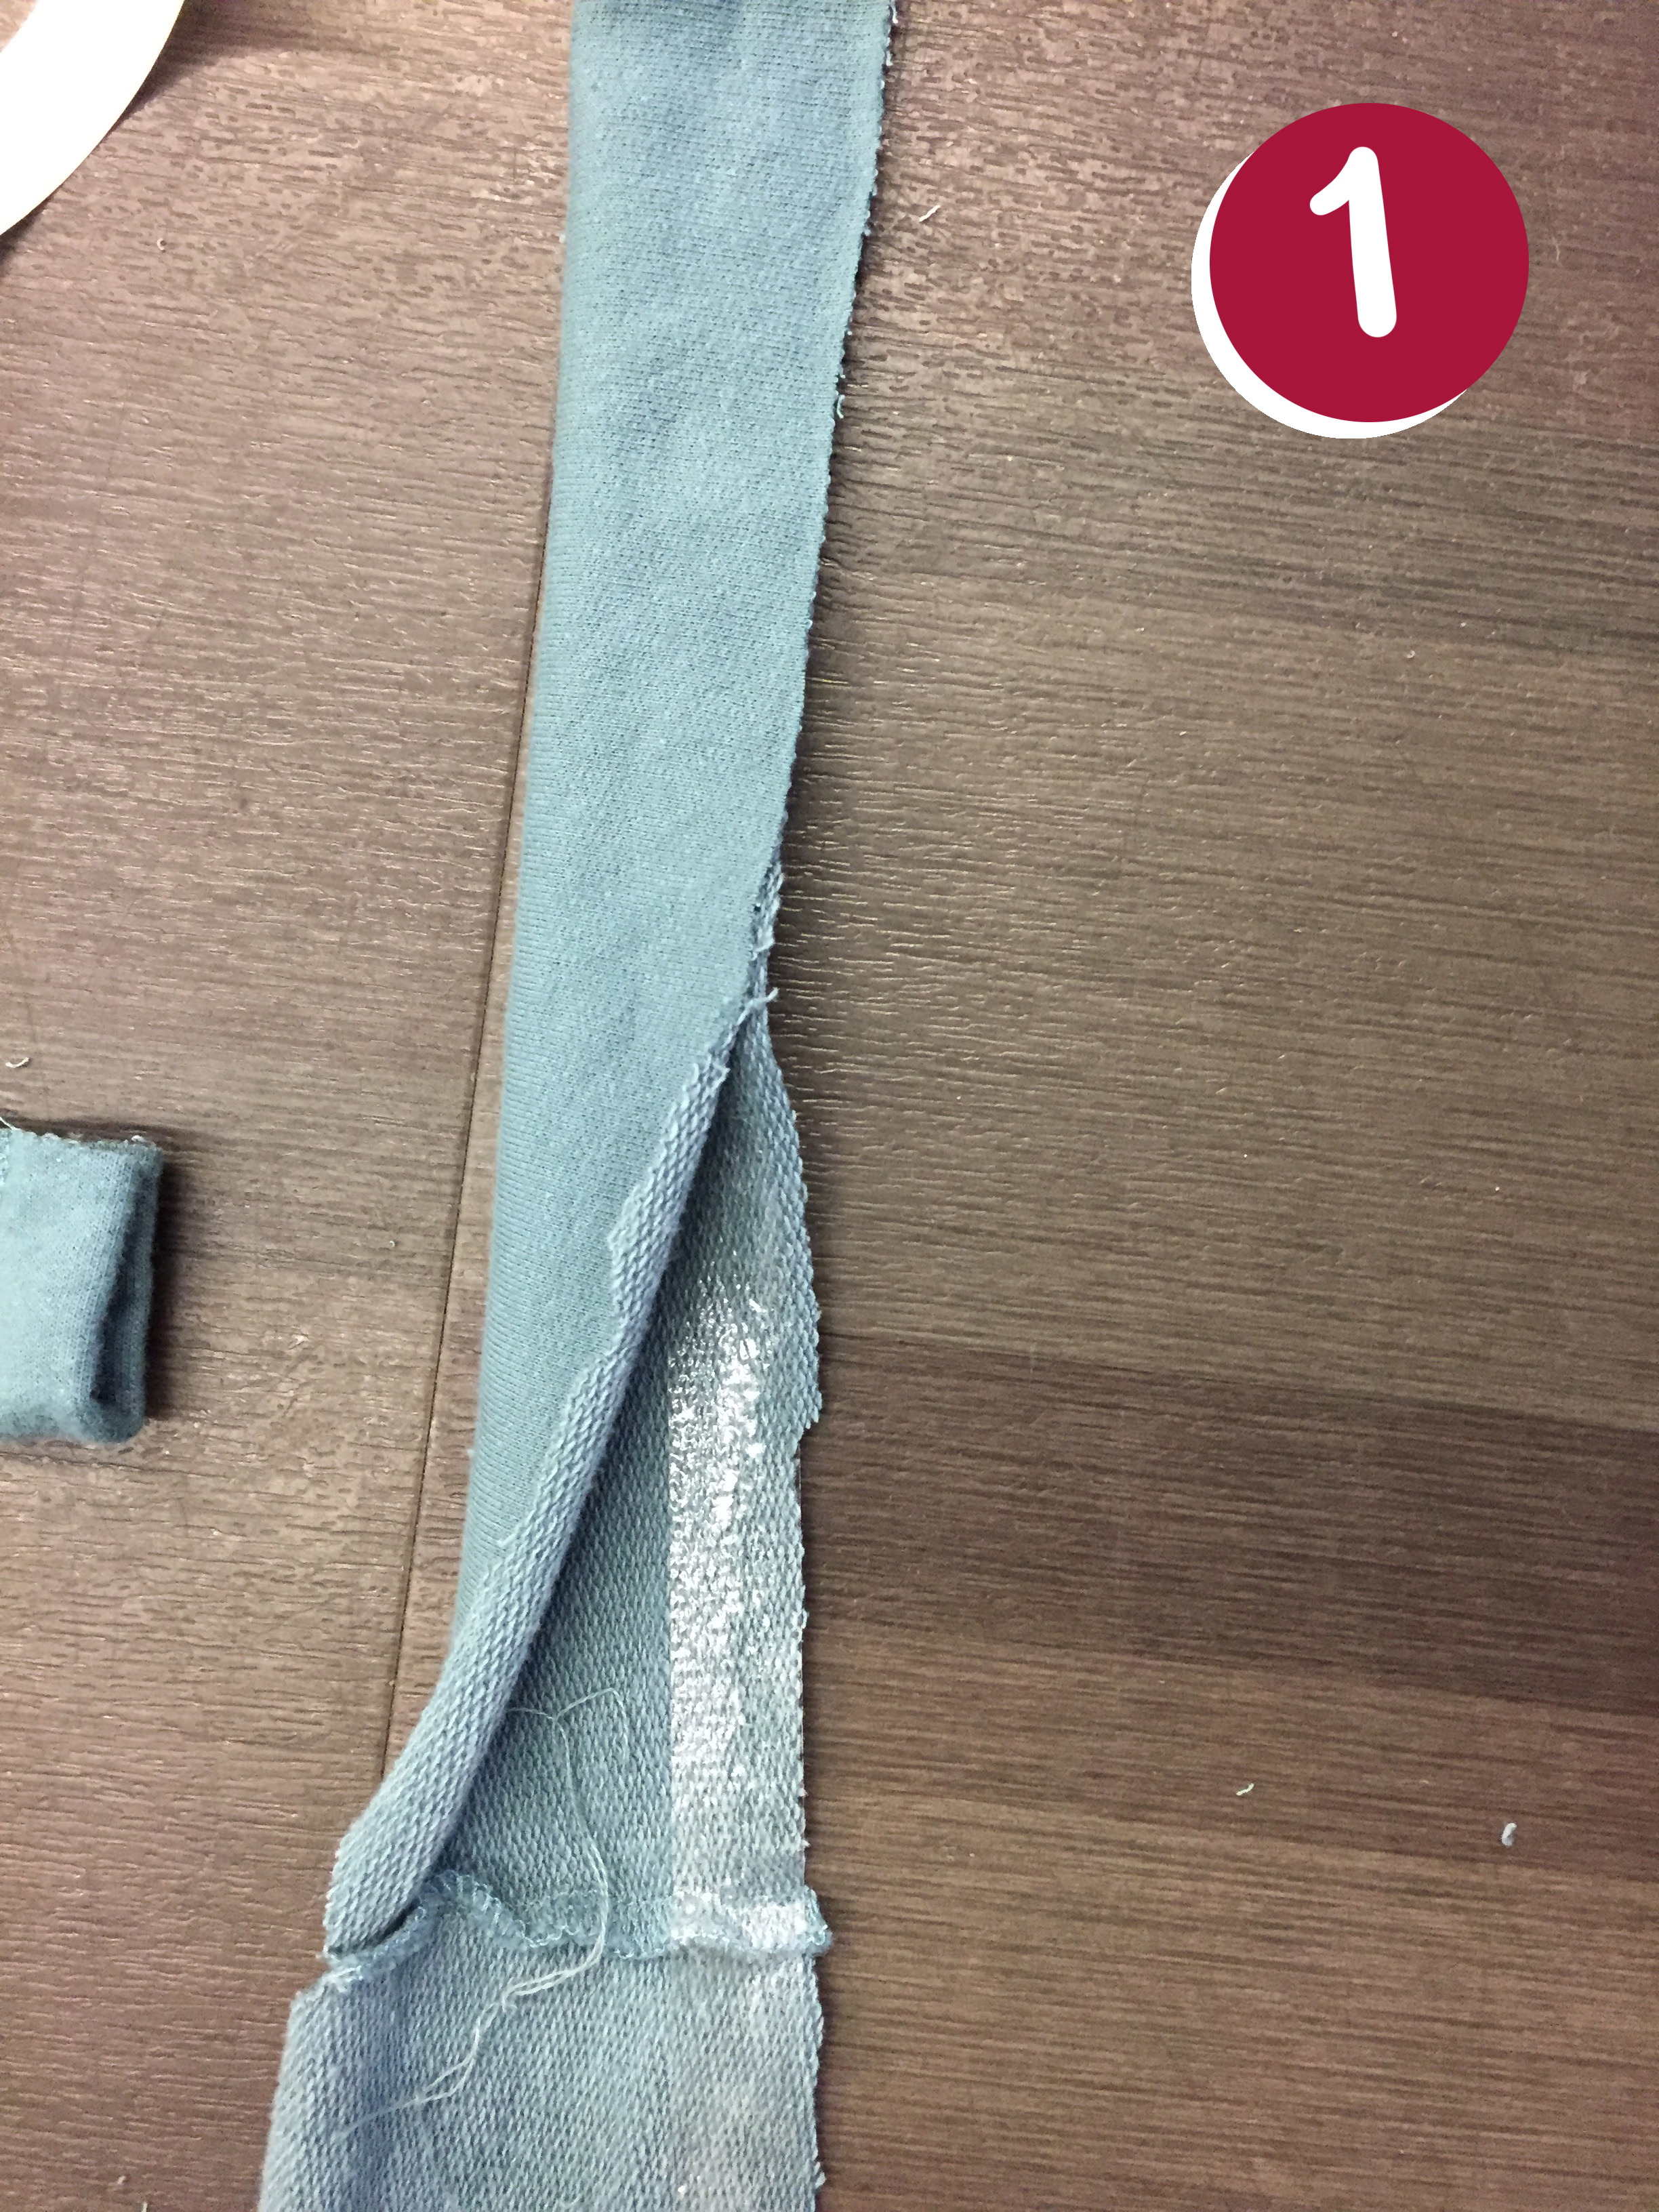

For the straps you can use fabric from the flannel or another source.
1. After cutting out long, wide rectangular rectangles from your source fabric, use fabric tape to fold over the straps in half. You can base your measurements off of another tote bag for comparison.
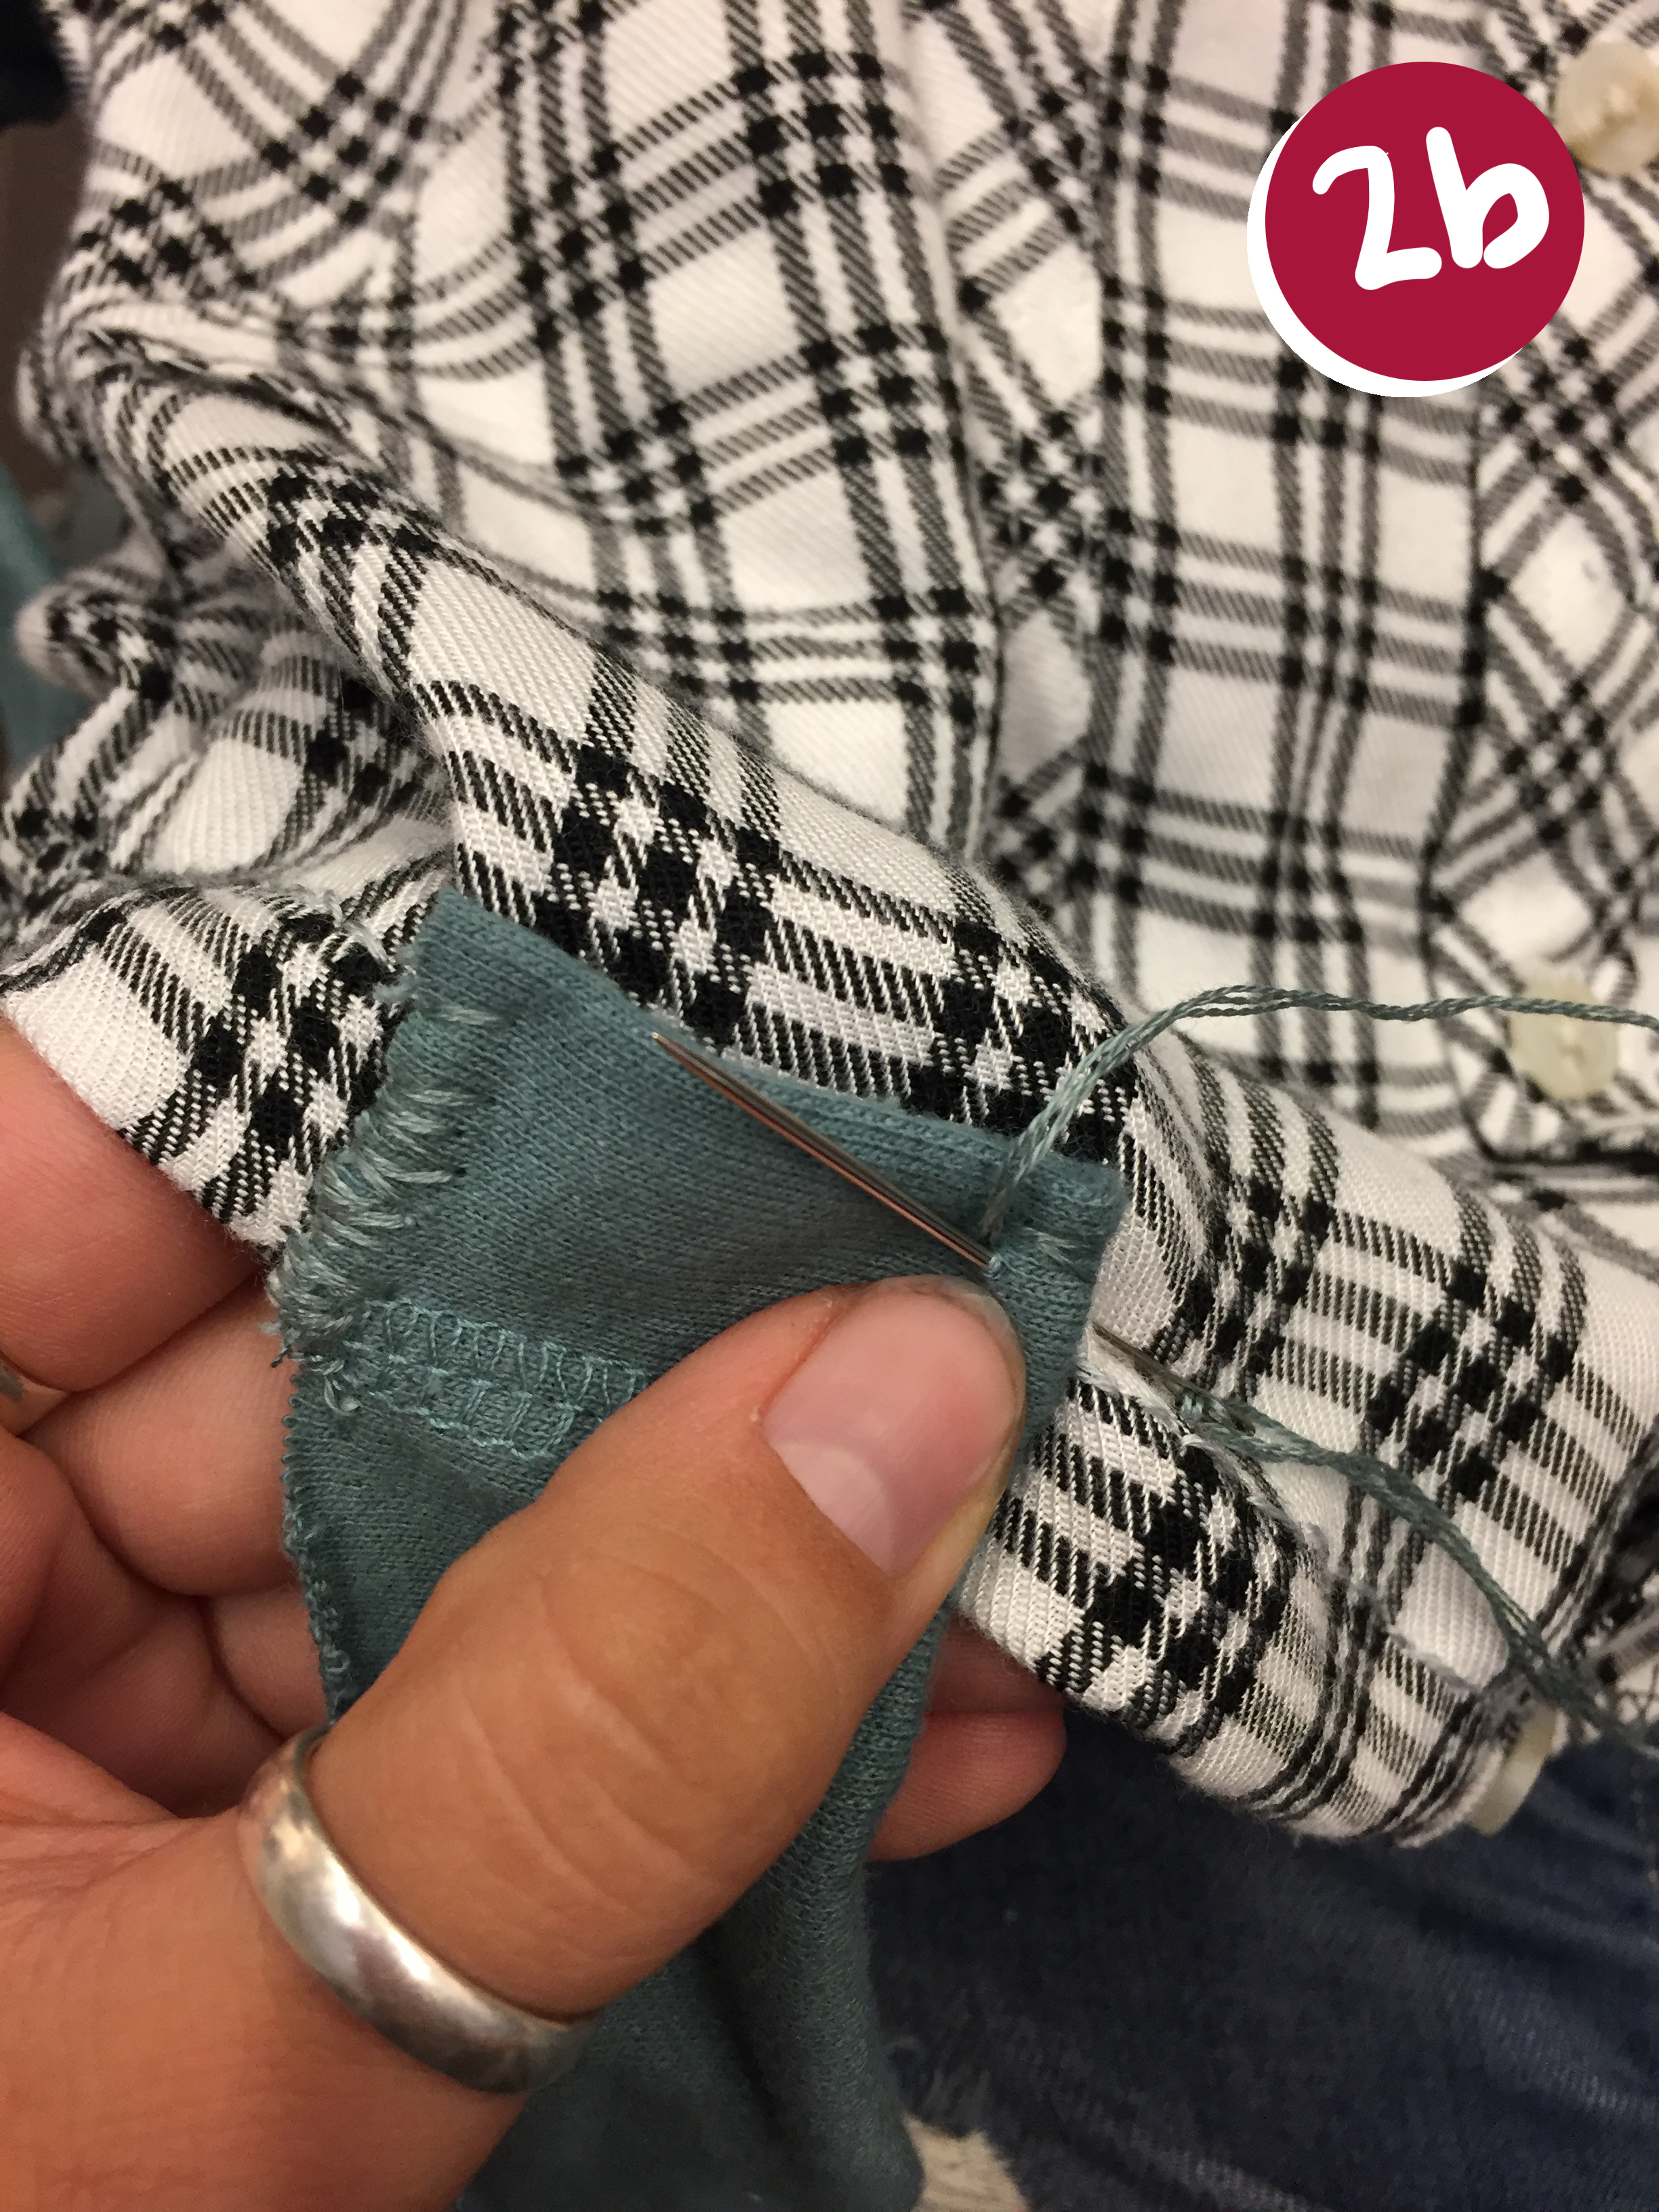
2. Pin straps where you want them on and sew along the side of them to attach to the bag.
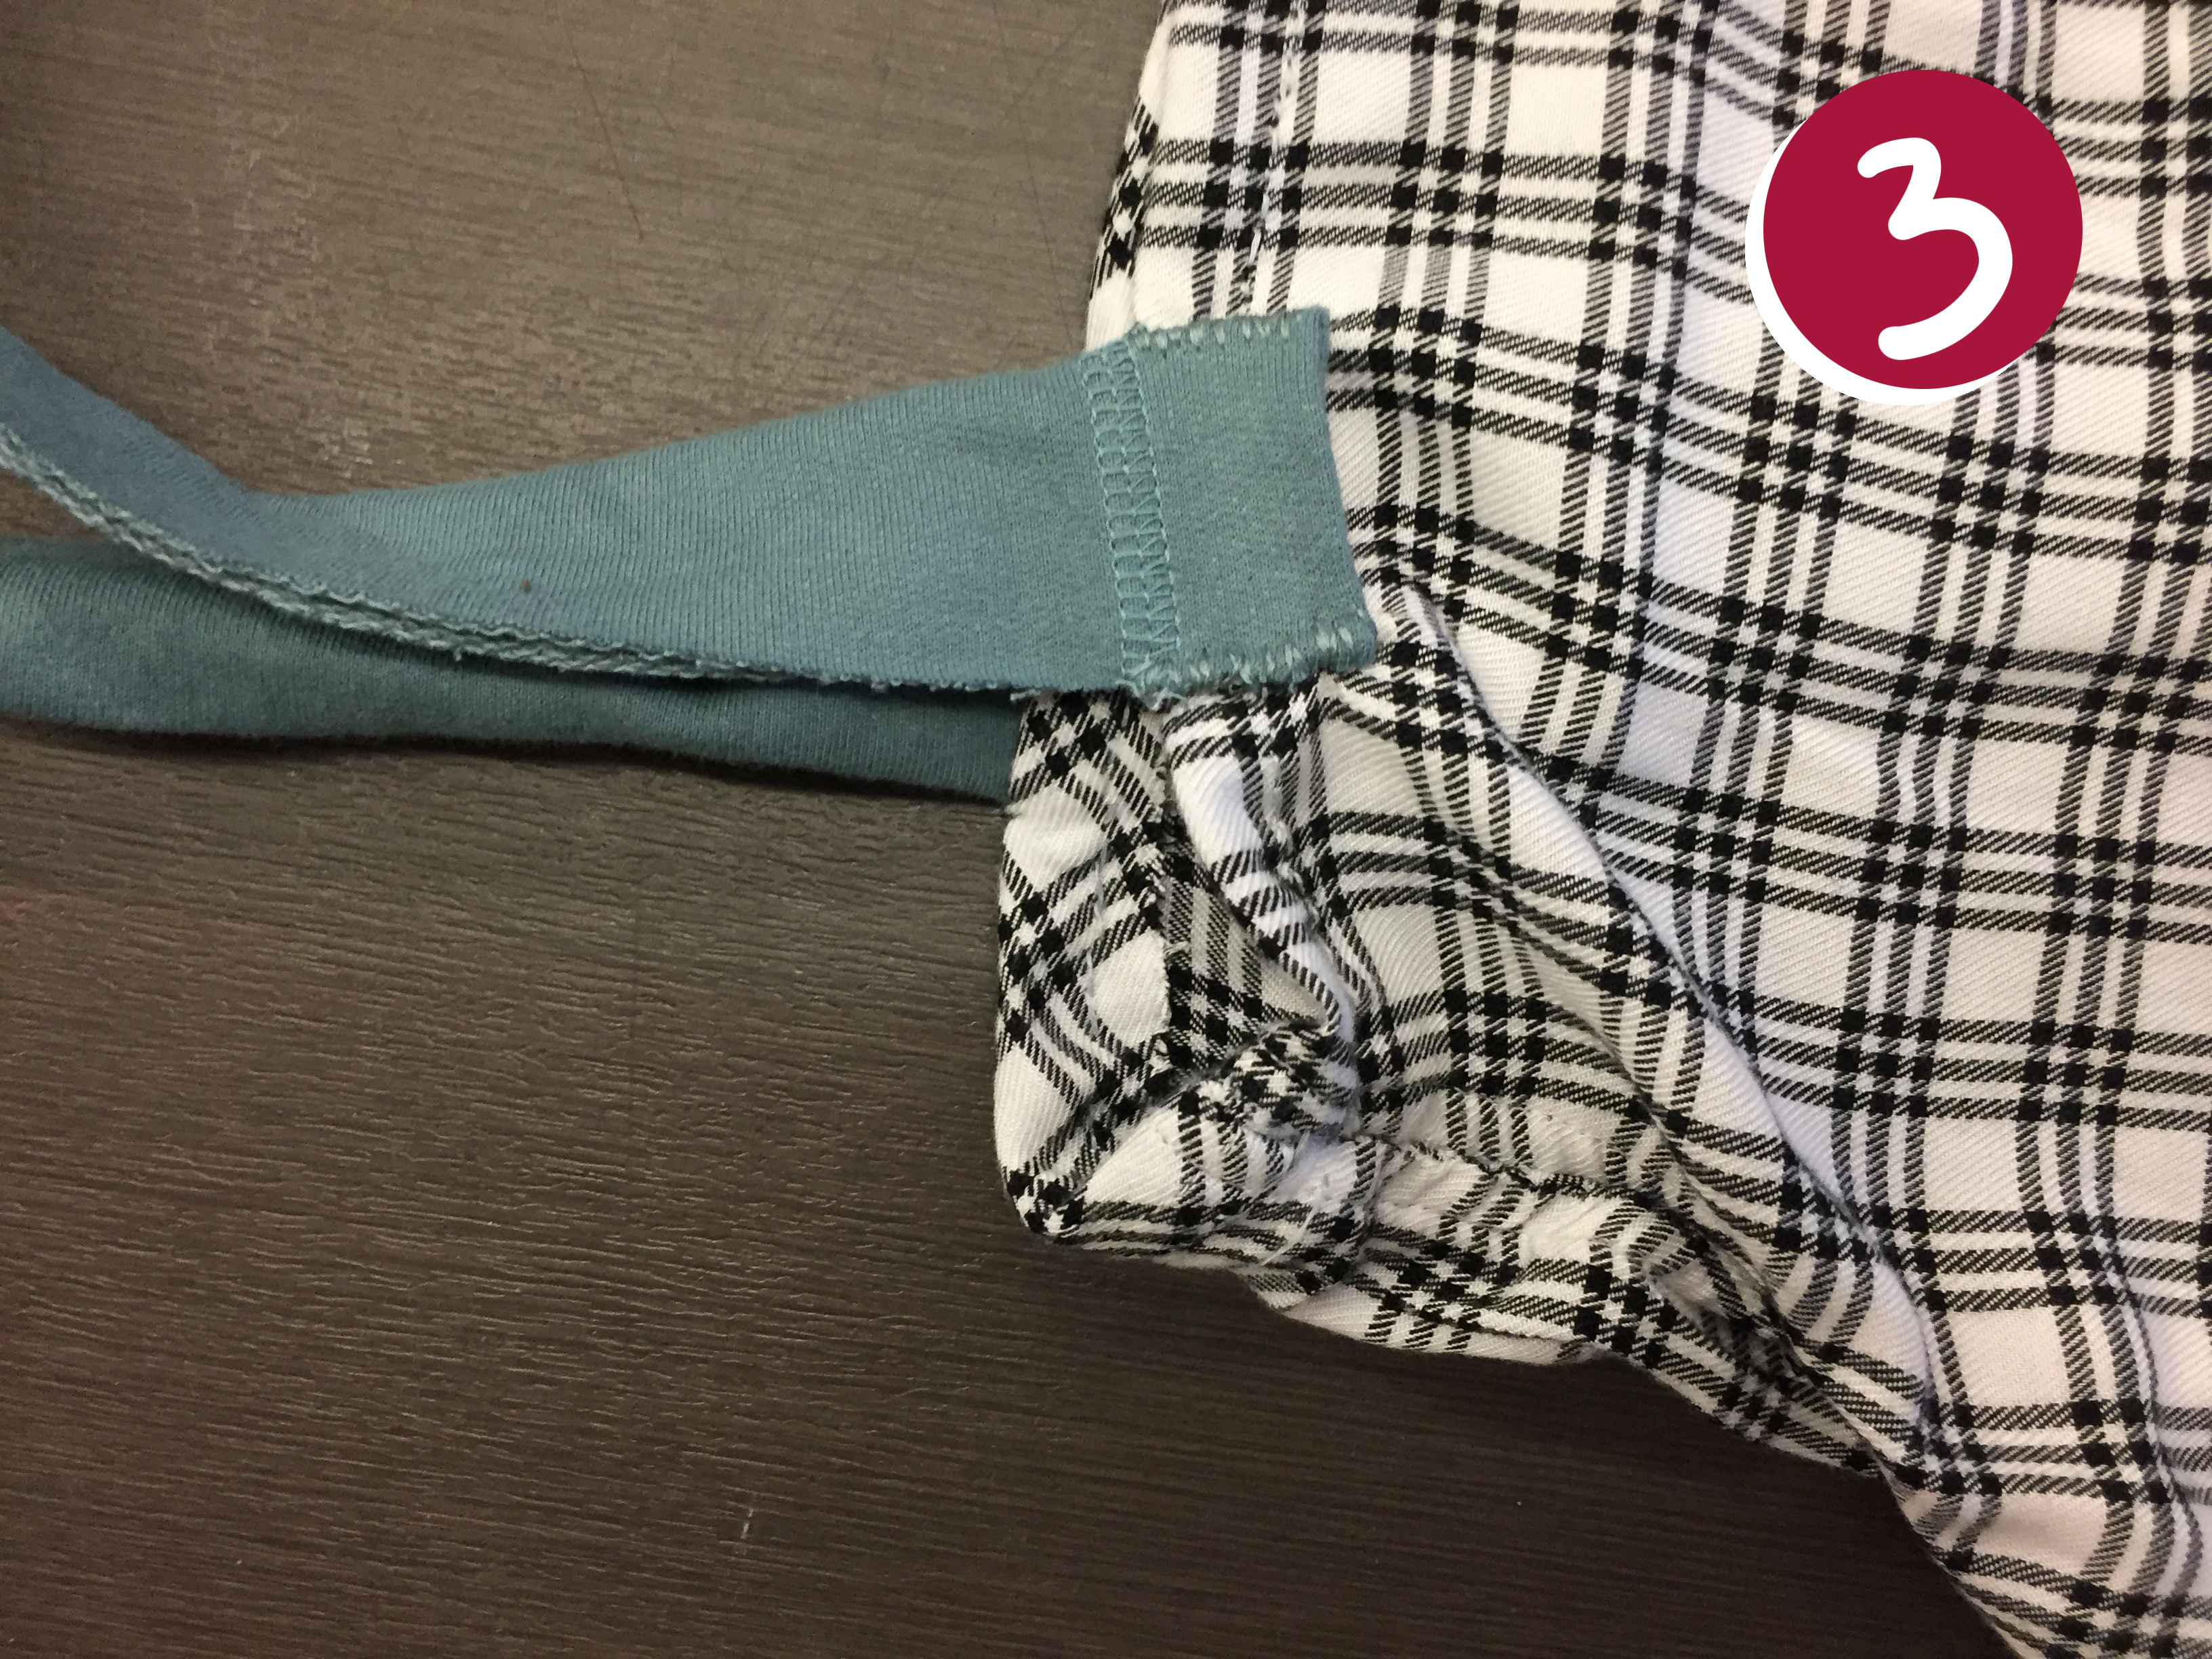
3. Continue to sew each of the four attachments!
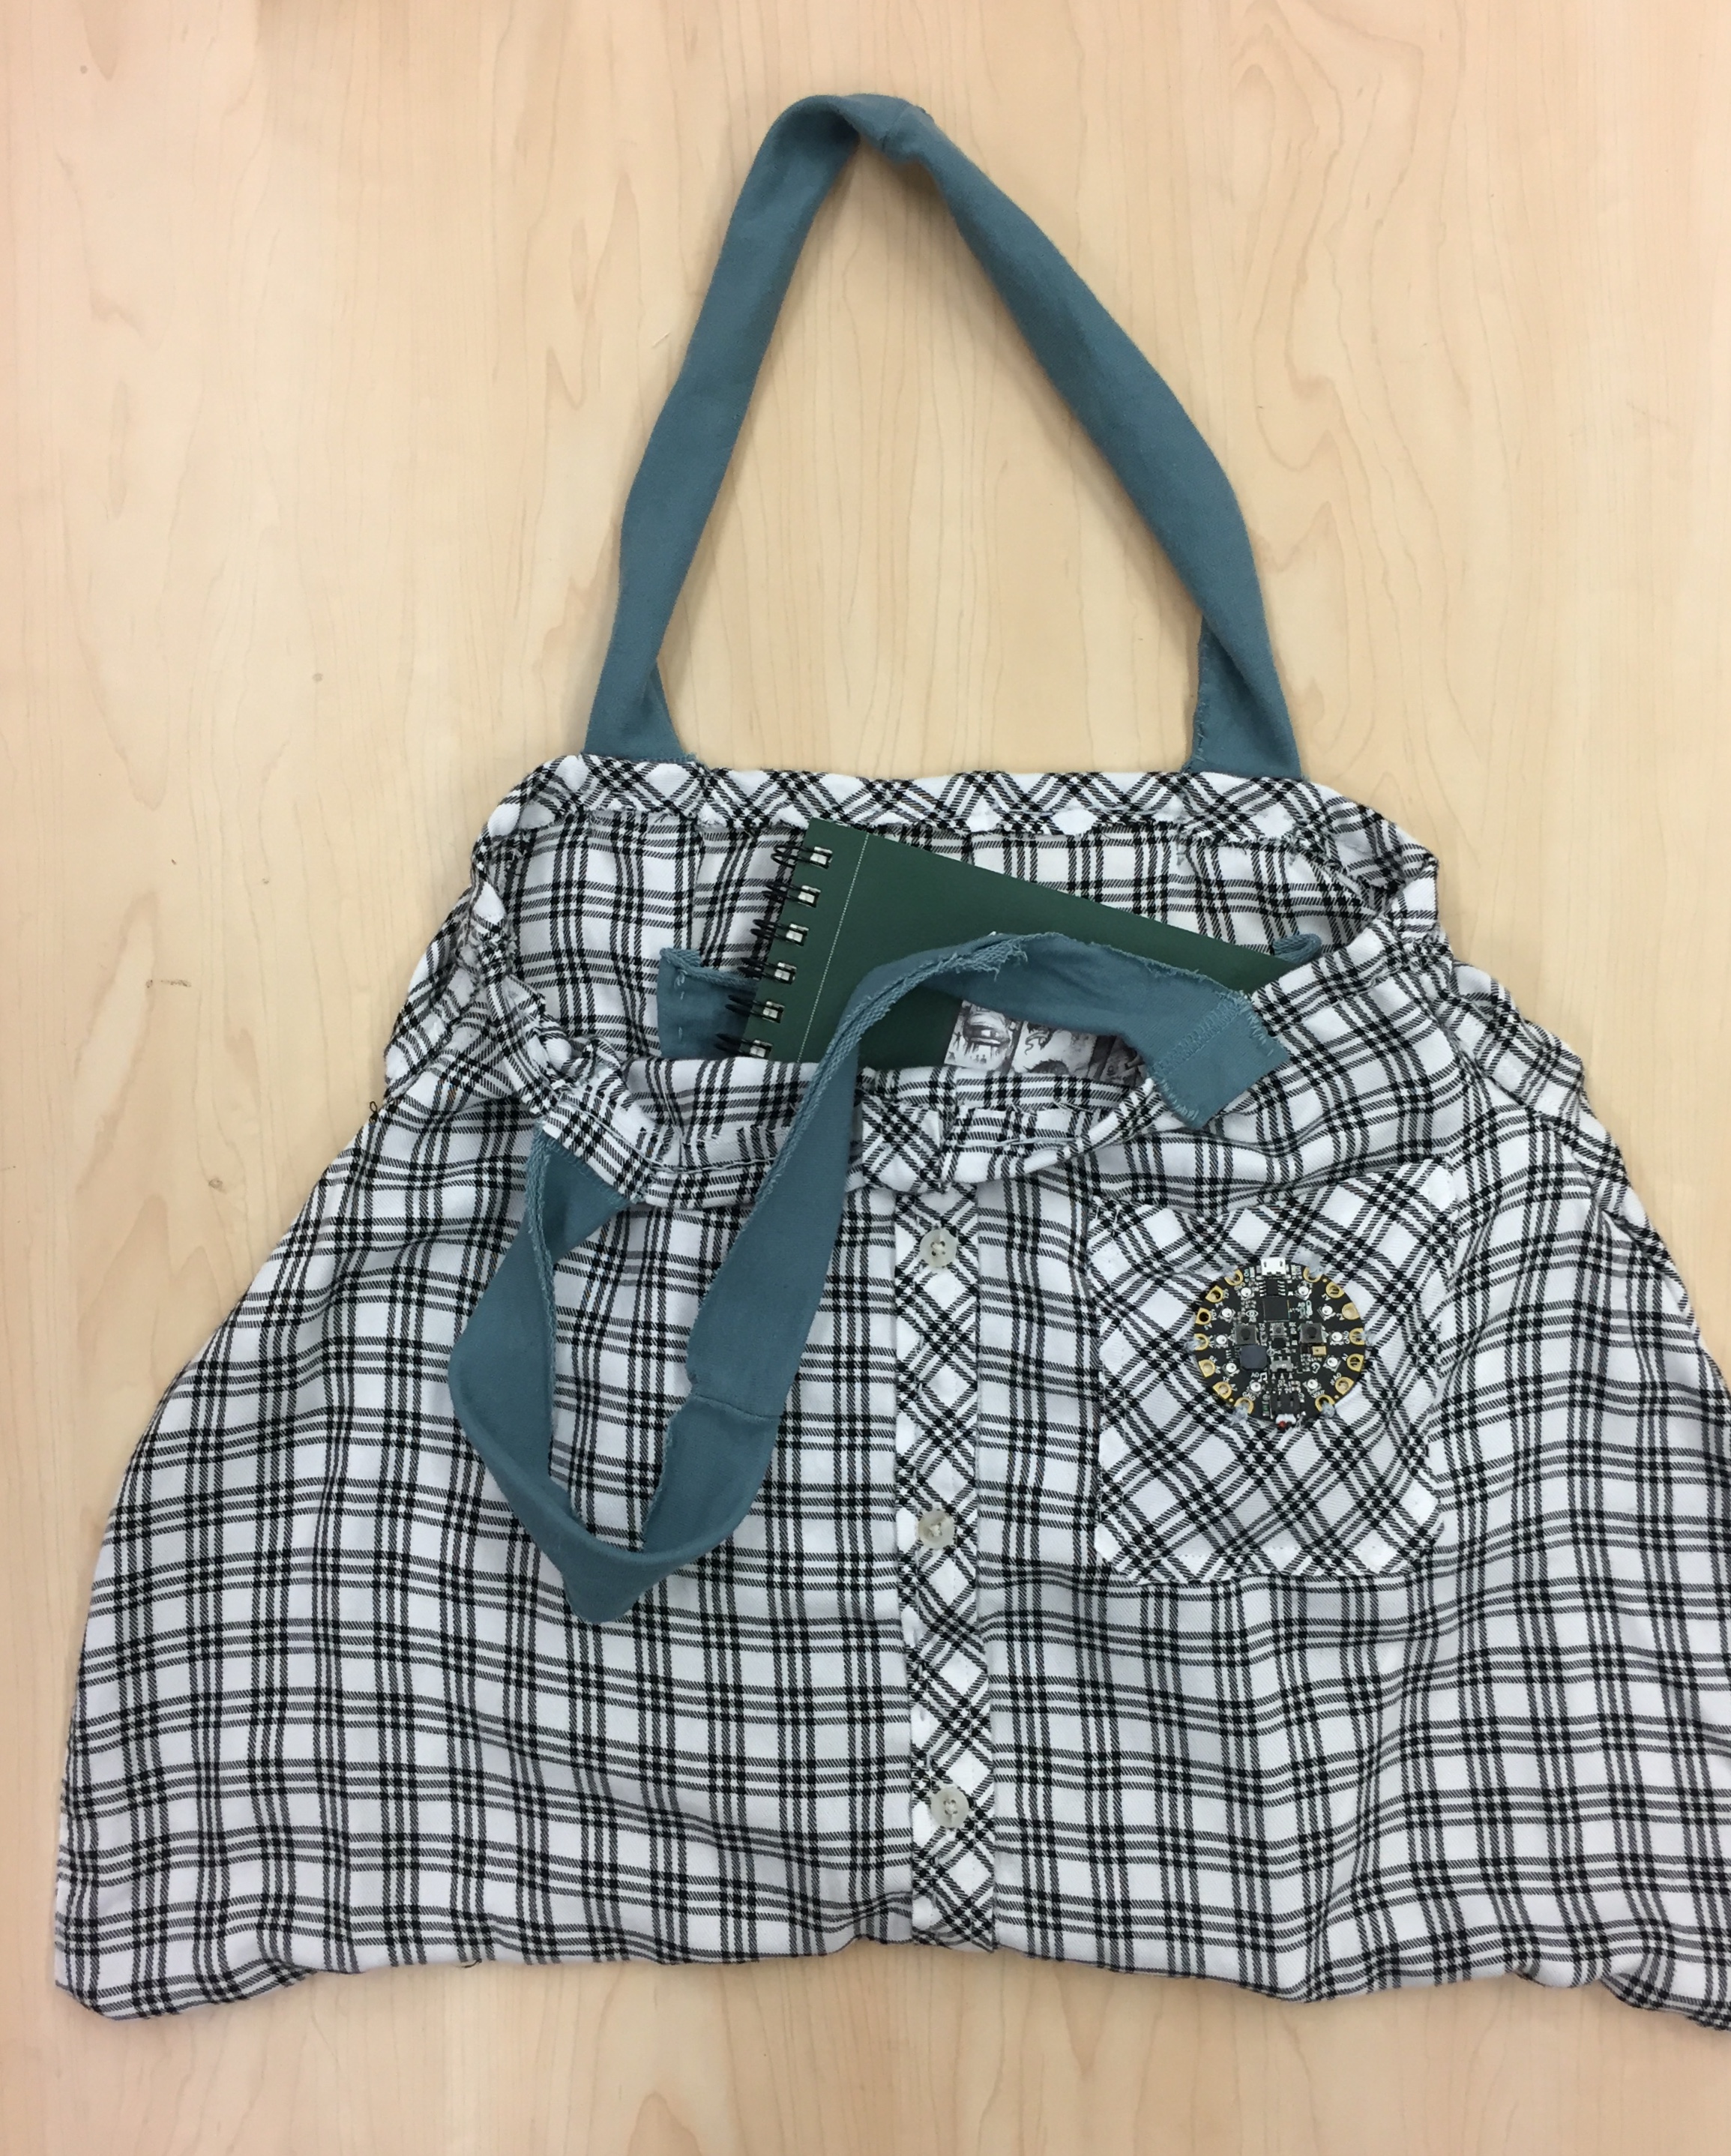
The CPE


Remember the microcontroller we programmed? Time to use it! This part offers some opportunity for innovation, you can add your own design to incorporate an illustration, patches, and many other opportunities to elevate the look of your CPE bag.
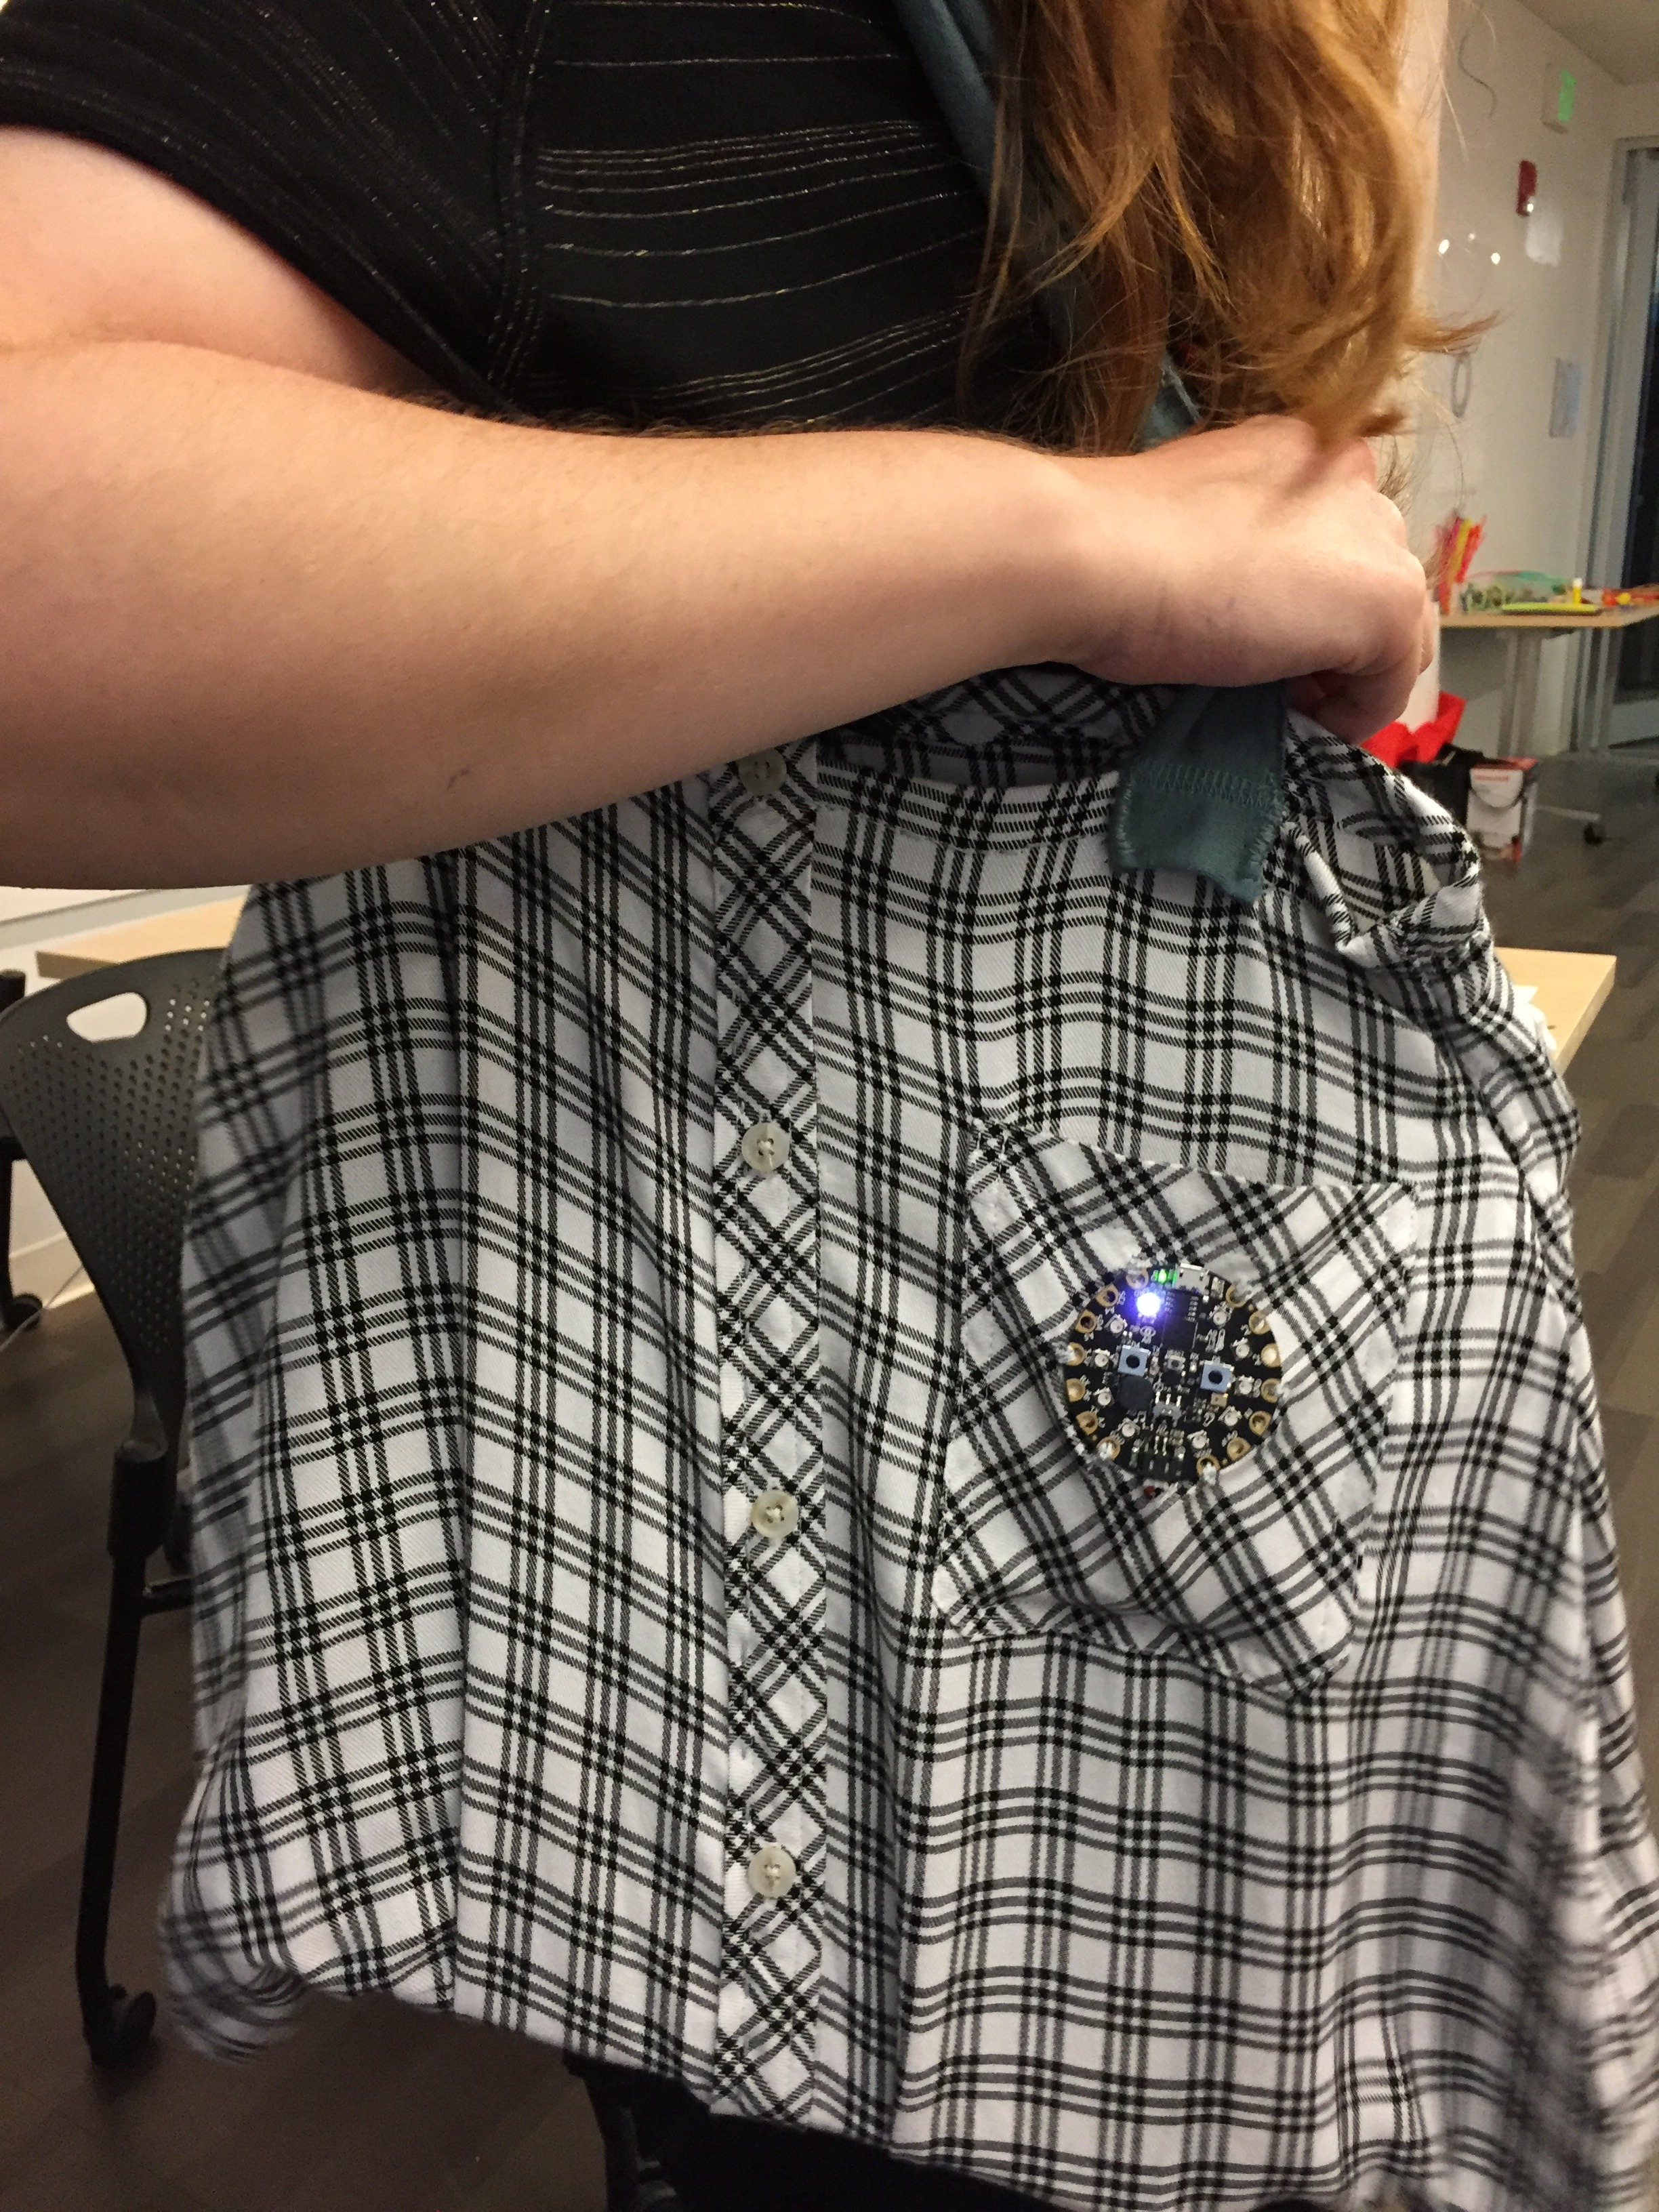
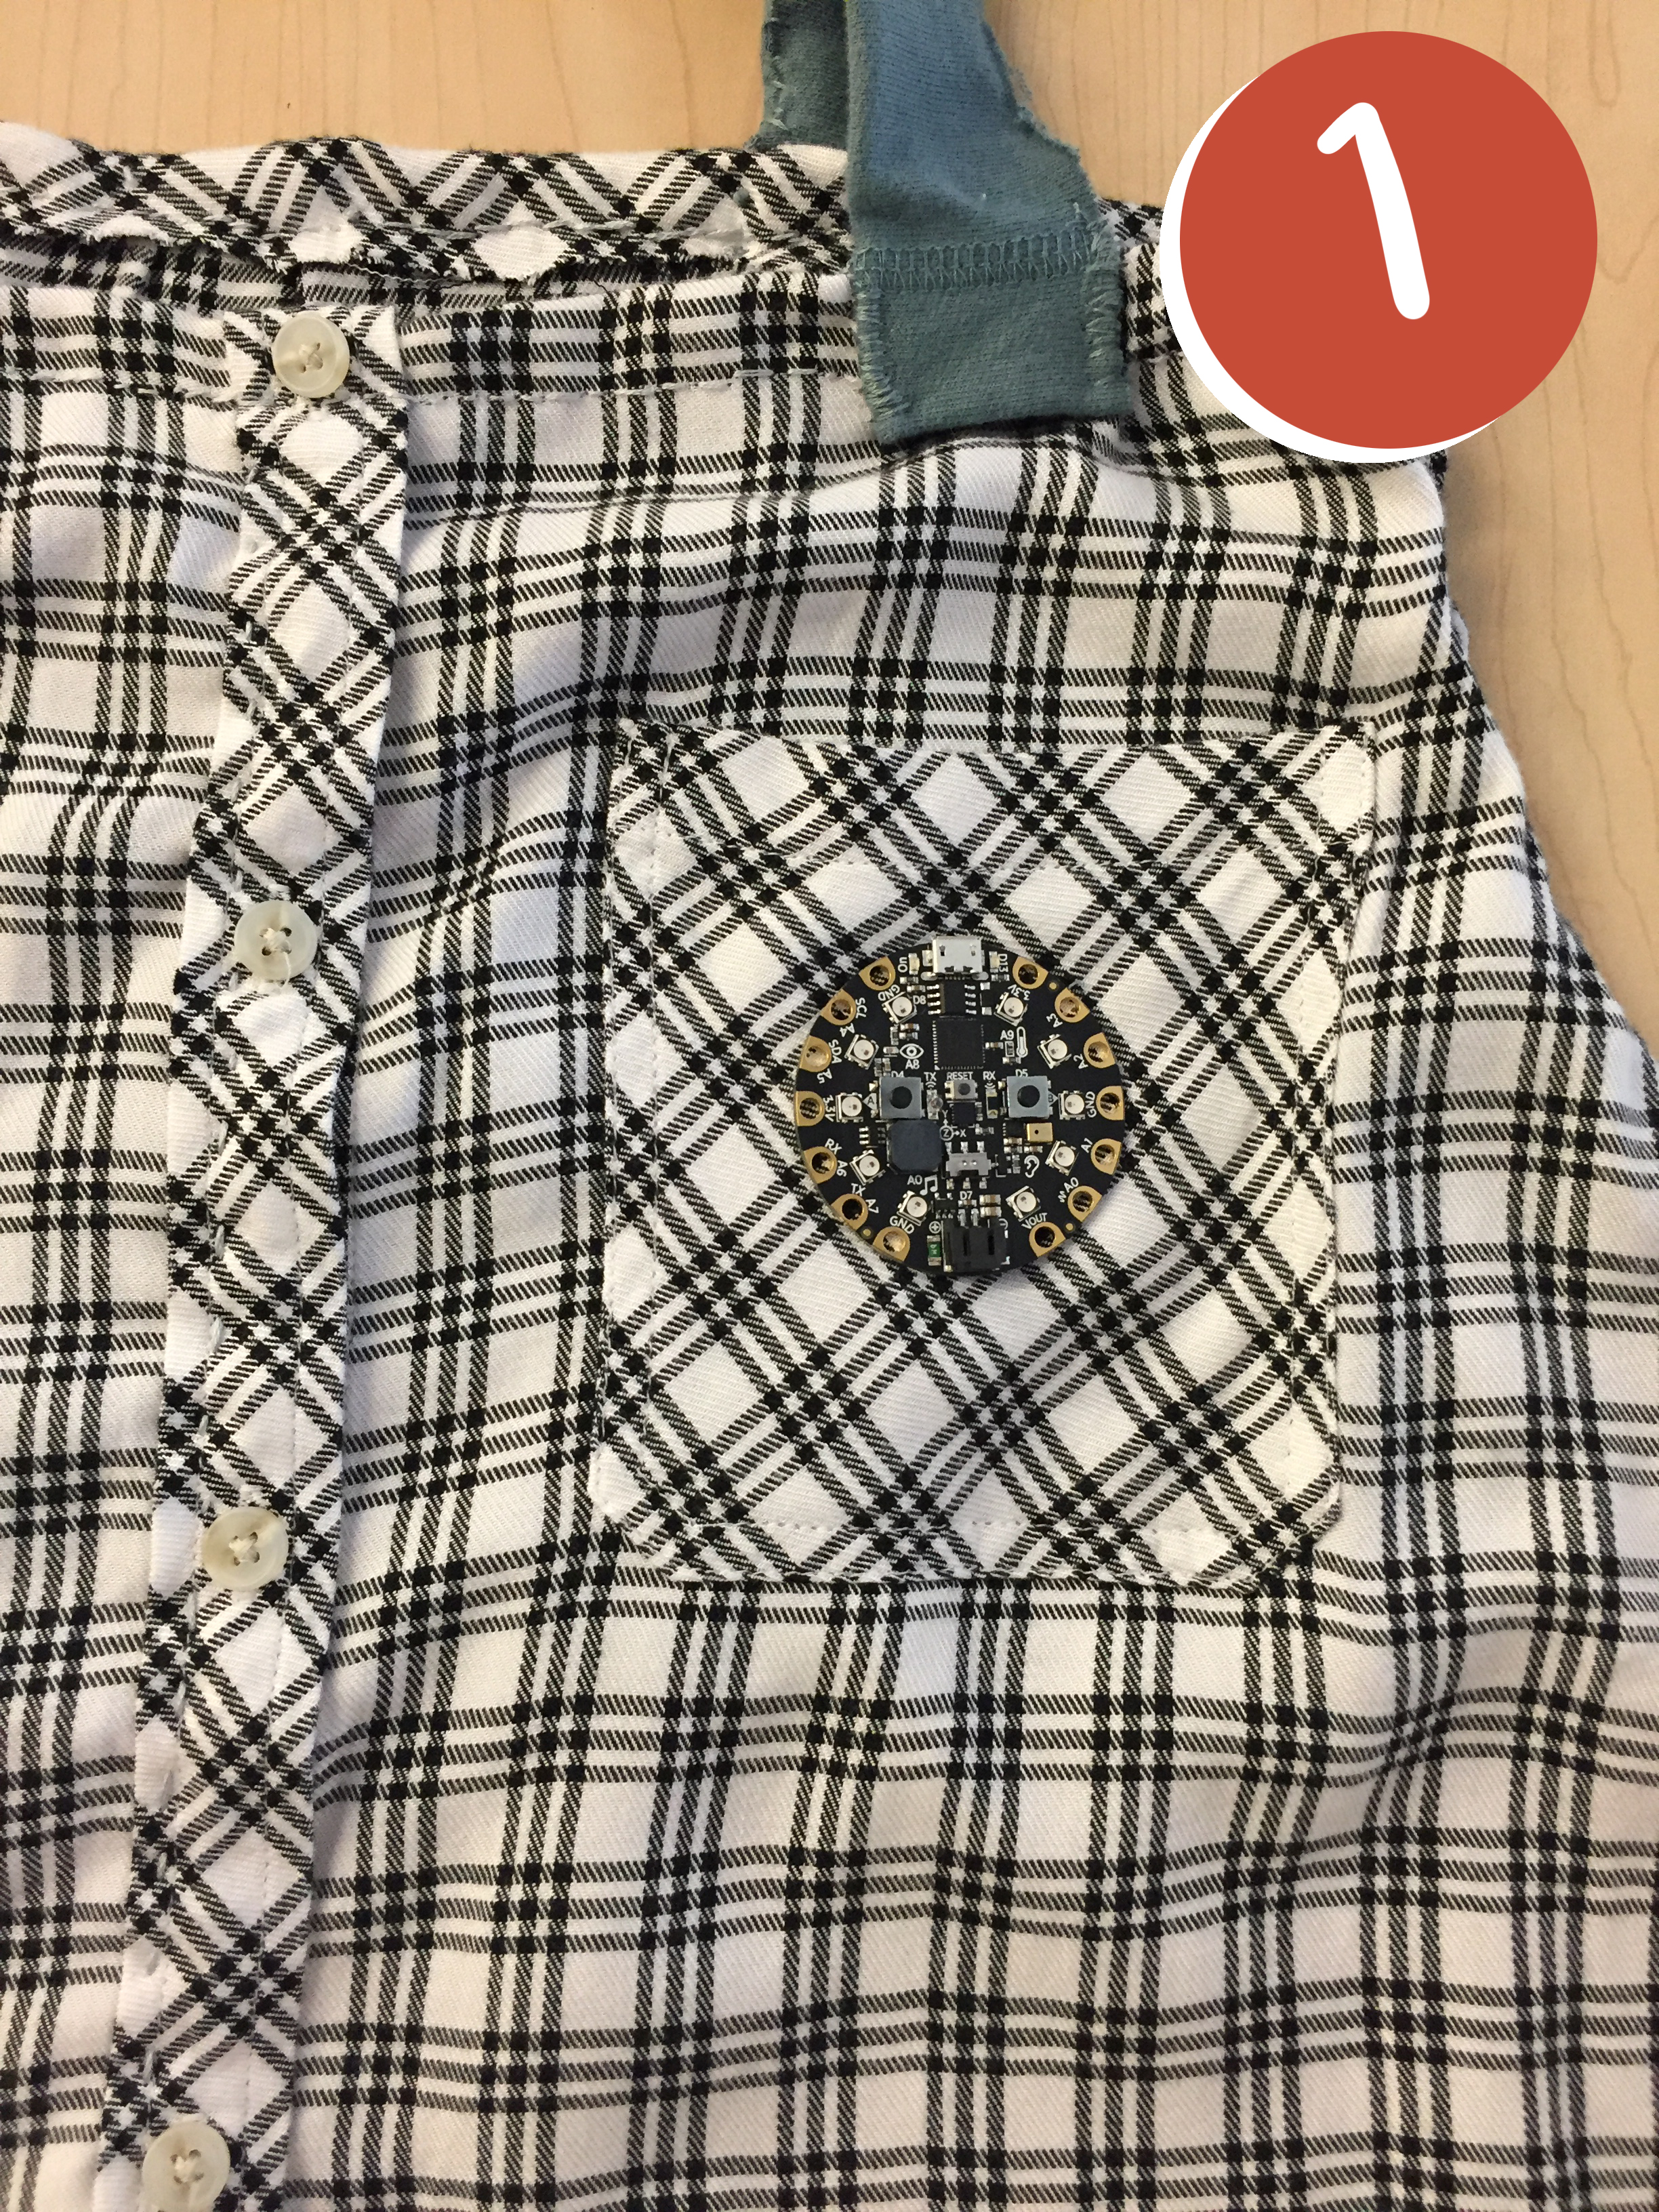
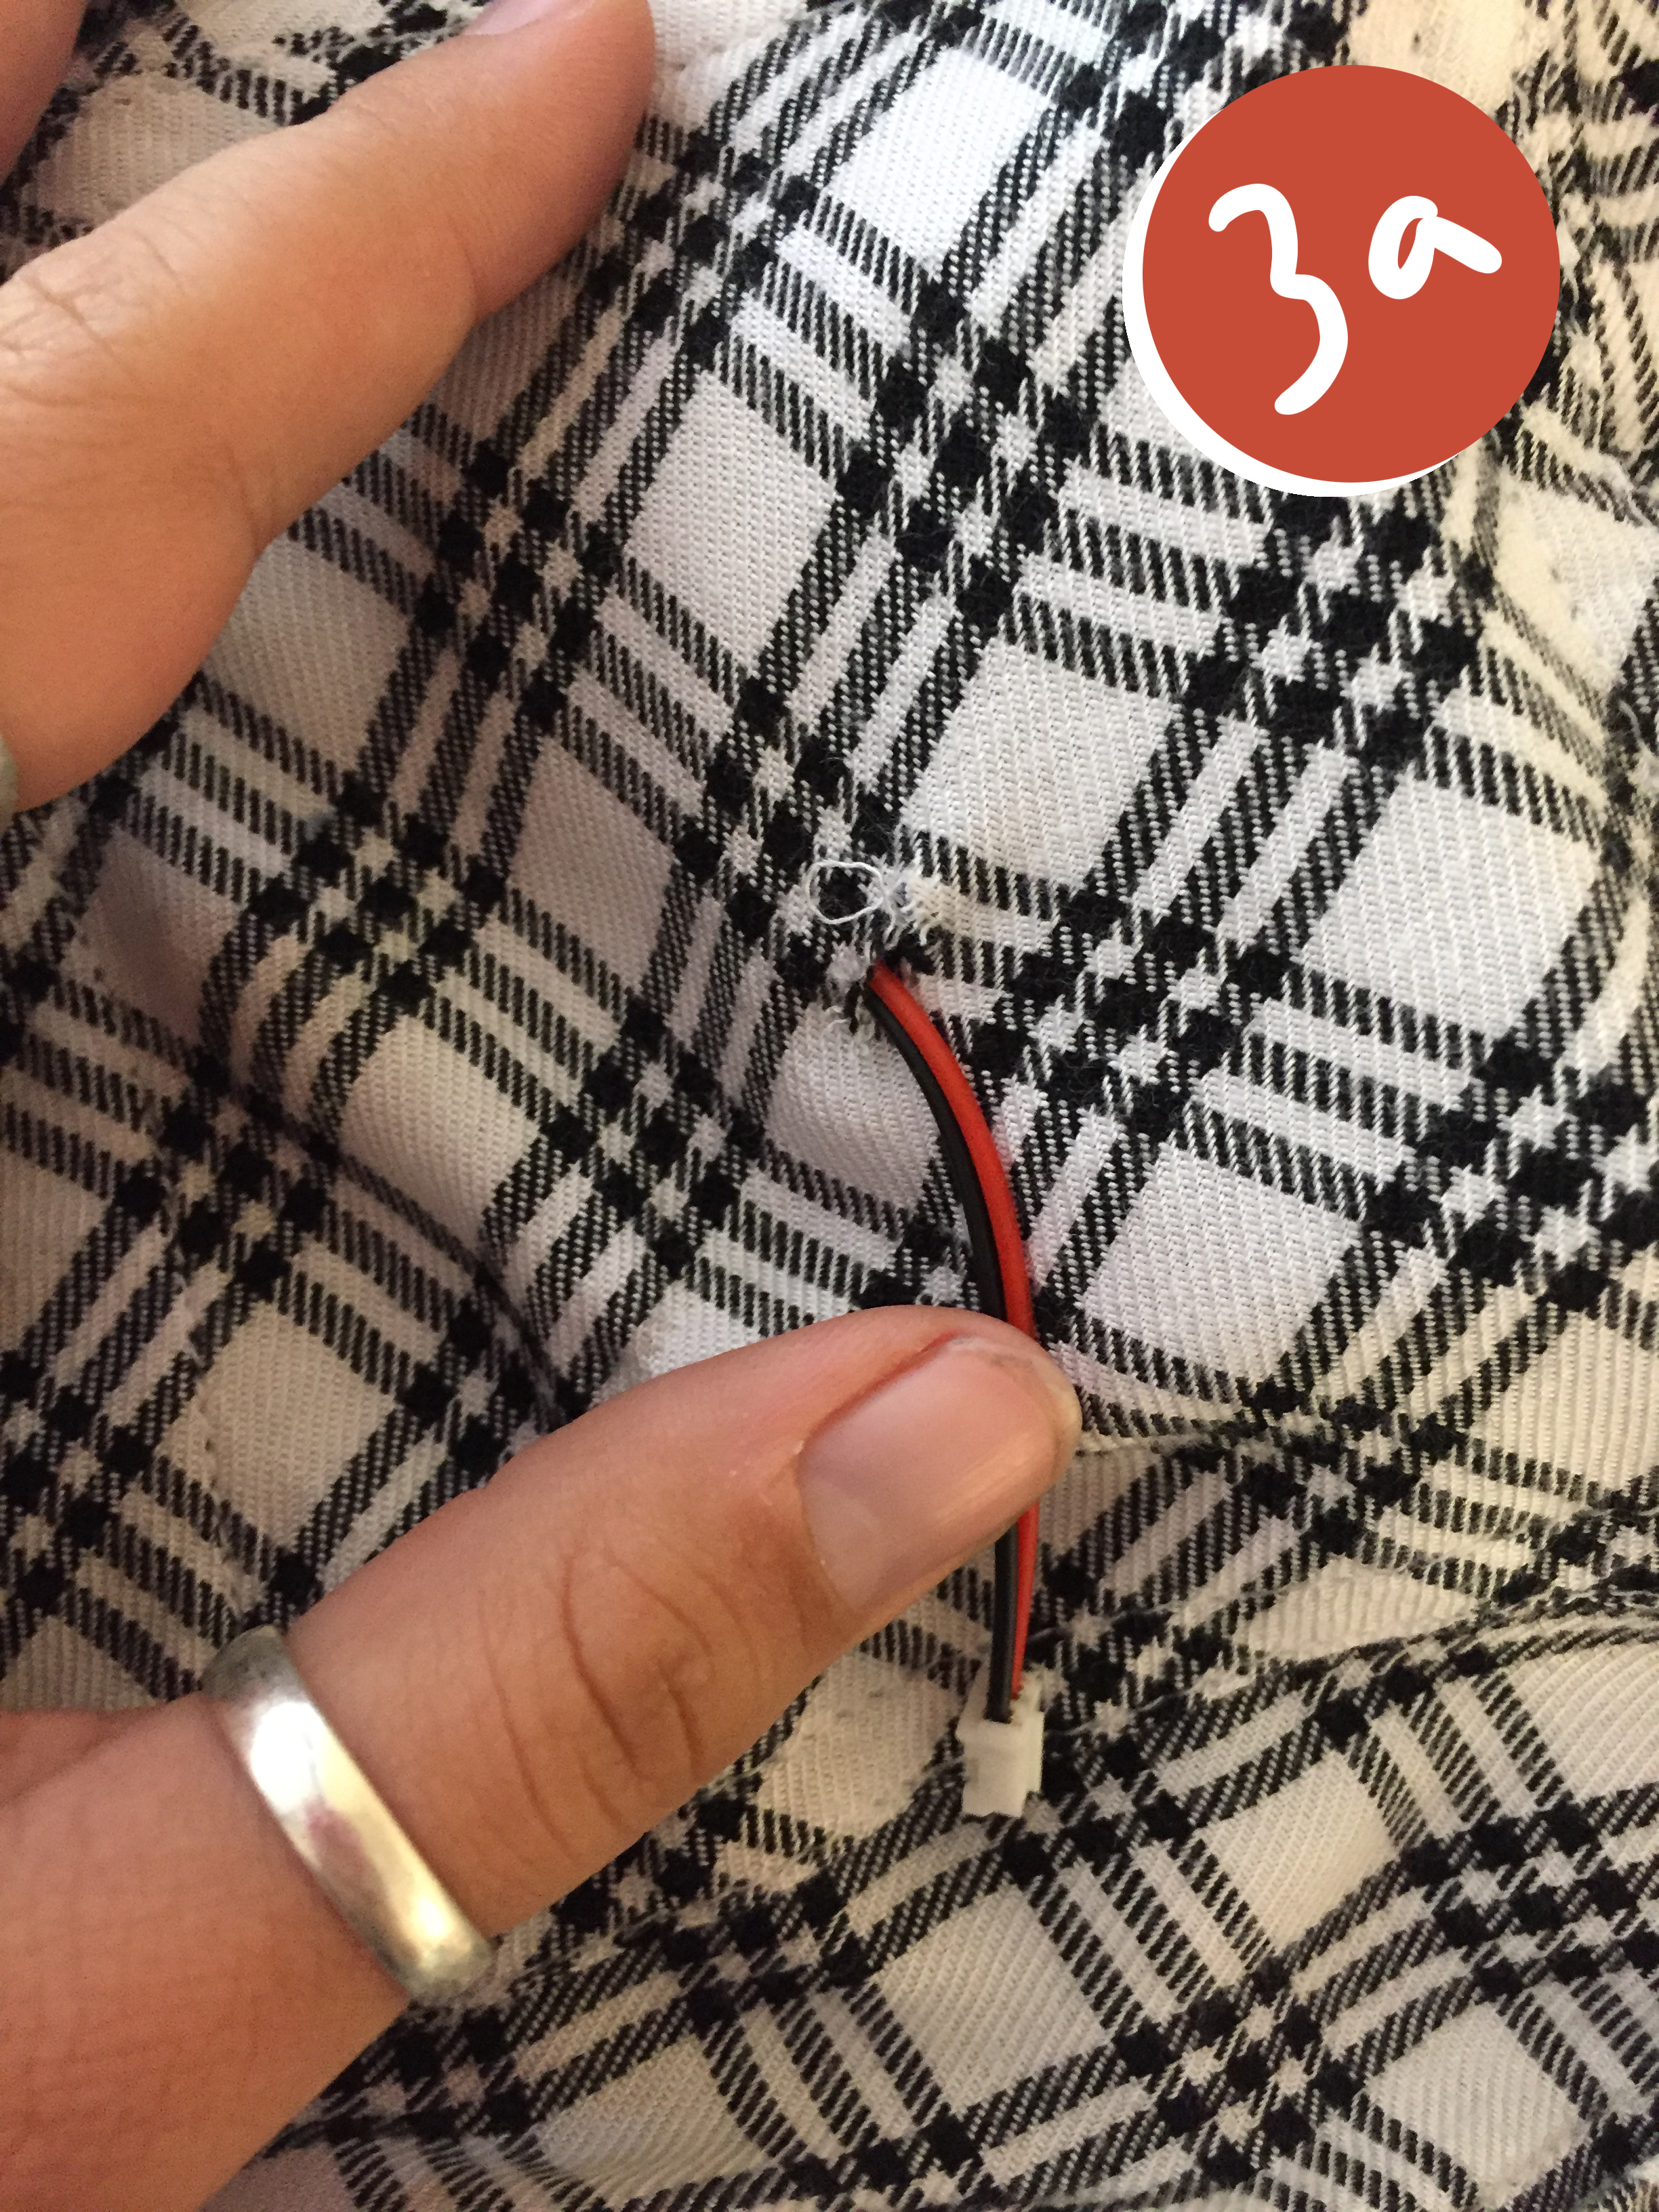
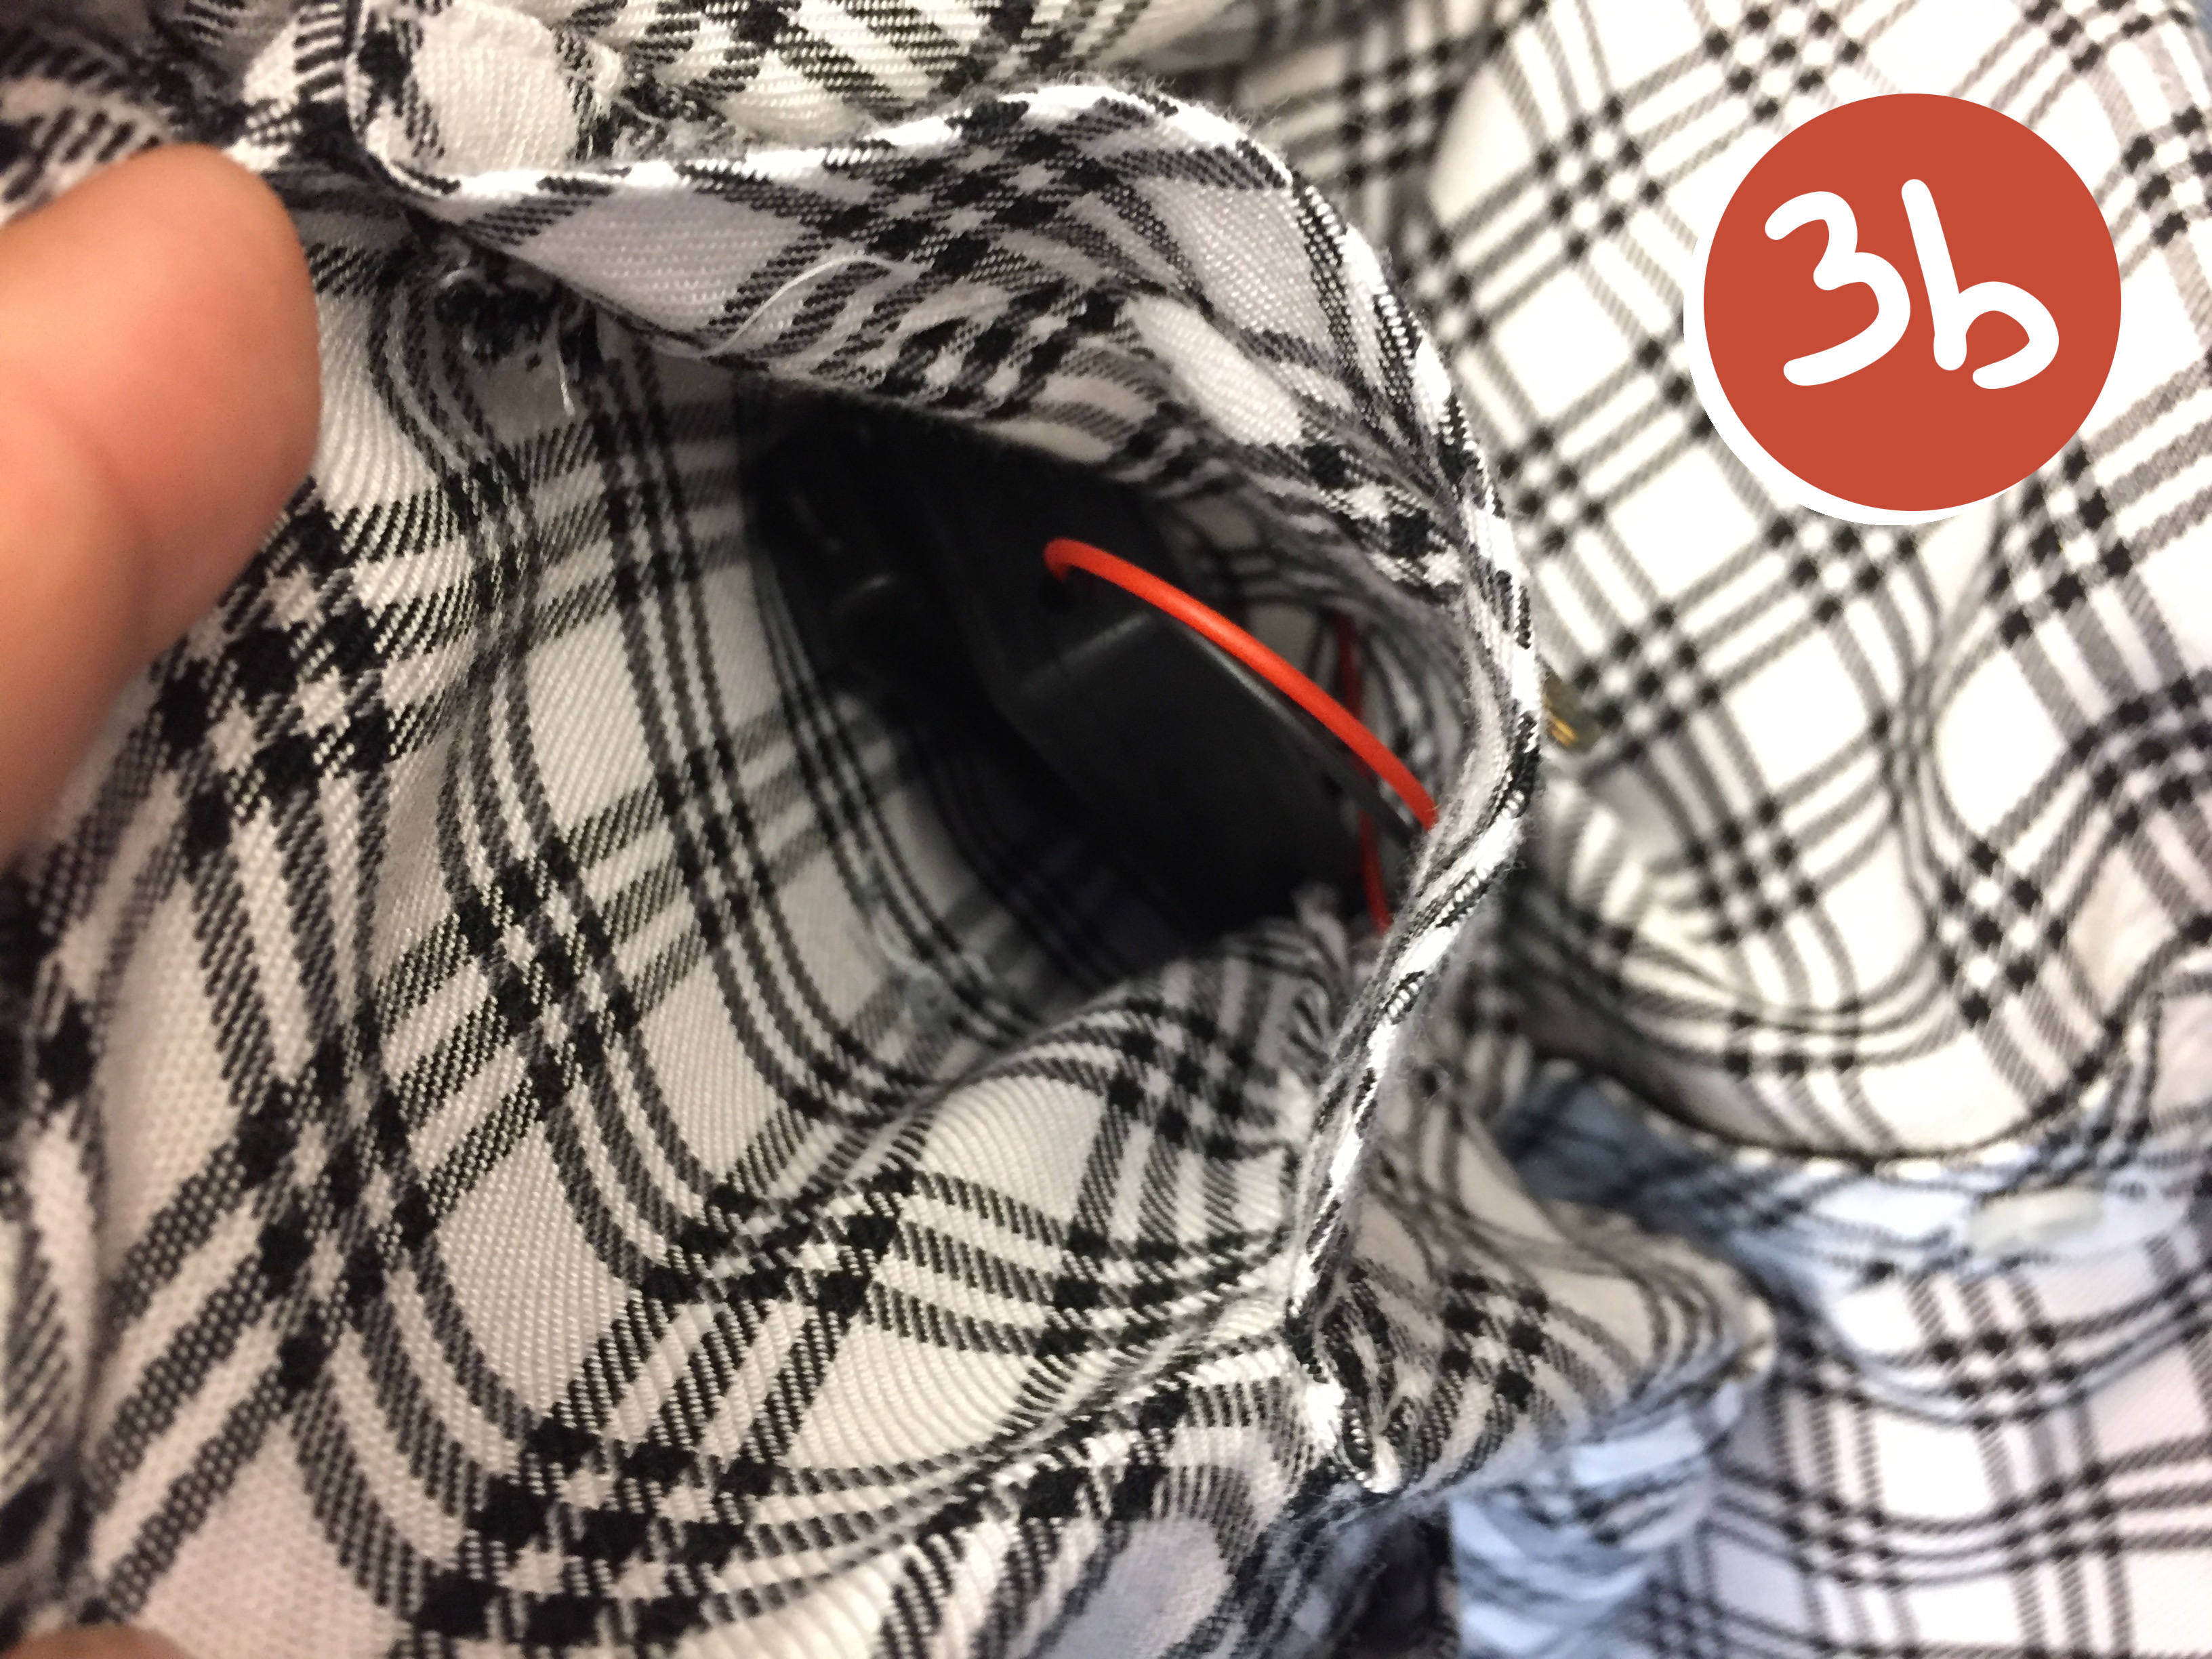
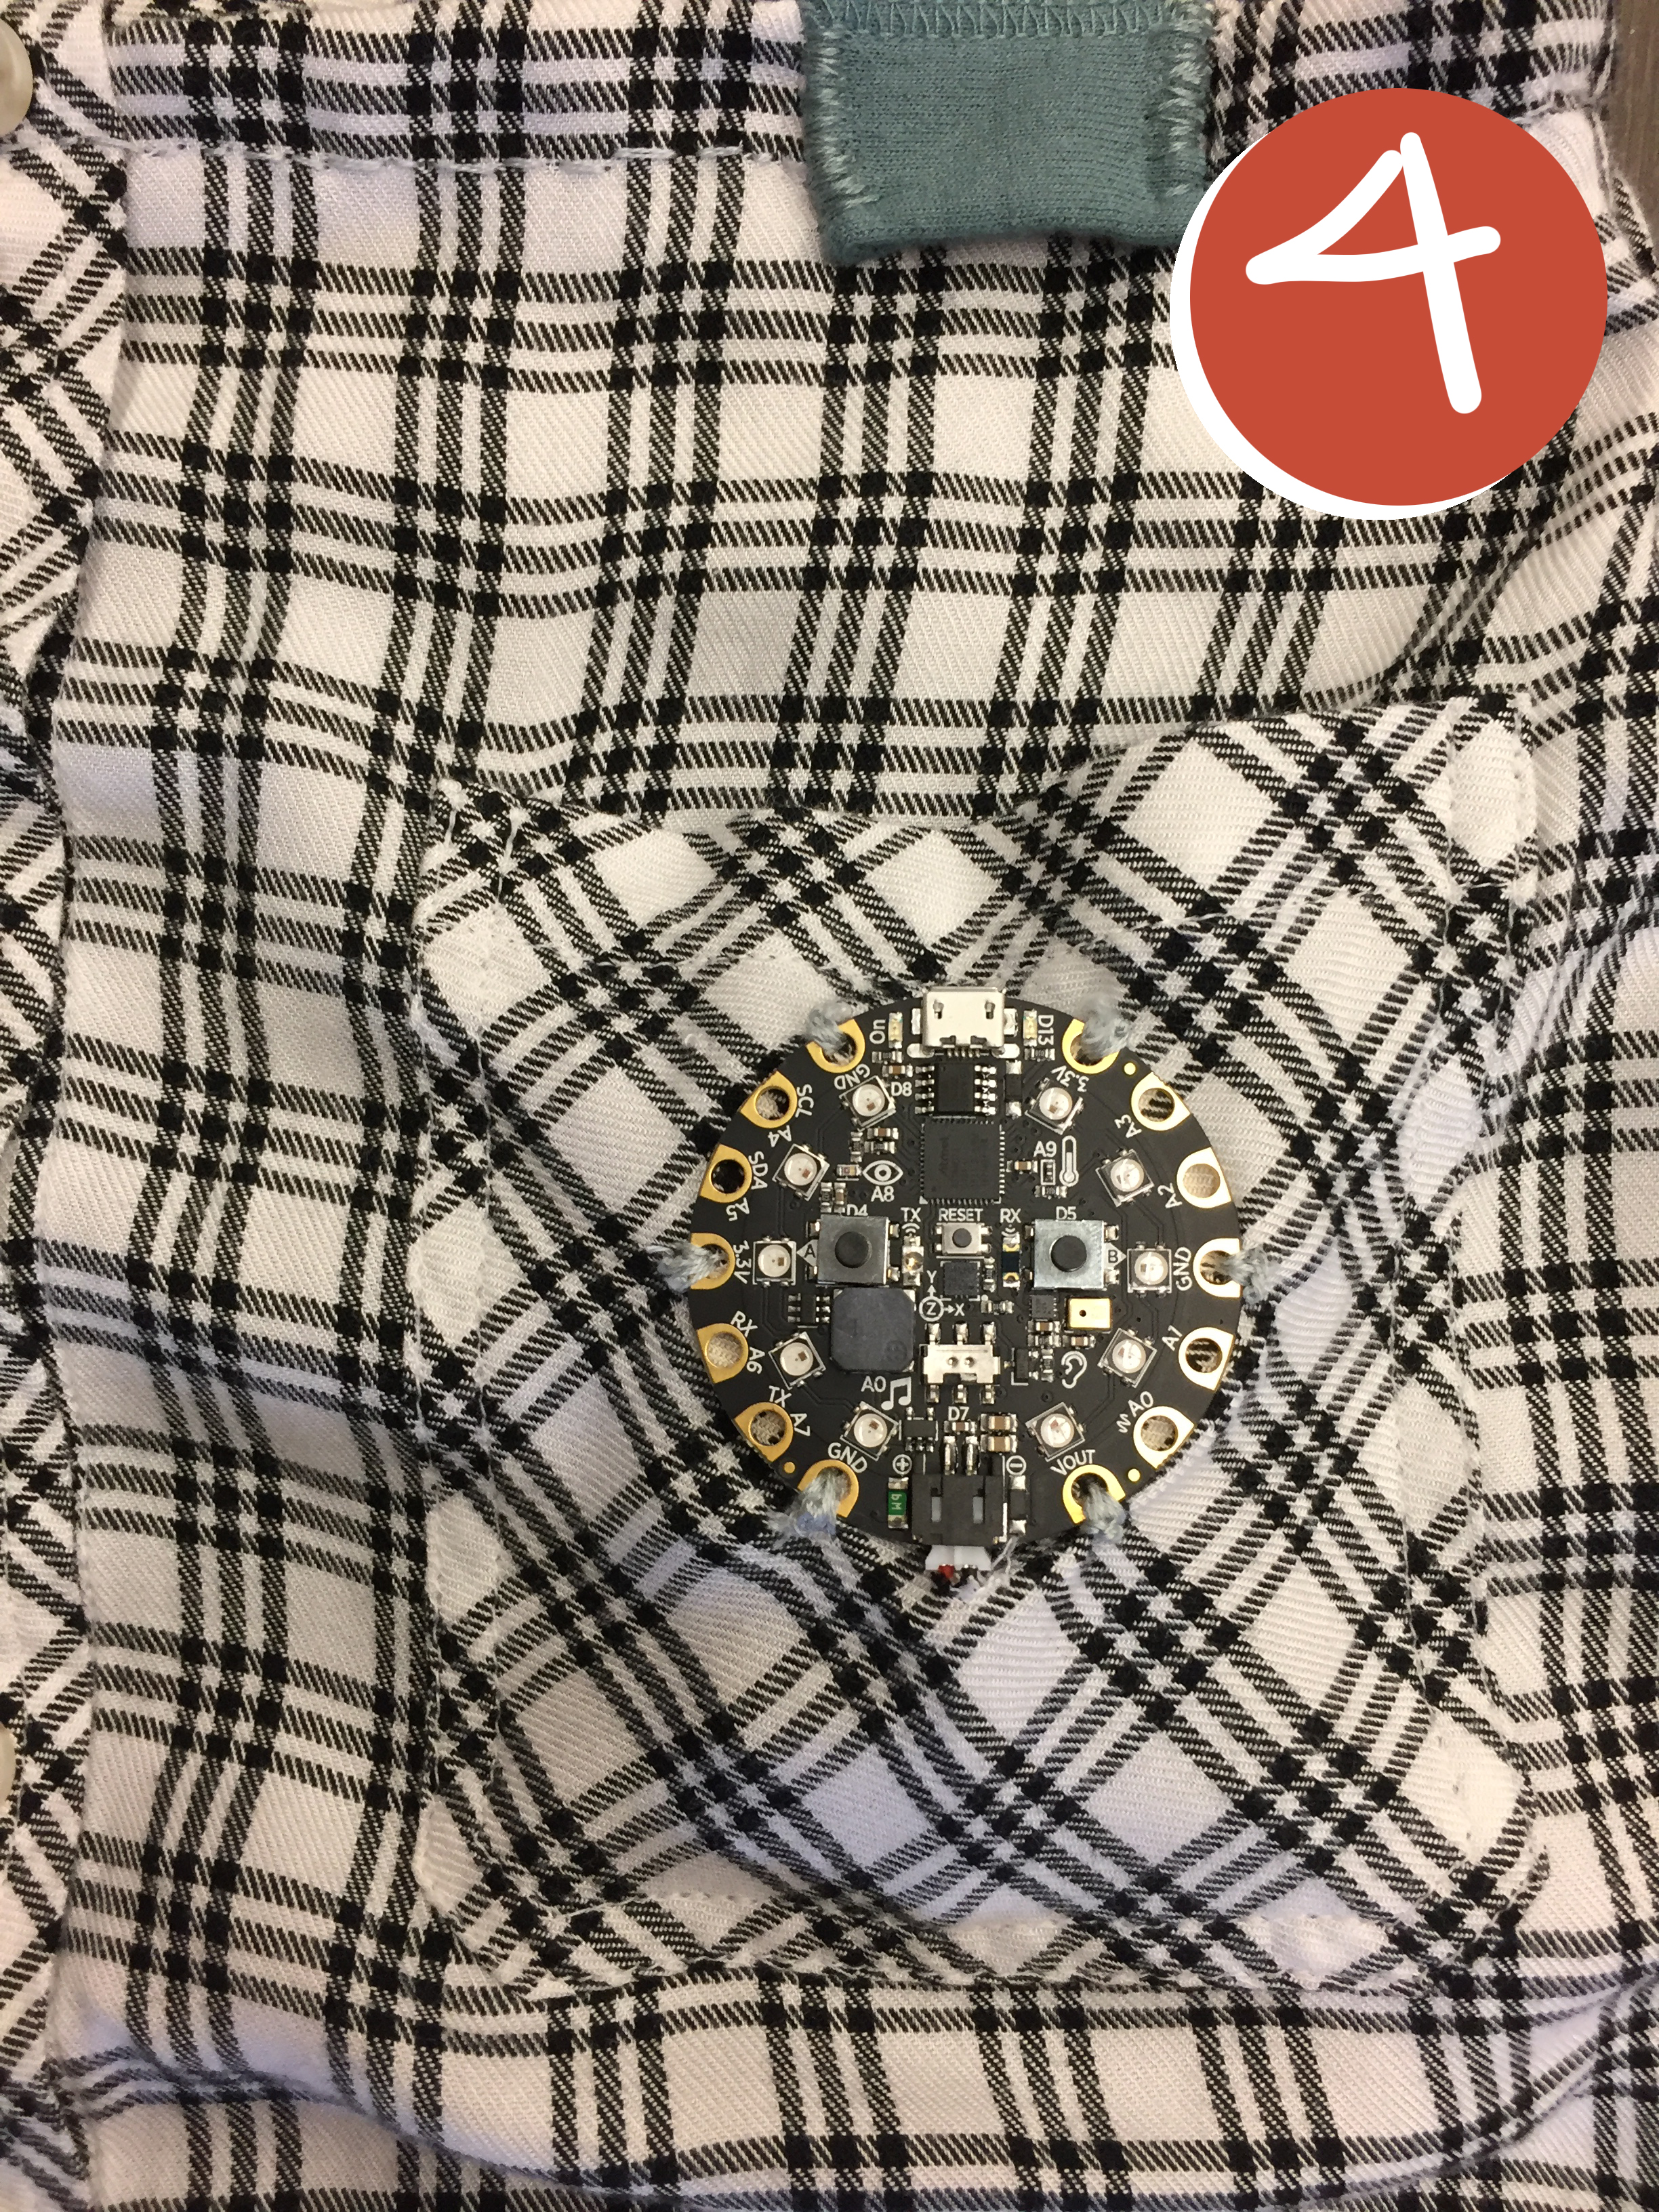
1. Place the CPE where you like it with the battery pack attachment (opposite the mirco USB plug) on the bottom. For this tutorial, we will add it to the front pocket of the flannel so that the battery pack can sit in it.
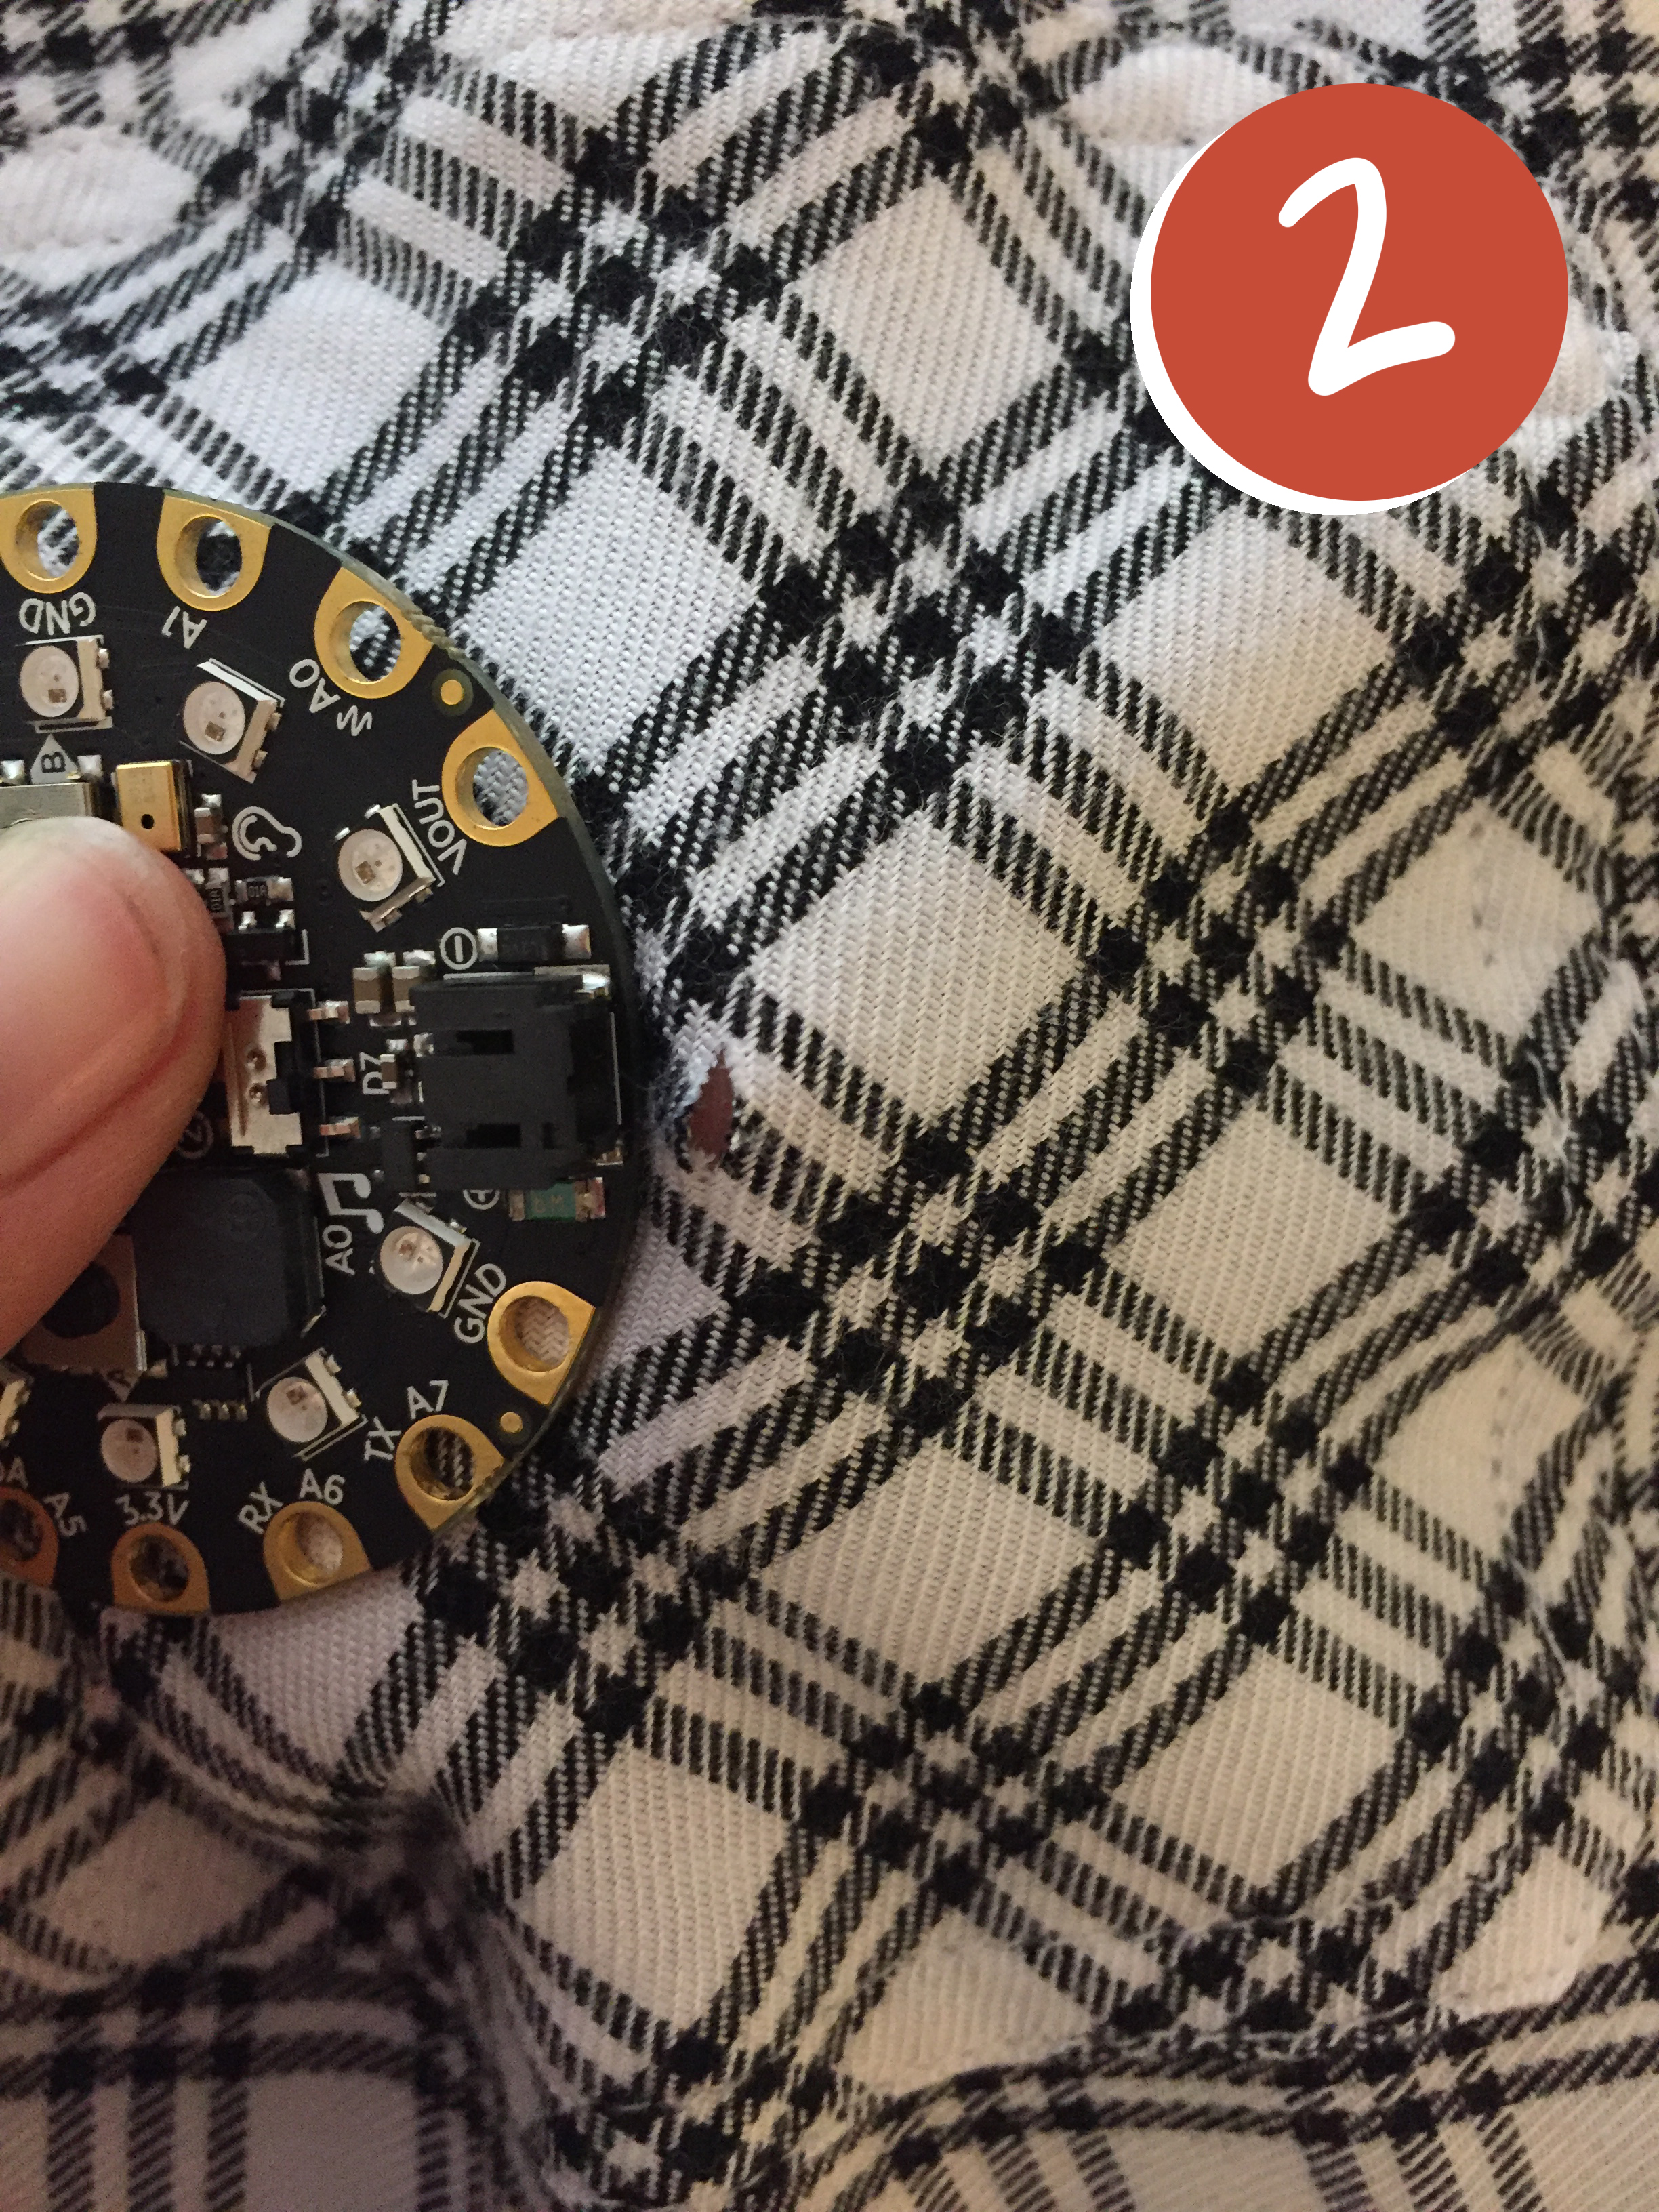
2. Cut a little hole just below the CPE.
3. Pop the battery pack in the pocket and stick the wire through the hole.
4. Sew the CPE on through the pins/holes along the edges at 4-6 different places for secure attachment.
Now you have a motion sensored, handmade tote bag to enjoy!