Chroma Key in Pixlr

Downloads
Open Your File in Pixlr
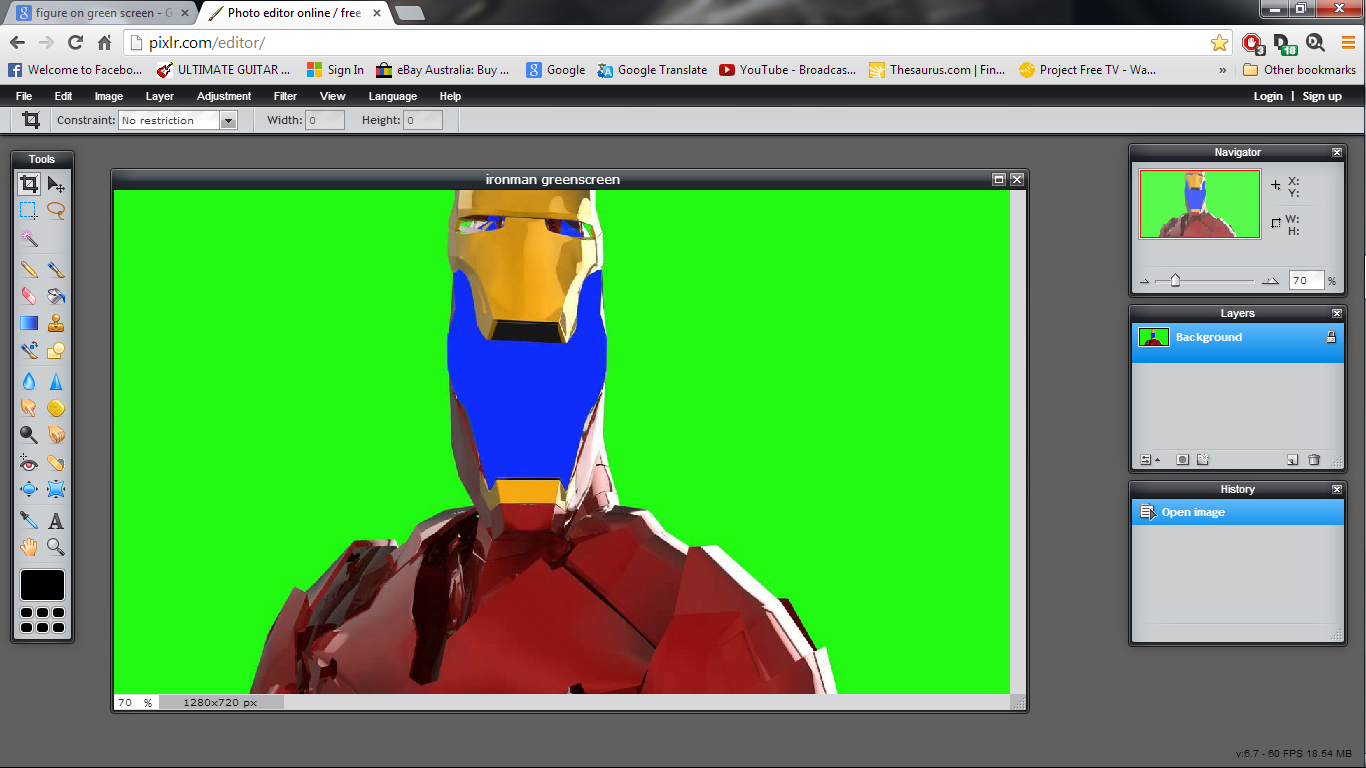
-Go to http://pixlr.com/editor/.
-Click file>open and choose your foreground/person image.
Choose Then Open Your Background Into Pixlr.
-In google images, find the highest number of pixels you can find for the background image you want, select view image, then right click> save as.
-Open it in Pixlr (file>open).
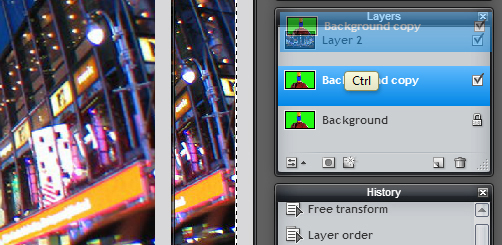
-Click on the text “layer 2” in the layer window and call it “backdrop”. Click on the “background copy” layer and re-name it “person”. Re-naming layers helps you remember which layer you are working on!
Resizing the Backdrop Layer, Copy and Paste
-file>open your background image.
-use wand tool to draw a selection around the whole image
-ctrl+C to copy, then click on the “person” layer
-ctrl+ V to paste
-Select “backdrop” layer
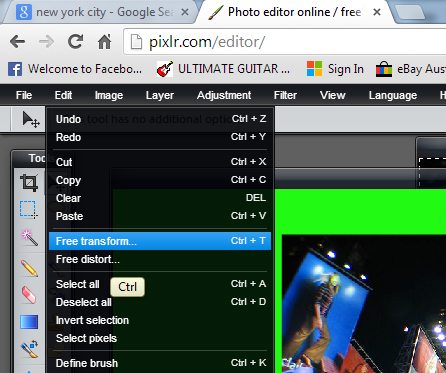
-Hold ctrl+T, or edit>free transform, click and drag the edges to transform your backdrop layer to re-size it to fit your "person" layer. Hold shift key when clicking and dragging to retain the dimensions of the image you're resizing (so it doesn't warp).
-Drag the backdrop layer above the "person" layer.
Removing Unwanted Background Areas With the Wand and Lasso Tools
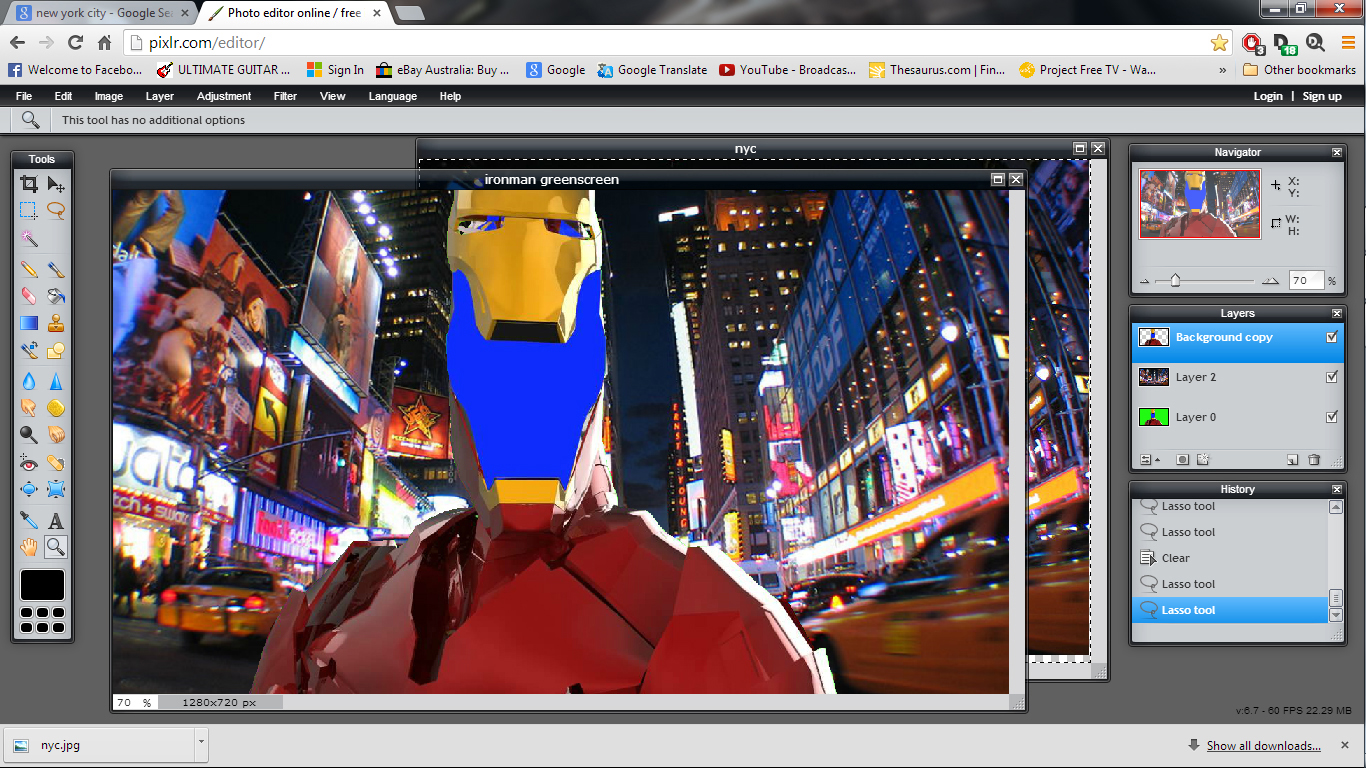


We want to remove any unwanted background areas of colour around our "person" so the "backdrop" layer underneath shows through.
-Click on the wand tool on the tools panel on the left. Make a selection by clicking on a large area of unwanted colour. The area inside the marching ants is the selected area to be deleted.
-Use the lasso tool on the tools panel for detailed selections. To add to a selection, hold shift while using lasso. To take areas of selection away, hold ctrl while using the lasso.
-Use the zoom tool to zoom in, then use the lasso to make detailed selections. When finished, press delete.