ChipKit Running on Arduino Code
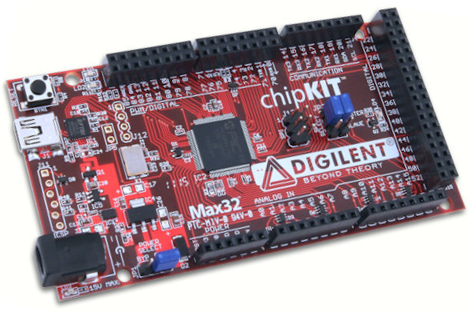
In this introduction, I will demonstrate how to use Arduino programming with dp32 chipKit.
Step 1:- Materials Needed
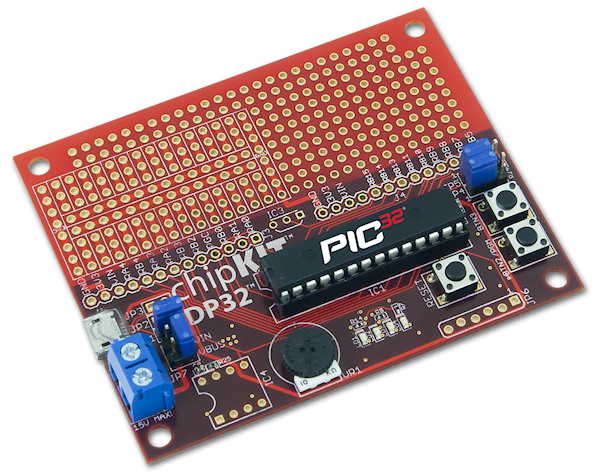
- any chipKit board
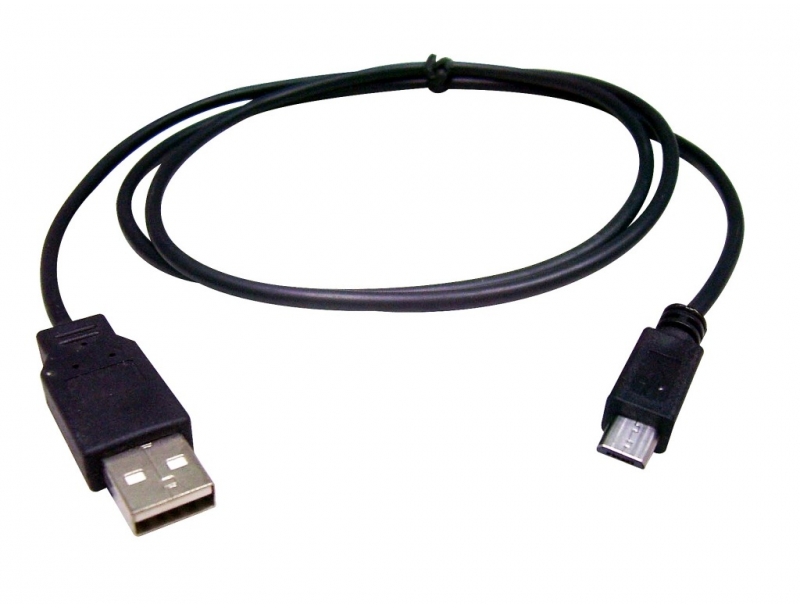
- micro-USB cable
- Your personal computer
Downloading MP LAB X and Arduino IDE on Your Personal Laptop
To install Arduino on your PC, follow this link given:-
http://chipkit.net/started/install-chipkit-softwar...
To install MP LAB X on your PC - follow this link given:-
http://www.microchip.com/mplab/mplab-x-ide
After installing both software applications, you have to download the bootloader on your chipKit board - the link is here - https://reference.digilentinc.com/chipkit_dp32:chi...
How to restore bootloader - the link is here:-
http://chipkit.net/wp-content/uploads/2016/02/Rest...
for user manual reference about how to use chipKit, here is link -
Step 3: Open MP LAB X
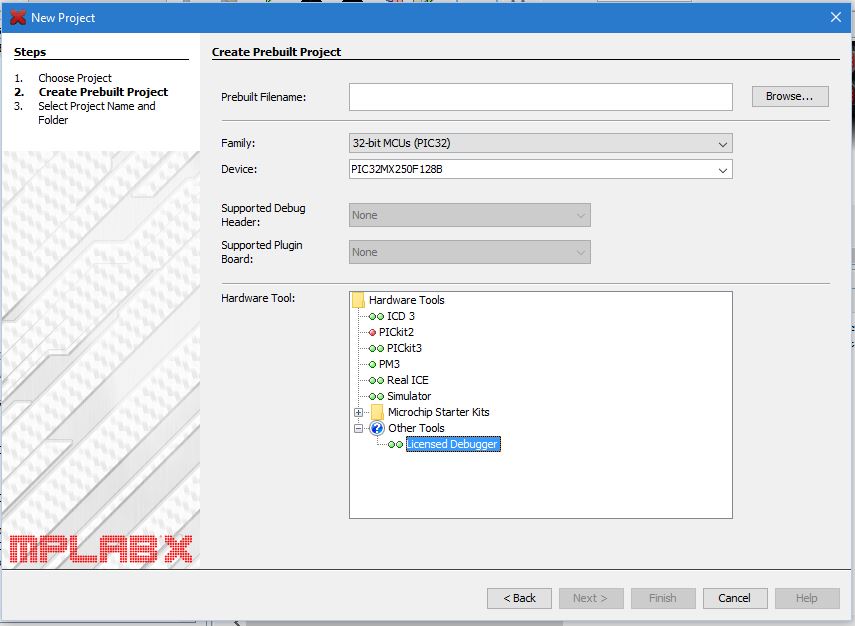
After downloading MP LAB X IDE on your PC,
open it, and start new project.
After clicking "new project", click "Microchip Embedded" > "Prebuilt (Hex, Loadable Image) Project", then browse the file - e.g. bootloader to this project.
See attached photo of the family and device number that I am using.
Then choose the appropriate hardware tool - I am using my pic32 chipKit which is connected to your computer using micro USB cable.
Run Your ChipKit on MP LABX With Bootloader
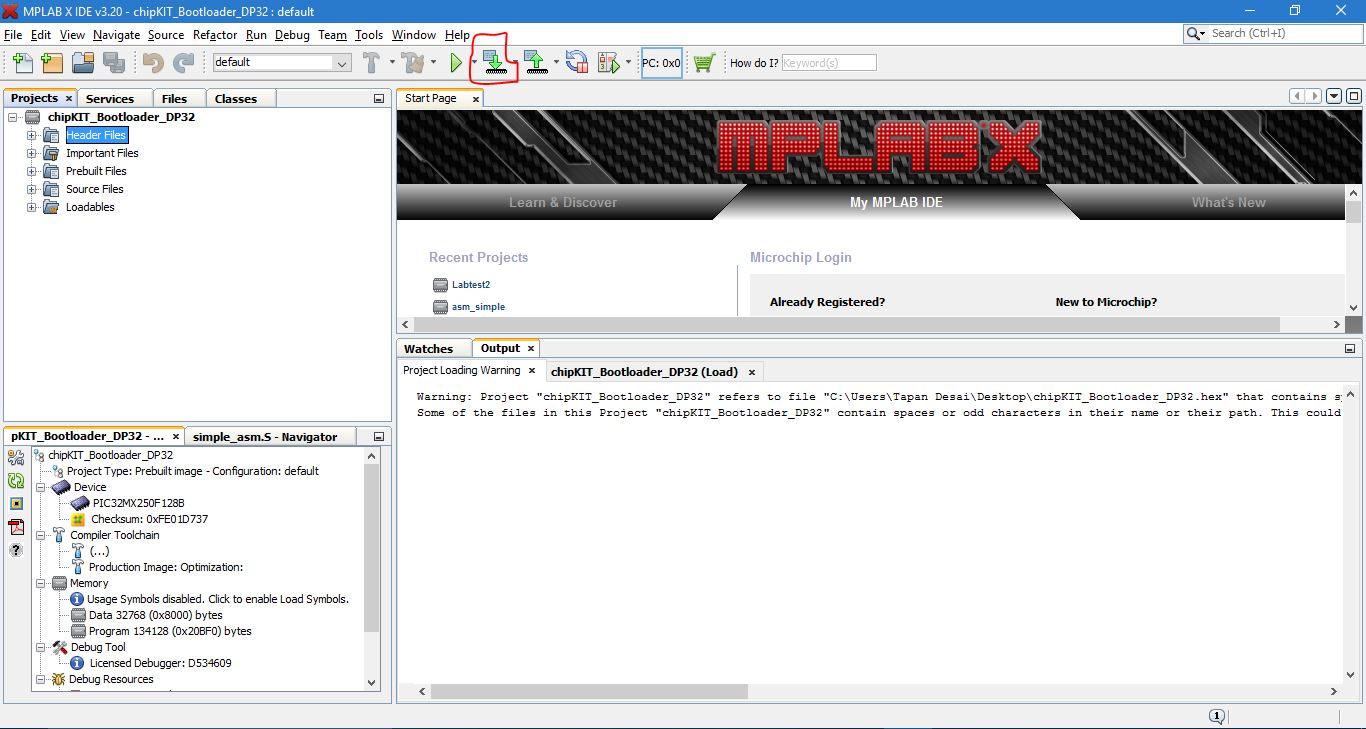
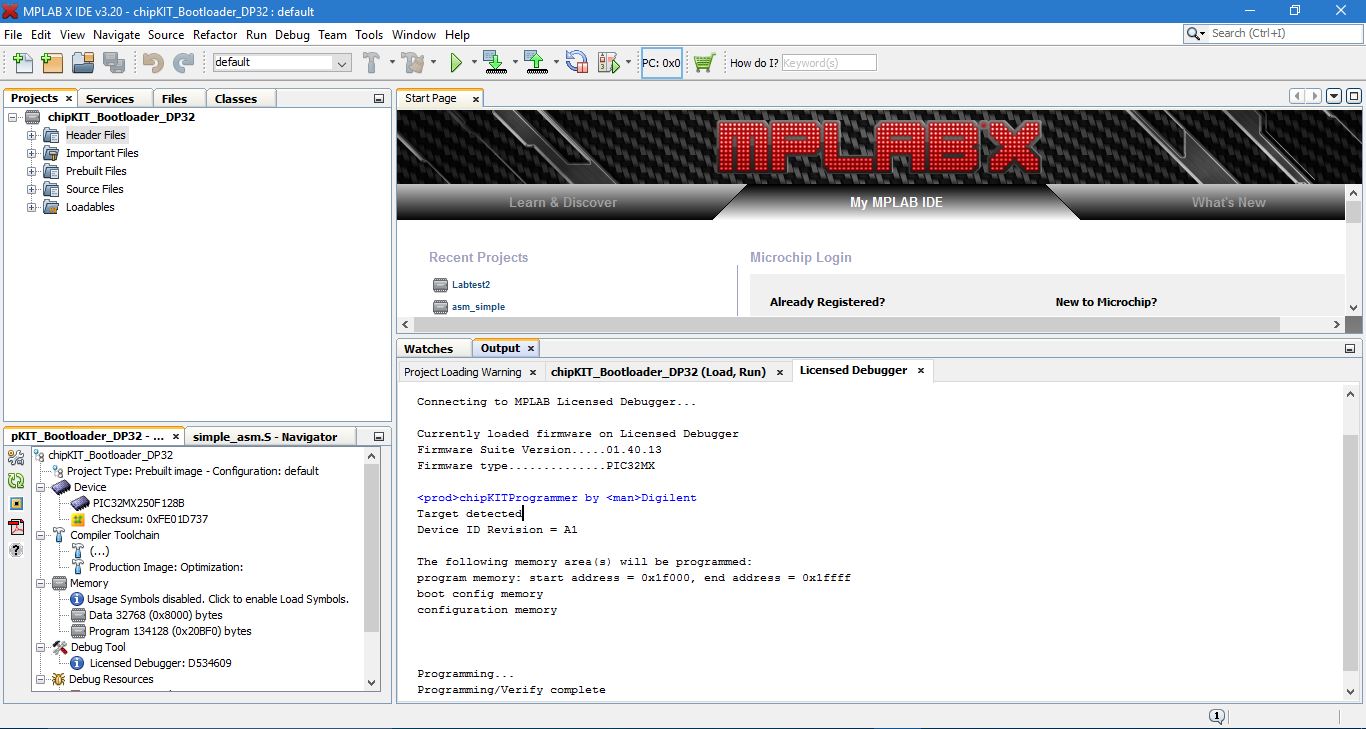
After setting up your project in MP LAB X IDE, you can begin to run your code on your chipKit to see LED flashes.
To do this, I will show you attached a screenshot. See red circle that I draw it in a screenshot?
That button means "make and program device main project".Once the bootloader is loading into your chipKit, you may see the LED light flashing - it means bootloader is successfully added into your chipKit using MP LAB X.
You may see the output result in your MP LAB X project. Please see second attached picture of my output result.
After this step is complete. Next step is we will perform some coolest things on Arduino.
Step 5:- Open Arduino IDE Program
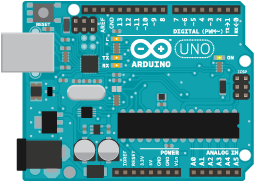
After opening the Arduino IDE Program, you can see it is almost similar to C programming in MP LAB X.
click "file" > "example" - there are many different types of examples of source code you can play with your chipKit.
for me, I am using Blink to show the LED flashes.
Again, you can play different types of example source codes to show LED flashes on your chipKit.
**Note - you may need to keep MPLAB X open while developing in the Arduino IDE. The reason is that you may need to reflash the bootloader from MPLAB X before downloading updated code from Arduino onto the chipKIT board. Do this if downloading from Arduino gives a “target not found” error.
Fun Activity - Debounce Exercise
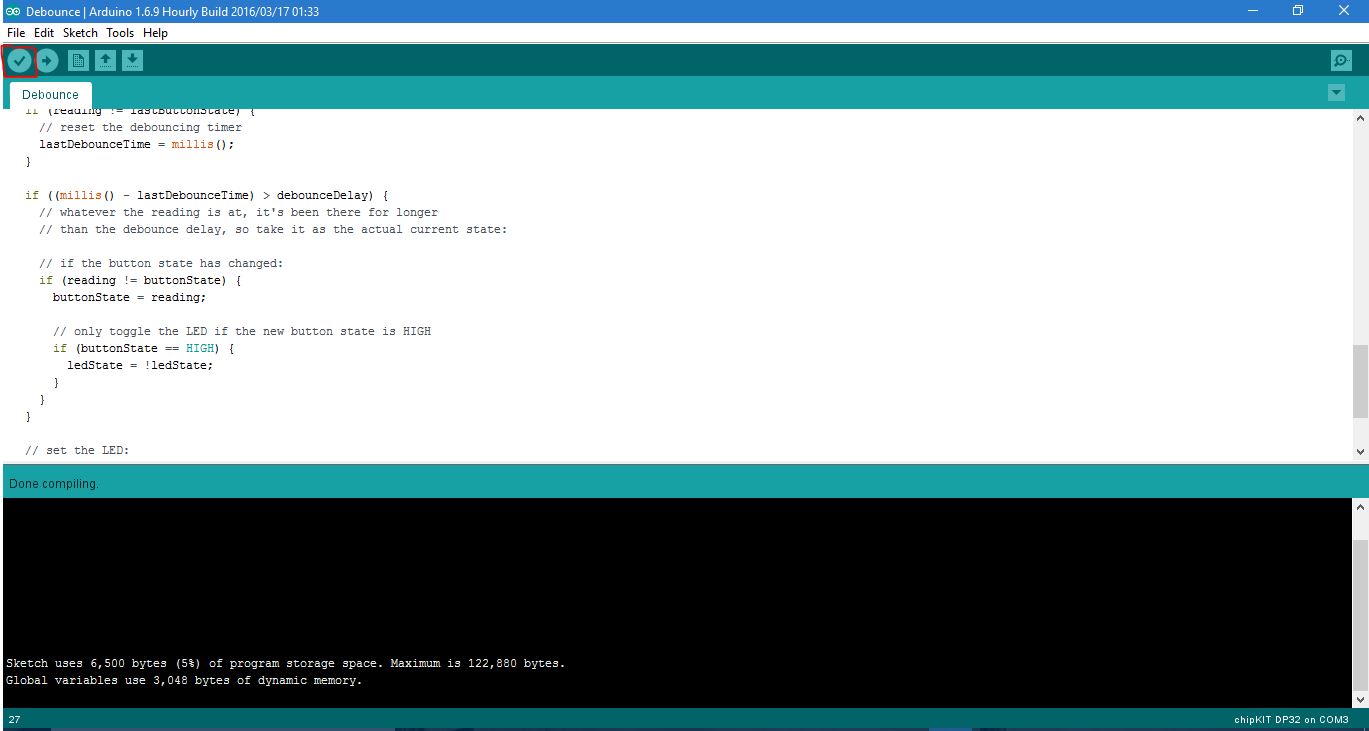
I am going to something fun and a unique exercise in Arduino called Debounce.
Tutorial for how to do debounce exercise - http://www.arduino.cc/en/Tutorial/Debounce
After you complete the step 5, open Arduino.
After opening Arduino - go to File > Example > Digital > Debounce - it will open in new window.
When you open the debounce file, save it into your directory.
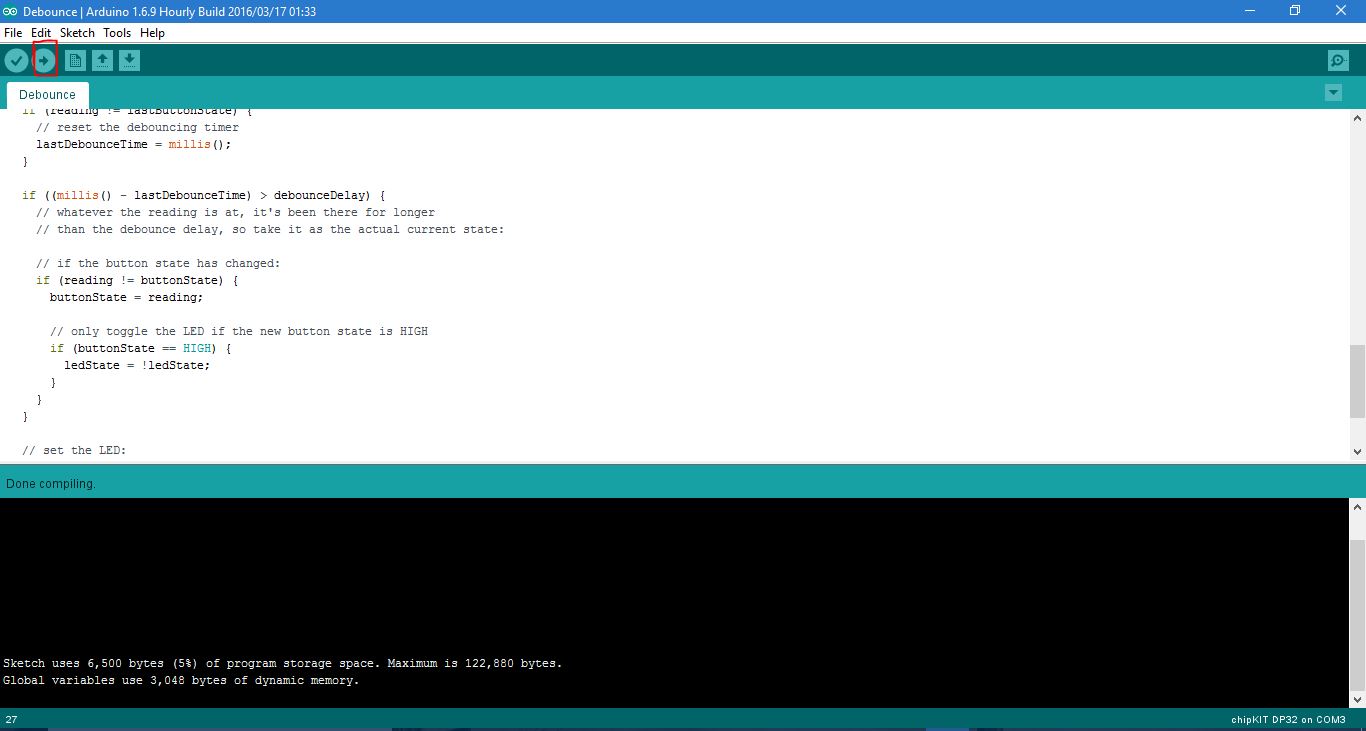
Click "verify" button. (See attached picture)
When you see the compiler running the output, you can see result that is verified.
After compiling, please click "upload" (see attached picture)
Then you can see the LED flashes. You can use push button to push and see LED flashes on and off.
That's all! Feel free to use other example source code to get familar with Arduino programming. :)