Cheerlights Christmas Tree
by brightcolorfulflickers in Circuits > LEDs
2219 Views, 8 Favorites, 0 Comments
Cheerlights Christmas Tree
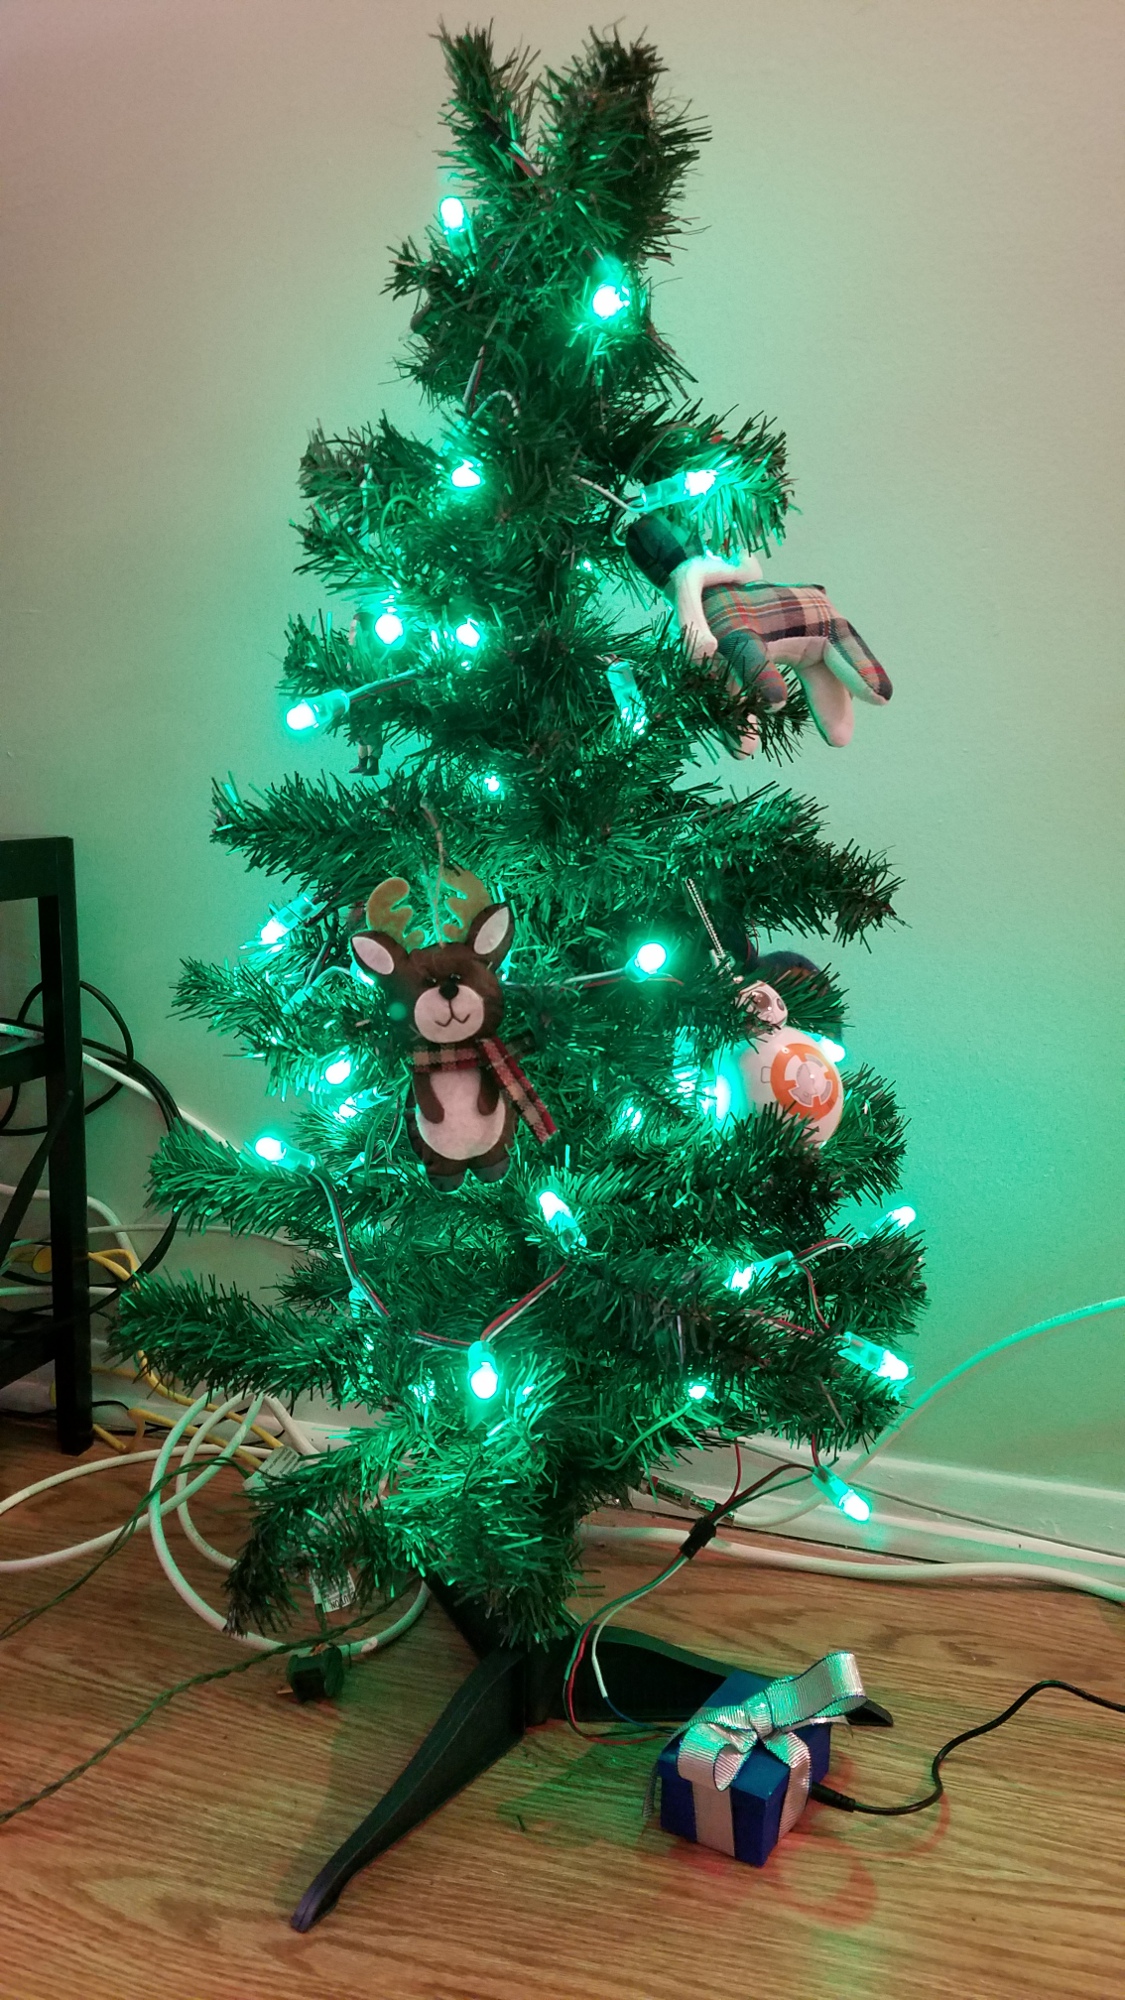
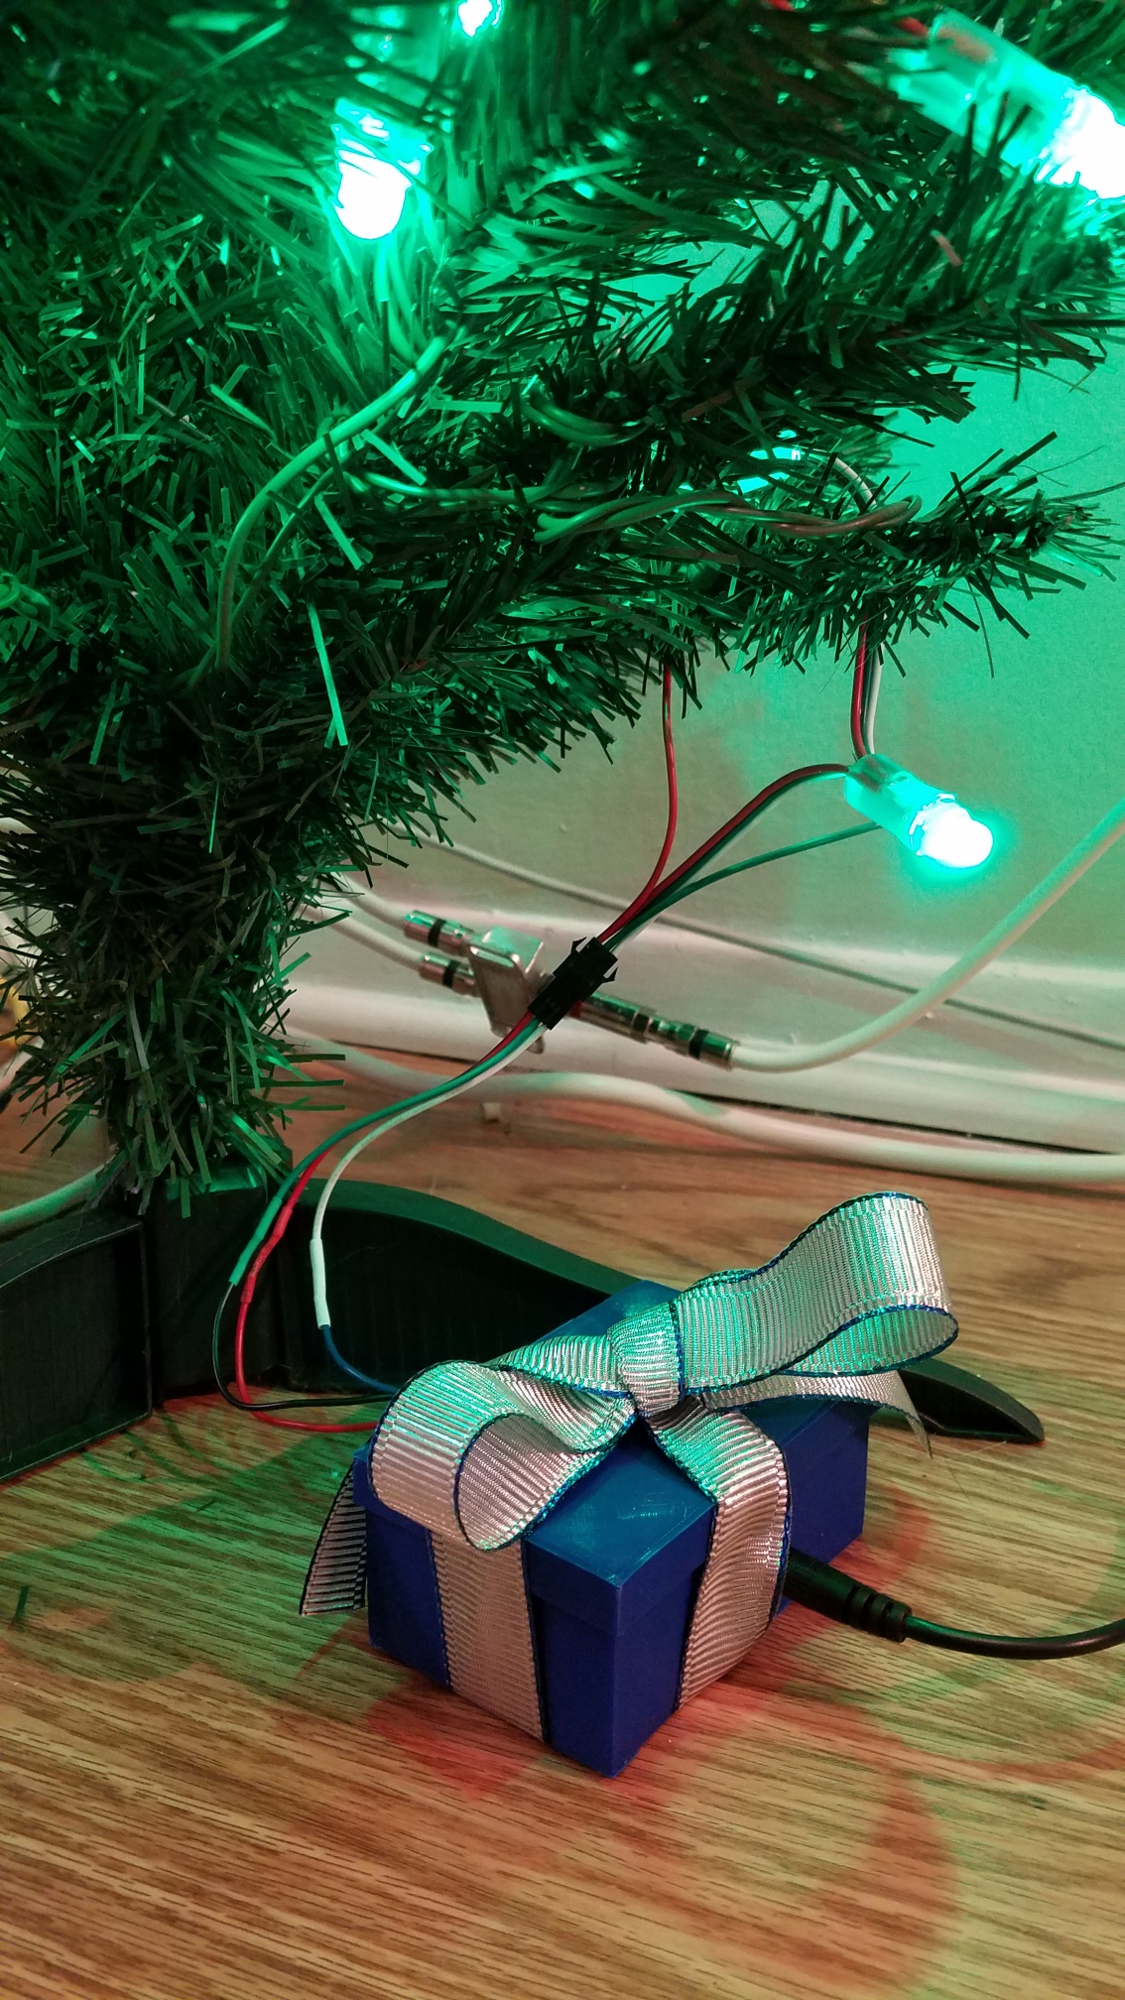
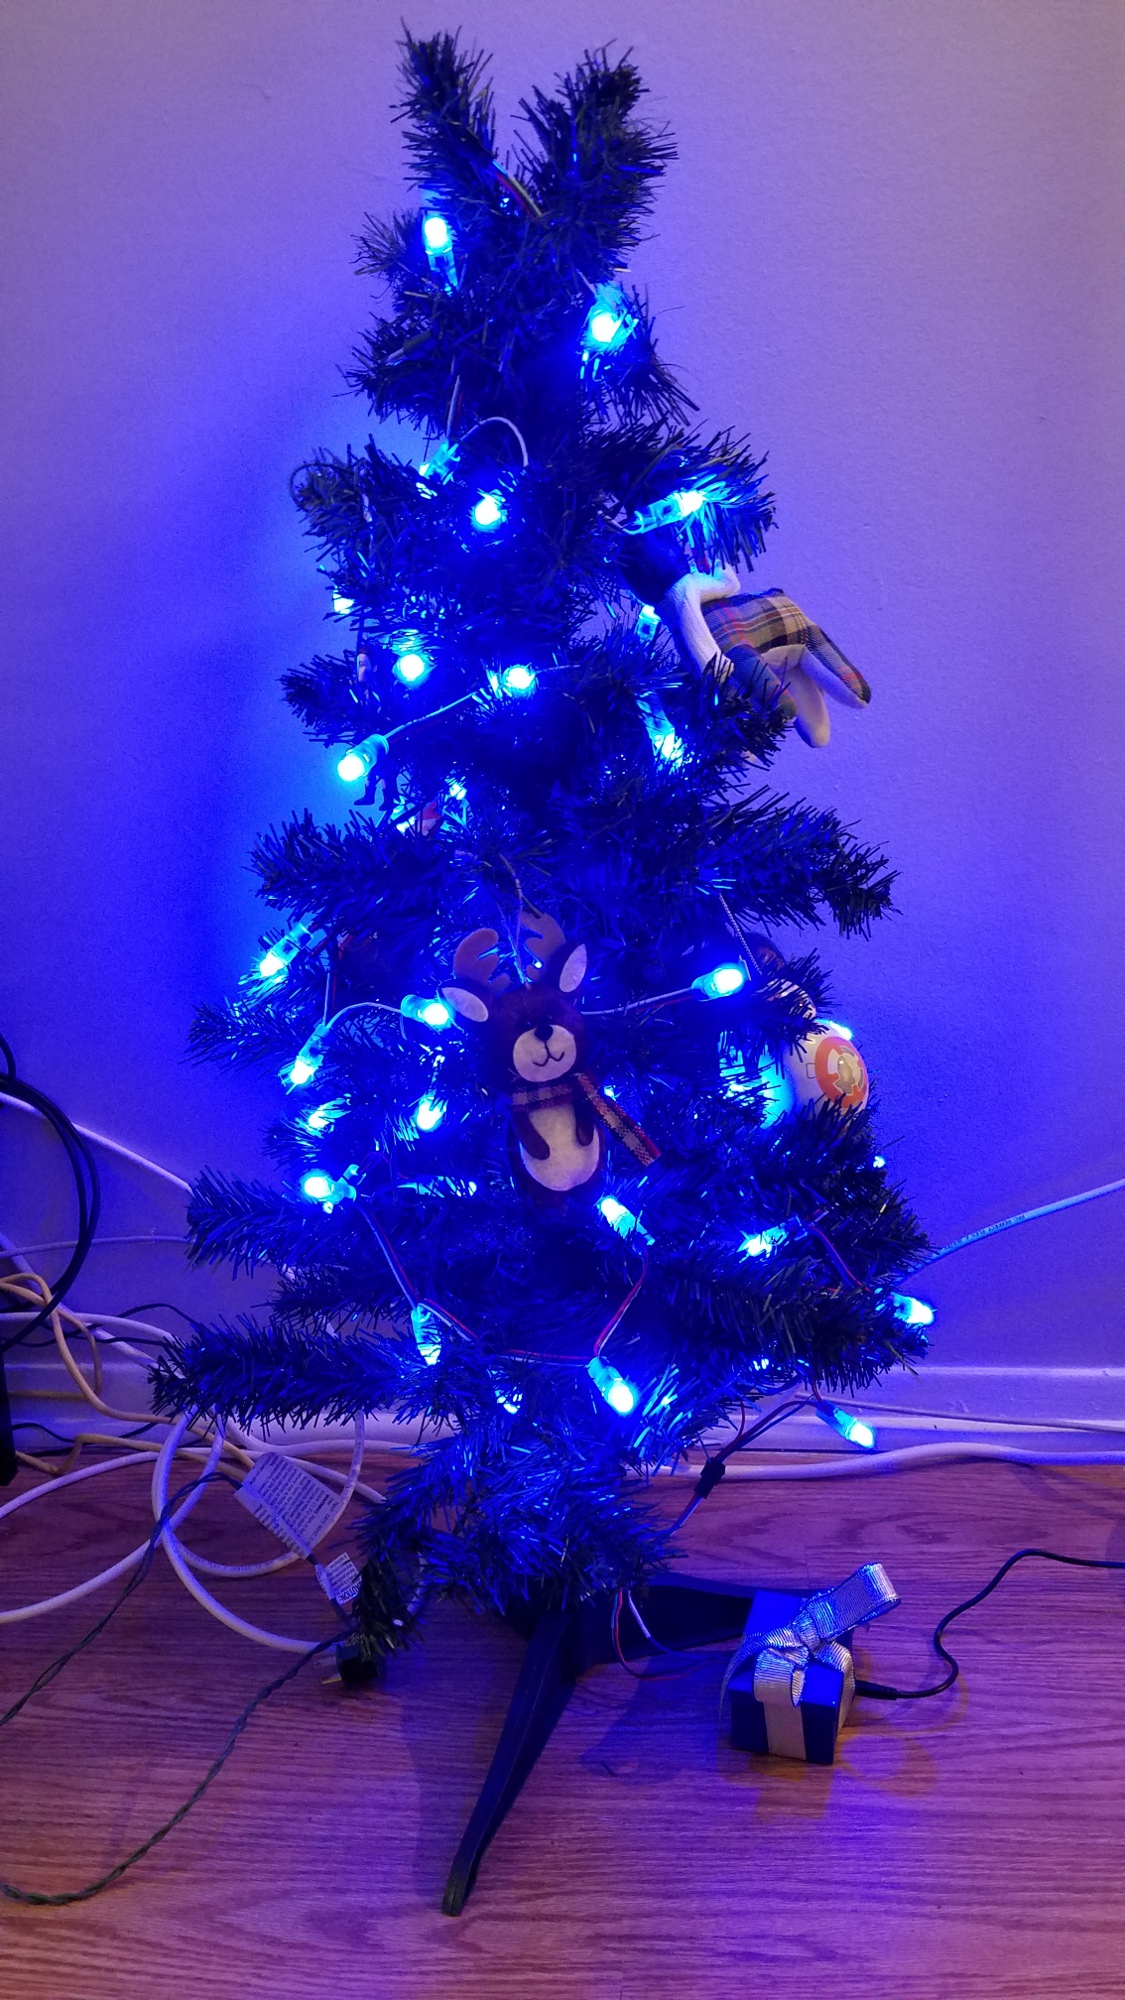
Have you ever wanted to tweet at your Christmas tree to change its color? Well now you can! Follow this guide to build a set of Christmas lights which will connect to Cheerlights. Anyone can tweet @cheerlights with a color, and all Cheerlights-connected devices all over the world will update to that color.
Parts List
- Adafruit Huzzah
- Adafruit Perma Proto
- WS2811 Pixels
- Level Shifting IC
- >=1000 uF capacitor
- Panel mount DC jack
- 5V 2A power supply
- USB to Serial converter to upload code such as this or this
- Hookup wire
- Solder
- Heat shrink
- Male headers
- 3 ft artificial tree such as this, or any tree you want!
- PLA filament for case (optional - can also make case out of cardboard etc)
- Optional ribbon or bow
Tools Needed:
- Soldering iron
- Heat gun
- Typical electronics tools like wire strippers, flush cutters, etc.
- 3D printer (optional - you can make your own case however you like)
Solder Circuit
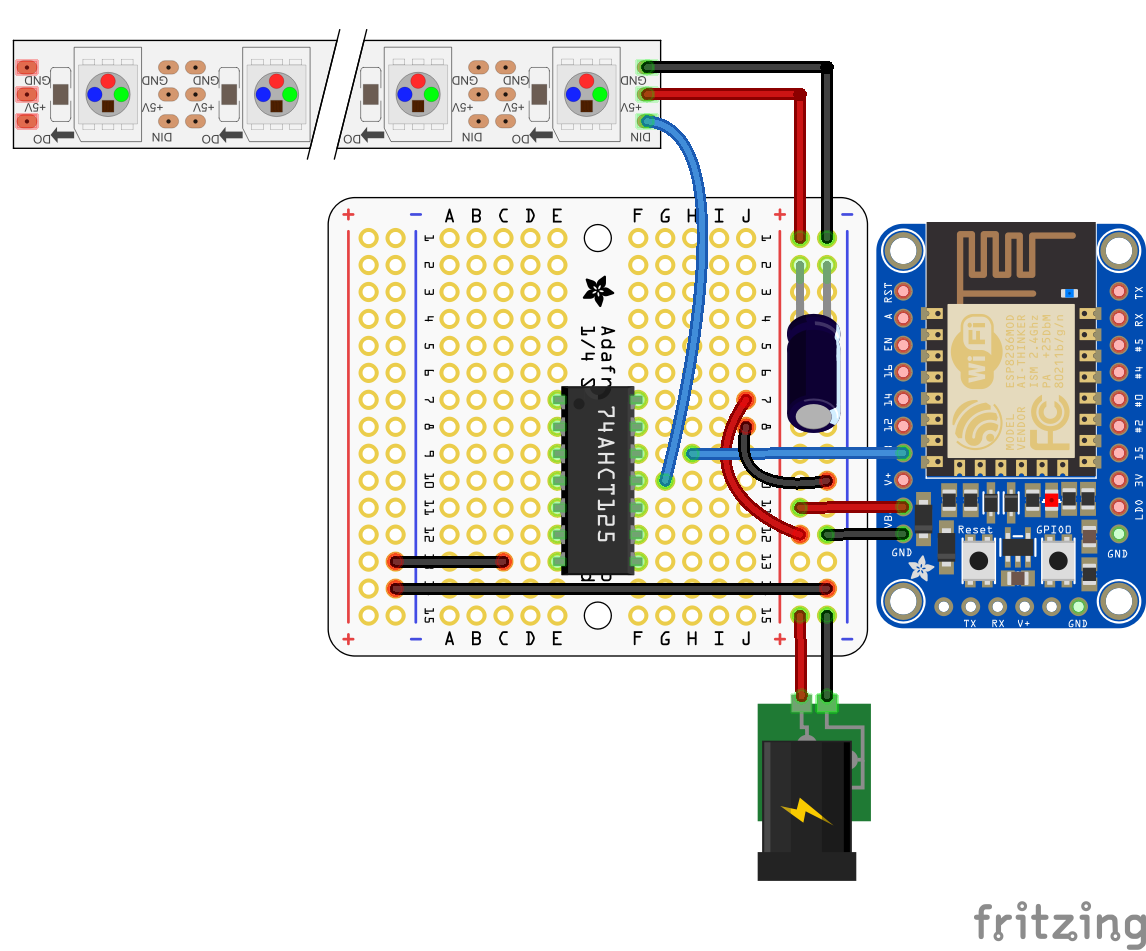
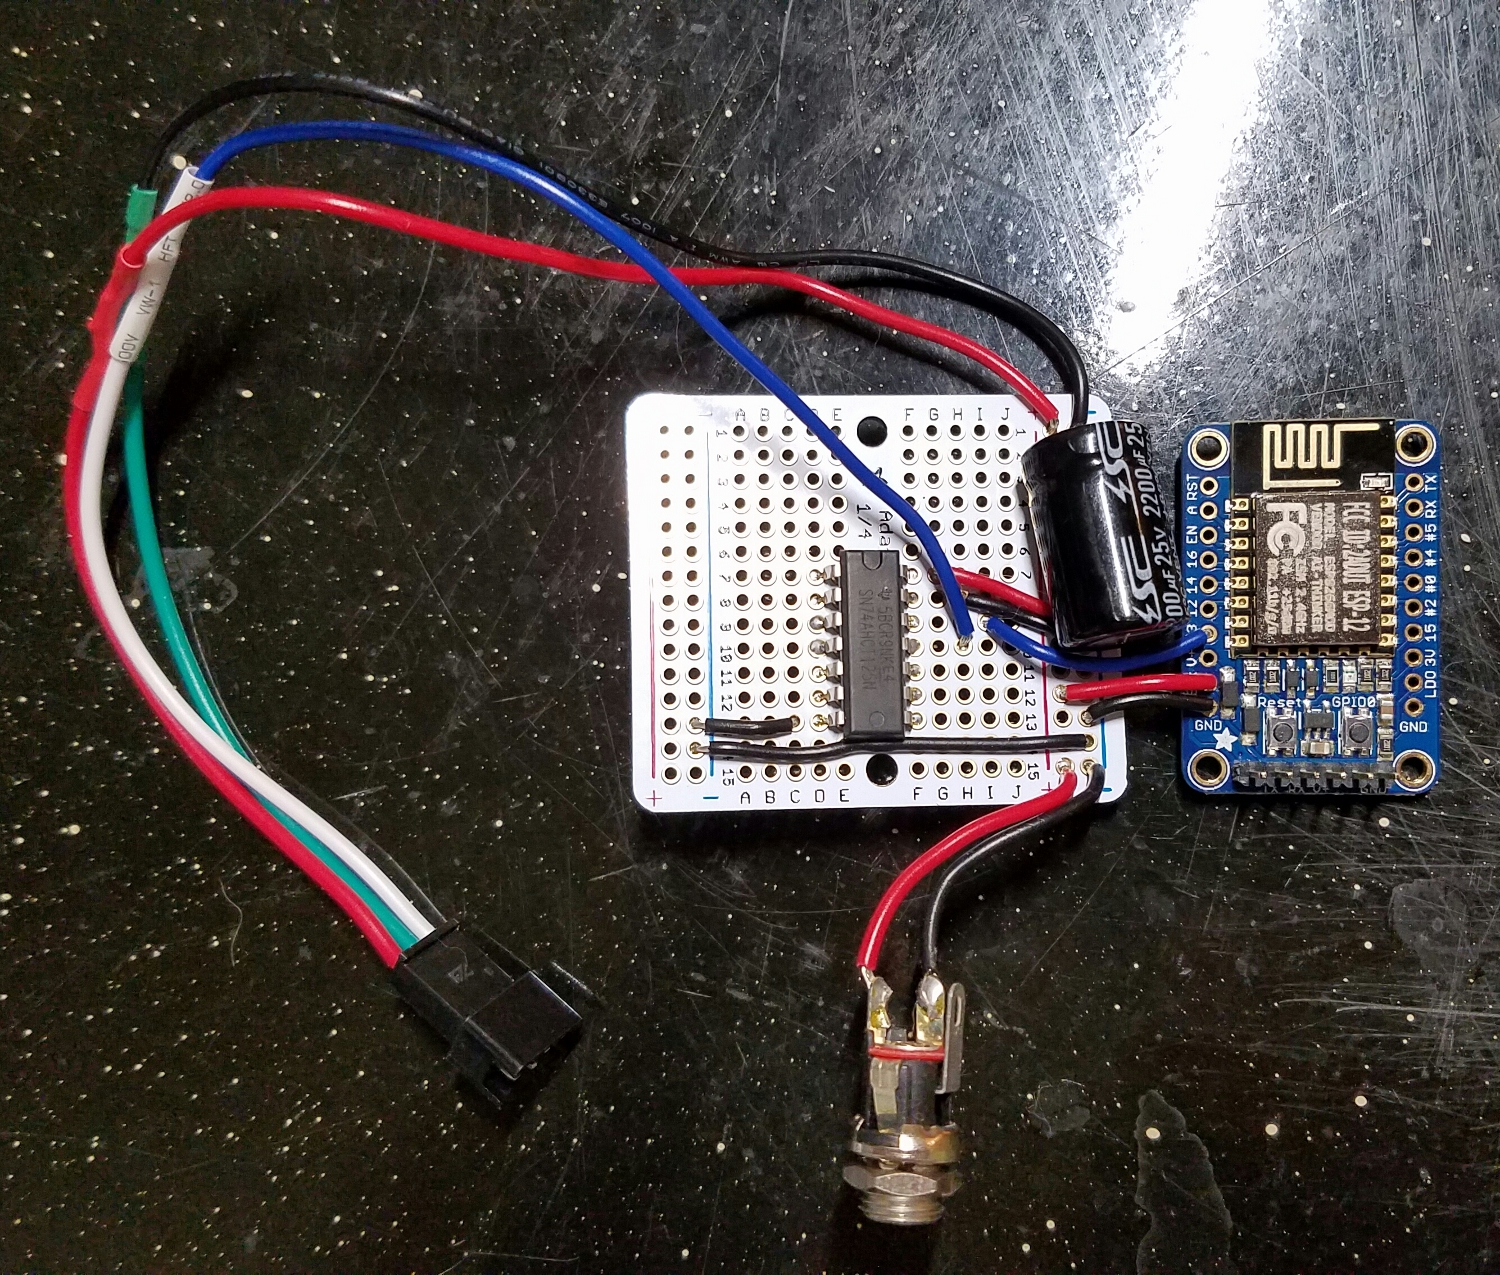
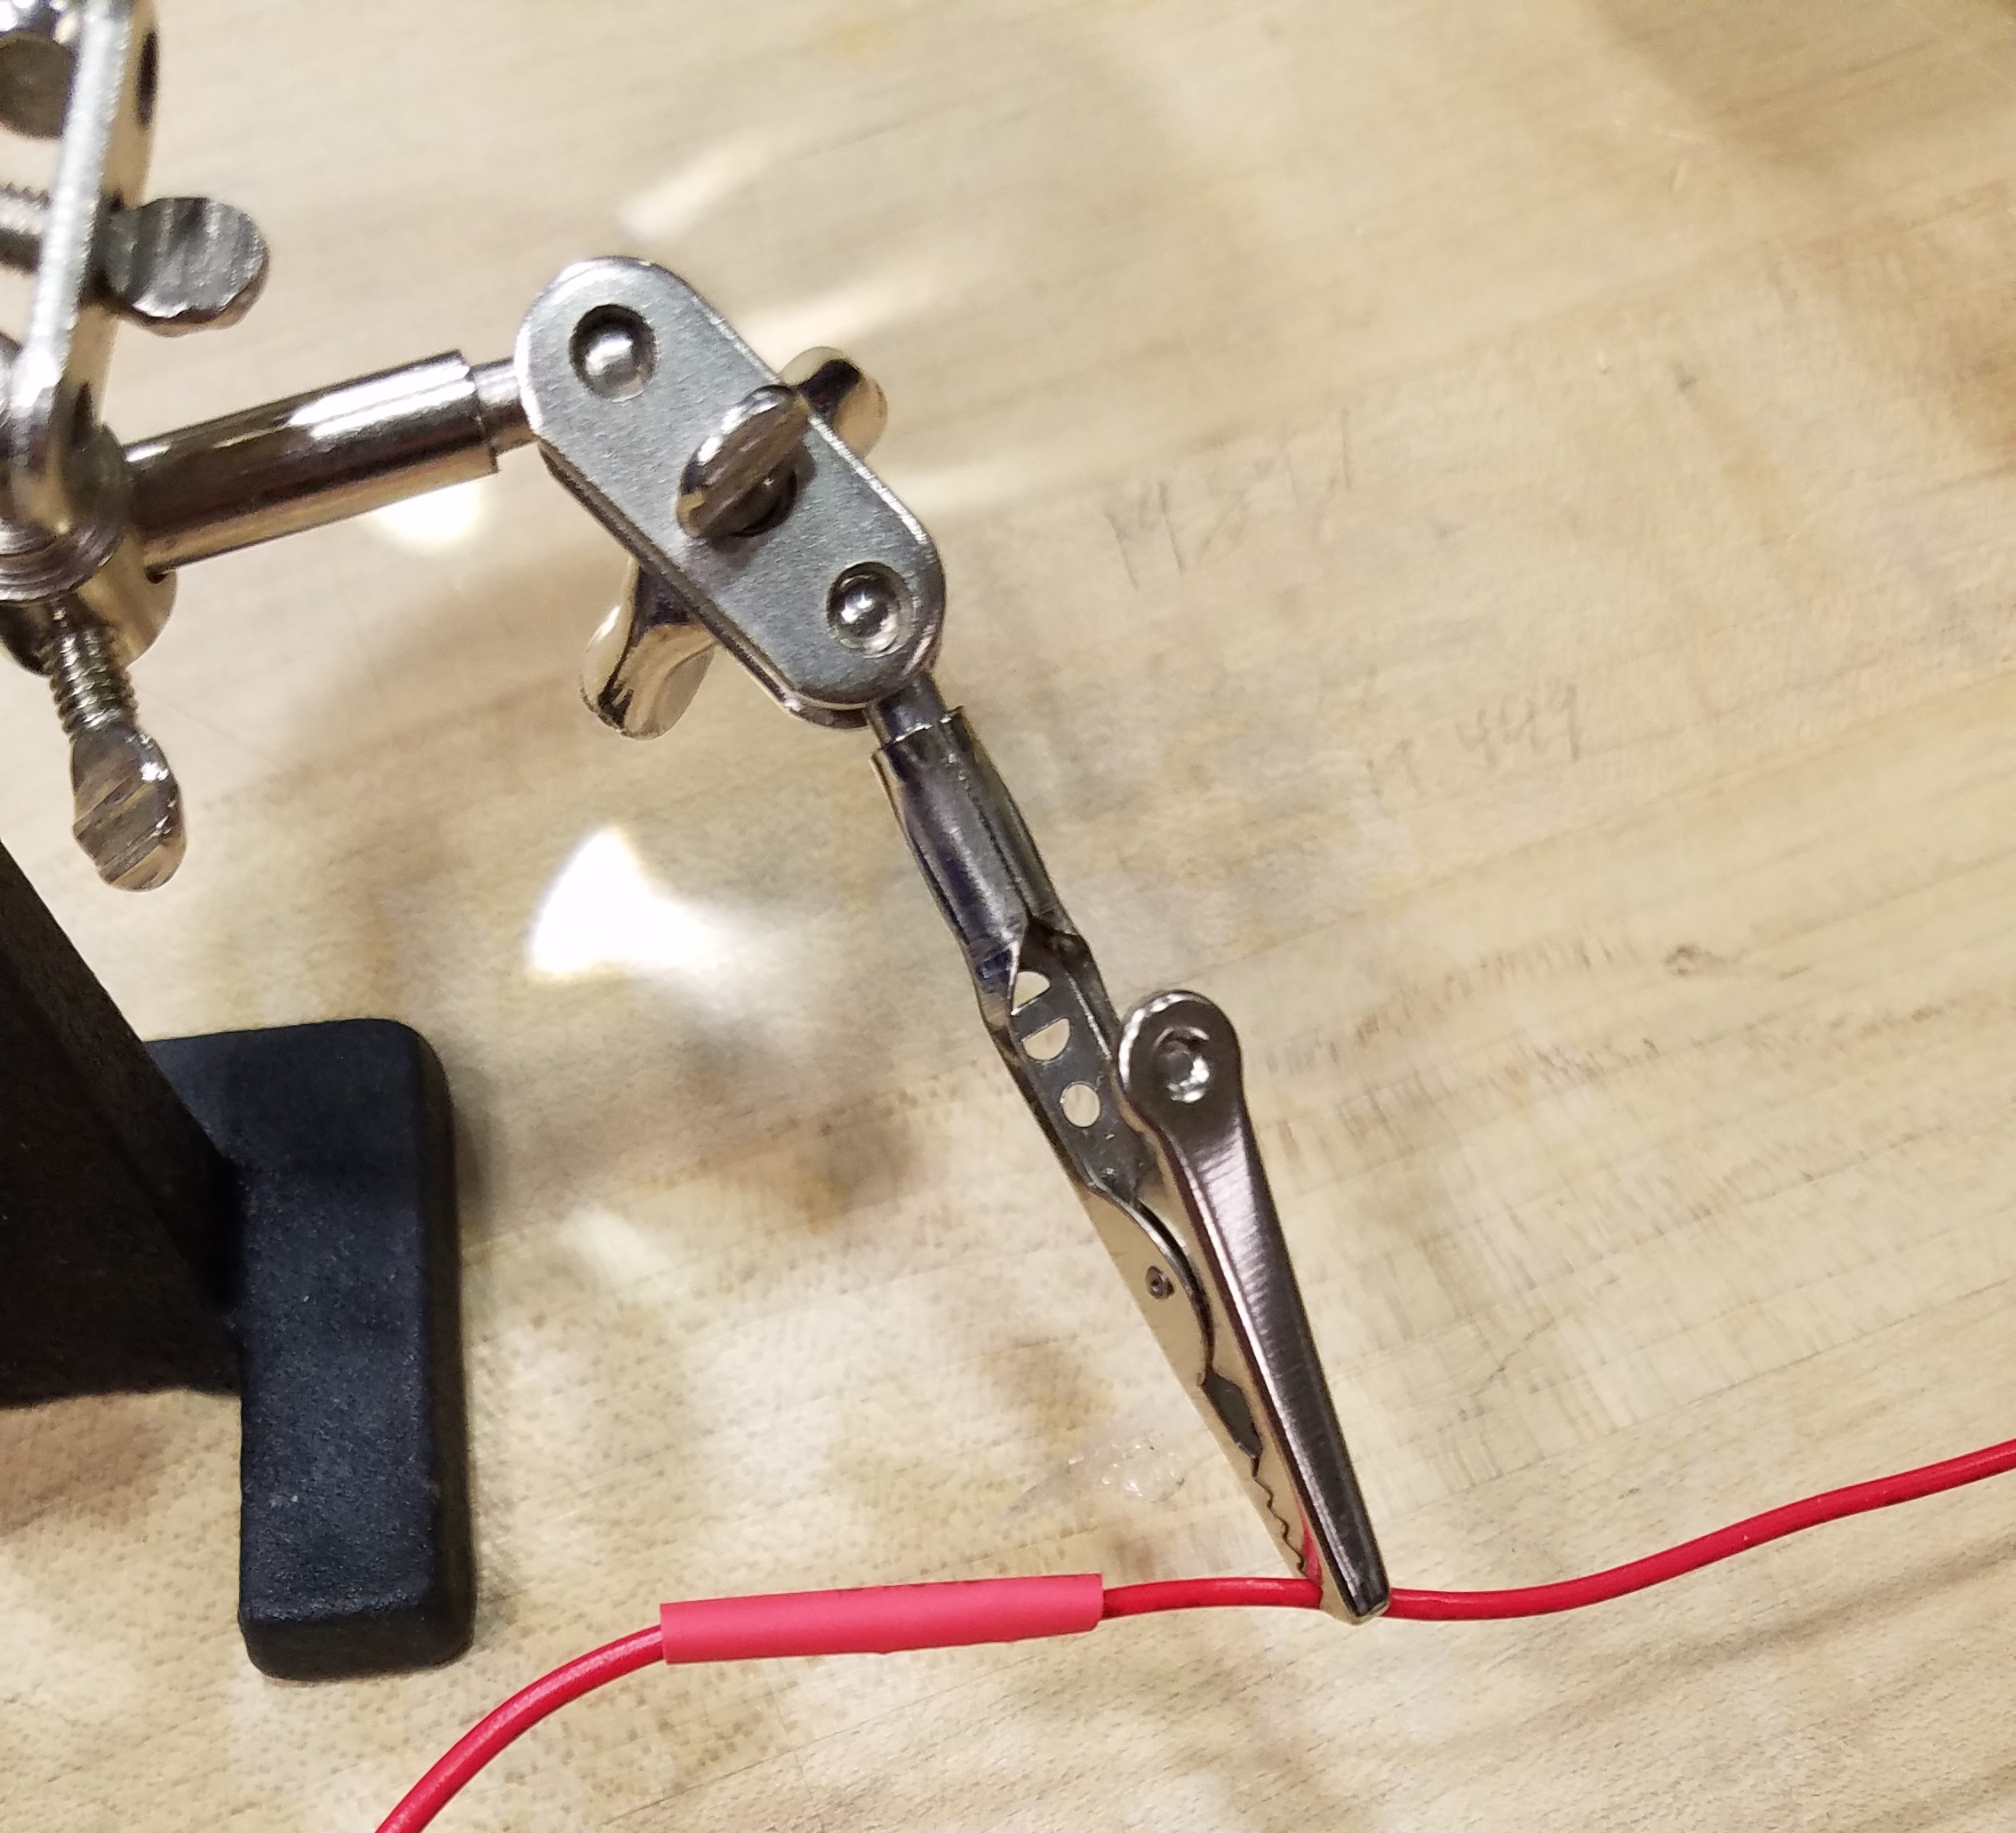
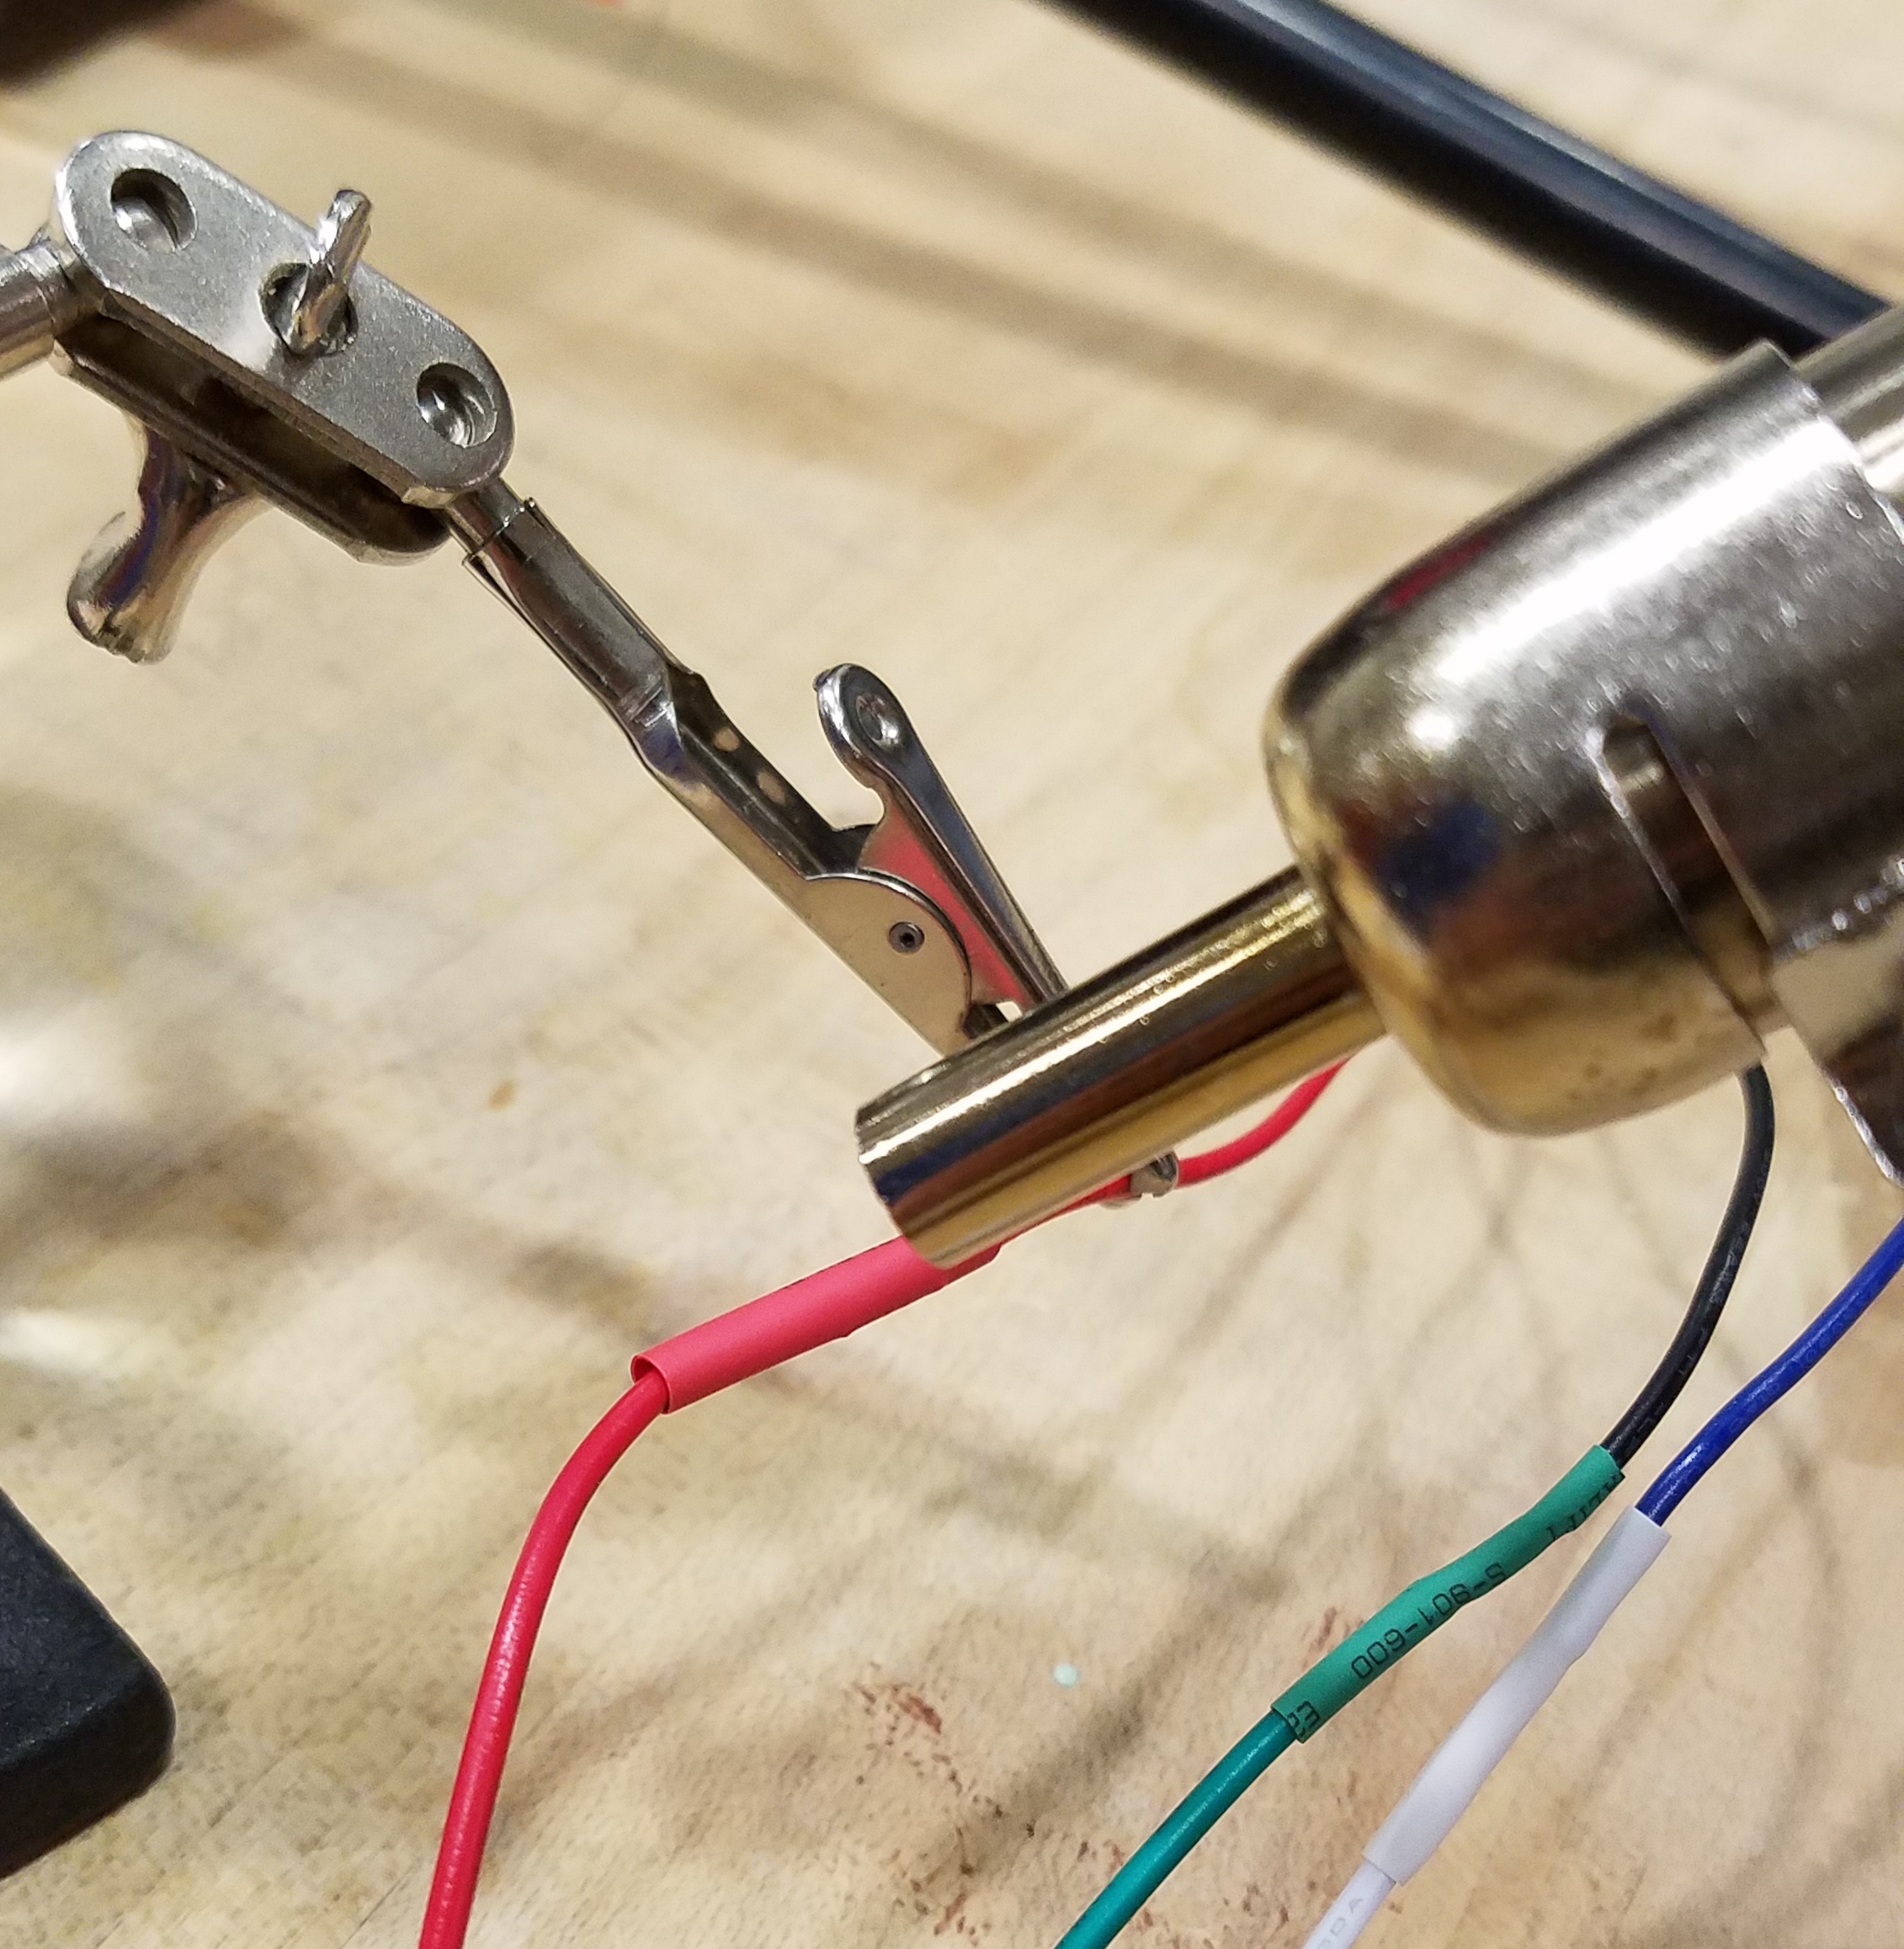
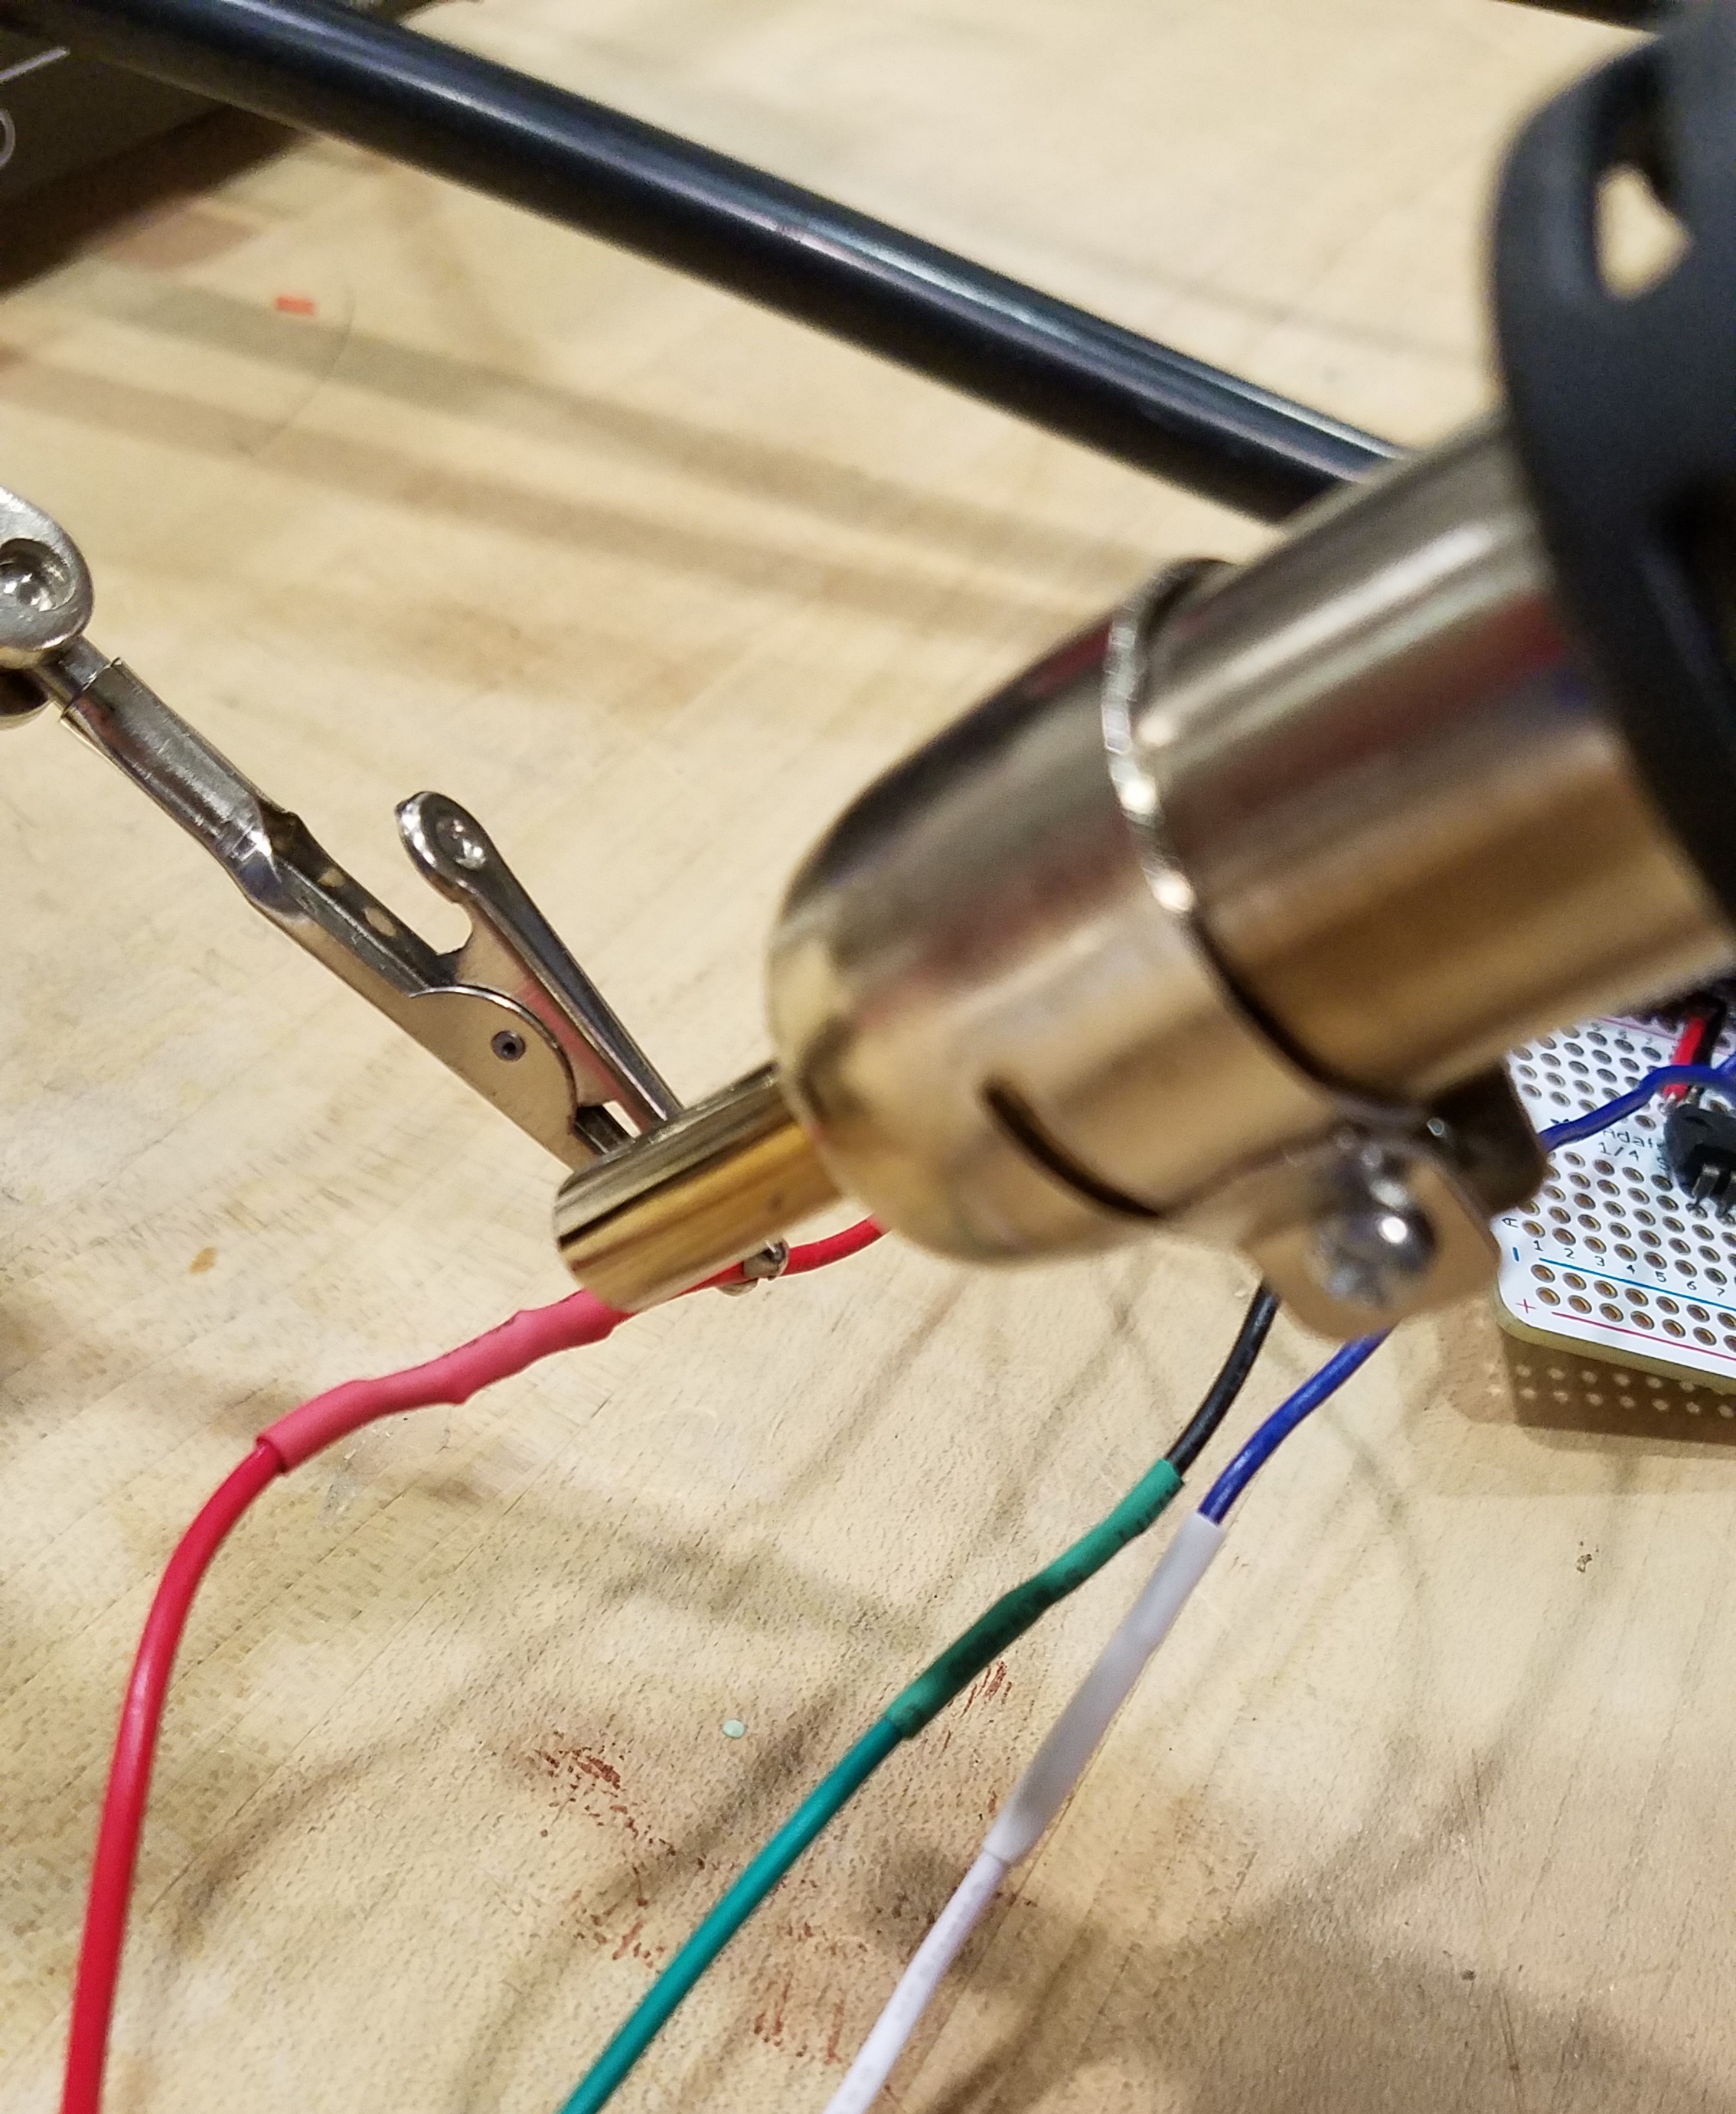
Solder the circuit according to the diagram. You will also need to solder male headers onto the Huzzah to be able to upload code.
Usually, LED strips from AliExpress come with a spare connector. After carefully checking which wire is power, signal, and ground (the order varies depending on which strip you get), slide some heat shrink on the wires and solder your power, ground, and signal wires to the extra connector. Then apply heat to the heat shrink to protect your connections. If your LEDs did not come with connectors, Adafruit makes some great ones.
Why the extra IC, you ask? Well, the ESP8266 is a 3.3V logic microcontroller, and addressable LEDs are designed to work with 5V logic. Often you can get the LEDs to work with 3.3V logic, but I wanted to be sure this would work and also to learn something new. The IC converts the logic level of the LED signal to 5V, so it should work flawlessly.
Test LEDs
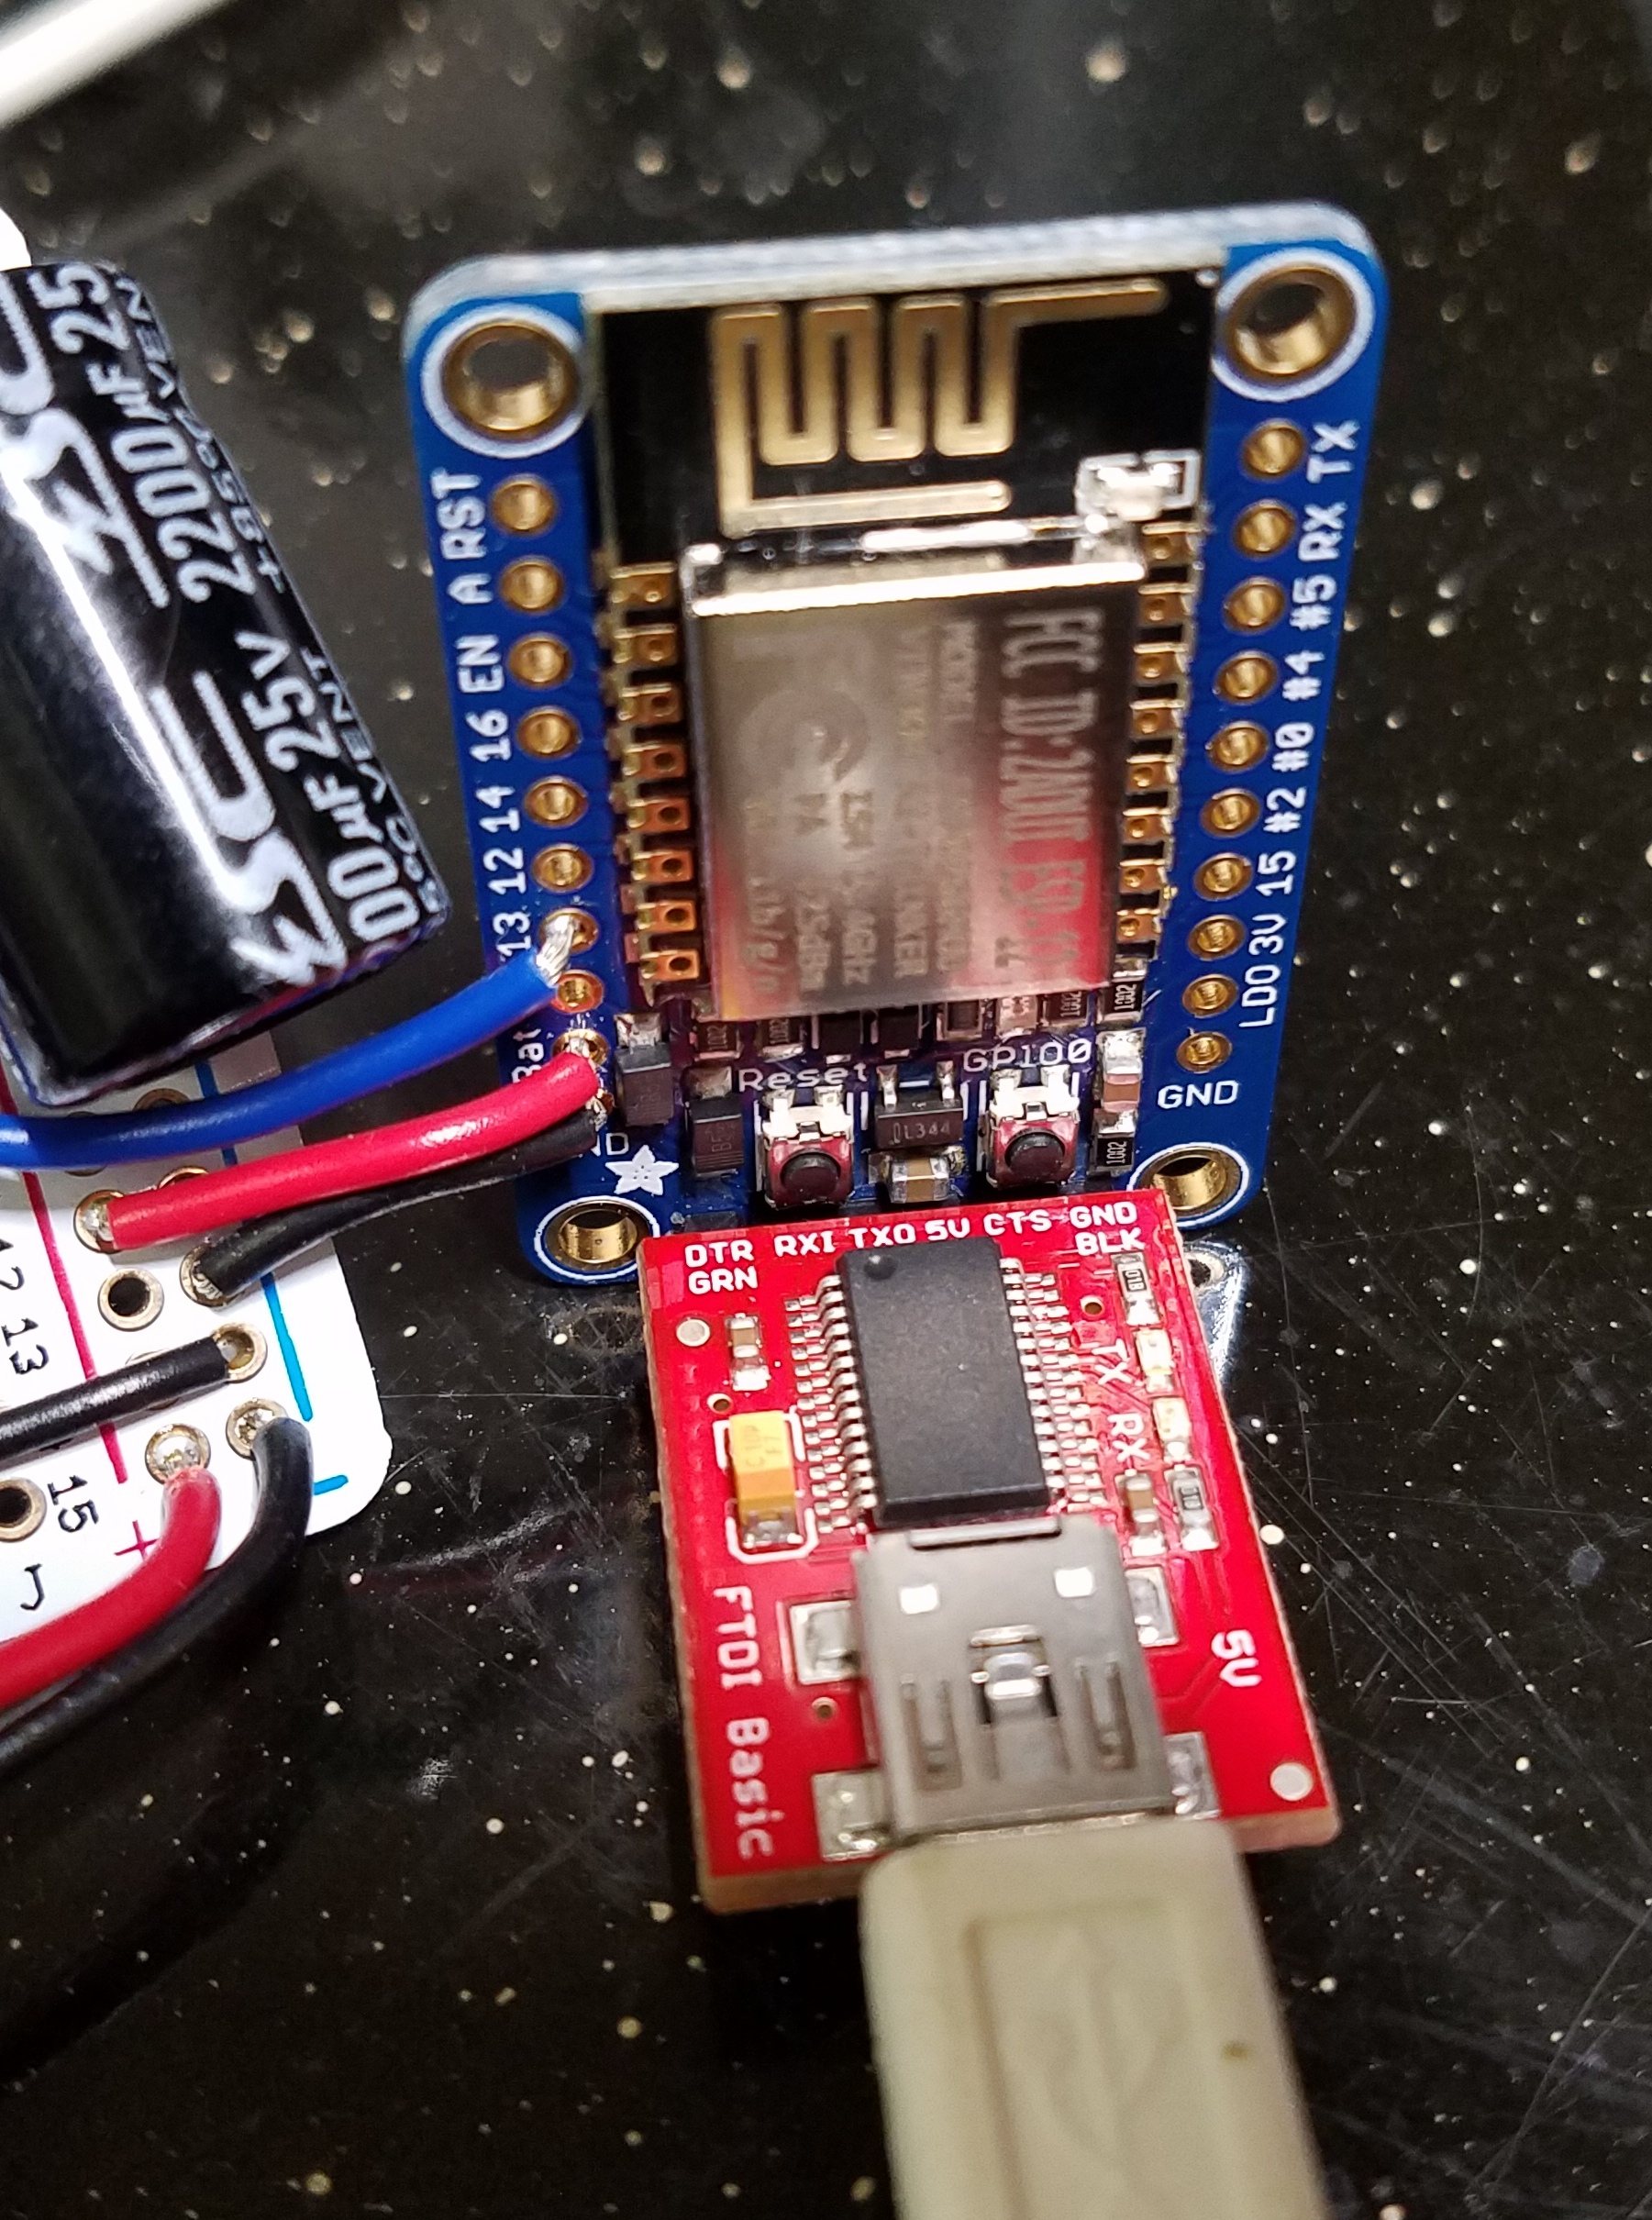
Install the Adafruit Neopixel library if you don't already have it. Everything you need to know about getting the Huzzah to work with the Arduino IDE can be found here.
First, test your LEDs to make sure they work. Open the strandtest example from the Neopixel library.
Make the following changes:
#define PIN 13

Adafruit_NeoPixel strip = Adafruit_NeoPixel(50, PIN, NEO_RGB + NEO_KHZ400);
This is what worked for my LEDs, but you may have to adjust.
Upload the code. Follow Adafruit's instructions here. Remember to hold down GPIO, then press reset, then let go of reset and GPIO to get into bootloader mode. Then hit upload in the Arduino IDE.
Once your LEDs are working and have the correct RGB/GRB assignment and frequency, proceed to the next step.
Upload Cheerlights Code
Now you're ready to upload the actual Cheerlights code!
Download the attached file. You will need to edit it to add your wifi SSID and password. Also update the Neopixel initialization to have the correct RGB/GRB and frequency as found by using strandtest.
Once you've done that, save and upload it.
One feature that I've added to the code is occasional animations. If 30 seconds pass without a color change, the lights will perform a random animation. Right now, I only have two animations, but you can add your own if you like.
Downloads
Make Case - 3D Printed or Otherwise!
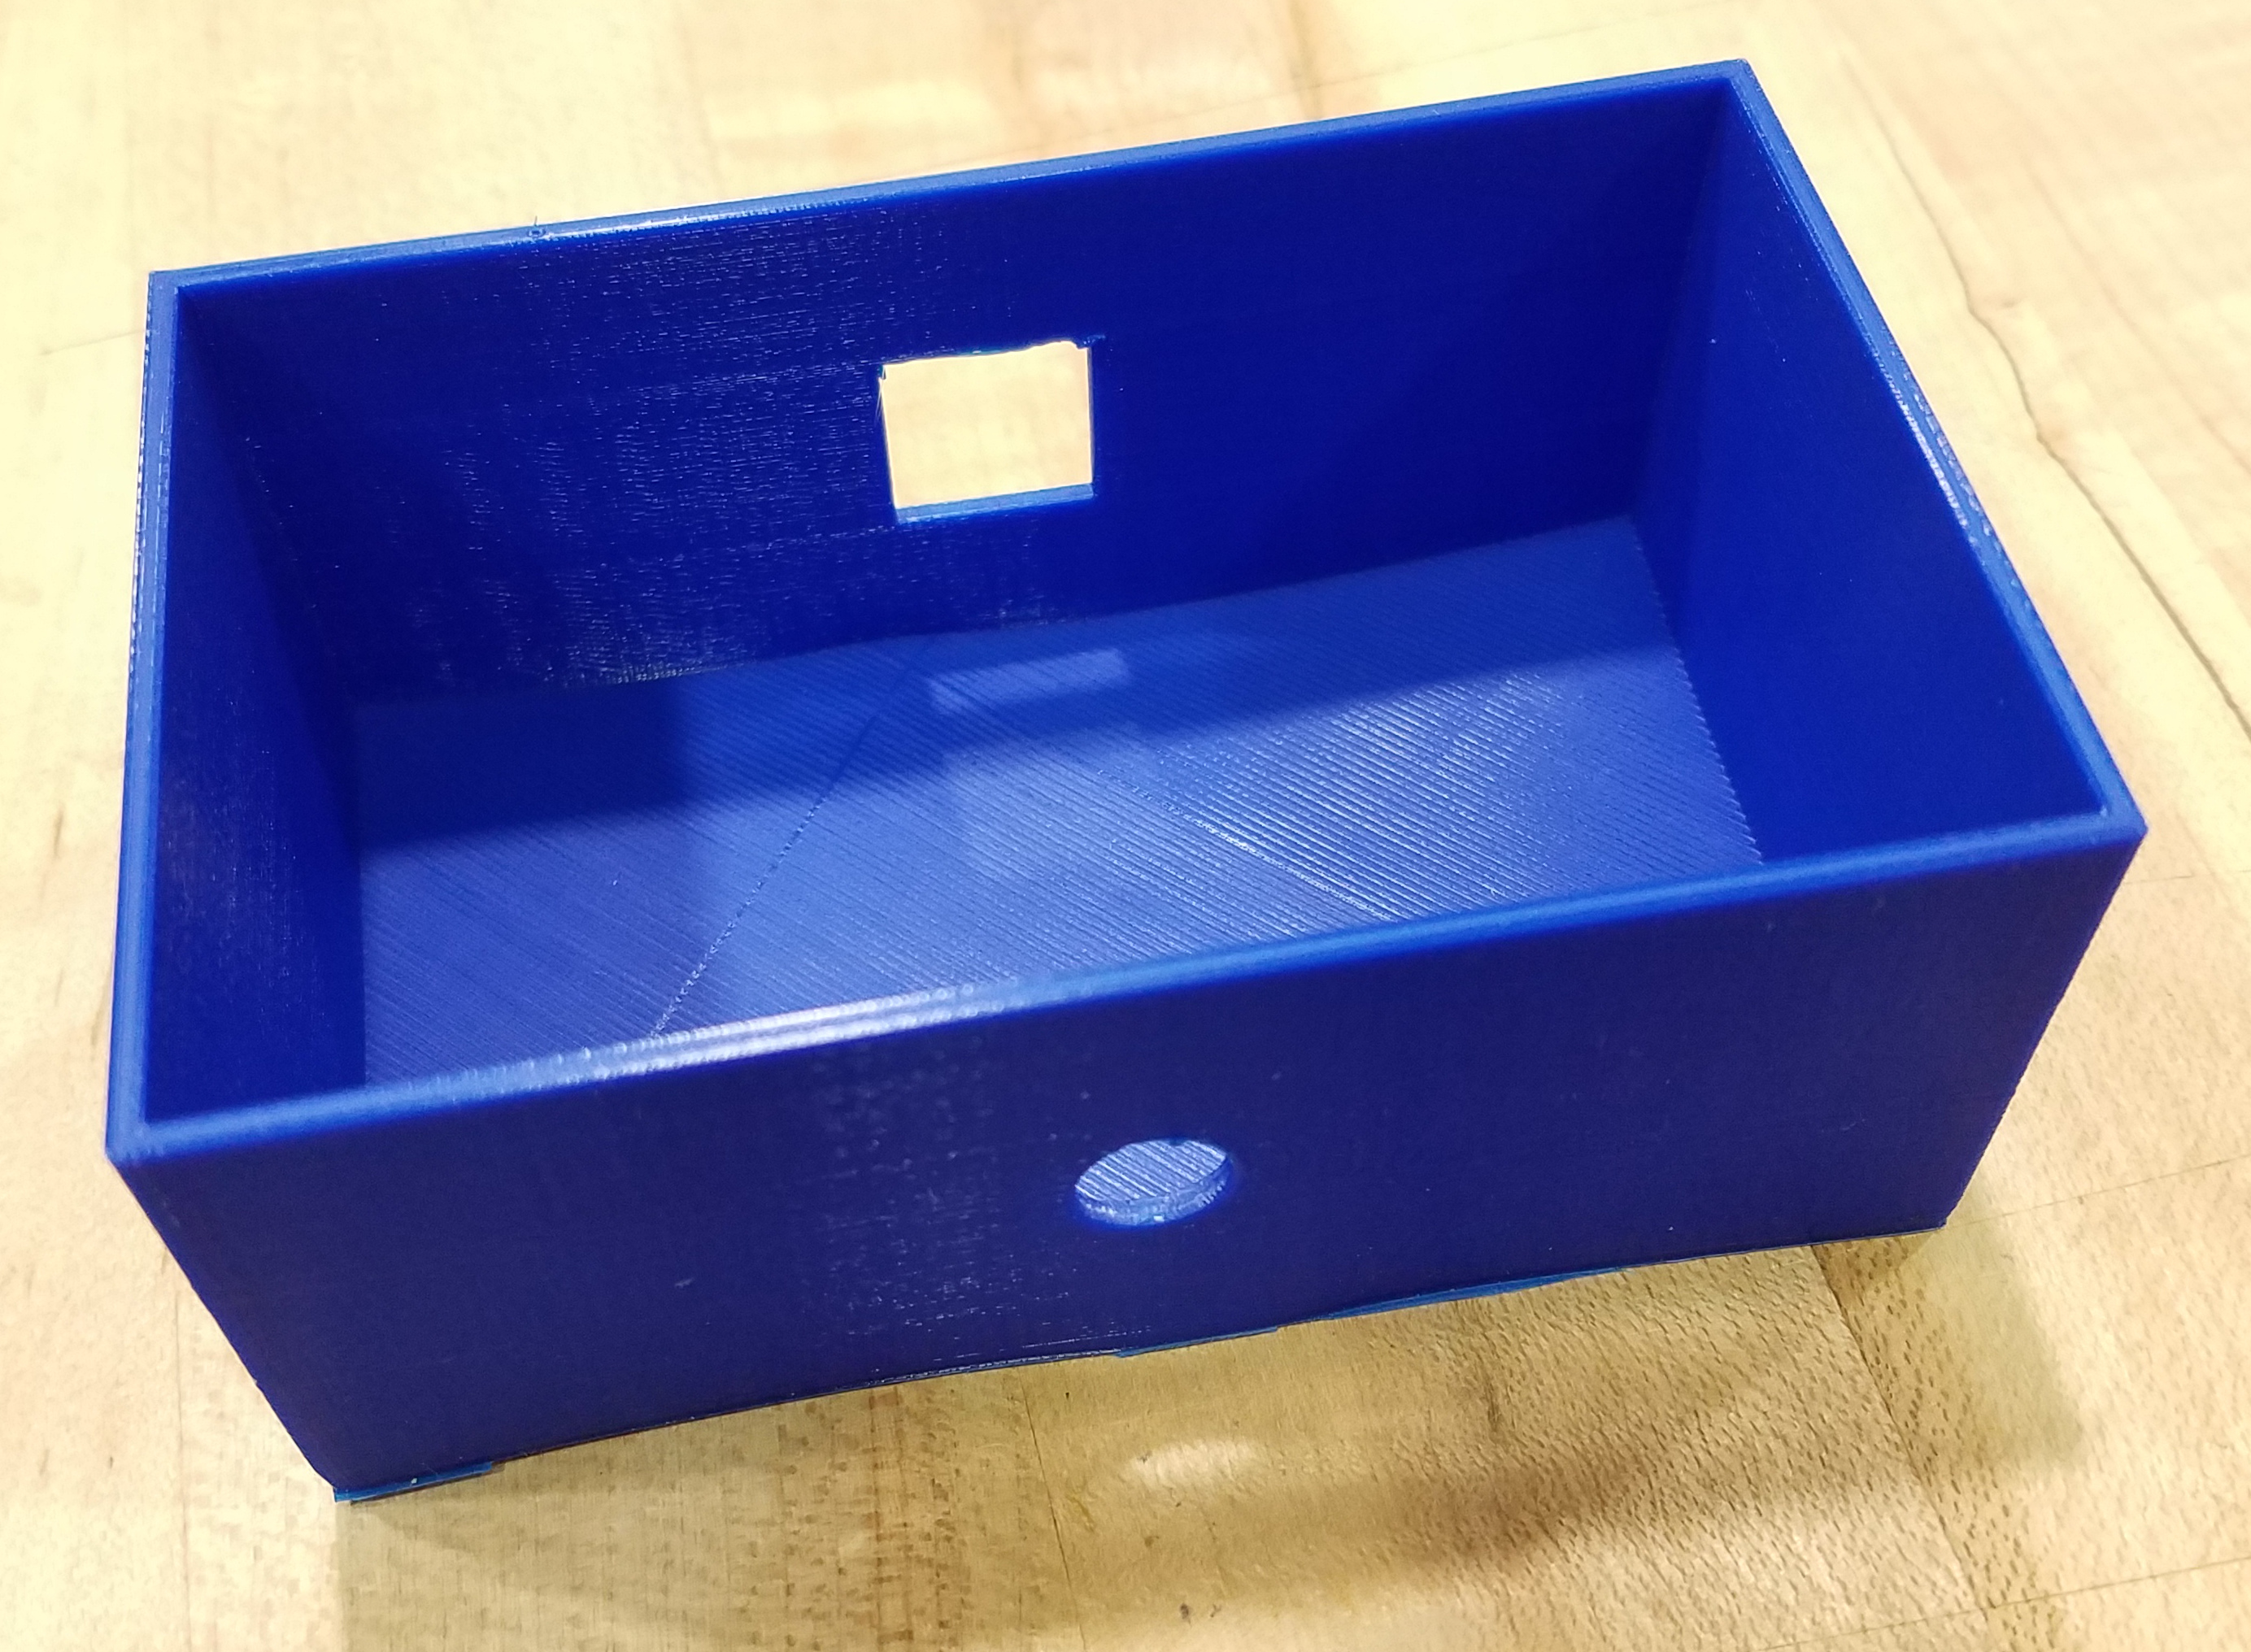
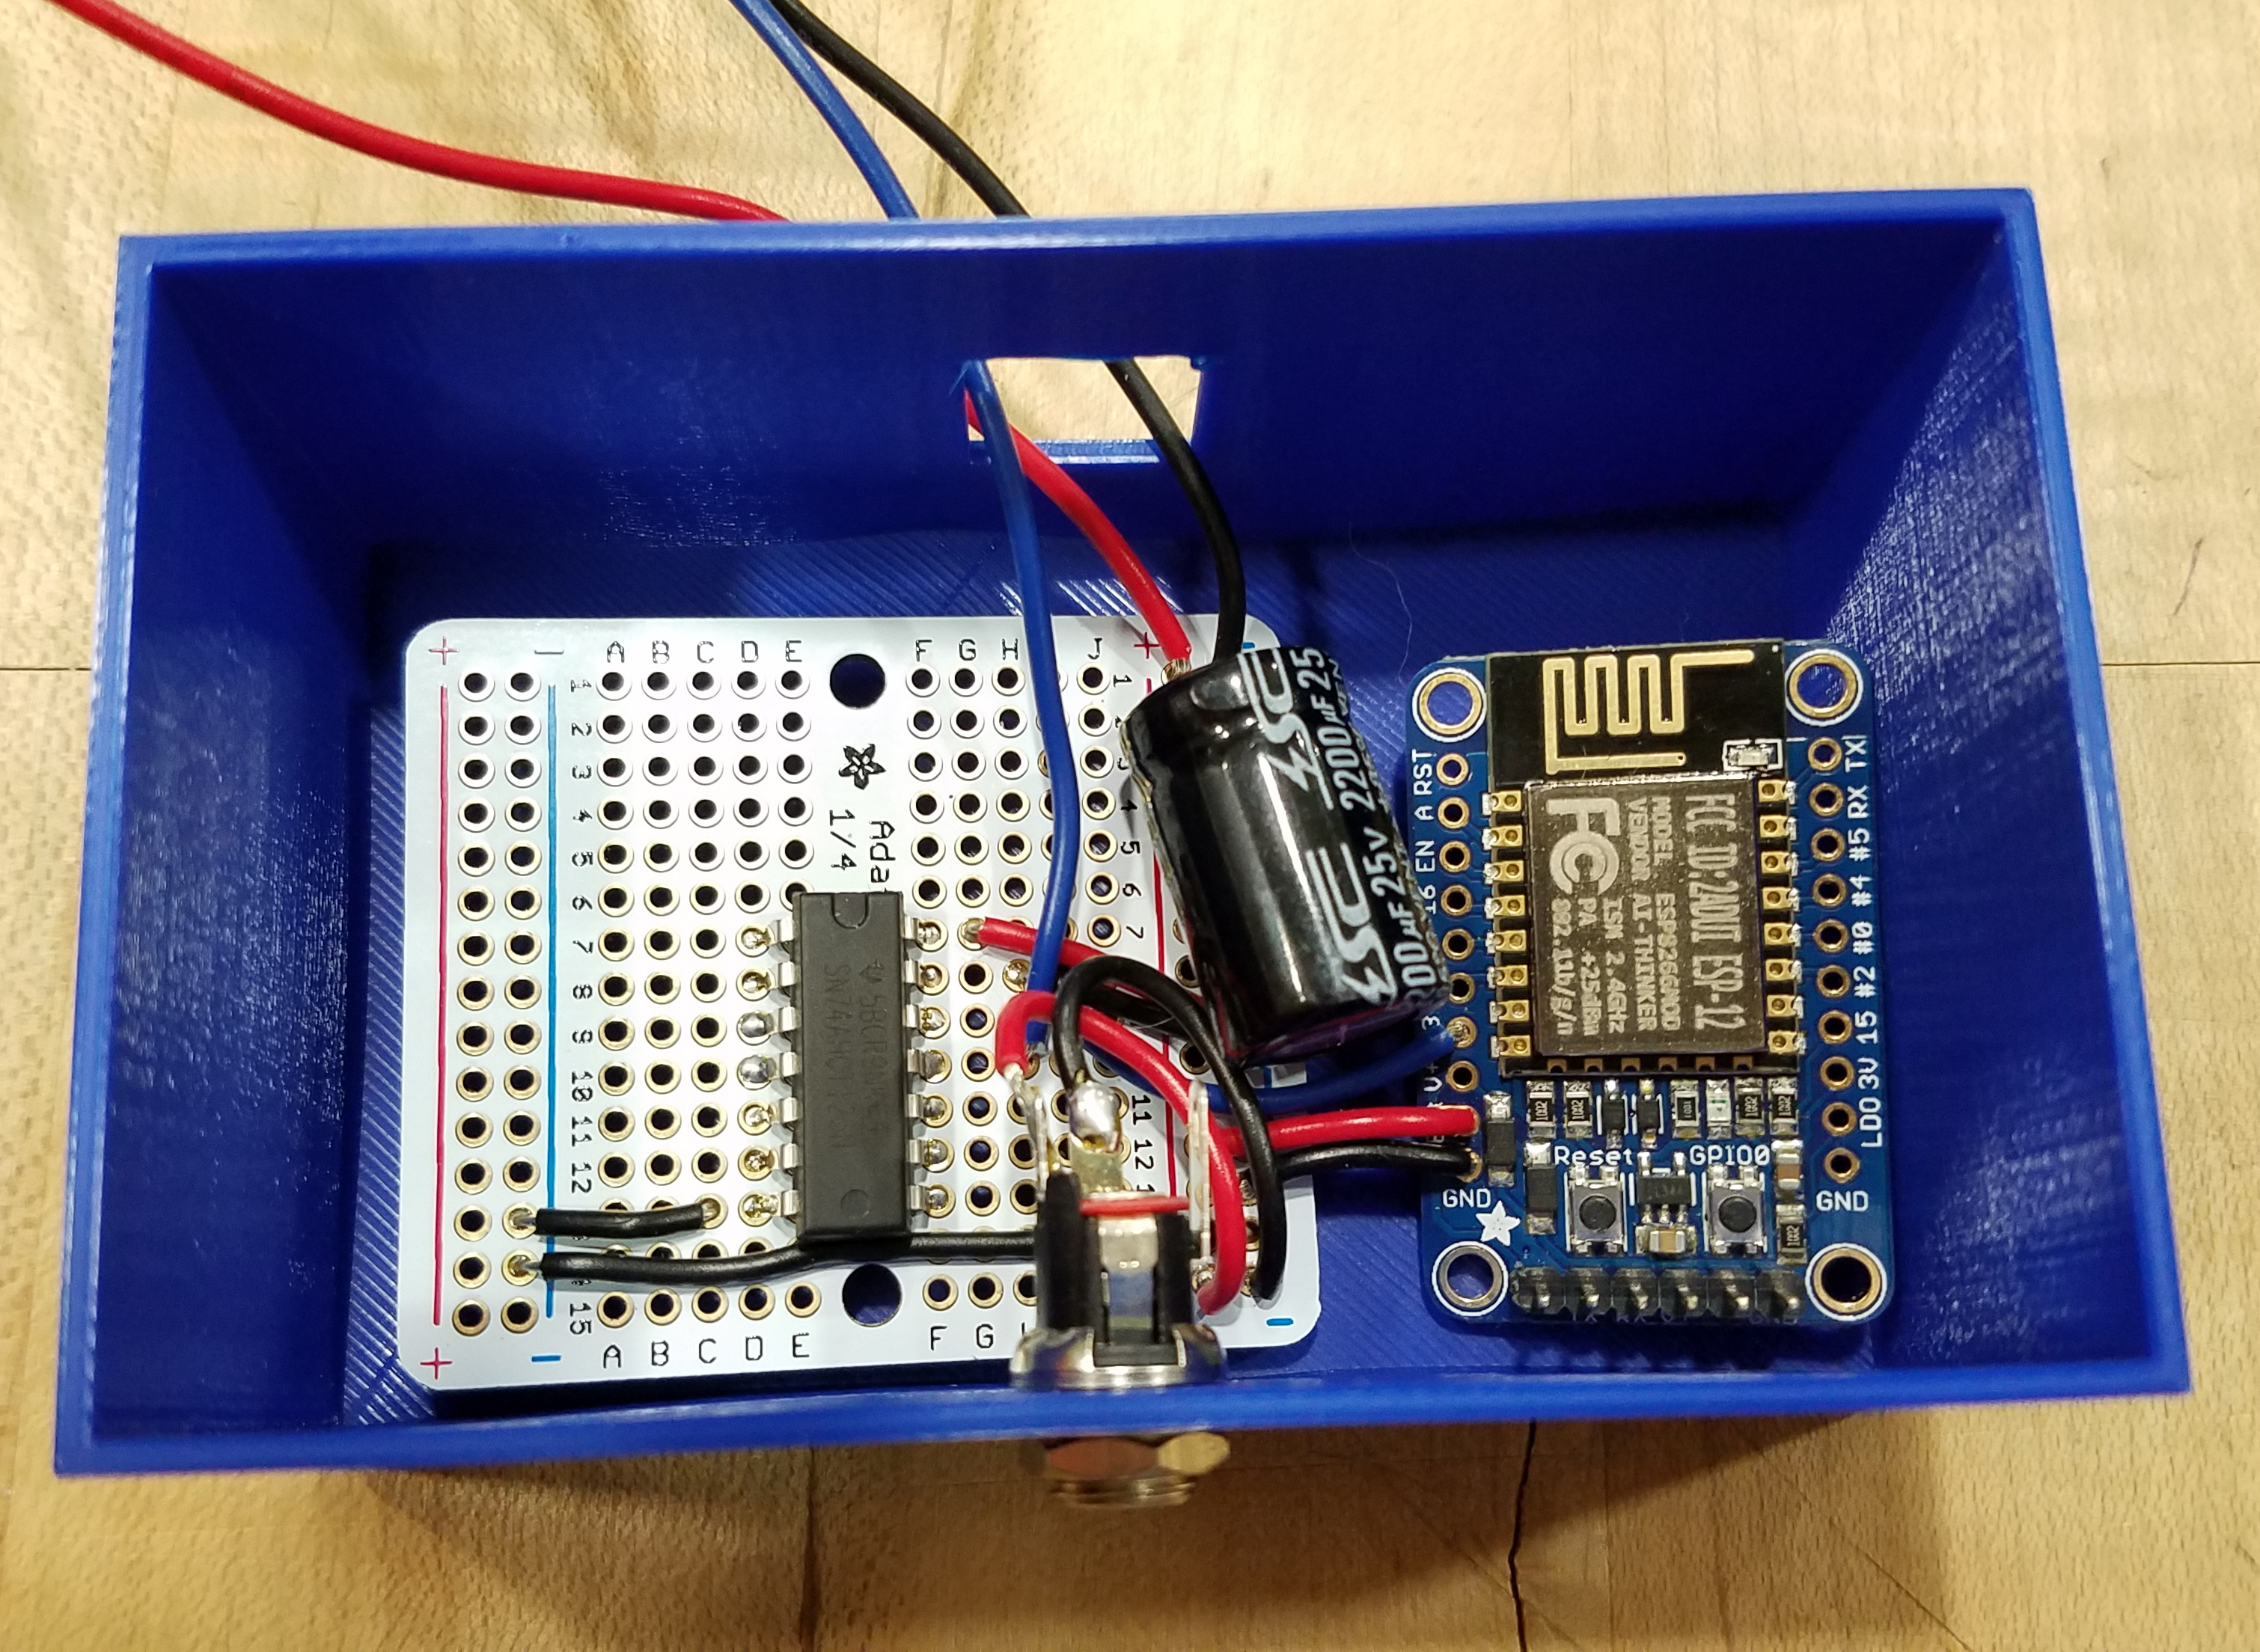
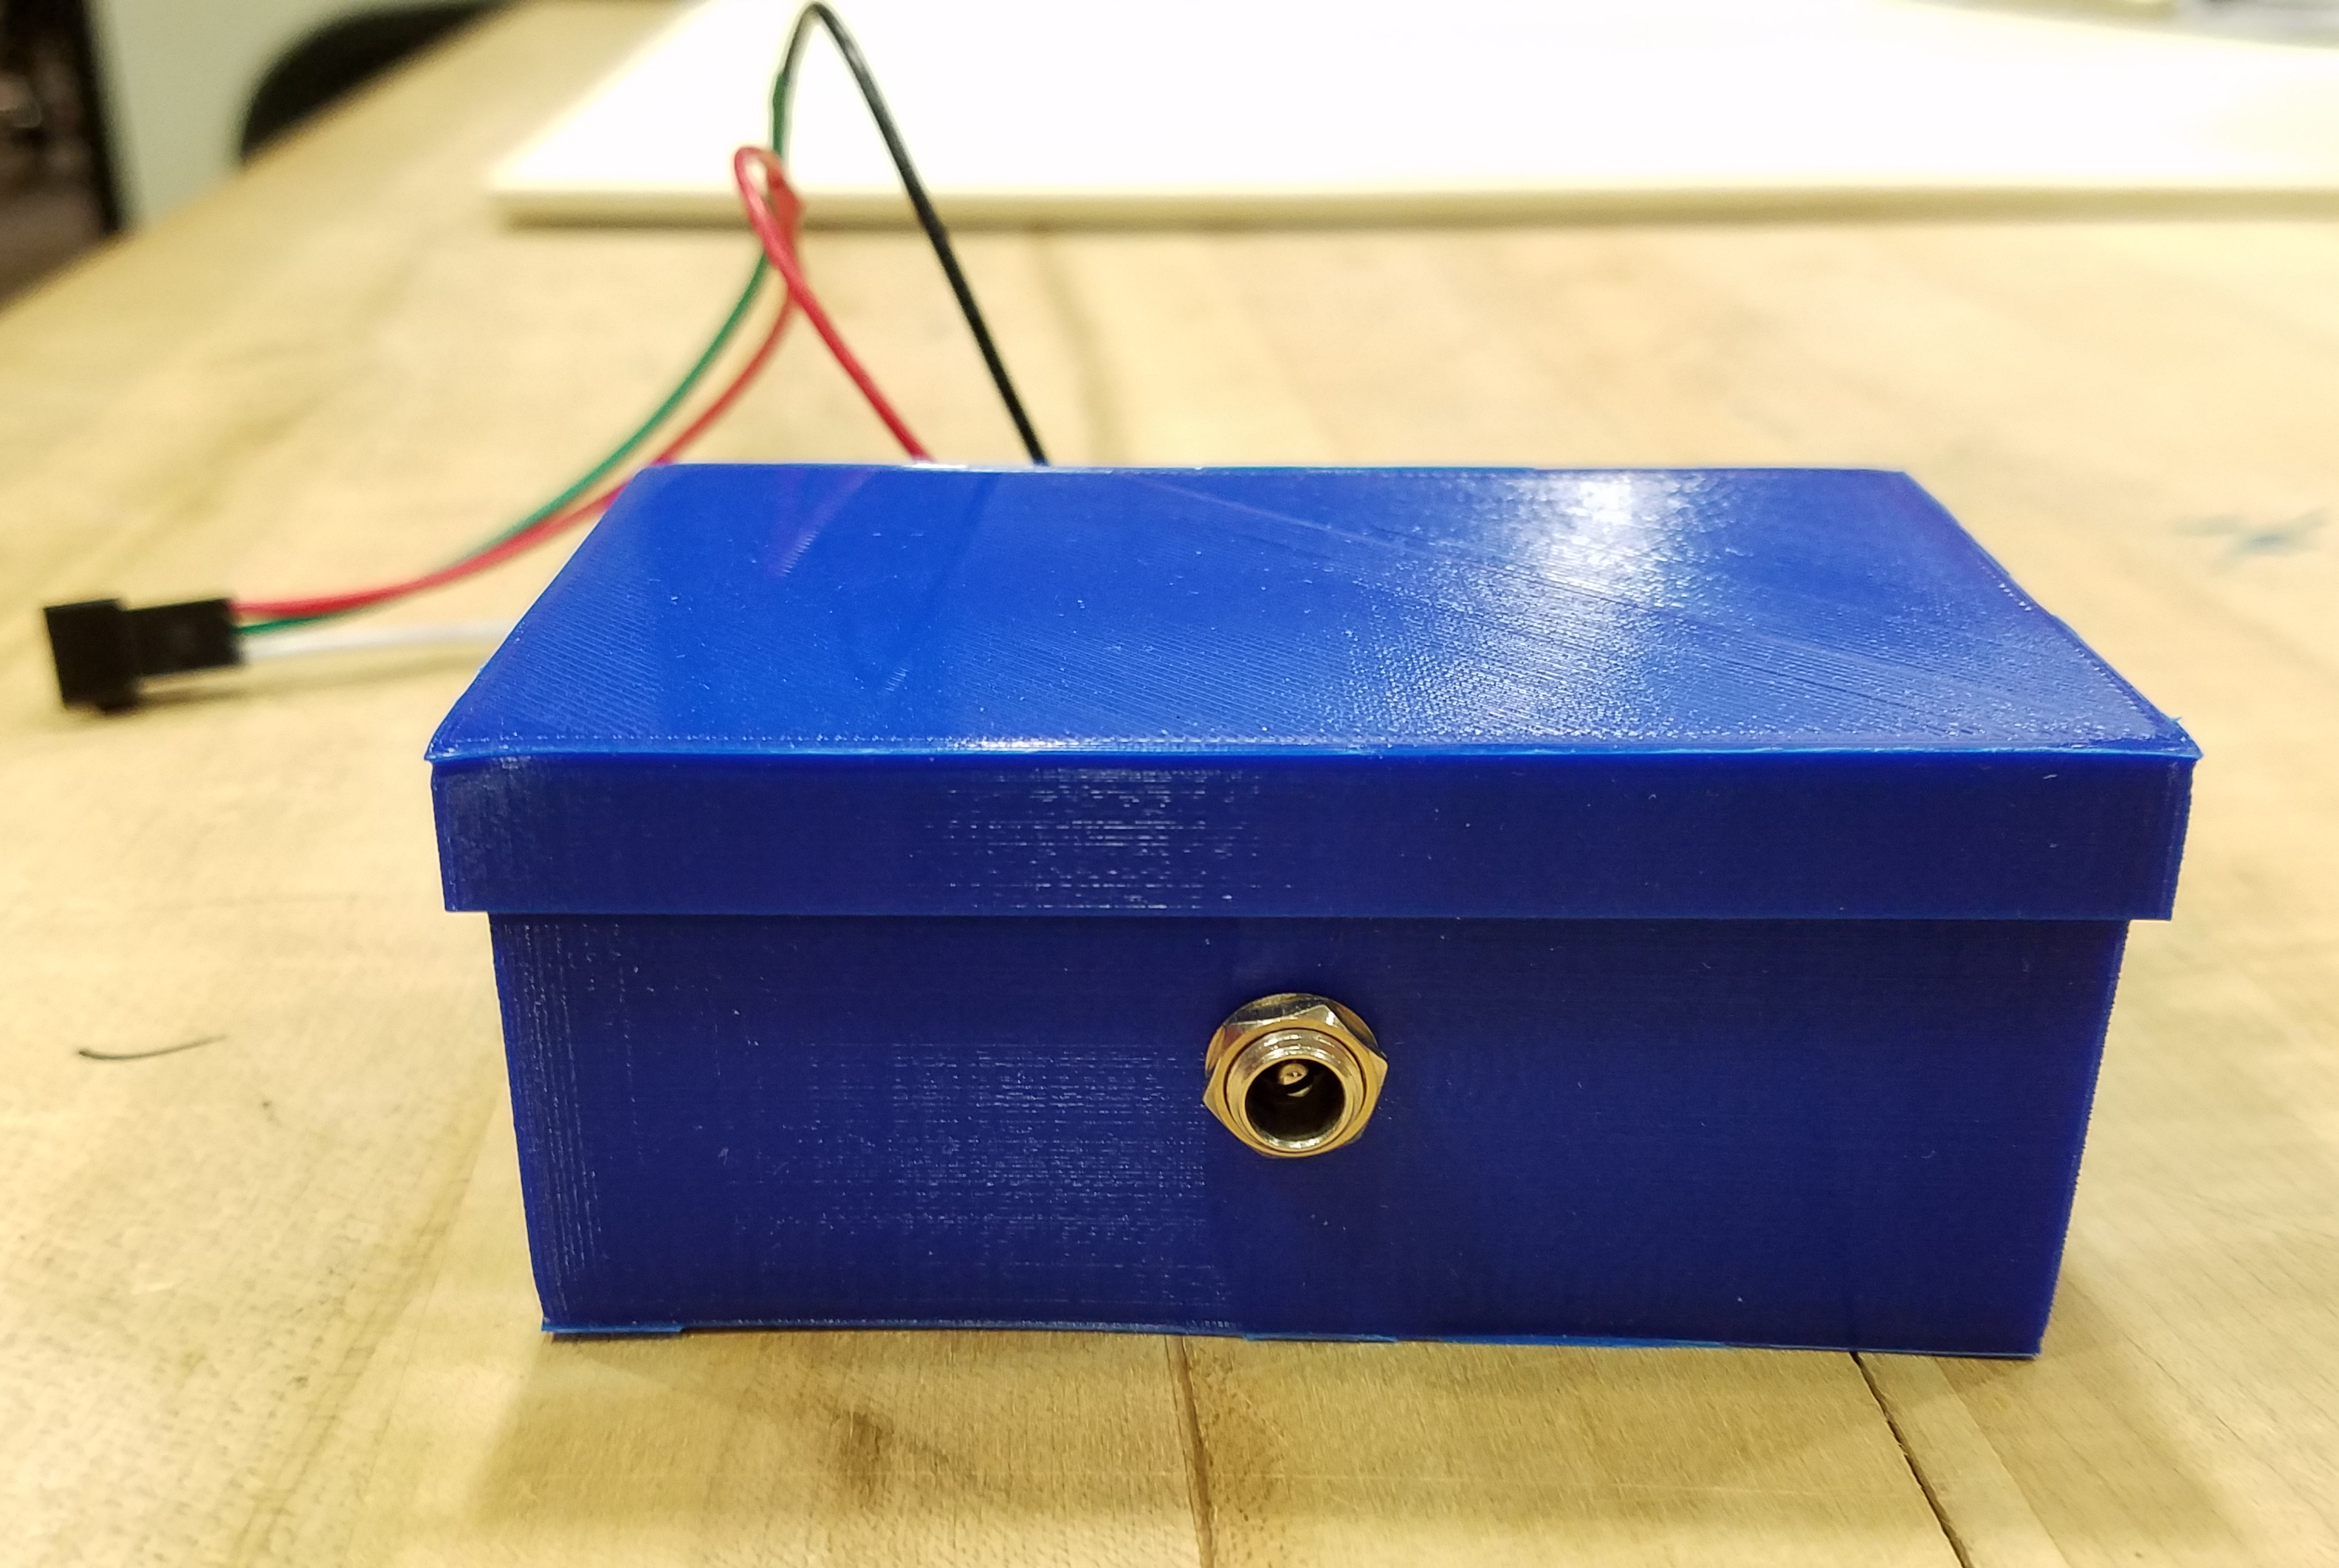
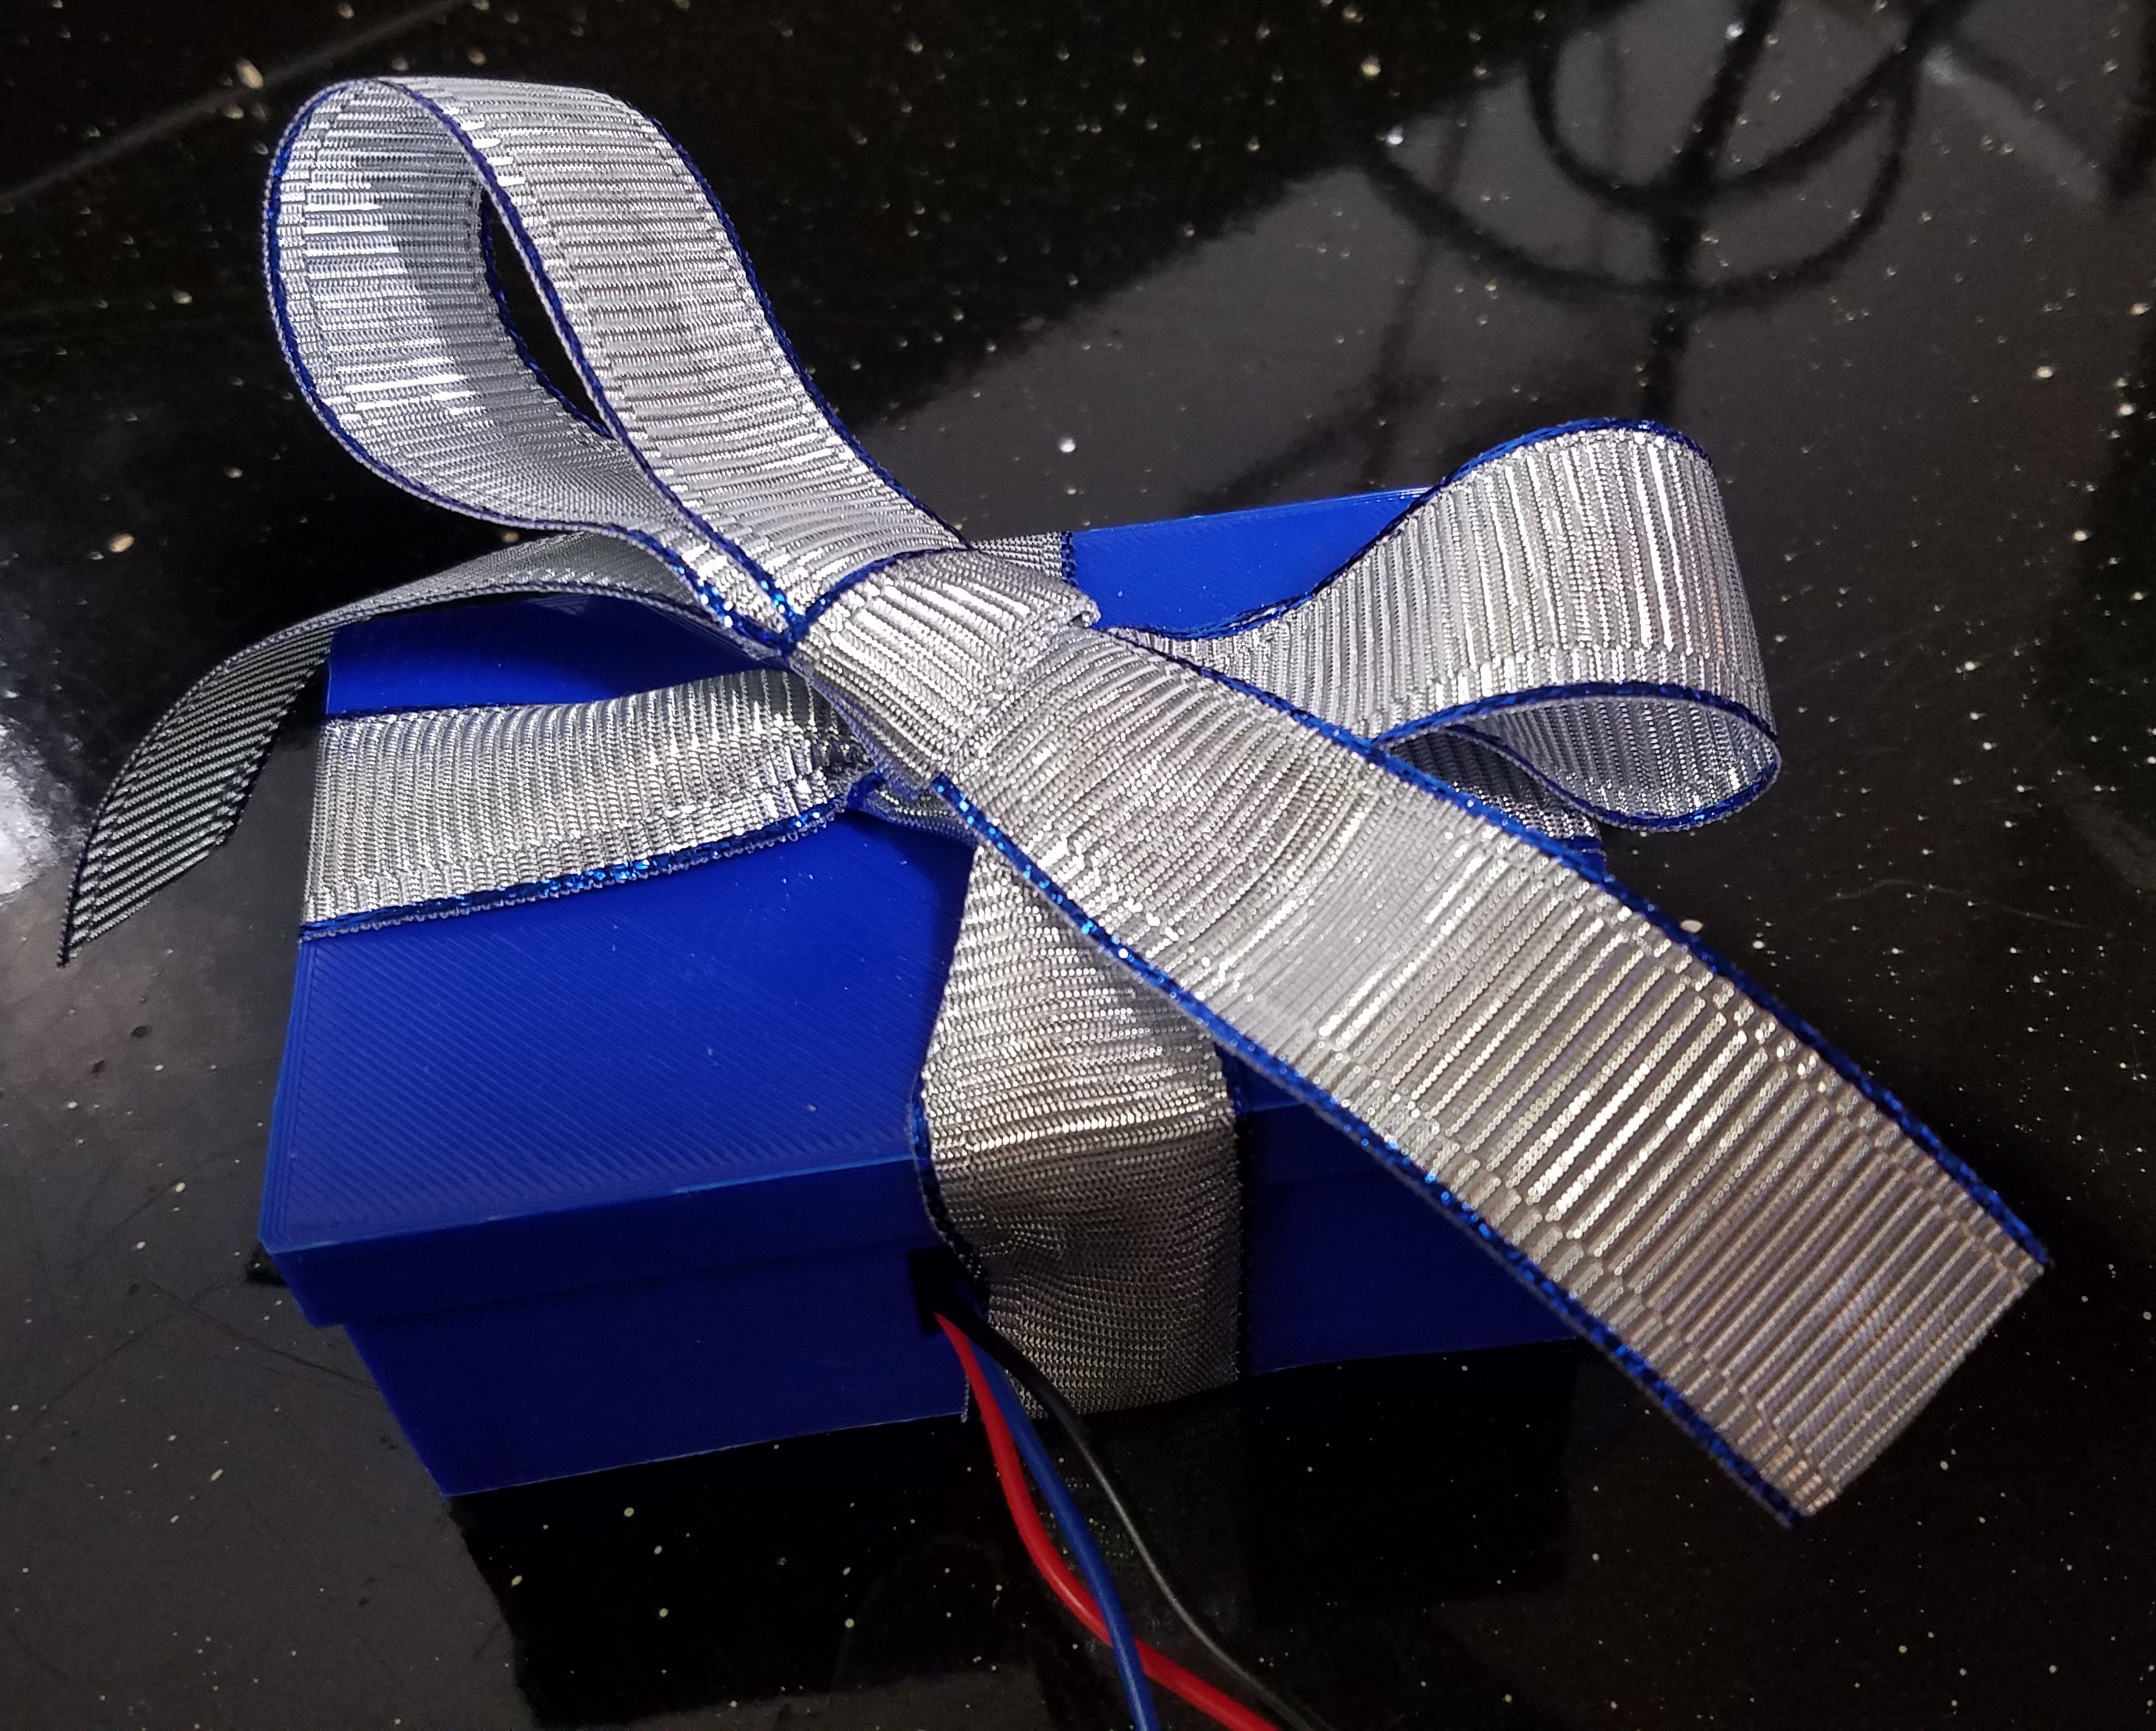
I've designed a simple box for the electronics. You can print it out, install the electronics, and then add a ribbon or bow to make it look like a present.
Download the attached .stl files. I've also included the original OpenSCAD code so you can modify it if you like. I realized after tying the bow that it would probably be better if the holes for the DC jack and LED cable were off-center to aid in tying the ribbon nicely, so you can try that.
If you don't have a 3D printer, you can make your own case however you like. You could laser cut one out of acrylic, wood, or even cardboard. You could re-use a cardboard box and wrap it with wrapping paper. As long as you have something to protect the electronics (in my case, from an overly curious cat), that is fine.
This video has helpful tips to tie a nice bow.
Install Lights on Tree
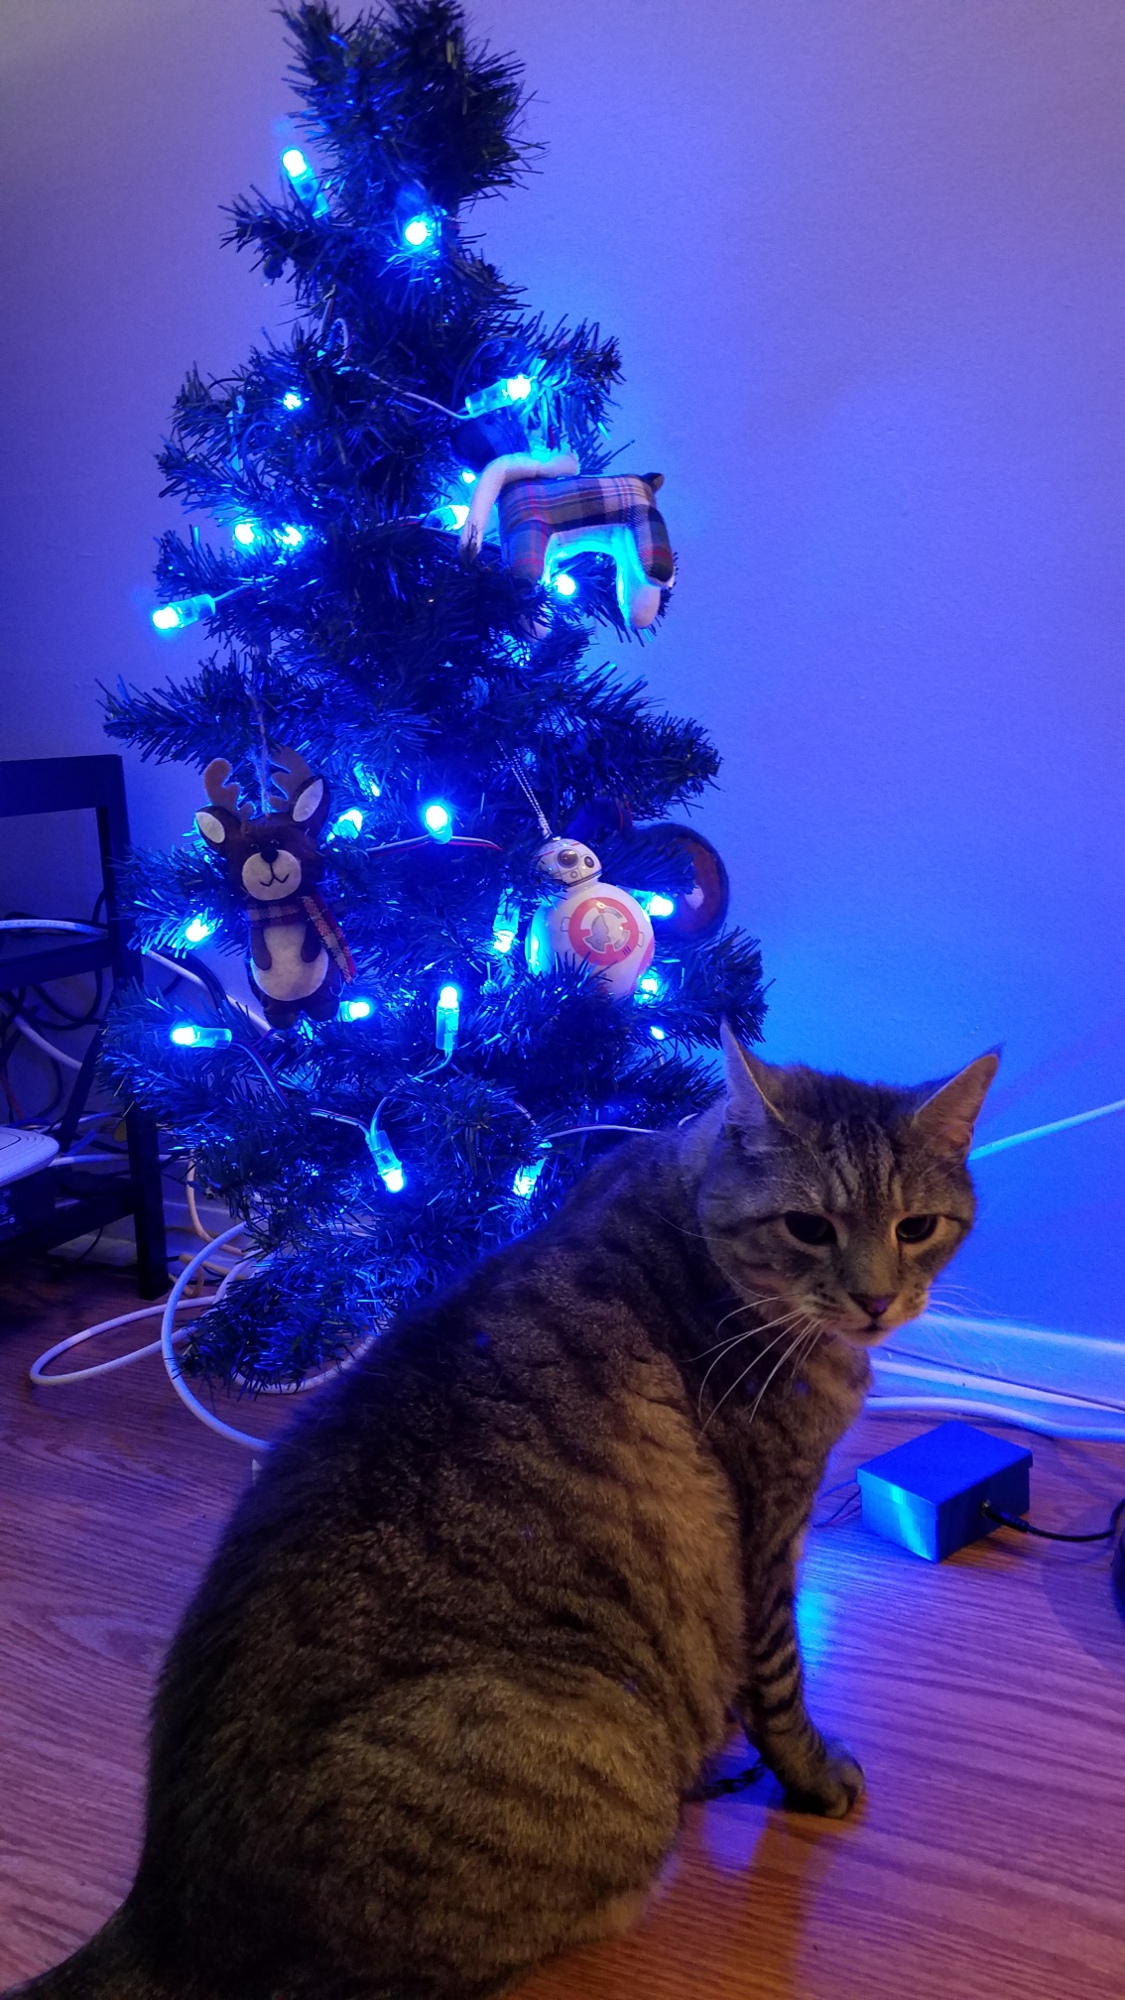

Disconnect the LED strip from the microcontroller and drape it around your tree. Start with the last pixel at the top, so the first pixel will be at the bottom of the tree and easy to connect to the microcontroller.
Then plug the LED strip back in to the connector and plug in the DC power supply. Now sit back, enjoy, and tweet @cheerlights! Cat is optional.