Small DIY NAS
The Idea behind this instrucatbale was to create a quiet cheap low powered NAS box using some 2.5 inch hard drives.
What you need to build you own NAS BOX
4 2.5 inch sata to hardrive connector
1 26pix box
1 powered usb hub
1 eeepc (I'm using a 1st gen eeepc running at 800 mhz)
DVD/CD/USB pen drive for installing freenas
PC Fan
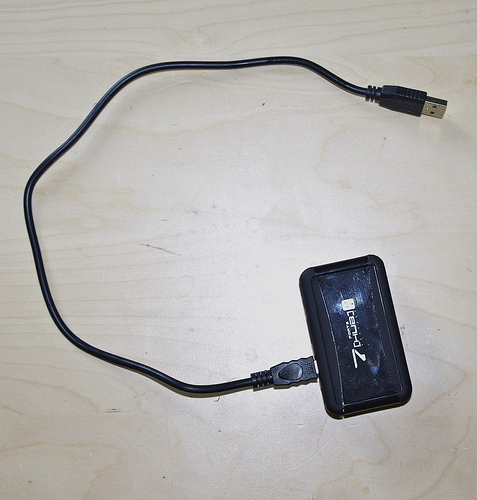
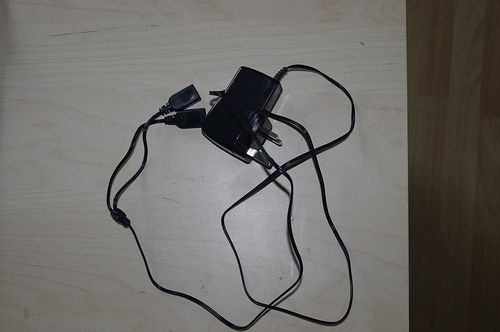
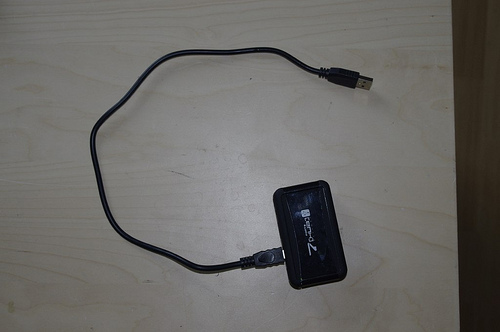
USB Lead
USB Power Lead
Drill
Screws
Computer & Printer
Camera
Dremel or other tool for cutting thin aluminium case
Wire
A network cable or a wireless network
Some hard drives to put in to the NAS
Here is Video of the NAS Box Being put togthere.
What you need to build you own NAS BOX
4 2.5 inch sata to hardrive connector
1 26pix box
1 powered usb hub
1 eeepc (I'm using a 1st gen eeepc running at 800 mhz)
DVD/CD/USB pen drive for installing freenas
PC Fan
USB Lead
USB Power Lead
Drill
Screws
Computer & Printer
Camera
Dremel or other tool for cutting thin aluminium case
Wire
A network cable or a wireless network
Some hard drives to put in to the NAS
Here is Video of the NAS Box Being put togthere.
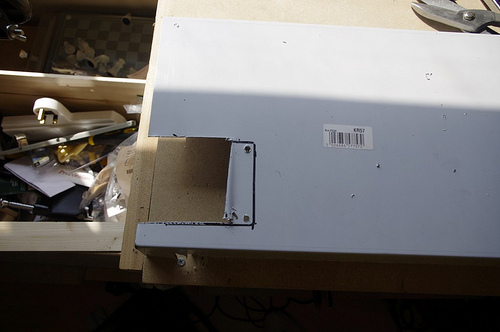
Place & Cut
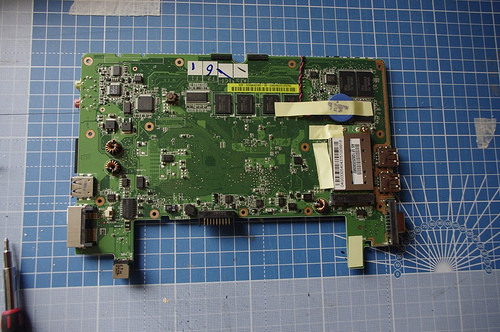

The first job is to take apart the eepc. It is easy here is a link to a take apart guide
You need to Remove the feet from the eeepc case do this by pulling them off using some pliers see picture
Turn the board upside down and attach the the feet to the board with some screw
Draw around the network point so you can see where to cut a hole
Do the same for the power supply
Cut the holes out of the case
Hot glue the feet and attach it to the case
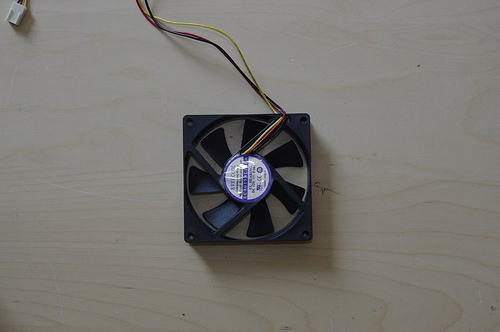
Cooling
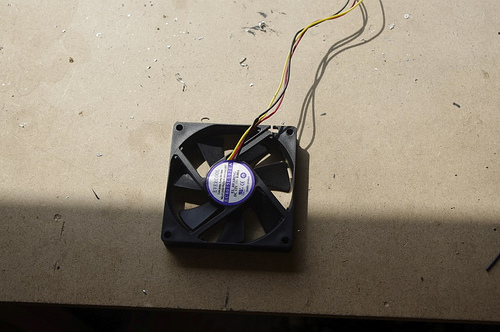
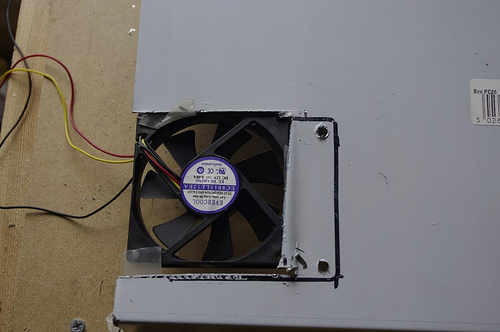
The case needs a little bit of cooling one fan running off the usb port should provide a enough cooling.
You need to cut a hole in the case so the fan can be fitted to the case
You need to make a USB Fan, here is the link to the instrucatable I used to make my fan.
Once you've made the fan it needs attaching to the case I've used some unibond no more nails tape
You need to cut a hole in the case so the fan can be fitted to the case
You need to make a USB Fan, here is the link to the instrucatable I used to make my fan.
Once you've made the fan it needs attaching to the case I've used some unibond no more nails tape
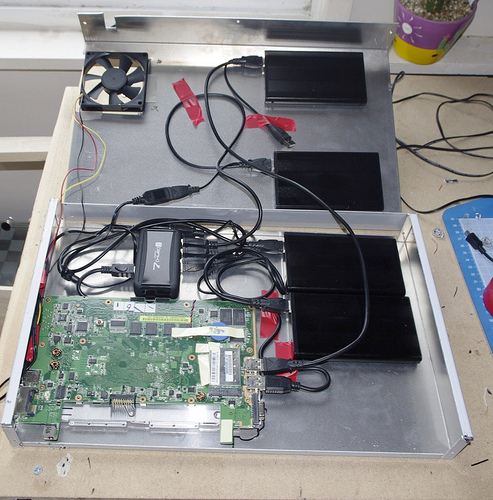
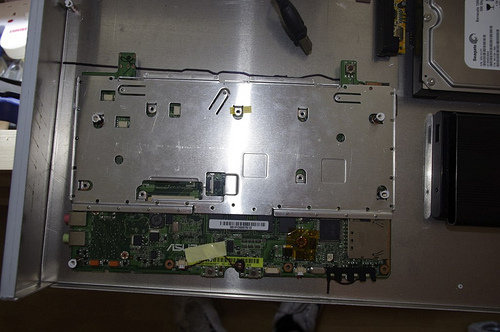
Cable It Up & Installed the Hard Disk
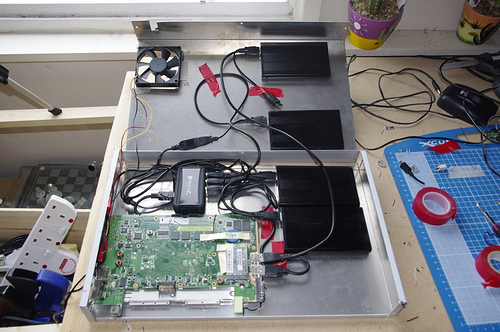
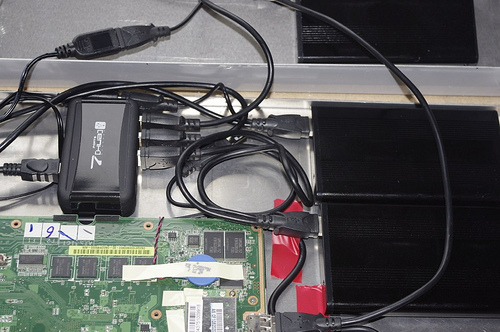
Next the Hard Disk needs putting in to place and connecting to the board
Place the USB hub in place and stick it in place with some no-more nails tape.
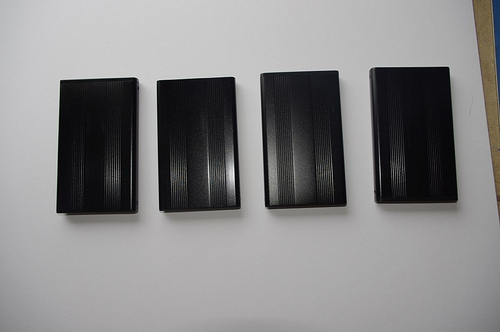
Stick 2 of the hard disk caddies to the bottom of the case with some more tape
Stick 2 of the Hard Disk caddies to the top of the case.
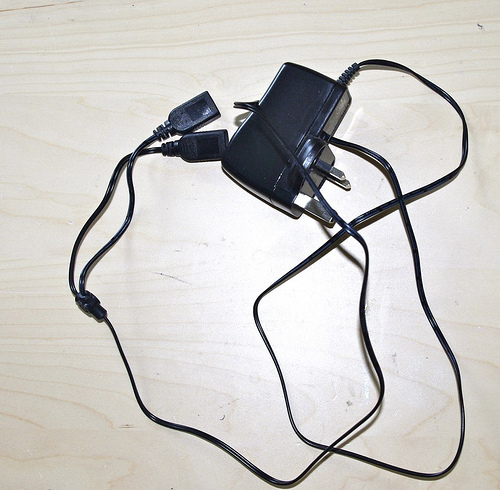
Cable up the caddies to the USB Hub and the USB powered to the device
The devices are powered as list below
Two of the Hard Disk's are powered from the USB power Plug
One of the Hard disk's is powered from the USB hub
One of the Hard disk's is powered from the USB Port.
Place the USB hub in place and stick it in place with some no-more nails tape.
Stick 2 of the hard disk caddies to the bottom of the case with some more tape
Stick 2 of the Hard Disk caddies to the top of the case.
Cable up the caddies to the USB Hub and the USB powered to the device
The devices are powered as list below
Two of the Hard Disk's are powered from the USB power Plug
One of the Hard disk's is powered from the USB hub
One of the Hard disk's is powered from the USB Port.
Install the Software

Freenas
In the bios before install the software you'll need to disable the on the board CF Card read and enable wake on lan
Download freenas from Here.
Burn the image to a cd (if you don't have a cd drive you can use http://unetbootin.sourceforge.net/ to burn the ISO to USB drive)
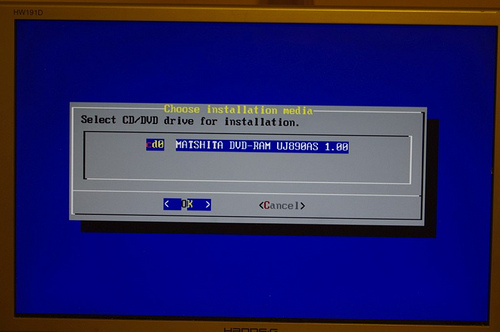
Boot the computer up using the CD.
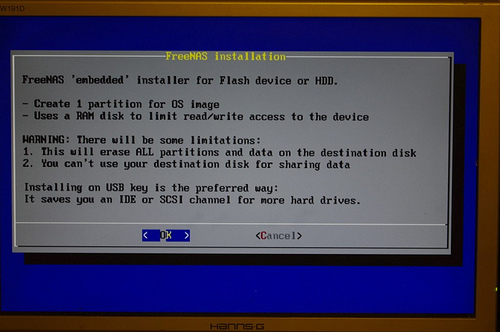
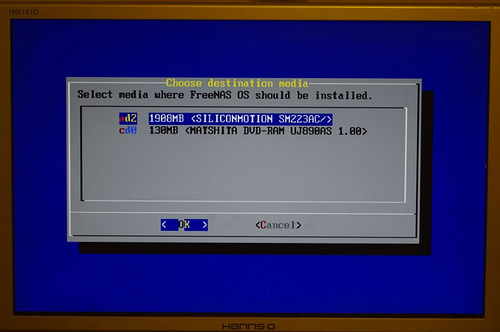
After the computer has booted press 7 to install freenas on to the hard disk.
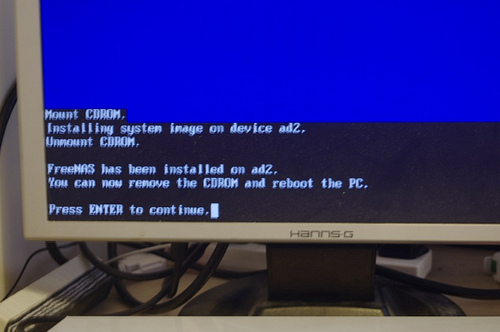
Follow the on screen instructions to install.
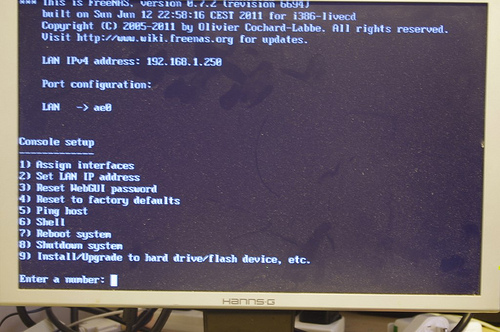
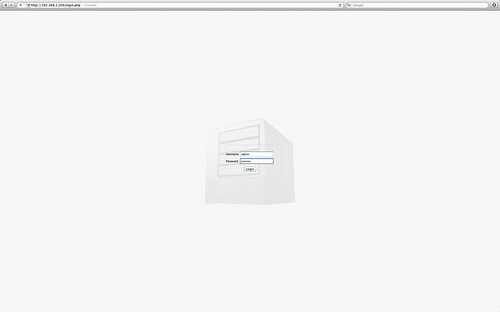
After the system has rebooted you need to connect to the NAS box you do this by typing in the ip address of your NAS box in to your internet browser ( the ip address is listed on loading screen).
In the bios before install the software you'll need to disable the on the board CF Card read and enable wake on lan
Download freenas from Here.
Burn the image to a cd (if you don't have a cd drive you can use http://unetbootin.sourceforge.net/ to burn the ISO to USB drive)
Boot the computer up using the CD.
After the computer has booted press 7 to install freenas on to the hard disk.
Follow the on screen instructions to install.
After the system has rebooted you need to connect to the NAS box you do this by typing in the ip address of your NAS box in to your internet browser ( the ip address is listed on loading screen).
Setting Up the Share

Setting up Freenas below I've listed out to add the disks and share them on your network if you like to know more or get the most out of your NAS box Try this FreeNas Guide
Now you need to setup & format the Disk and the share.
Now you need to setup & format the Disk and the share.
- Login in to the system User name: admin Password freenas
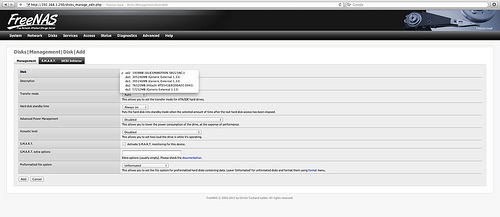
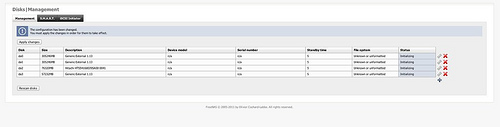
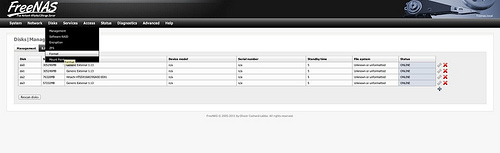
- Go to Disk management
- Click the + symbol to add a disk
- Select the Disk from the drop down
- Give the Hard disk a name
- Click Save
- Click apply Change
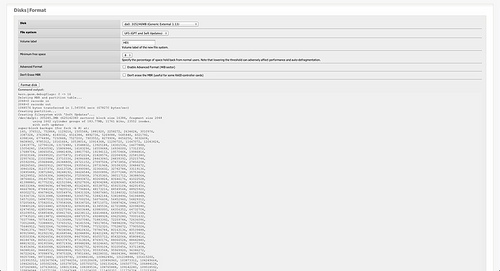
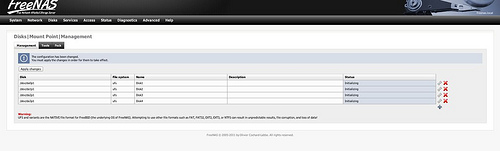
- Go to Disks > Format
- Select the disk
- Select the disk format UFS
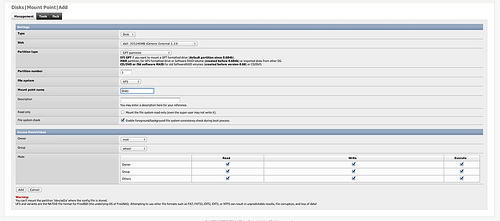
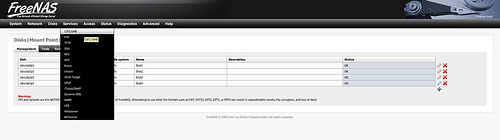
- Go to Disks > Mount
- Select the disk which needs mounting from the drop down
- Name the disk's
- Click apply Changes
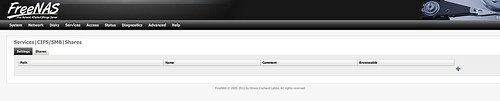
- Got to services > CFIS/SMB
- Click on enable
- Click shares
- Click on the + symbol
- Select the directory than you want share
- Give it a Name
- Apply the changes
Conclusion & Speed Test

A Few notes about the build
The performance isn't fast but more than enough for one user and I think the slightly slow performance is worth it for the quietness of the box which you can't hardly here.
To test the speed I ran 3 tests the first was to a copied a 1GB file to the NAS box 5 times the average time was 160 seconds, which gives a speed of about 6.25 mb per seconds
The 2nd Test I tried was copying 3 files each one about 400 MB the time where as follows
Write
1.23 GB 135 Sec'
1.22 GB 133 Sec
1.23 GB 140 Sec
1.22 GB 155 Sec
1.22 GB 155 Sec
Average write speed 8.77 MB per second
The 3rd Test I tried was copying the files off the NAS box
Read
1.23 GB 160
1.21 GB 165
1.23 GB 167
1.22 GB 167
1.12 GB 155
Average Read speed 7.56 MB per second
All the tests where ran over a cabled network. The CPU Load didn't peak at over 59% and the temperature of the CPU didn't go above 59oc
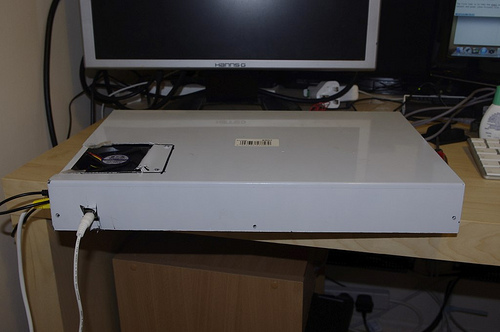
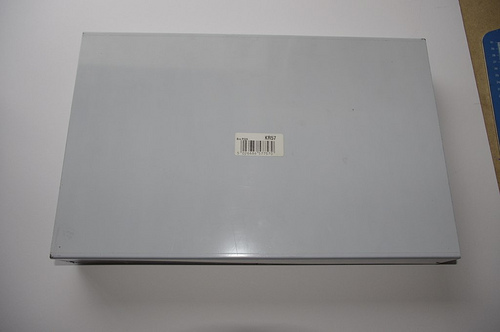
The Case needs a little tidying and a paint job but is functional at the moment
The performance isn't fast but more than enough for one user and I think the slightly slow performance is worth it for the quietness of the box which you can't hardly here.
To test the speed I ran 3 tests the first was to a copied a 1GB file to the NAS box 5 times the average time was 160 seconds, which gives a speed of about 6.25 mb per seconds
The 2nd Test I tried was copying 3 files each one about 400 MB the time where as follows
Write
1.23 GB 135 Sec'
1.22 GB 133 Sec
1.23 GB 140 Sec
1.22 GB 155 Sec
1.22 GB 155 Sec
Average write speed 8.77 MB per second
The 3rd Test I tried was copying the files off the NAS box
Read
1.23 GB 160
1.21 GB 165
1.23 GB 167
1.22 GB 167
1.12 GB 155
Average Read speed 7.56 MB per second
All the tests where ran over a cabled network. The CPU Load didn't peak at over 59% and the temperature of the CPU didn't go above 59oc
The Case needs a little tidying and a paint job but is functional at the moment