Cheap Product Photography in Under an Hour (Soft Box)
by OptimumAlliance in Circuits > Cameras
14206 Views, 178 Favorites, 0 Comments
Cheap Product Photography in Under an Hour (Soft Box)
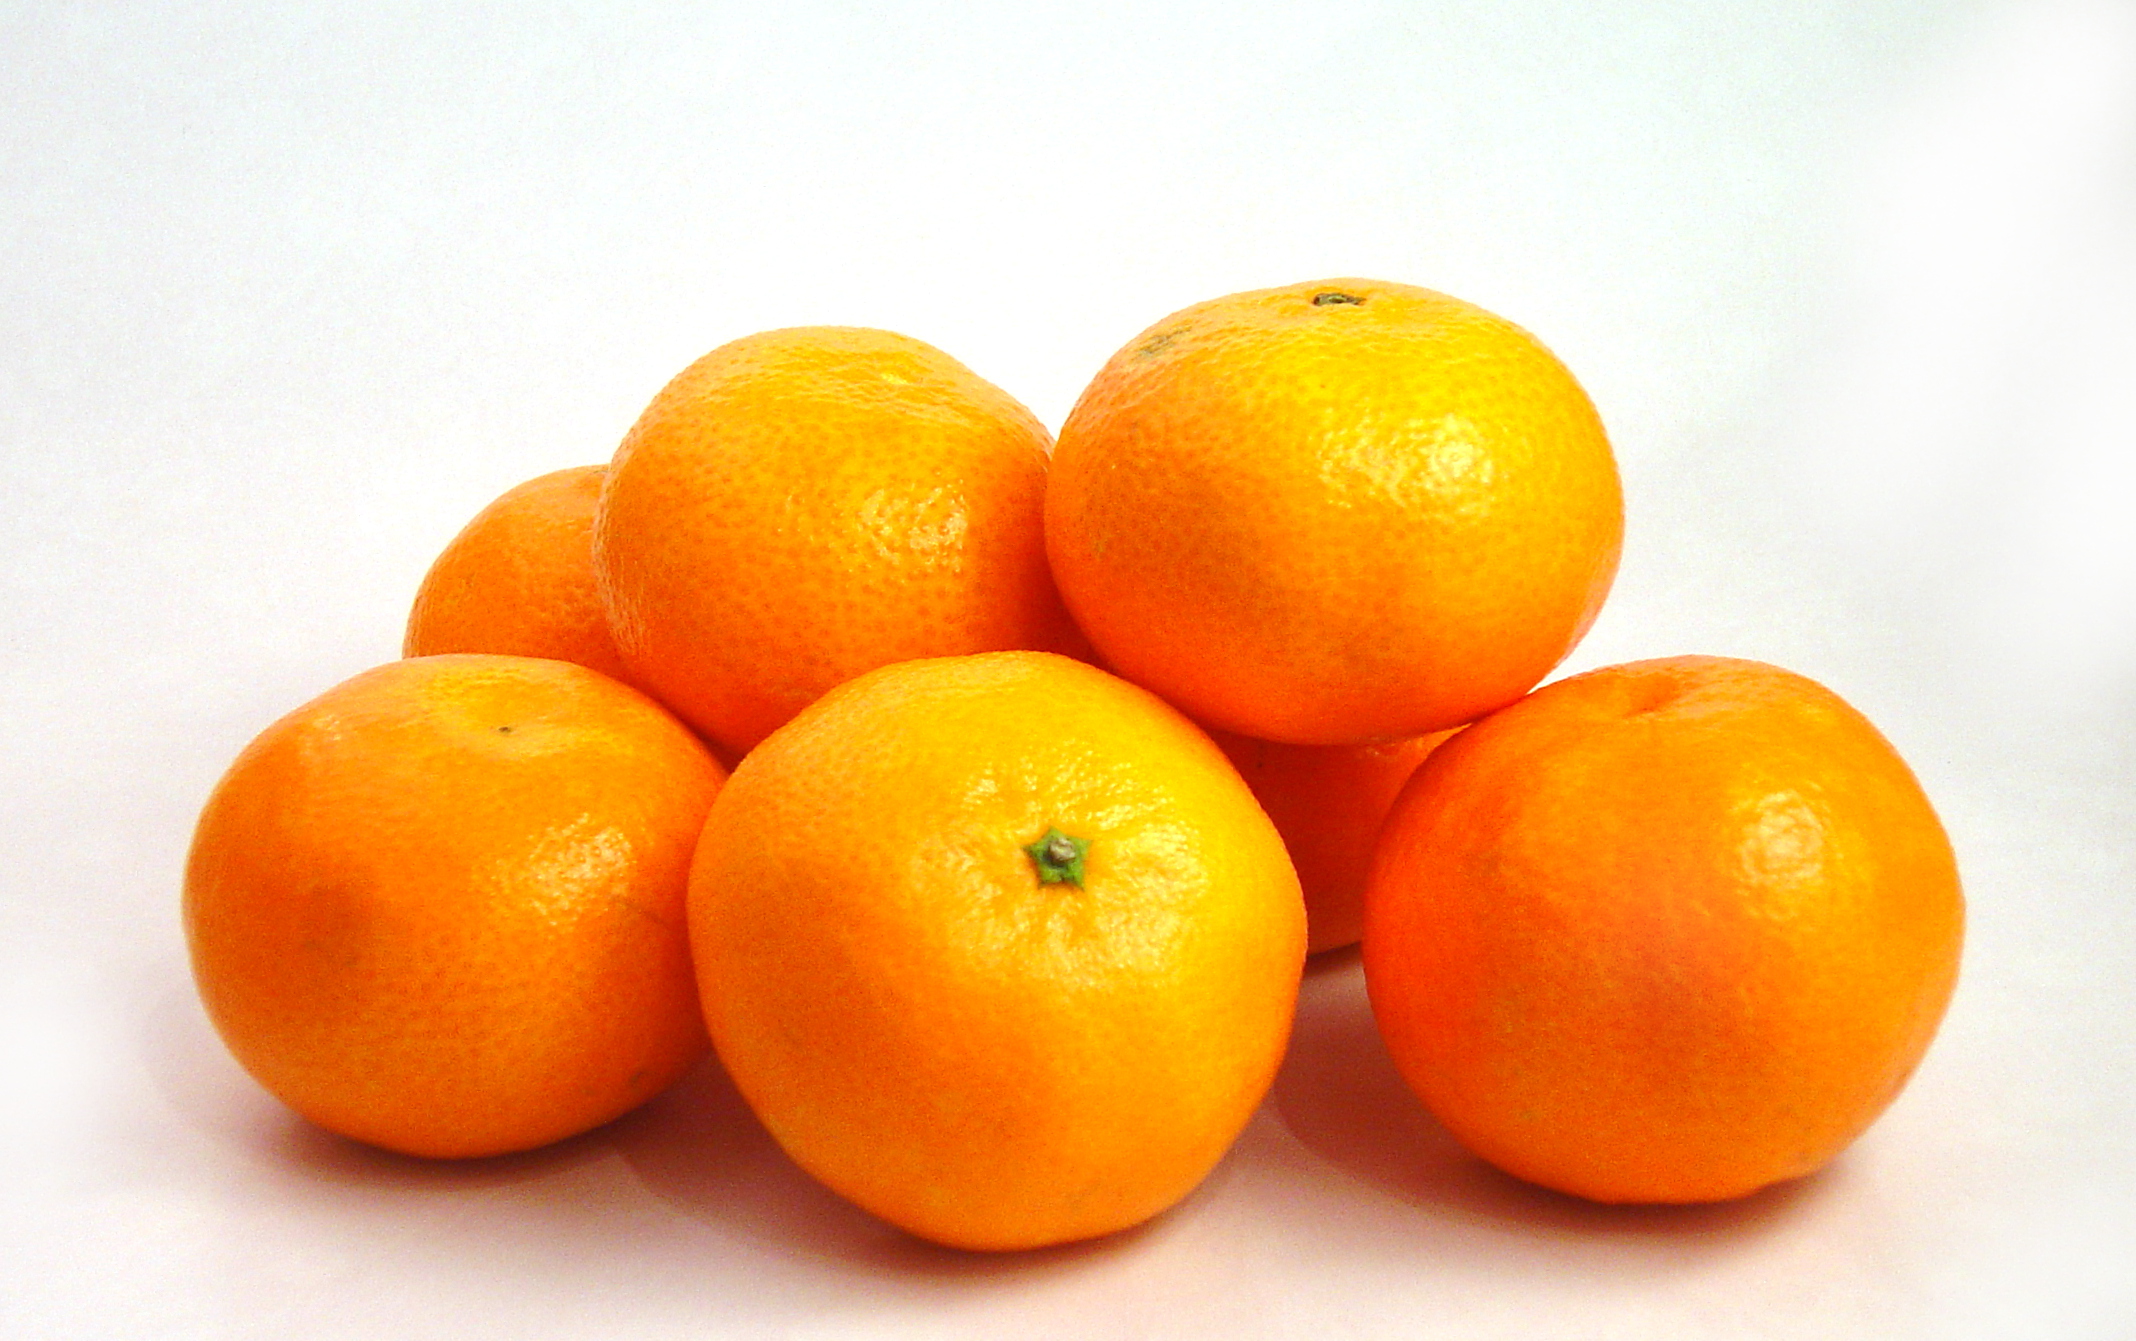
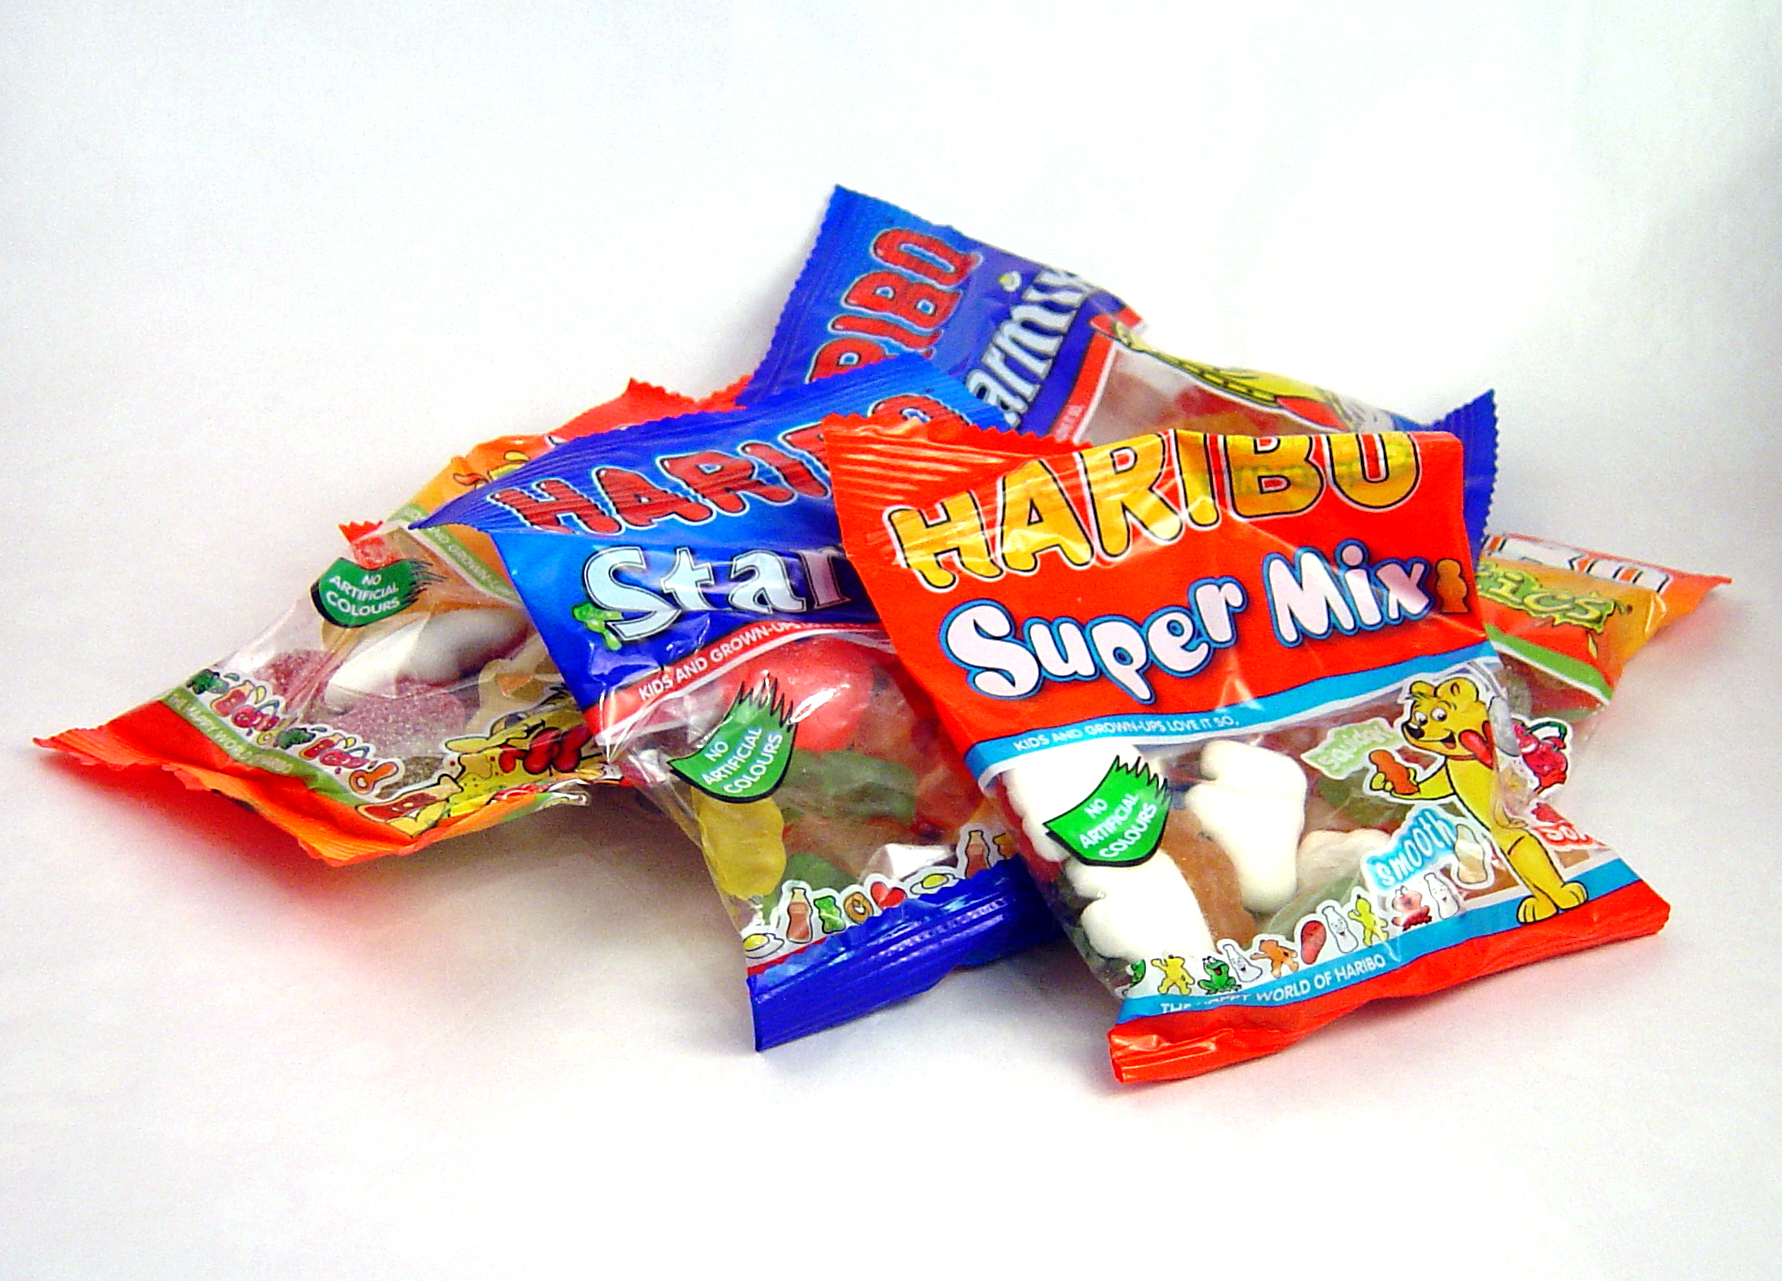
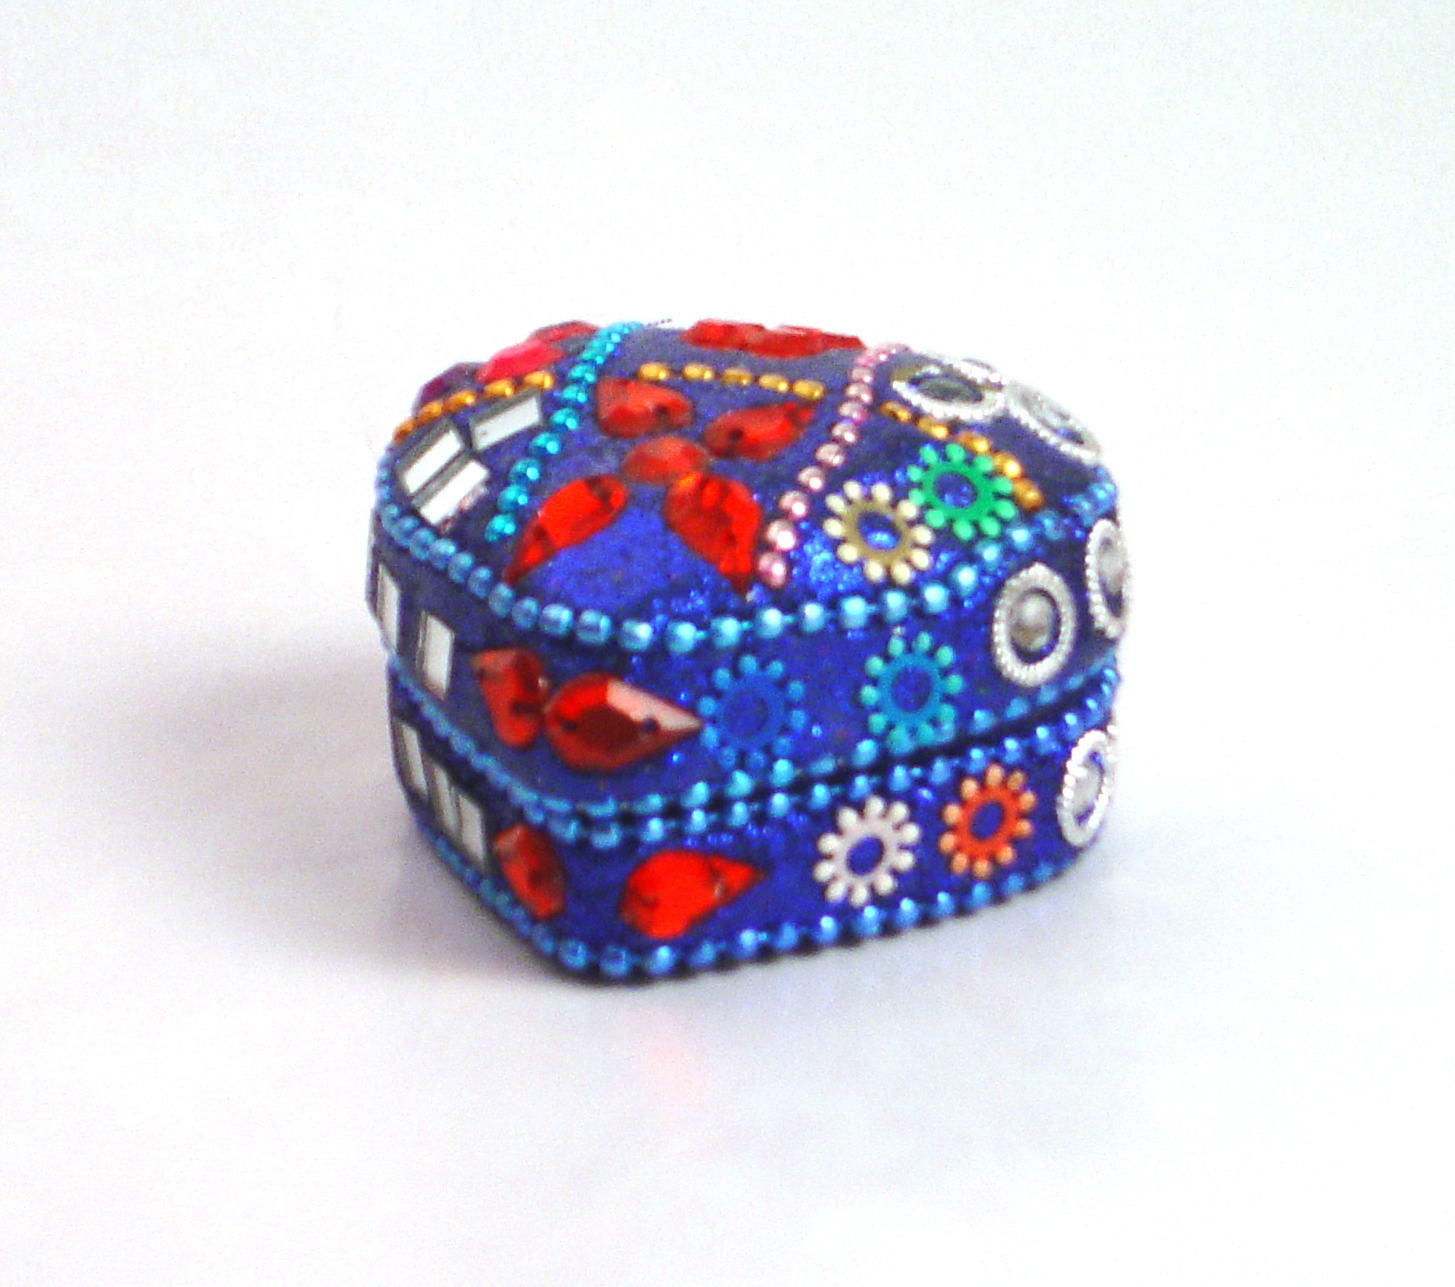
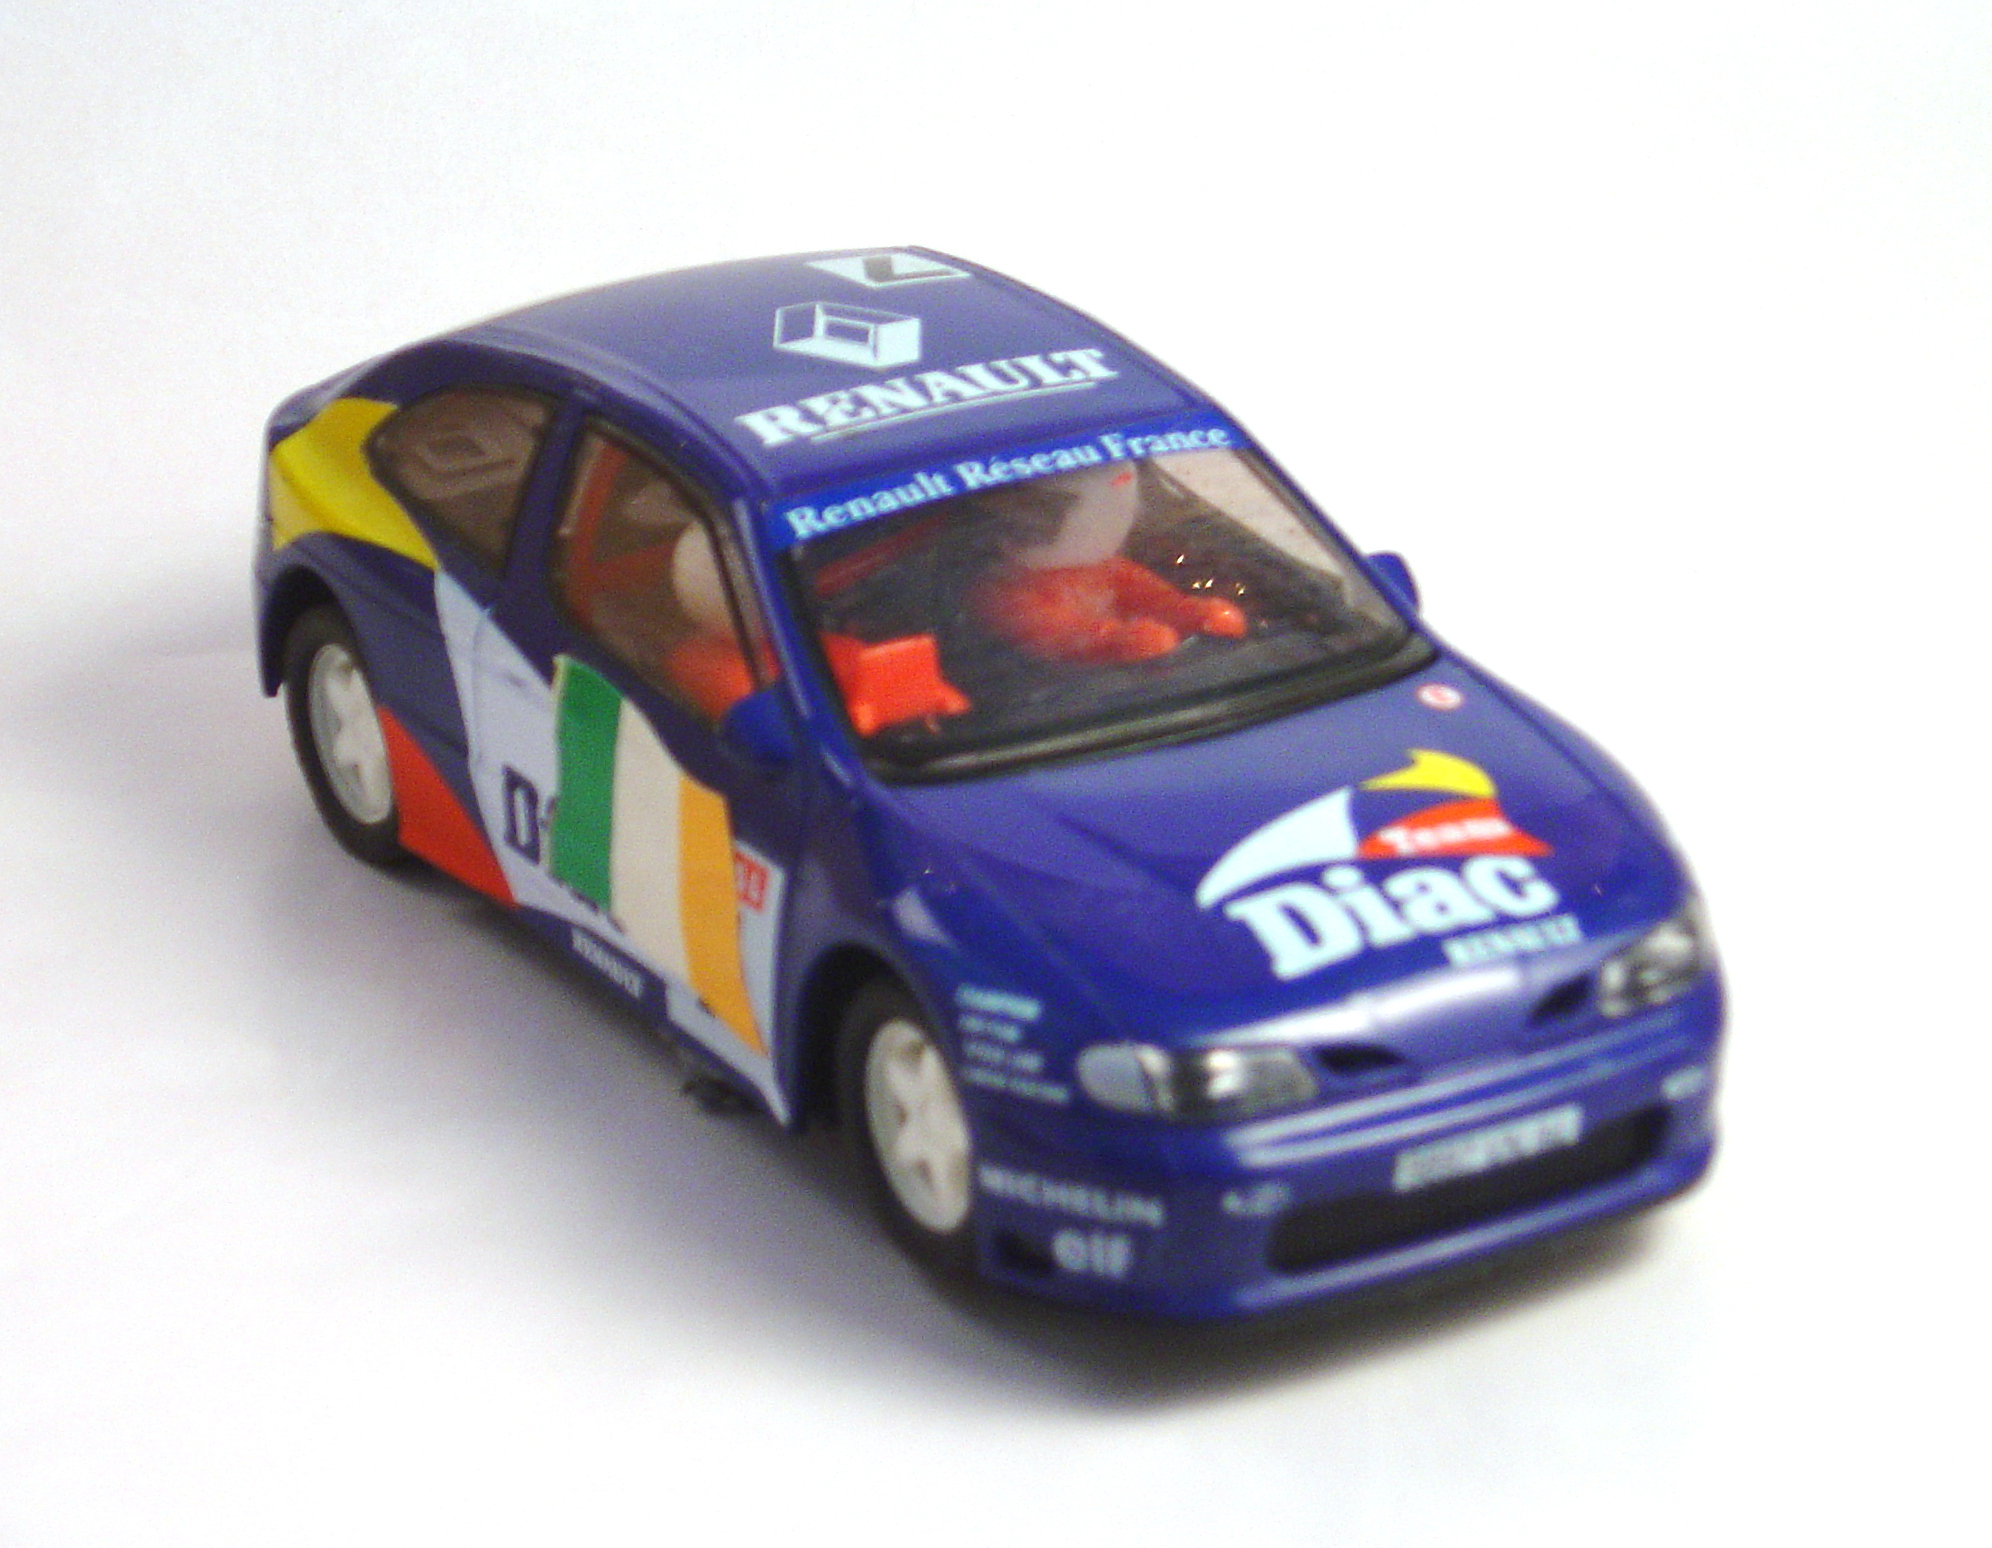

We've all seen those professional images of products, the ones with white backgrounds designed to make the product look as perfect as possible so you'll buy it. Well you'll be pleased to know that it is actually incredibly easy to do yourself, I got mine set up in less than an hour, and since I used equipment I had lying around the house it was completely free.
The main use for this is selling stuff online. People are more likely to buy your Ebay item if it looks good. If you have a website or a small business, using this setup can aid your advertising. The best thing about it is that the equipment is easy to find and if you don't have it already it's cheap to buy.
Read on to find out how to take these photos yourself.
All photos used where taken by me
Theory
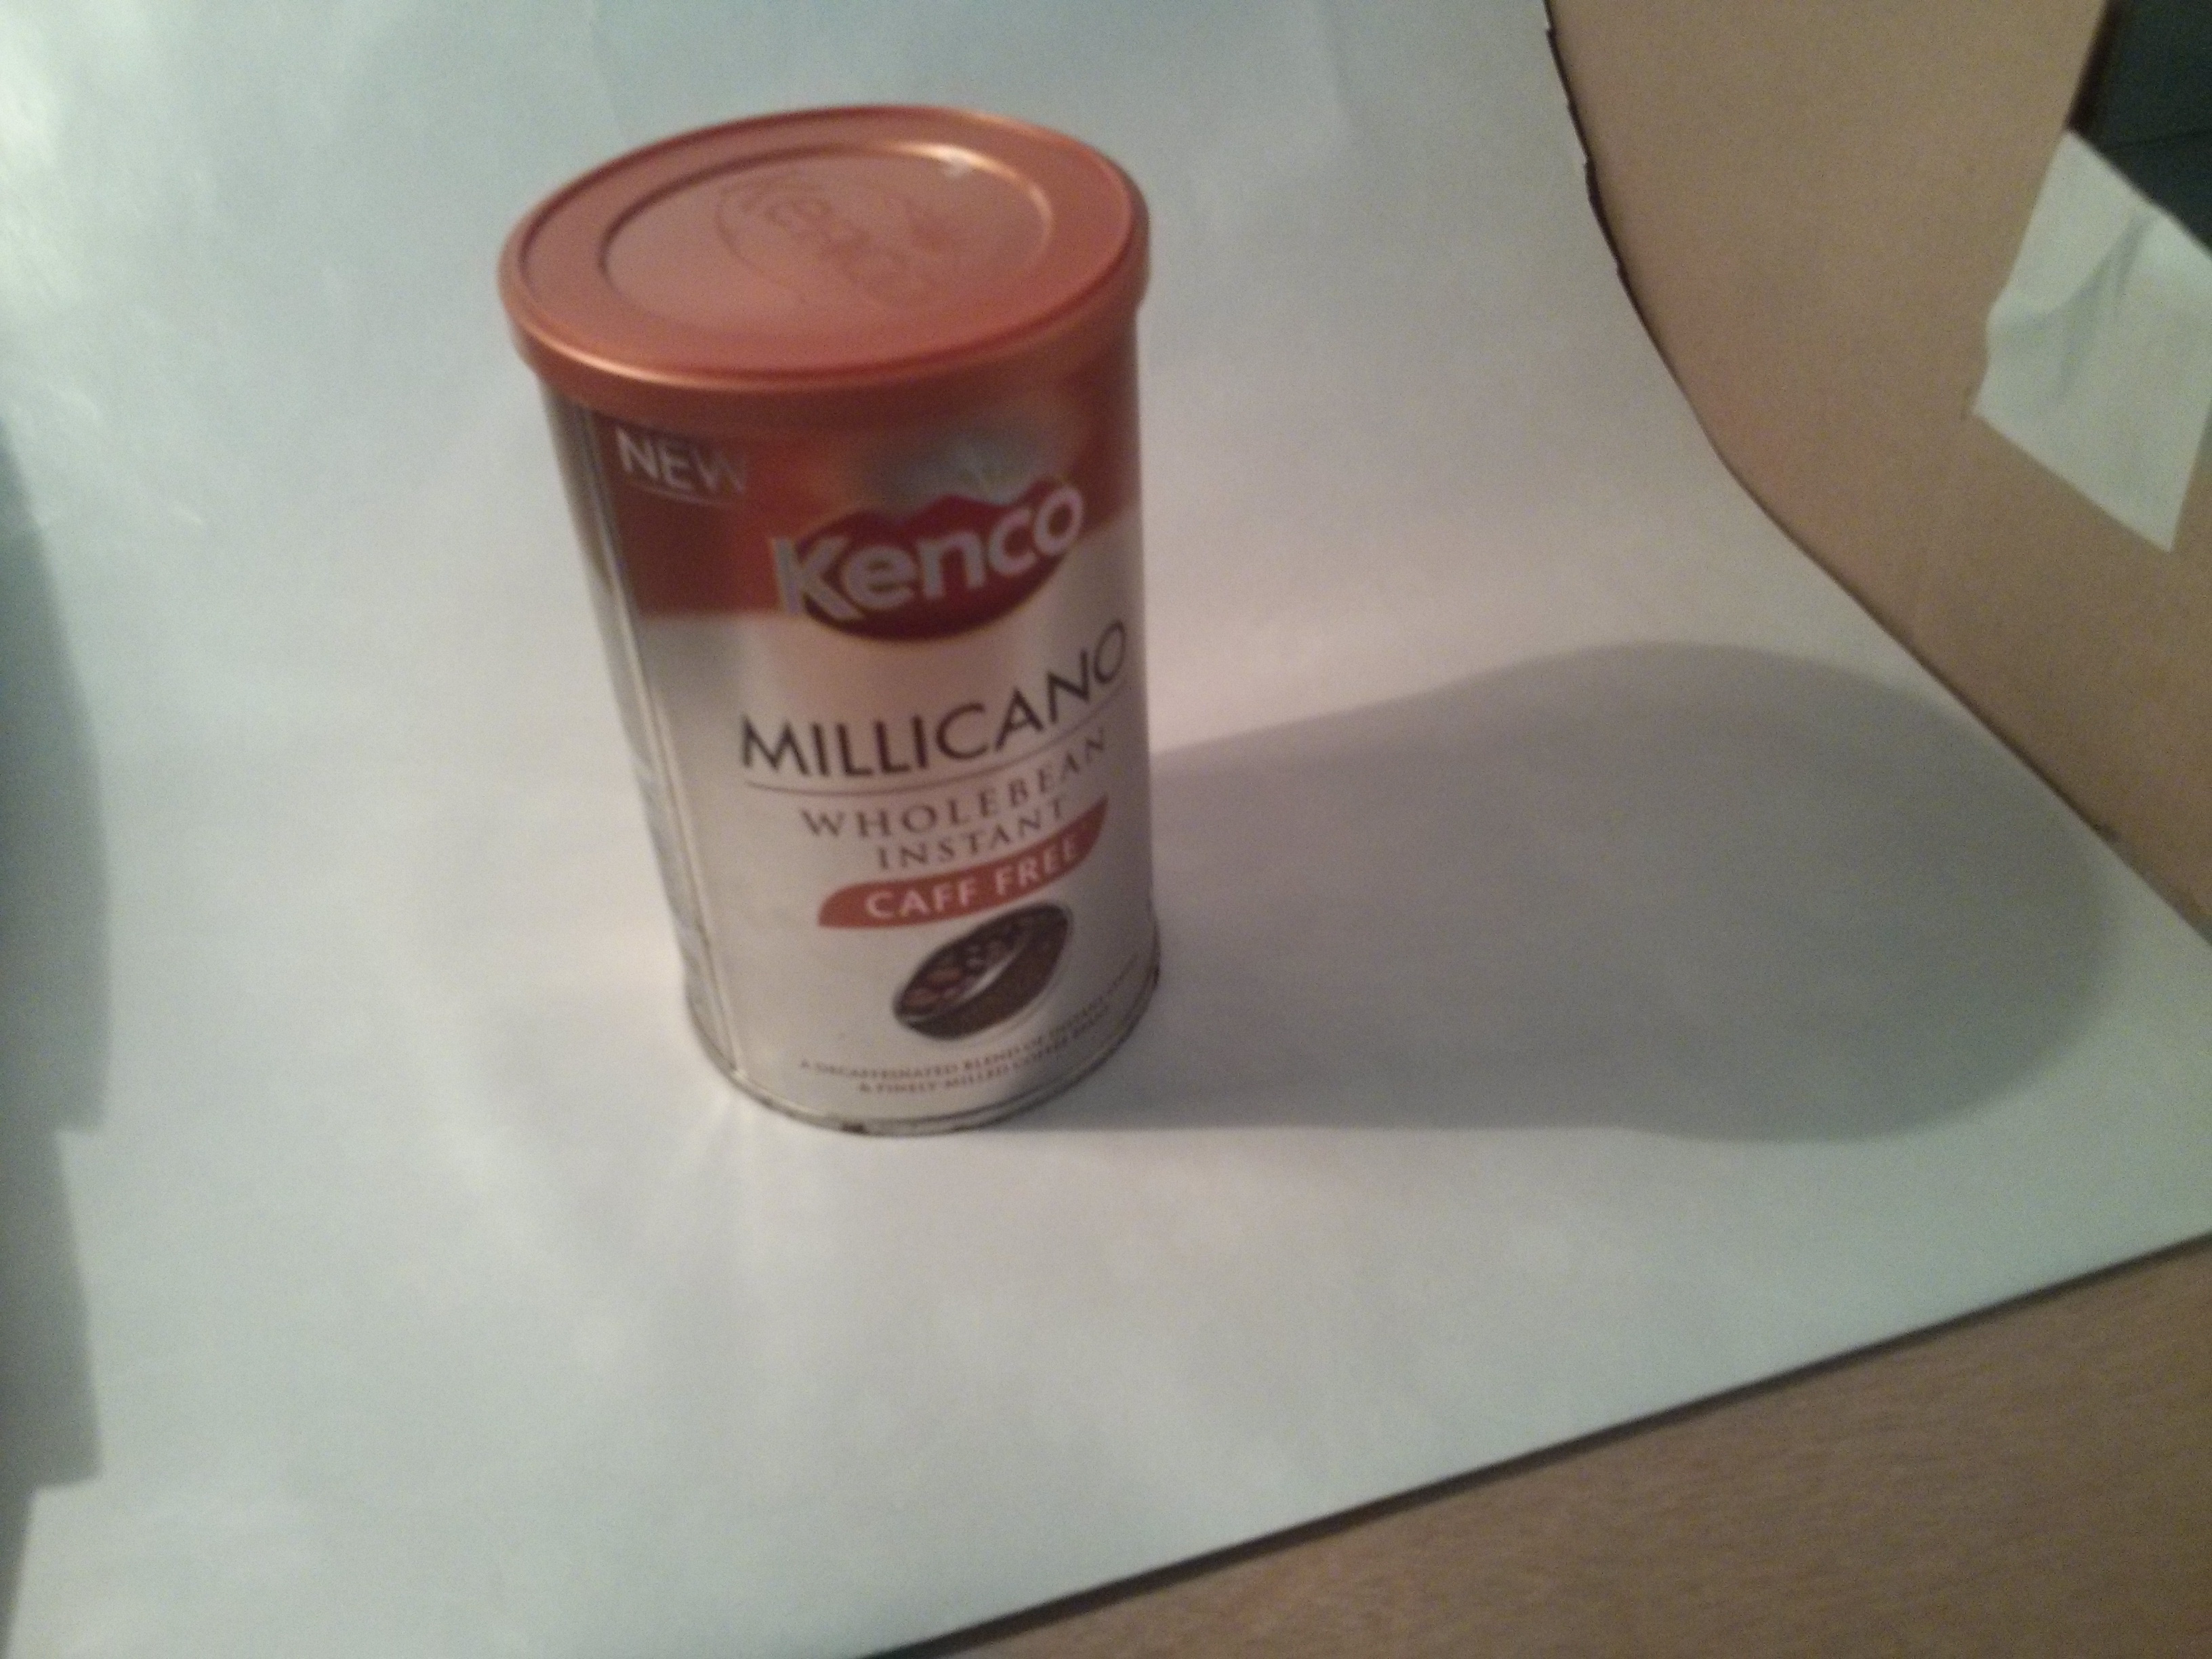
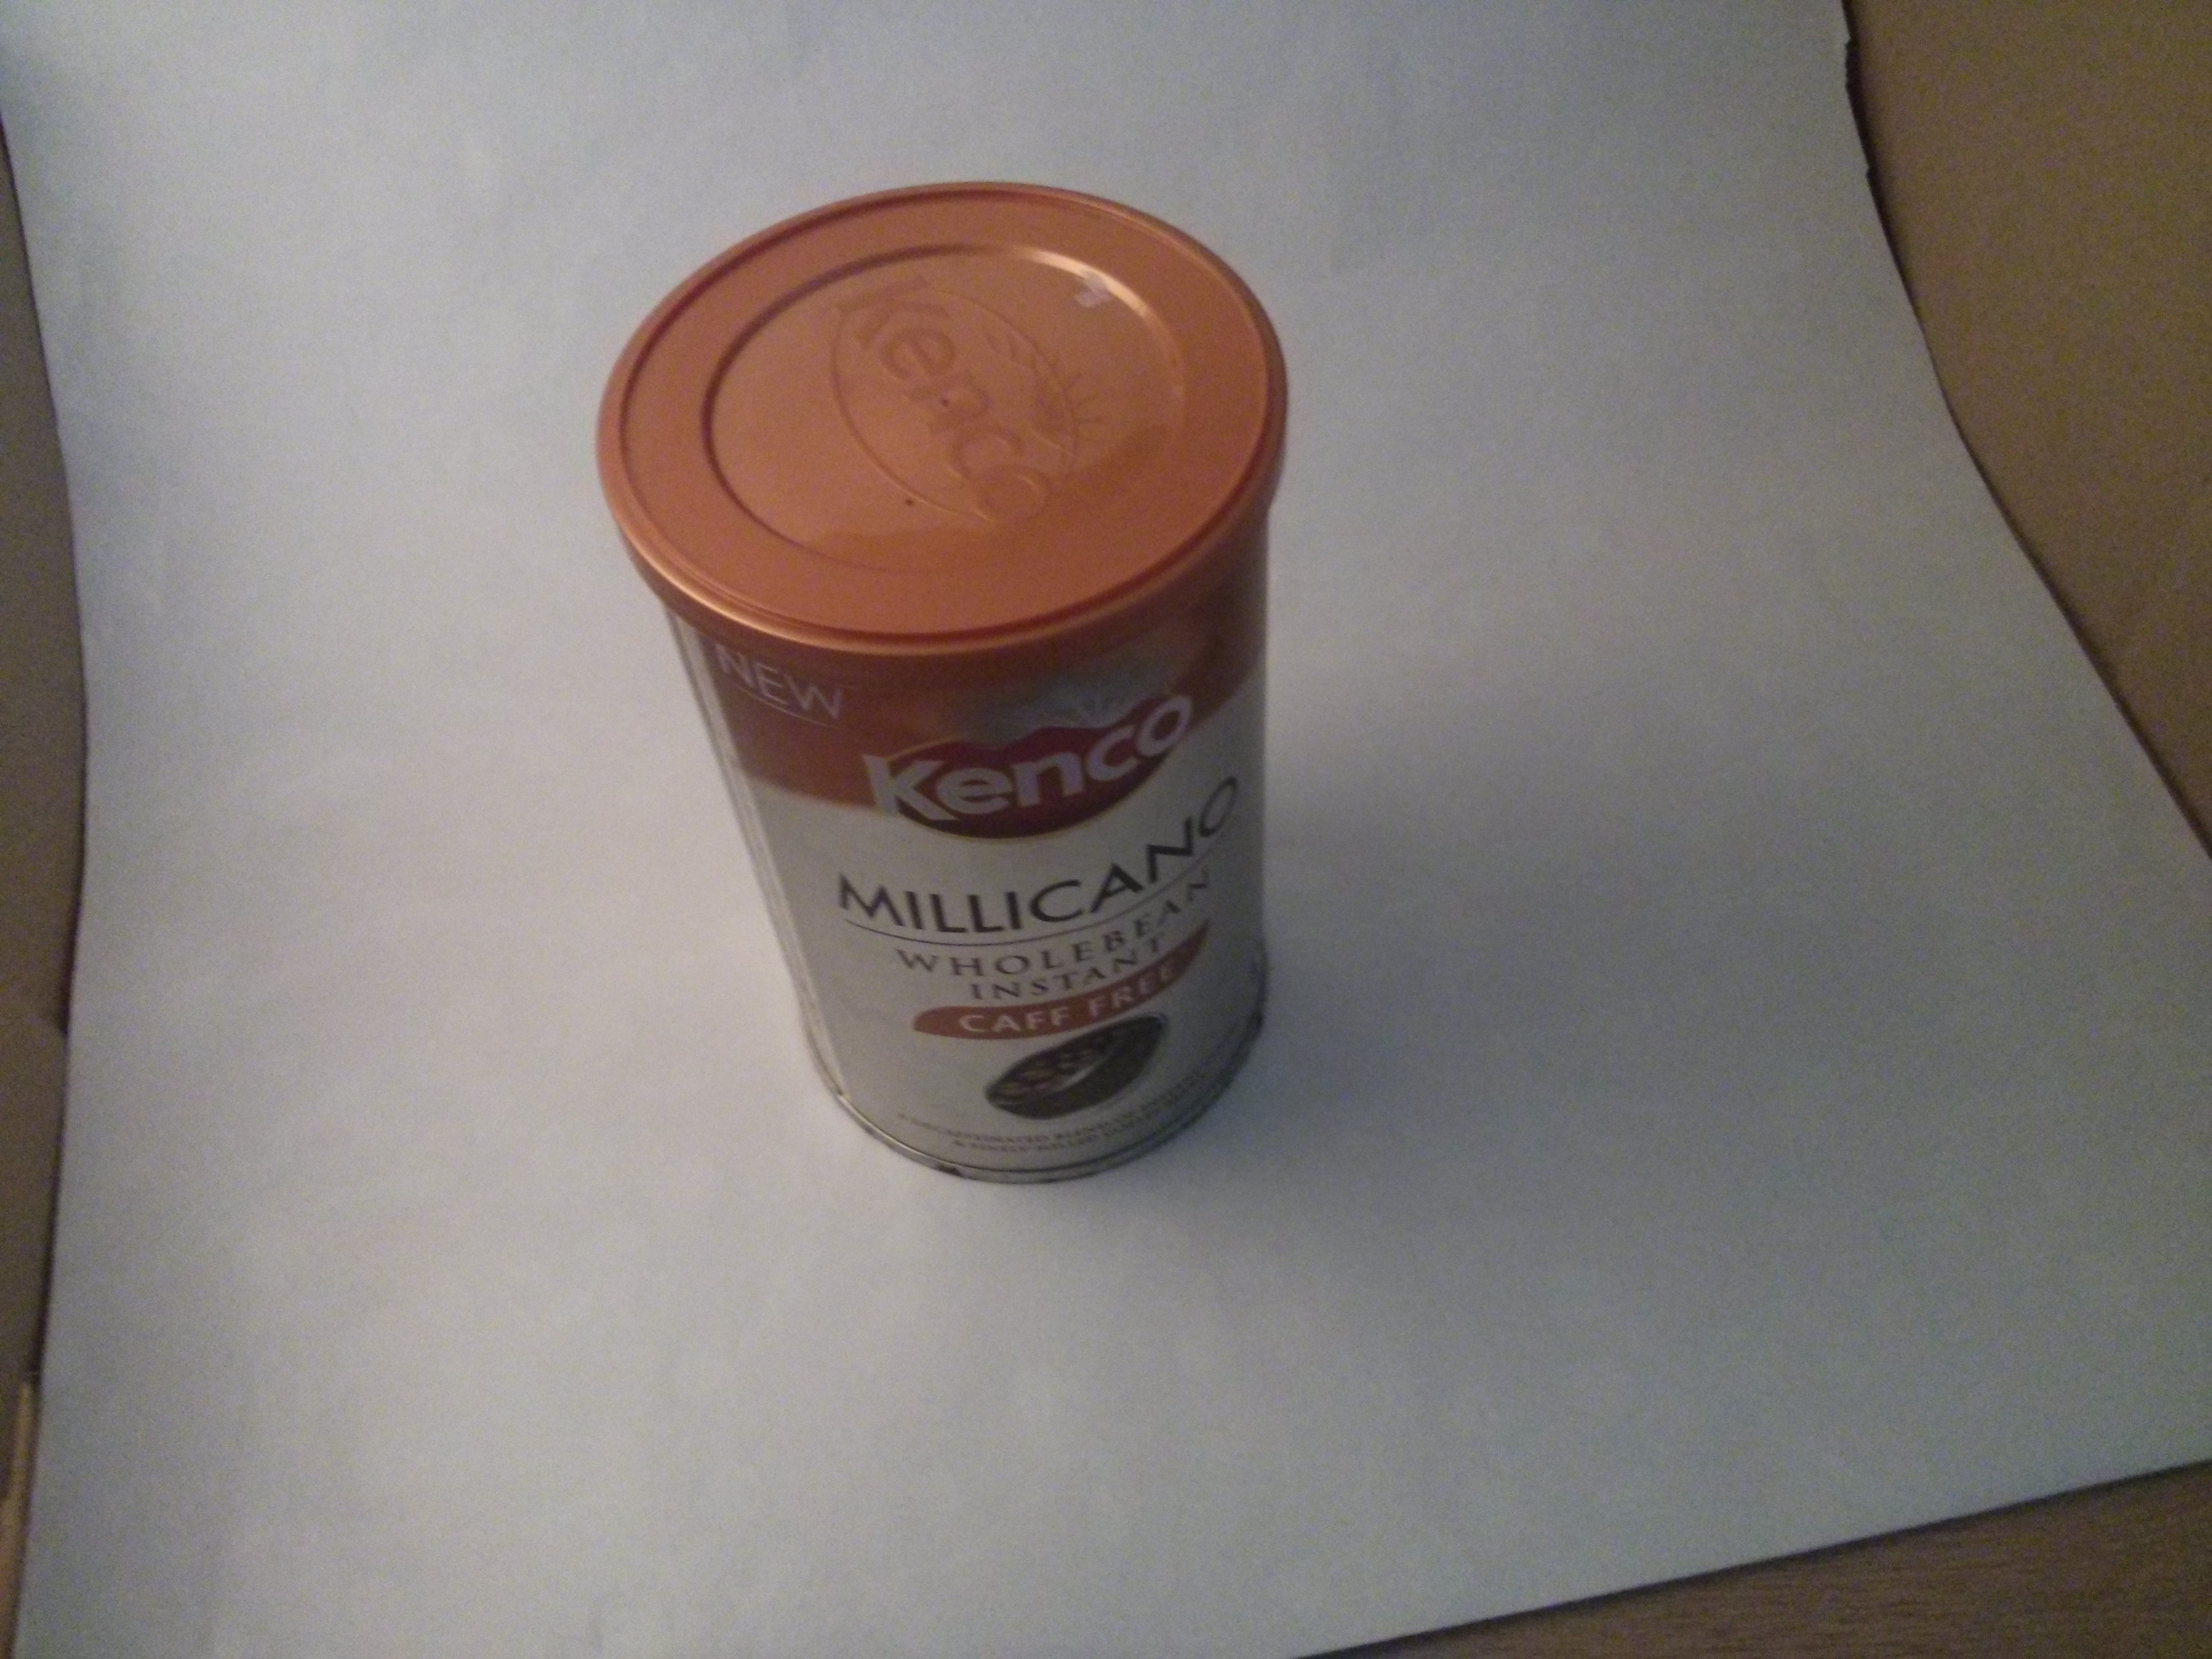
First you need to understand the difference between hard and soft light. The easiest example of this is a sunny day vs a cloudy day.
On a sunny day, you have a clear, sharp shadow. The light from the sun is called hard light because it casts that sharp/hard shadow. The cause of this is the fact that all the light comes from a single, pinpoint source, the sun.
On a cloudy or overcast day where the sky is completely grey, the light source is not a pinpoint anymore. This is because the sun illuminates the cloud layer from the top which diffuses the light, so the effective light source is the huge flat cloud. This means that you either have a very soft shadow, or no shadow at all. This is the sort of light we need because in product photography shadows are ugly as they leave part of the product dark.
Ok now onto the more interesting stuff.
Equipment
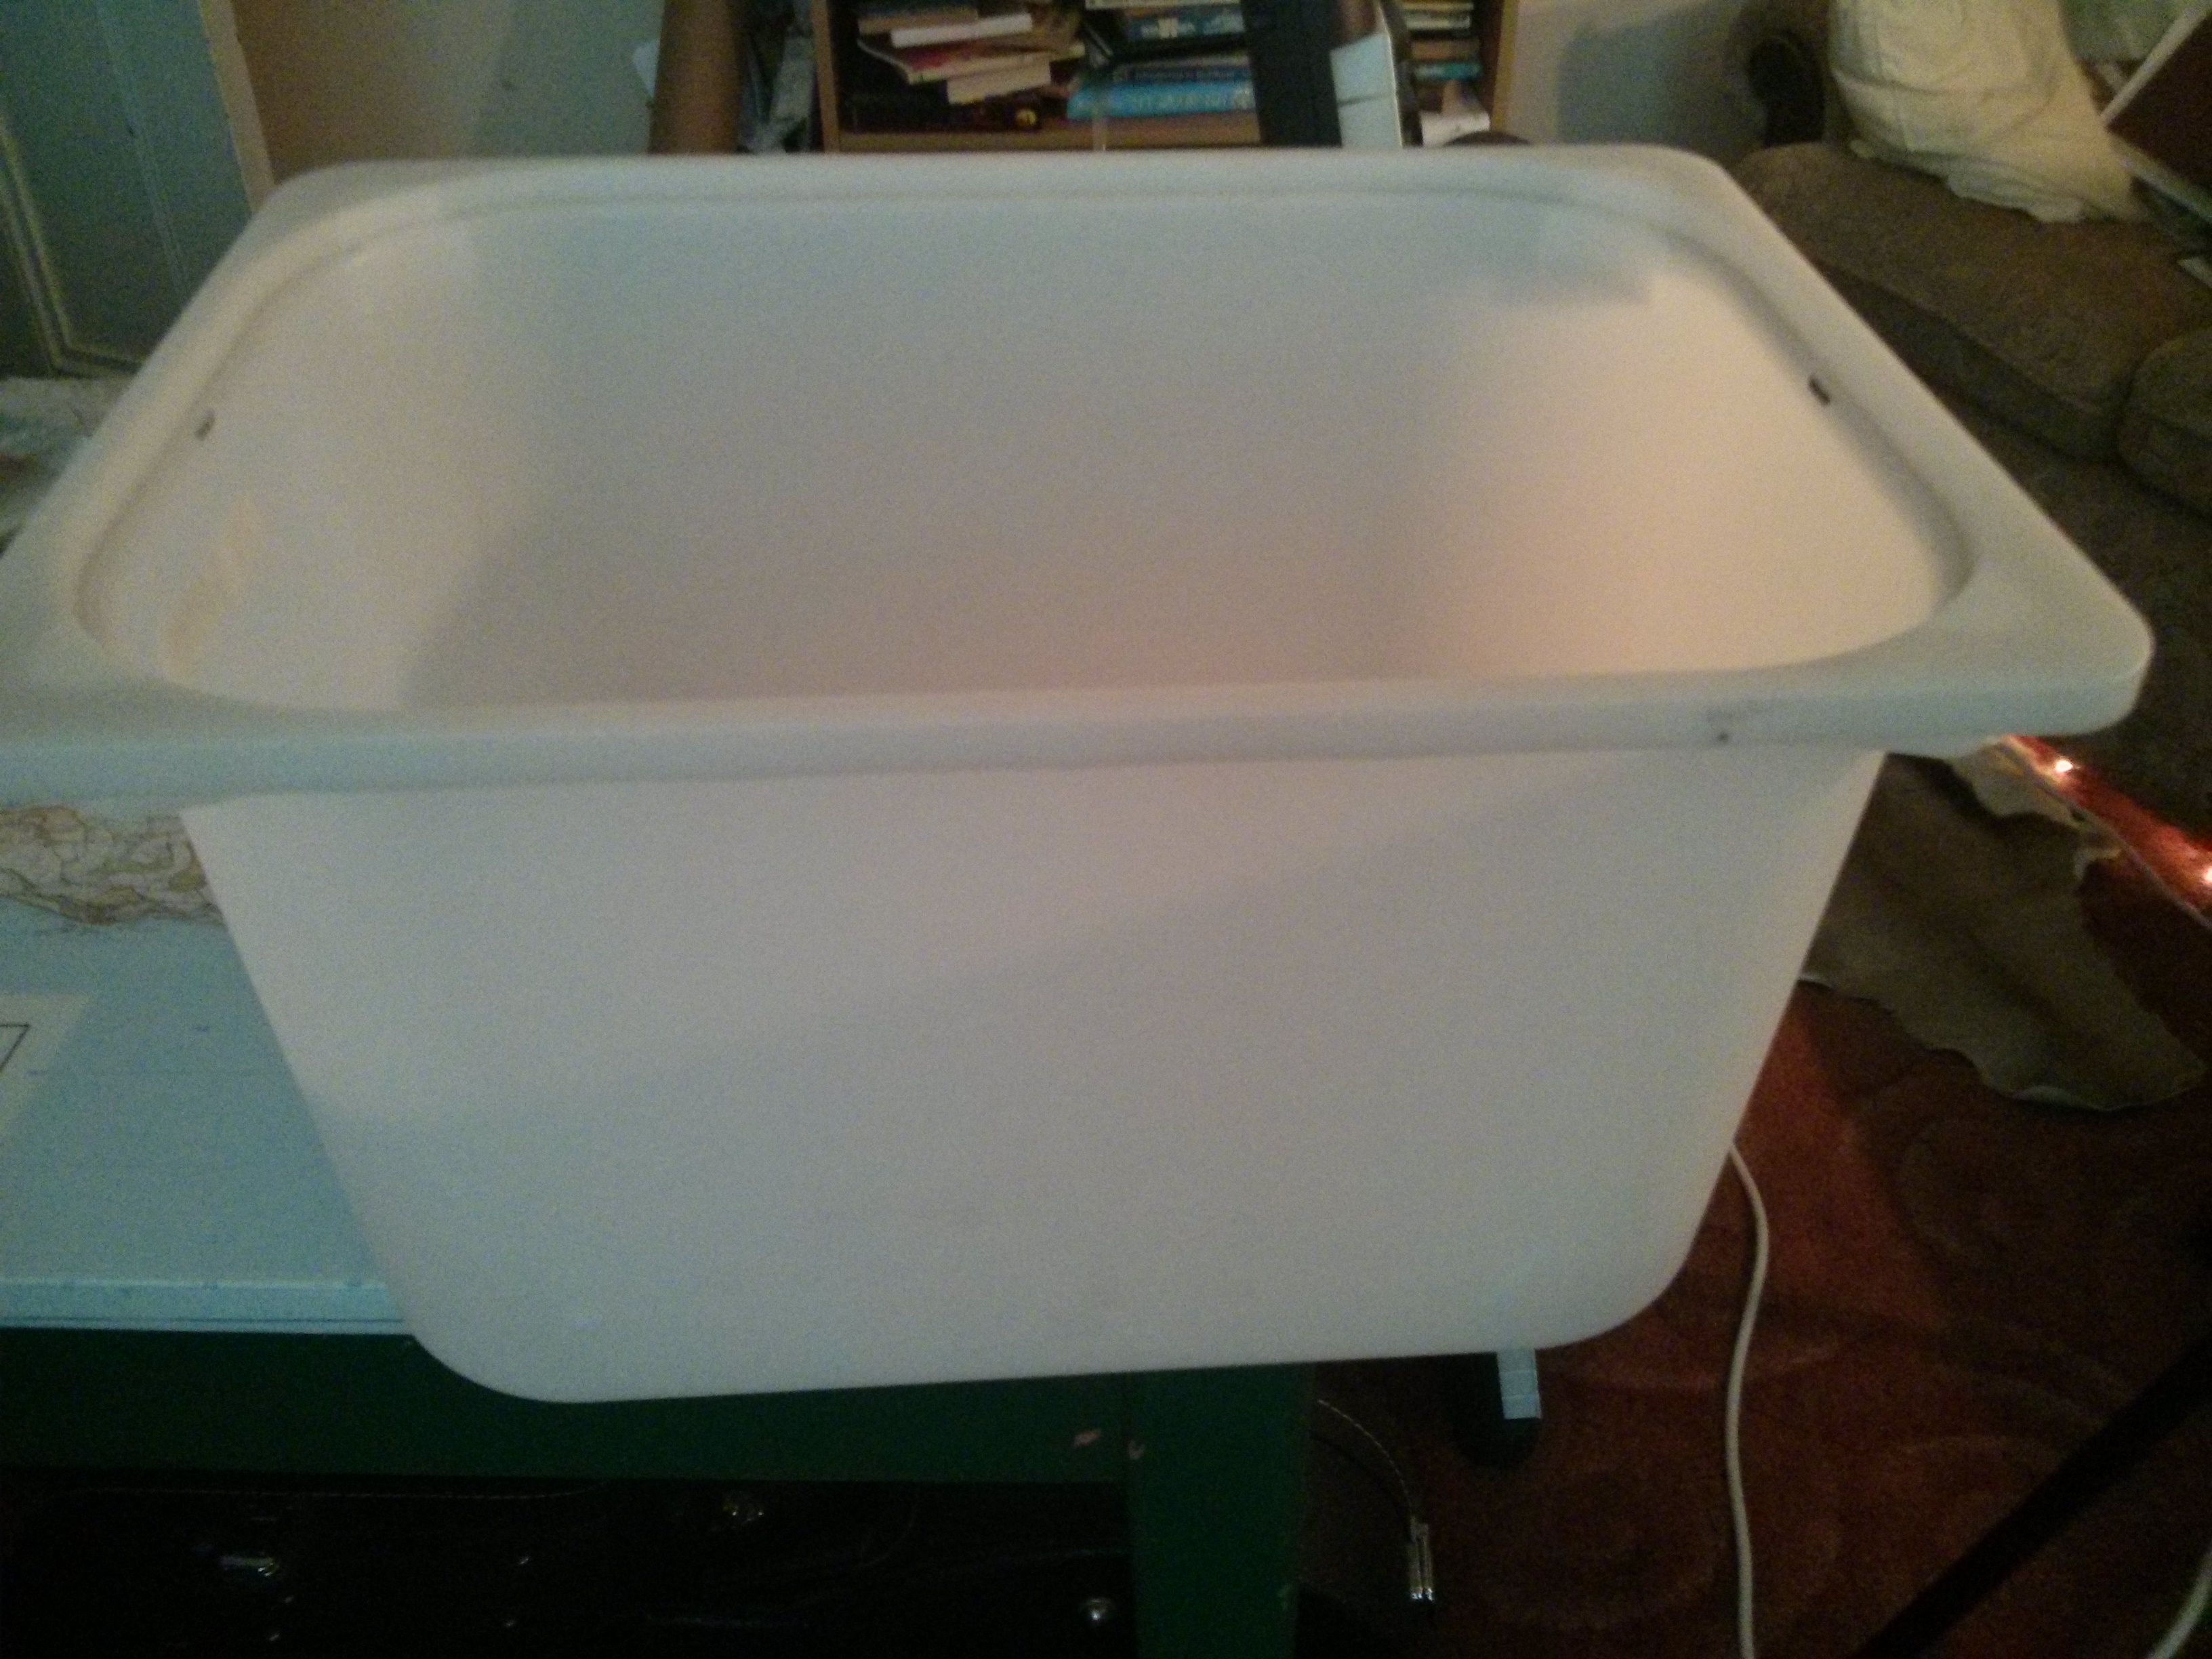
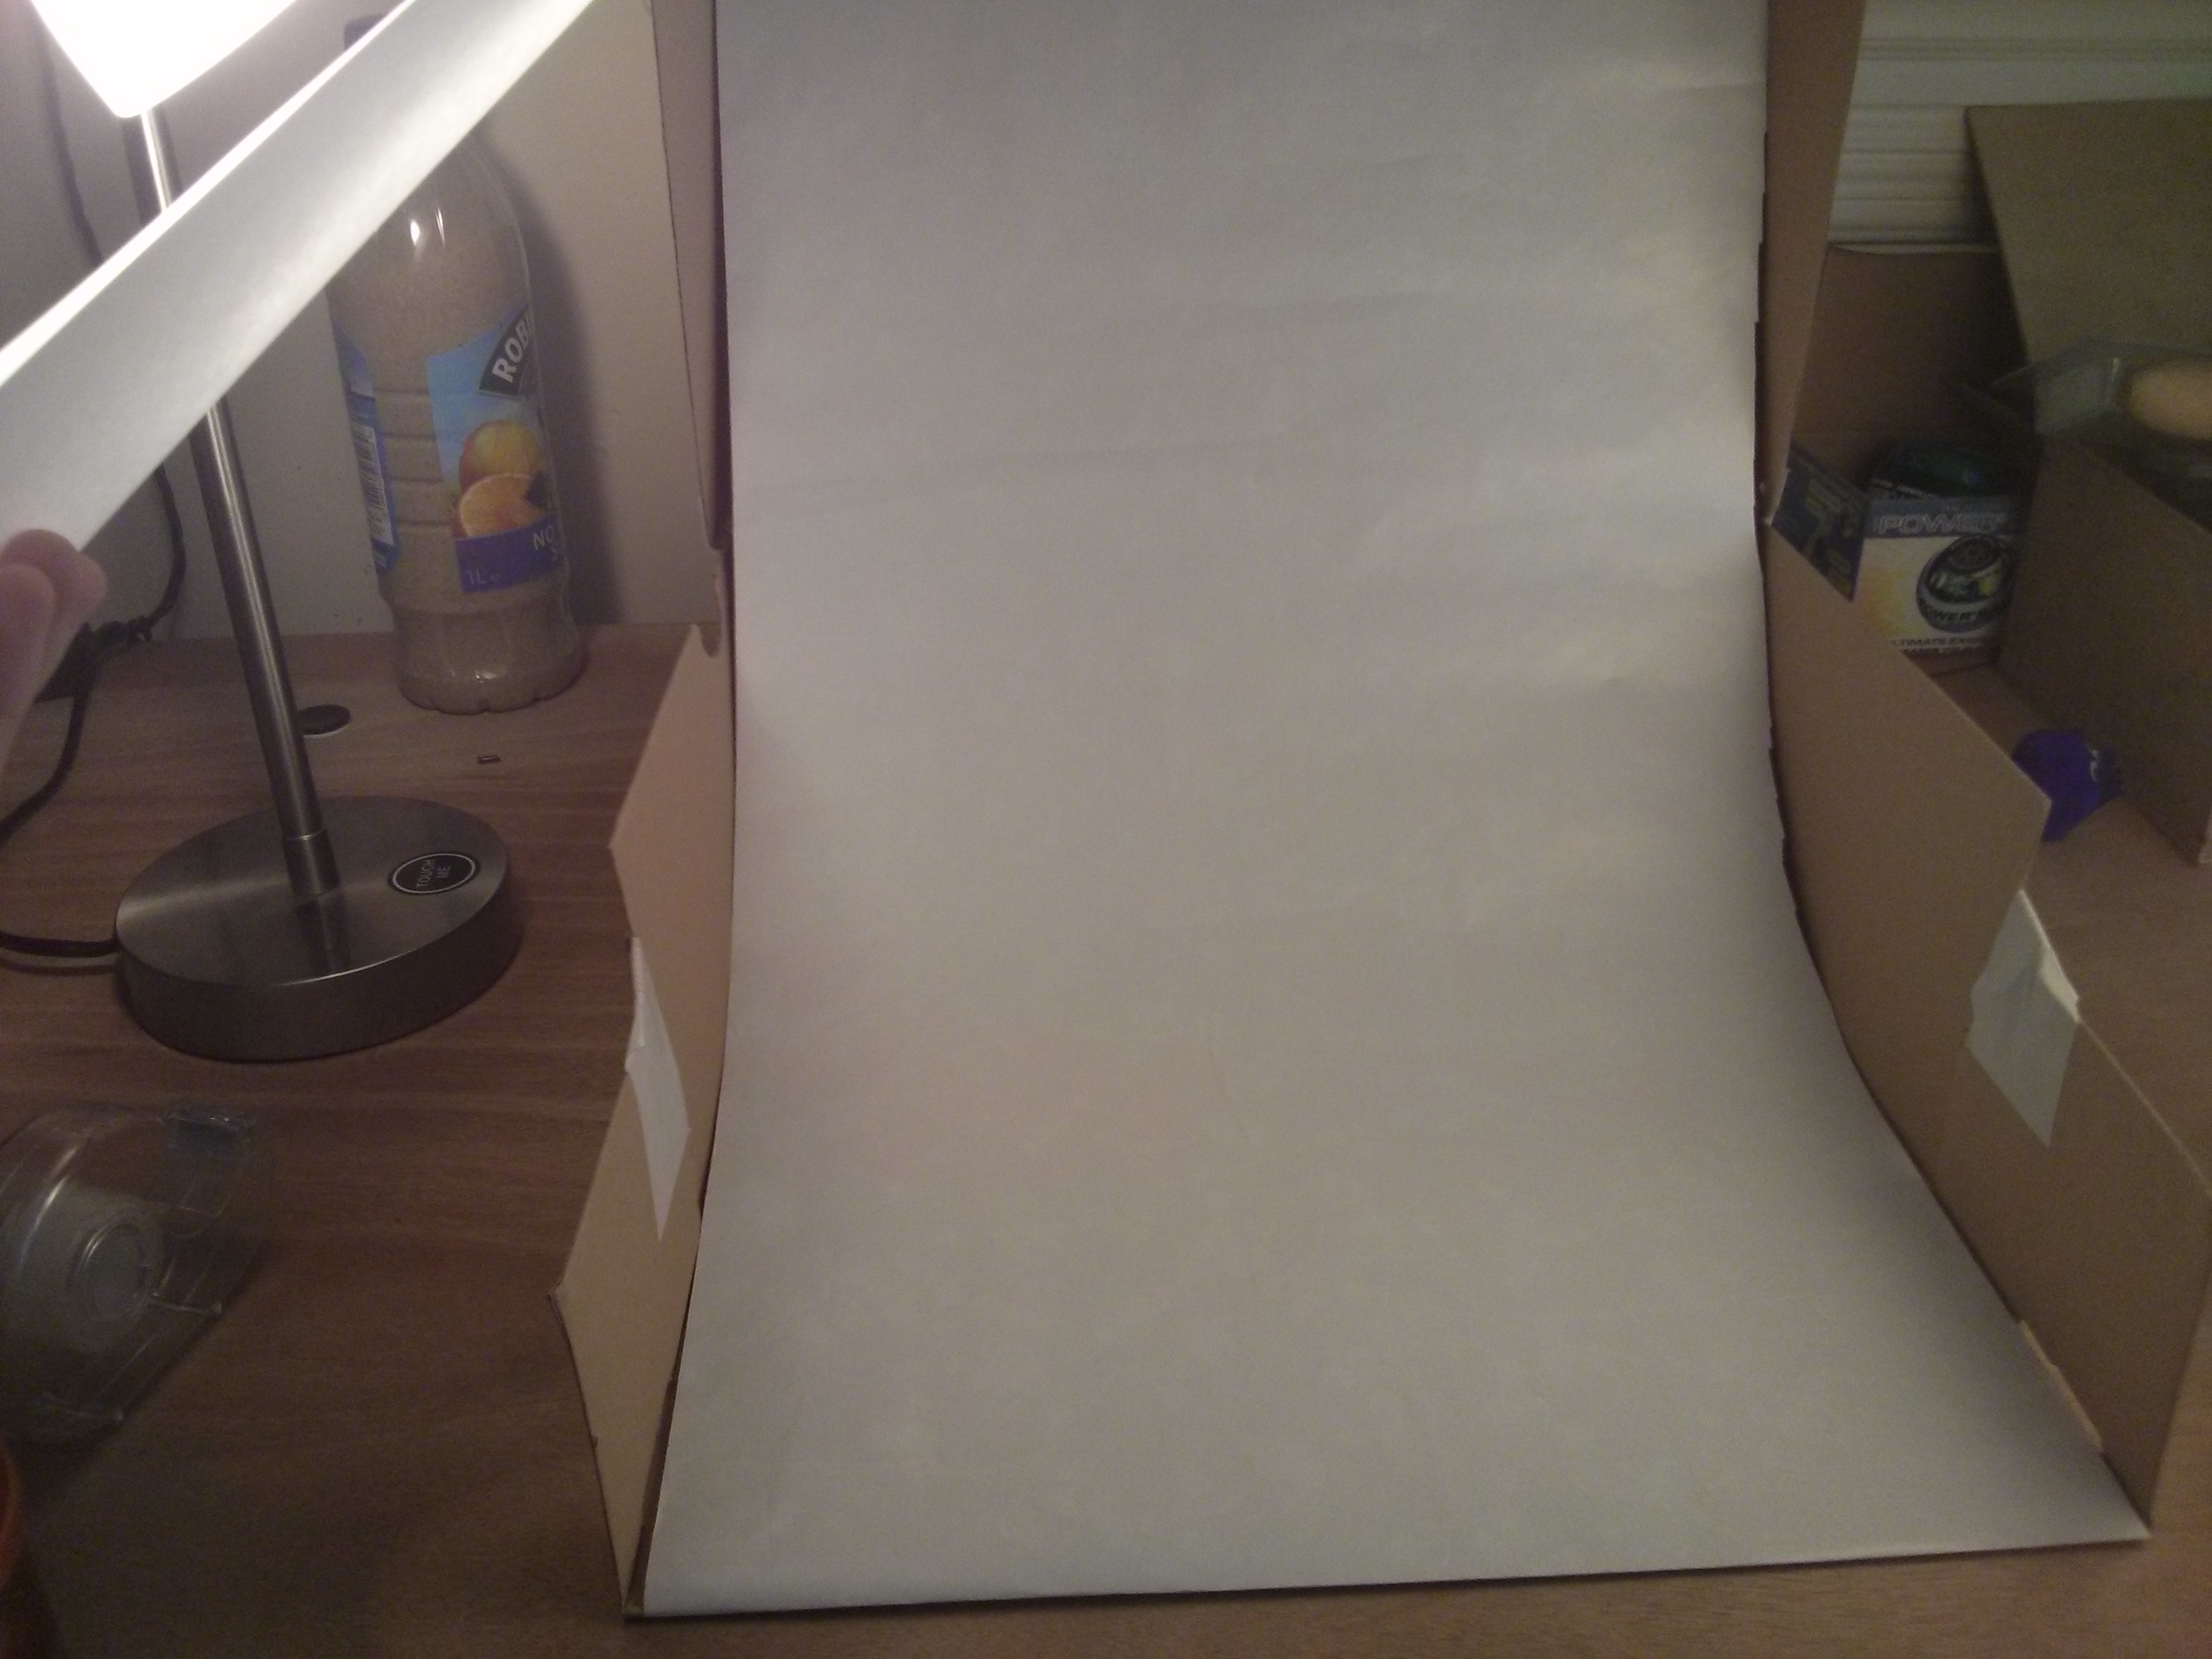
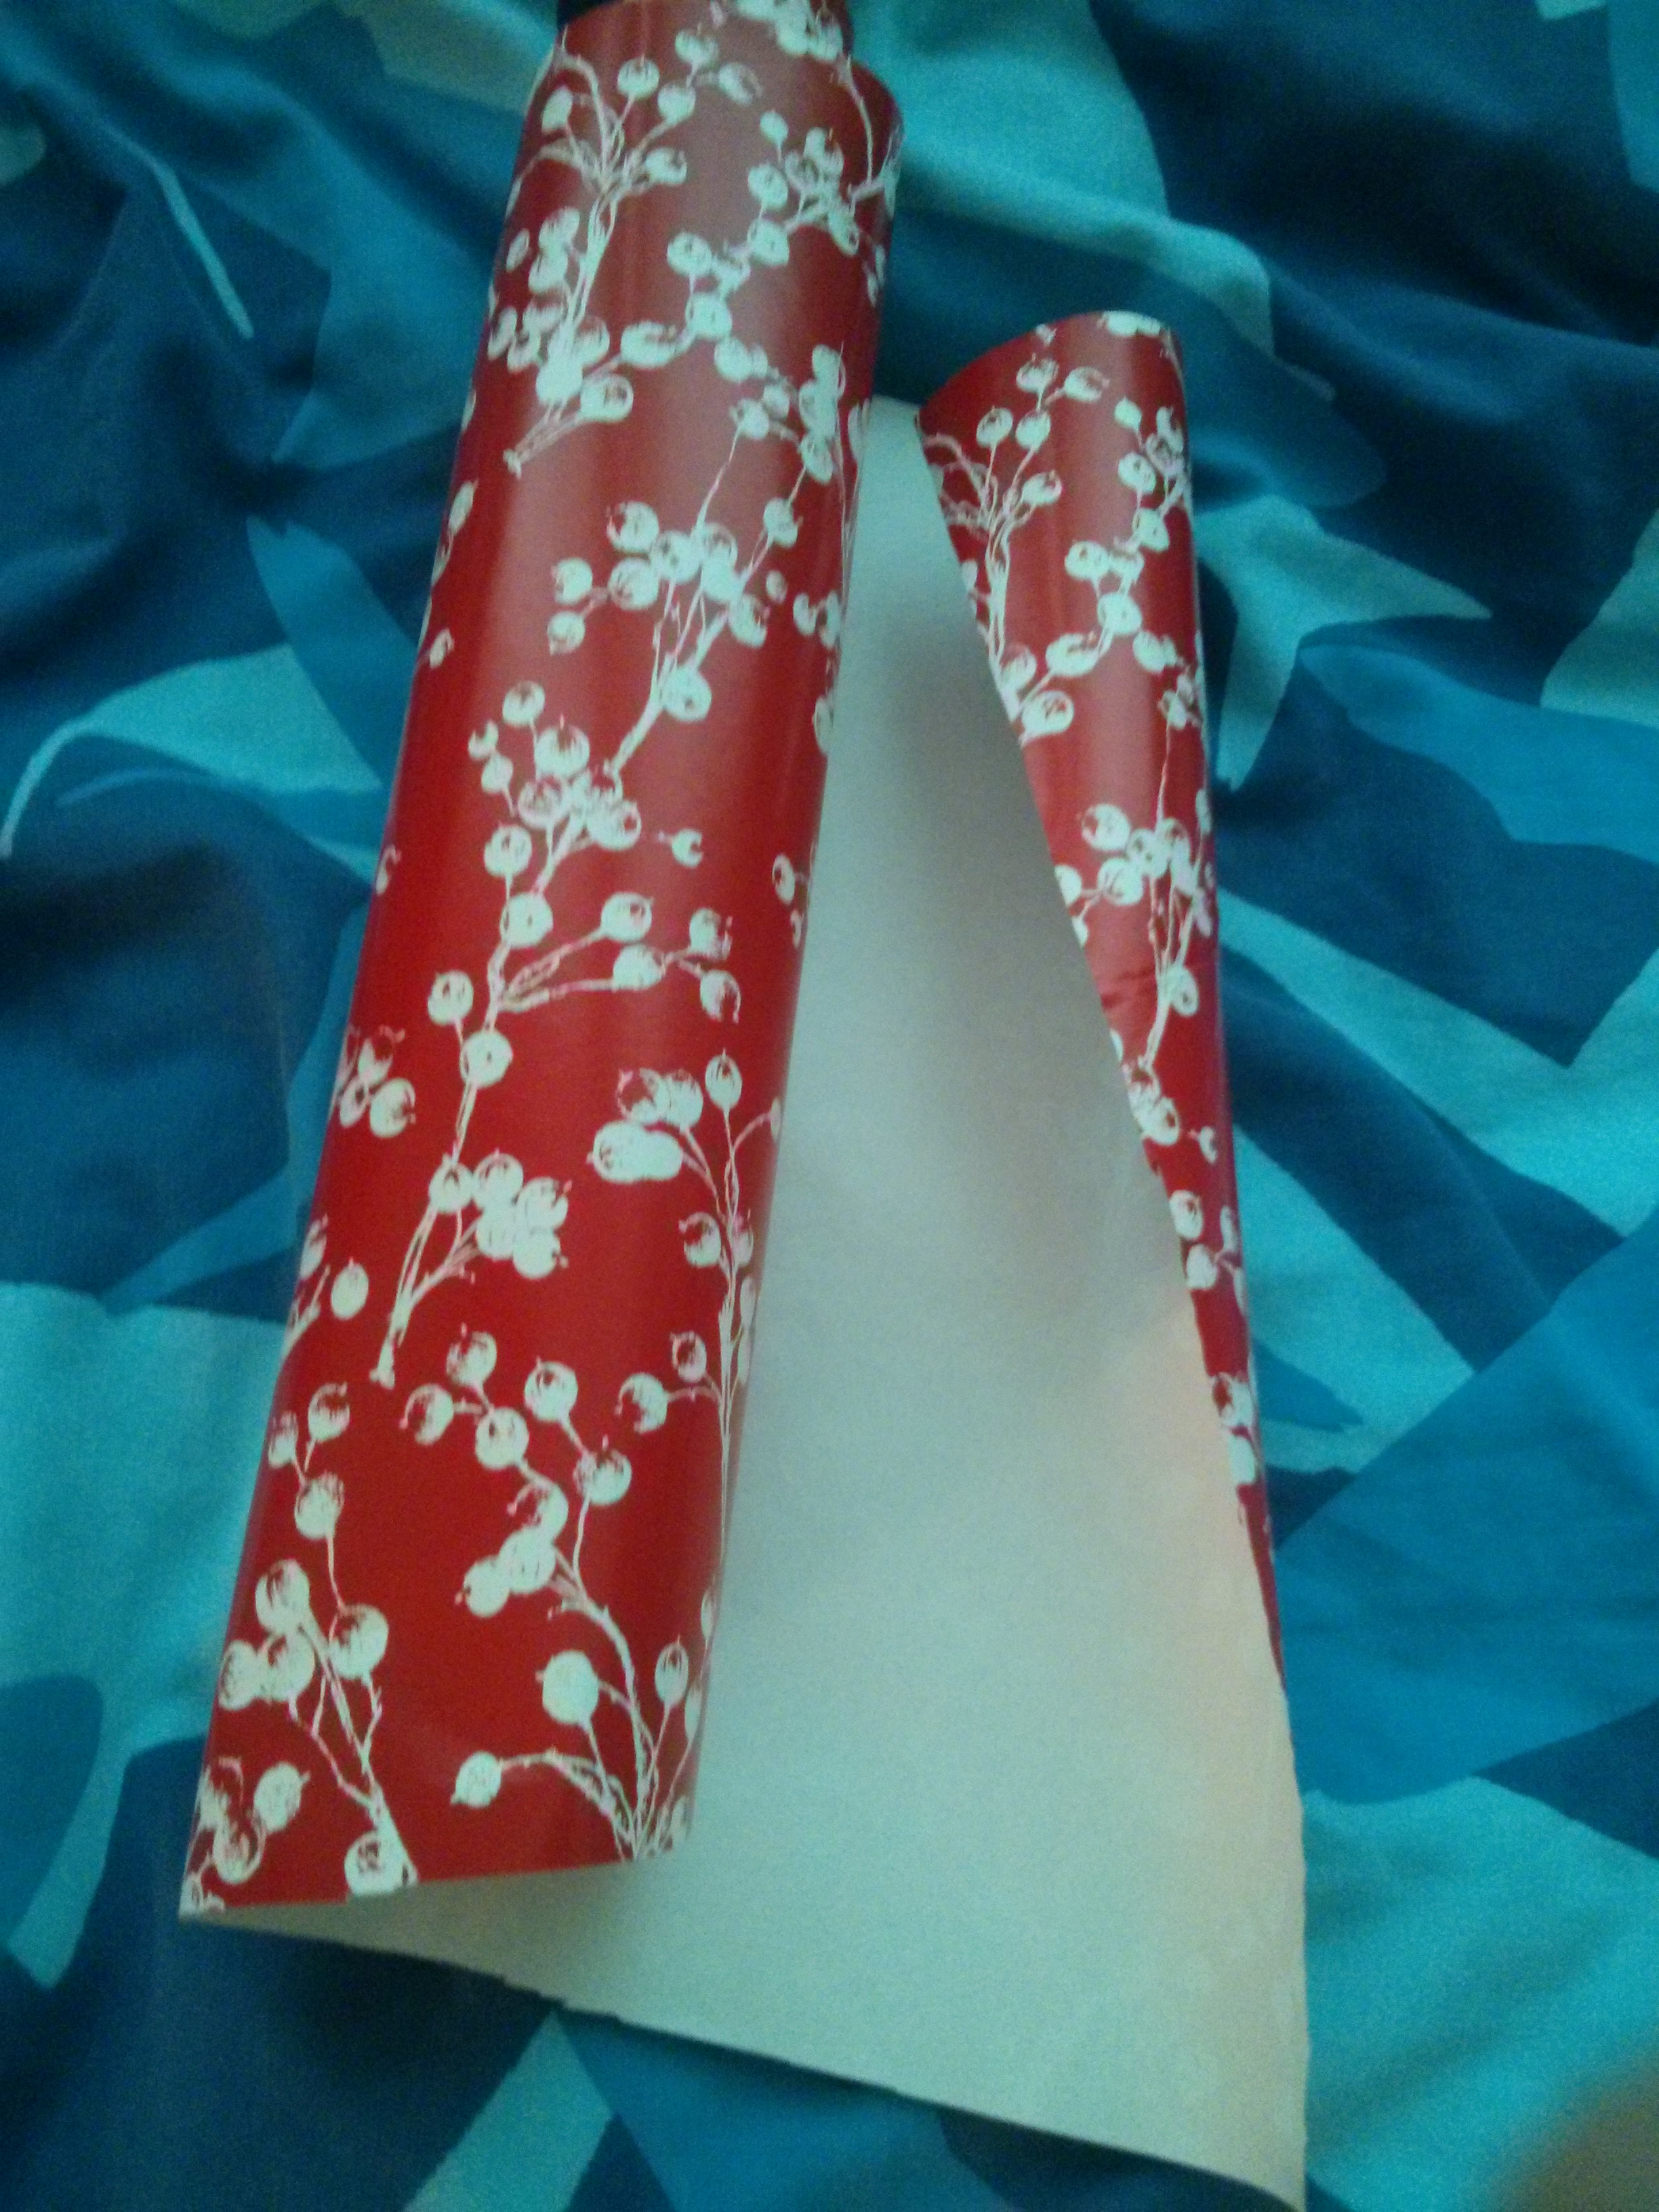
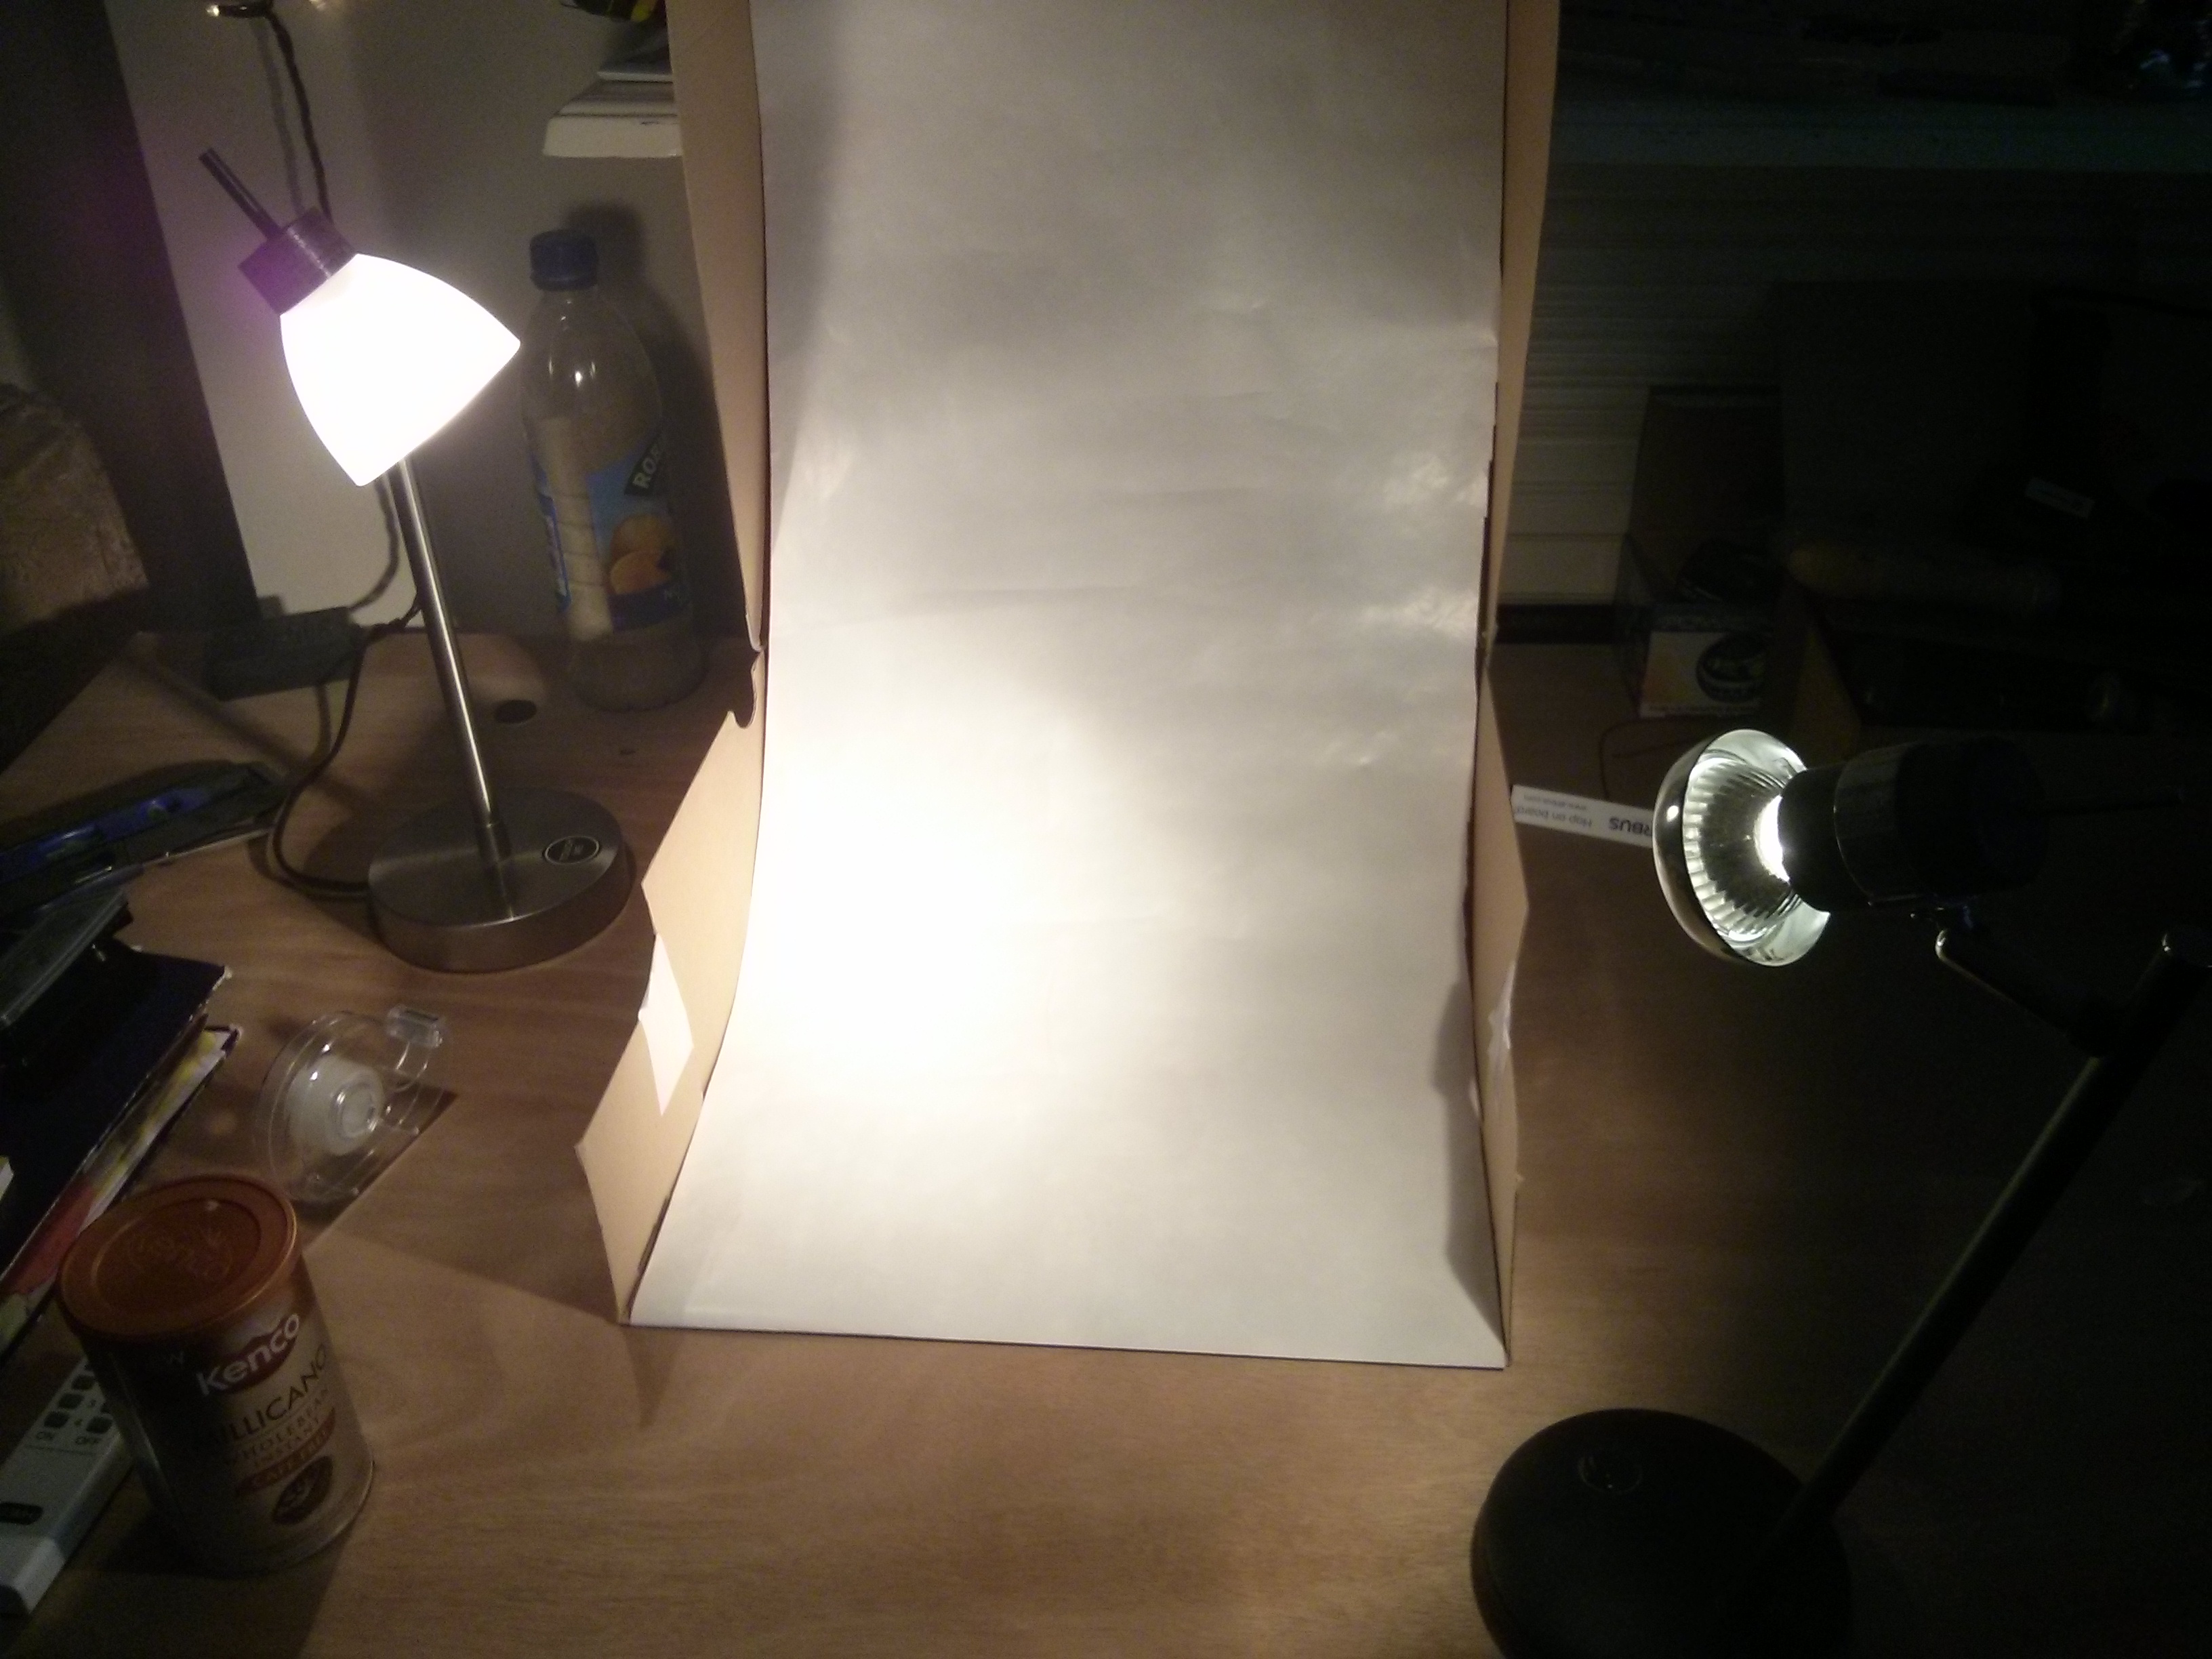
The idea here is to make a light box/soft box with the cheapest materials possible.
Here's what I used:
1 x large shoe box
1 x roll of wrapping paper
A couple of sheets of A4 paper
2 x lamps
1 x plastic box
1 x camera
Putting It Together
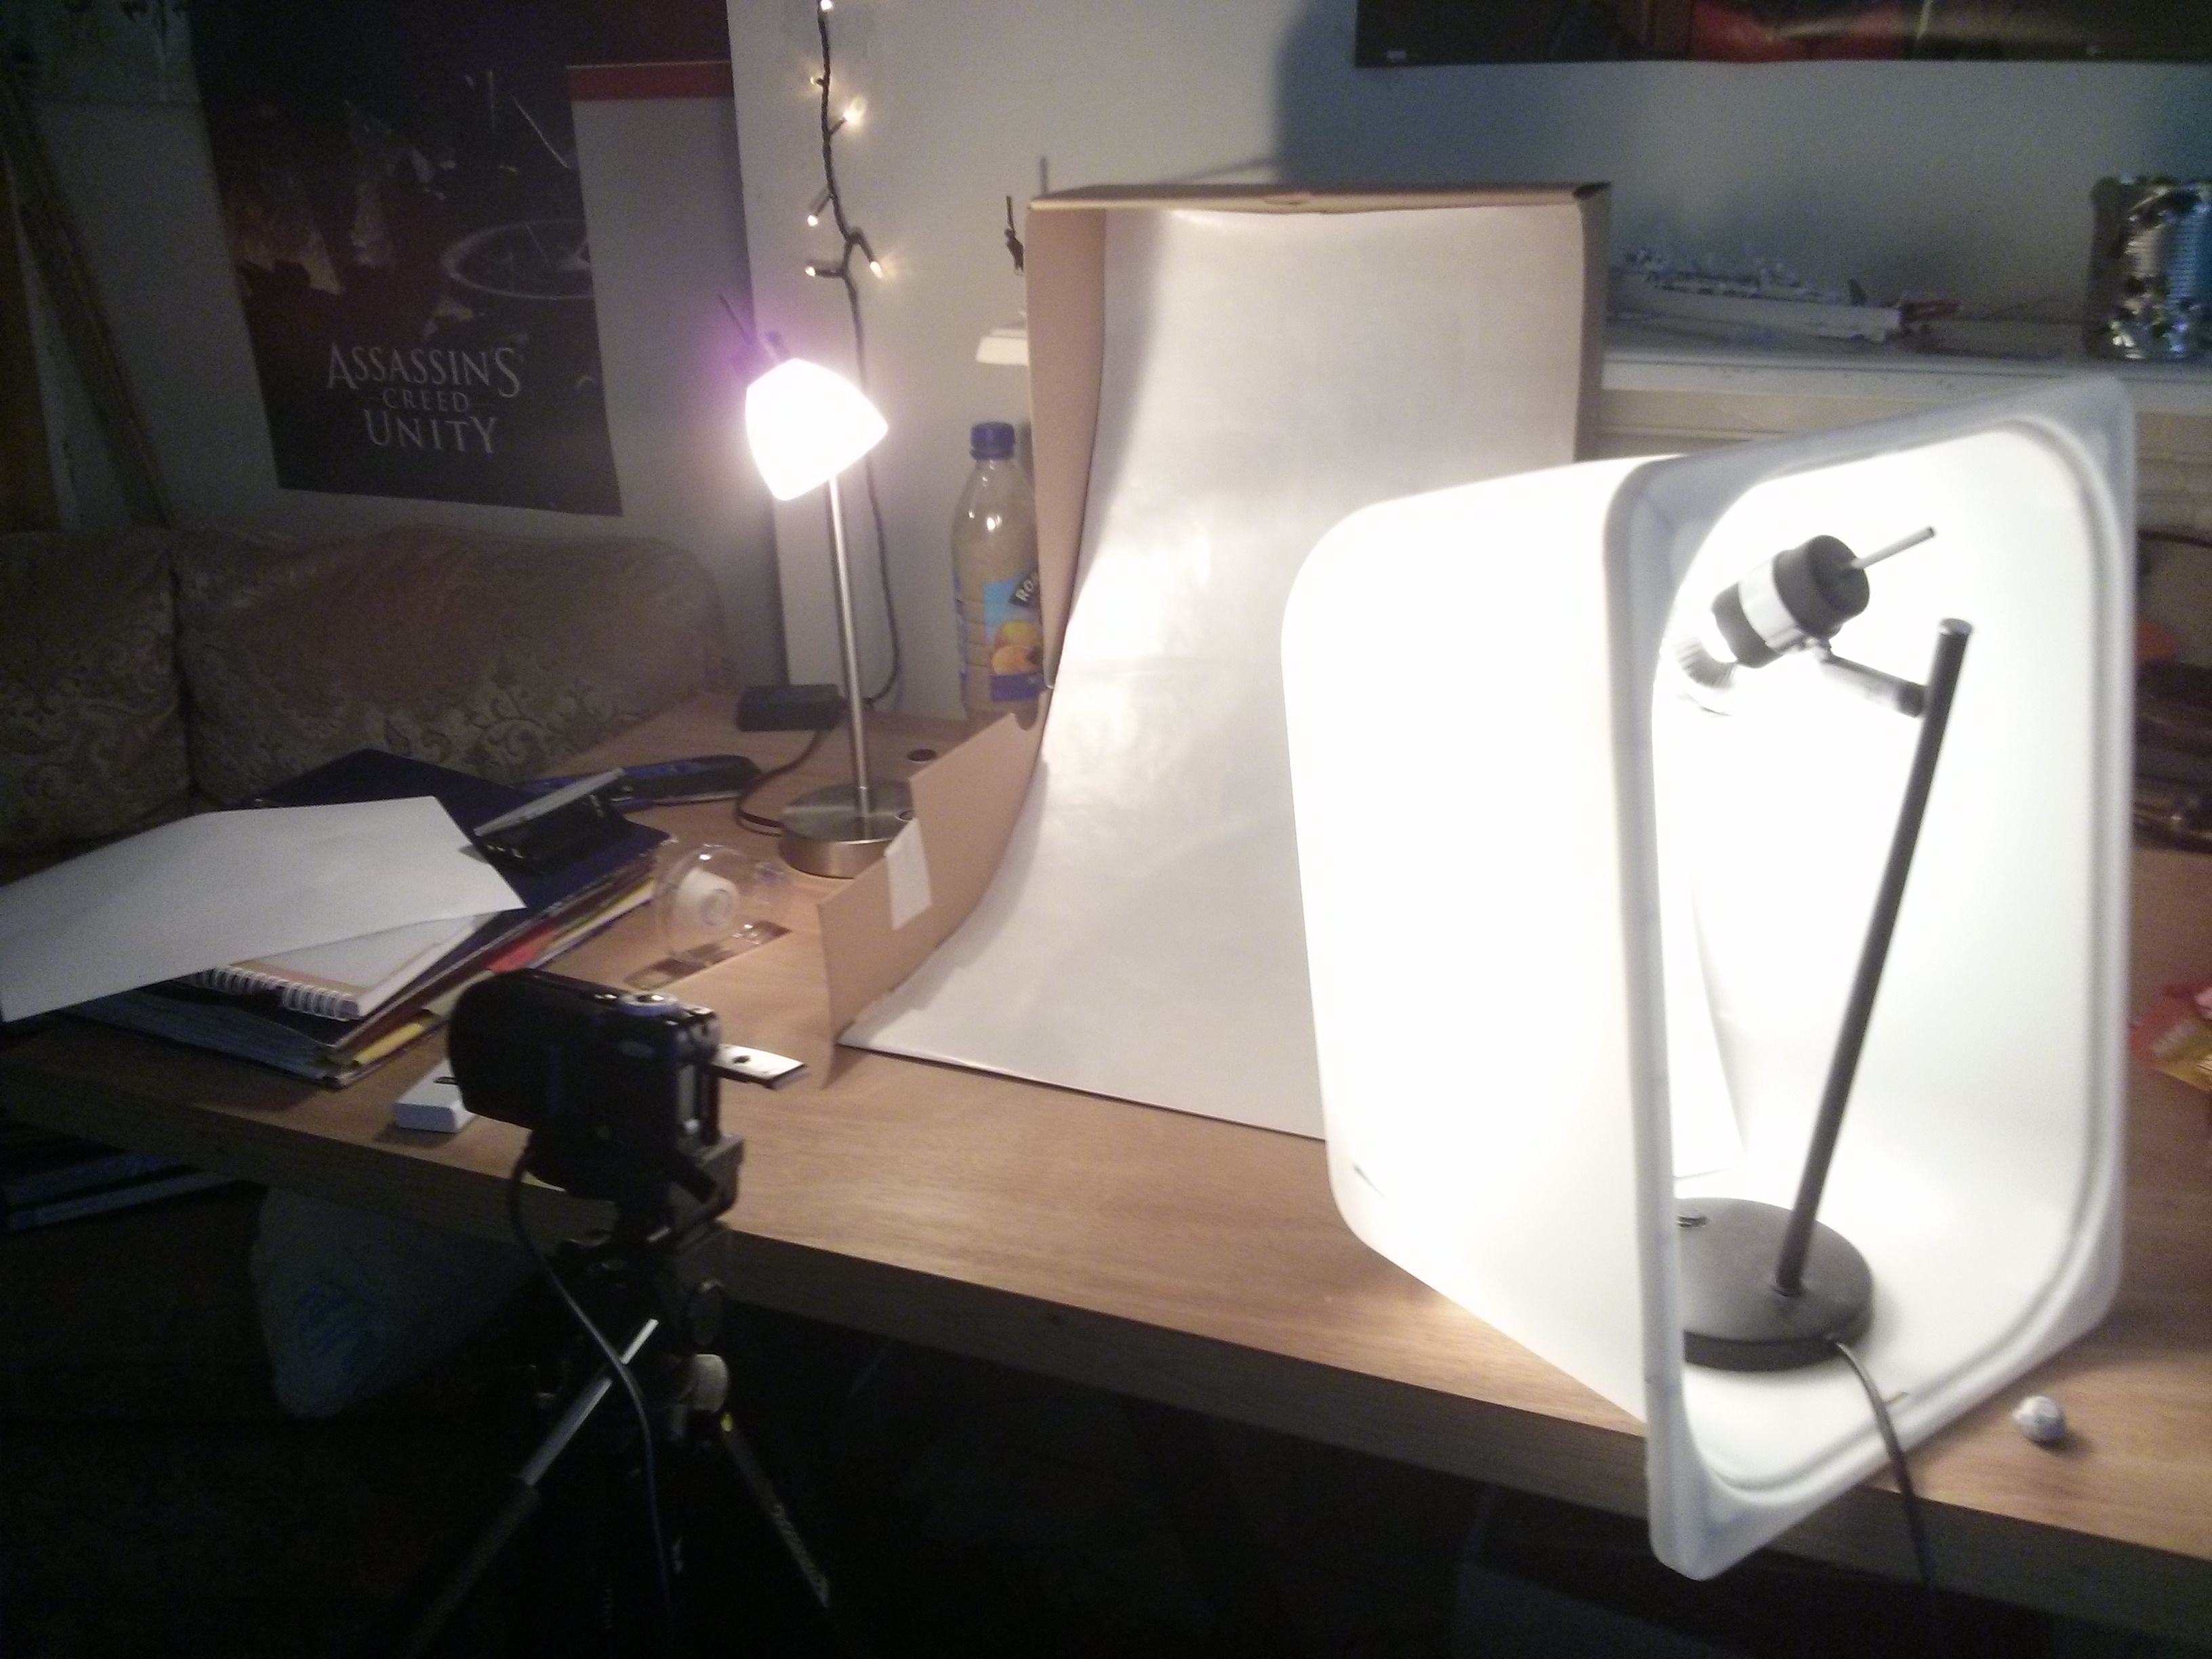
1. The shoebox is used to give structure to the white background. The idea here is to get a curved white background so that the wall and floor blend seamlessly. You don't have to even use a shoebox, you could just tape the background to the wall and floor of your house, but using a shoebox means that I can pick it up and move it around. I taped the lid open so that it stays open.
2. Wrapping paper is used for the background as it is cheap and easy to find and most importantly, should be completely smooth. You need to cut a large rectangle out of the wrapping paper. The size depends on what you are taking pictures of, you need a larger rectangle for larger products. For the sake of comparison, I cut mine to about 80 x 36 cm. Tape the top of the wrapping paper to the top of your box, tape the bottom of the paper to the floor of your box. Make sure that there is a large section of flat paper on the bottom to put your products on. If you tape it too tightly the curve will be too steep and you won't be able to sit products on the paper.
3. Now you need to set up the lamps. Just put one on each side really.
Diffusion
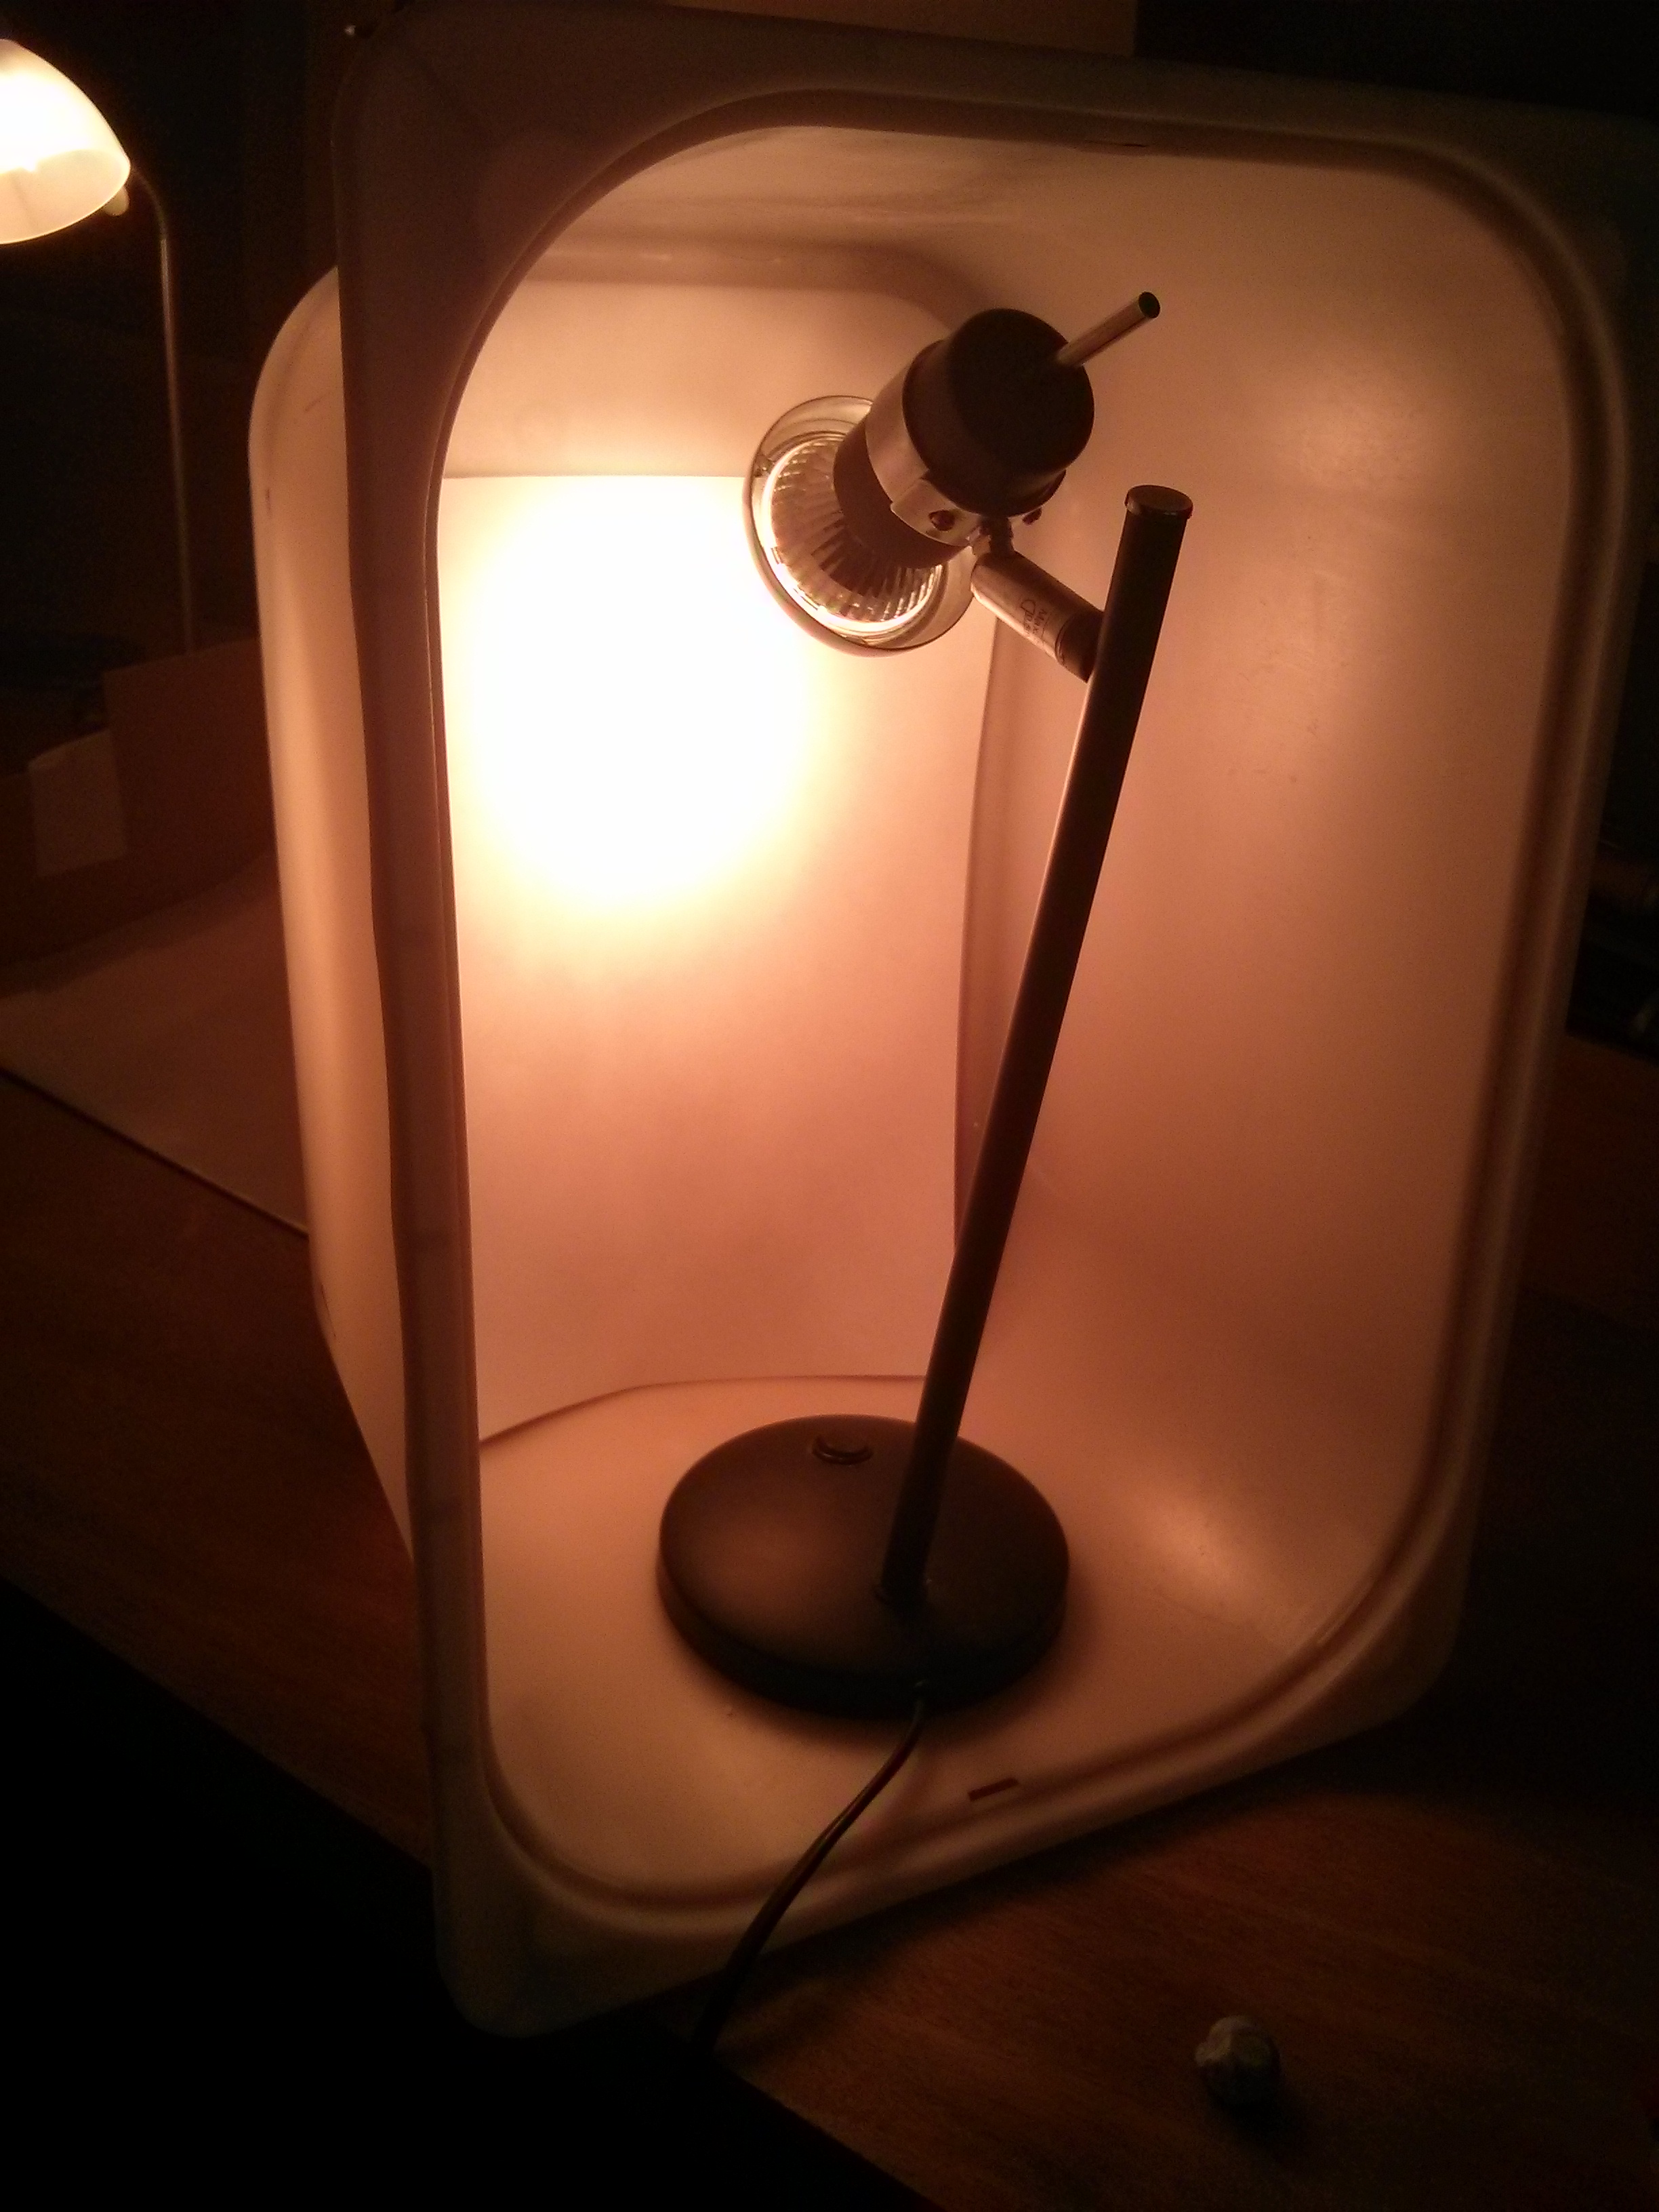
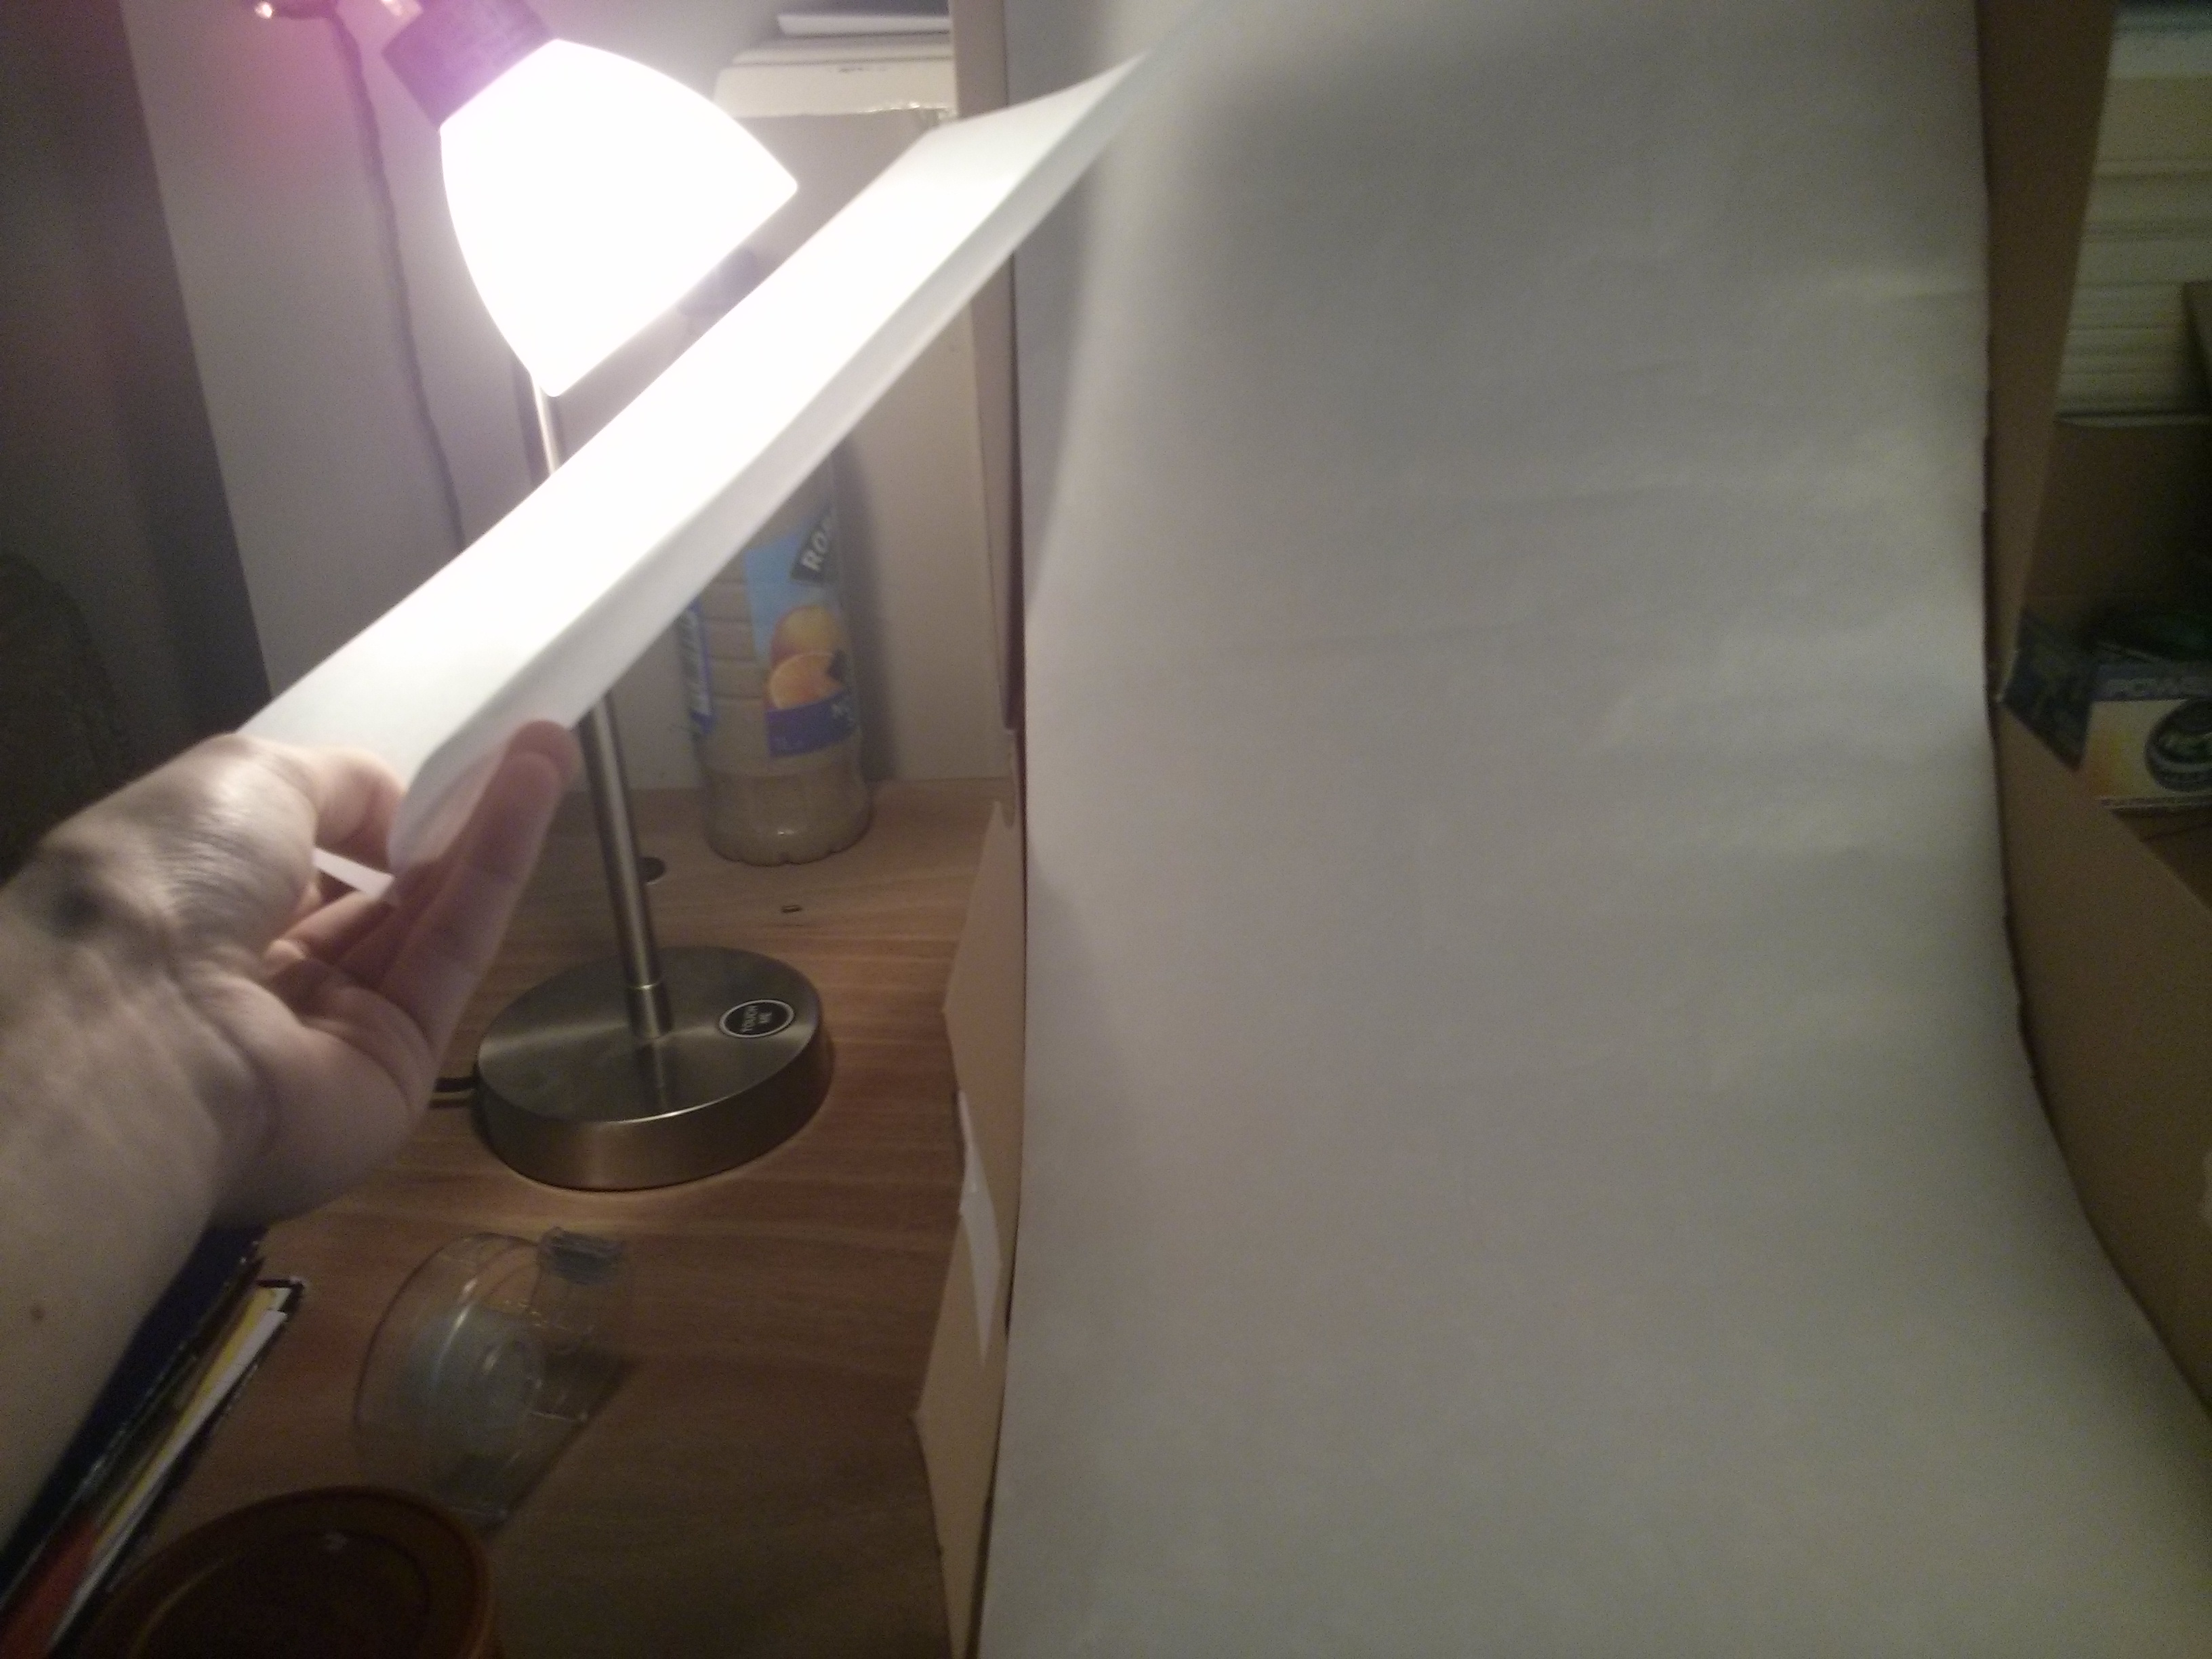
This is arguably the most important part. One of my lamps was much, much more powerful than the other. This is why I put it in the plastic box, and to increase the diffusion effect I put a sheet of A4 in the box too, since it was still a bit overpowering. For the other lamp, I found that just holding a piece of paper in front of it was fine. Play around with the diffusion until you find something that feels right. You want both lamps to give about equal amounts of diffused light so that there are no shadows. If A4 paper is too strong, use tracing paper.
Taking Pictures
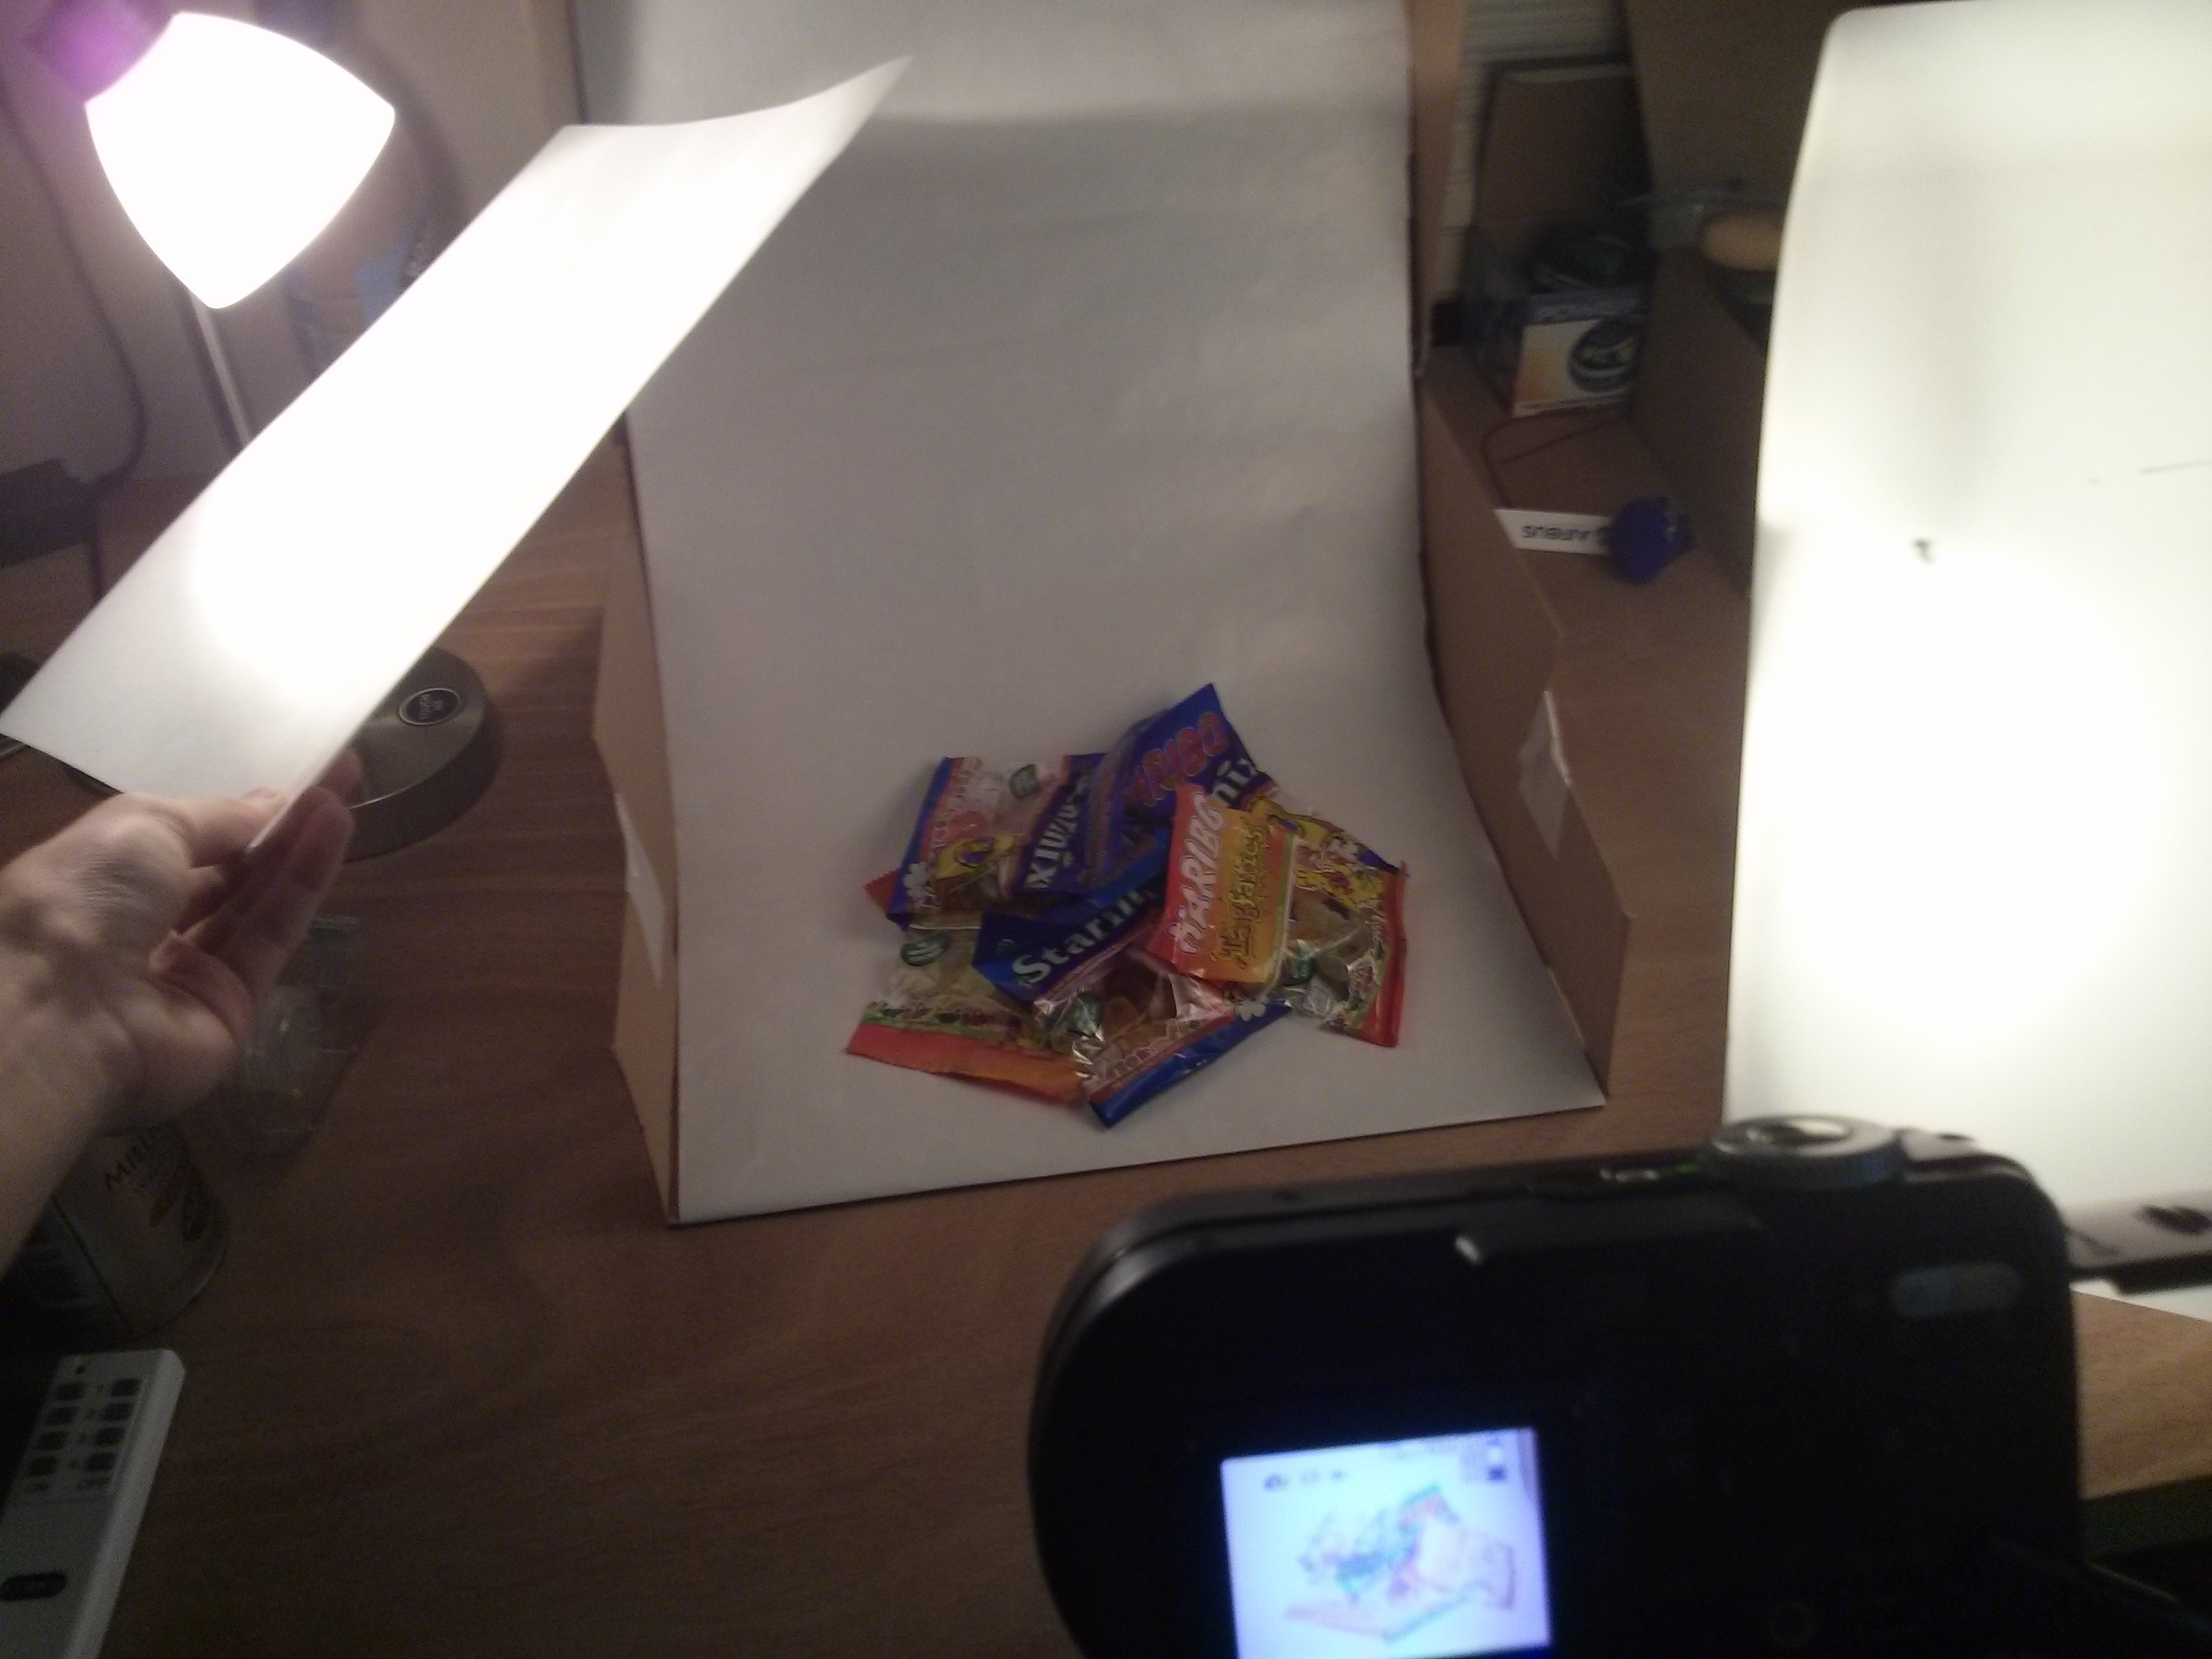
The camera I used was just a 5mp digital point-and-shoot. Nothing fancy. Ideally, use DSLR if you can, they'll give better quality photos, but all the completed product photos I have used in this instructable were taken with my humble little digital camera.
1. Position the product on the wrapping paper, in the centre.
2. Diffuse the light if you haven't already, and turn off any room lights and draw your curtains so that there are no unwanted shadows.
3. Adjust the lamps and diffusion so that there are minimal/no shadows. You can move the diffusion material closer/father from the light source or move the lamp around. Just make sure that there are no shadows and that the background is evenly lit up. Don't worry if you don't get this right first time, it's very subtle.
4. Take a picture, you can use your artistic licence if you want but I usually just put the product in the centre of the frame and crop out unnecessary parts later. Don't worry about getting your equipment in frame, it can be cropped in post.
Post Processing
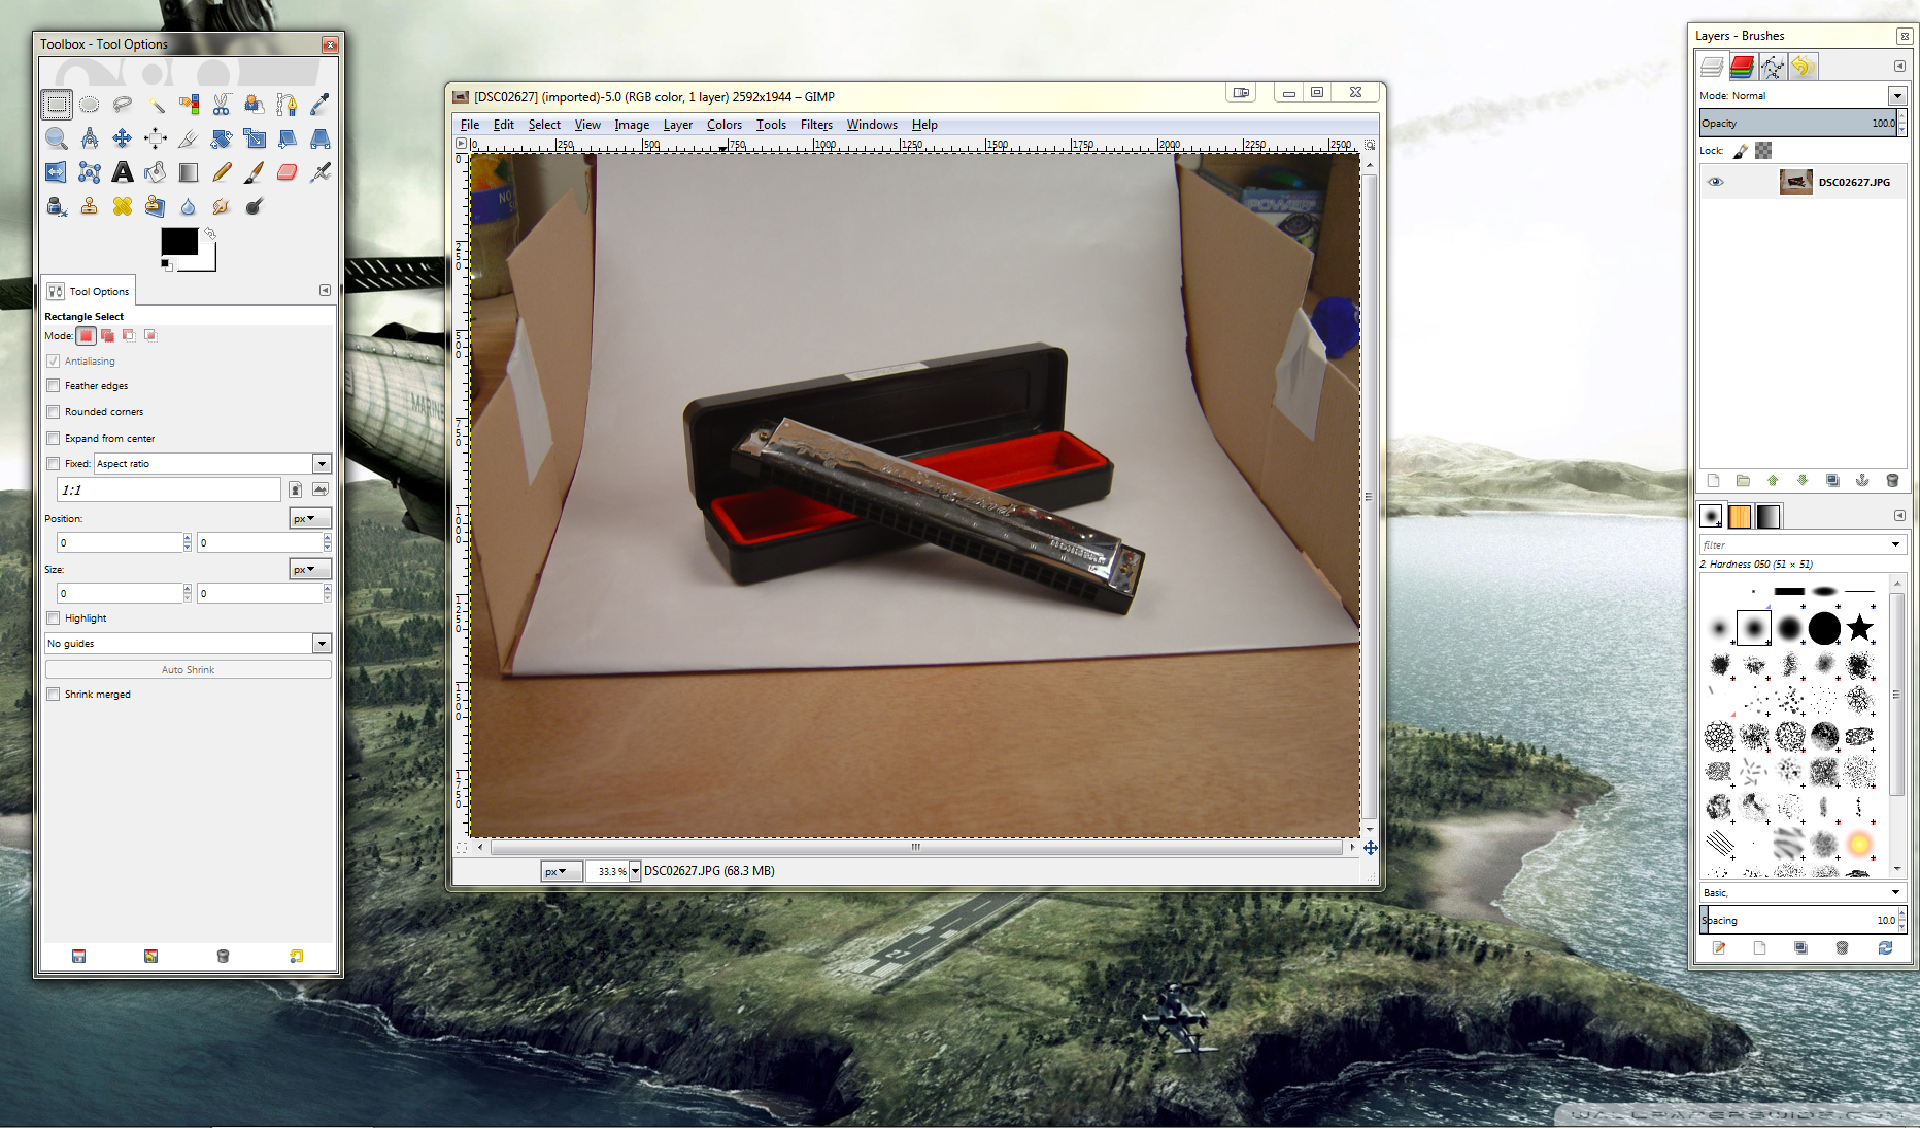
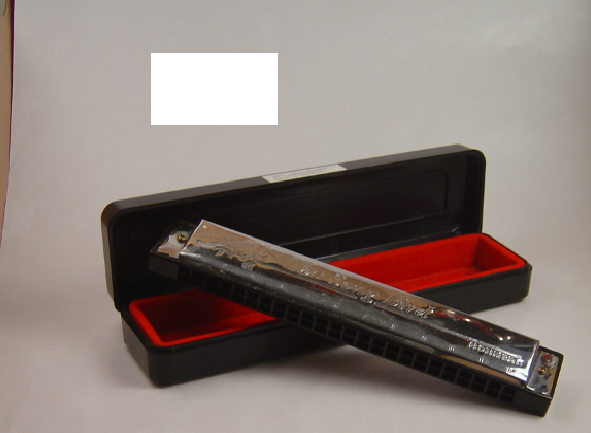
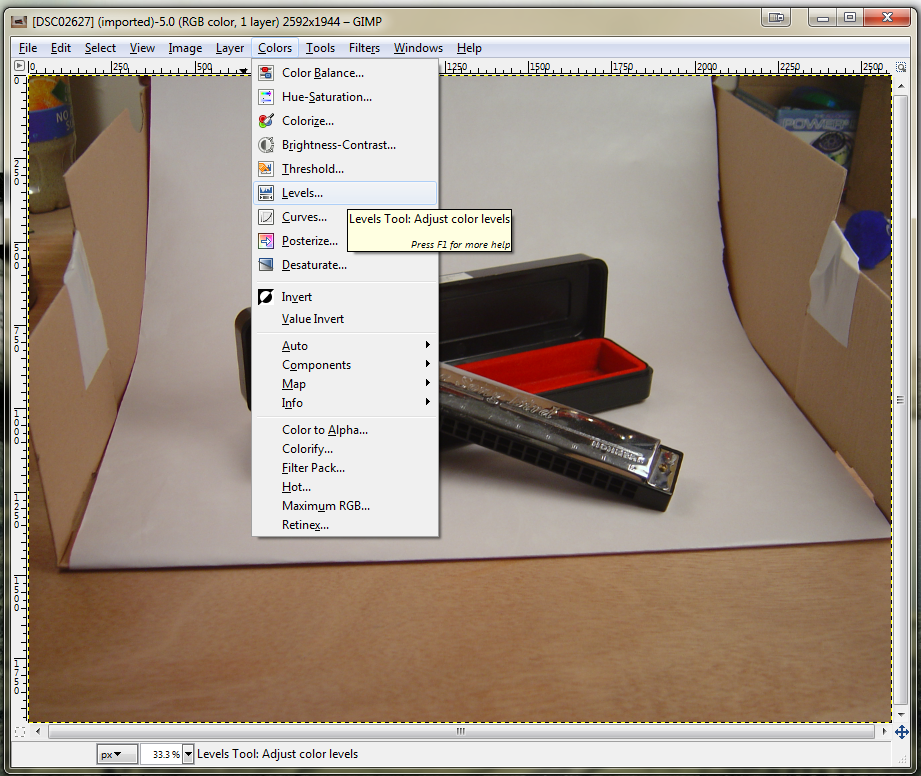
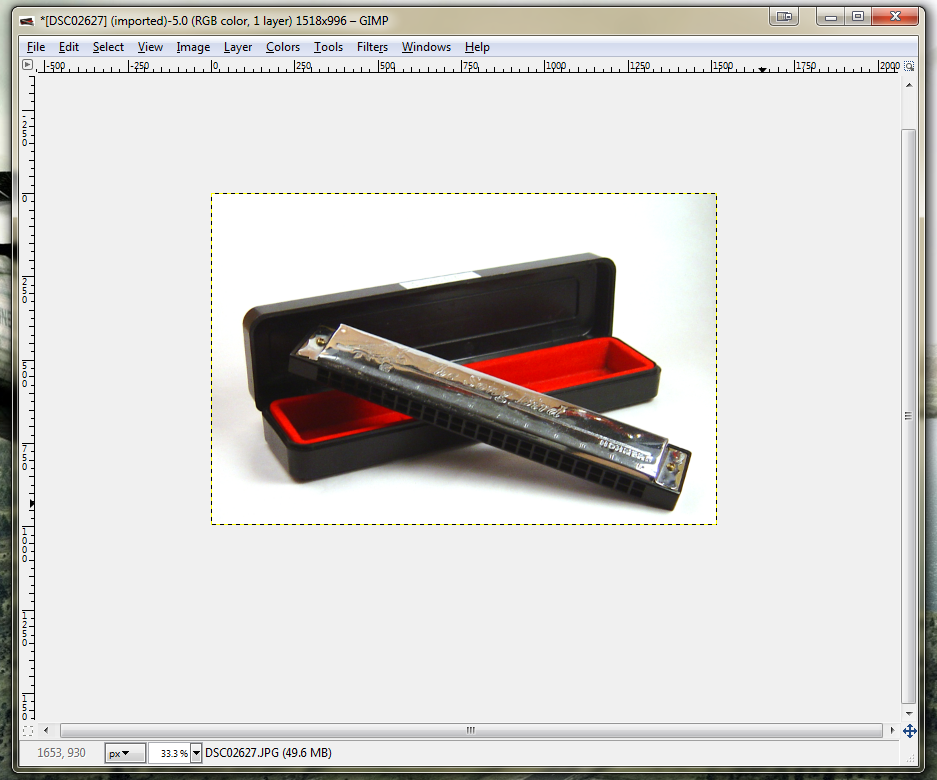

>>Click on the images for more details<< (Not all the annotations are shown)
If you used DSLR the picture you took is likely to be perfect as it is, but as you can see above the my little digital camera just can't get the white balance right, which is why we have to change it on a computer. Don't worry, you don't have to shell out for Photoshop to do this, just download the free image editor, 'Gimp'. It's amazing, and completely free. (http://www.gimp.org/)
1. Load the images onto your PC and open them up with Gimp.
Notice how the white background doesn't look white? This is what white balancing is for.
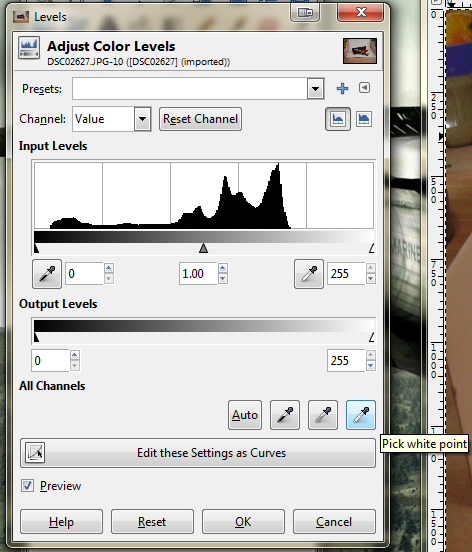
2. Go to Colours -> Levels
3. Click "Pick white point", this tells Gimp what is meant to be white in the image
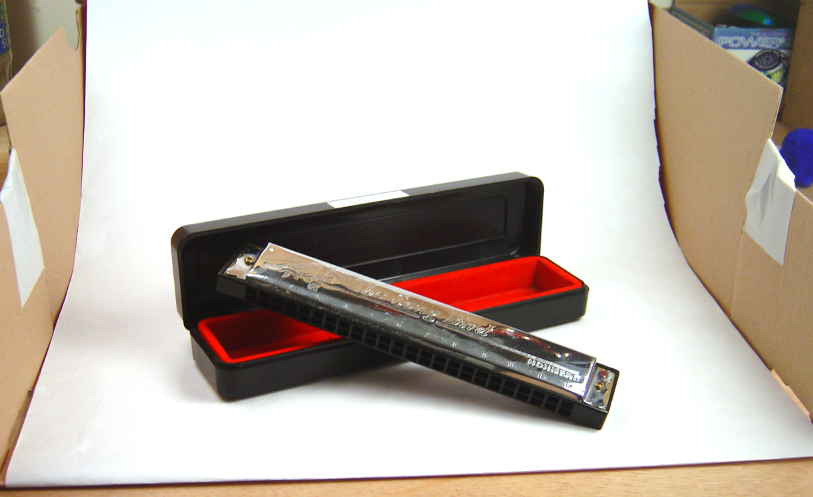
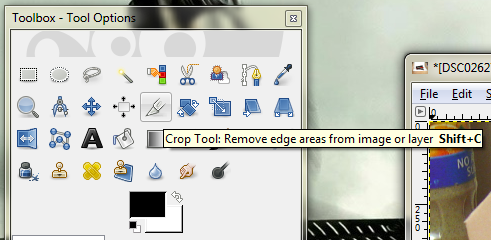
4. After white balancing is corrected, use the crop tool to crop out the outsides. Press "Enter" after you've drawn the rectangle to complete the crop.
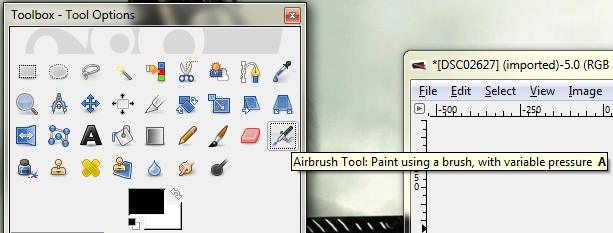
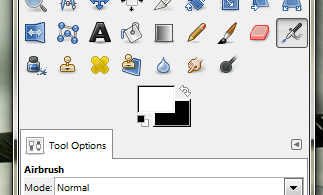
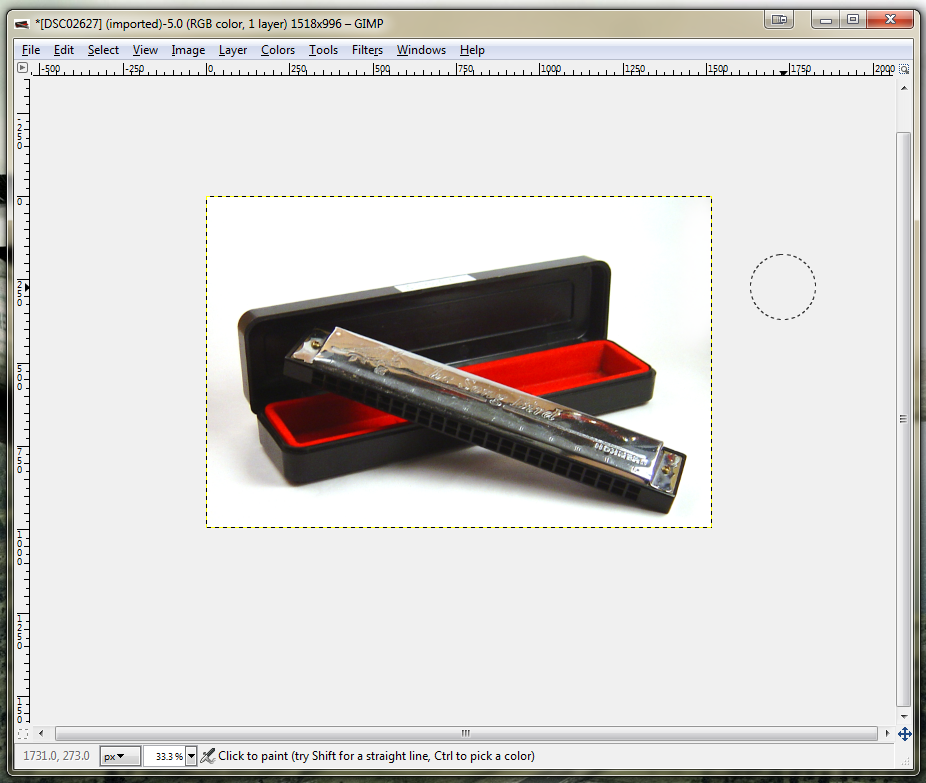
5. In my image, there was a dark patch in the top right corner. This can be fixed with the airbrush tool. Select it, increase the size and change the colour to white (by clicking the arrow in the corner). Just rub over the dark patch to correct it.
And there you have it! A professional product image. Post your results below!