Cheap Letterbox
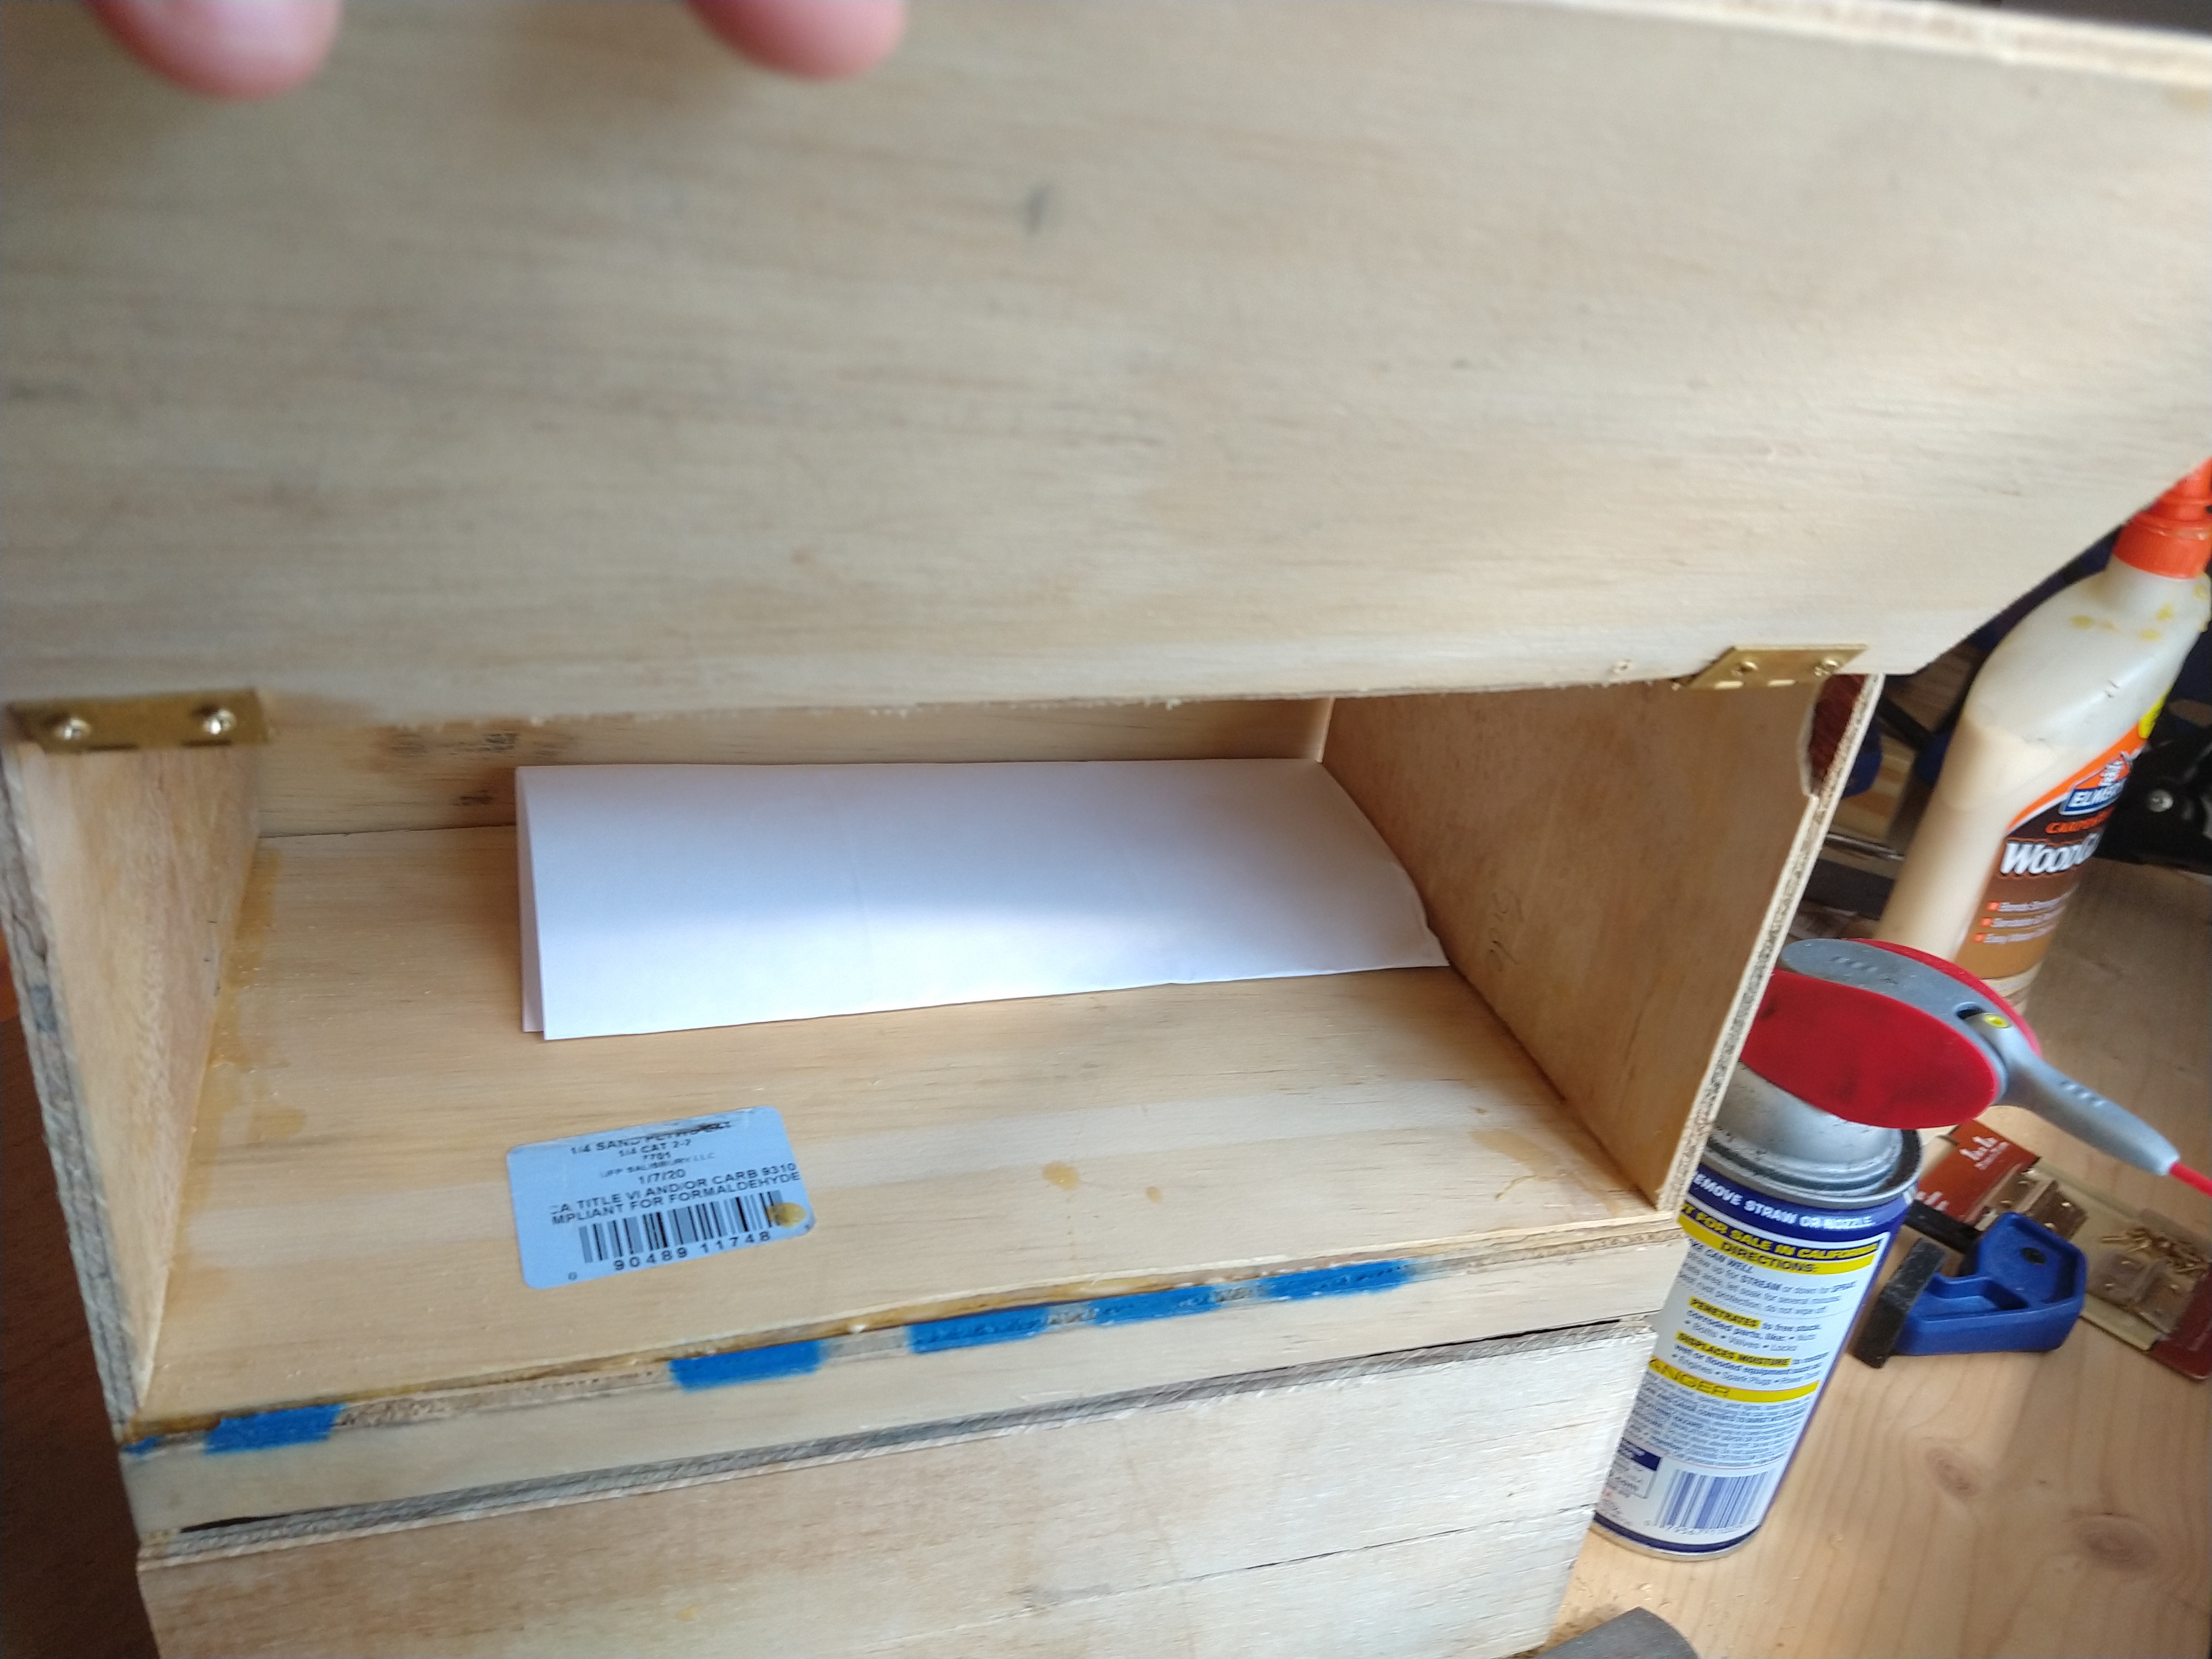
This letterbox is designed to provide slips of paper and allow them to be submitted through the slot for any number of reasons. Secret ballots, letter writing campaigns and select writings and prayers are a few examples. This box is a very simple design that is meant to cost as little as possible and to be built with as few tools as possible.
Supplies
A Saw, preferably with a wider kerf (cut width)
Wood Glue
4 Small Hinges with screws
2 D Ring clasps for running a lock through
Scrap Wood or Plywood, I bought two 20x20 plywood boards for 12 dollars, with wood left over
A Screwdriver
A 12" Ruler
Measure Your Cuts
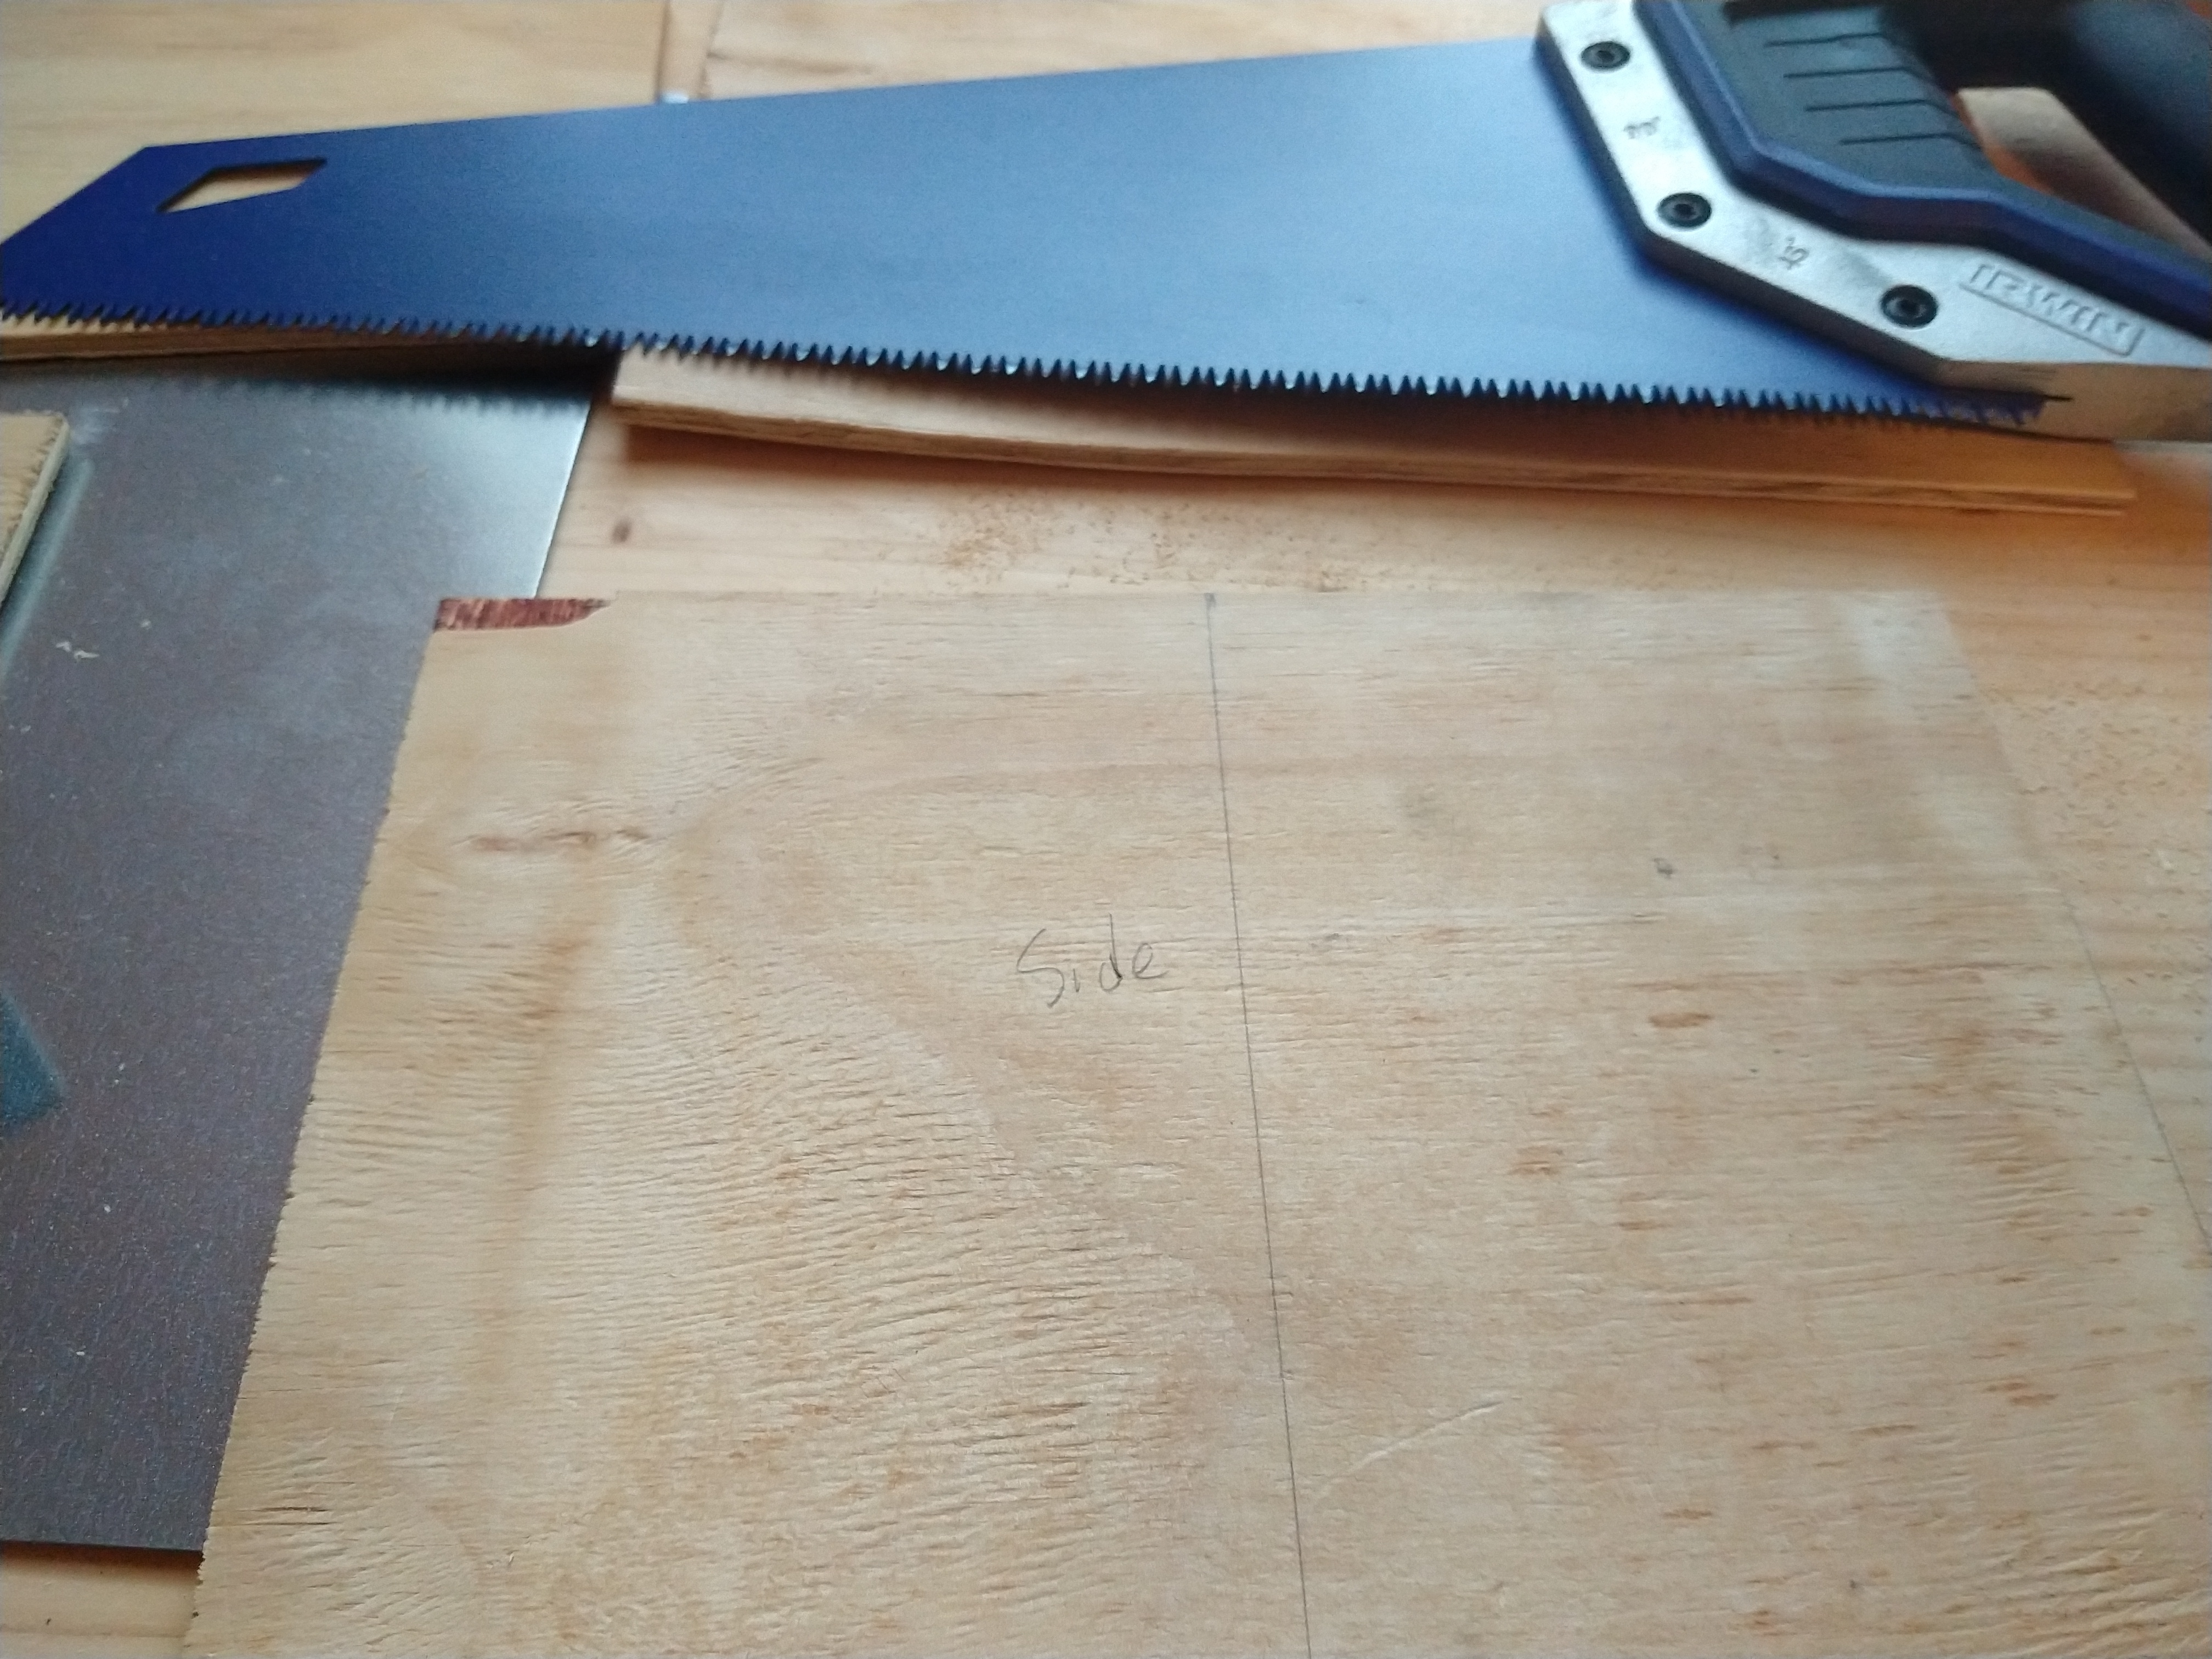
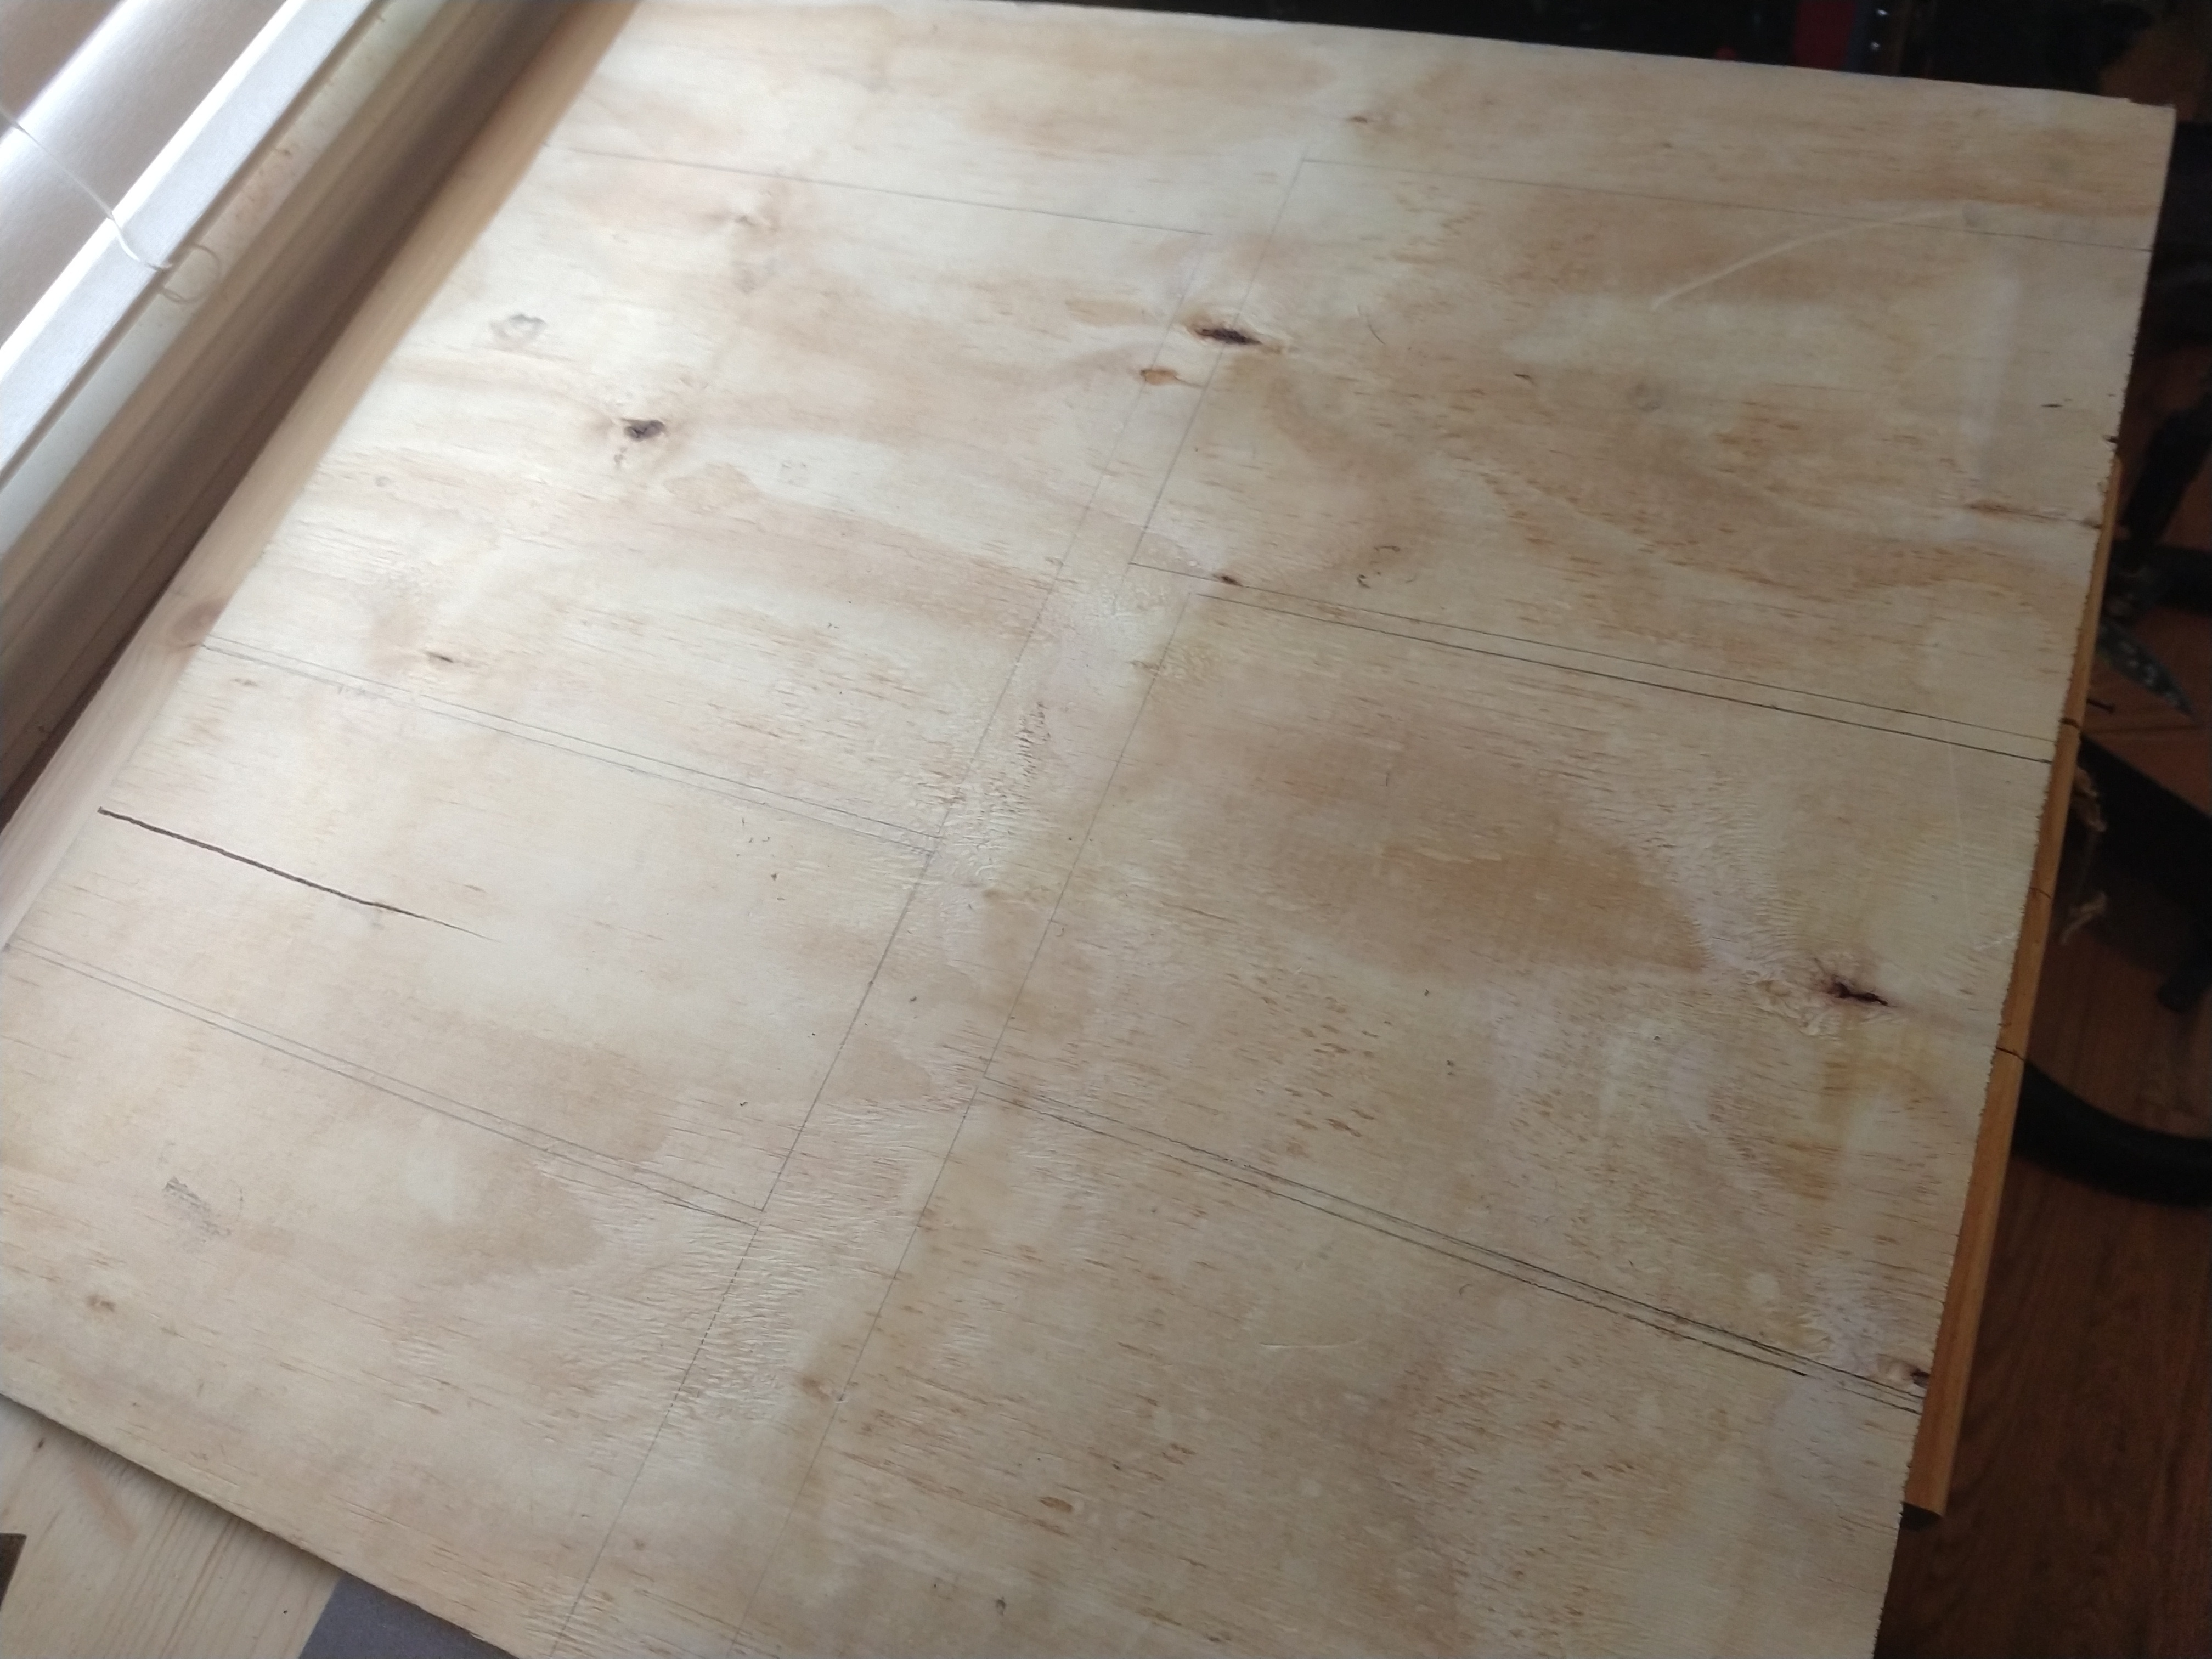
Pre cut the pieces to the needed dimensions. A tinker cad design with measurements will be included later.
Since the wood you're using is likely scavenged, or from a source, make sure the interiors are the same dimensions, and account for the changes in the exterior dimensions depending on the width of the wood. Here the letter n will represent the width of the wood and where you need to add it and how many times.
The interior dimensions are as follows;
A Top and Bottom Board that are 7" x (11" - 1.5n")
A Middle Board that is 7" x 11"
Two Side Boards that are 7" x (10" + 3n")
A Back Board that is (10"+ 3n") x 12"
Two Front boards that are (12" + 2n") x (4.75" + 1.5n")
Make sure to measure twice and pre draw the outlines out for cutting. Leave enough space in between each drawing so that when you cut it, you get an accurate width. These means no outline should share a line. I recommend an 1/8" space between all outlines.
Try to place your cuts on the best pieces of wood if you can. That being the flattest and least warped.
Make Your Cuts
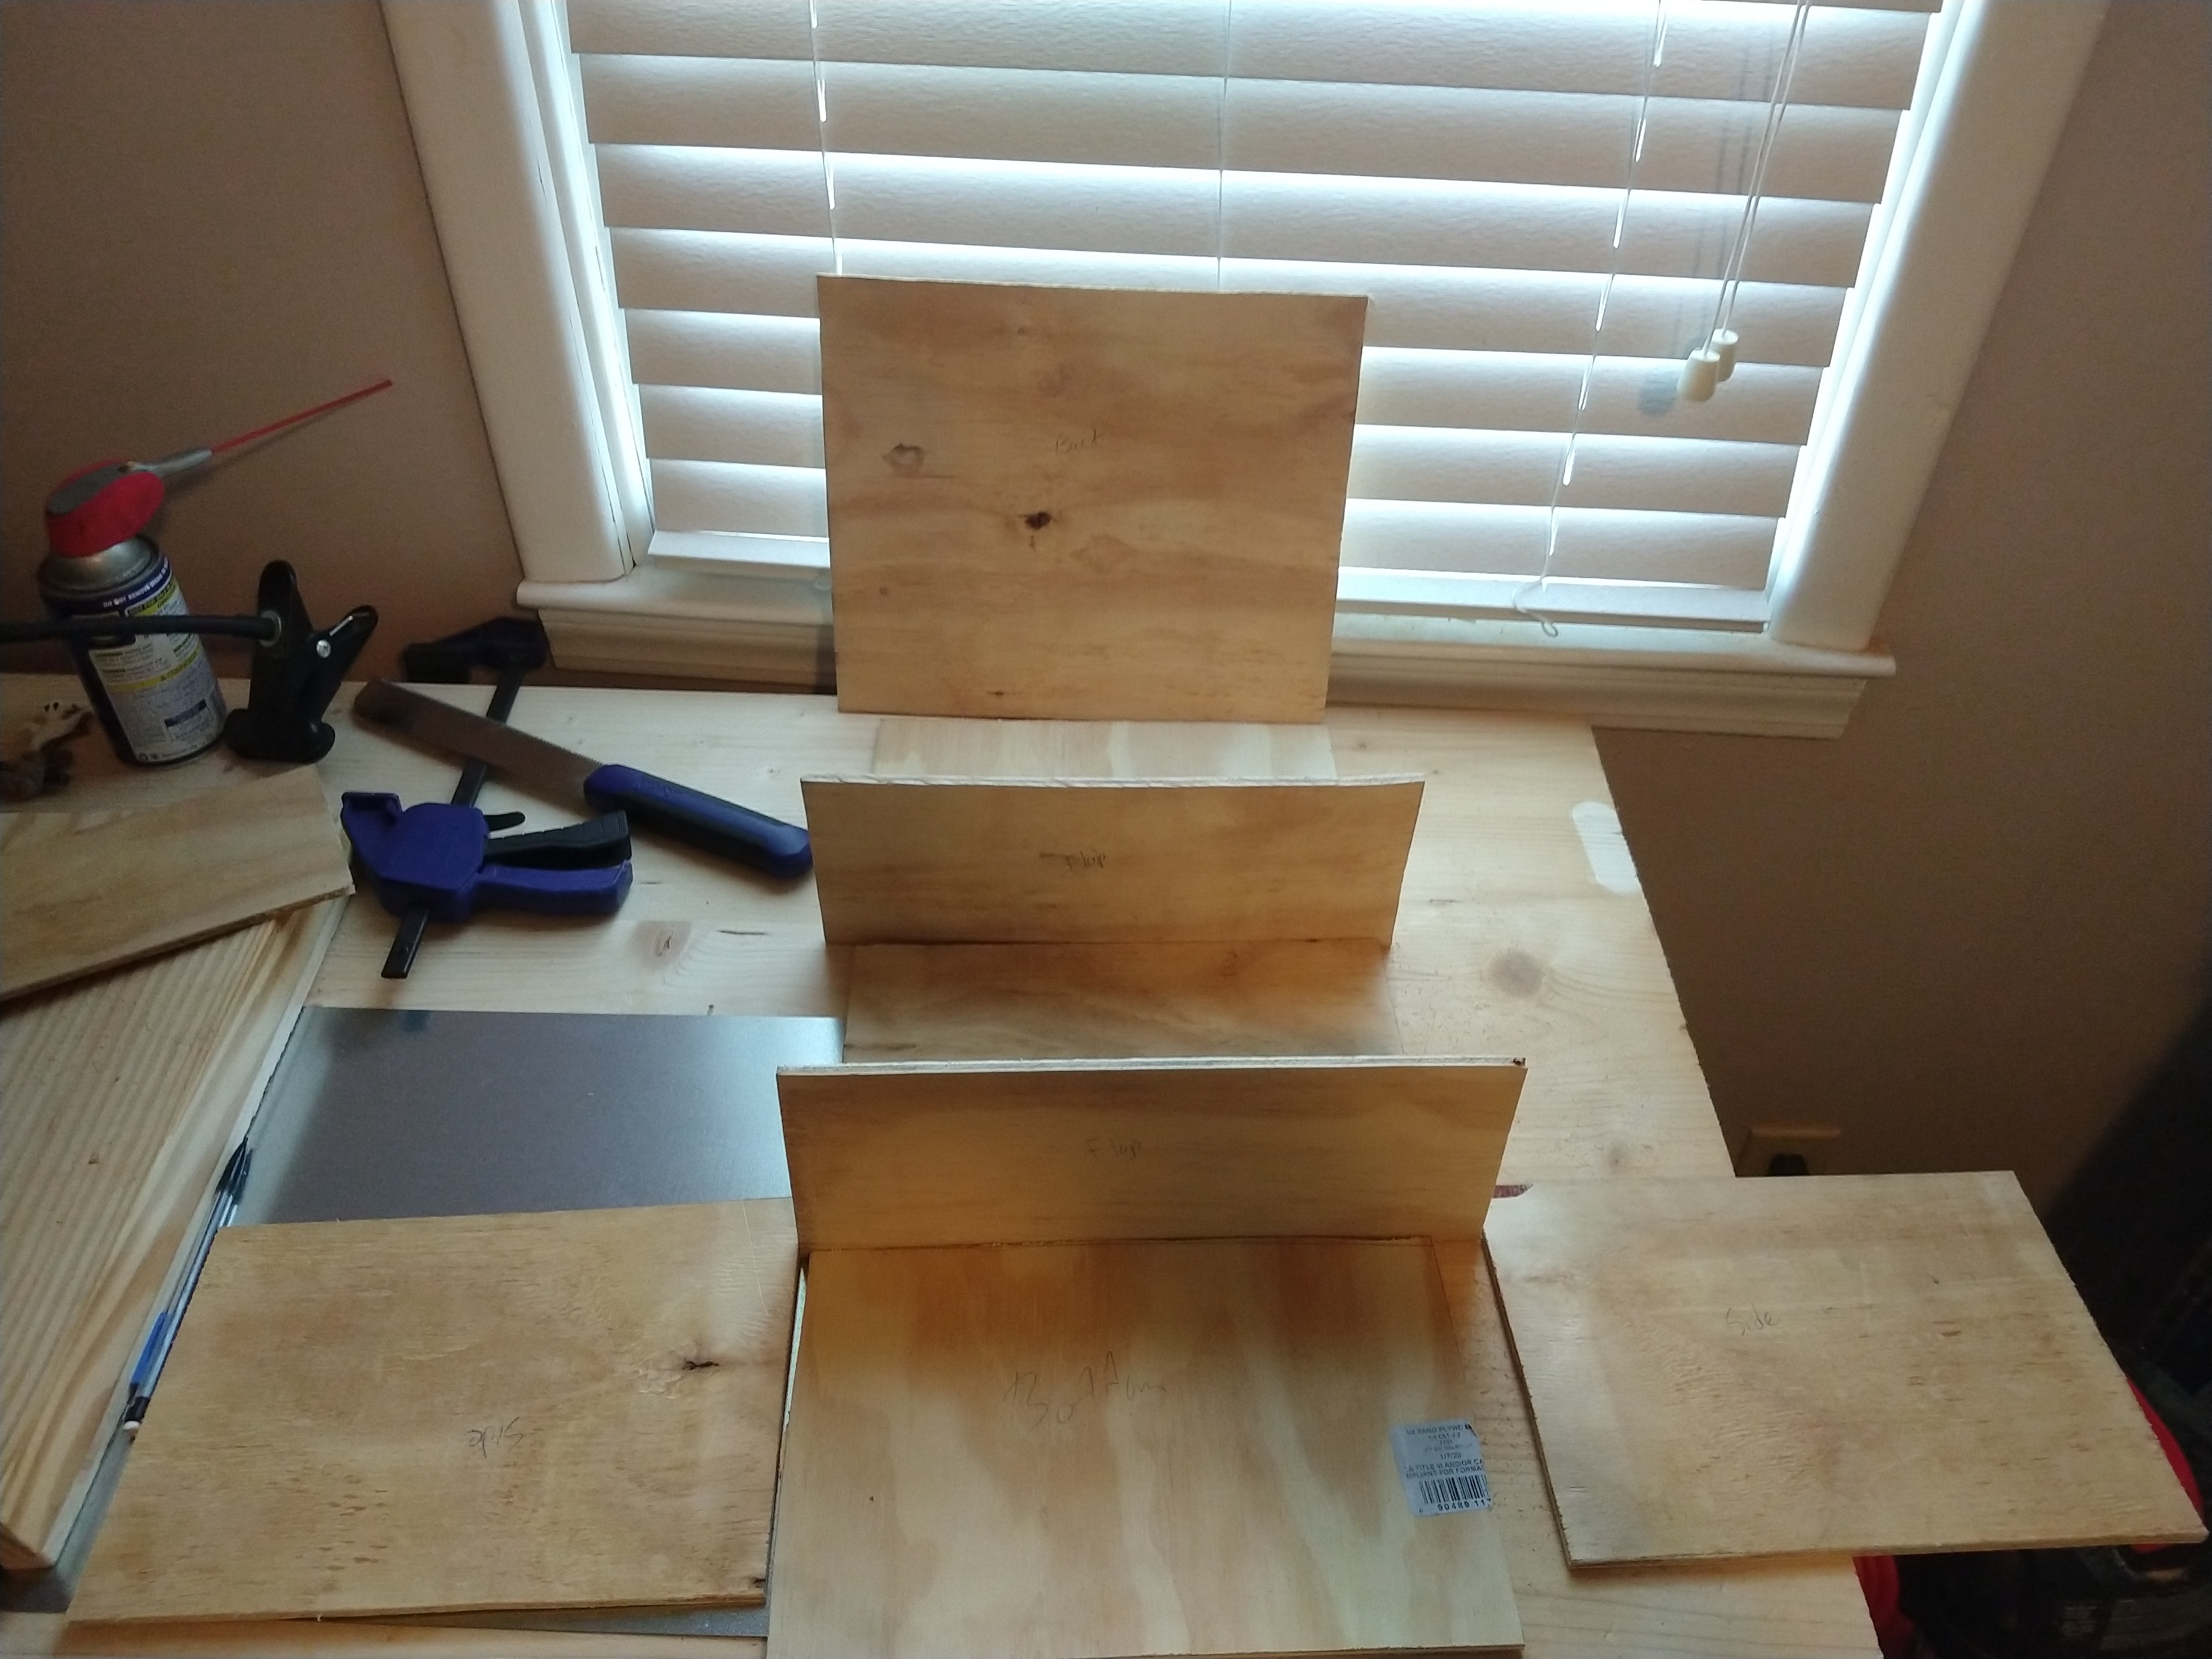
Follow along the outside of each outline as smoothly as you can. If the quality of the wood is low, these cuts will not be accurate to the shape simply because you cannot project a flat image onto a rounded one. This is okay, because this is not designed to fit together well, it is just designed to fit together and last.
Make sure to label each panel so that you do not lose track of them.
Cut Your Kerf Into Both Side Panels
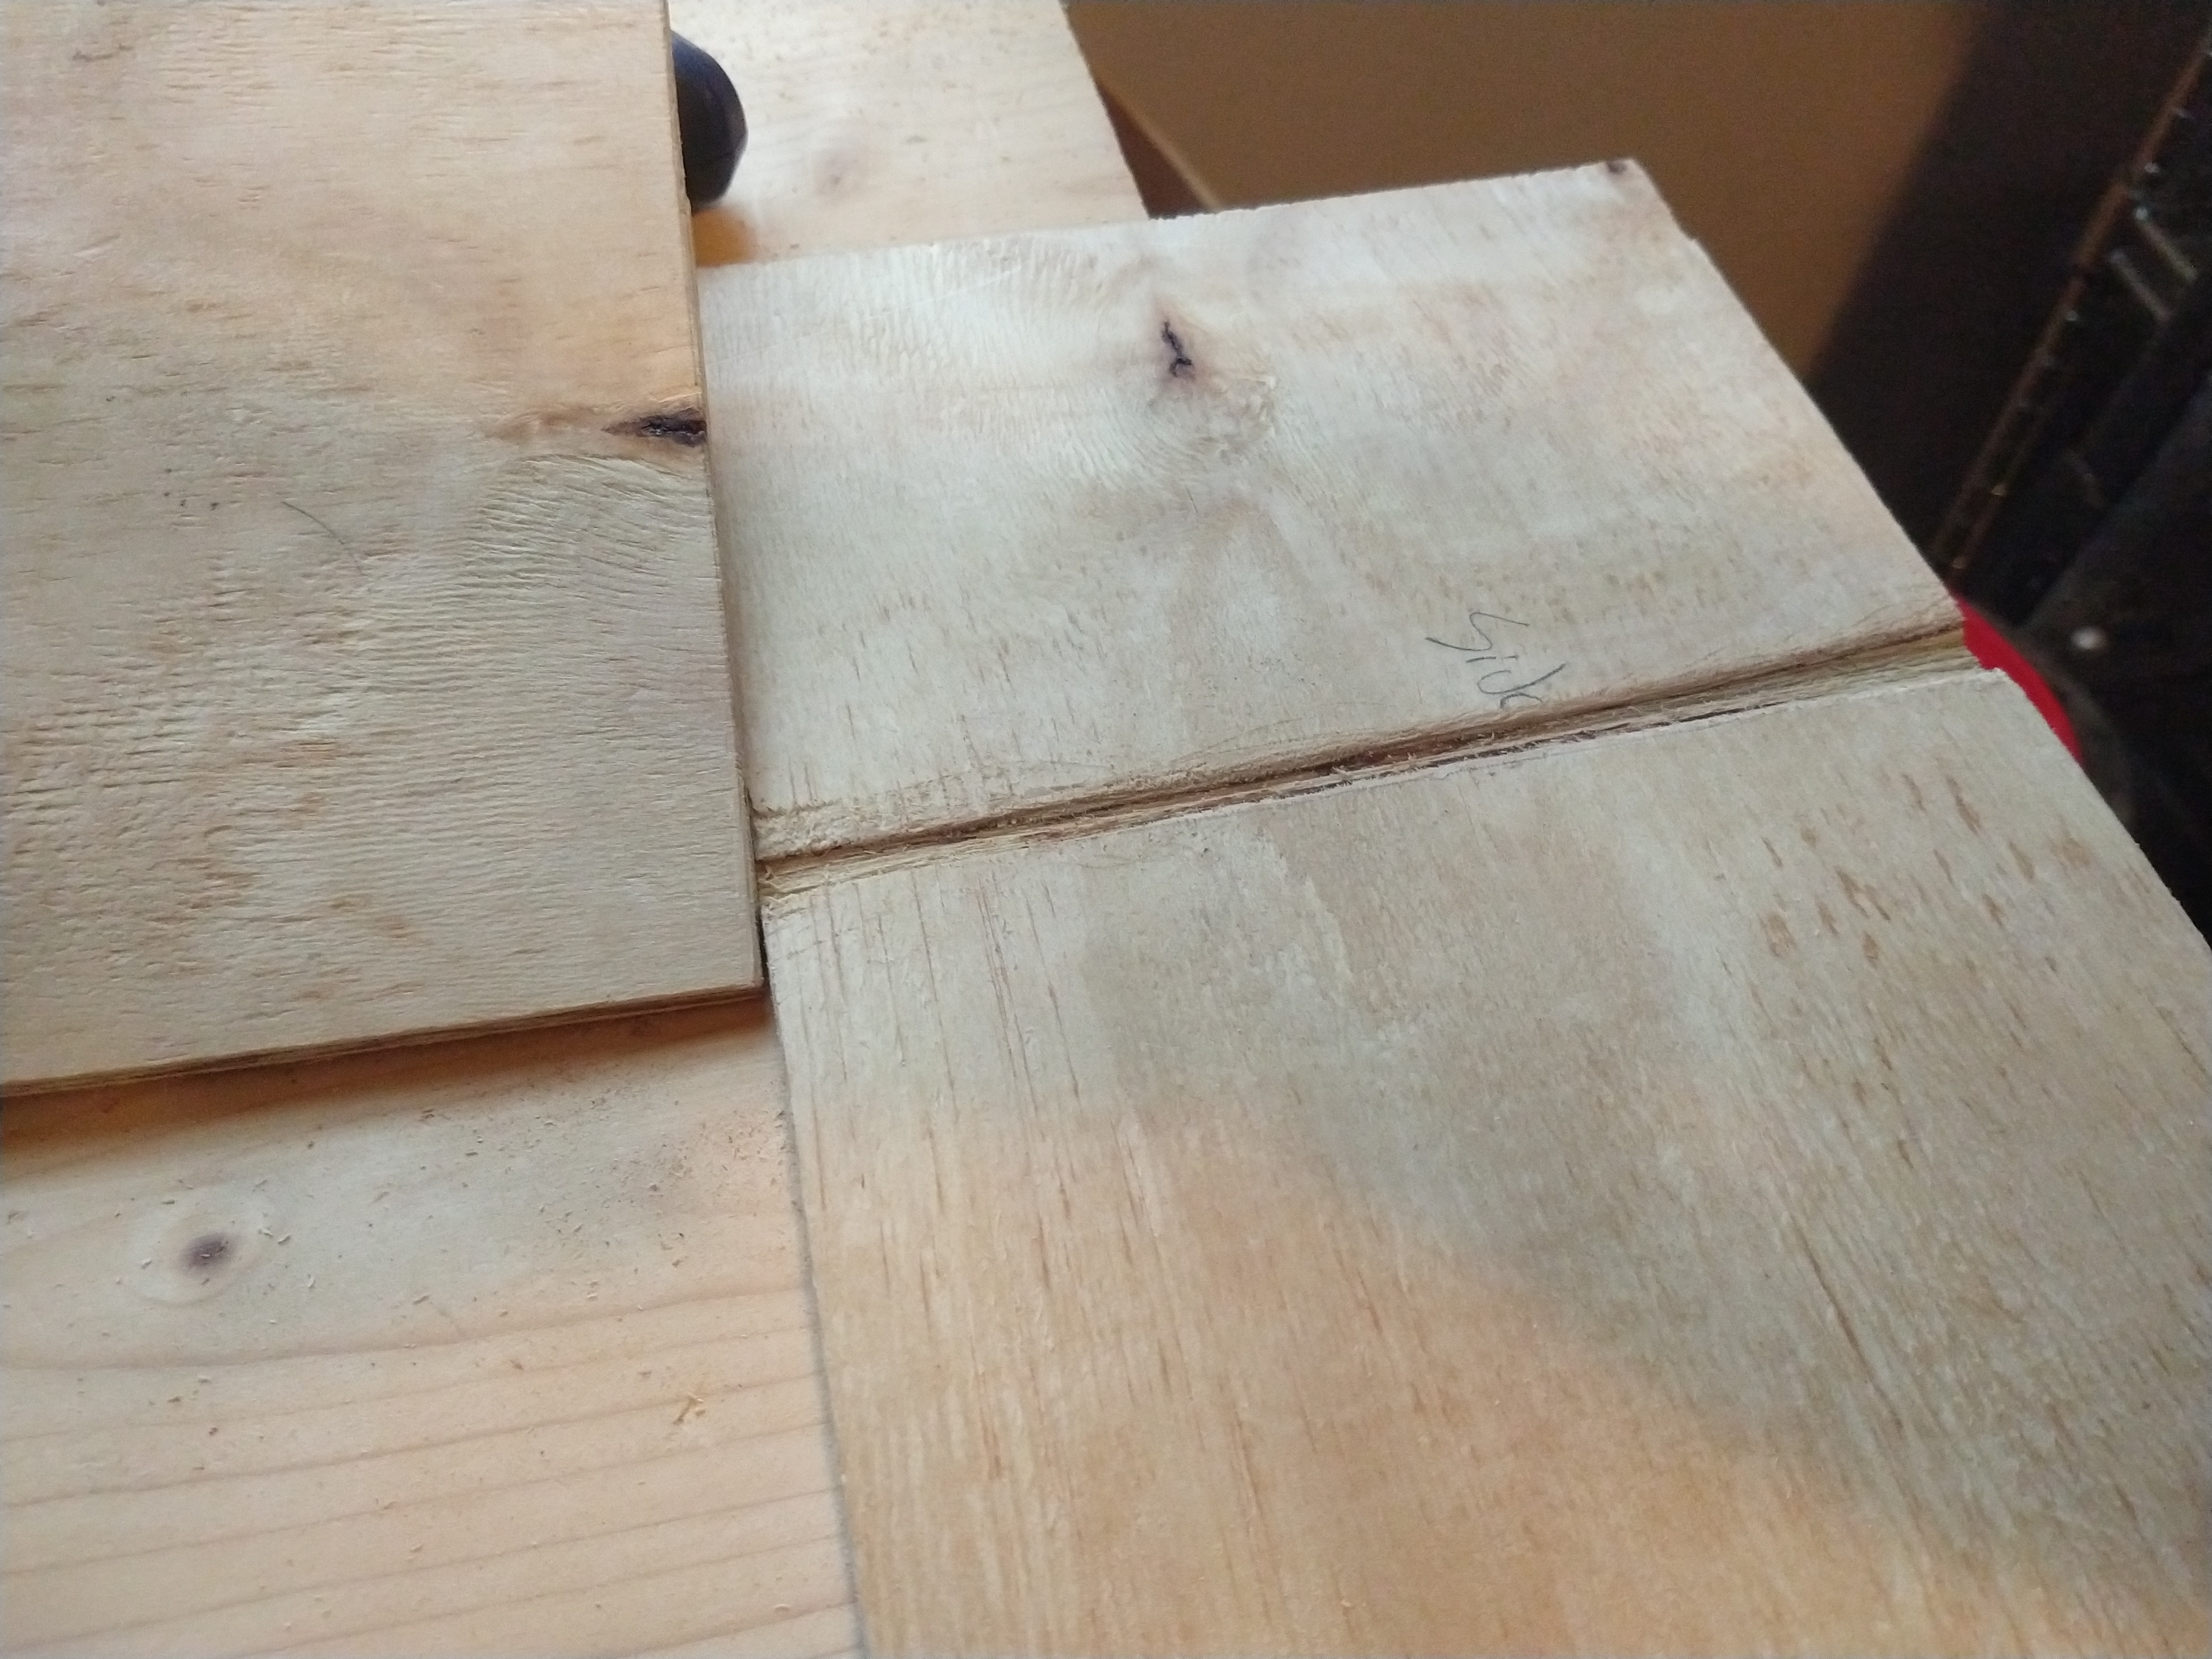
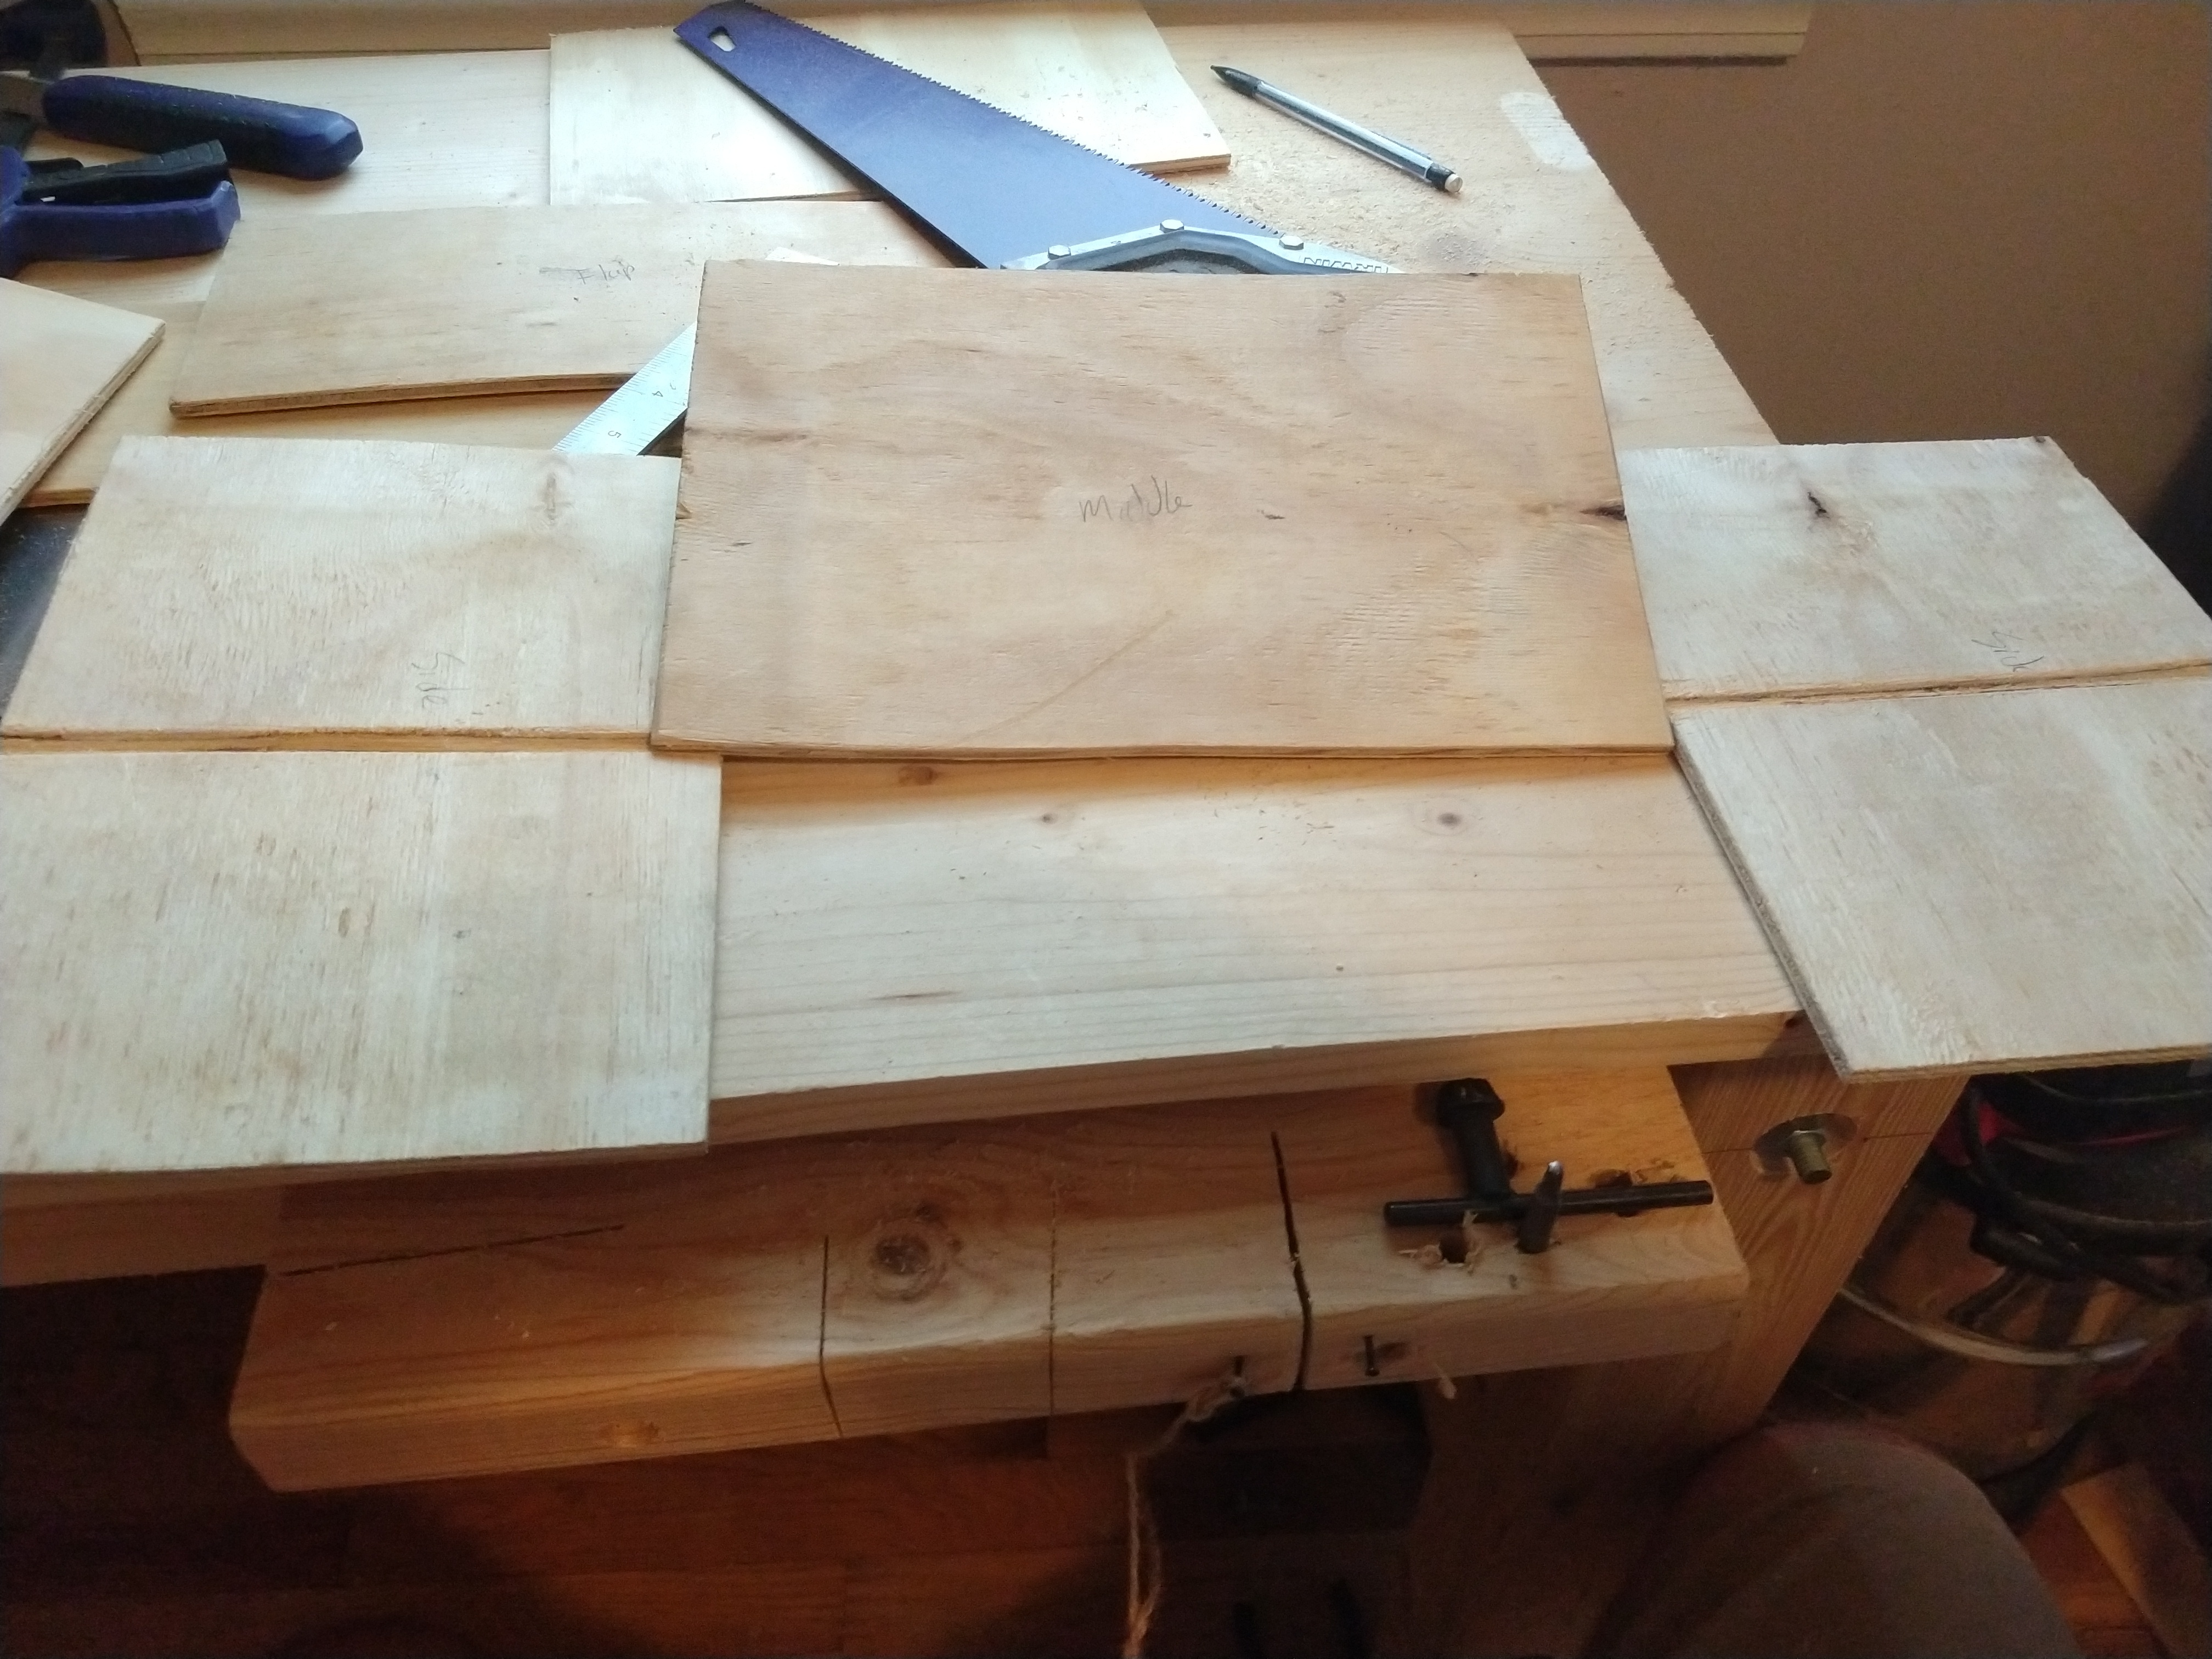
A Kerf cut is where you take the saw and you saw partially into the wood, not cutting through it but leaving a groove. Find the middle of each side panel and kerf cut a groove into the panel that is the width of the wood long and half the width of the wood deep, or n" x 1/2n". Try to routinely slide the middle board into the kerf to see if it fits. It doesn't need to fit perfectly, it just cant pop out, dont be afraid of wiggle. The glue will take care of all of this.
Joining the Middle Board and the Side Boards
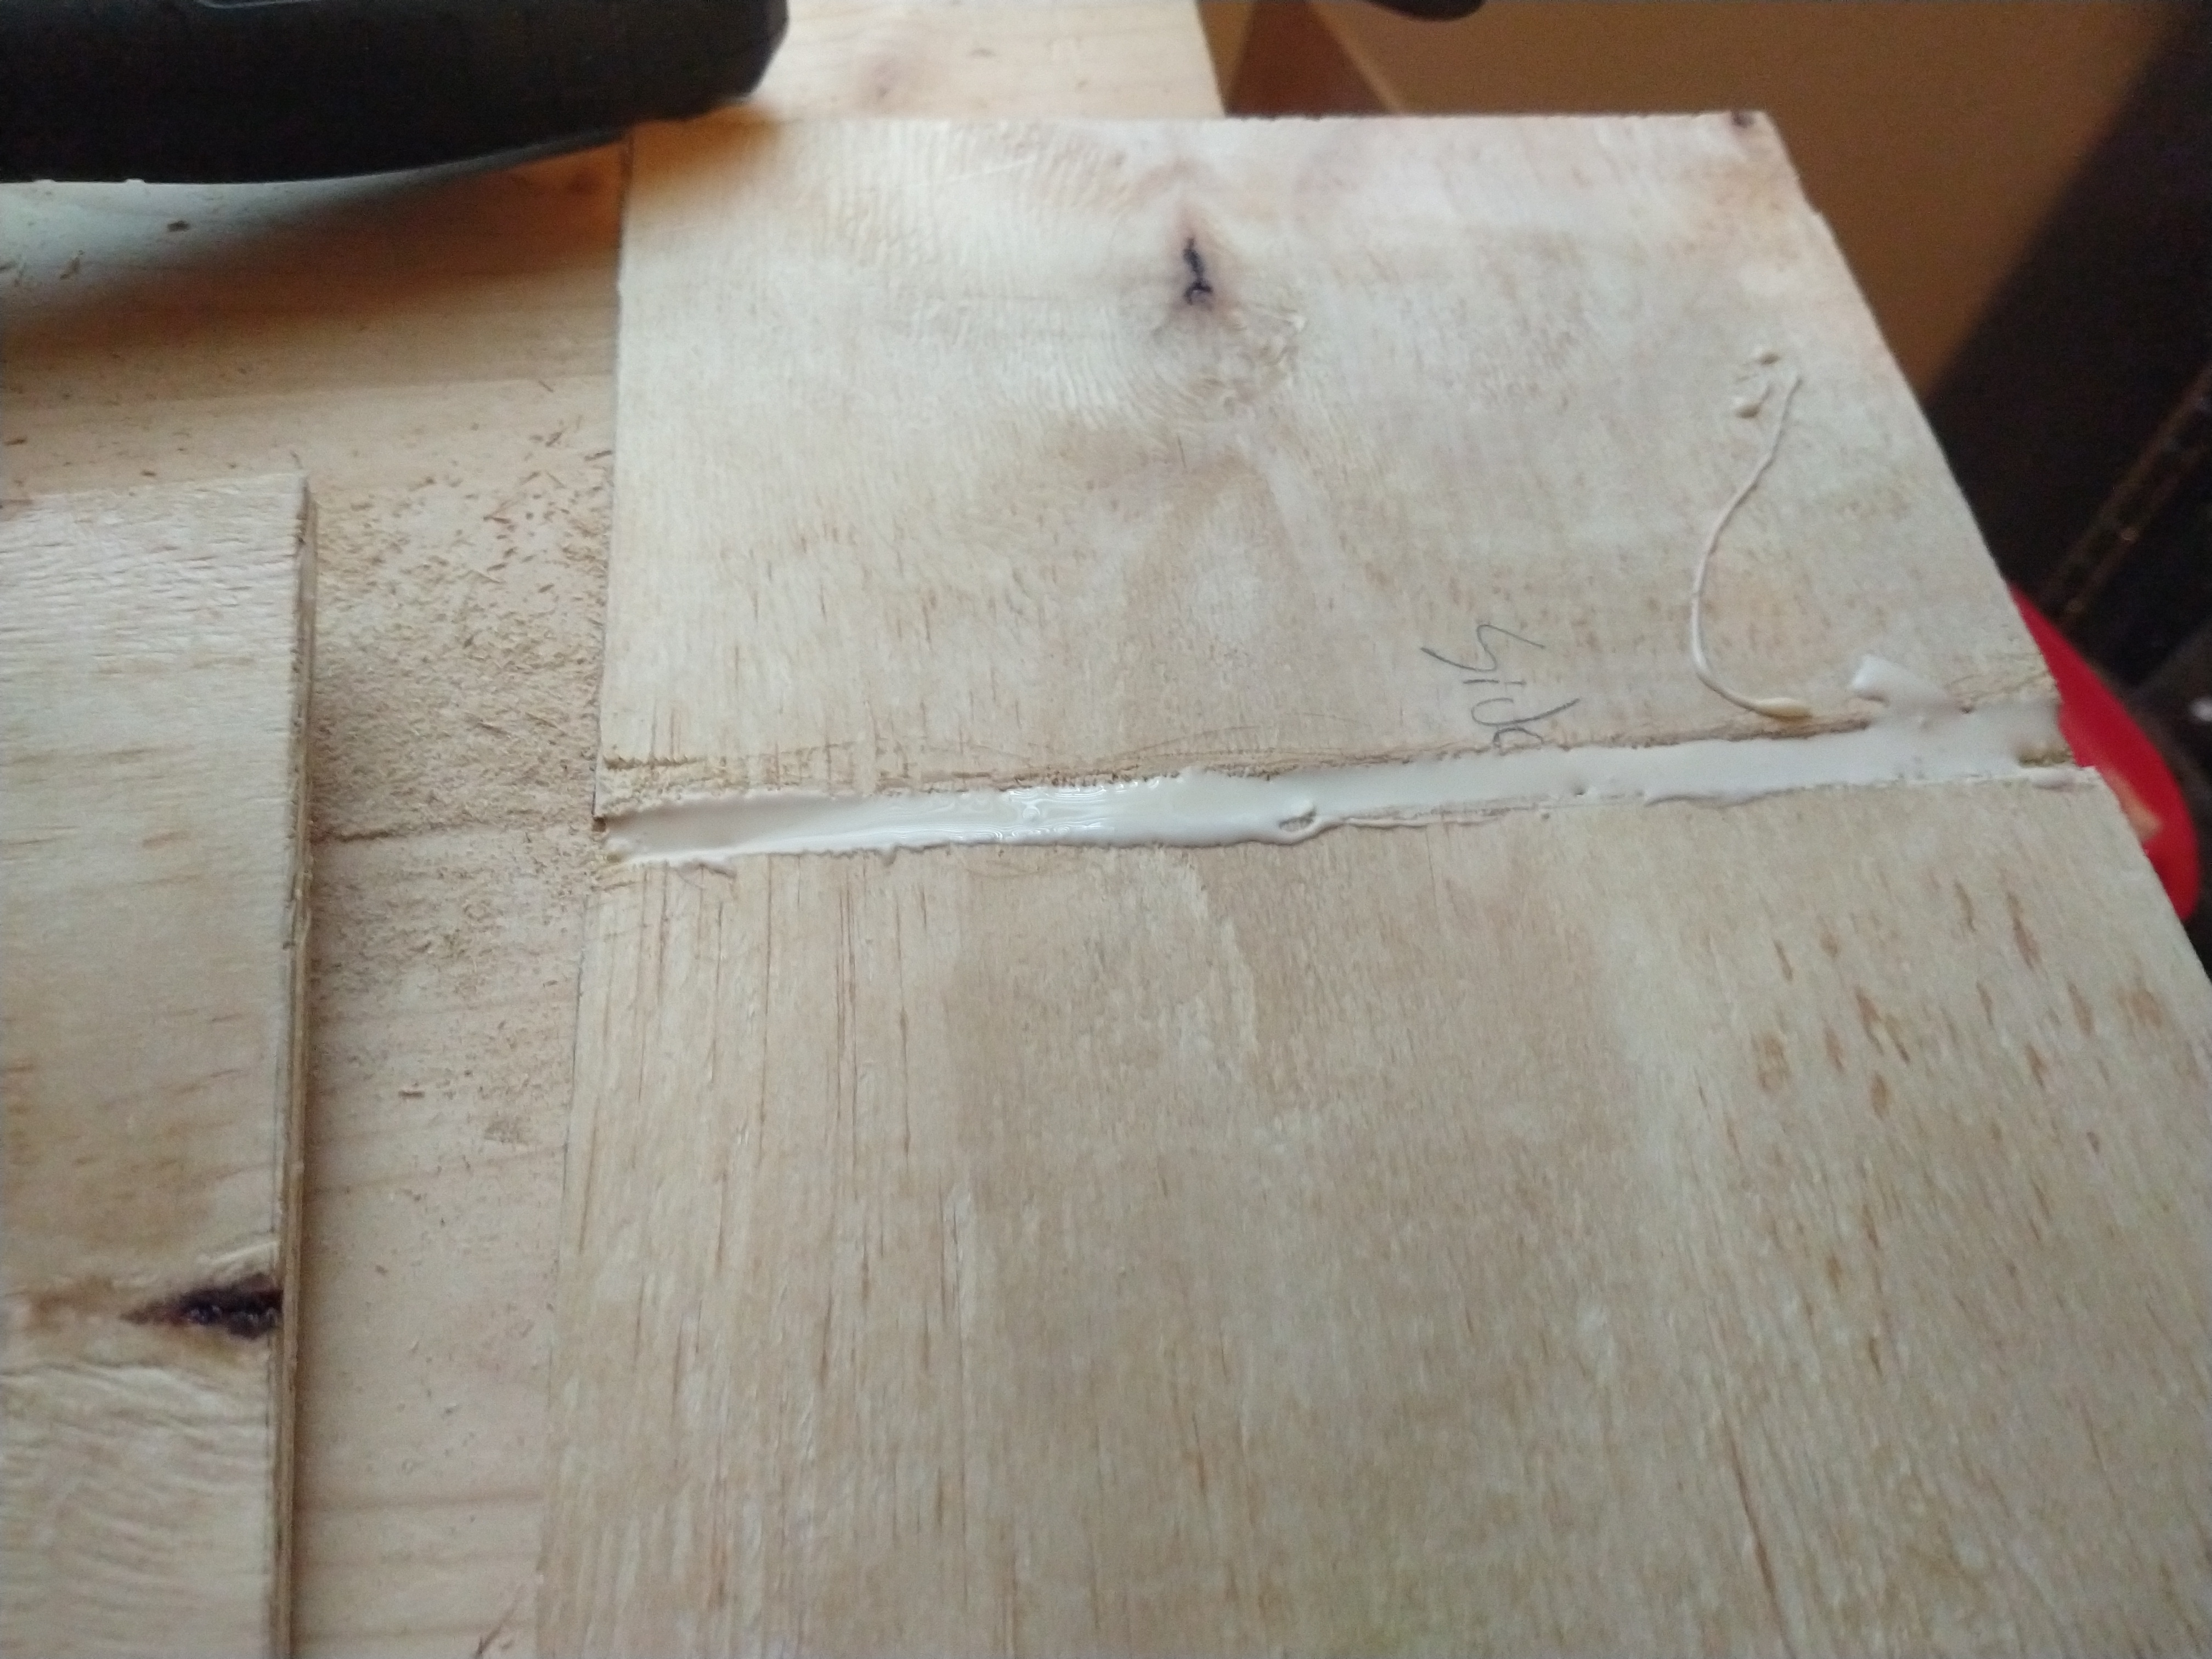
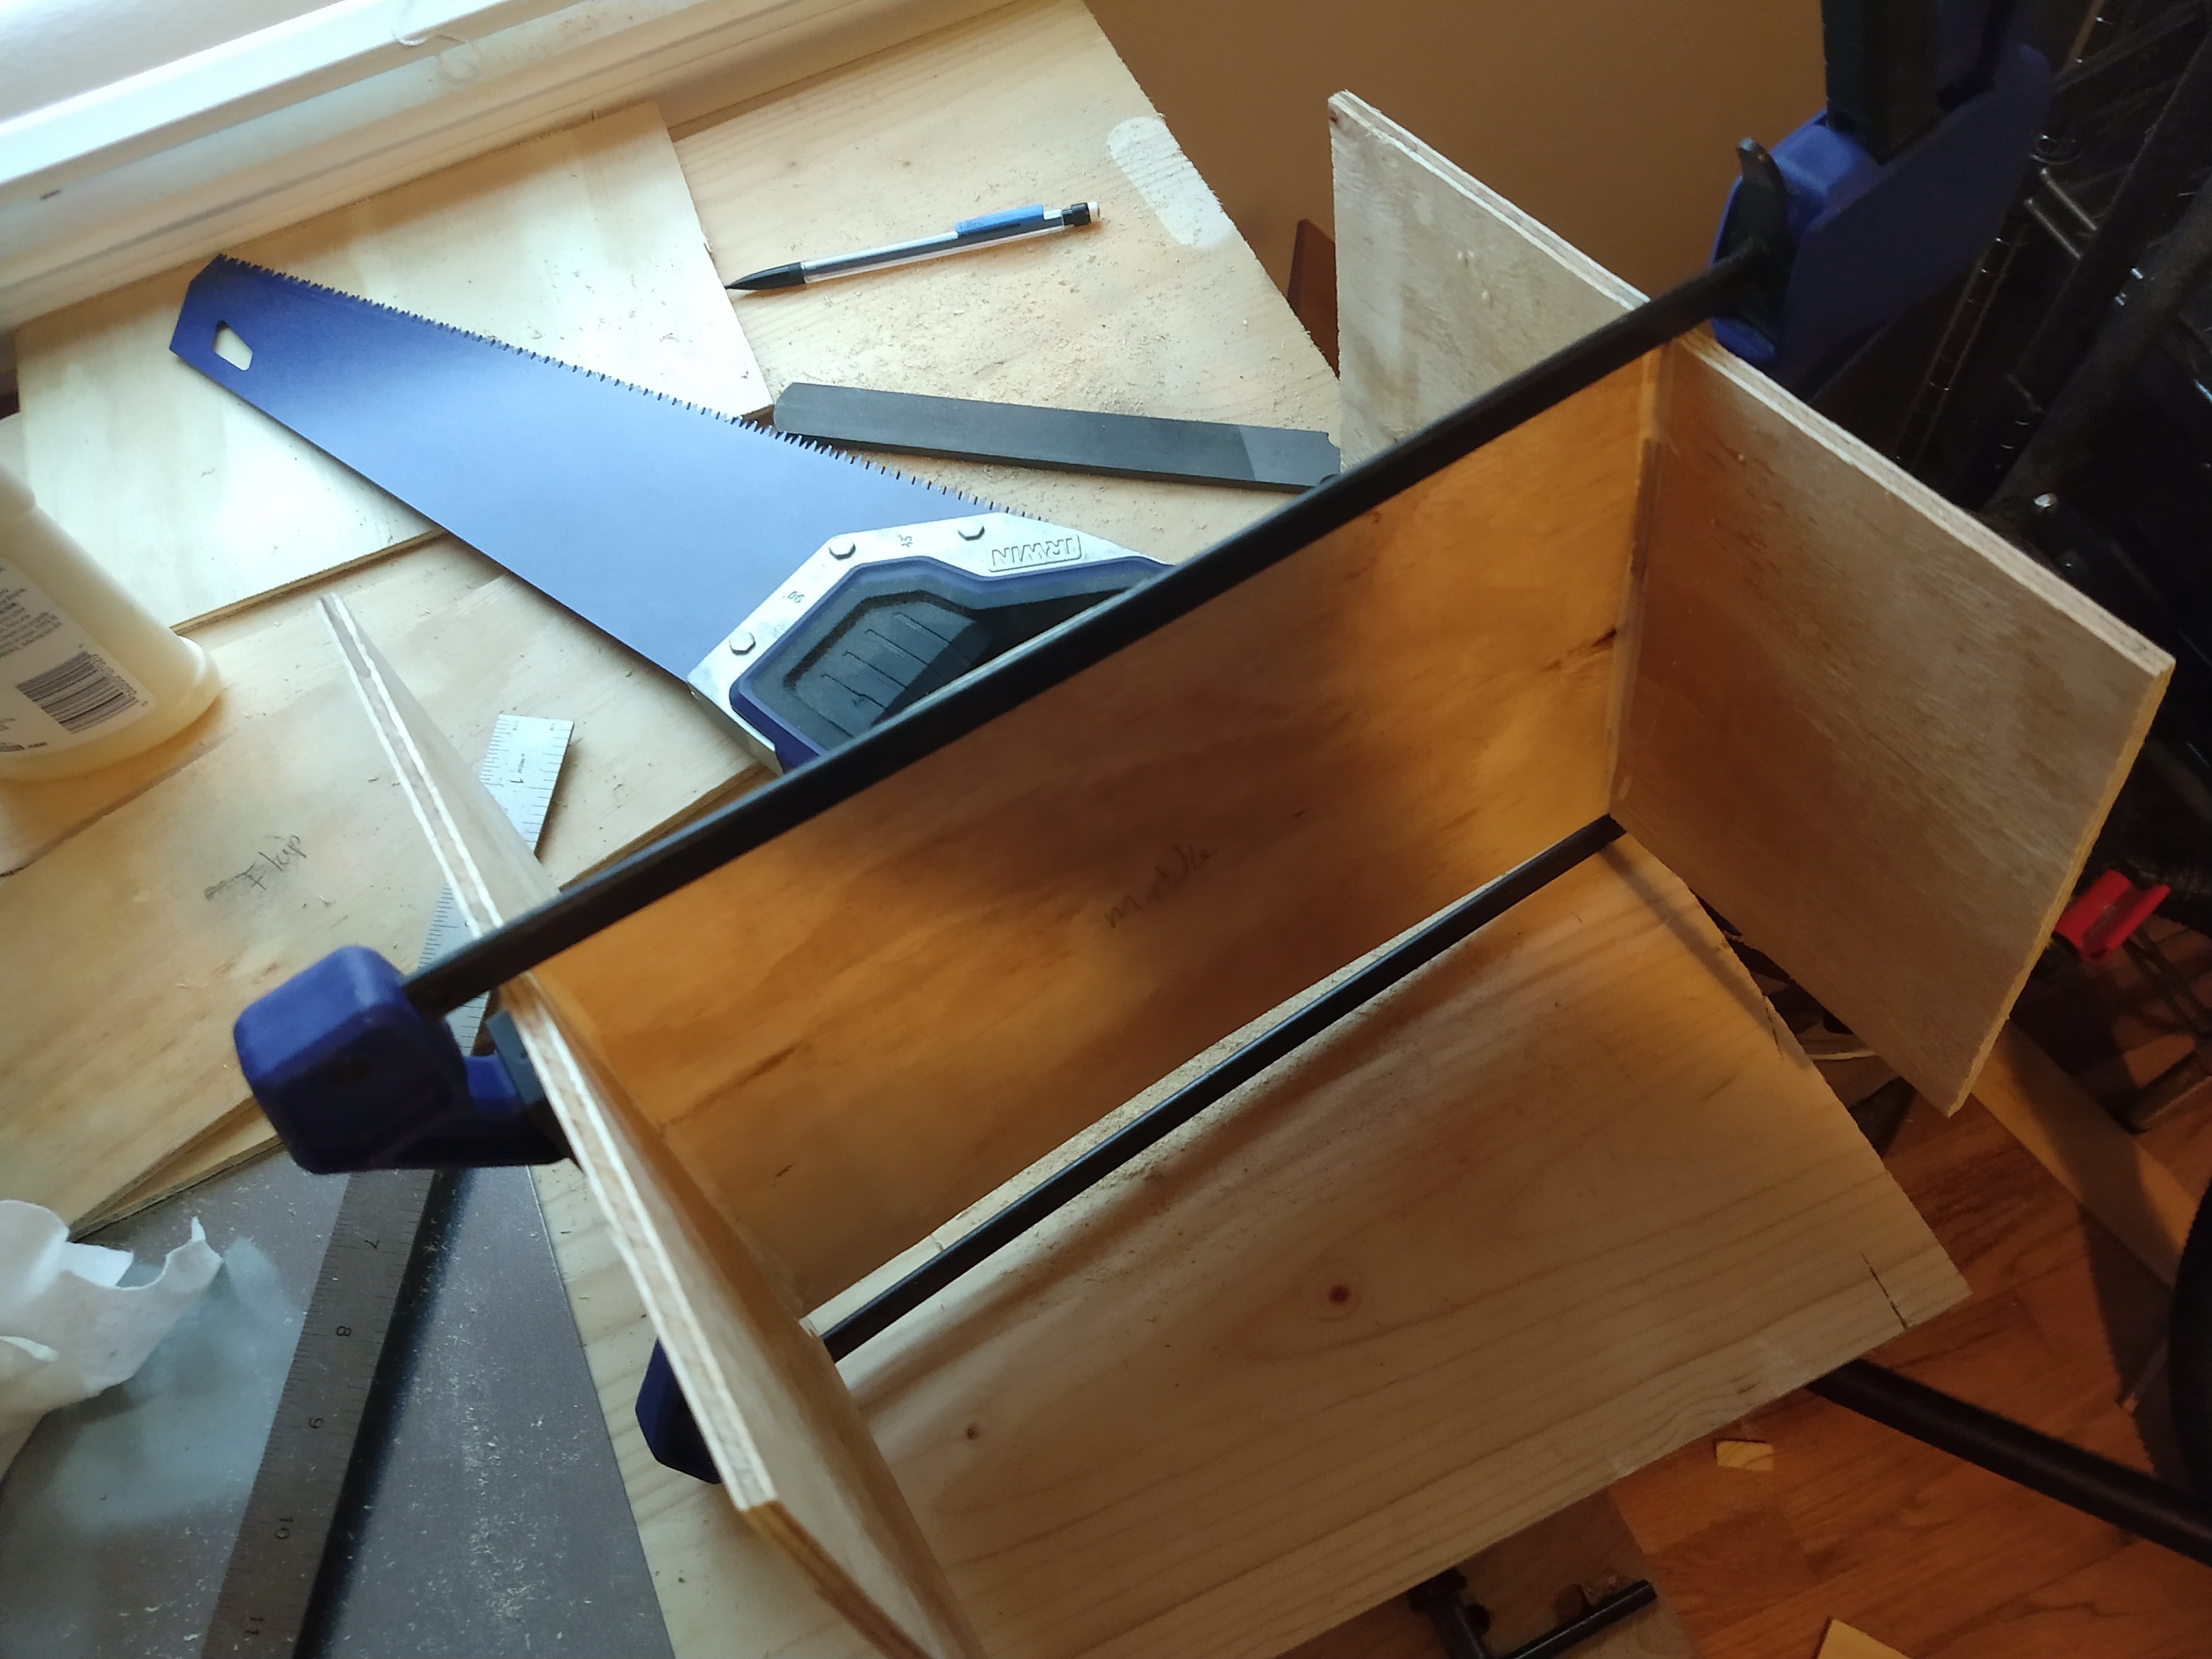
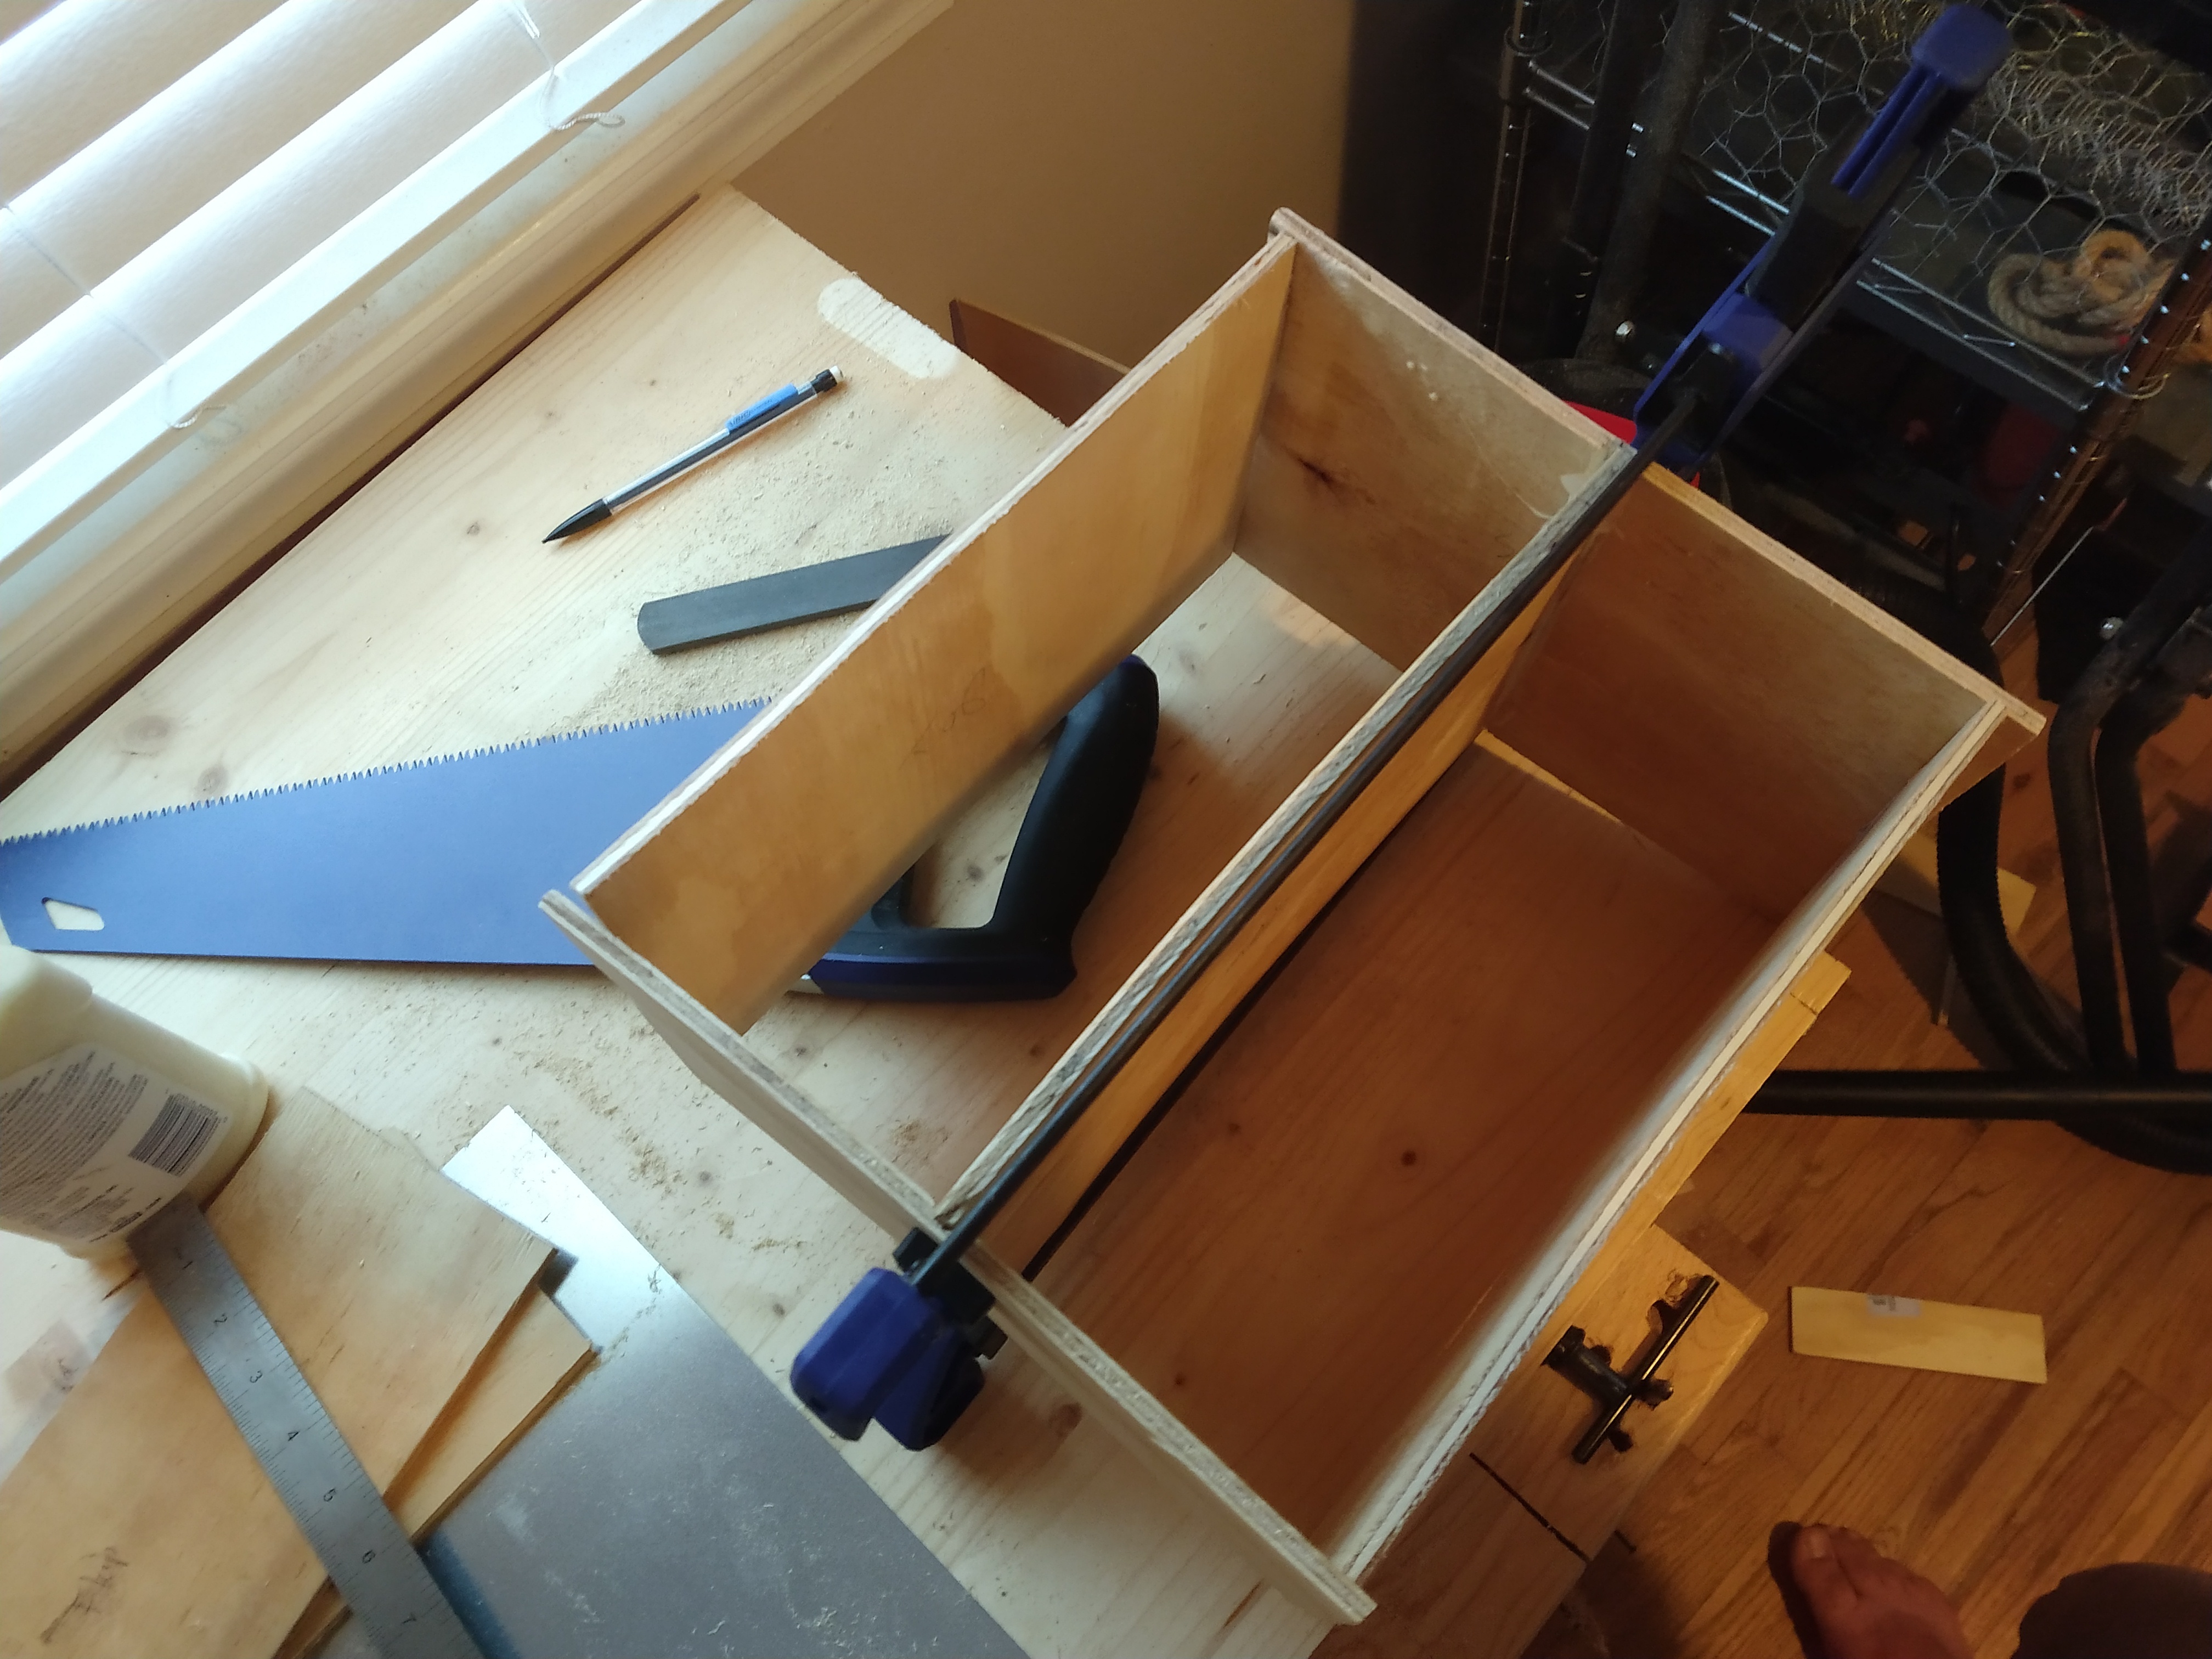
Prepare a space for gluing and clamping. To do this you can lay some wax paper or grocery bags on the floor. If you do not own clamps like the one shown in the video, you must find some way to apply an even force so that the glue is always as close as it can be. This can be done a number of ways, such as shoving the piece against a wall and then putting a heavy weight behind it, or by have a large sturdy box, and wedging the work between an object in the box.
Fill the kerf cuts with glue and then place each side board on one side of the middle board and clamp. Try to wipe off any excess glue with a wet paper towel.
If the shape of the board seems uneven you can use the top and bottom board and place them in between so that you don't get heavy slants.
Joining the Top and Bottom Boards
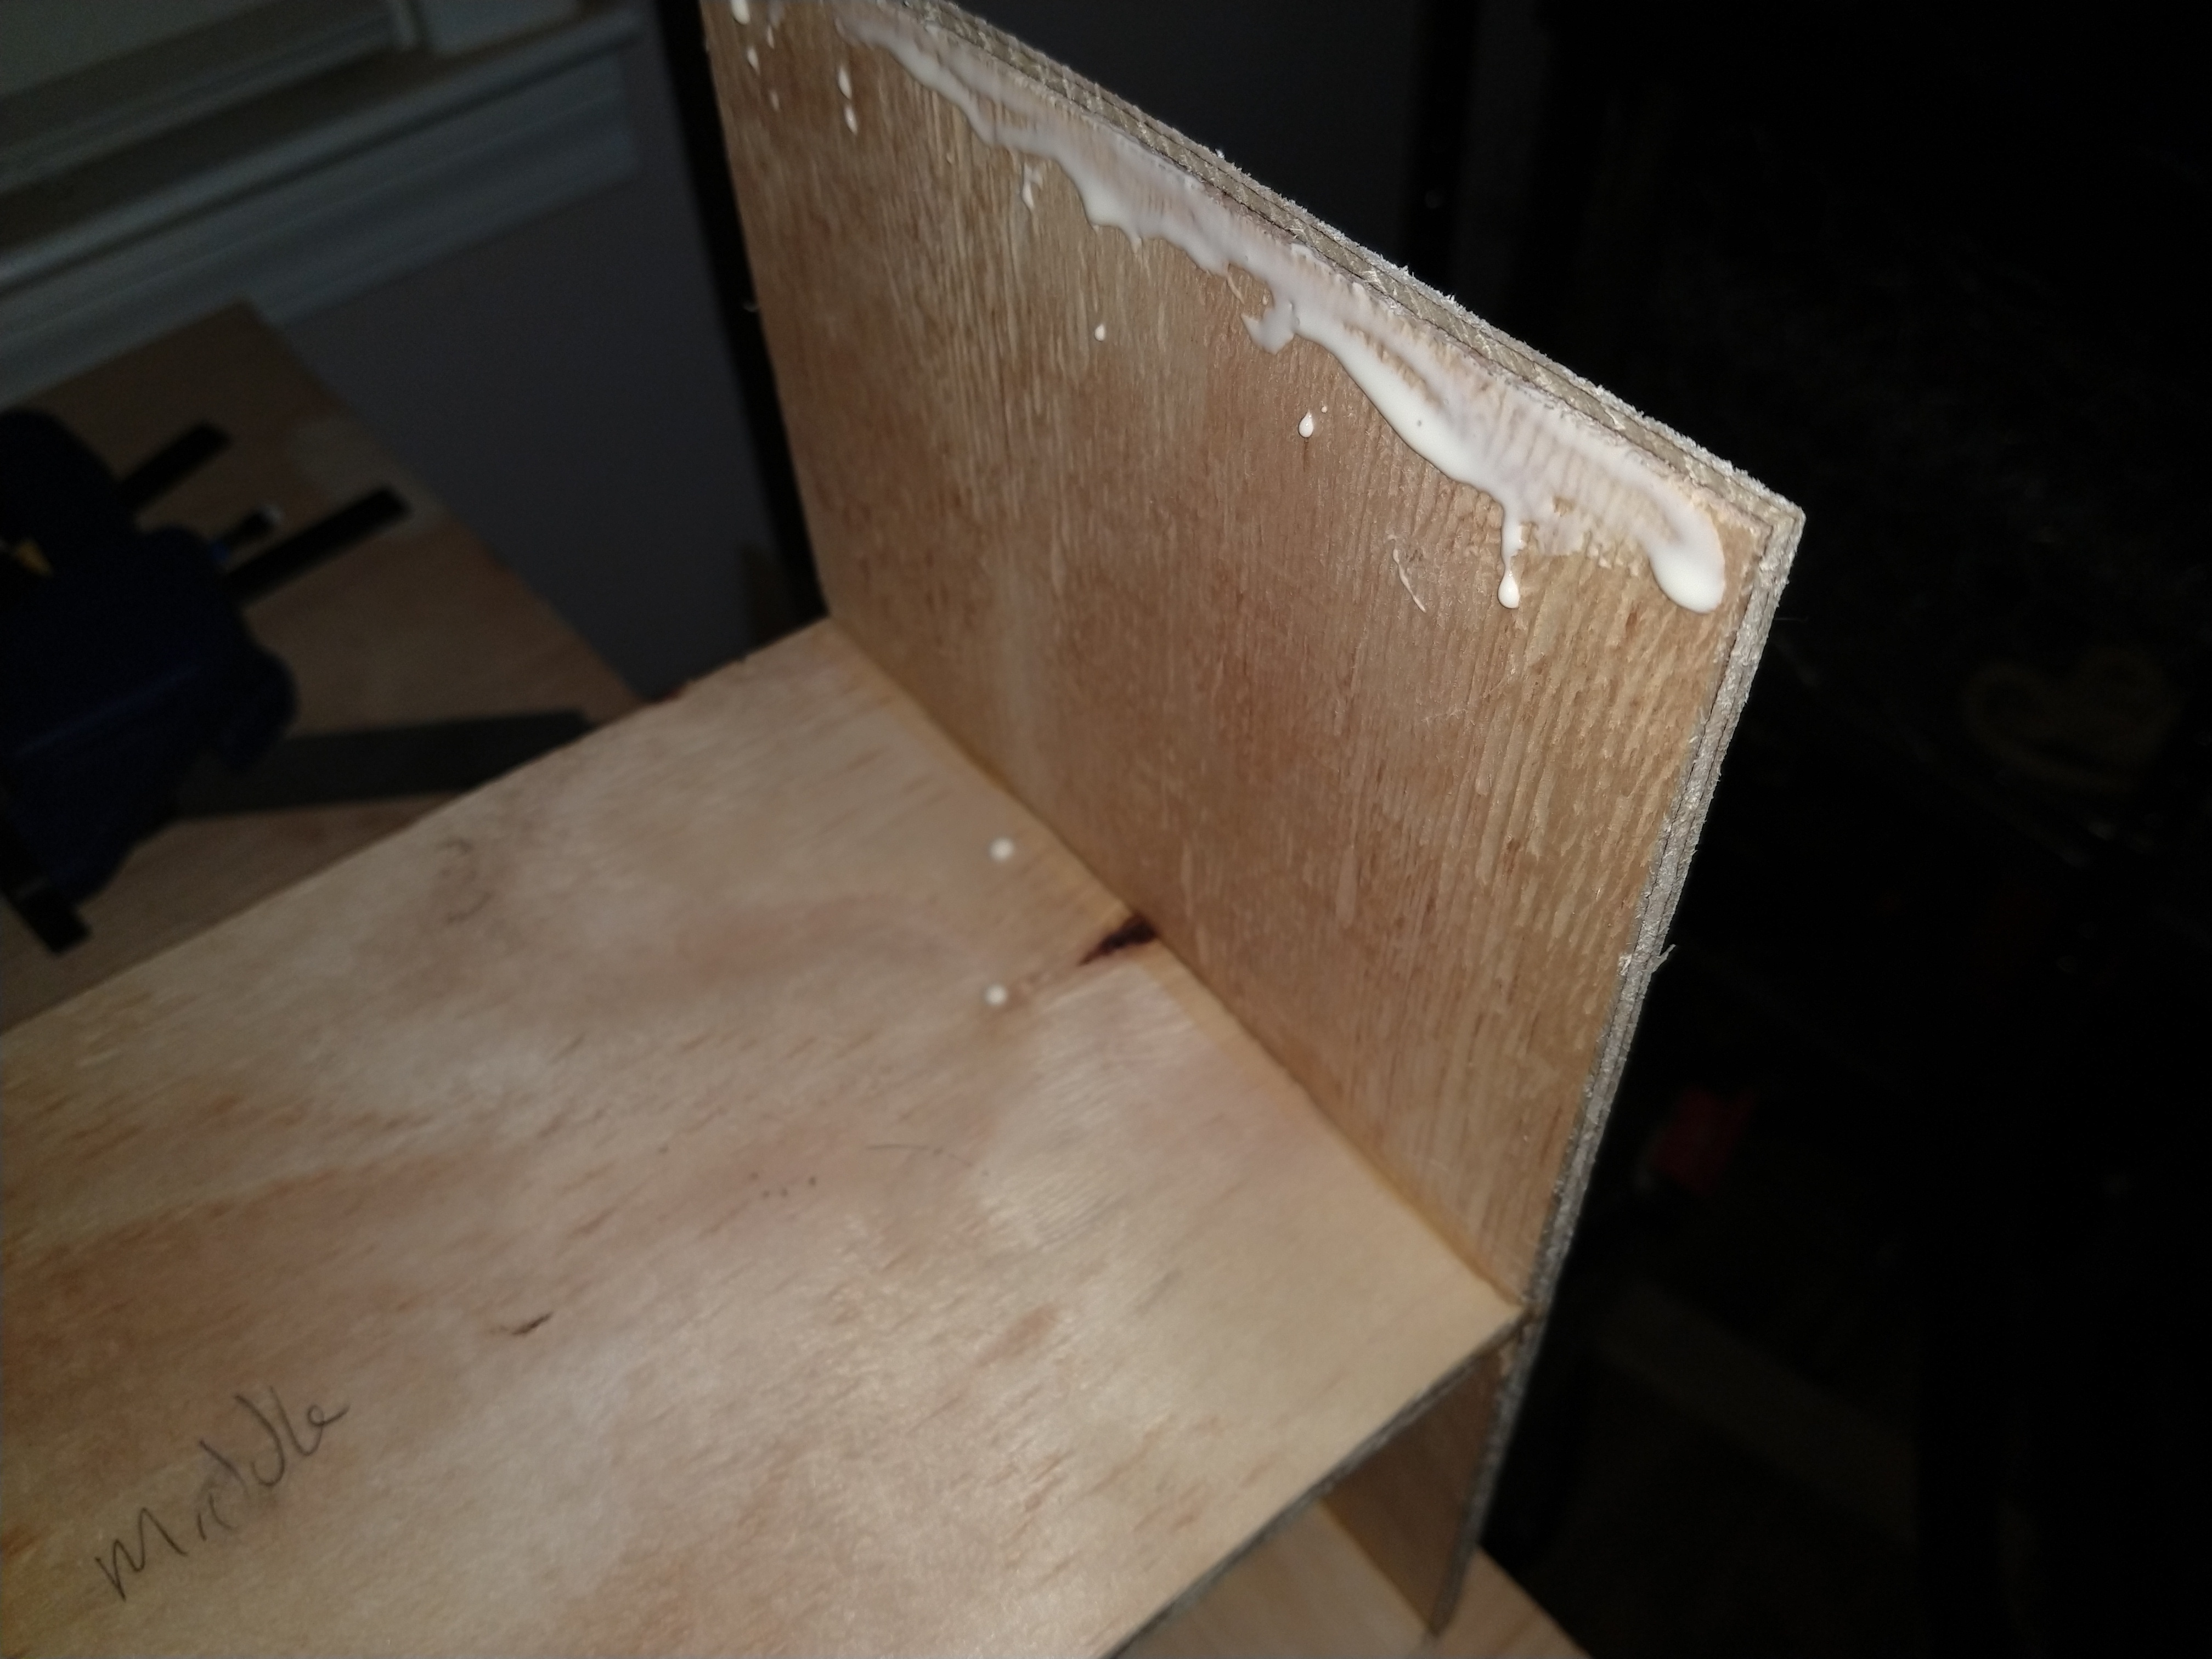
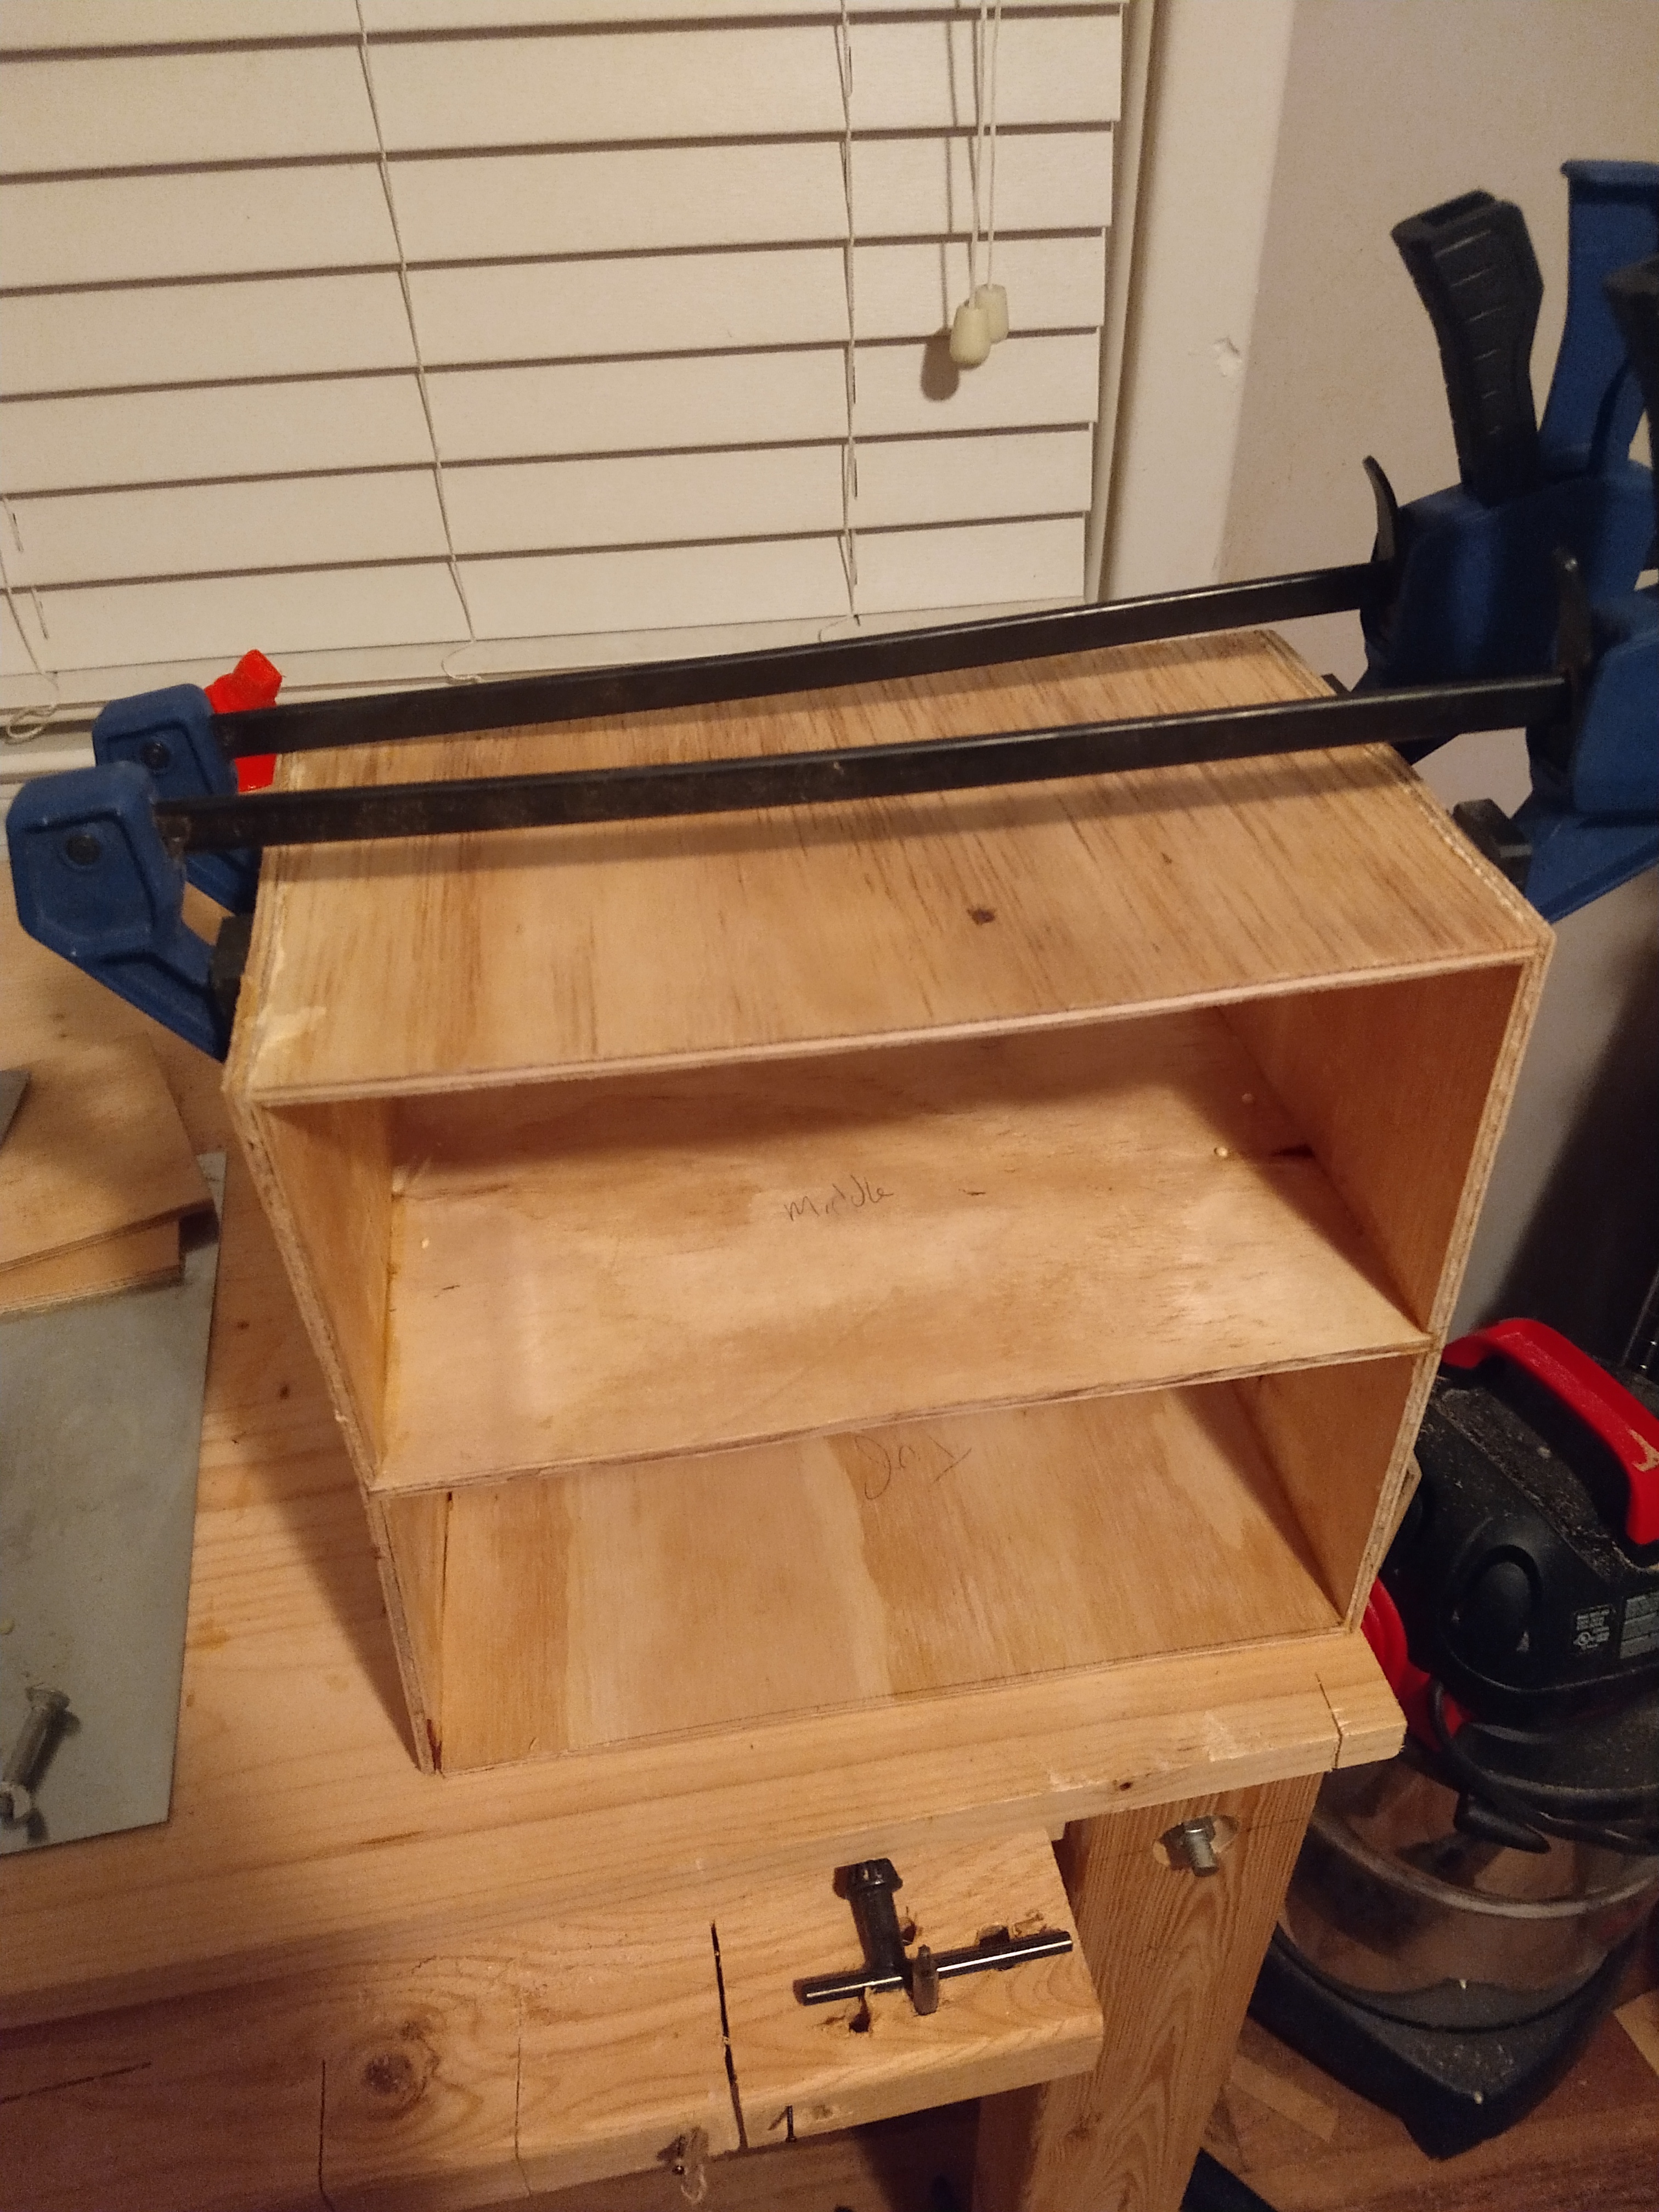
First decide whether you are doing the top or bottom board first, for the purposes of writing this, I will assume the top board. Take the I shaped Middle and Side Boards and glue the top interior as pictured. Glue the ends of the top board and line it up flush with side panels. Clamp or compress them together and wait to dry. Do the same thing for the bottom board.
Assemble Your Hardware
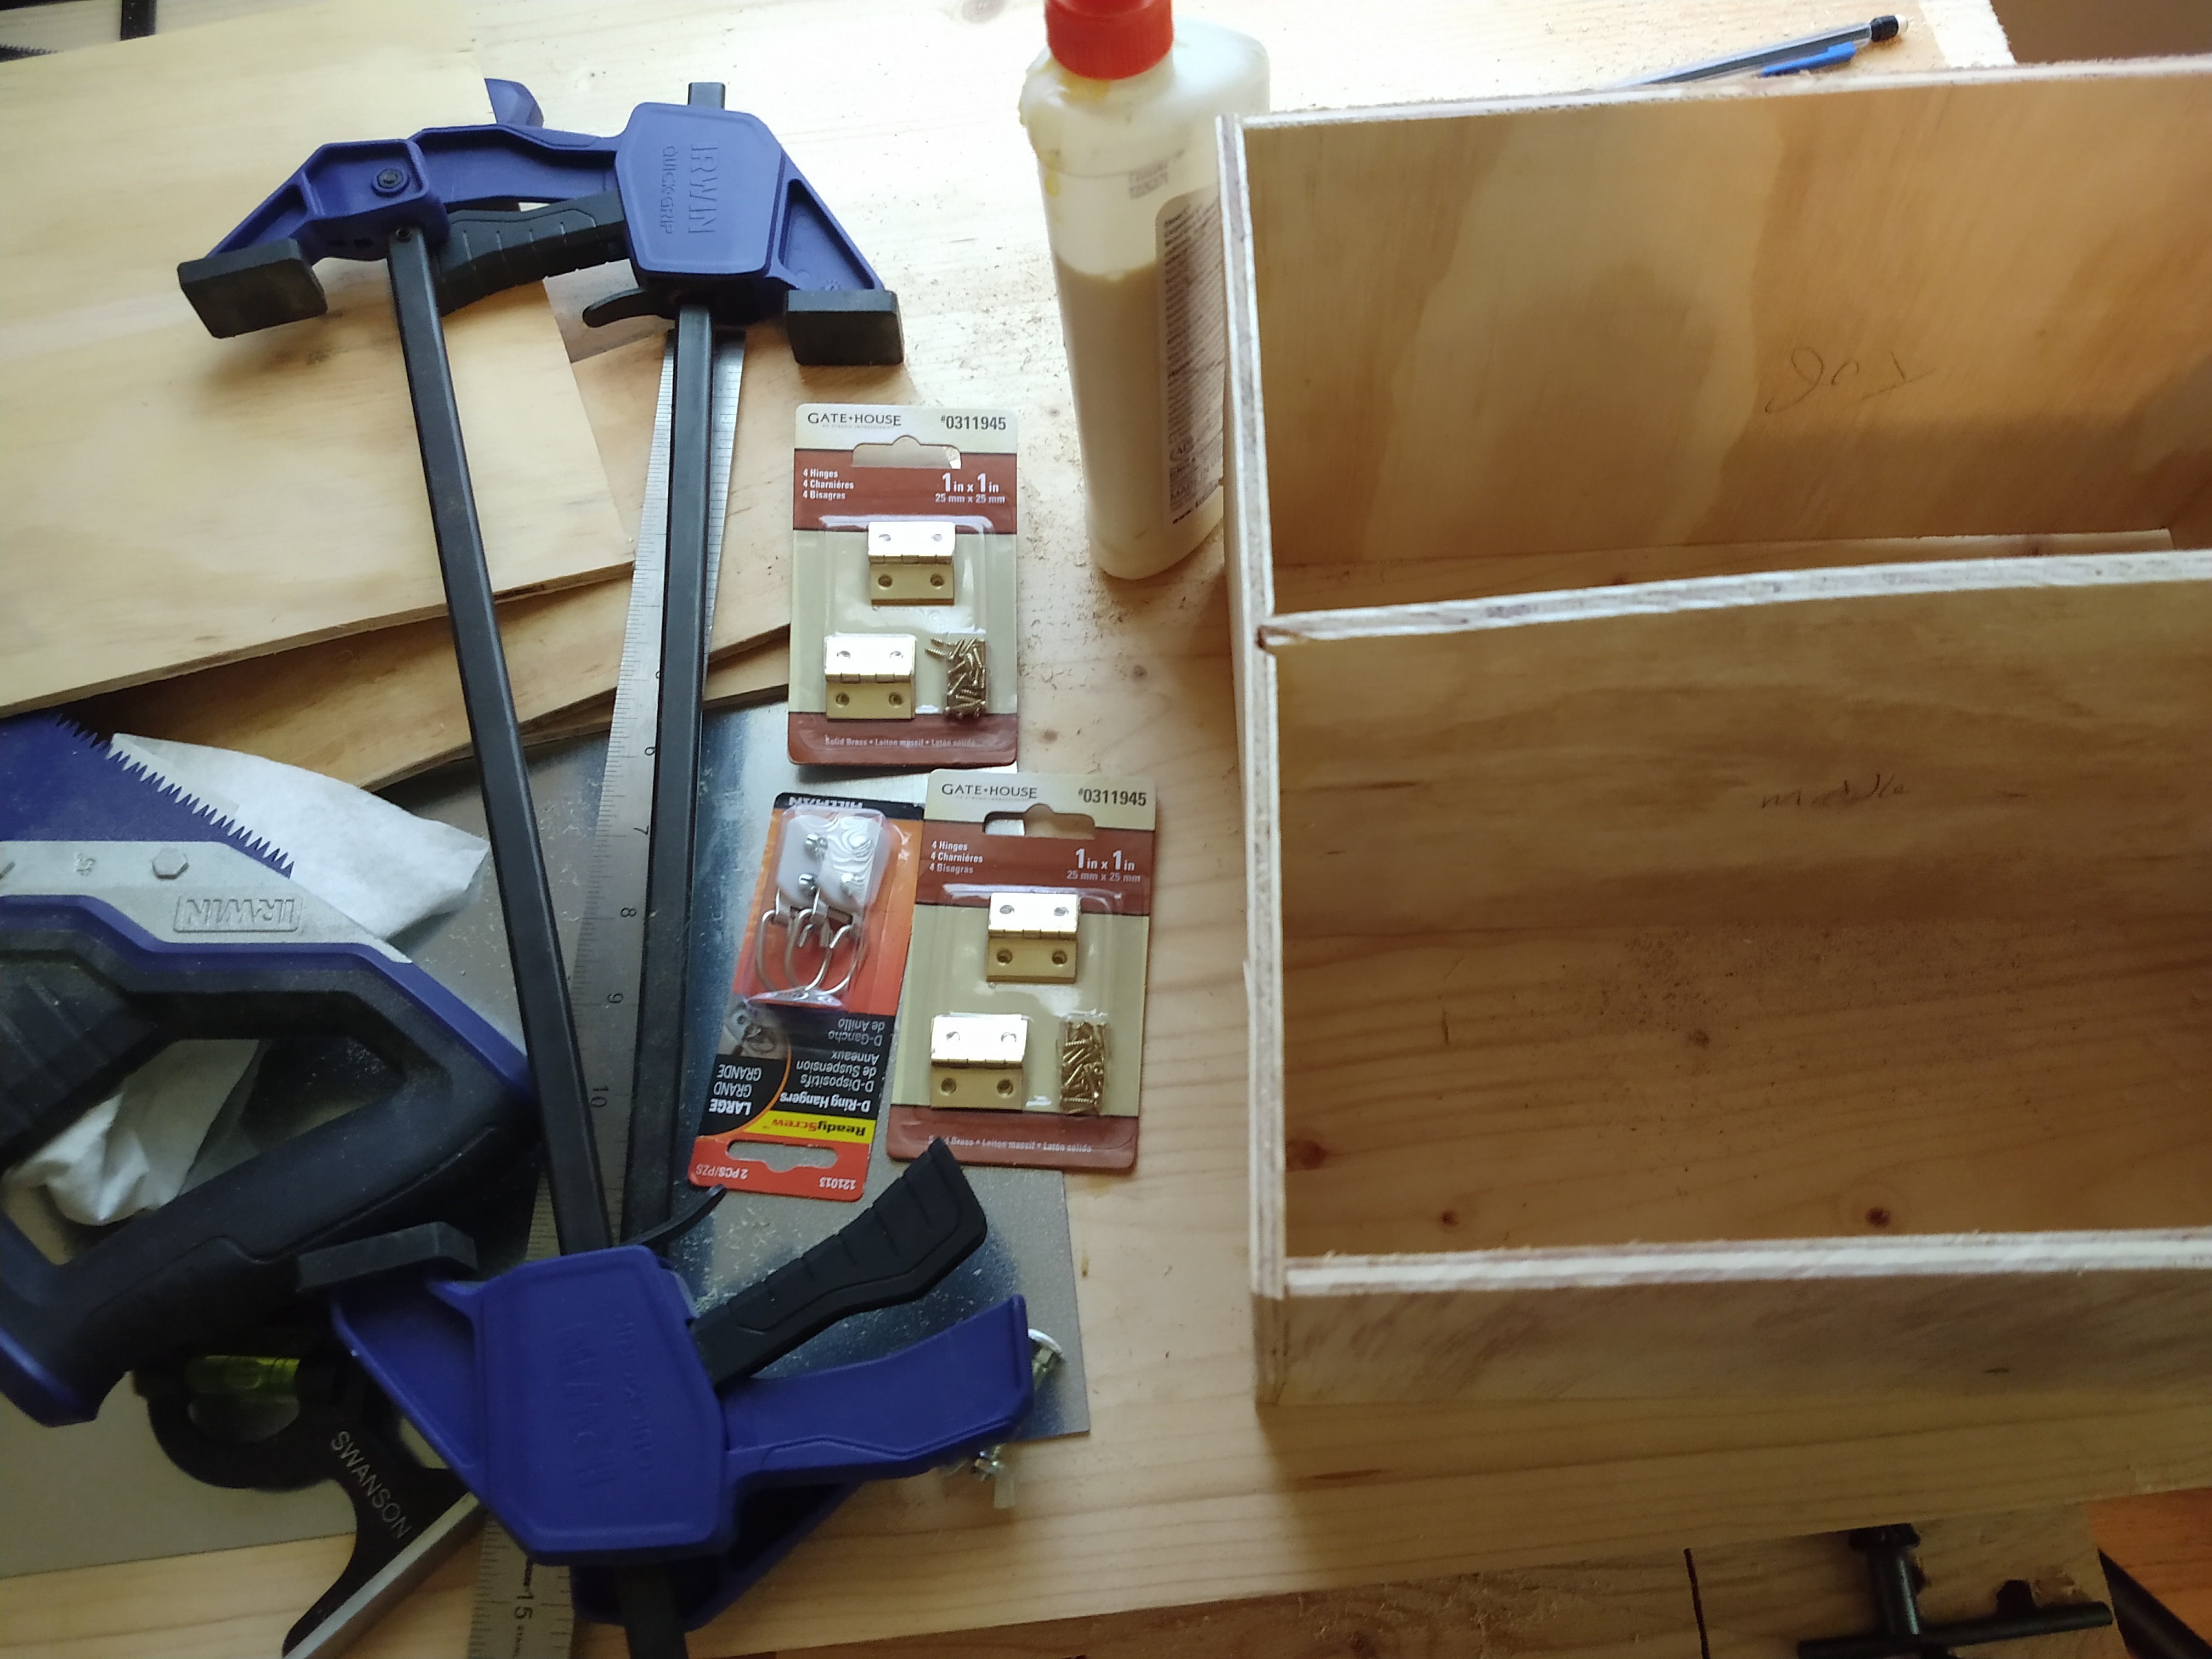
Now is the time to get your hardware together, as you will not be gluing again until the last panel. Make sure you have enough screws for your hinges and d ring mounts.
Install the Rear Hinges and Back Panel
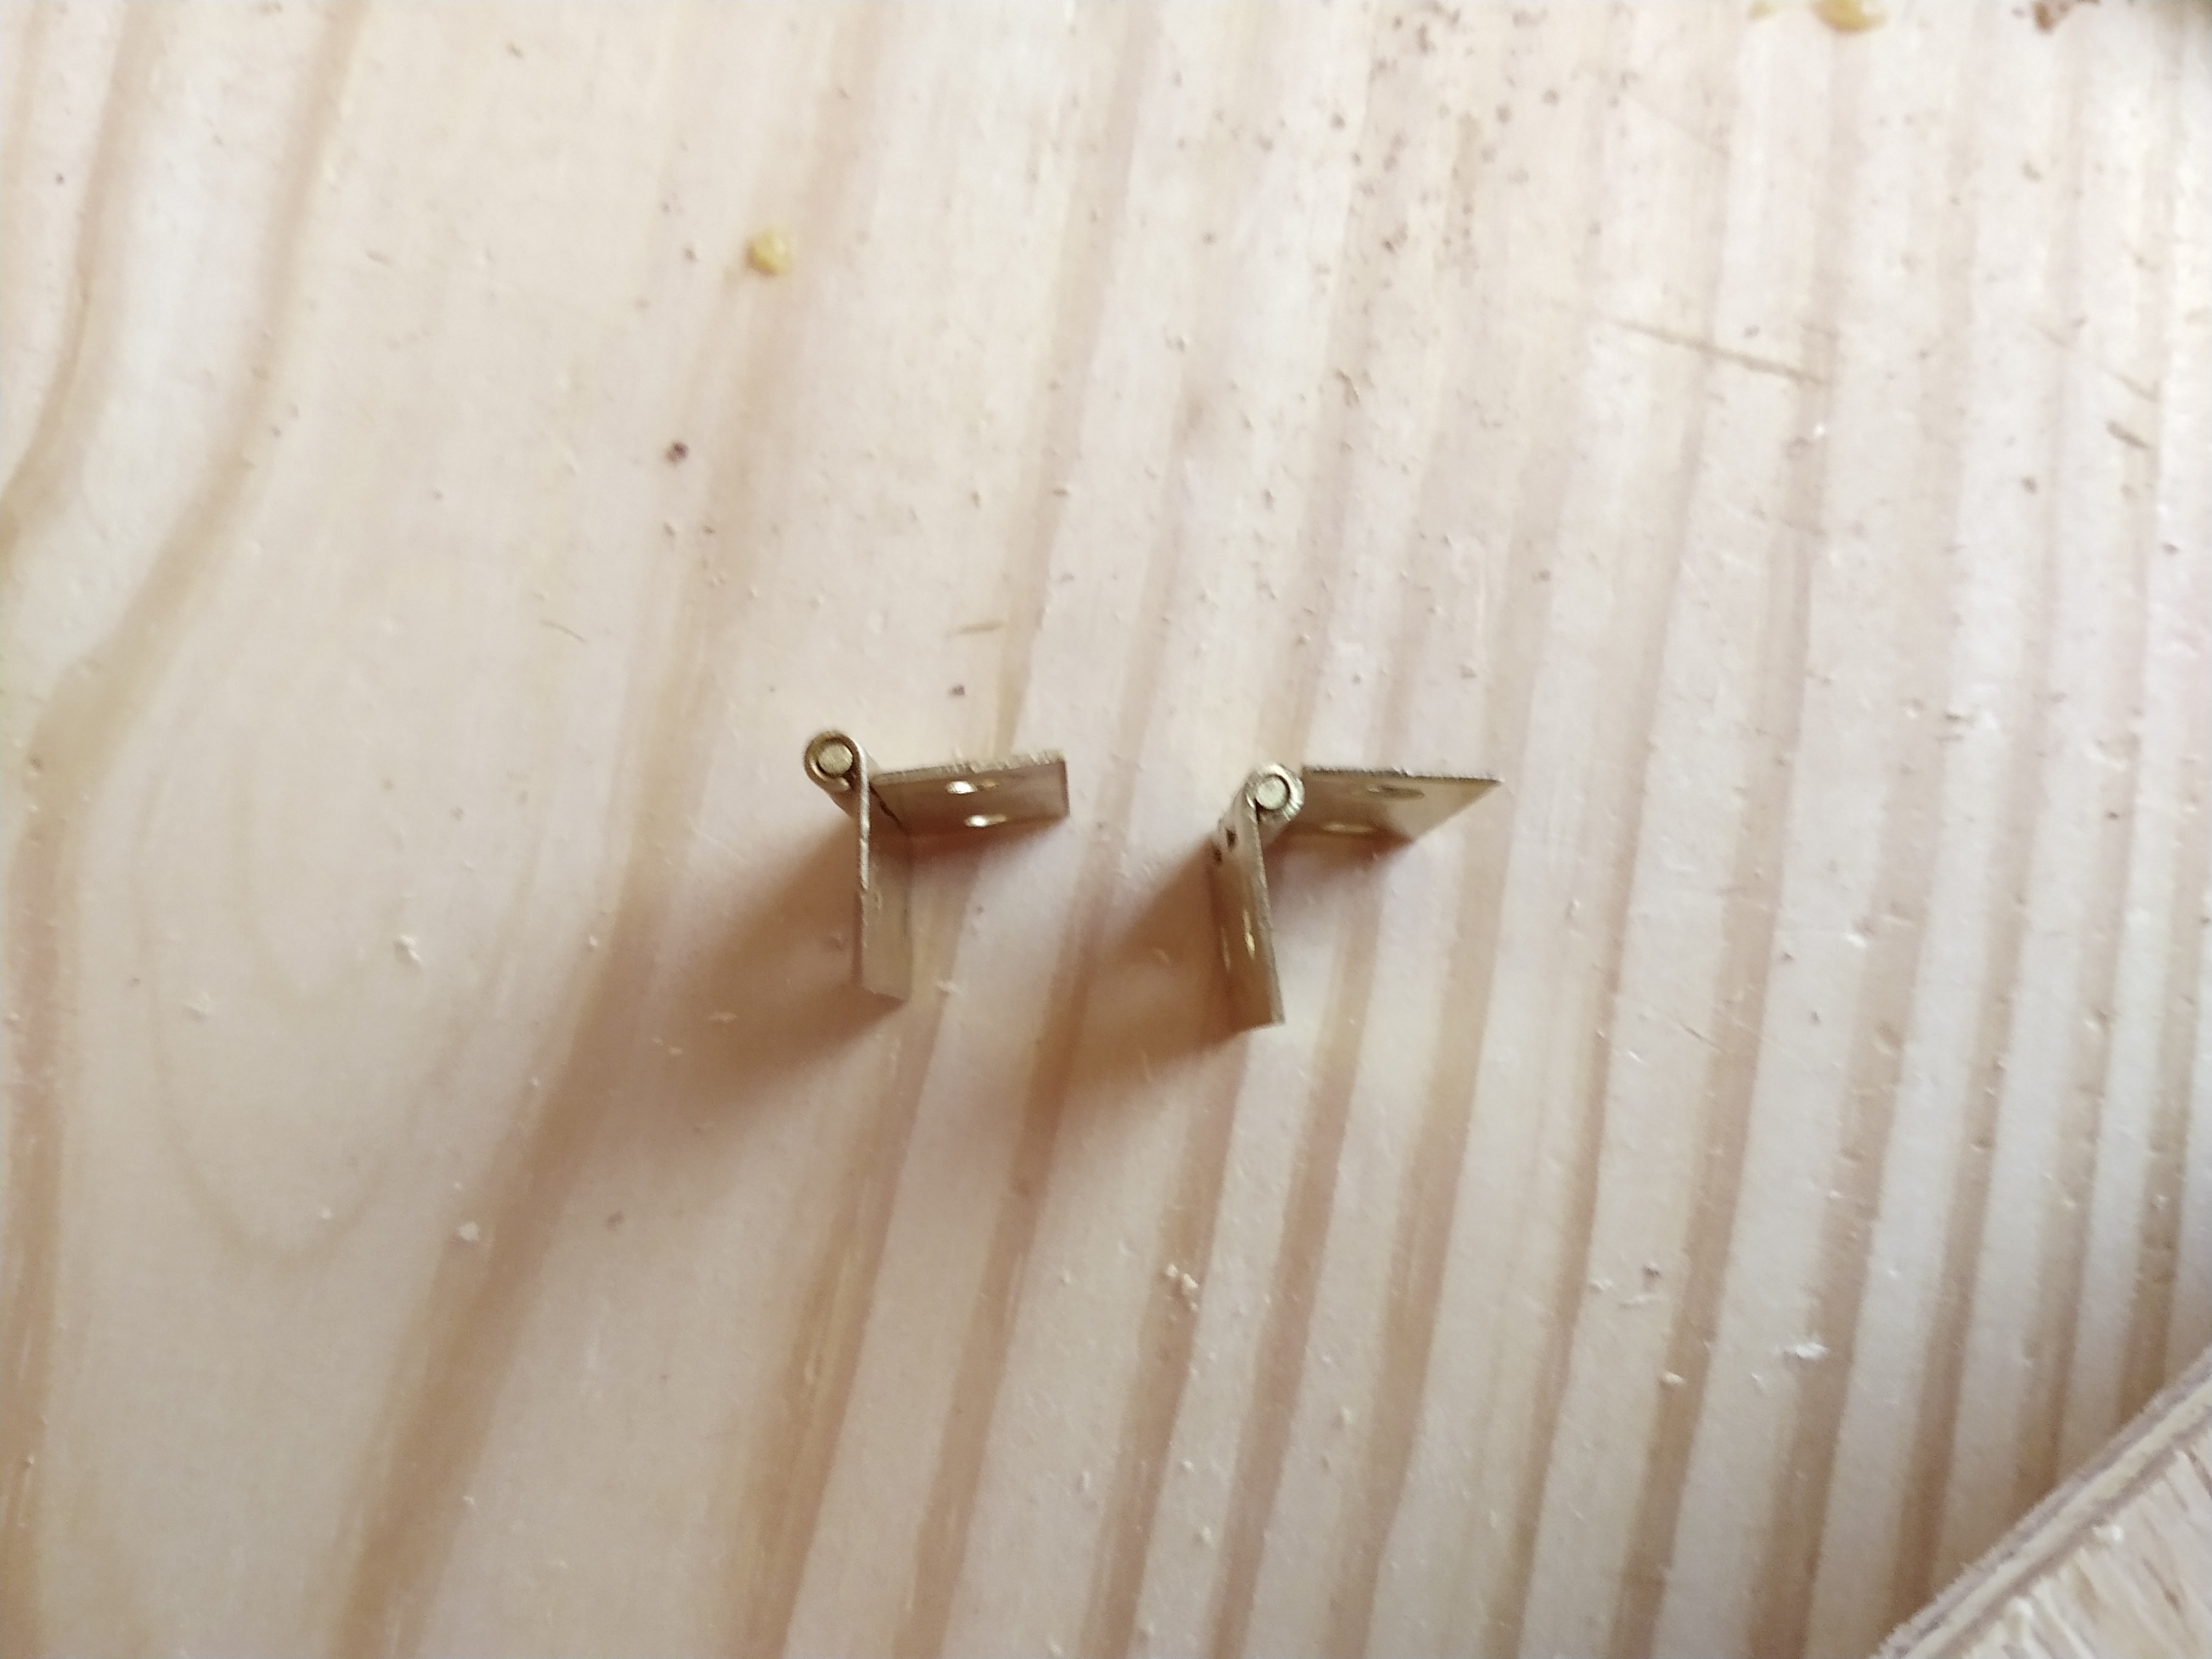
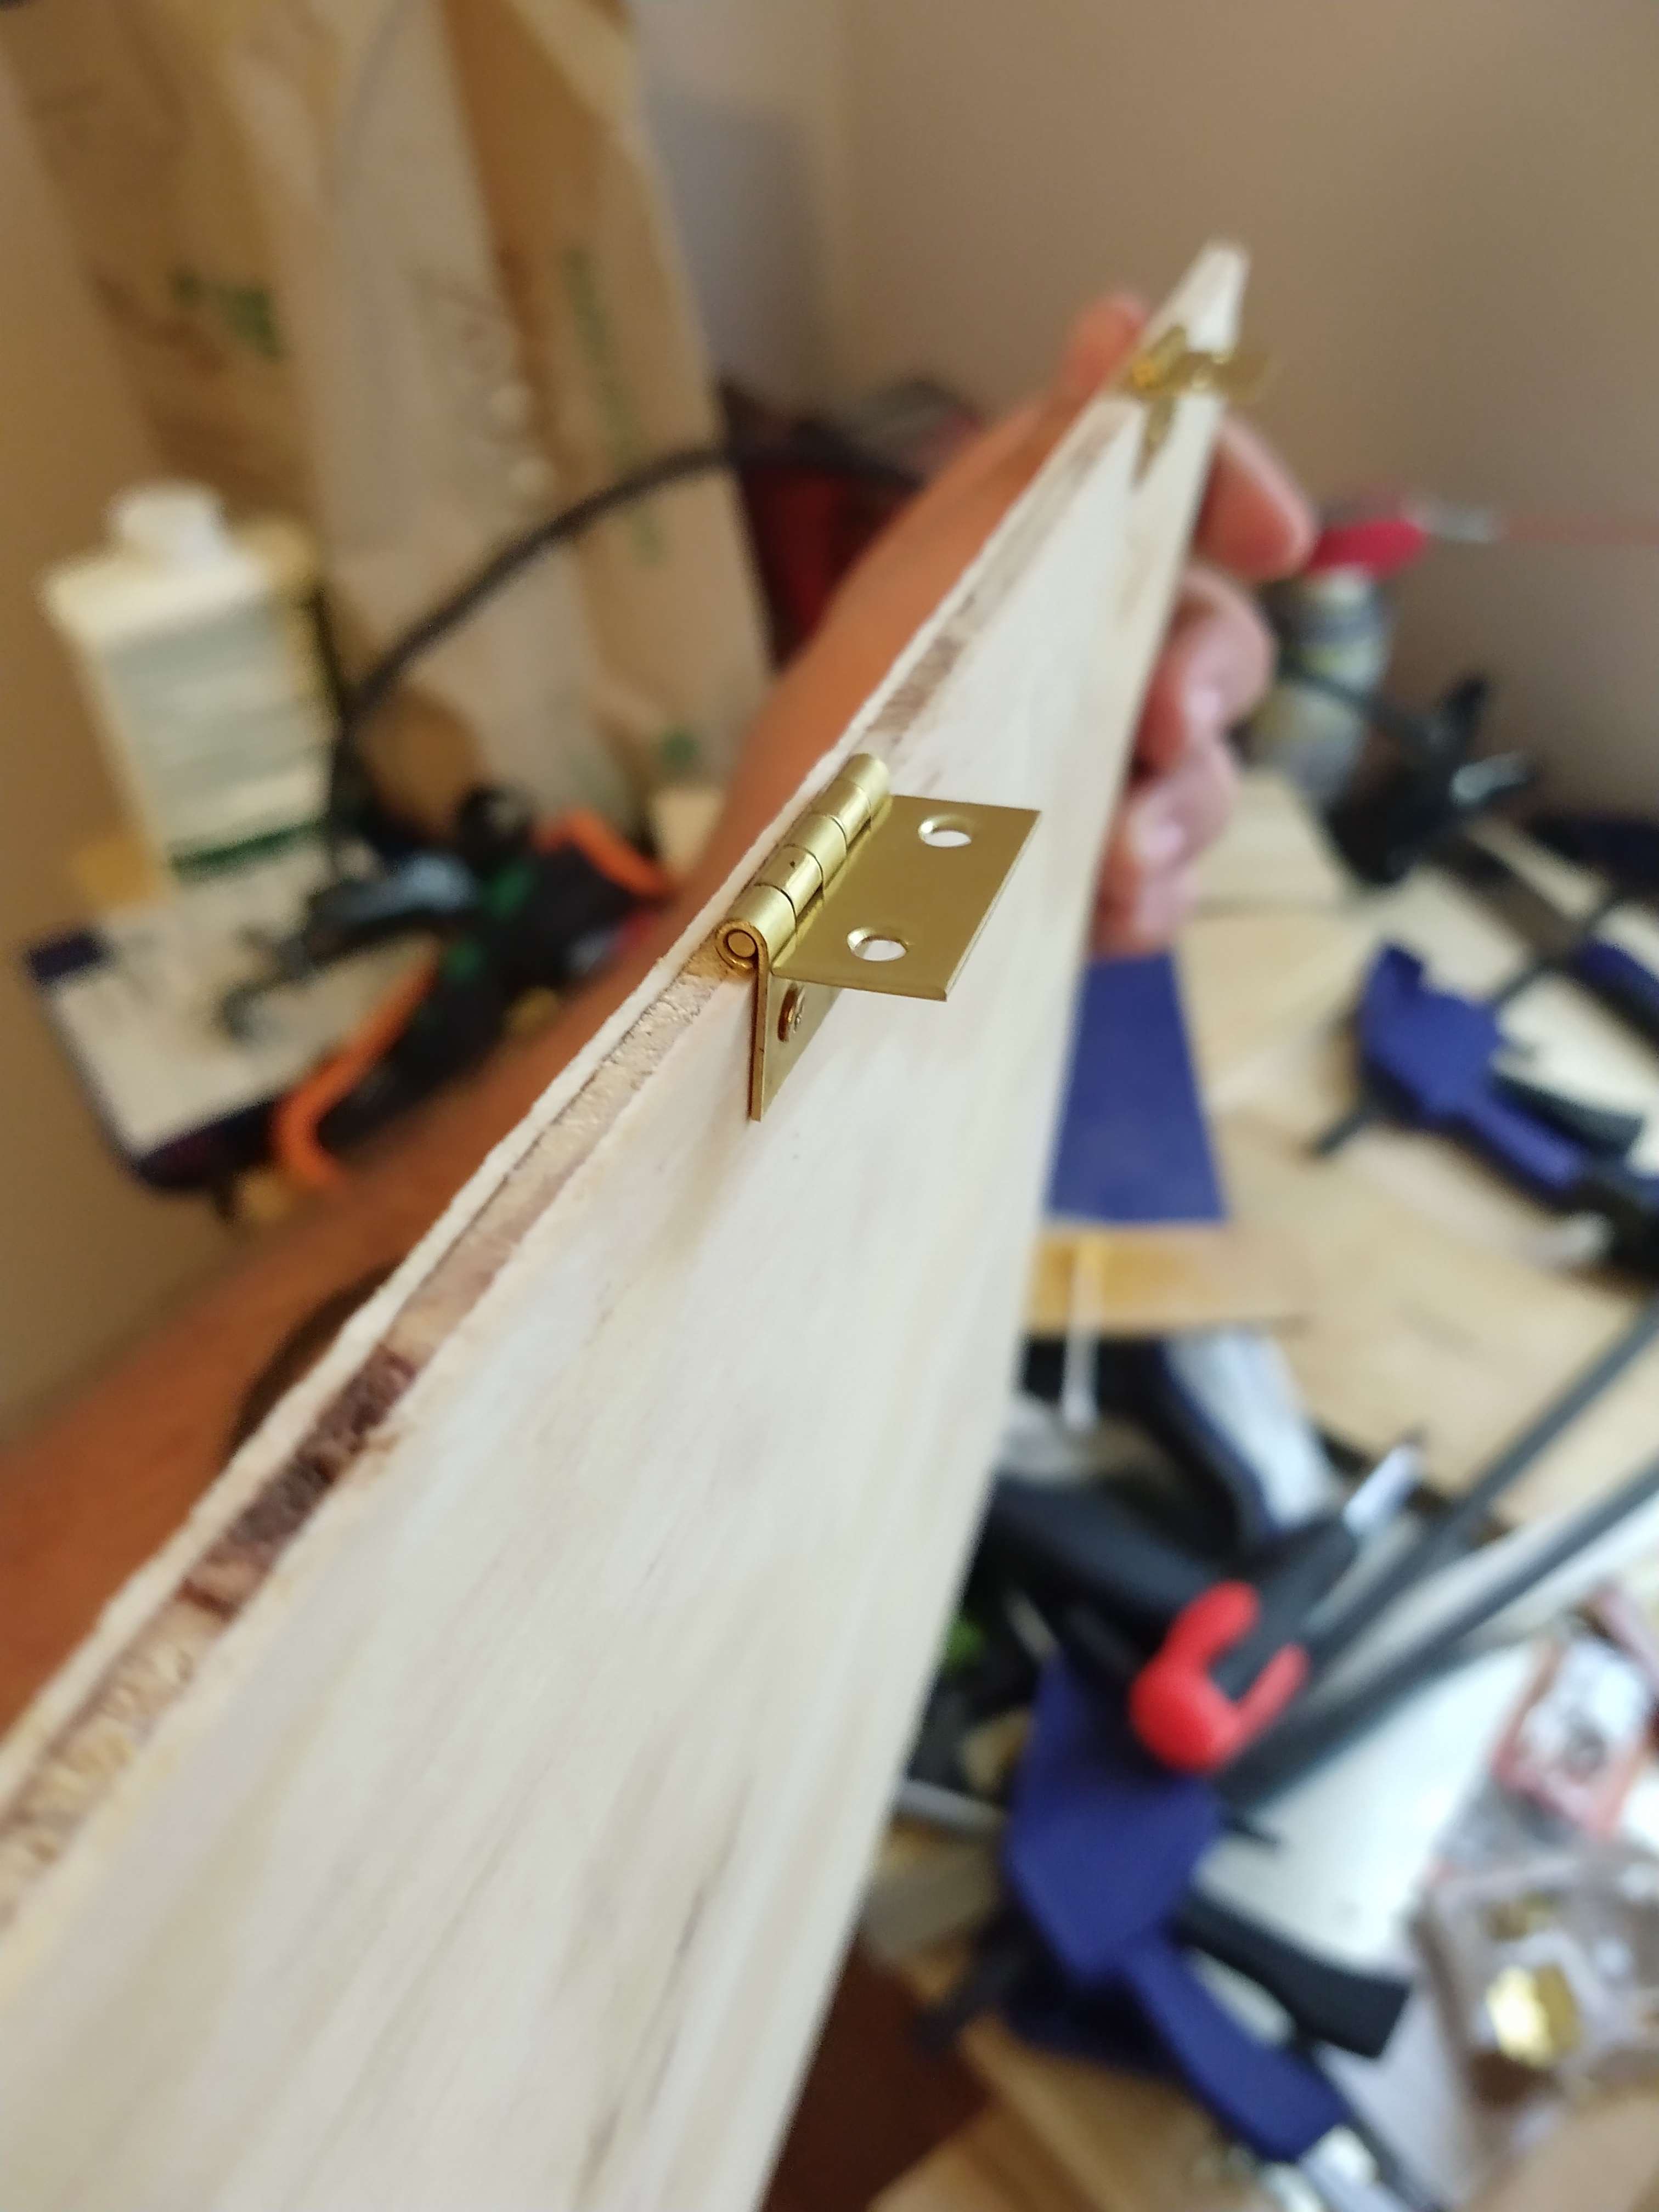
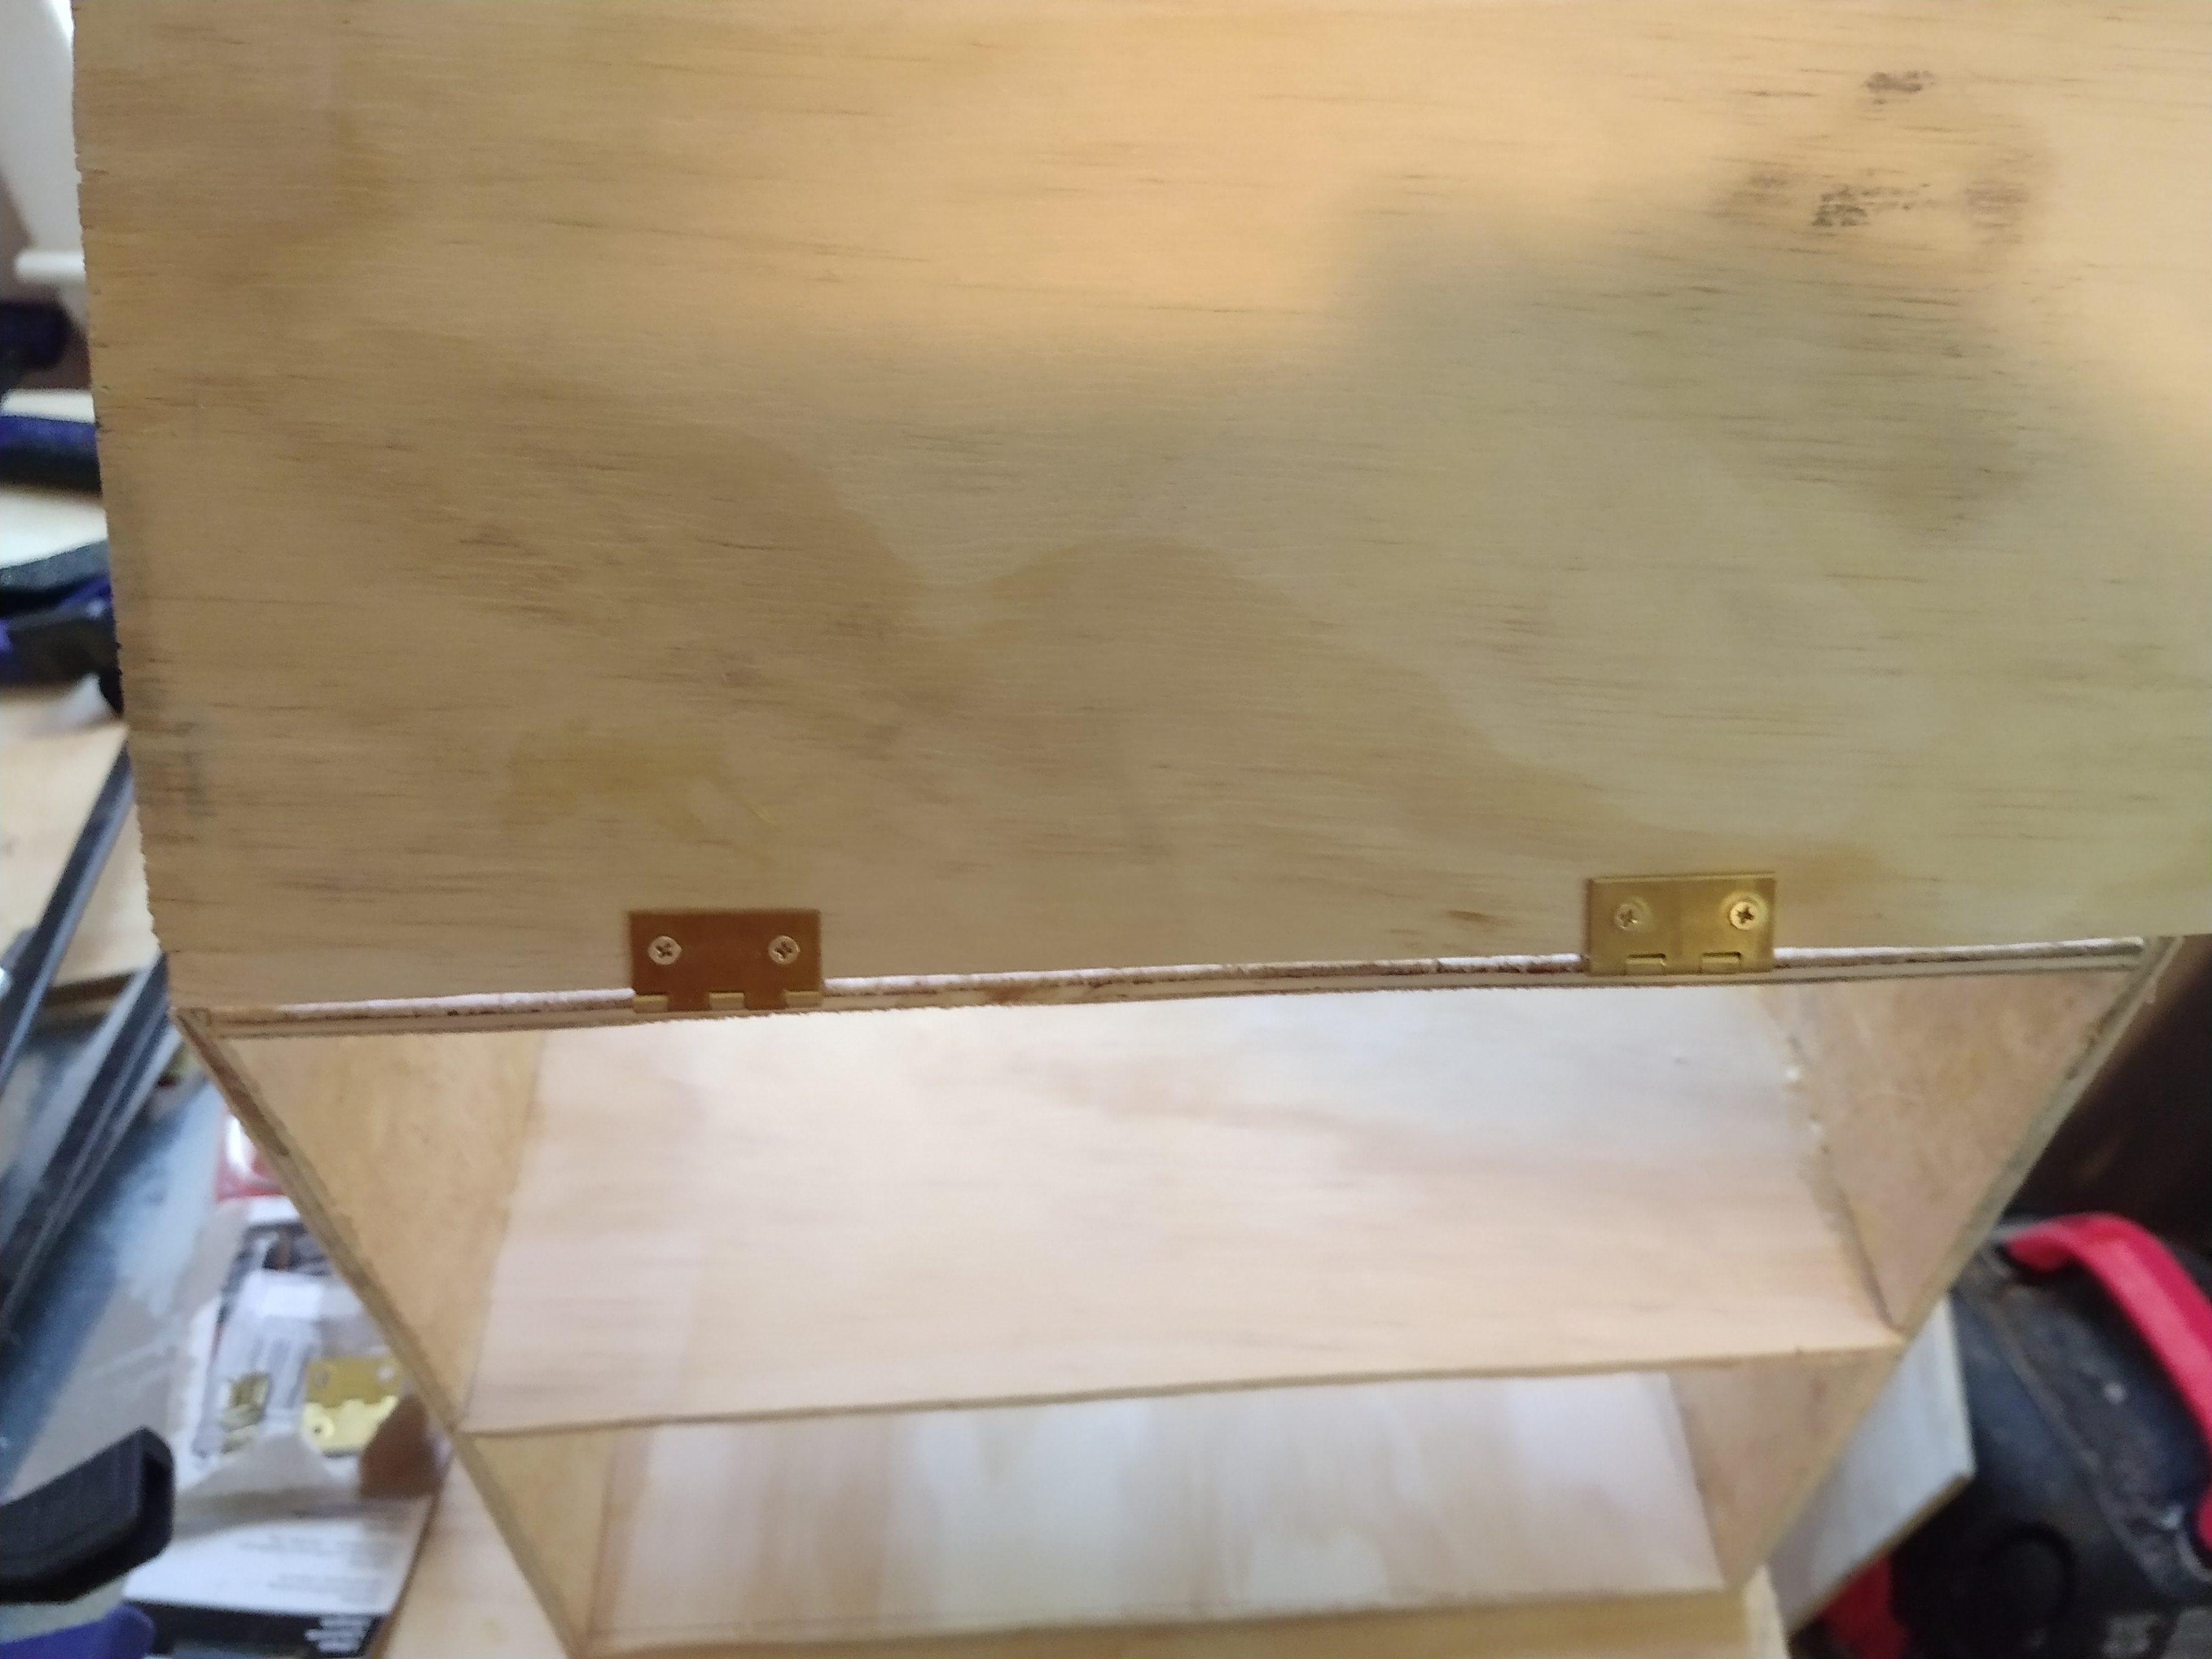
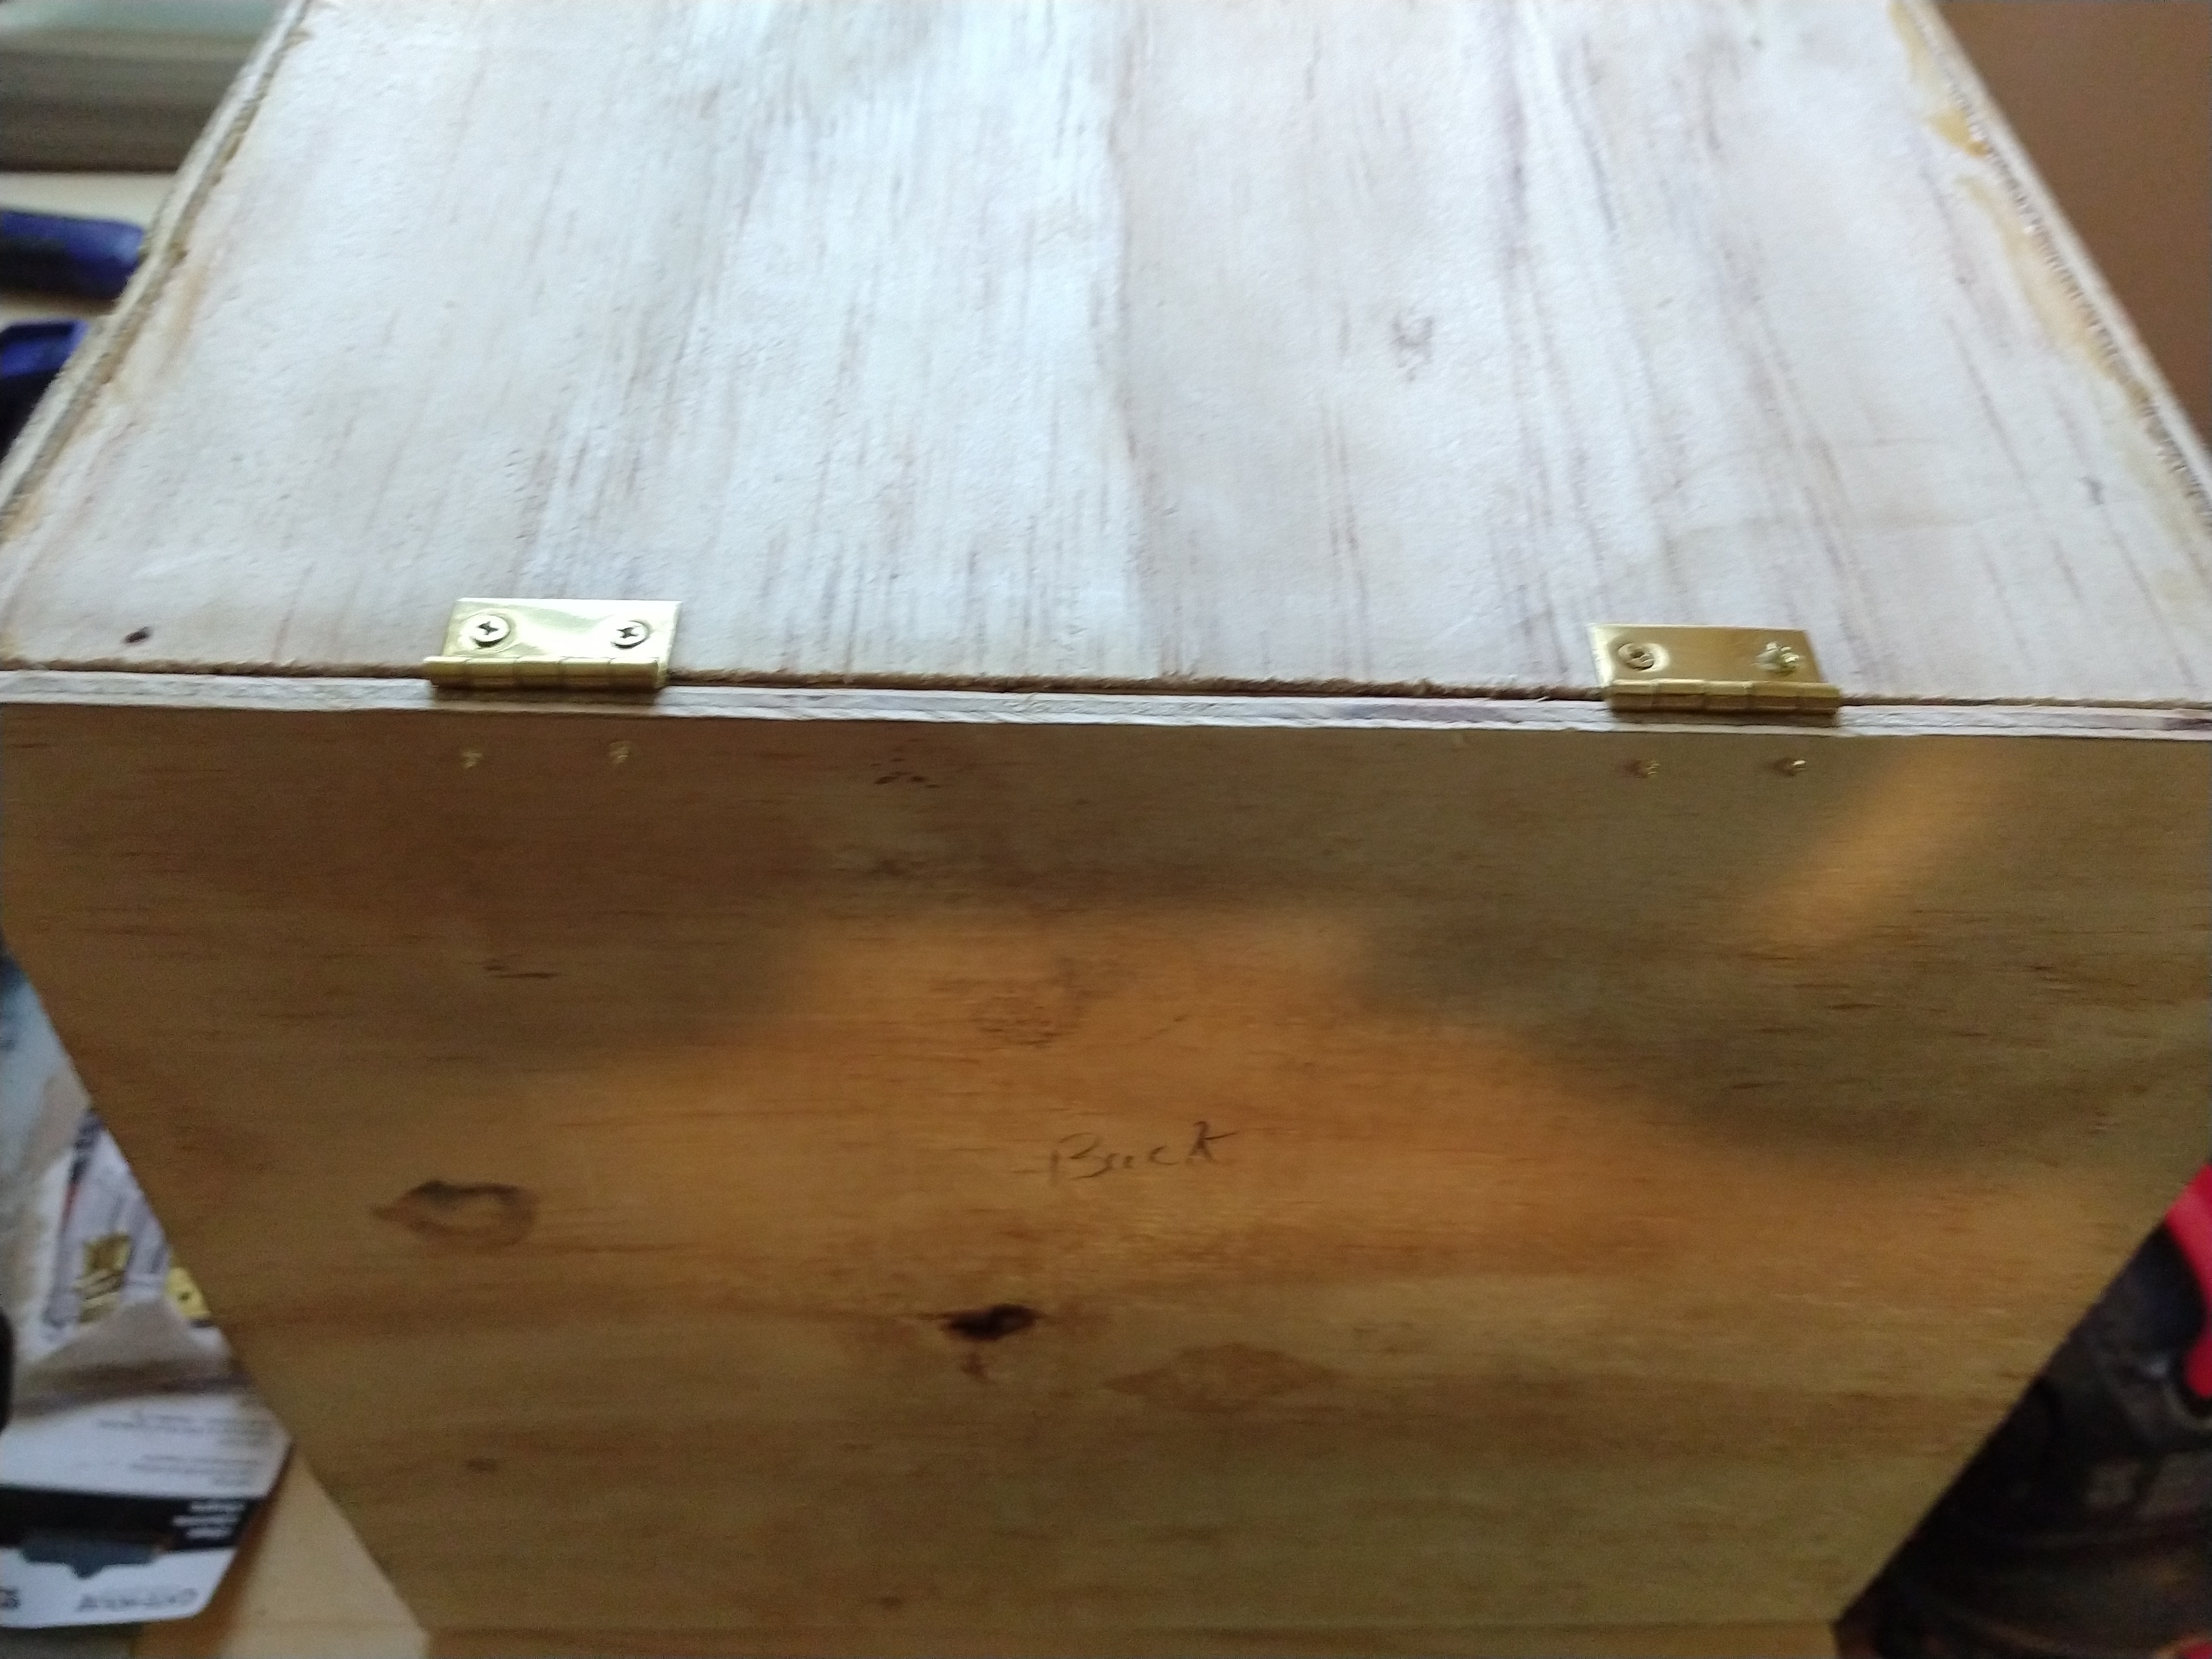
Rotate your hinges and find which way locks them at a 90 degree angle. This is the position you want to install them. Place your board on the back and move it and the hinges around to see which way works best. The hinge can be on the outside or inside of either piece, you just want the best cover.
You don't have to measure here, just line up the hinges where you want and scratch a small hole with an old nail, screw or your screwdriver if it's pointy enough.
Screw the hinges to the board and then screw the hinges to the box. Without an awl mark to guide the screws they might look messy, but as long as the hinges line up together and seal the back well it doesn't matter how messy they look.
Bad Measurements
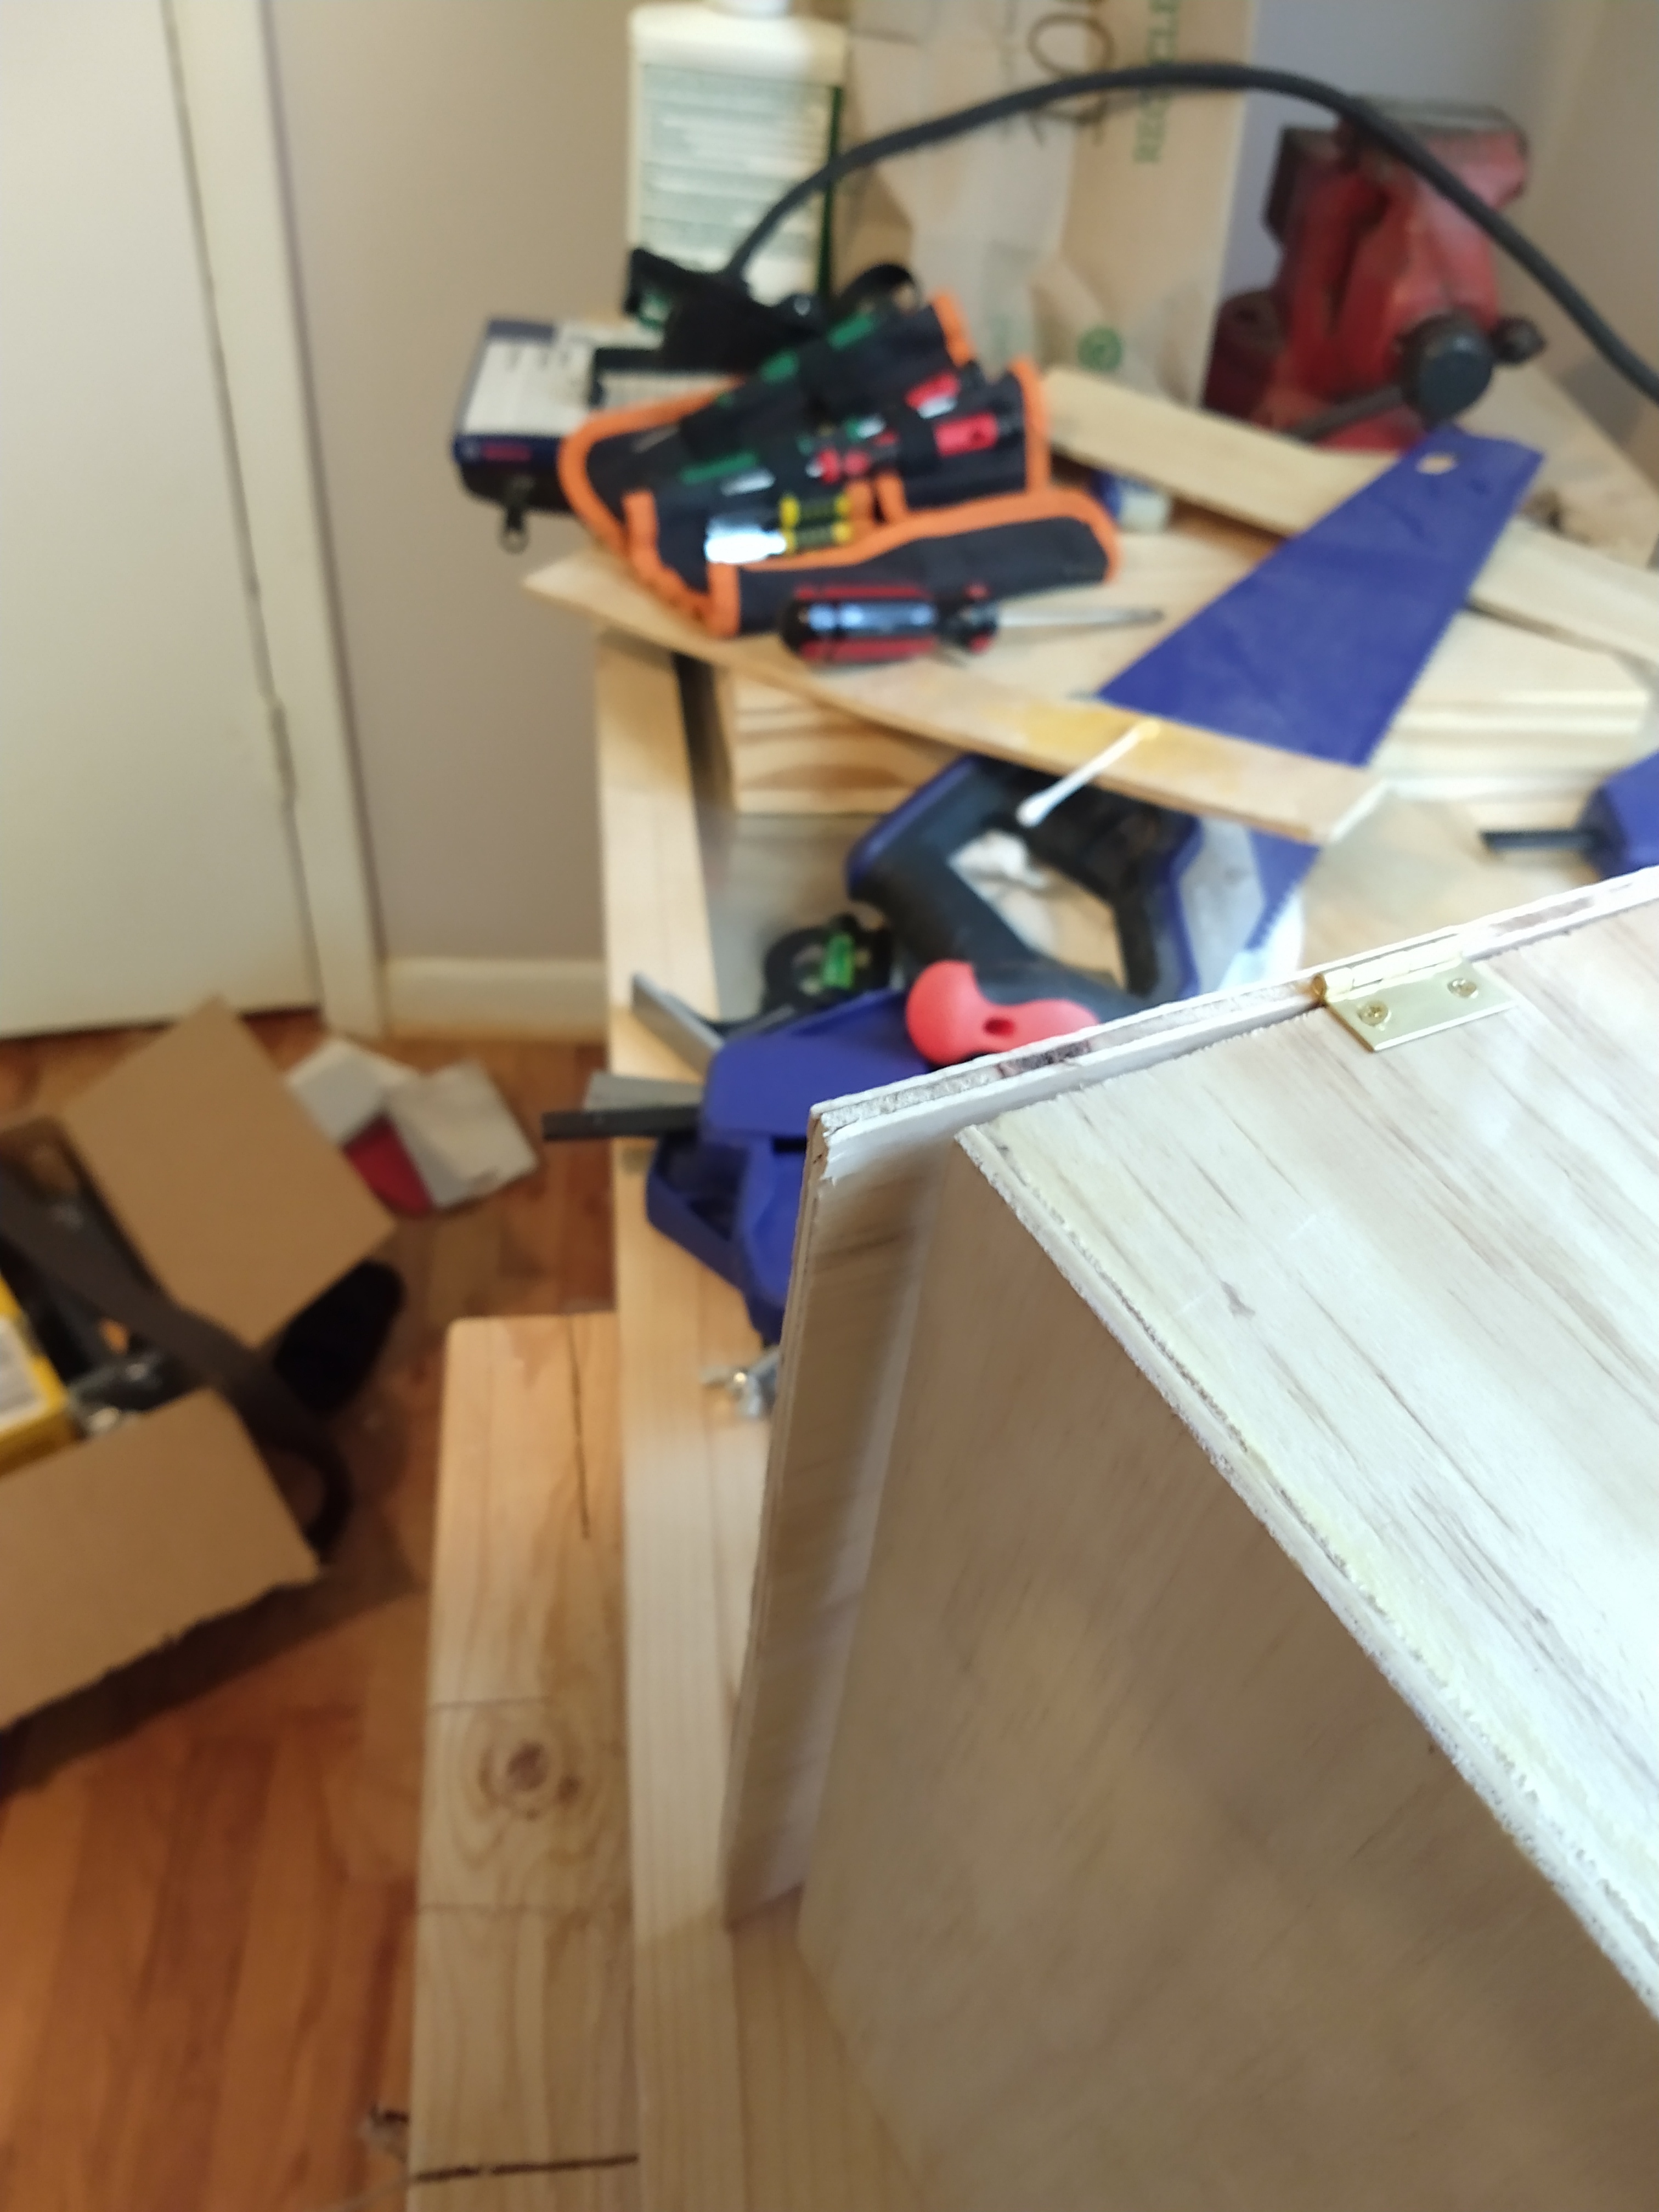
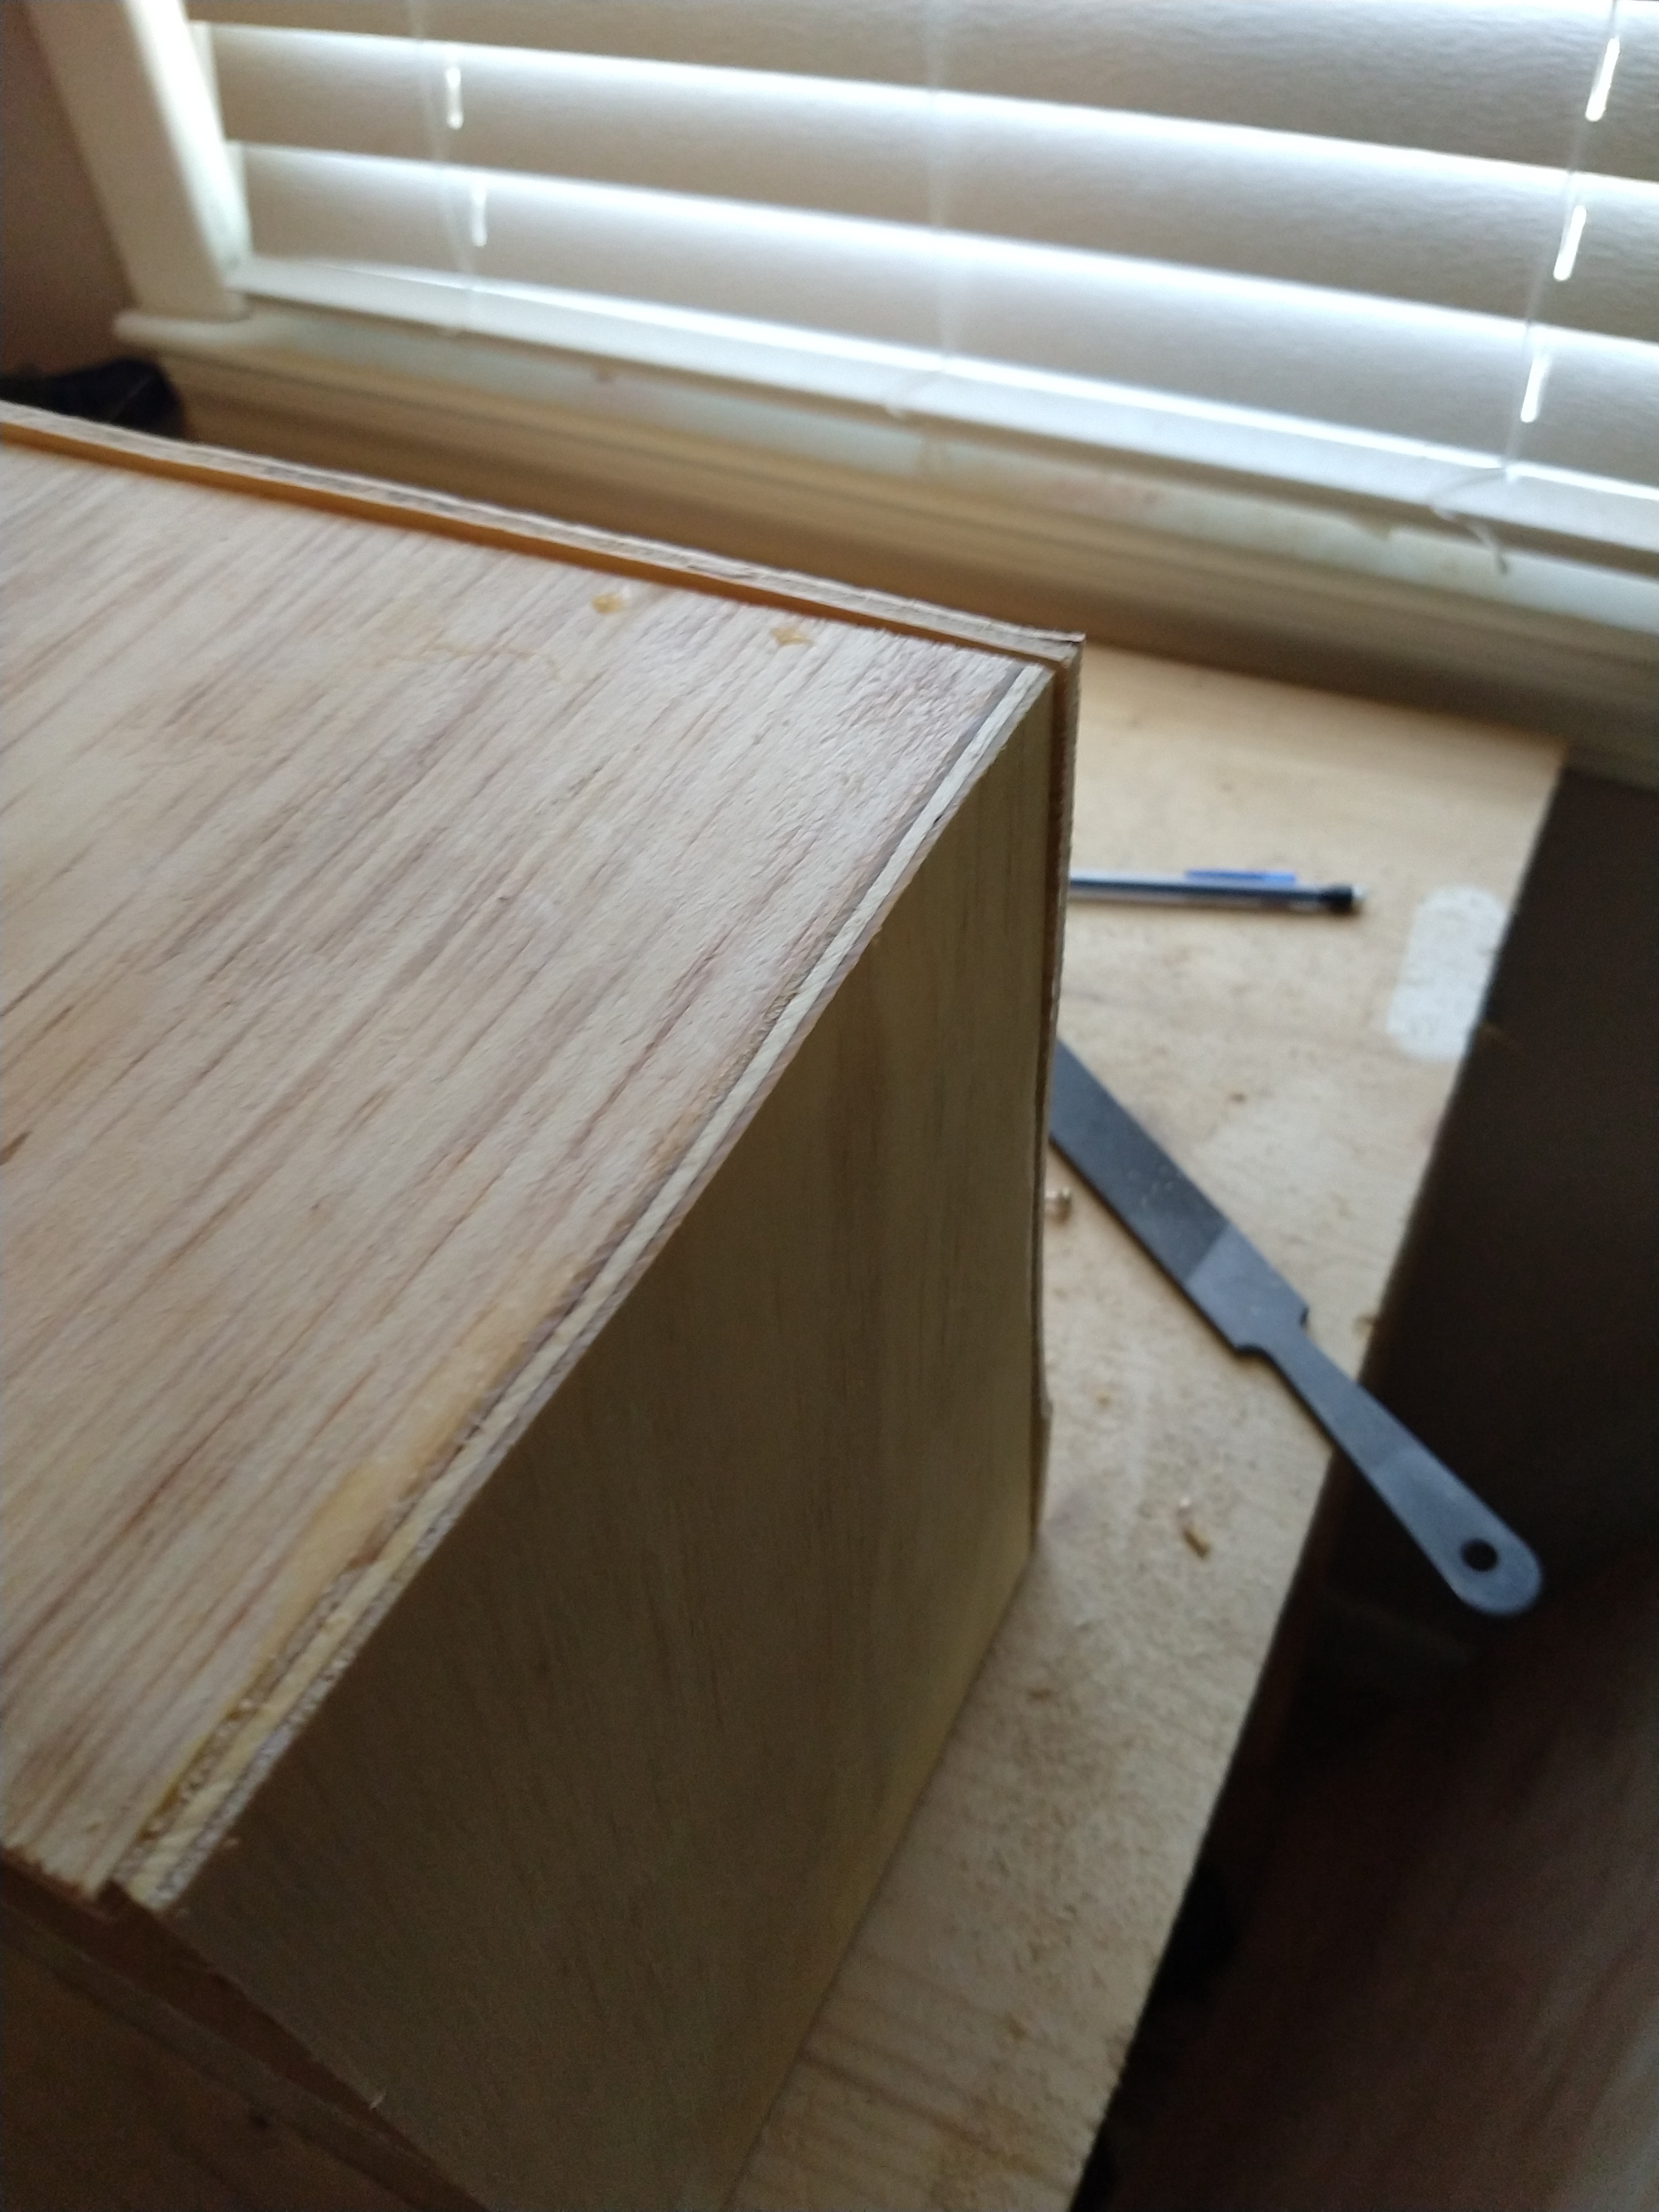
It's easy when you're working with scraps to make a mistake. I cut my back board and several other boards too wide. This is an easy fix, simply grab your saw and line it up so that most of it follows the edge and use that edge as your guide and cut the wood flush.
The Locking D Rings
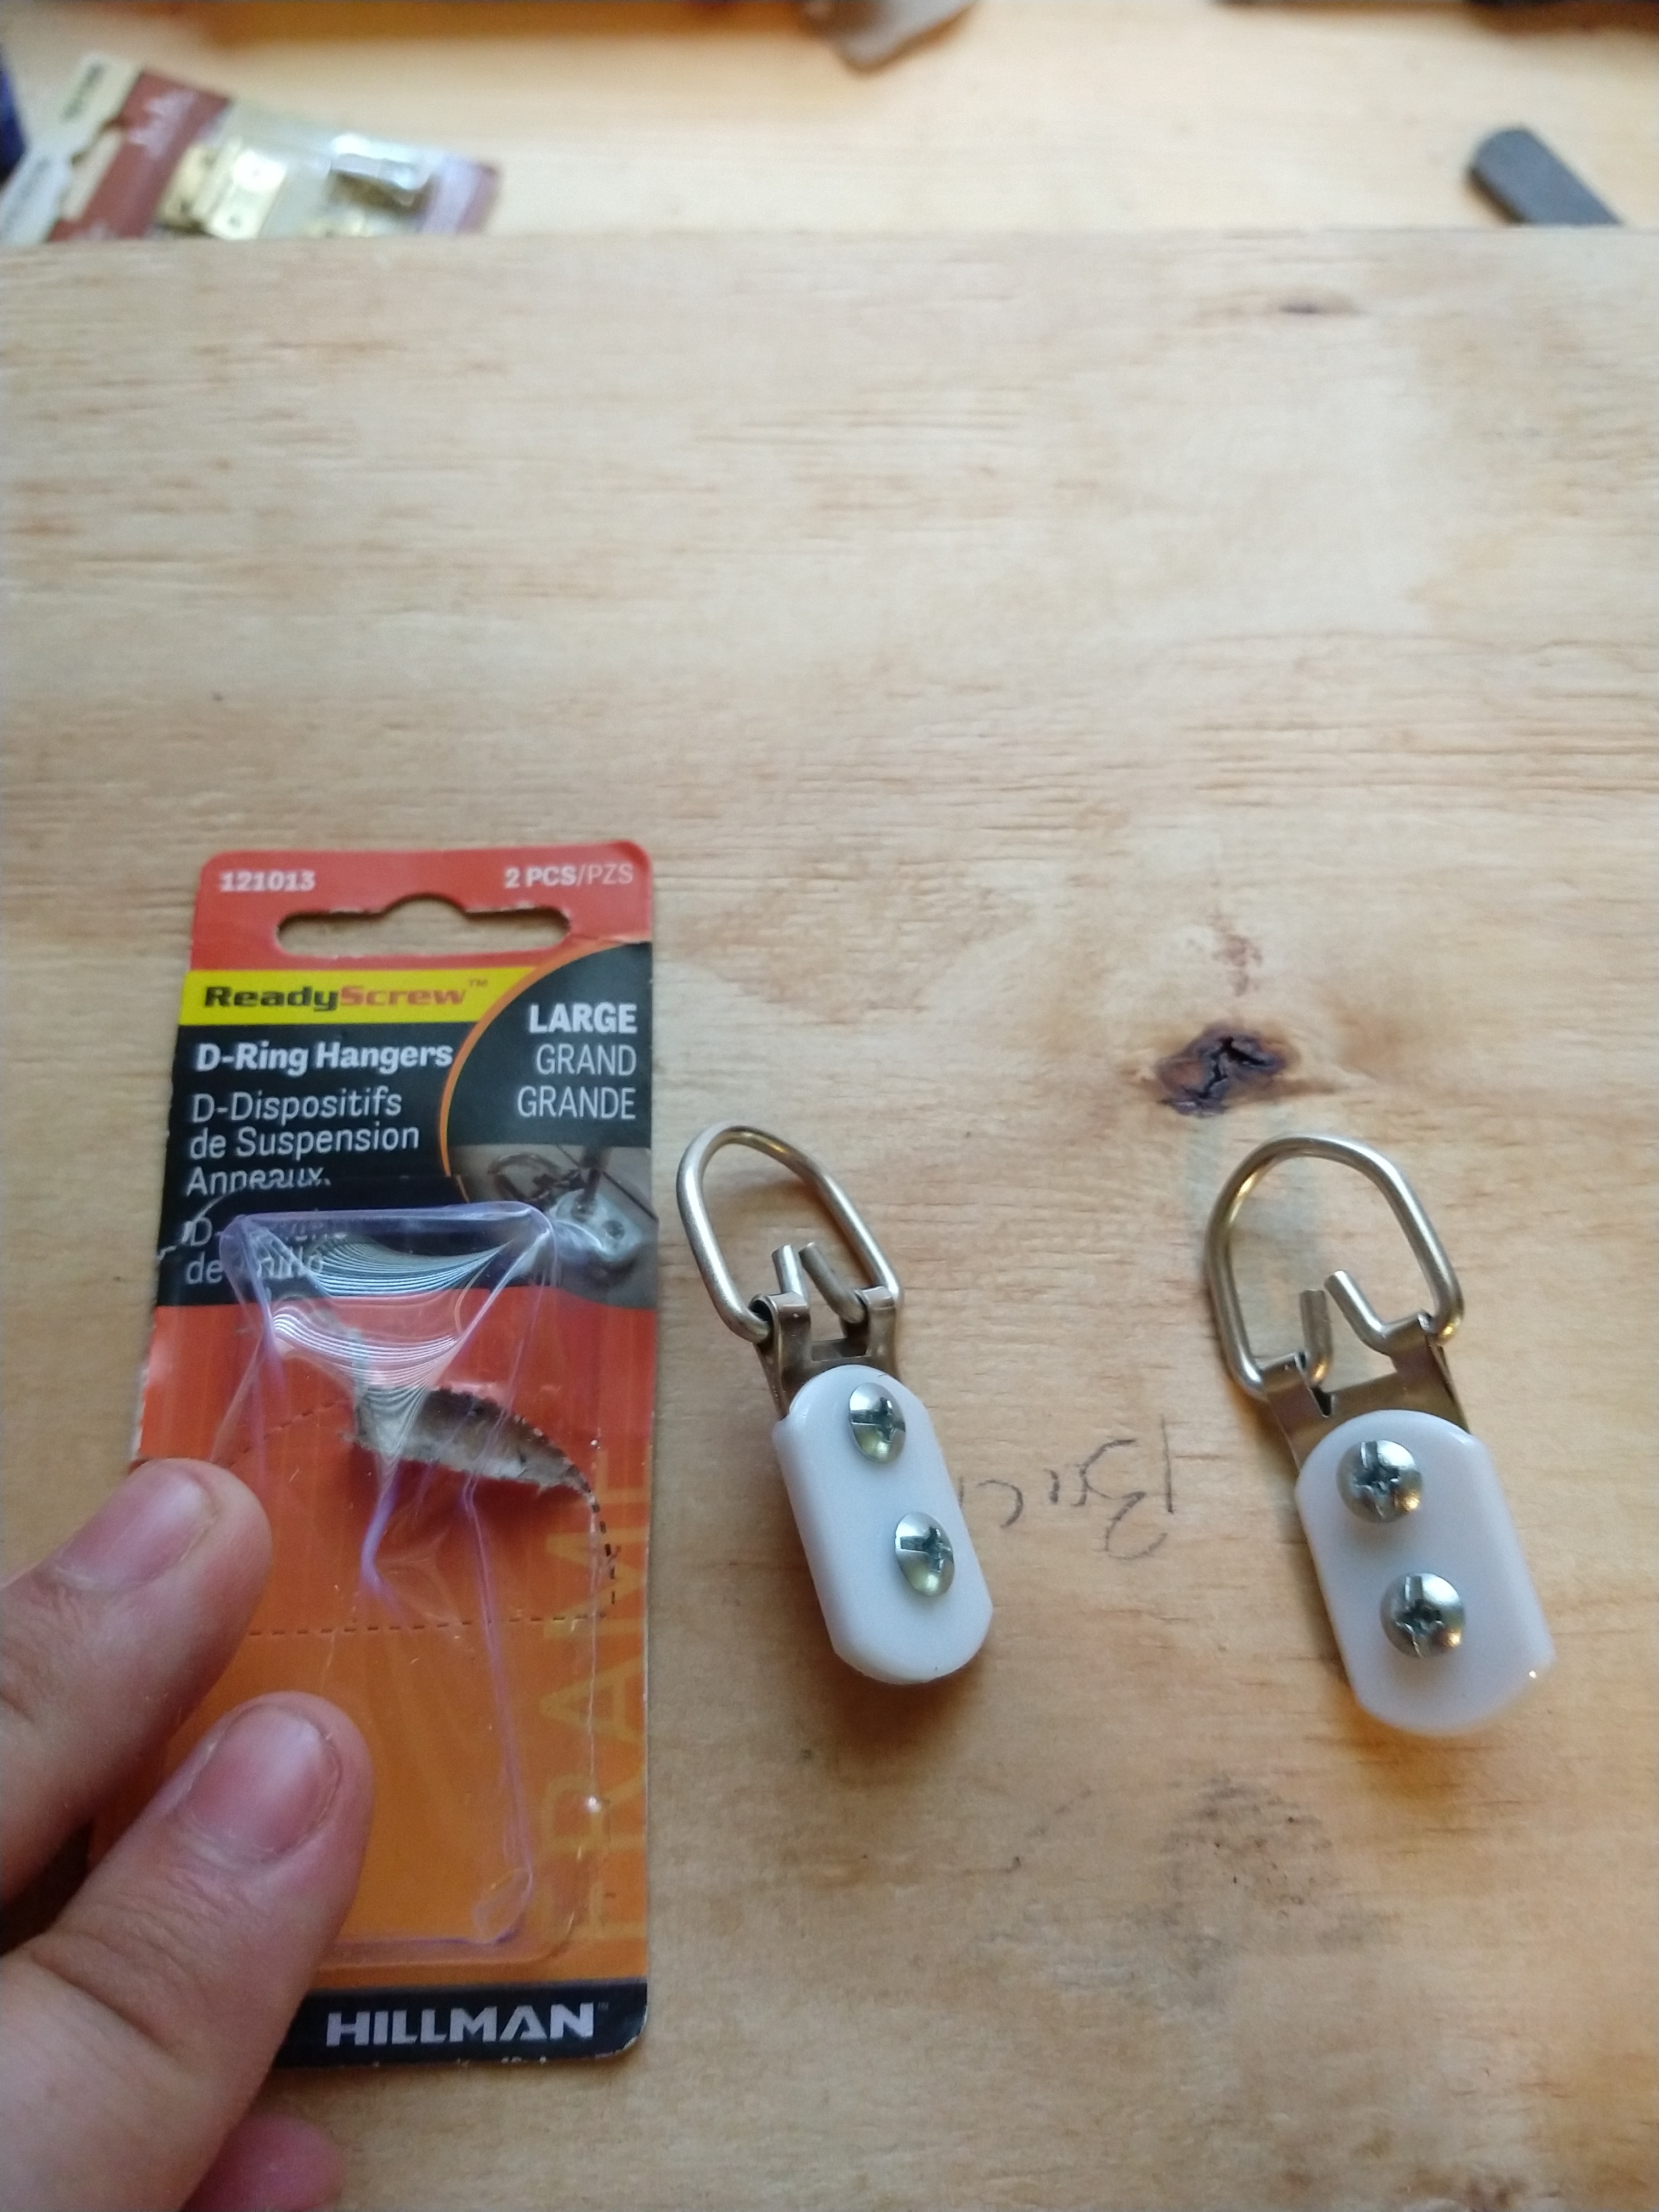
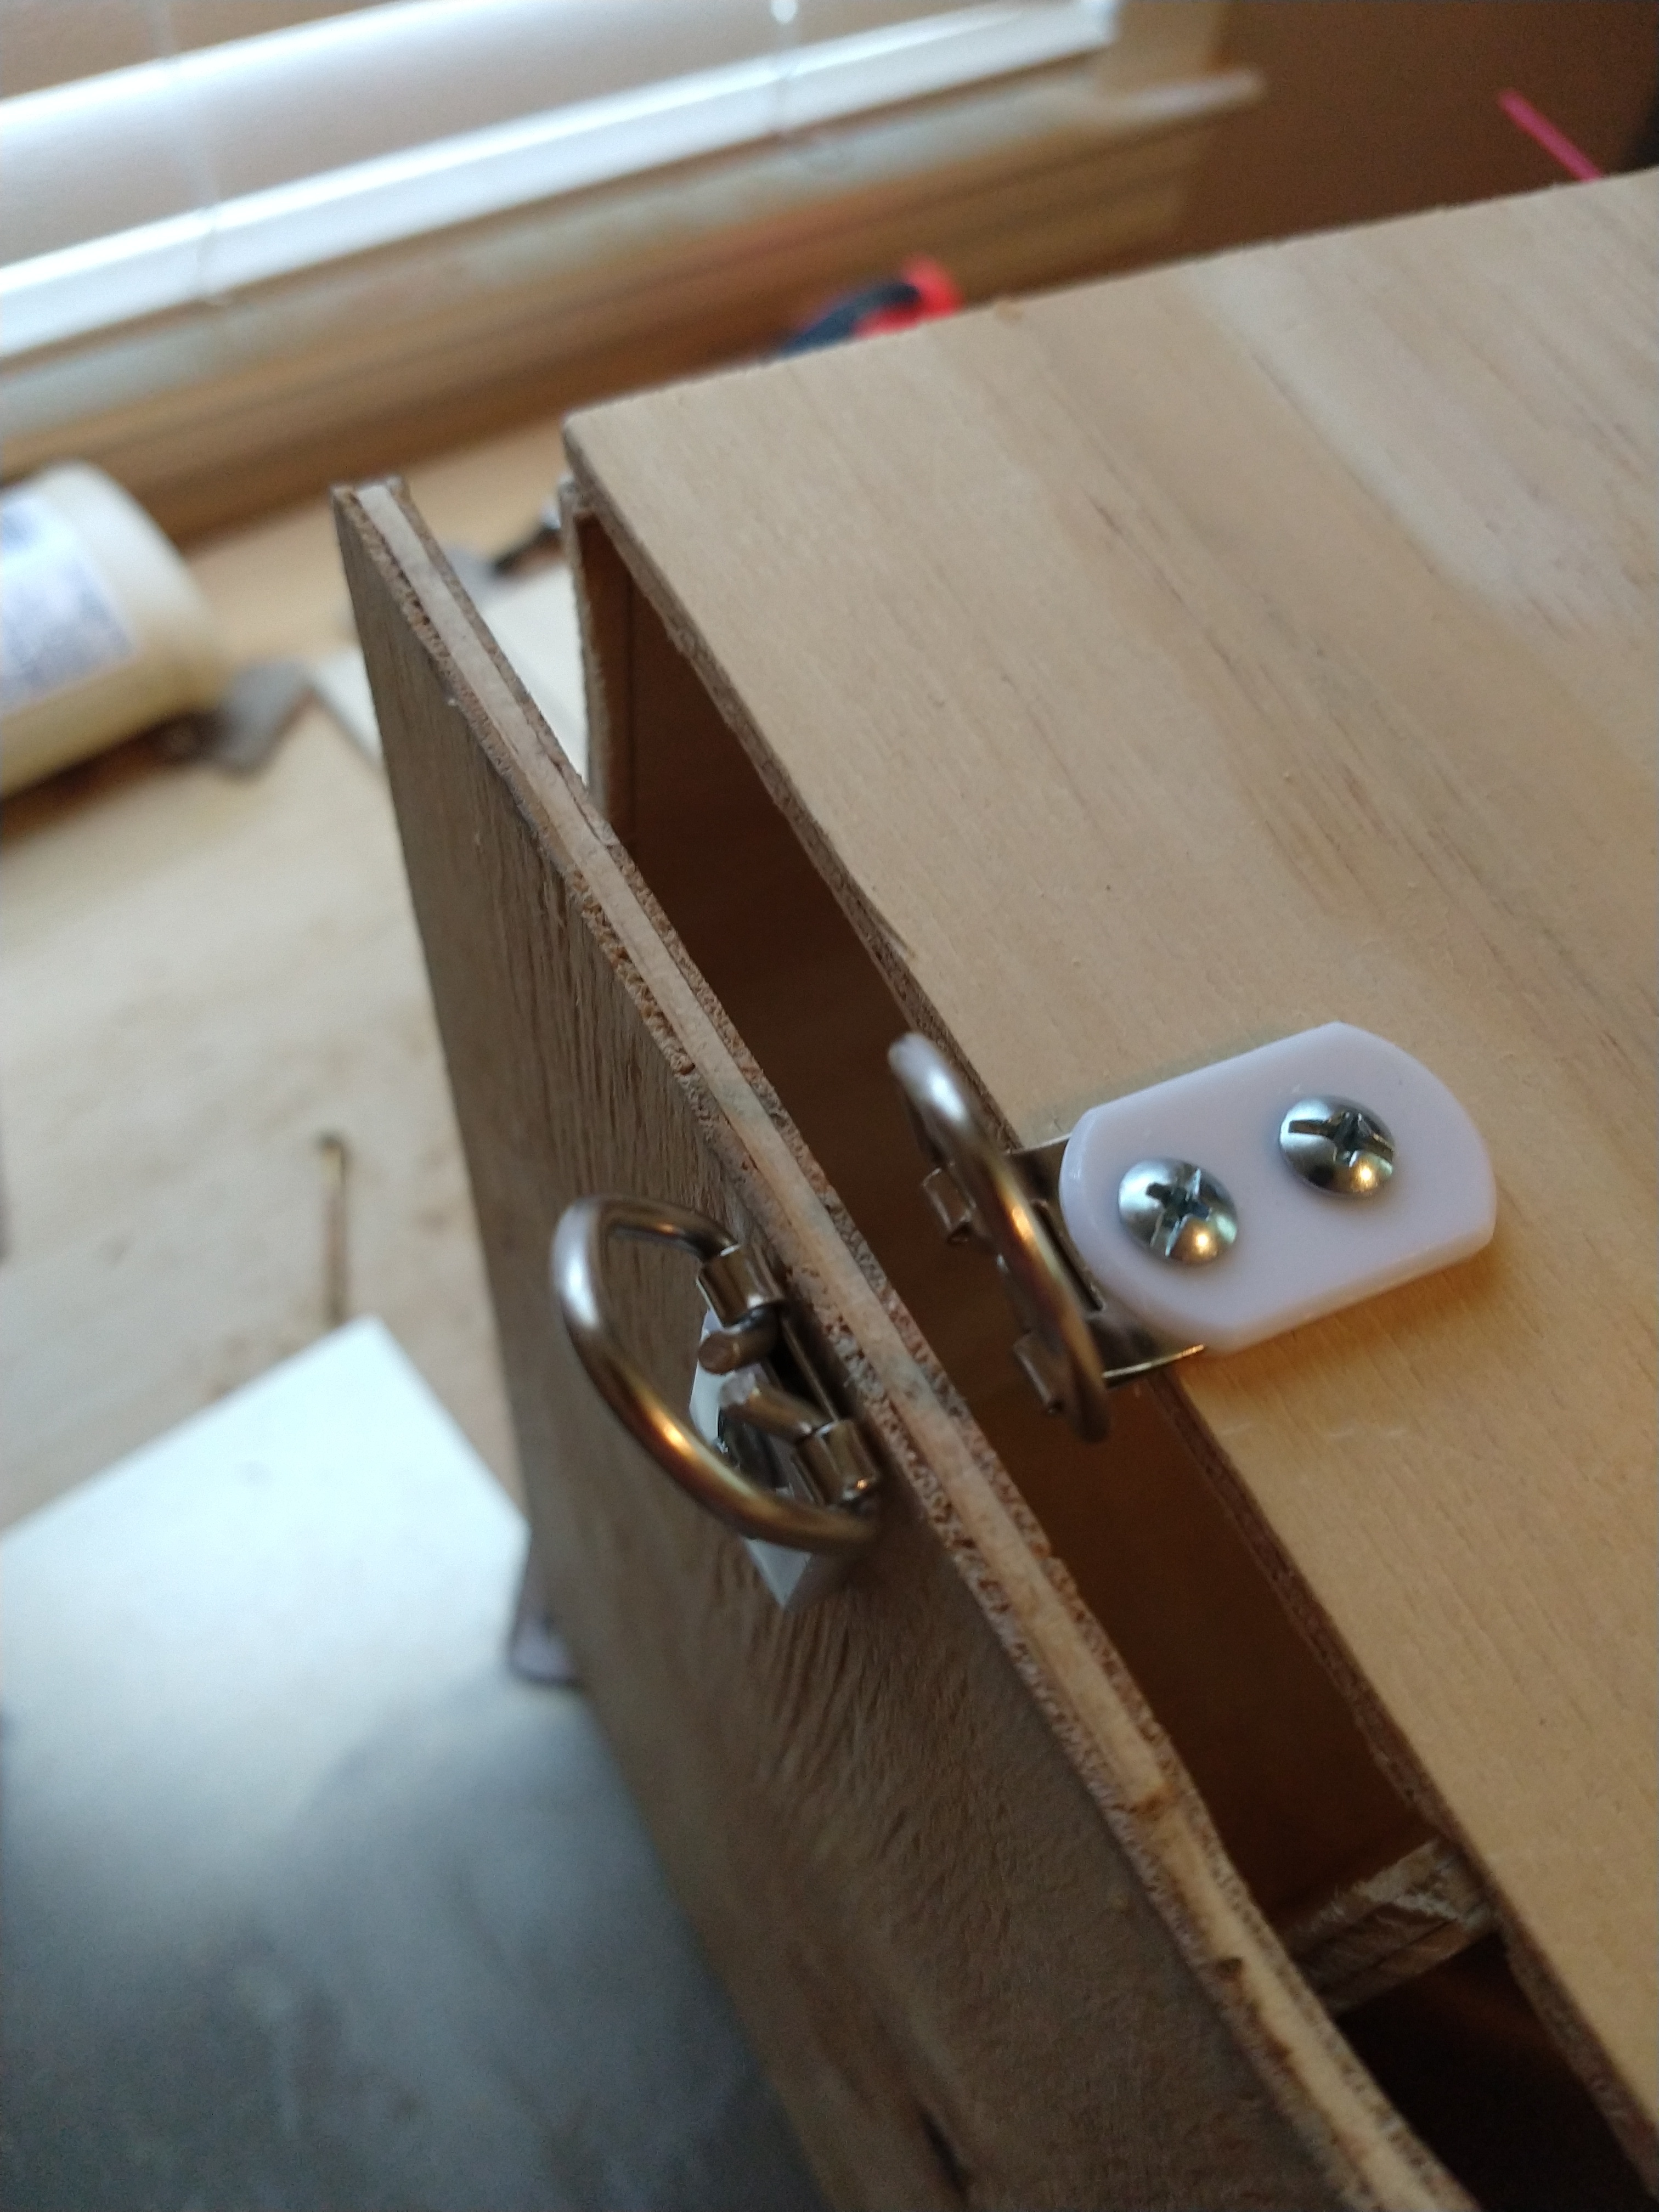
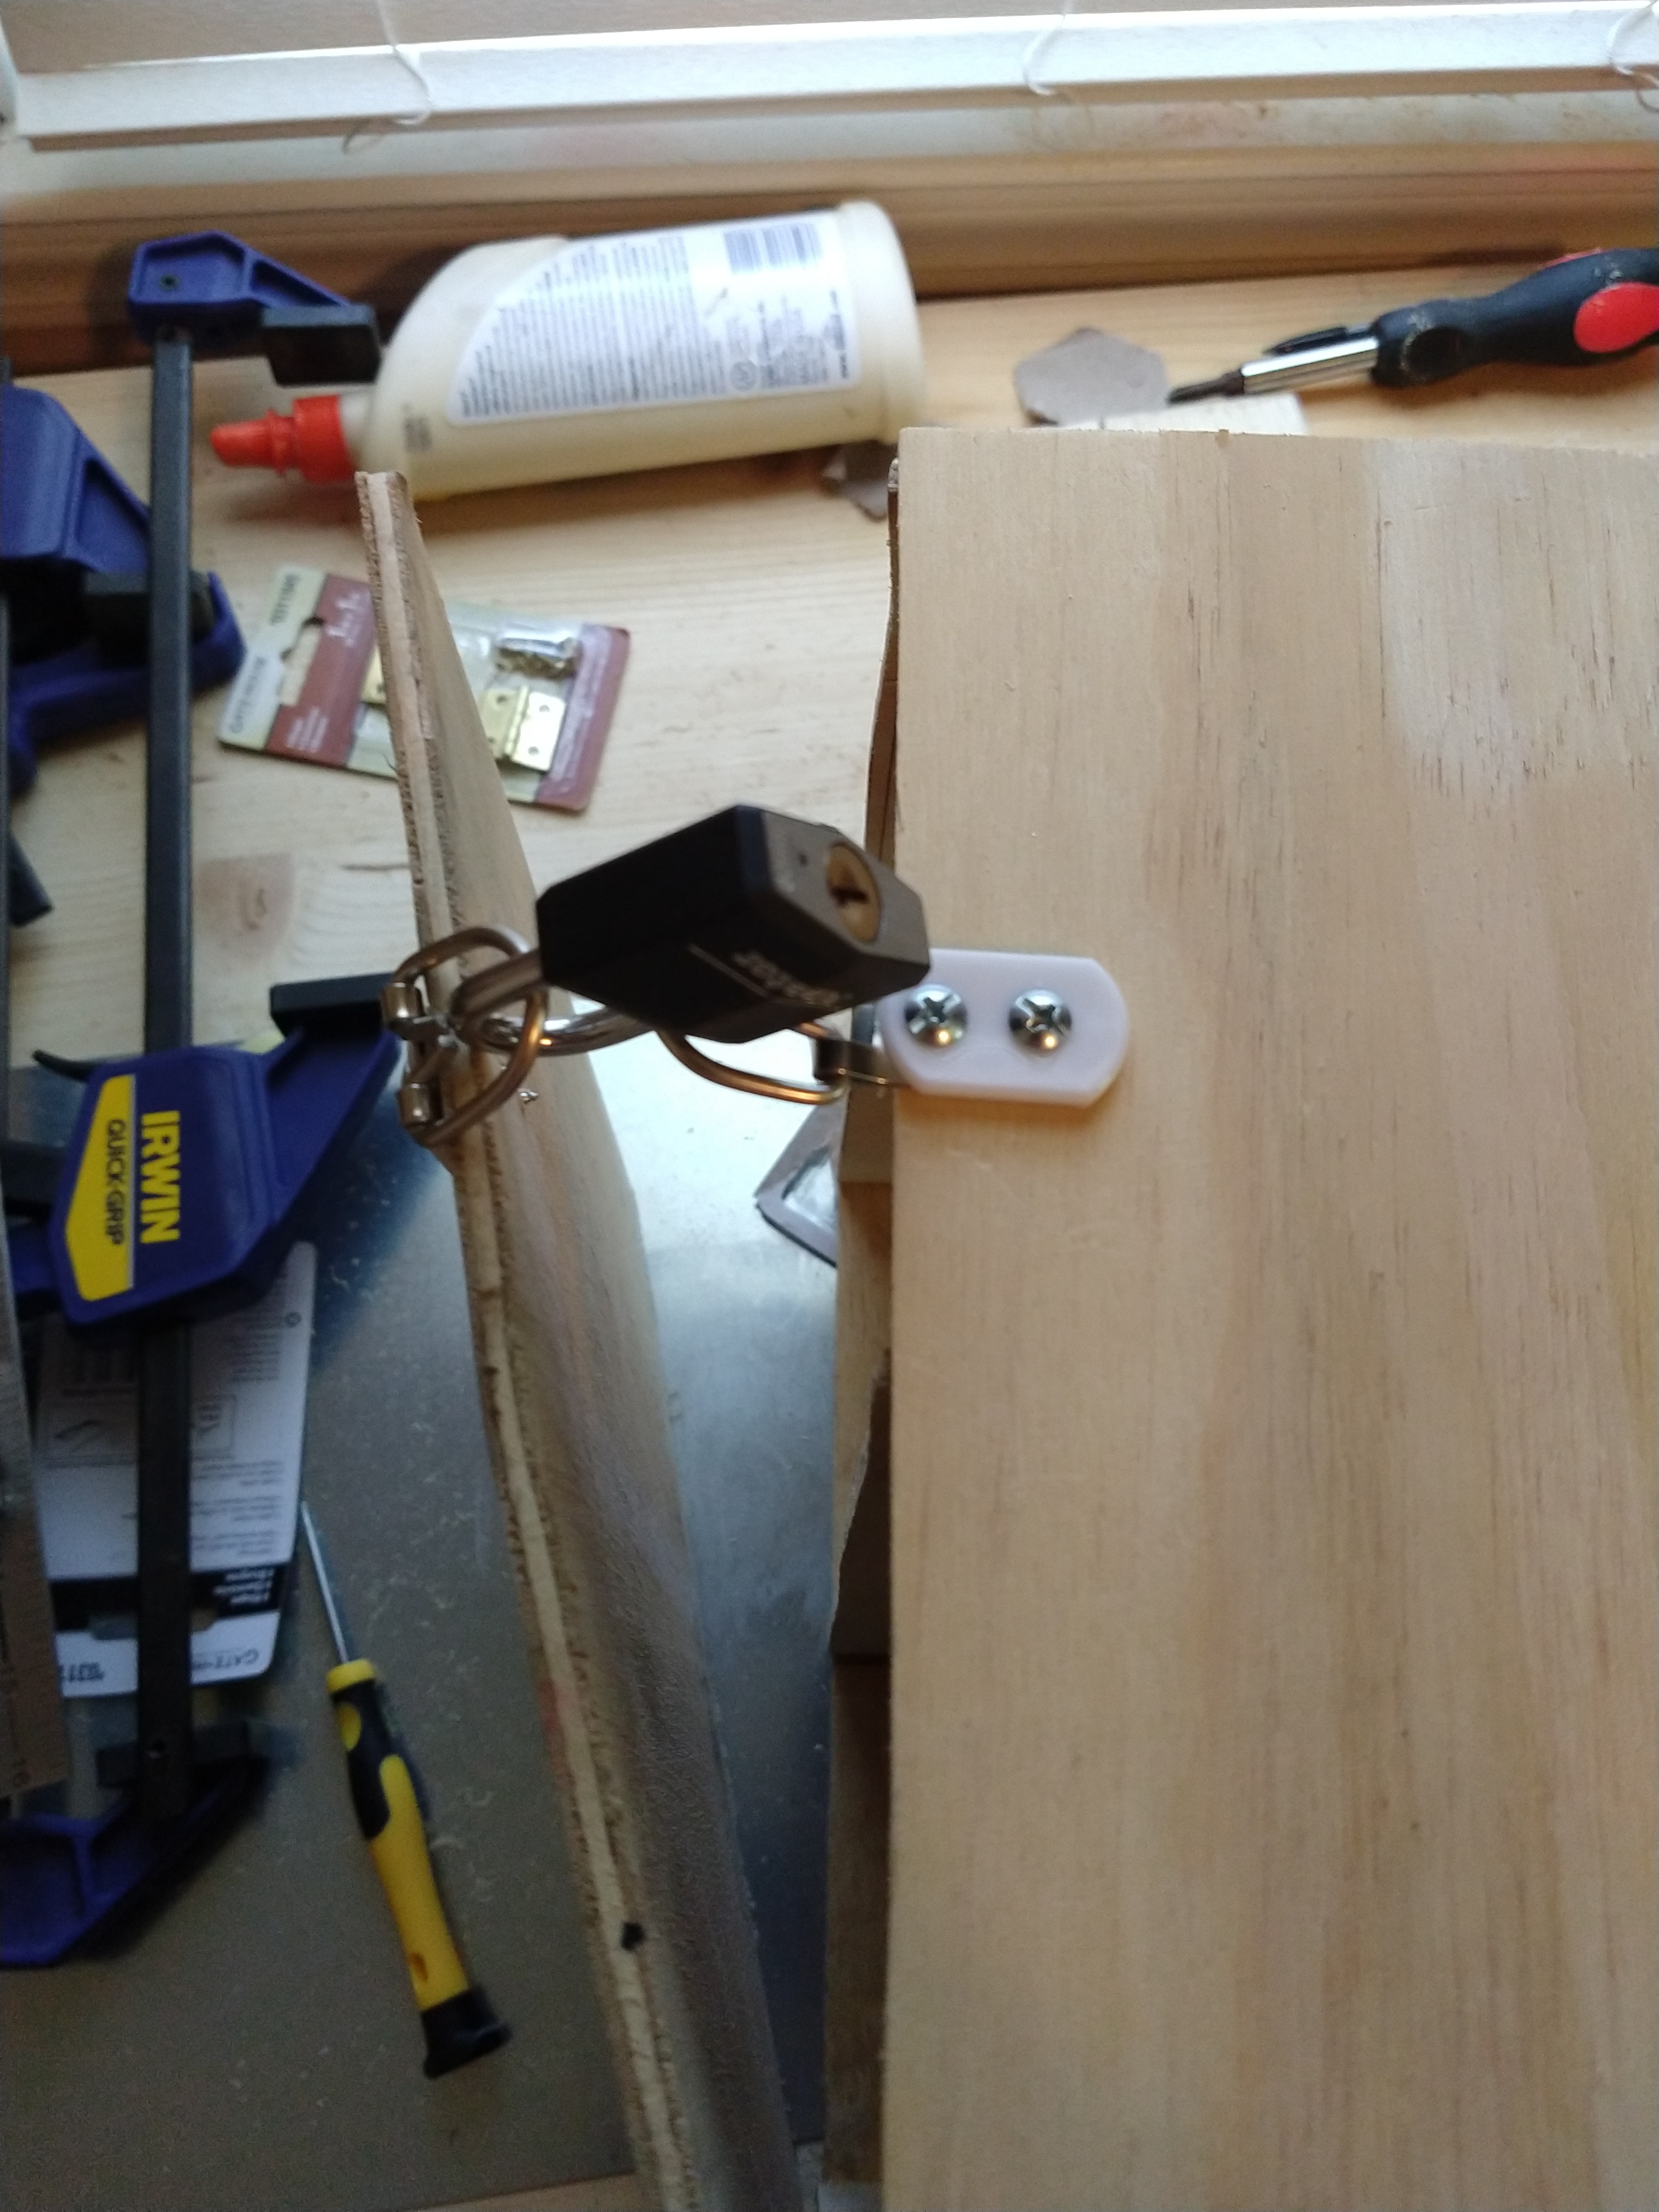
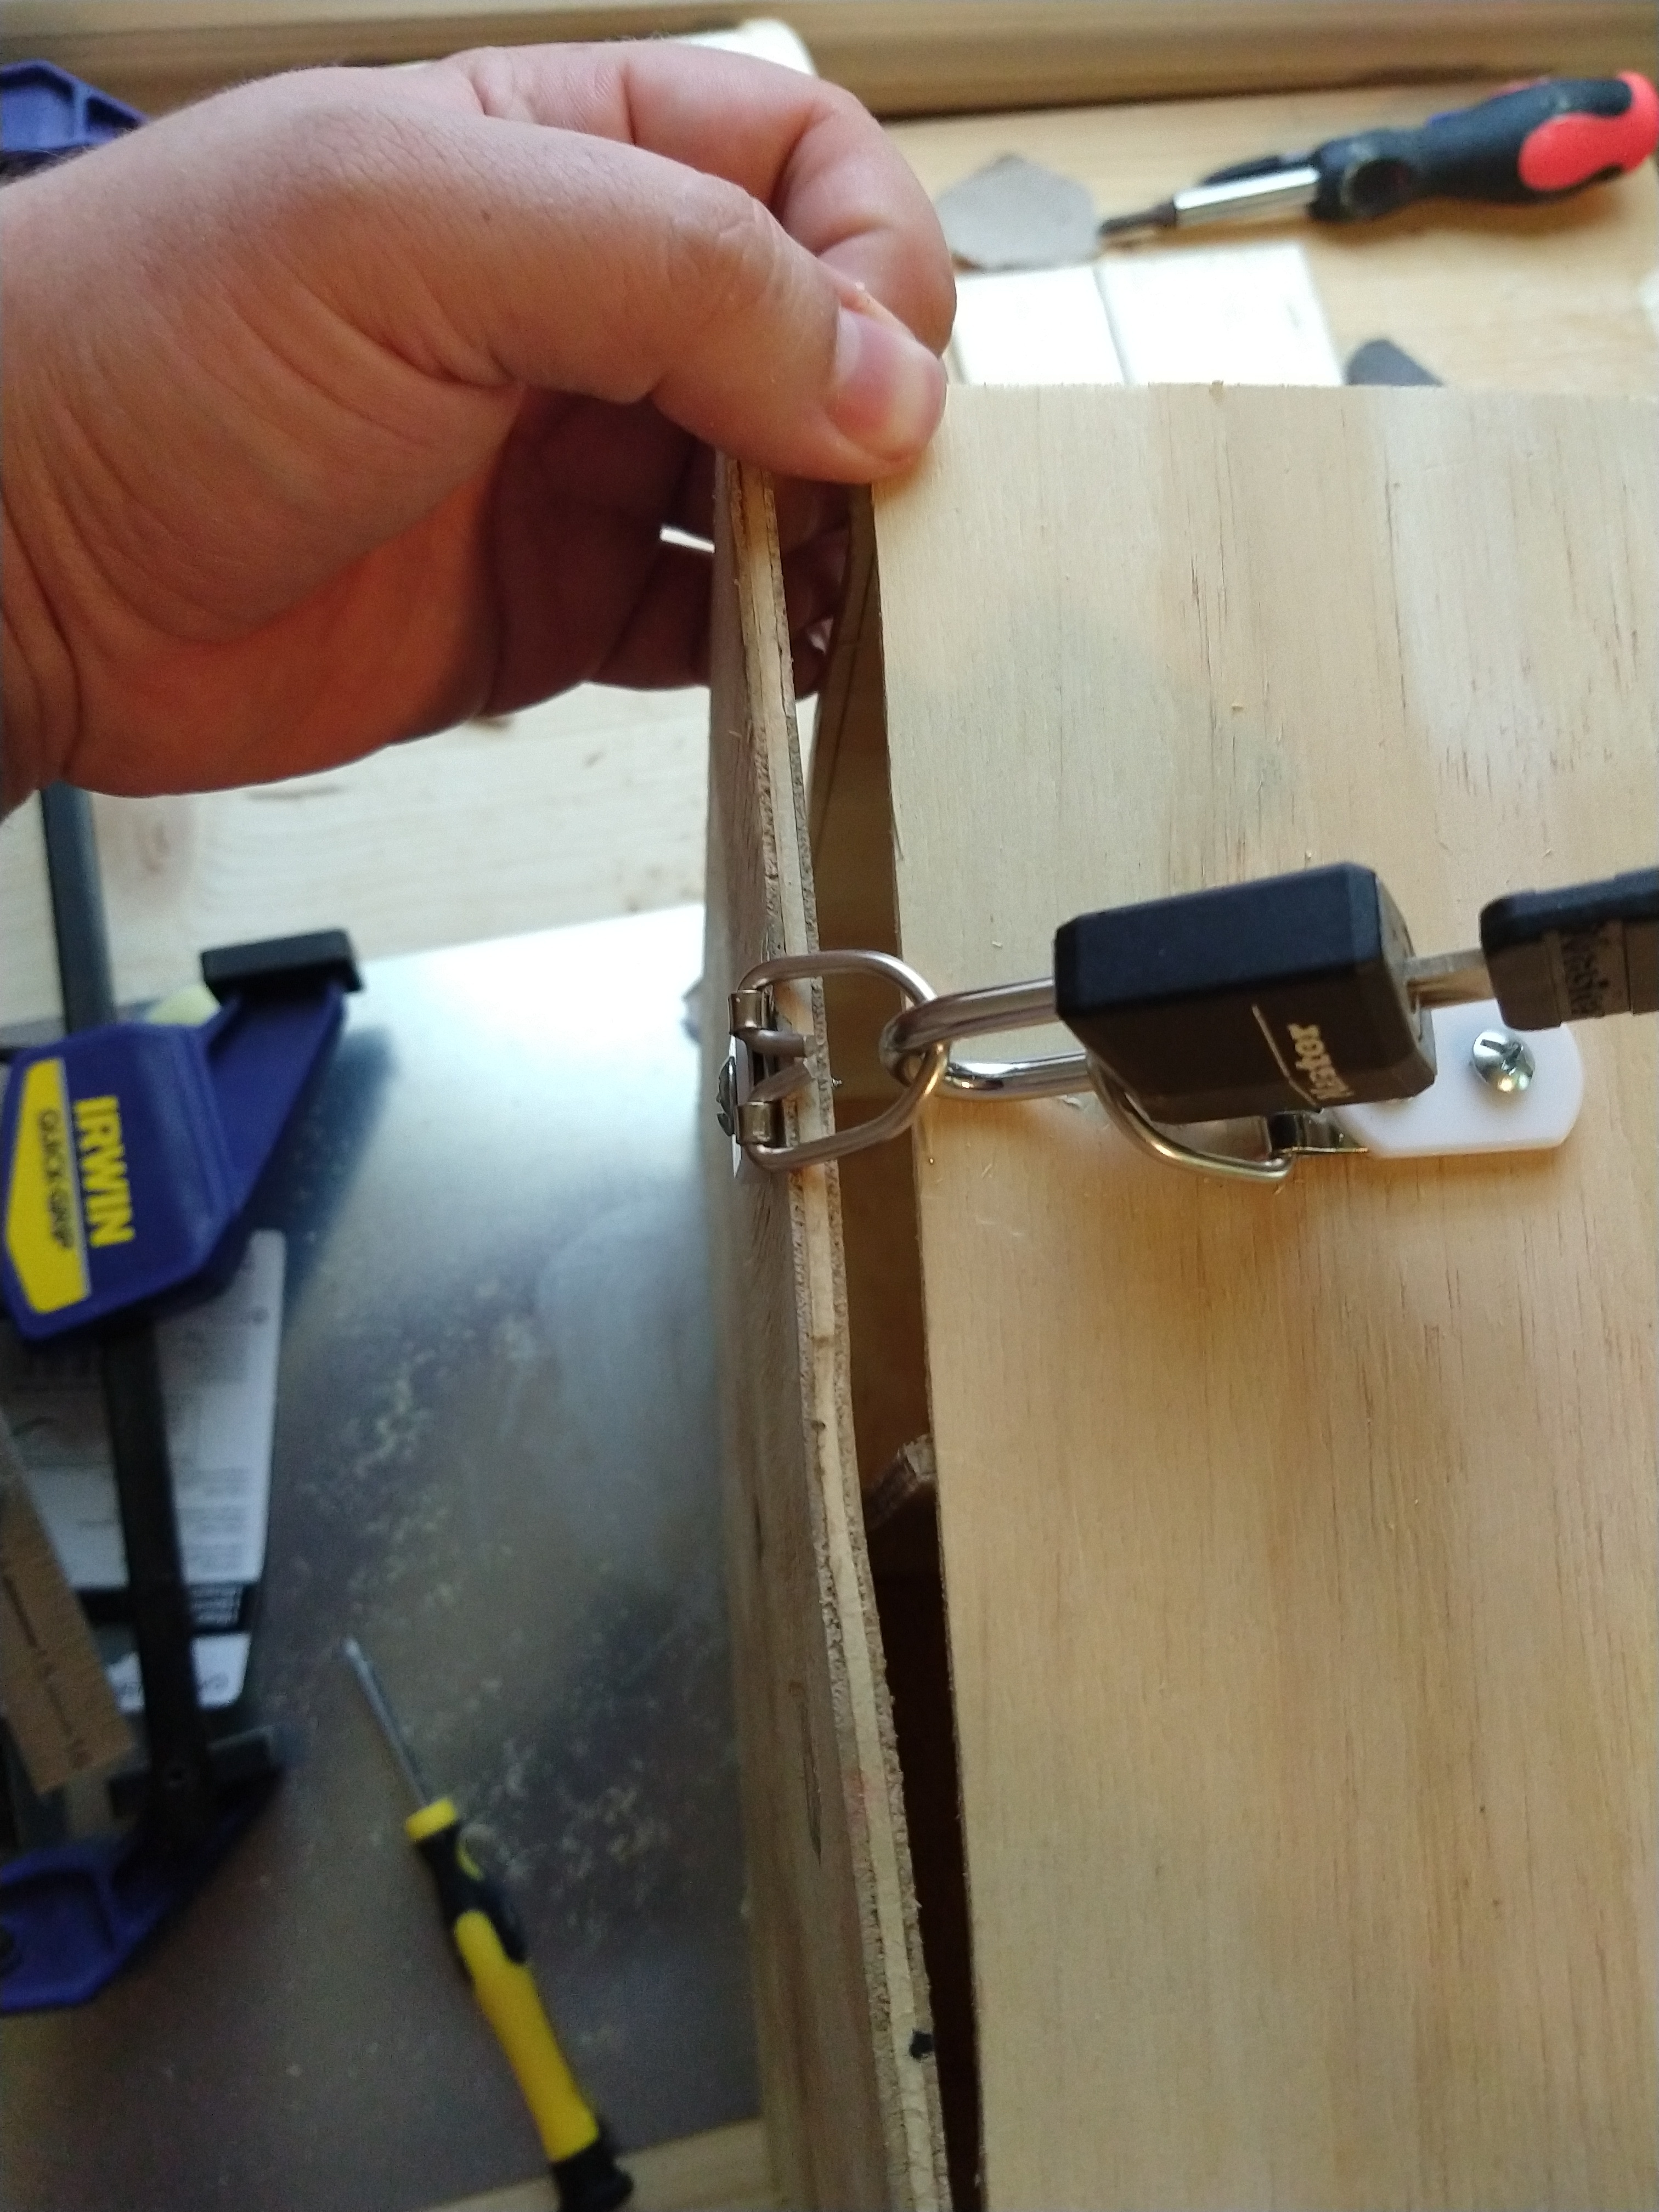
Its important that people can have some privacy when submitting letters so I've added a lock. Make sure to screw the D rings to an area that doesn't screw the back flap shut and doesn't screw into the middle board.
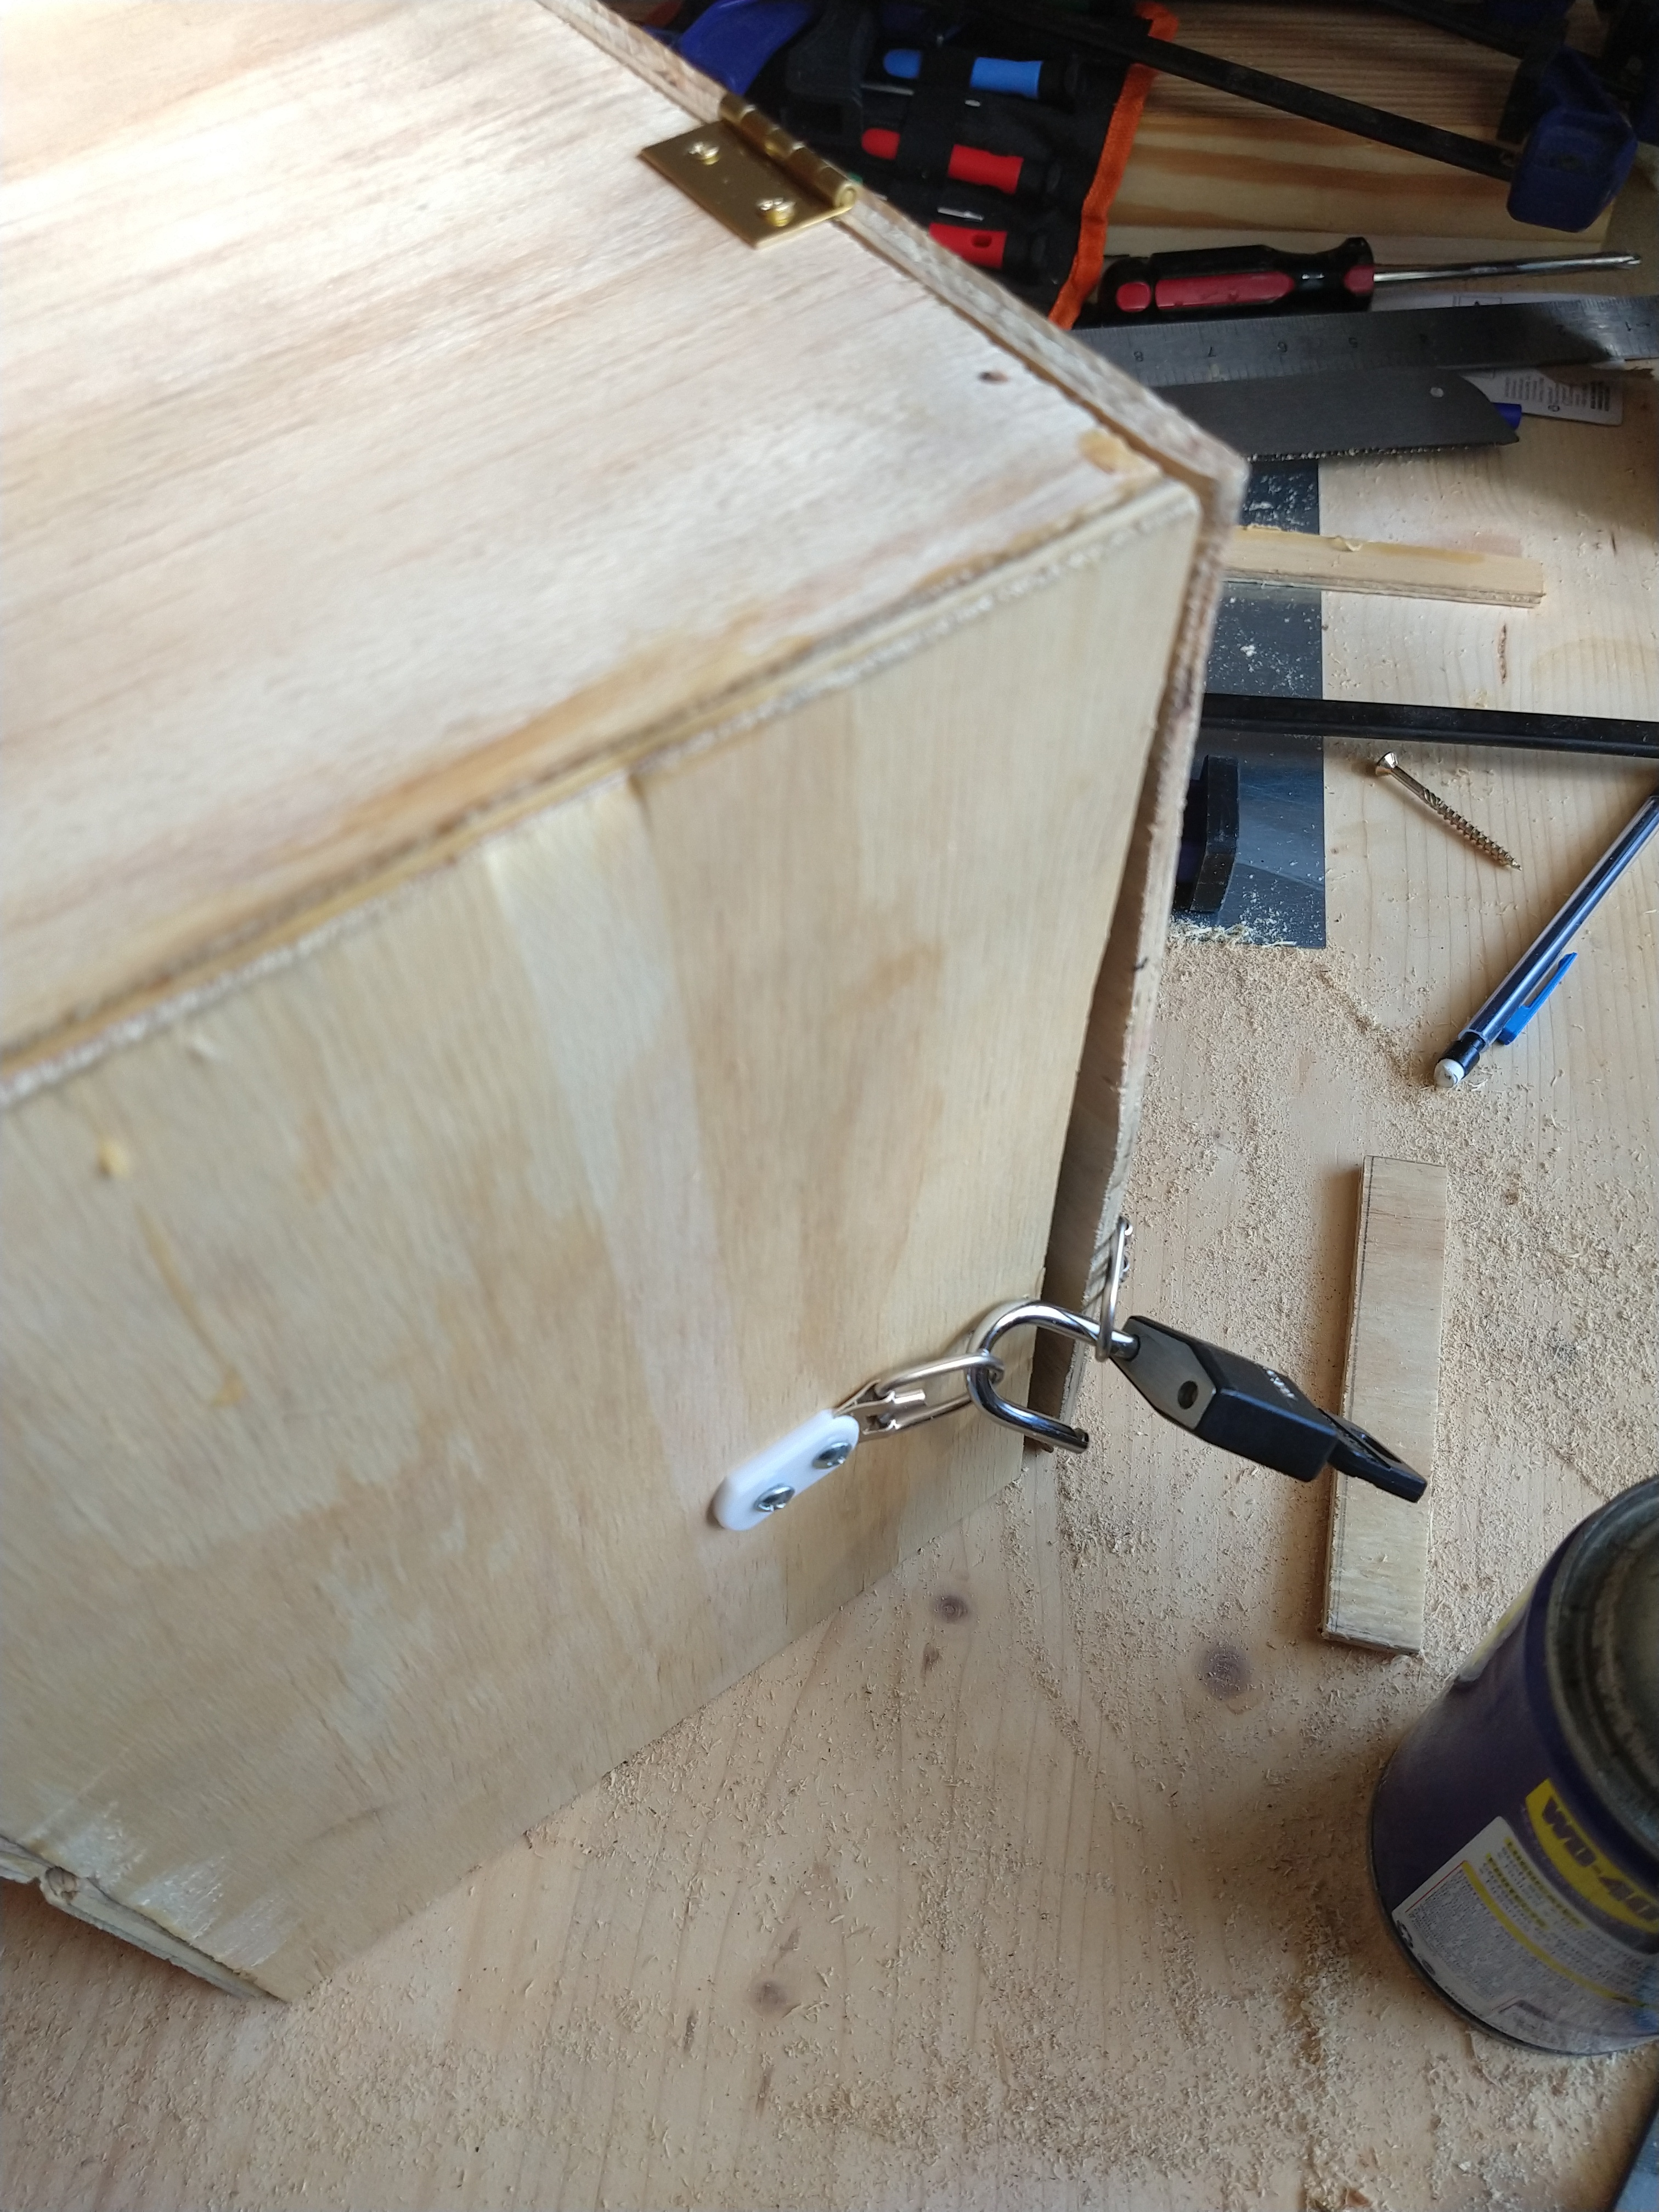
Screw in one of the D rings first and grab your lock. Grab the second D ring and run the lock through both and pull the second D ring until the lock can move just barely and back door is shut. This is where you need to screw in the D ring.
I've provided visual examples of what happens if you screw them right next to each other and when they are appropriately apart.
The Top Flap
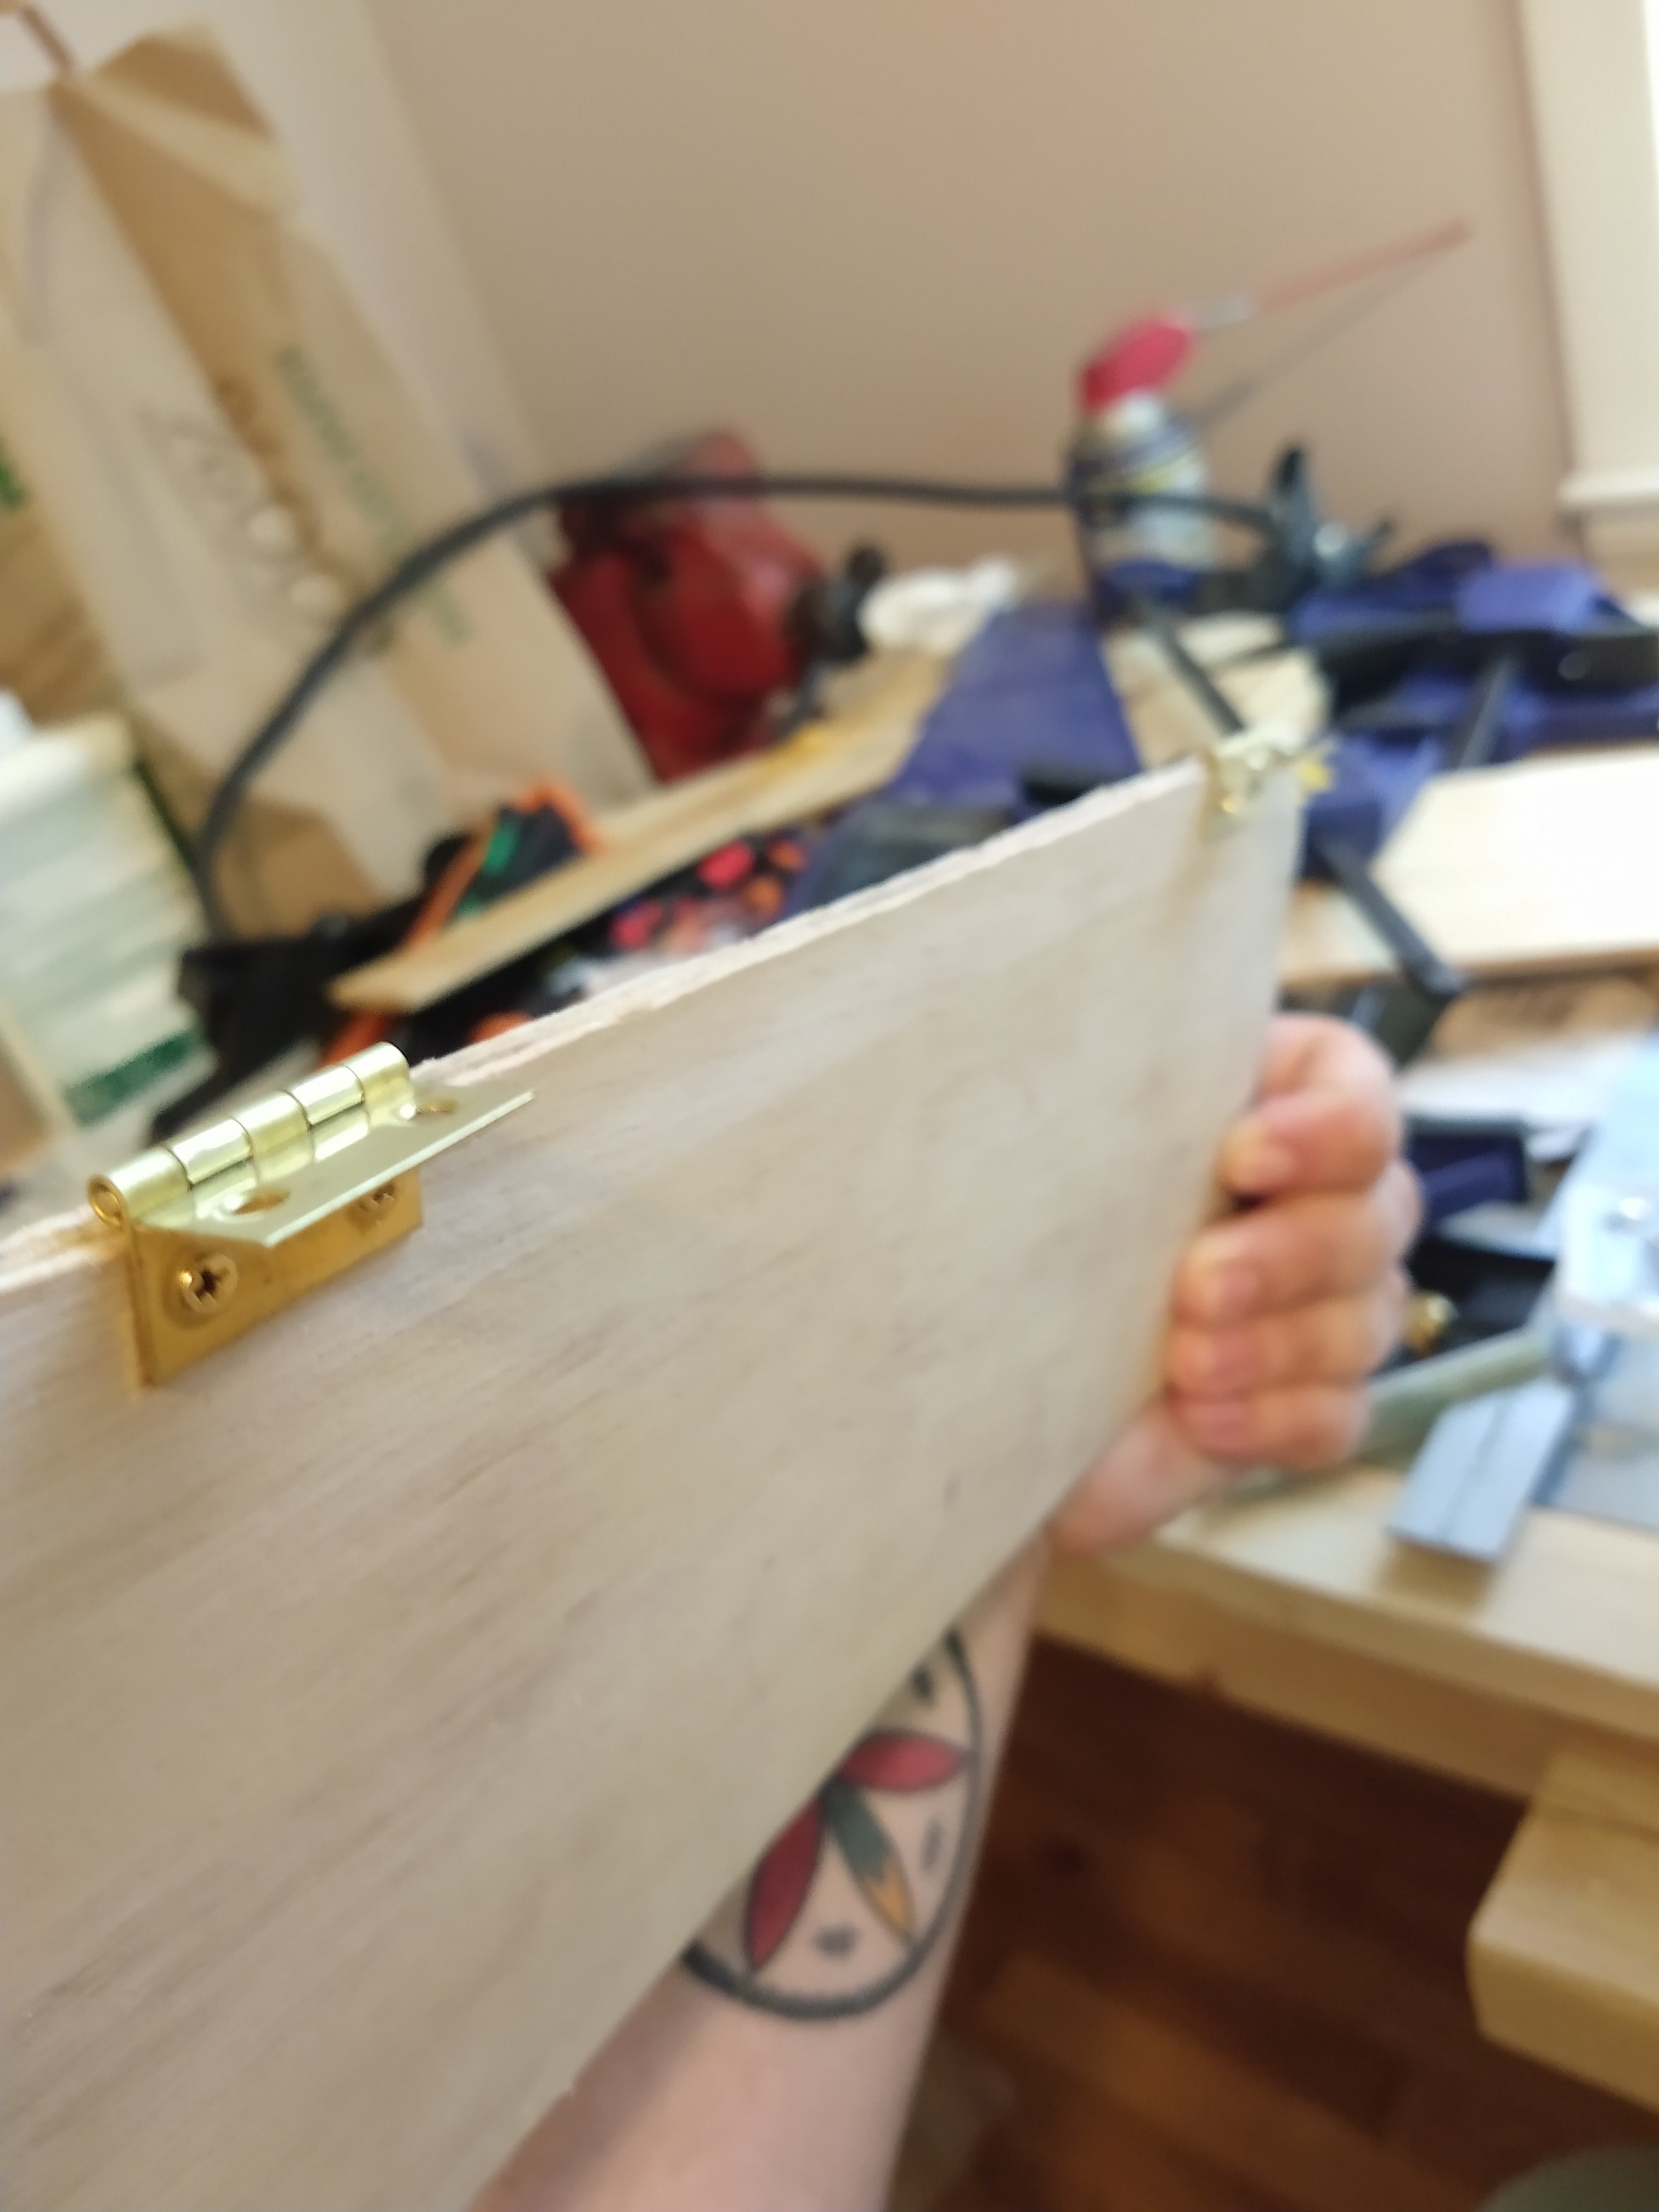
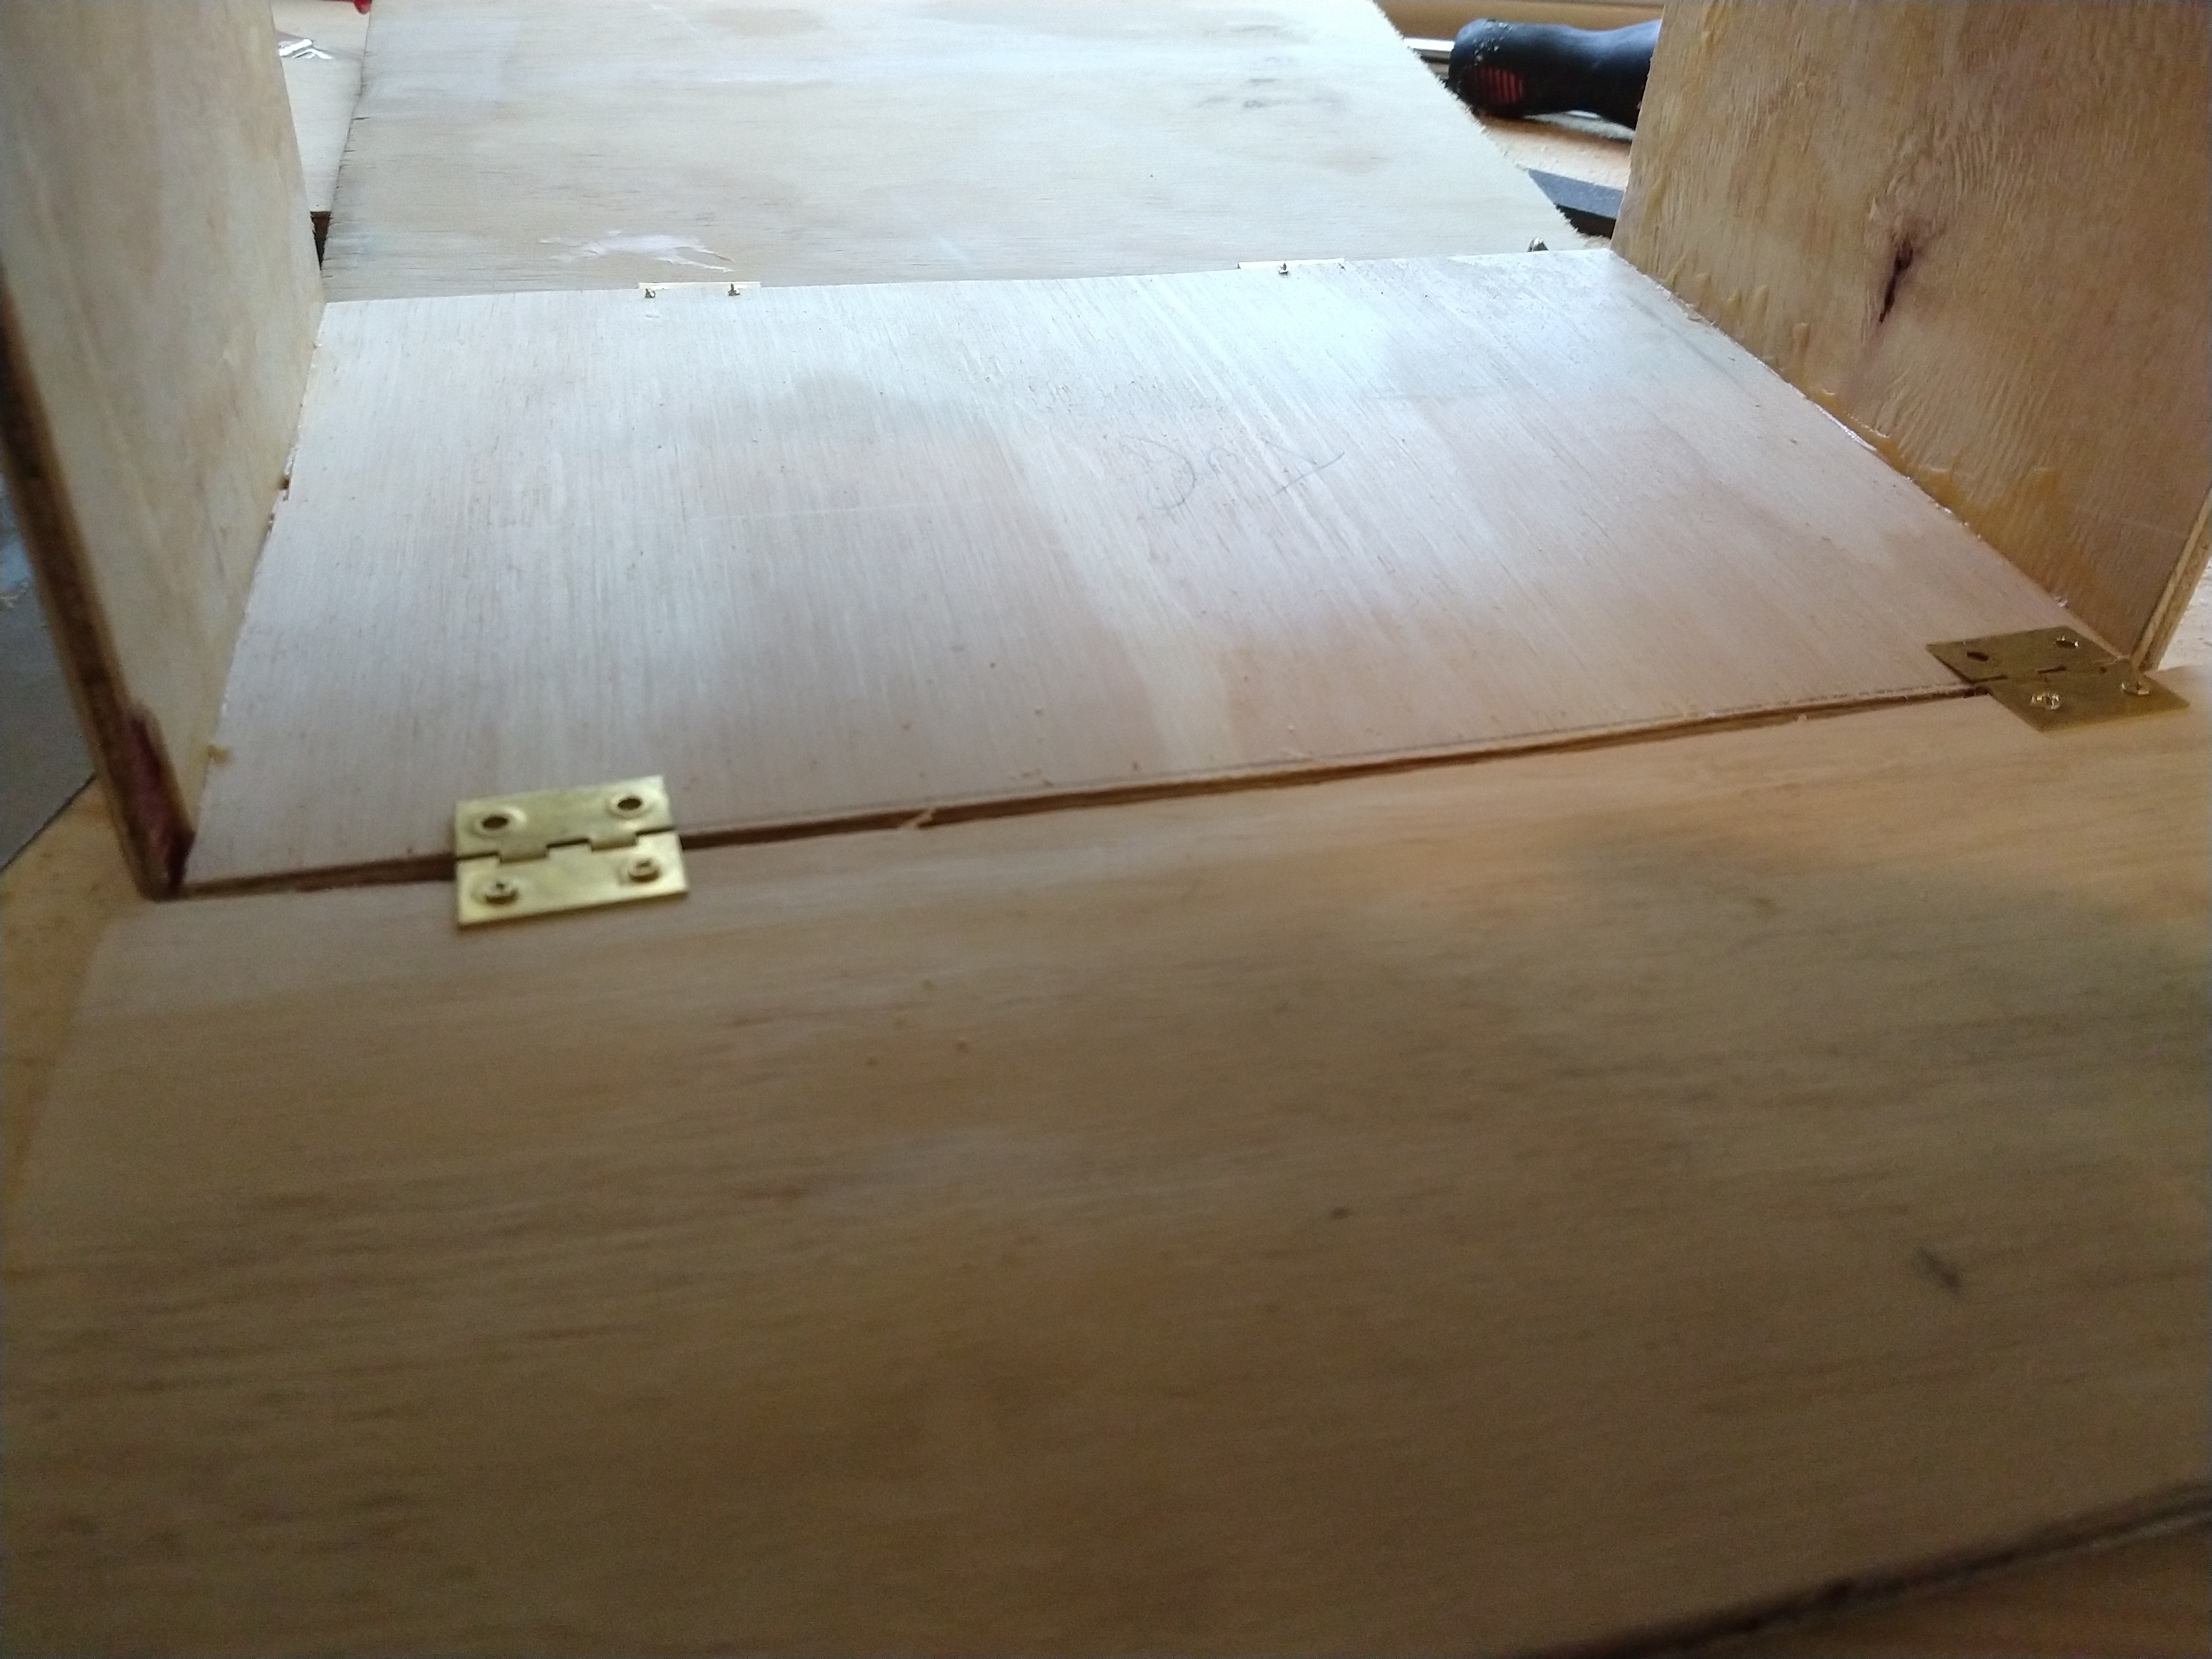
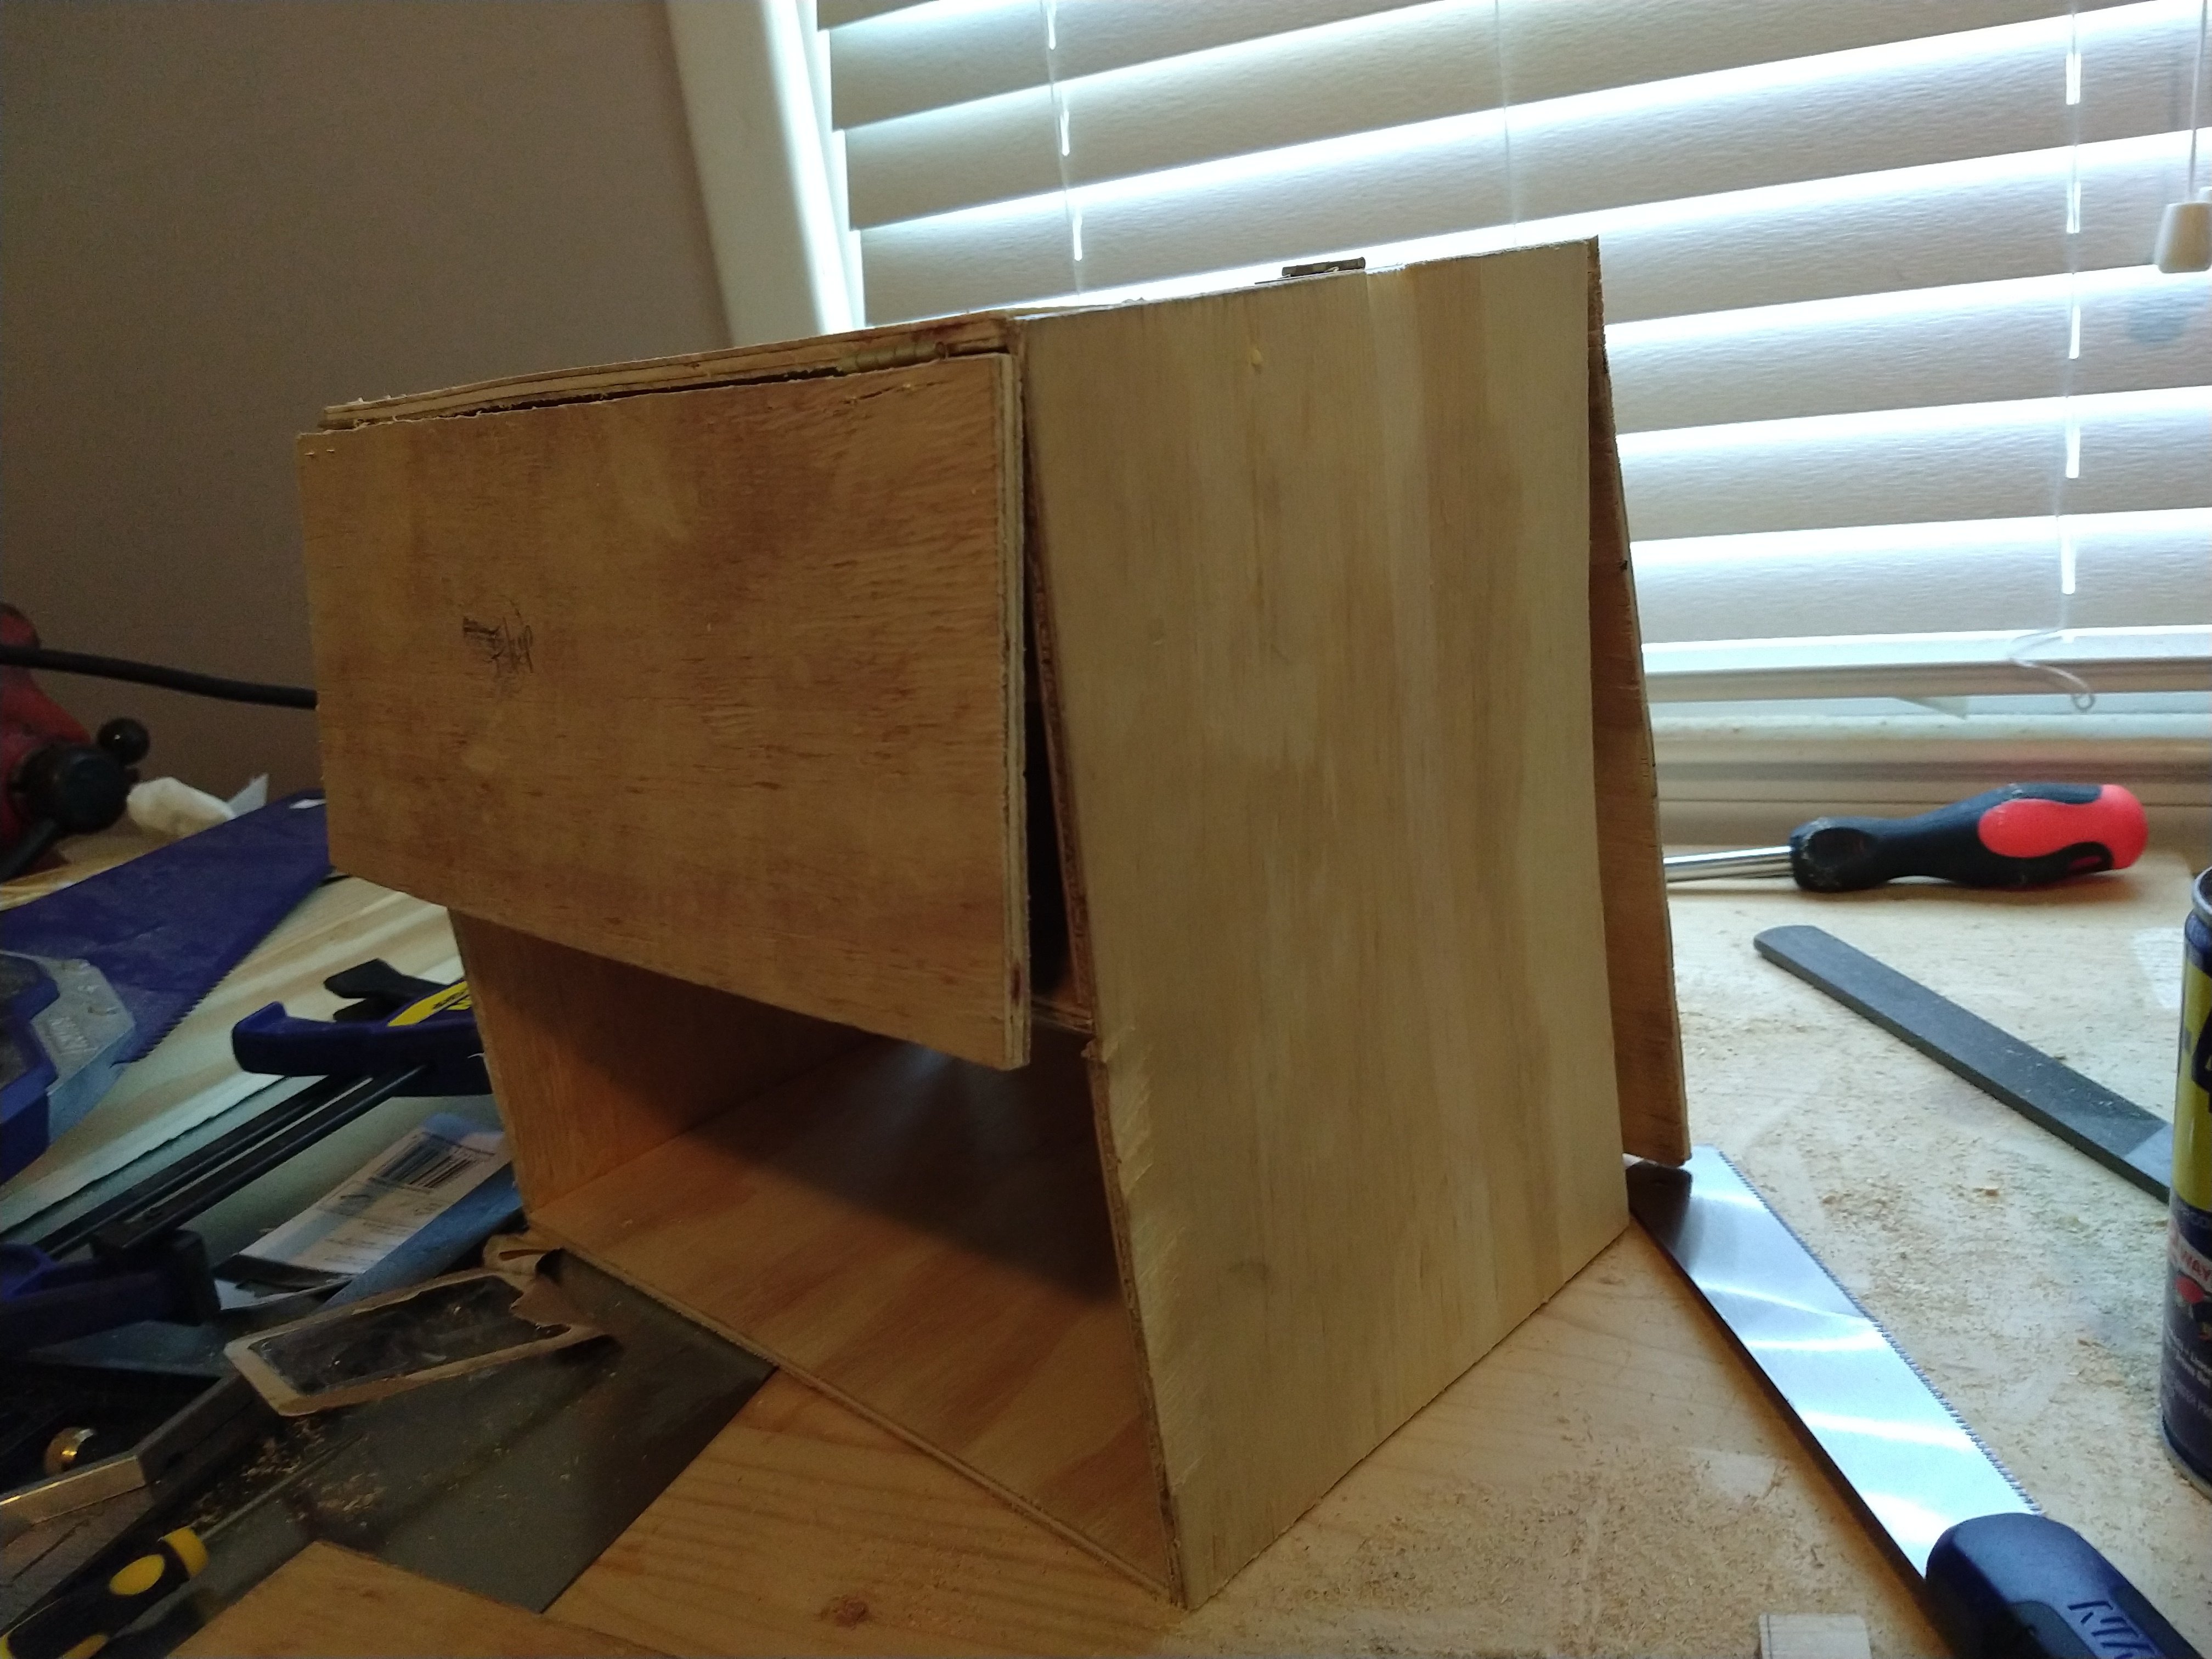
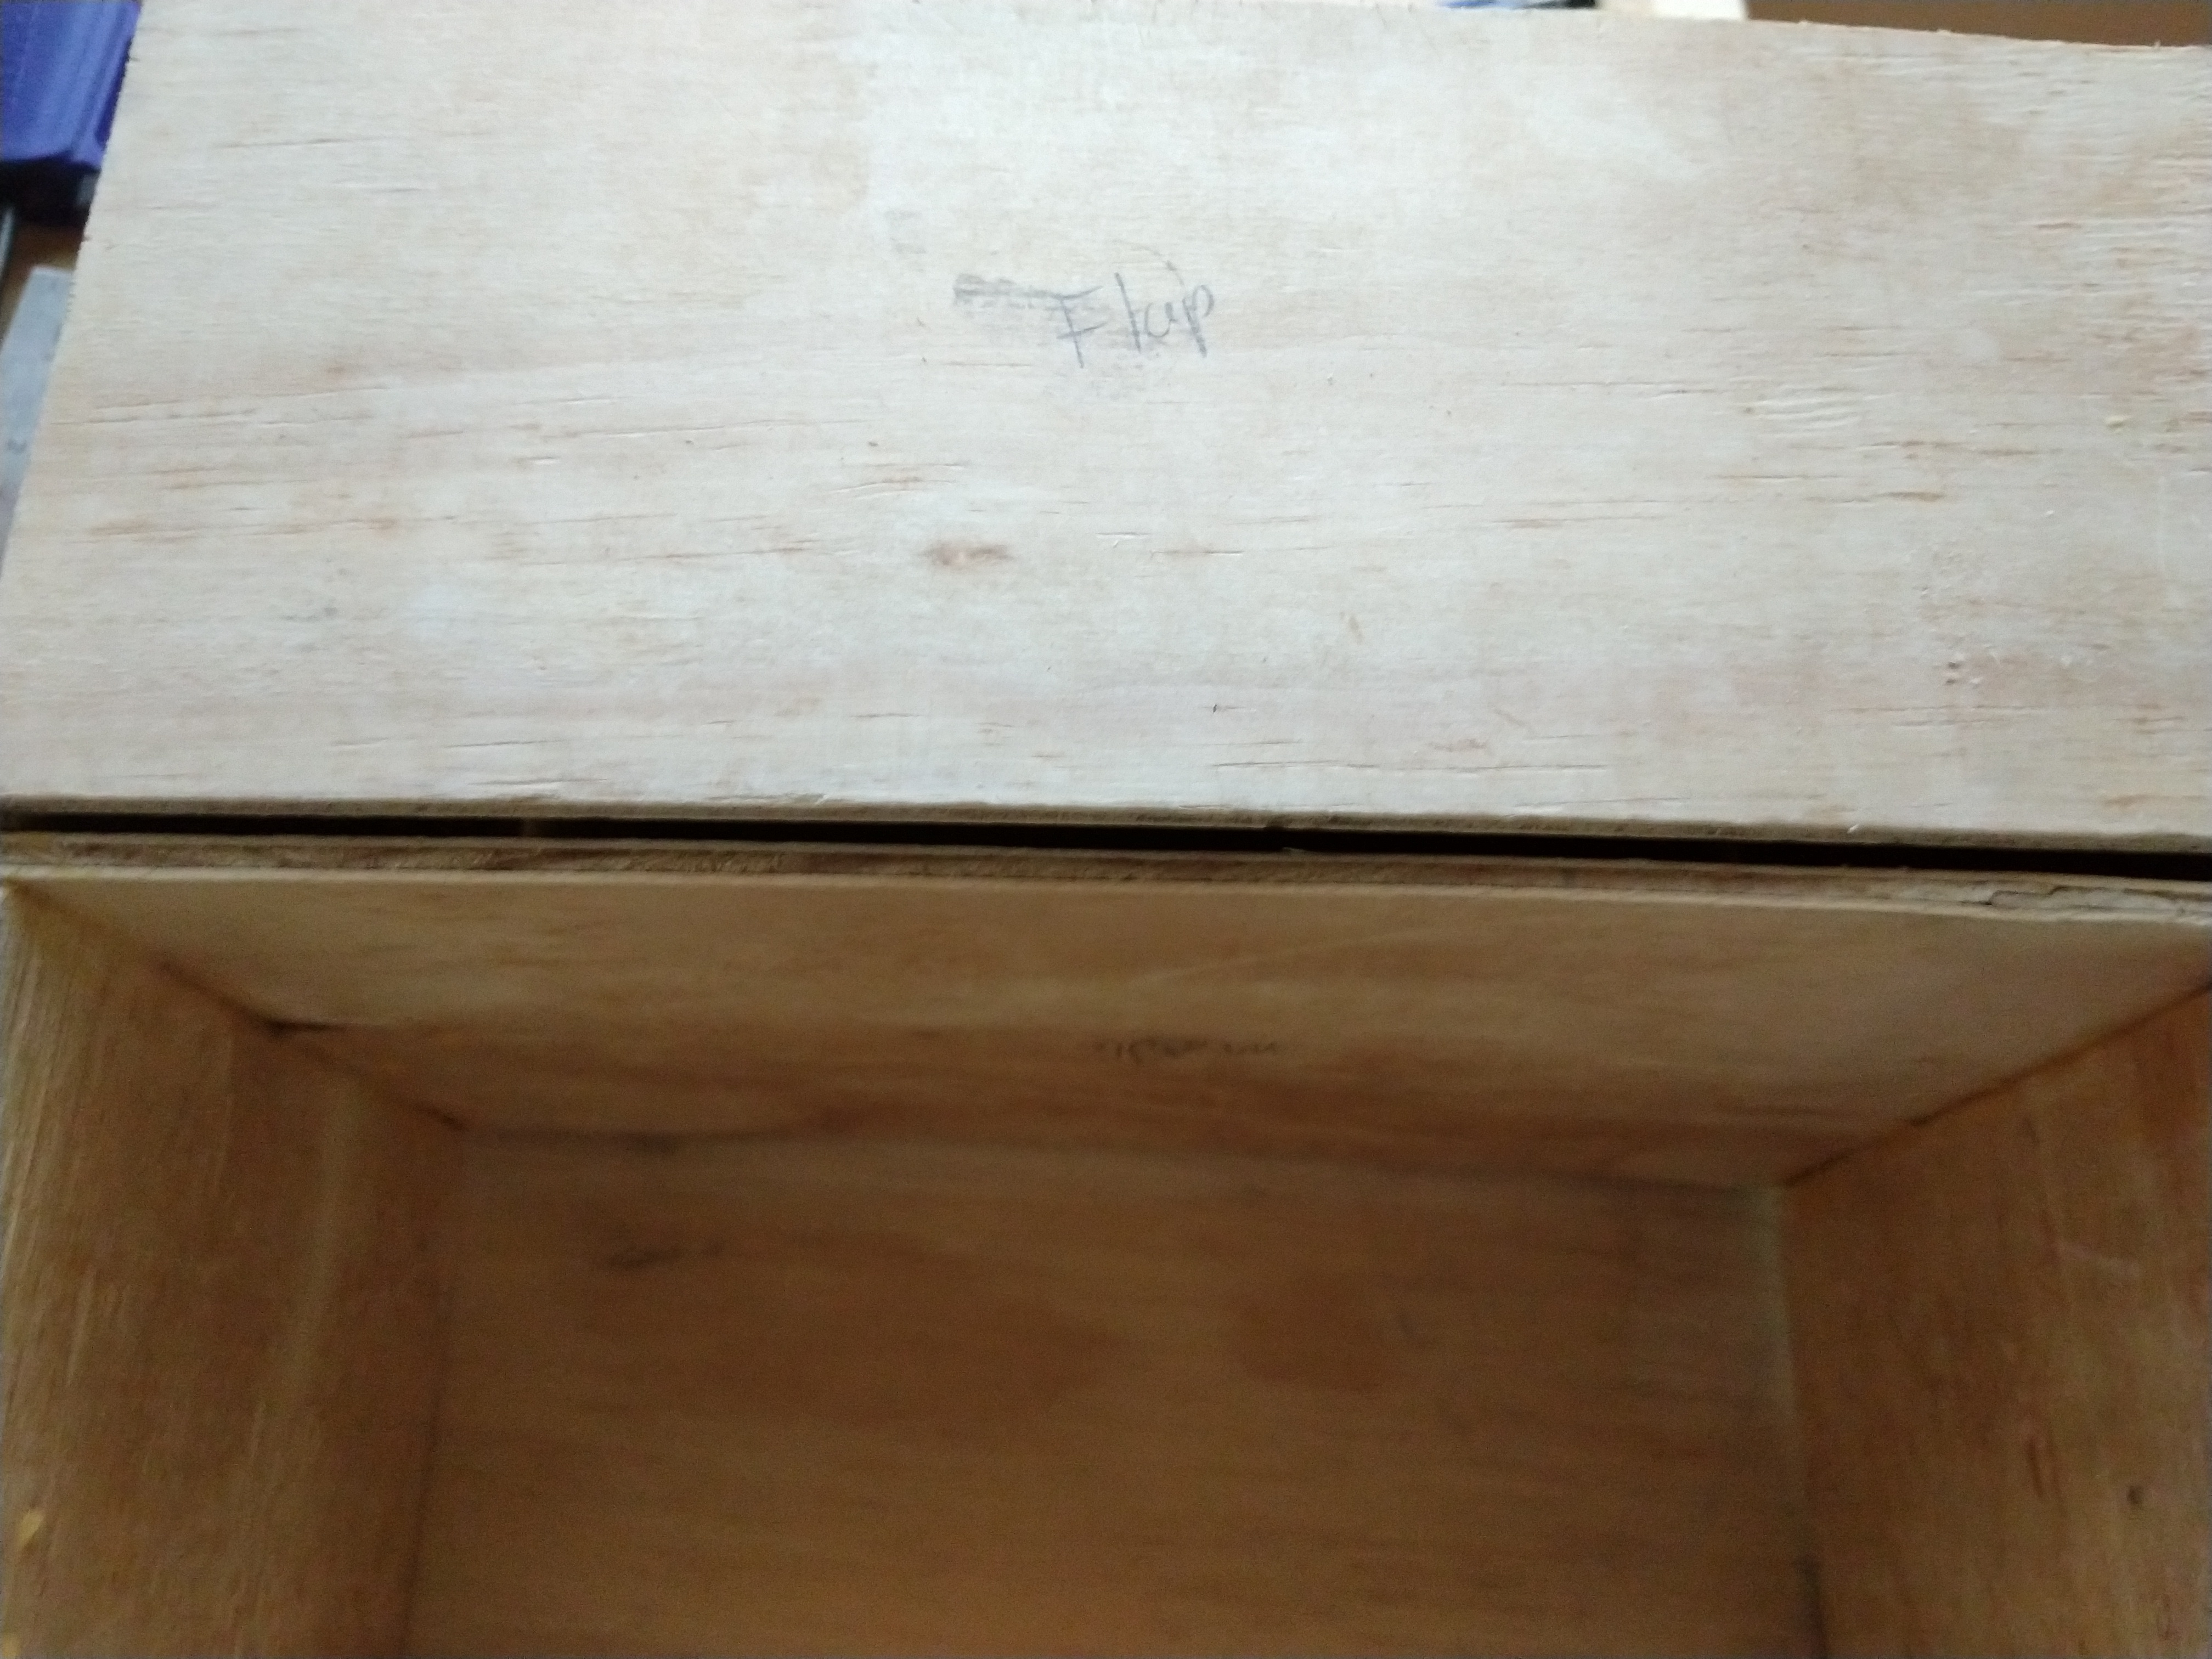
I decided for this box to put the flap on the top so that the bottom of the box would look nice and flat. Do the same thing for the hinges as you did for the back panel and install them.
If the hinges seem to be resisting you it's likely because your wood is warped and doesn't form a straight line. This causes the hinges to be on different axes and to actually bend each other. As long as you can open and close it without them busting you should be fine. You can add two small cabinet knobs to the bottom of the flap and the top part of the mail slot and use a small piece of rope to fasten them together if its too open.
I realized later that is would have been better to screw this flap on before the gluing stage of the top board. If you are having issues because of this and its hard for your screwdriver to get in there, do as I did in the second picture and turn the whole work upside down so you can get some leverage.
Adding the Mail Slot
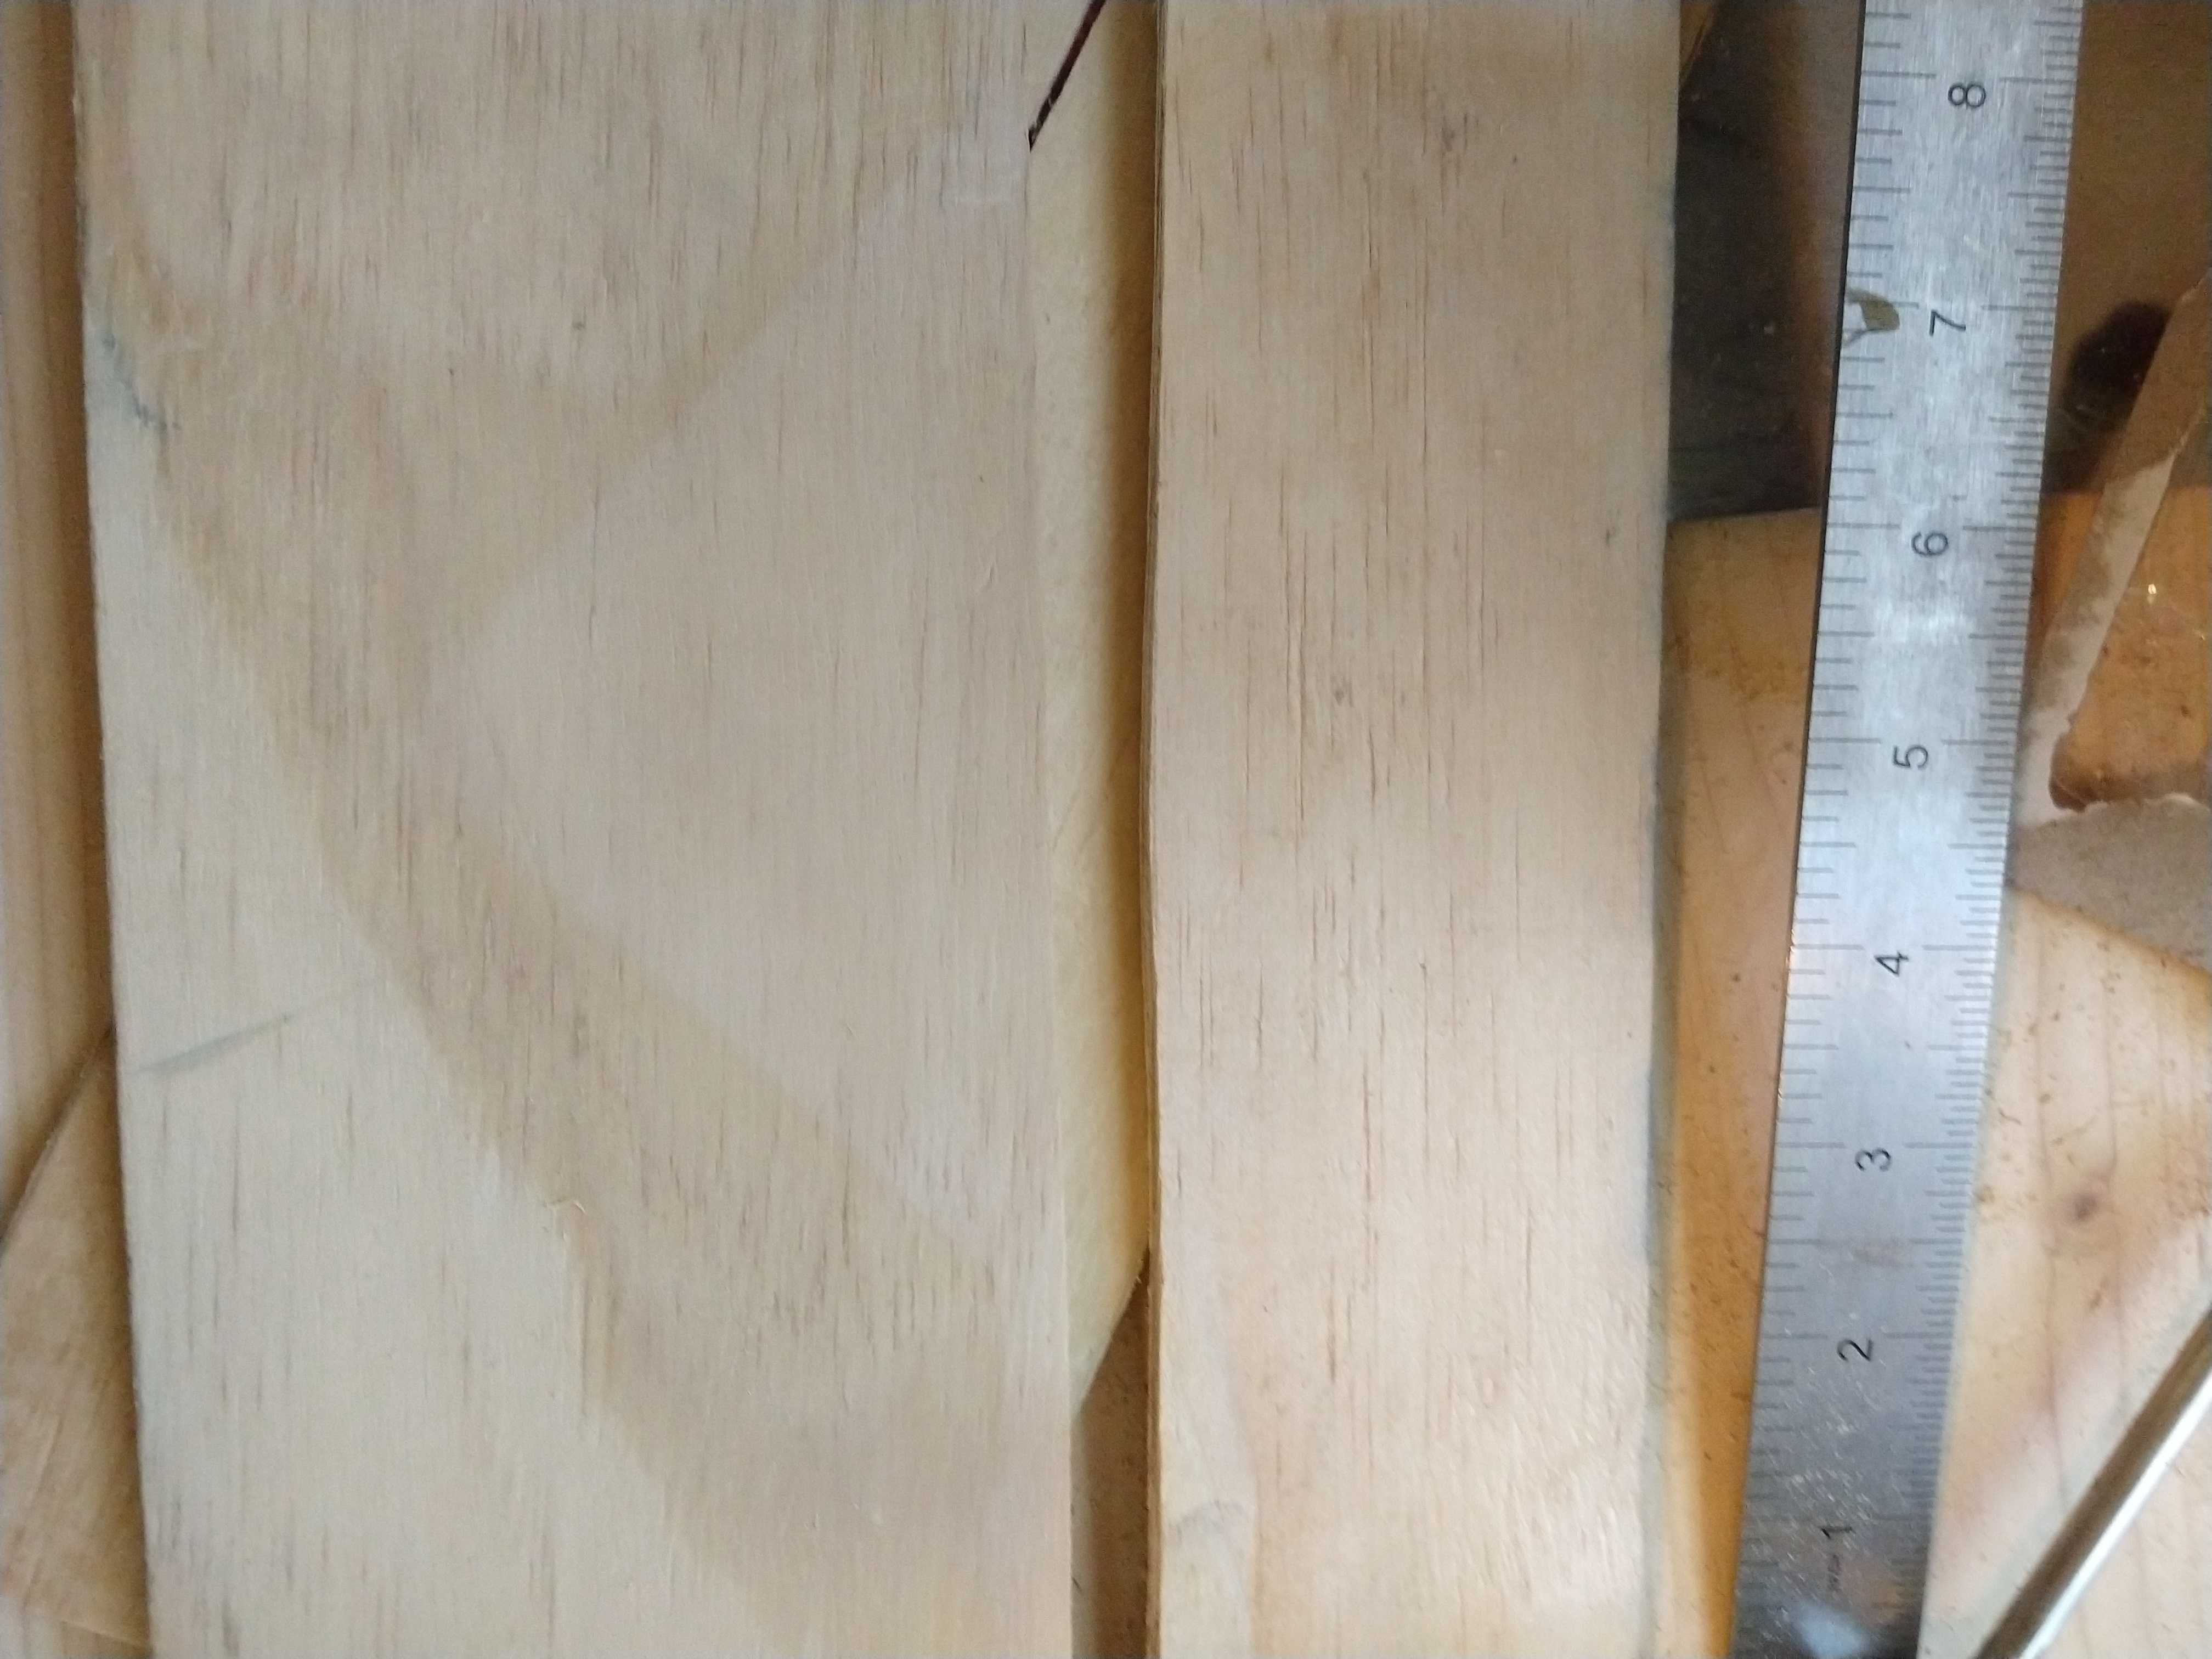
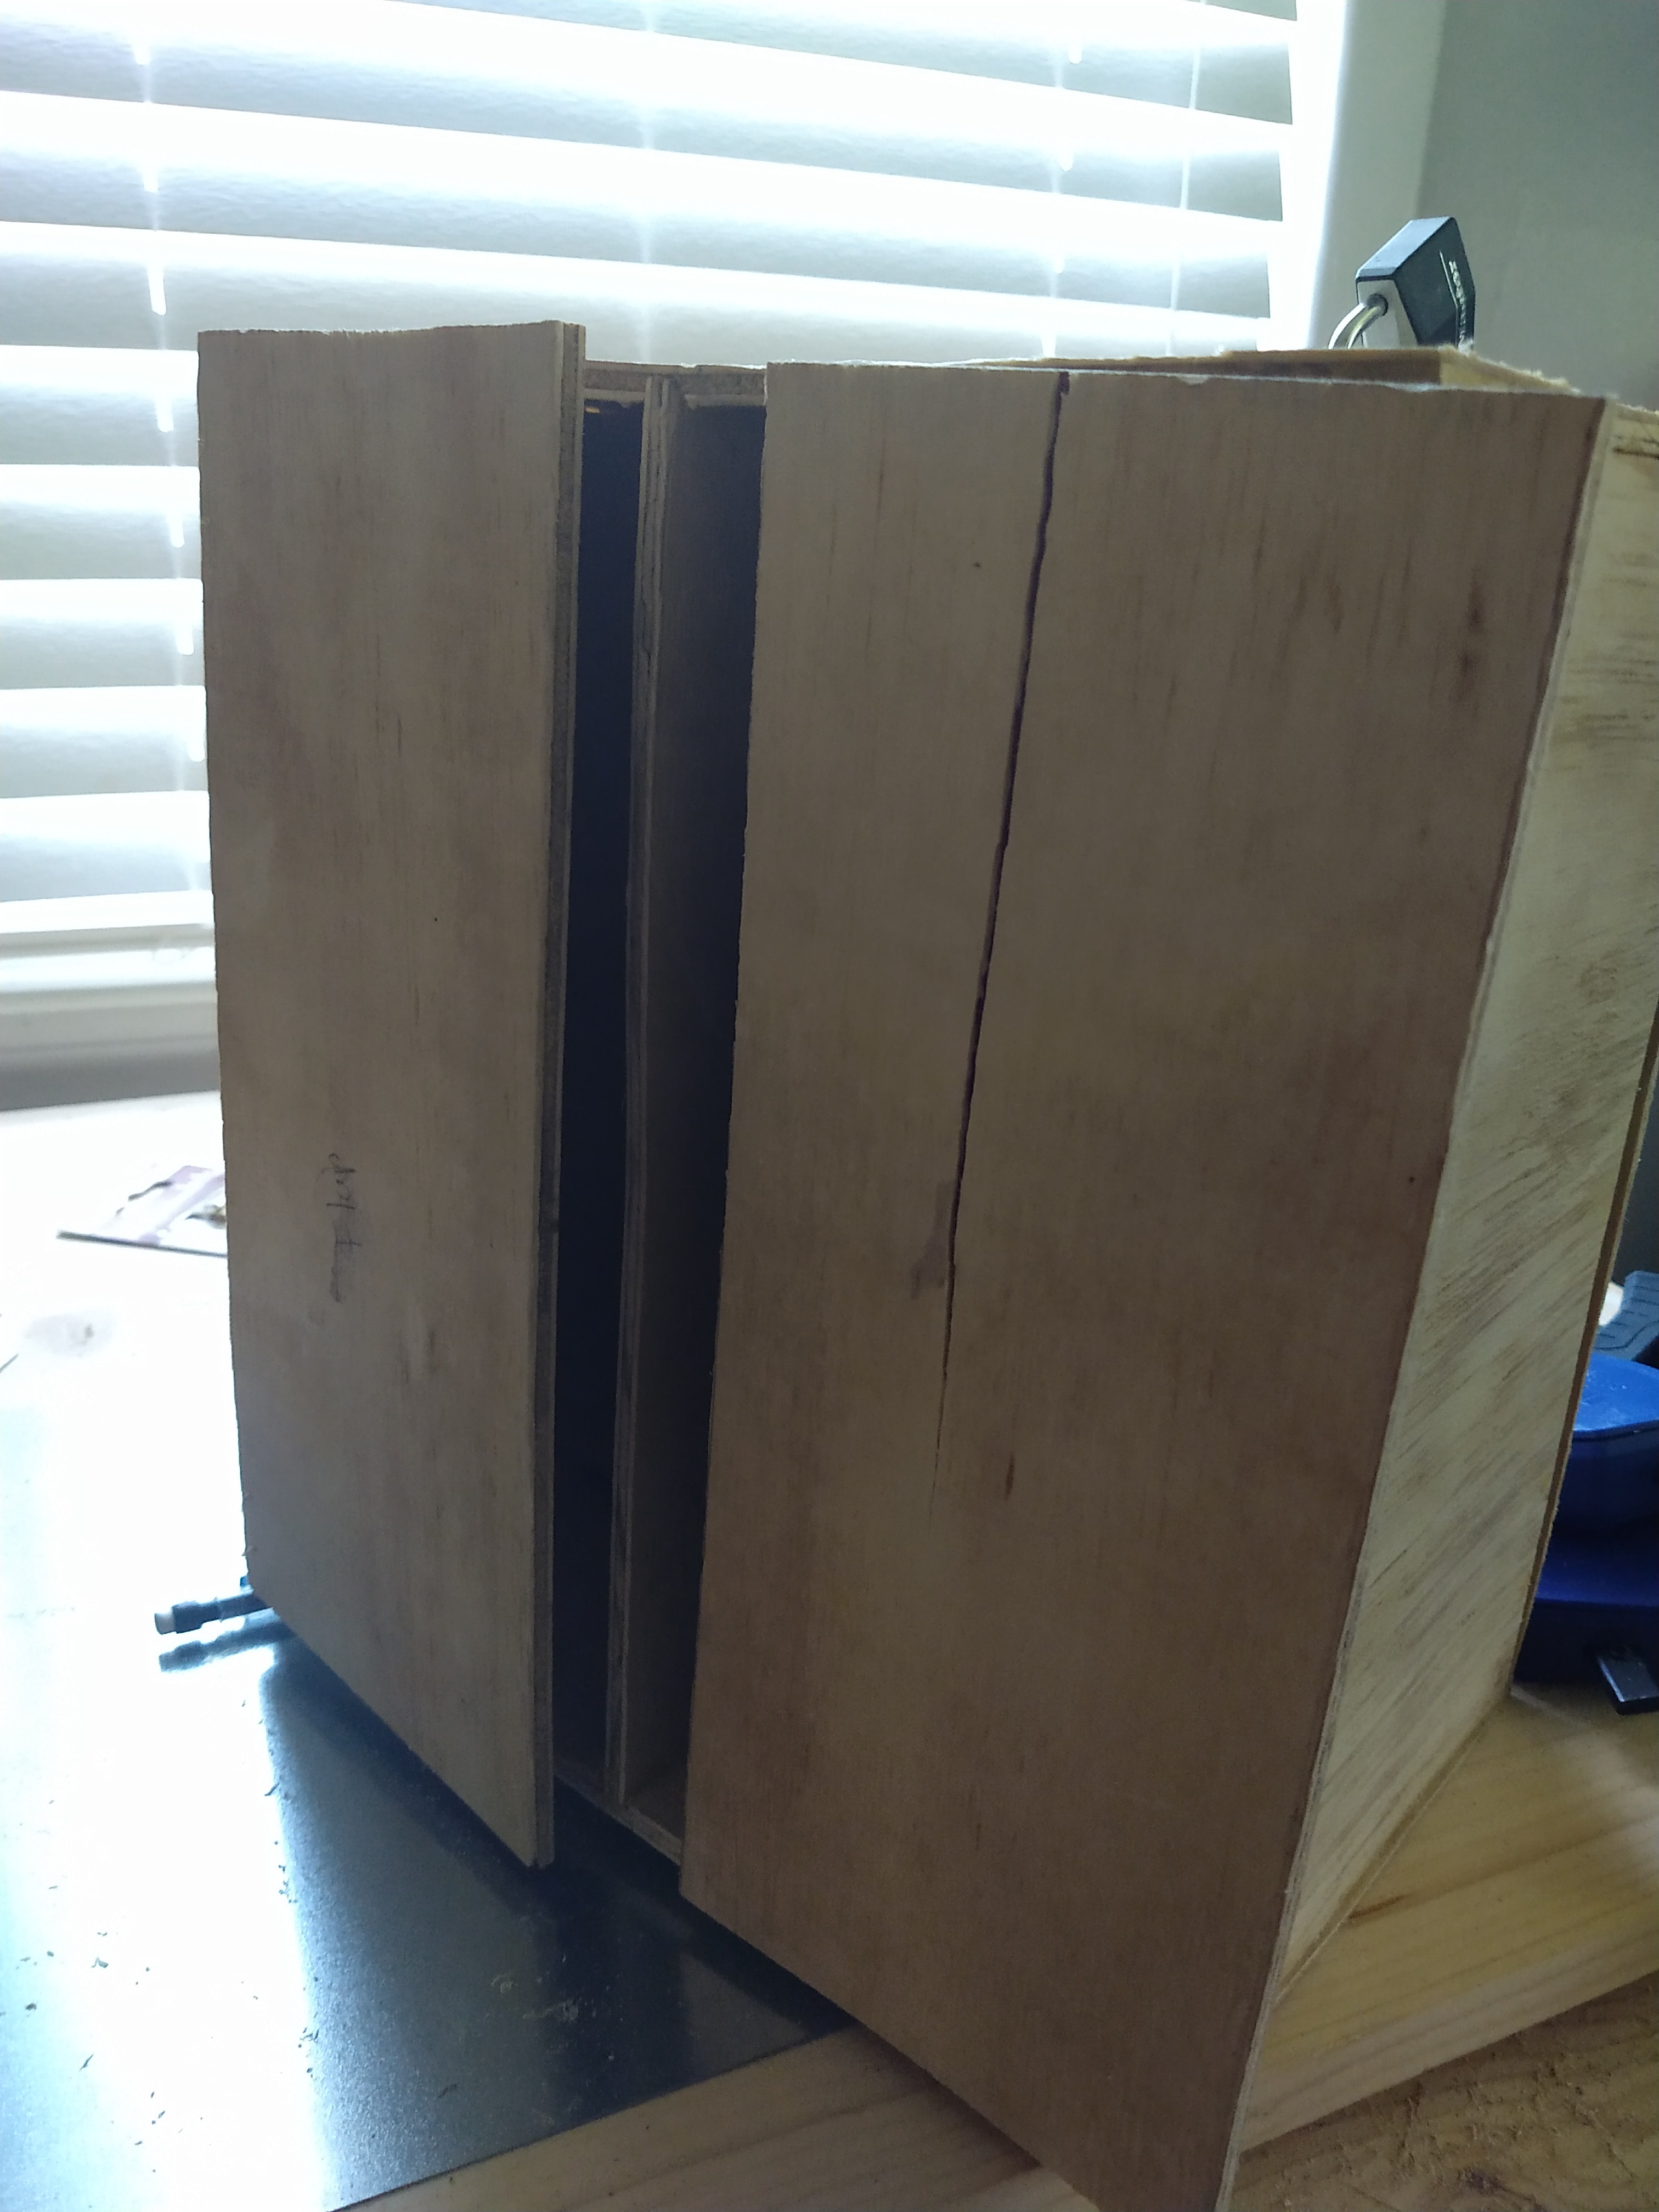
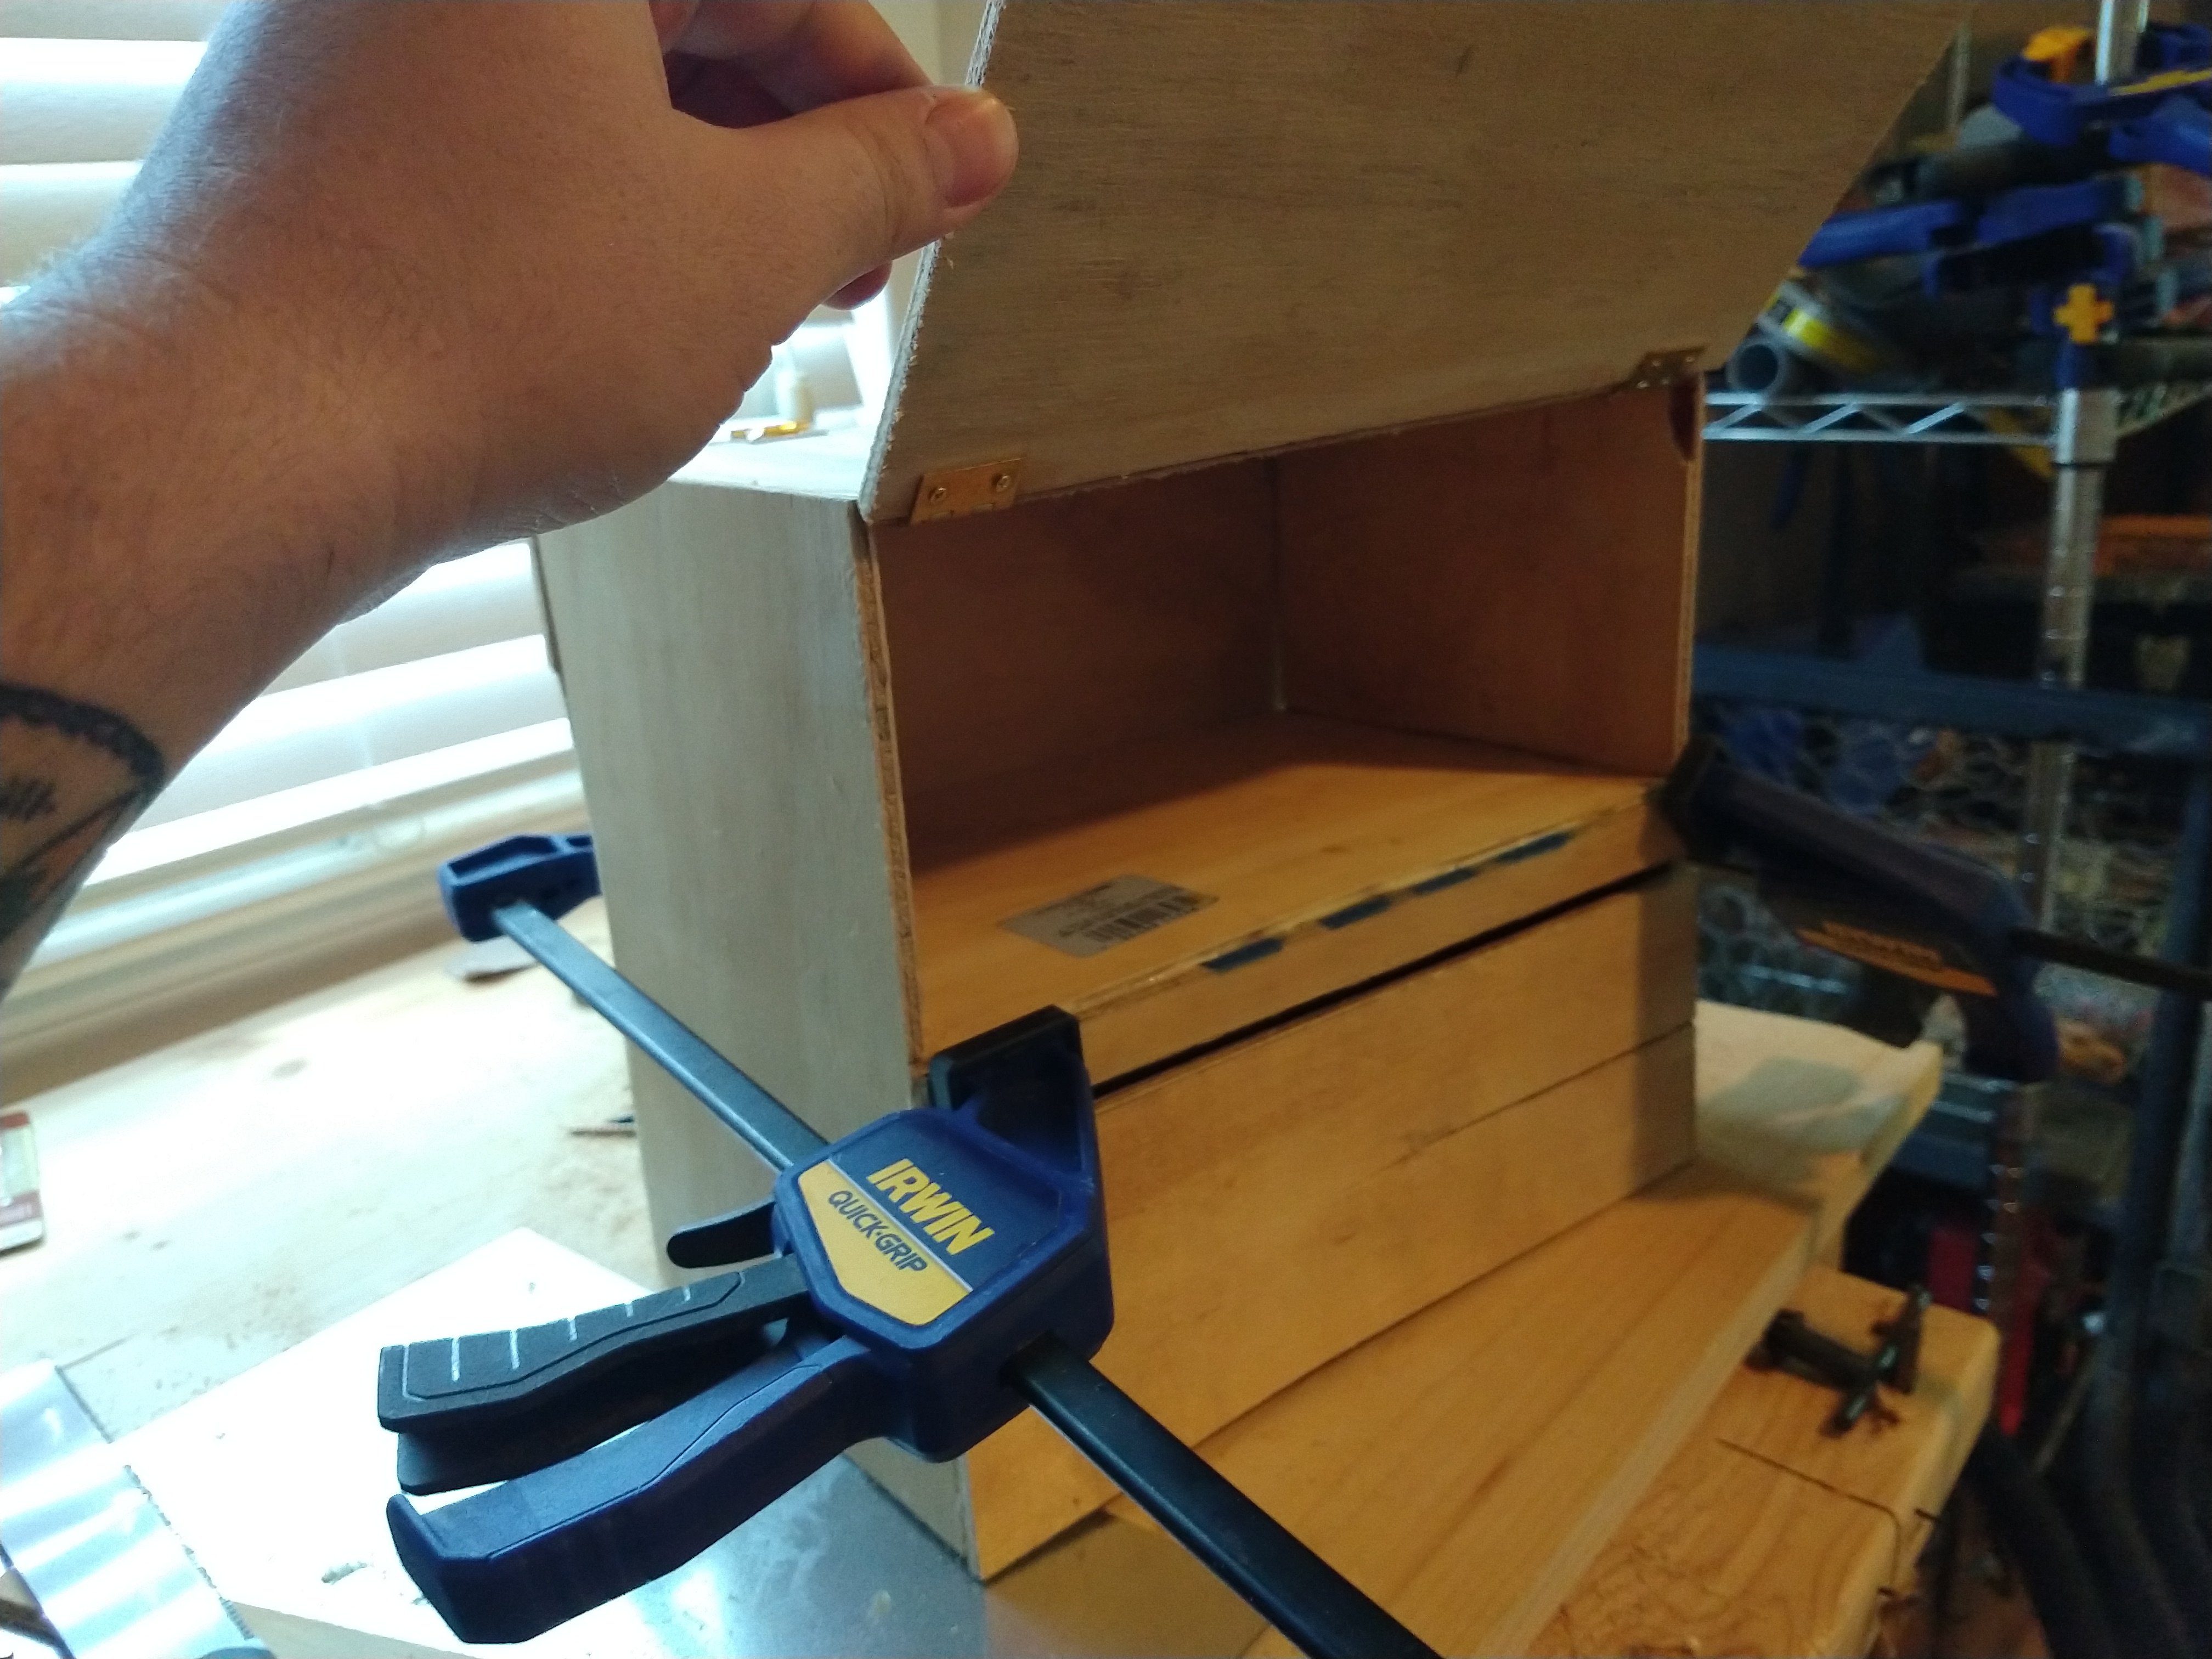
You can do the mail slot two ways.
You can take the pre cut front board and cut it into two pieces, one much larger than the other, and then cut a bit more off and glue them onto the piece.
You can also do what I did, which was take two waste cuts that had flat edge on them and glue them on, leaving a mail slot, and then cutting the rest away along the edges of the piece. Of course the top part of the slot has to be precut already as you cannot cut it once its on the box.
You Have Finished the Box
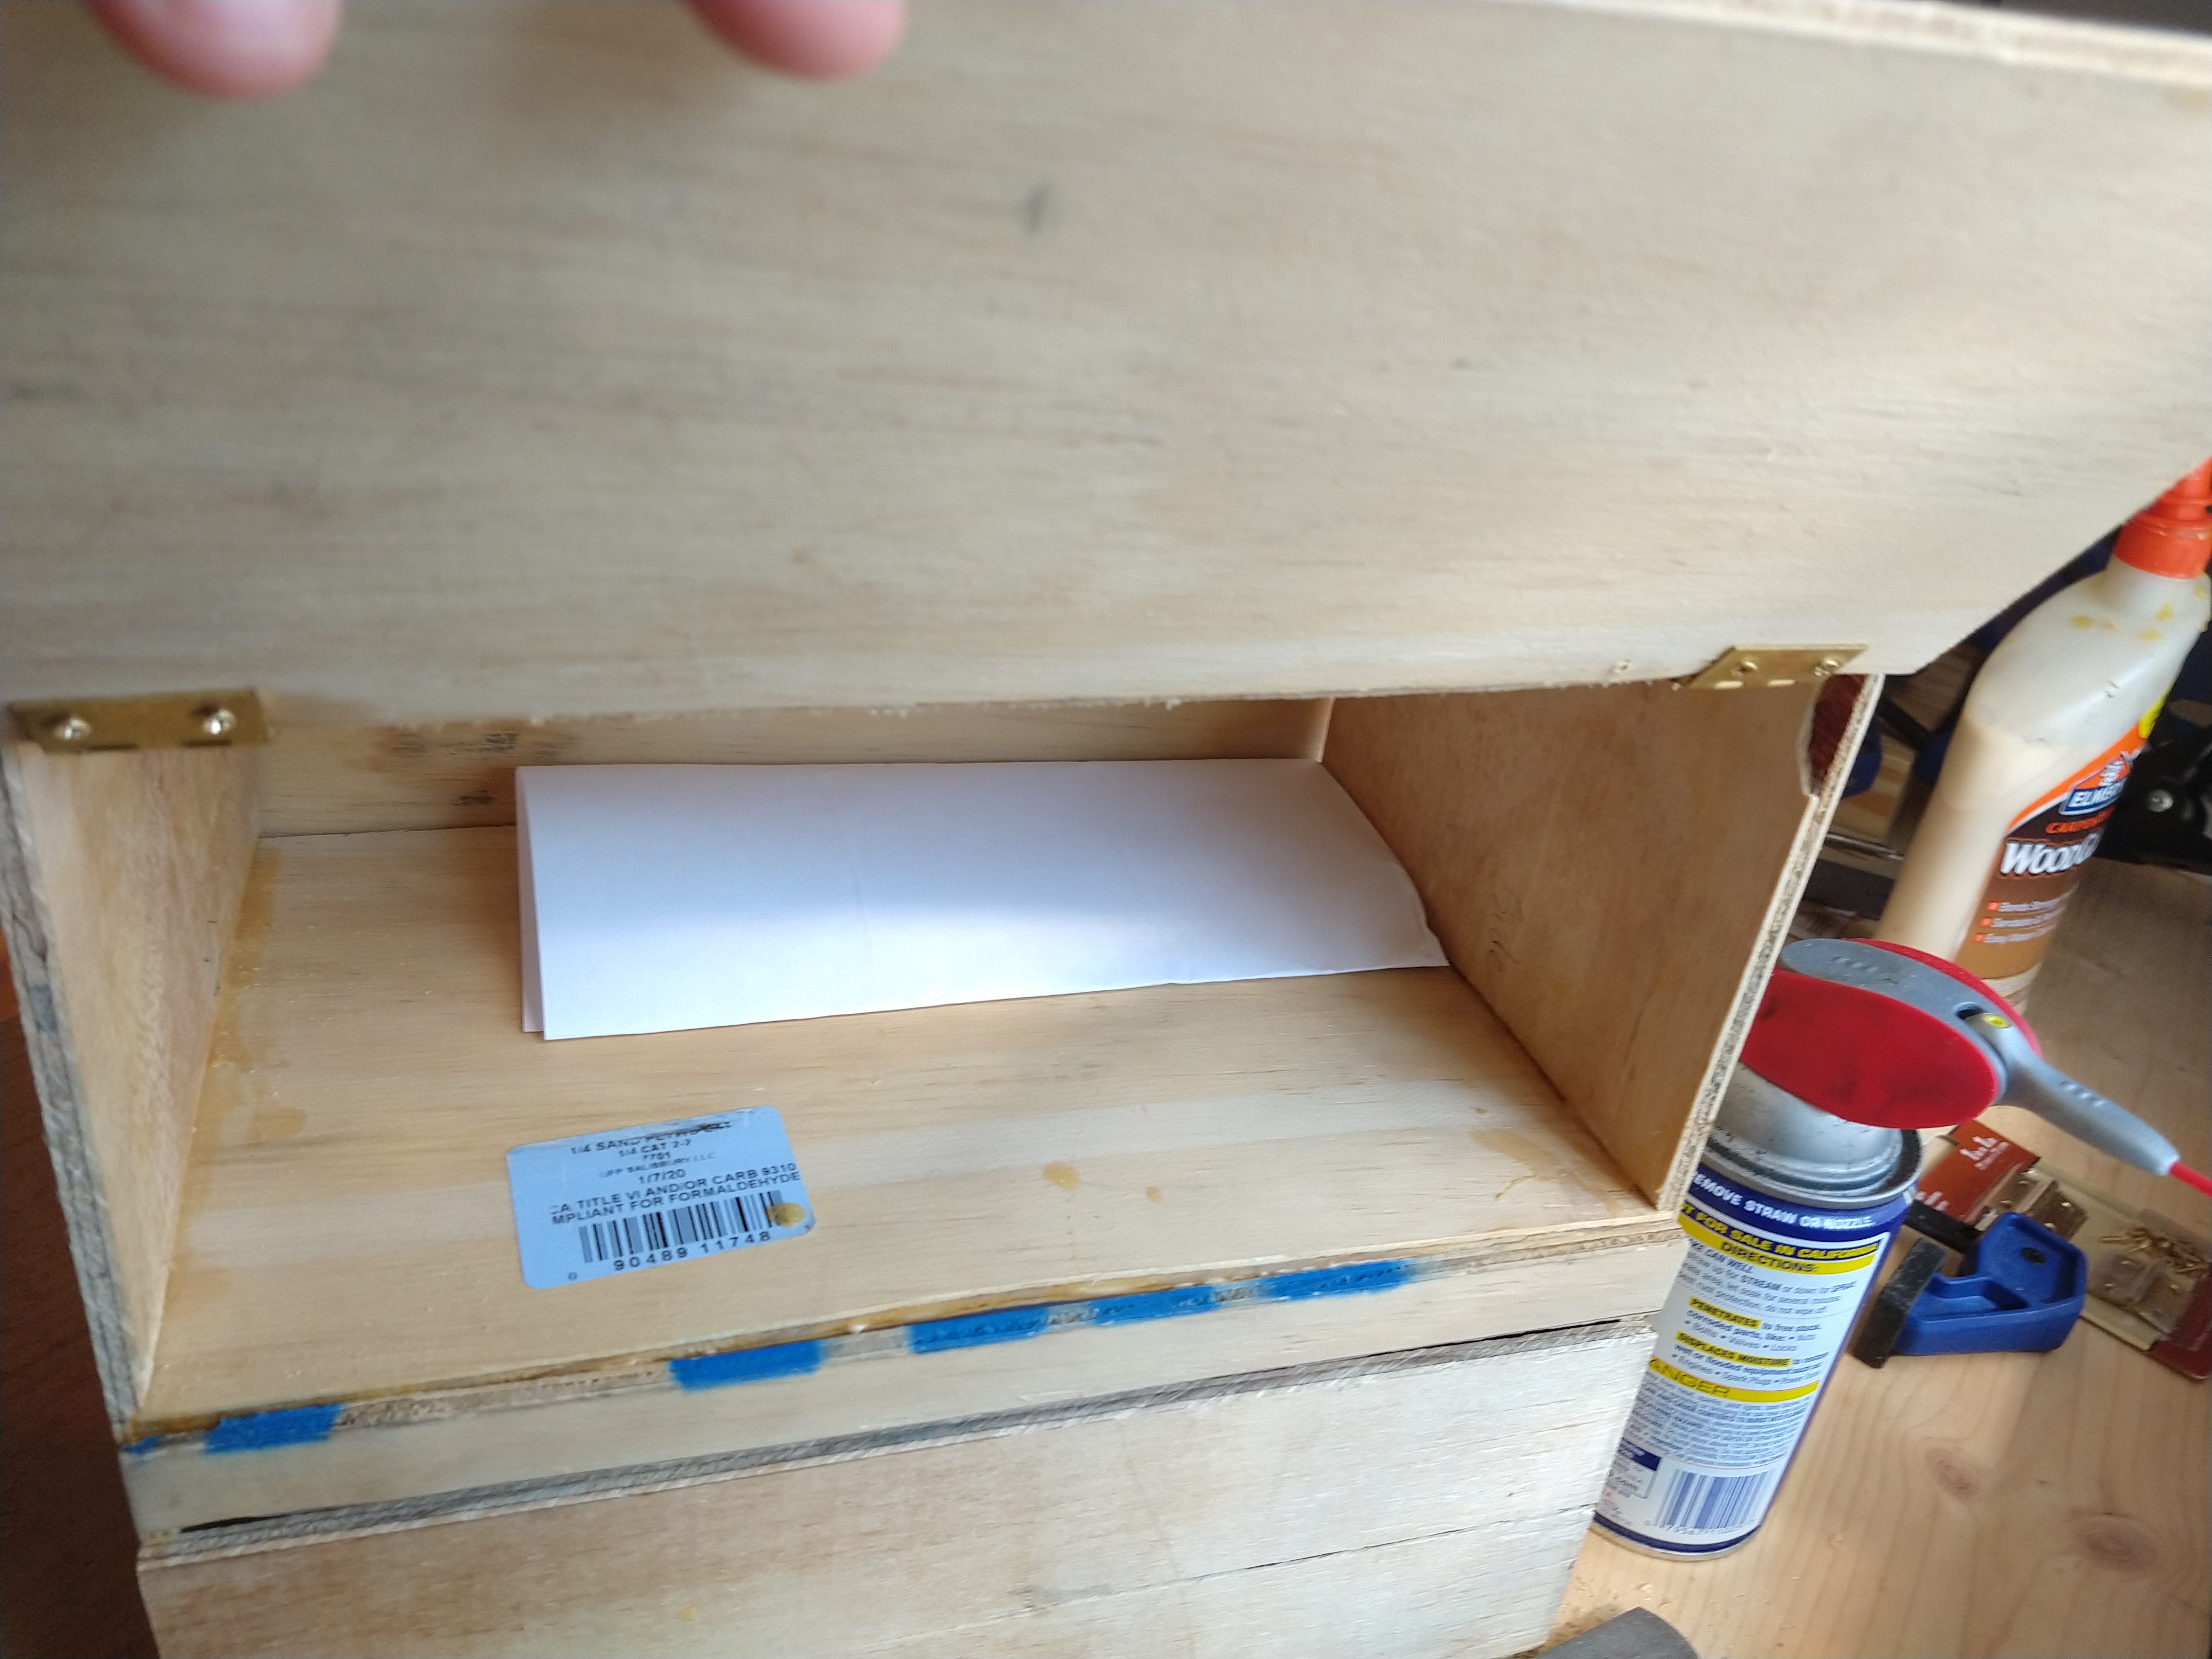
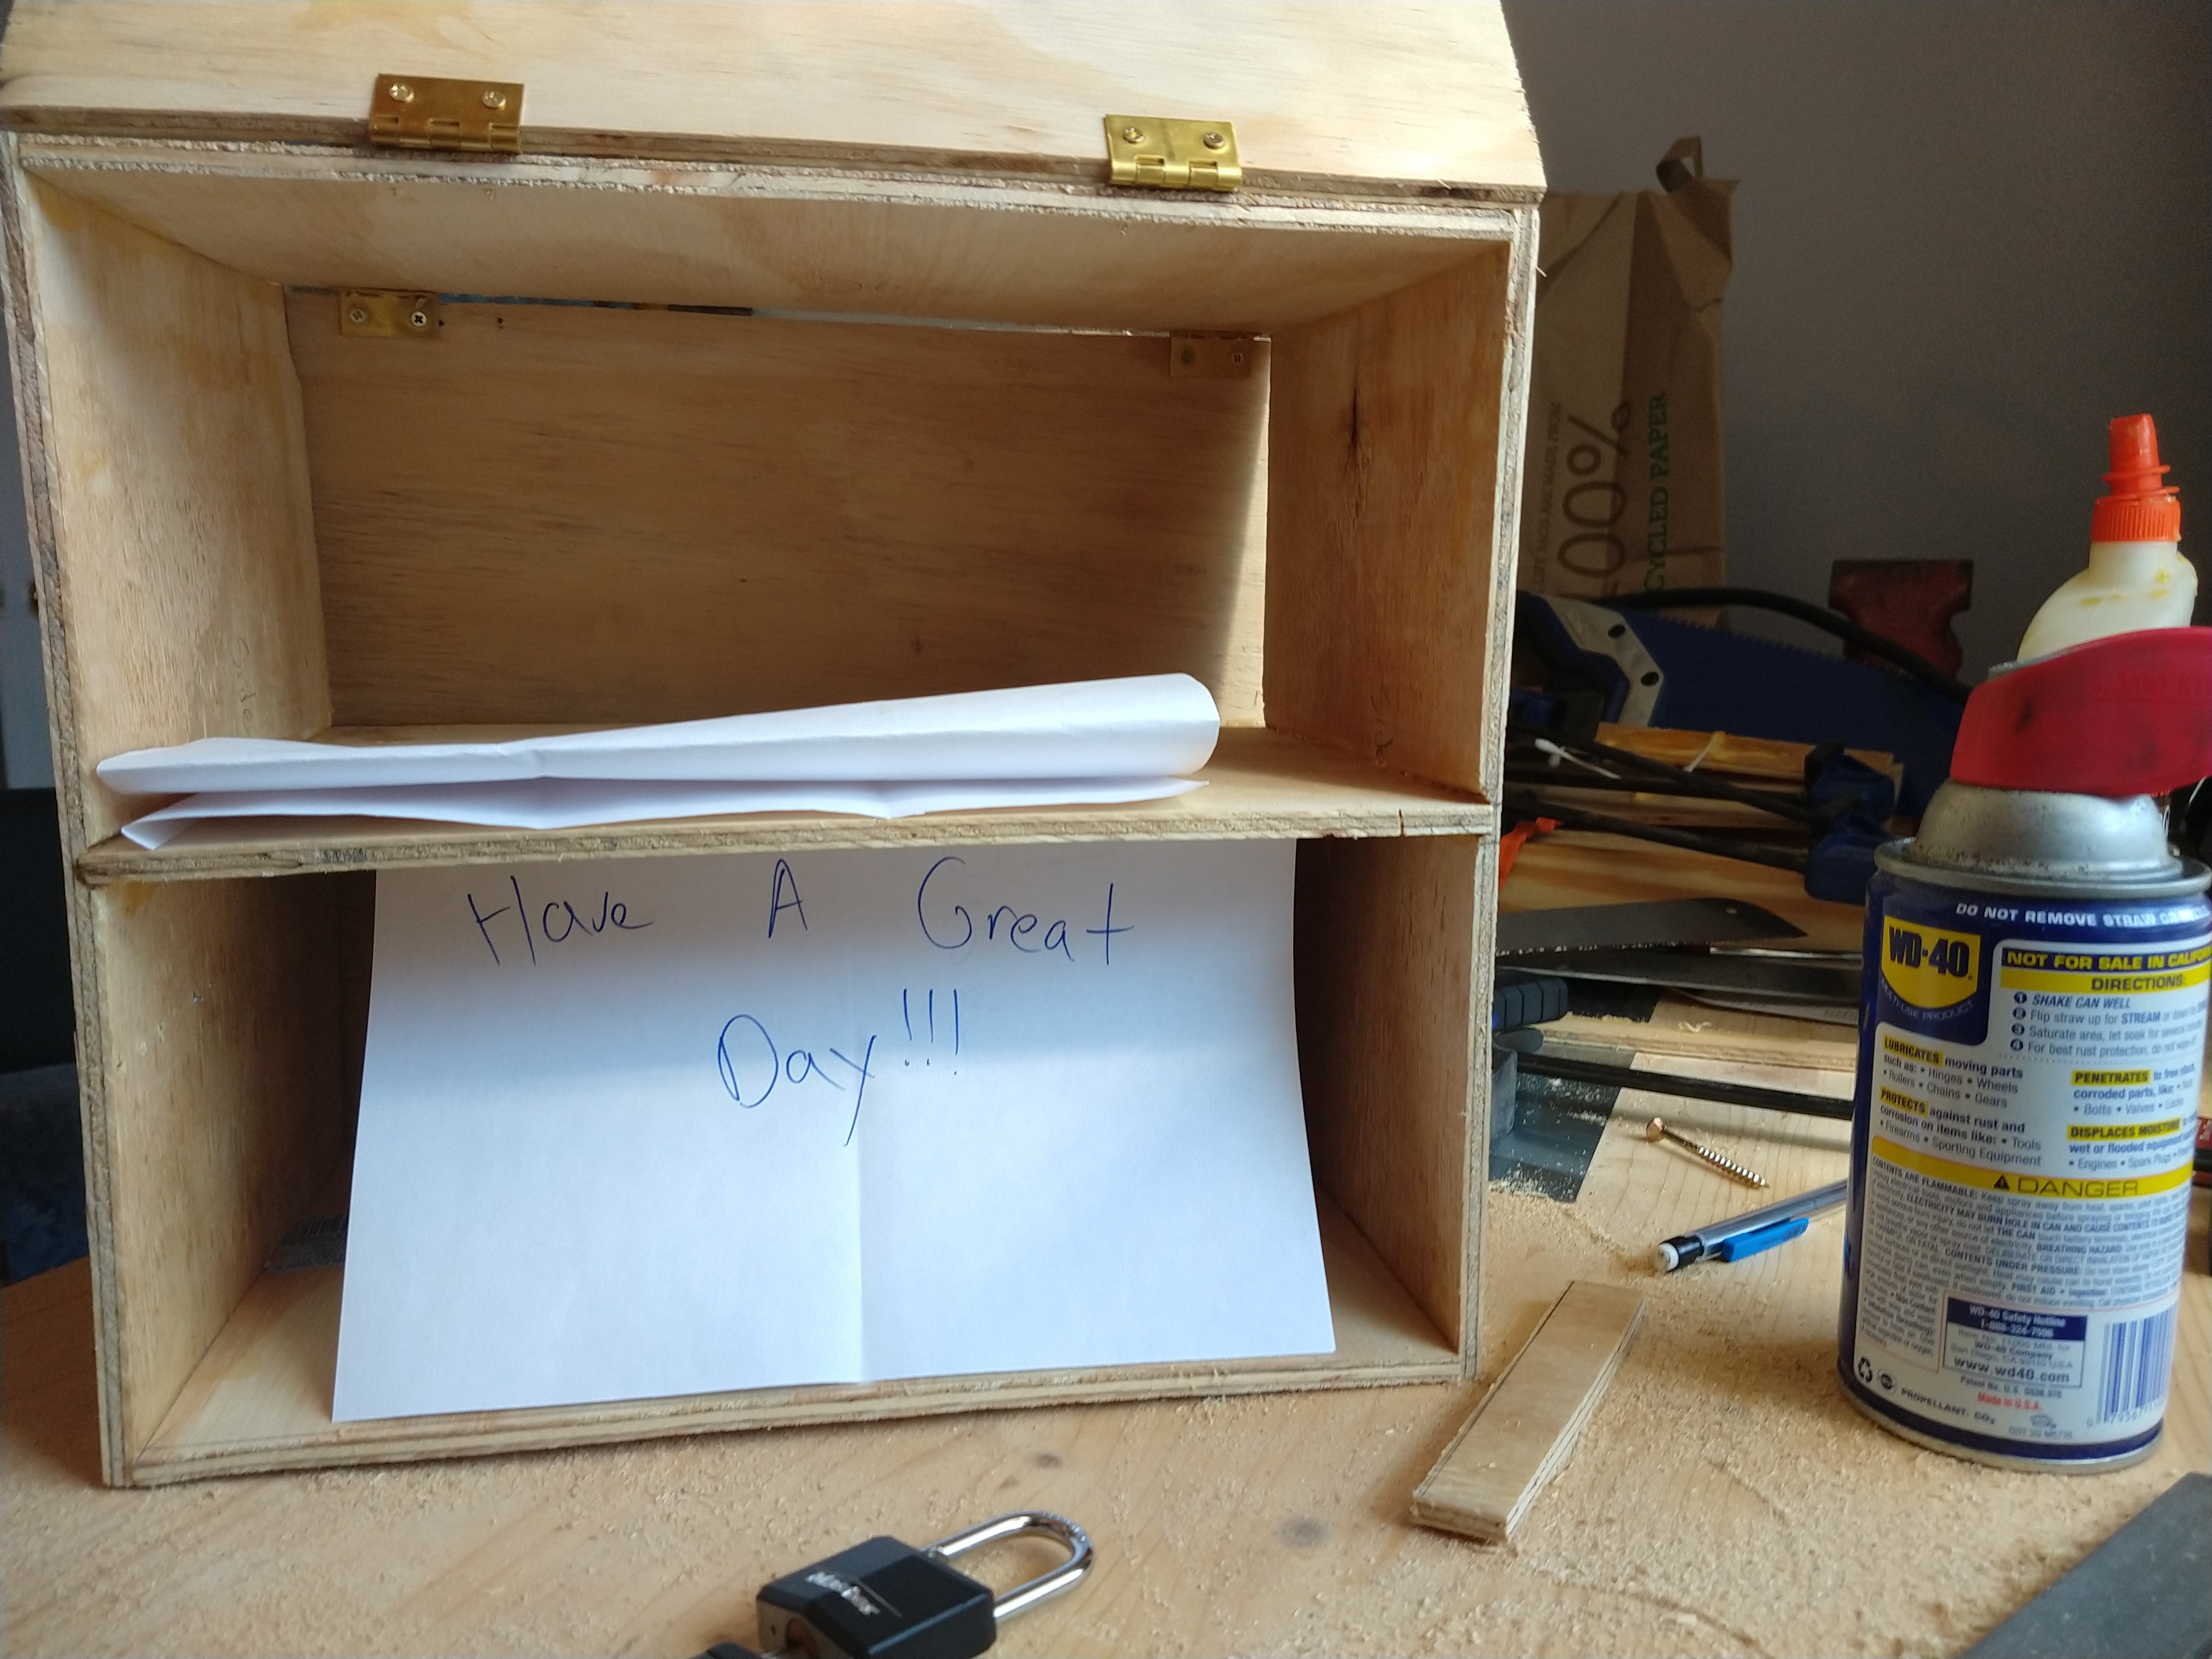
Congratulation. This is a much more difficult build due to the lack of tools included. Whats nice about this box is that it's easier to make it better by using better tools and acquiring better wood. I chose to make this box at what I consider it's lowest threshold so that anyone could make it. I hope it works well for you!