Cheap Drone Using NodeMCU
by SahajR in Circuits > Microcontrollers
13015 Views, 23 Favorites, 0 Comments
Cheap Drone Using NodeMCU
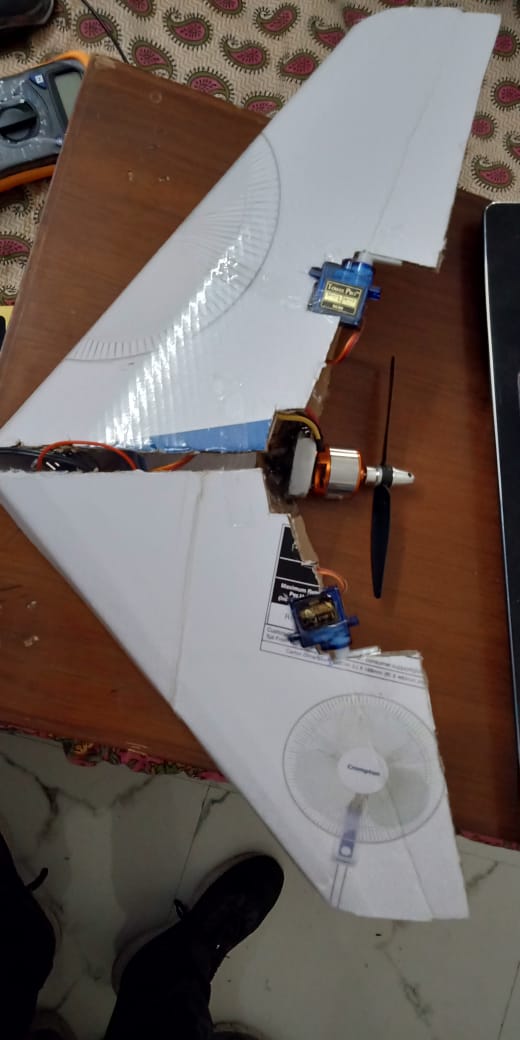
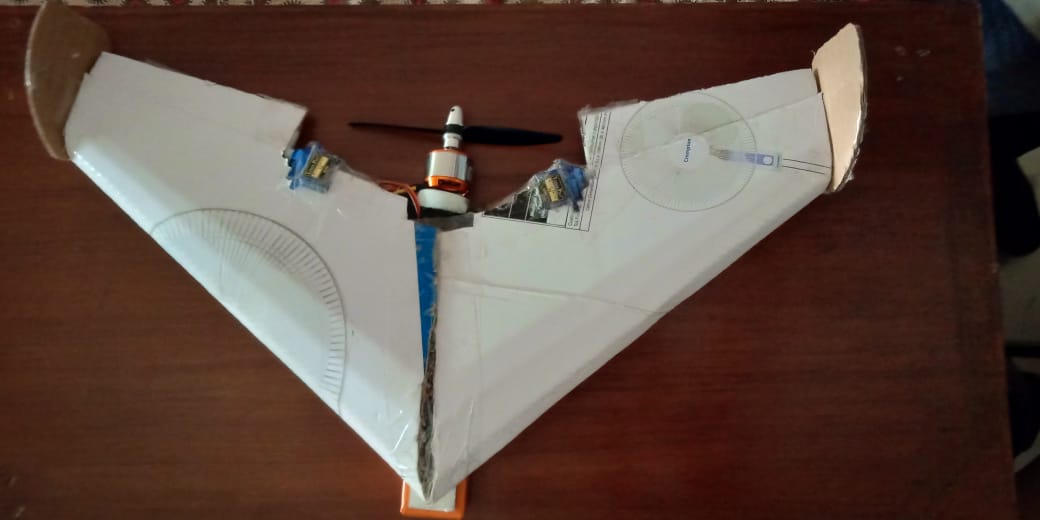
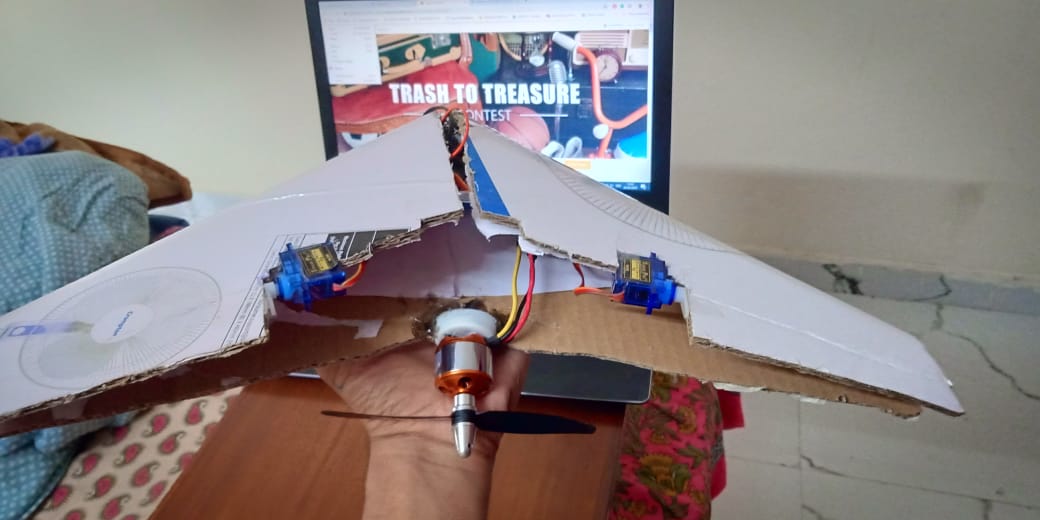.jpg)
By Sahaj Rastogi.
If flying Drones is your passion, but the costly Rs13000-15000 Drone seem quite expensive. Then you are in the right place.
You could make this Drone for less than 3000( including the battery)
So, What are you waiting for...
Scroll down to learn more.
SahajR
Materials Required
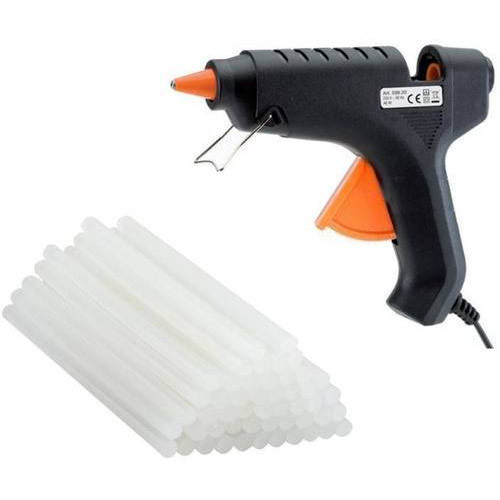
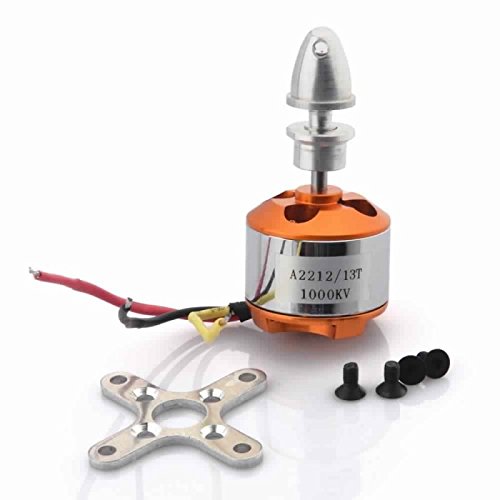
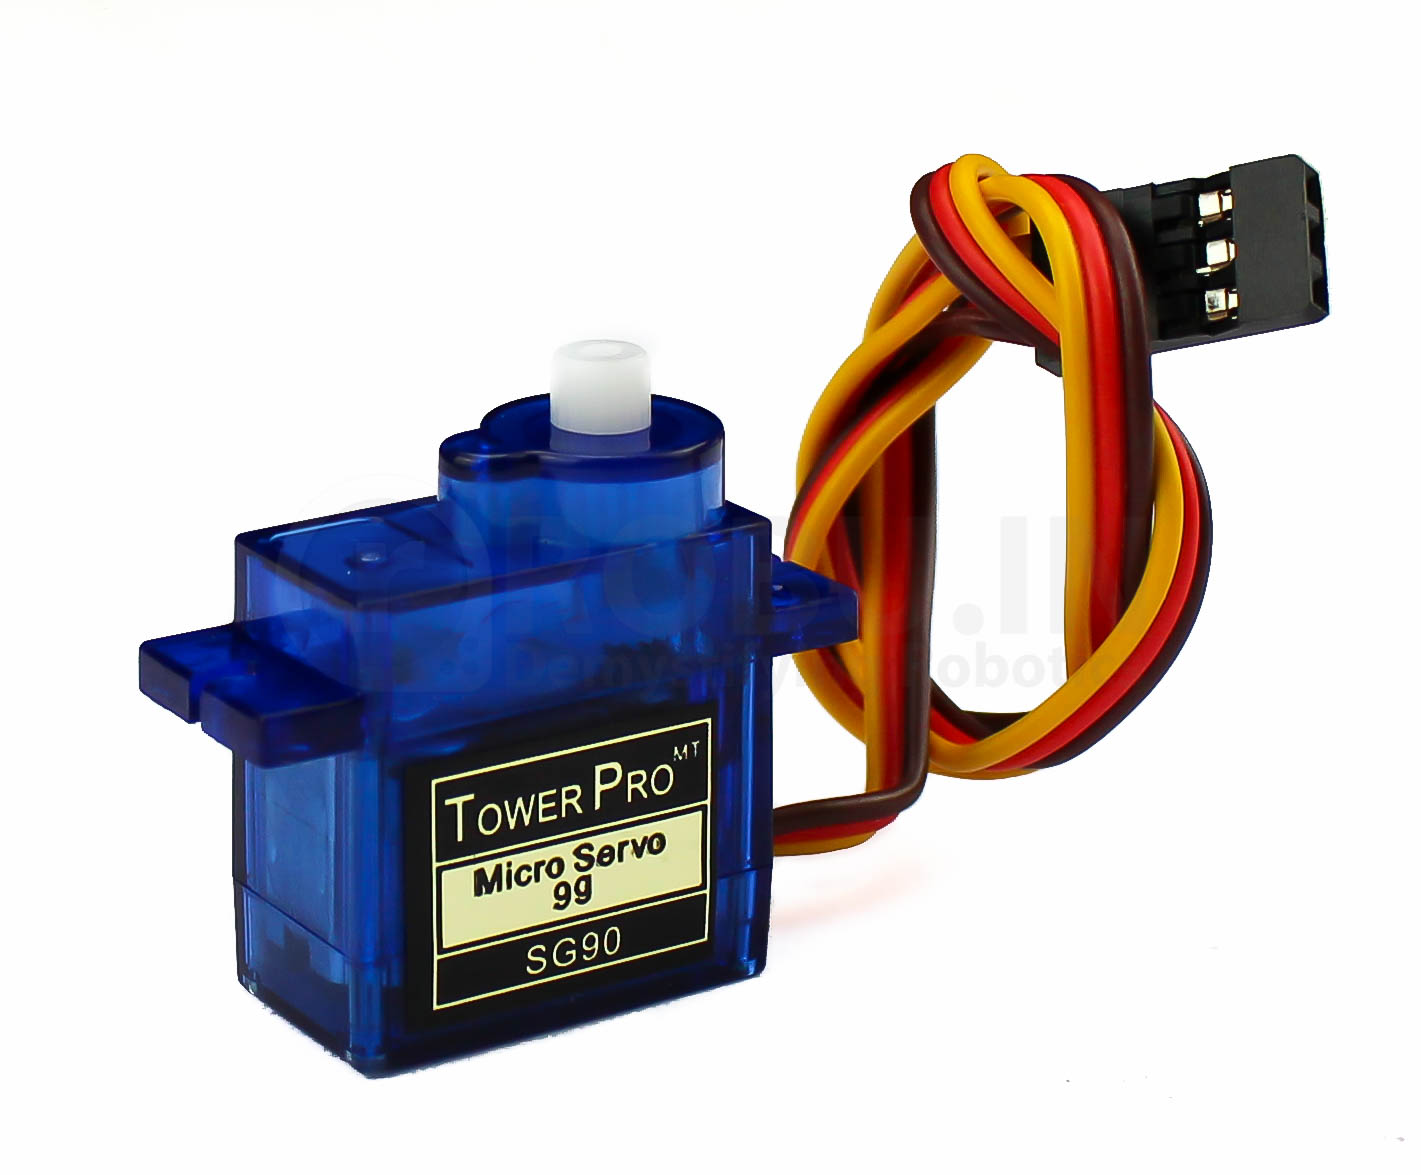
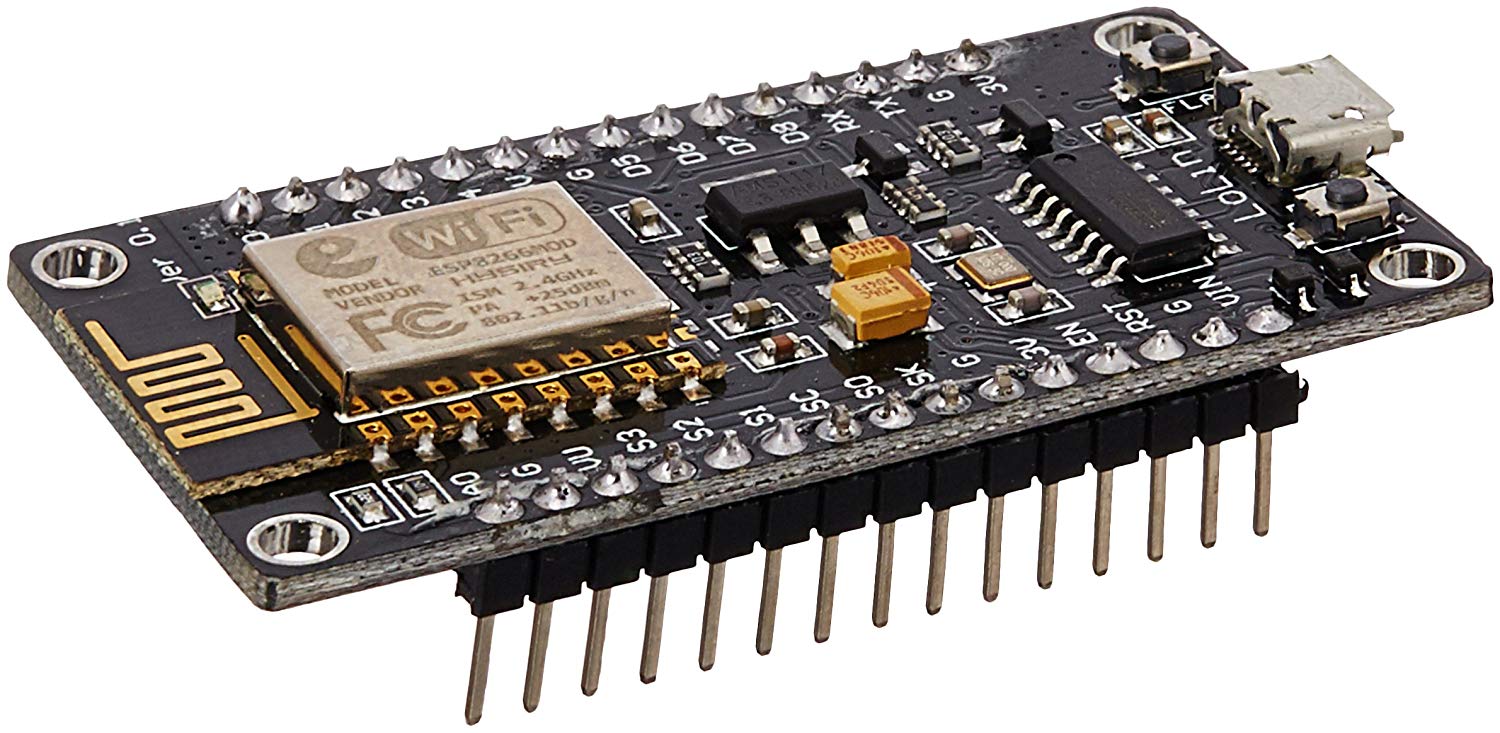

1. Cardboard (Thin corrugated preferred)
Can use large Pizza Box
2. 1 X BLDC motor ( I used 1000KV motor)
3. 2 X Sg90 Servomotor
4. Node MCU
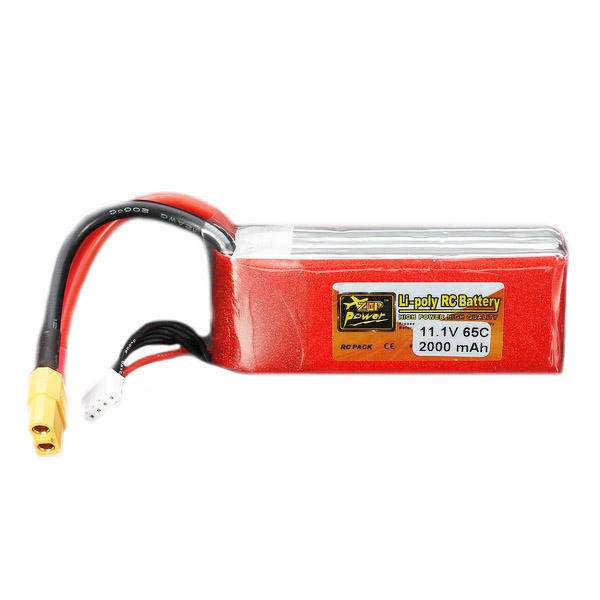
5. LiPo Battery( 2200mAh)
6. ESC (Electronic Speed Control)
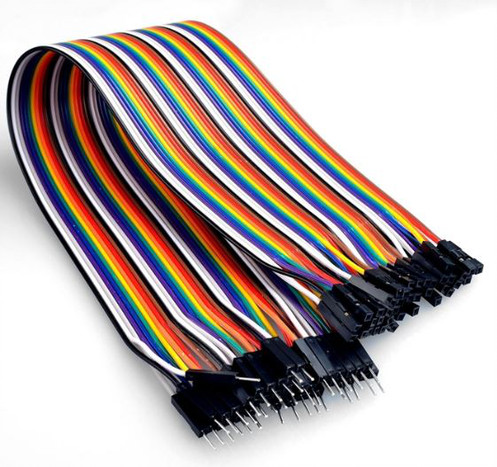
7. Connecting wires
8. Hot Glue gun
9. Type B Charger Wire for Programming Node MCU
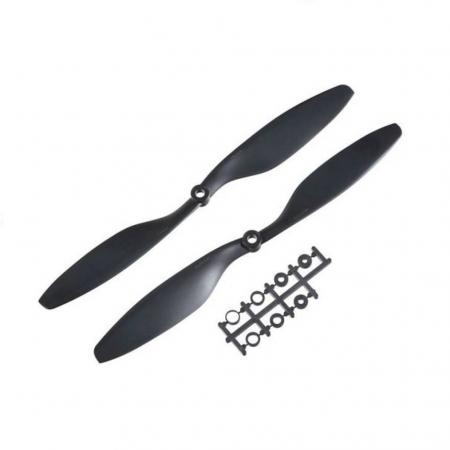
10. Propeller
Image courtesy:
Software and Apps Required
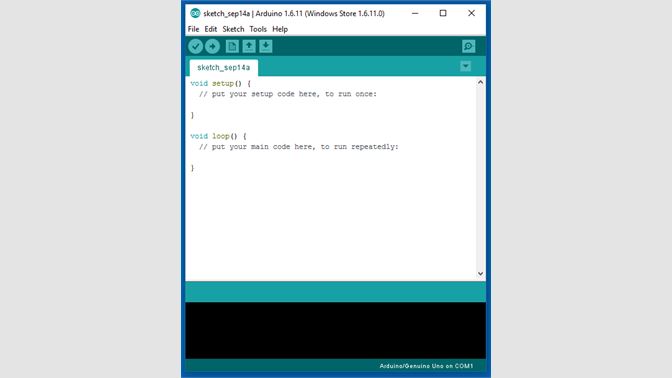


1. Arduino IDE
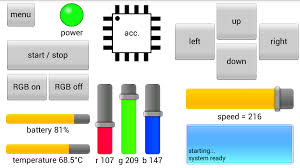
2. RoboRemo app
Prepare the Frame of Drone
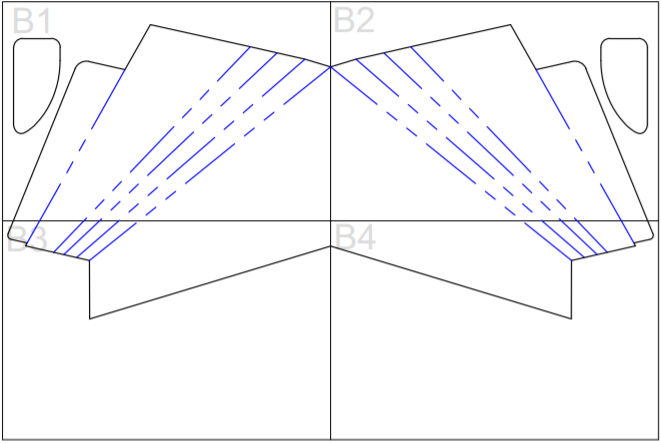
1. Print the attached photo on an A4 size sheet or A3 as required. ( I used an A4 sheet)
2. You may also use the large size pizza box.
3. Ensure that the main part is not on the bends.
4. Paste the A4 size sheet on the cardboard
5. Cut the cardboard along the outer lines.
6. Then fold the cardboard along the dotted lines
7. Cut the pieces of the side attachment.
8. The mainframe of the Drone is ready.
Make the Connections
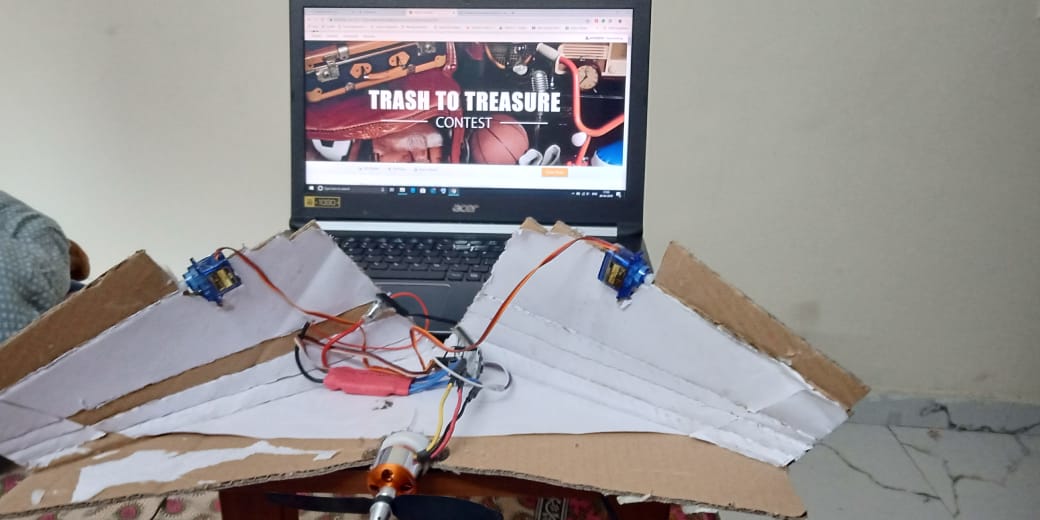
1. Now get all your electronics stuff together.
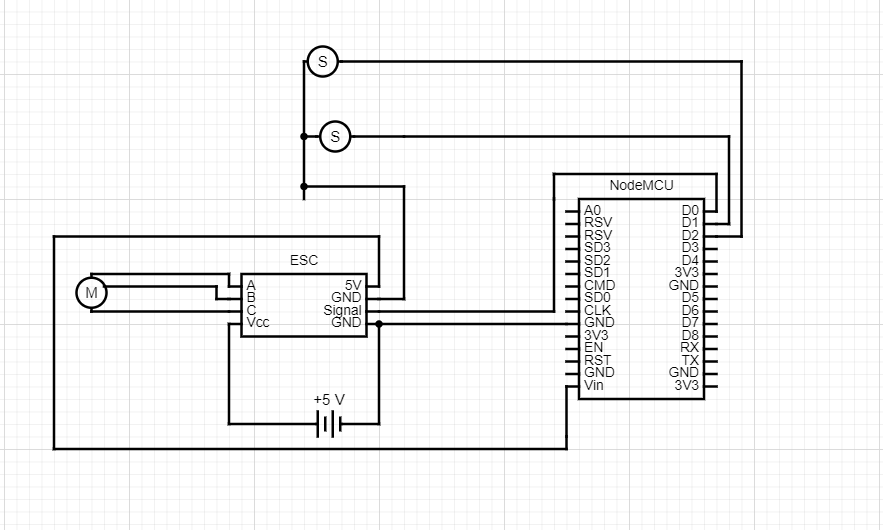
2. First, connect all the components together as shown in the image above.
3. M represents the BLDC motor
4. S represents the Sg 90 servo motor
5. ESC is connected directly to the power source which distributes the power to the NodeMCU and the BLDC motor.
6. The NodeMCU provides the power to the Sg 90 servo motor.
Coding
1. Open Android IDE and download the NodeMCU board
2. Install the NodeMCU Board.
Follow these 3 steps for installing NodeMCU board
3. Download the sketch and copy this code to your Arduino IDE.
Download this Sketch for RoboRemo app
4. Look if the *ssid = "RoboRemo" fits your needs or change it. (don't use the SSID from your local network)
5. If you want add a password by *pw
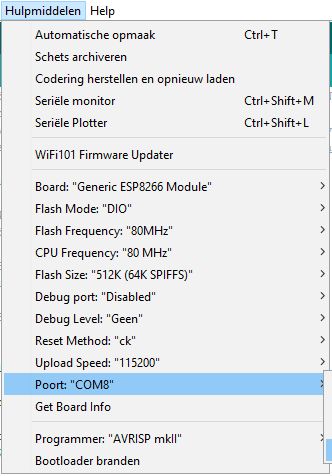
6. Choice by Tools => Board the right board( NodeMCU)
7. Check the following details in the TOOLS section.
8. Now copy the given code in the Arduino IDE.
#include
#include<br>
#include<WiFiClient.h>
// config:
const char *ssid = "RoboRemo";  // You have to connect your phone to this
Access Point
const char *pw = ""; // and this is the password
IPAddress ip(192, 168, 0, 1); // Part1 of the RoboRemo
connection
IPAddress netmask(255, 255, 255, 0);
const int port = 1234; // Part2 of the RoboRemo connection
=> part 1+2 together => 192.168.0.1:1234
WiFiServer server(port);
WiFiClient client;
int p1,p2,p3;
Servo s1,s2,s3;
void setup() { //declare here the IO pins. Add more if necessary.
pinMode(BUILTIN_LED,OUTPUT);
// builtin LED declaration Wemos MINI same as 2
s1.attach(D0);
s2.attach(D1);
s3.attach(D2);
  for(int i=0;
i<5;i++){      //builtin led flashes 5
times so you can control the operation
digitalWrite(BUILTIN_LED,HIGH);
delay(100);
digitalWrite(BUILTIN_LED,LOW);
delay(100);
}
Serial.begin(115200);
  WiFi.softAPConfig(ip, ip, netmask); //
configure ip address for softAP
  WiFi.softAP(ssid,
pw);      // configure ssid and password
for softAP
  server.begin(); //
start TCP server
Serial.println("ESP8266 RC receiver 1.1 powered by RoboRemo"); Serial.println((String)"SSID: " + ssid + " PASS: " + pw);
Serial.println((String)"RoboRemo app must connect to " +
ip.toString() + ":" + port);
}
void loop() { // continu lokong for client
if(!client.connected()) { client = server.available();
return;
}
  // If client
connected
if(client.available()) {
Serial.println("connect client with code:"); //mesage to (Arduino) serial monitor char c = (char)client.read(); // read char from client (RoboRemo app)
Serial.println(c);
char ch;
if(isalpha(c))ch=c;
c = (char)client.read();
while(1){ if(!client.connected()) { client = server.available();
return;
}
int x=0;
  for(;isdigit(c);c =
(char)client.read()){
x=x*10 + ((int)c-48);
}
switch(ch){ case 'T':
p1=x;
Serial.print("T"); Serial.println(p1);
break;
case 'L':
p2=x;
Serial.print("L"); Serial.println(p2);
break;
case 'R':
p3=x;
Serial.print("R"); Serial.println(p3);
break;
}
ch=c;
s1.write(p1);
s2.write(p2);
s3.write(p3);
  c =
(char)client.read();
}
}
}
Connecting NodeMCU and ROBOREMO App
1. Compile the program.
2. Now upload the program.
3. In the middle of the uploading, it will show you to connect the NodeMCU
4. Attach the NodeMCU with the Type-B connector to the USB in the computer.
5. Now flash the NodeMCU in the programming mode.
6. Download the RoboRemo app.
To make a connection between the ESP8266 and RoboRemo there are two steps.
1 Device WiFi
We made from the ESP8266 a Wifi-server. So you have to set the device - WiFi - settings to RoboRemo or the name you change it. So go to the WiFi settings from your device.
2 RoboRemo connect
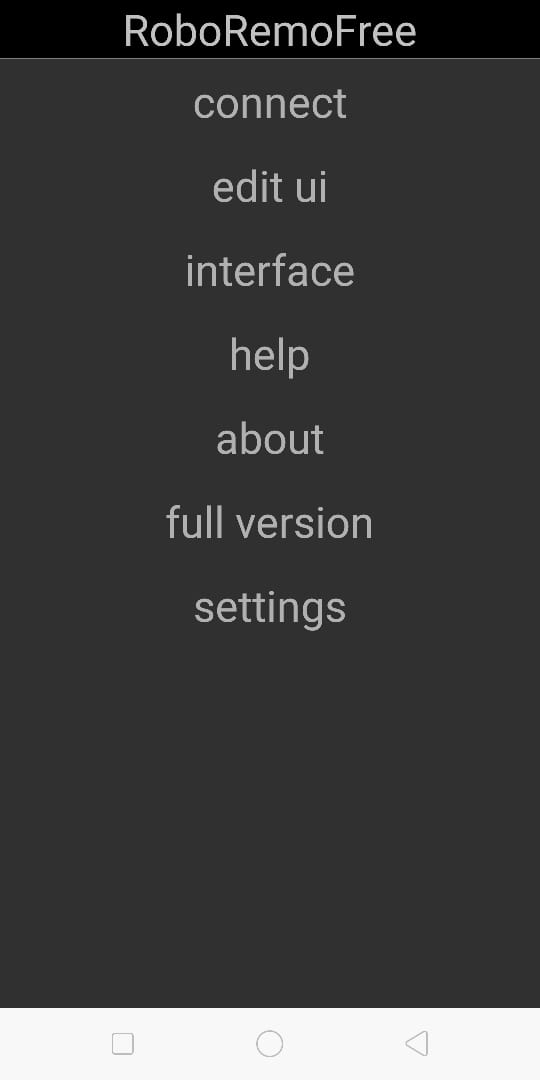
From the RoboRemo-app : menu => connect => Internet (TCP) => other => fill in IP-address. In the sketch is given : 192.168.0.1:1234 The WiFi IP will be remembered so the next time you can easily click on the right IP.
If there is a problem then-
- Arduino => Tools => Serial monitor.
- Reset the ESP8266 or reconnect it.
- Wait until the IP is given.
Interfacing the APP using the specific code.
- Download the Robo control file.
- Open the app and select the load interface, and select this file.
Downloads
Configure RoboRemo
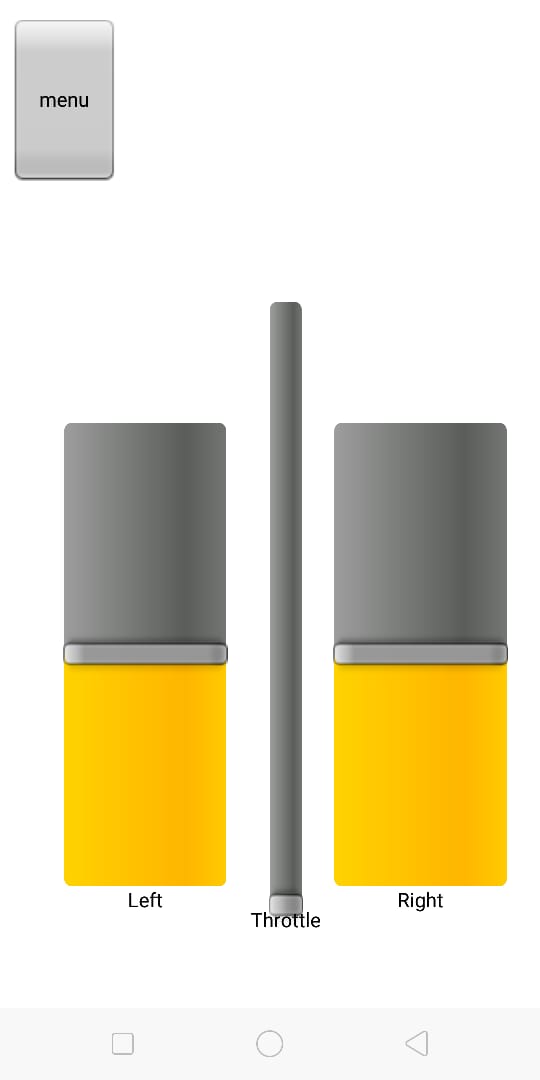
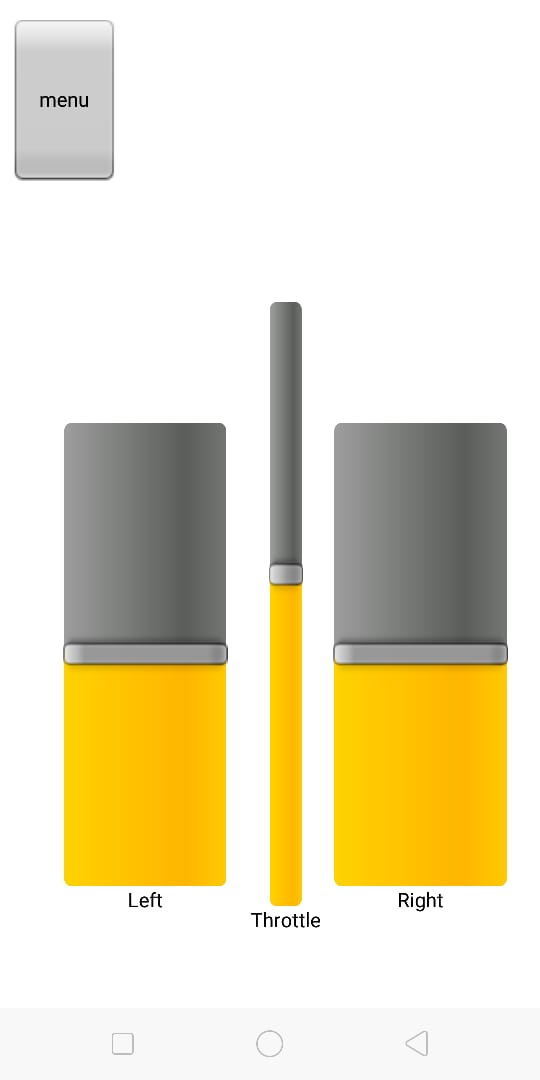
1. Using the Edit ui edit the program like shown in the image.
2. After editing connect the roboremo using the WIFI named roboremo.
3. Now open the serial monitor of the arduino IDE.
4. Try changing the values of the throttle and, left and right, check the corresponding values in the serial monitor.
5. Your BLDC would start around 50 so you could edit the throttle from 45.
Final Compilation
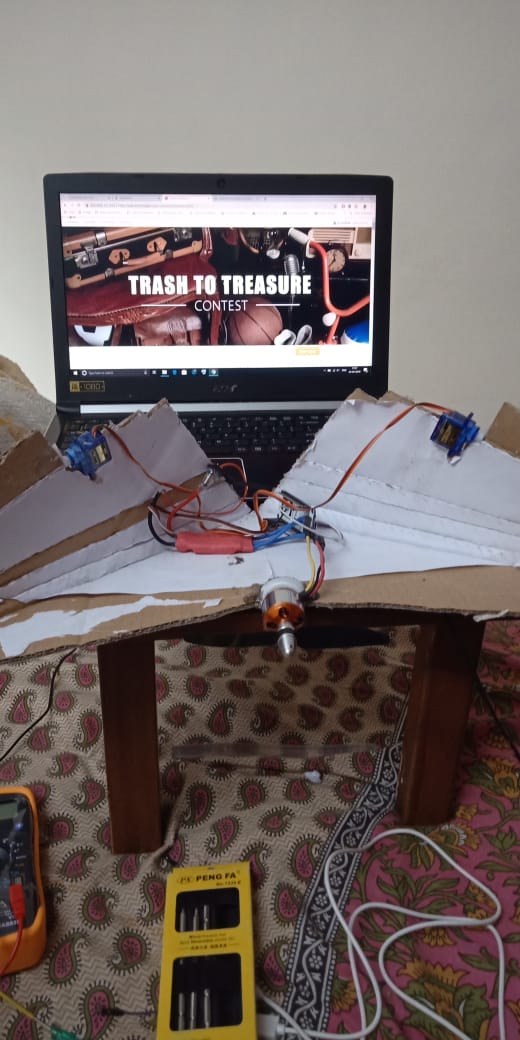
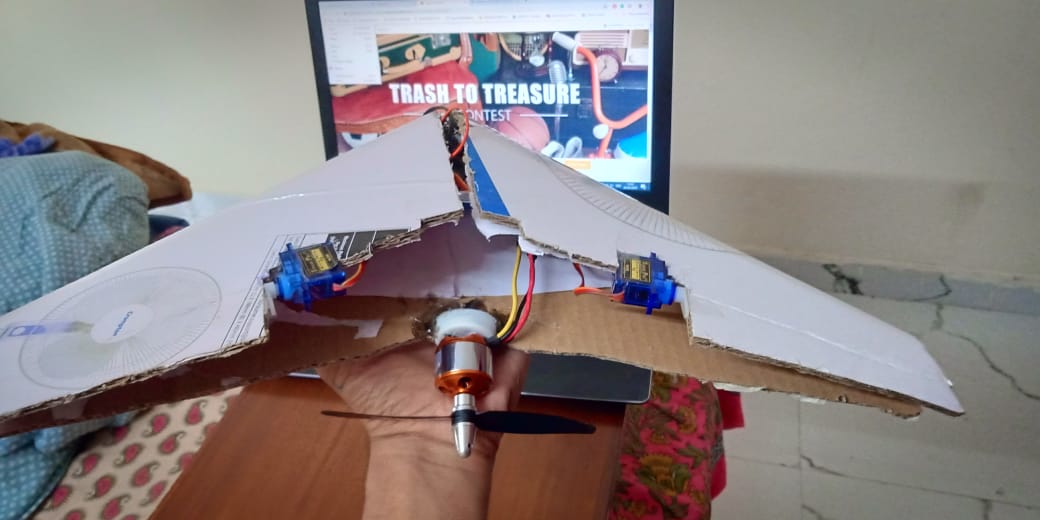
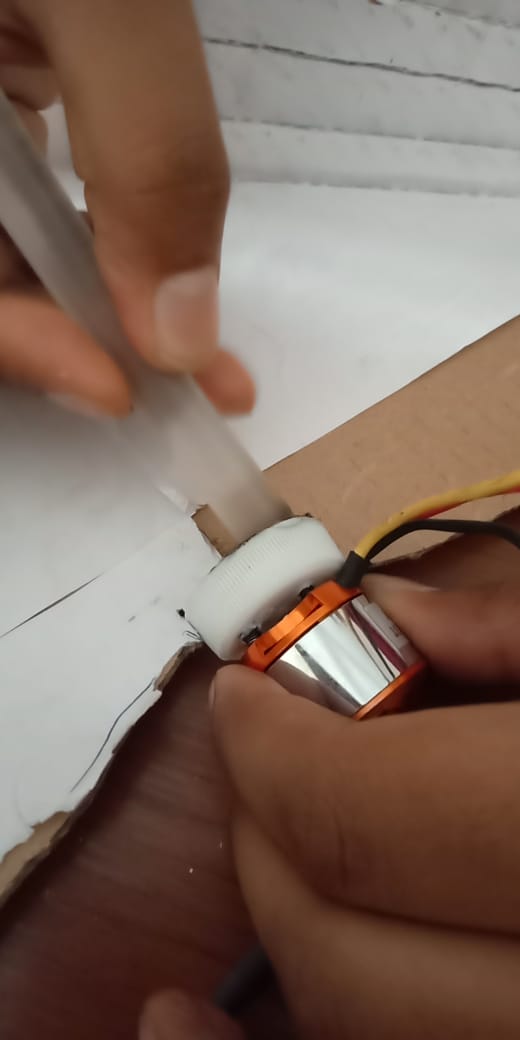
1. Place the circuit inside the middle part of the plane.
2. Take a bottle cap and mount the BLDC on it using the screws and attachments provided.
3. Now make a cut in the middle down (inverted V) to attach the cap.
4. Then melt the hot glue gun and spread it around it.
5. Let the hot glue dry.
6. Now cut the wings around 5-6 cm from the (inverted V) and cut the board in the shape of the Sg 90 servo motor.
7. Attach the Sg 90 servo motor using tape so that the servo motor helps in the right and left movement of the drone.
8. Now attach the battery below the drone after calculating the Center of Mass of the Drone.
9. Now connect the battery to the ESC.
10. Finally, attach the propeller and tighten it with the BLDC.
11. CHEAP DRONE USING NODEMCU IS READY.