Charley Chair - How to Design a Laser Cut Chair
by hogthrob in Workshop > Laser Cutting
26914 Views, 165 Favorites, 0 Comments
Charley Chair - How to Design a Laser Cut Chair
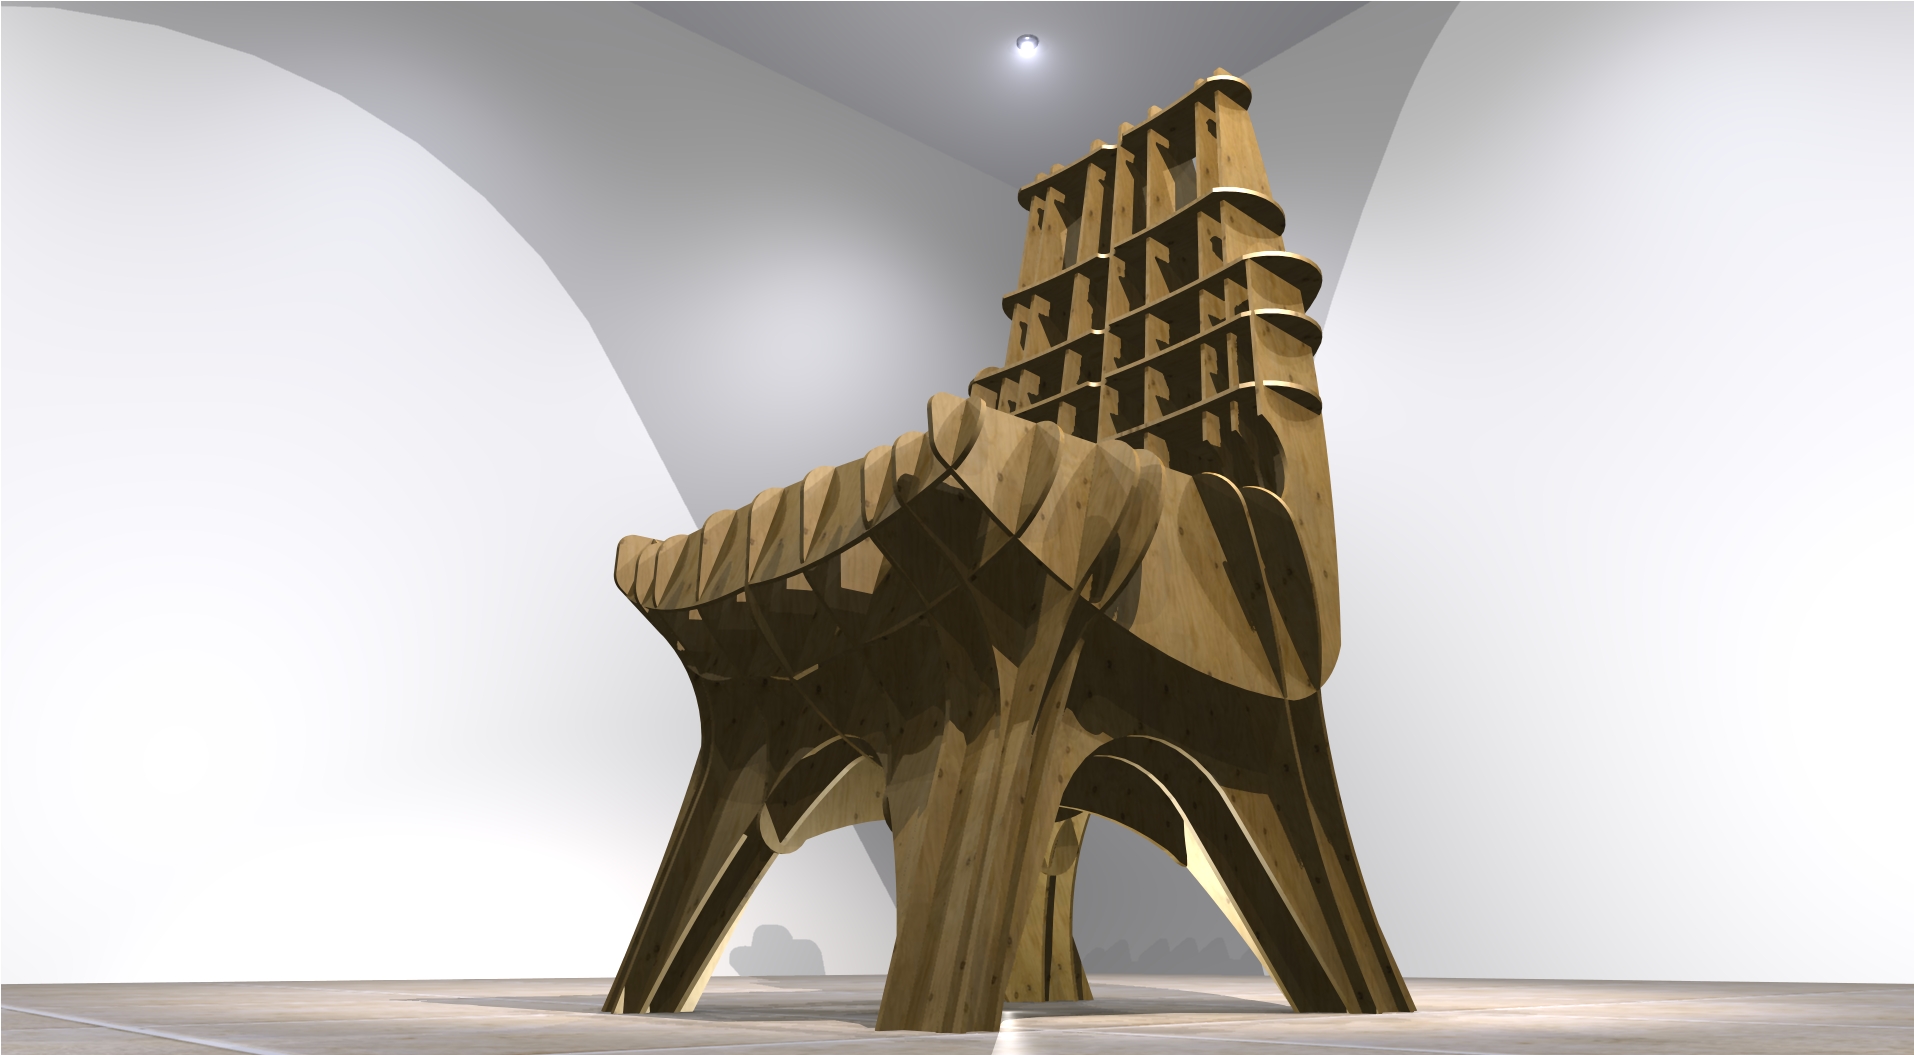
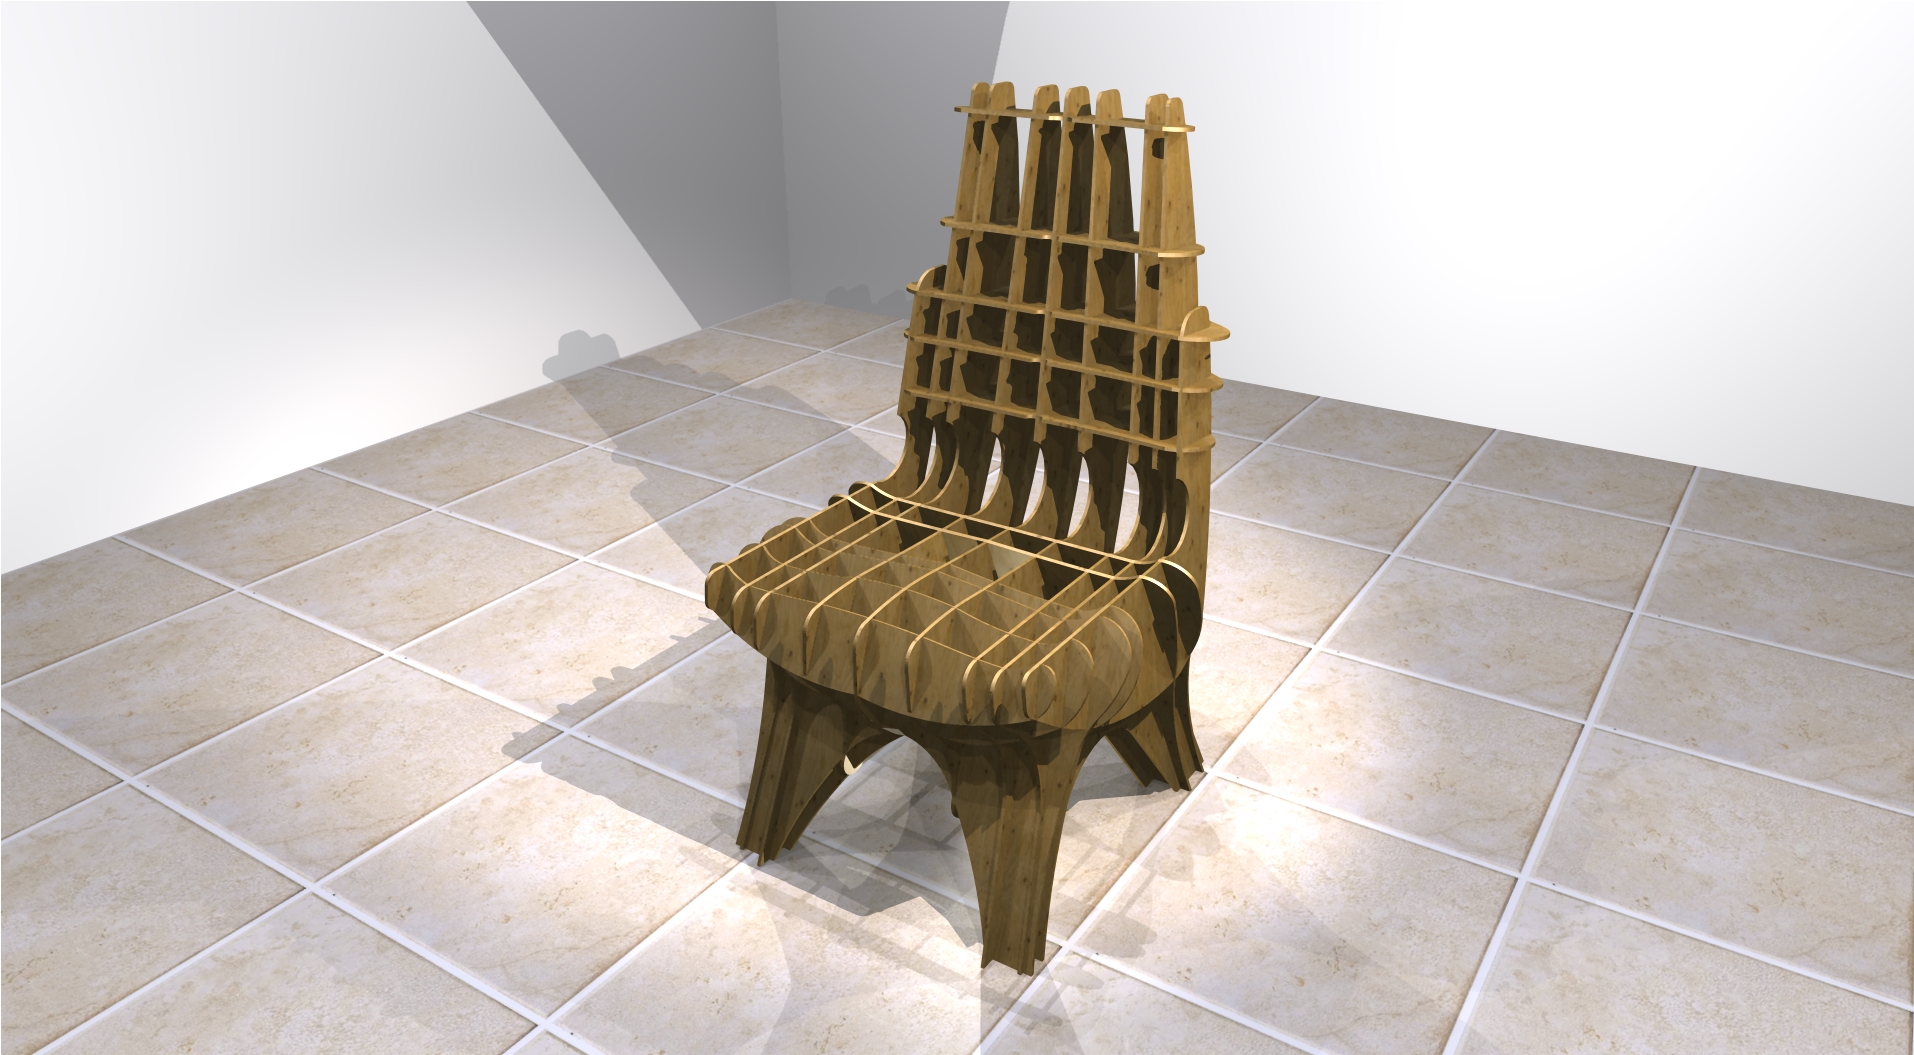
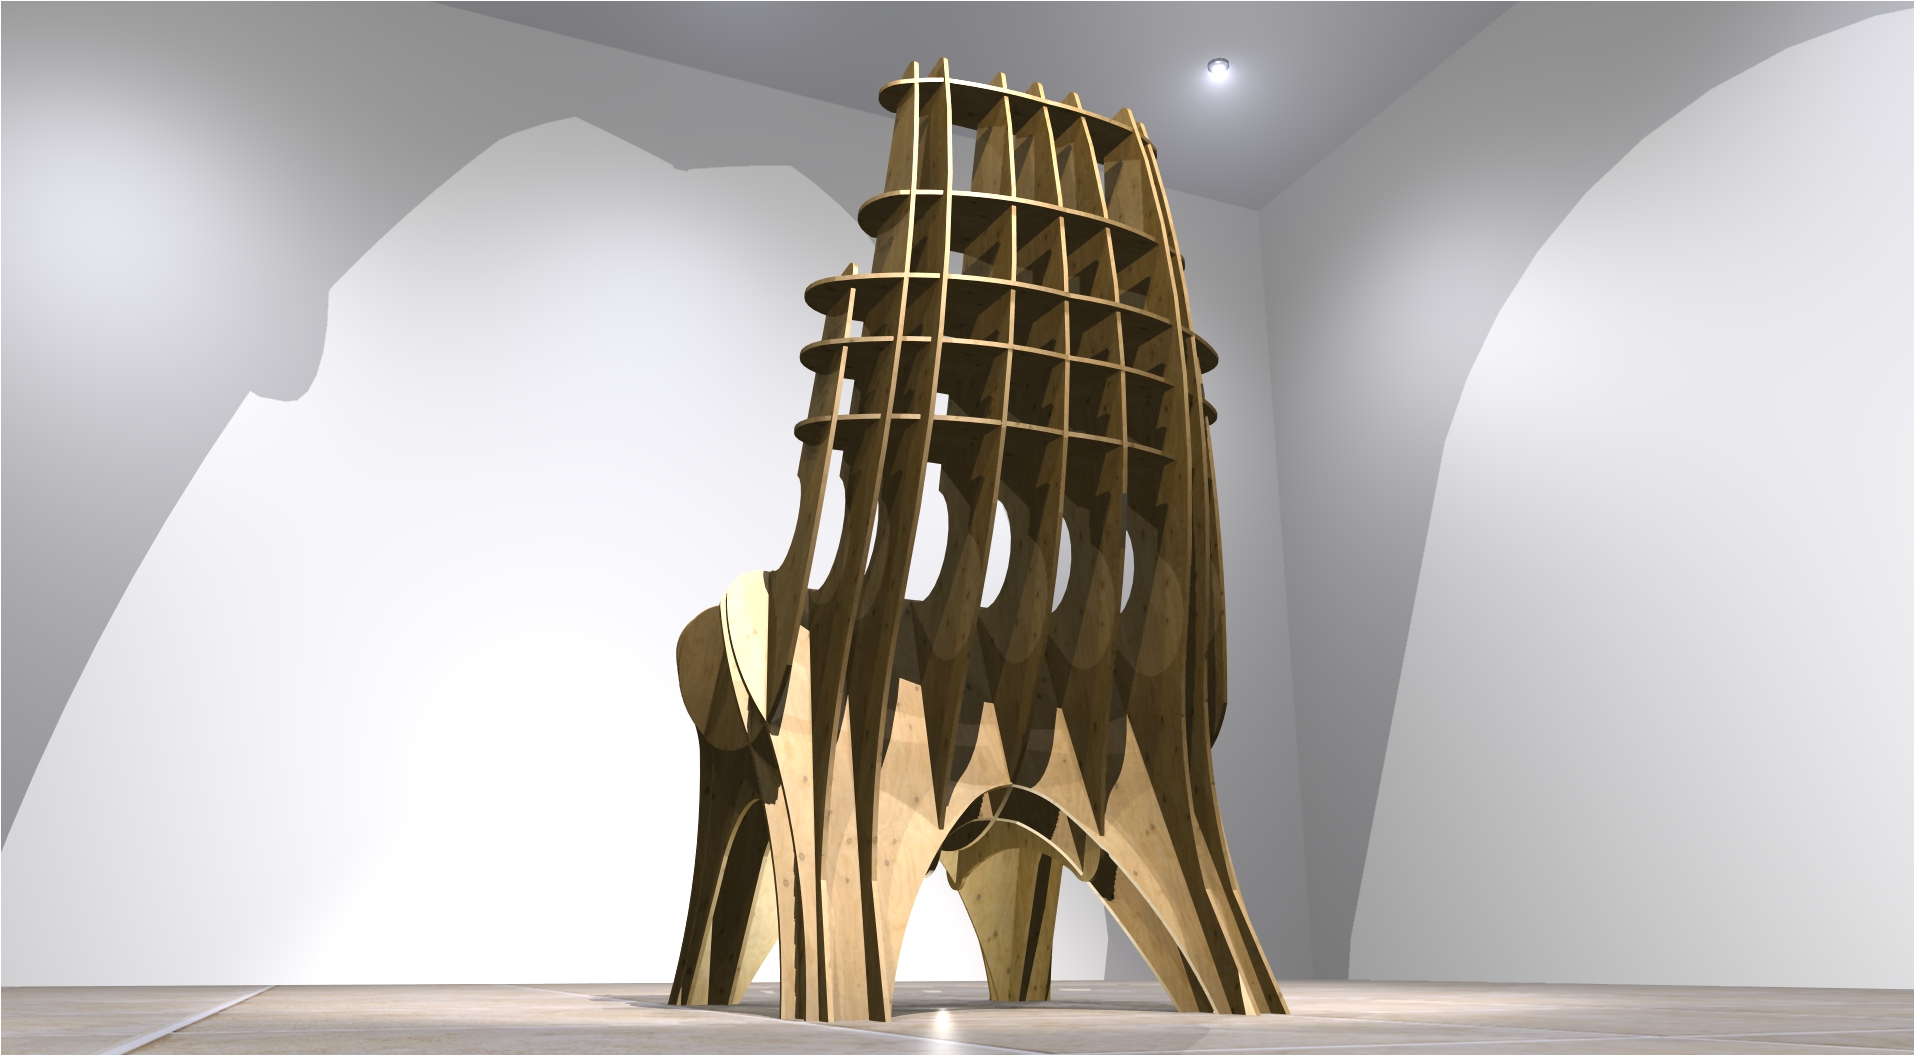
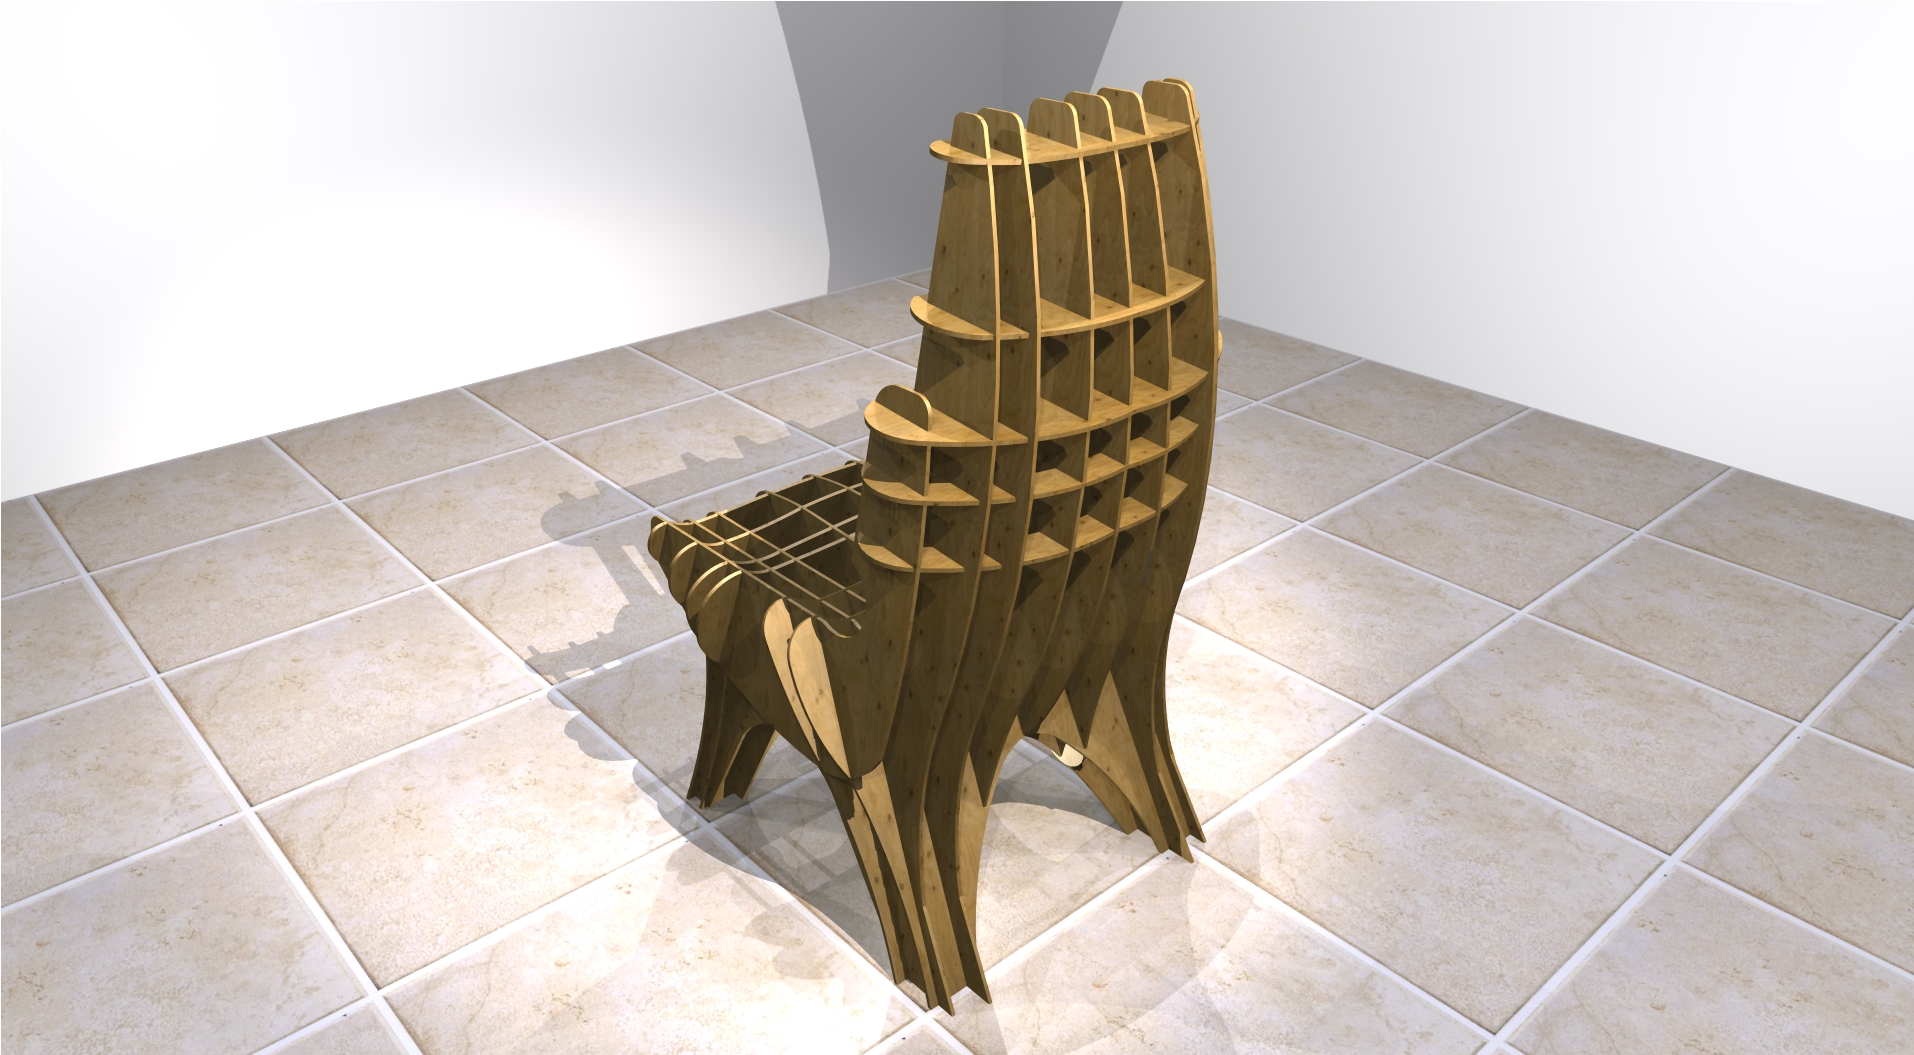
Ok so I make no bones I designed this specifically for the hurricane laser competition (technically I brought it forward in the long list of things I want to make including a boat, a tool bench/store and a camera lens warmer for time lapse) , but who would not want win a laser cutter, just think of the possibilities!!!!
I have seen a number of projects using 123d make recently and I spent 2 weeks(new baby fulltime job etc) updating my mac OS then downloading 123d make and then becoming a beta tester for OSX rhino so I could get a decent programme (for free) to build a base model etc.
Then it hit me when I first learnt to make things, above space lego, it was model boats and planes and they are essentially slices of hull and fuselage spread out to make a bigger form, so I ditched the 123dmake app and hit trusty old sketchup.
If you know what sections you need to make, sketchup is really easy to draw them out and then give them a bit of depth.
As with most of my instructables I tend to design in sketchup and I have attached a .skp file of the chair which you can download and peruse. I have left scrap components and bits of working out I did to build the finished item in 3D. Then there is a clean version with just the completed chair.
So I think this instructable is part how to design from scratch, part narrative of how I design from scratch, and part how to make a laser cut chair that fits the bed of a charley hurricane laser cutter.
(last think thanks to JC for running my sketchup model through planit in his office and producing some tasty renders)
First download the sketchup files and familiarise yourself. I couldnt upload the files directly here so click on the links below.
http://www.mediafire.com/?w1c7h53549ance2
http://www.mediafire.com/?ao3lr8ifayb49nt
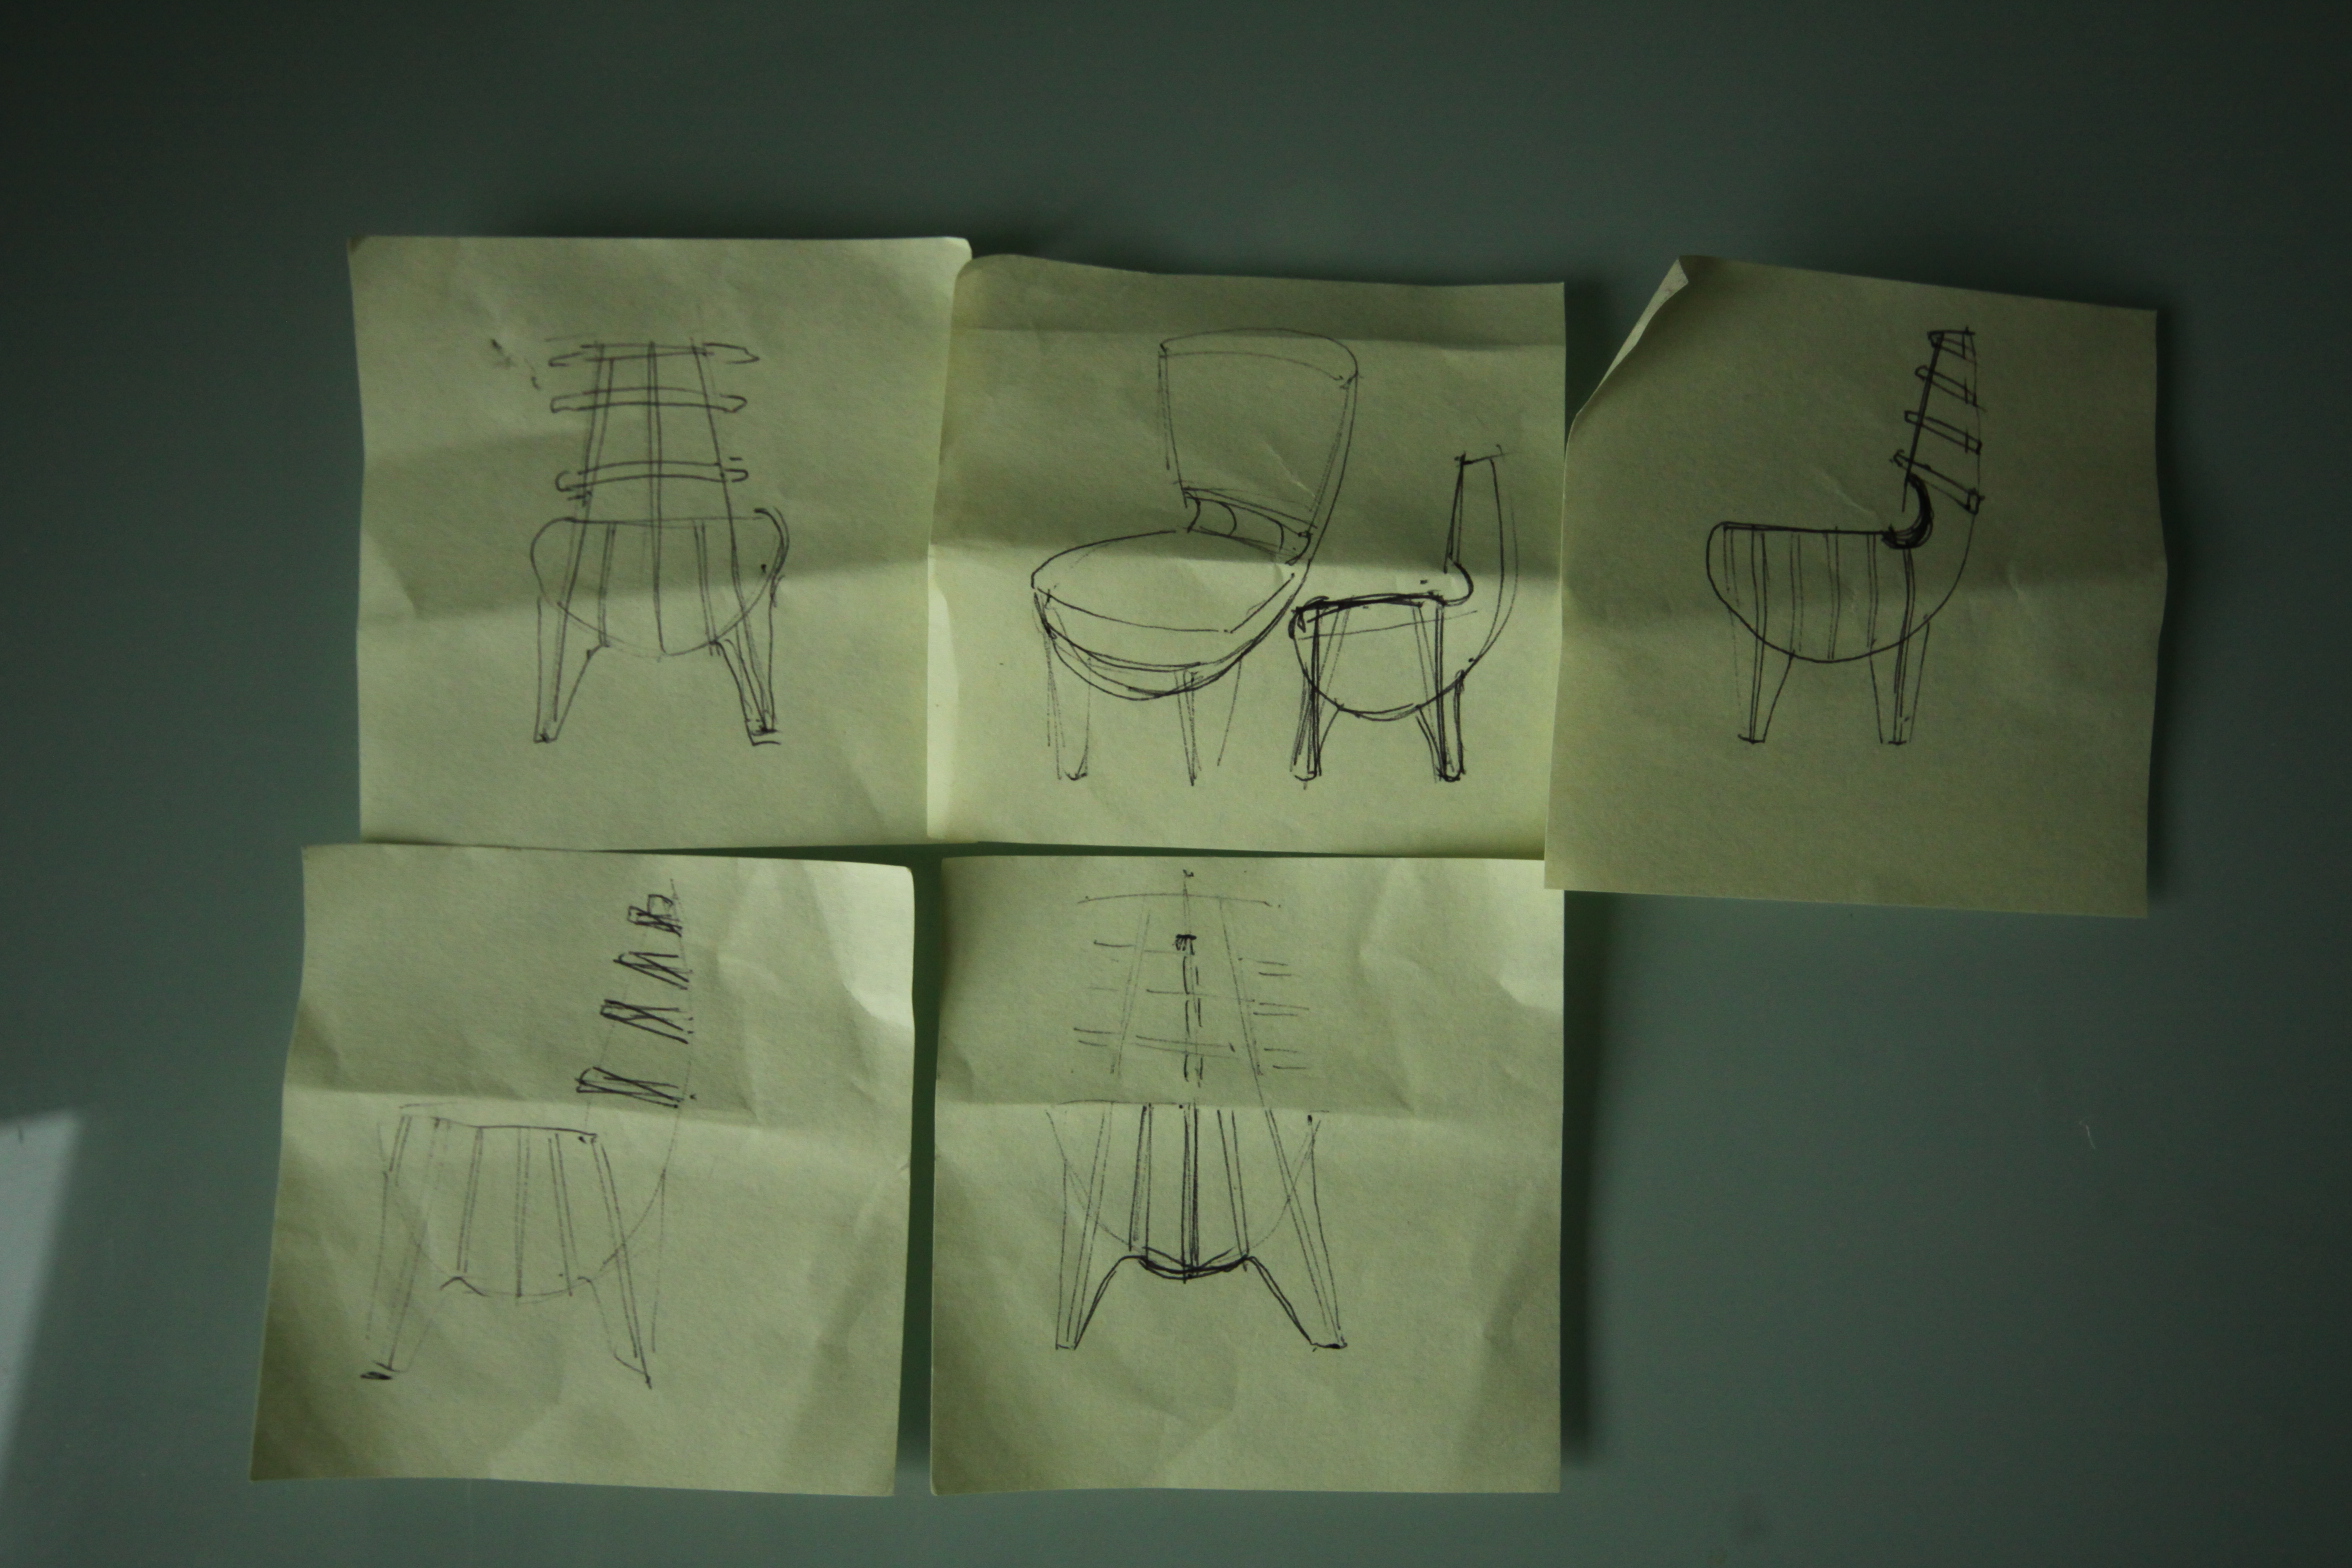
My starting point was numerous post-it notes scribbled on at work stuffed in my back pocket and then brought home. see picture, I wanted to create a bulbous form that would benefit from the open light grid structures created by 123d Make ( I was still going to use 123dmake at this point)
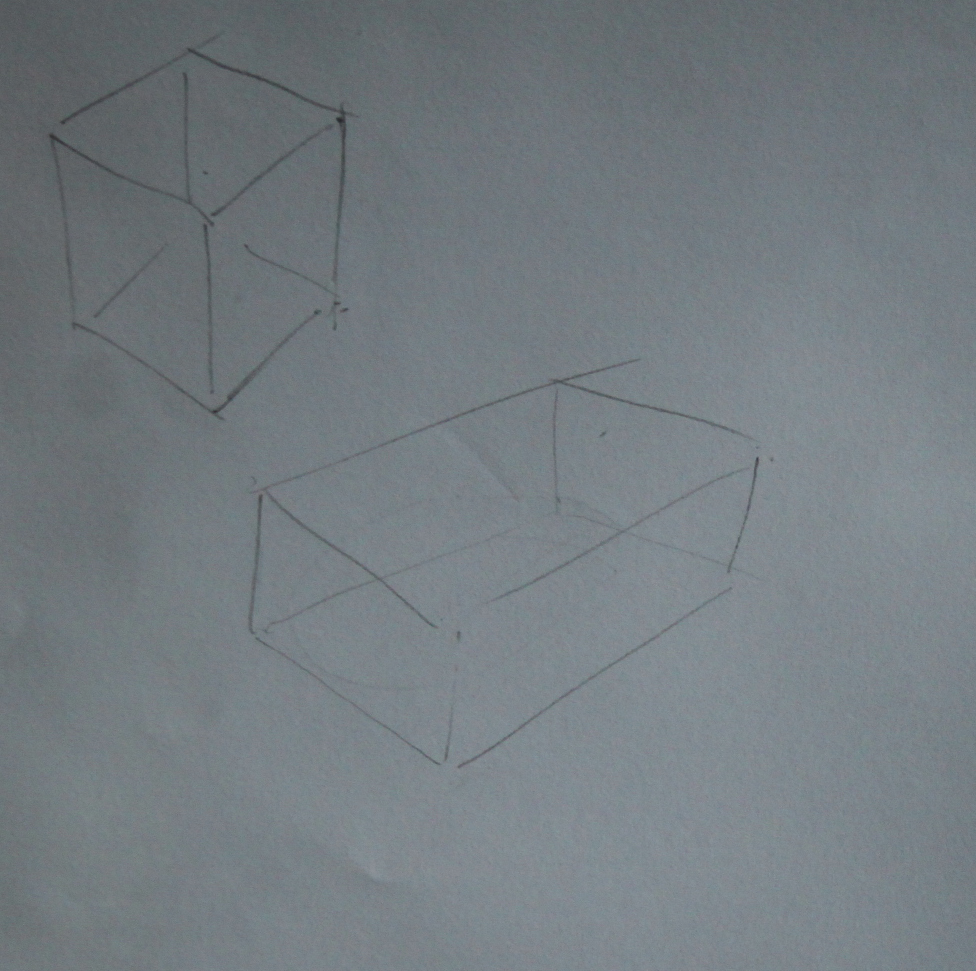
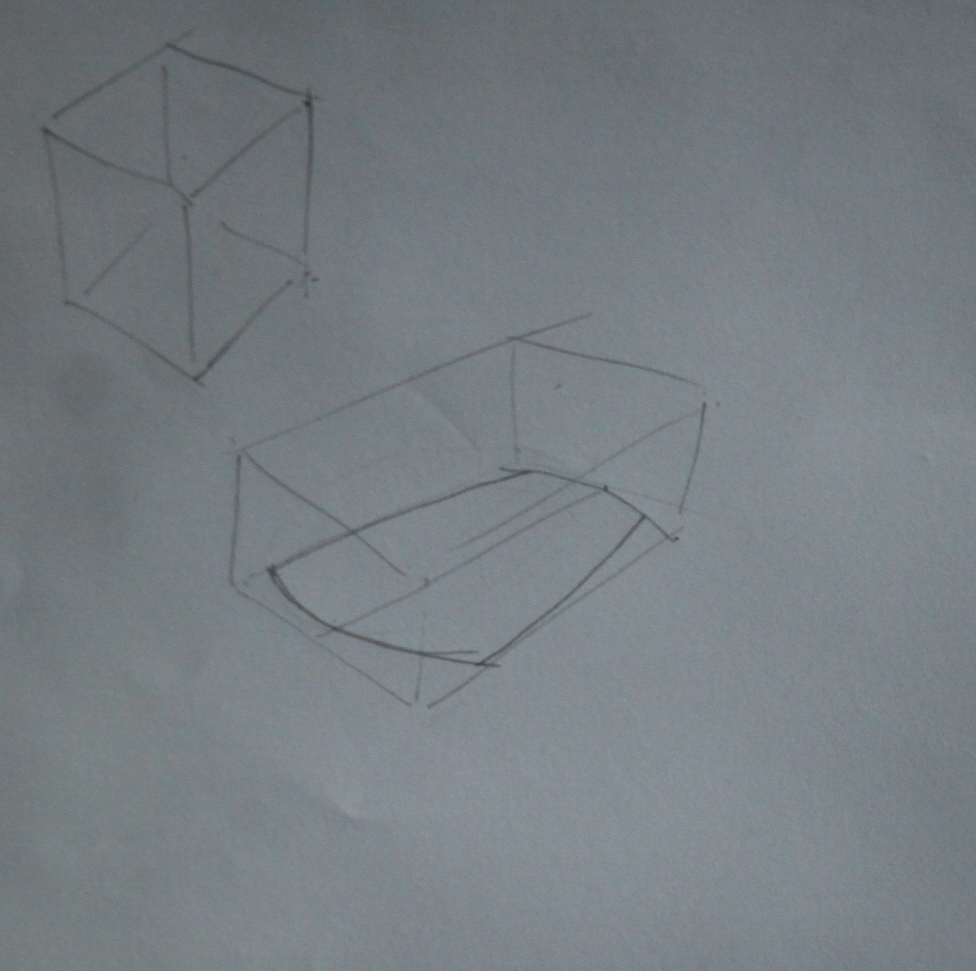
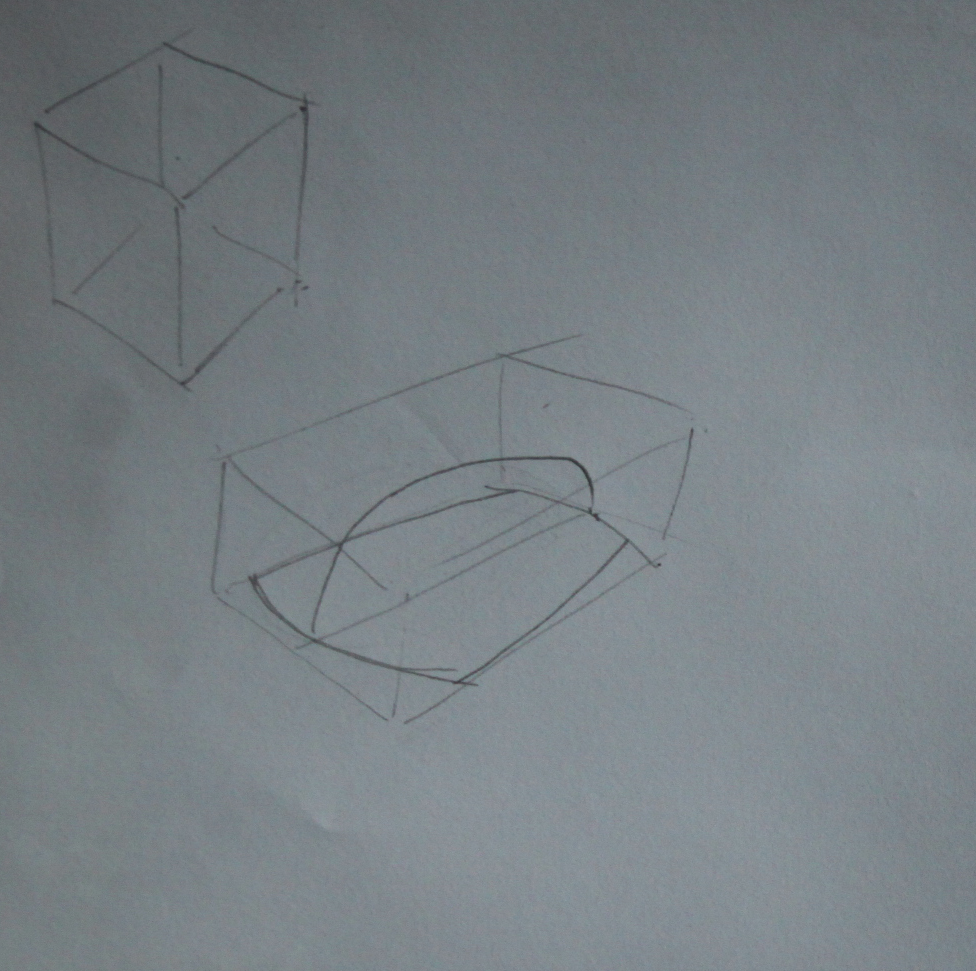
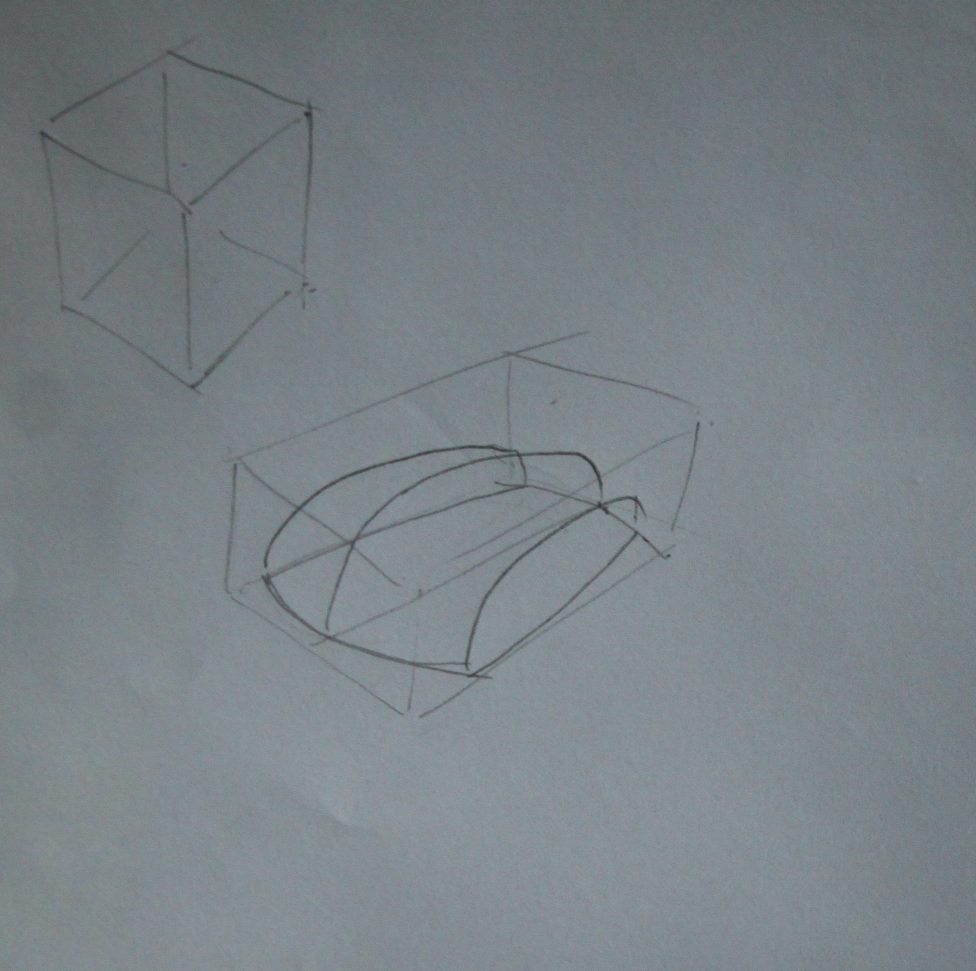
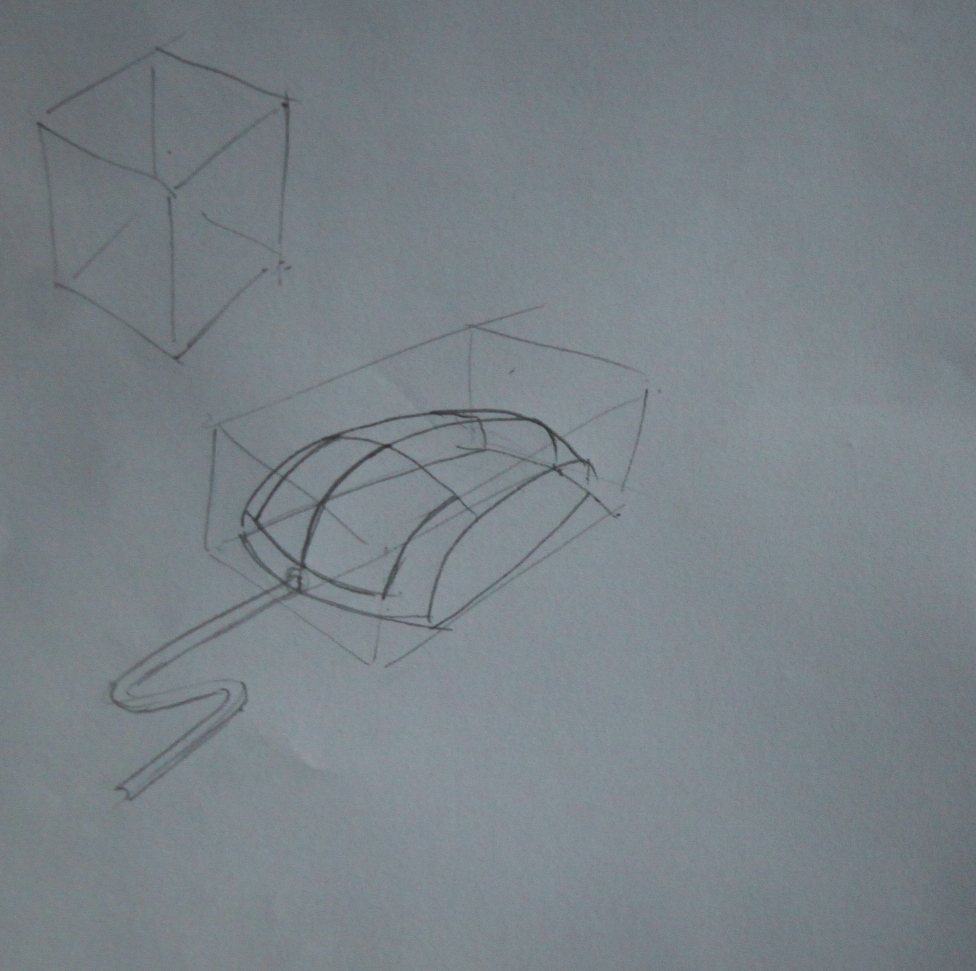
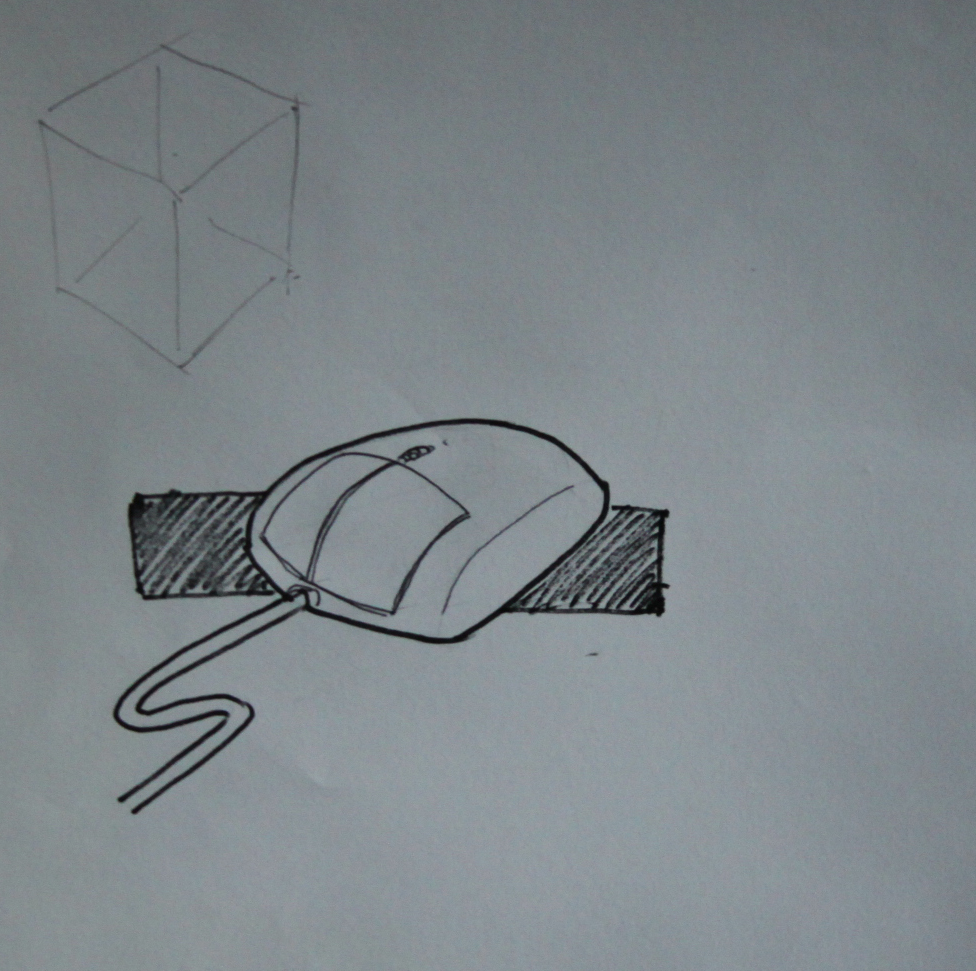
If you want to draw anything from scratch then learn to draw a box in 3D and then you can draw anything see the attached pictures I drew a computer mouse to demonstrate. You have planes in 3 dimensions made by the box which allows you to create sections through whatever you are drawing then you can just join the sections up.
If you practice eventually you can visualise the box on the paper and just draw the the lines you need to describe the object.
this is the same technique I used in sketchup to create section planes to build a 3D shape.
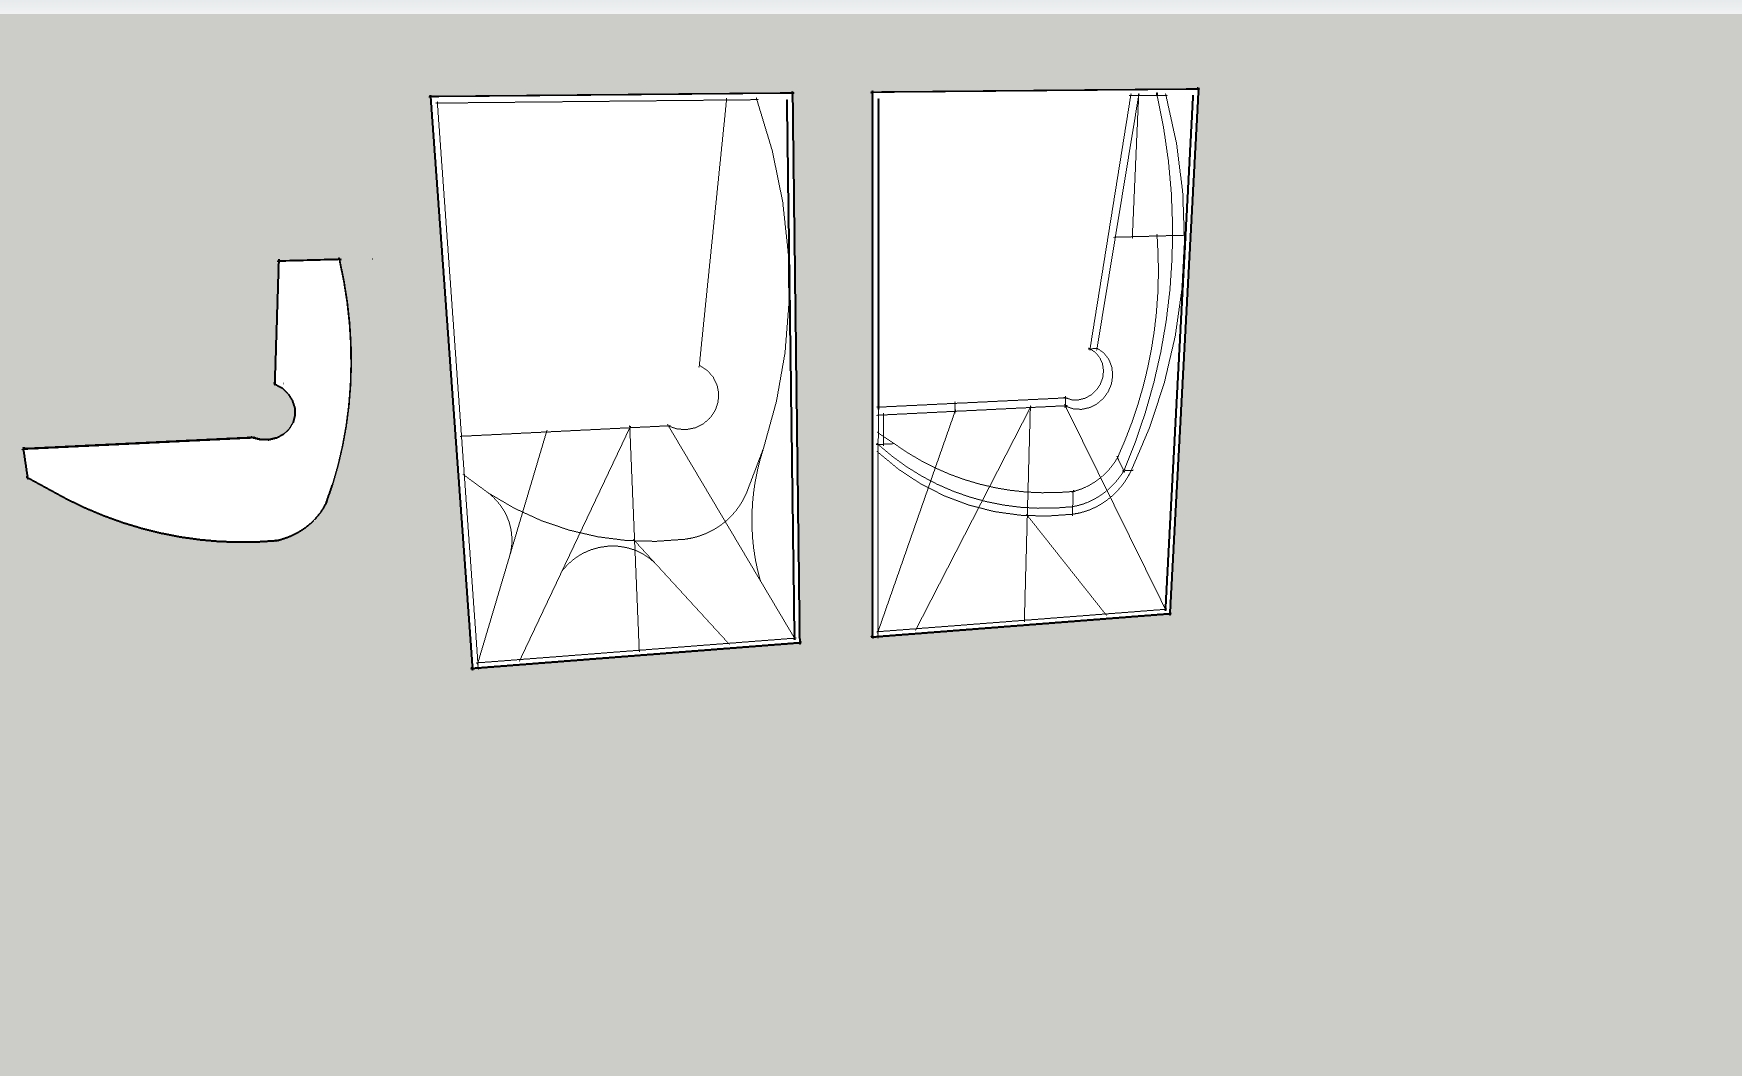
scale your piece mine is for the charley laser cutter so is 1000mm x 600mm
First I drew a square in a vertical plane 600mm wide and 1000mm tall and started drawing out the first section - I chose one that included a leg so that I could flesh out the whole chair and its dimensions.
You will see from the edges that I set the maximum dimensions in about 10mm as I dont know if the cutter will run all the way to the edge. I drew more than one section on this first plane and copied it out a couple of times to create the first 4-5 vertical sections.
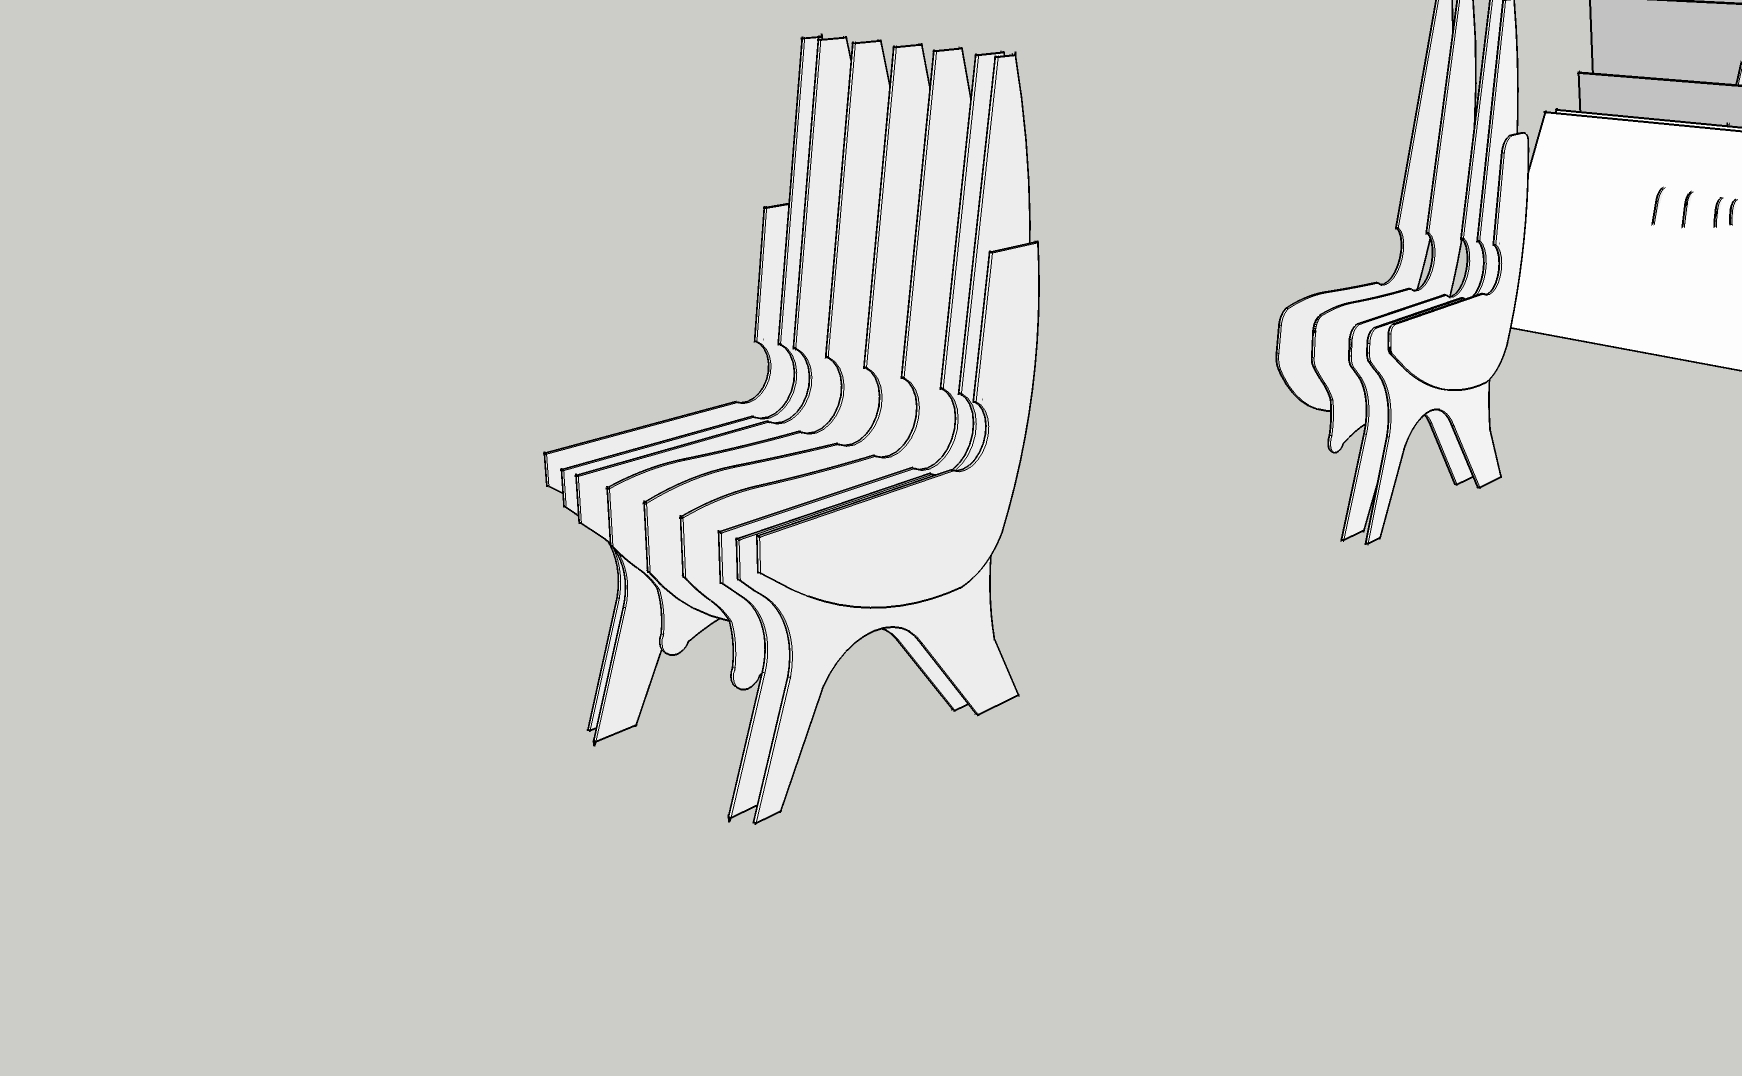
So this is the first set of sections created, you can see the chair forming but obviuosly it needs support in the opposite direction.
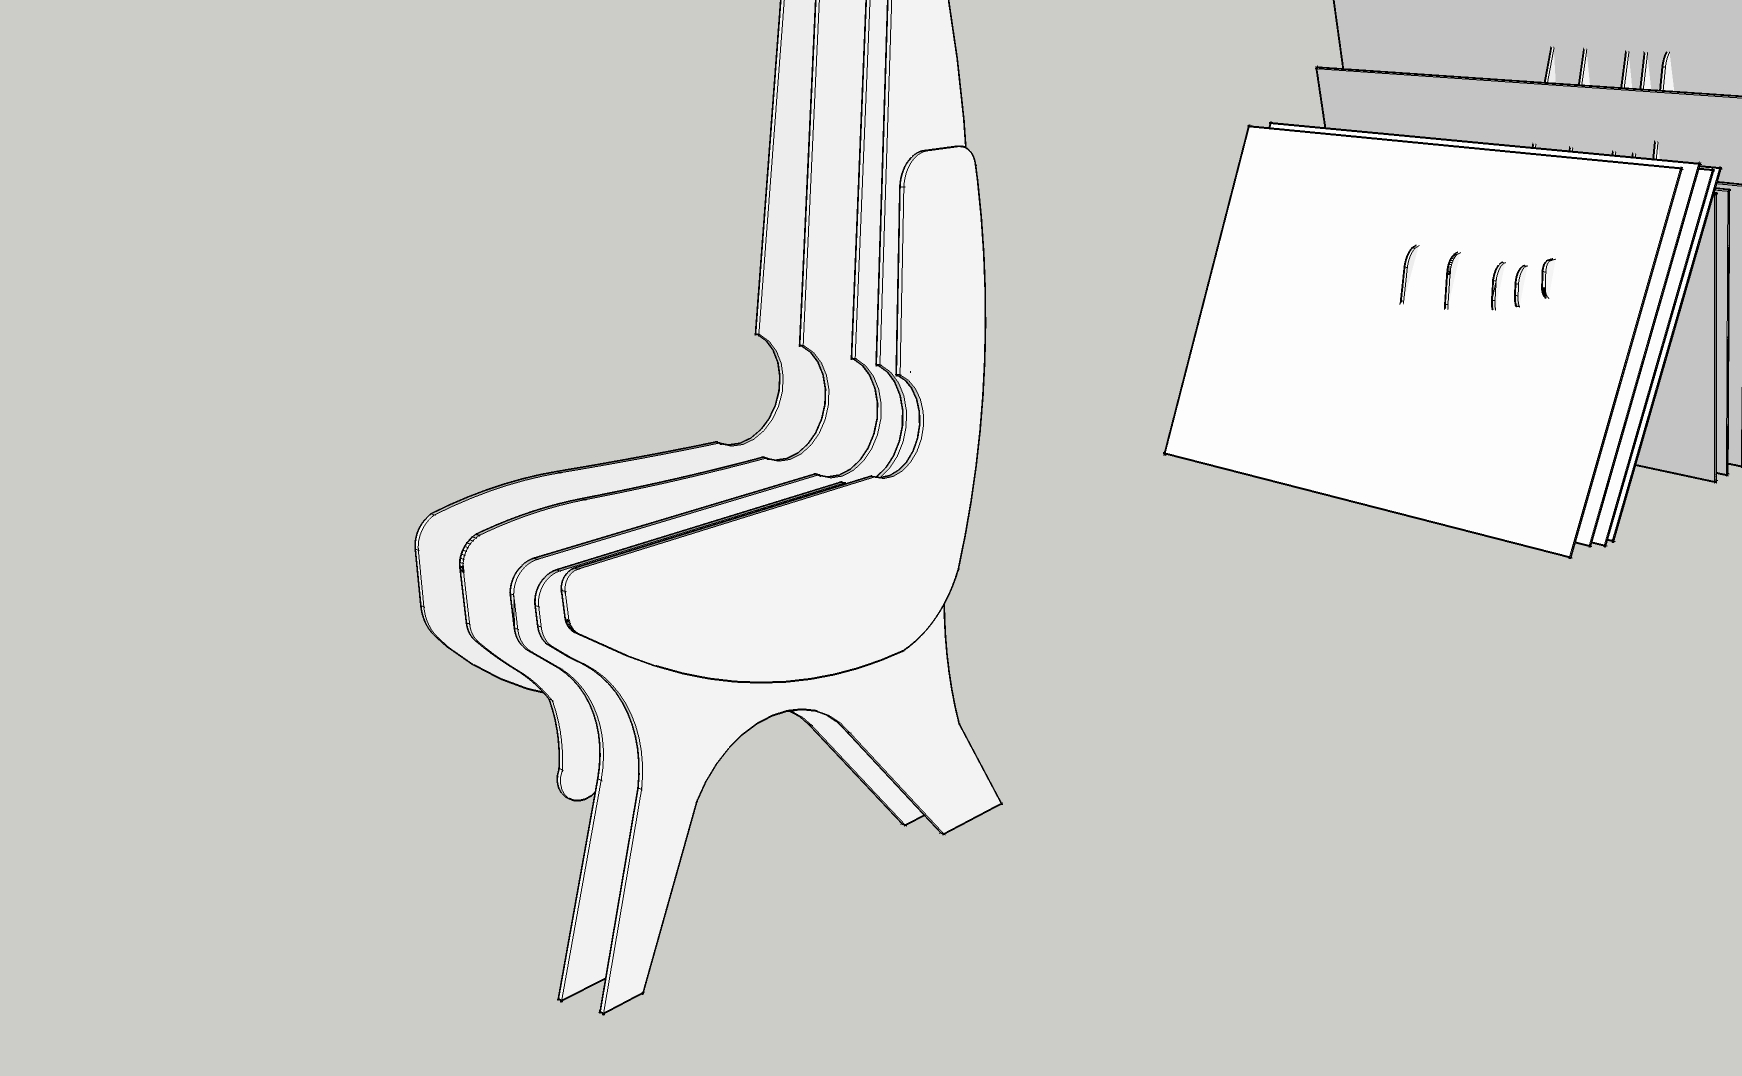
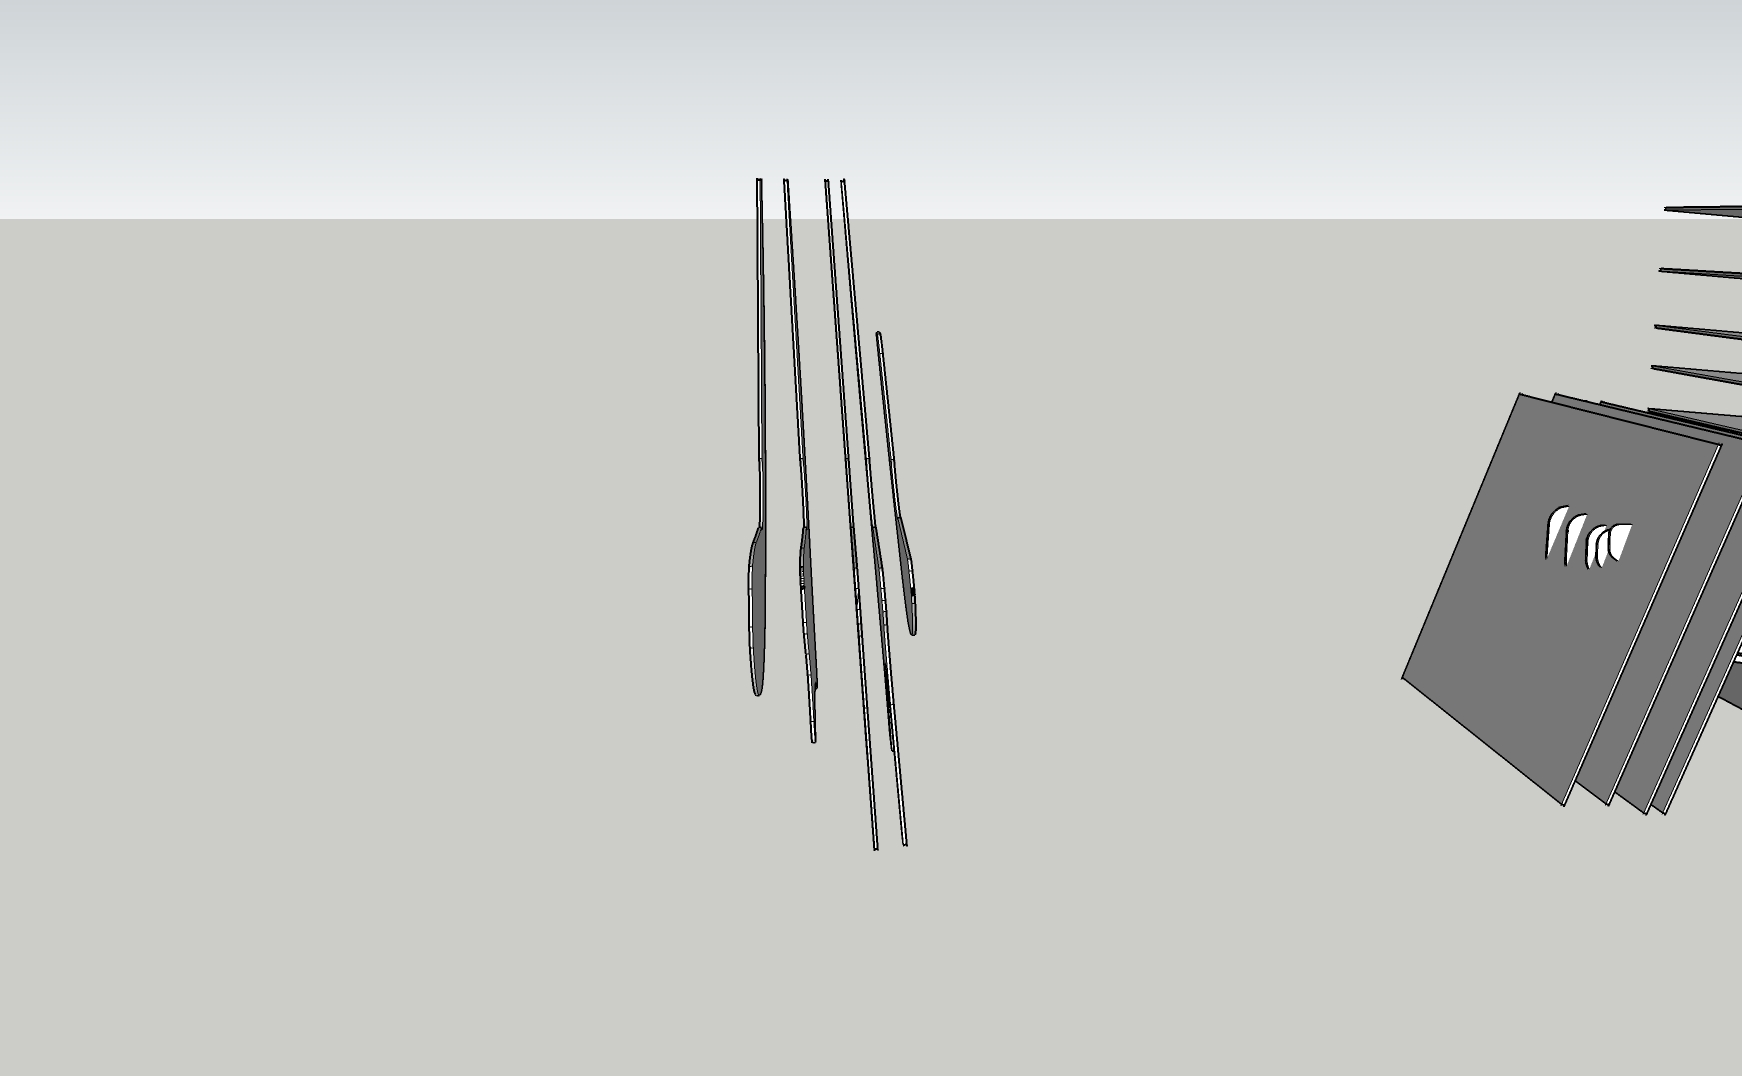
As the chair is symetrical you only really need half of it to work with, I have also tidied up the edges here with some nice radii.
The second picture shows how the sections have been canted over I think the centre section is vertical the next section out is 3 deg, the next 4deg and so on.
The second picture shows how the sections have been canted over I think the centre section is vertical the next section out is 3 deg, the next 4deg and so on.
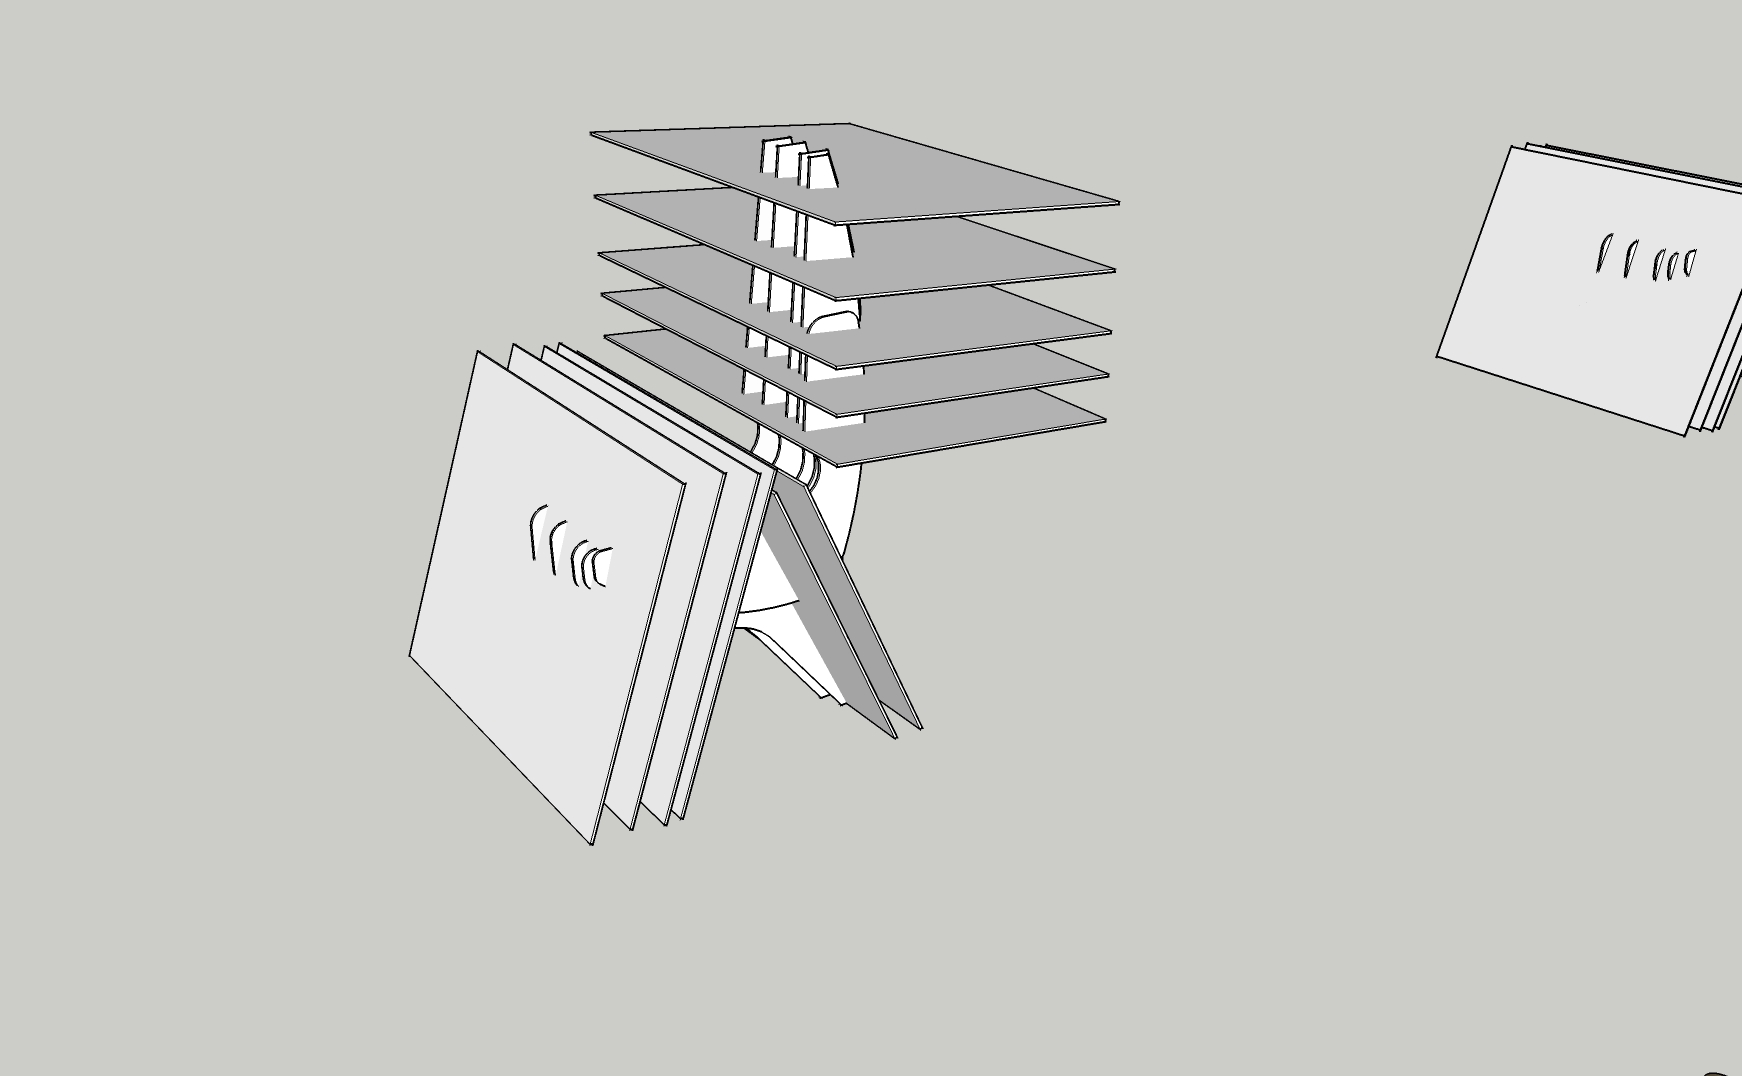
To form the sections running in opposite directions you need to create larger sections to cut them from place these over your model. it is a good point to note that each piece I have created has been made into a 'component' in Sketchup this makes all the lines and faces of a piece become one in the eyes of Sketchup and it stops you accidentally making them part of something else.
so I have lined up the planes to run down both legs and across the back rest - the back rest sections are angled downwards at around 5 degrees.
so I have lined up the planes to run down both legs and across the back rest - the back rest sections are angled downwards at around 5 degrees.
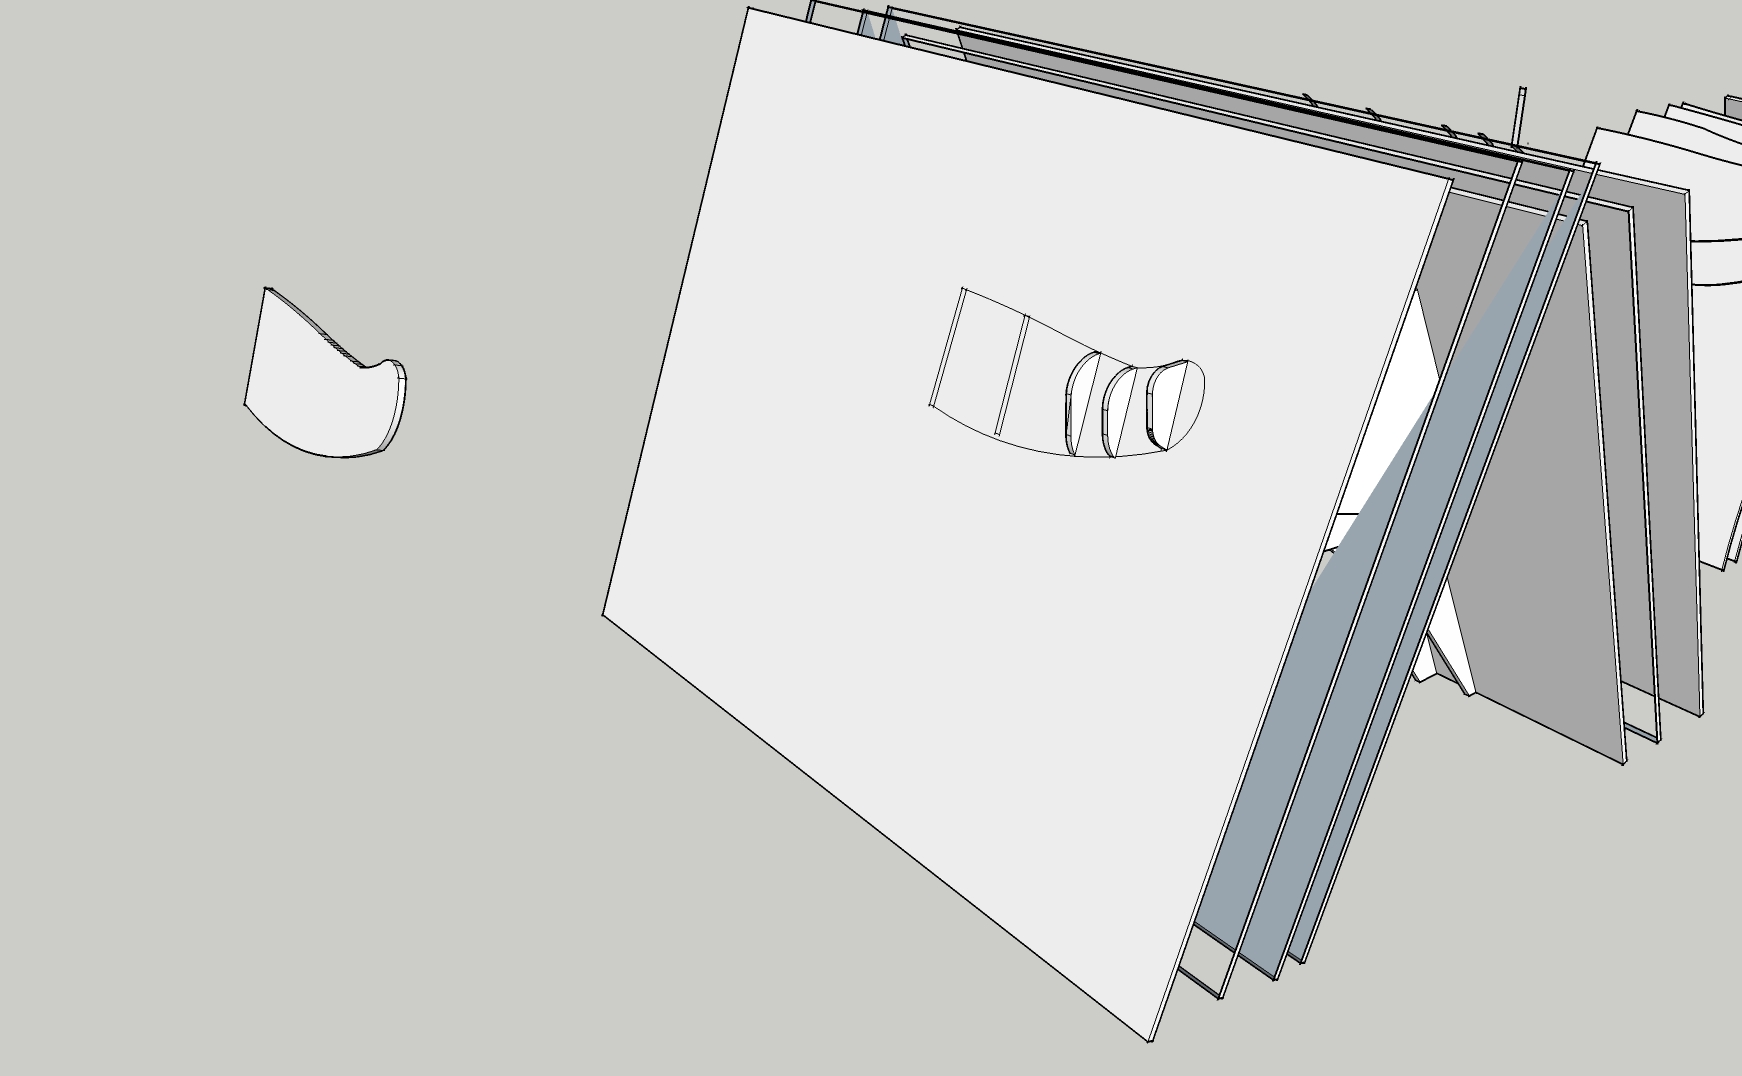
So ignoring the make everything a component advice make a copy of everything and select all of it then 'explode'.
This make all the pieces become their smaller parts again, once they are broken up you can 'intersect faces with selection'
Now comes the fiddly bit!
All of the sections have now intersected each other so you can see where the first set of vertical sections pass through each of the new planes.
This allows you to draw on the shape of your new planes one at a time until you end up with a new set of intersecting sections...
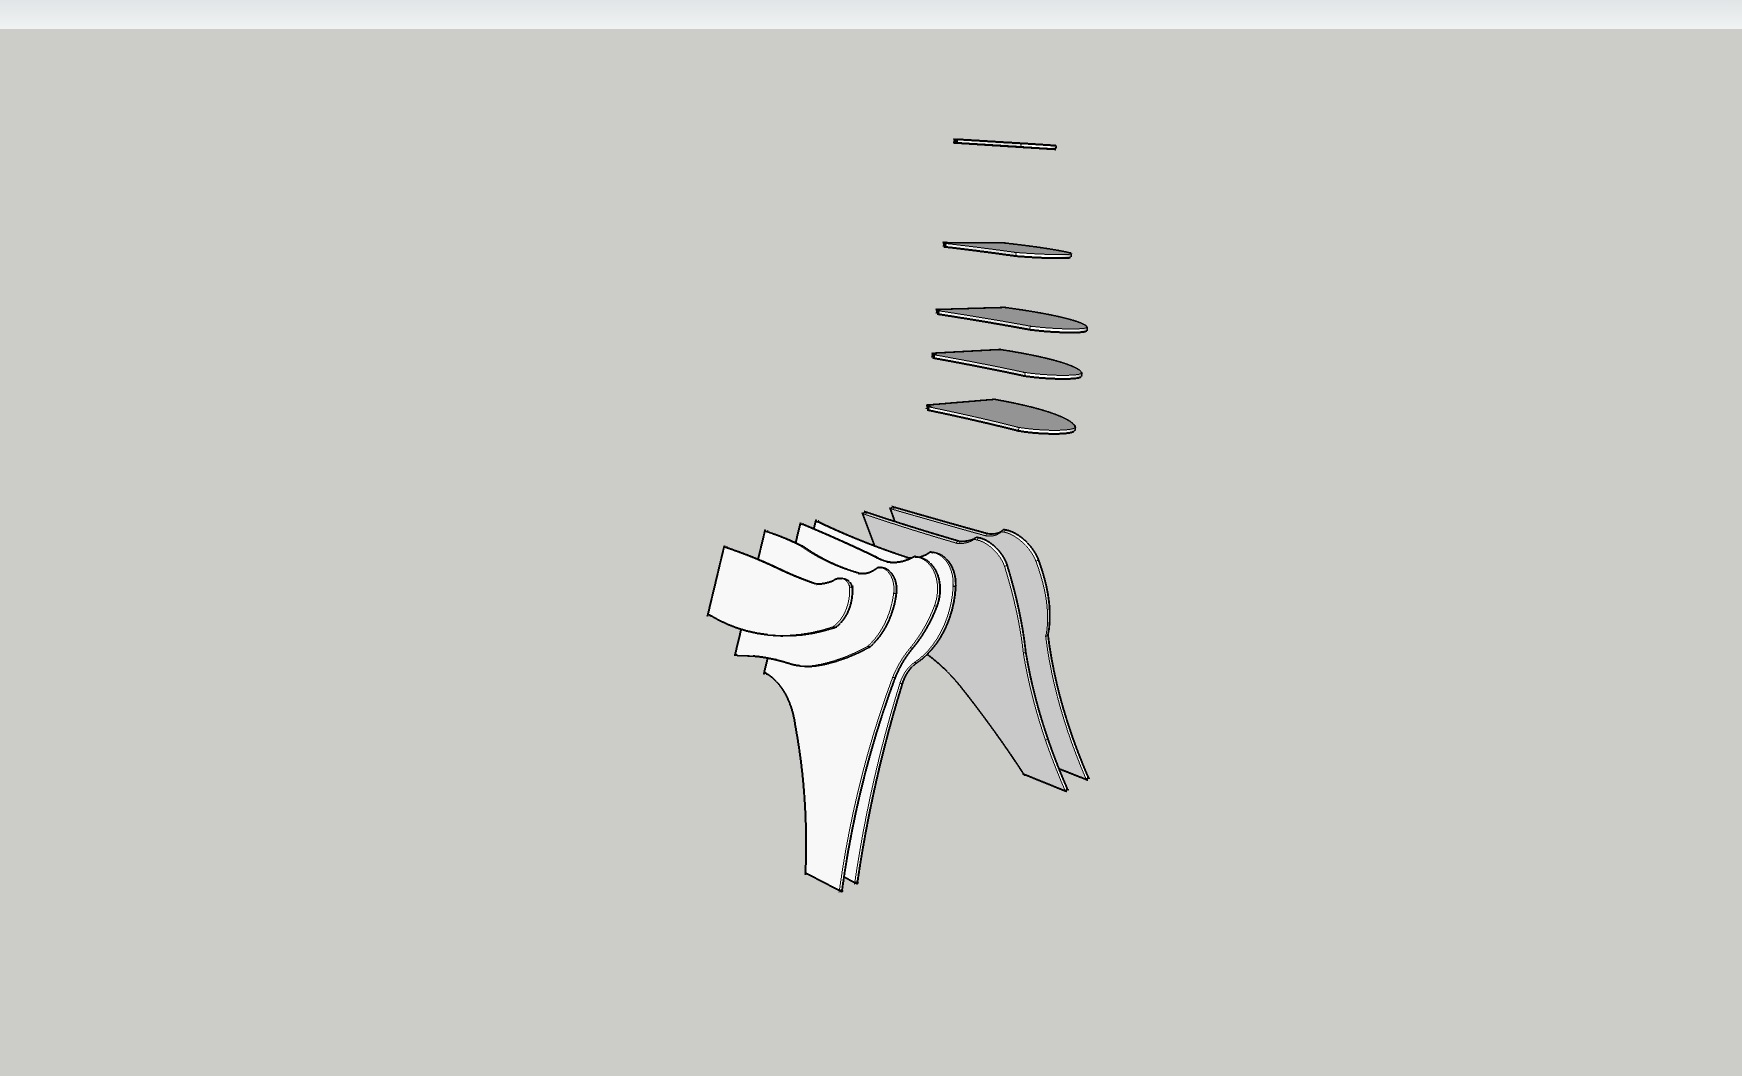
Once you have drawn on and cut away everything you dont want you end up with a new set of sections that match your first set.
make each of these sections into 'components' now!
make each of these sections into 'components' now!
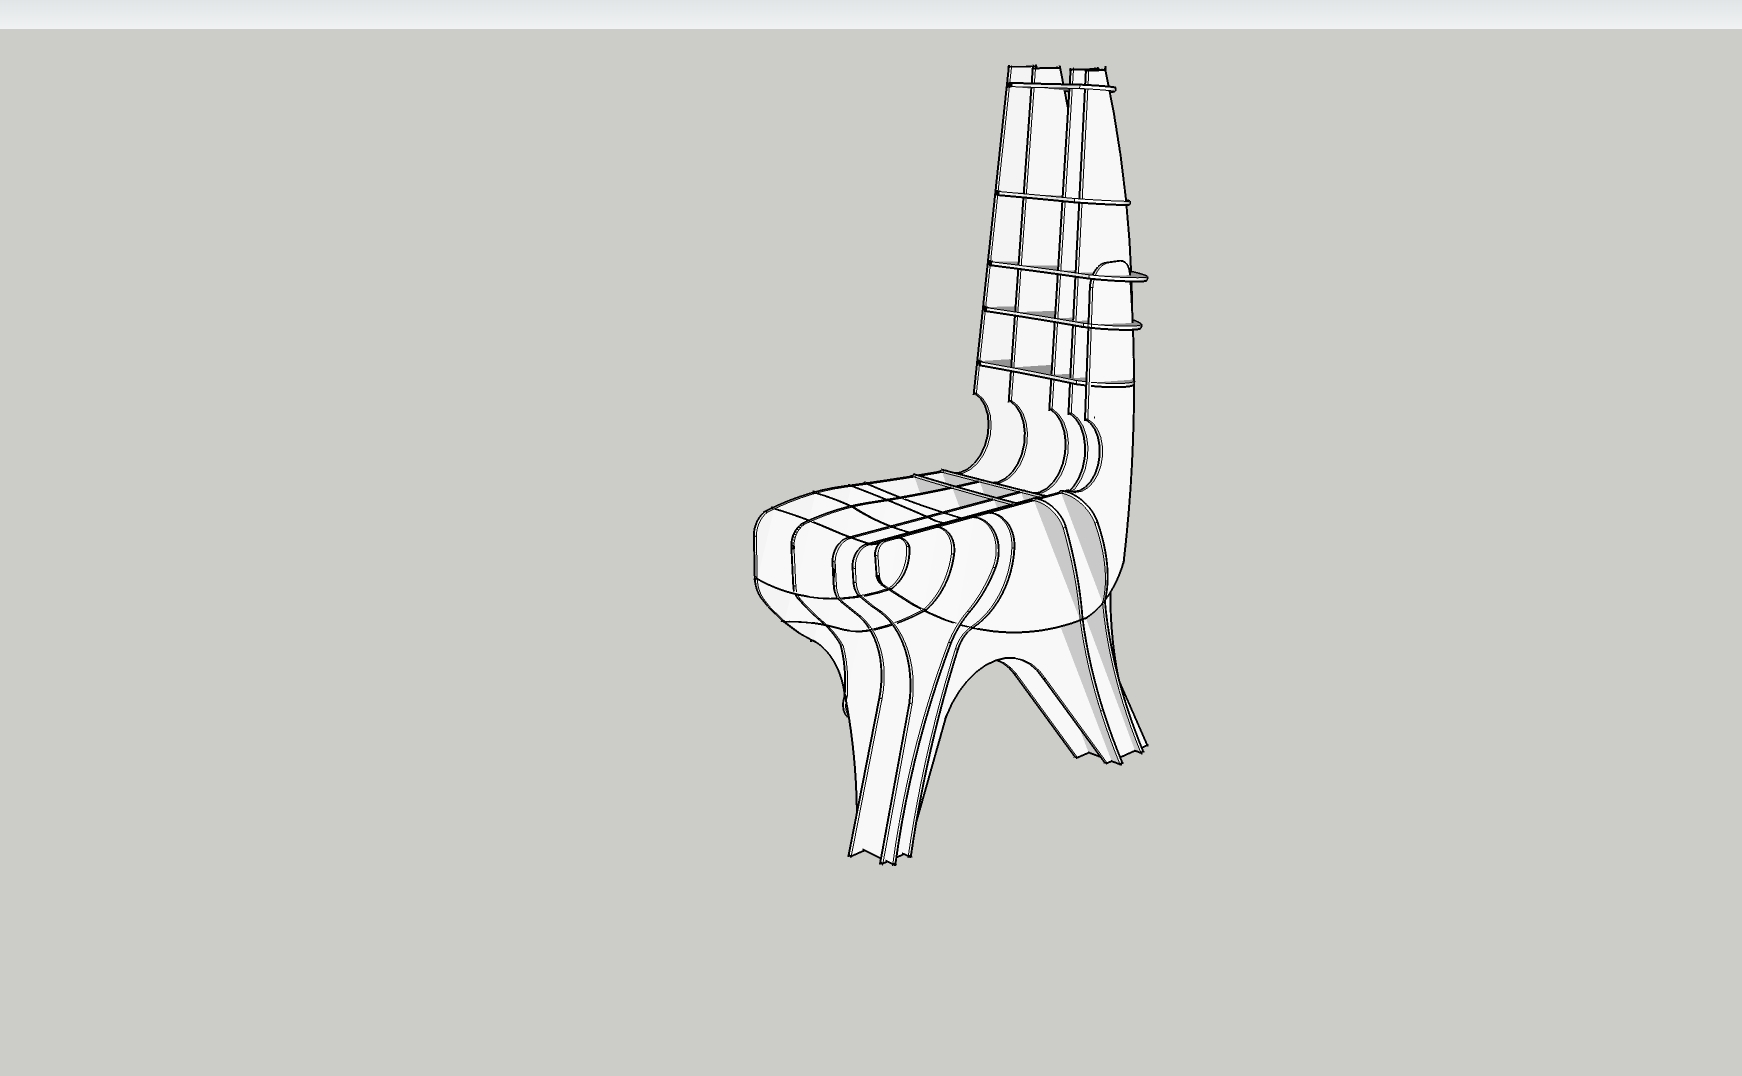
Now the magic bit put your new set of planes back over your original set and Ta Da! you have half a chair!
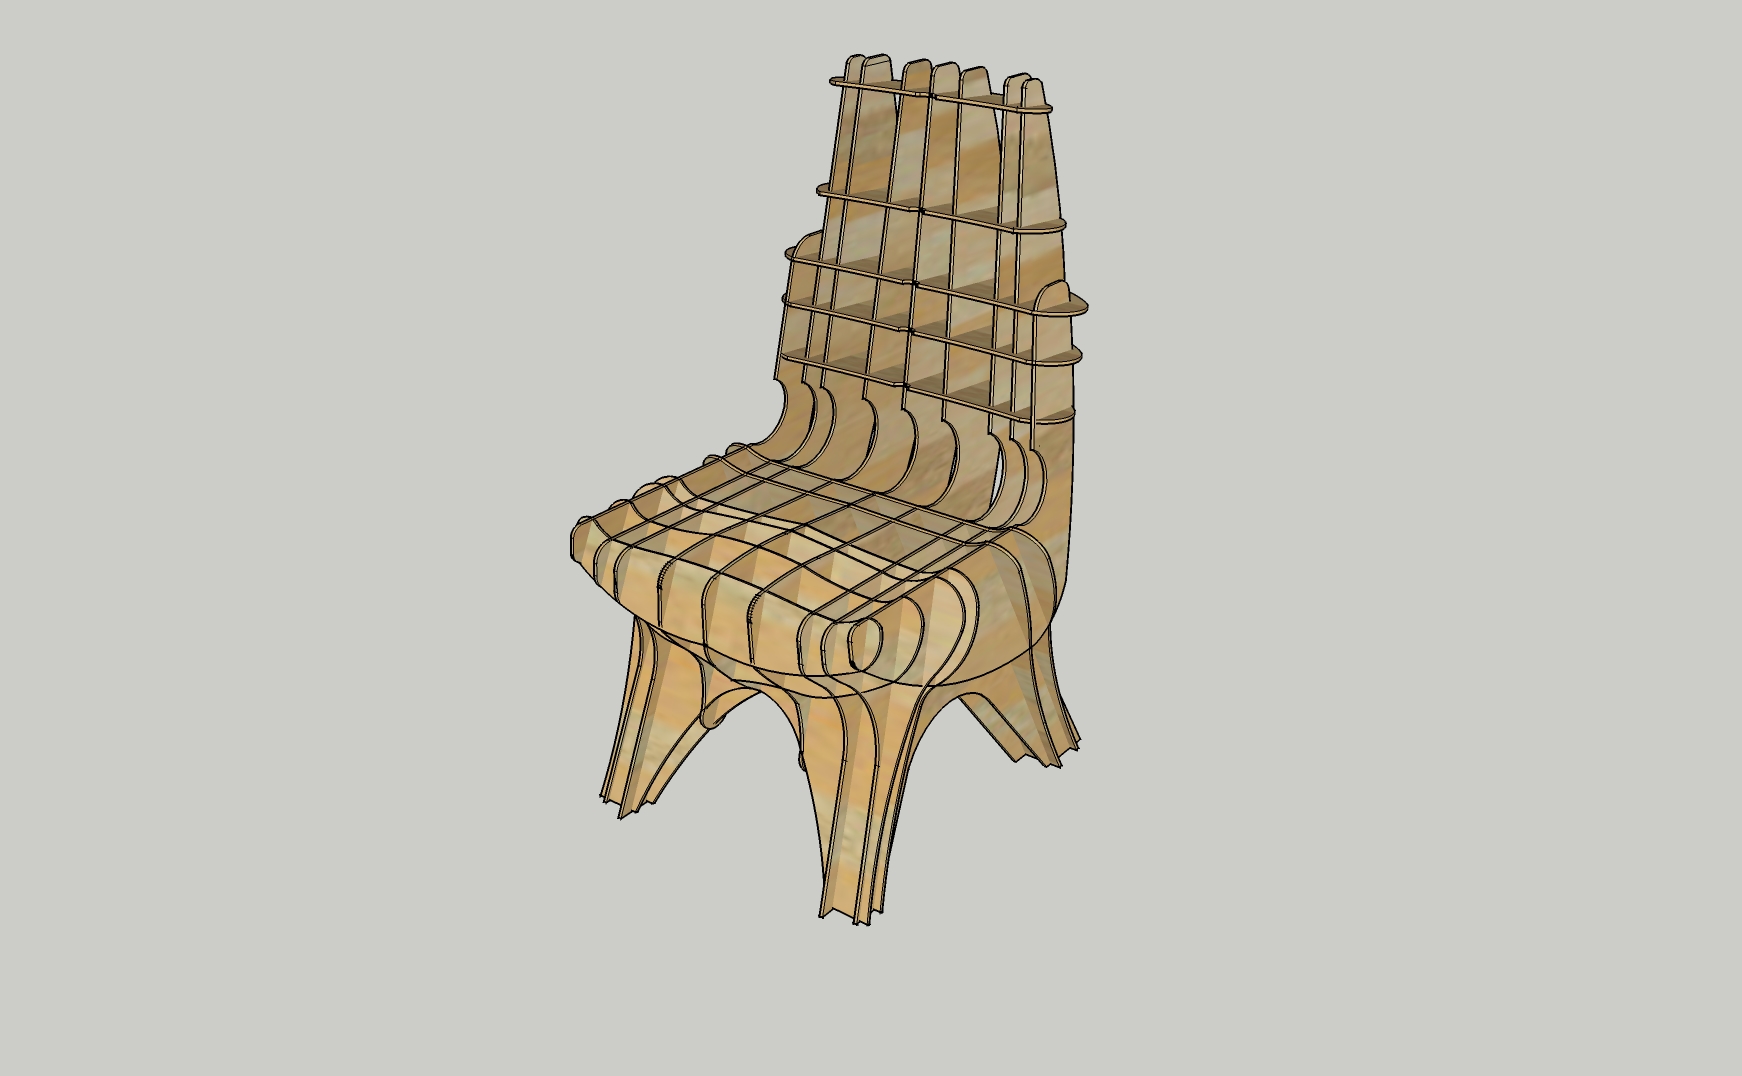
To make you whole chair - copy one half - delete the centre section (you only need one) and mirror it by scaling it in the direction you want to mirror it, to a value of -1.


So the bits I havent shown are where to put the slots to slot the pieces together - the answer is I have not fully decided yet. I am working out the best way by starting from the legs up.
A few notes on the design, my original thought is that the chair will take a thin soft cushion that forms over the grid I think sitting directly onto it will need more sections more closely spaced. You will see from the rendering that the 'seat' is contoured rising slightly between the legs at the front and also the back rest is scalloped out in the centre so as not to press on the spine.
So the final step do I print out all the pieces full size and get out the jigsaw or do I use a laser cutter?
You guys decide please vote https://www.instructables.com/contest/hurricanelasers/