Change the Led's From Your Keyboard
by Vladmakesstuff in Circuits > Computers
17583 Views, 9 Favorites, 0 Comments
Change the Led's From Your Keyboard

This is another easy but cool project for you to do with your keyboard .
Probably you're tired of the green LED's from your keyboard and you want some other color ? Or you may want a different color for every LED on your keyboard ? This instructable will show you how to change the LED's from a standard computer keyboard.
Probably you're tired of the green LED's from your keyboard and you want some other color ? Or you may want a different color for every LED on your keyboard ? This instructable will show you how to change the LED's from a standard computer keyboard.
Tools and Materials
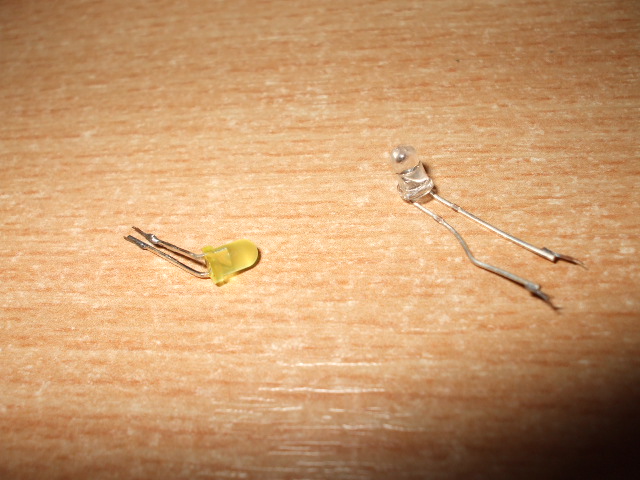
The materials you need are the 3mm replacement LED's , nothing else is needed.
The only tools you need are a soldering gun and a screwdriver.
The only tools you need are a soldering gun and a screwdriver.
Take Everything Apart
The first thing you wanna do is get your screwdriver and start removing all the screws from the keyboard.
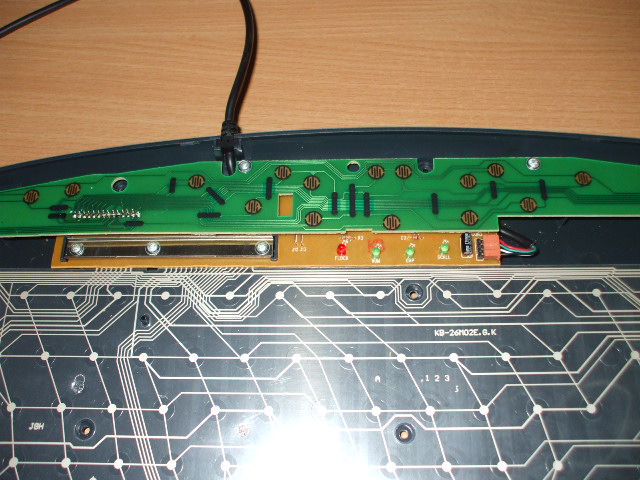
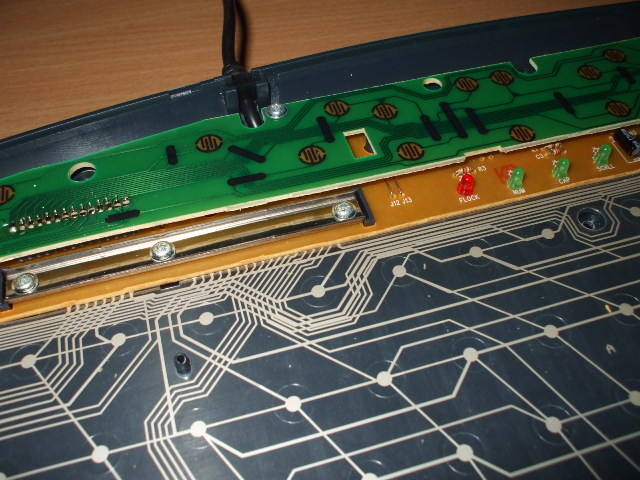
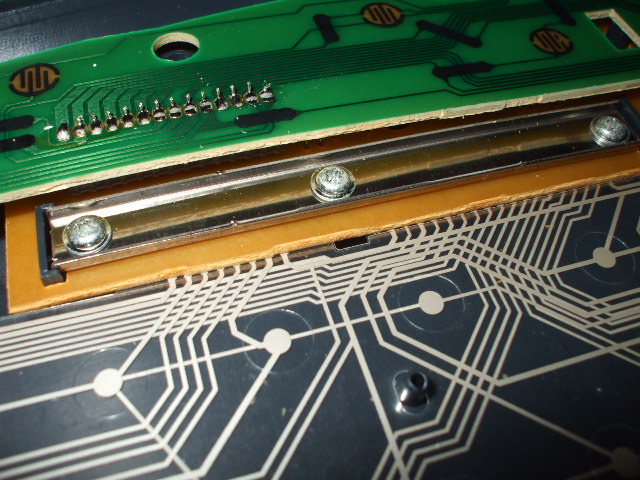
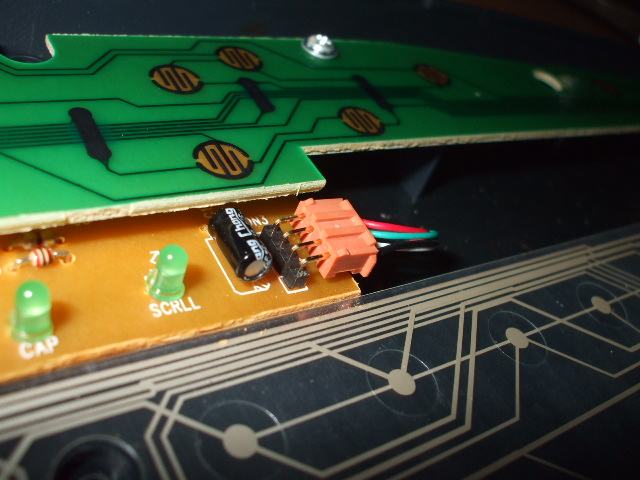
After that , put the keyboard on your desk and remove the keys side . Some keyboard use springs for the keys , some other ones (like mine for example) use a plastic layer which acts exactly like a spring . So if you have this layer , remove it (it's transparent and looks like a very large button array) . After removing the keys you will see the main circuit board and two transparent plastic foils full of electrons and circuit patterns . You will have to remove that . To do this , find the metal blade which connects the foils to the main board , and remove the screws from it , and after that gently pull the foils out of the keyboard.Next unscrew the main board , remove any connector and you will end up with only the main board .
After that , put the keyboard on your desk and remove the keys side . Some keyboard use springs for the keys , some other ones (like mine for example) use a plastic layer which acts exactly like a spring . So if you have this layer , remove it (it's transparent and looks like a very large button array) . After removing the keys you will see the main circuit board and two transparent plastic foils full of electrons and circuit patterns . You will have to remove that . To do this , find the metal blade which connects the foils to the main board , and remove the screws from it , and after that gently pull the foils out of the keyboard.Next unscrew the main board , remove any connector and you will end up with only the main board .
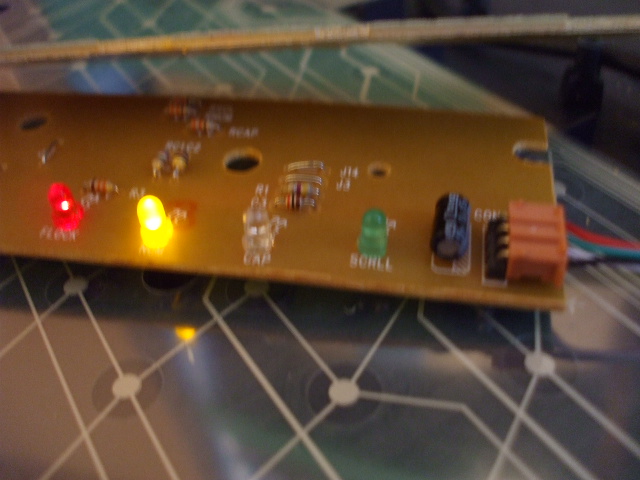
Change the LED's
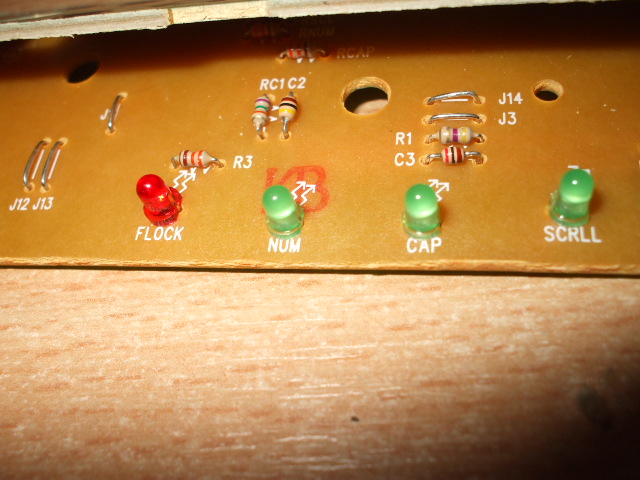
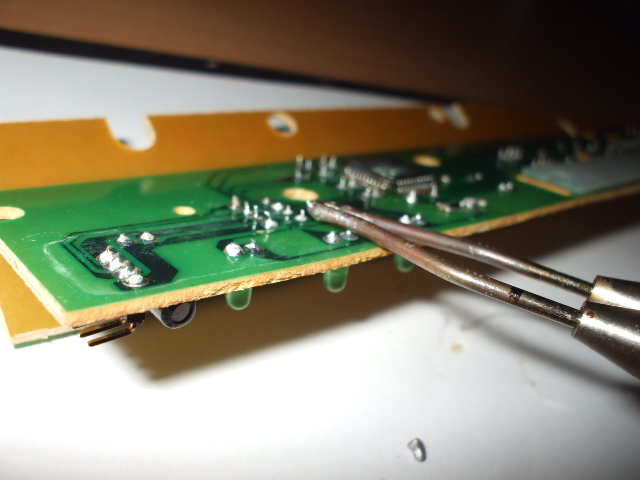
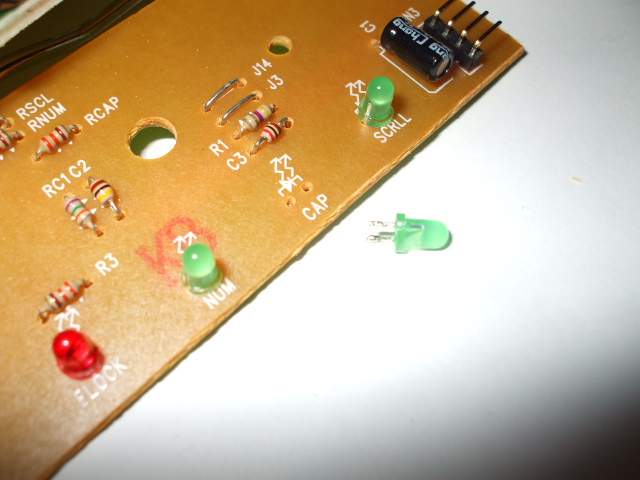
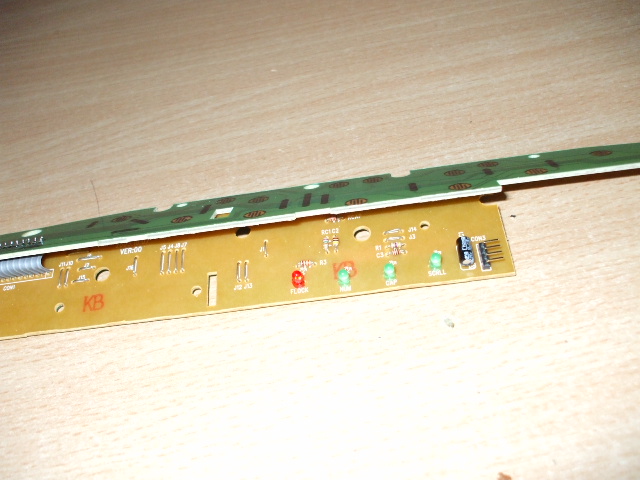
Now you can change the LED's . First get your soldering gun , flip the board , and heat up the solder layer of the LED you want to change . Also press the gun on the board , so the LED will get out of it's connectors when the solder heats up.Also remember where the flat side of the LED was before you removed it ! LED's are polarized , so they need to stay in a certain direction in a circuit . You need to remember where the flat side was to know in what position to put the new LED.
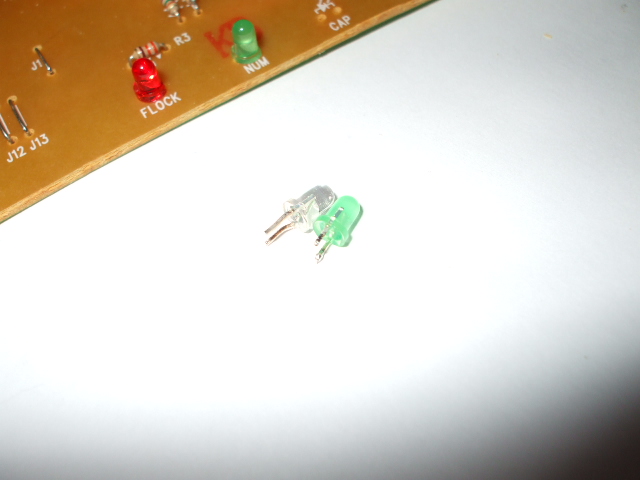
Now , get your new LED and cut it's pins to the same length as the original keyboard LED .
Insert your new LED in the old LED's place and then solder it's pins.Remmeber to put it with the flat side in the correct direction !
Do the same for every LED you want to change .
Now , get your new LED and cut it's pins to the same length as the original keyboard LED .
Insert your new LED in the old LED's place and then solder it's pins.Remmeber to put it with the flat side in the correct direction !
Do the same for every LED you want to change .
Let's Test !
Insert the keyboard cable to the PC .
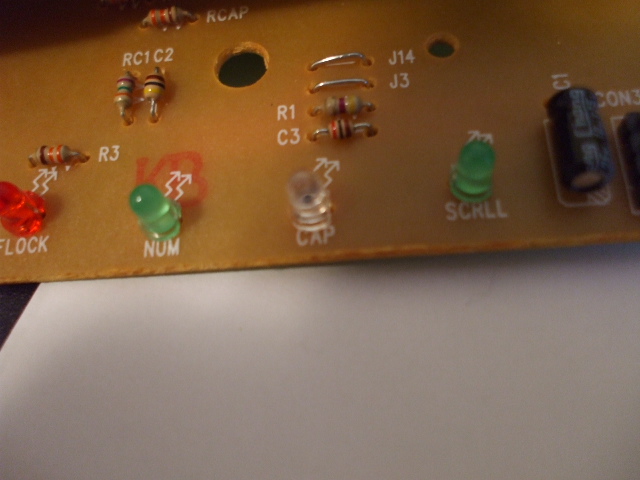
Now get your modified board and reatach the connector . All the LED's should flash . If they don't , then there is a problem : the LED might be wrong - sided or it's a burned LED . If they all flash correctly , you did it ! .
Now reatach everything , be careful with the two transparent foils !
Now get your modified board and reatach the connector . All the LED's should flash . If they don't , then there is a problem : the LED might be wrong - sided or it's a burned LED . If they all flash correctly , you did it ! .
Now reatach everything , be careful with the two transparent foils !
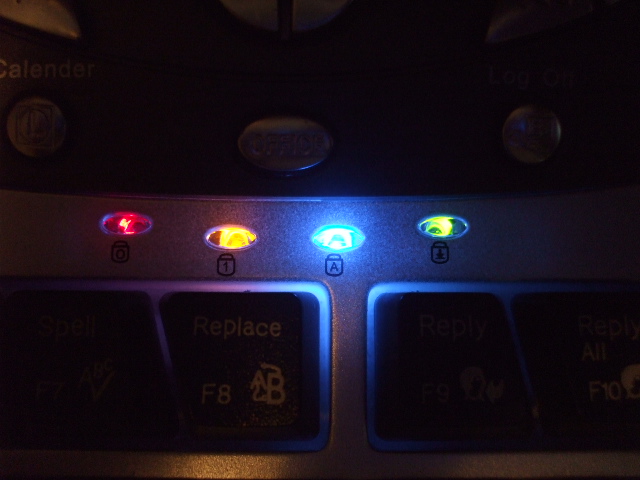
Let's Look at the Finished Product .
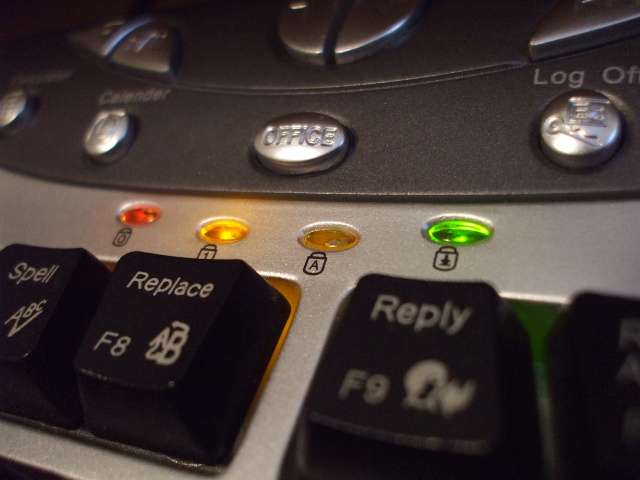

Here is how mine looks like .
I hope you liked my instructable !
I hope you liked my instructable !