Chair Design
![chair big and small.jpg](/proxy/?url=https://content.instructables.com/FUL/8BXP/LVUZ1N9B/FUL8BXPLVUZ1N9B.jpg&filename=chair big and small.jpg)
I did the chair because I wanted to copy the chairs of my high school. I thought It will be very interesting to see the small version of it.
Downloads
Supplies
- HAND SKETCH ON PAPER
- PENCIL
- TINKERCAD
- 3D PRINTER
Planning
![IMG_9566.jpeg](/proxy/?url=https://content.instructables.com/FU5/YUI1/LVUZ1ME0/FU5YUI1LVUZ1ME0.jpg&filename=IMG_9566.jpeg)
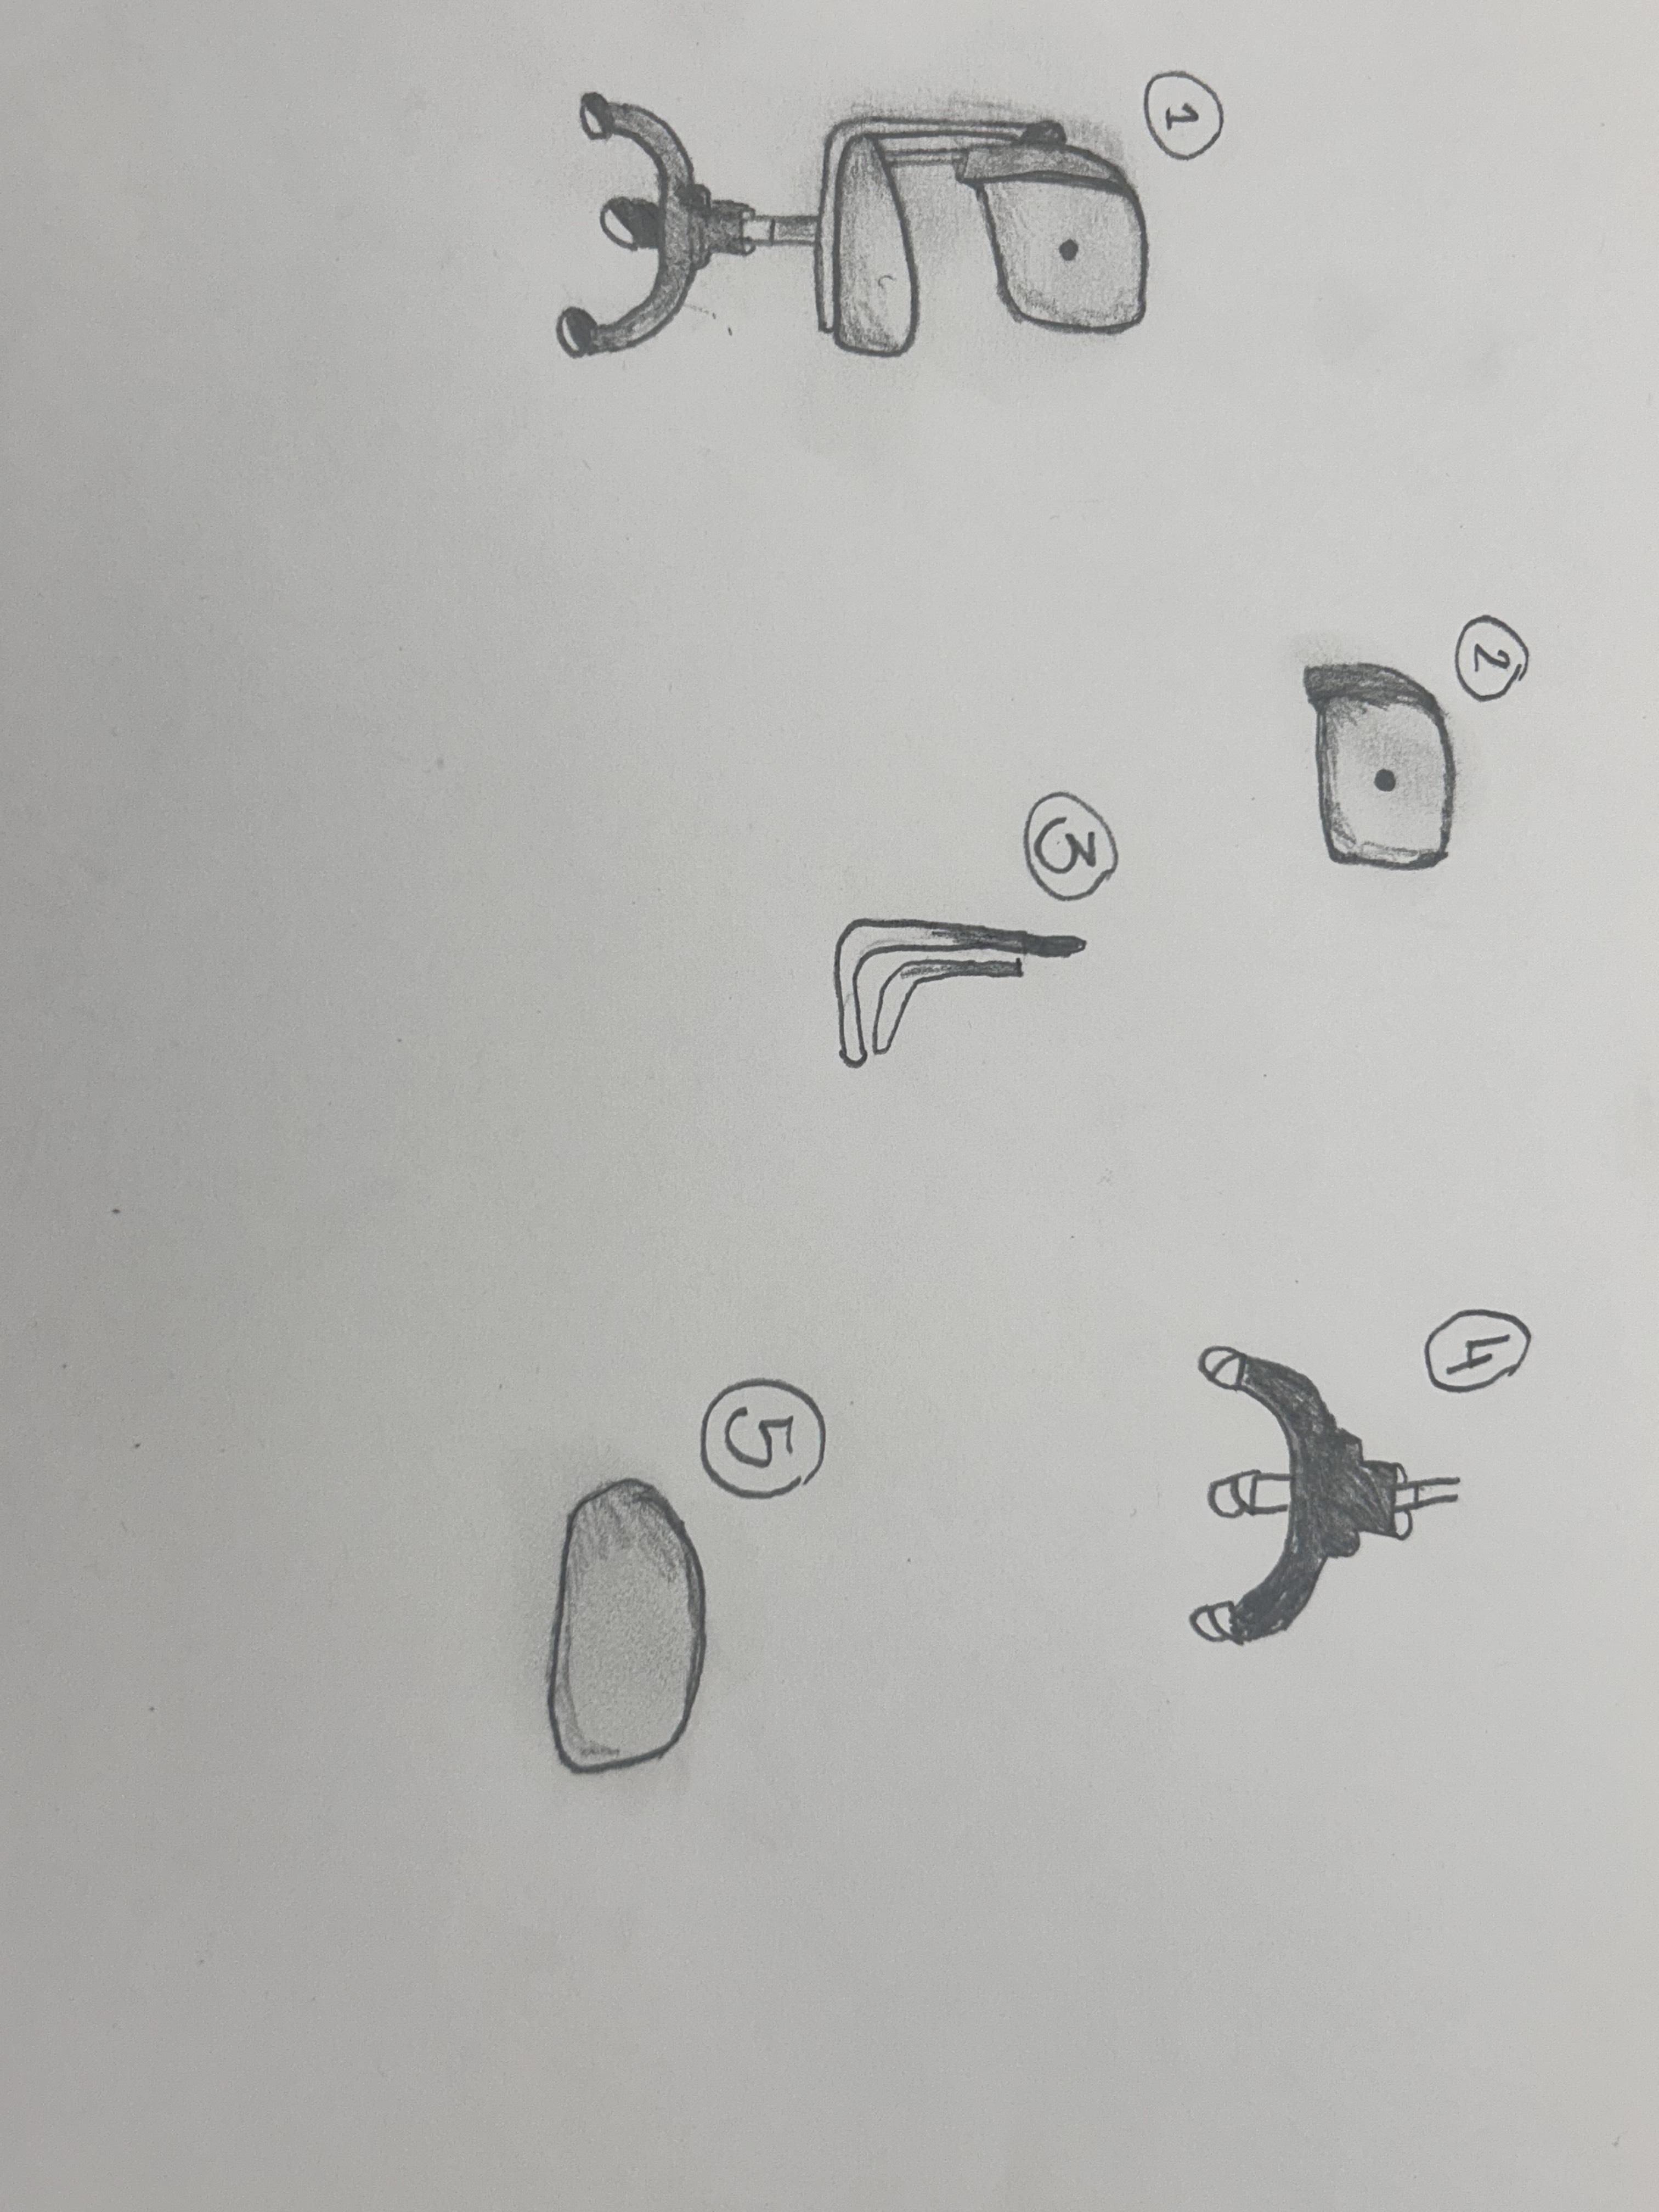
First I sketched the different parts of the chair, then I corralled it all together to see what it was going to look like.
:CHAIR CHAIR BACK
![step 1.JPG](/proxy/?url=https://content.instructables.com/FPH/ADYR/LVUZ1MEG/FPHADYRLVUZ1MEG.jpg&filename=step 1.JPG)
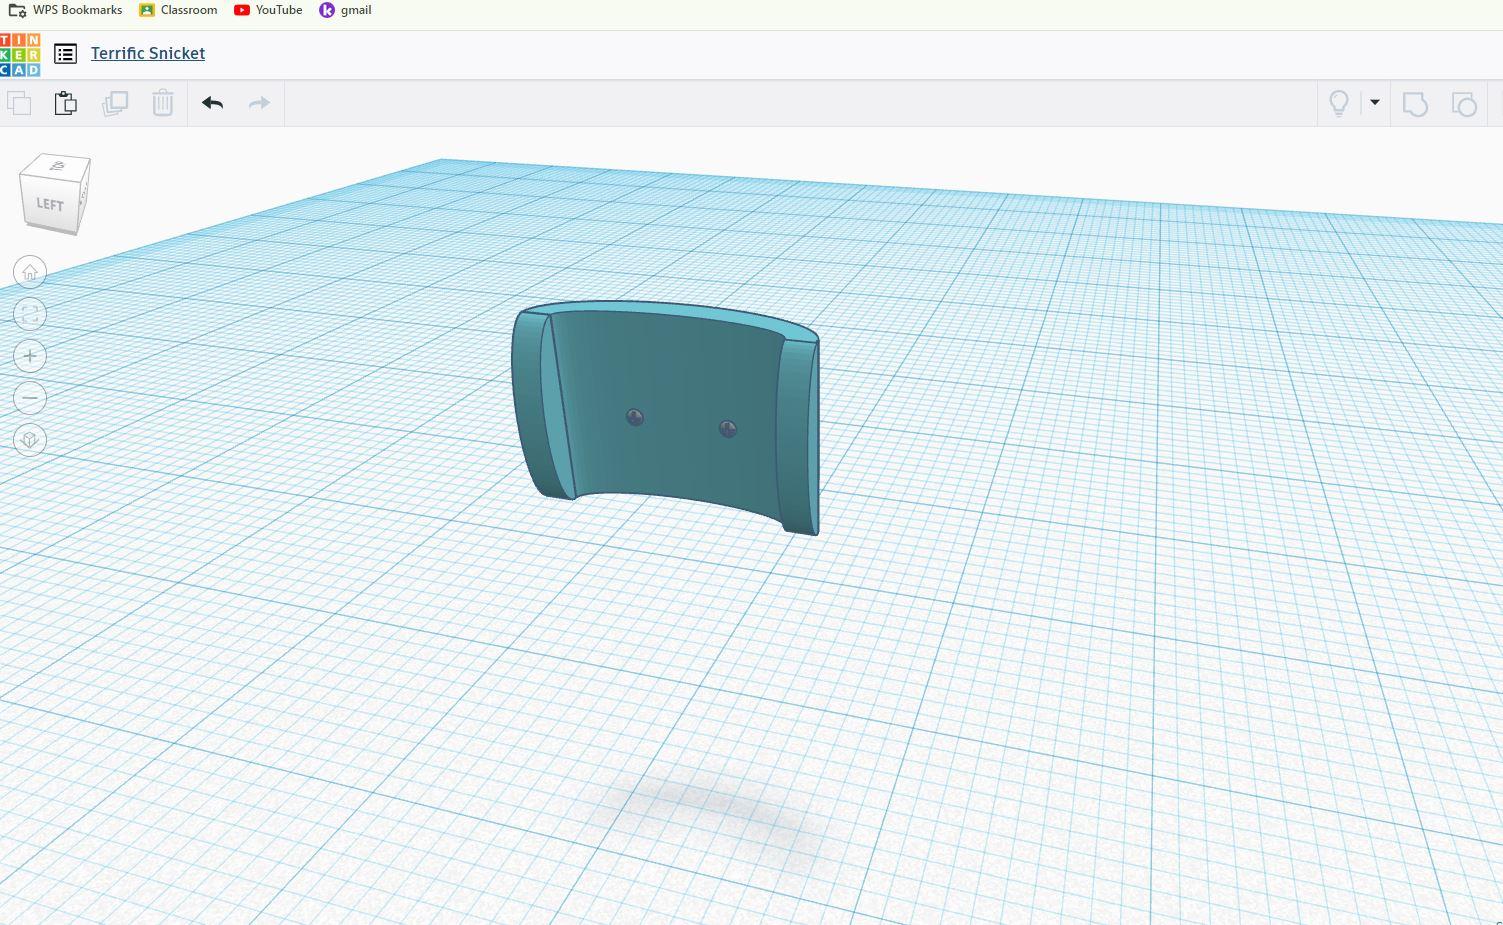
then I opened Tinkercad and picked a curved shape and put two nails in the middle.
BACK HOLDER
![step 2.JPG](/proxy/?url=https://content.instructables.com/FKT/W66R/LVUZ1MFD/FKTW66RLVUZ1MFD.jpg&filename=step 2.JPG)
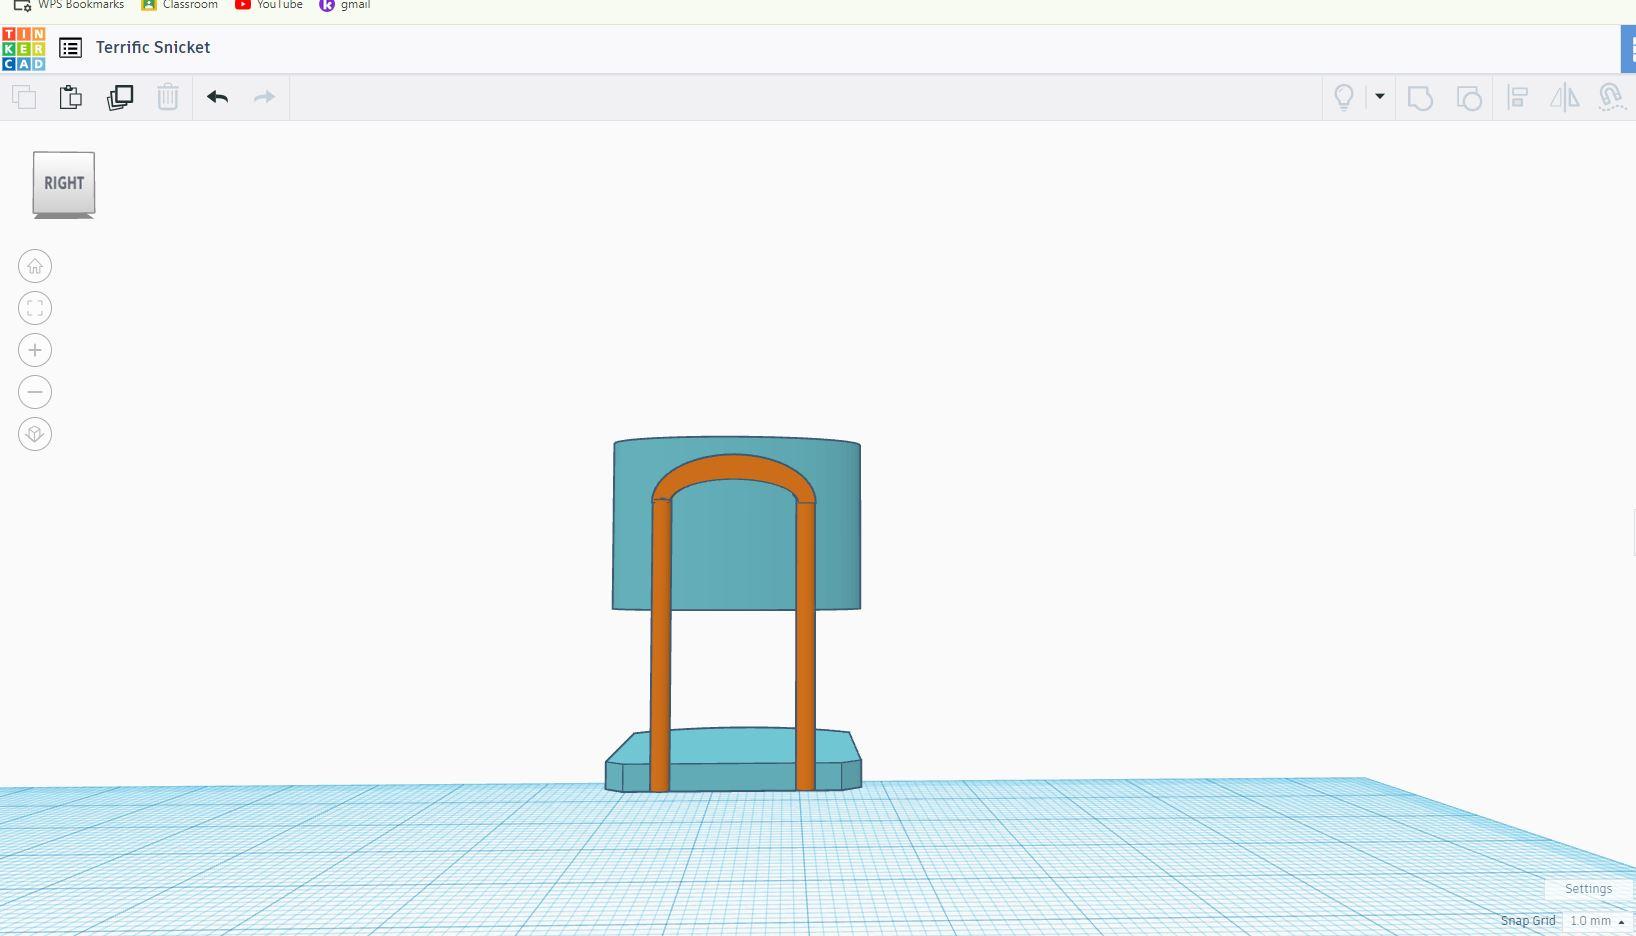
Then I picketed another curved shape and another two columns and put them together.
SEATING
![step 3.JPG](/proxy/?url=https://content.instructables.com/FYX/1GVG/LVUZ1MGX/FYX1GVGLVUZ1MGX.jpg&filename=step 3.JPG)
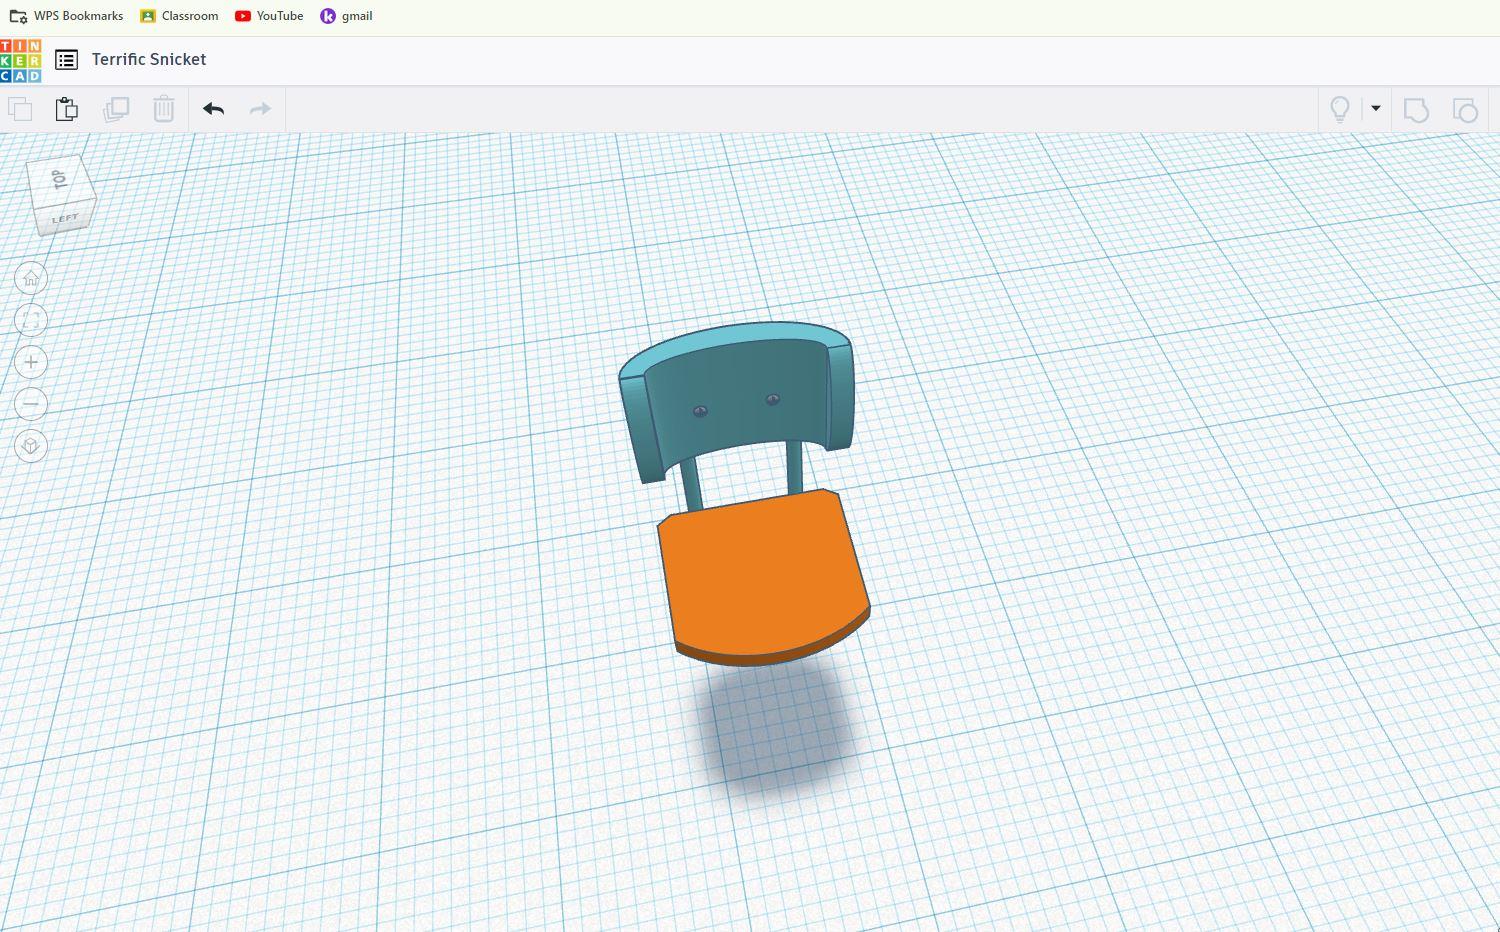
I picked a circular shape and then I cut it to be the shape that I wanted to be.
BUTTON HOLDER
![step4.JPG](/proxy/?url=https://content.instructables.com/FSN/0HRF/LVUZ1MHV/FSN0HRFLVUZ1MHV.jpg&filename=step4.JPG)
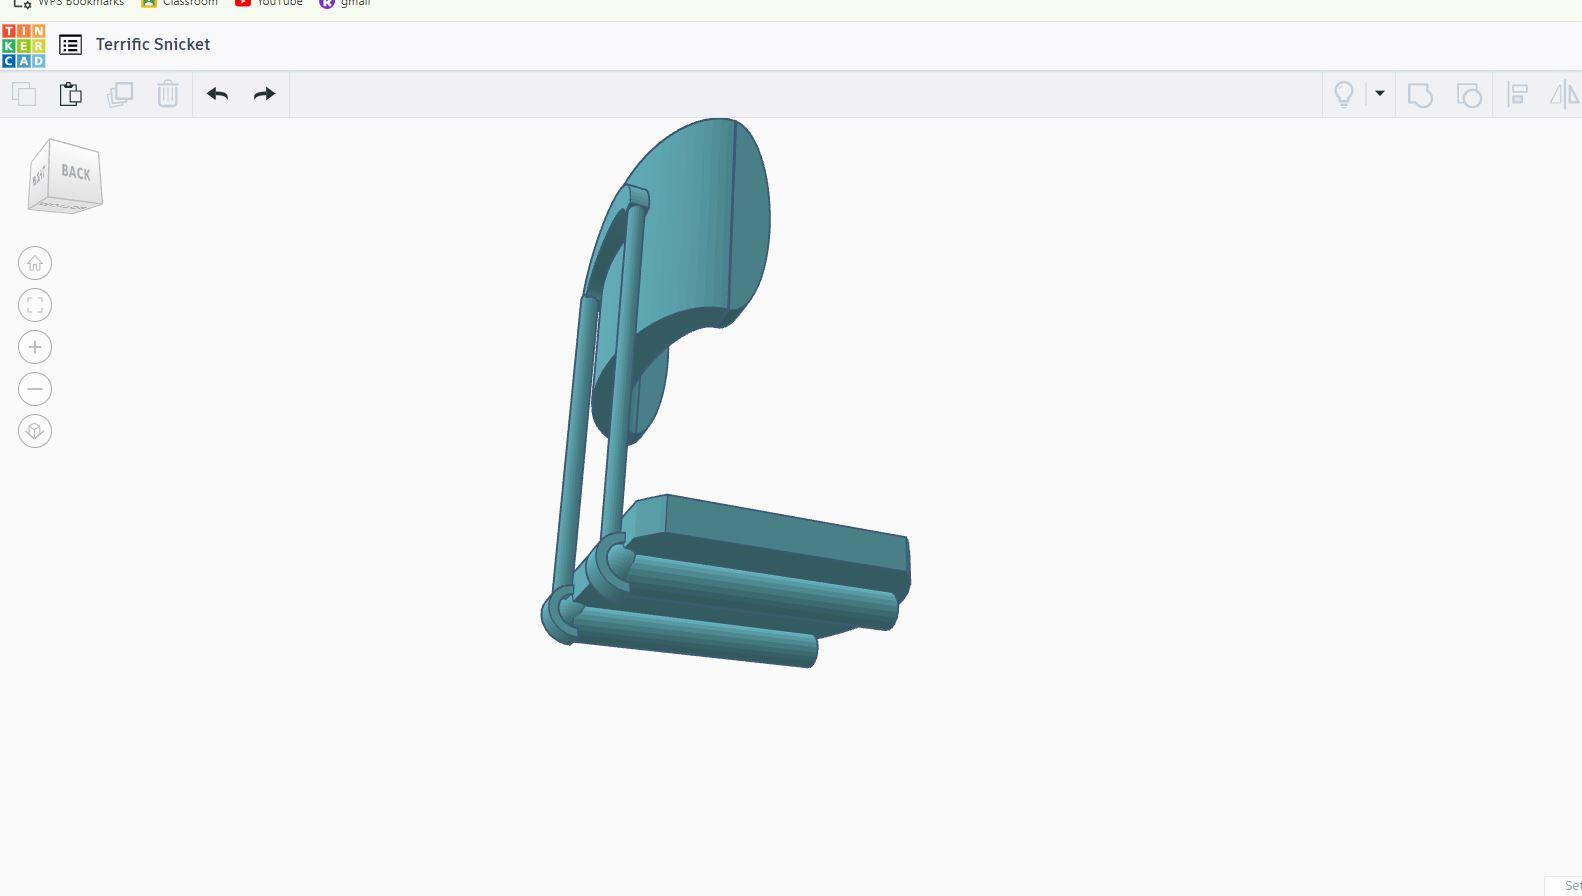
I got two other columns and I stuck them at the bottom of the chair seat. Then I connected the top column with the bottom one.
WHEEL SUPPORT
![step 6.JPG](/proxy/?url=https://content.instructables.com/F5V/B6WV/LVUZ1MK2/F5VB6WVLVUZ1MK2.jpg&filename=step 6.JPG)
Then I got a X shape and put four balls at the bottom of each ending
LEVER
![STEP 7.JPG](/proxy/?url=https://content.instructables.com/FF1/FRPX/LVUZ1MLZ/FF1FRPXLVUZ1MLZ.jpg&filename=STEP 7.JPG)
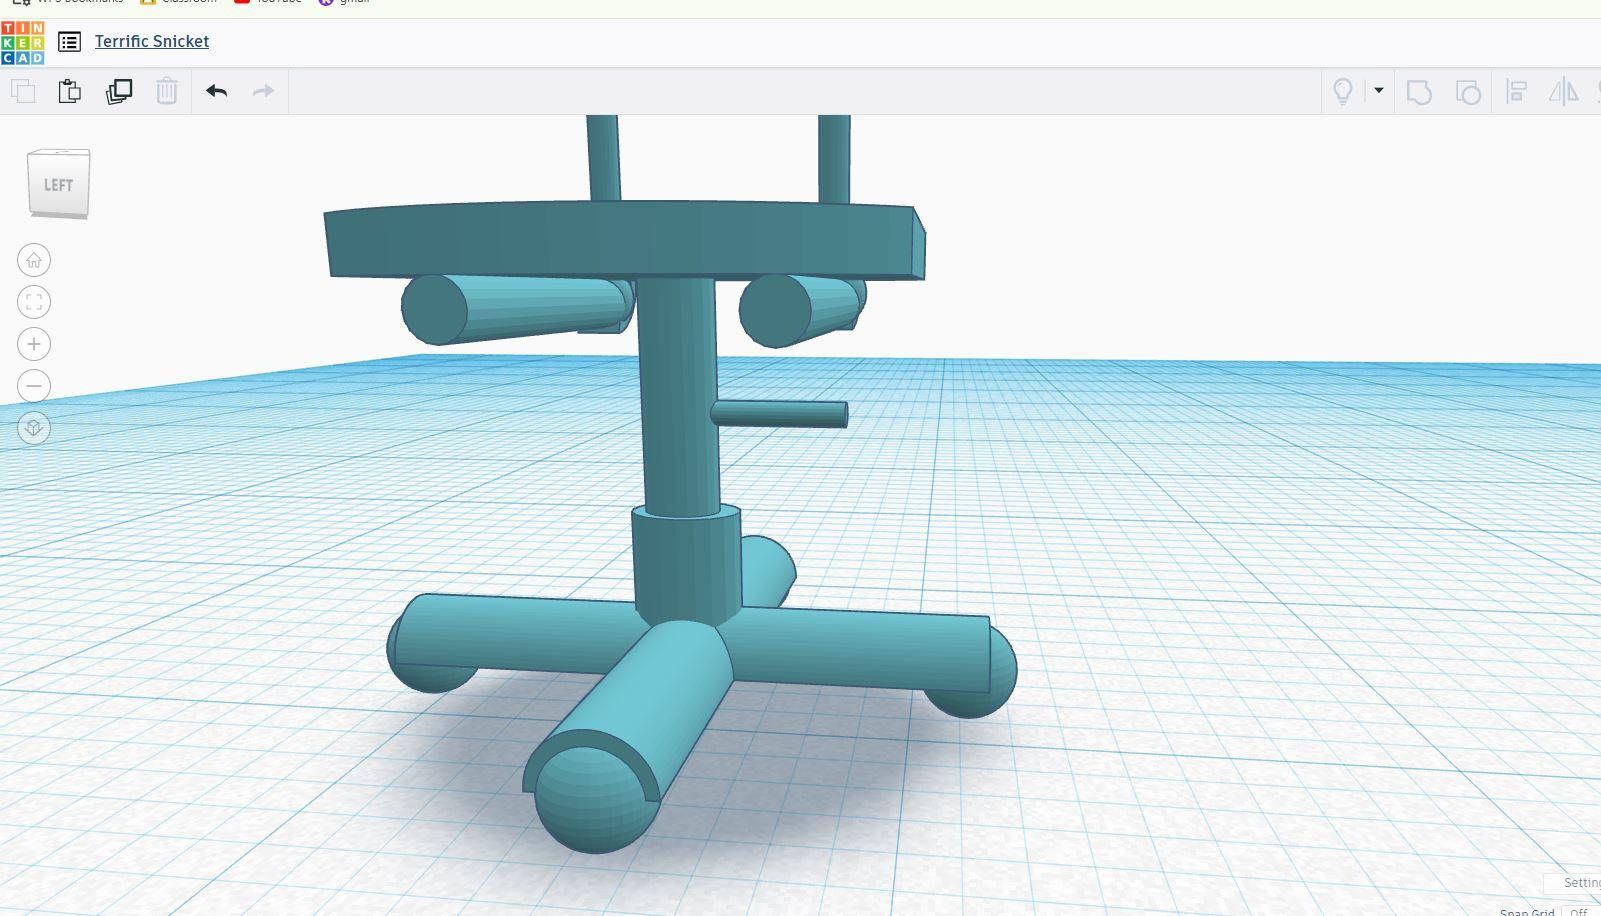
Then I got another column and put it sideways to make the Lever and then I connected the X with the button of the Chair seat
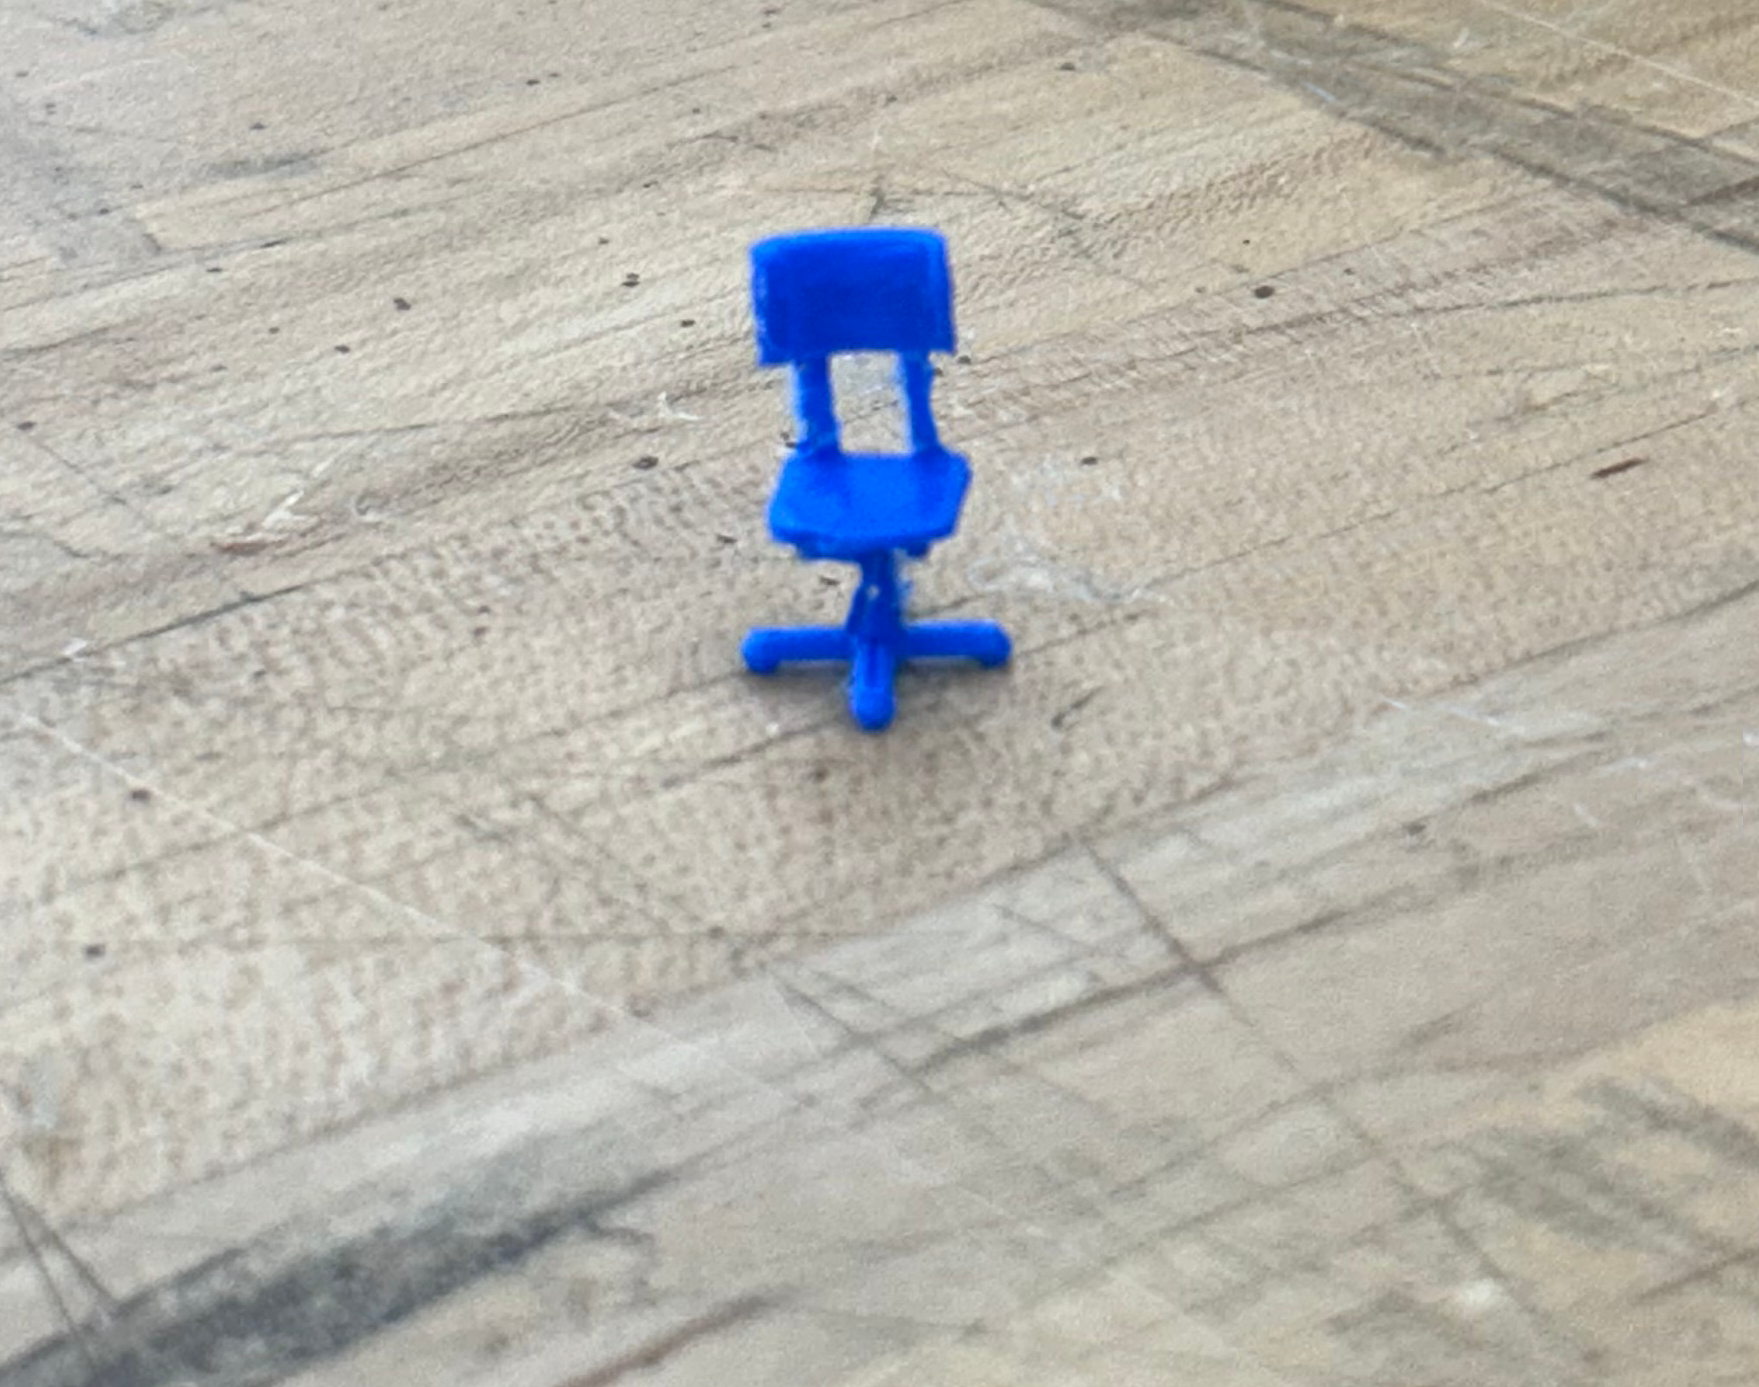
CHAIR MODEL
![STEP 8.JPG](/proxy/?url=https://content.instructables.com/FAV/LJAD/LVUZ1MYG/FAVLJADLVUZ1MYG.jpg&filename=STEP 8.JPG)
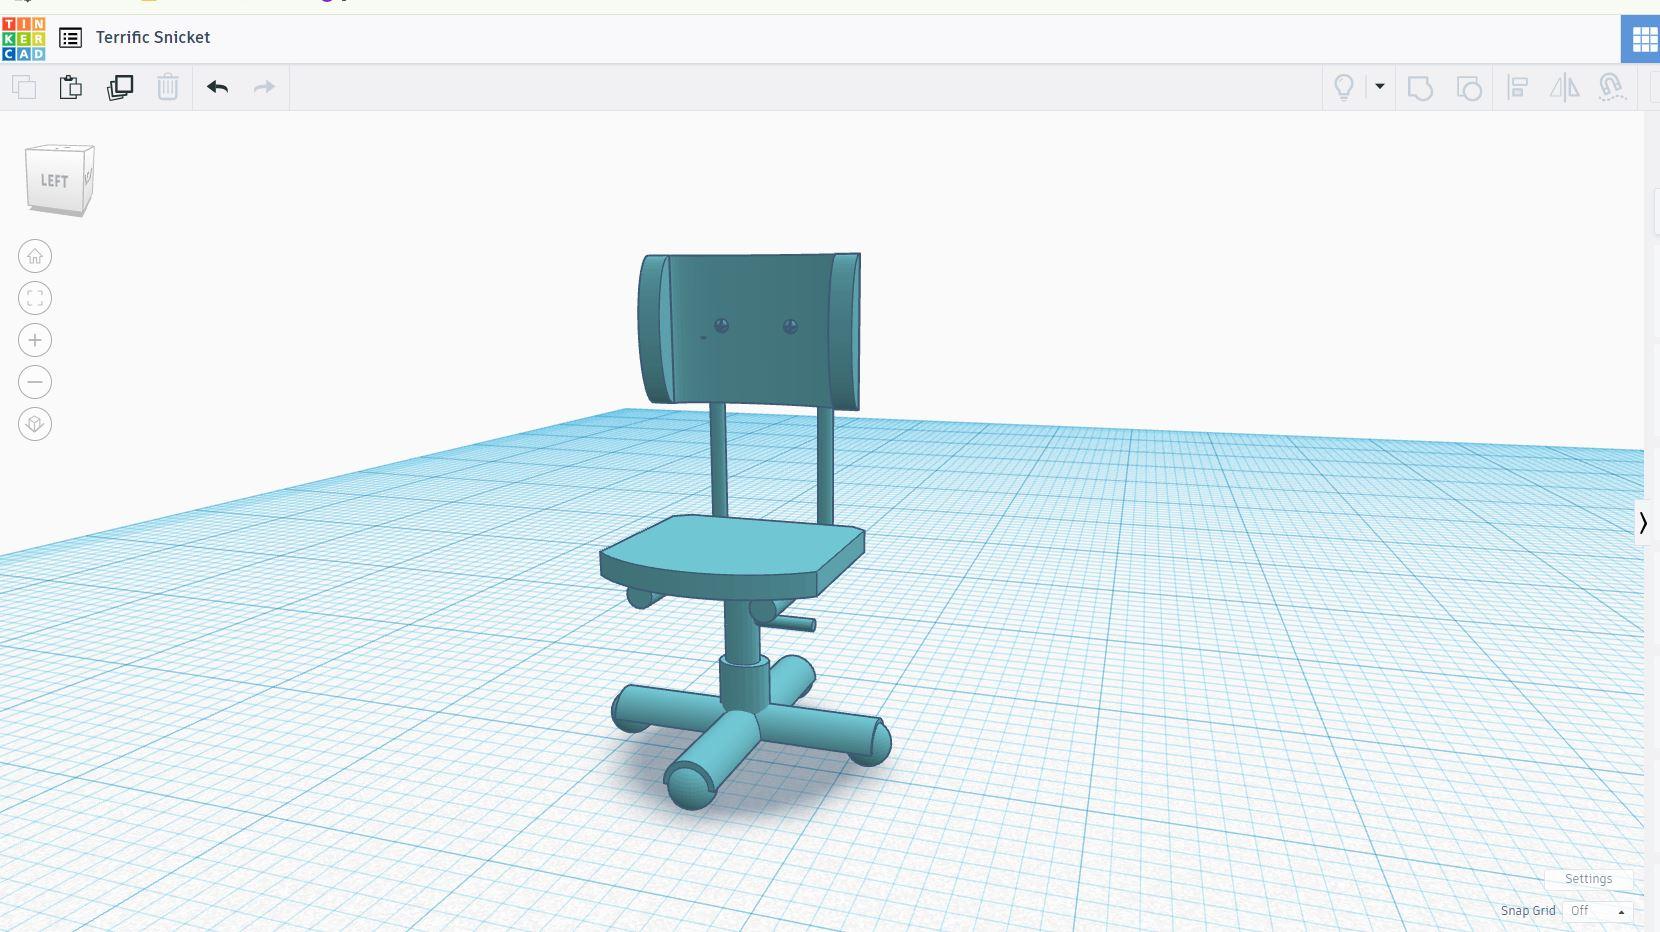
Then I just grouped all together. After that I turned it into an STL file to send to the 3D printer.
3D PRINTER
![chair small.png](/proxy/?url=https://content.instructables.com/FYC/IXN2/LVUZ1N1A/FYCIXN2LVUZ1N1A.png&filename=chair small.png)
Then I printed on the 3D printer,and put it in a support cleaning apparatus to remove the support material.
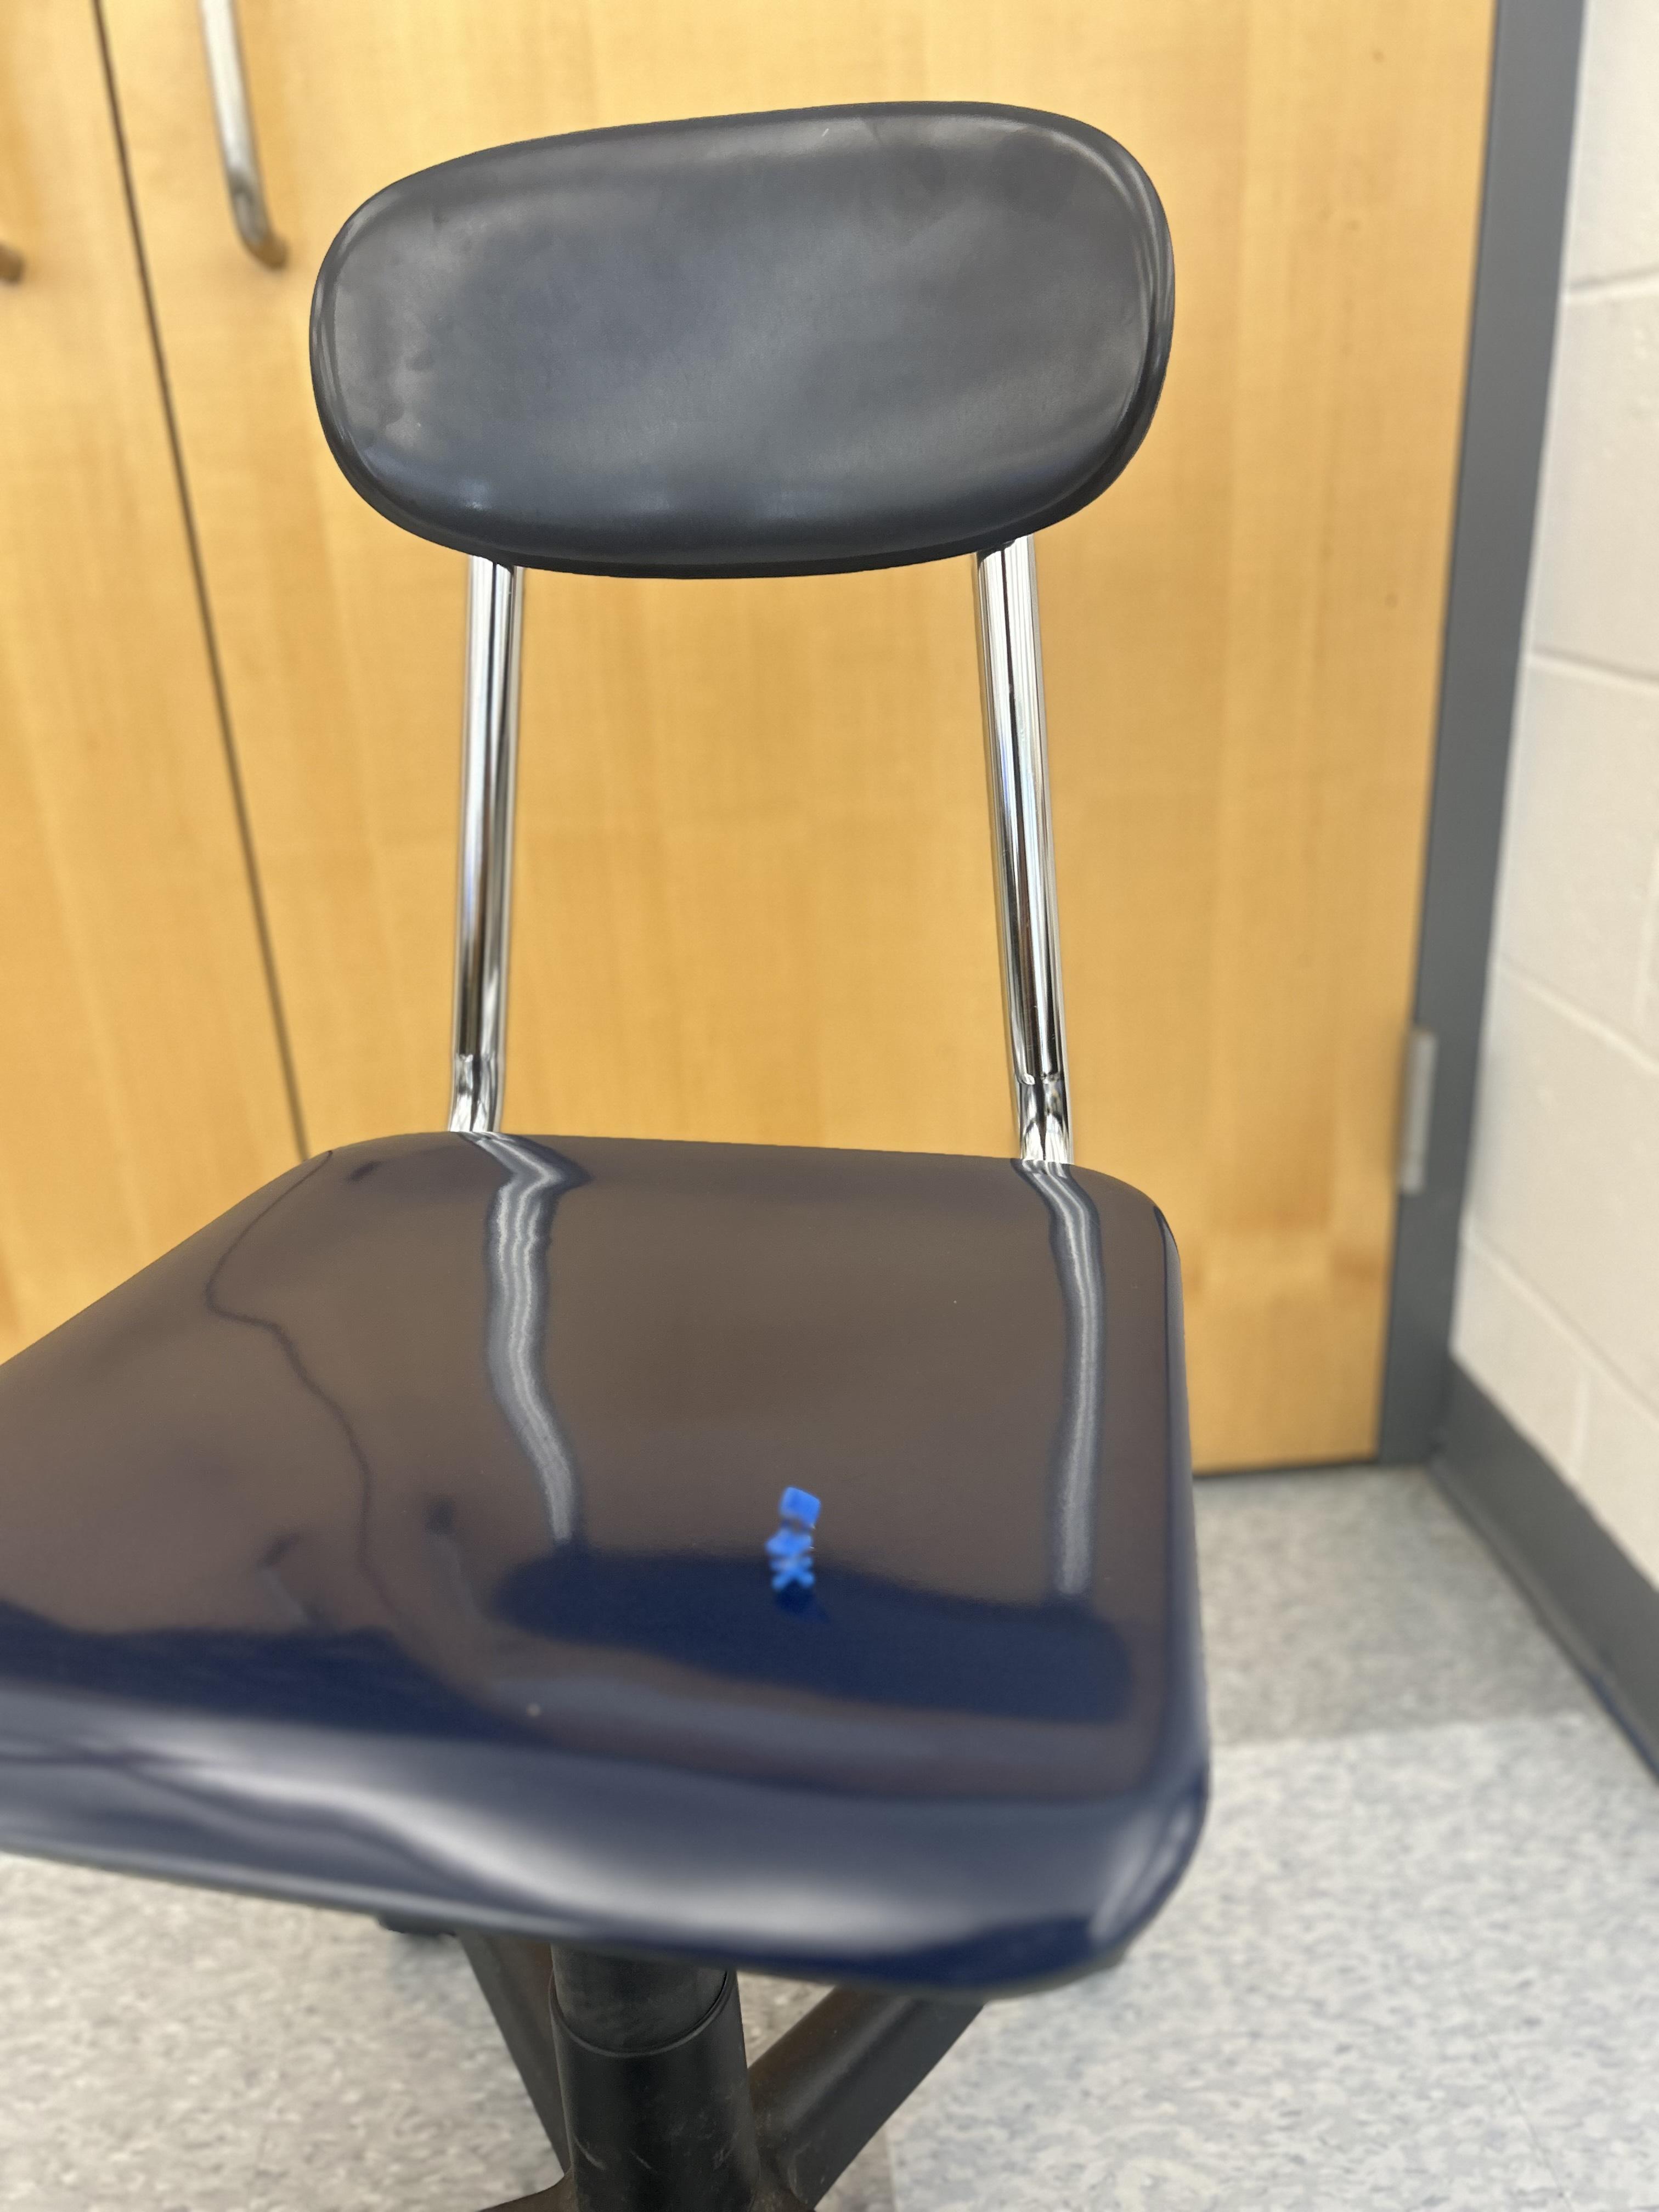
BIG AND SMALL
![chair big and small.jpg](/proxy/?url=https://content.instructables.com/FJ4/OQ5K/LVUZ1N5Q/FJ4OQ5KLVUZ1N5Q.jpg&filename=chair big and small.jpg)
Then I put the mini chair on top of the normal sized chair to see the difference in sizes.