Cereal Box Letters


I have seen these letters in different sizes at craft stores. They can be made for next to nothing using cereal boxes and shredded paper. A great idea would be to spell out "FAMILY" hang the letters on the wall surrounded by photos of your family. Or maybe do the same with "FRIENDS". What about the title of your favorite song? Use your imagination and decorate your space
Supplies


You will need several Cereal boxes. scissors, measuring tape, hot glue gun and glue sticks. Brown paper bags and decopauge glue.
Cut Out Letters

I wanted my letters as large as a cereal box, so I cut out the front of the box on the fold lines. I drew a simple one first, the letter T or L would be easy to make first. Or you can find an image you want and enlarge it to the size you want. Cut out the back of the letter using the front as a guide.
Cut Out Tabs
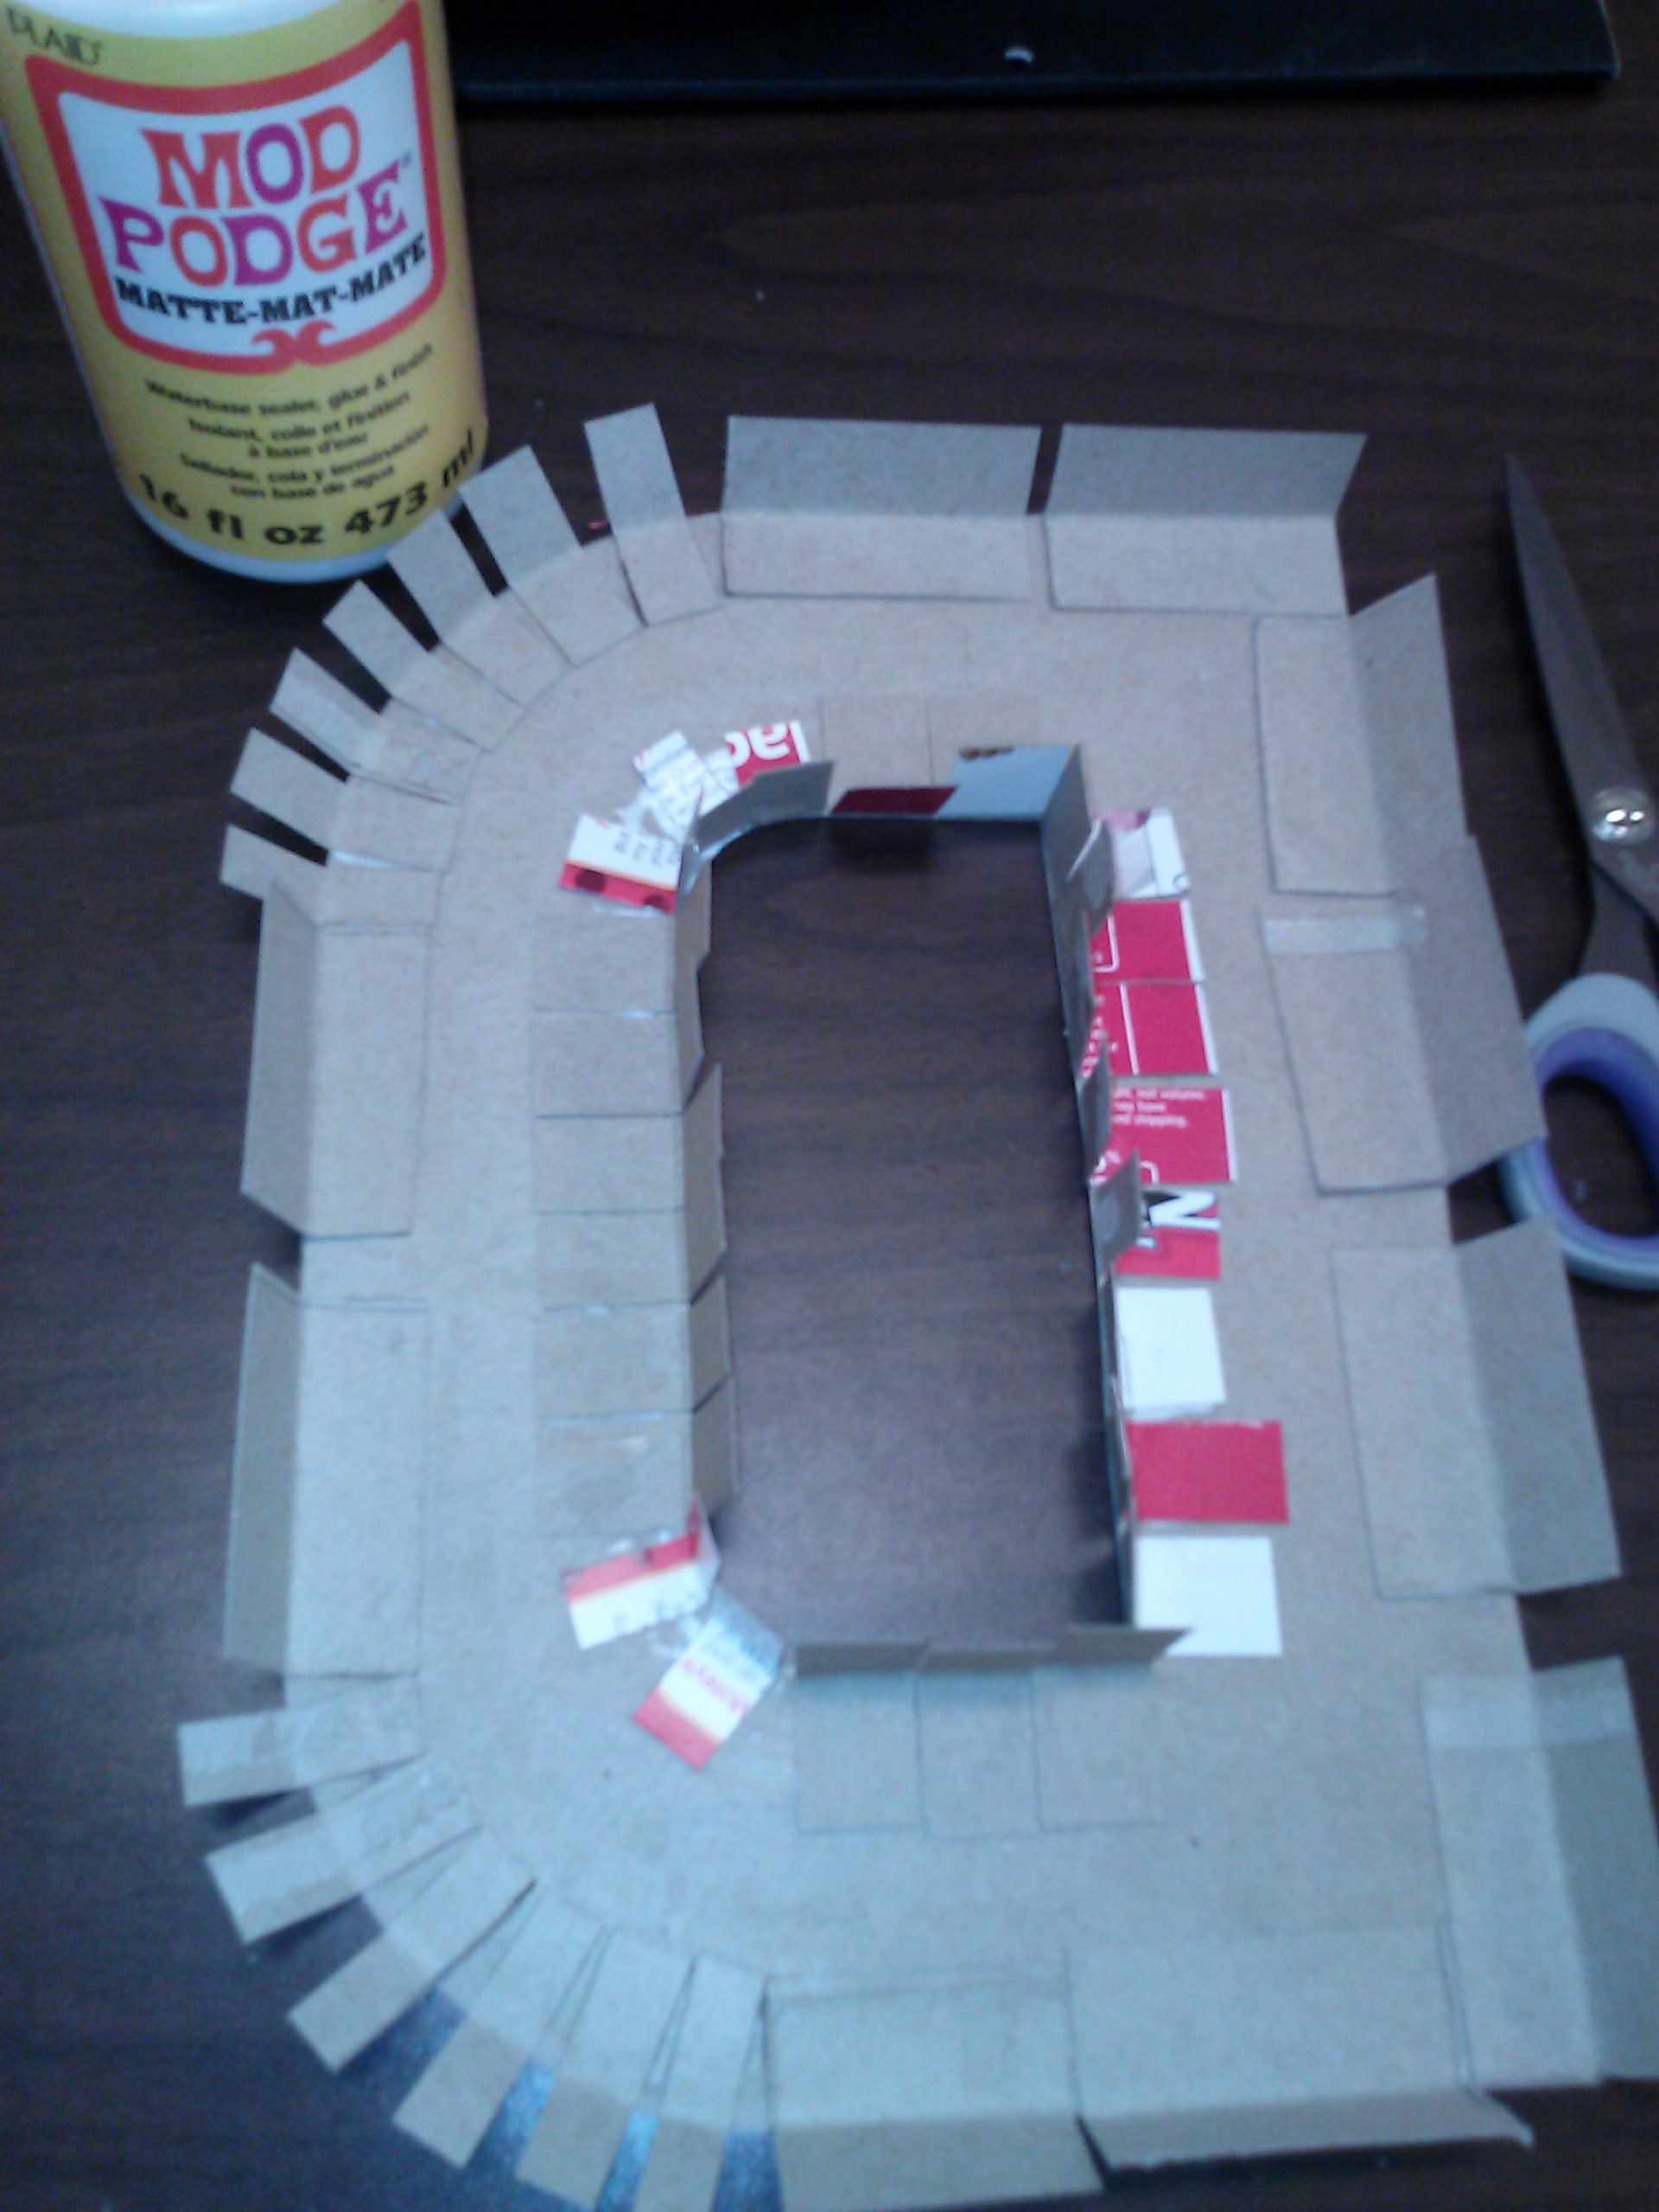
You will need many, many tabs. cut them out of the smaller pieces of cereal boxes, top, bottom and sides. approximately 1/2" x 2".
Glue on Tabs


Using either hot glue or decopauge glue, attach the tabs all the way around the edge of the front of the letter.
Glue Sides to Back of Letter


Cut strips 2-1/2" wide out of the cereal boxes. Glue to the tabs that have been attached to the outside edge of the letter.
Glue Tabs to Top of Letter


Before packing the letter with shredded paper you will need to glue more tabs all around the top edge.
Fill With Shredded Paper

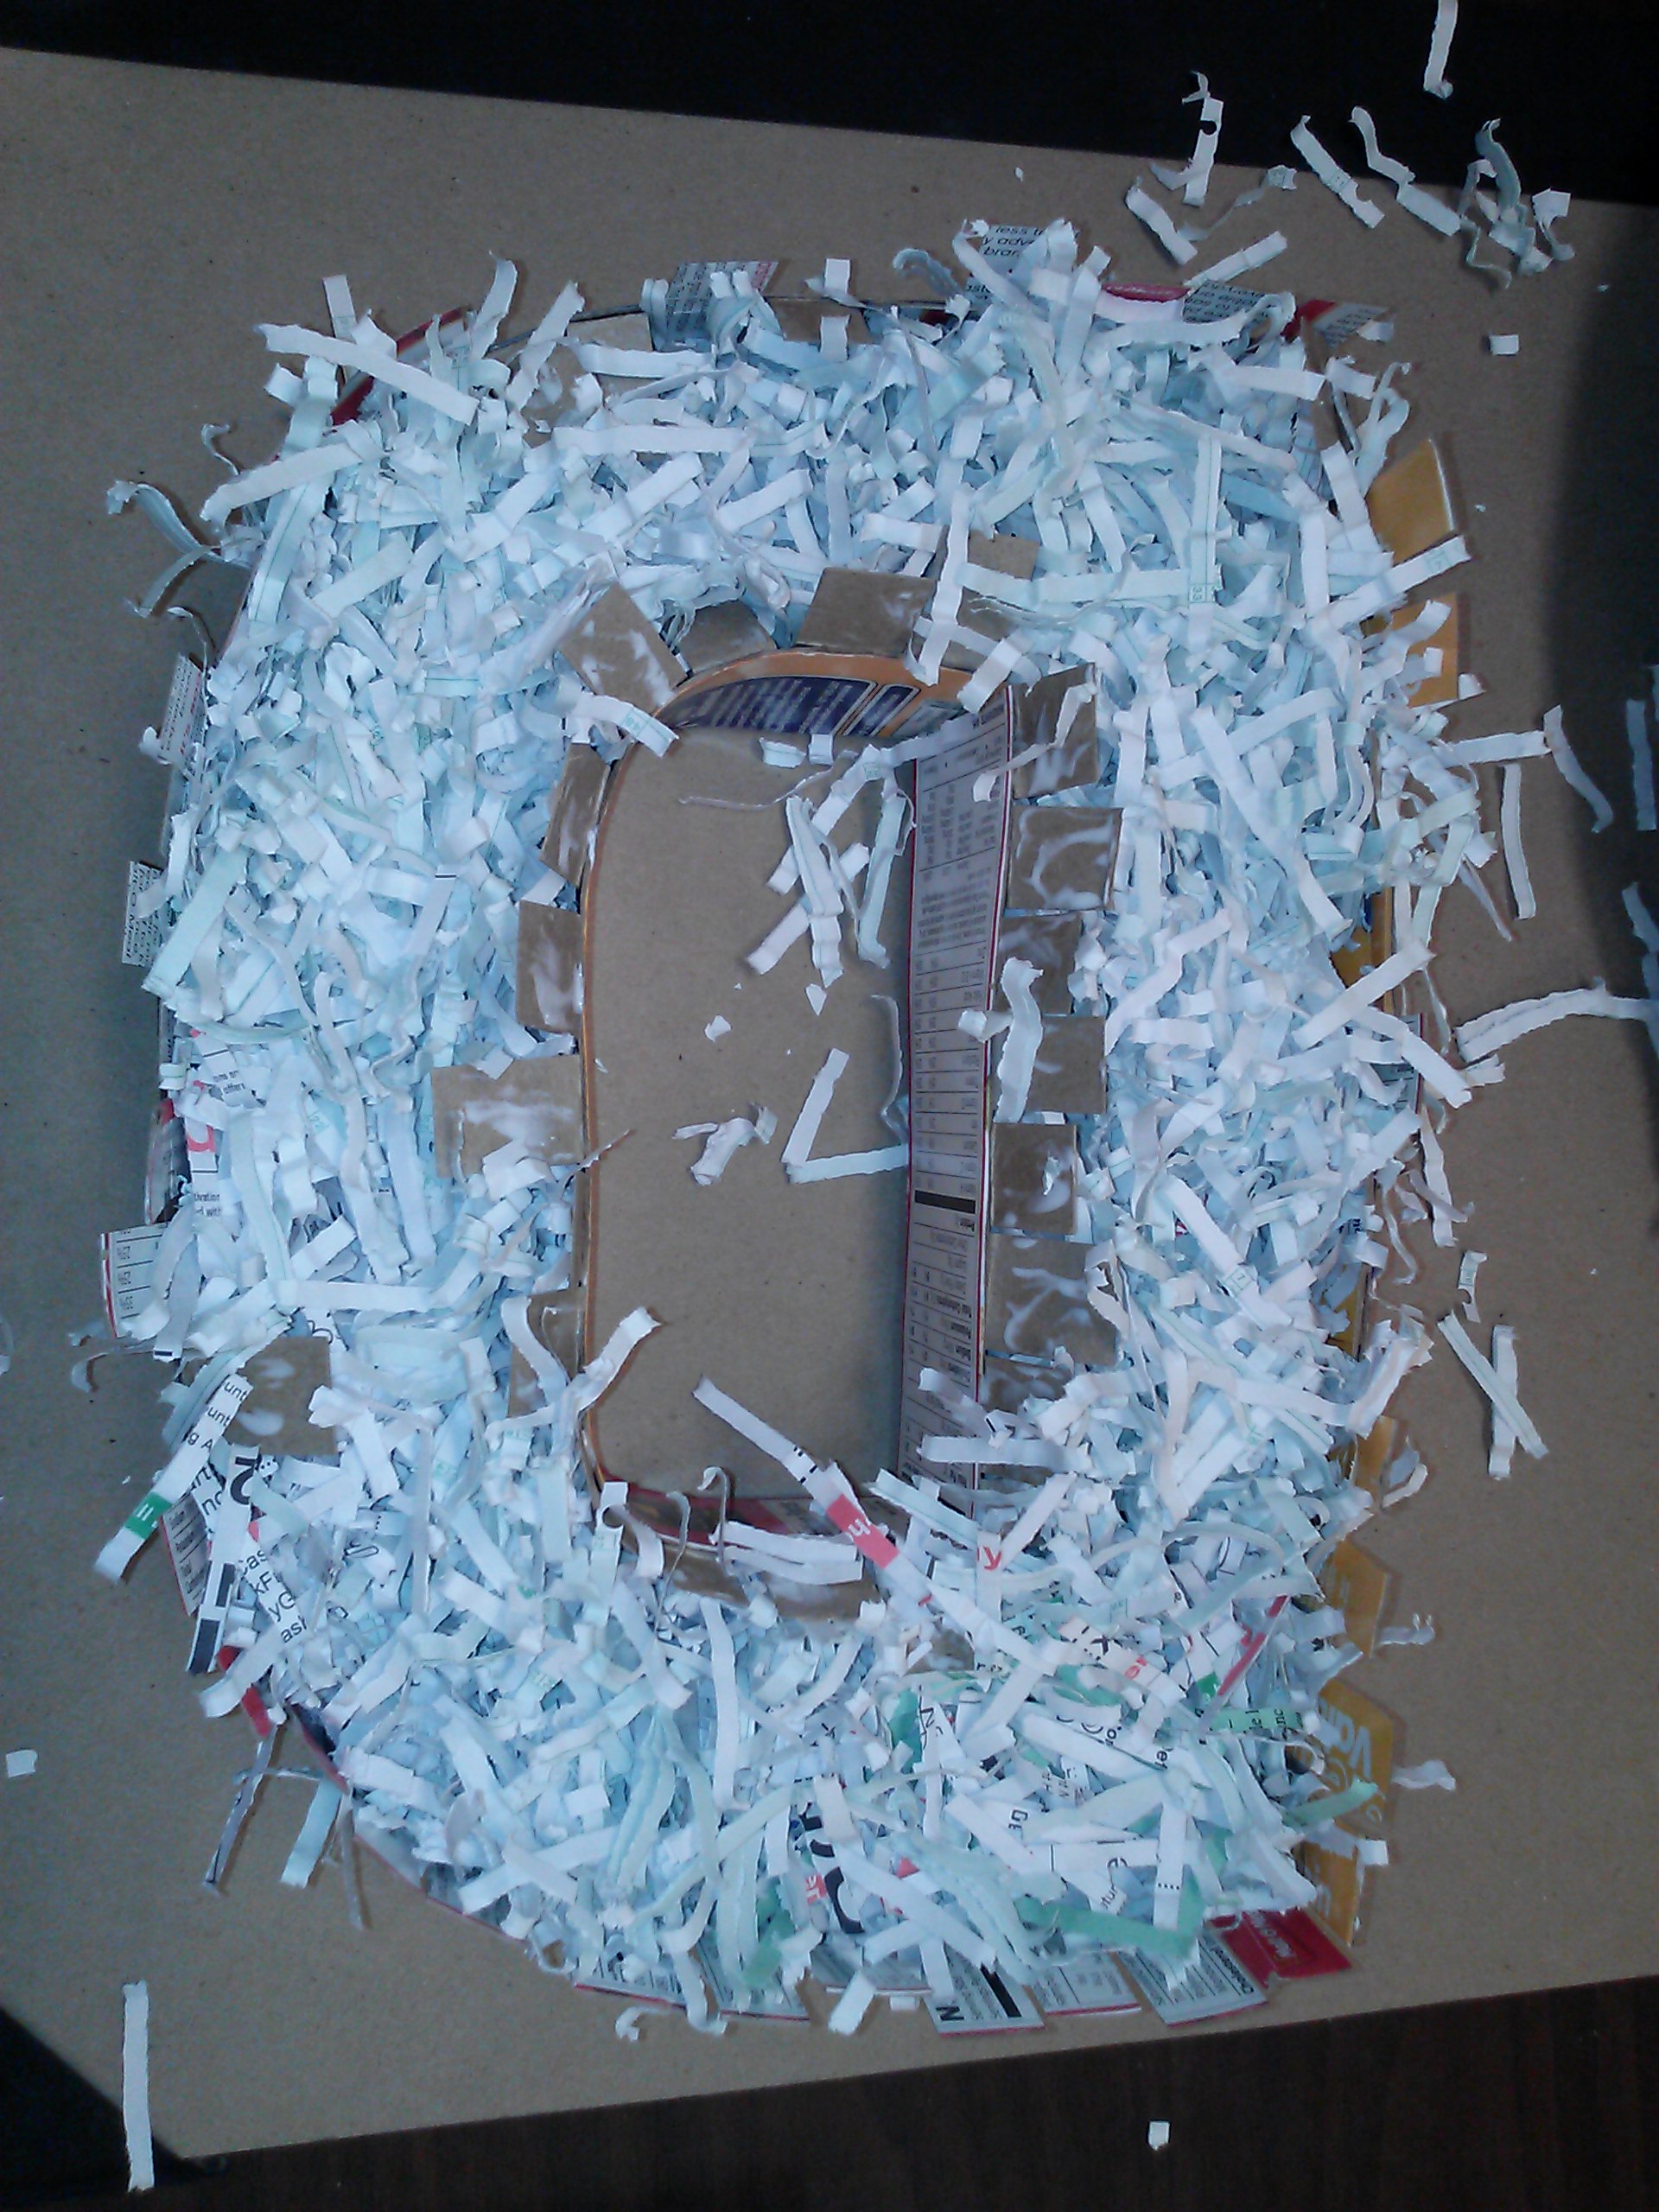
Pack in as much shredded paper as you can. You want the letters to be solid and sturdy.
Glue on Front of Letter


You will have to glue one side of the front of the letter to the tabs. Place shredded paper in, glue front to more tabs and keep adding more shredded paper you get the front glued down completely.
Cover With Brown Paper

Tear small pieces of a brown paper bag, about 2" x 2". Using decopauge glue cover entire letter. To hang the letter on the wall, hot glue a pop top tab from a soda can onto the back of letter near the top.