Centripetal Force Experiment With Micro:bit and Microsoft Excel
by Narongporn in Teachers > 9
5742 Views, 37 Favorites, 0 Comments
Centripetal Force Experiment With Micro:bit and Microsoft Excel
When I was asked to demonstrate computer use in science experiments for school, I gathered what I already had in my home and set up this experiment. The experiment is about centripetal and centrifuge forces. Spinning the ball on a string, playing Merry Go Round, or astronauts in the High-g training machine are related to centripetal and centrifuge forces. There are many resources that explain about these forces. I recommend Lectures by Walter Lewin about Circular Motion, Centripetal Forces, Perceived Gravity.
In my experiment, I applied micro-controller and sensors to measure rotation speed and acceleration in 3 dimensions and then sent the data to Microsoft Excel for further calculation and data visualization.
Supplies

- micro:bit x 2
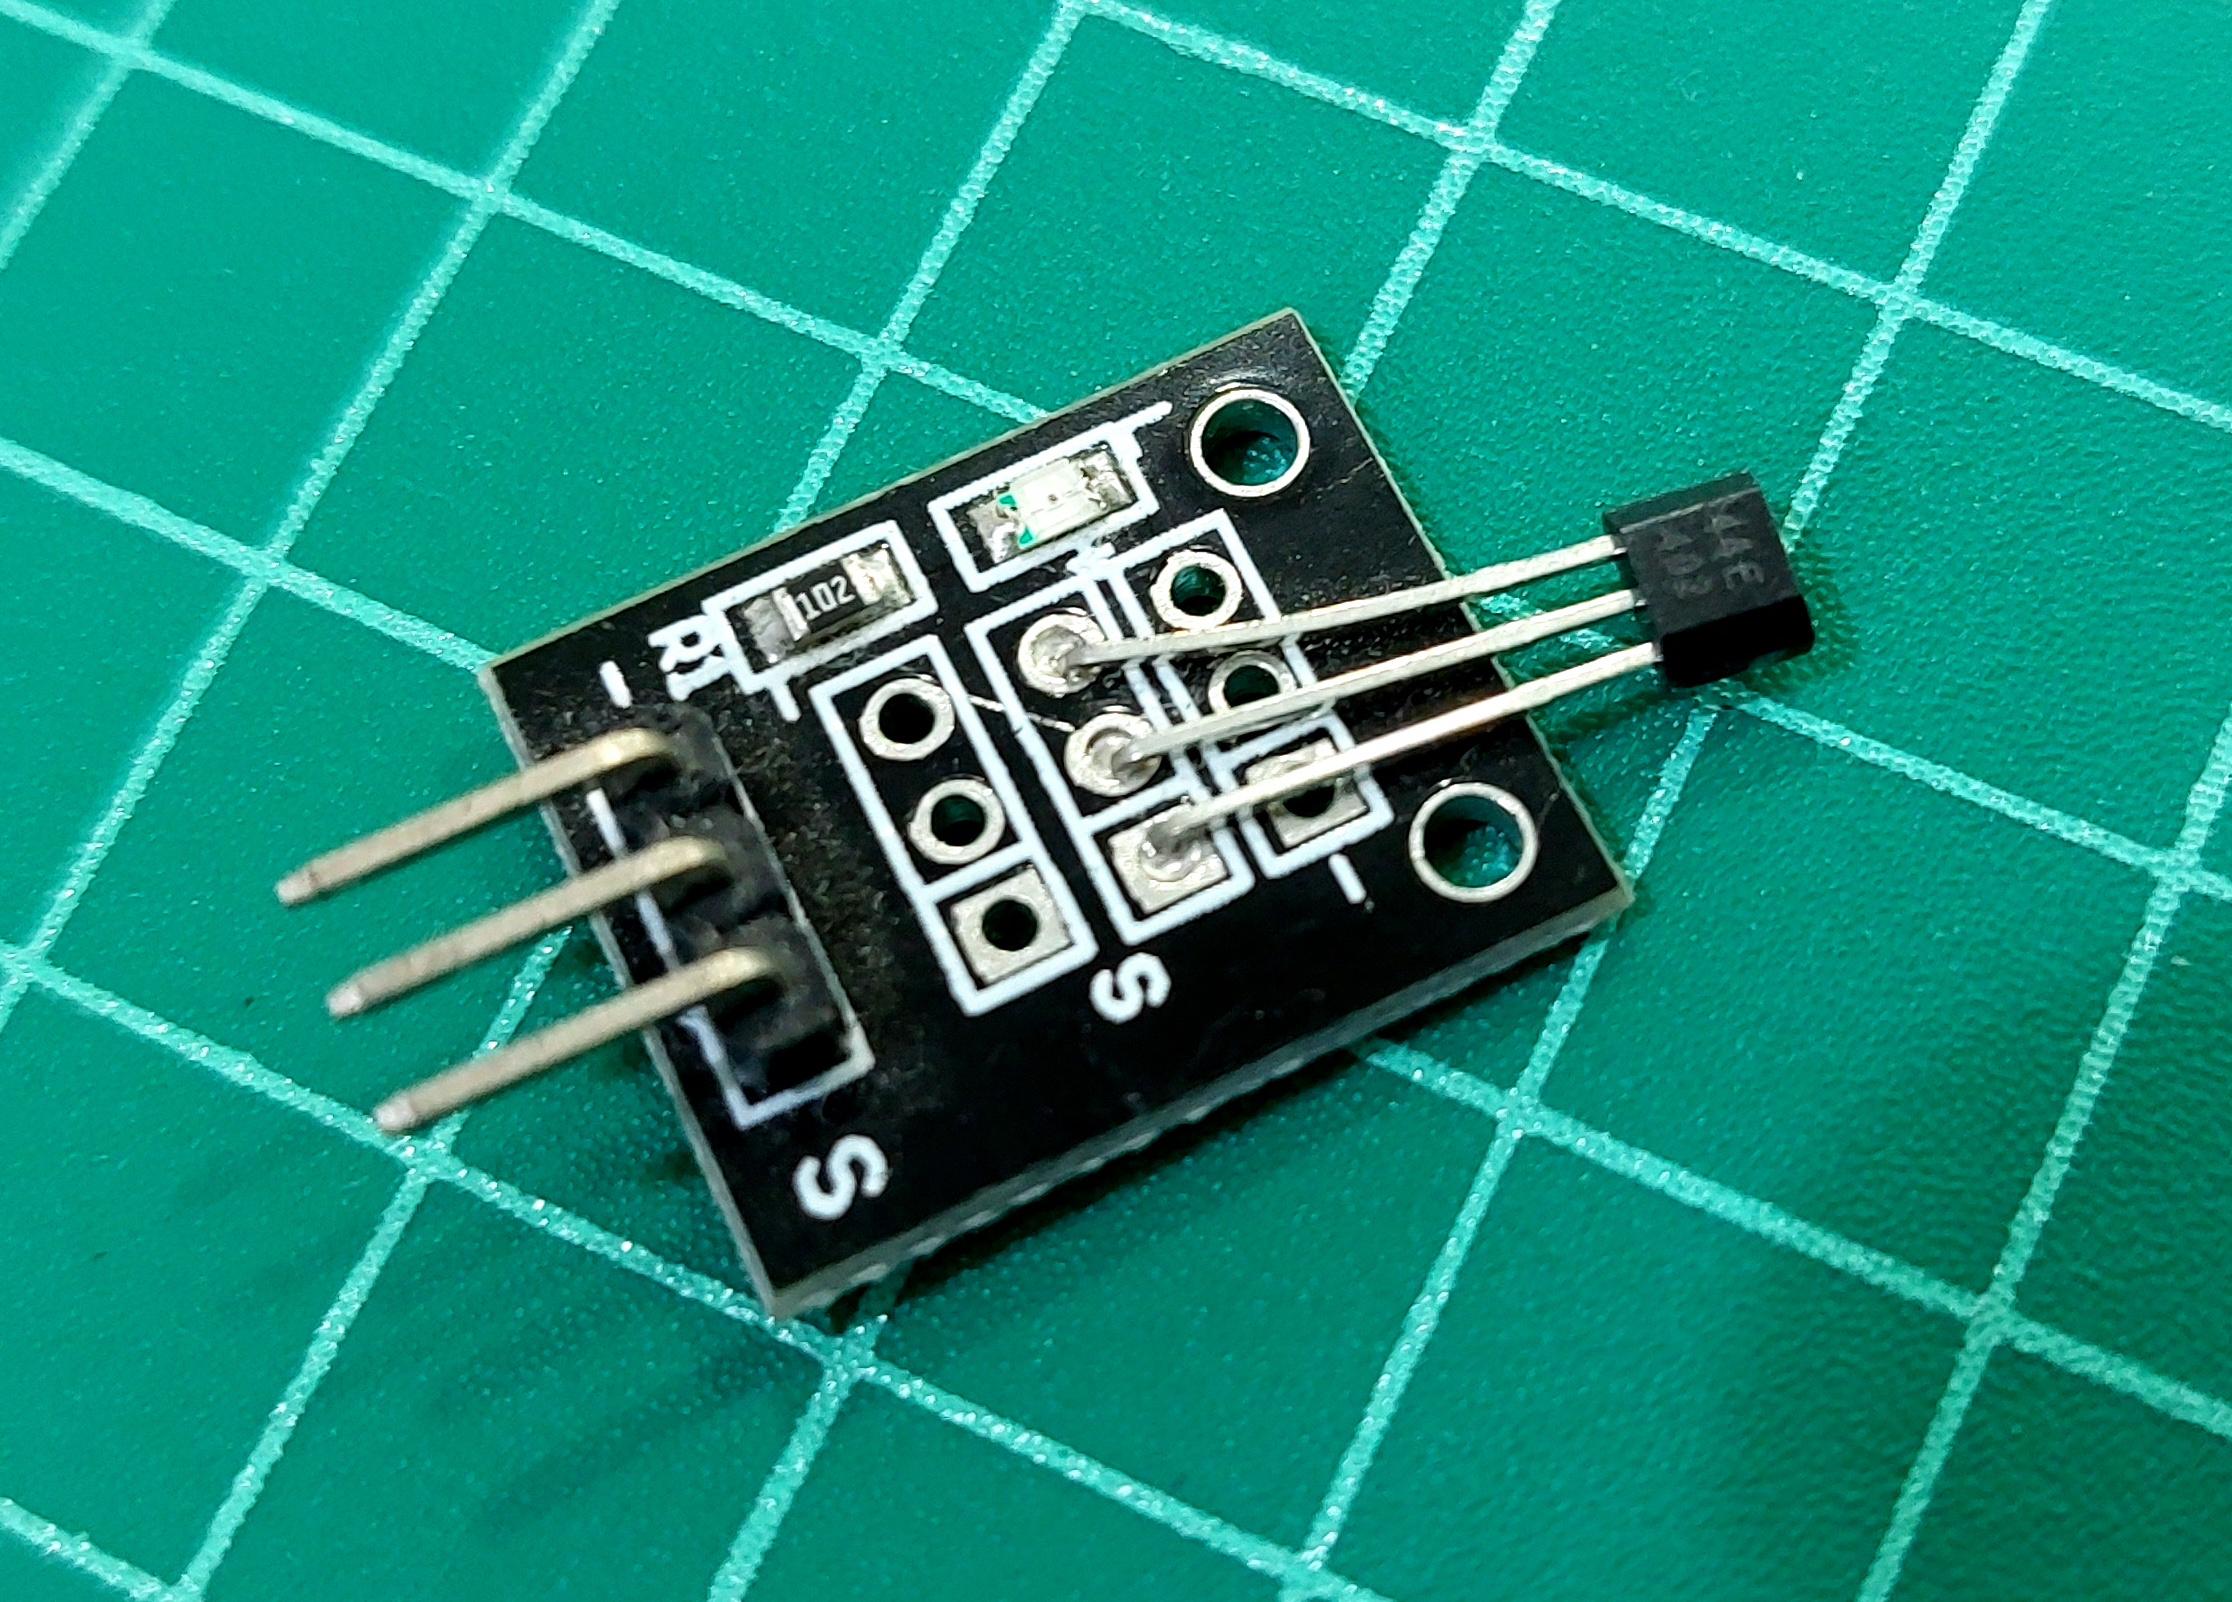
- Hall-effect sensor KY-003 (sensor chip 3144 series)
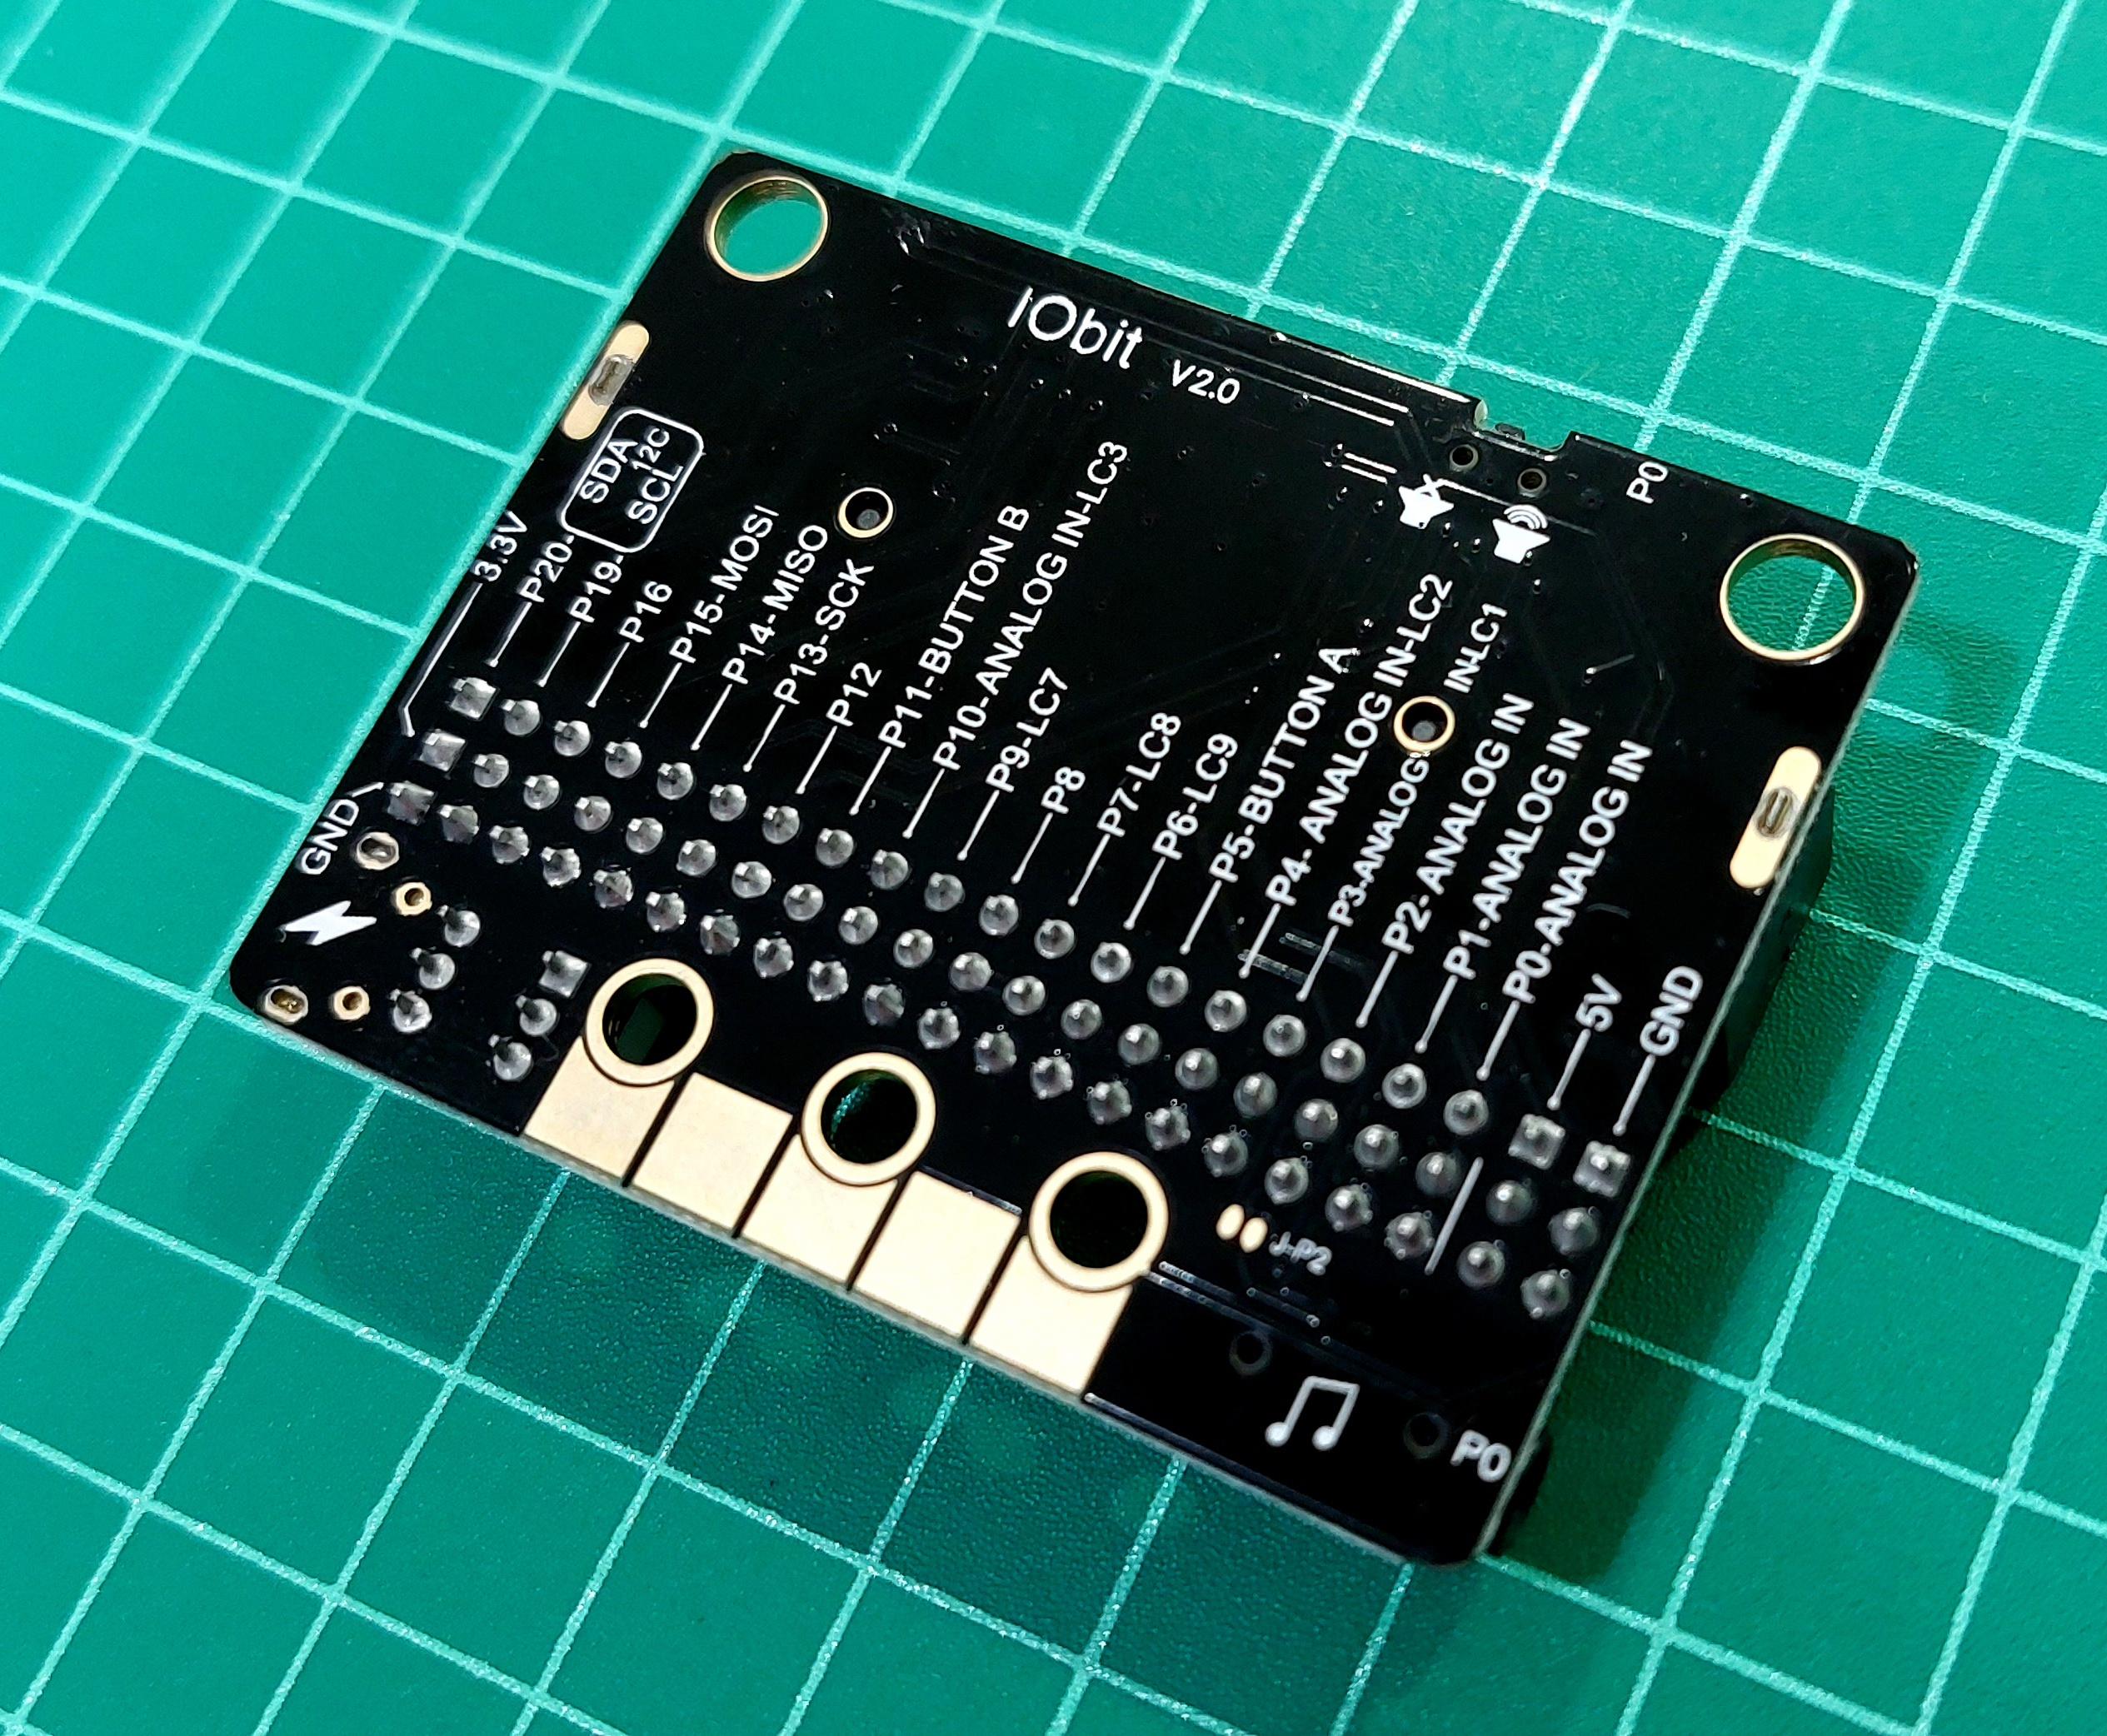
- IObit V2.0 Expansion board or other board with 5V power supply
- USB Cable x 2
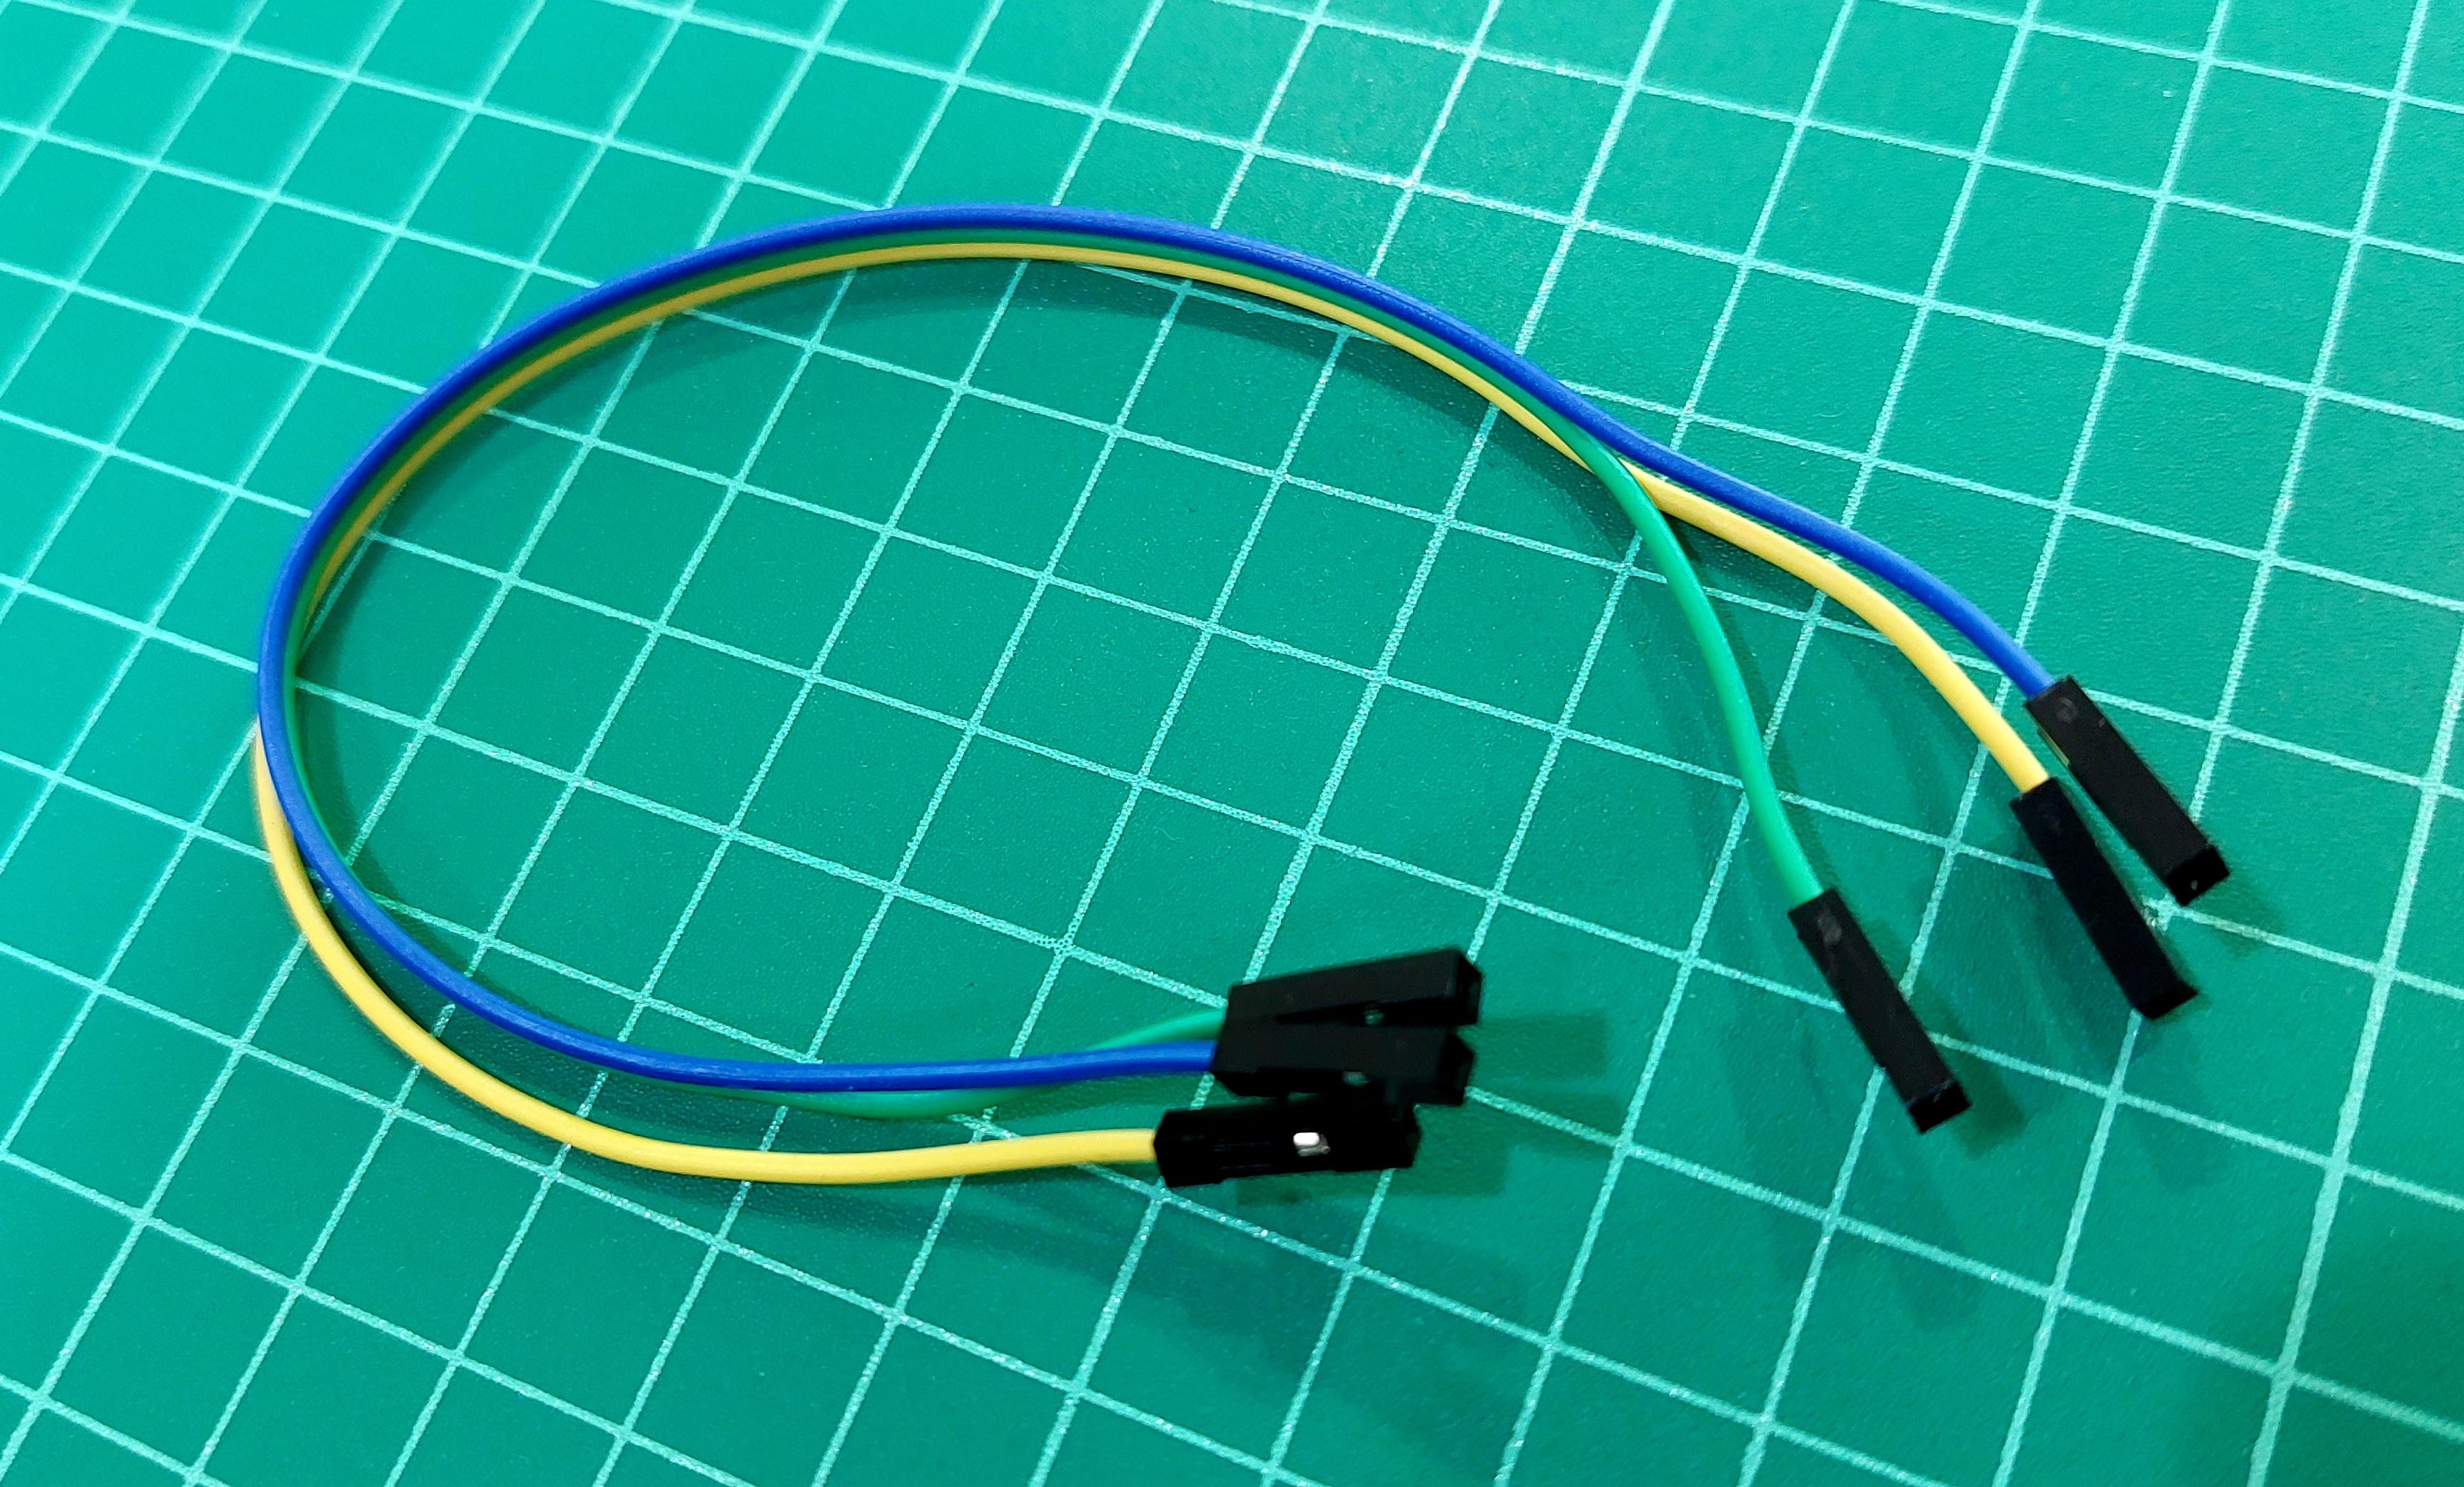
- 3 Female-Female jumper wire 20cm
- 2 x AA (AAA) battery case with connector
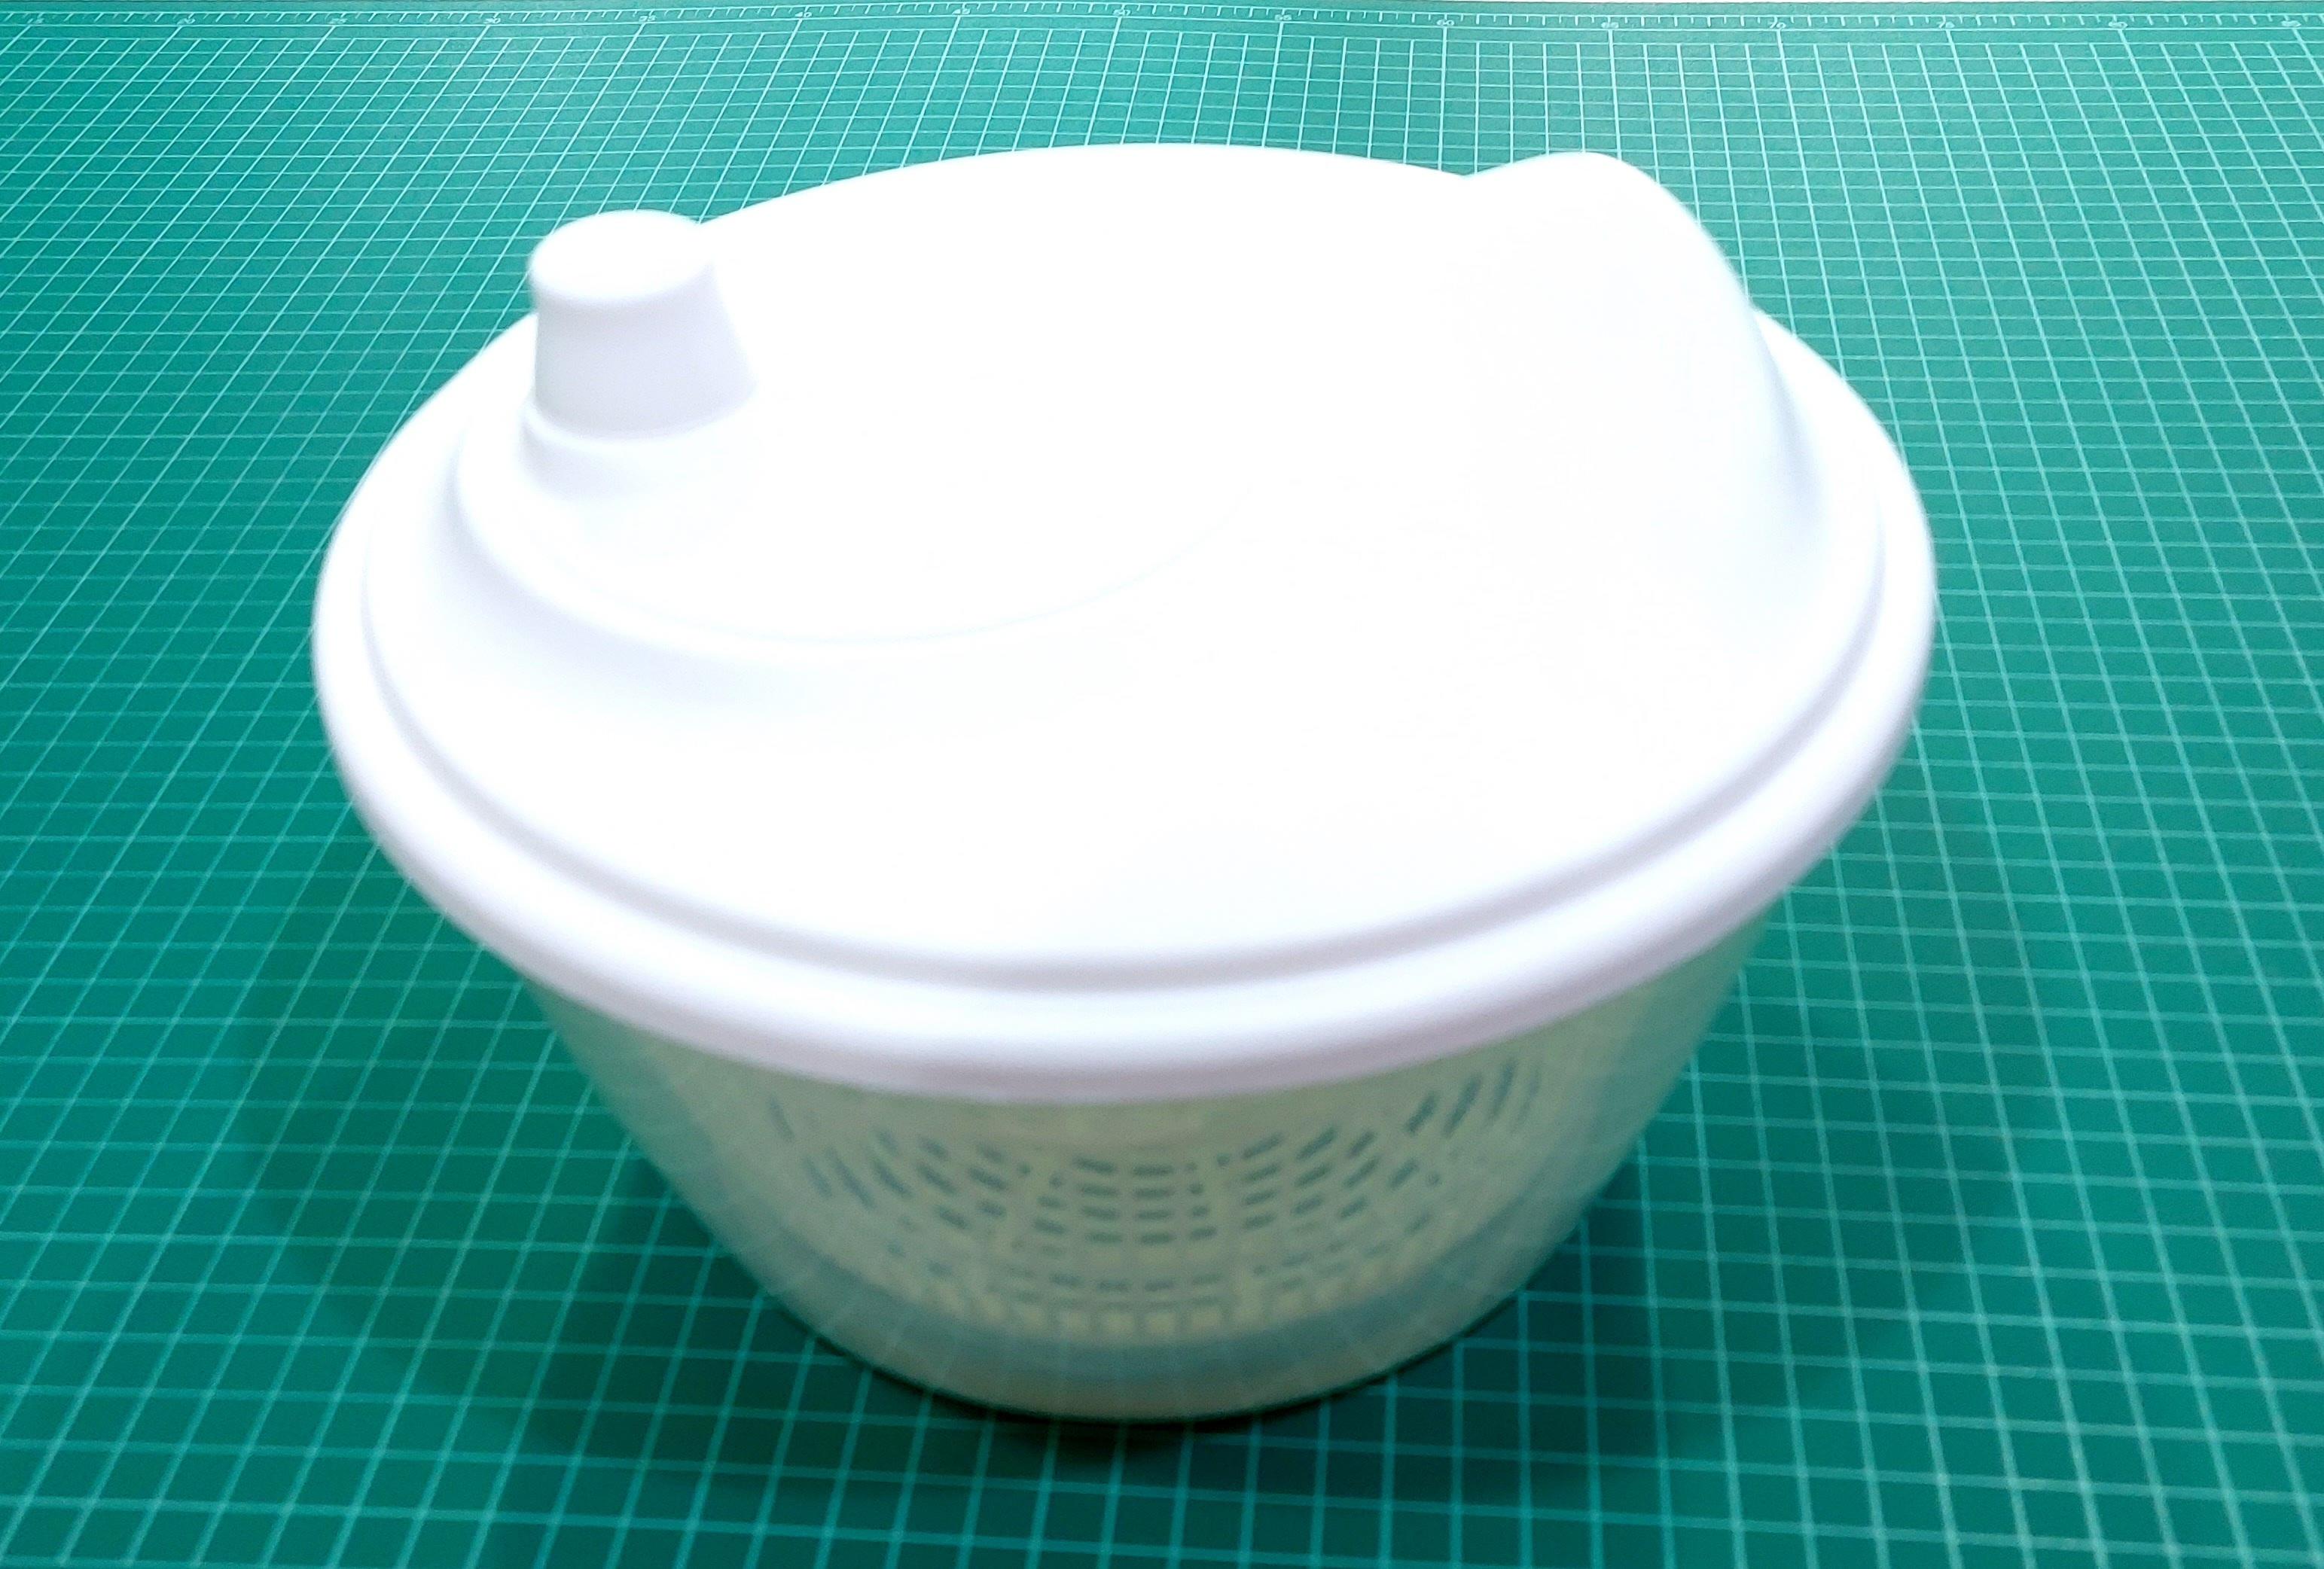
- Ikea Tokig, salad spinner
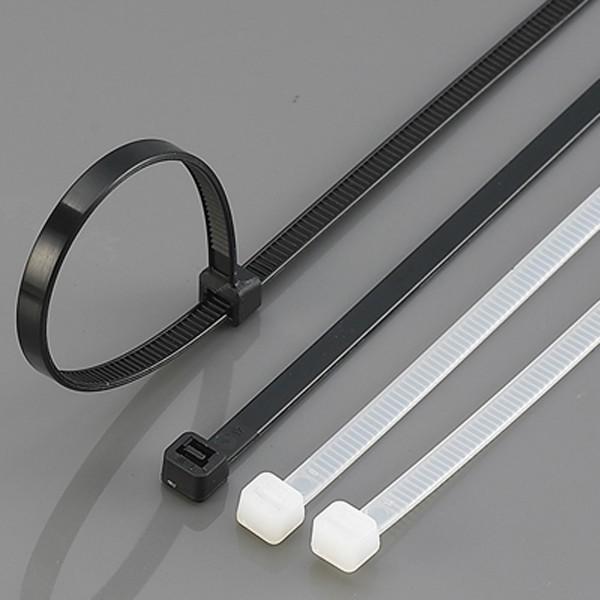
- Cable tie
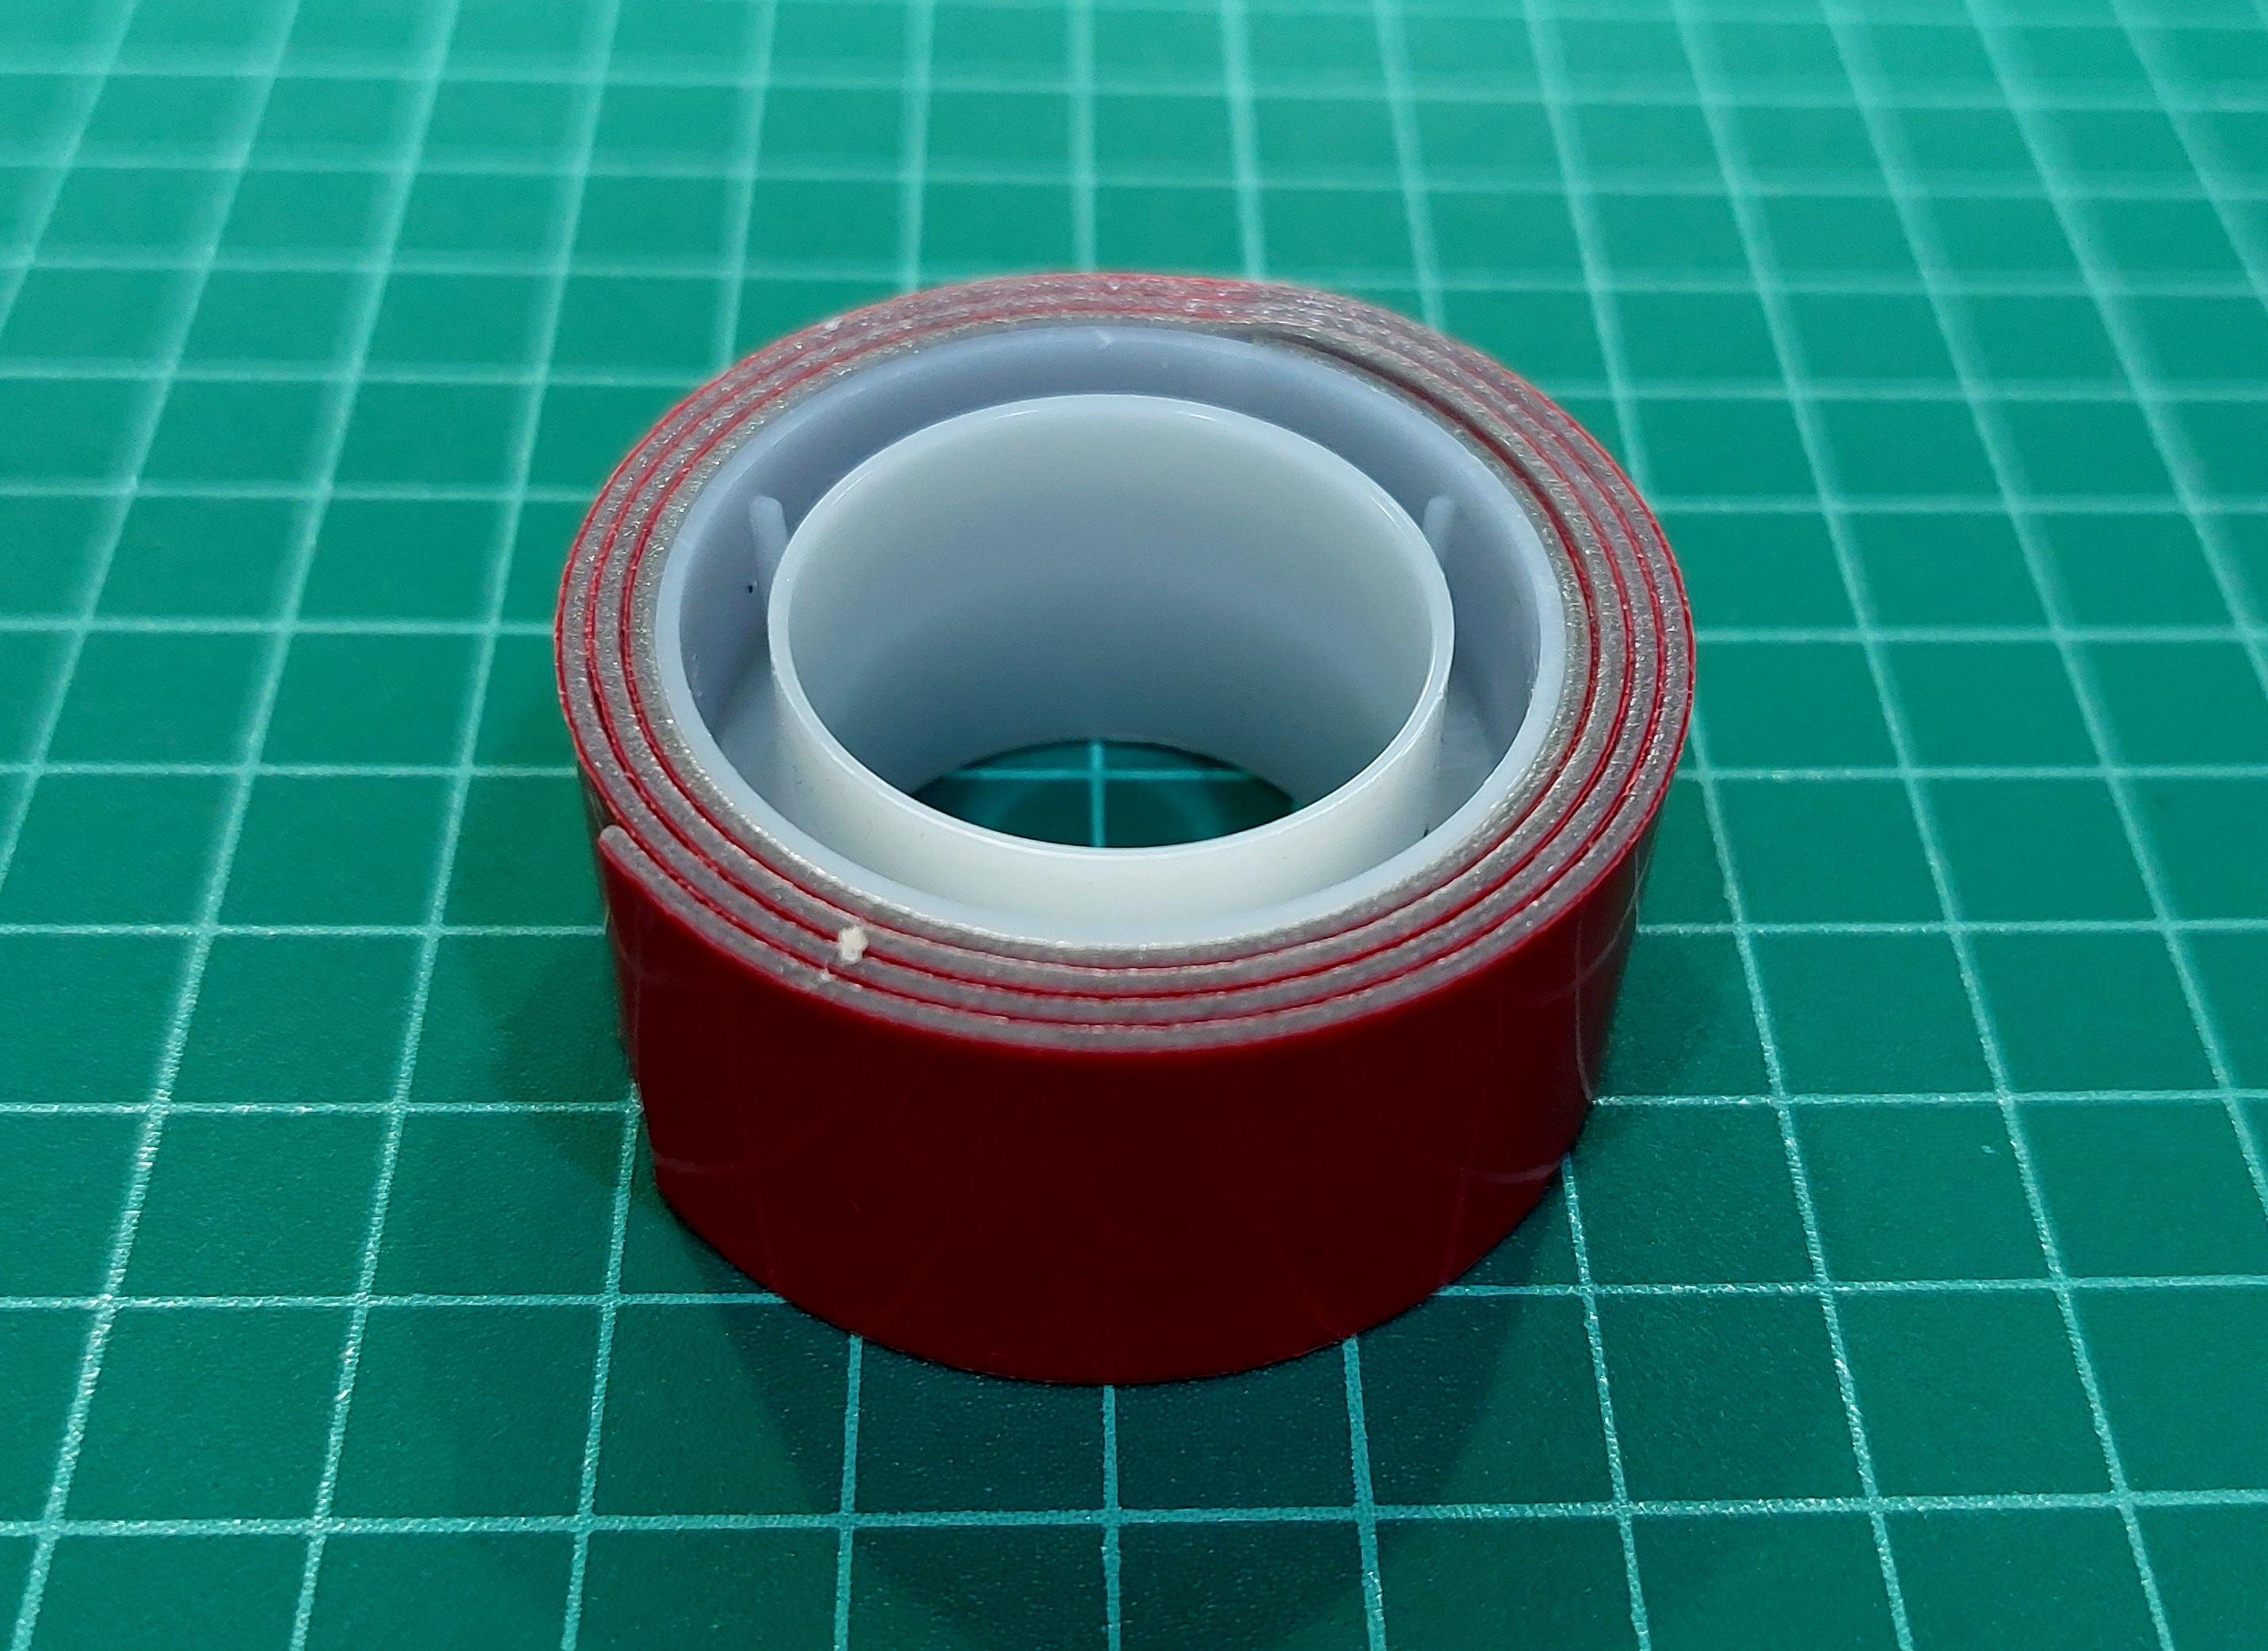
- General-purpose double-sided adhesive tape
- Neodymium magnet 1-2 pieces
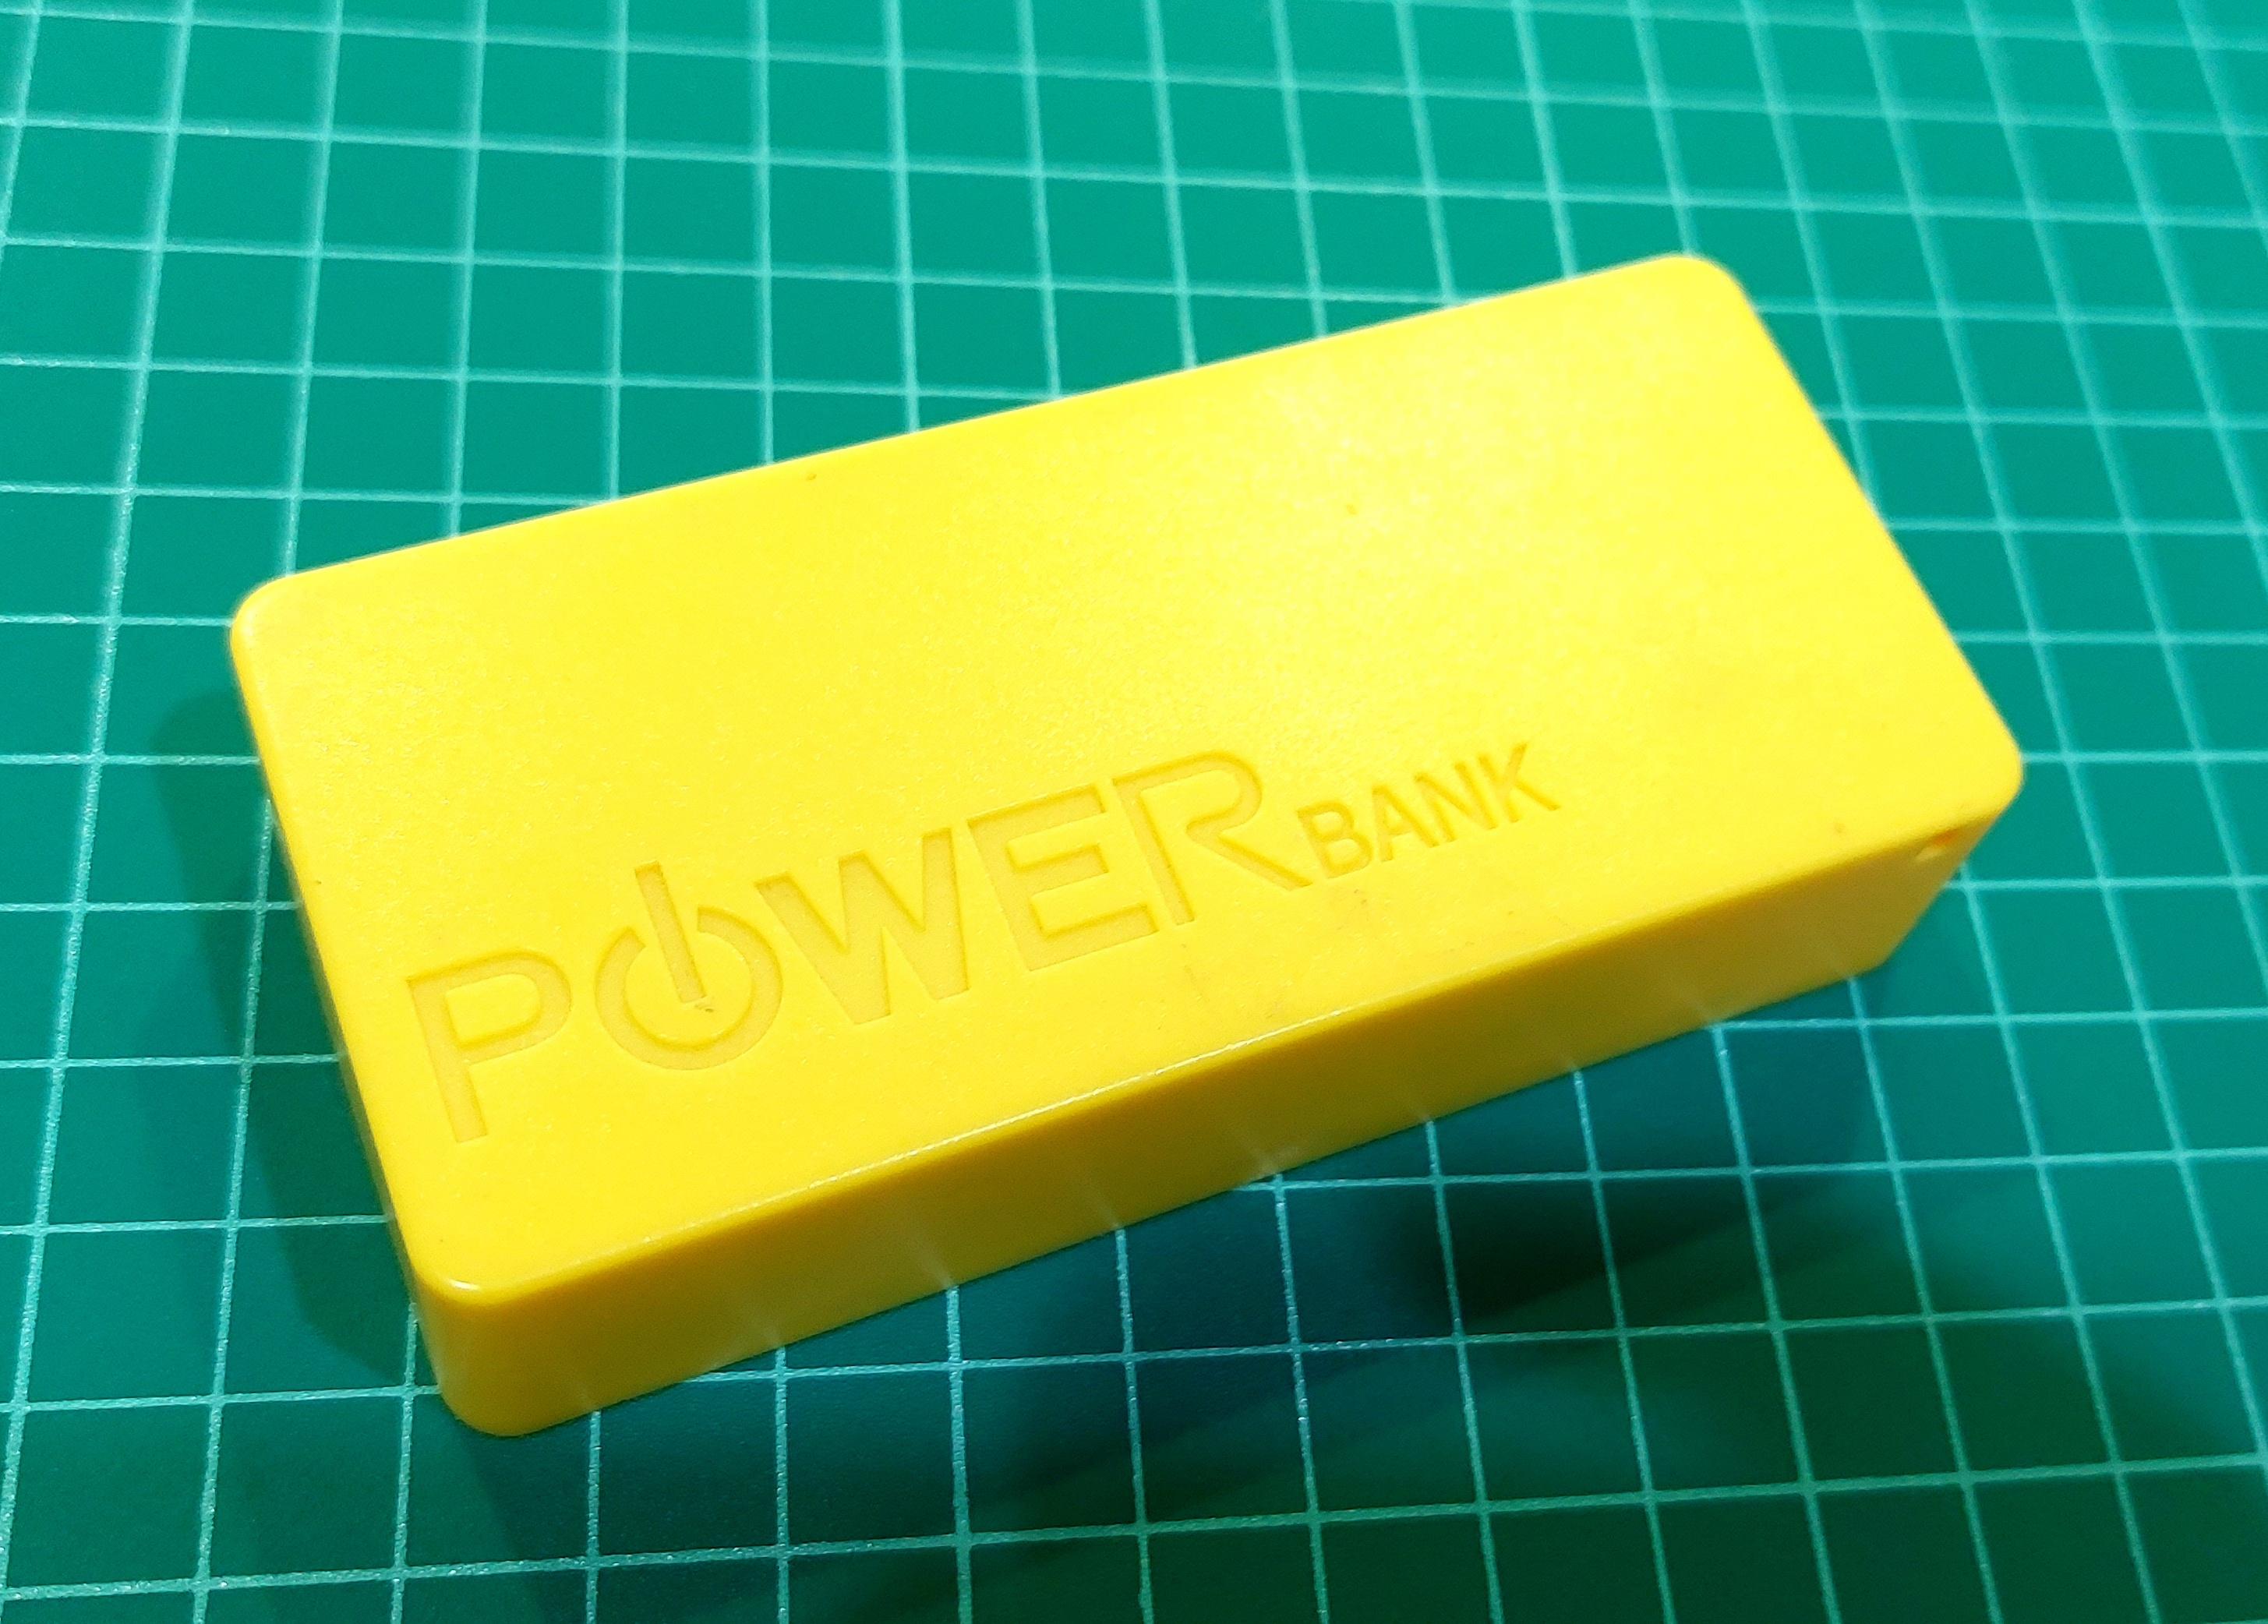
- Power Bank
Design an Experiment
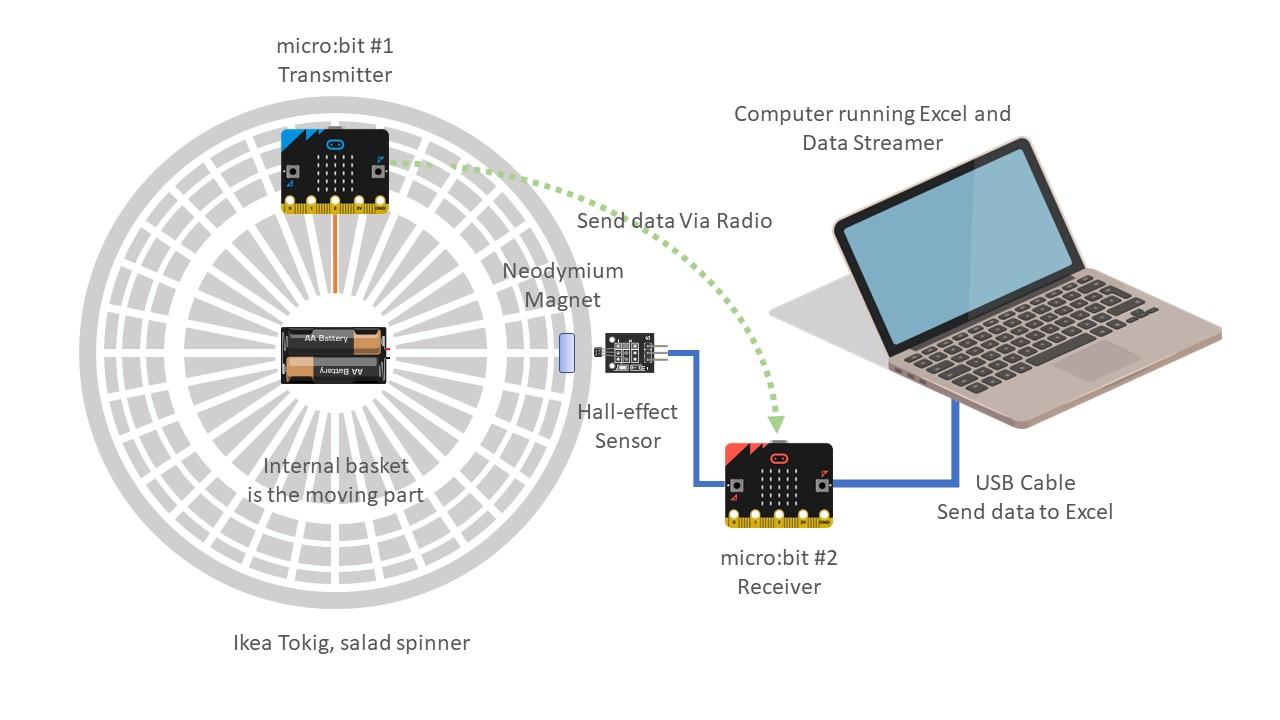
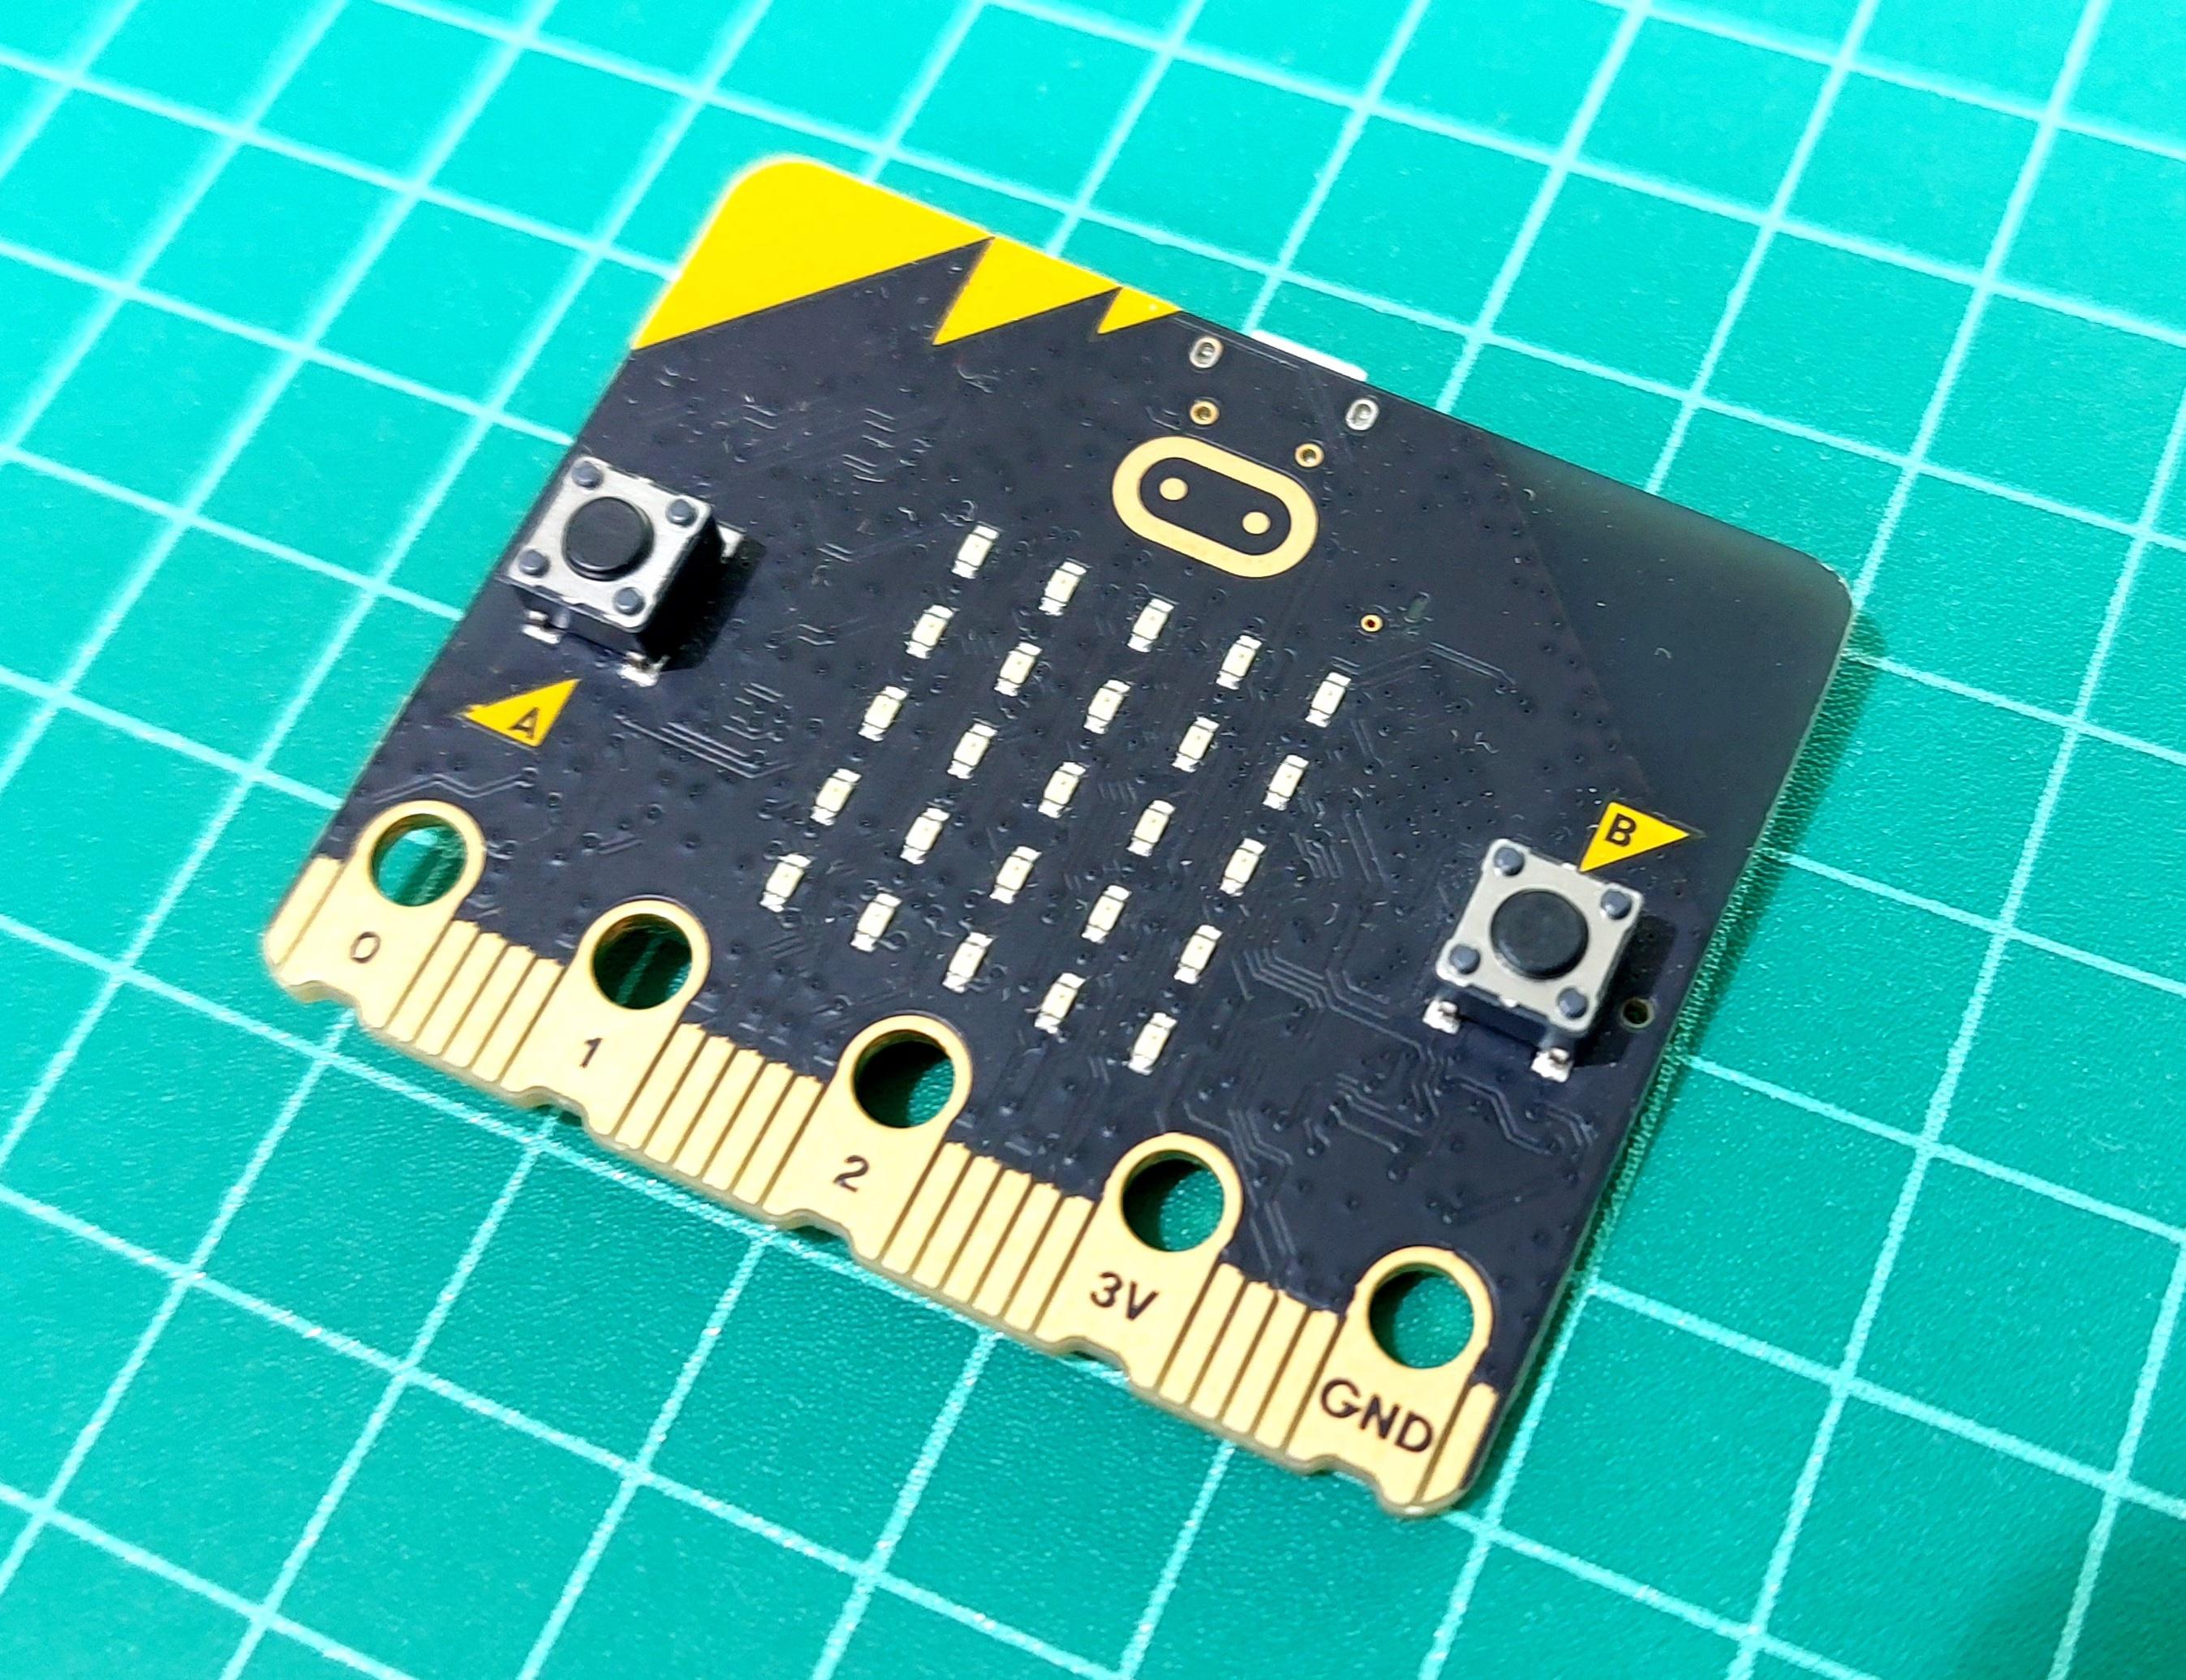
To design this experiment, I need 2 sensors. The first sensor is an accelerometer sensor for measuring acceleration of the object while the second one is a sensor to measure rotation speed. I prefer to use micro:bit because it is small and already has the accelerometer sensor.
Besides, micro:bit also have other advantages as follows:
- Writing code for micro:bit by using Makecode platform is easy.
- Data can be wirelessly transferred from one micro:bit to others with Radio
- micro:bit can stream live data to Microsoft Excel.
As a rotation mechanism, I choose Ikea Tokig (a salad spinner), which I already have in my kitchen. This salad spinner can rotate at the speed of 700 rpm. To start spinning, I rotate a knob on the lid then internal basket will start spinning.
I plan to use magnetic and Hall effect sensors to measure rotation speed. Place the neodymium magnet in the basket and install the Hall effect sensor on the outer bowl. Once the magnet (in the basket) rotates to face Hall effect sensor, sensor will output high pulse to micro:bit. The period between 2 pulses is the time basket rotate 1 revolution.
Since 1 micro:bit is placed inside the basket and spins continuously, I will need one more micro:bit at the outside to measure speed. The first micro:bit send acceleration data via Radio to the second micro:bit, then the second micro:bit will send rotation speed and acceleration data to Microsoft Excel for further calculation and data visualization.
Accelerometer Sensor in Micro:bit
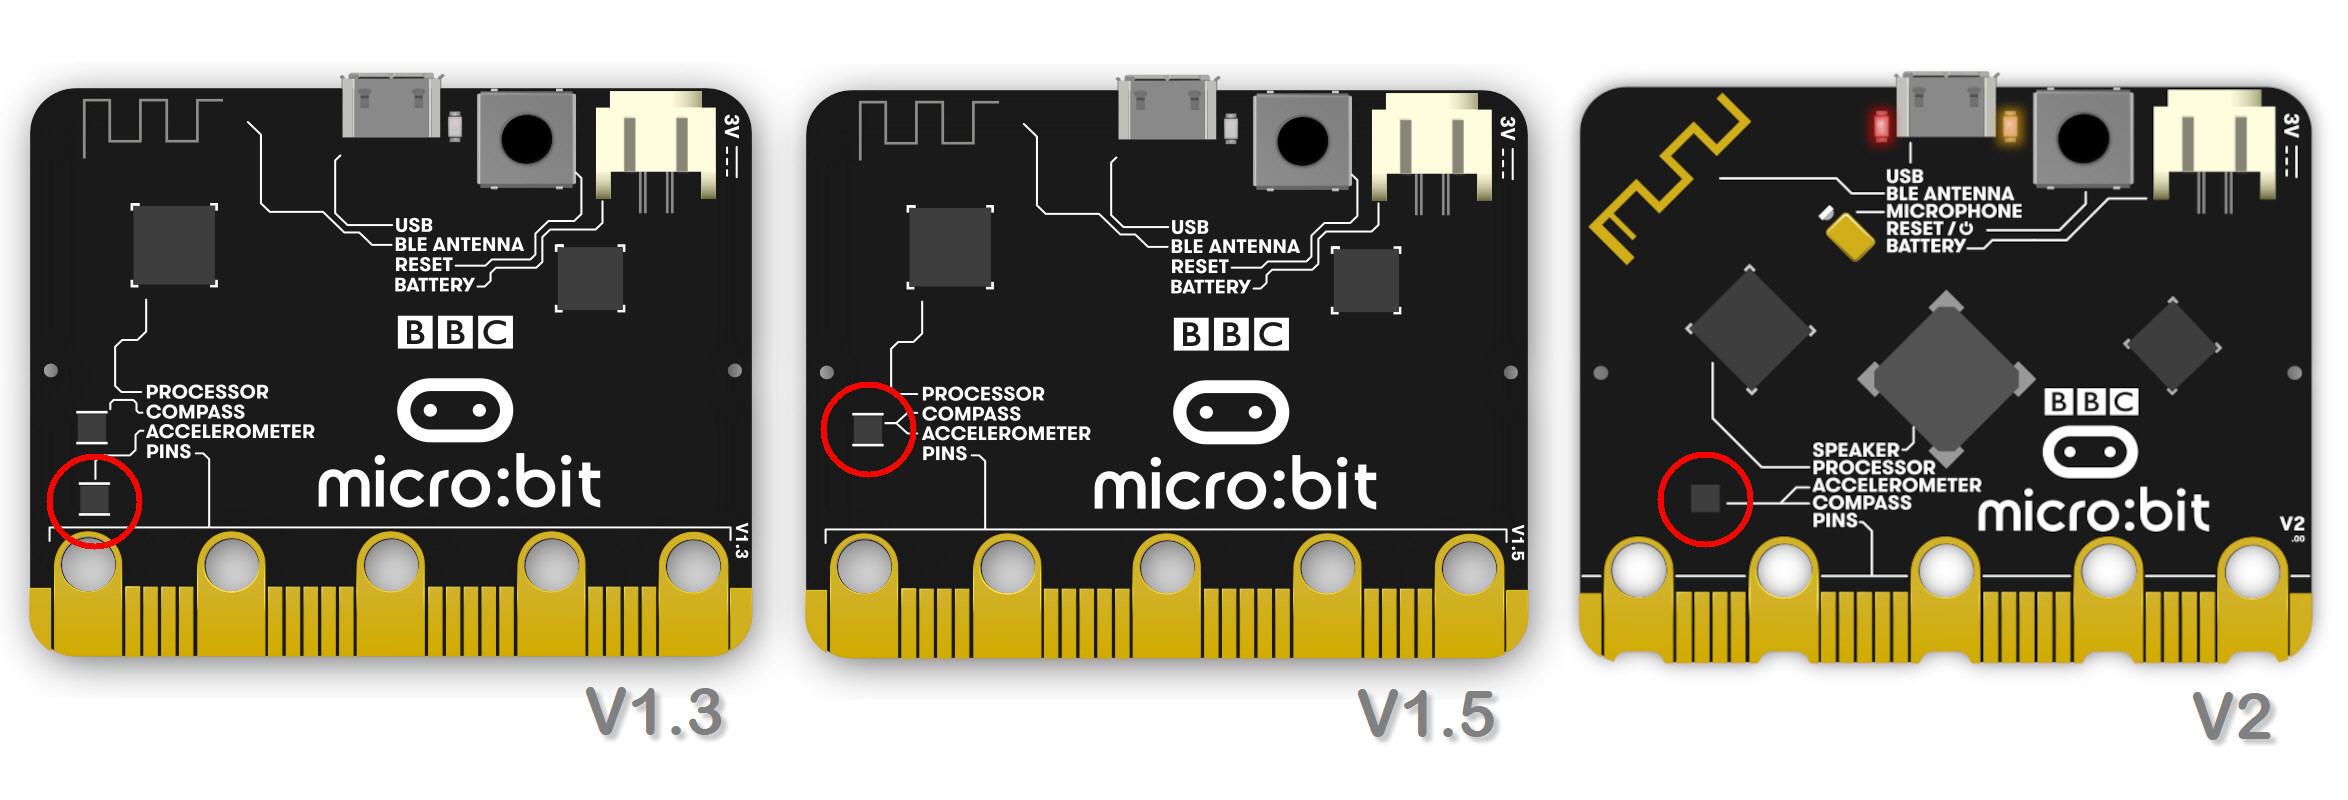
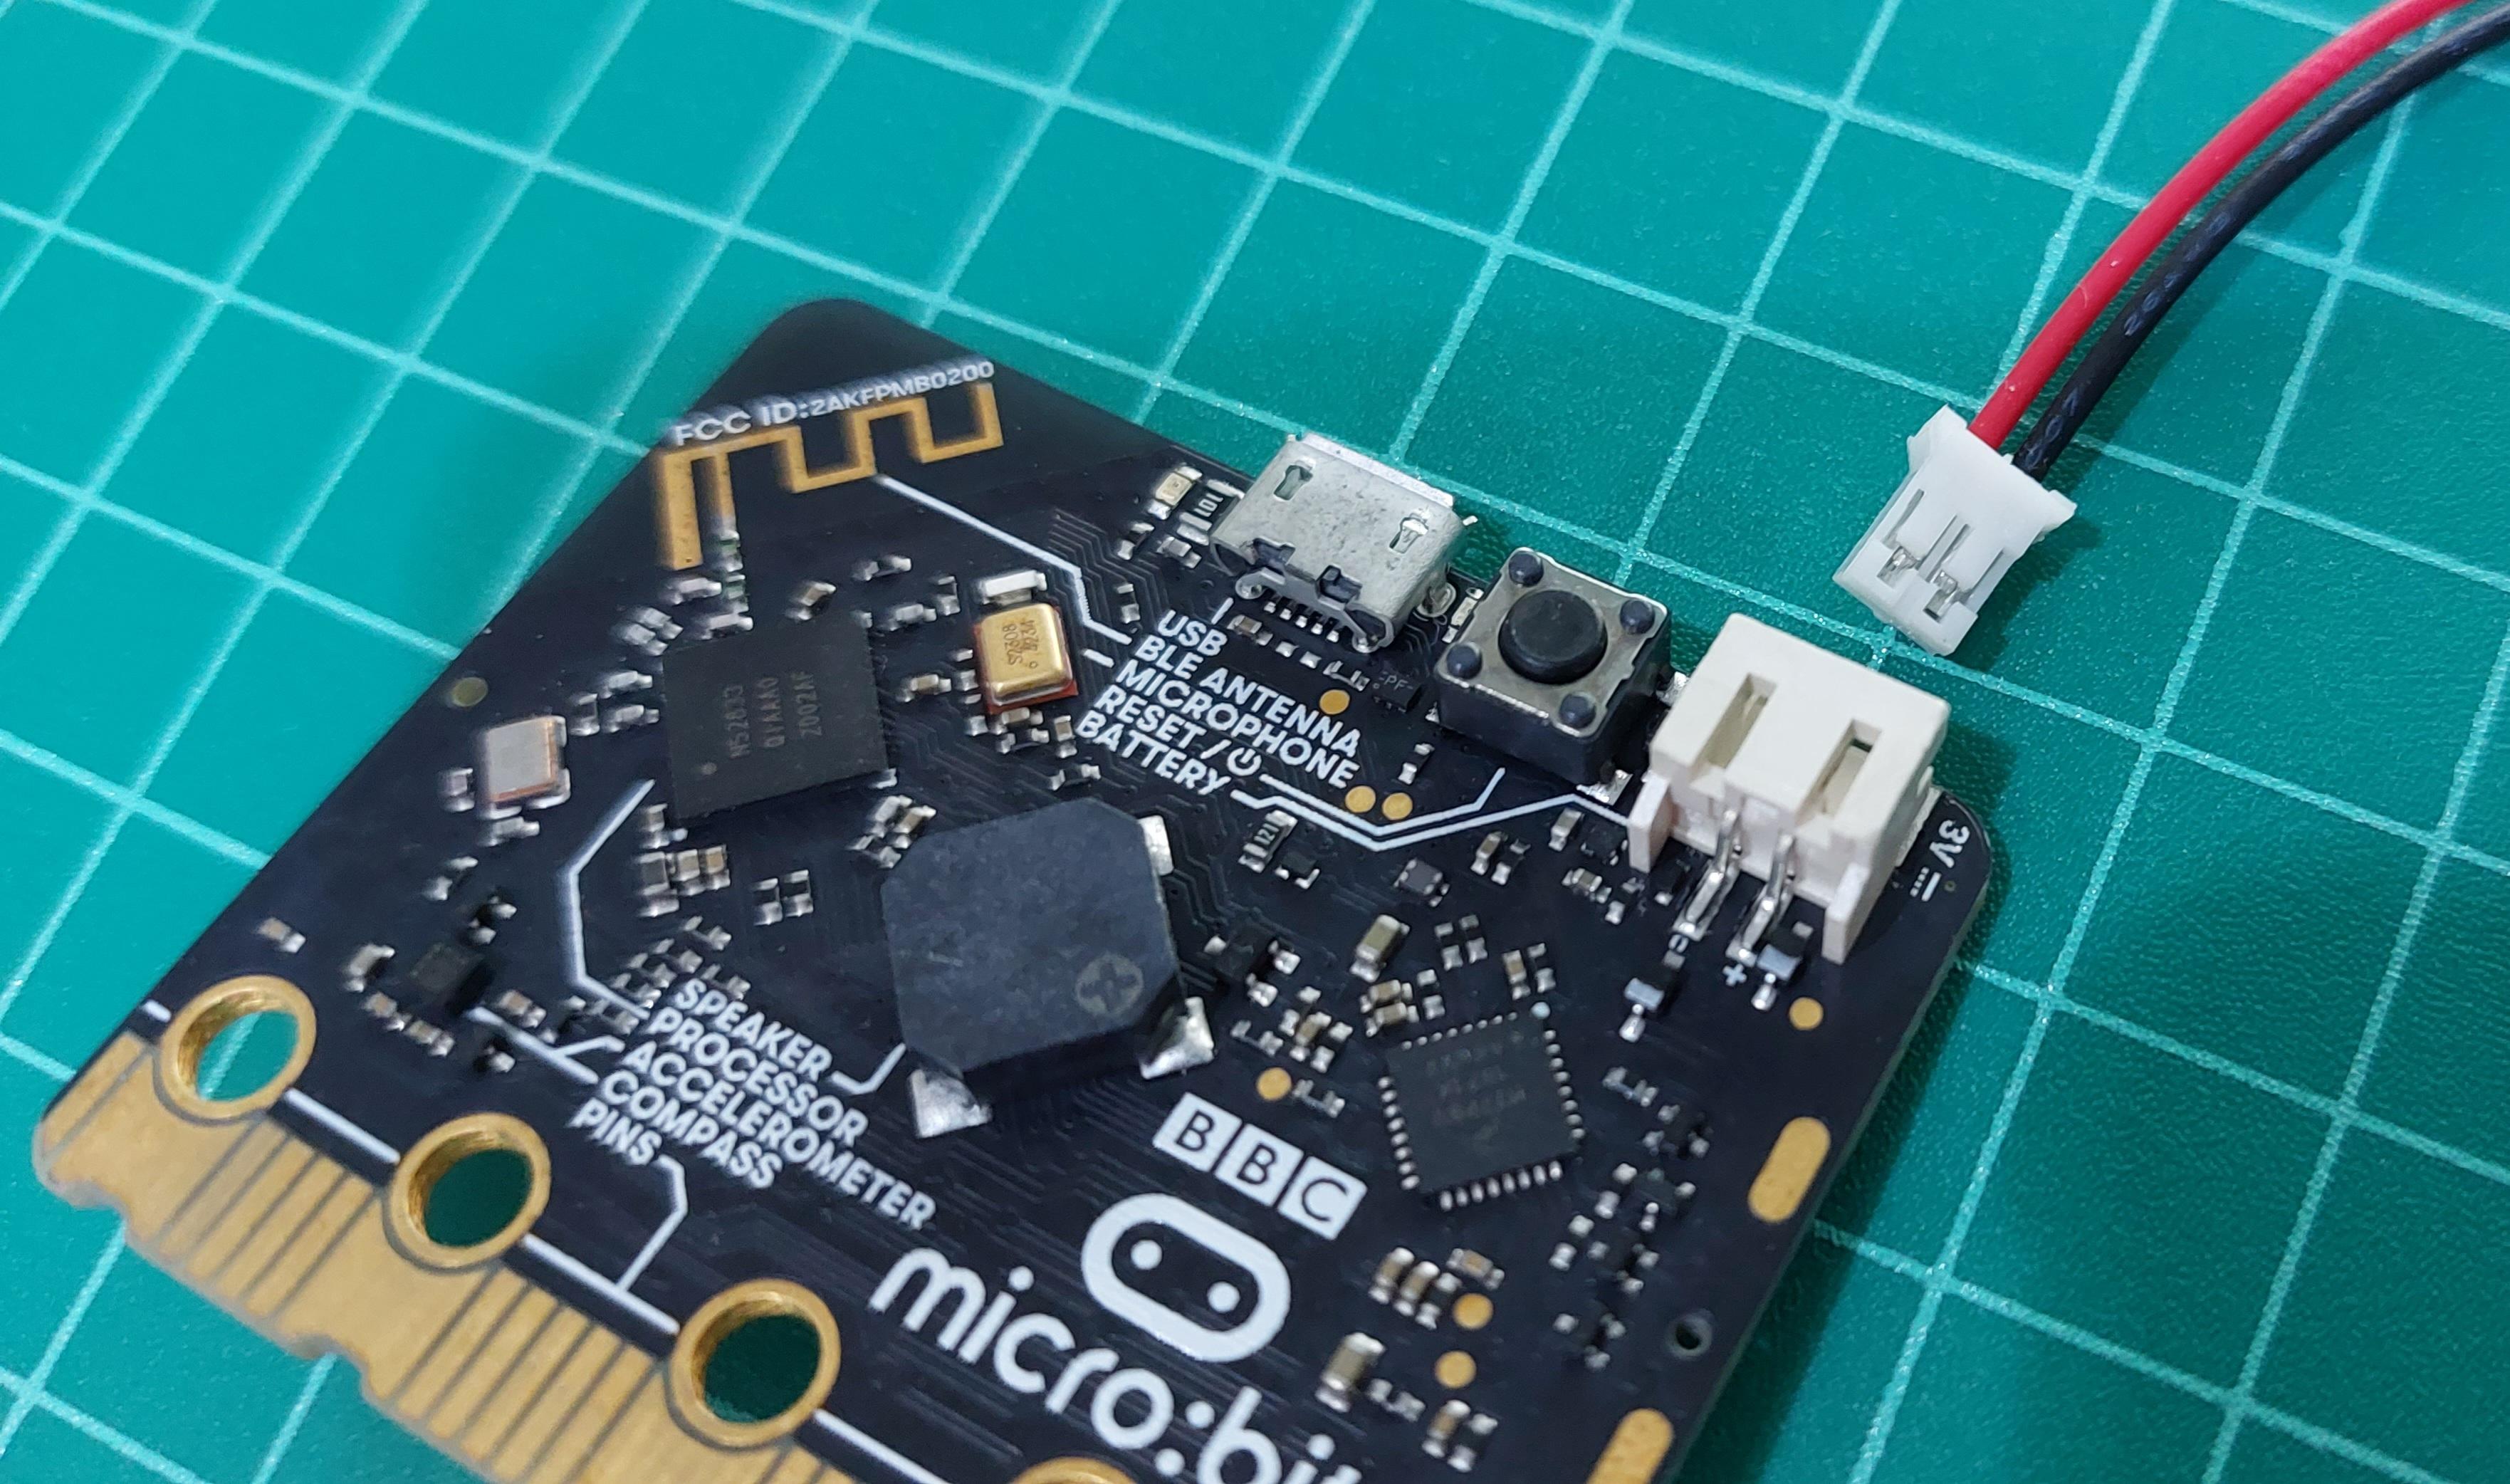
On the backside of the micro:bit is a motion sensor chip that integrate accelerometer and magnetometer sensors into a single chip.
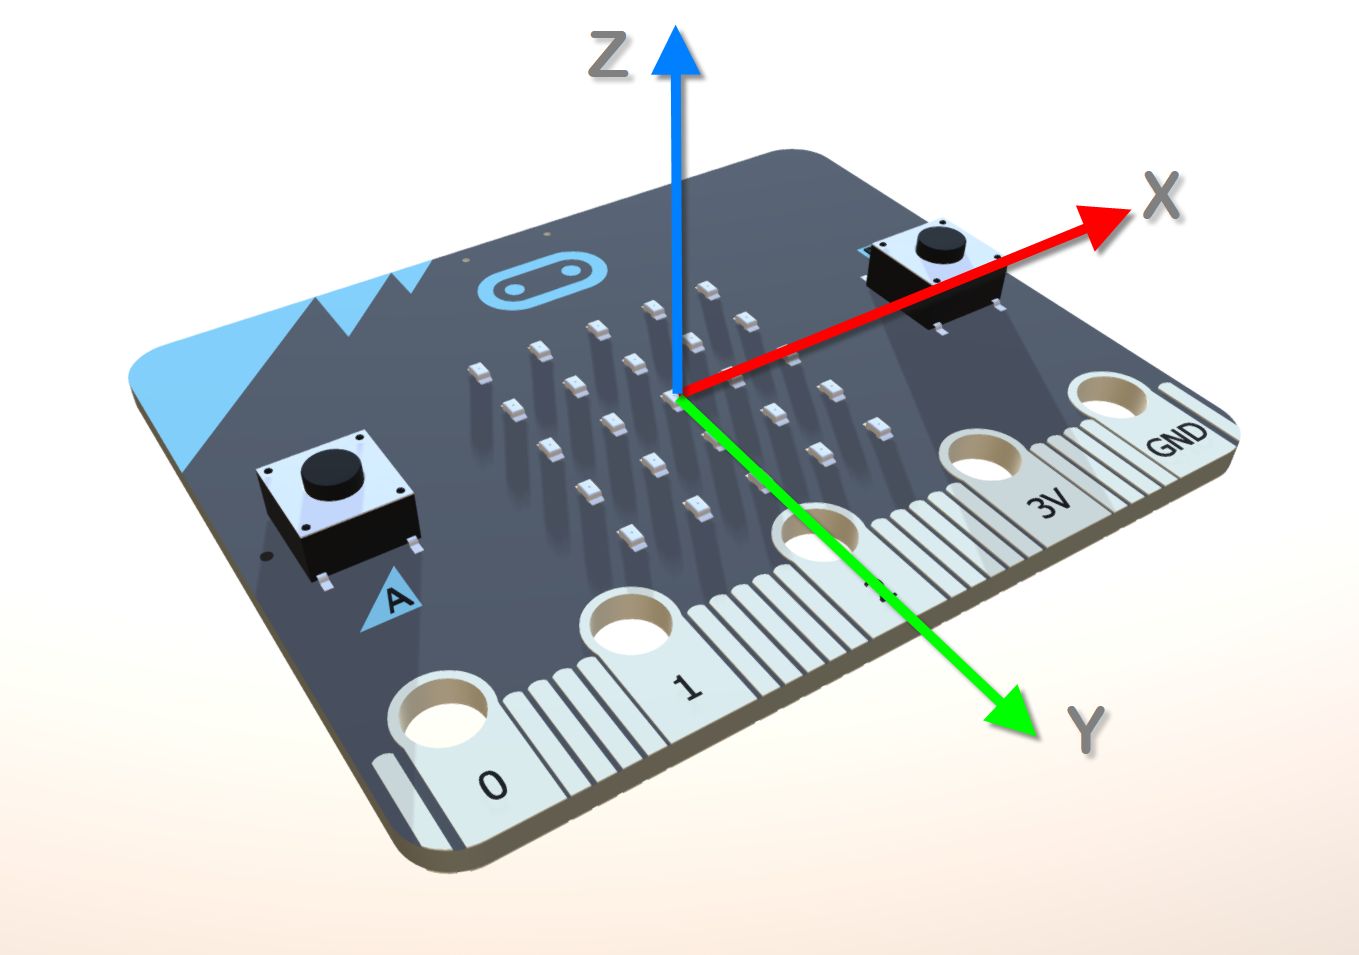
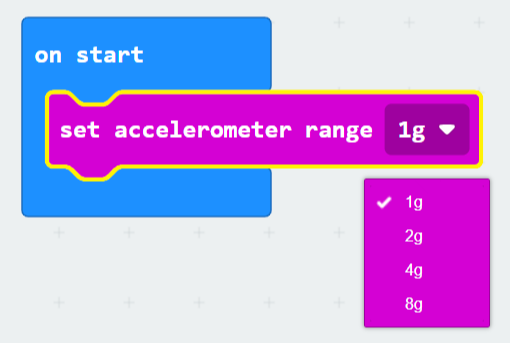
We will use the accelerometer sensor to measure acceleration along 3 axes (x, y, and z). The measurement unit is milli-g (where g = 9.8 m/s2). This sensor is set to measure up to 2g by default. You can use "set accelerometer range" to alter the measurement range to 8g.
Write the Code With Makecode Multi
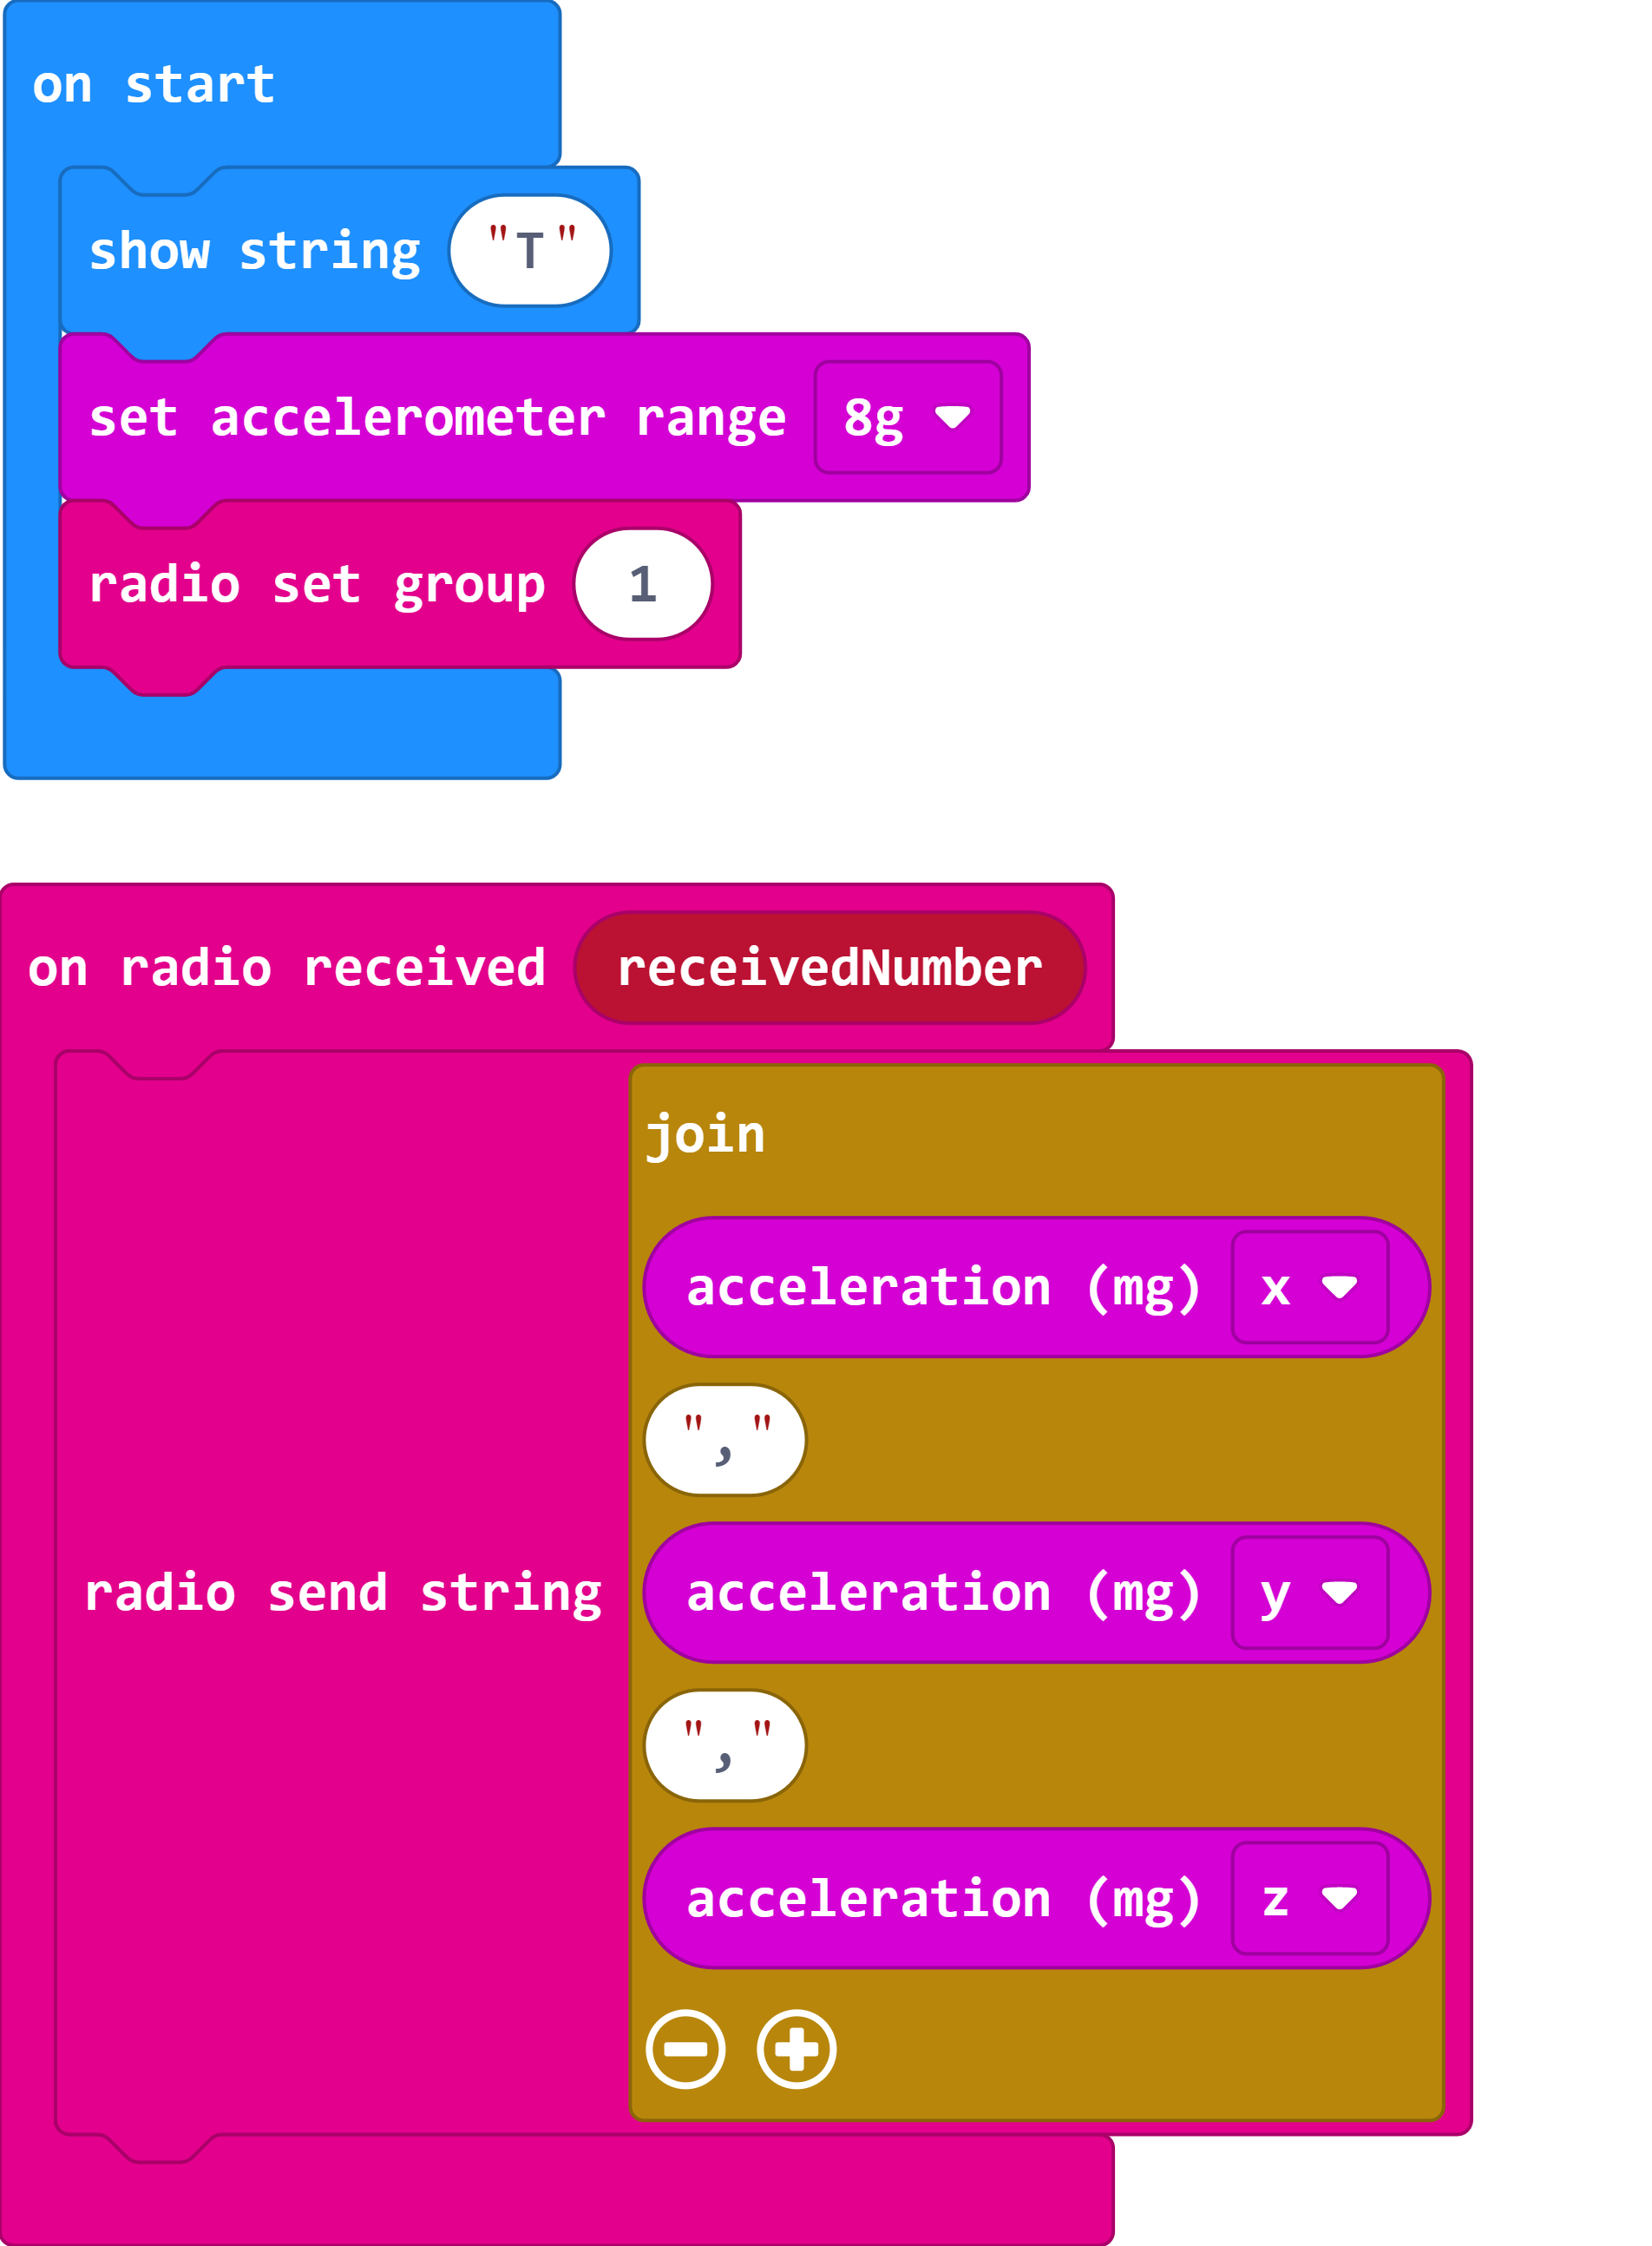
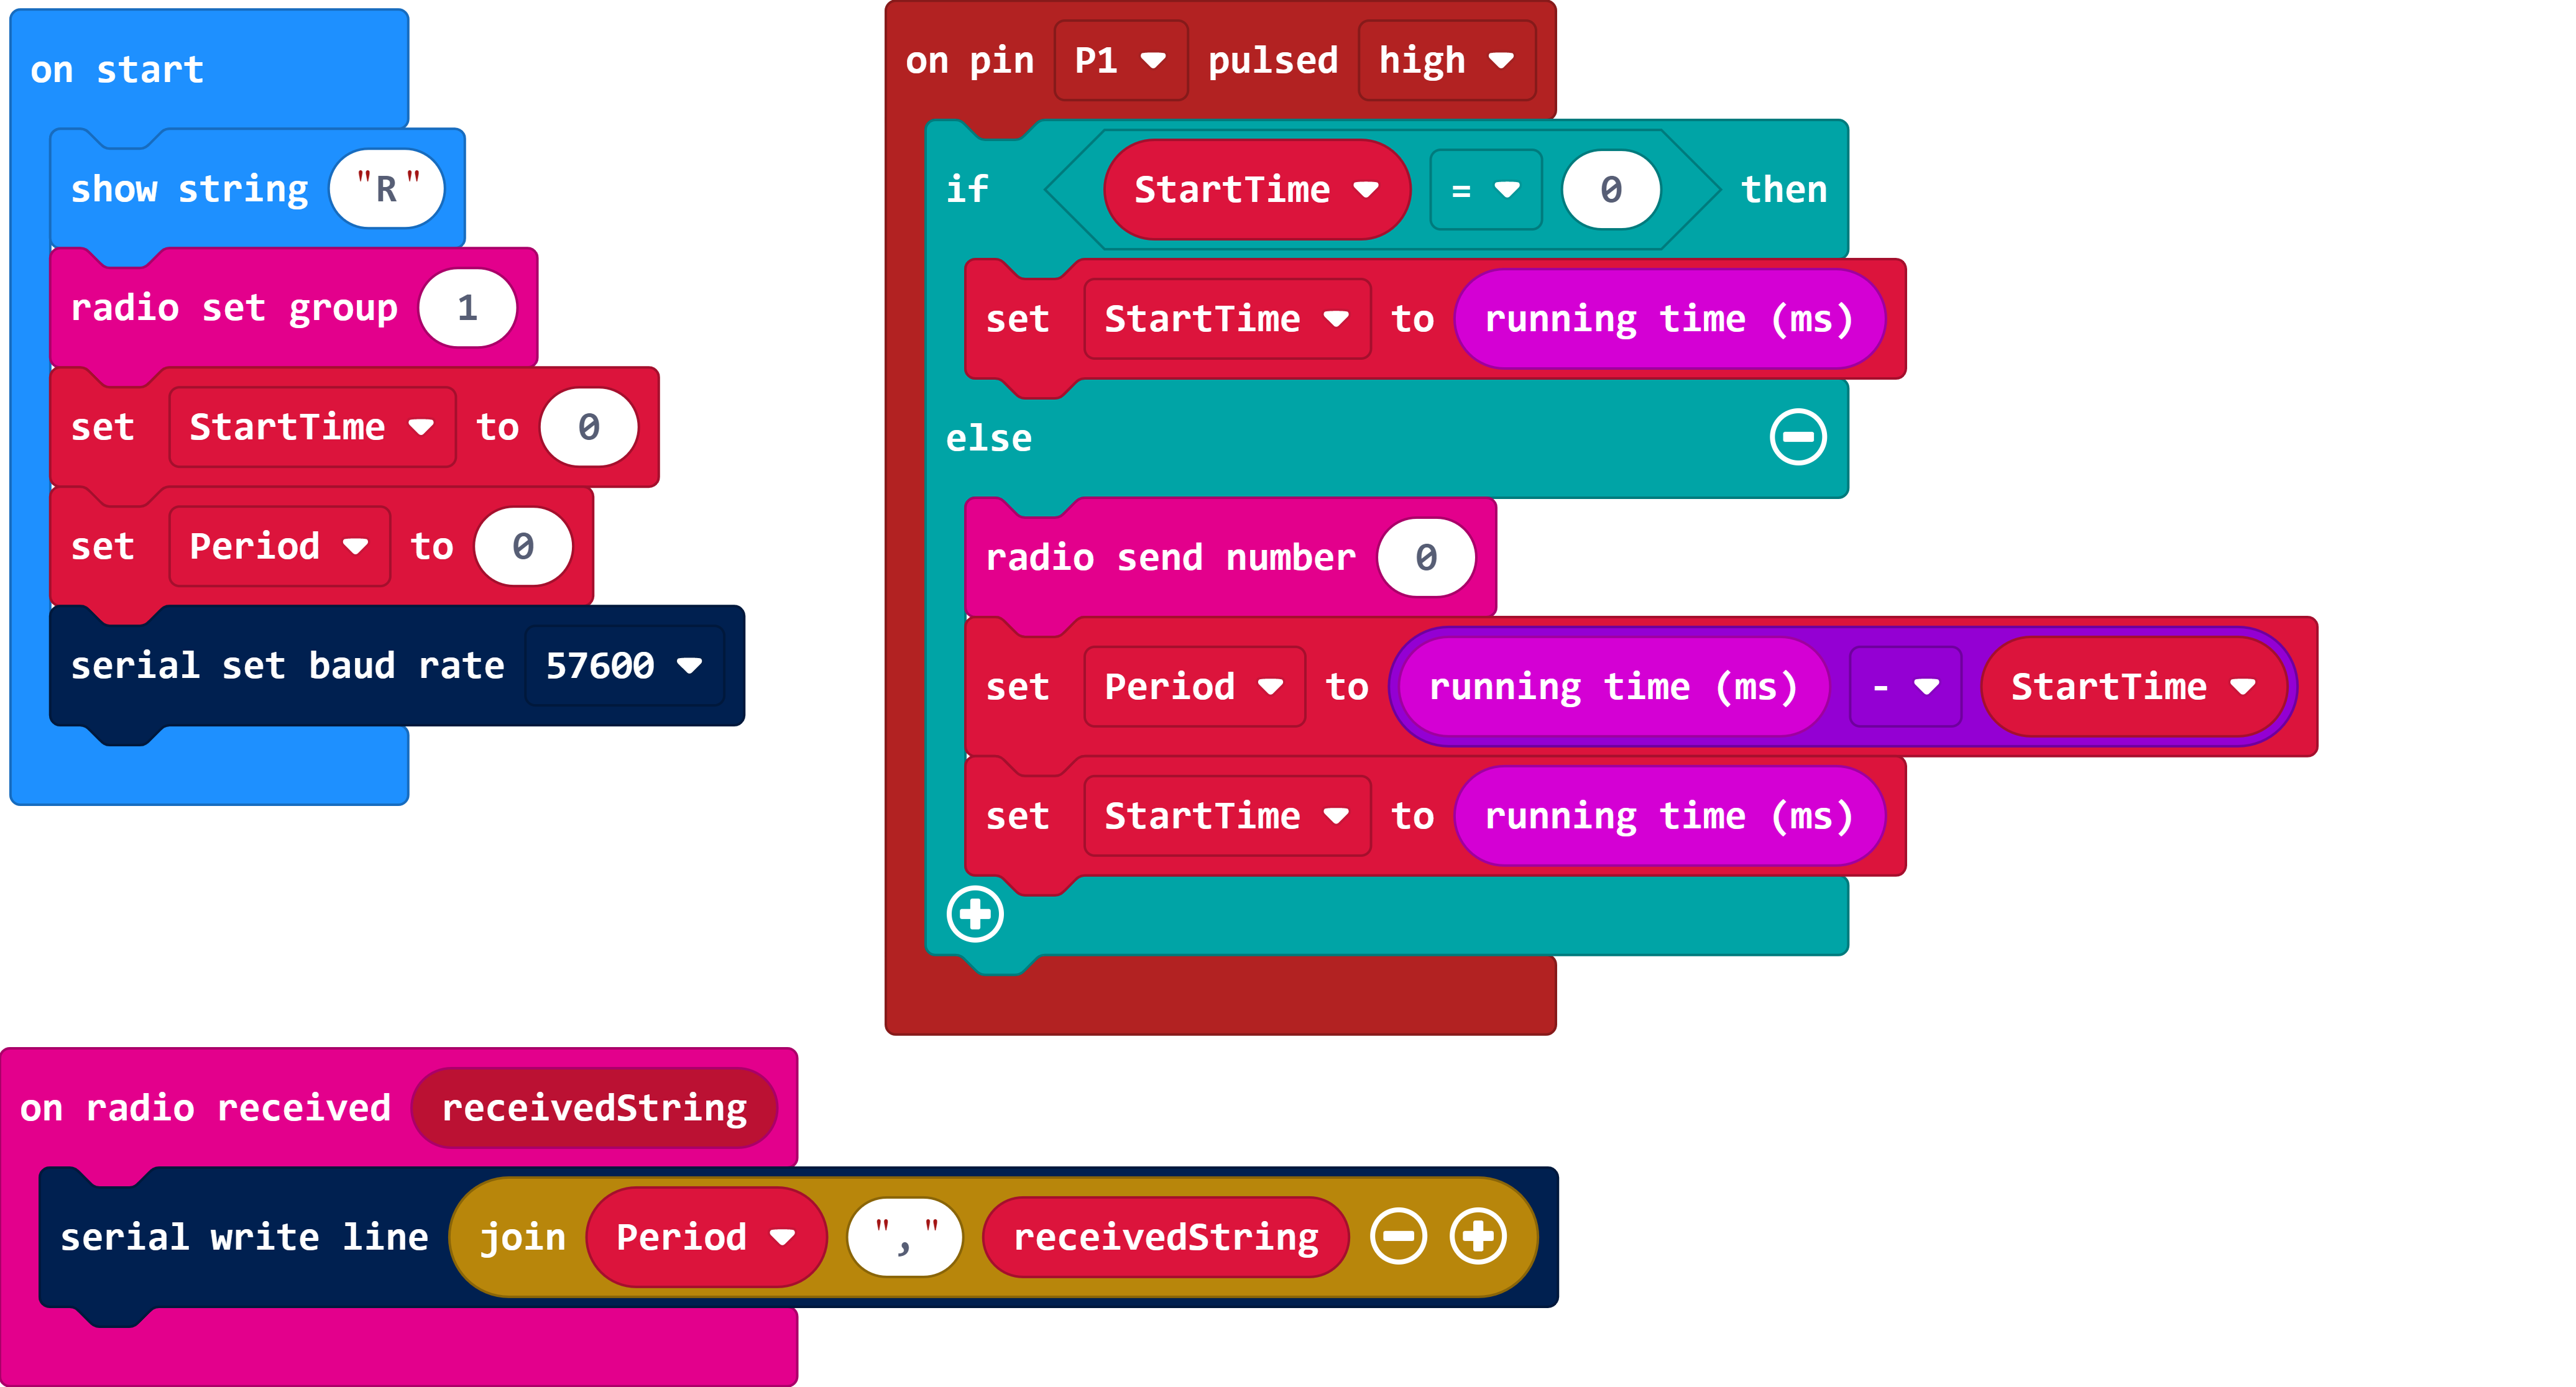
If you're working on a project that involves more than one micro:bit, I recommend Makecode Multi Editor as a tool to write the code. Makecode Multi Editor has 2 separated Makecode windows side by side. In this case, I will write program for the transmitter on the left side and receiver on the right side.
- Go to https://makecode.microbit.org/---multi#.
- On the left window, click New Project and name it "TX-centripetal".
- On the right window, click New Project and name it "RX-centripetal".
I have attached both codes here.
TX https://makecode.microbit.org/_R9vJxd2XMeeC
RX https://makecode.microbit.org/_5C3c3pRCKHRJ
Download and flash to your micro:bit.
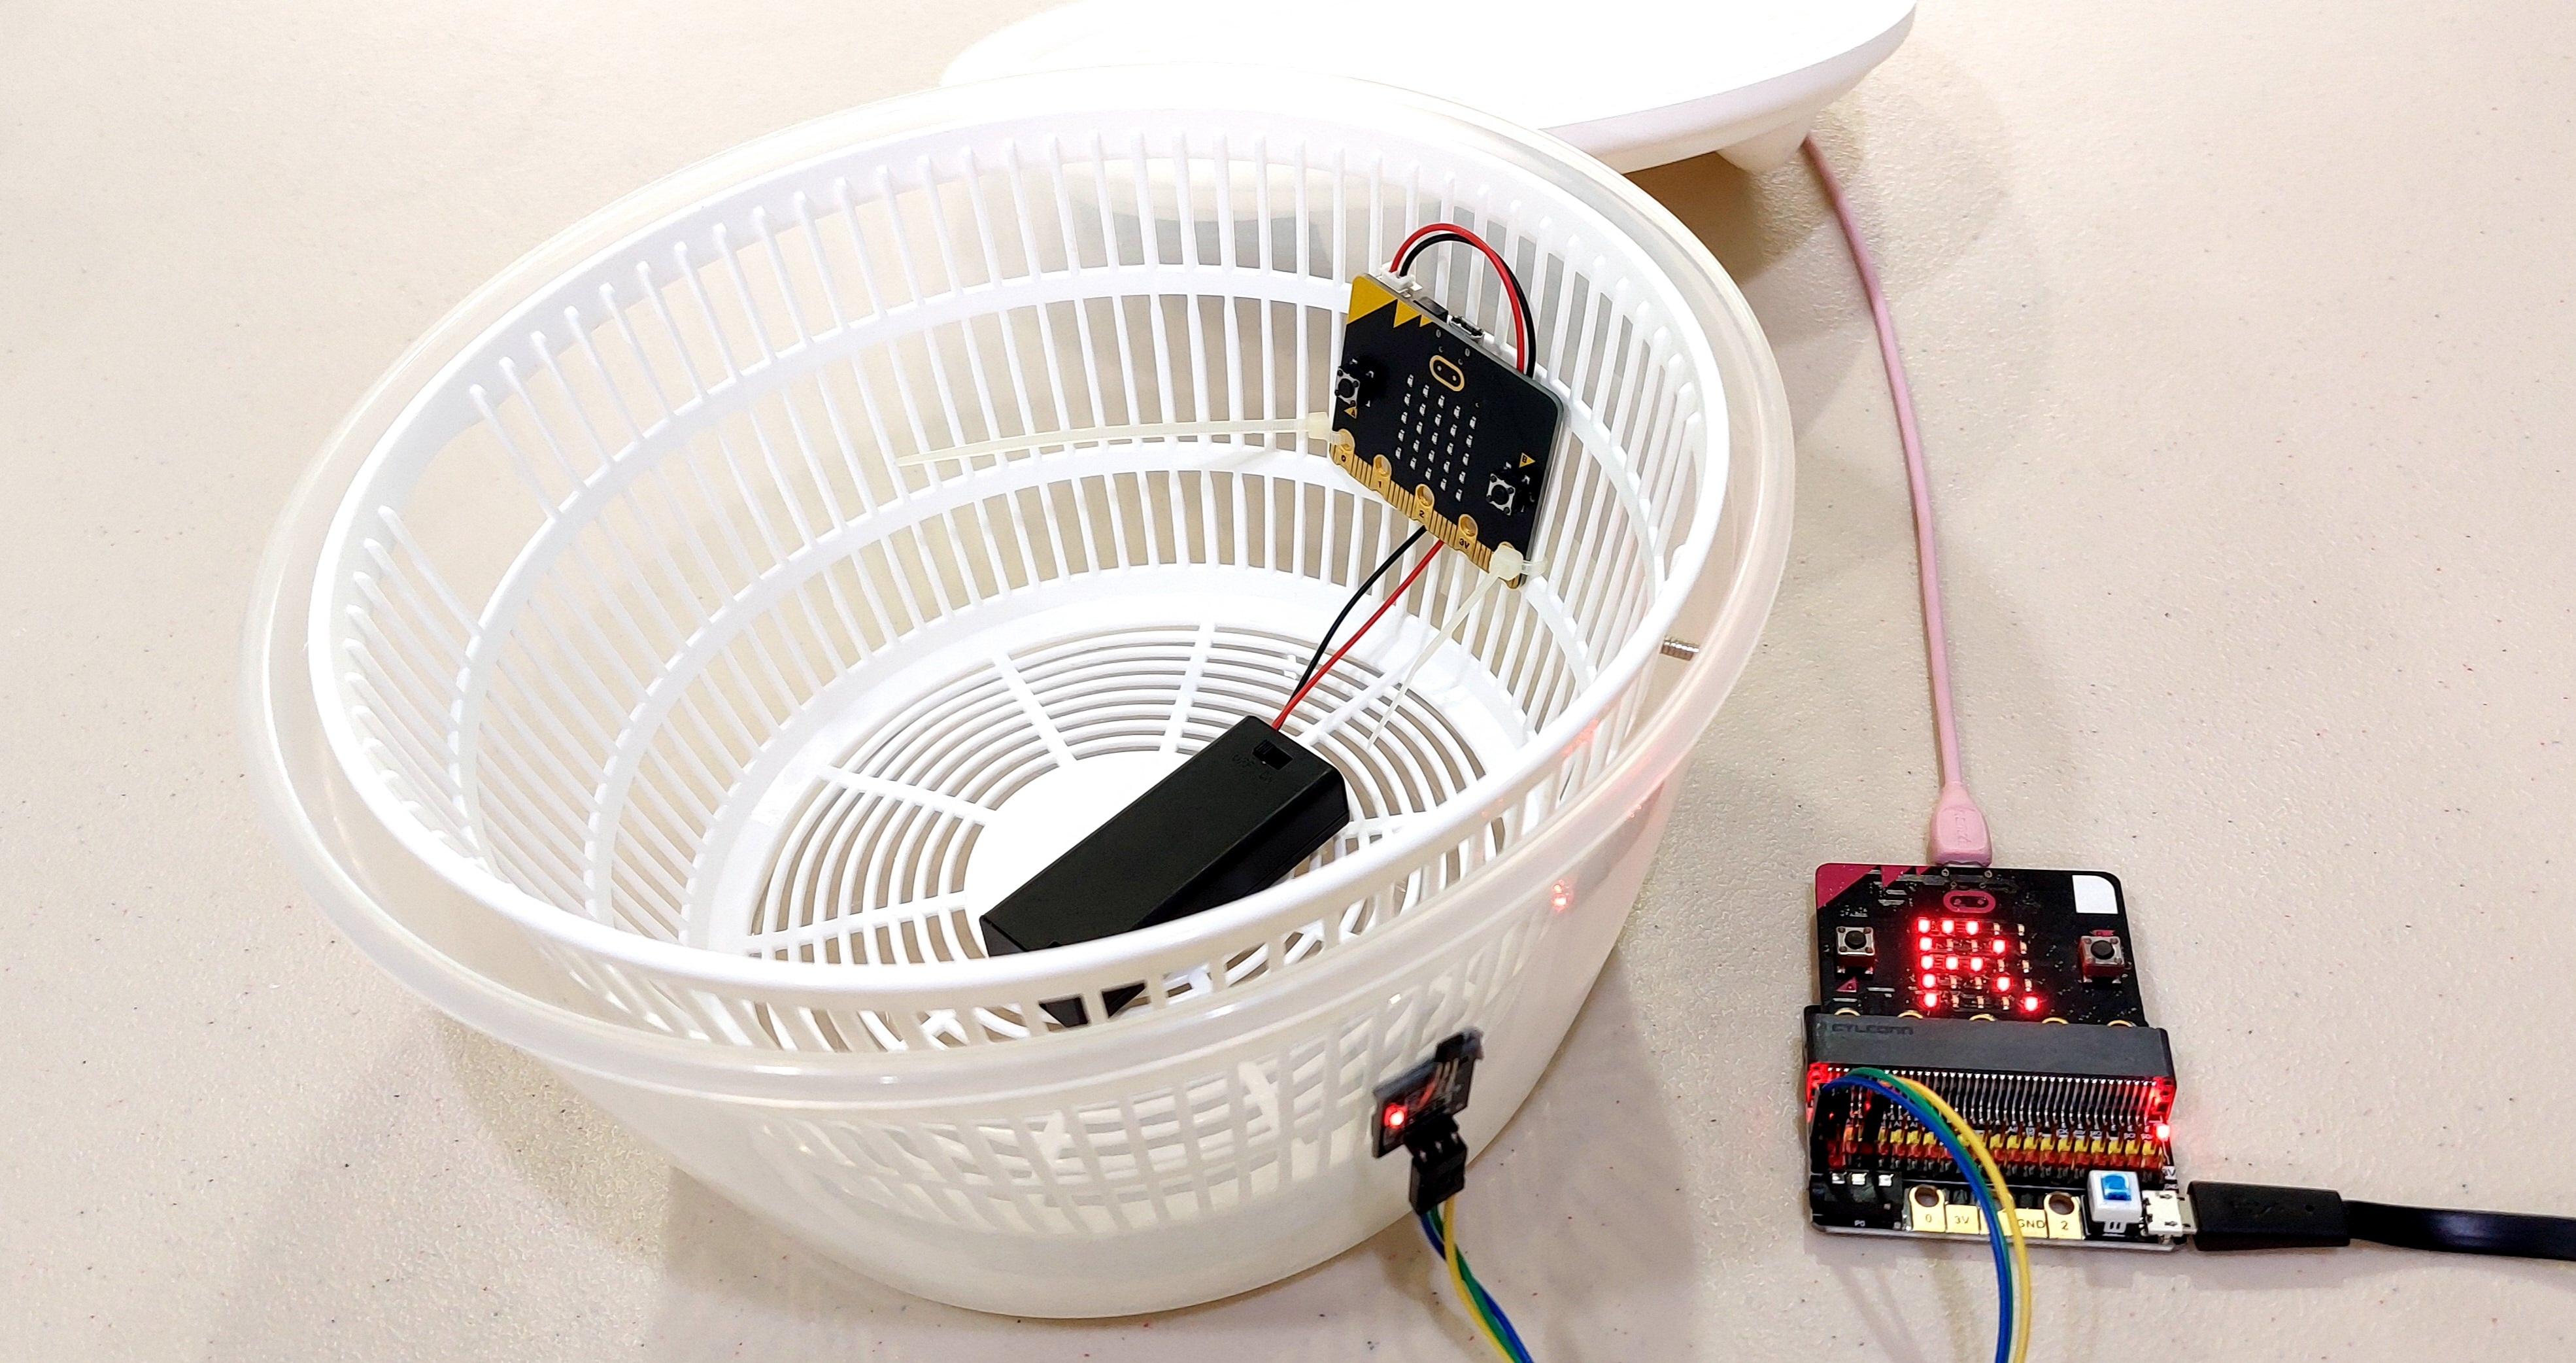
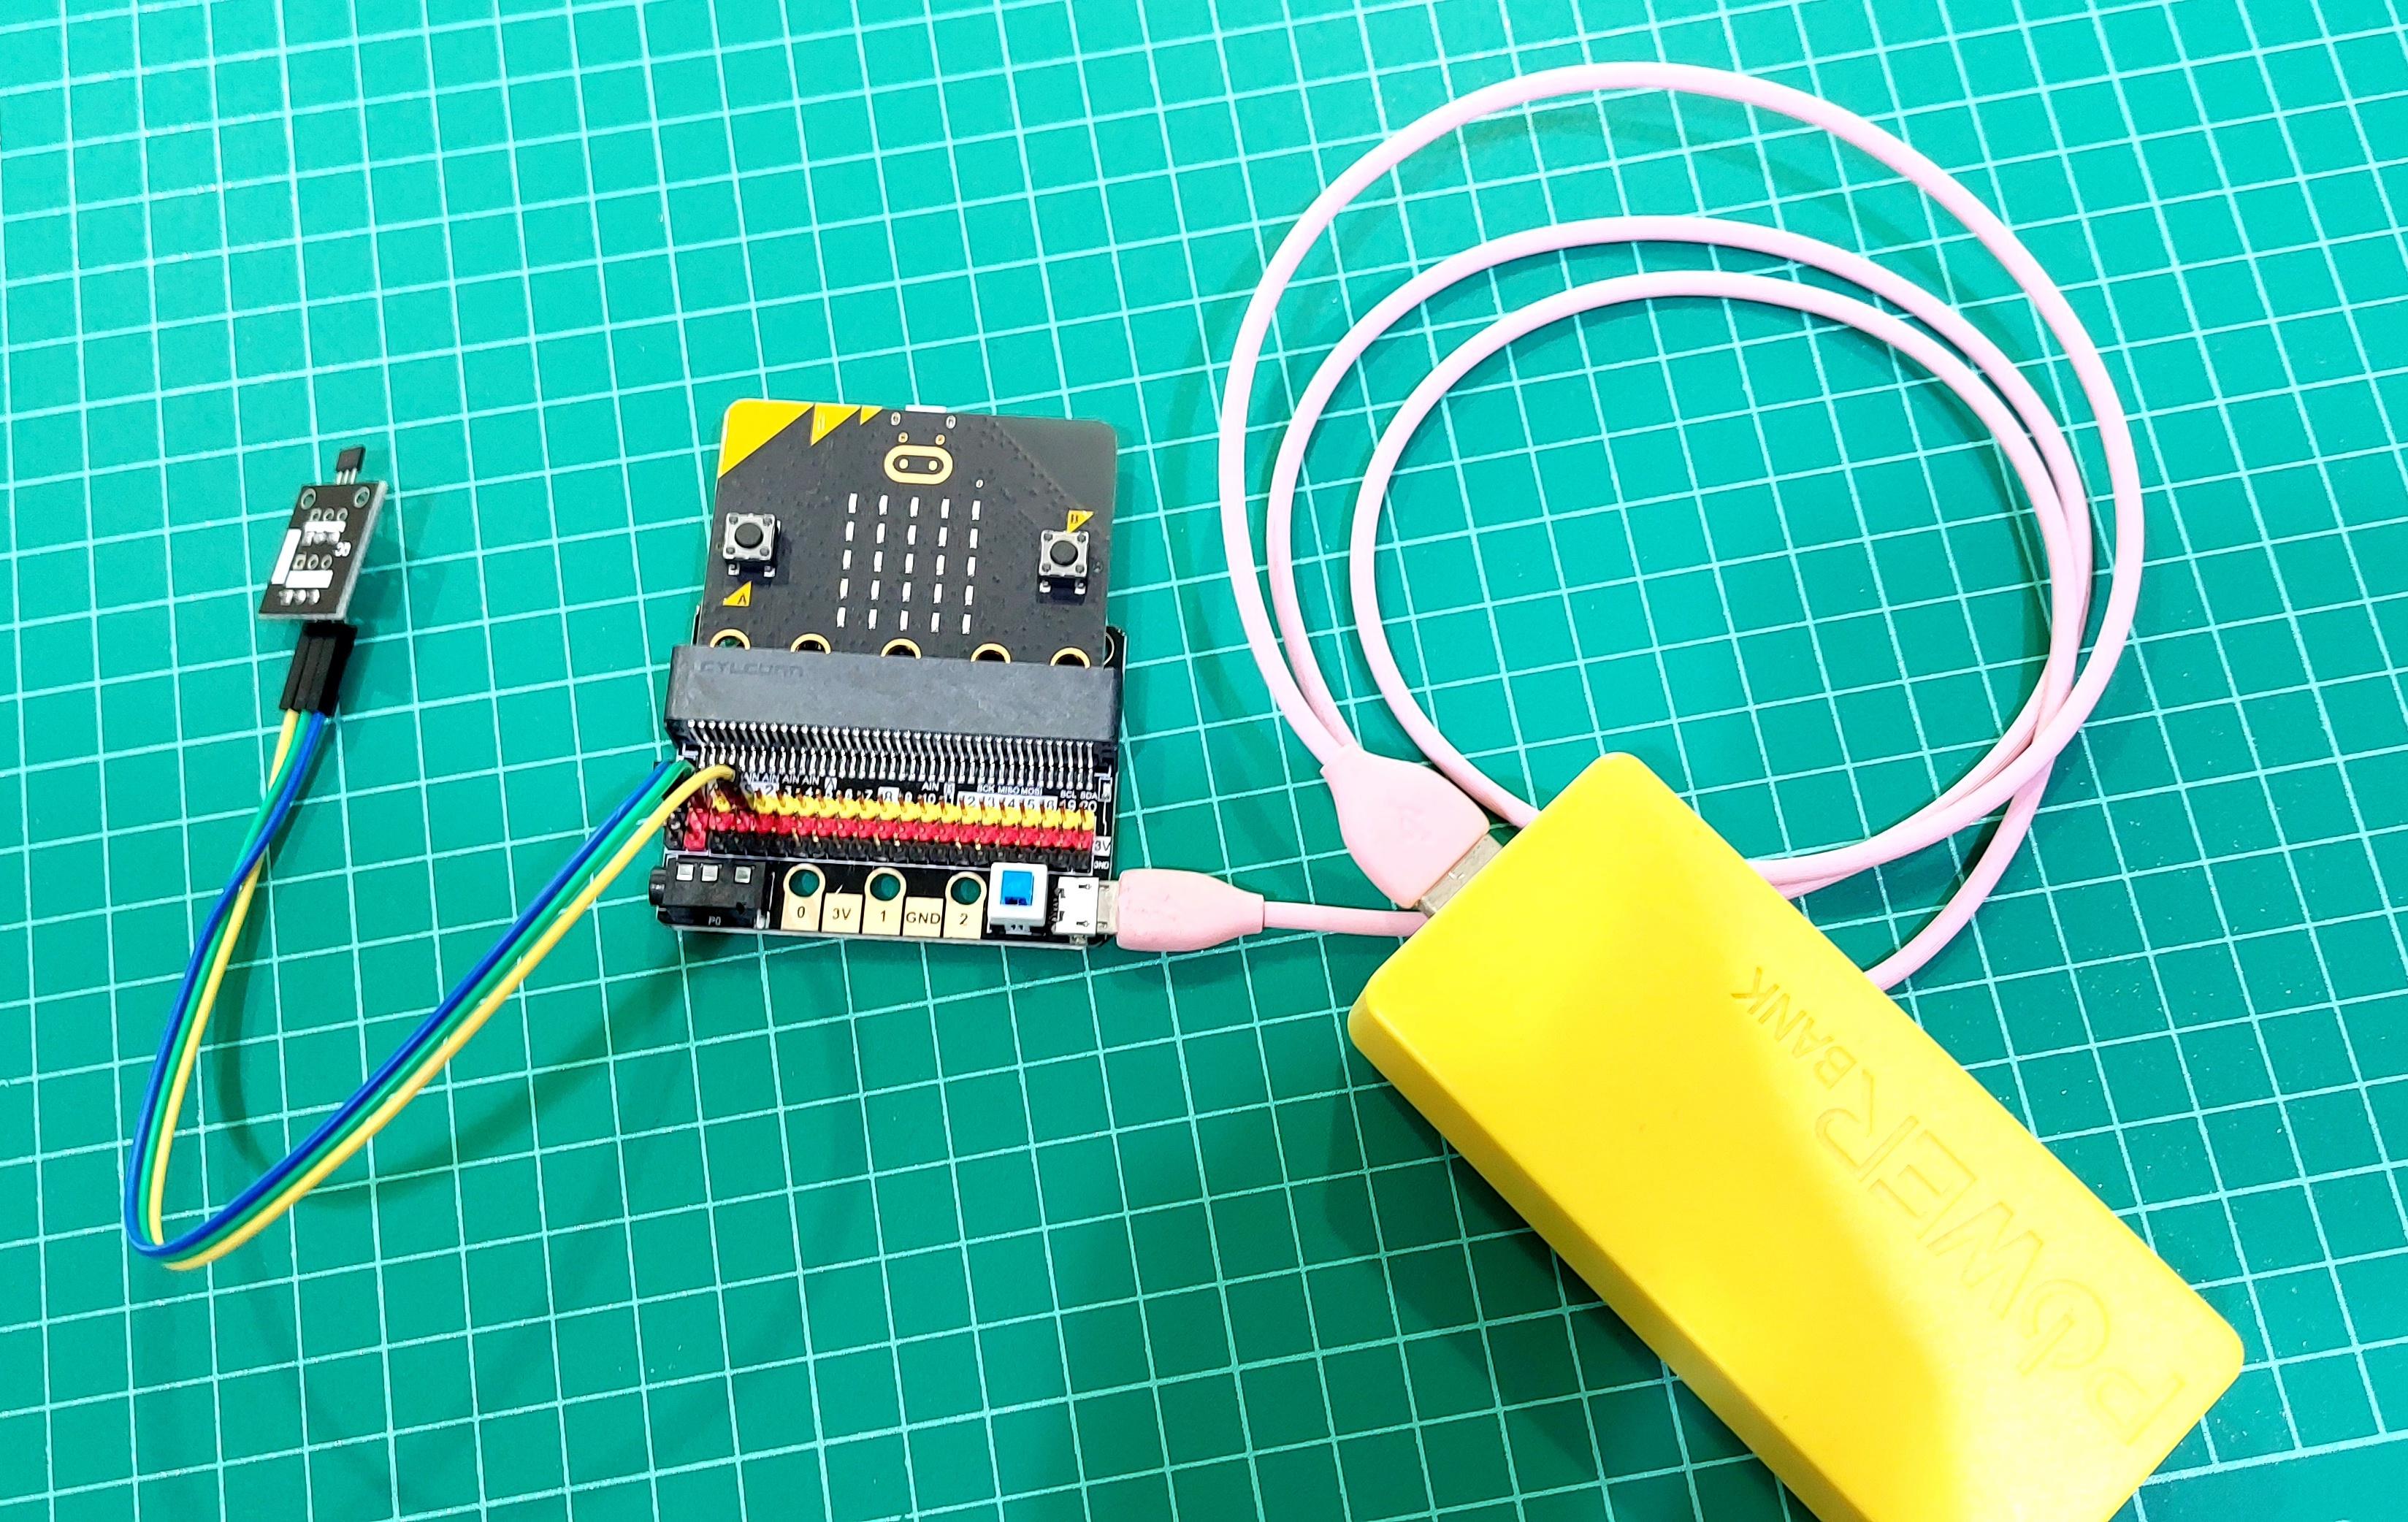
Install Micro:bit to Salad Spinner

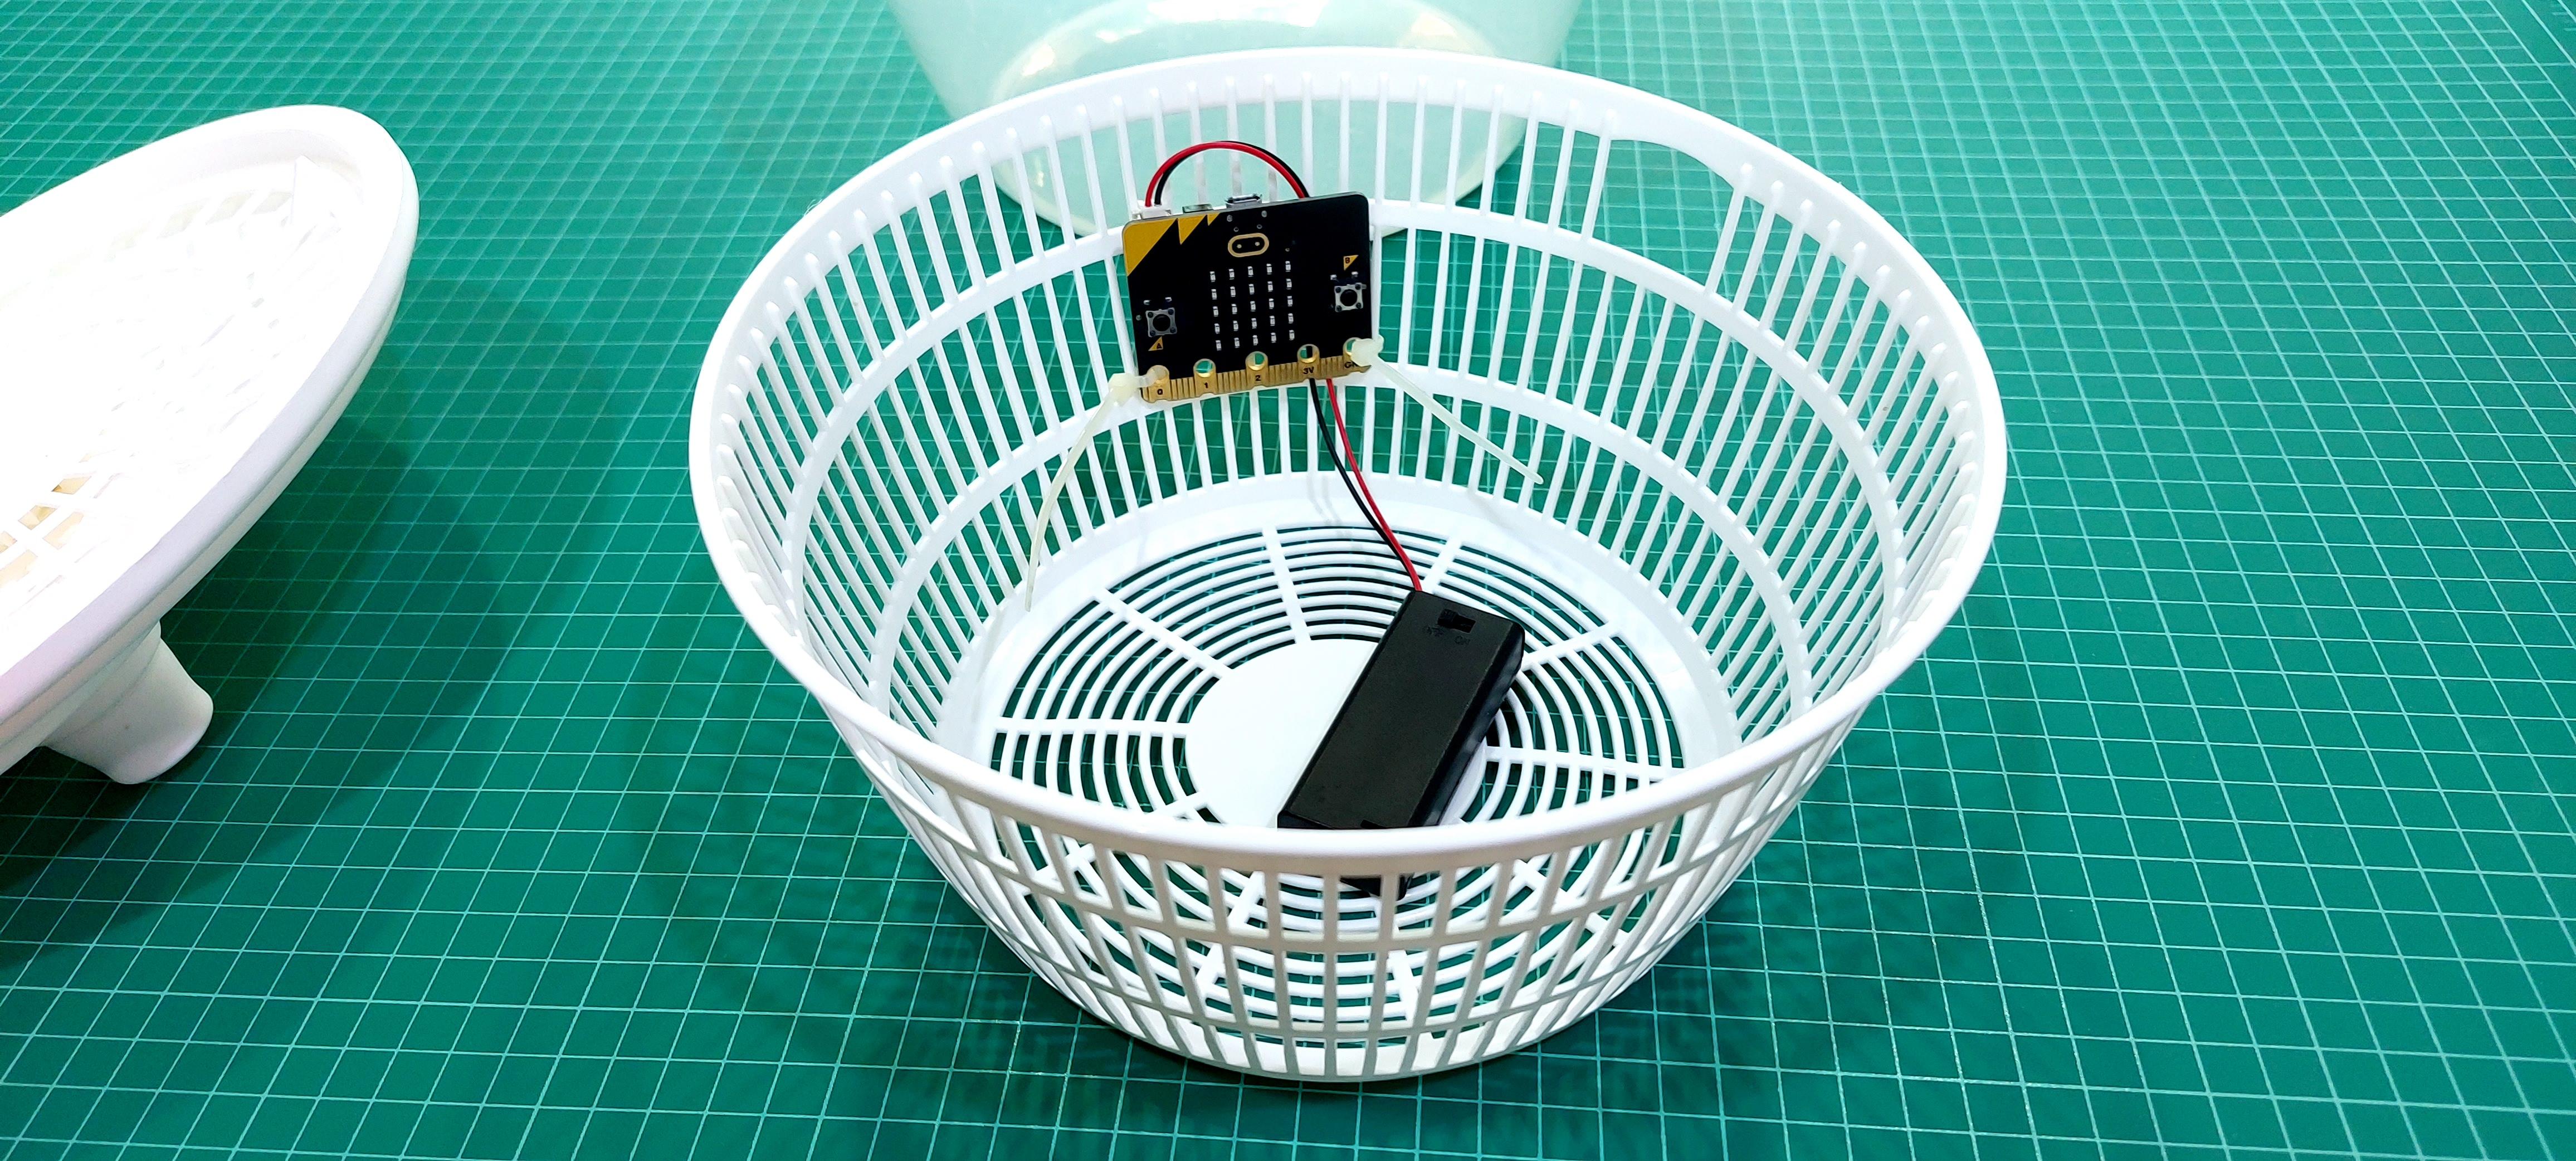

After you have flashed TX-centripetal hex file to micro:bit, we are ready to install micro:bit to the salad spinner.
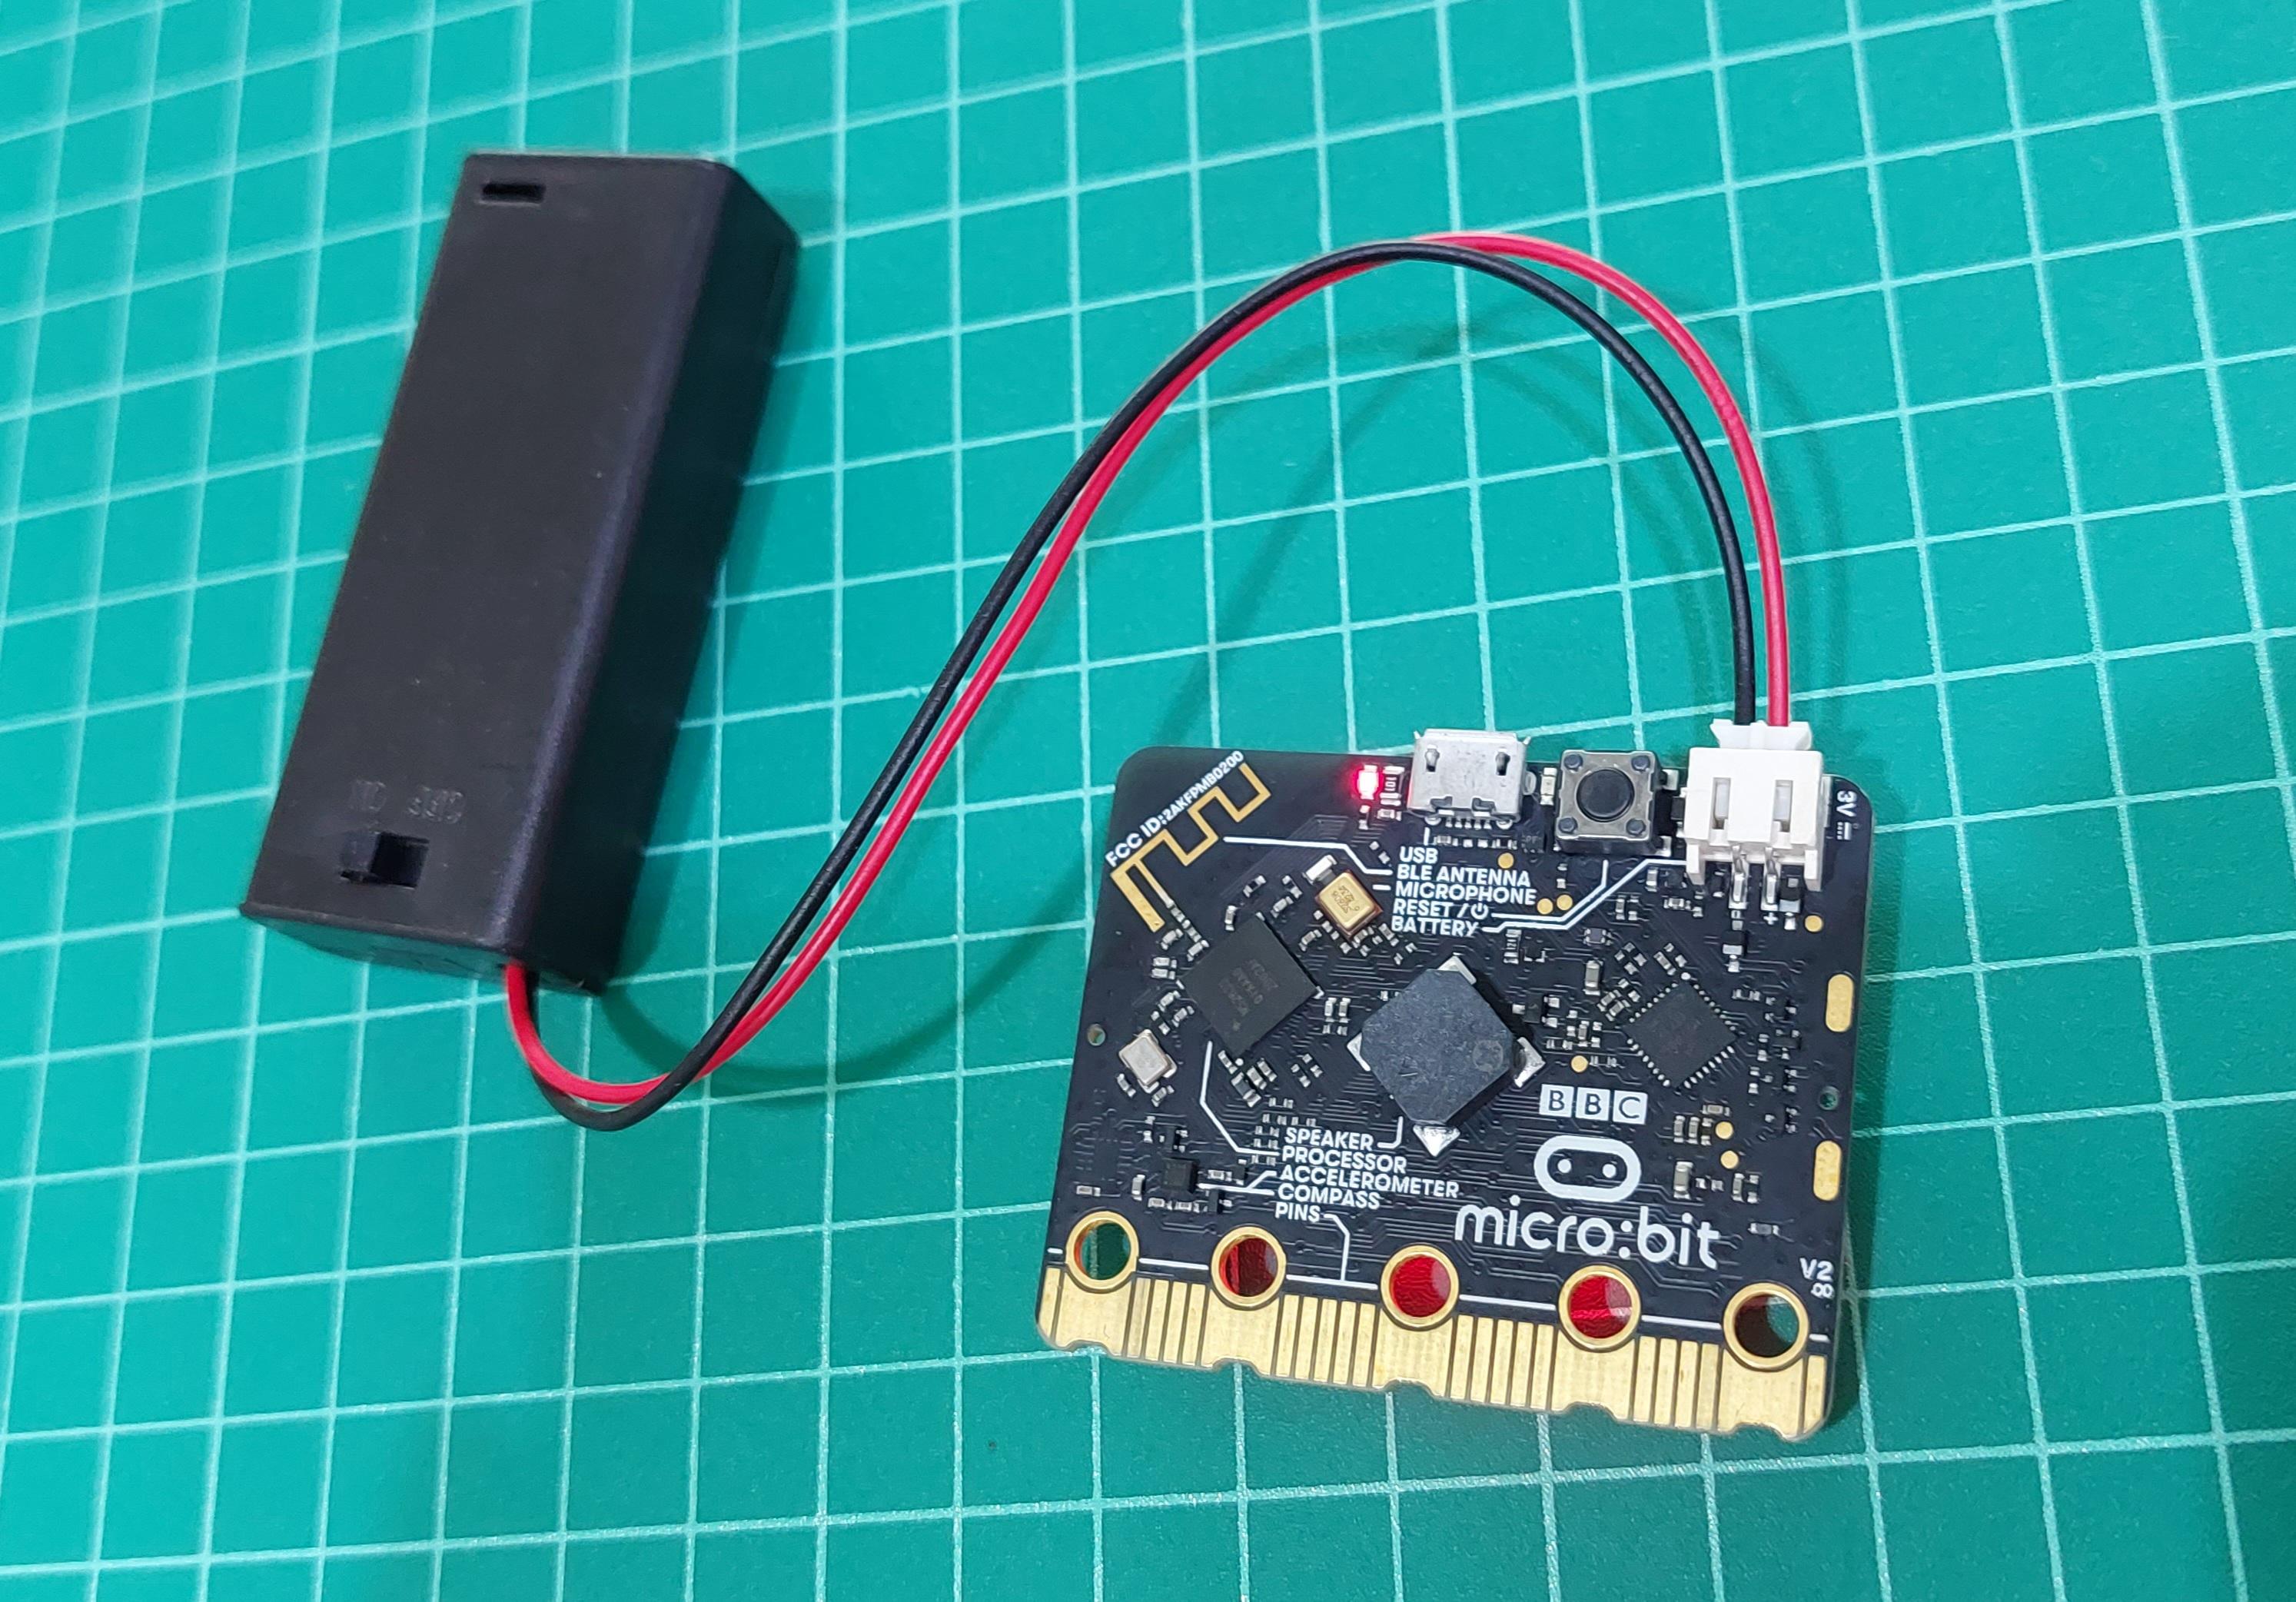
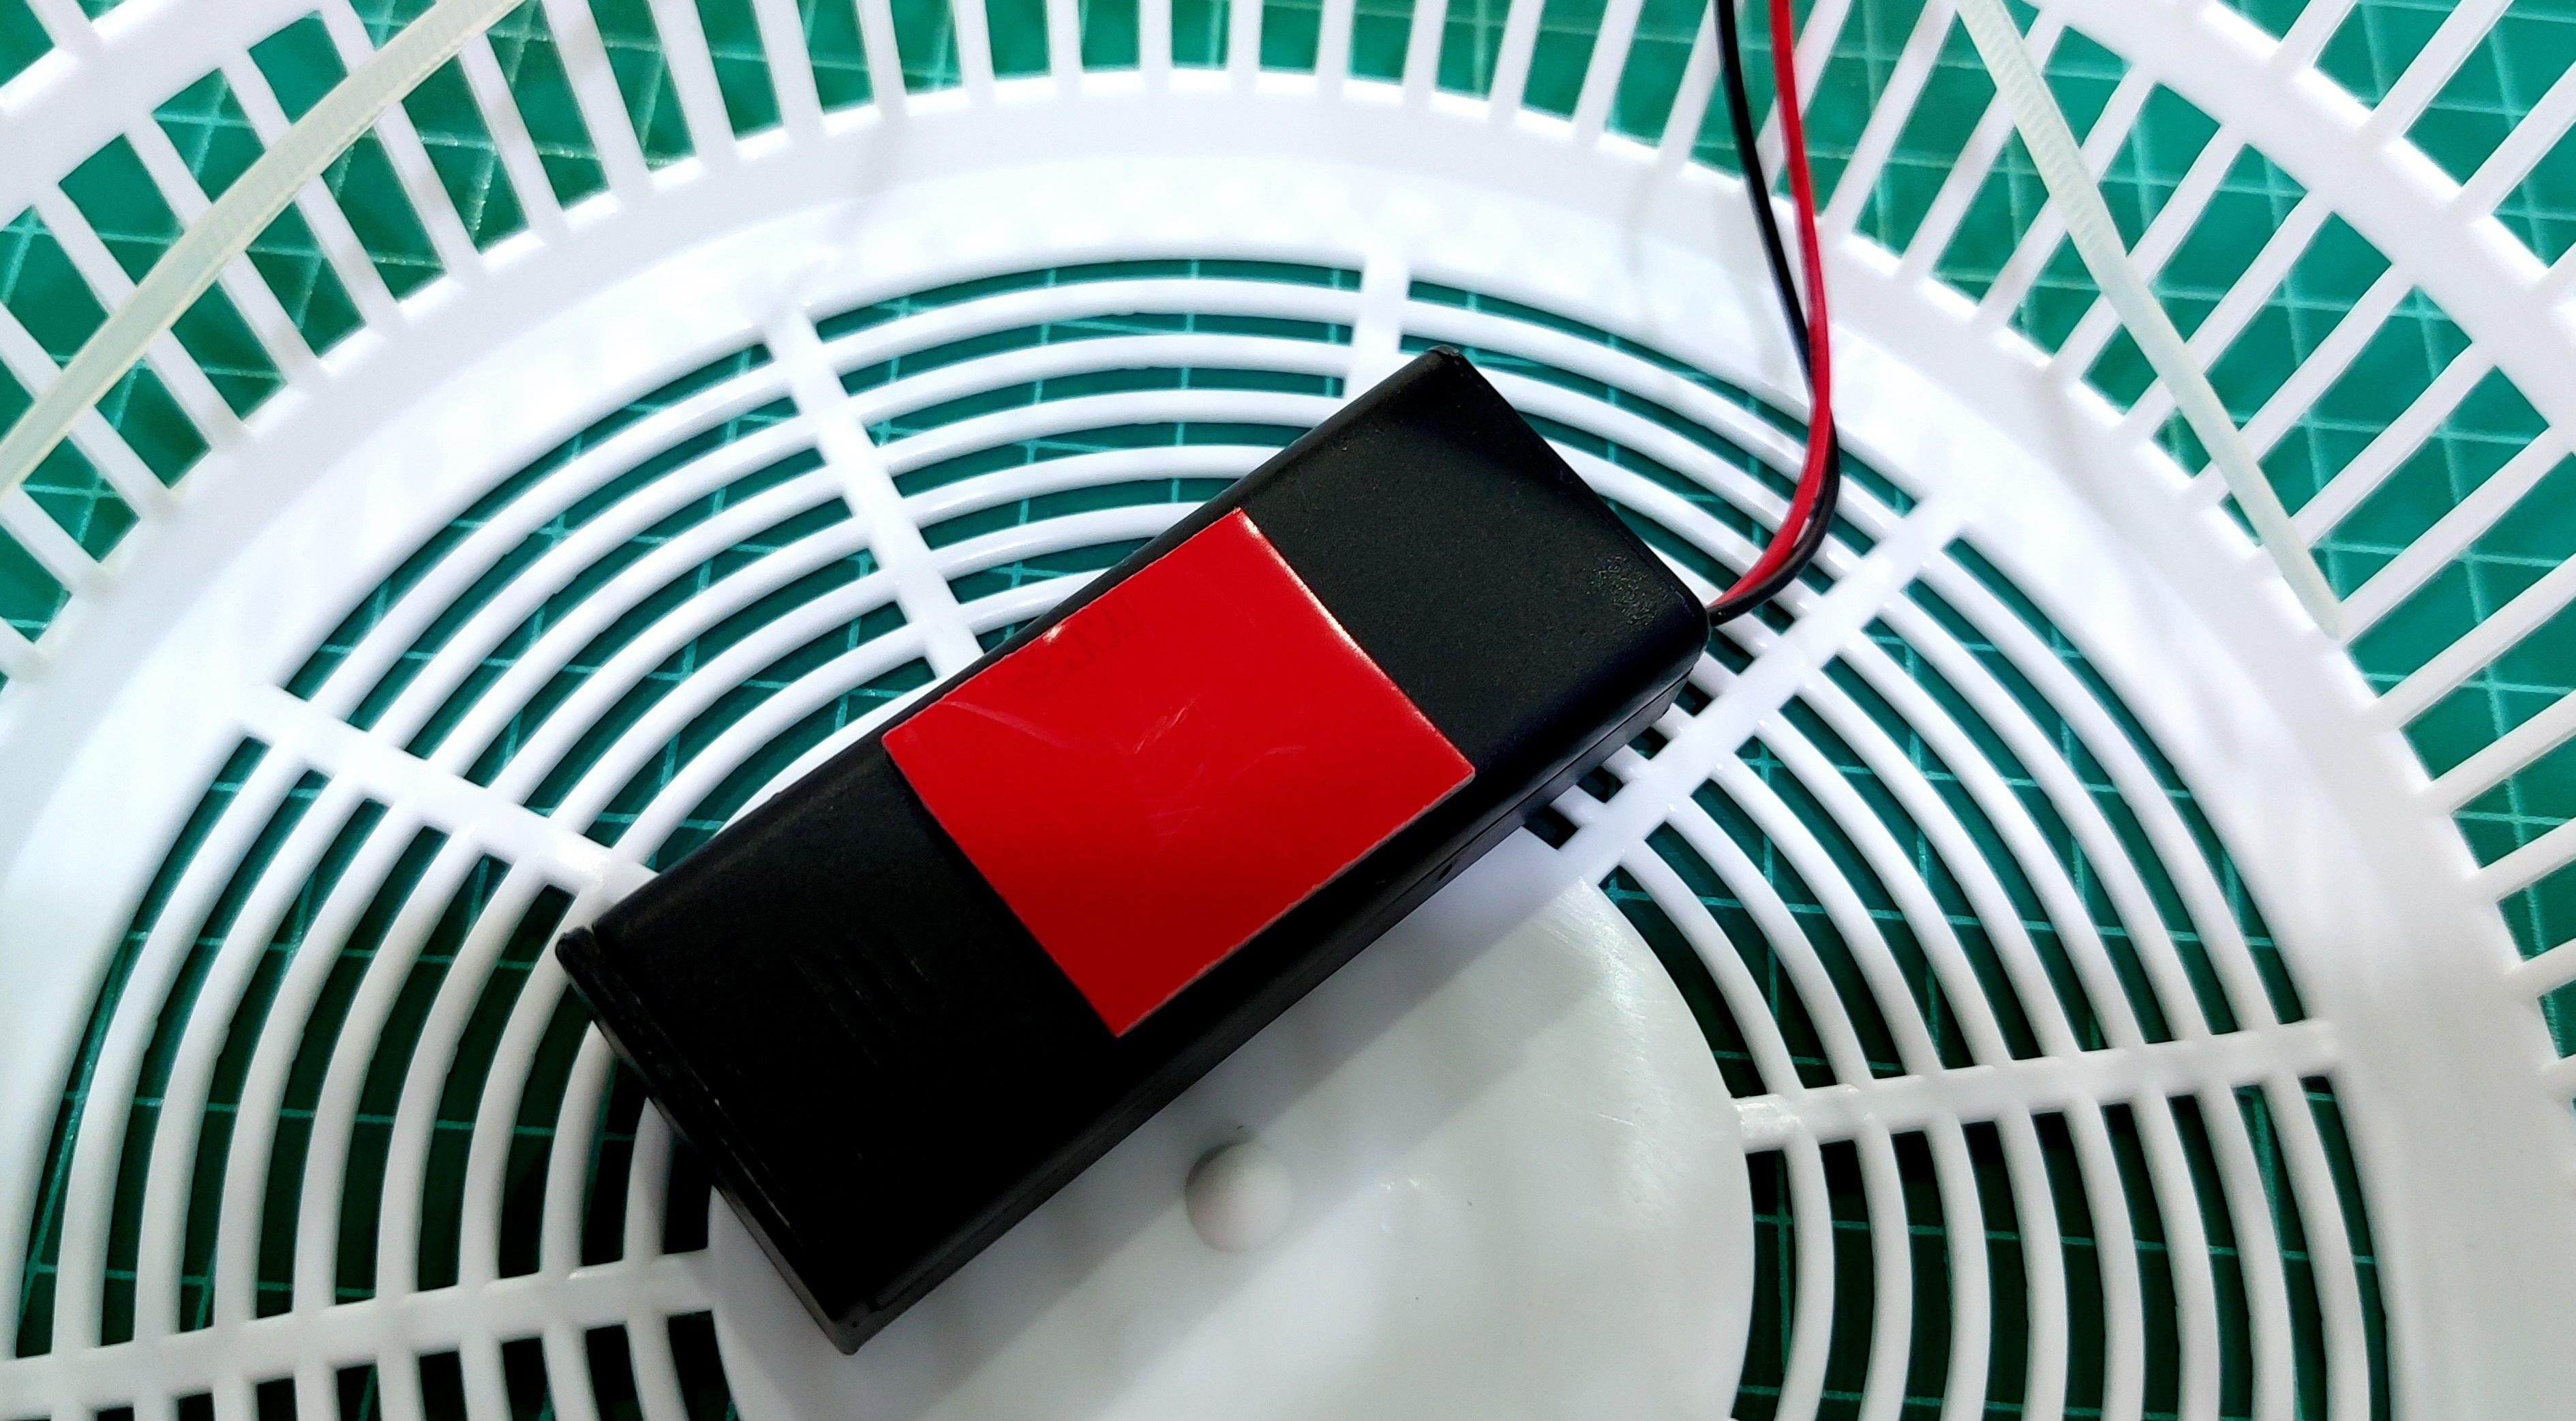
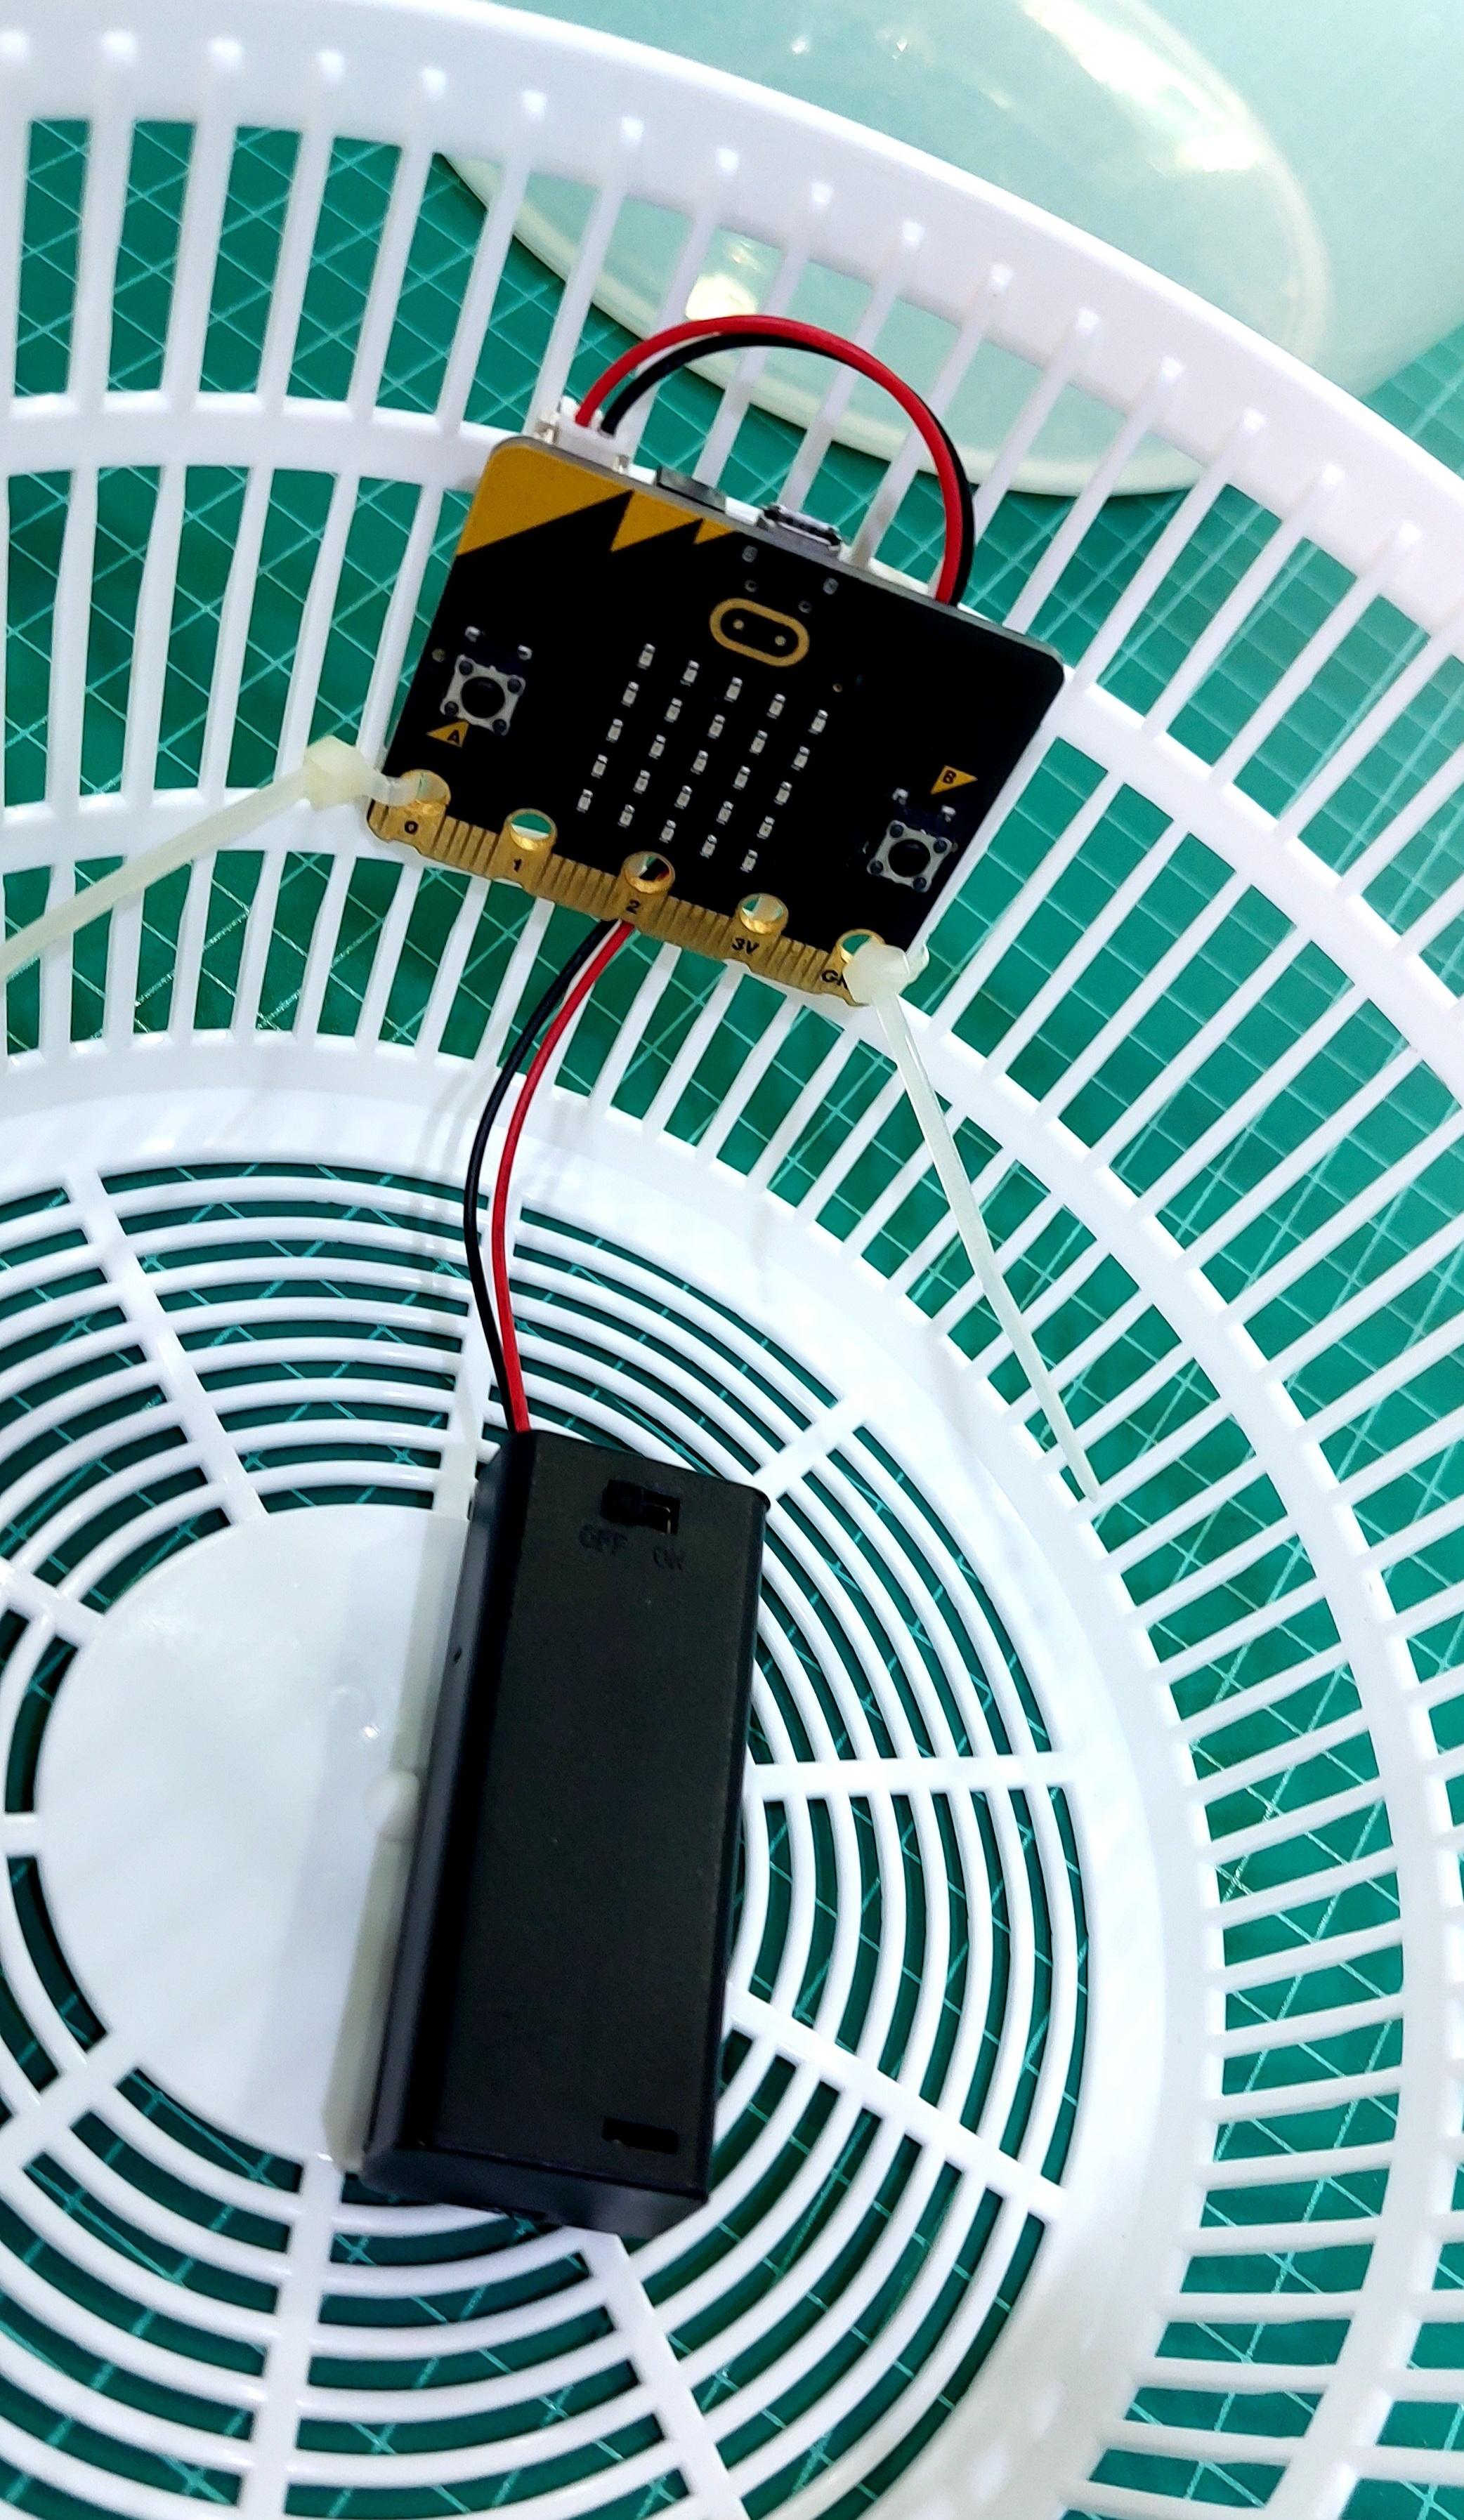
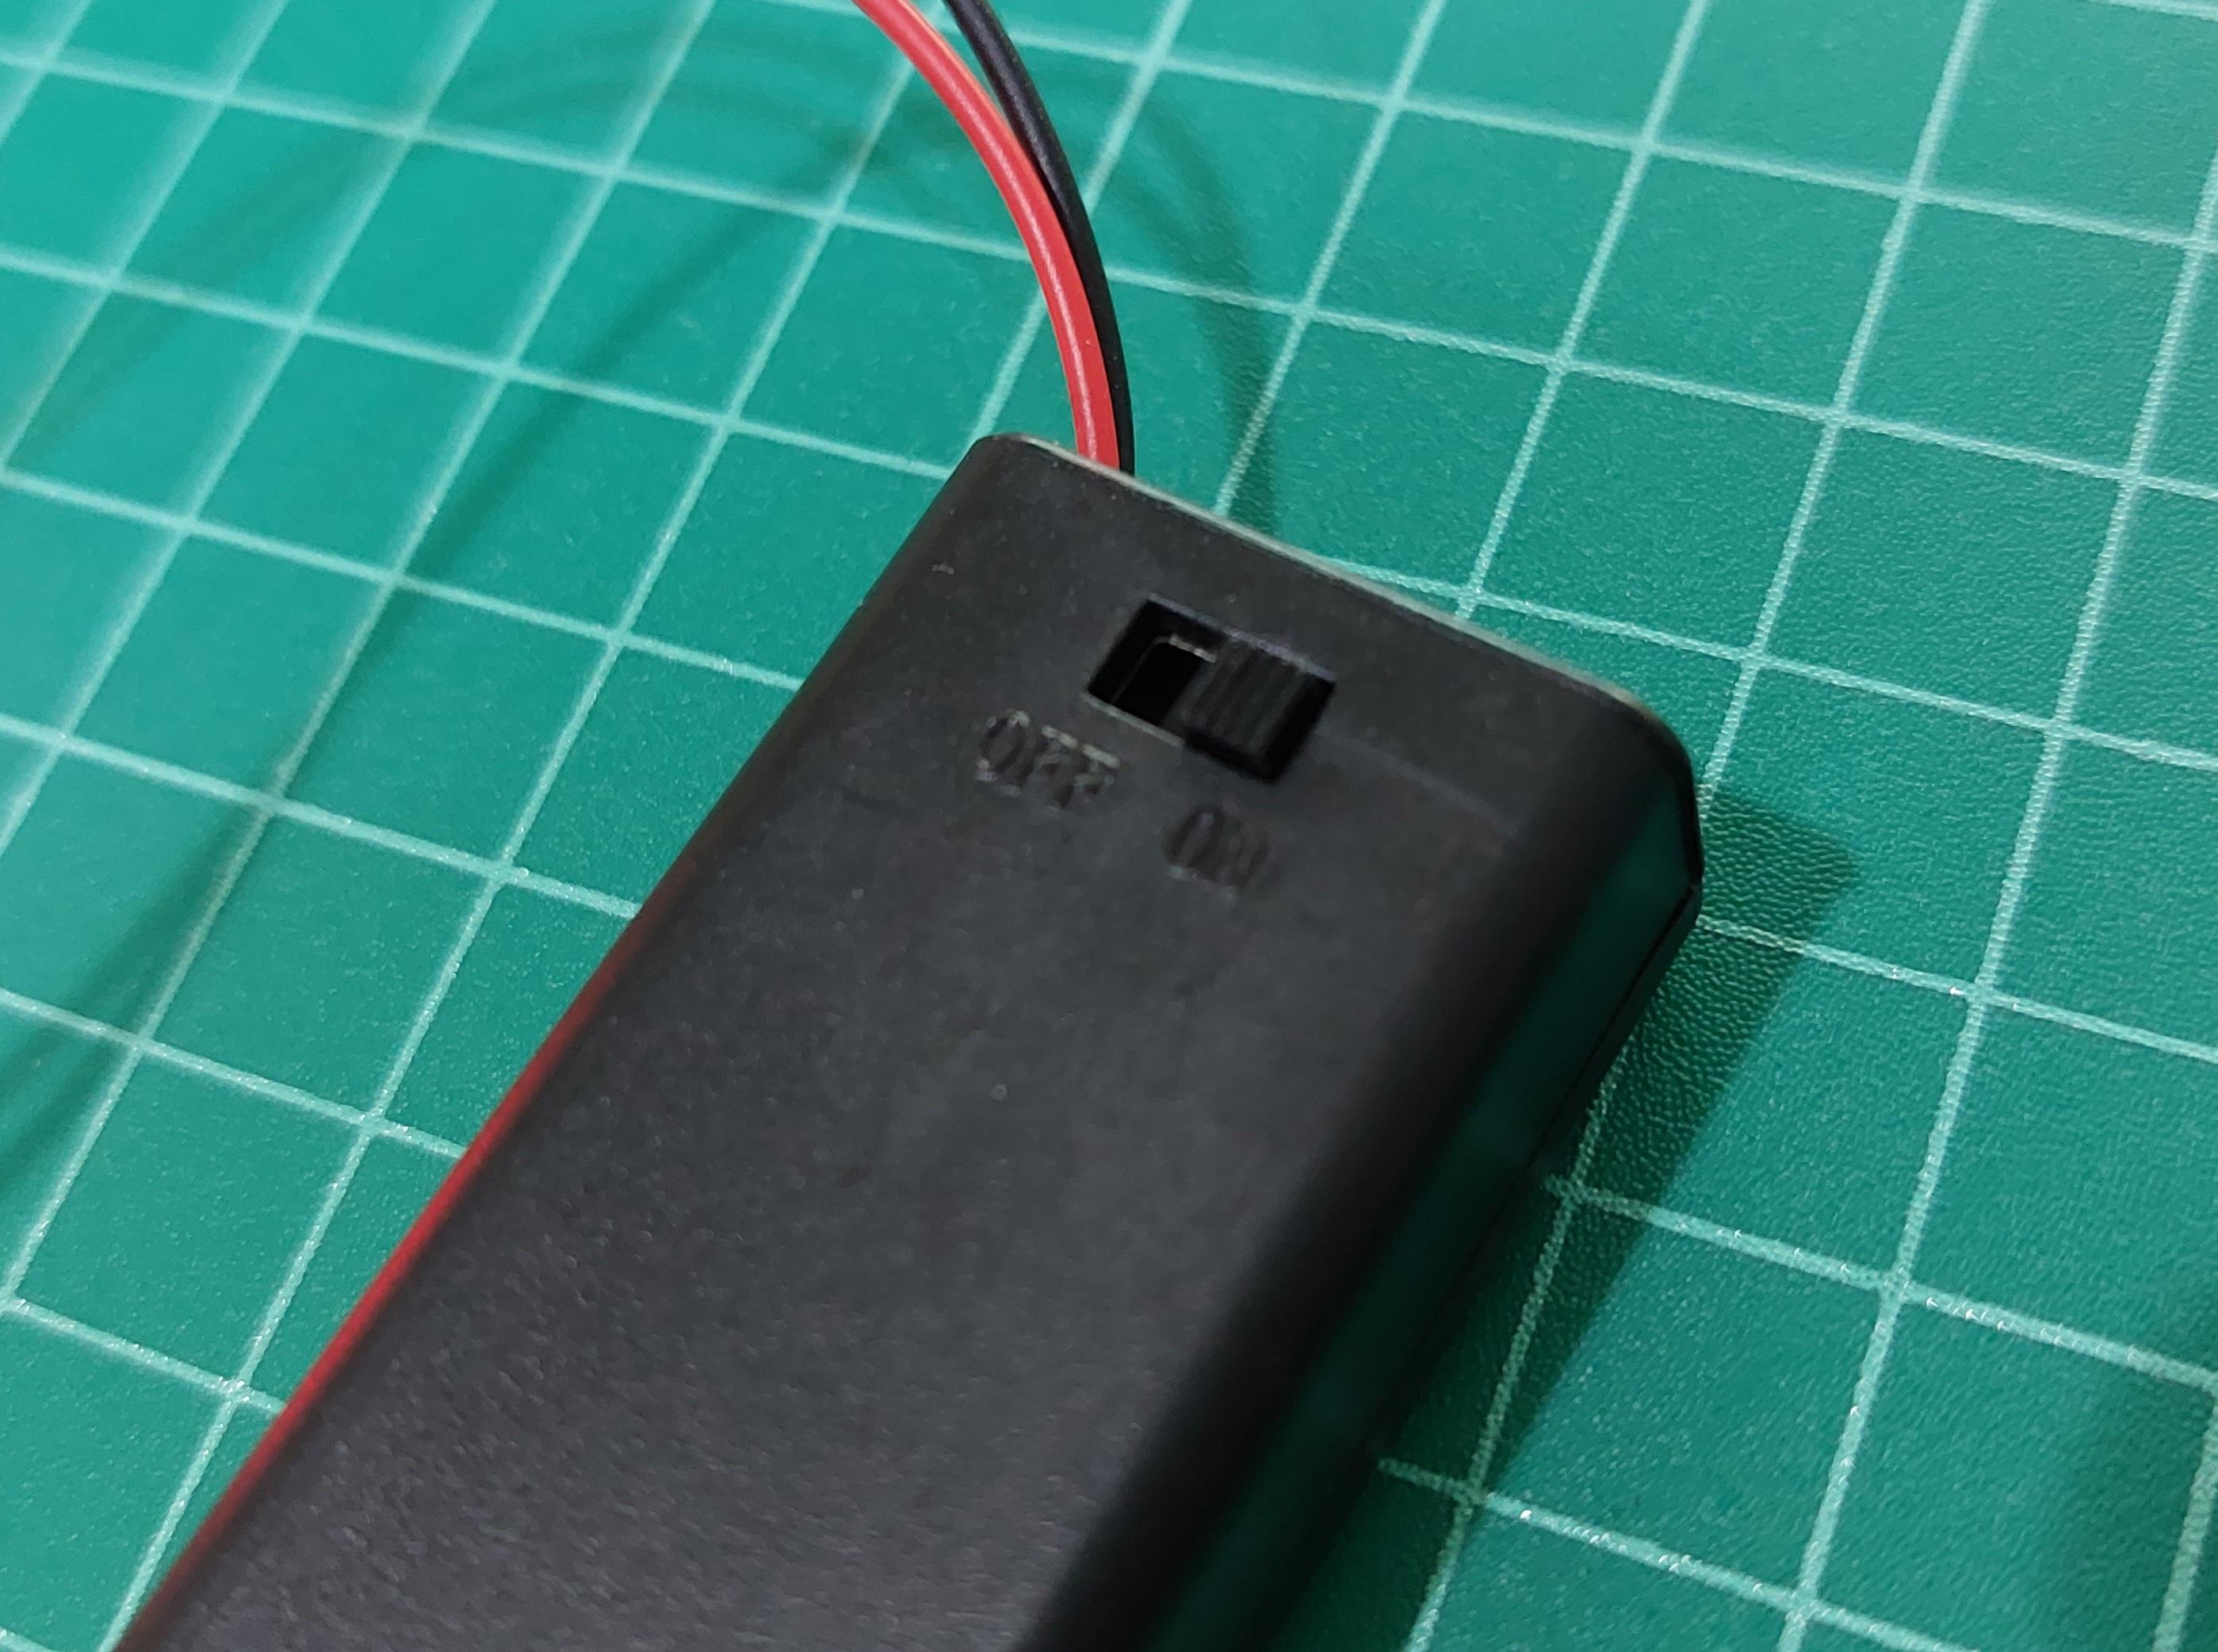
- Insert 2 AA (or AAA) into a battery case.
- Insert battery connector to the micro:bit.
- Firmly attach micro:bit to the basket using 2 cable ties.
- Attach battery case to the center of the basket with a double-side adhesive tap.
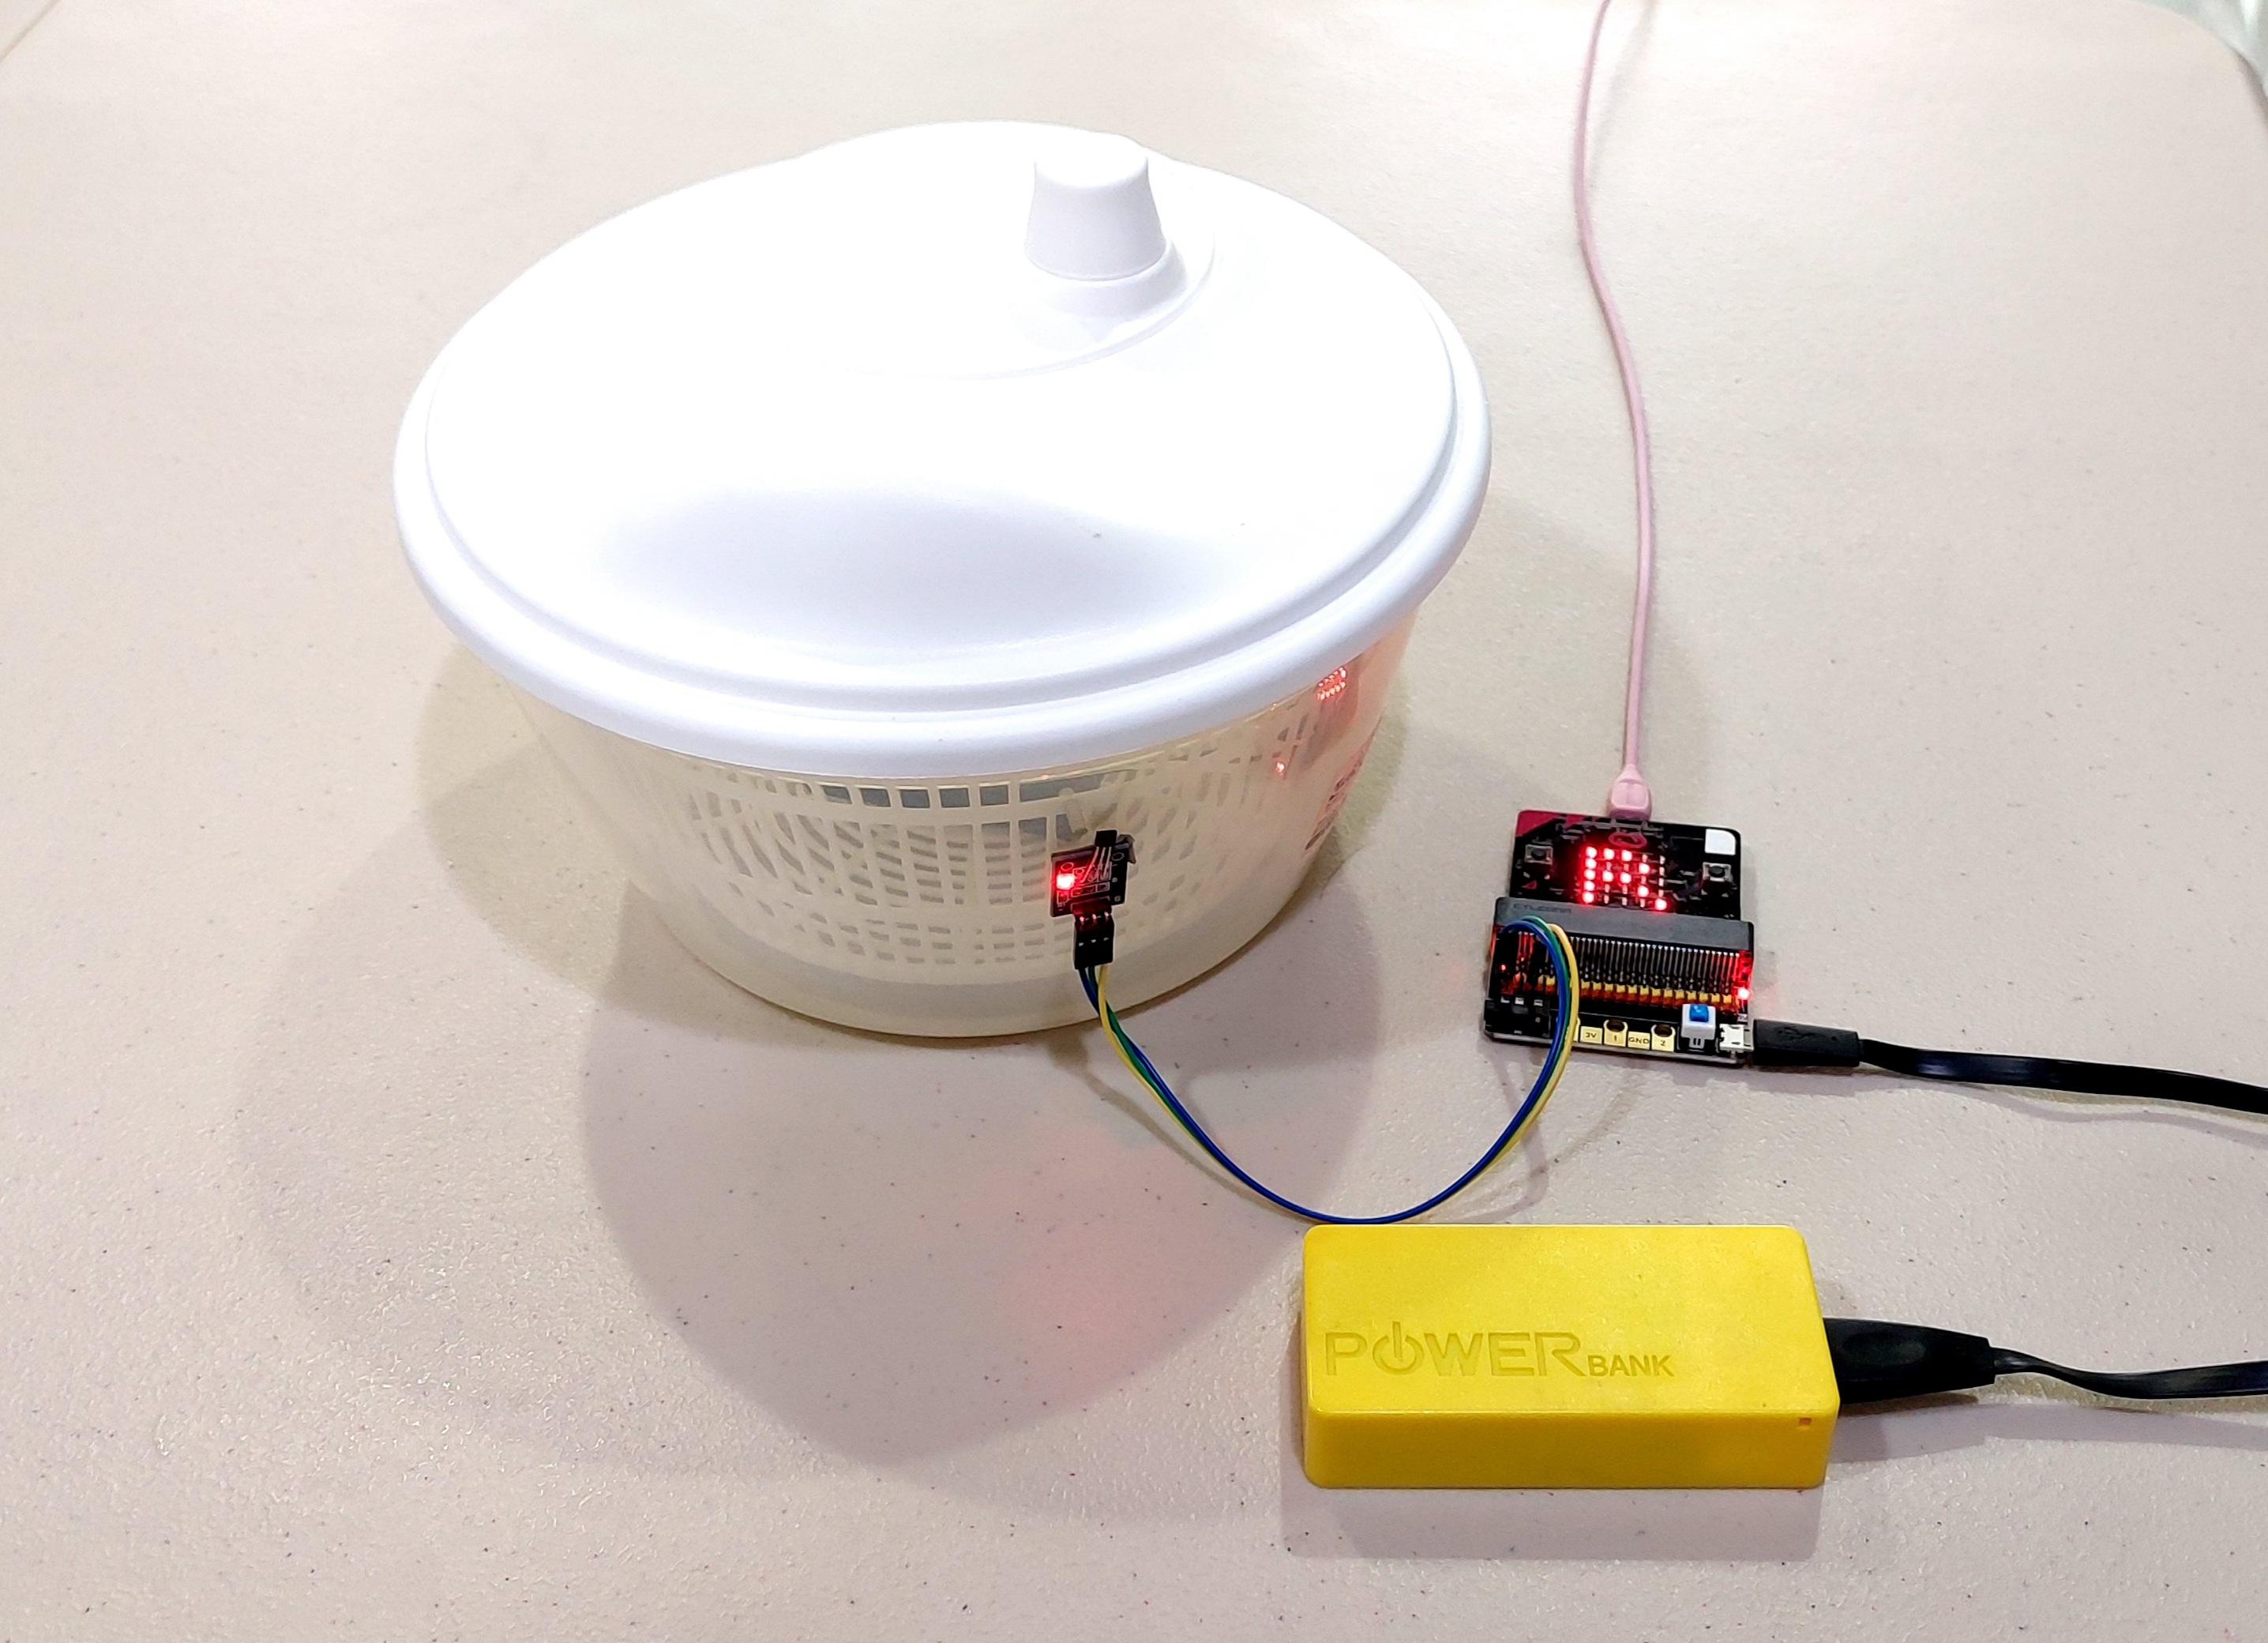
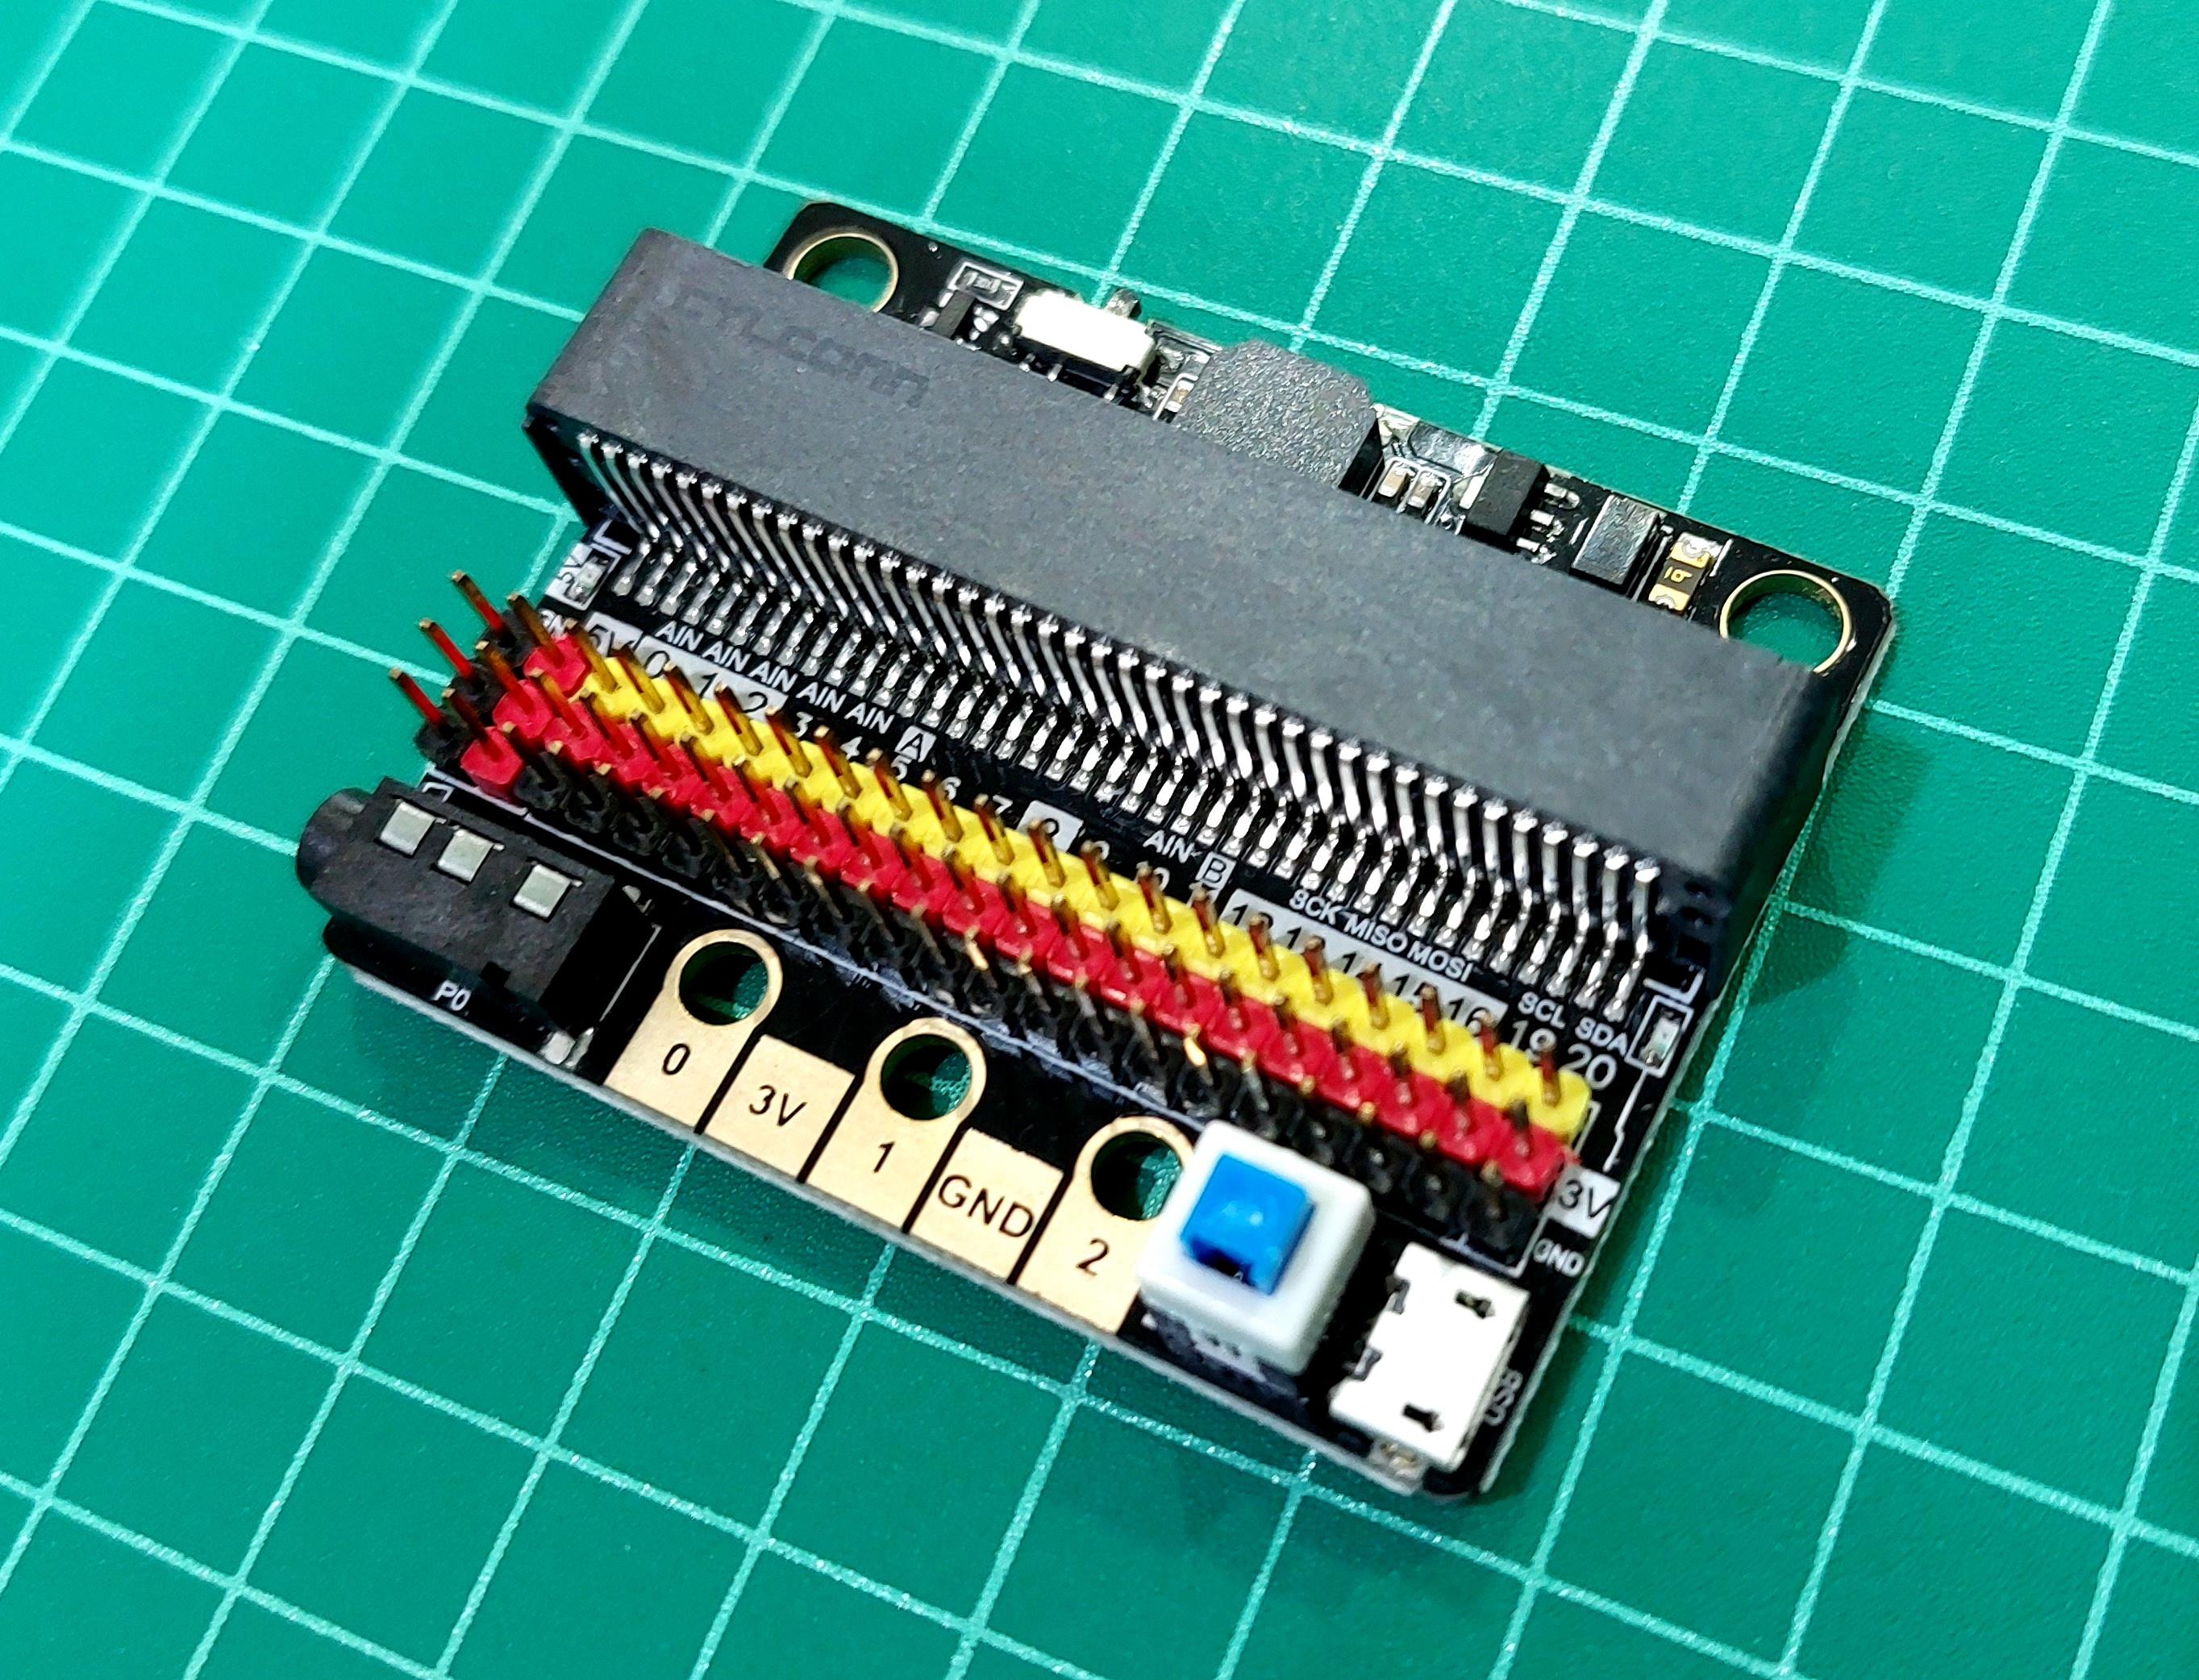
Connect Hall-effect Sensor to Micro:bit
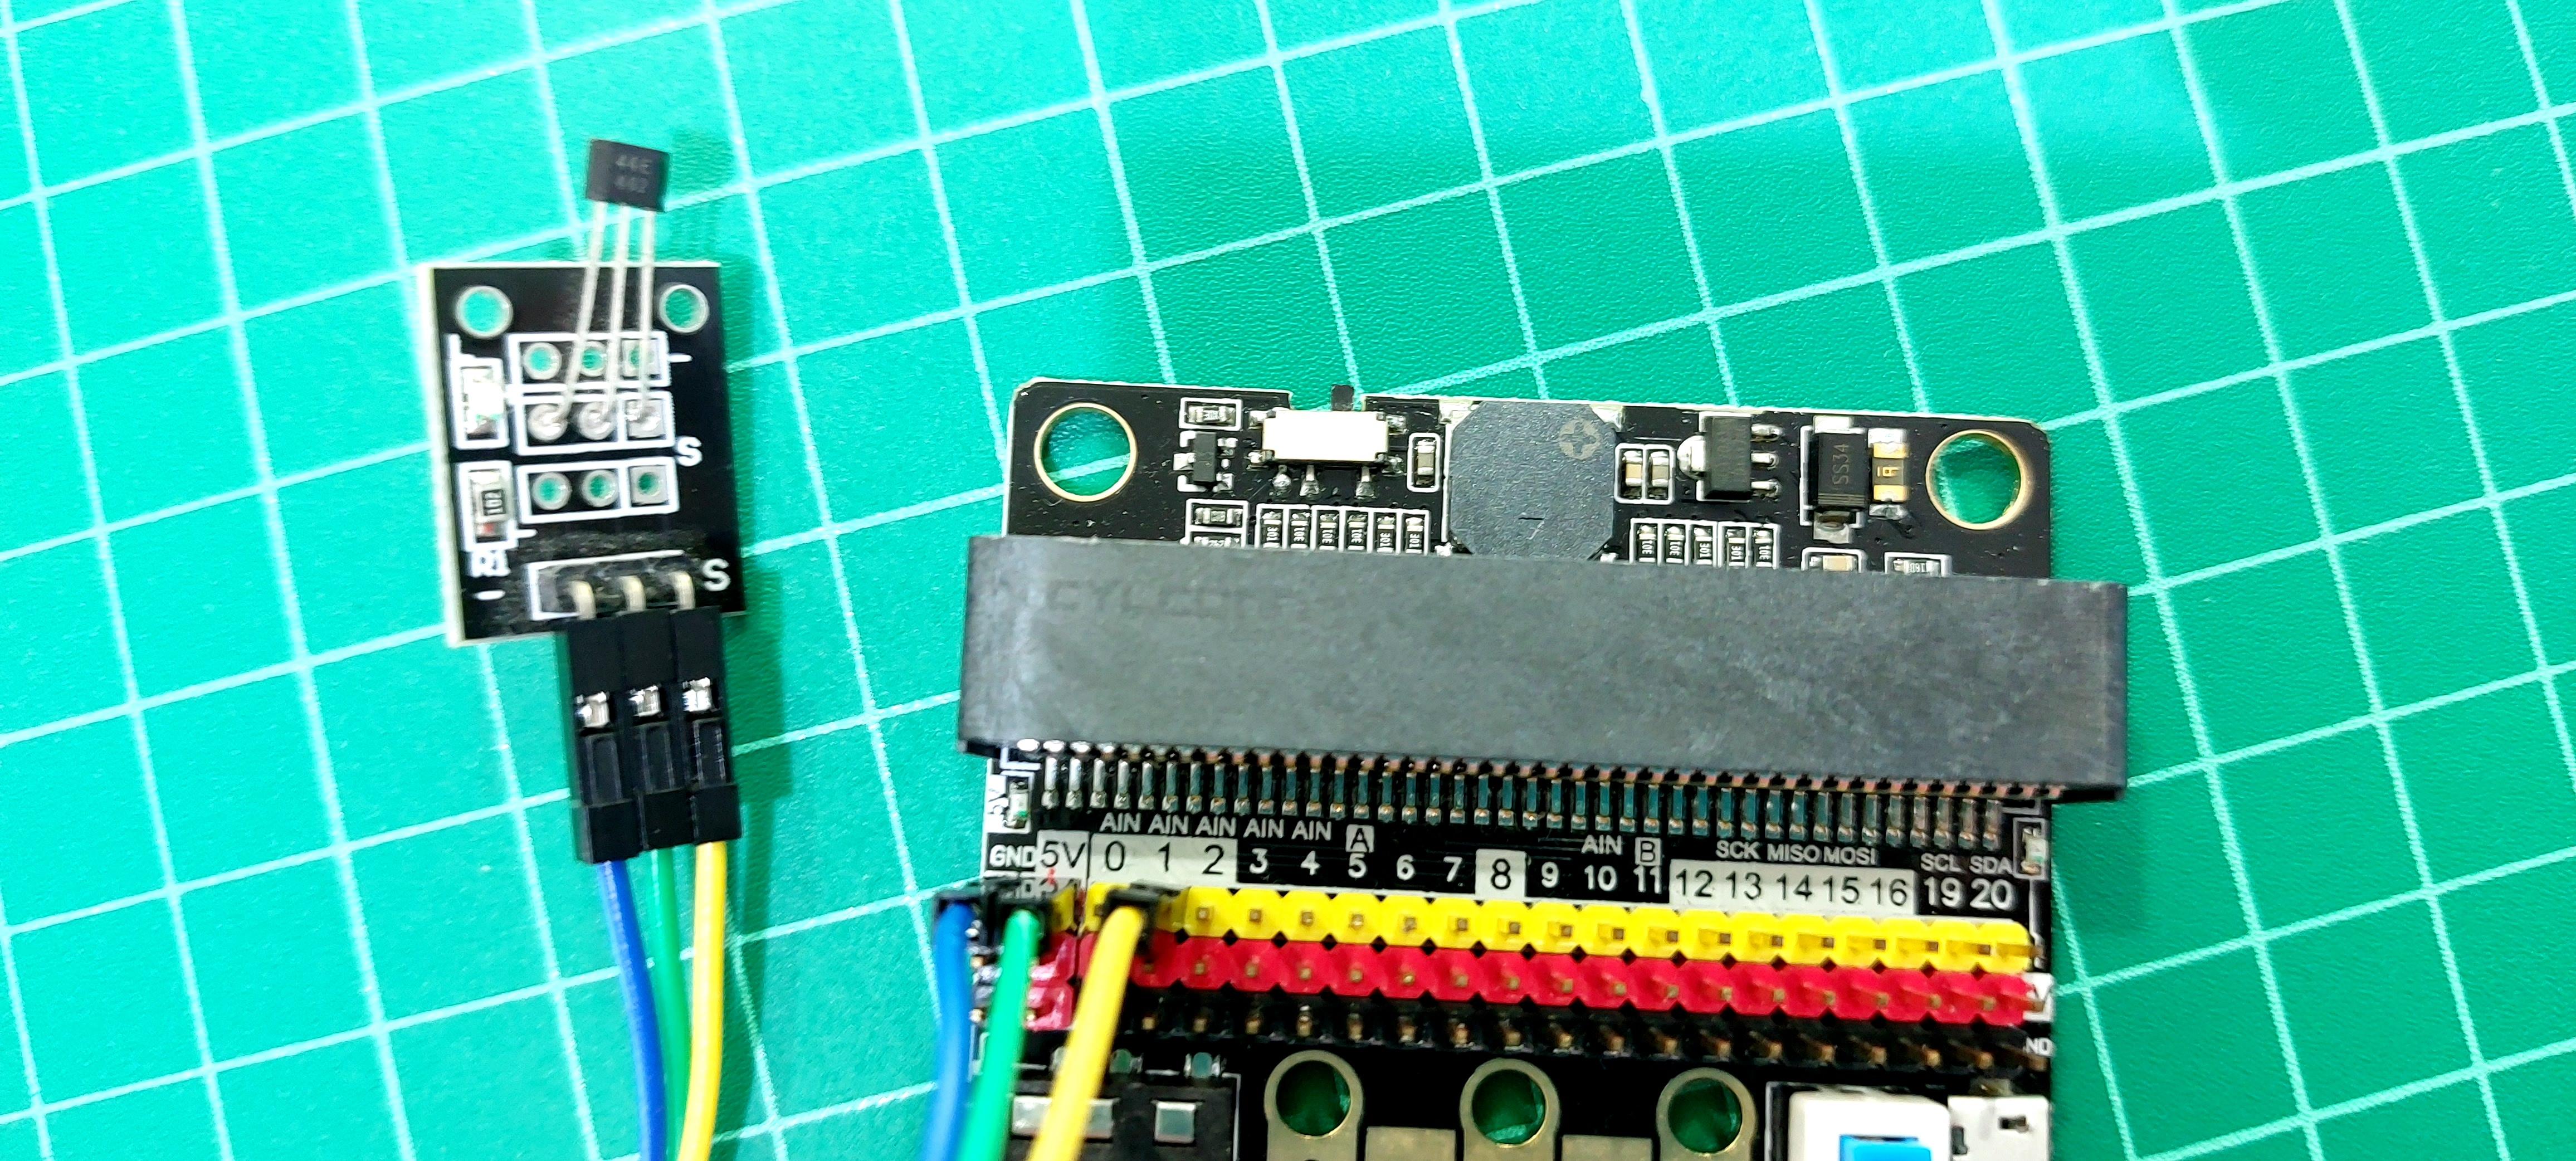
Connecting hall-effect sensor to the micro:bit is easy.
- Connect S (signal) pin of the sensor to P1 of micro:bit.
- Connect + pin of the sensor to 5V pin on expansion board.
- Connect - pin of the sensor to GND pin on expansion board.
- Insert micro:bit into expansion slot.
- Supply power to expansion board with power bank via USB cable.
Install Magnet and Hall-Effect Sensor
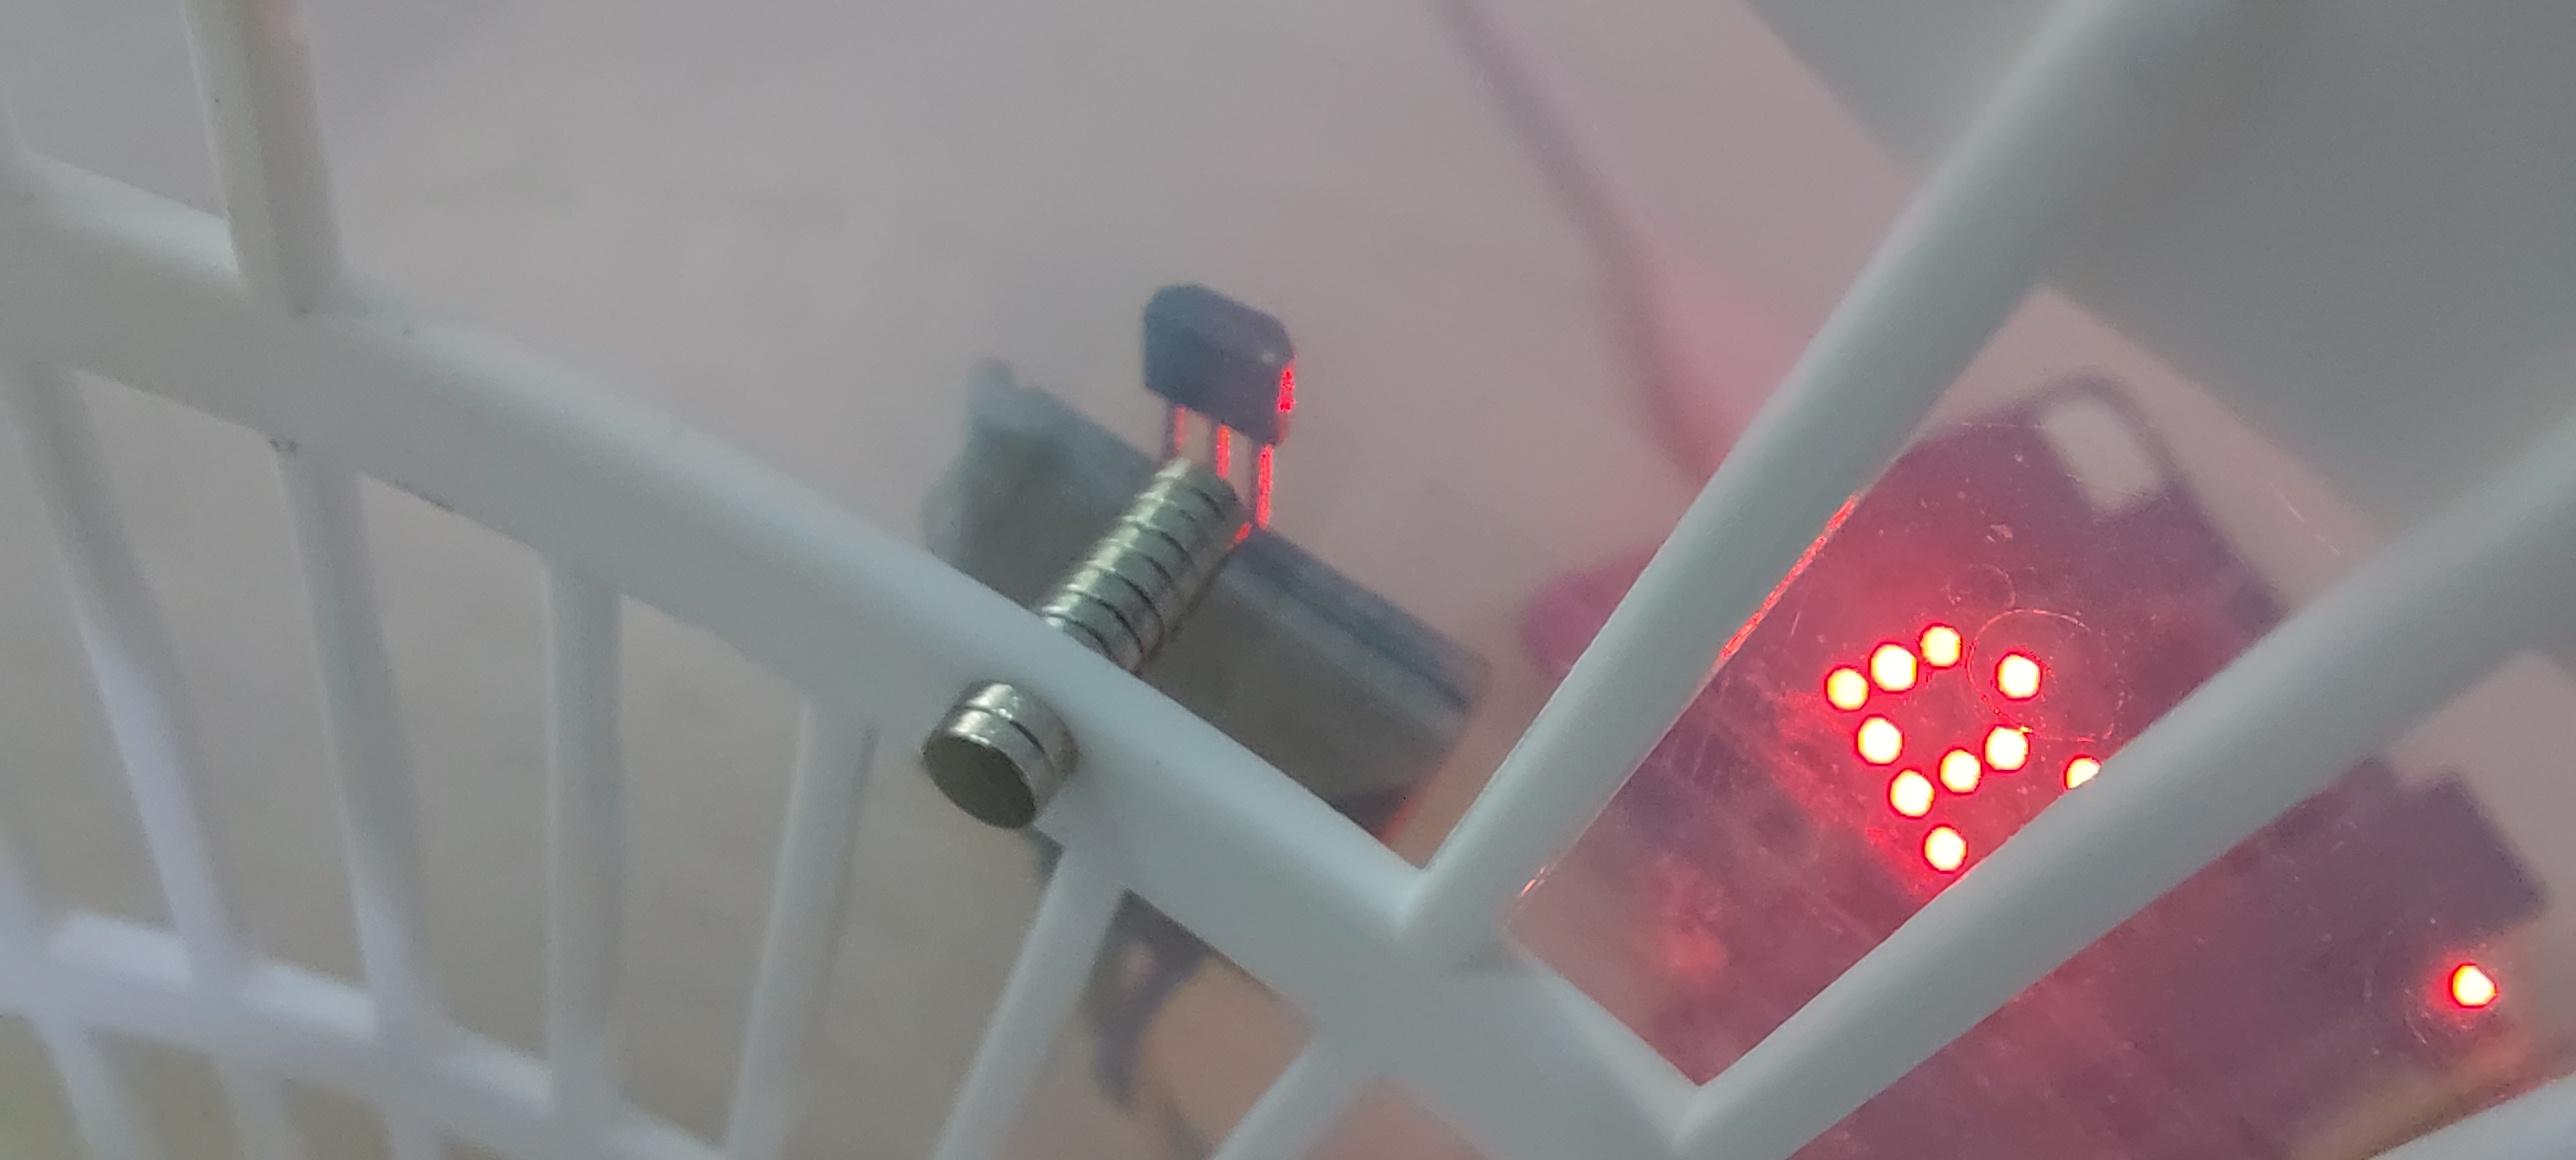
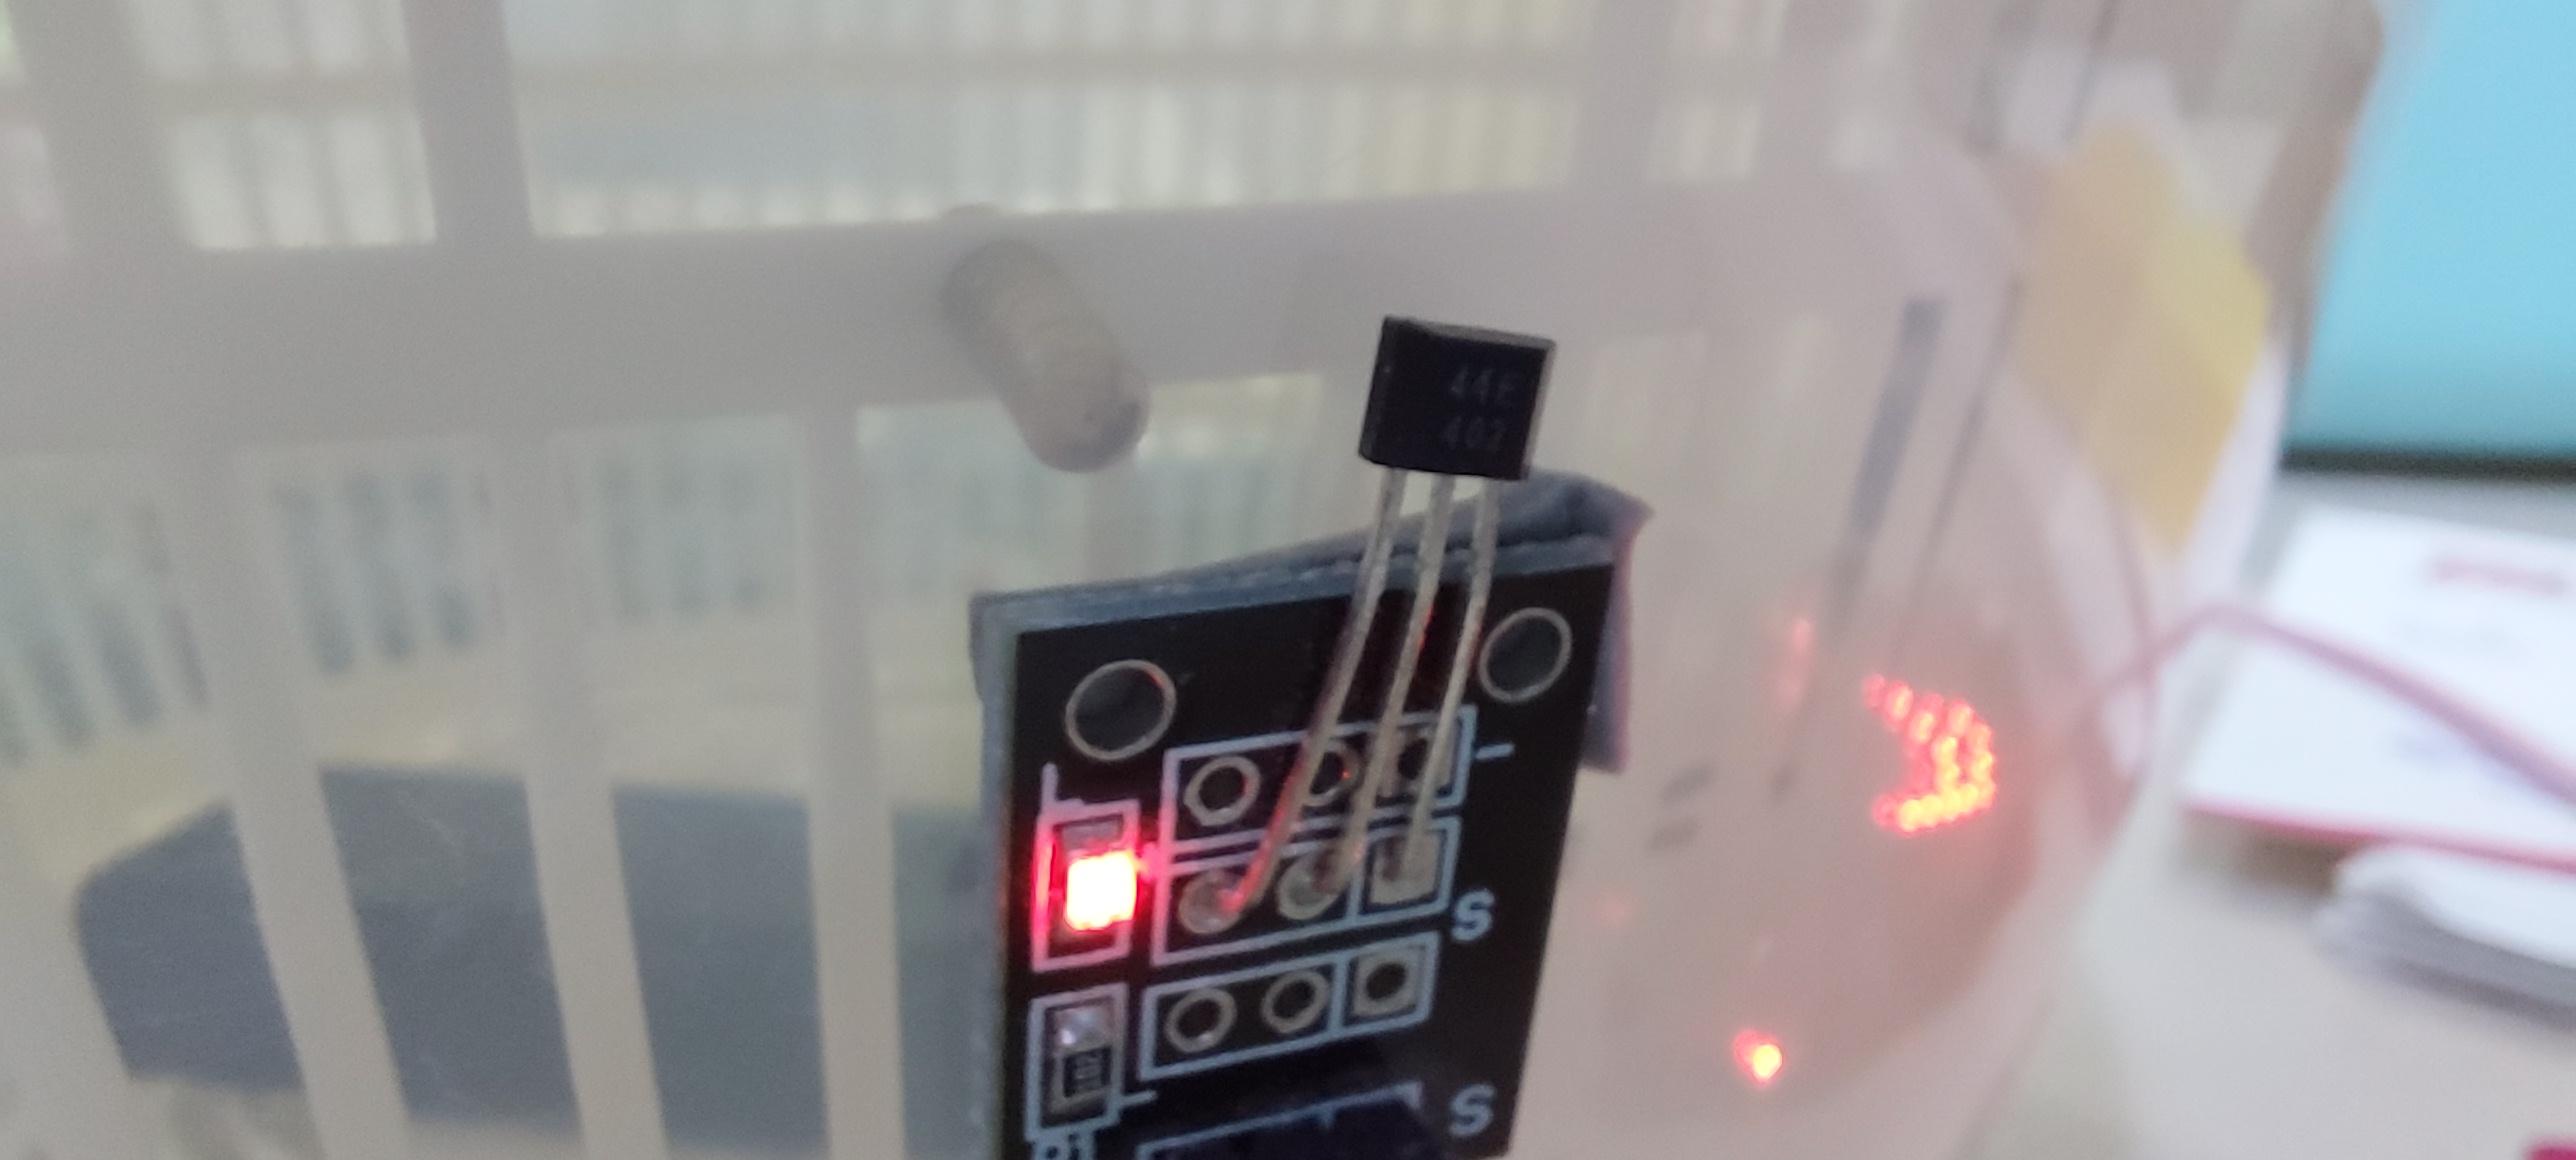
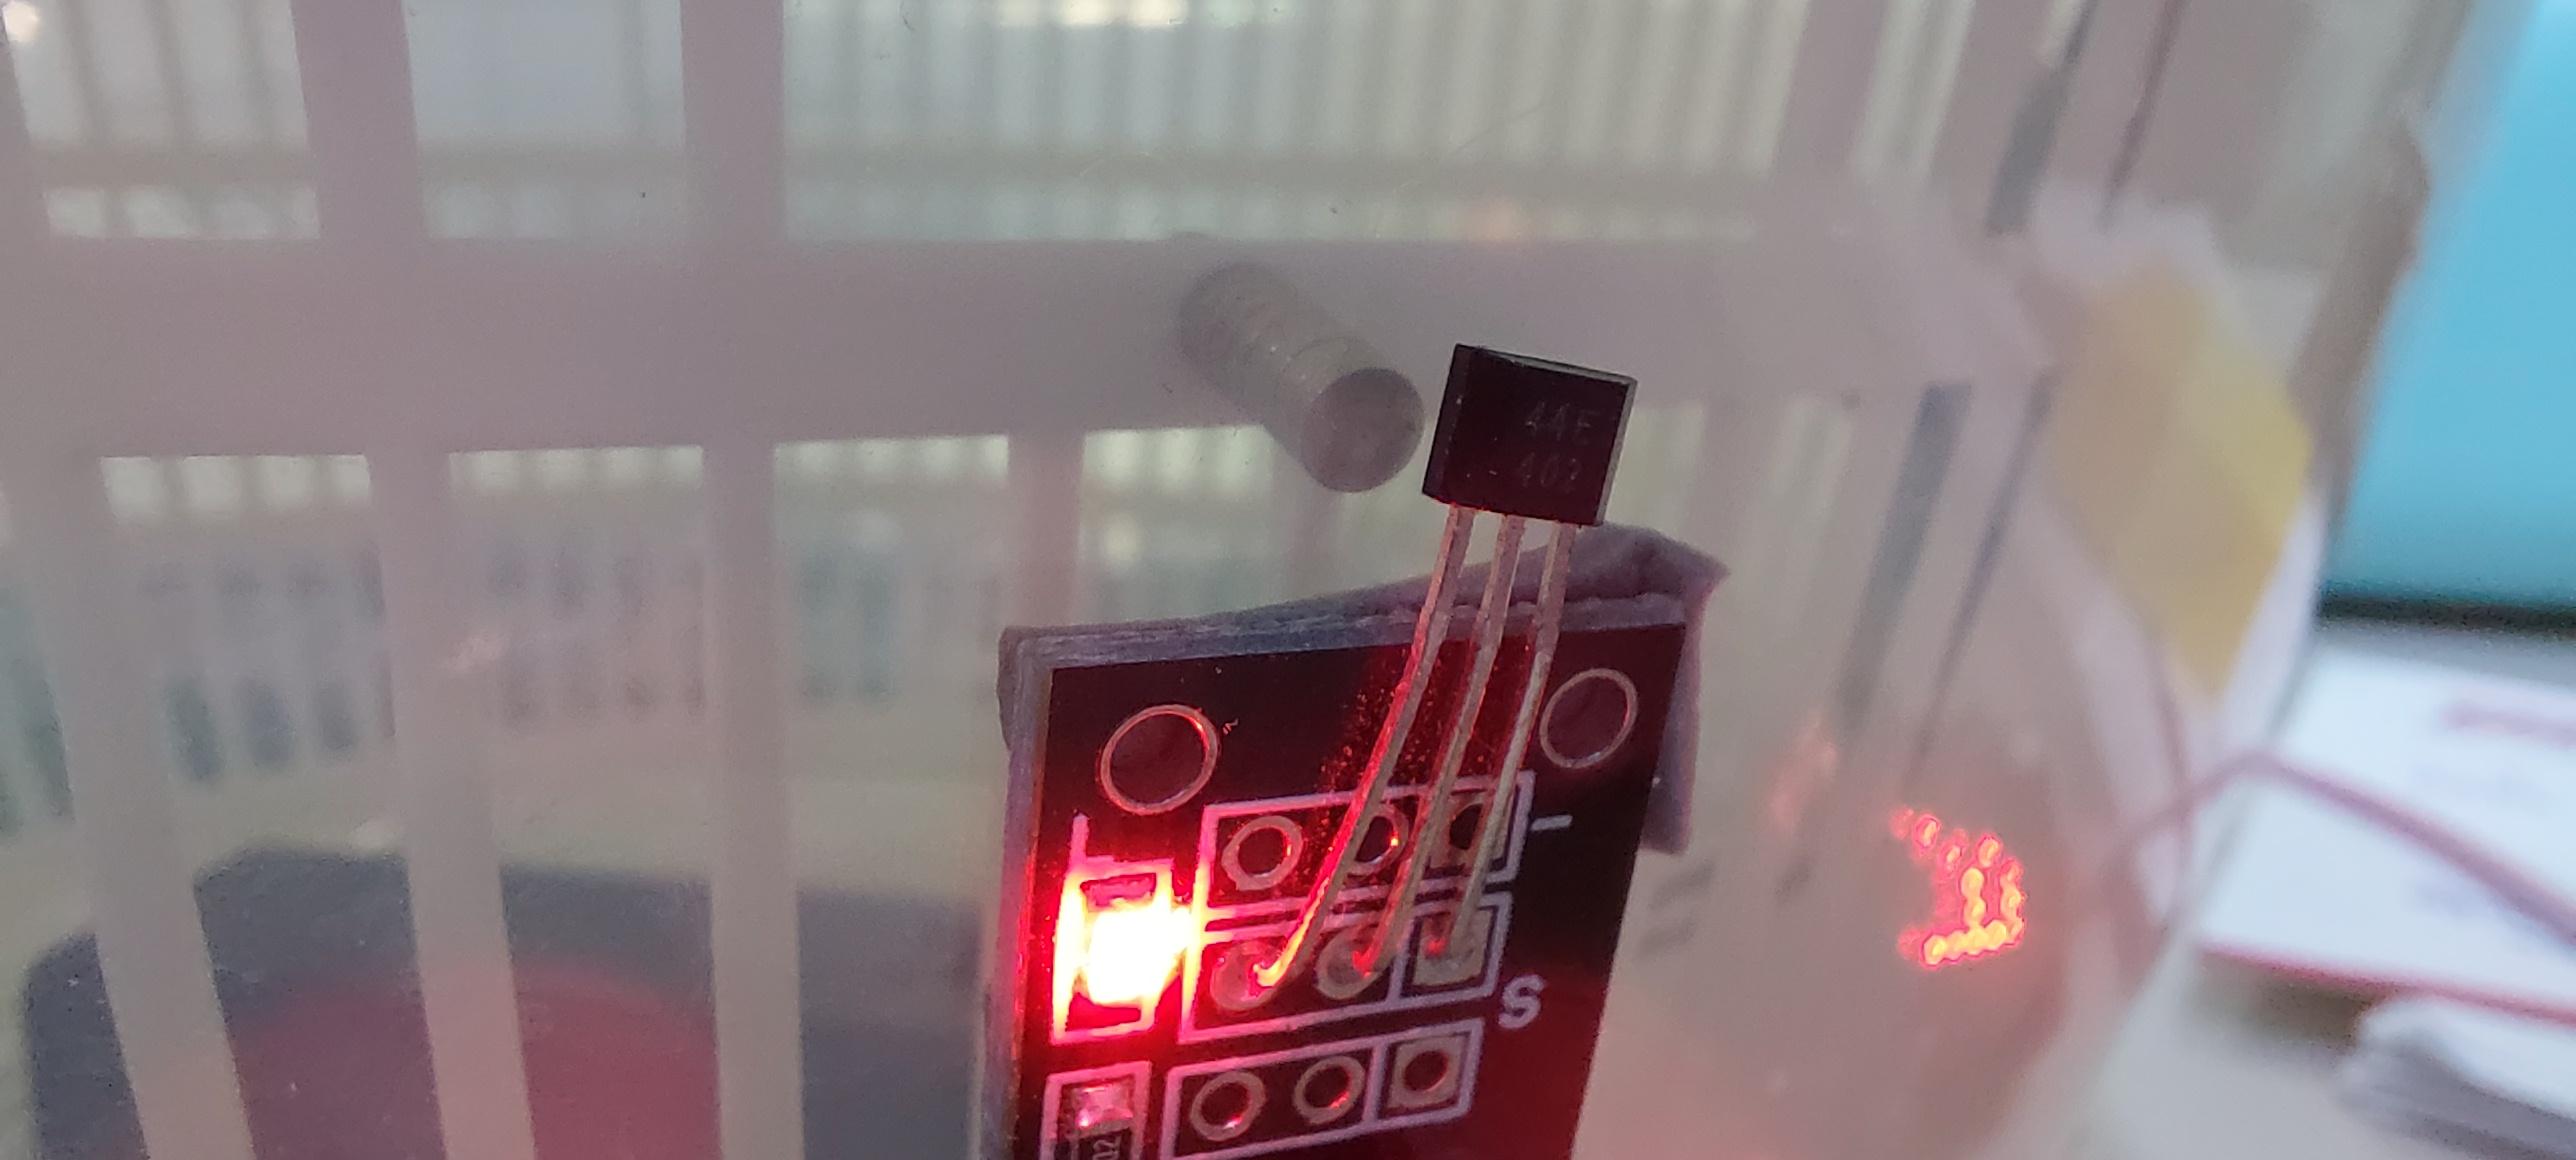
To measure rotational speed, I install many neodymium magnets to the basket and install Hall-effect sensor outside the basket so that they can detect the magnetic field. I recommend you using a magnet with diameter around 1cm, and you can stack them to 7-8mm so that the sensor can detect the magnetic field properly.
Try to spin the basket and check whether the sensor can detect the magnet. If the sensor can detect enough magnetic field LED on sensor board will light up. In my case, LED is dimmed until it can detect the magnetic field, LED is getting brighter.
Enable the Data Streamer Add-in


What is Data Streamer?
Data Streamer is an add-in that enables Excel to receive data from a microcontroller in real time. We can connect microcontroller (such as Arduino or micro:bit) via USB cable, then stream live data to Excel for complicated computation and data visualization.
To use Data Streamer add-in, you first need to enable the add-in by following these steps:
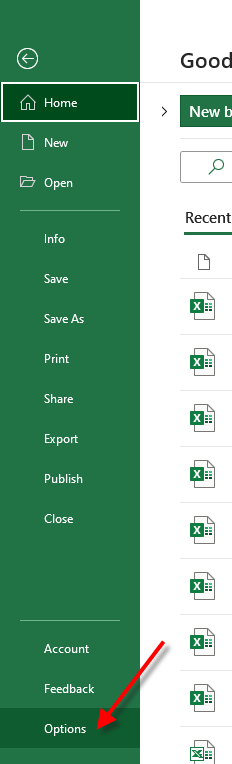
- Click File menu.
- Click Options.
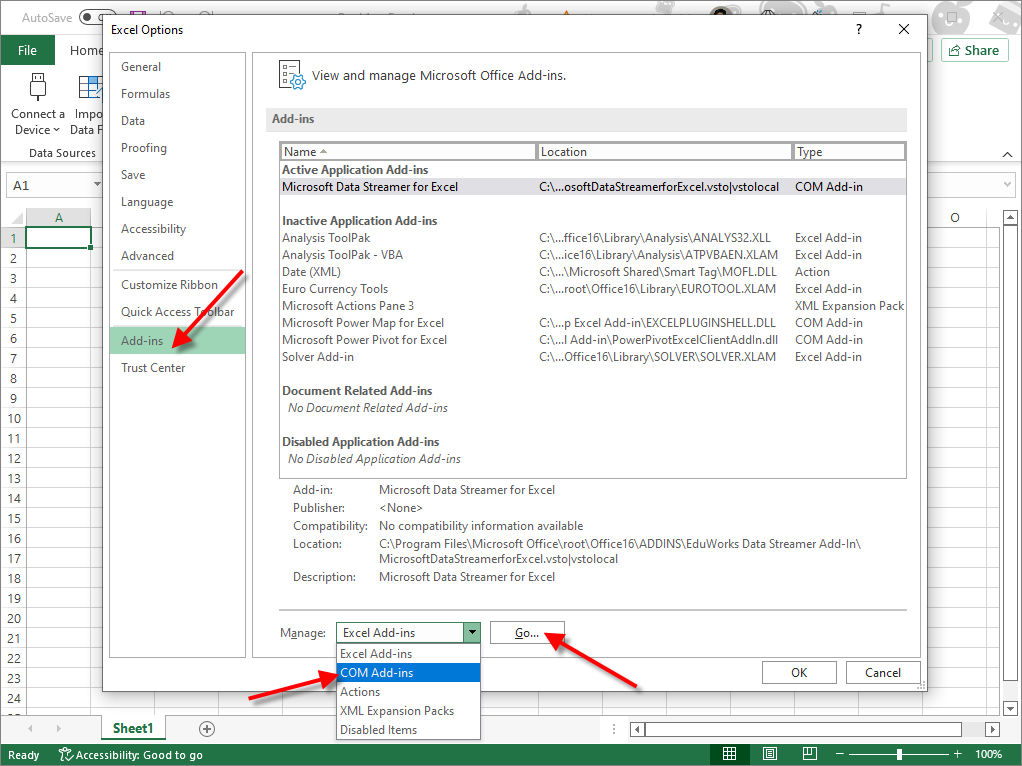
- When Excel Options dialog appears, click Add-Ins.
- Select COM Add-ins, then click Go.
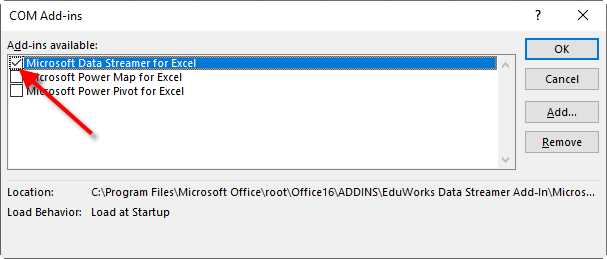
- Select Microsoft Data Streamer for Excel in the COM add-Ins dialog, then click OK.
- You will see Data Streamer tab in the Excel ribbon.
Note
- Data Streamer is available for free to all Microsoft 365 subscribers.
- Data streamer is not supported by Excel for the Mac.
Install Windows Serial Driver
This step is for Windows7 only!
For Windows 8 or newer, Linux and macOS, skip this step. (serial ports work out of the box with these versions.)
- Download the Arm Mbed Windows serial port driver (Windows 7 only).
- Plug in your Arm Mbed device over USB. It mounts as an Mbed drive.
- Close all Explorer windows showing the Mbed drive.
- Run the installer. This may take some time or display a few "unsigned driver" warnings.
Note: this instruction is from https://os.mbed.com/docs/mbed-os/v6.15/program-setup/windows-serial-driver.html
Connect Micro:bit to Excel

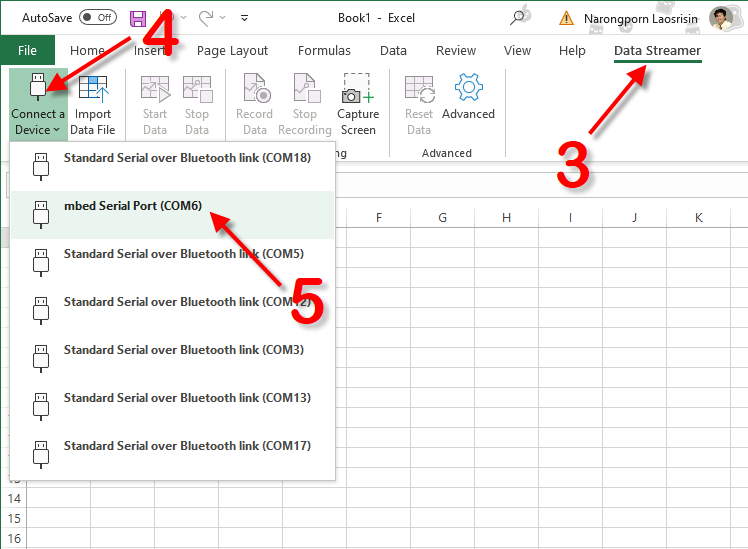

- Connect micro:bit (receiver side) to your computer via USB cable.
- Launch Microsoft Excel with new blank workbook.
- Click Data Streamer tab.
- Click Connect a Device.
- Select mbed Serial Port.
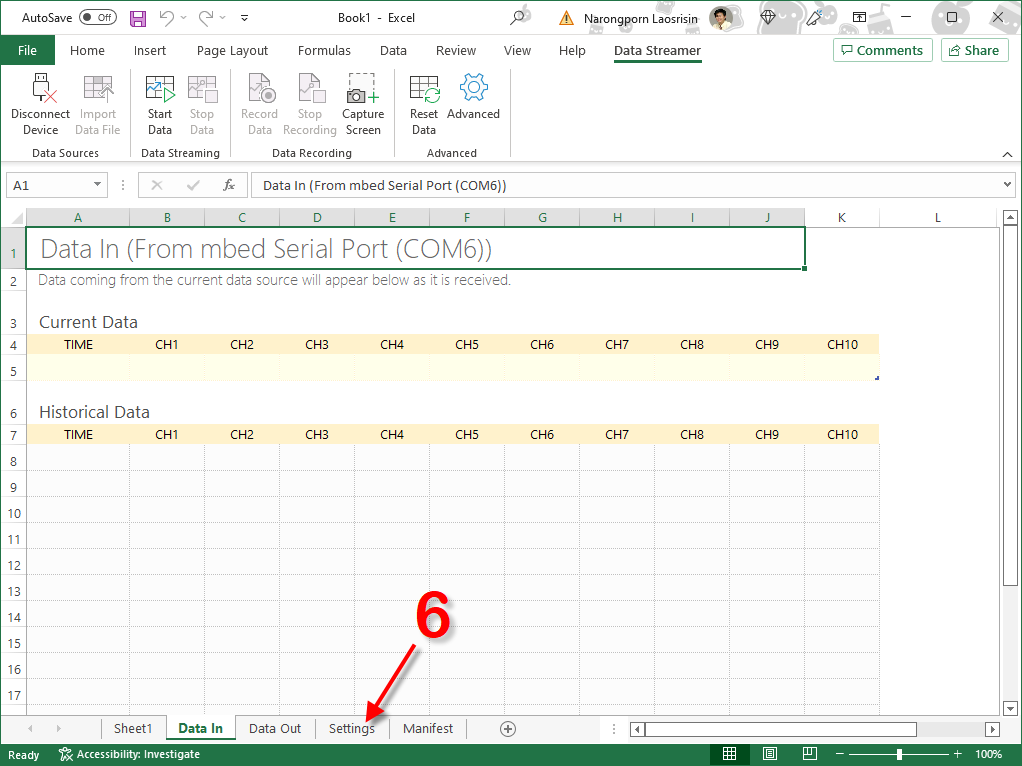
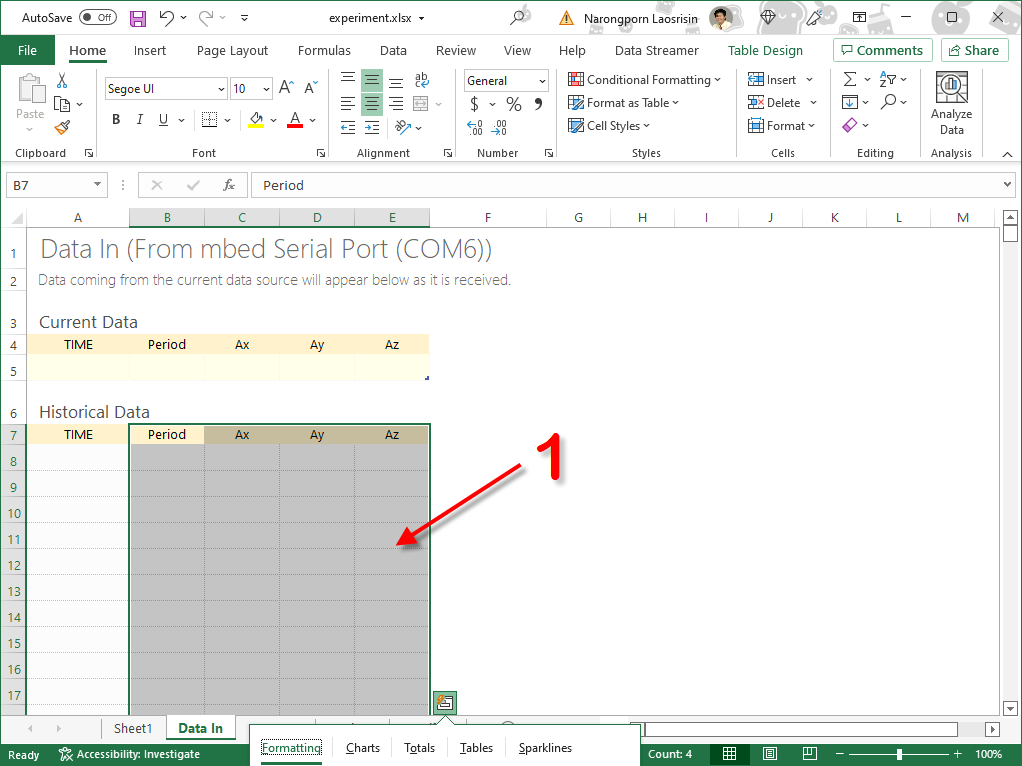
- Excel will create 4 new sheets: Data In, Data Out, Settings, and Manifest. Open the Settings sheet.
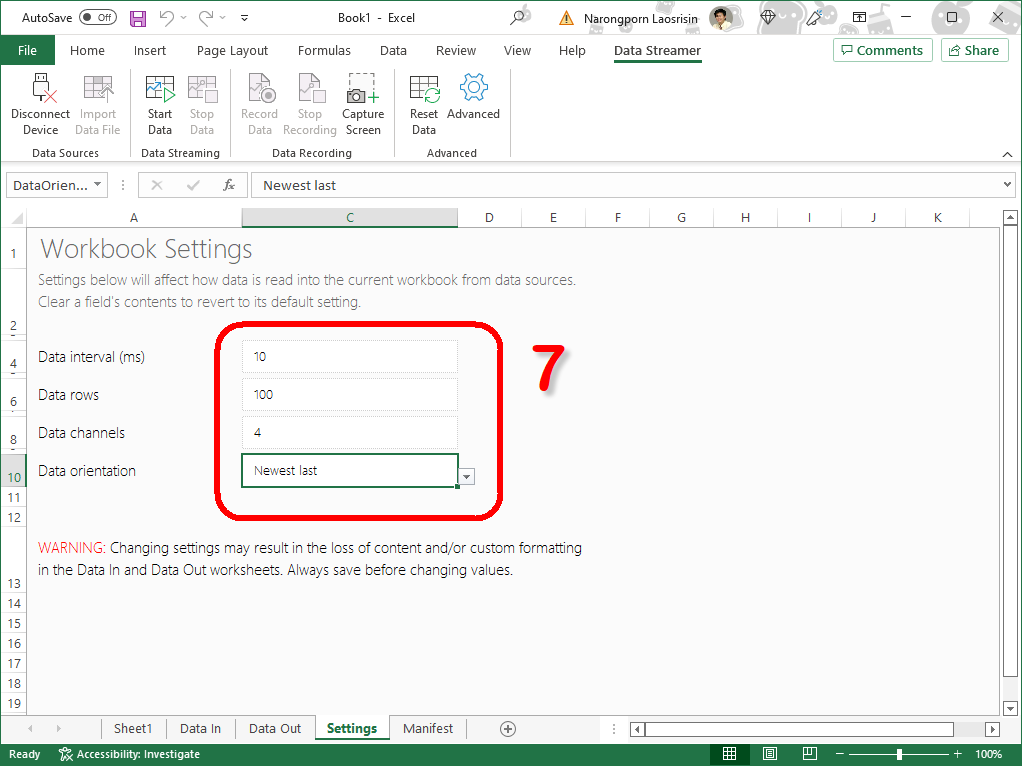
- Change workbook setting to following value (Data interval = 10ms, Data row = 100 or more, Data channels = 4 and Data orientation = Newest last.
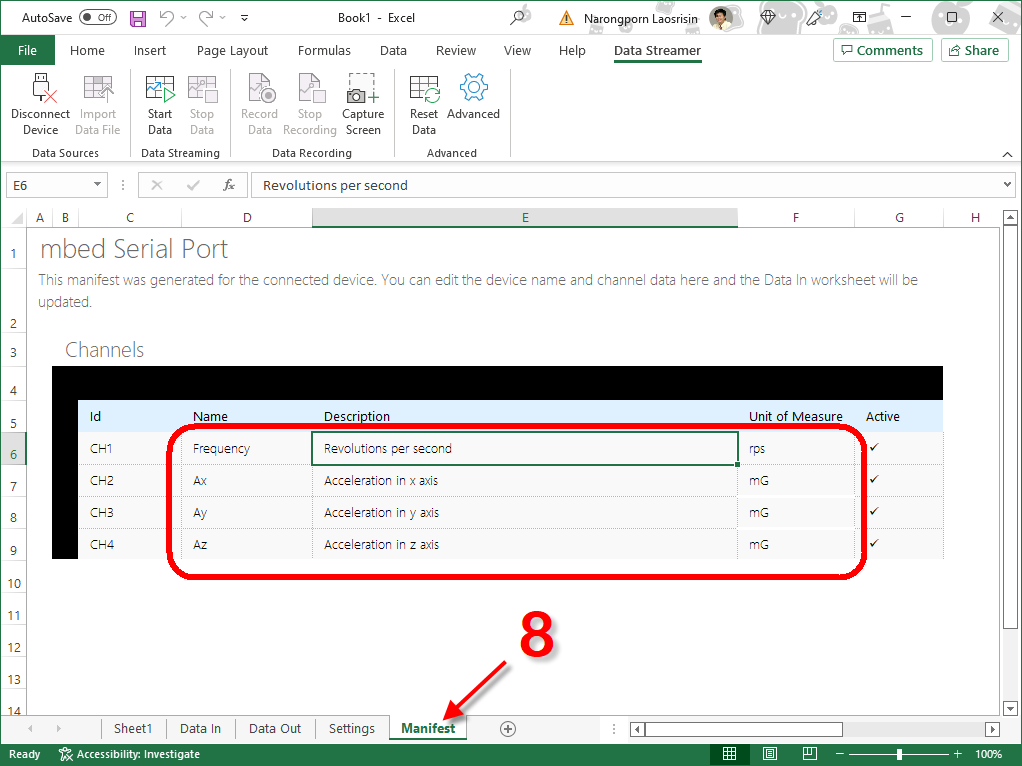
- Open the "Manifest" sheet, then define each data channel's Name, Description, and Unit of Measure.
- Switch back to the Data in sheet. According to the Manifest sheet, you will notice that the channel name has been changed.
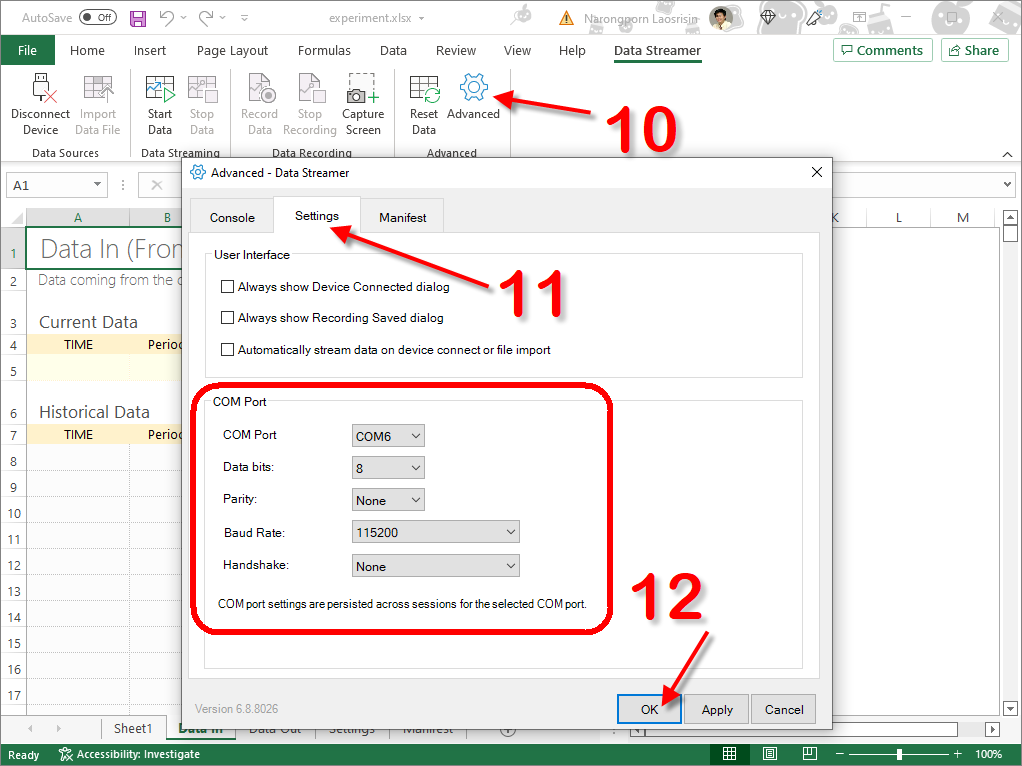
- Click Advanced.
- Open Settings tab.
- Set COM Port to following value (Data bits =8, Parity = None, Baud Rate = 11520, and Handshake = None) then click OK.
Visualize Data With Scatter Chart
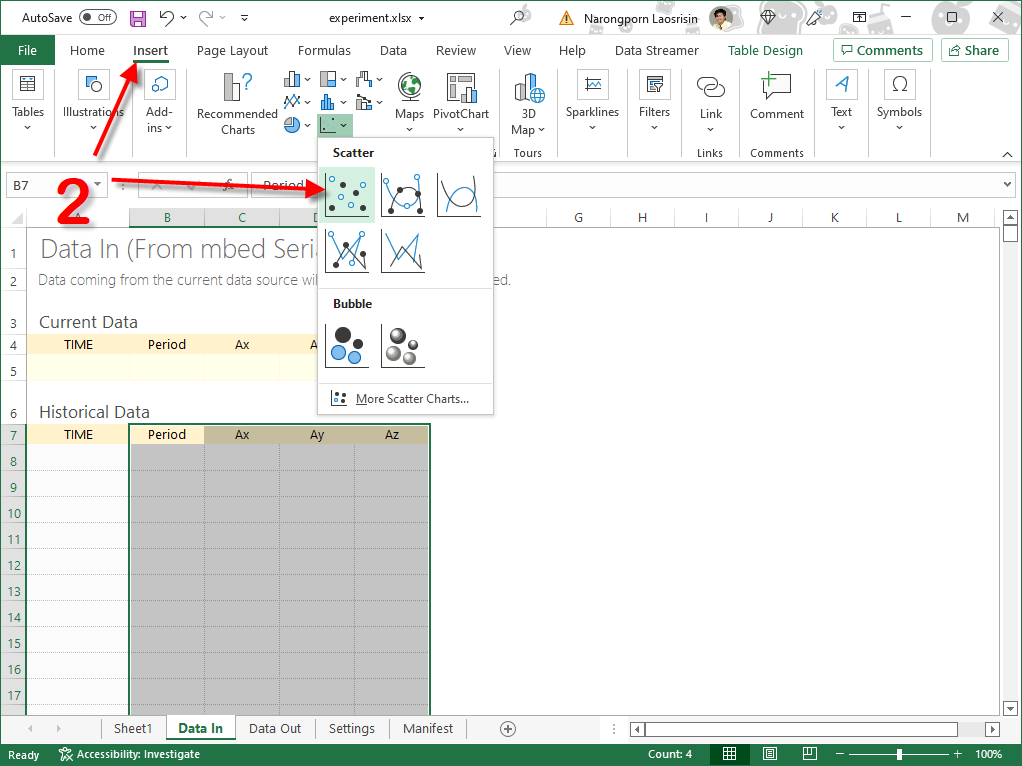

To help you see the data more interestingly, I will use a scatter chart to show the relation between period of revolution and acceleration on 3 axes.
- Select data range to include channel name and all data rows.
- Click Insert menu, then select Scatter Chart.
- Re-position and scale the chart as you wish.
Start the Experiment
When you are ready to do the experiment
- Switch on the battery case to supply power to micro:bit in salad spinner.
- Turn-on expansion board by pressing switch to supply power to micro:bit and hall effect sensor in case you forget to turn-on then no 5V to hall effect sensor.
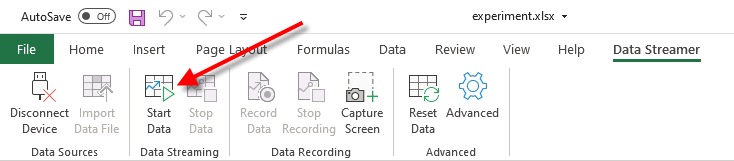
- On the Data Streamer ribbon, click “Connect Device” and “Start Data” to begin receiving data from the micro:bit
- Start rotating the spinner and see the result.
- Click “Stop Data” to stop receiving data from micro:bit and click “Reset Data” to clear all data.
Conclusion

After the experiment, I have to remove some outliers from the data. These outliers are caused by an error during data transfer via USB. You may notice some large numbers which are 2 numbers concatenate.
As you can see in the scatter chart,
- X-axis is period of one revolution (millisecond) and Y-axis is acceleration (milli-g)
- The grey dots represent acceleration on z axis (Az).
- The negative measurement means that Az move away from the center
- Az decreases when rotation speed is increased.
- Az reaches sensor limit at -8g when rotation period is about 200ms or 5Hz or 300 rpm
- The orange dots represent acceleration on Y axis (Ay).
- During slow spinning, the sensor report Ay about 1g, which is acceleration caused by gravity
- When spin faster, Ay decreases and reports -5g at 100ms, which is opposite to gravity.