CentOS 7 As MQTT Server


MQTT server can be implemented on a machine running virtualization software. It is not mandatory to have it implemented on a Server.
An important aspect of an "Industrial Internet of Things (IIoT)" is that data from different sensors is captured and posted to an MQTT server for further analysis. The data will also help application developers build machine learning algorithms that automate different tasks in the industry.
A prerequisite for the IT Infrastructure Administrator can be to have some hands-on installing and managing Linux servers. CentOS Minimal installation comes only with a Character User Interface and Linux commands will help the install, configure and manage the server with MQTT protocol.
Supplies
To conduct CentOS 7.0 installation, we will need the following:
- Physical/Virtual machine
- With a redundant power supply
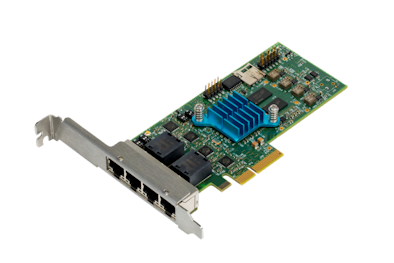
- A redundant network interface card
- Dedicated Internet connectivity.
- This class of servers will also need to be backed by an Uninterrupted Power Supply.
- It is also suggested that the installation of the CentOS server be performed with minimal packages.
Note: The minimal installation will help reduce resource utilization due to additional and unnecessary networking services that will start in the case of an OS installation with a fully functional GUI.
Though all the above said is true, an MQTT server can also be implemented on PCs/Laptops with virtualization software.
CentOS 7.0 - Network Configuration

The reader of this article may ignore this step if they are trying to make use of an existing server with CentOS 7 operating system installed on it.
The foremost configuration (In the case of a new machine) is to have the machine's network interface configured. The attached screenshots will help us understand the process of manually configuring an IP address. For this demonstration, I am using a new VM, hence this article will also include the basic network configuration required to let the machine be accessed by the IIoT device (A smart switch integrated with AM2305 Digital Temperature & Humidity Sensor)
It is also to be noted that IT Infrastructure Administrator needs to get all the details of the IP address from his/her ISP, in case the server is planned to be deployed for access via a Public IP address. Following is the step by step procedure:
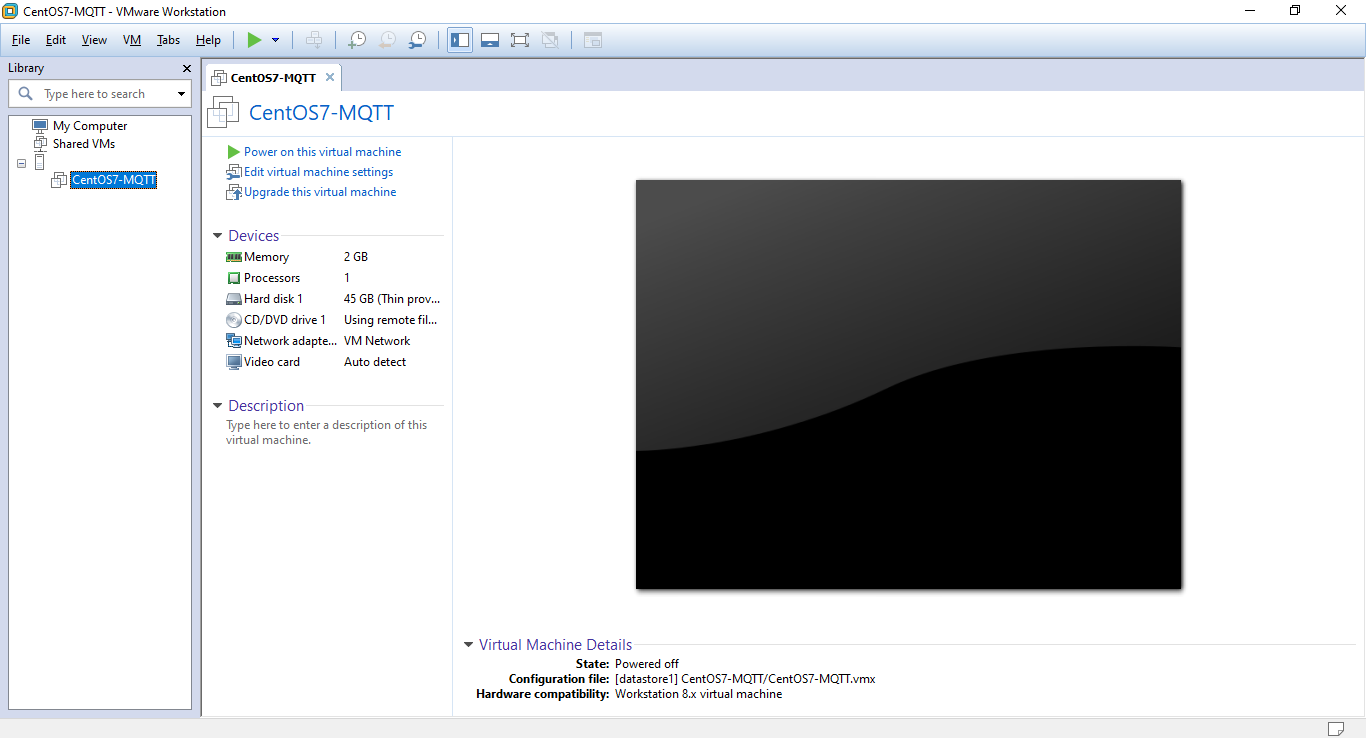
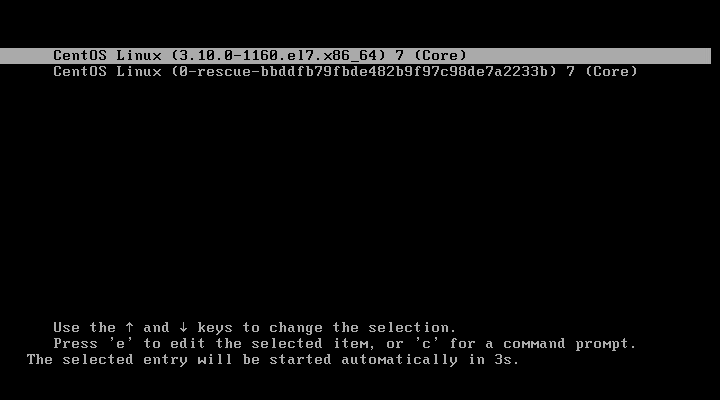
- Power on the VM from its remote console configured in VMware Workstation
- Let the machine (VM) completely boot and prompt for user credentials.
- Enter root (administrator) credentials to access the system.
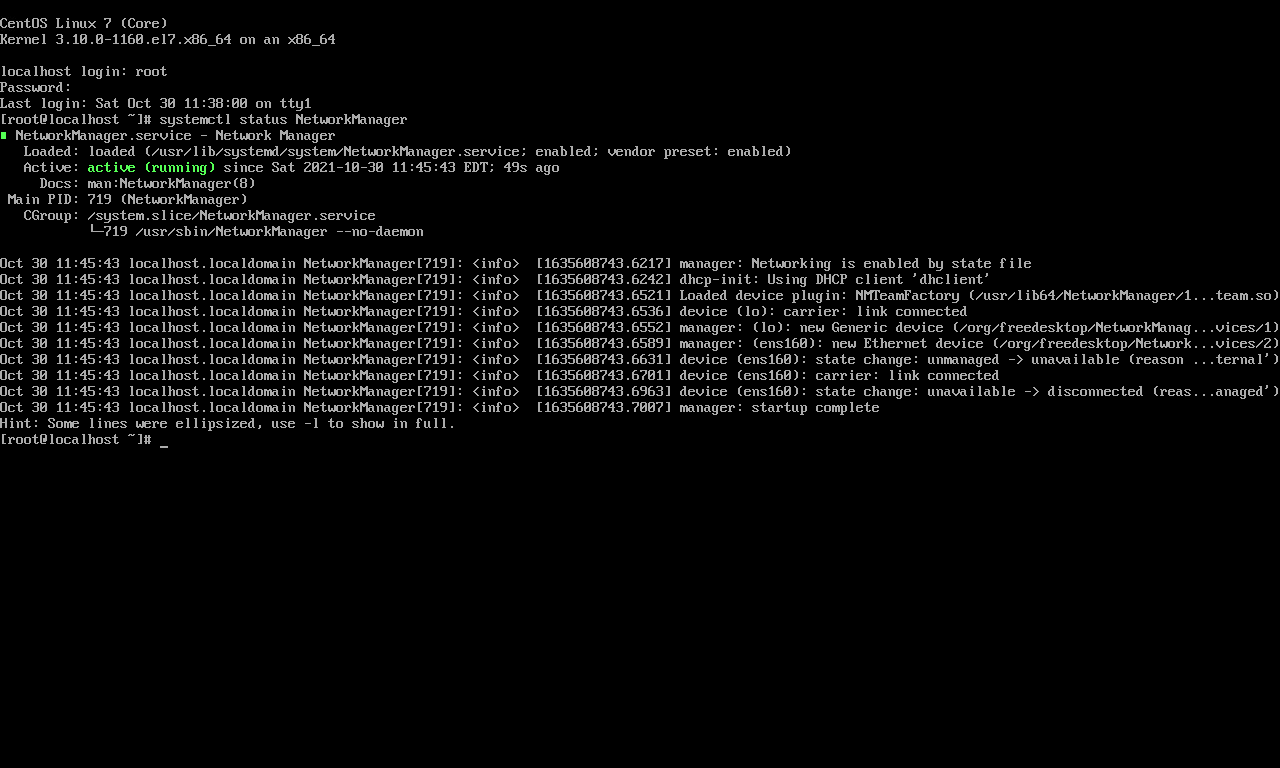
- Check the "NetworkManager" service and the IP address.
- systemctl status NetworkManager
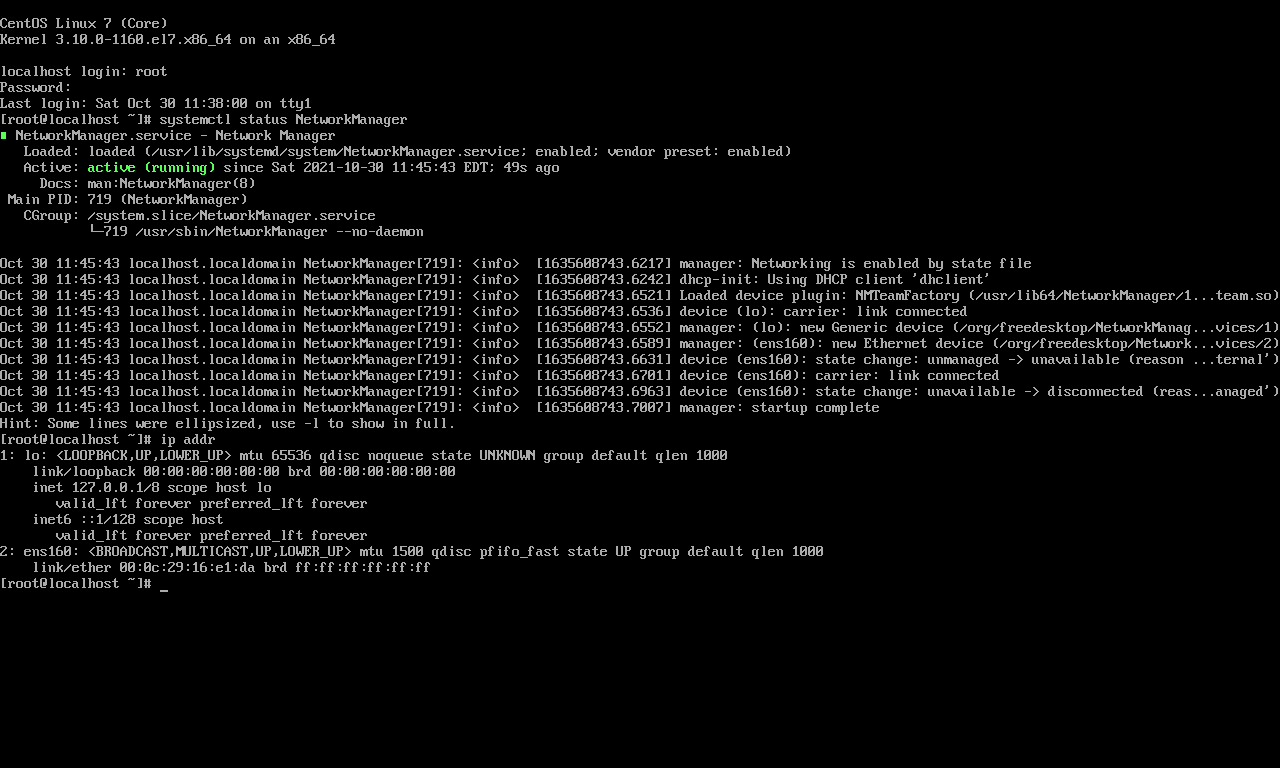
- ip addr
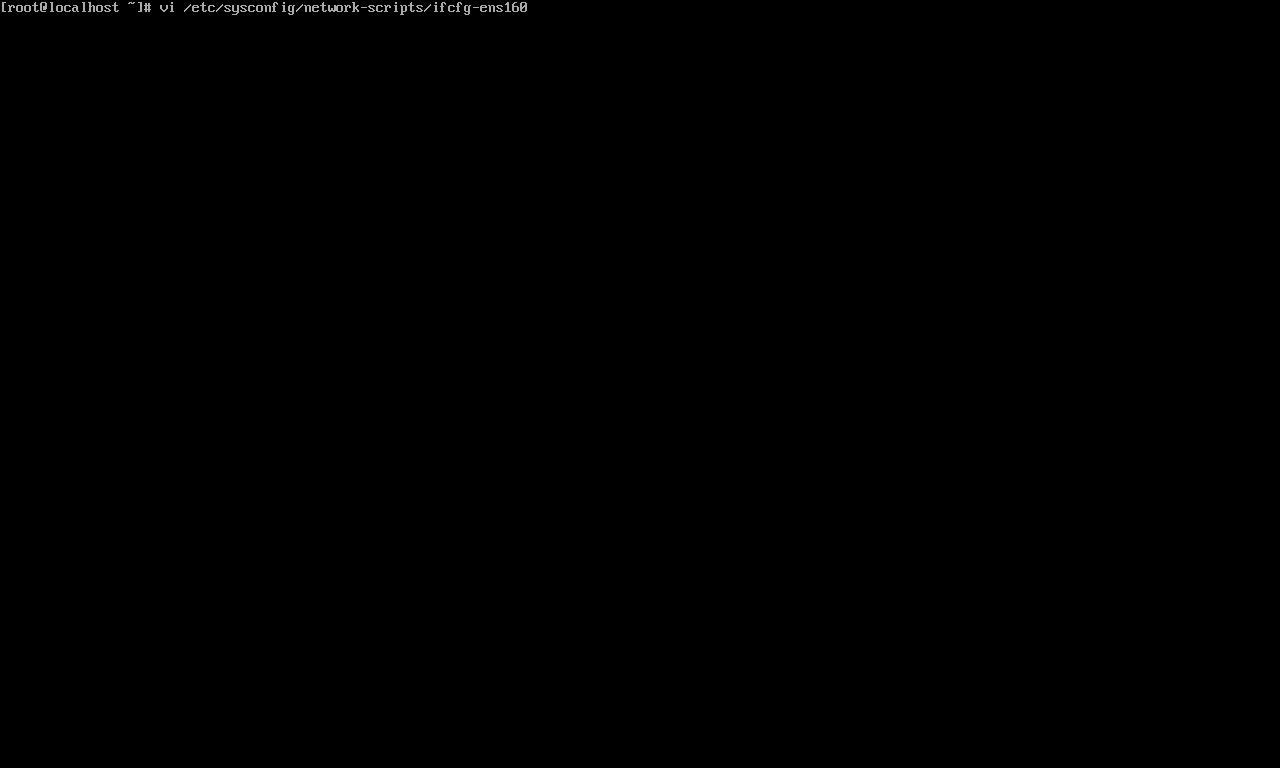
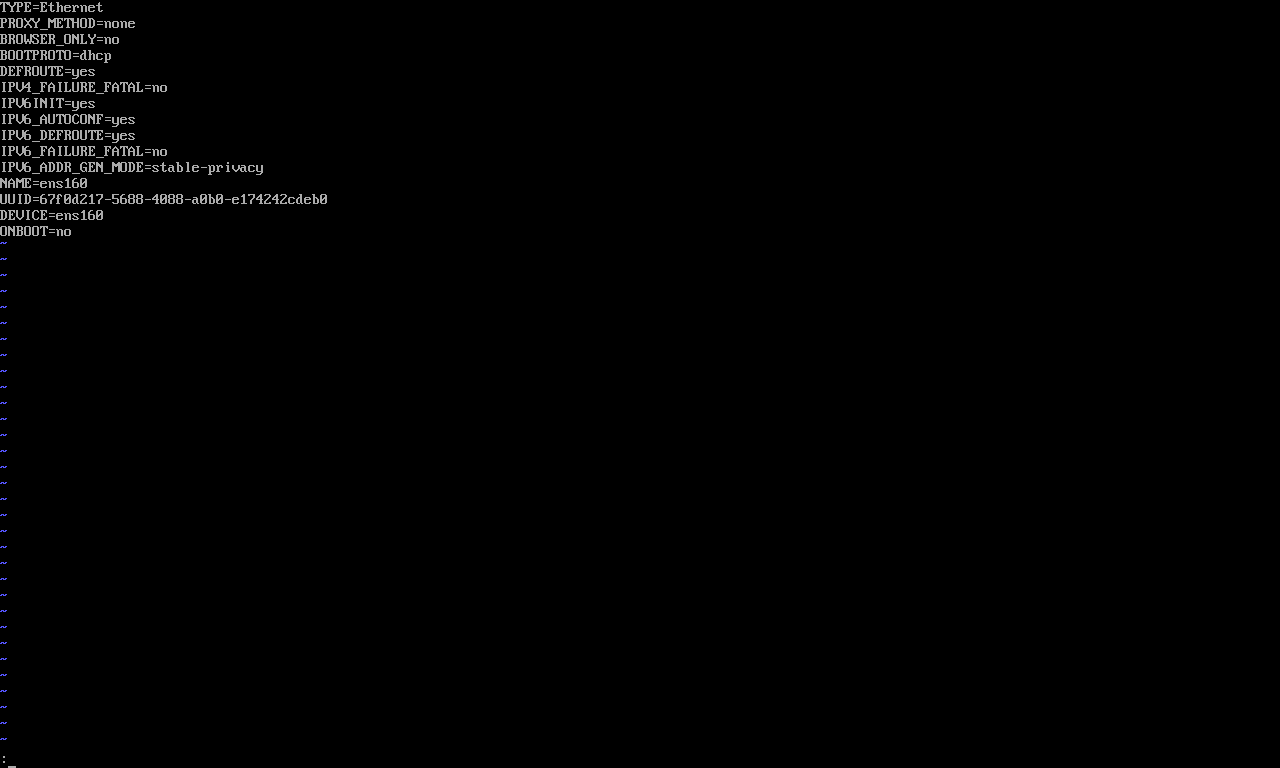
- Edit the Network Interface configuration file (/etc/sysconfig/network-scripts/ifcfg-ens160) & make necessary changes to the configuration file (IP address details assigned by your ISP):
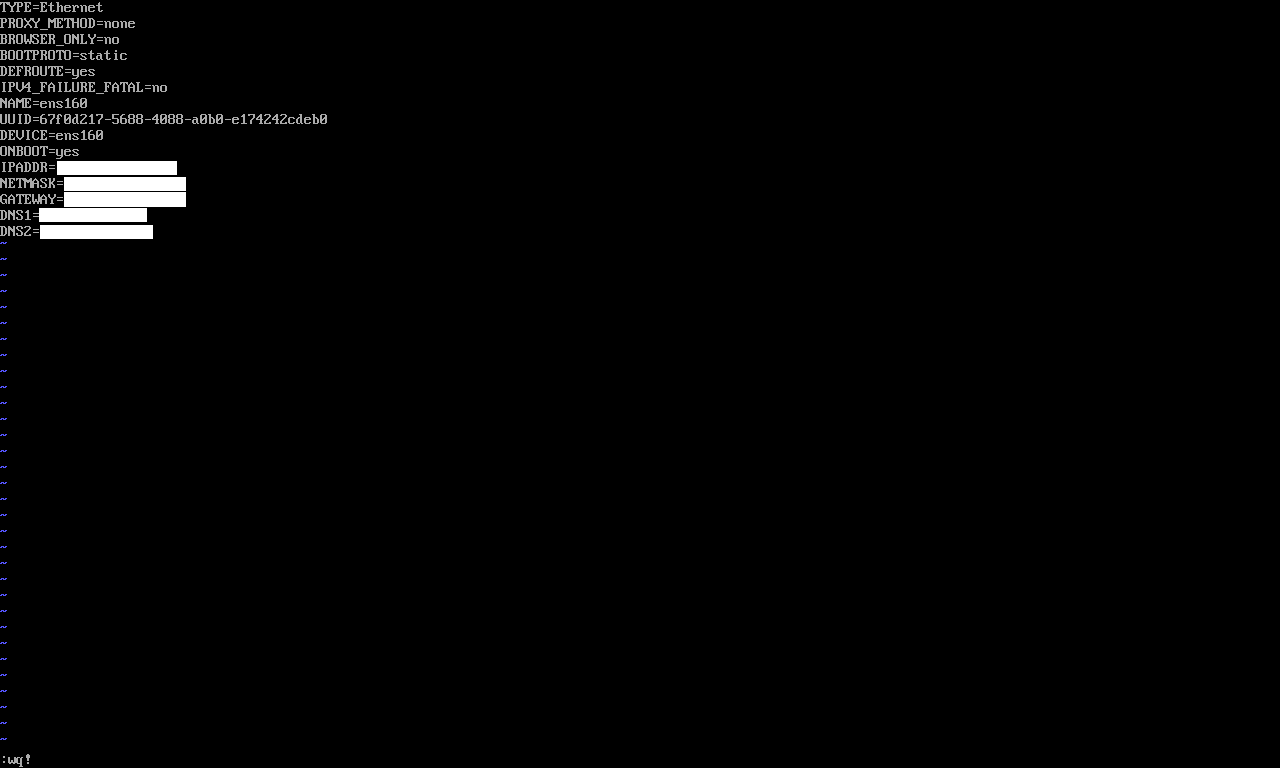
- BOOTPROTO=static
- Remove all the configuration lines starting with IPV6_
- ONBOOT=yes
- IPADDR= (***)
- NETMASK= (***)
- GATEWAY= (***)
- DNS1= (***)
- DNS2= (***)
- Restart the "network" service for changes to be applied: "systemctl restart network"
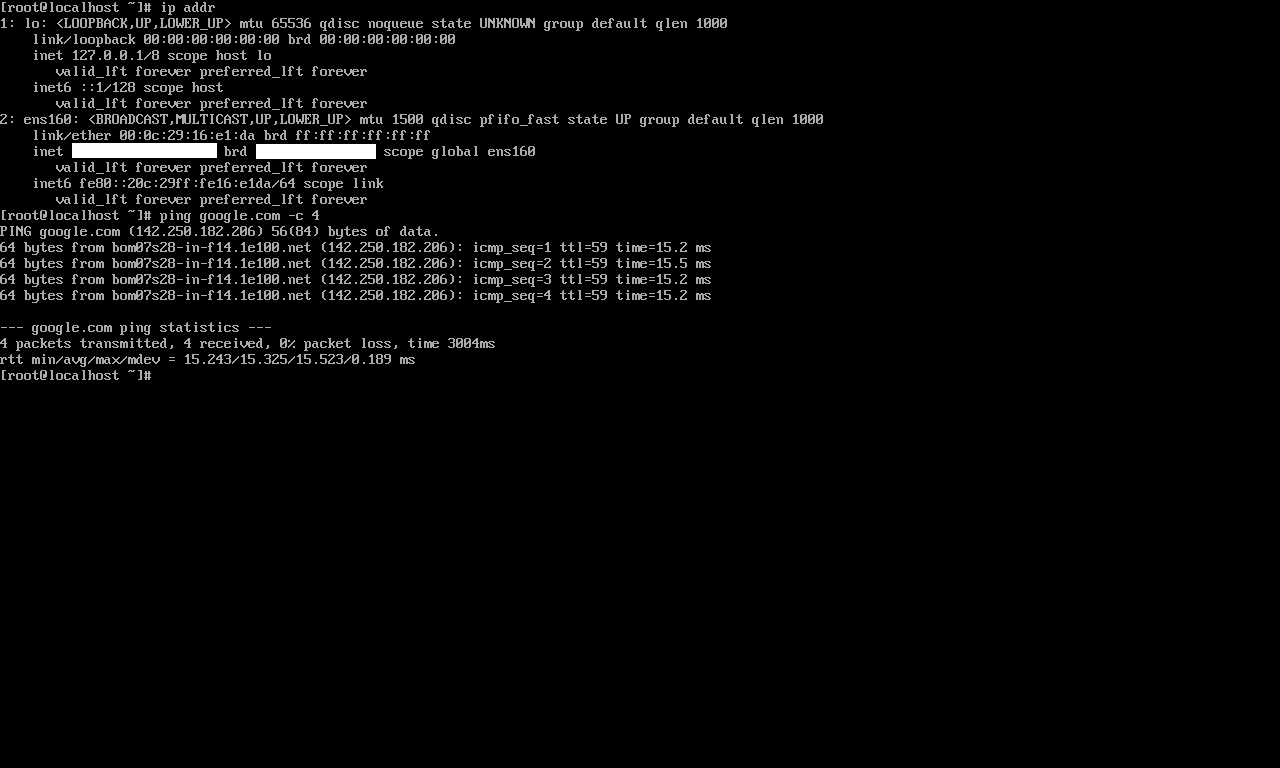
- Check if the IP address is properly assigned: "ip addr"
- Check if the machine is able to communicate to the Internet by executing "ping google.com -c 4"
- Install the net-tools package using yum package manager. "yum install net-tools -y"
- Stop & disable the "NetworkManager" service. Check for its status.
- systemctl stop NetworkManager
- systemctl disable NetworkManager
- systemctl status NetworkManager
***: Assigned by ISP, or Network Administrator
Required Packages and SSH Access

There are a few packages that will help the future configurations of MQTT and the following are the few packages that are useful:
- net-tools: yum install net-tools -y
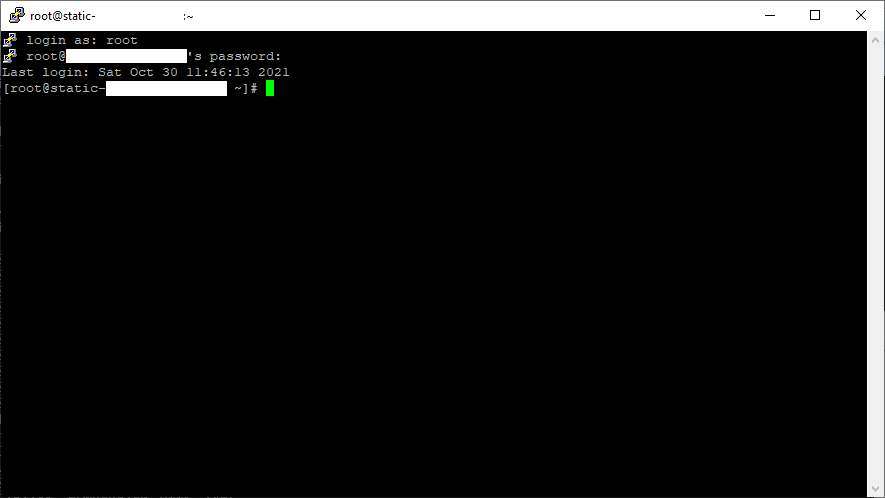
- Access the machine via SSH using tools such as PuTTY.
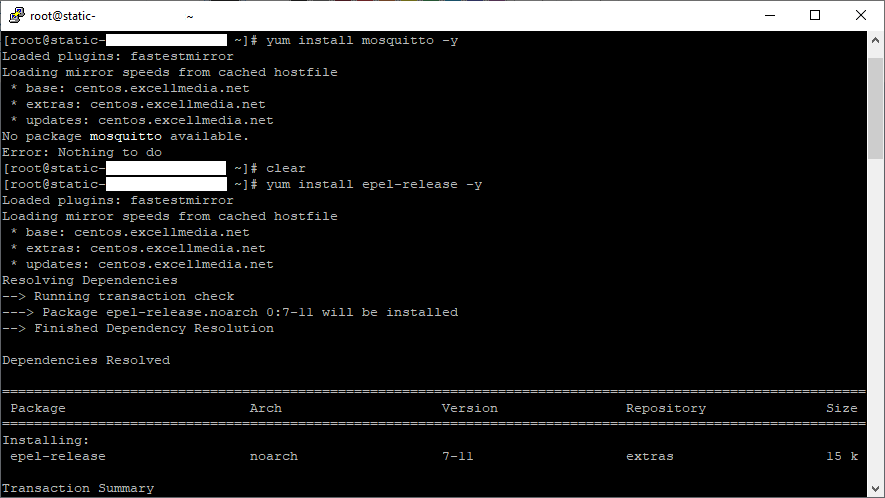
- EPEL Release: yum install epel-release -y
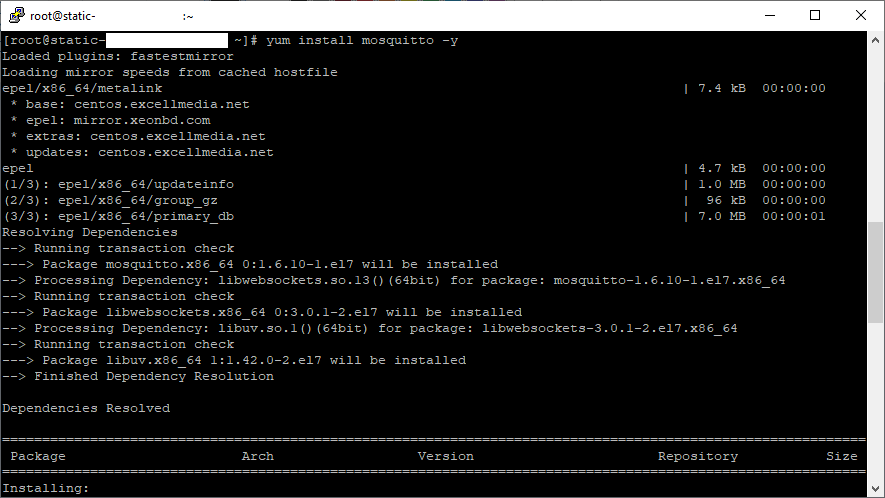
- Install Mosquitto: yum install mosquito -y
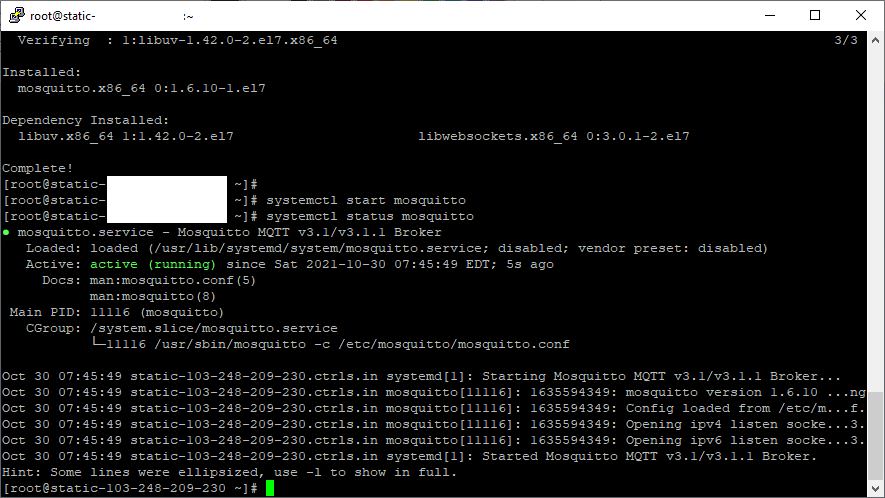
There is one more step before we move to the next phase of explanation, which is to start the "mosquito" service and enable it
- systemctl start mosquitto
- systemctl status mosquitto
- systemctl enable mosquitto
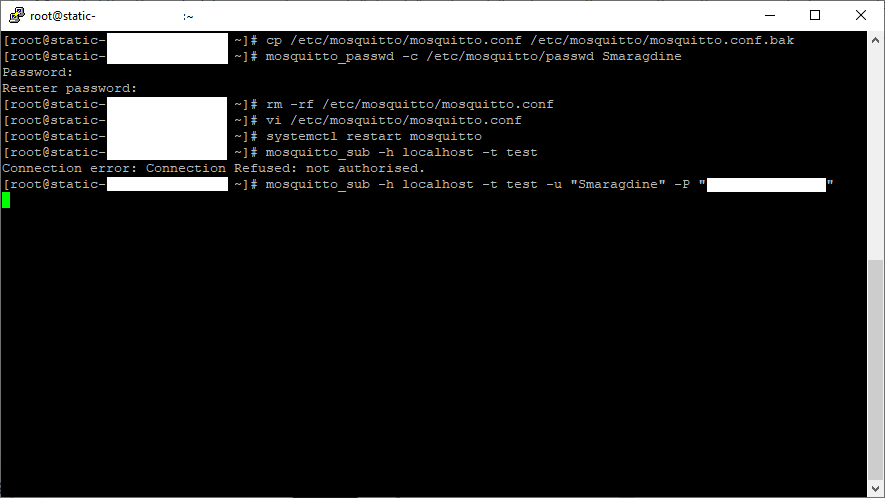
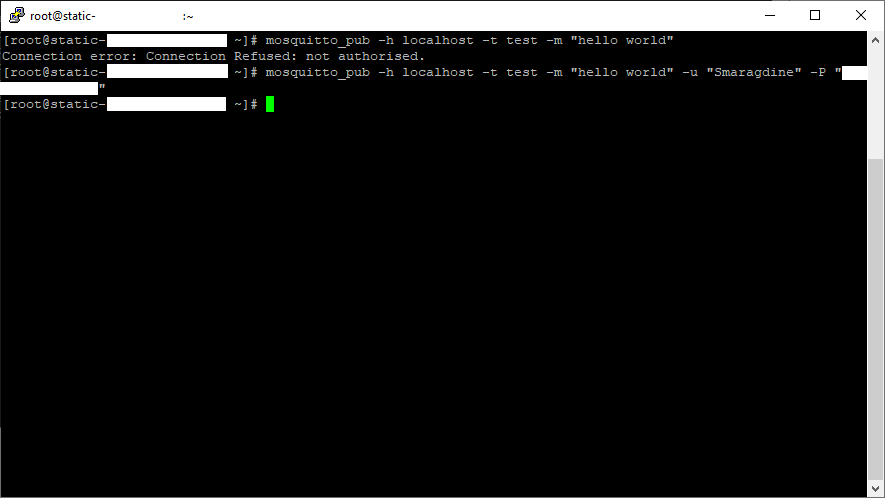
Testing Mosquitto Installation

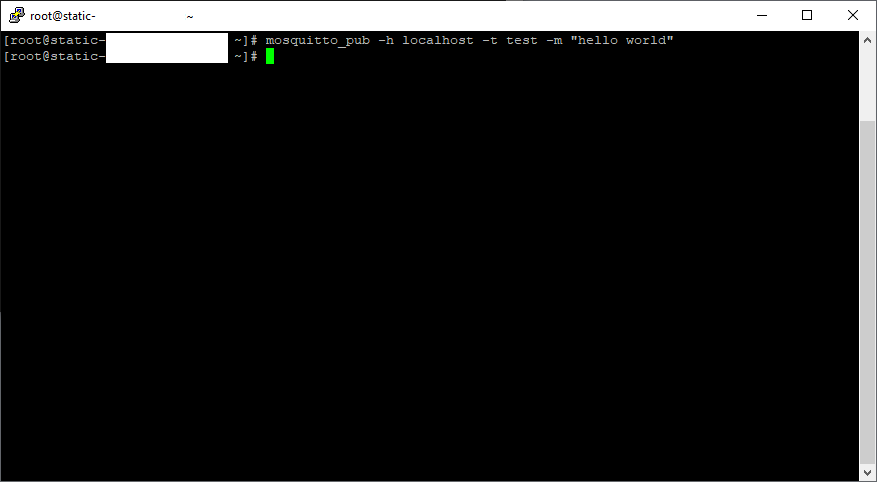
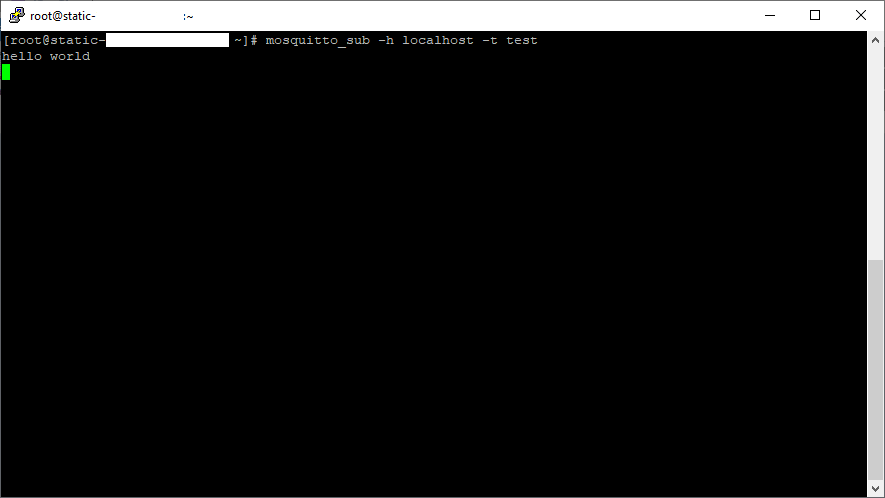
Now that the mosquitto service is started & enabled, it is time we test for its functionality on the localhost. To conduct this test, we will need two SSH terminals one to execute: "mosquitto_sub" and the other to execute "mosquitto_pub" commands
Securing "mosquitto"
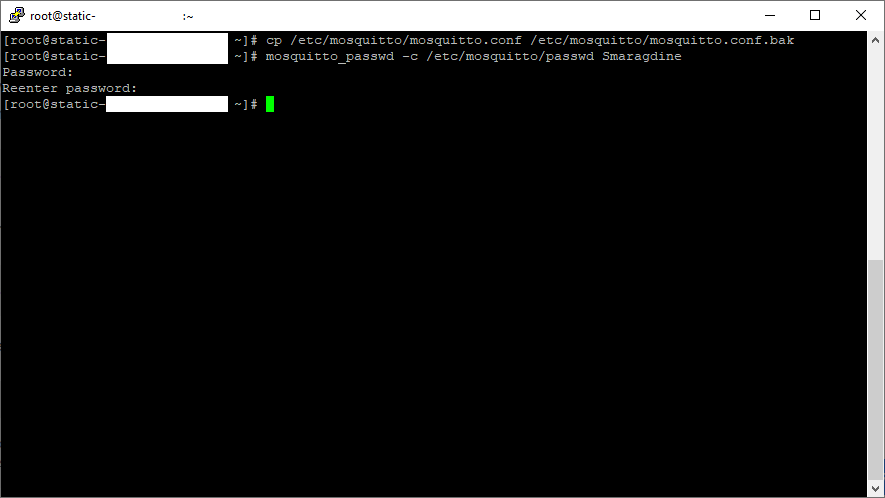
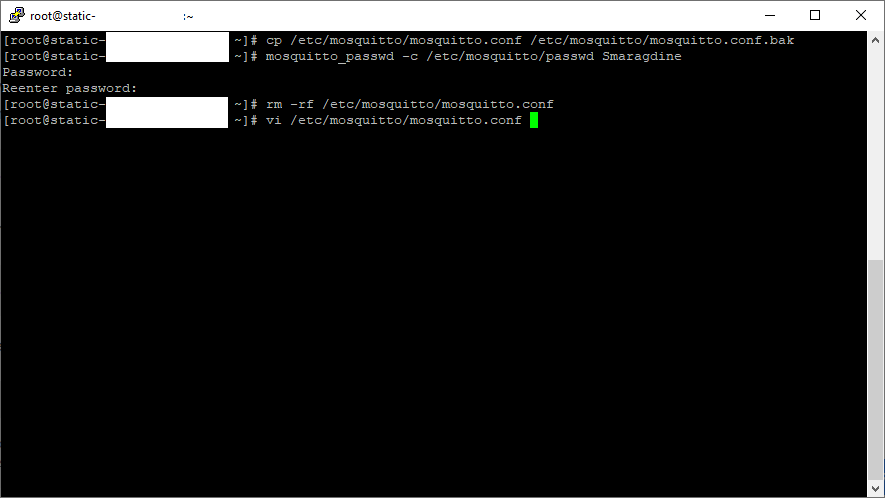
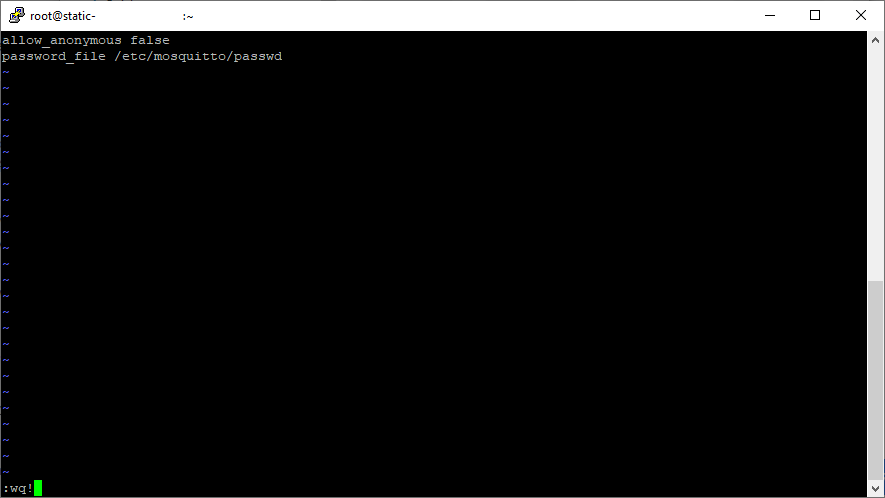
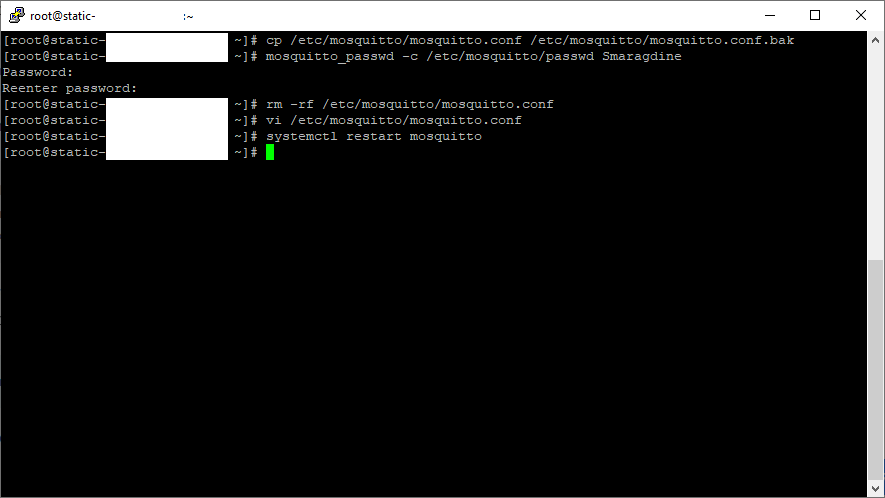
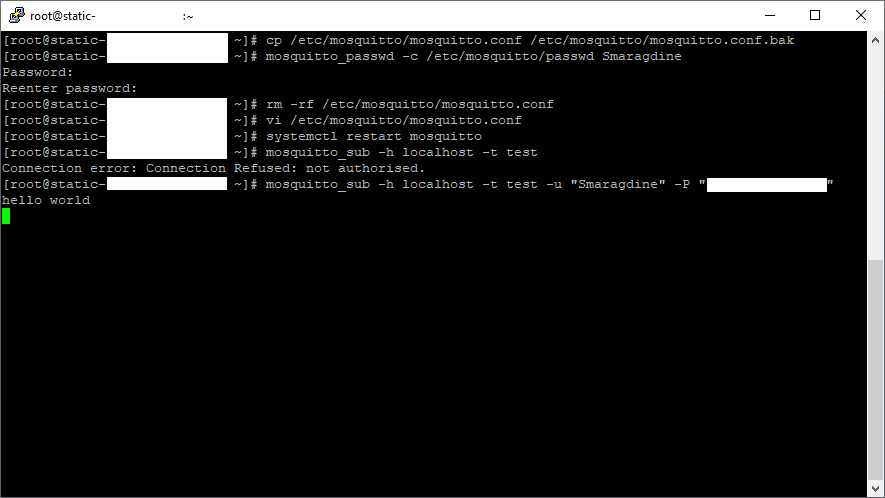
Security remains a top priority to any IT Infrastructure Administrator and it is very much advisable to have an authorized user to have to give access to allow data logged onto the server.
Allow Data Via Firewall Port: 1883 and Service: Mqtt
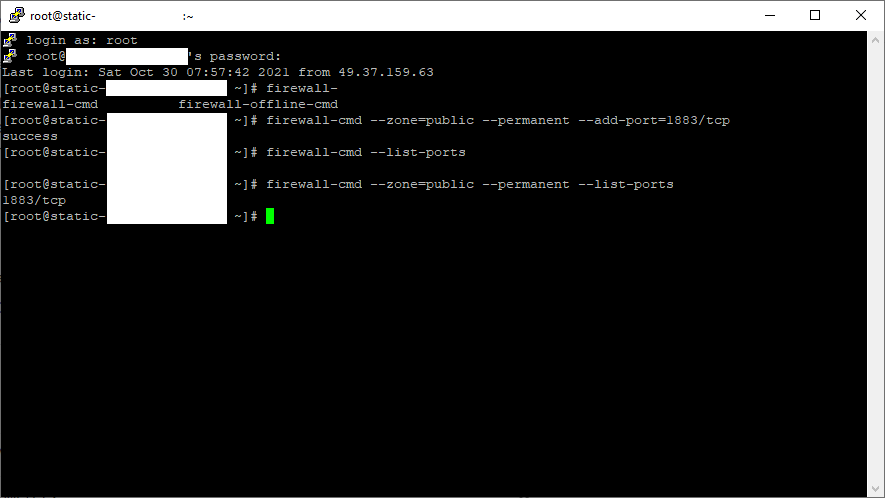
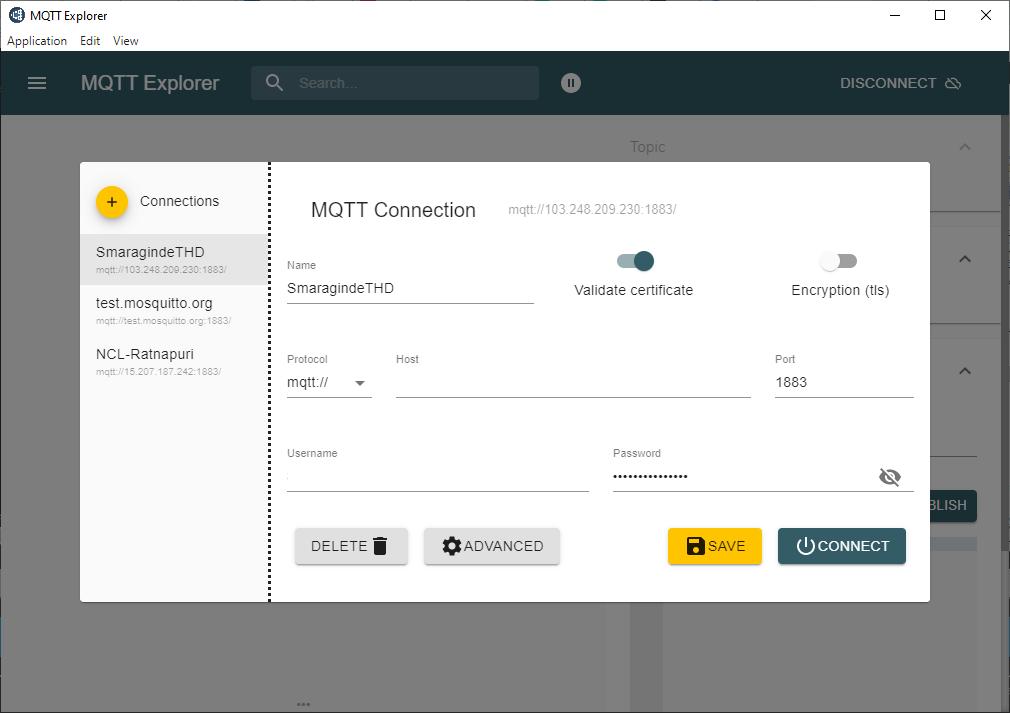
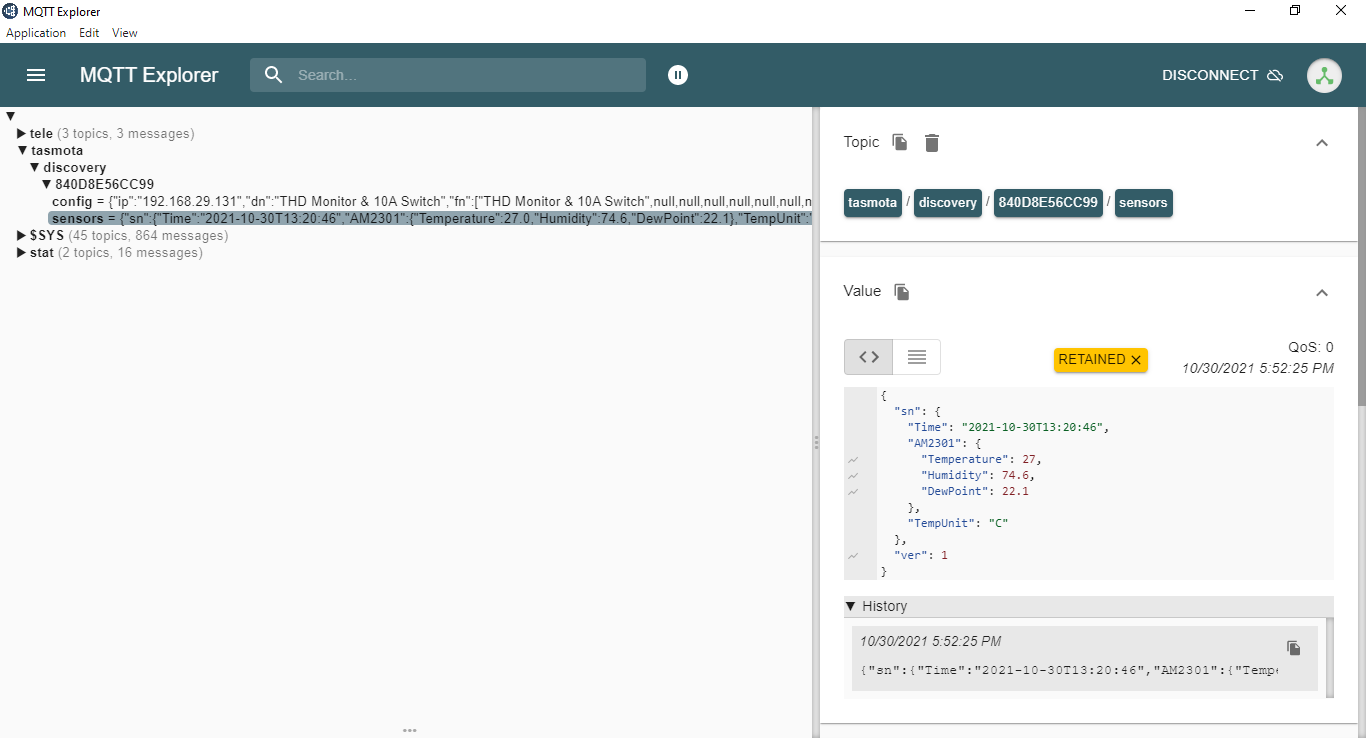
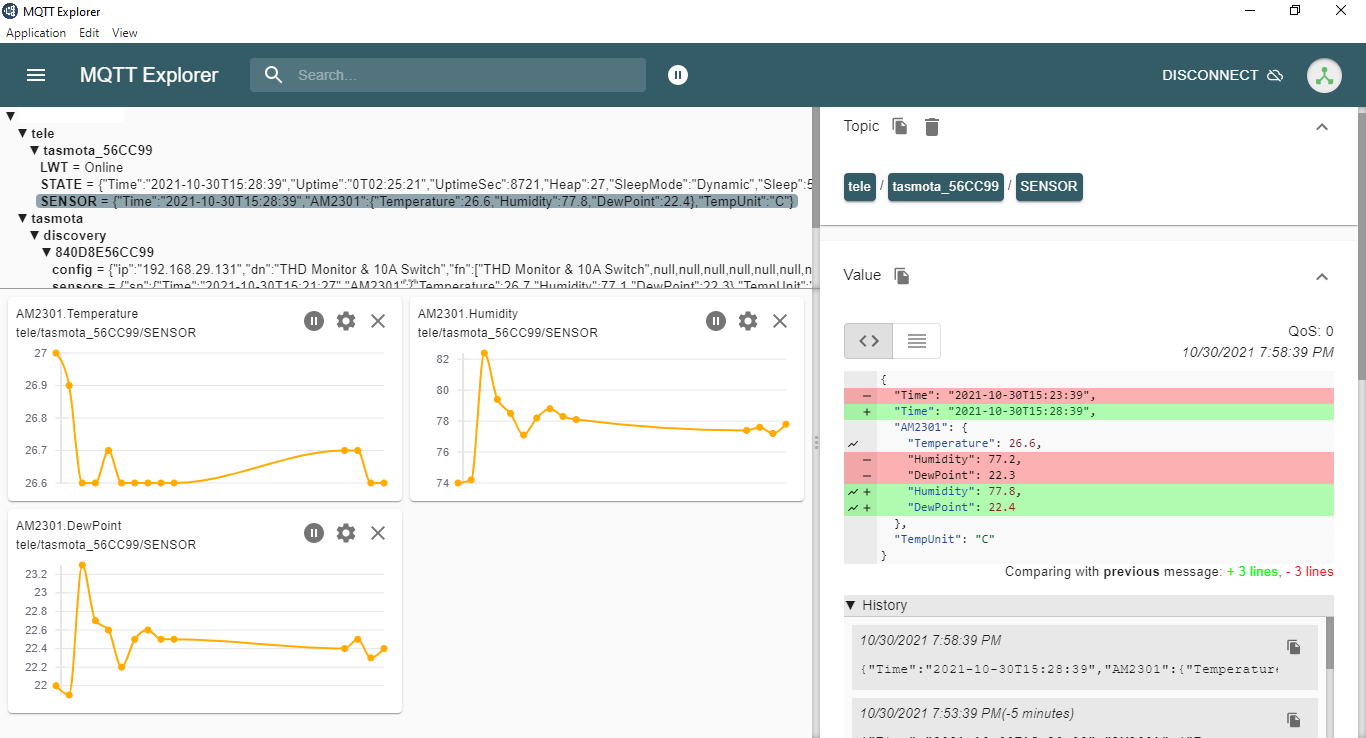
Allow port "1883" and service "mqtt" to pass through the firewall and test it with third-party tools such as "MQTT Explorer"
- firewall-cmd --zone=public --permanent --add-port=1883/tcp
- firewall-cmd --zone=public --permanent --add-service=mqtt
- firewall-cmd --reload
- firewall-cmd --zone=public --permanent --list-ports
For successful capture of data to third-party tools such as "MQTT Explorer", CentOS 7 machine may be required to be configured with "httpd" service. In such a case the IT Infrastructure Administrator is advised to let the connected port and service pass through the firewall.
I now intend to move to the next levels by porting this application to production environments.
I wish to collaboratively work and readers of this article can either reach me on amruth@smaragdine.work (or) ping me on WhatsApp on +91 9398472594 to collaboratively work.