Cement Airplane

Have you ever wondered if a cement airplane would fly ? Well the first question should be how can I make one ?
The process used in this Instructable is quite common, first I designed a master that I printed in PLA to make a mold around it into which I poured cement.
But I ll spare you the suspense, no, a cement airplane does not fly, no.
But I guess it make for an interesting looking minisculpture 😊
Supplies
3d printer
Freecad or any other CAD program
Superglue
Glue gun
Flower pot (or bucket): mine is about 1.8L
Alginate 450g and water (1.5L)
Cement
You can find the plane model here
Design & Print


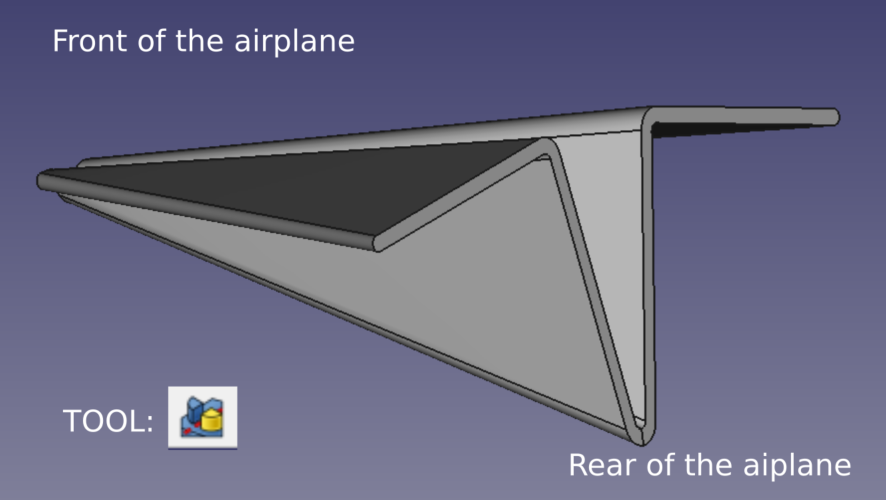
The design is fairly simple in Freecad (and probably easy to reproduce in your favorite CAD software):
- I drew half of each end of the airplane on 2 different planes 120mm apart also making sure the wingspan would not exceed the diameter of my flowerpot.
- I then used the tool “AdditiveLoft” to create the smoothed volume between the 2 ends of the airplane.
- At the end of step 2, I ended up with half the airplane, I just had to mirror the half airplane using the tool “mirror”
- Optionally, you can design, as I have, some decorations on the wings.
You can use my stl file or freecad file directly or you can design you own. If you choose the ladder, keep in mind that depending on the material in which you will cast your airplane (cement, plaster, resin, etc.) the thickness of the part can make the final part extremely fragile. For example, I broke my cement airplane whilst demolding (I was able to glue it back together, but still, not ideal…)
Mold Making

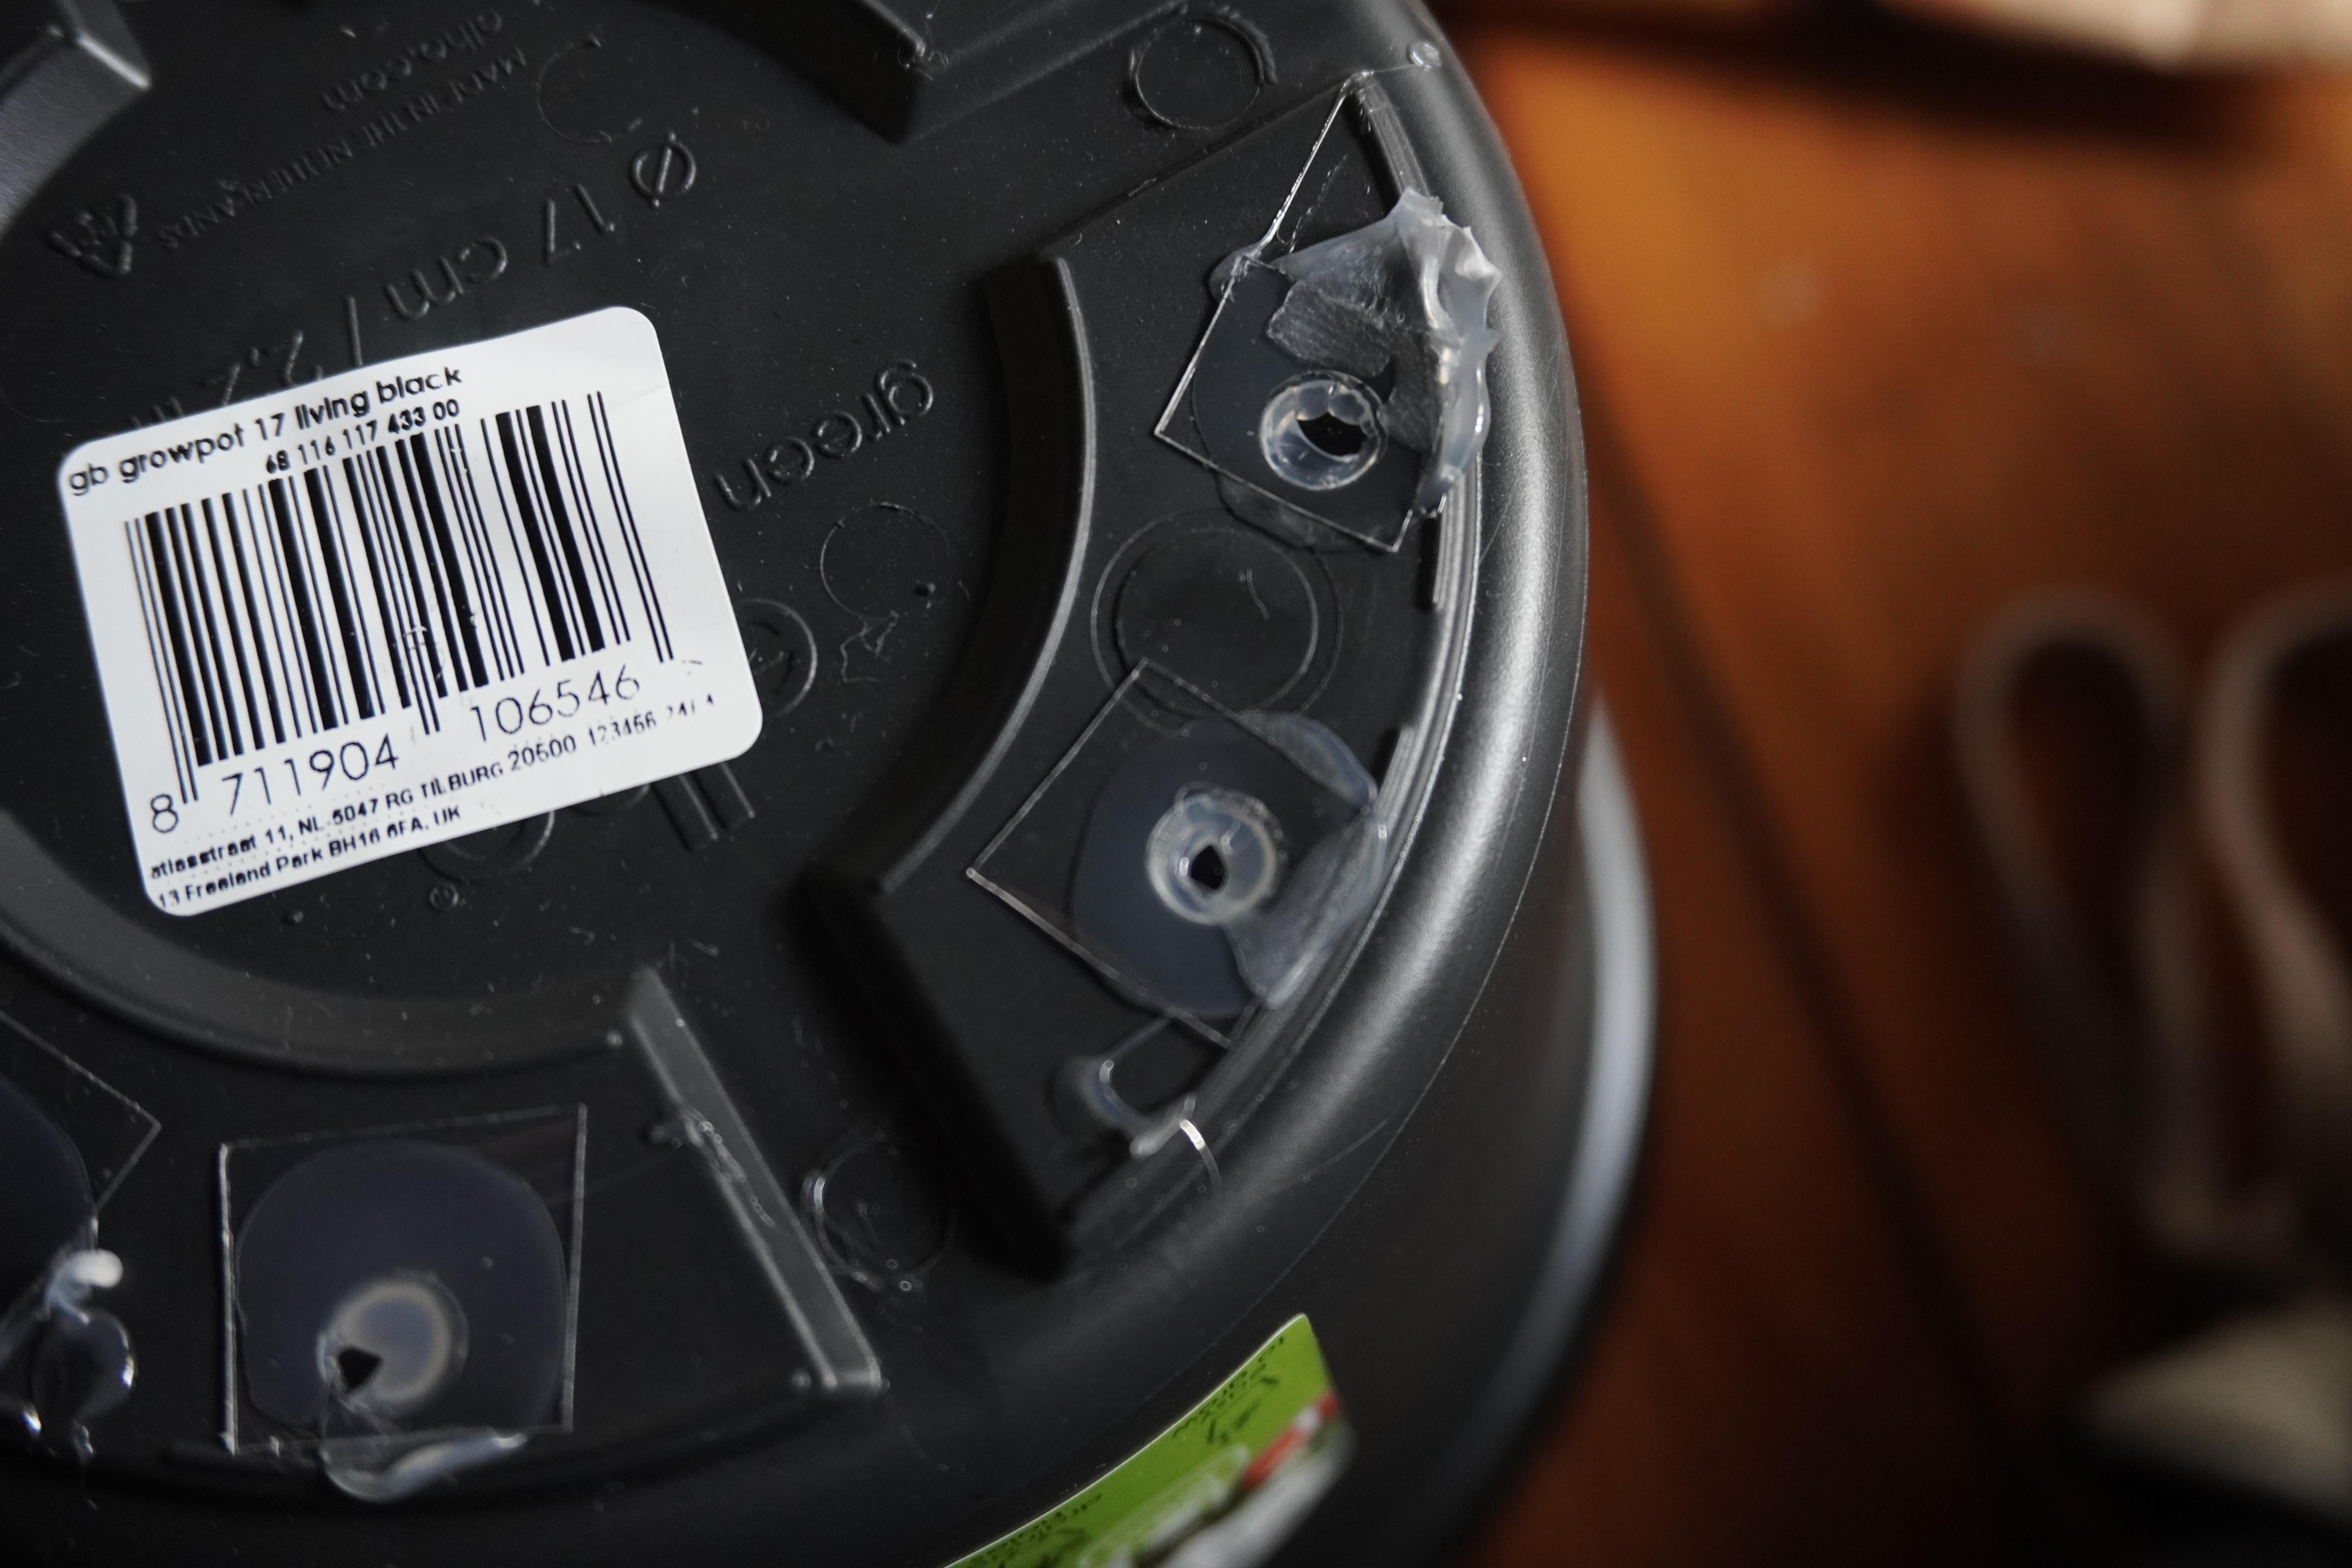


If like me you use a flowerpot, you need to first patch the holes at the bottom, for this purpose, I cut some small plastic squares out of a plastic bottle and used the glue gun to glue those on the holes of the flowerpot.
The airplane I designed has a large rear that I glued onto a “model holder” made out of a scrap metal piece (longer than the diameter of the flowerpot) keeping it in place while I will pour the alginate.
If you have never used alginate, it is quite straightforward and can give you a very nice although one use only mold. Use the instructions that came with the alginate you are using, place your model upside down in the pot making sure it not touching the bottom or sides of your pot. The scrap piece onto which the model is glued should level the model to the brim of the pot.
Once the model has been secured, pour the alginate. Be careful, alginate is quite fast curing so it should be prepared right before pouring. After the flowerpot has been filled to the brim, gently vibrate the flowerpot from the side (The model geometry is designed in a way that should minimize bubbles but it still good practice)
To demold:
Remove the entire alginate blob from the flower bot
Cut the 3D printed model out following the wings and being careful not to damage the alginate too much
Reinsert the alginate in the flowerpot
And you are done with the making the mold !
Cement Pouring
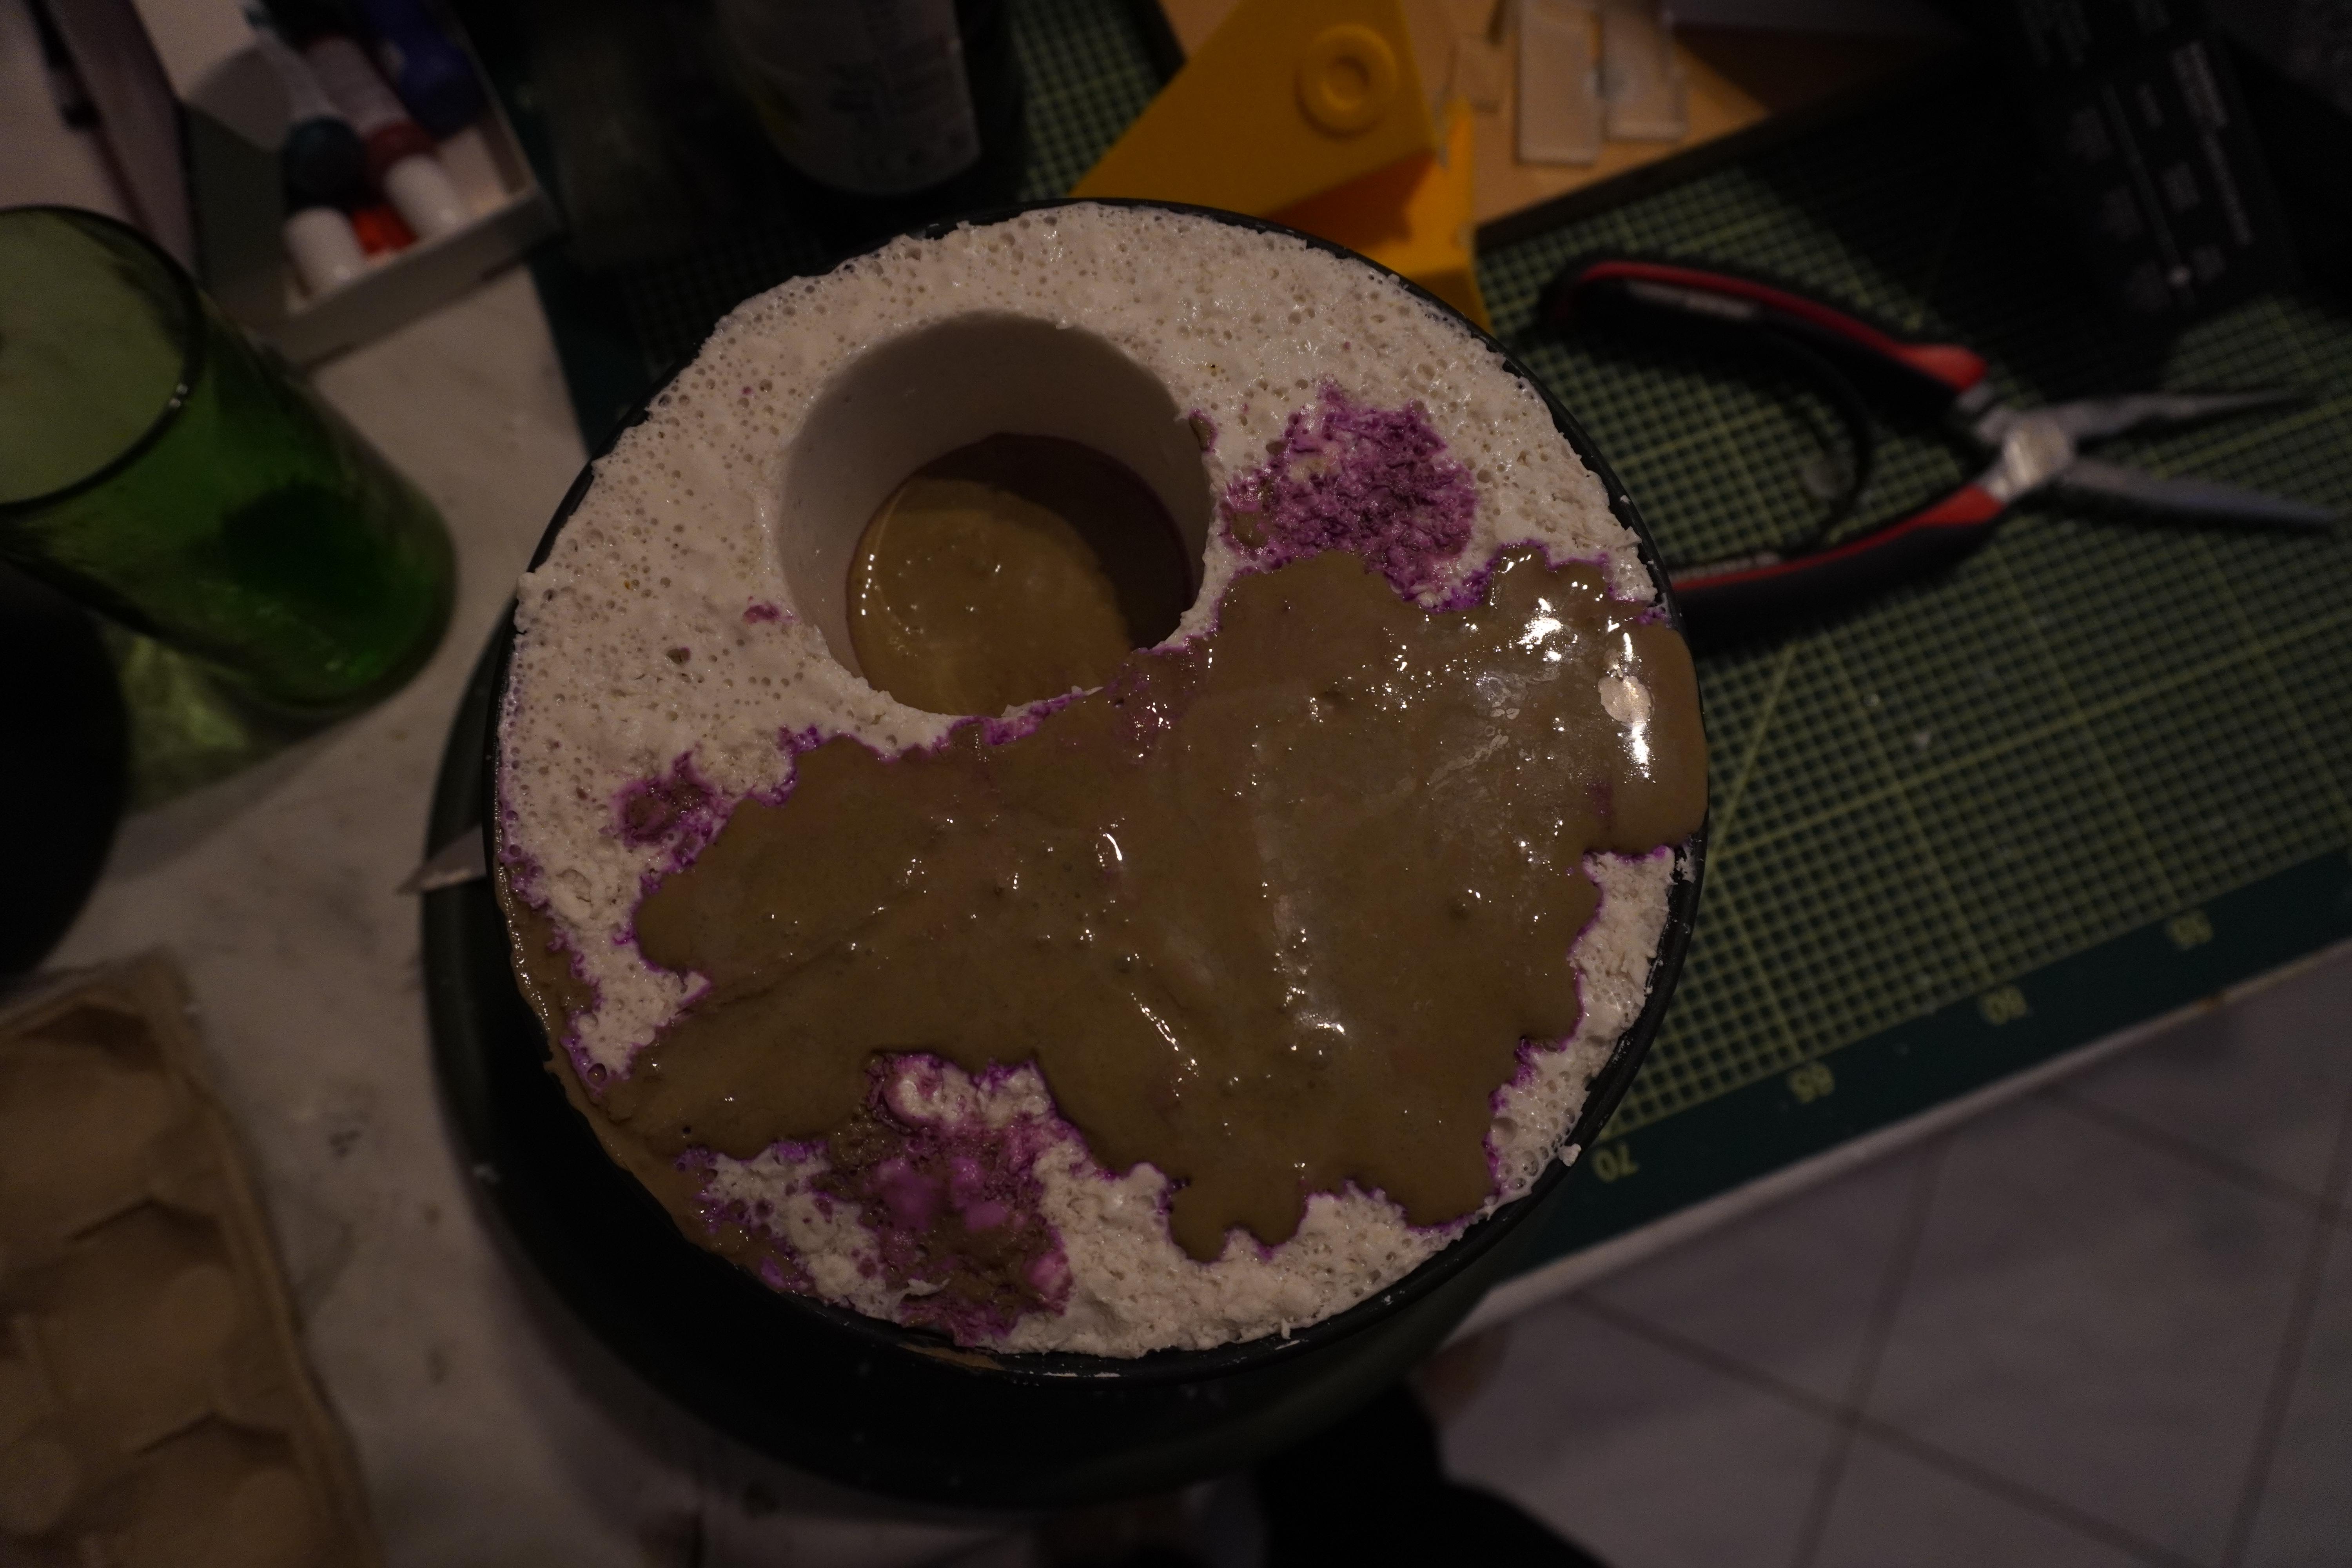
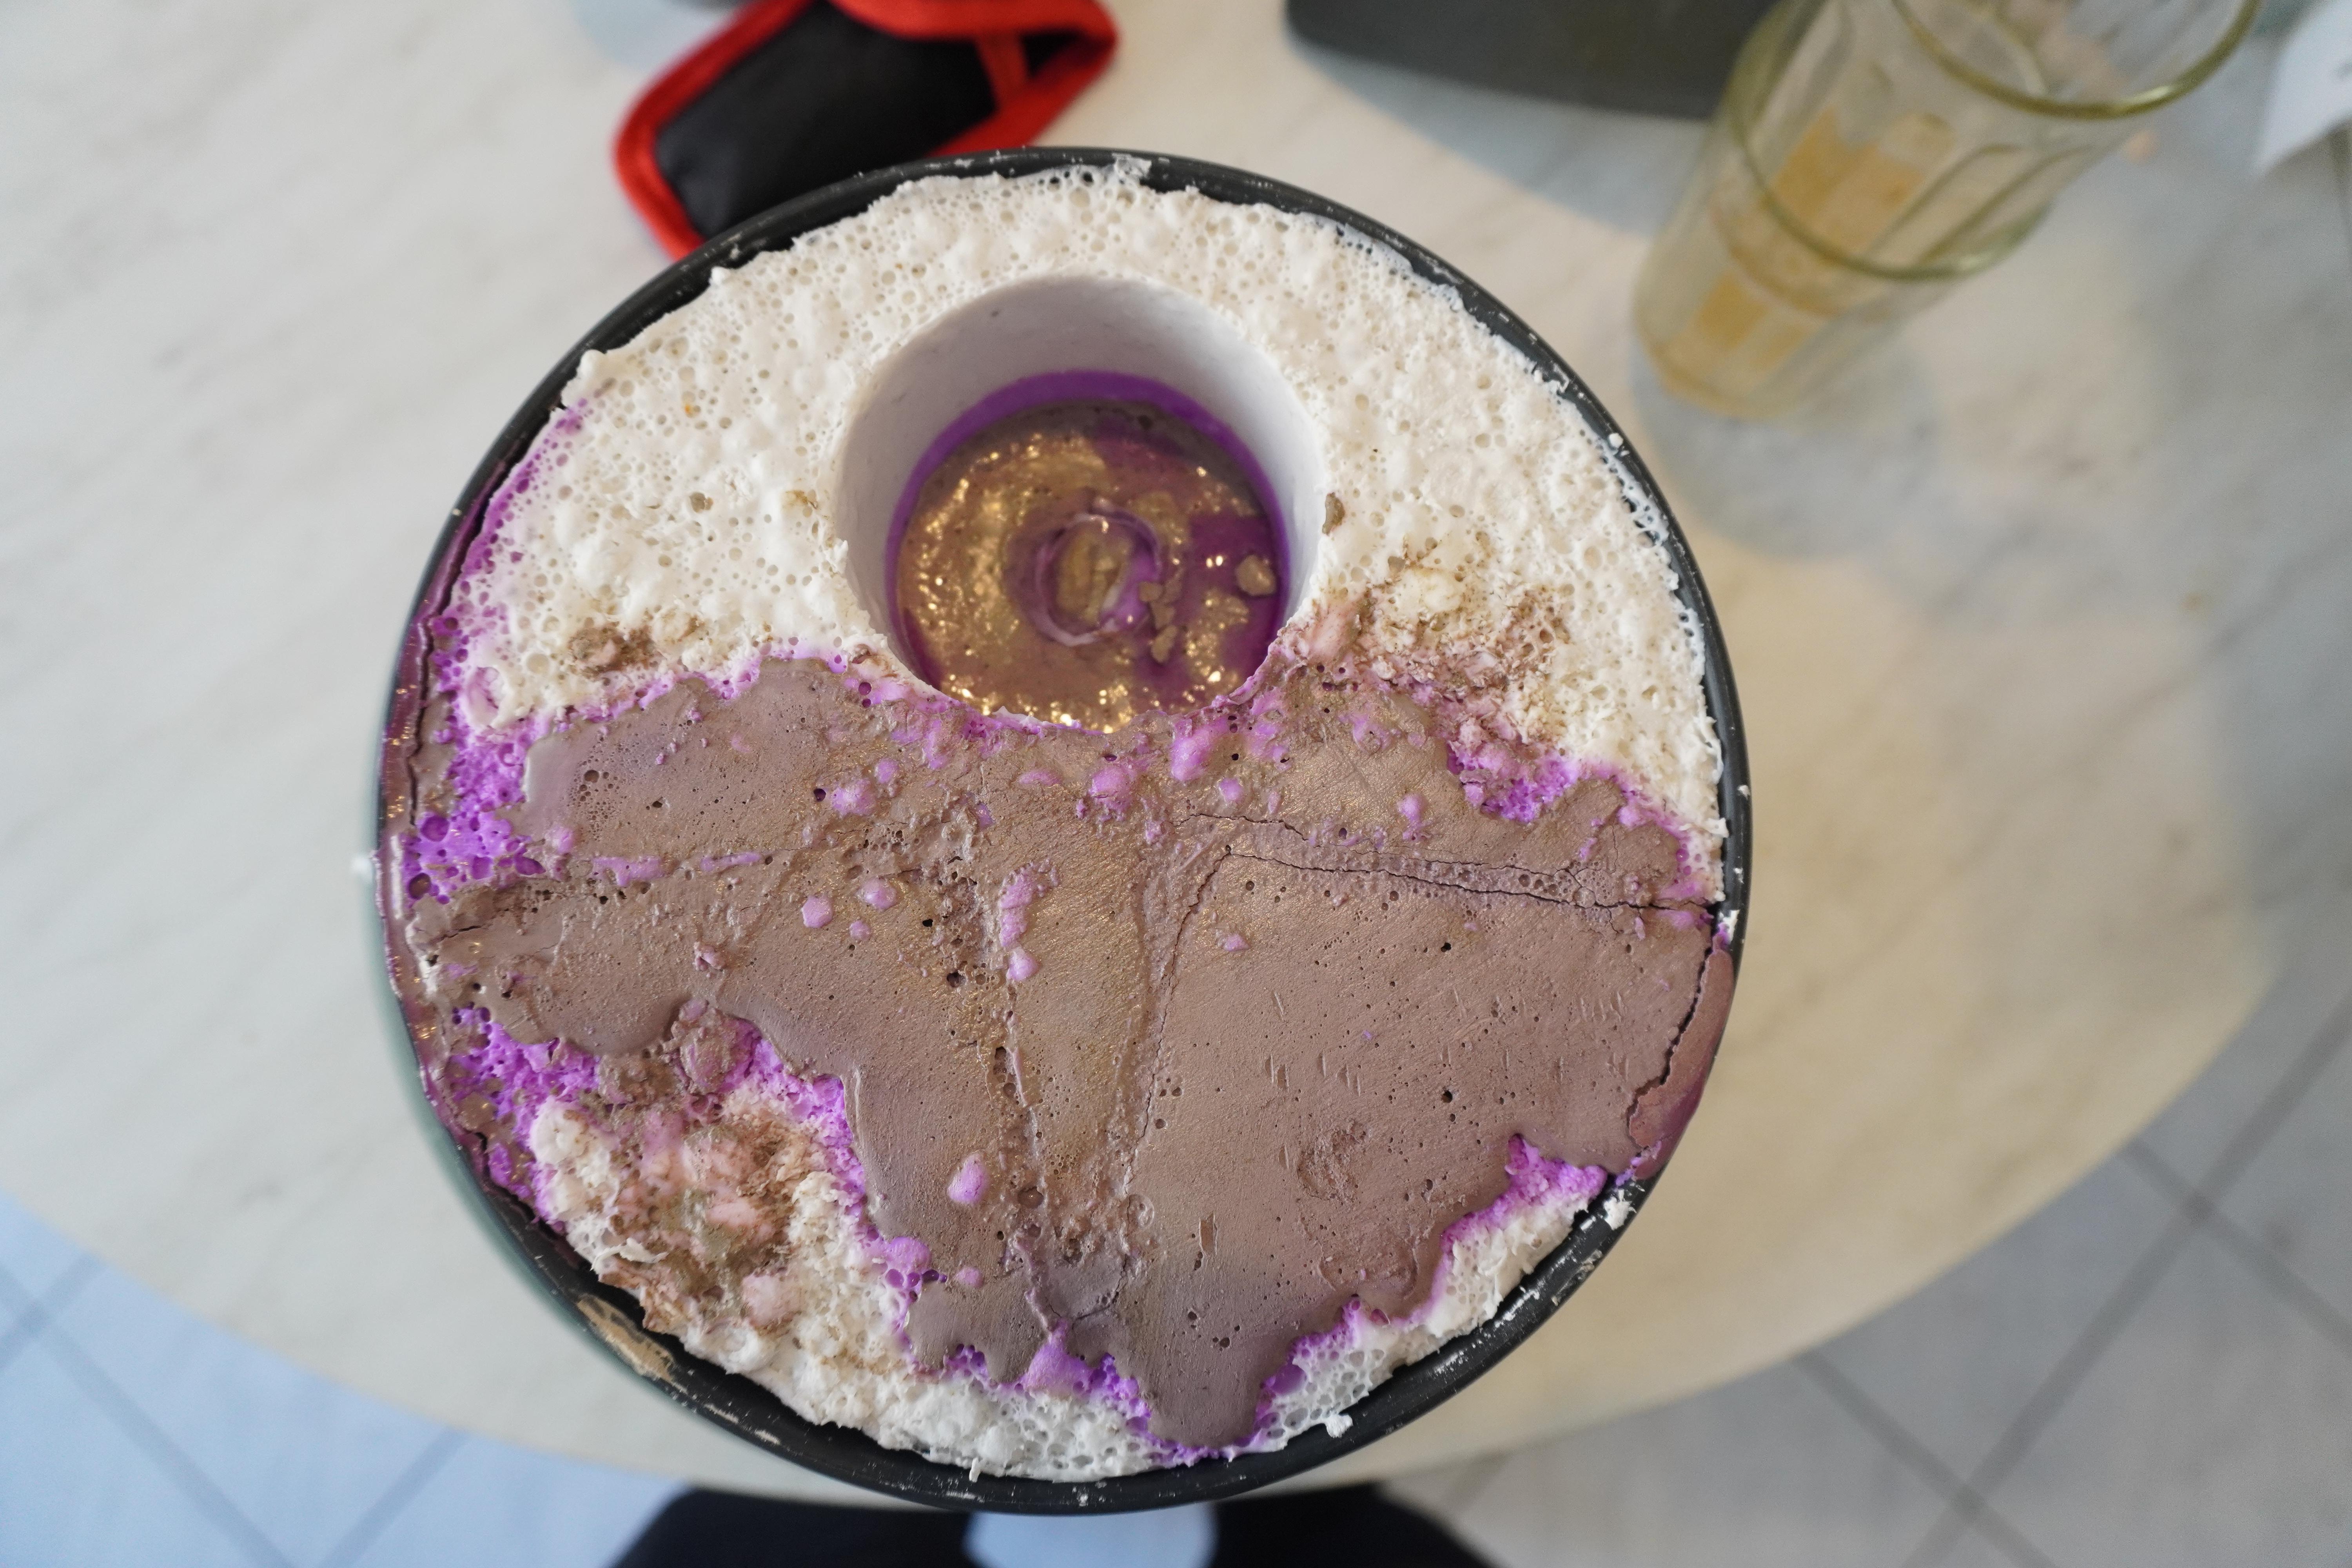
Alginate will dry but you should pour the cement in the next few hours after making the alginate mold as alginate deforms while drying
Prepare your cement using the instruction it came with and pour it slowly in the alginate mold vibrating the mold as you do so (indeed, the mold is quite long and narrow making it near impossible for the cement to get all the way to the bottom of the mold without vibrating it).
What I needed to do was to alternate pouring the cement and vibrating the mold. Overfill the mold, it will be quite easy to remove the excess at the demolding stage
Demolding (and Repairing)


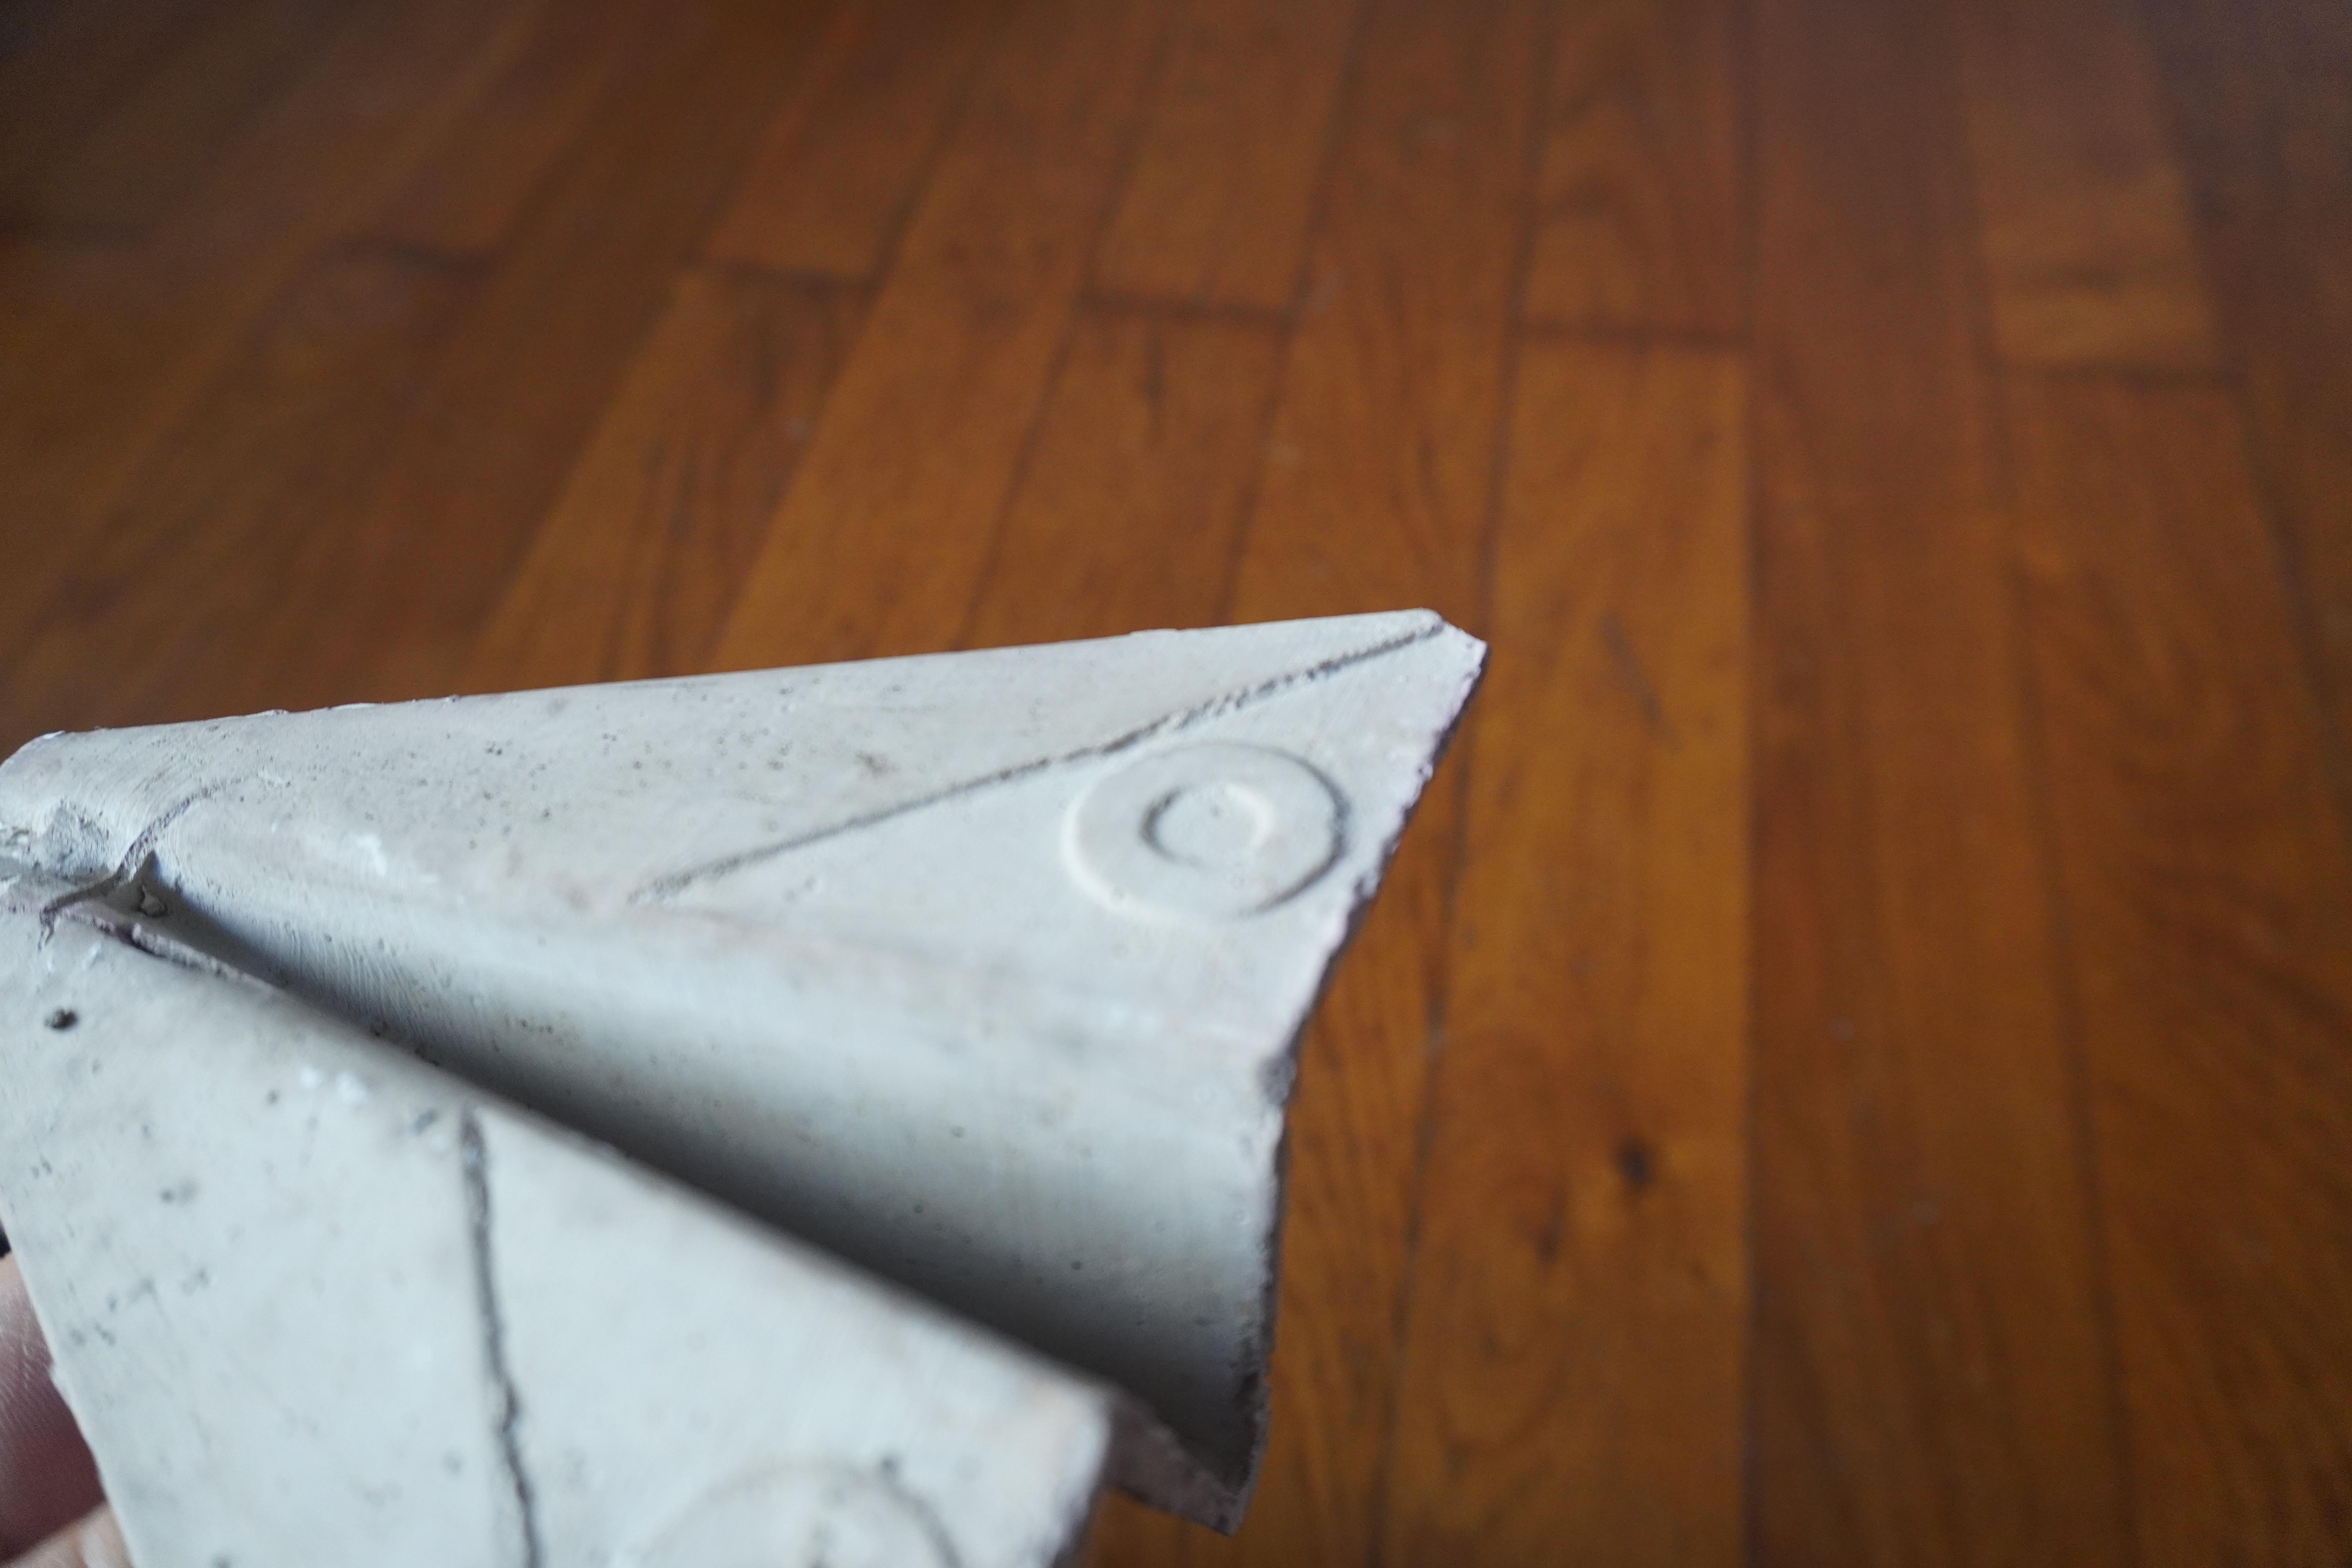

I demoded the part around 24h after pouring. To demold the part, you will have to destroy the alginate, be gentle, or, like me, you will end up breaking the cement airplane but I was able to glue it back together. I think the large cracks, even though they are definitely not ideal on the finish part do work ok with the industrial cement aesthetic.
Alginate keeps the cement quite humid, you should dry the part further after demolding