Celtic Animal Knot
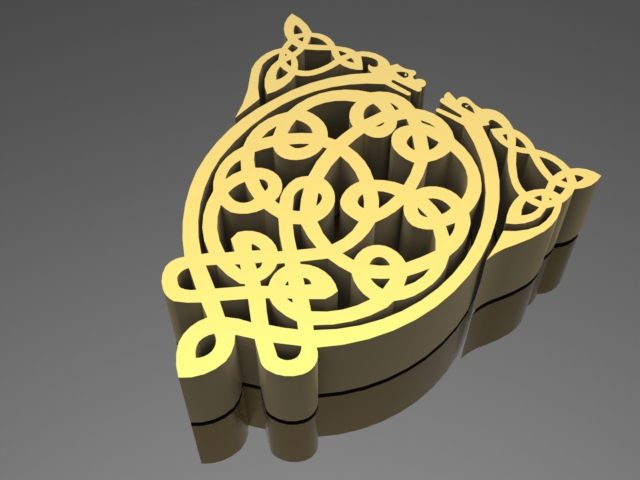
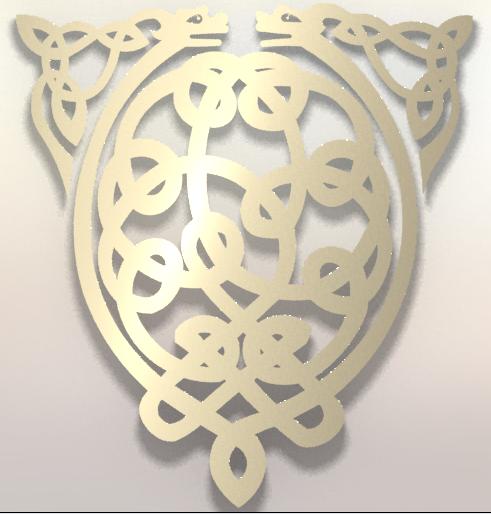
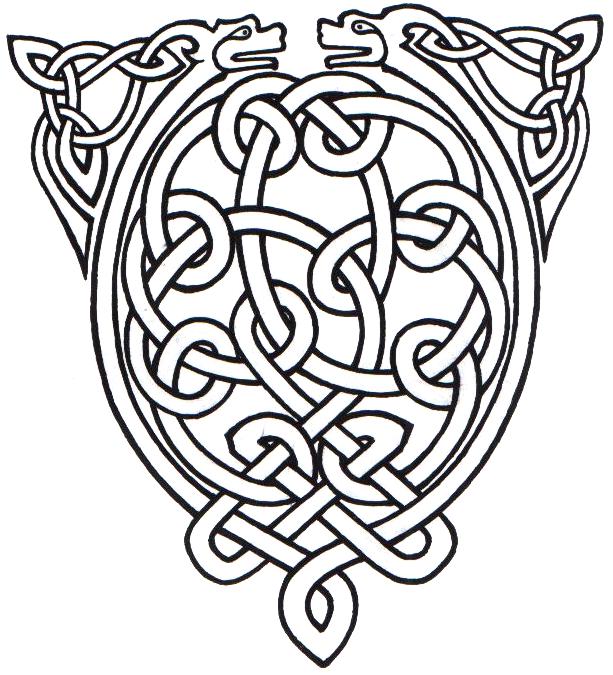
This is an instructable on a Celtic design for a piece of jewelry or as a mold or even as a stencil for a wood carving. Attached is the file and the picture i used.
Downloads
Open a New Sketch.
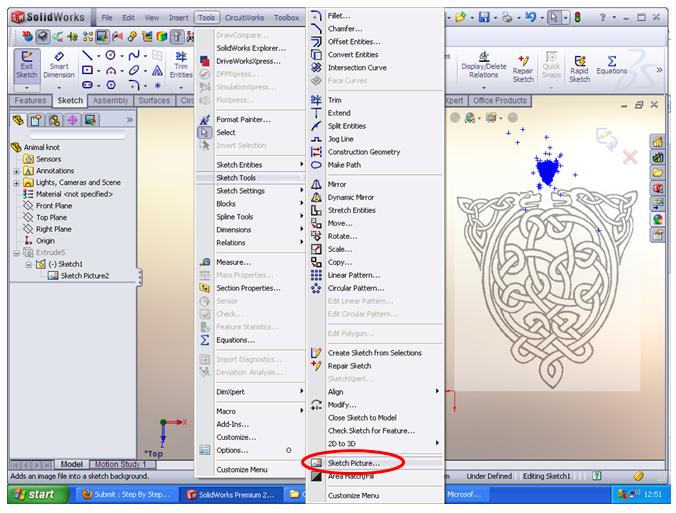
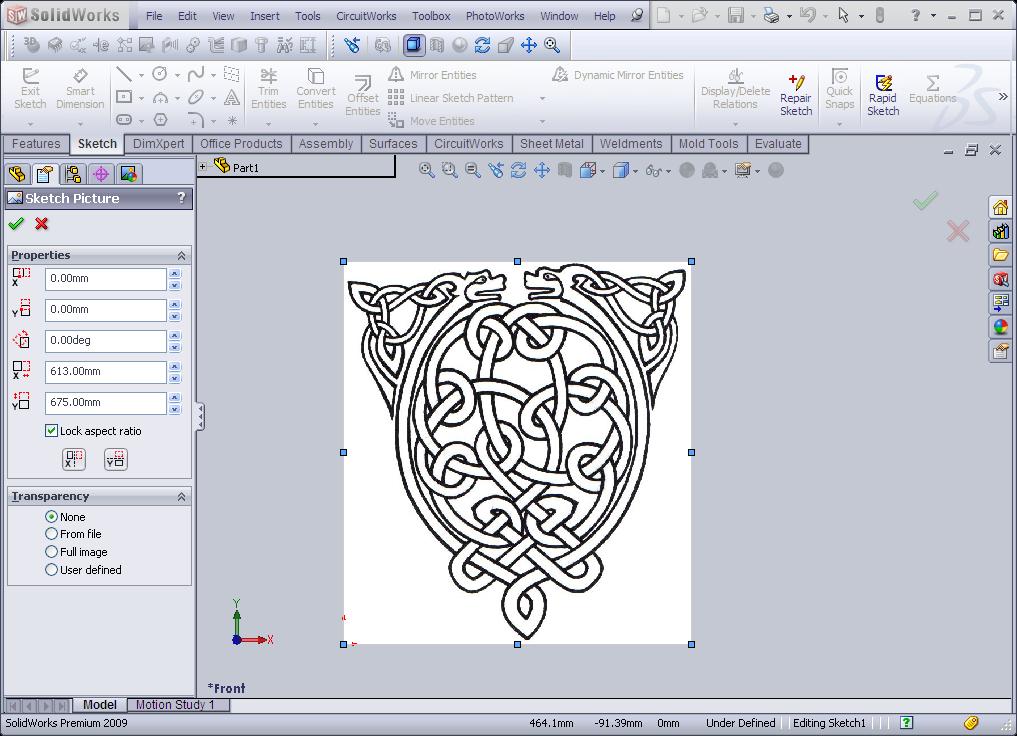
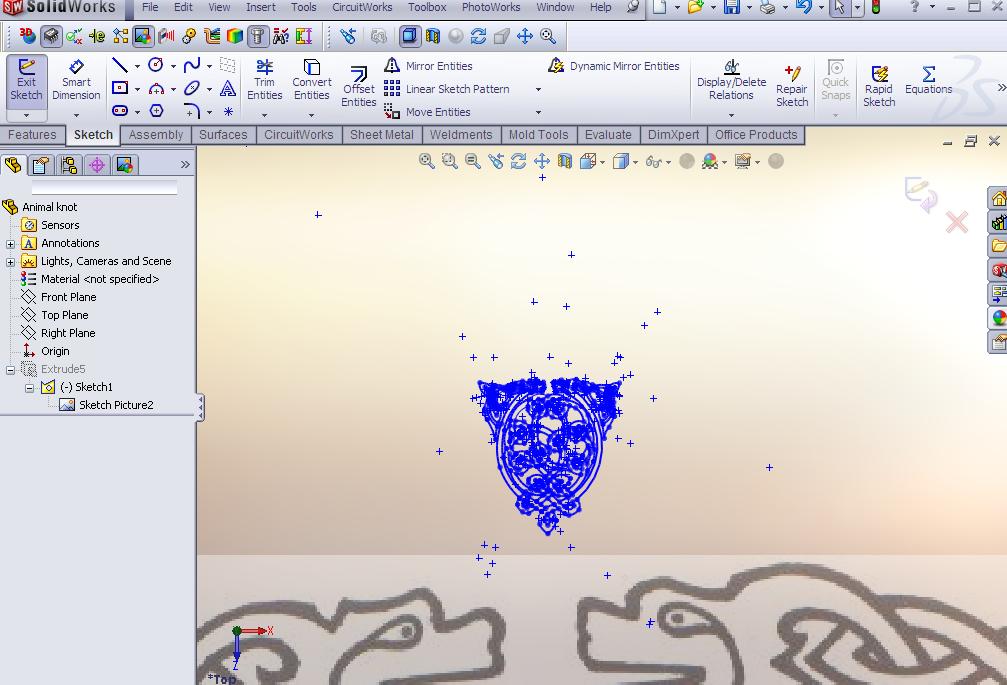
Open a new sketch and go to Tools, Sketch Tools, and down at the bottom to Sketch Picture.
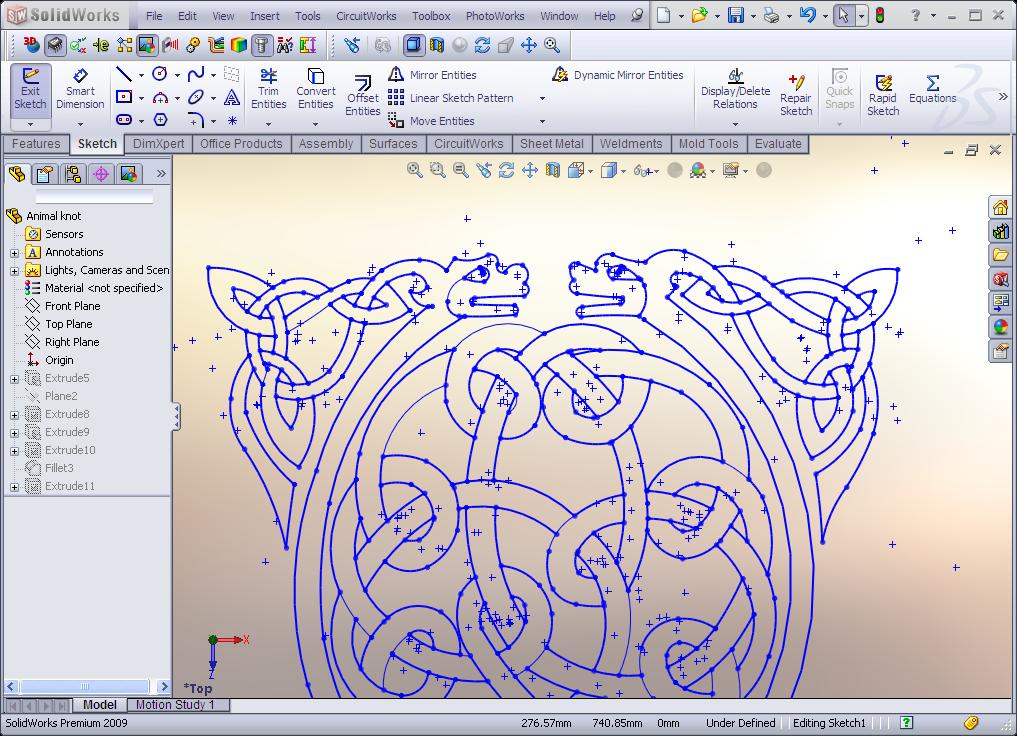
Then using a series of arc lines and splines i traced over the picture of the Celtic Knot.
After the sketch was complete i scaled the sketch down to roughly the size of a broach.
Then using a series of arc lines and splines i traced over the picture of the Celtic Knot.
After the sketch was complete i scaled the sketch down to roughly the size of a broach.
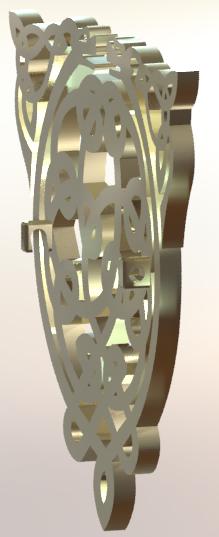
Extrude.
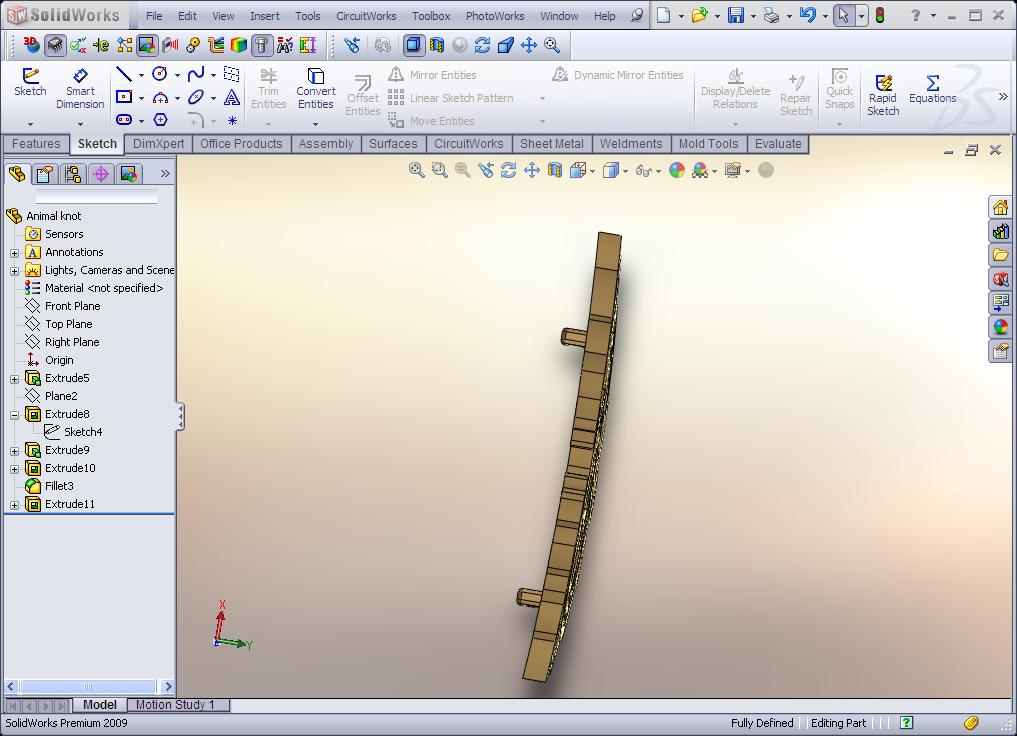
The next step was to extrude the sketch. I extruded it by 5mm, this can take a while due to the many intricate arcs and splines to compute depending on your computer processing power, so be patient.
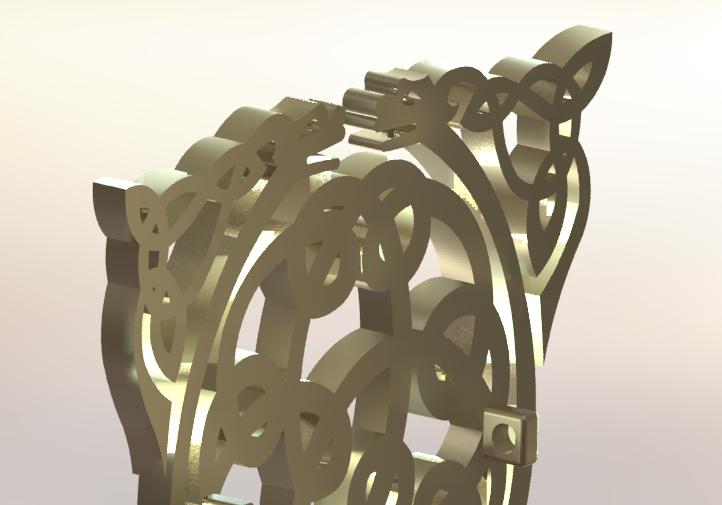
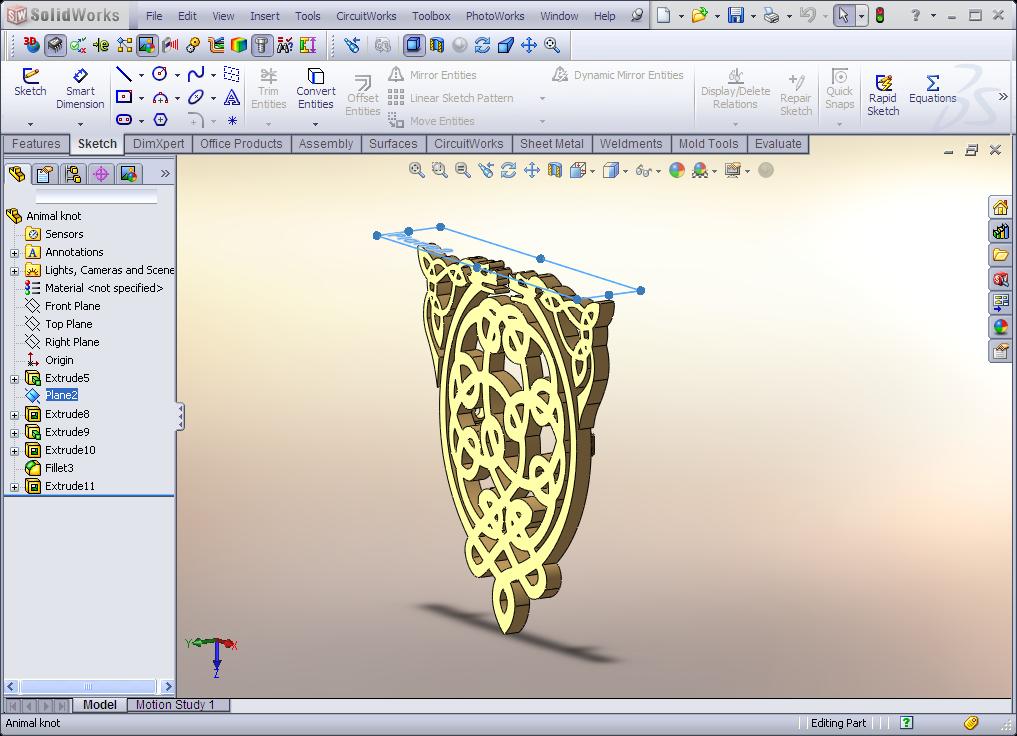
I then inserted a plane on top of the part.
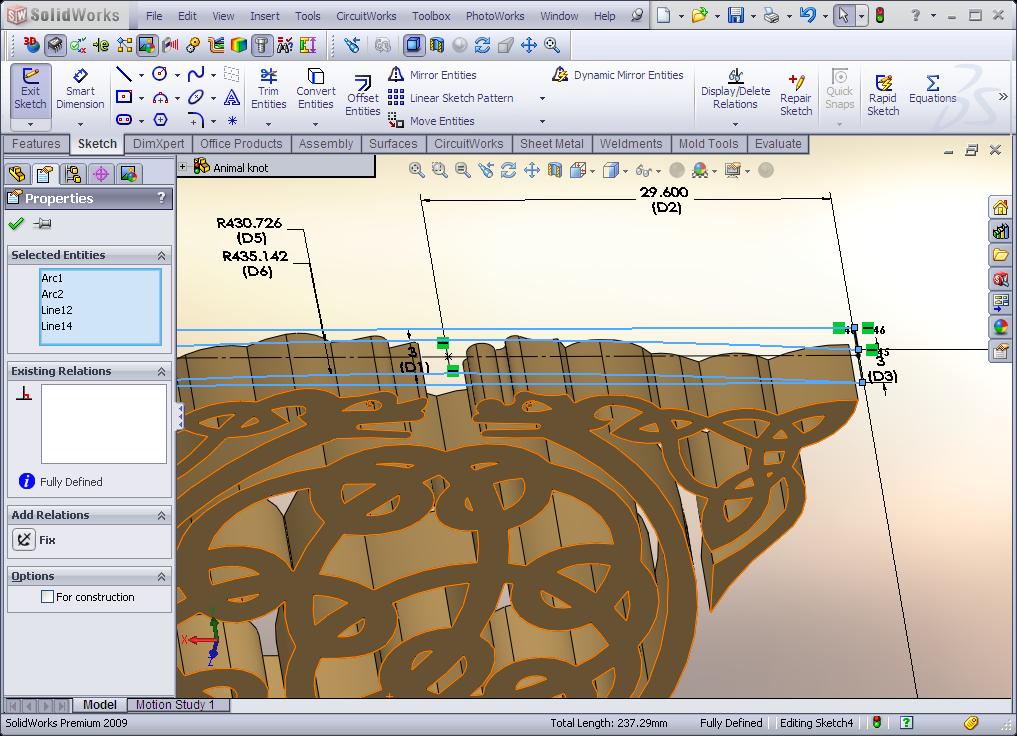
Then i drew two arced boxes to produce an extruded cut in order to give the part the curved appearance of a broach.
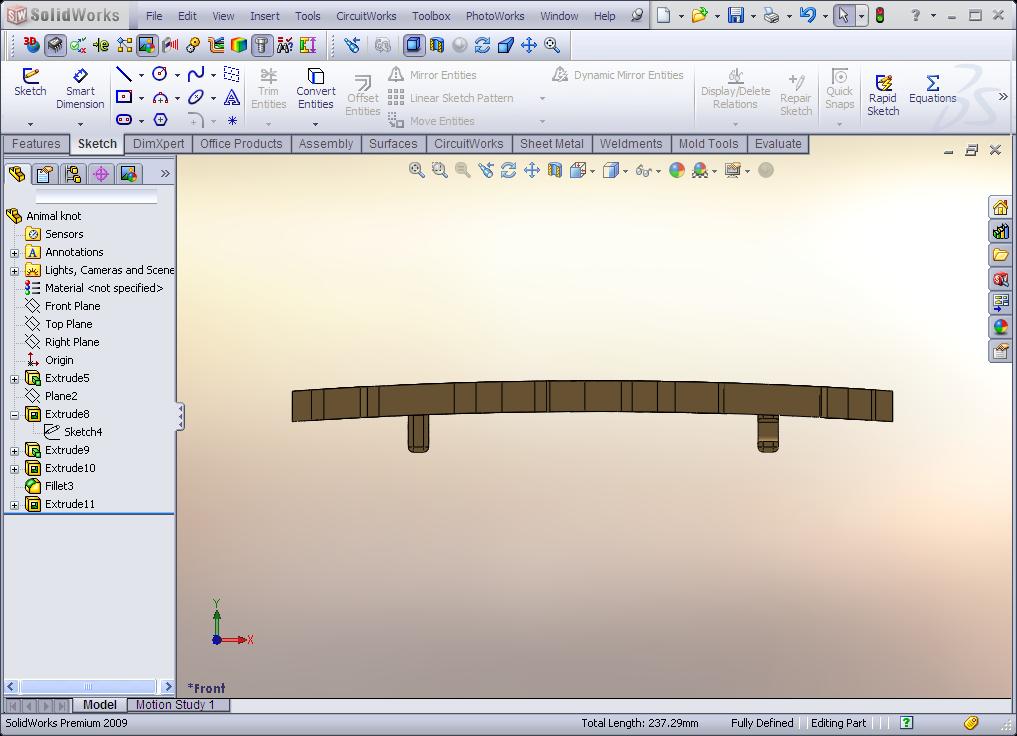
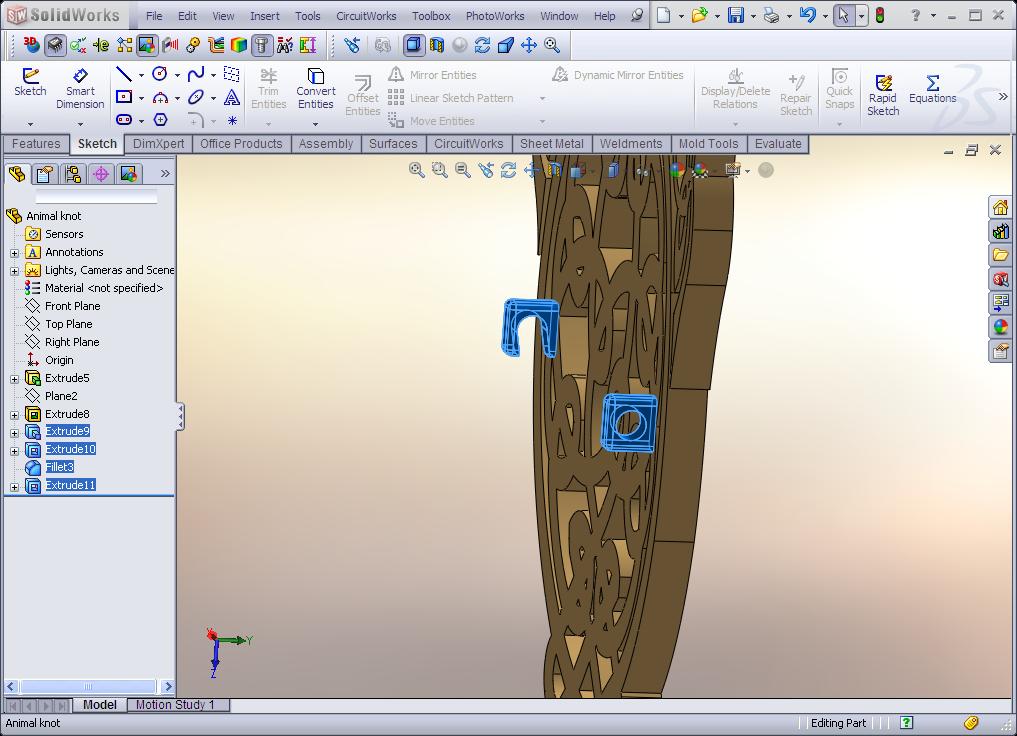
The final step was to extrude two mounting points for a fastening pin at the rear of the part.
BE SURE TO VOTE!!!
I then inserted a plane on top of the part.
Then i drew two arced boxes to produce an extruded cut in order to give the part the curved appearance of a broach.
The final step was to extrude two mounting points for a fastening pin at the rear of the part.
BE SURE TO VOTE!!!