Cell Phone Support and 3D Reindeer Design _PC04_Benjamin Gamboa Durand
by Benjamin417 in Workshop > 3D Printing
249 Views, 0 Favorites, 0 Comments
Cell Phone Support and 3D Reindeer Design _PC04_Benjamin Gamboa Durand
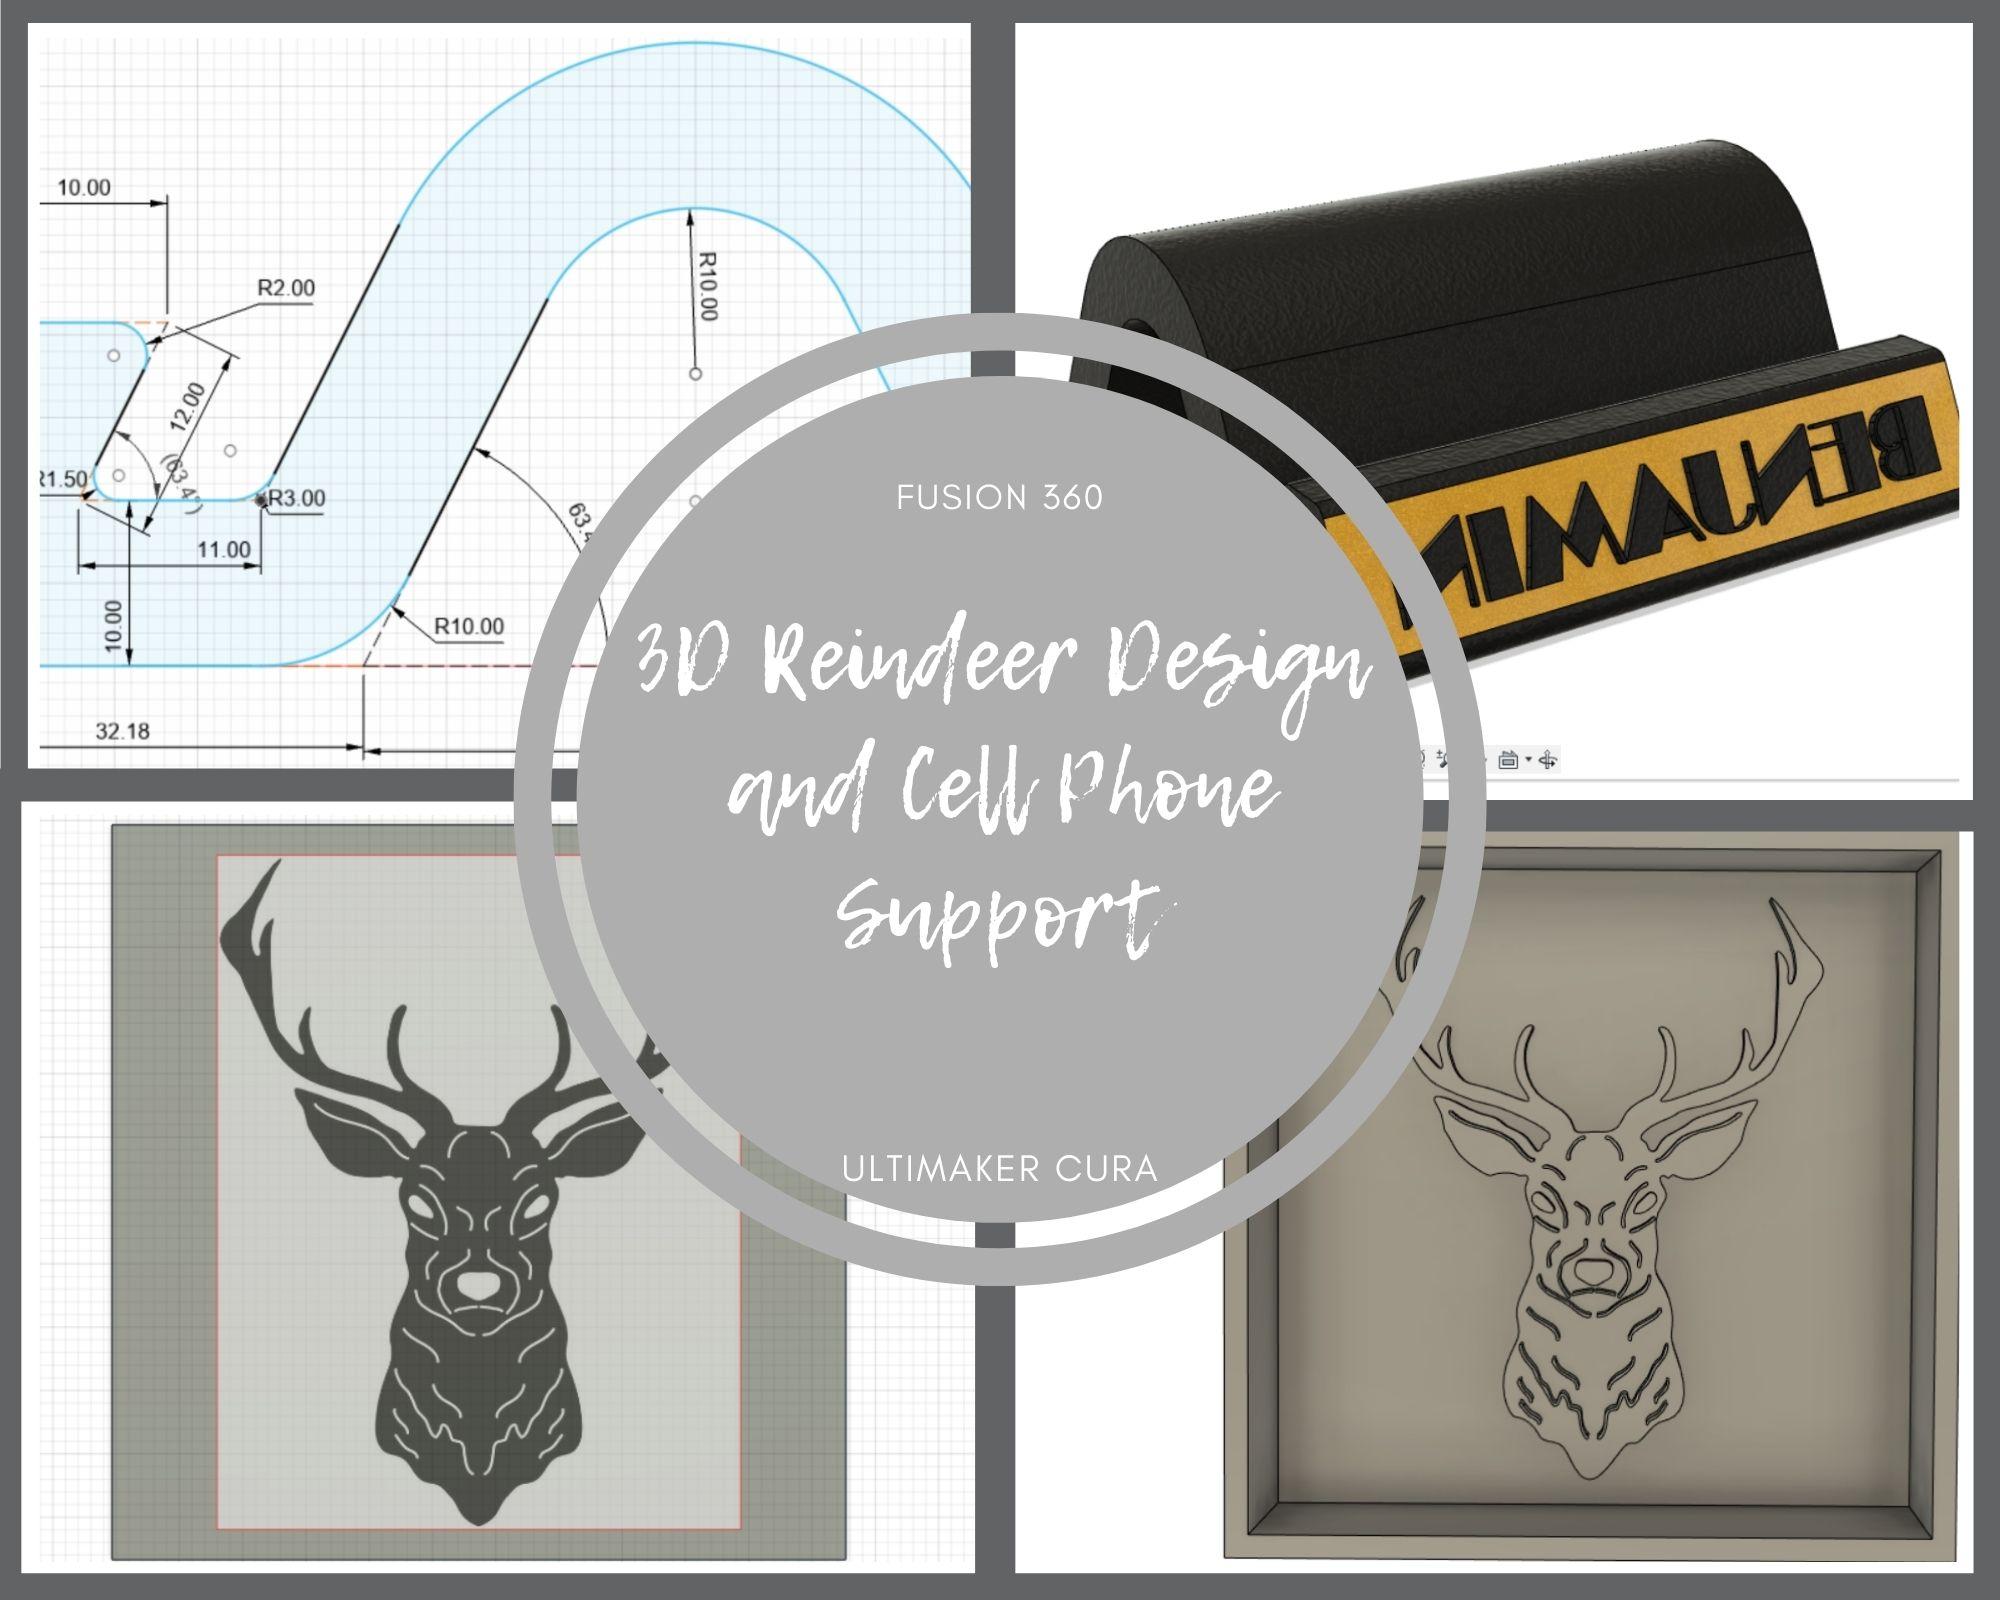
Hello friends in this opportunity you will learn how to make a mobile phone holder and a 3D reindeer, step by step will be fun, let's go.
Materials

- Computer (Windows 10)
- Autodesk Fusión 360 Software
- Peripherals:
- Mause
- Keyboard
- DXF image
- WIFI
- Ultimaker Cura
- STL image
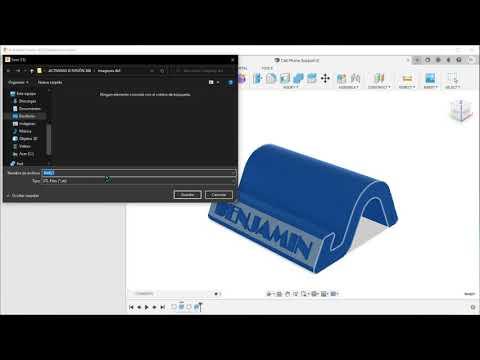
Cell Phone Support
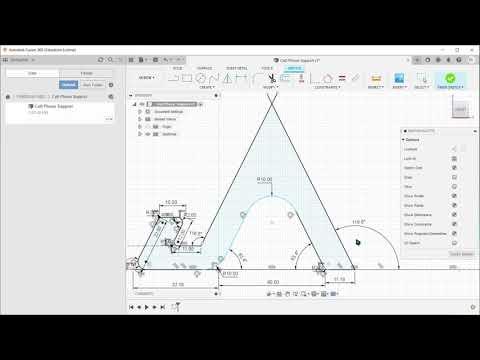
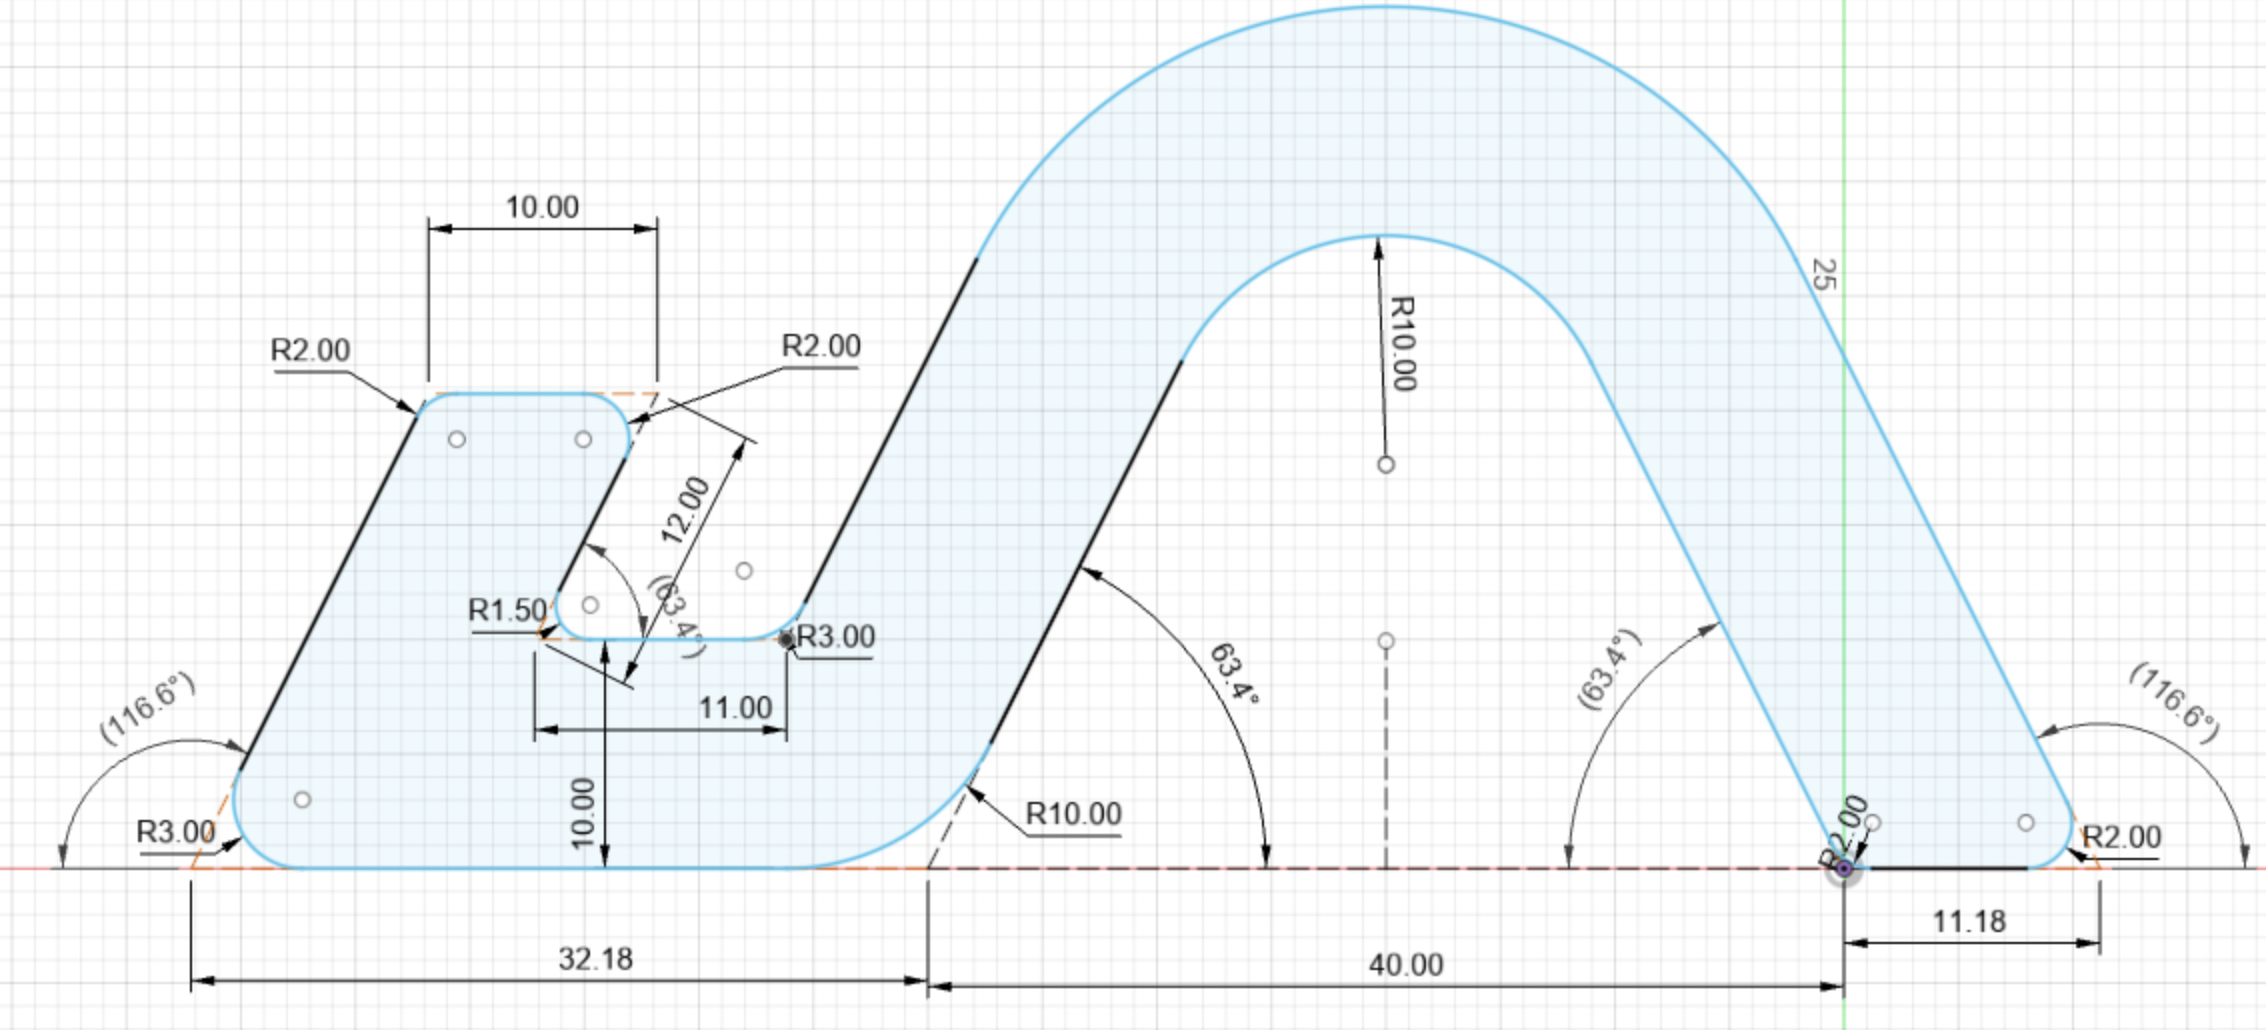
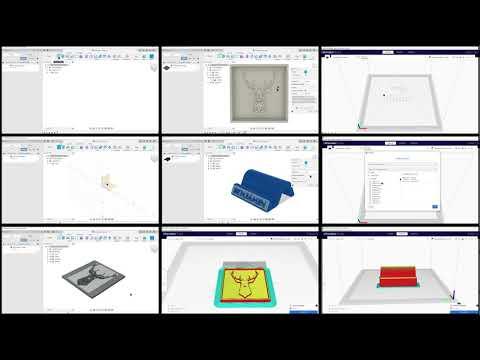
We will start by opening fusion 360, then we will create a folder in which we will place our mobile phone support that will be personalised with the name of your preference. For this development we will use the blue and red axes and we will follow the steps in the video.
- Do not forget that the tools to use are: Create Sketch,Line,Extrude,Text,Appearance,Trim,Fillet.
- Do not forget that you need to save before and after making the project.
STL Image Cell Phone Support
After the previous process we will save what we have done in a 3D format called STL in our computer.
Ultimaker Cura Cell Phone Support
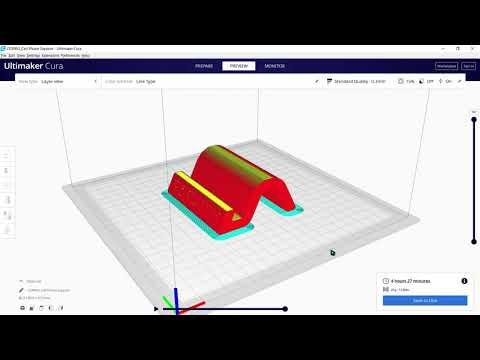
Next, after saving the fusion development in STL format, we will open the Ultimaker Cura program, which will have a download link to the program, and then follow the steps detailed in the video with the respective configuration of the program.
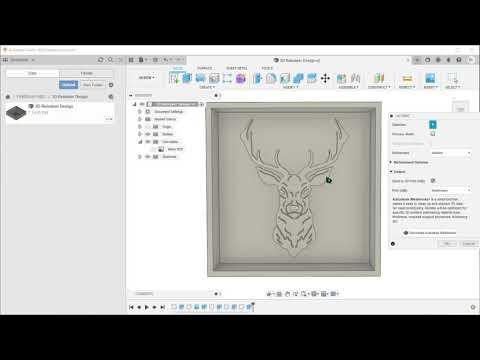
3D Reindeer Design

We will start by creating a new Sketch with the green and red axes, to make the 3D effect in fusion 360 we will use several tools and we will need a DXF image for this process where my example was a reindeer, placing one layer on top of the other to achieve the desired effect.
- Don't forget that the tools to use are: Point Rectangle,DXF Image,Fit point spline,Extrude,Offset.
STL Image 3D Reindeer Design
After the previous process we will save what we have done in a 3D format called STL in our computer.
Ultimaker Cura 3D Reindeer Design
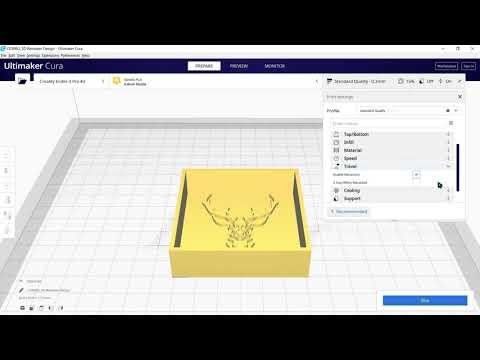
Next, after saving the fusion development in STL format, we will open the Ultimaker Cura program, which will have a download link to the program, and then follow the steps detailed in the video with the respective configuration of the program.
THANK YOU