Cell Phone Holder With Name
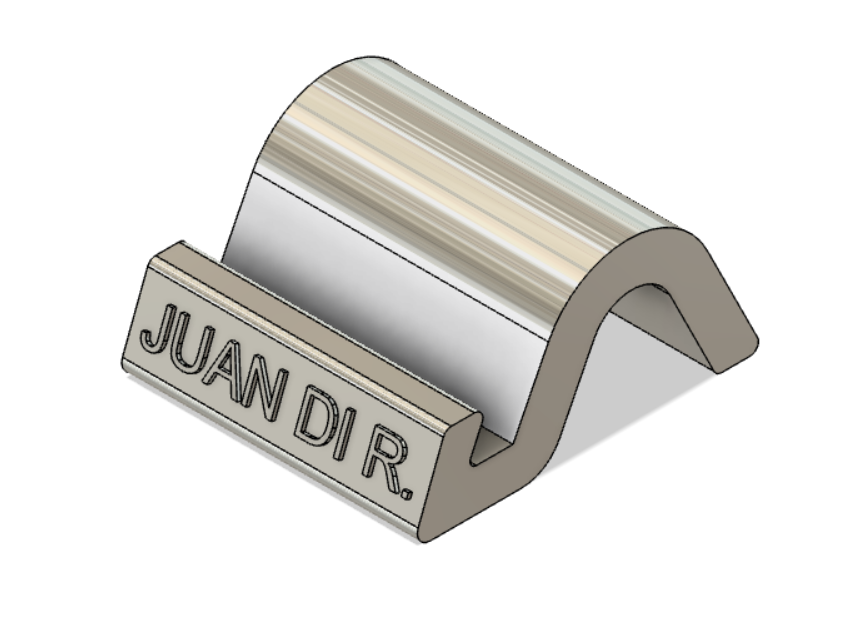

Hi guys!
I'm Juan Diego Rodriguez Obregón. I study Architecture at the USMP (San Martín de Porres University)
Today I am going to teach you step by step how to create a cell phone holder with name, for all those people who want to have an entertaining and educational time.
I hope you like!
Materials
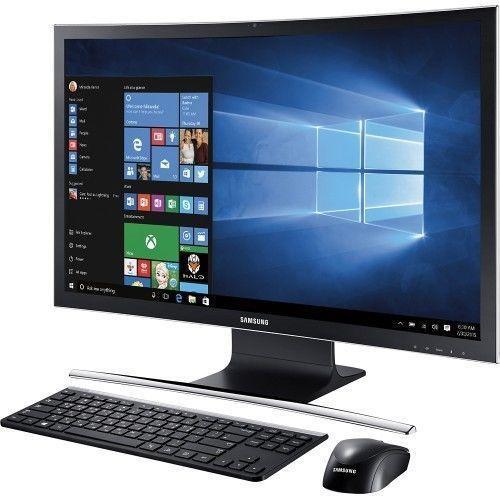


- Computer:
- Procesador Intel Core i5-10400F.
- Velocidad procesador máx. 4.30GHz
- RAM de 8 GB.
- Gráfica: Nvidia GTX1650-4GB.
- Disco 256GB SSD más 1TB HDD.
- Peripheral mouse.
- Internet connection.
- Eager to learn.
- The Autodesk Fusion 360 program.
Elaboration of the First Face
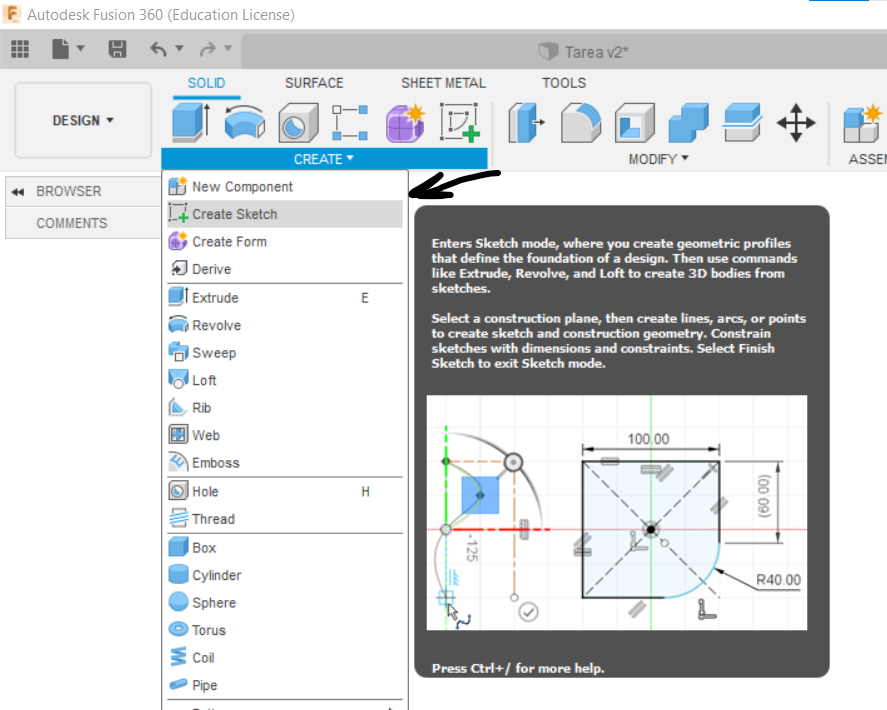
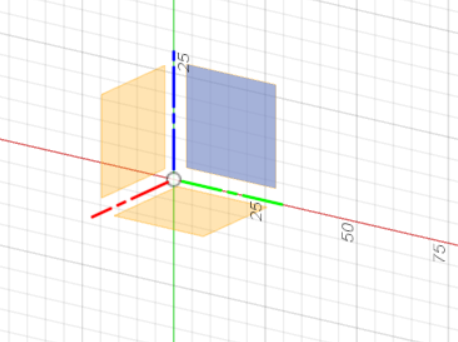
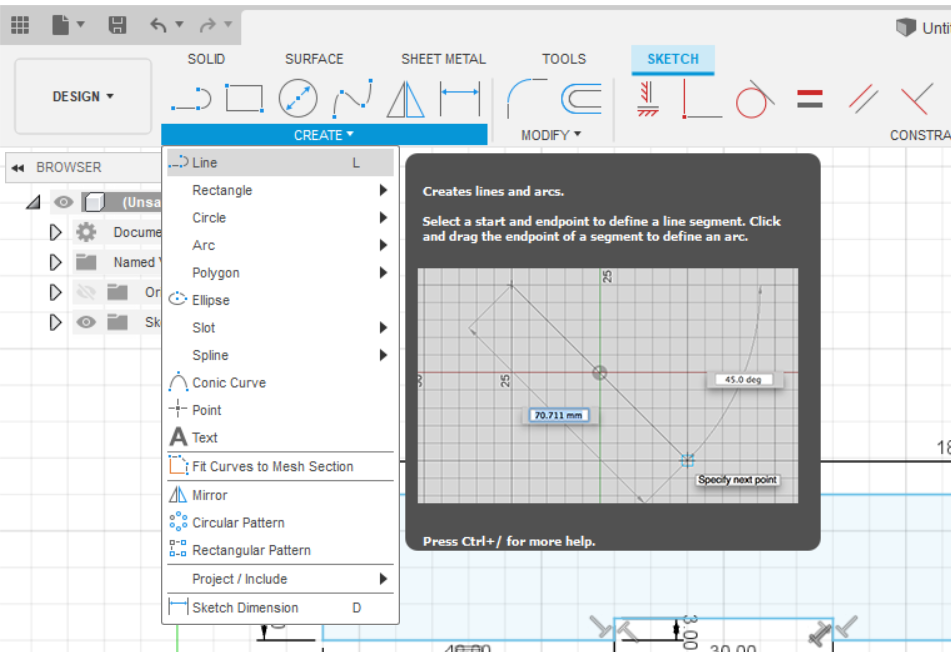
Step 1: We created a new design and called it Face A. We are going to click on the icon called ¨Create Sketch¨, after creating our Sketch we are going to select the "Y" and "Z" axes.
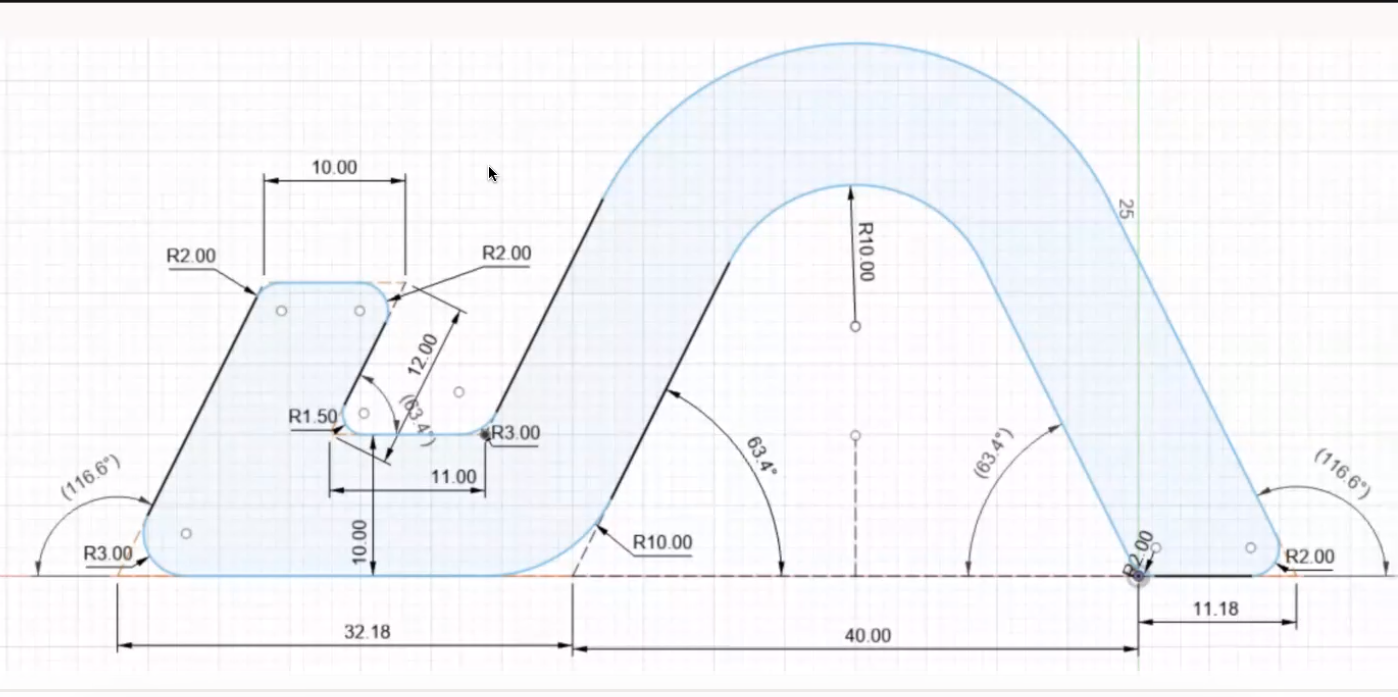
Step 2: With the tool called "Line" we will begin to draw lines according to the measurements that are in the photo. When we finish drawing and closing the figure, a light blue base will be formed within the lines drawn.
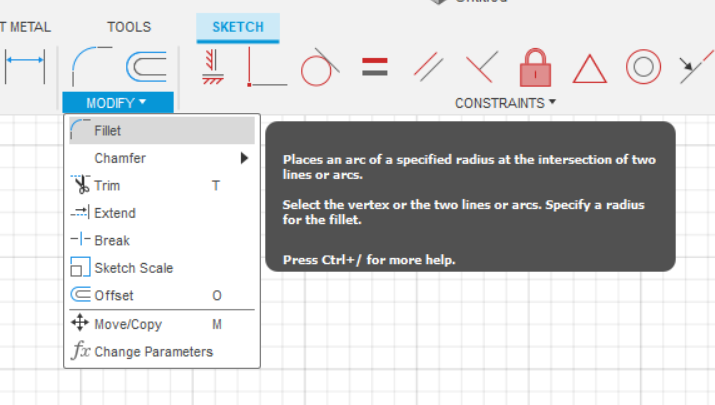
Step 3: After drawing the lines we are going to go to the corners of these and we are going to create some curves by pressing the box called "Fillet", we will create the curves that are marked in the photo of this step.
PREPARATION OF THE SUPPORT EXTENSION
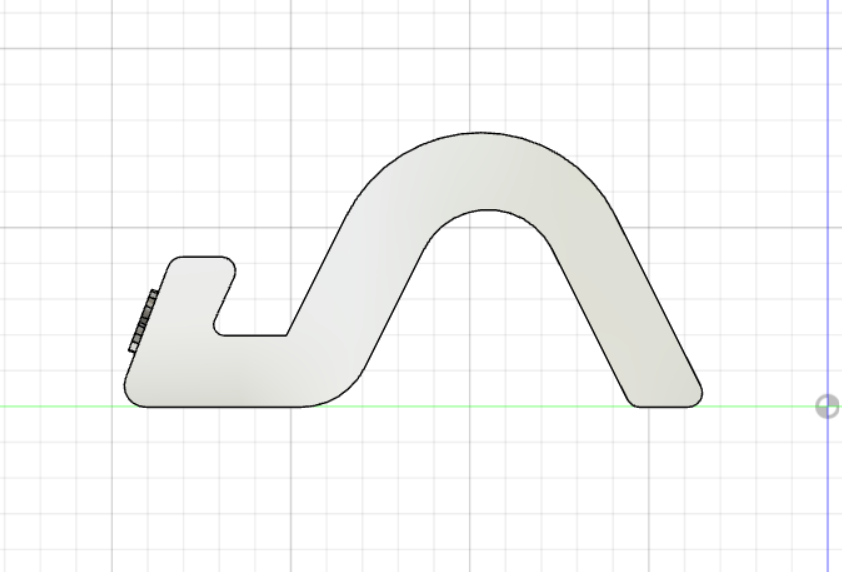
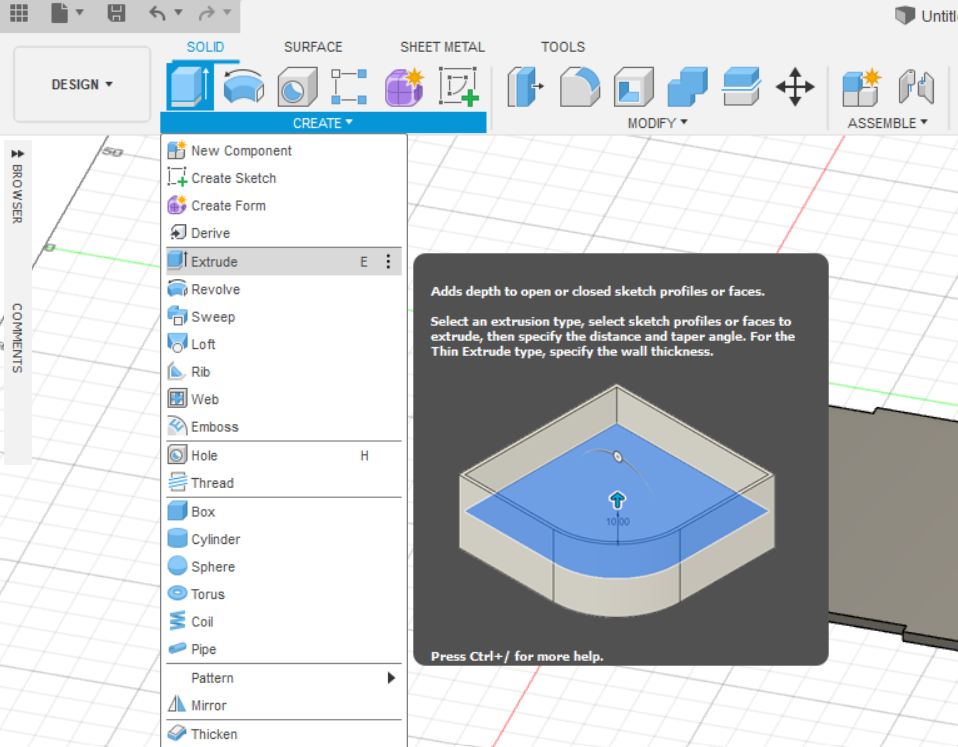
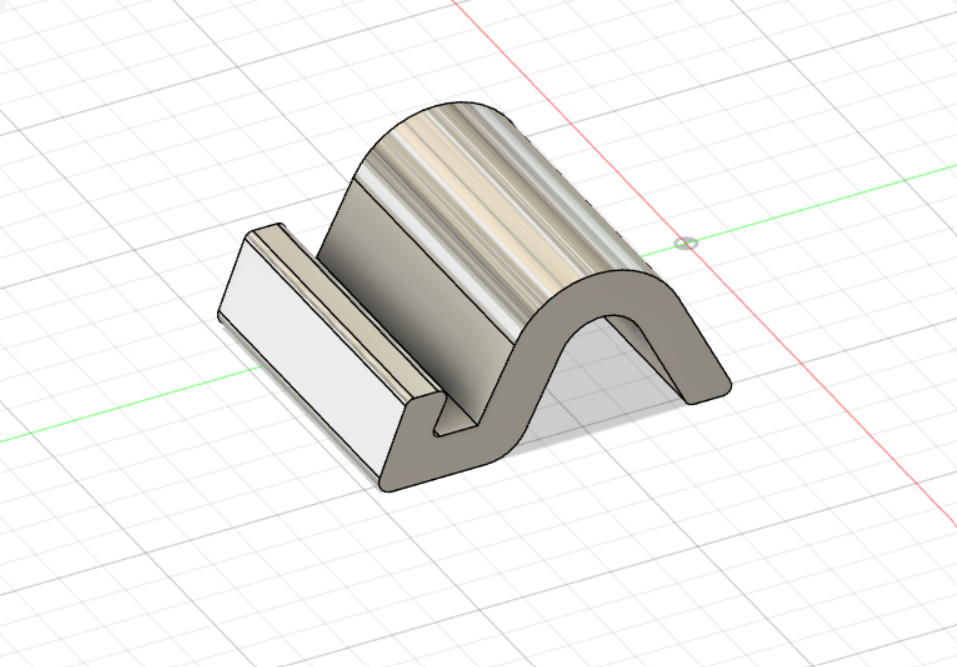
Step 1: After closing the figure with lines we are going to give the box called "Finish Sketch", then we are going to give the box called "Extrude", we select the figure we made and specify the distance to extrude that would be 70.00 mm.
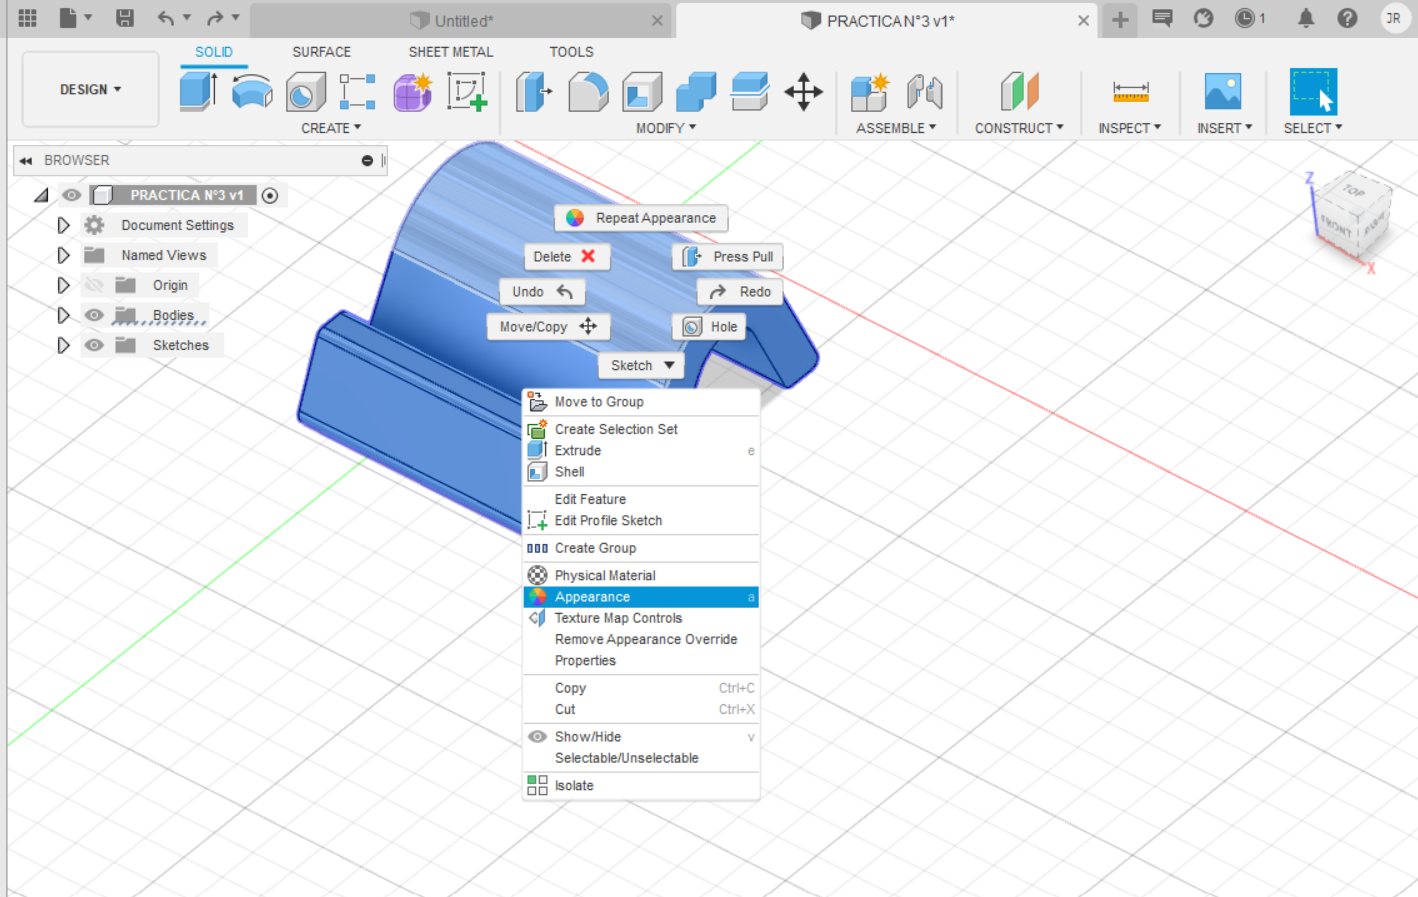
Step 2: To finish this step, we are going to select our figure and I will give the option called "Appearance", we choose the color and texture we want.
INSERT NAME TO THE BRACKET
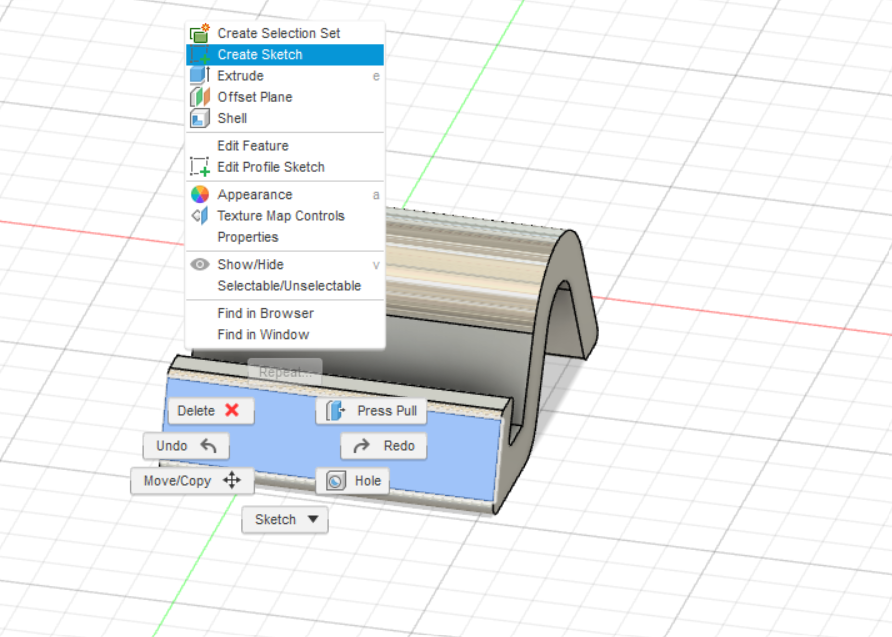
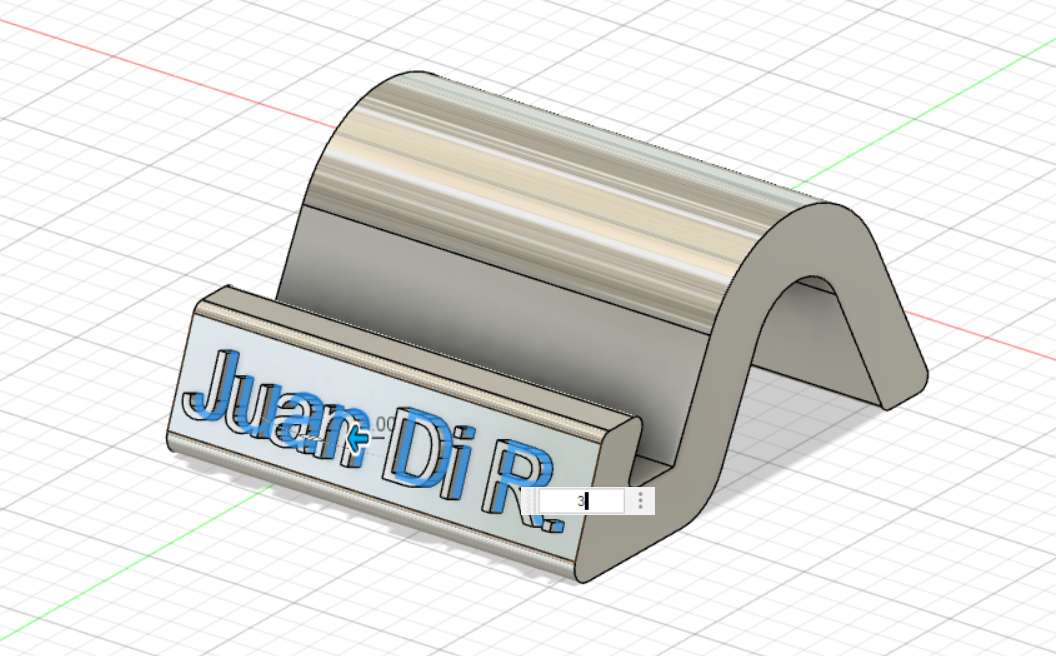
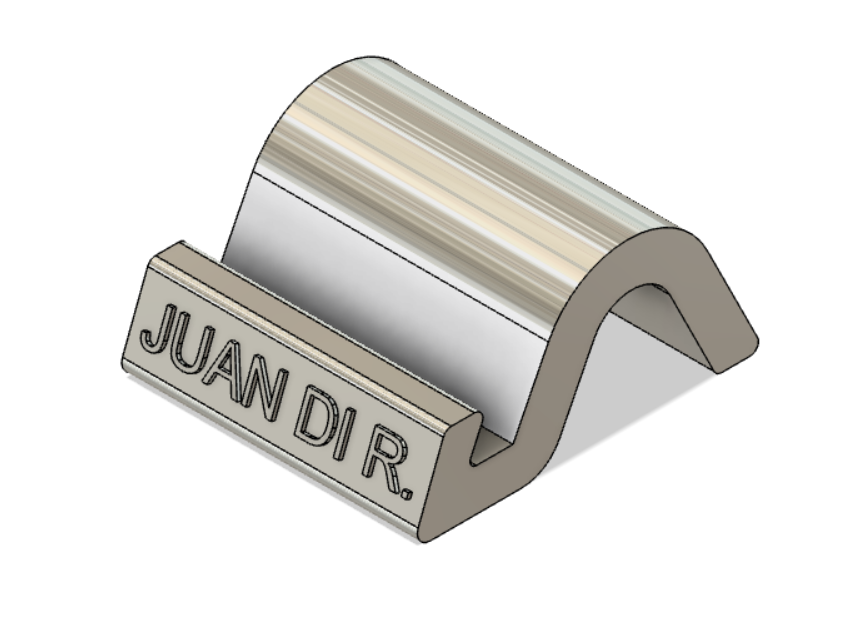
Step 1: First we select the front face, right click and select the create sketch option.
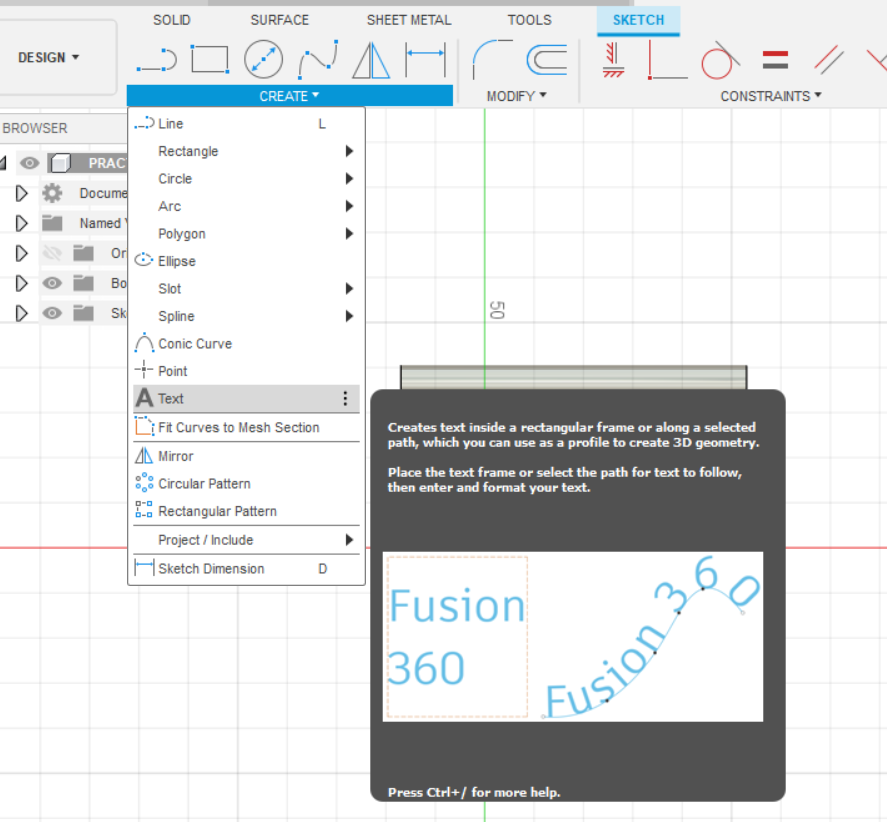
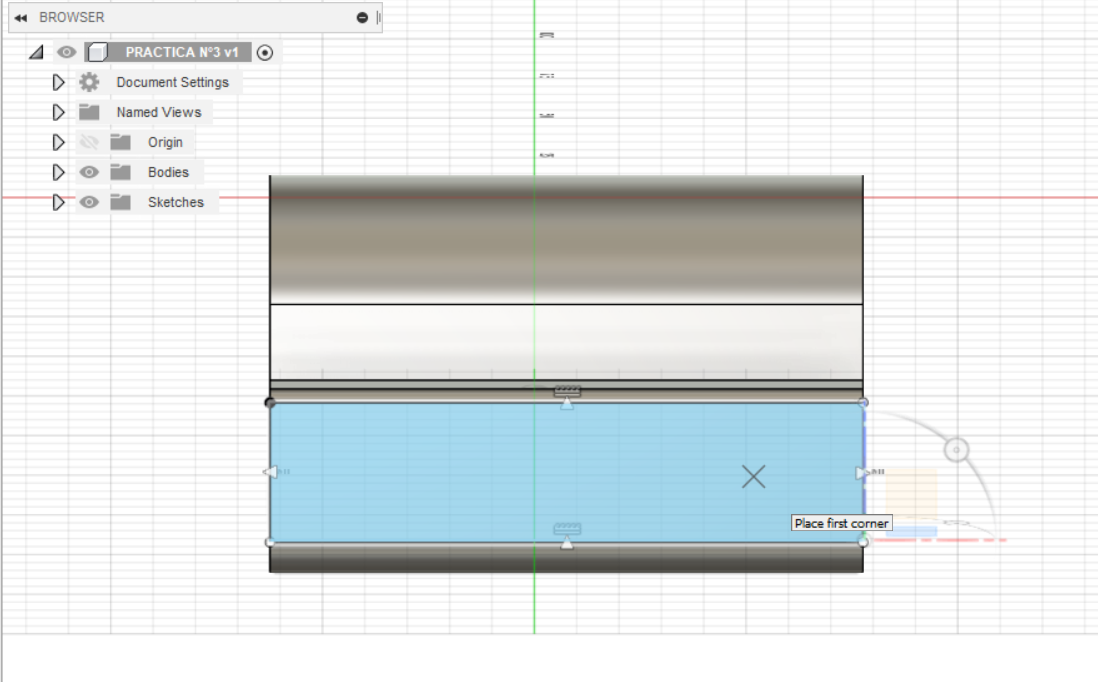
Step 2: We are going to go to the box called "Create", then we are going to select the option called "Text", to finish we are going to select the front face by marking the points of each corner of the face.
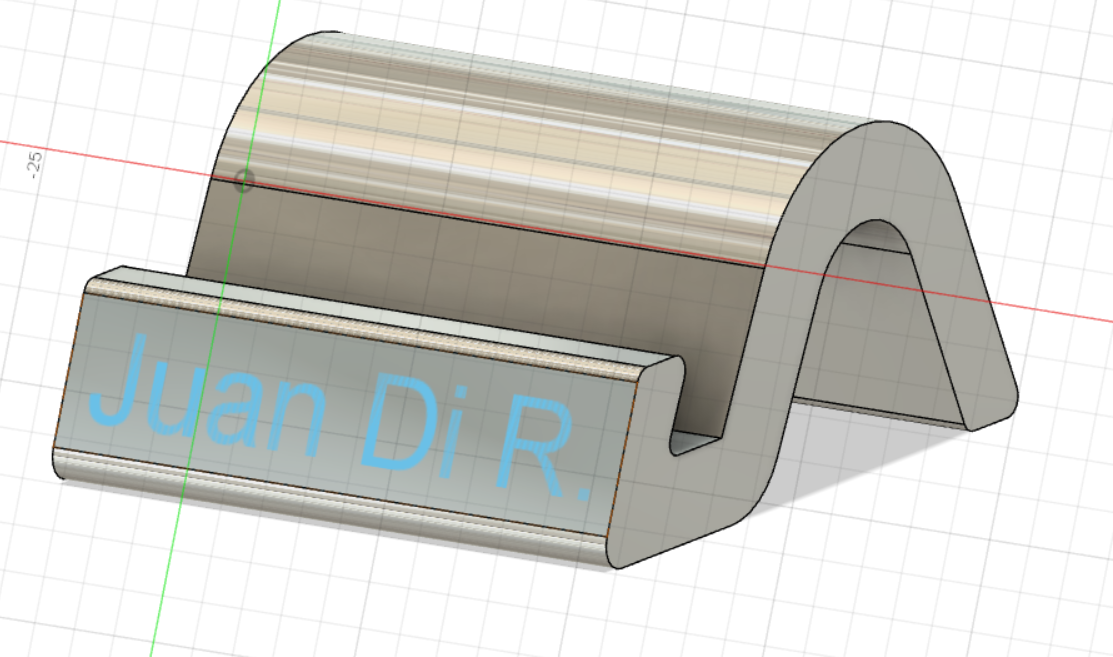
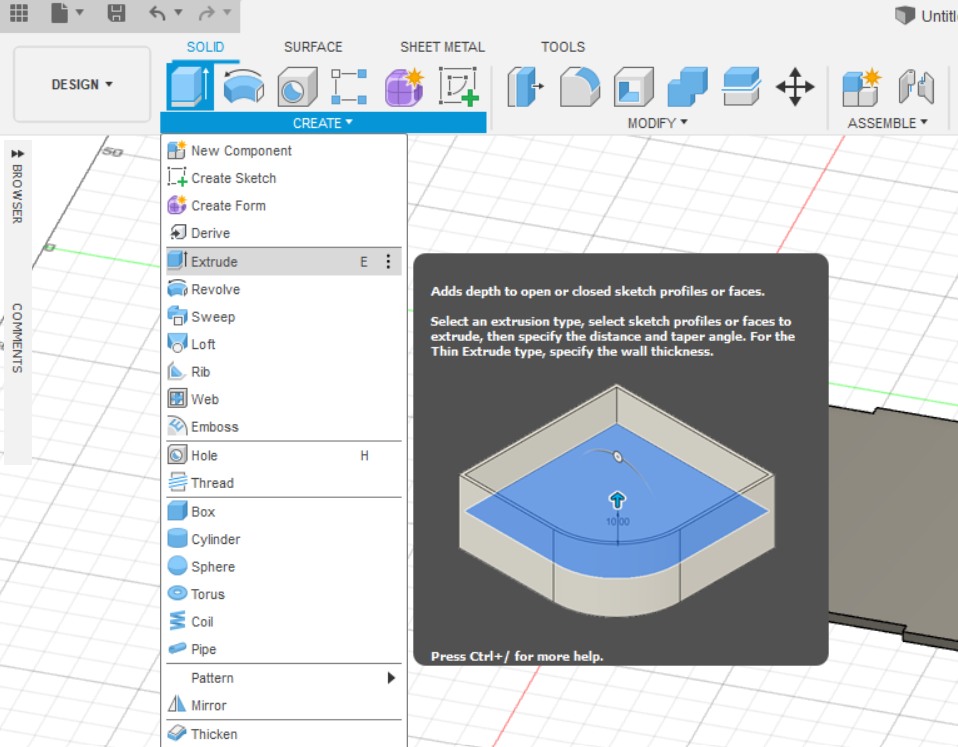
Step 3: To finish we are going to put our name or nickname and then we go to the box called "Extrude" and we put 3mm to the name we put.