Cell Phone Controlled Crock Pot
by walt.schlender in Cooking > Soups & Stews
2146 Views, 18 Favorites, 0 Comments
Cell Phone Controlled Crock Pot
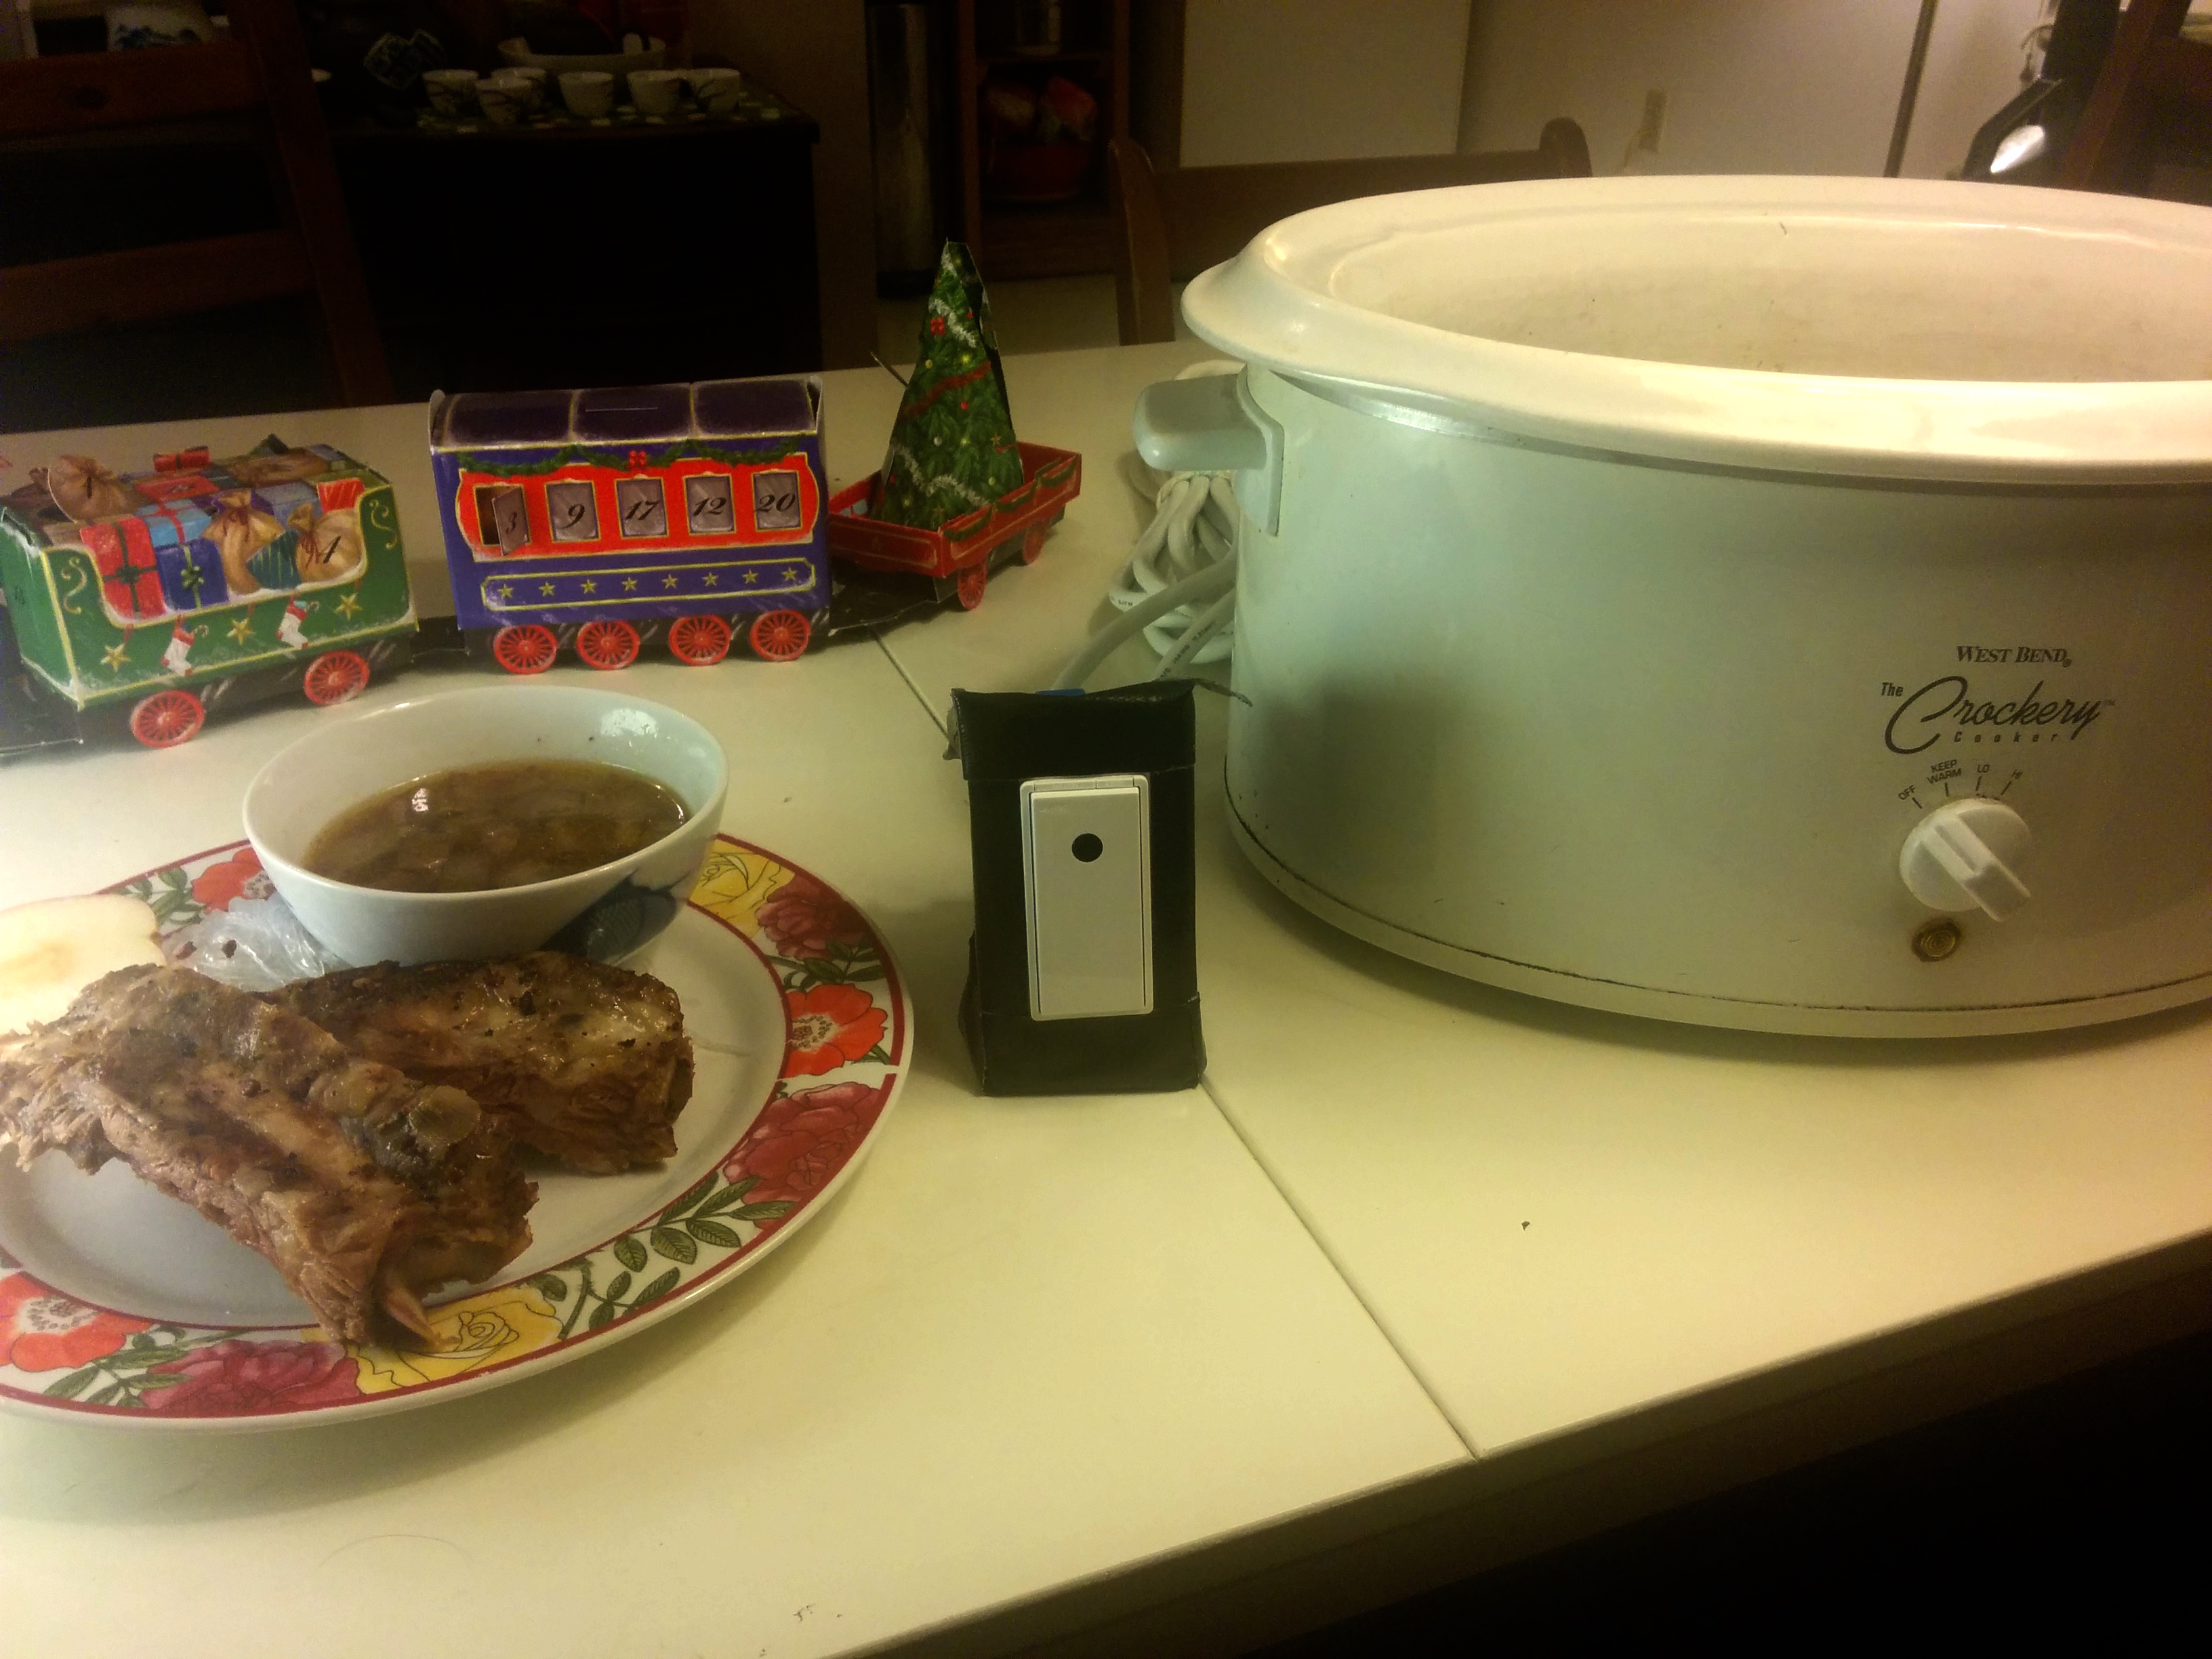
This instructable will teach you how to build a crock pot controller that you can activate using your cell phone.
It works by using a Belkin WeMo (a cell phone controllable light switch) to switch on and off power to the crock pot.
Using this controller you can turn your crock pot on or off at any time and from anywhere where you have cell phone reception. You can also schedule your crockpot to turn on and off at a predetermined times on specific days of the week.
The controller is very easy to build. Parts cost 60$ and building it takes about an hour.
Ready? Let's get started.
Building the Controller
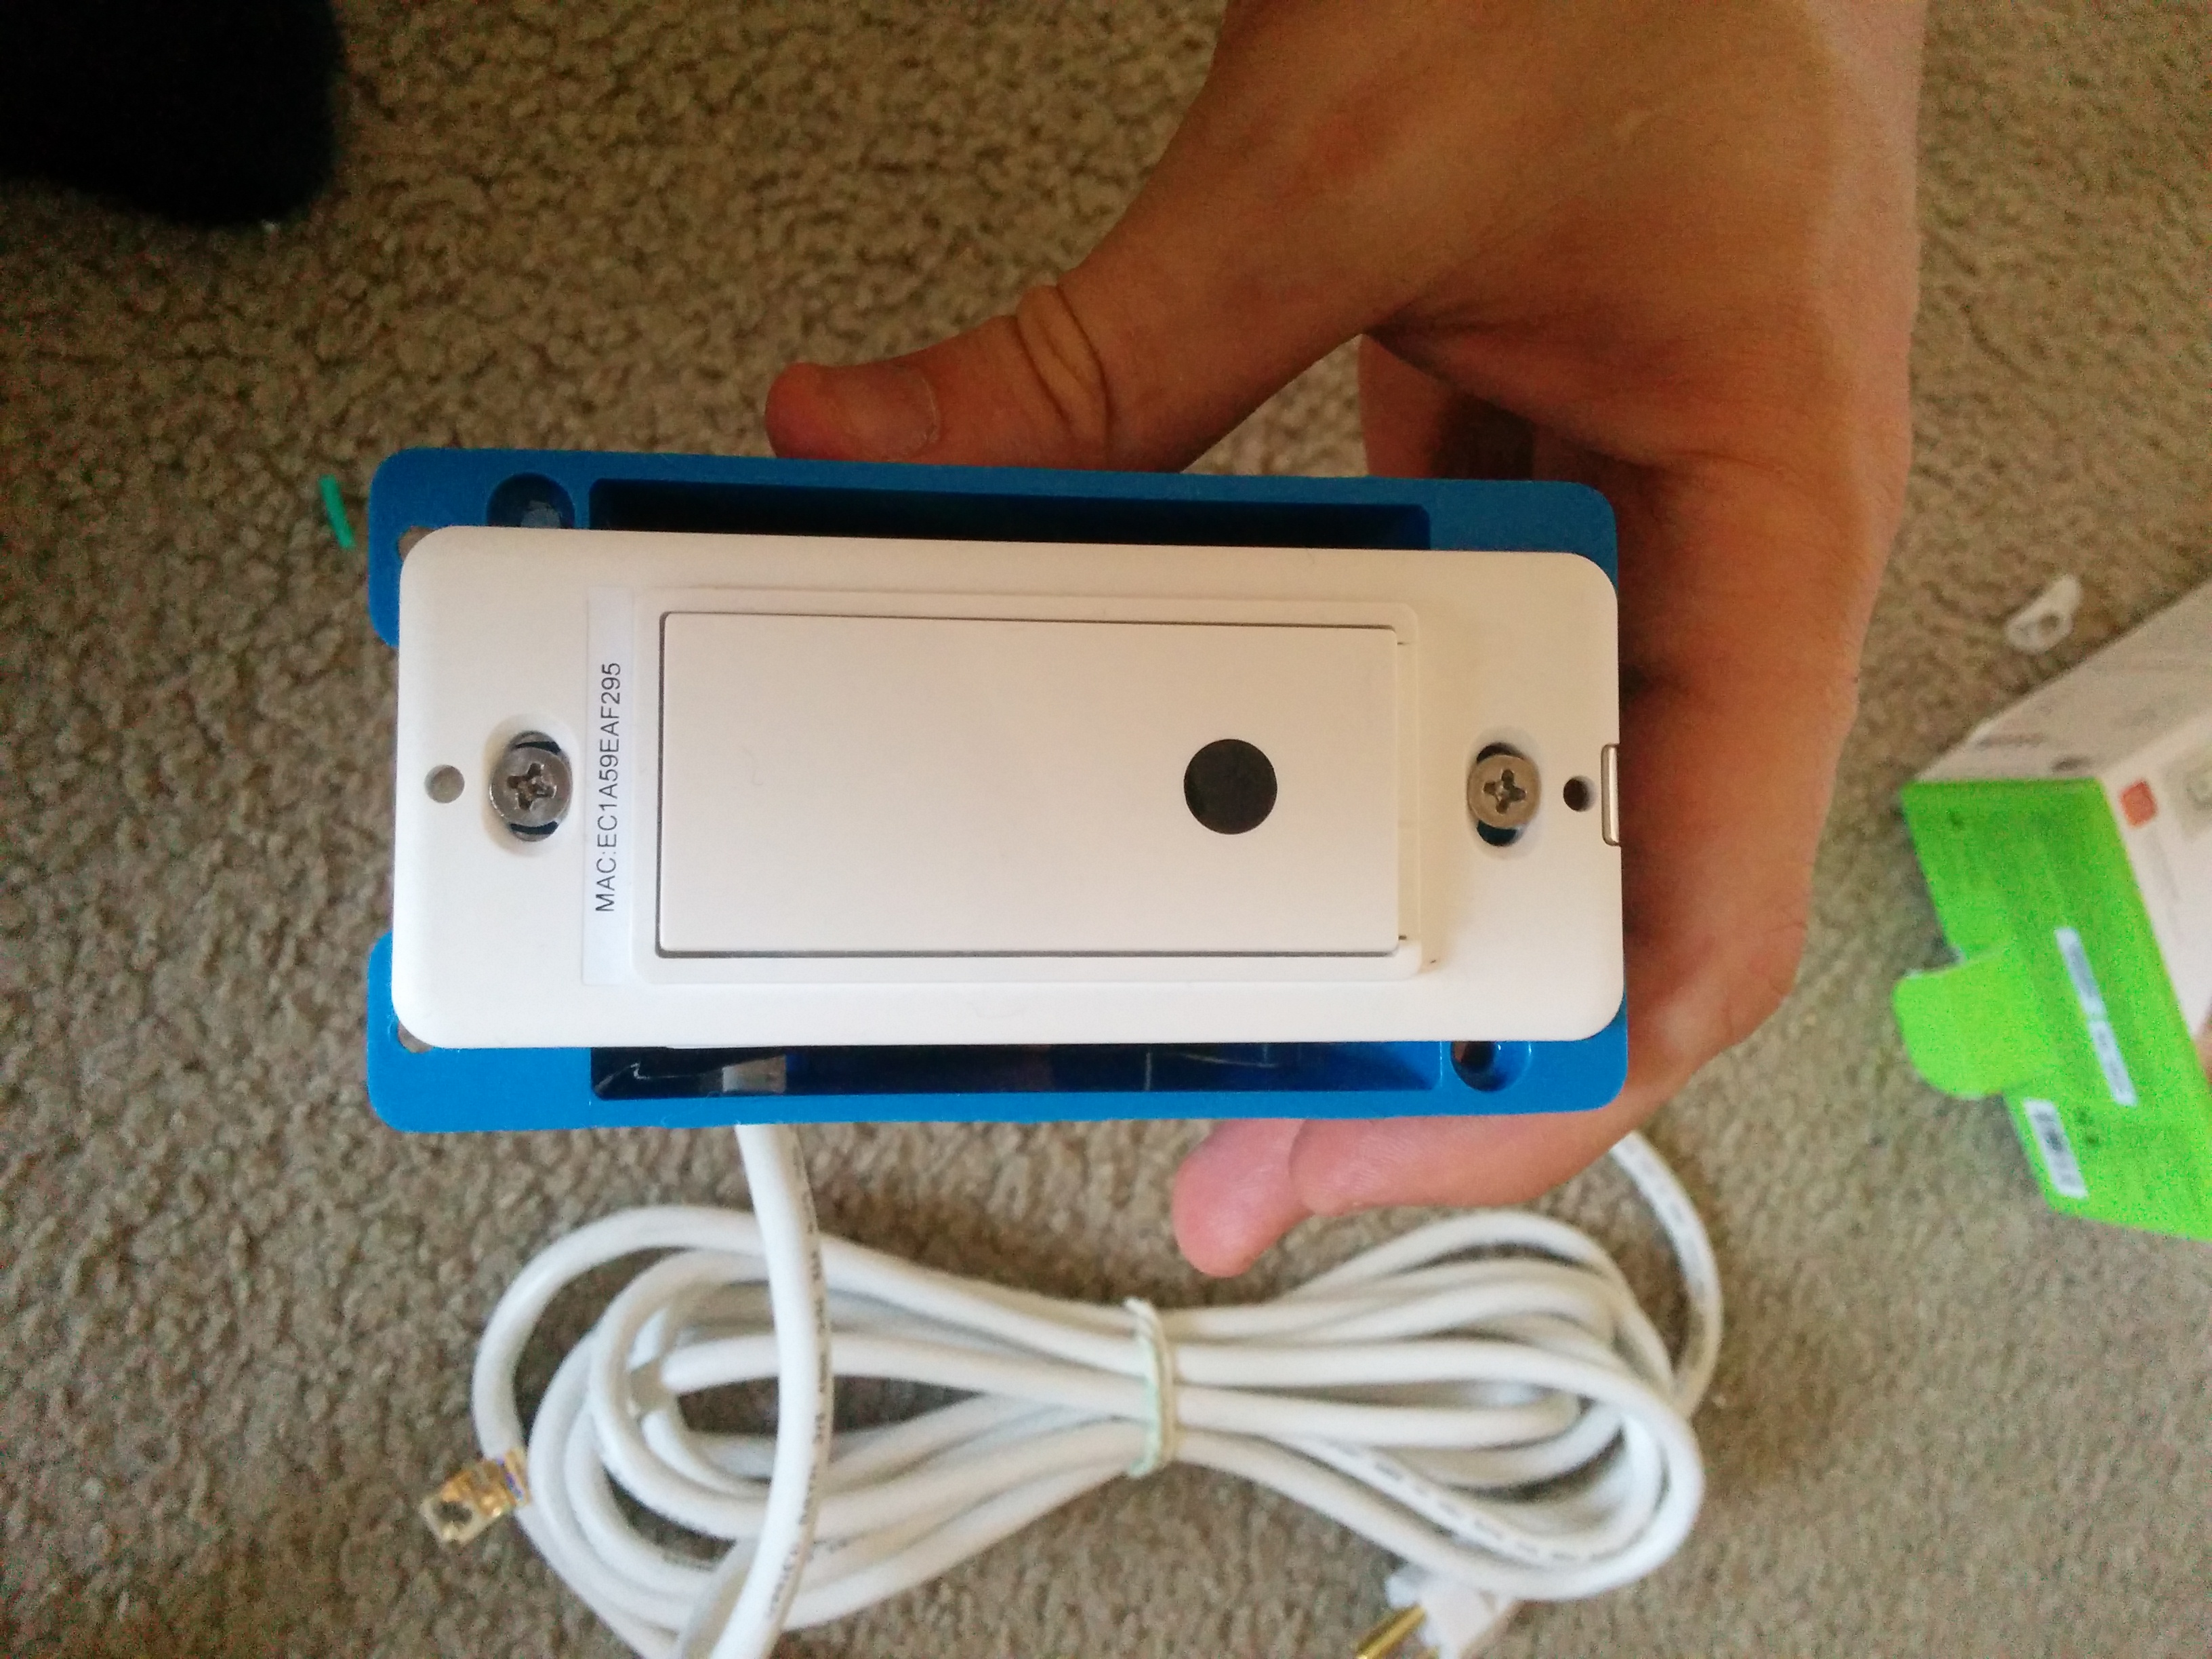
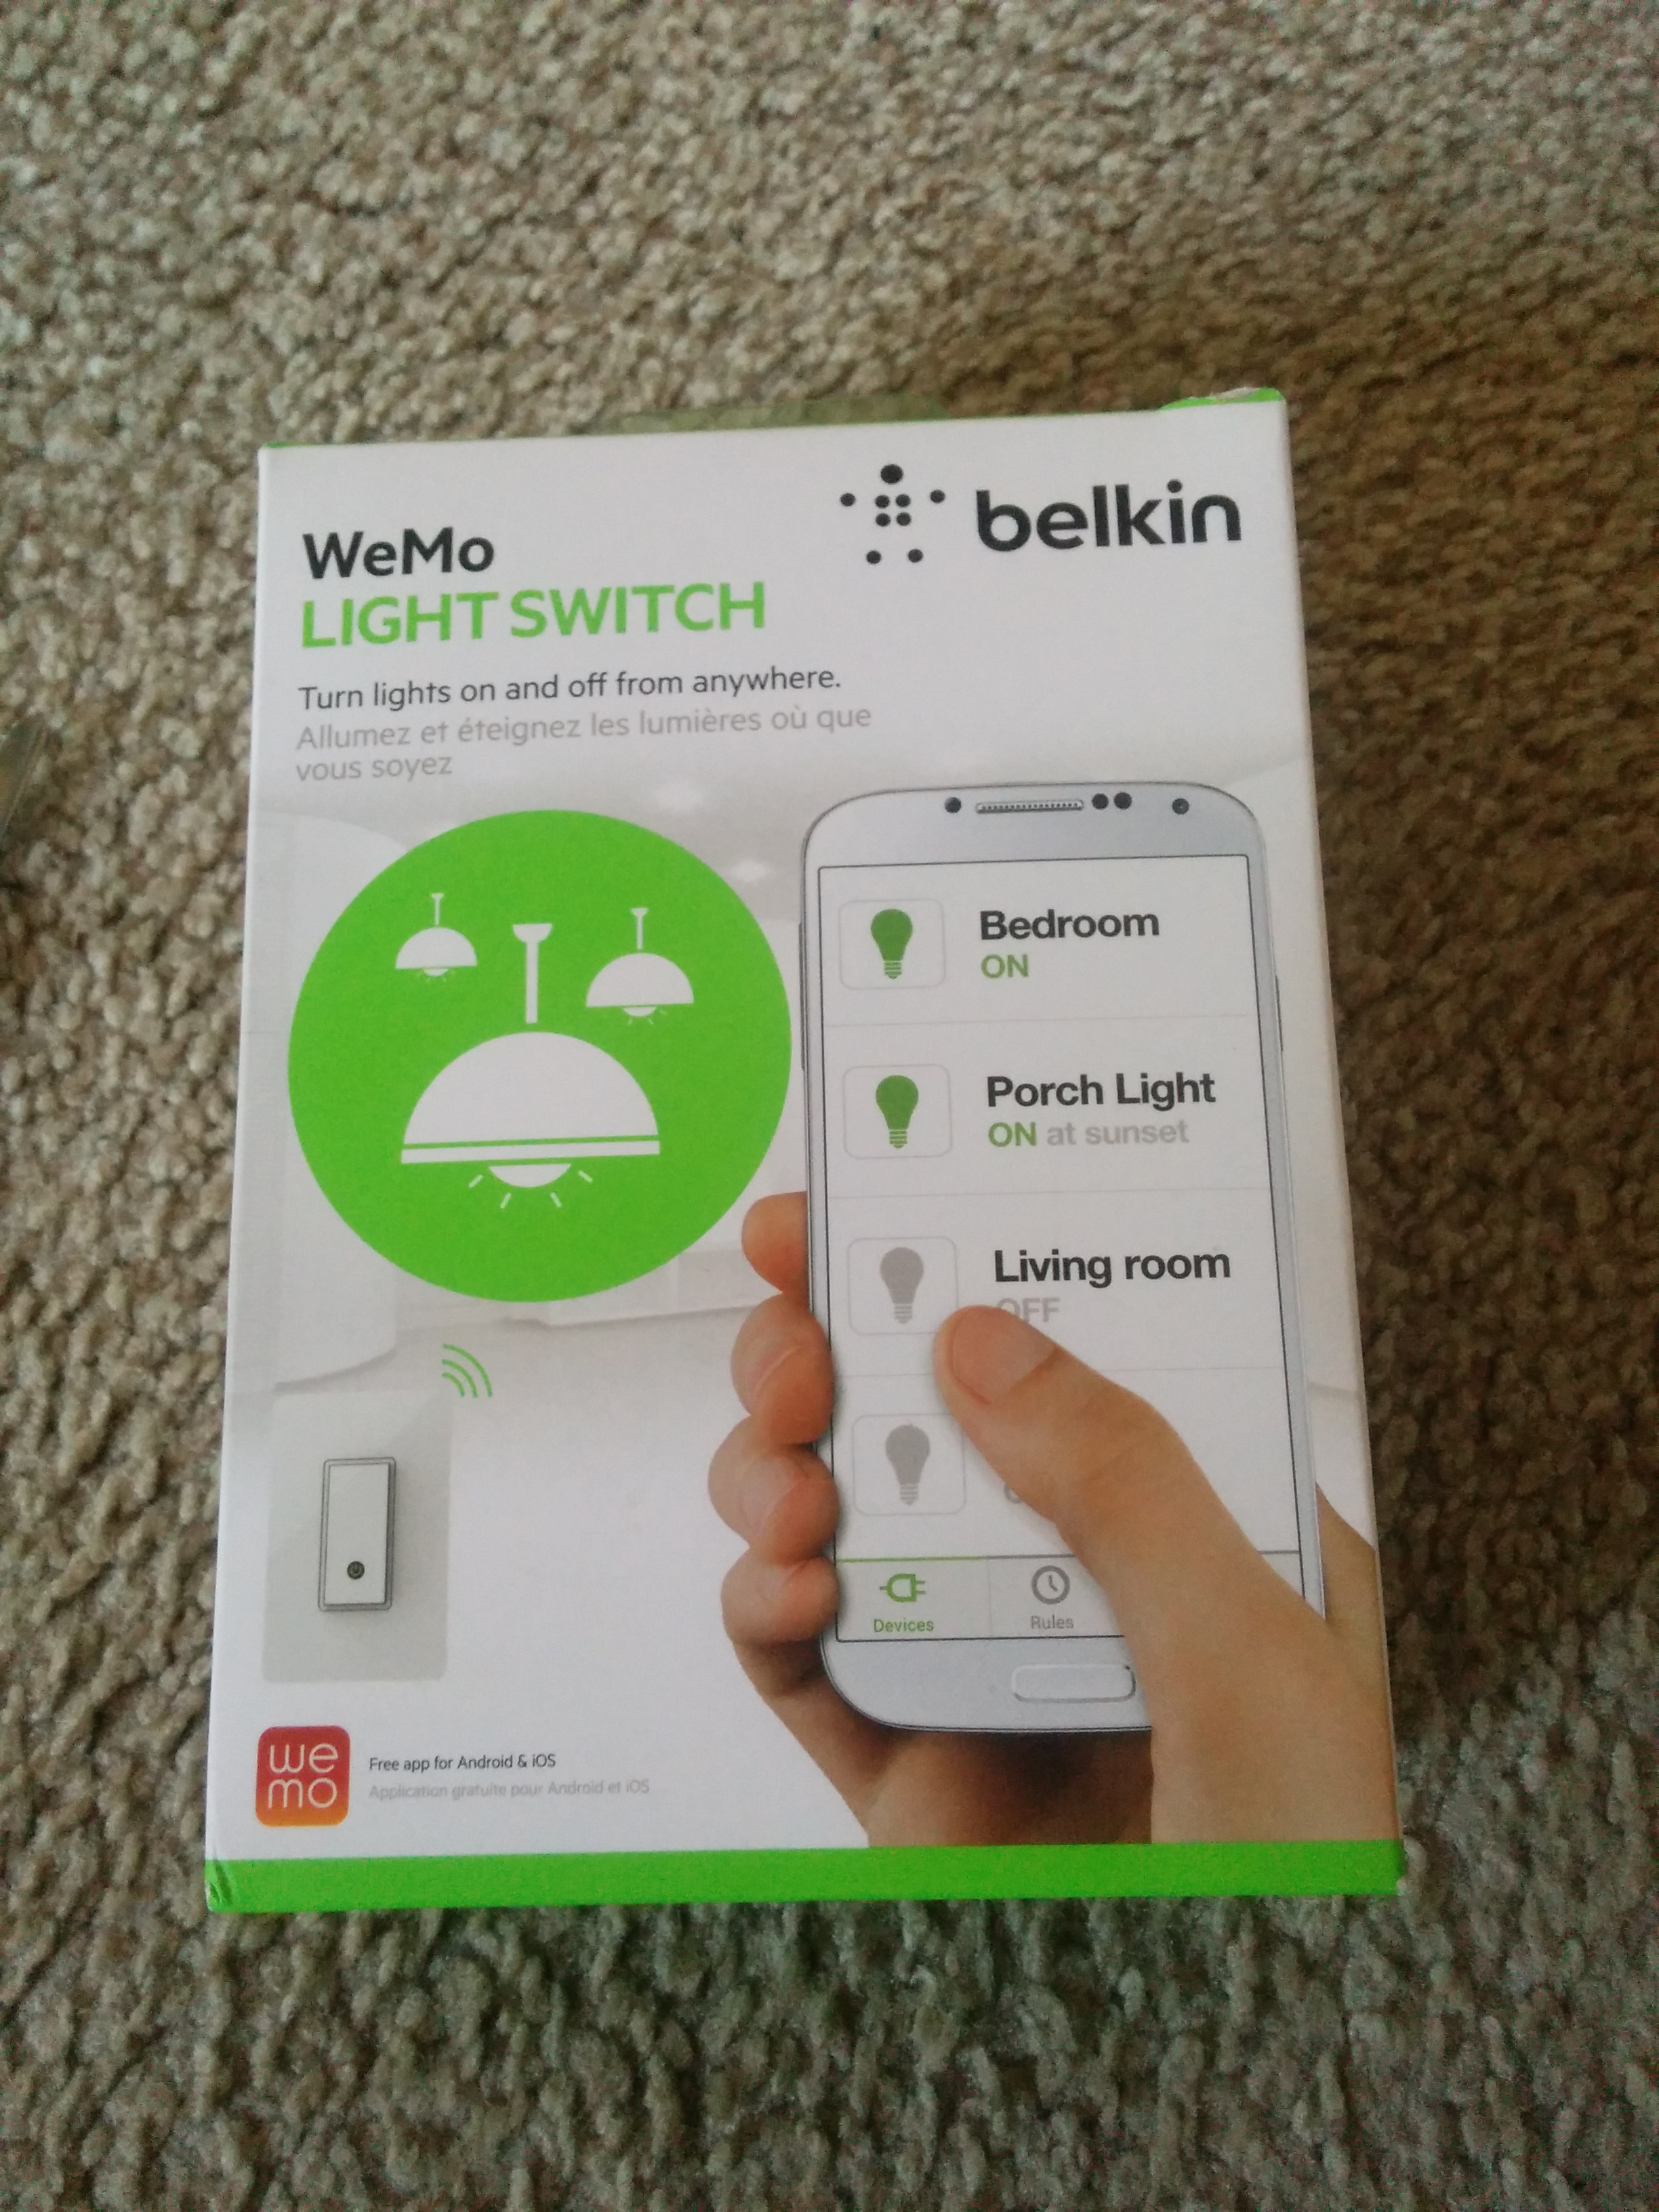
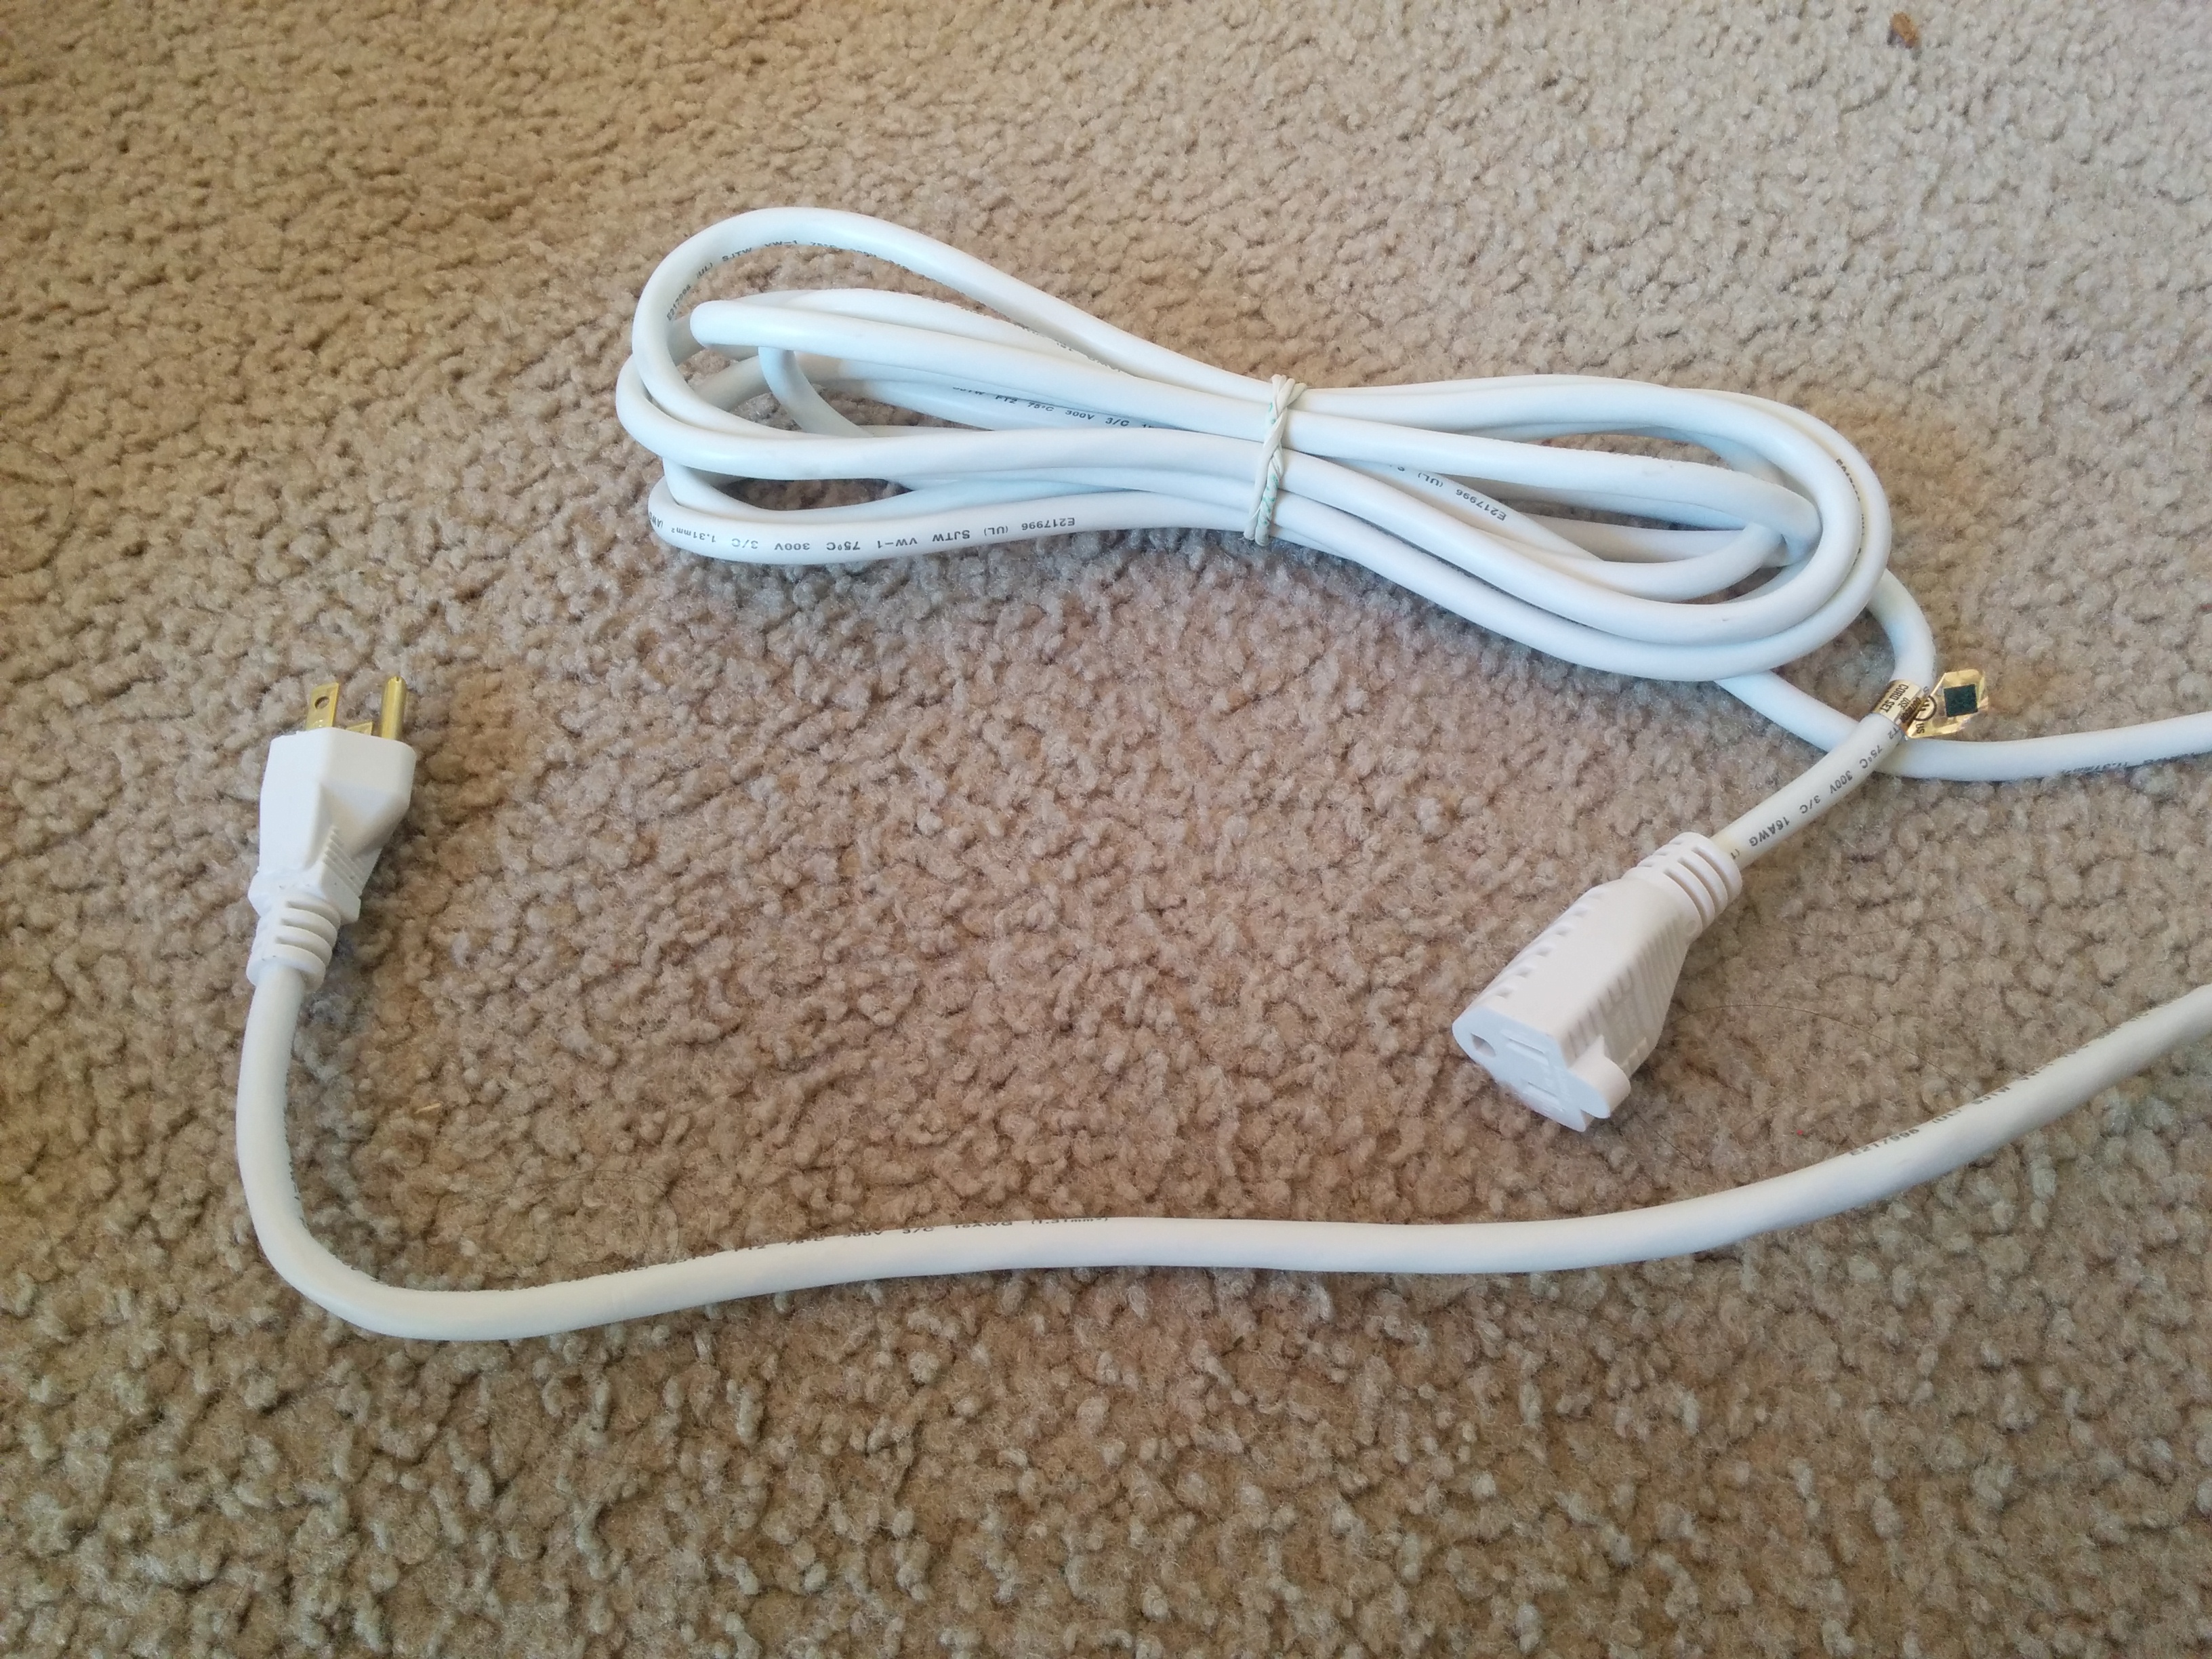
Materials
1. A Belkin WeMo - 50$
This is the cell phone controllable power switch
2. An OSHA compliant extension cord - 8$
The extension cord carries power from the wall to your crock pot. You'll wire the WeMo into the extension cord adding a nice power switch and remote control capabilities to the basic extension cord.
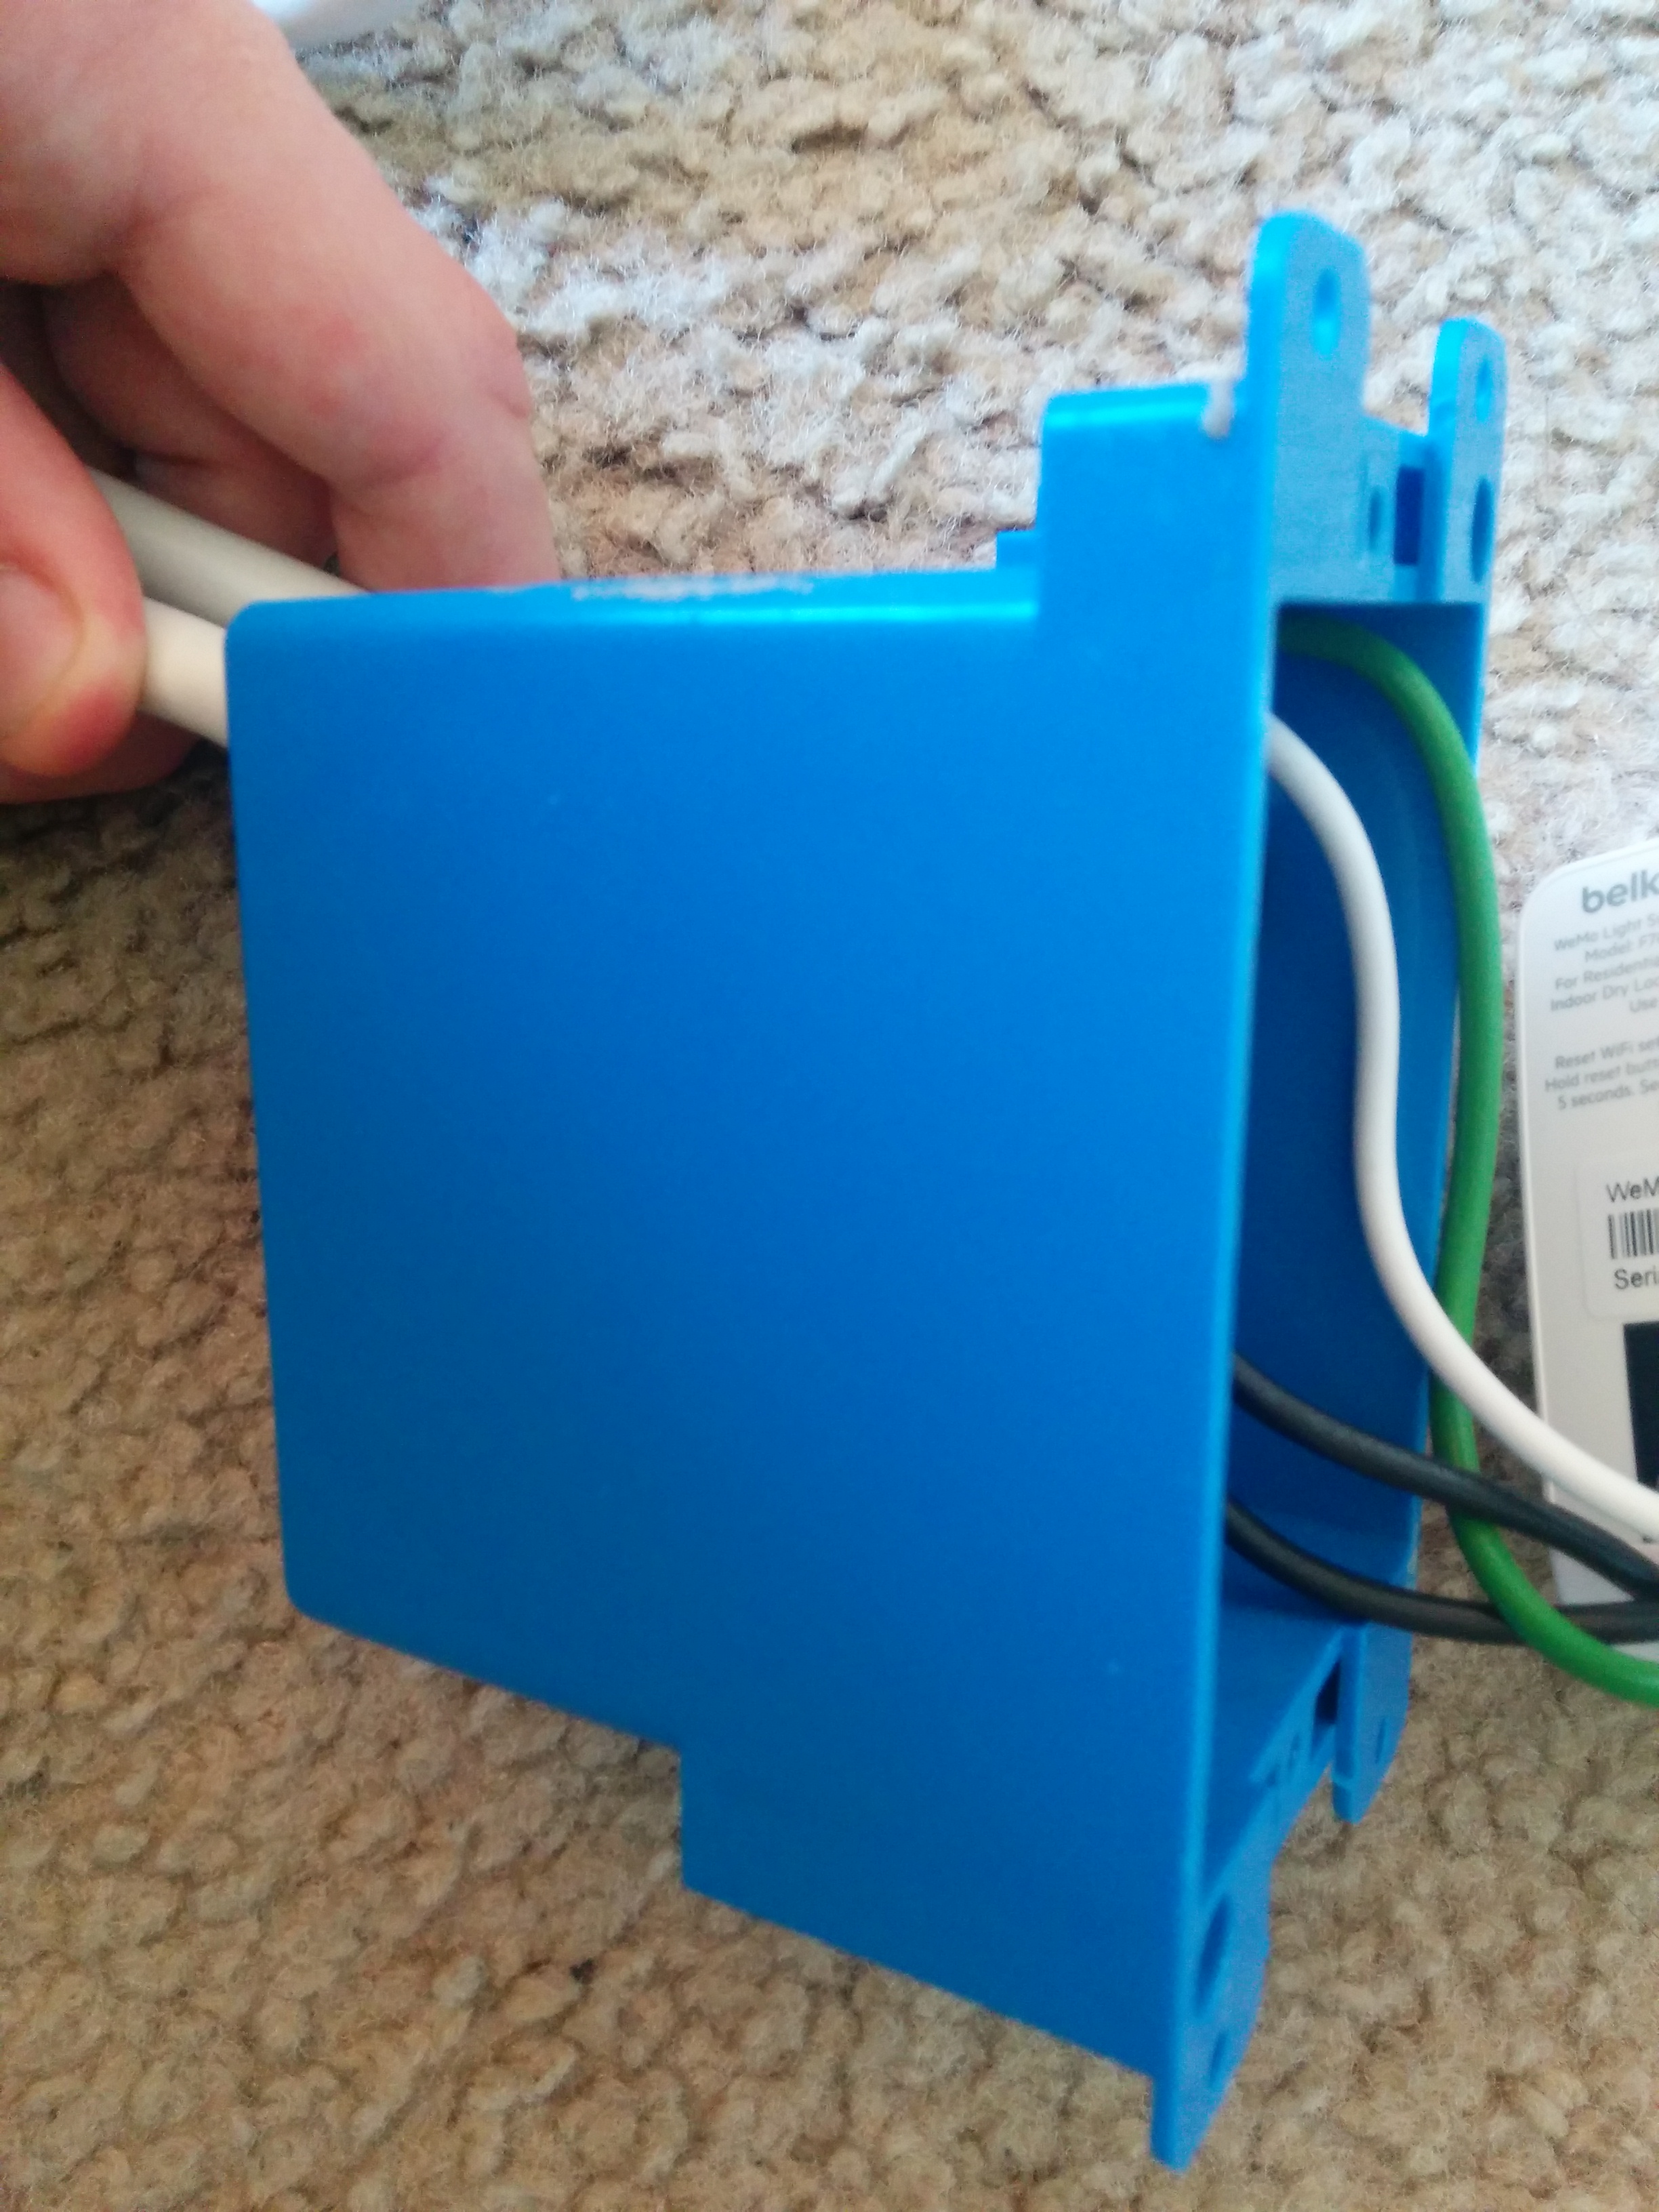
3. A 14 Cubic Inch Zip Box (blue thing) - 2$
This is a light socket box. You'll be putting the wiring into this box so that people can't accidentally hurt themselves by touching exposed wires.
4. Duct tape (*good to have)
This is for sealing up cracks in the lighting box.
Tools
1. Scissors - for cutting the extension cord
2. Wire strippers or a sharp knife - for stripping the 3 wires inside of the extension cord sleeve
3. Phillips screwdriver - for screwing the WeMo into the ZipBox
* I would recommend wrapping the finished product in duct tape to be sure that nobody can touch an exposed wire by mistake.
Dissecting the Extension Cord
A Word of Caution!
Before you begin NOTE that modifying extension cords can be dangerous. Getting electrocuted can kill you. Be 100% sure that the extension cord is NOT PLUGGED IN. Also, NEVER touch any exposed wires when the power is plugged in. If something doesn't work be sure to disconnect the extension cord from power before examining it to fix it. Be careful and be SAFE!
With that out of the way...
Cut the extension cord into 2 pieces. The pieces do not need to be the same length but you probably want a little bit of distance from the plug so that the controller can sit on the ground. I actually put my controller closer to the plug end than I probably would if I were to do it again... I have found that if you have an outlet that's high up having the controller too close to the plug means it can't sit easily on the floor. Use your best judgement and you should be fine.
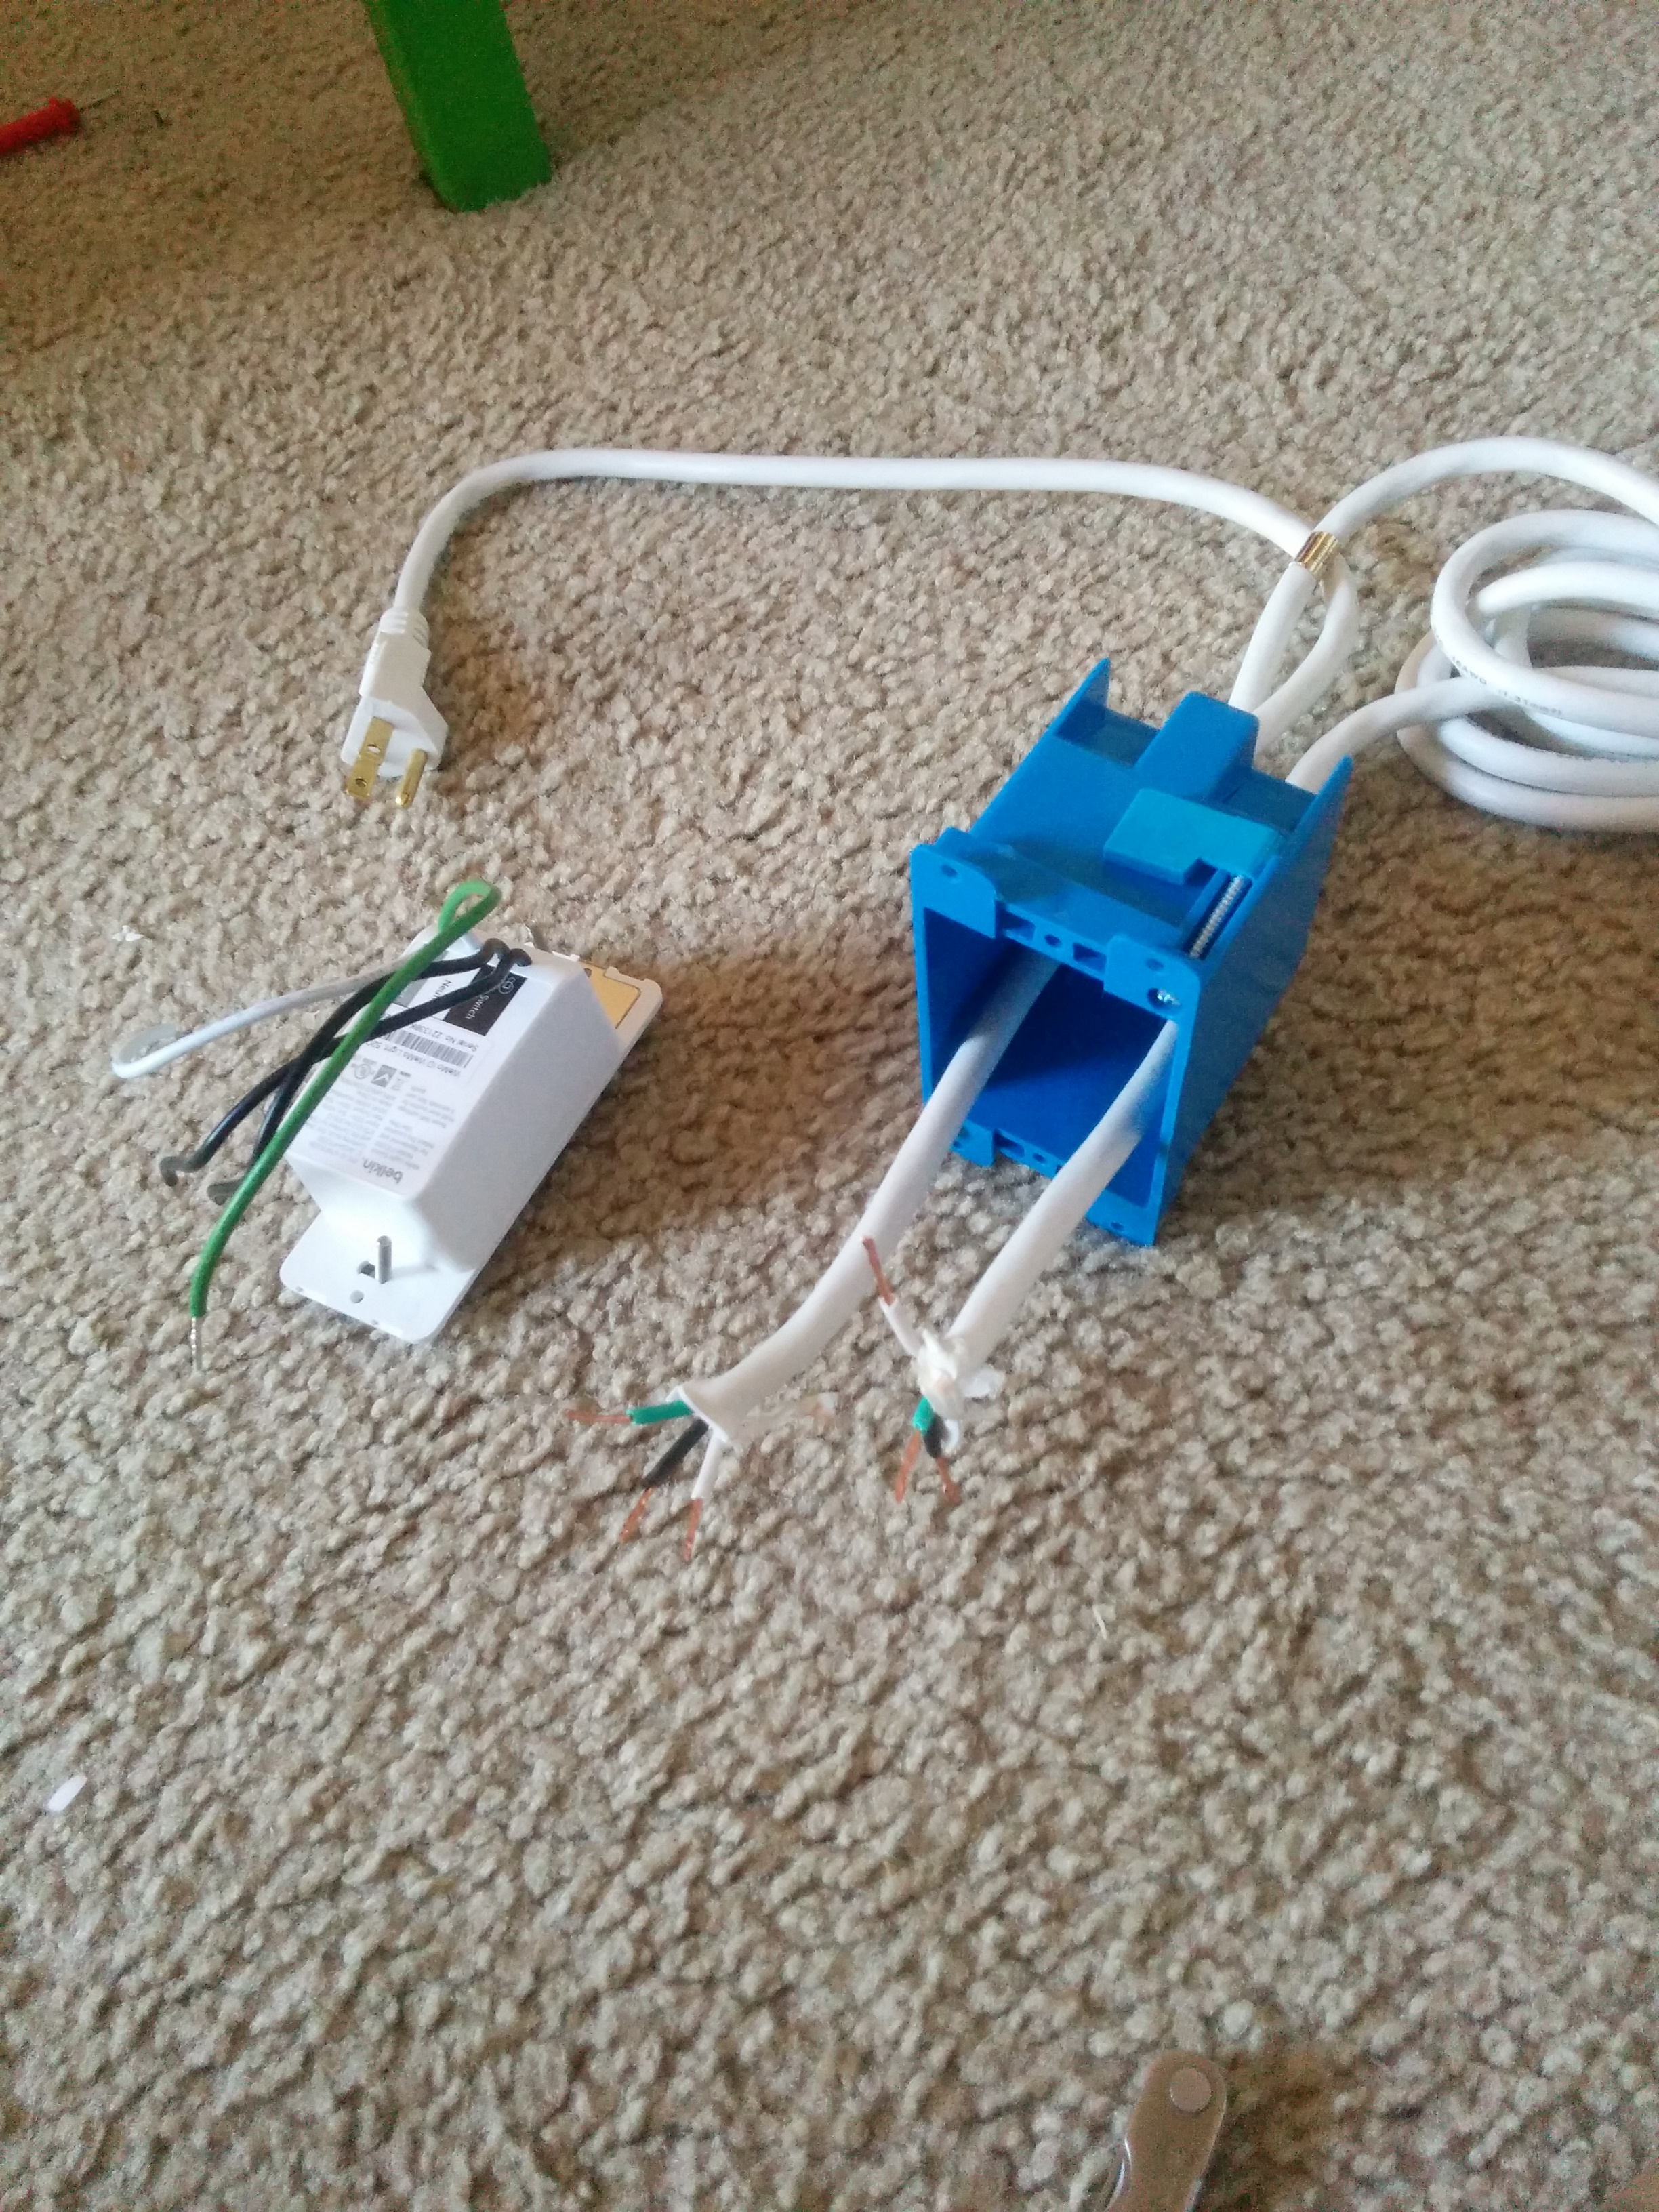
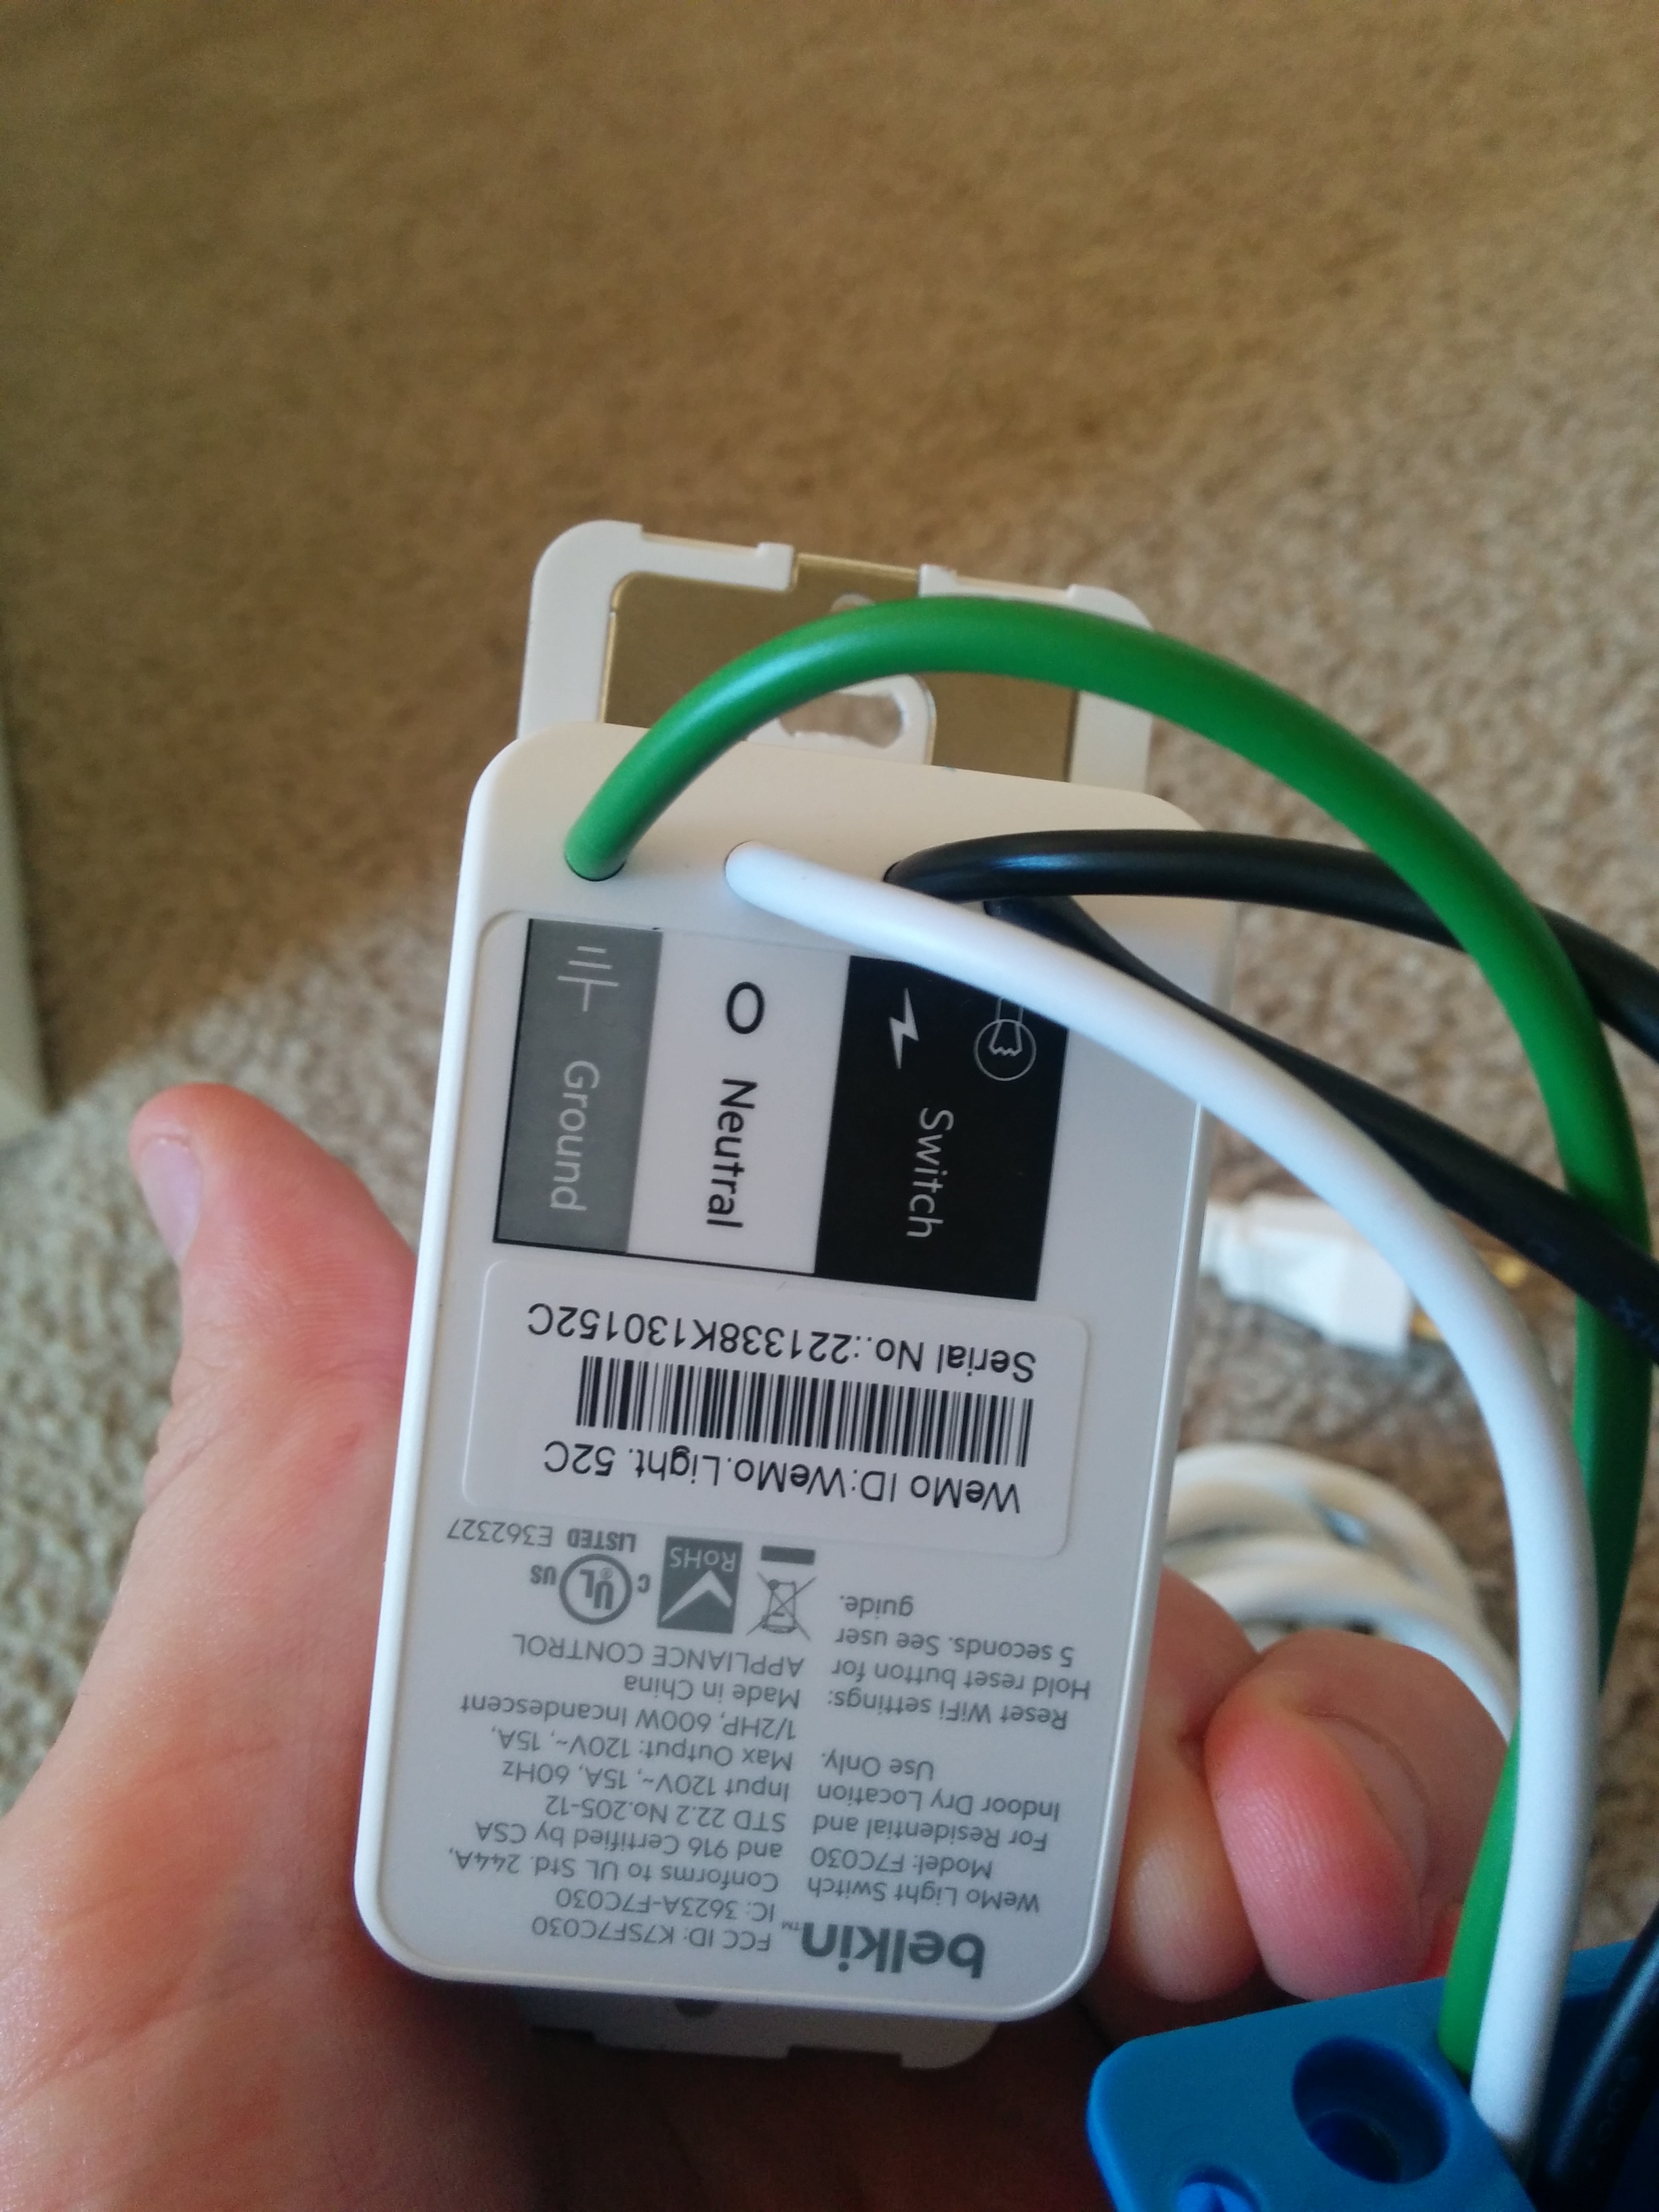
When you make the cut you'll find that the extension cord is a rubber sleeve rapped around 3 wires. These wires should be green, black, and white. You'll need to strip the insulation off of each of these wires so that you expose maybe half an inch of metal. Now this is how an extension cord is supposed to be wired. Green is GROUND - the big roundish prong on the cord. White is neutral - one of the two prongs. Black is hot - the other of the two prongs. This will match the color code on the wires attached to the back of the WeMo.
Just to be 100% safe I tested my extension cord's wiring using a digital multi-meter. If you don't have a multi-meter or don't know how to use one it may be ok. If you have an OSHA certified extension cord and the wires are green, white and black you can probably skip this test. Just be sure to NEVER change the wiring while the controller is plugged in.
If you have a multi-meter and want to be sure that the 3 wires are correctly wired in your extension cord set the multimeter to measure resistance (ohms or the greek letter omega) and then touched one end of the multimeter to one piece of the stripped wire and then the other to one of the 3 prongs on the extension cord. When the ohm-meter read 0 you'll know that the stripped wire you are touching is connected to the prong your are touching. On my extension cord green, black and white all were connected to the proper prongs.
Once you've gotten the wires stripped, take the two cut ends of the extension cord and thread them into the zip box (the blue thing).
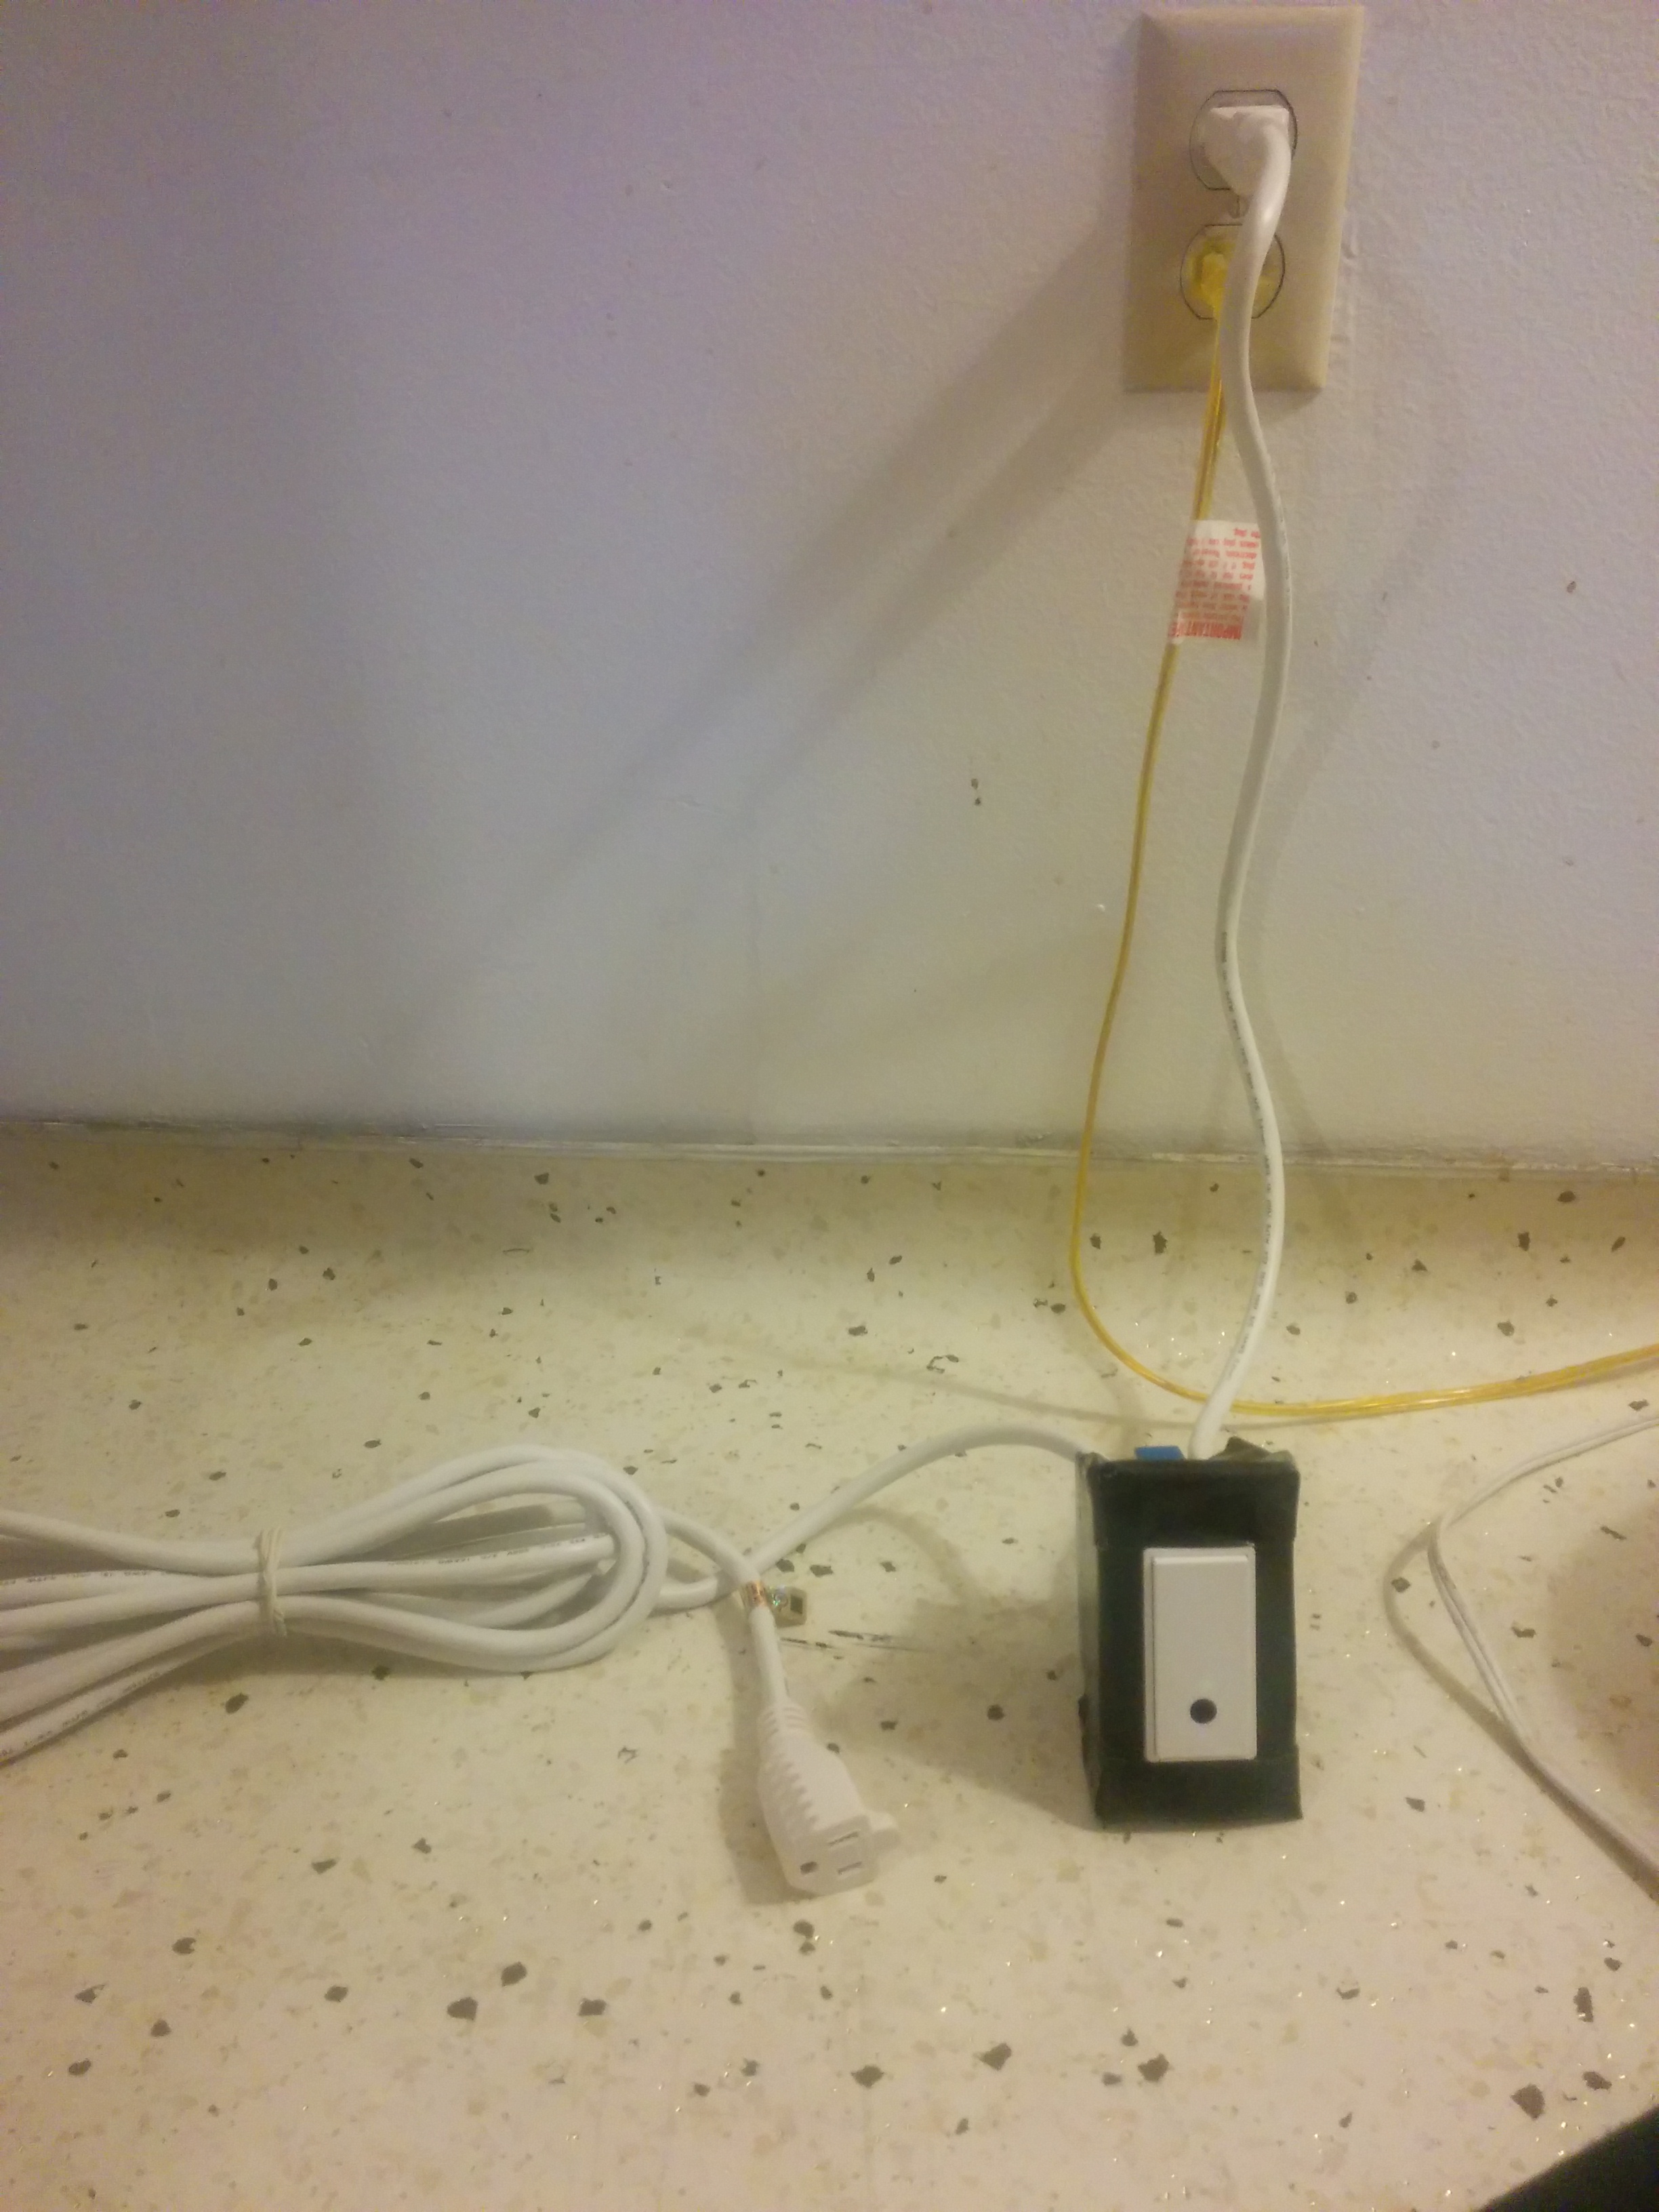
At this point the project should look similar to the picture above.
Wiring Up the Box and Sealing Away Dangerous Wires
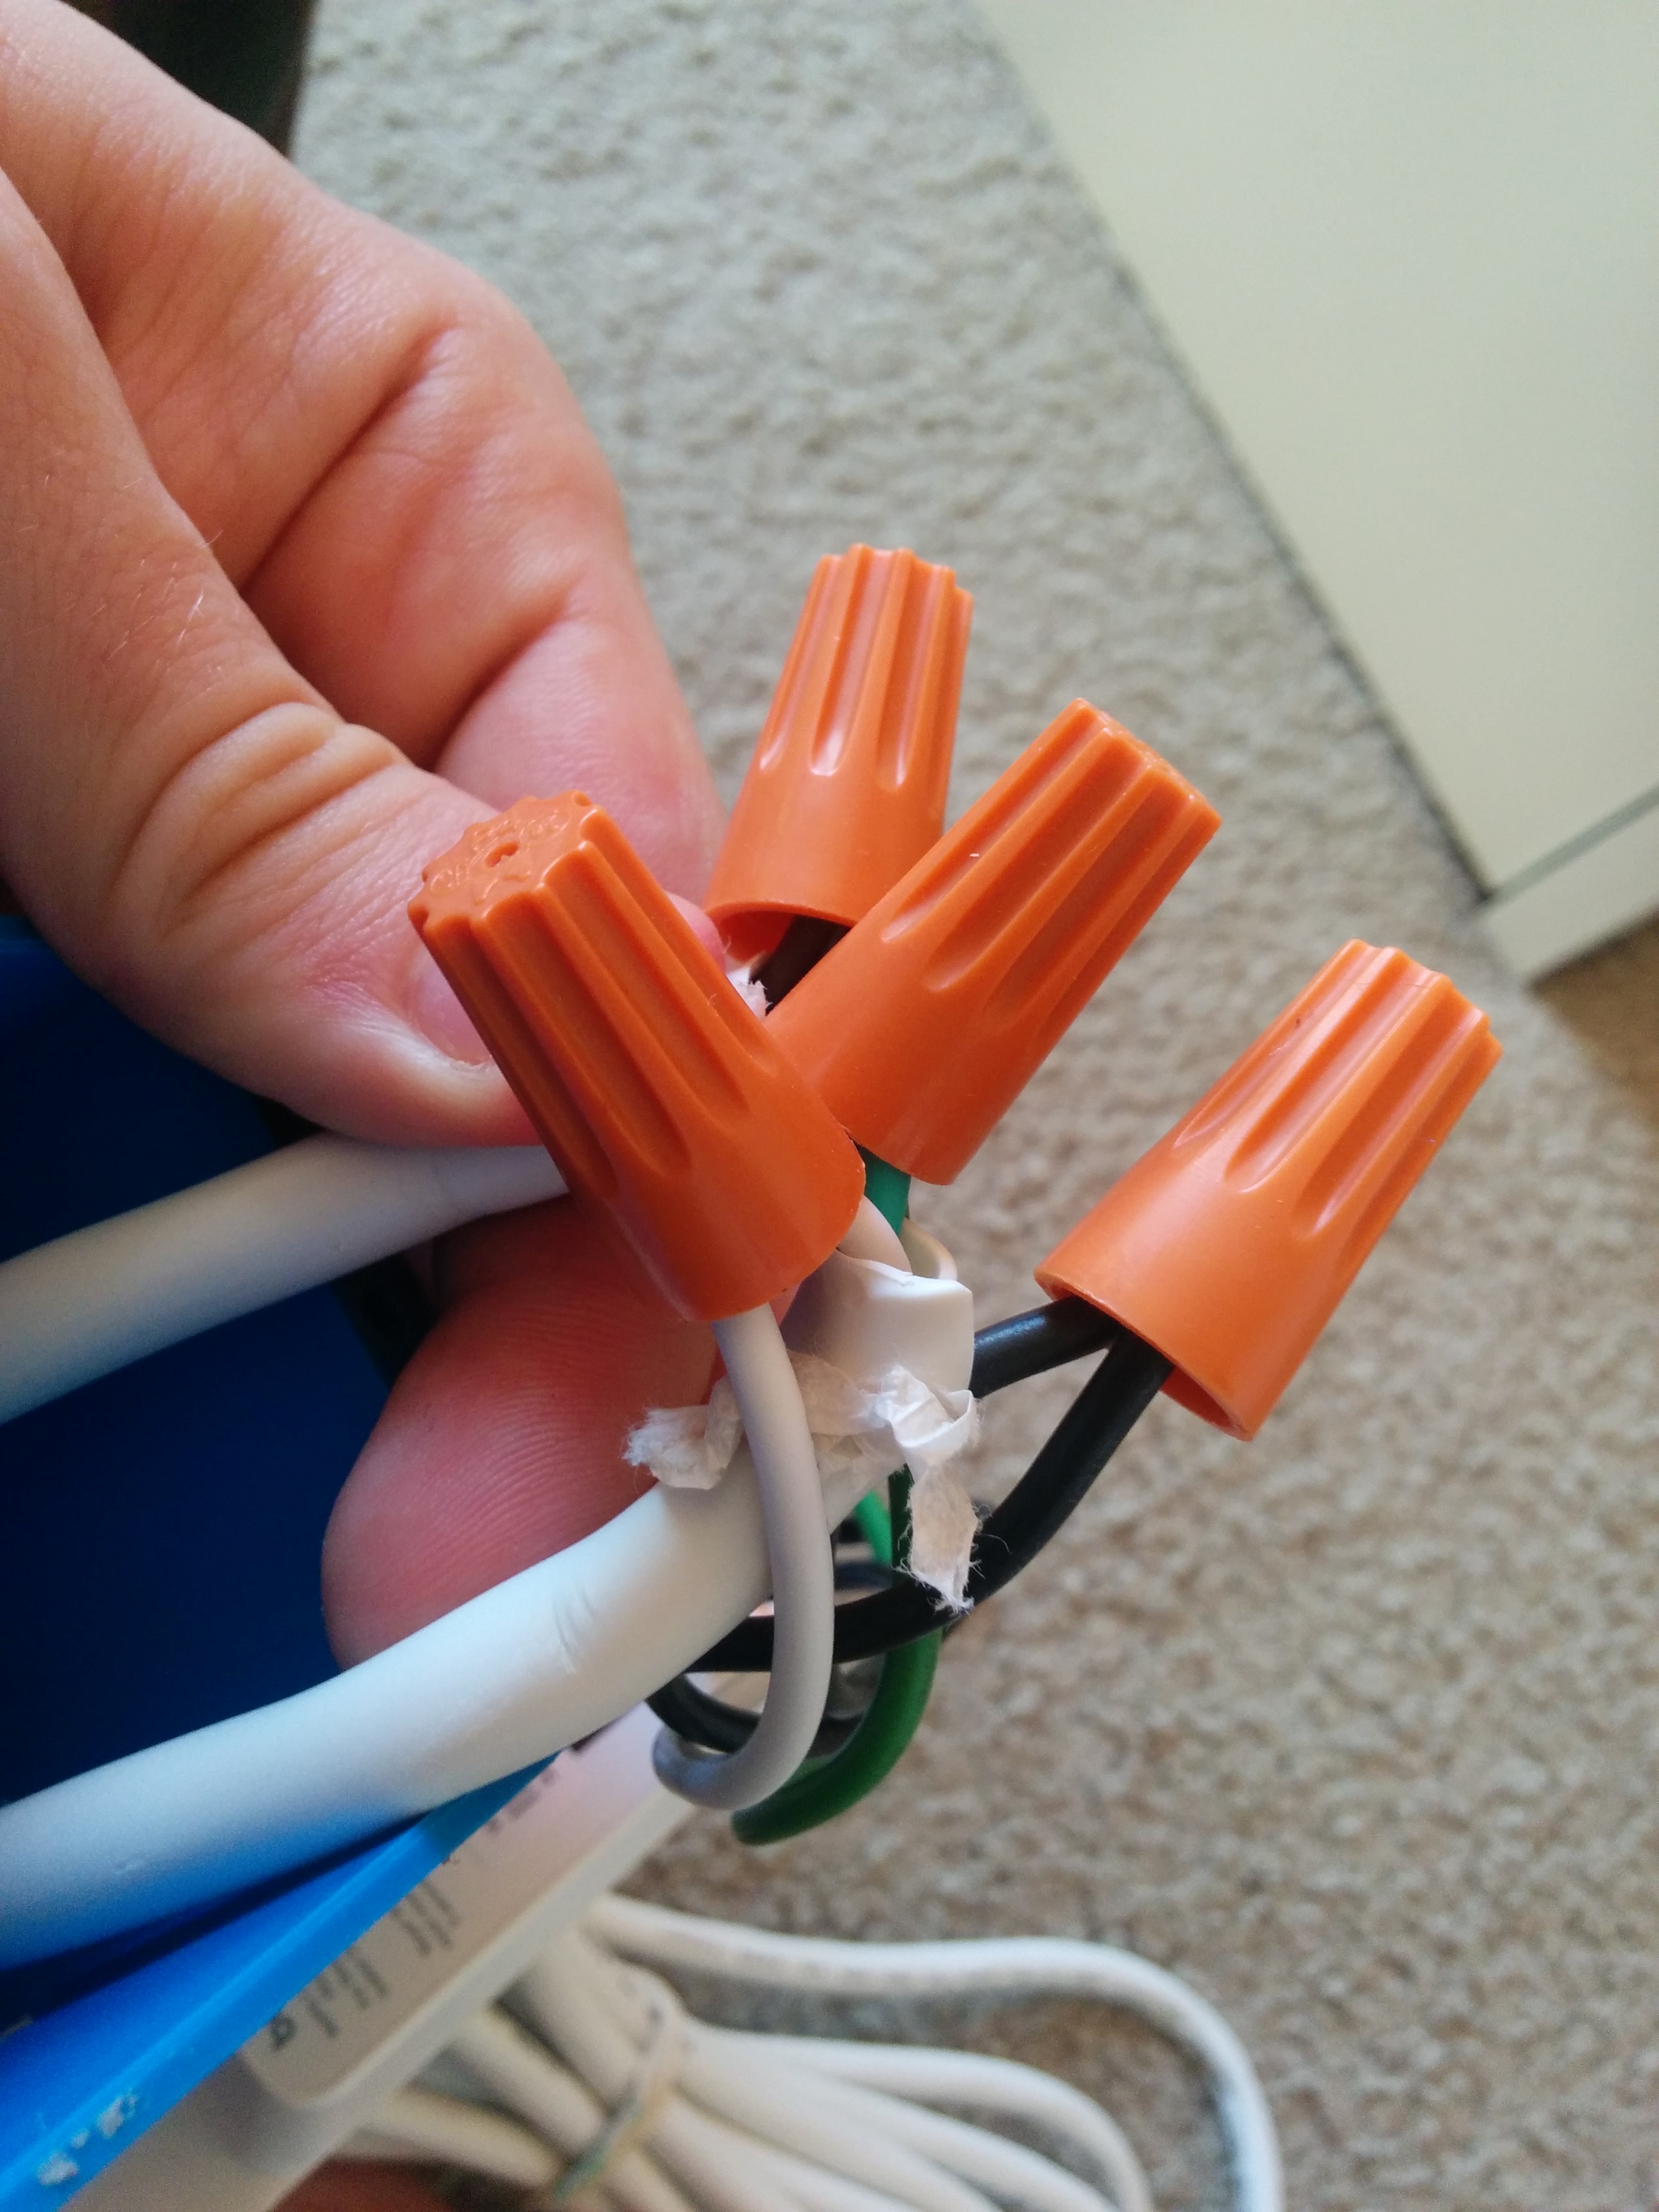
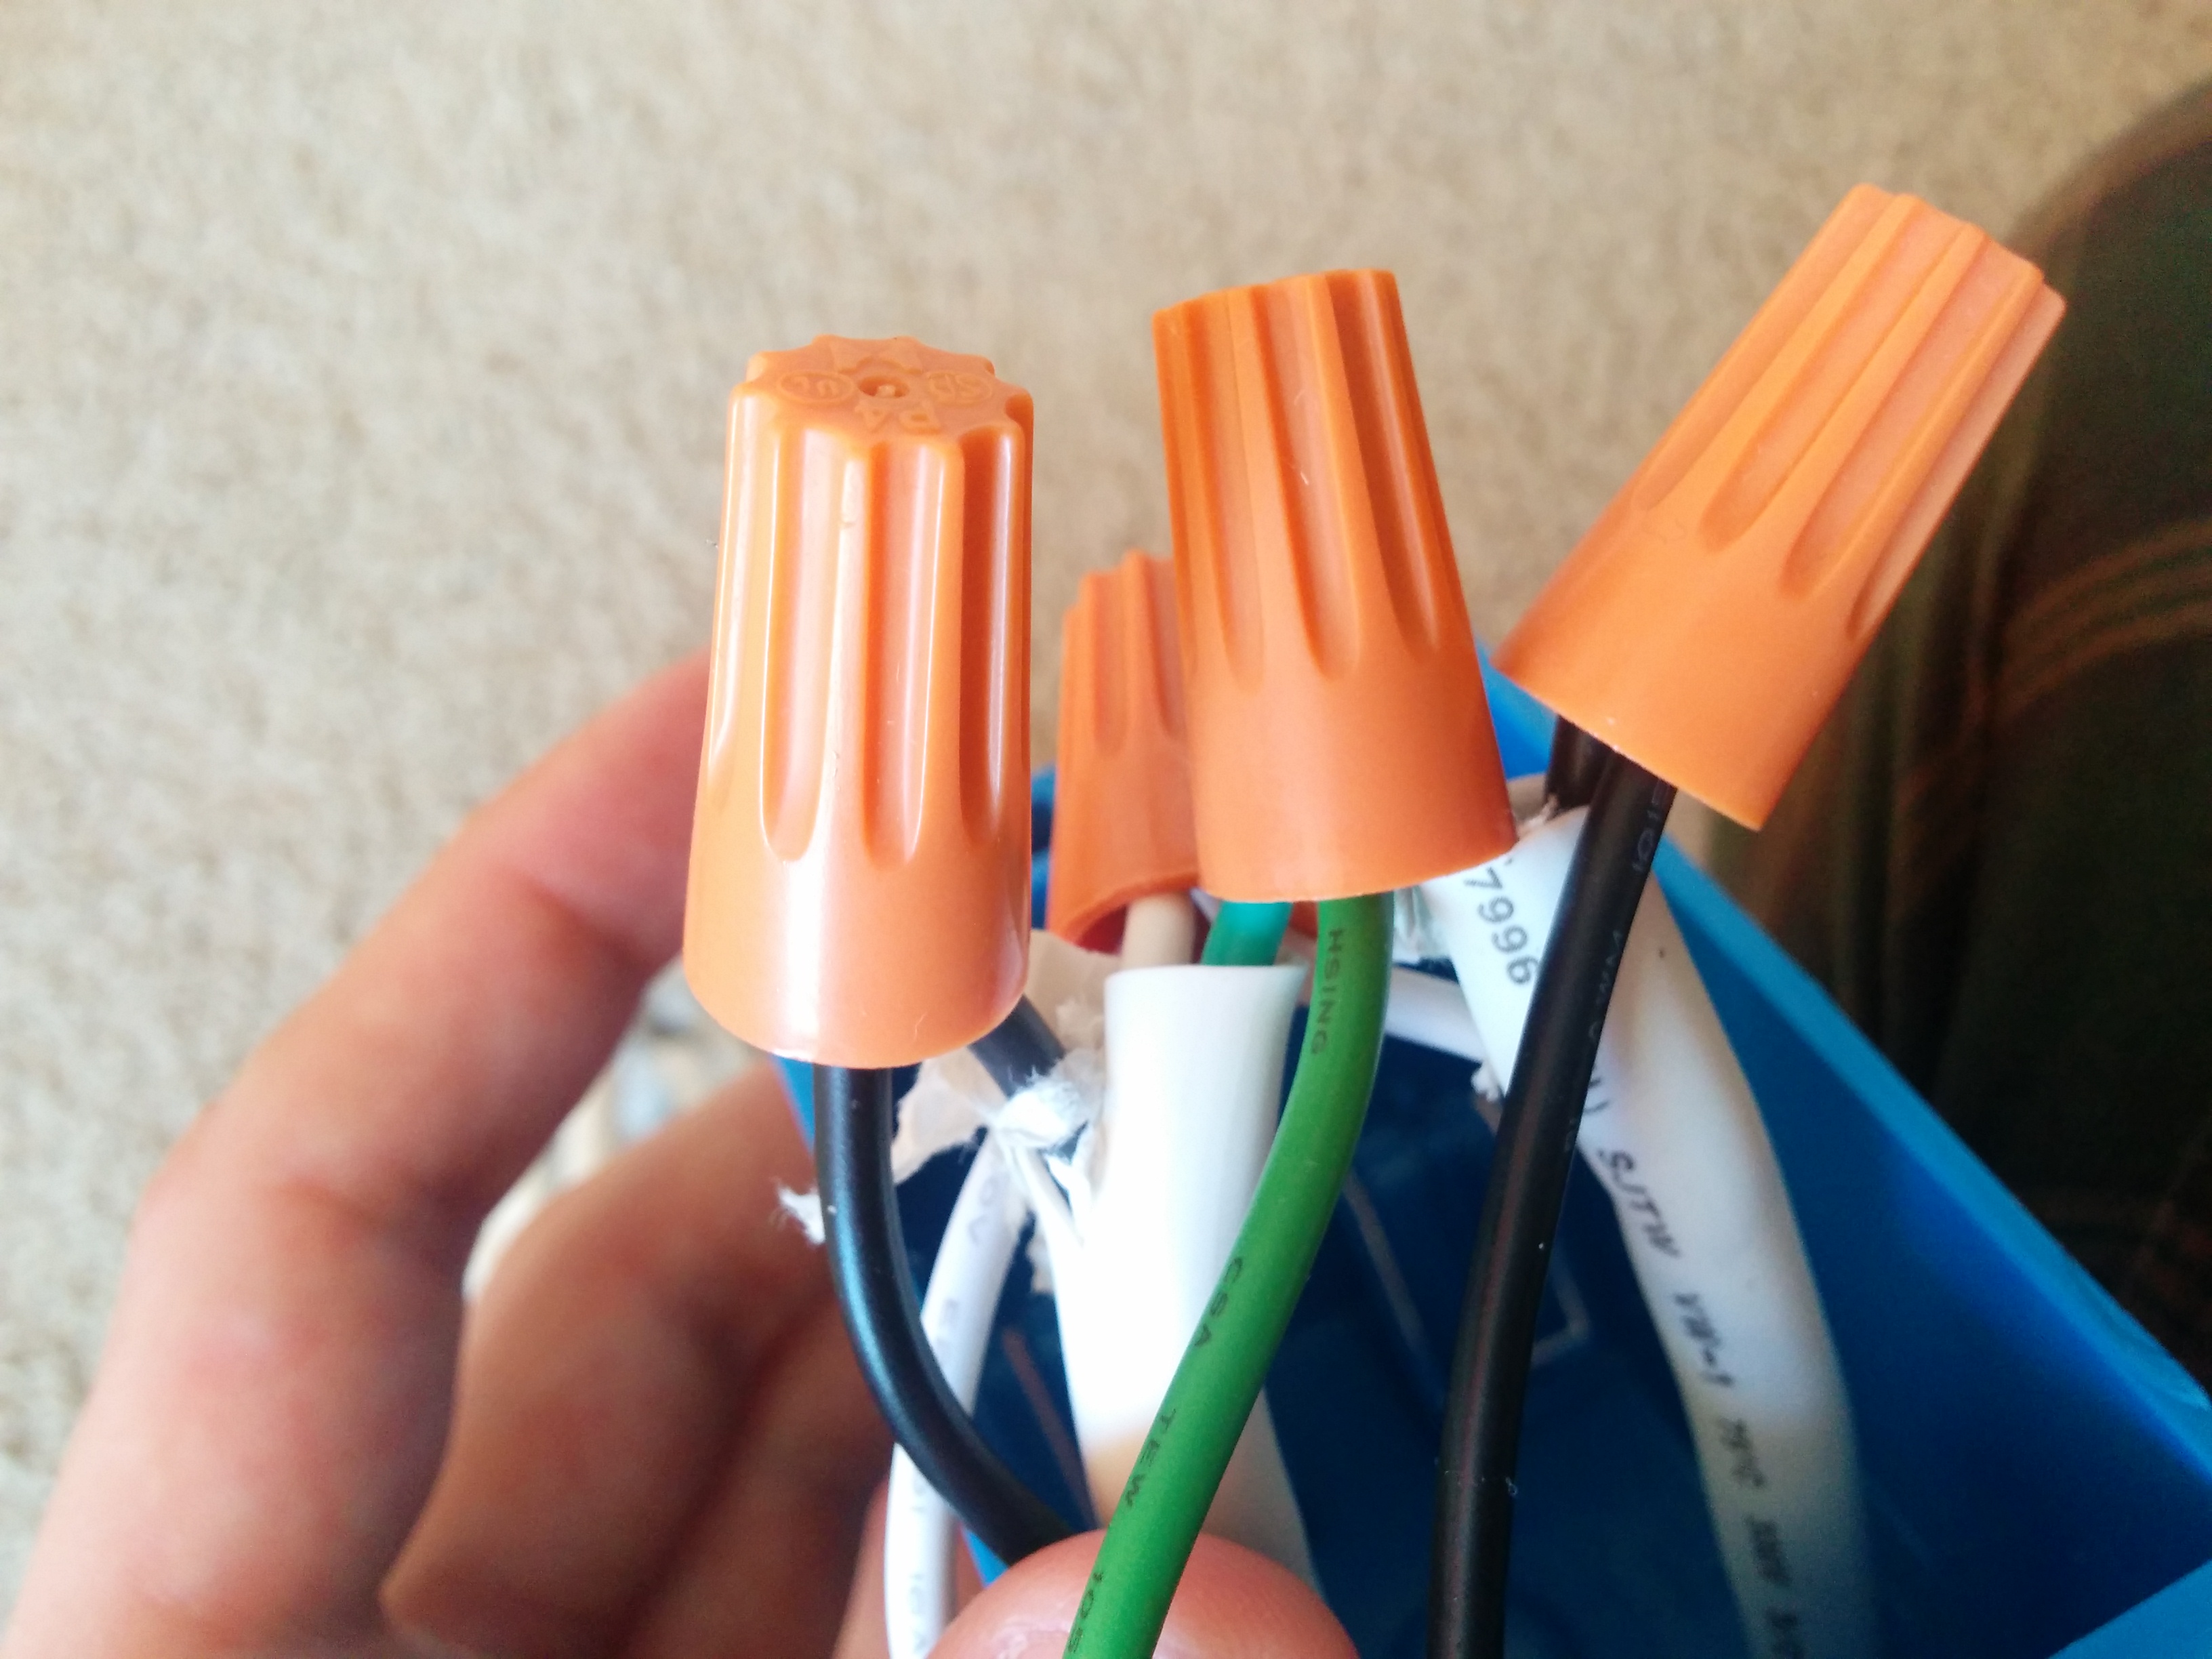

My WeMo came with 4 twist-on XPT connectors (the orange things).
These guys are used to take loose wires and join them together without having to do any soldering. They also shield the wires so that they don't accidentally touch an incorrect wire or YOU.
Do the following:
Take the metal sticking out of the 3 green wires, put them together and screw an XPT connector onto them joining them.
Do the same with the white wires.
Take 1 black wire from the WeMo and join it with 1 black wire from one side of the extension cord with an XPT connector.
Take the other black WeMo wire and join it to the black wire from the other side of the extension cord.
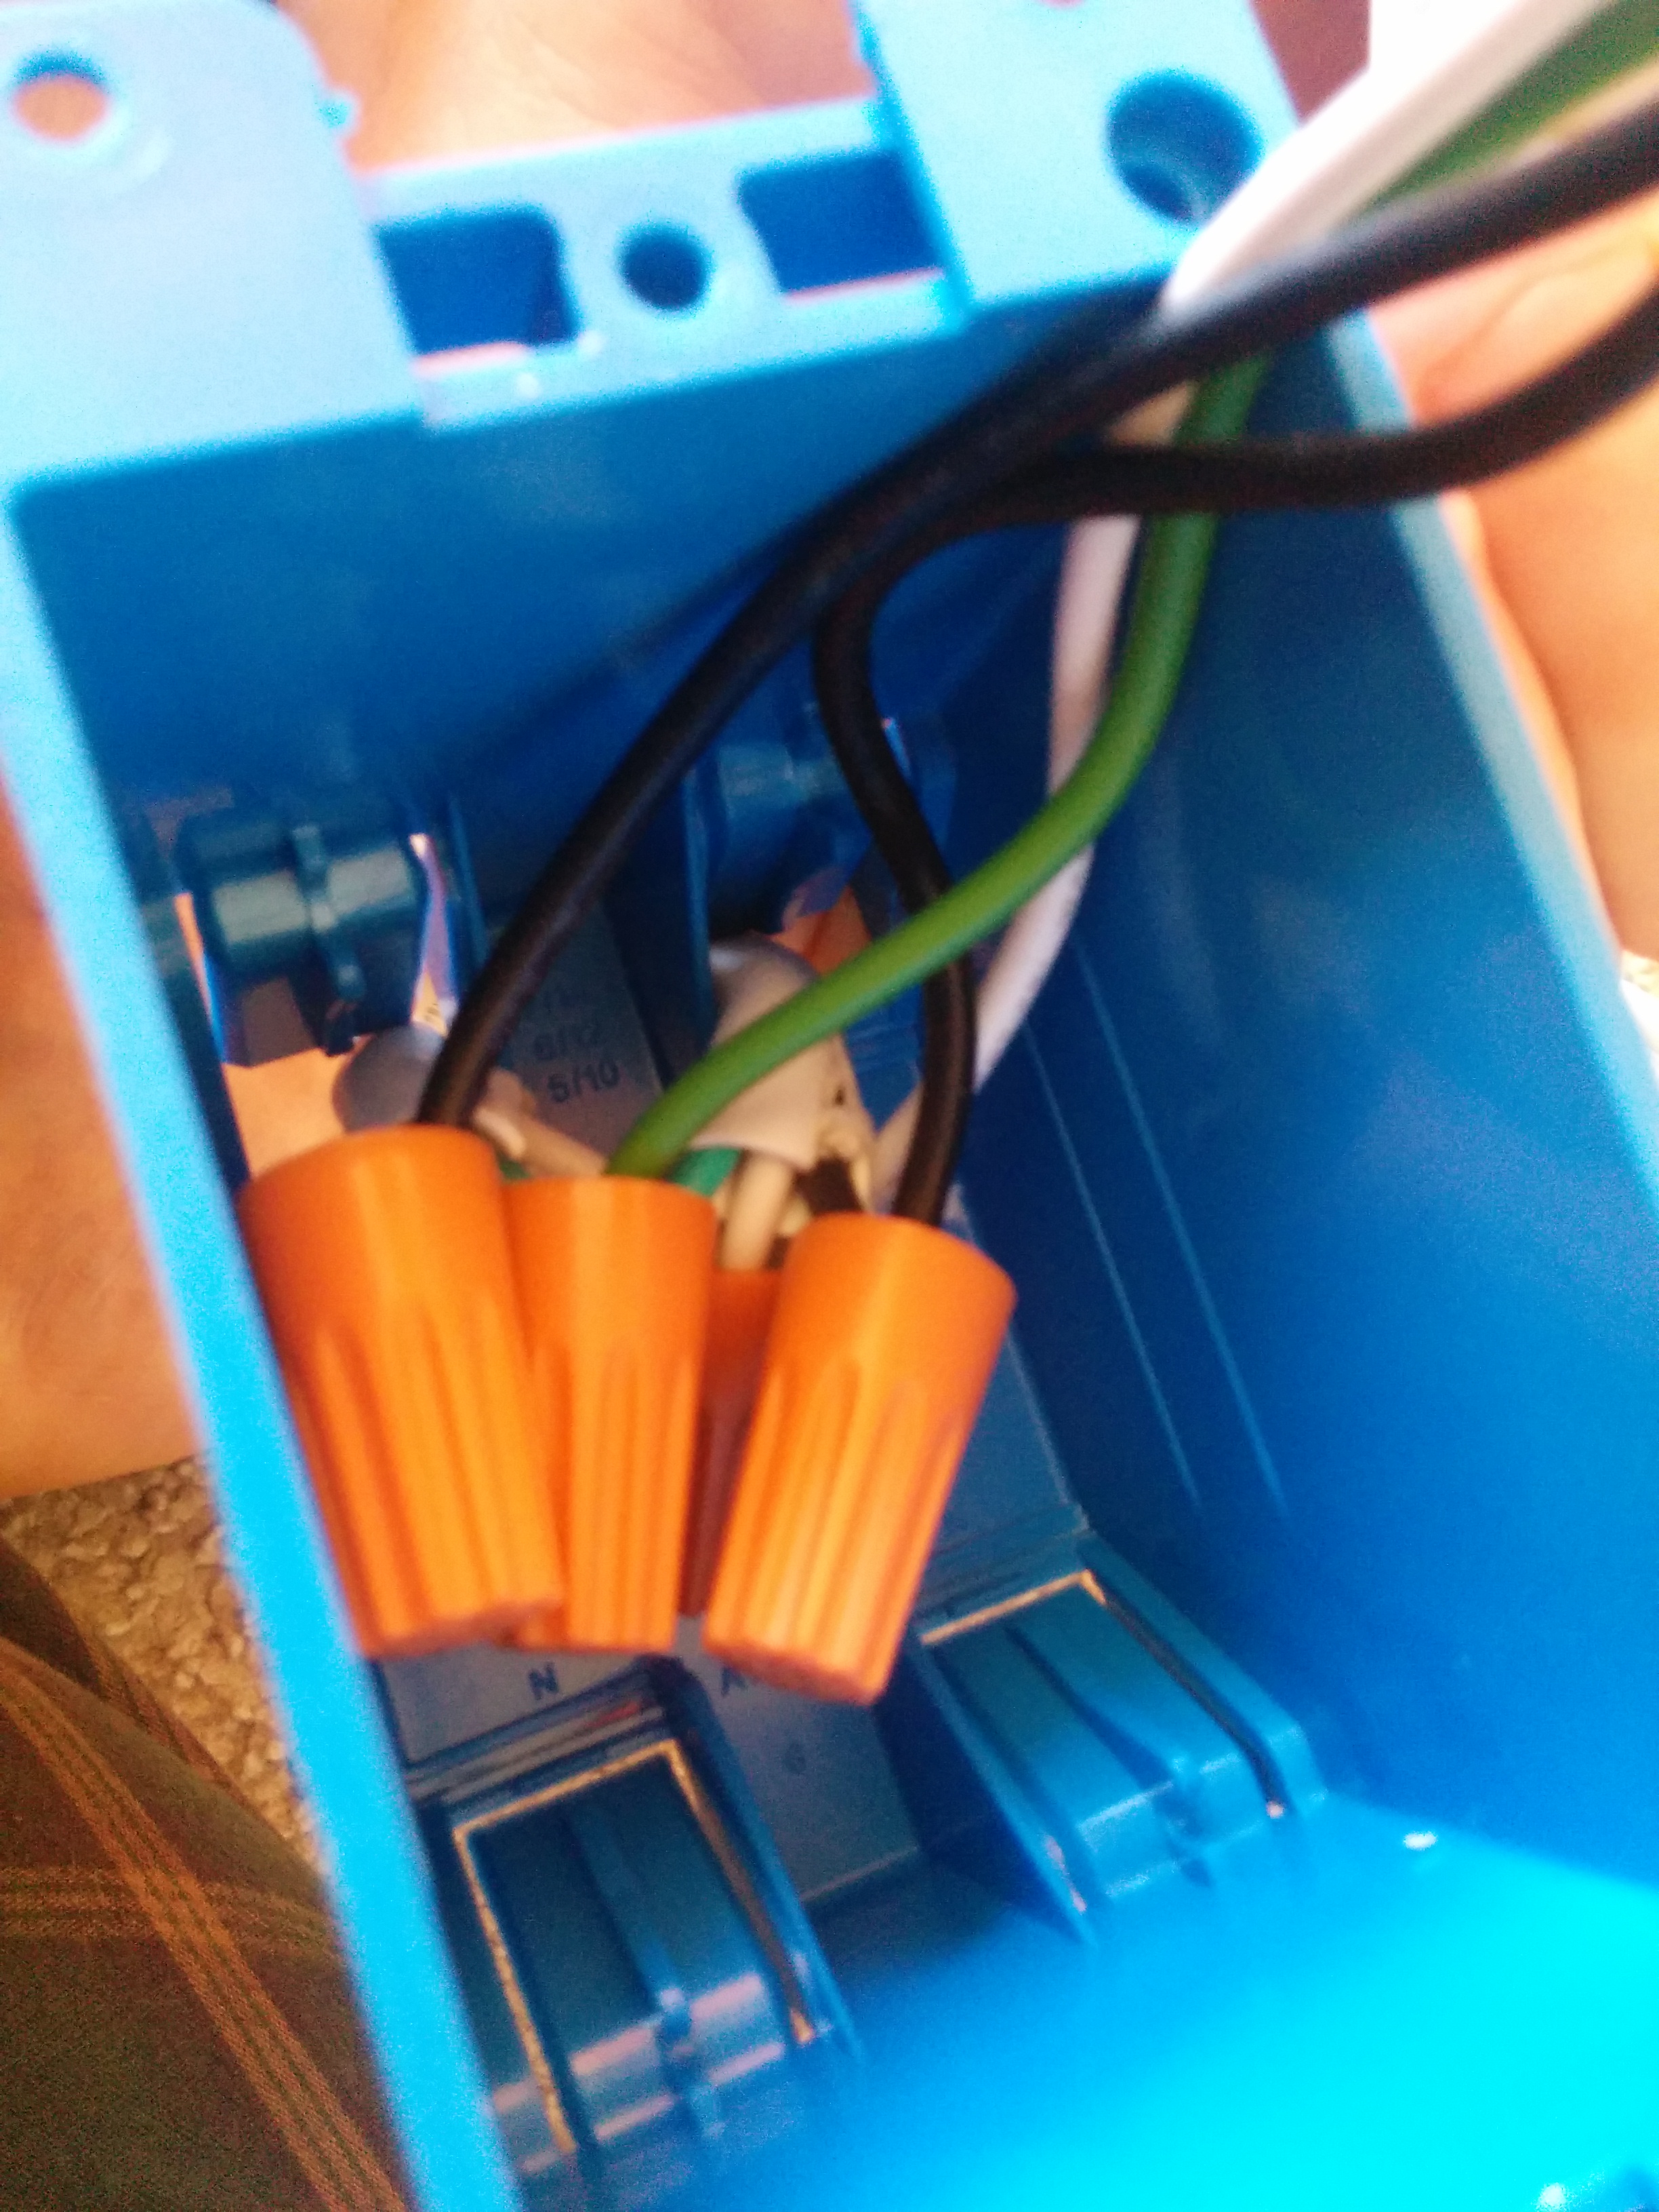
You're done with the wiring. Take your screw driver and push all the wires inside of the blue box and screw down the screws that connect the WeMo to the box.
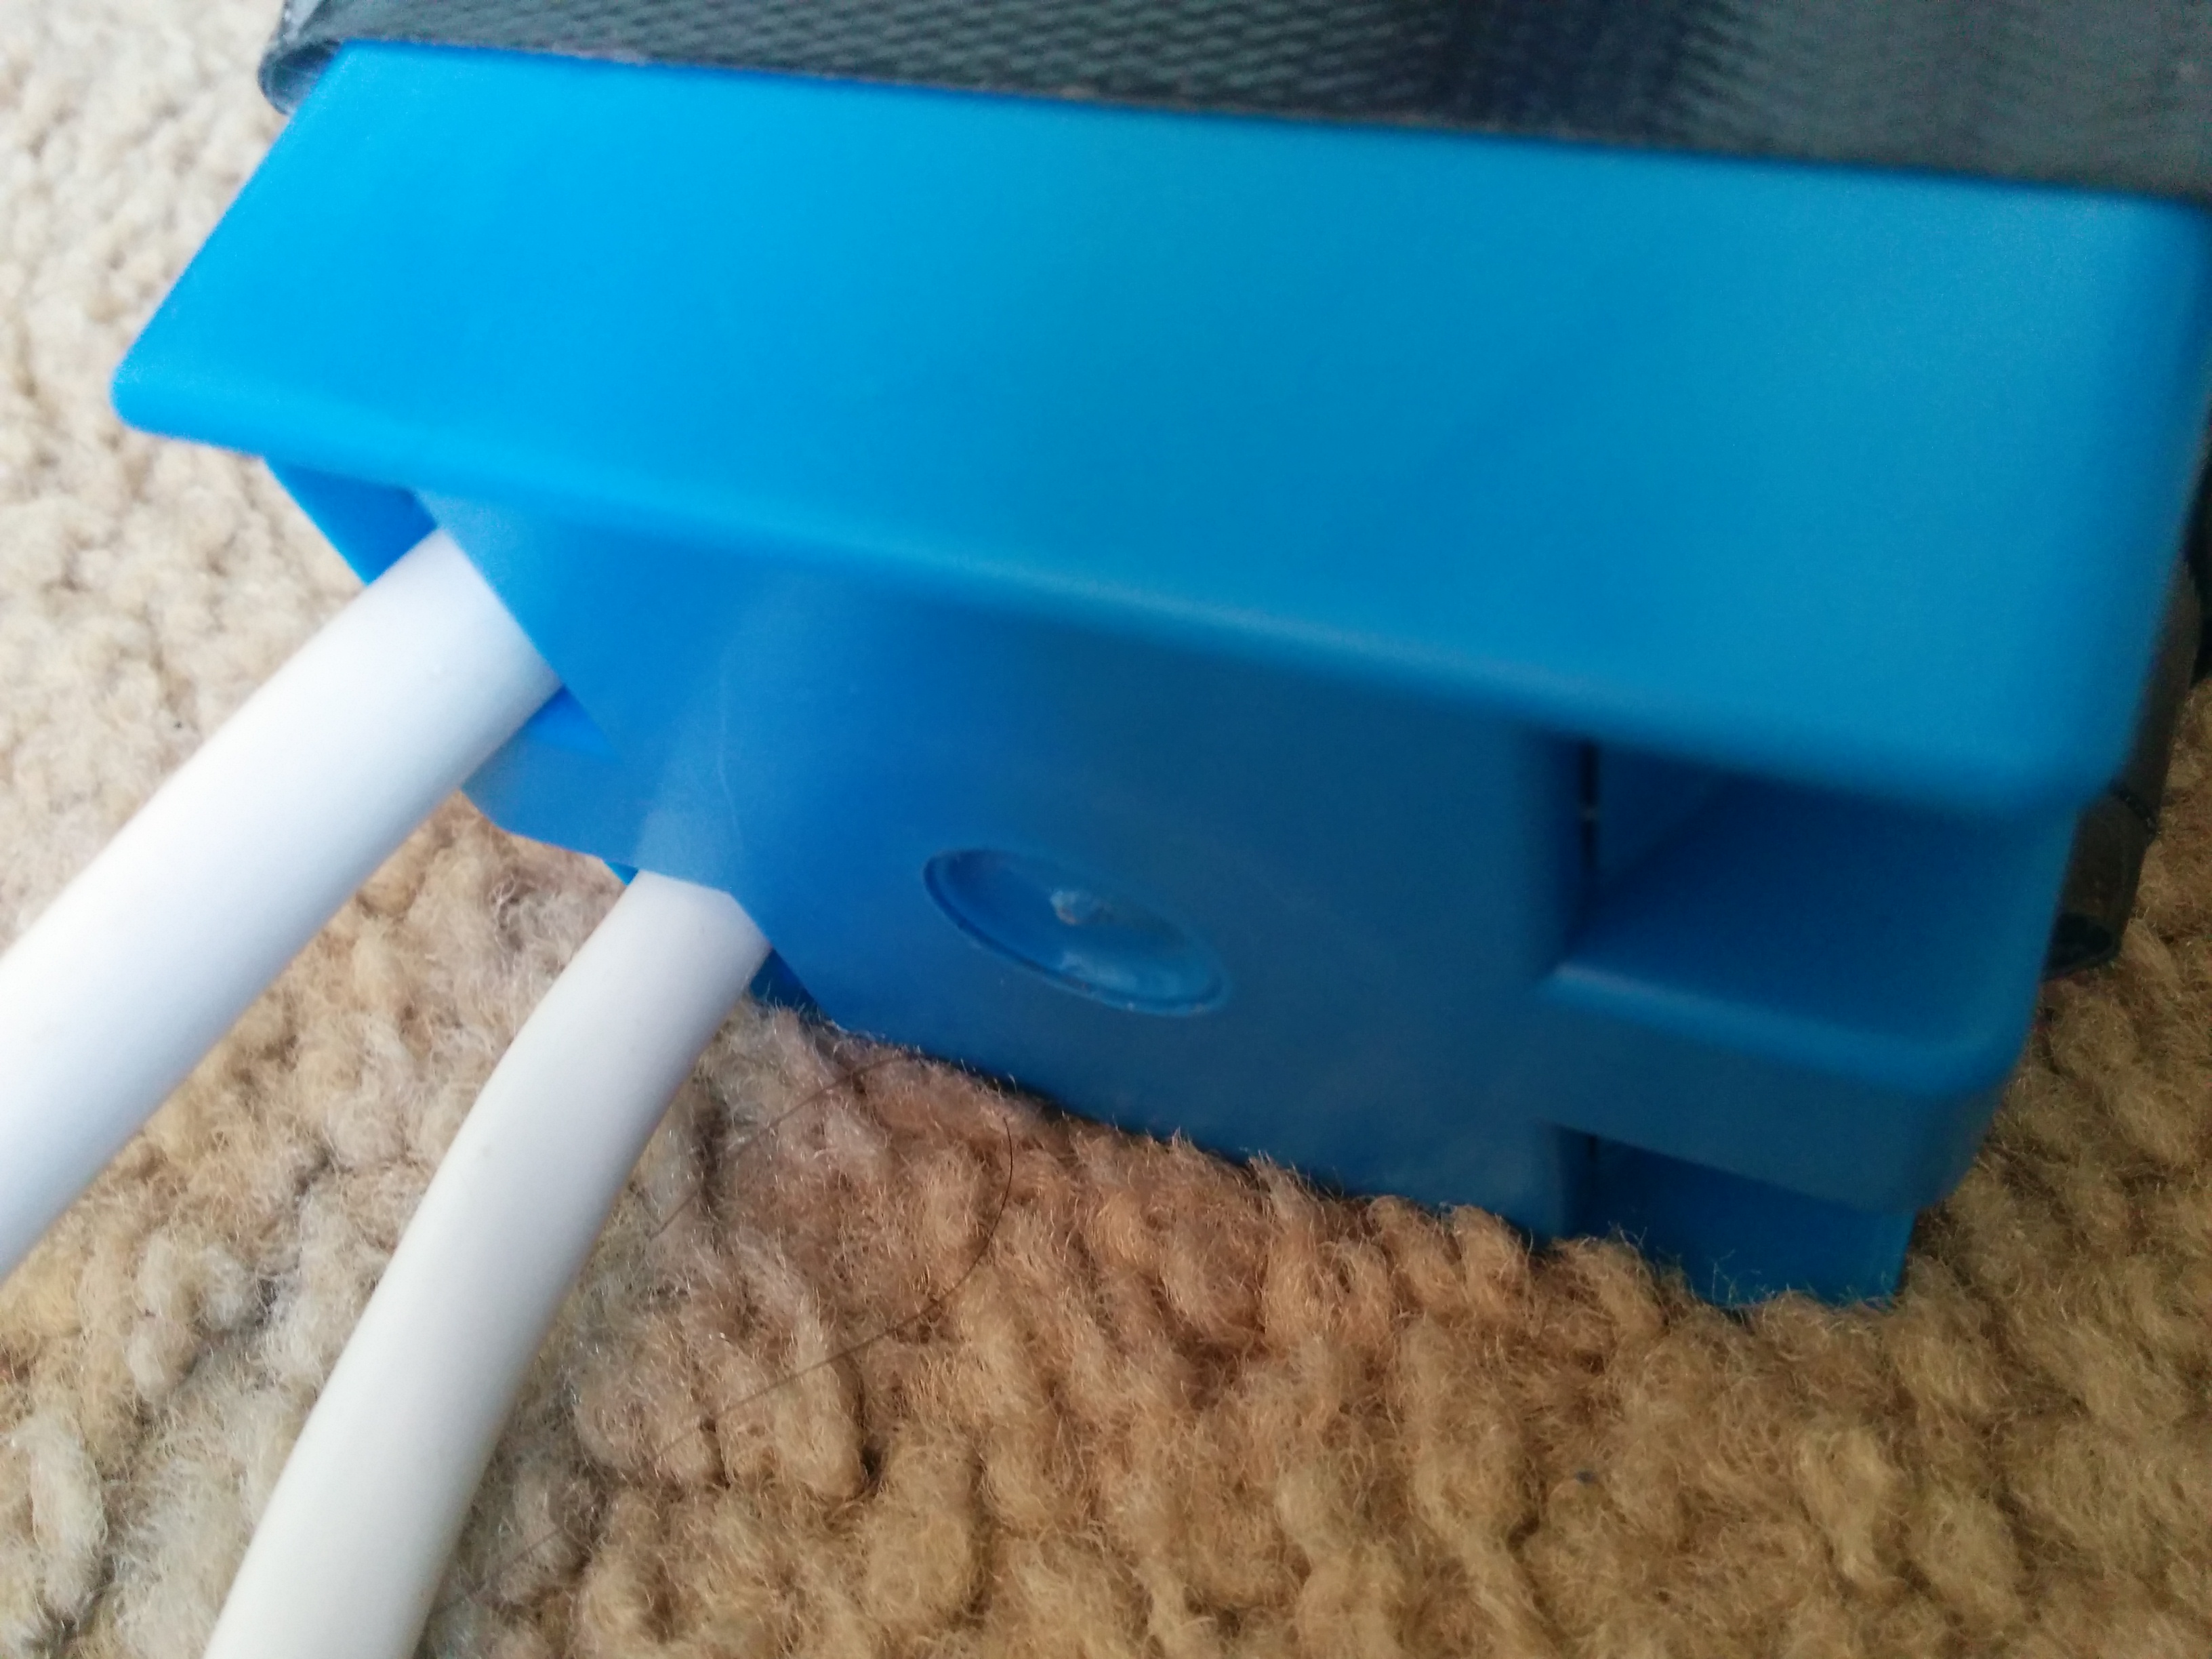
In the end your box should look like the one pictured above.
At this point the box is pretty safe. You couldn't hurt yourself unless you could slip your fingers into those little slits and touch wires that are covered by XPT connectors. You don't know if the box works yet though and it's time to find out.
Go ahead and plug the extension cord into an outlet. You should see a green light on the WeMo begin to flash. If you see it you're good to go. I would recommend un-plugging the cord and using duct tape to seal up the slits in the box. After you finish it's time to attach it to the crock pot and cook some dinner.
Testing the Crock Pot and the Controller
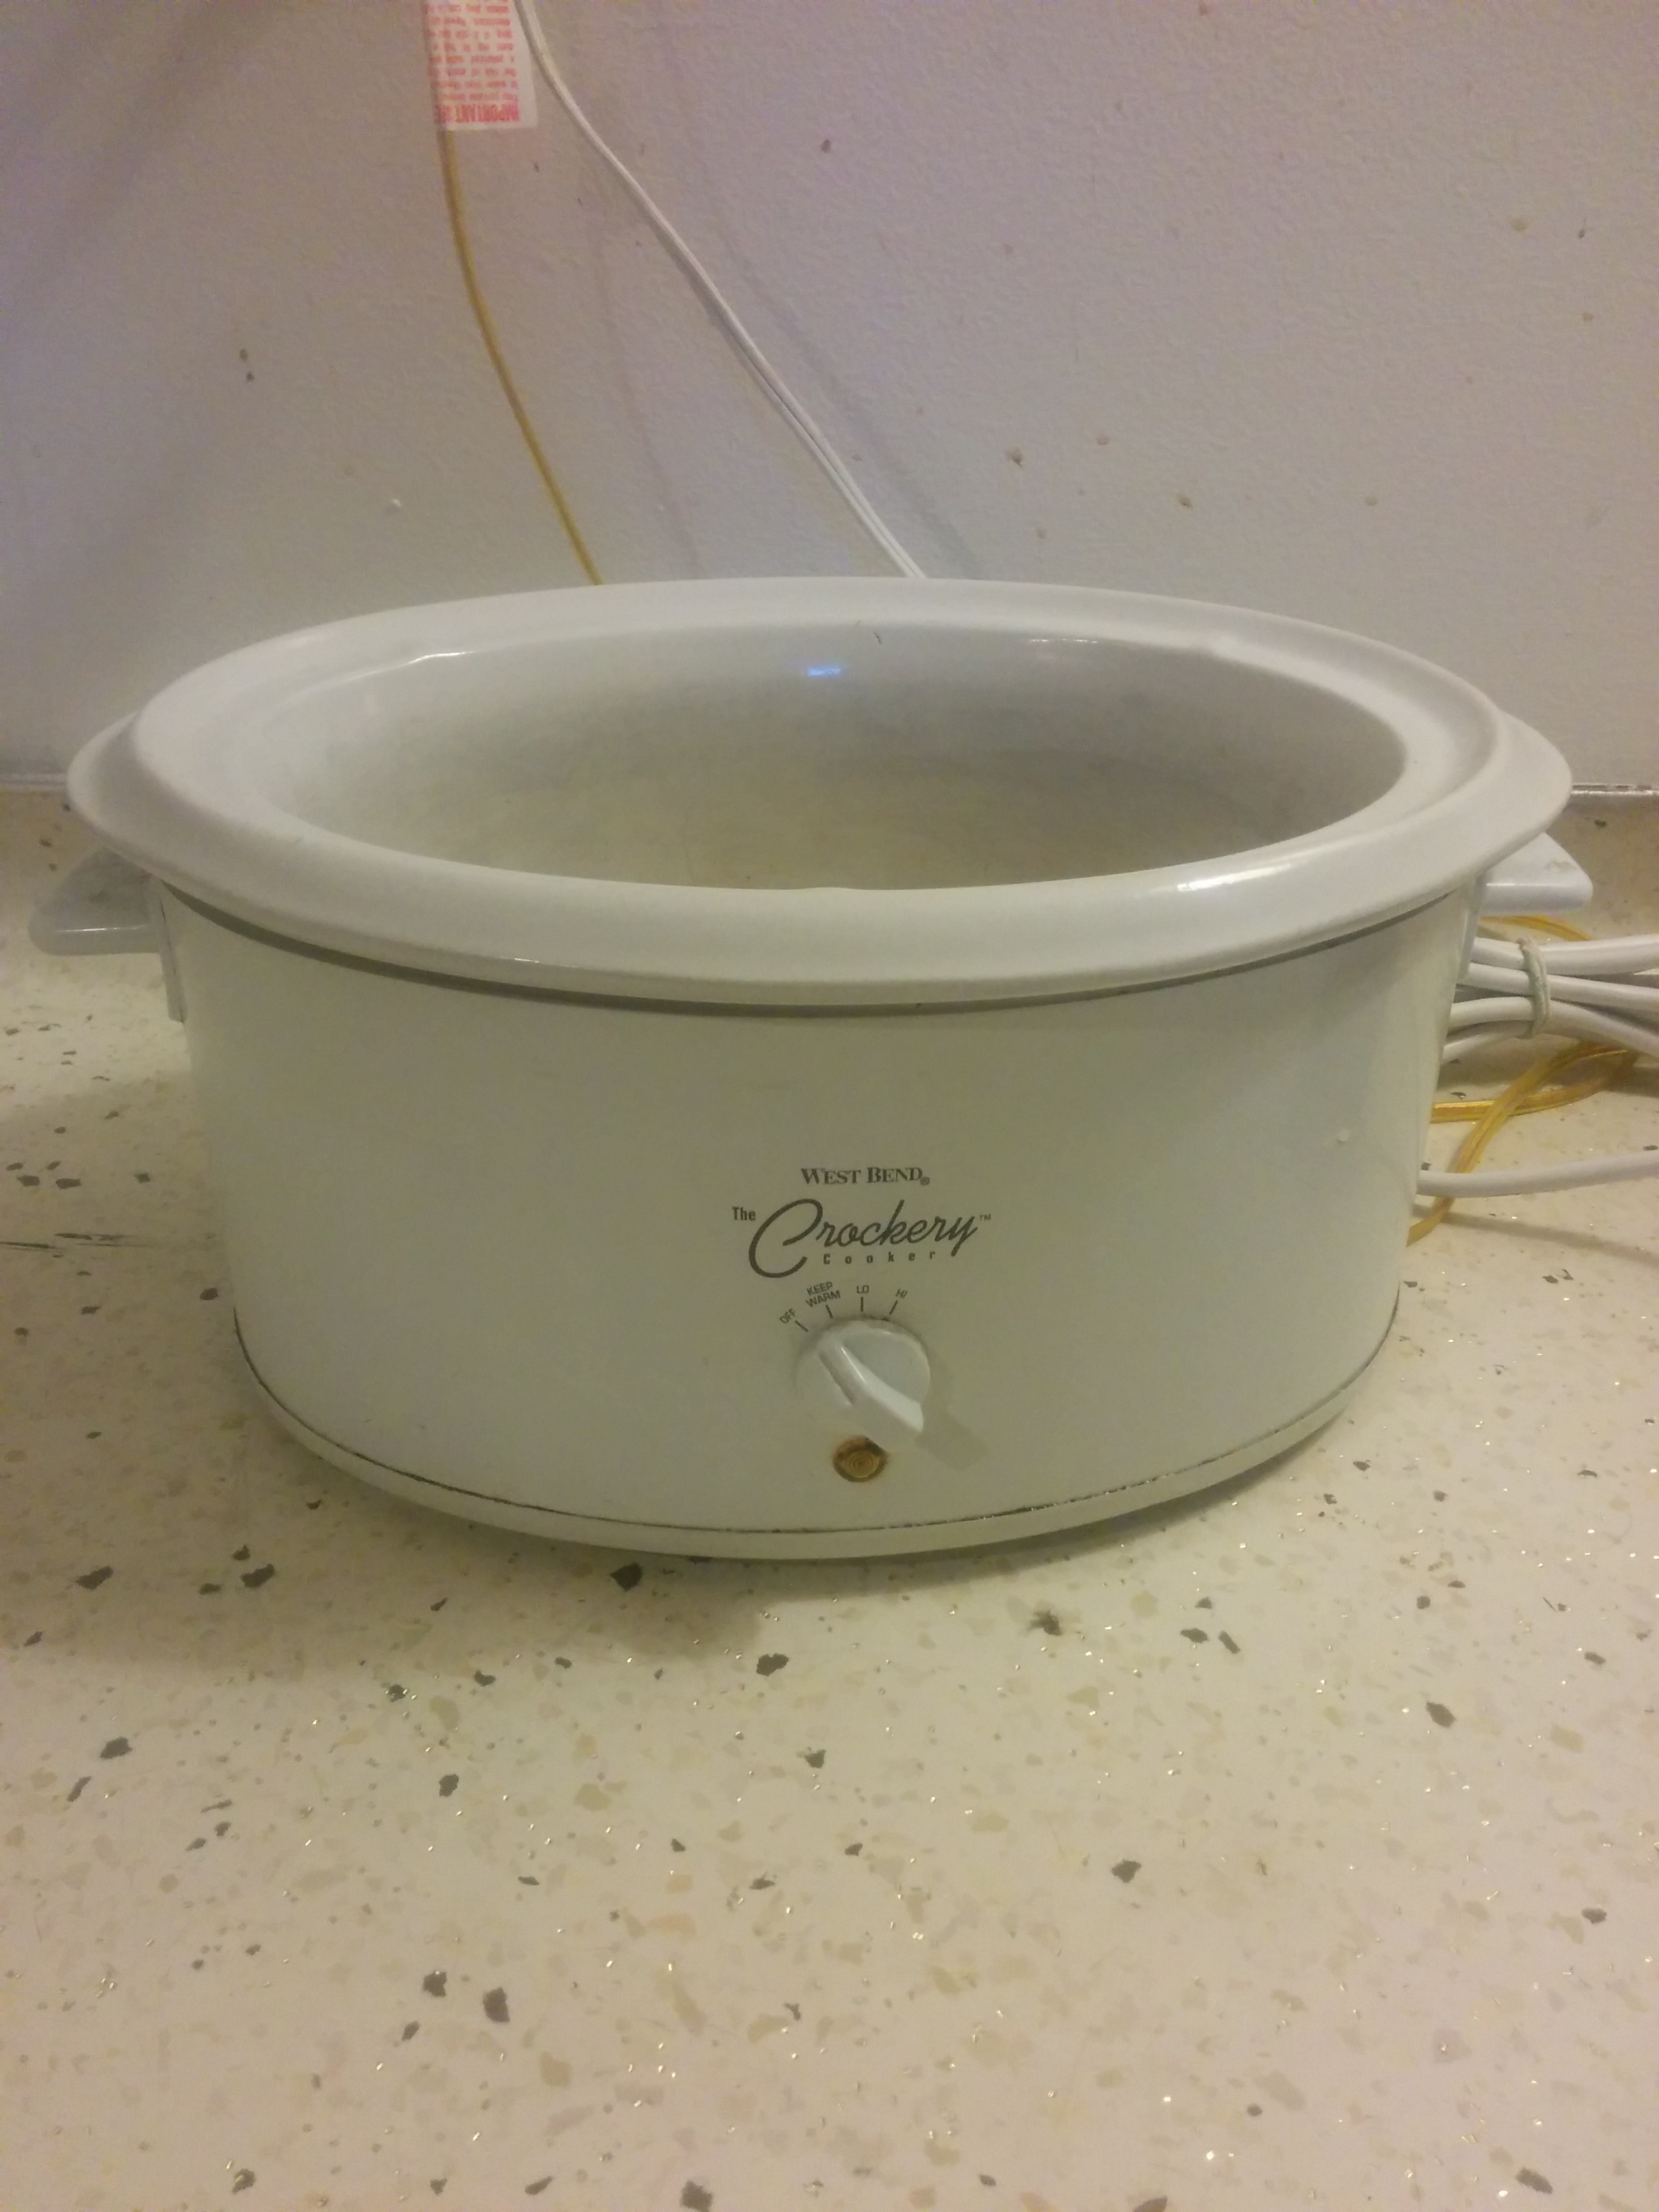
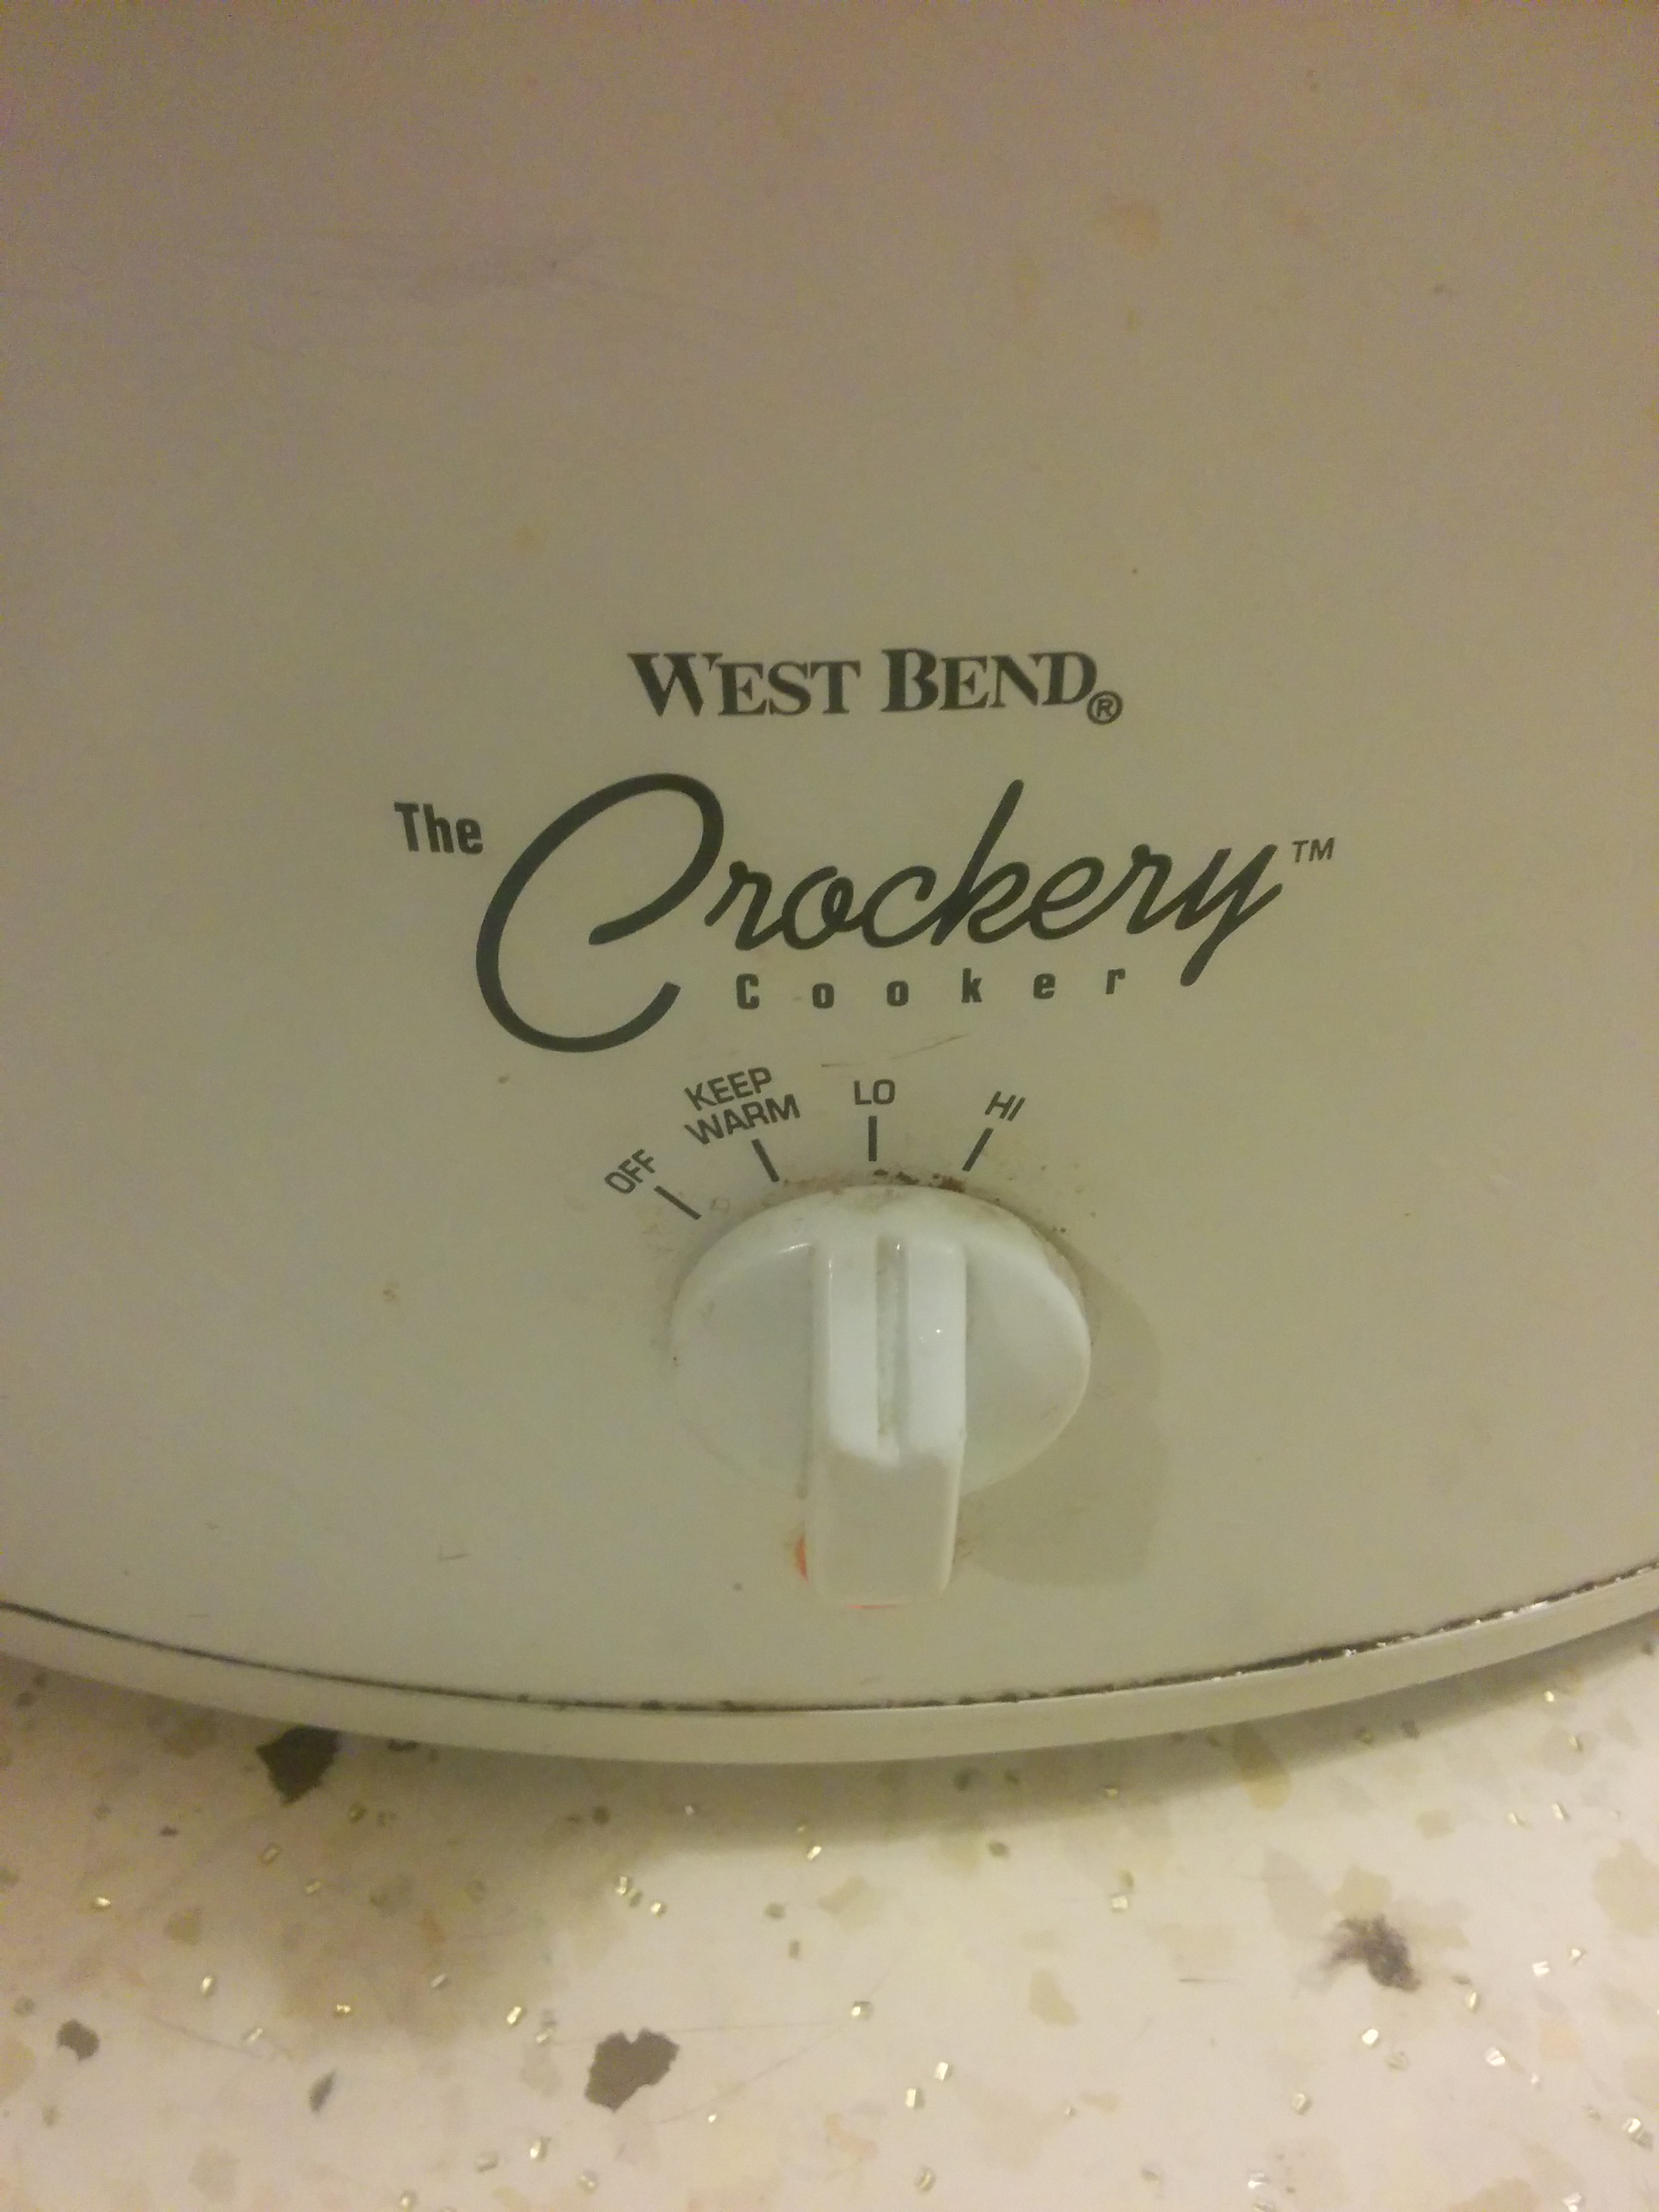
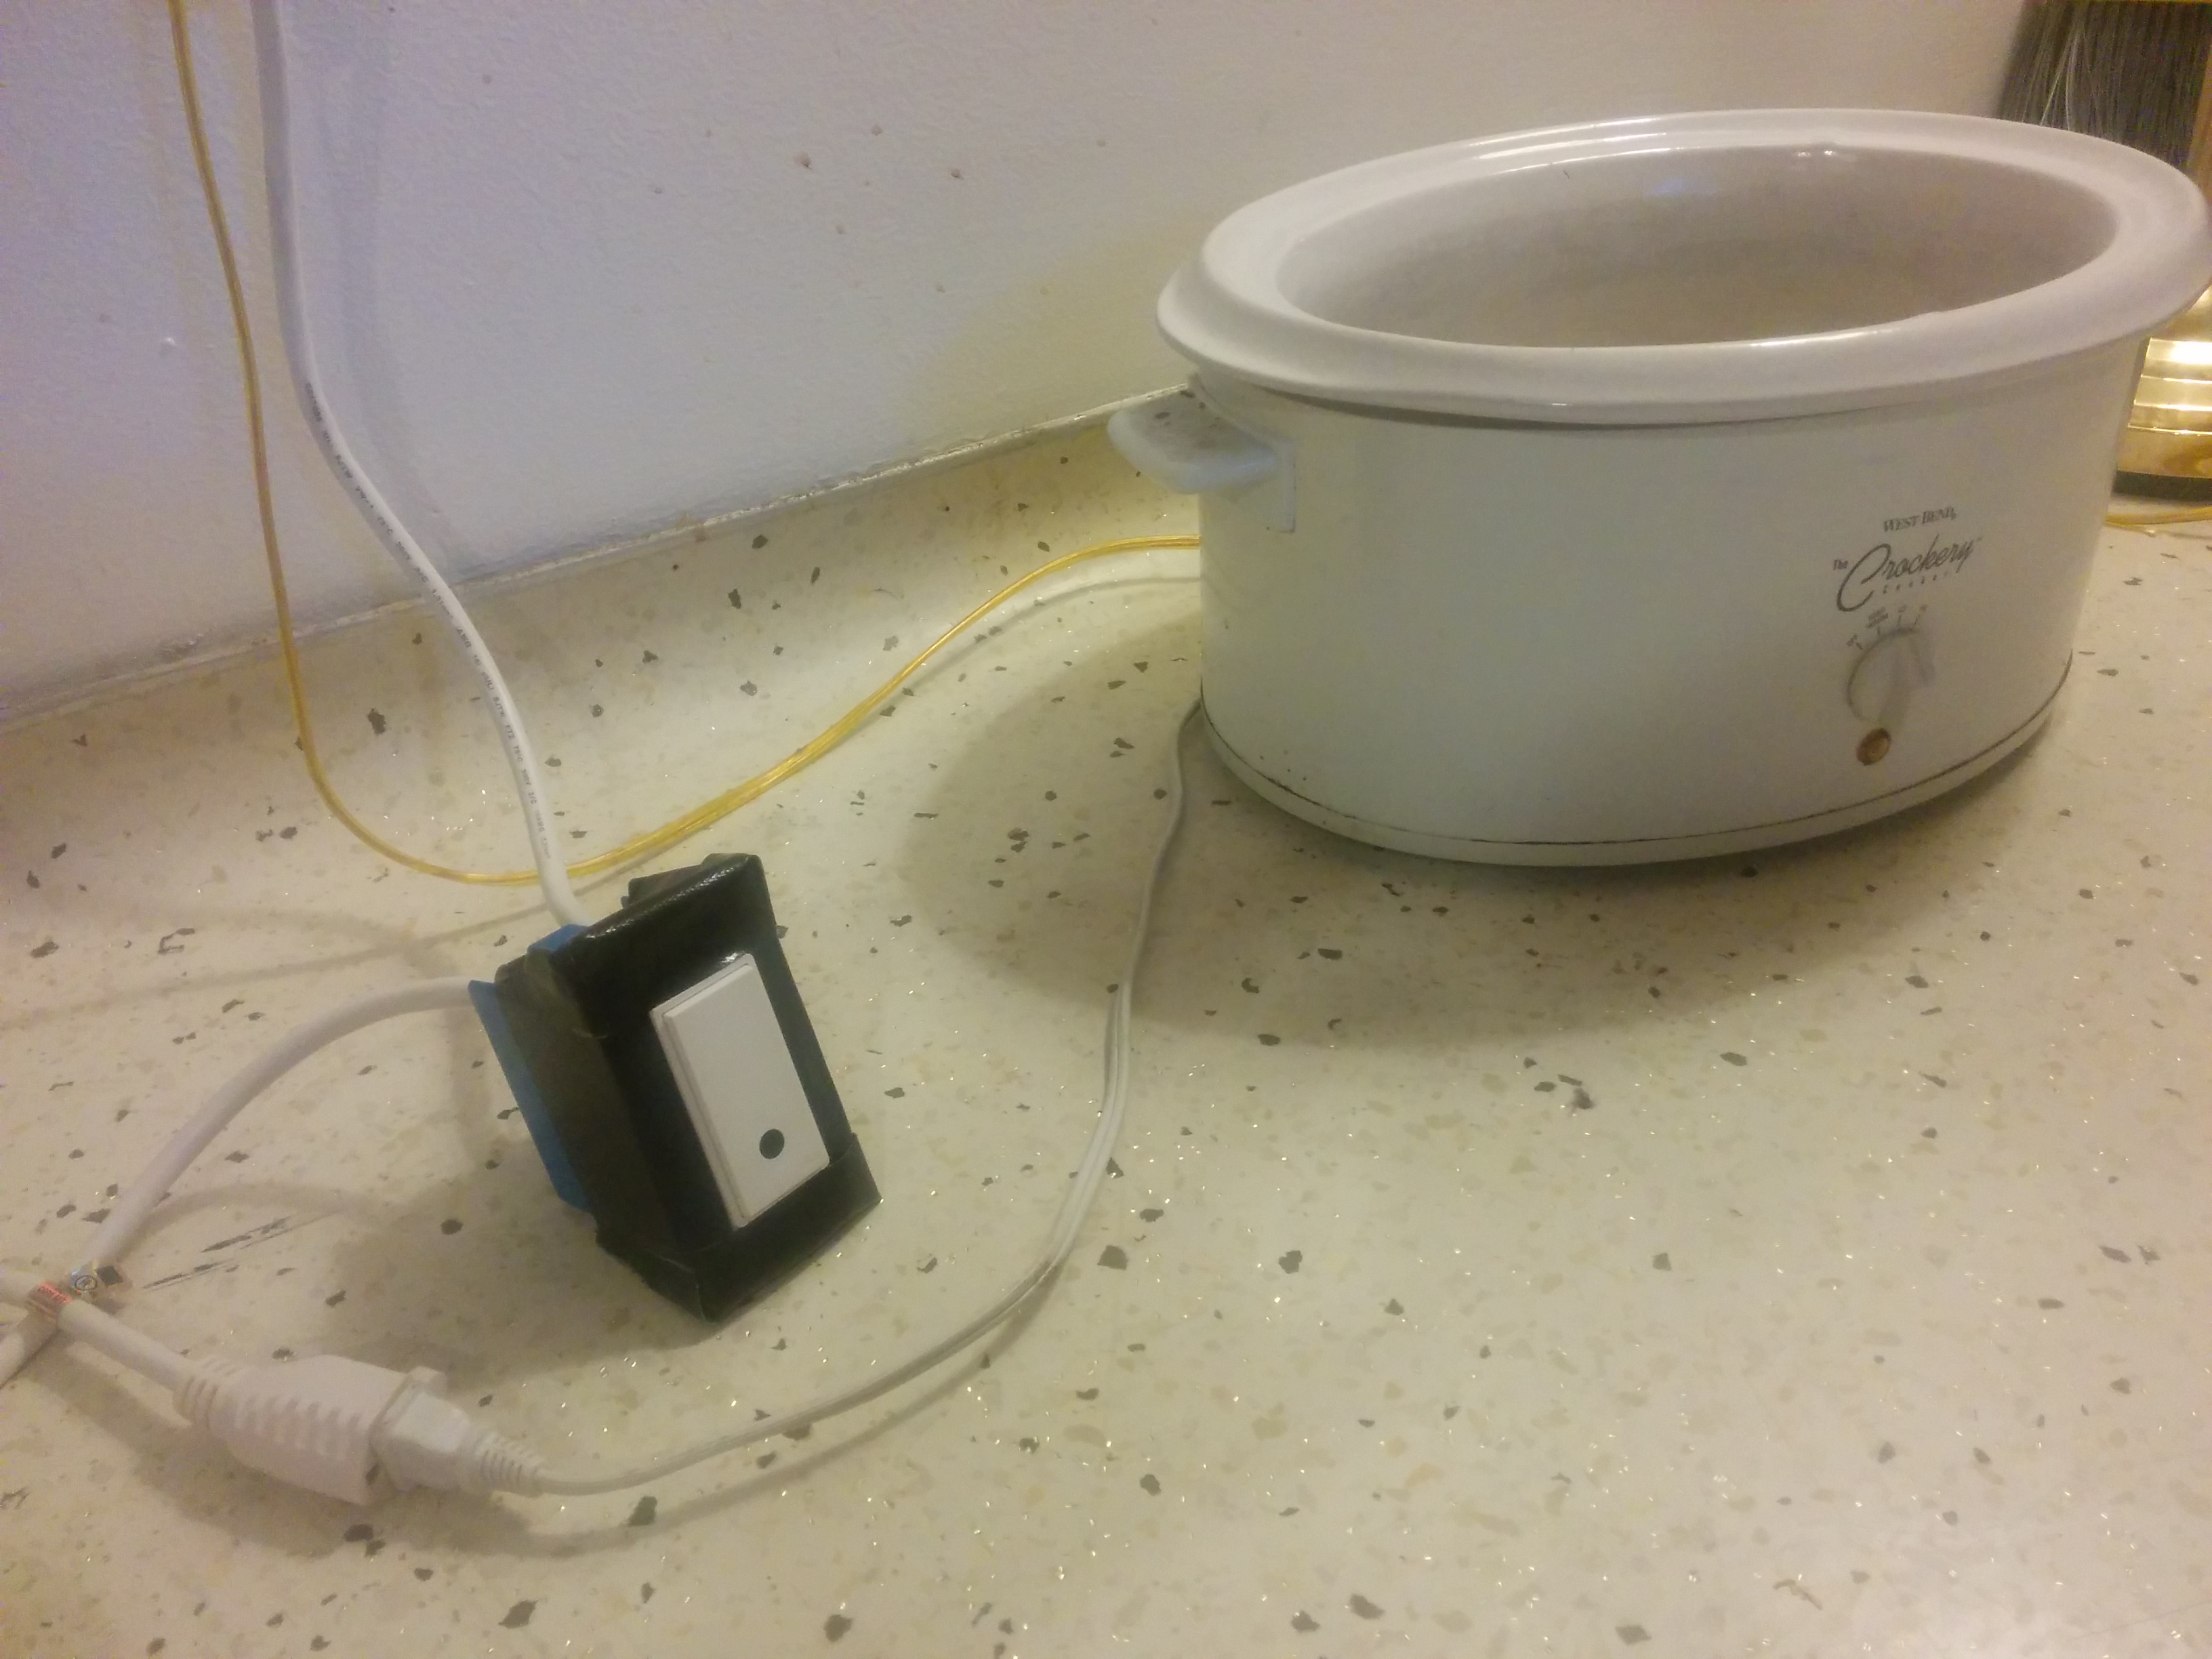
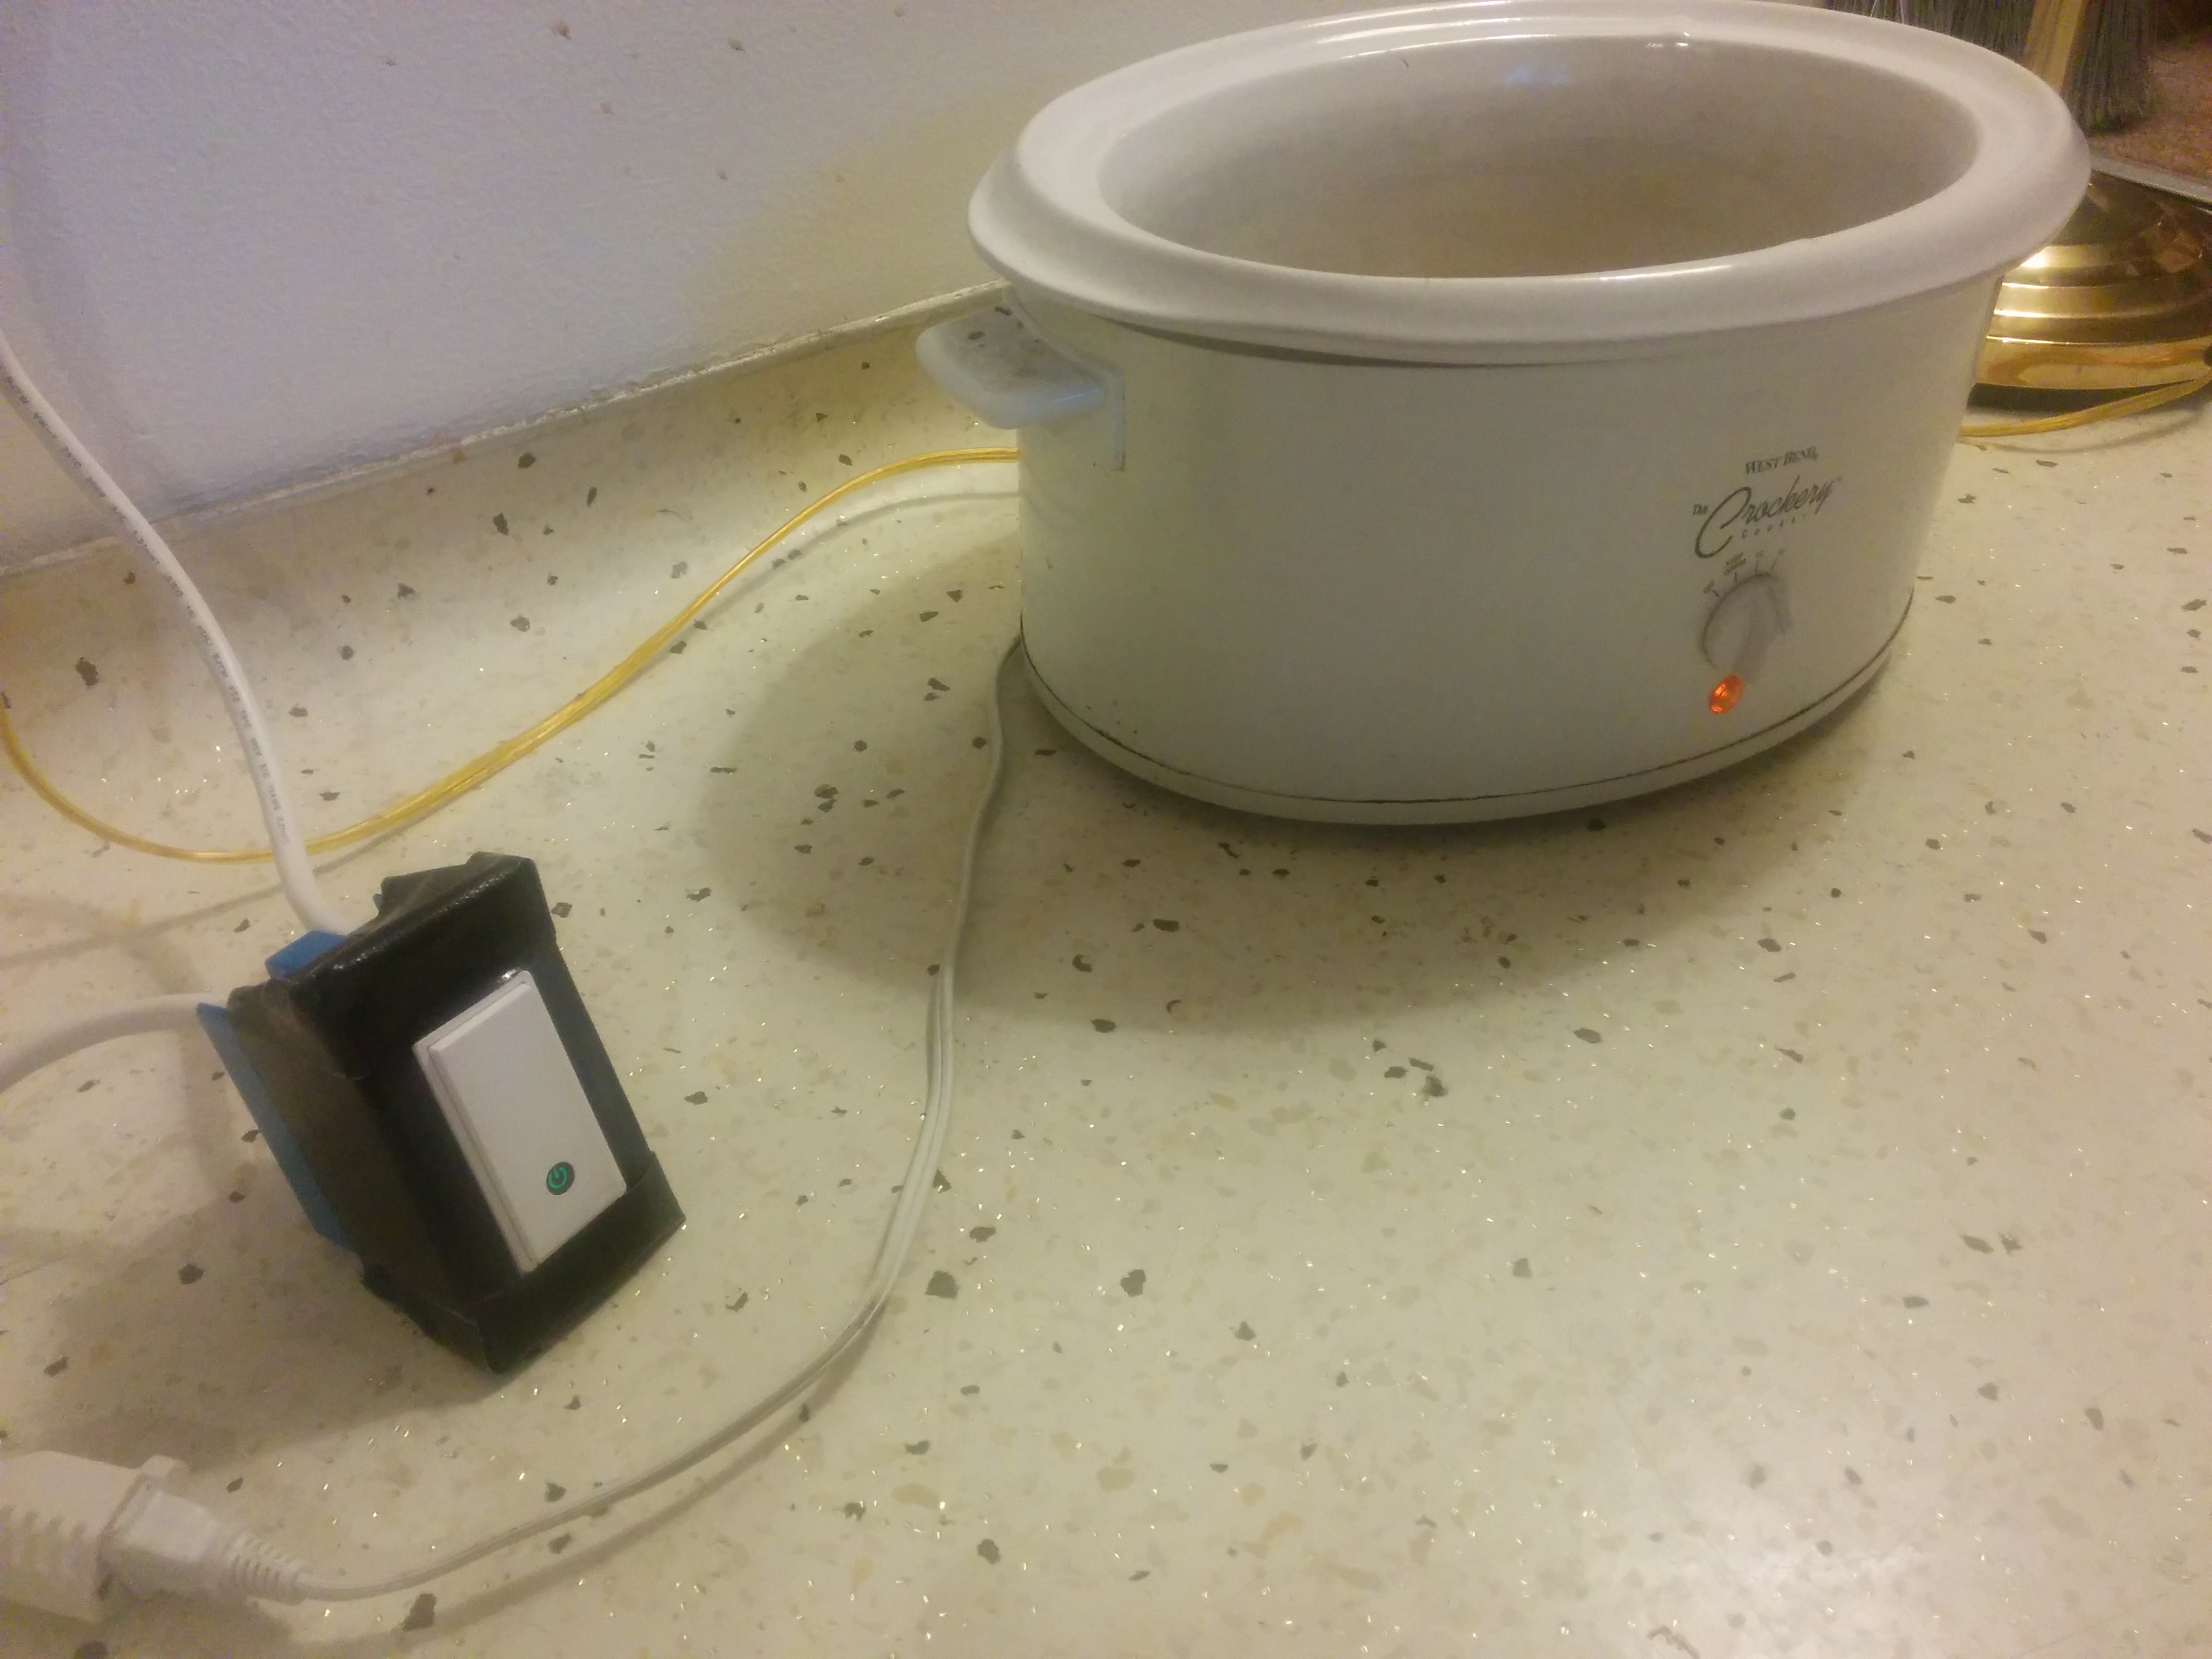
These pictures show my crock pot. It's VERY simple. It has a knob and when it's plugged in and the knob is turned to high, medium, low or warm a little light lights up on the crock pot and it starts to heat up.
We're going to be controlling the power that gets to the crock pot with our extension cord. When the WeMo is switched off there will be no power getting to the crock pot and so the food will not cook. When the WeMo turns on the powered crock pot will heat up and cook the food.
So before we actually cook something let's test to make sure the system will work.
Turn the knob on your crock pot to low.
Take crock pot and plug it into your extension cord. Plug the other end of the extension cord into the wall. Wait for a few seconds while the WeMo boots up. Then you should be able to hit the switch. Hitting the switch should turn the crock pot on and off.
Setting Up Your Phone As a Remote Control
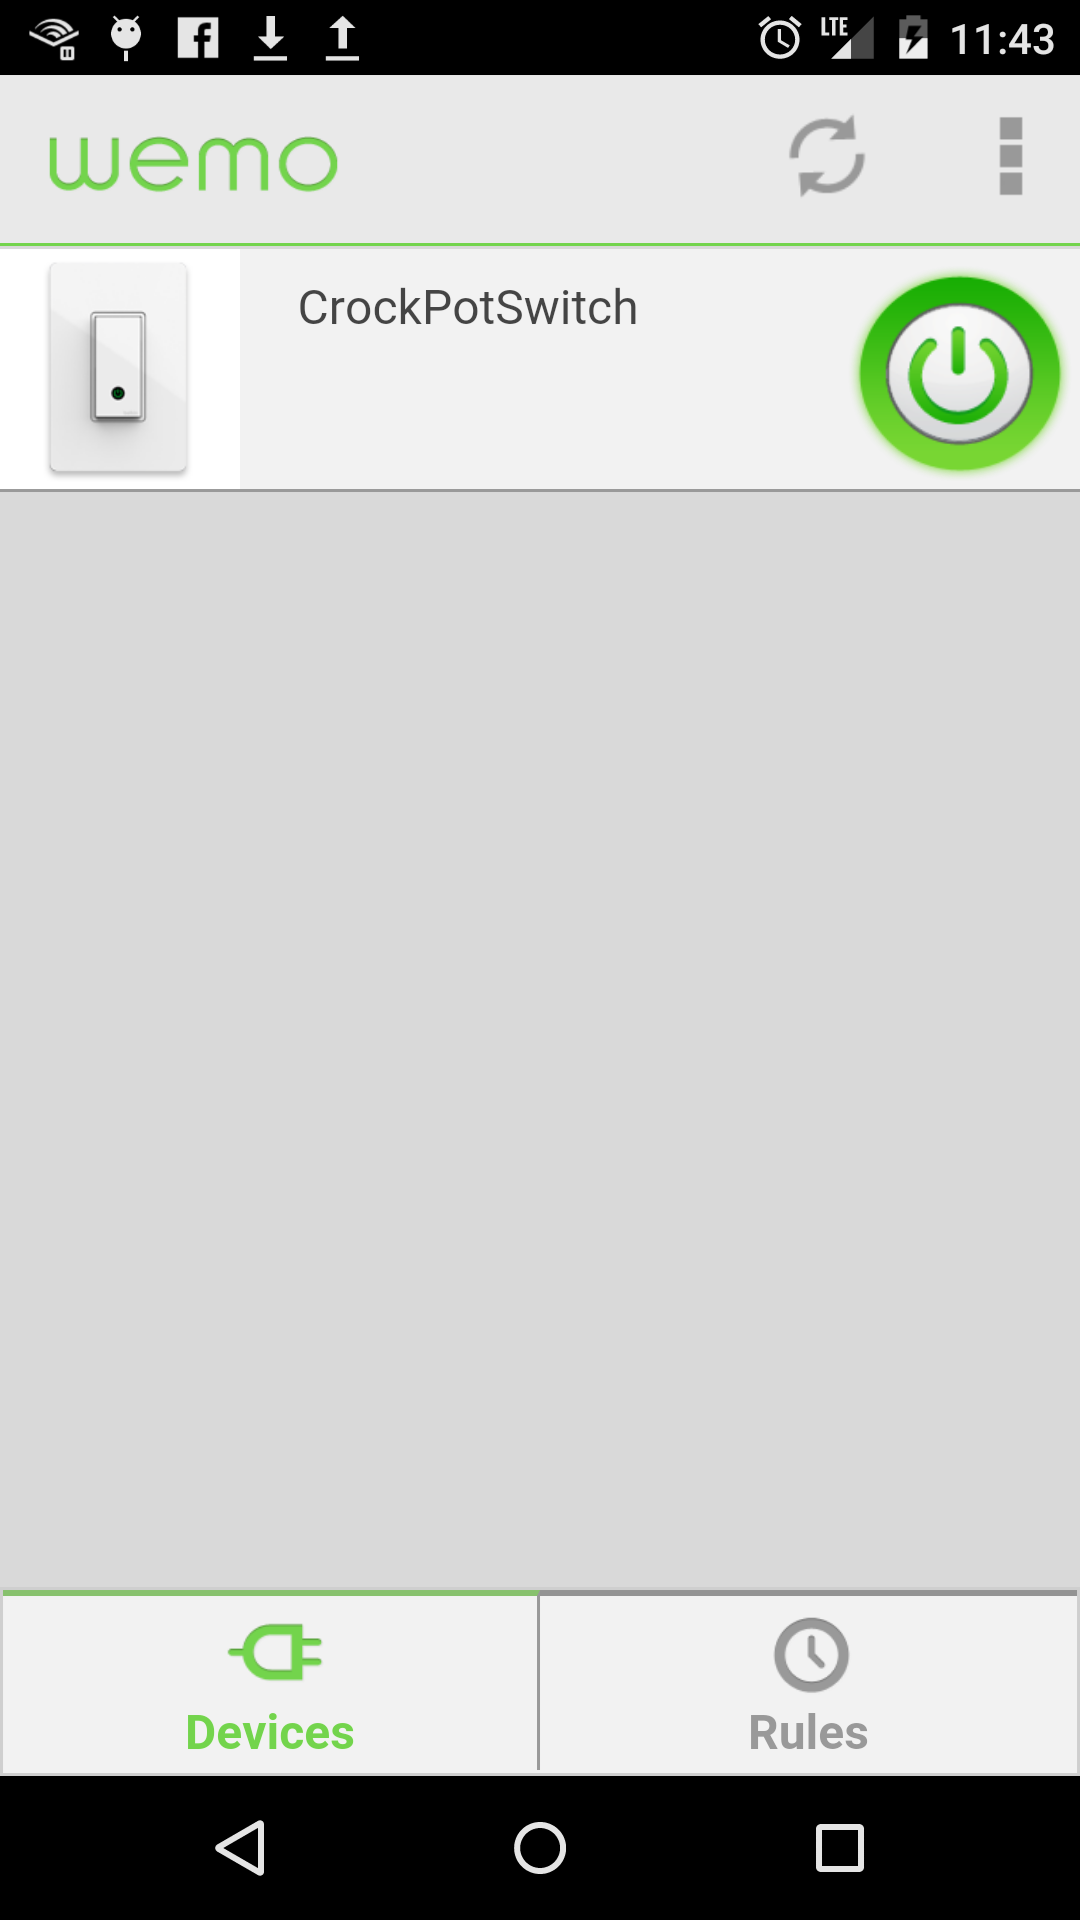
Now let's set up your phone so that it can control the WeMo remotely.
You'll need to:
1. Download the android/iphone WeMo app from either the android market or the app store
2. Configure your WeMo to connect to your home wifi network
Belkin has good instructions for how to do this. You can find them at:
http://www.belkin.com/us/support-article?articleNum=44527
And Here's a link to a youtube video with the same instructions in case you like videos better:
https://www.youtube.com/watch?v=LEwGsL4RbHg
Once it's set up you should see a screen like the one I've screen shotted. Pushing the "Crock Pot Switch" button should turn on and off your crockpot. Believe it or not you can do this anywhere you have cellphone data access.
Setting Up a Schedule for Your Crockpot

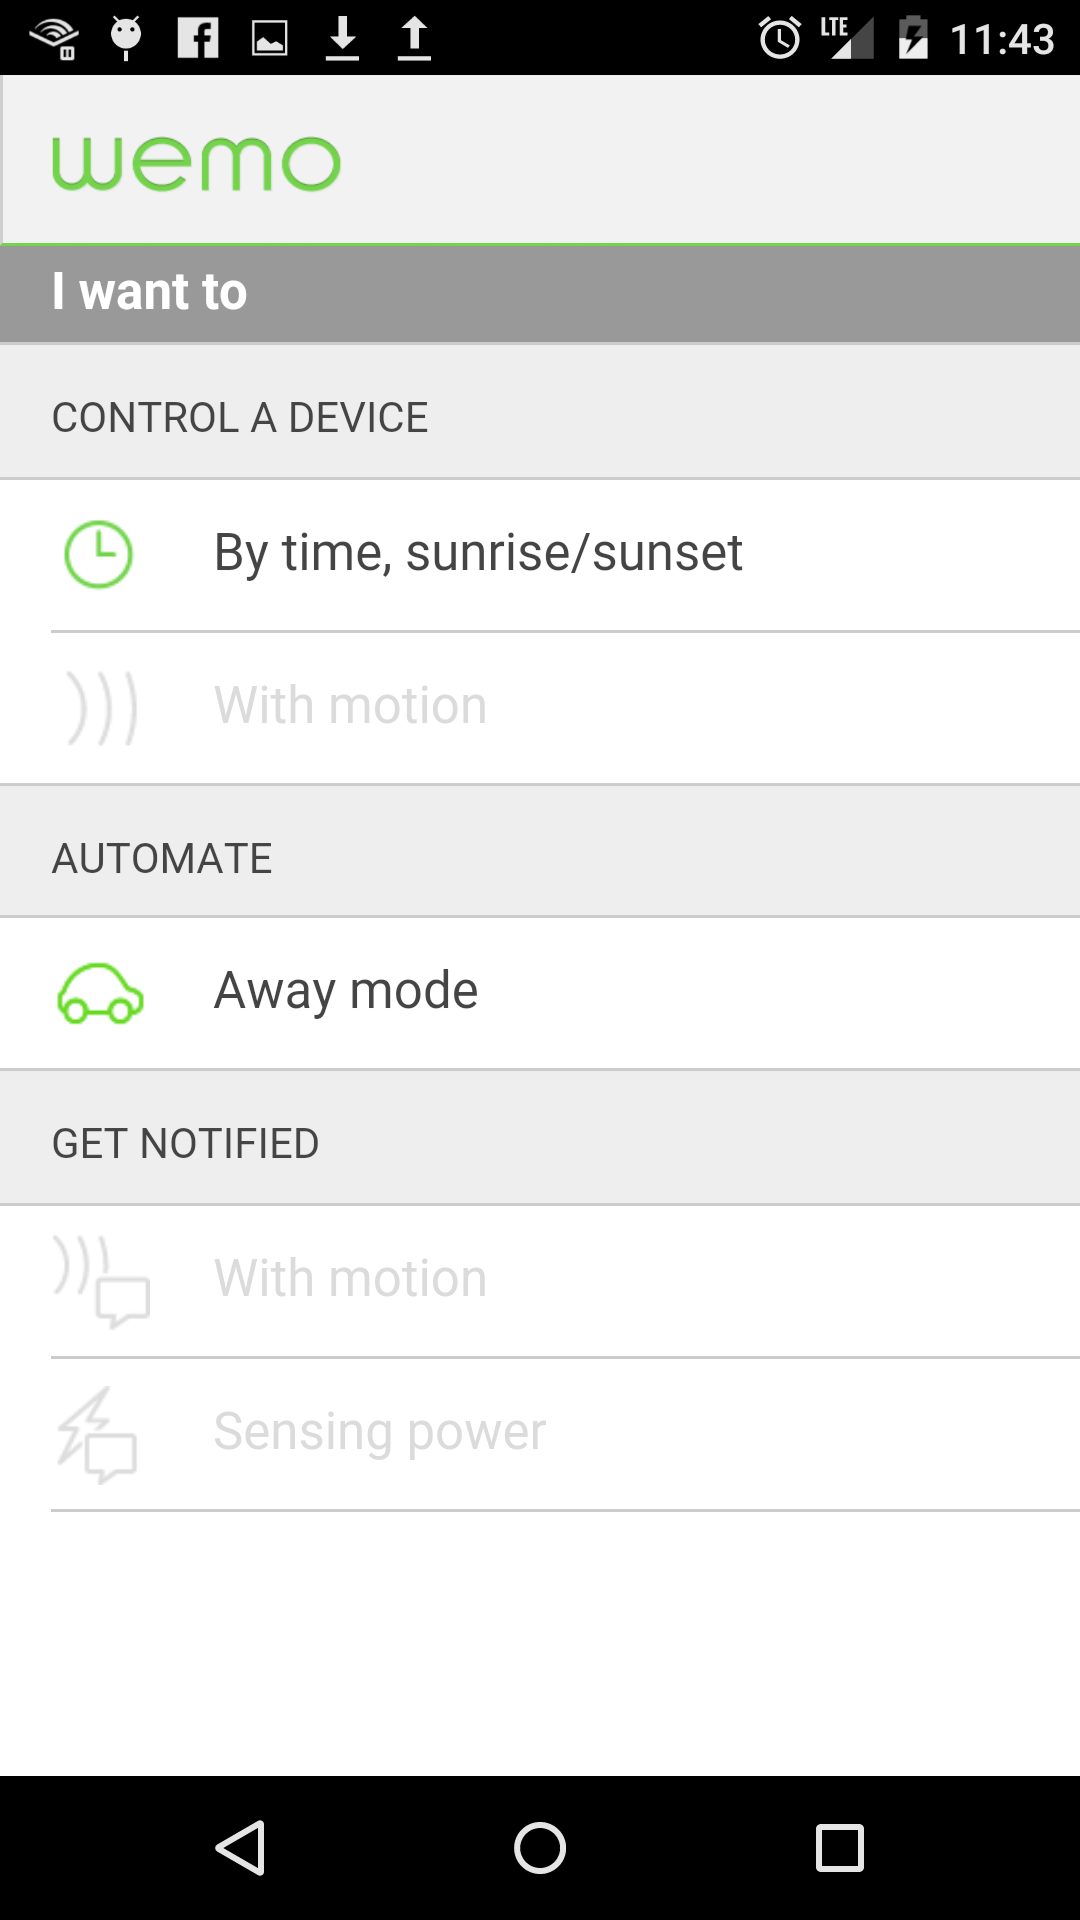
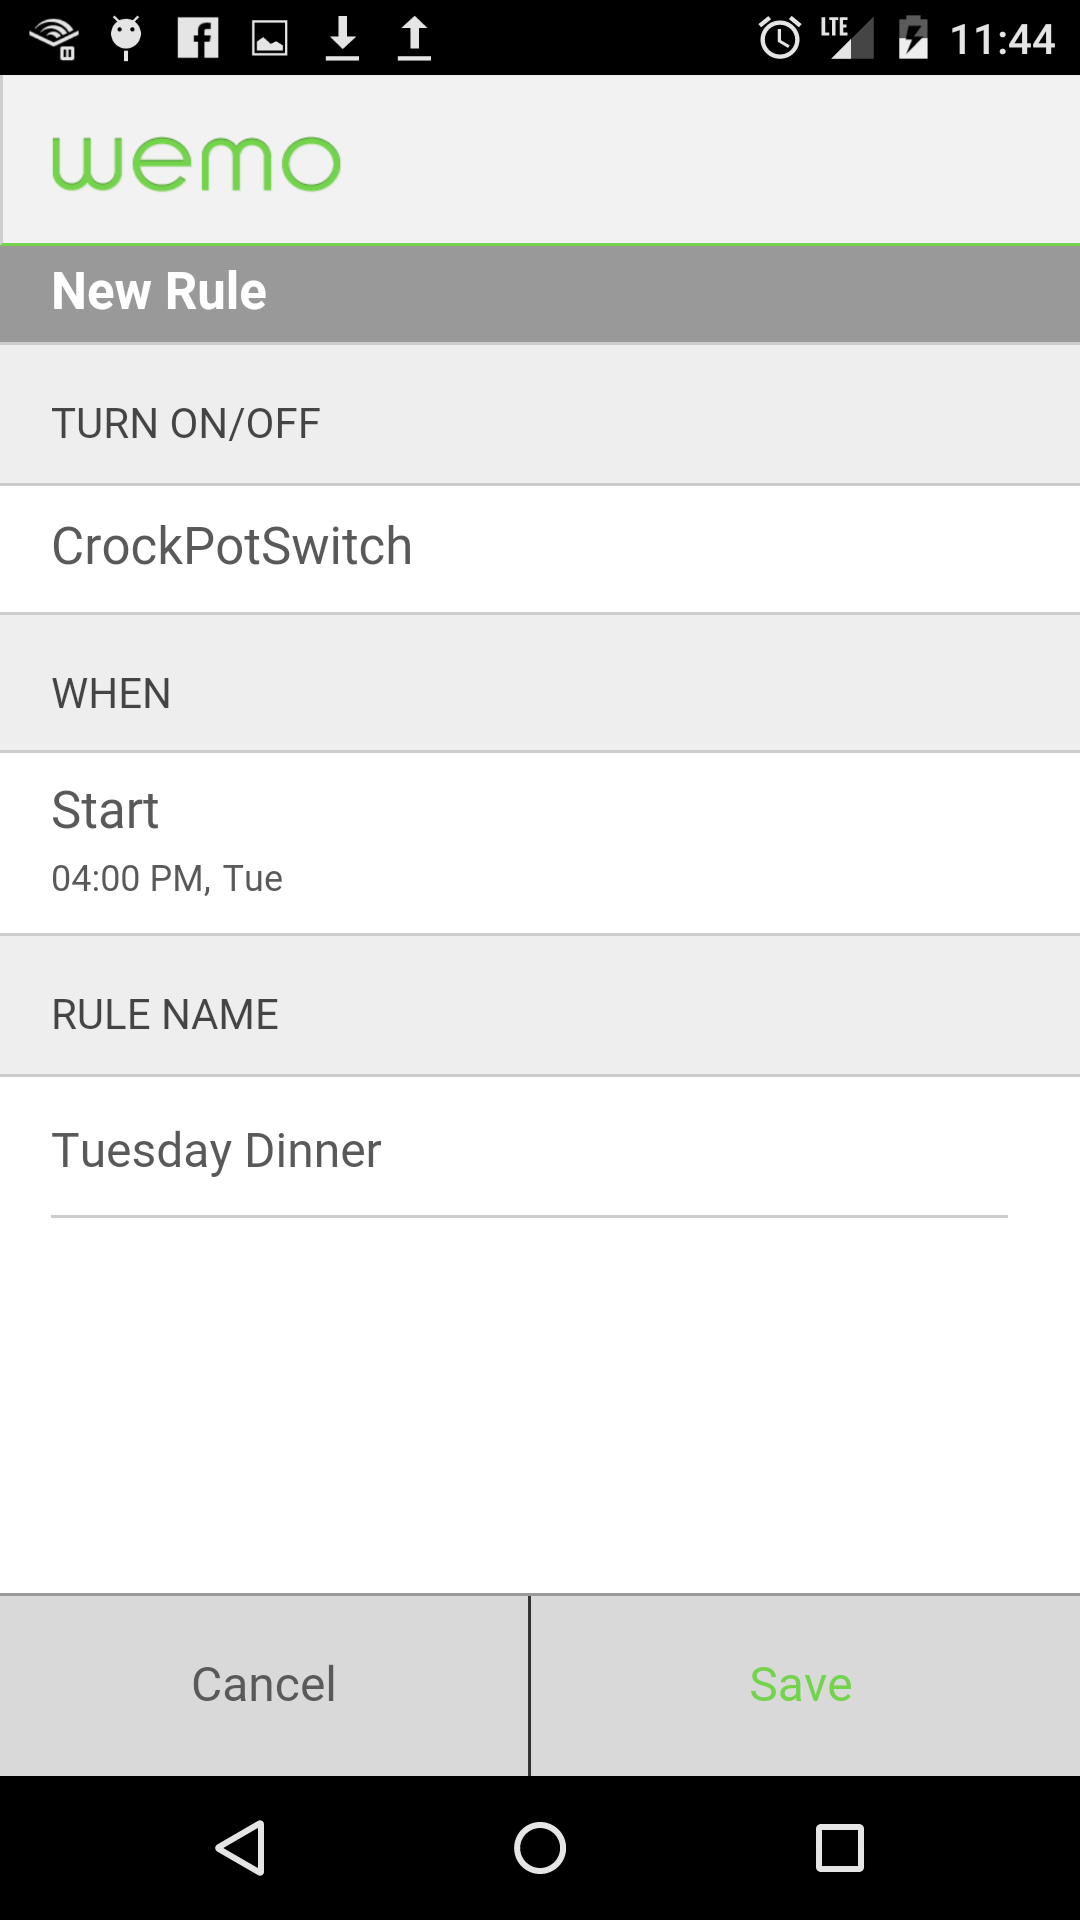
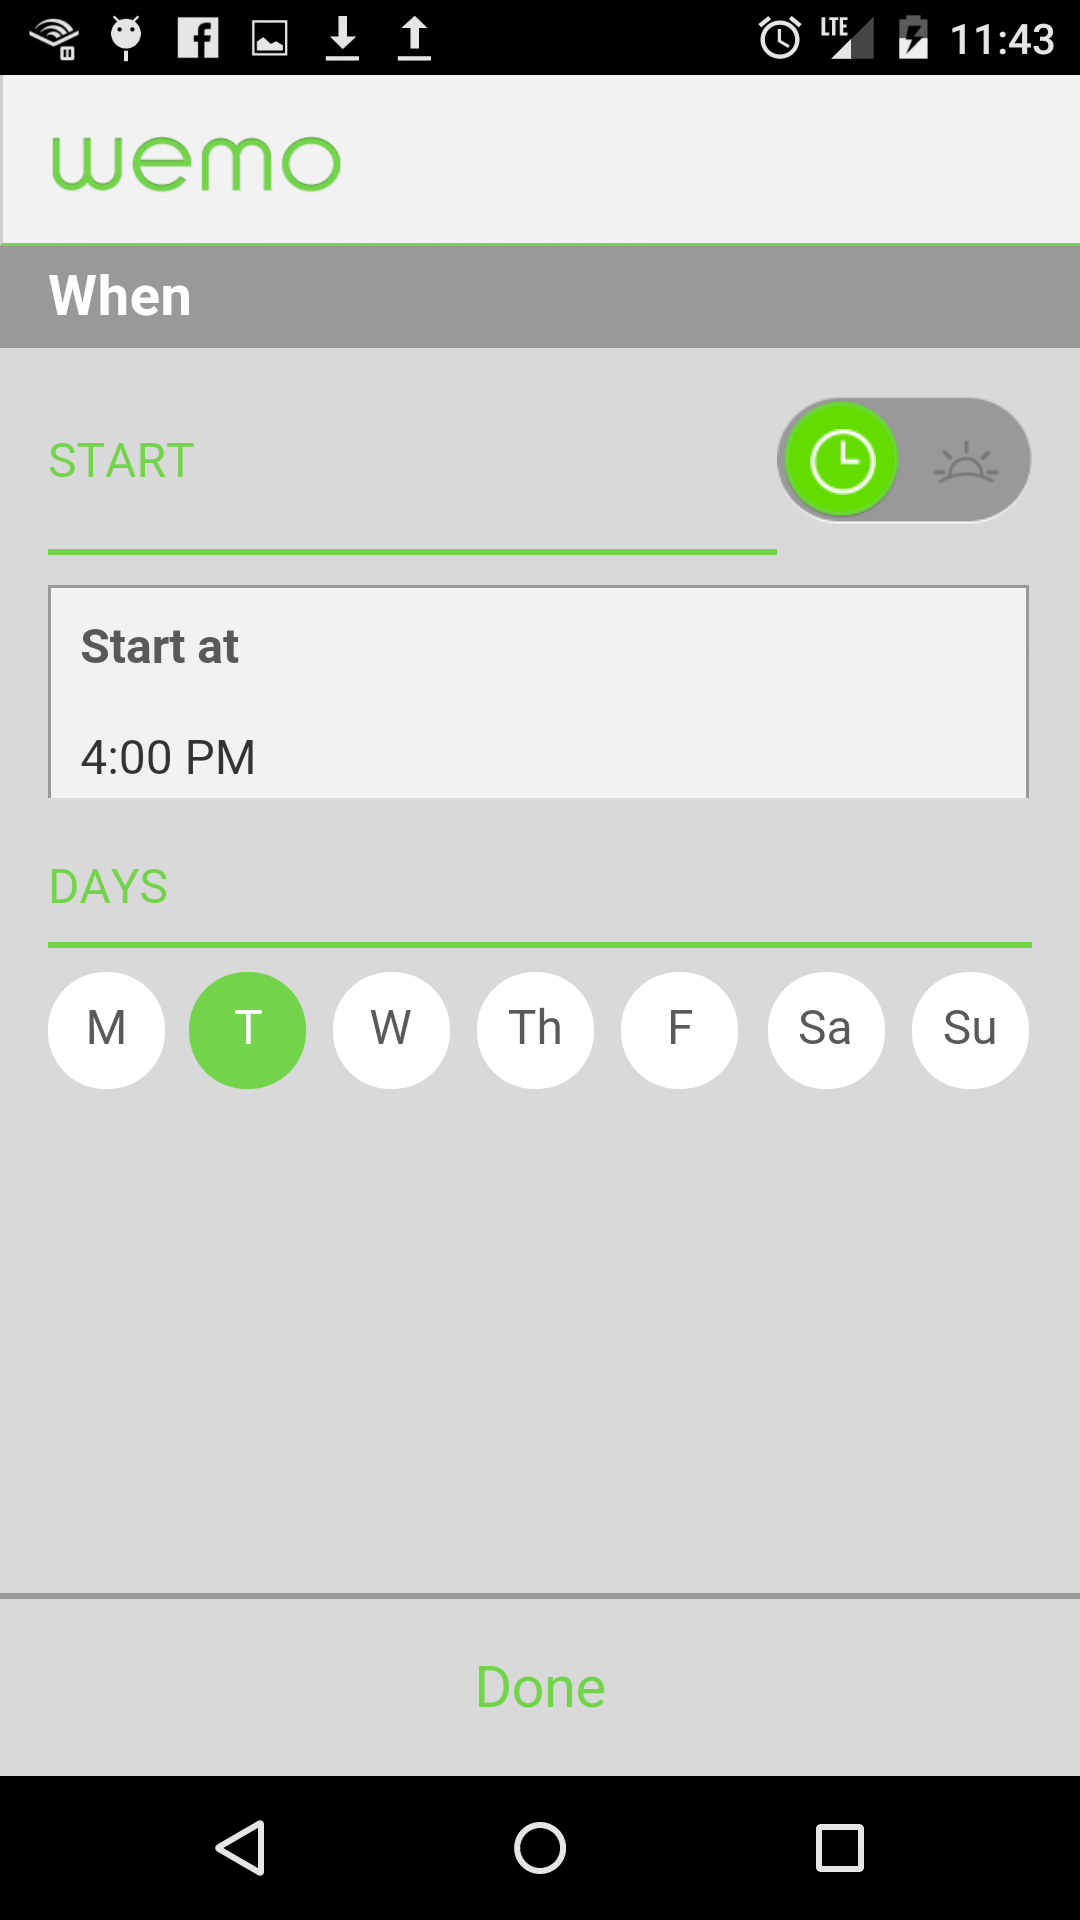
Manually switching your crockpot on and off is fine but it's much nicer to schedule your crockpot to come on at a specific time.
To do this tap 'Rules' -> 'By Time'
Then filled in 'on/off', 'when' and 'rule name'.
Hit 'Save'
That's it.
I set my crock pot up today to go on at 4:00pm. I checked my phone around 6 as I headed home from work. Sure enough the crockpot had automatically turned on. By the time I got home dinner was perfectly cooked.
It Really Works: Here's My Dinner

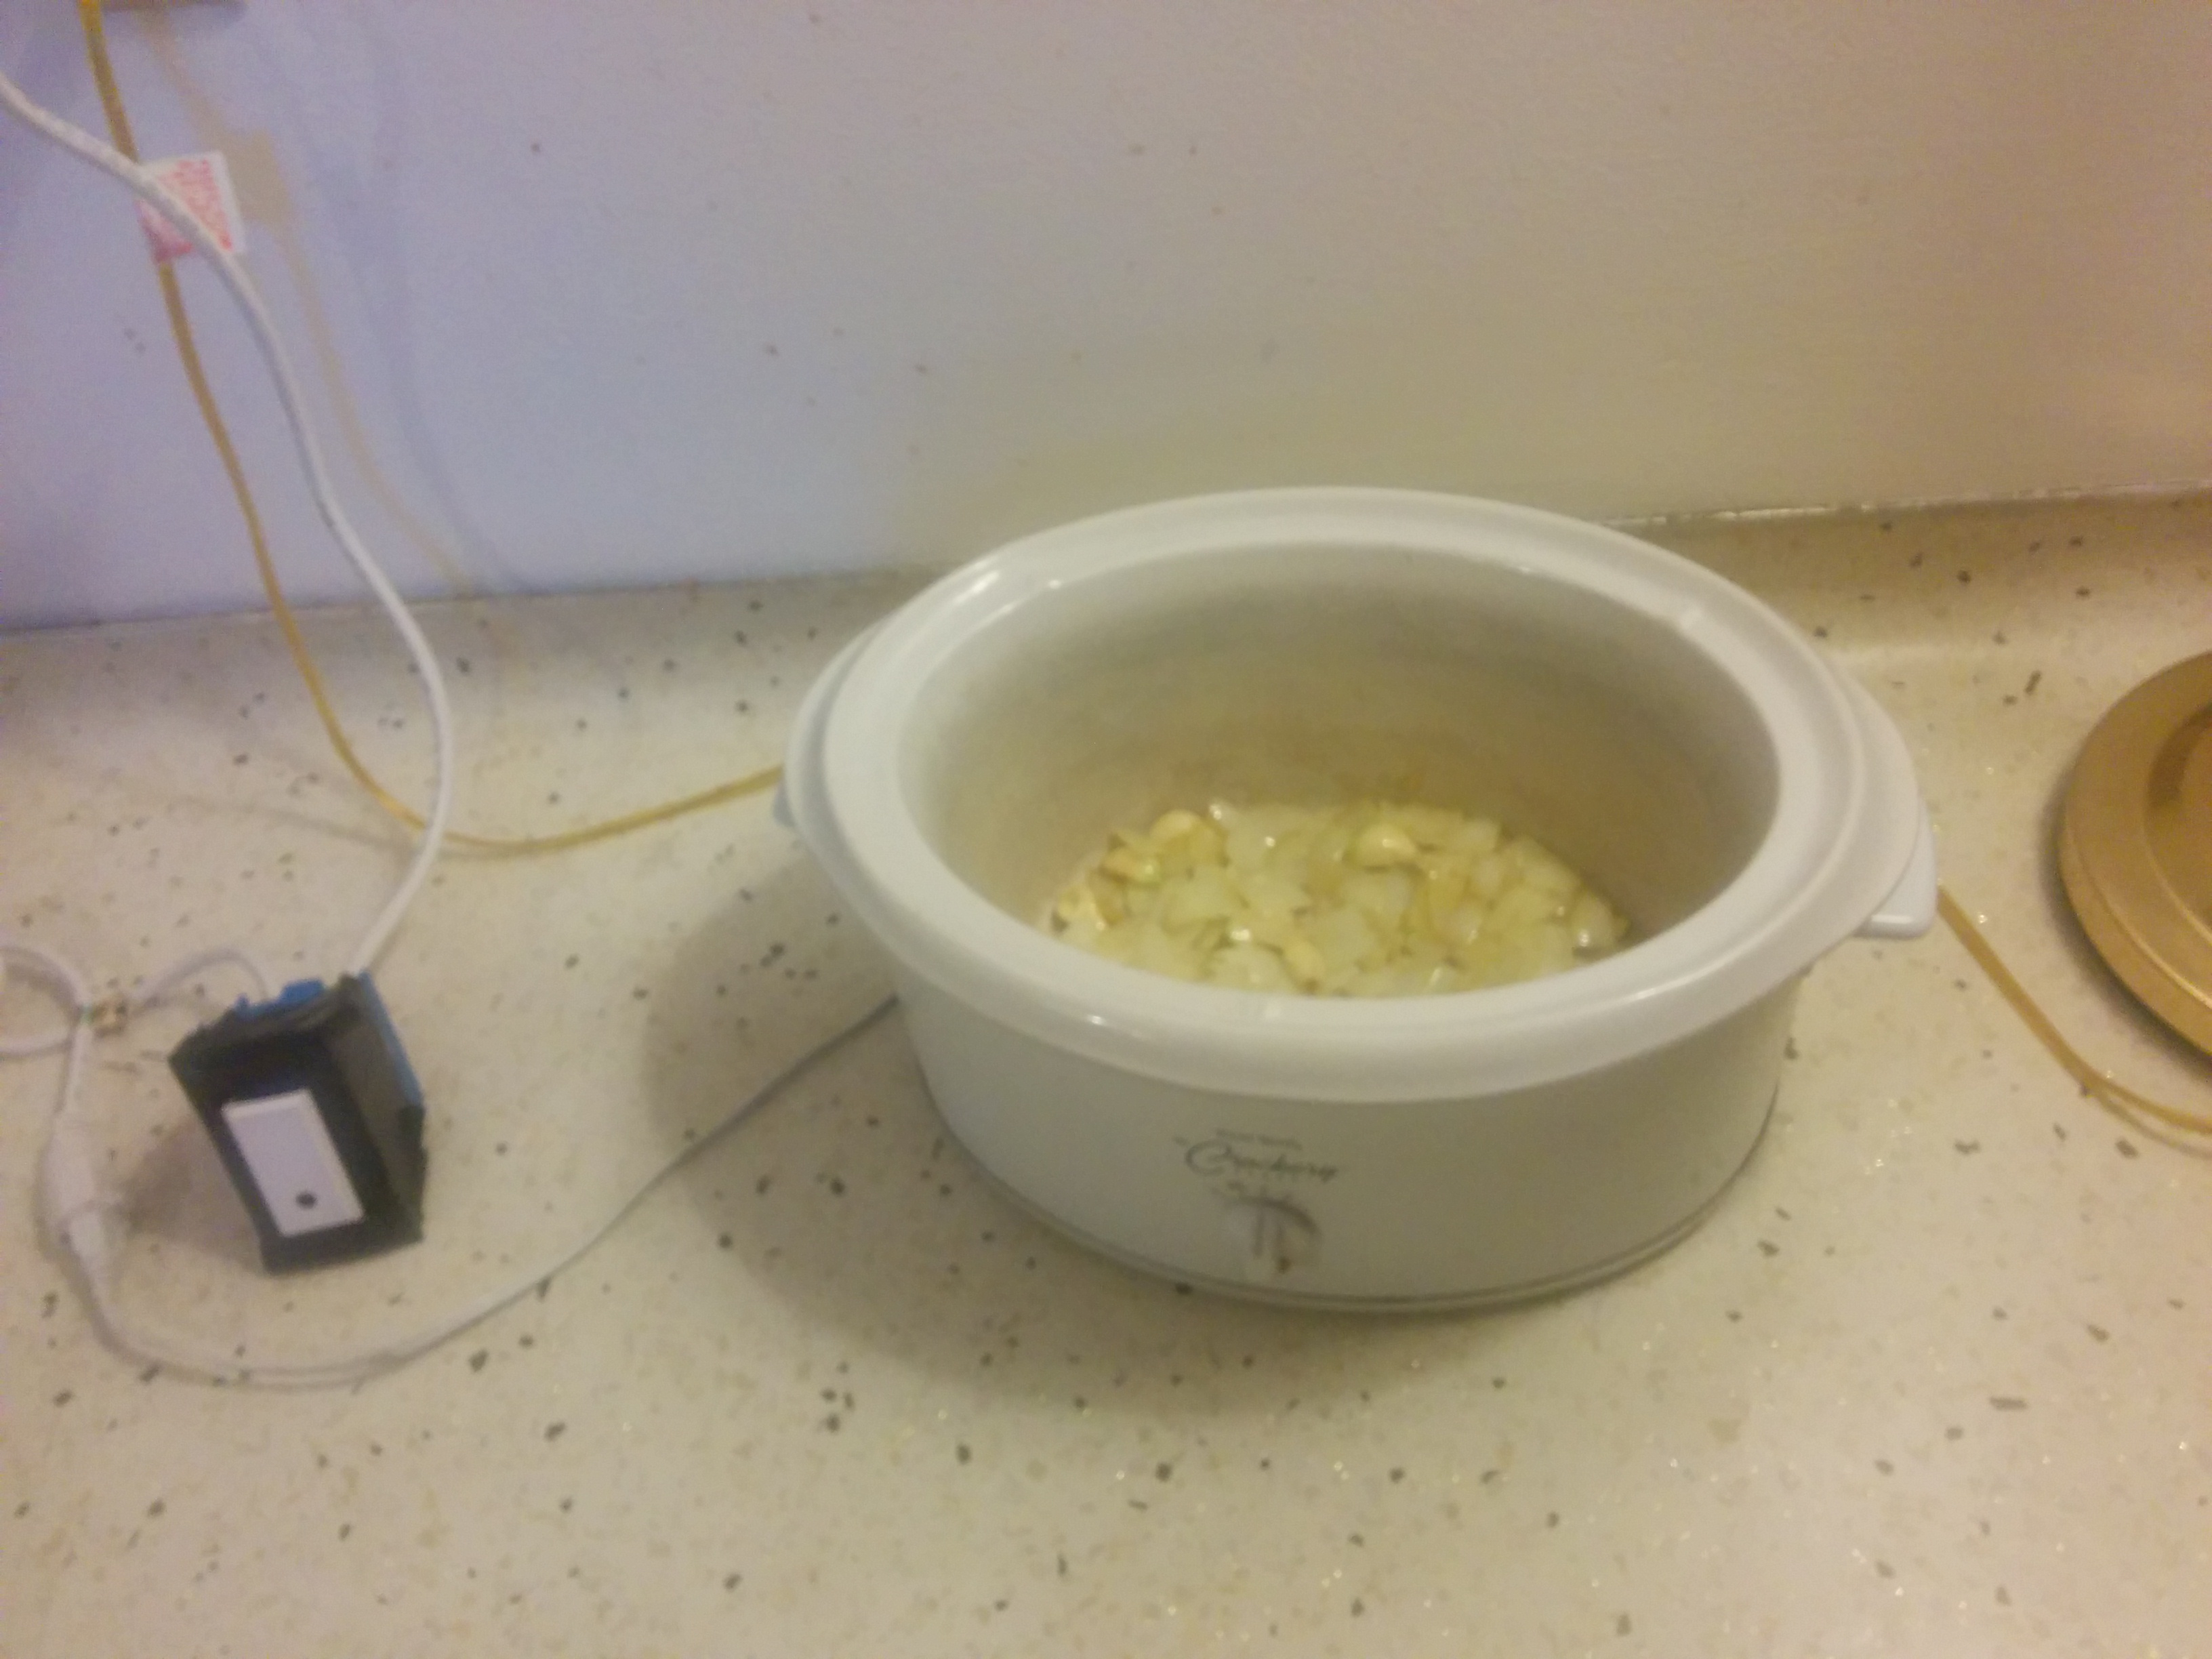
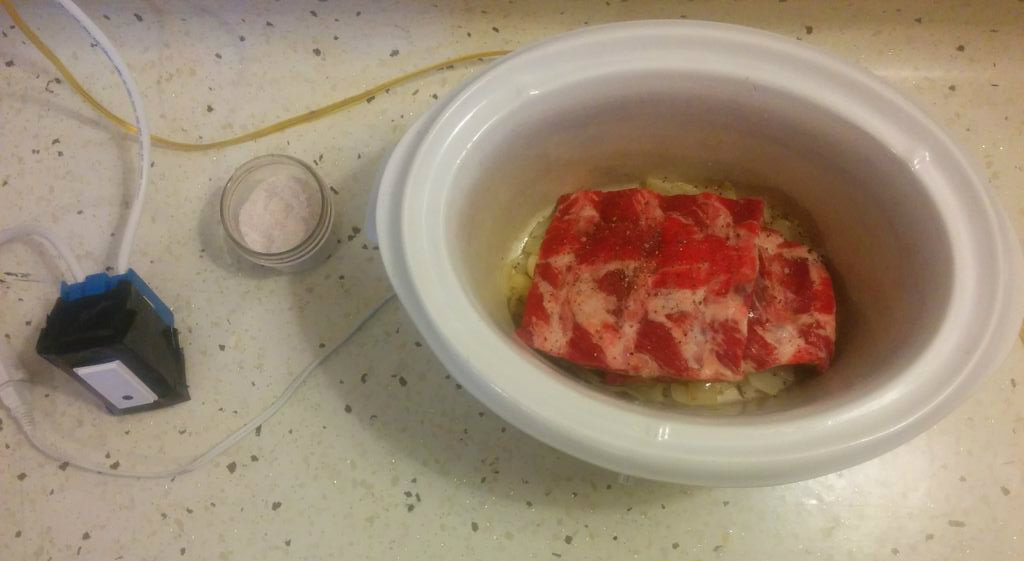
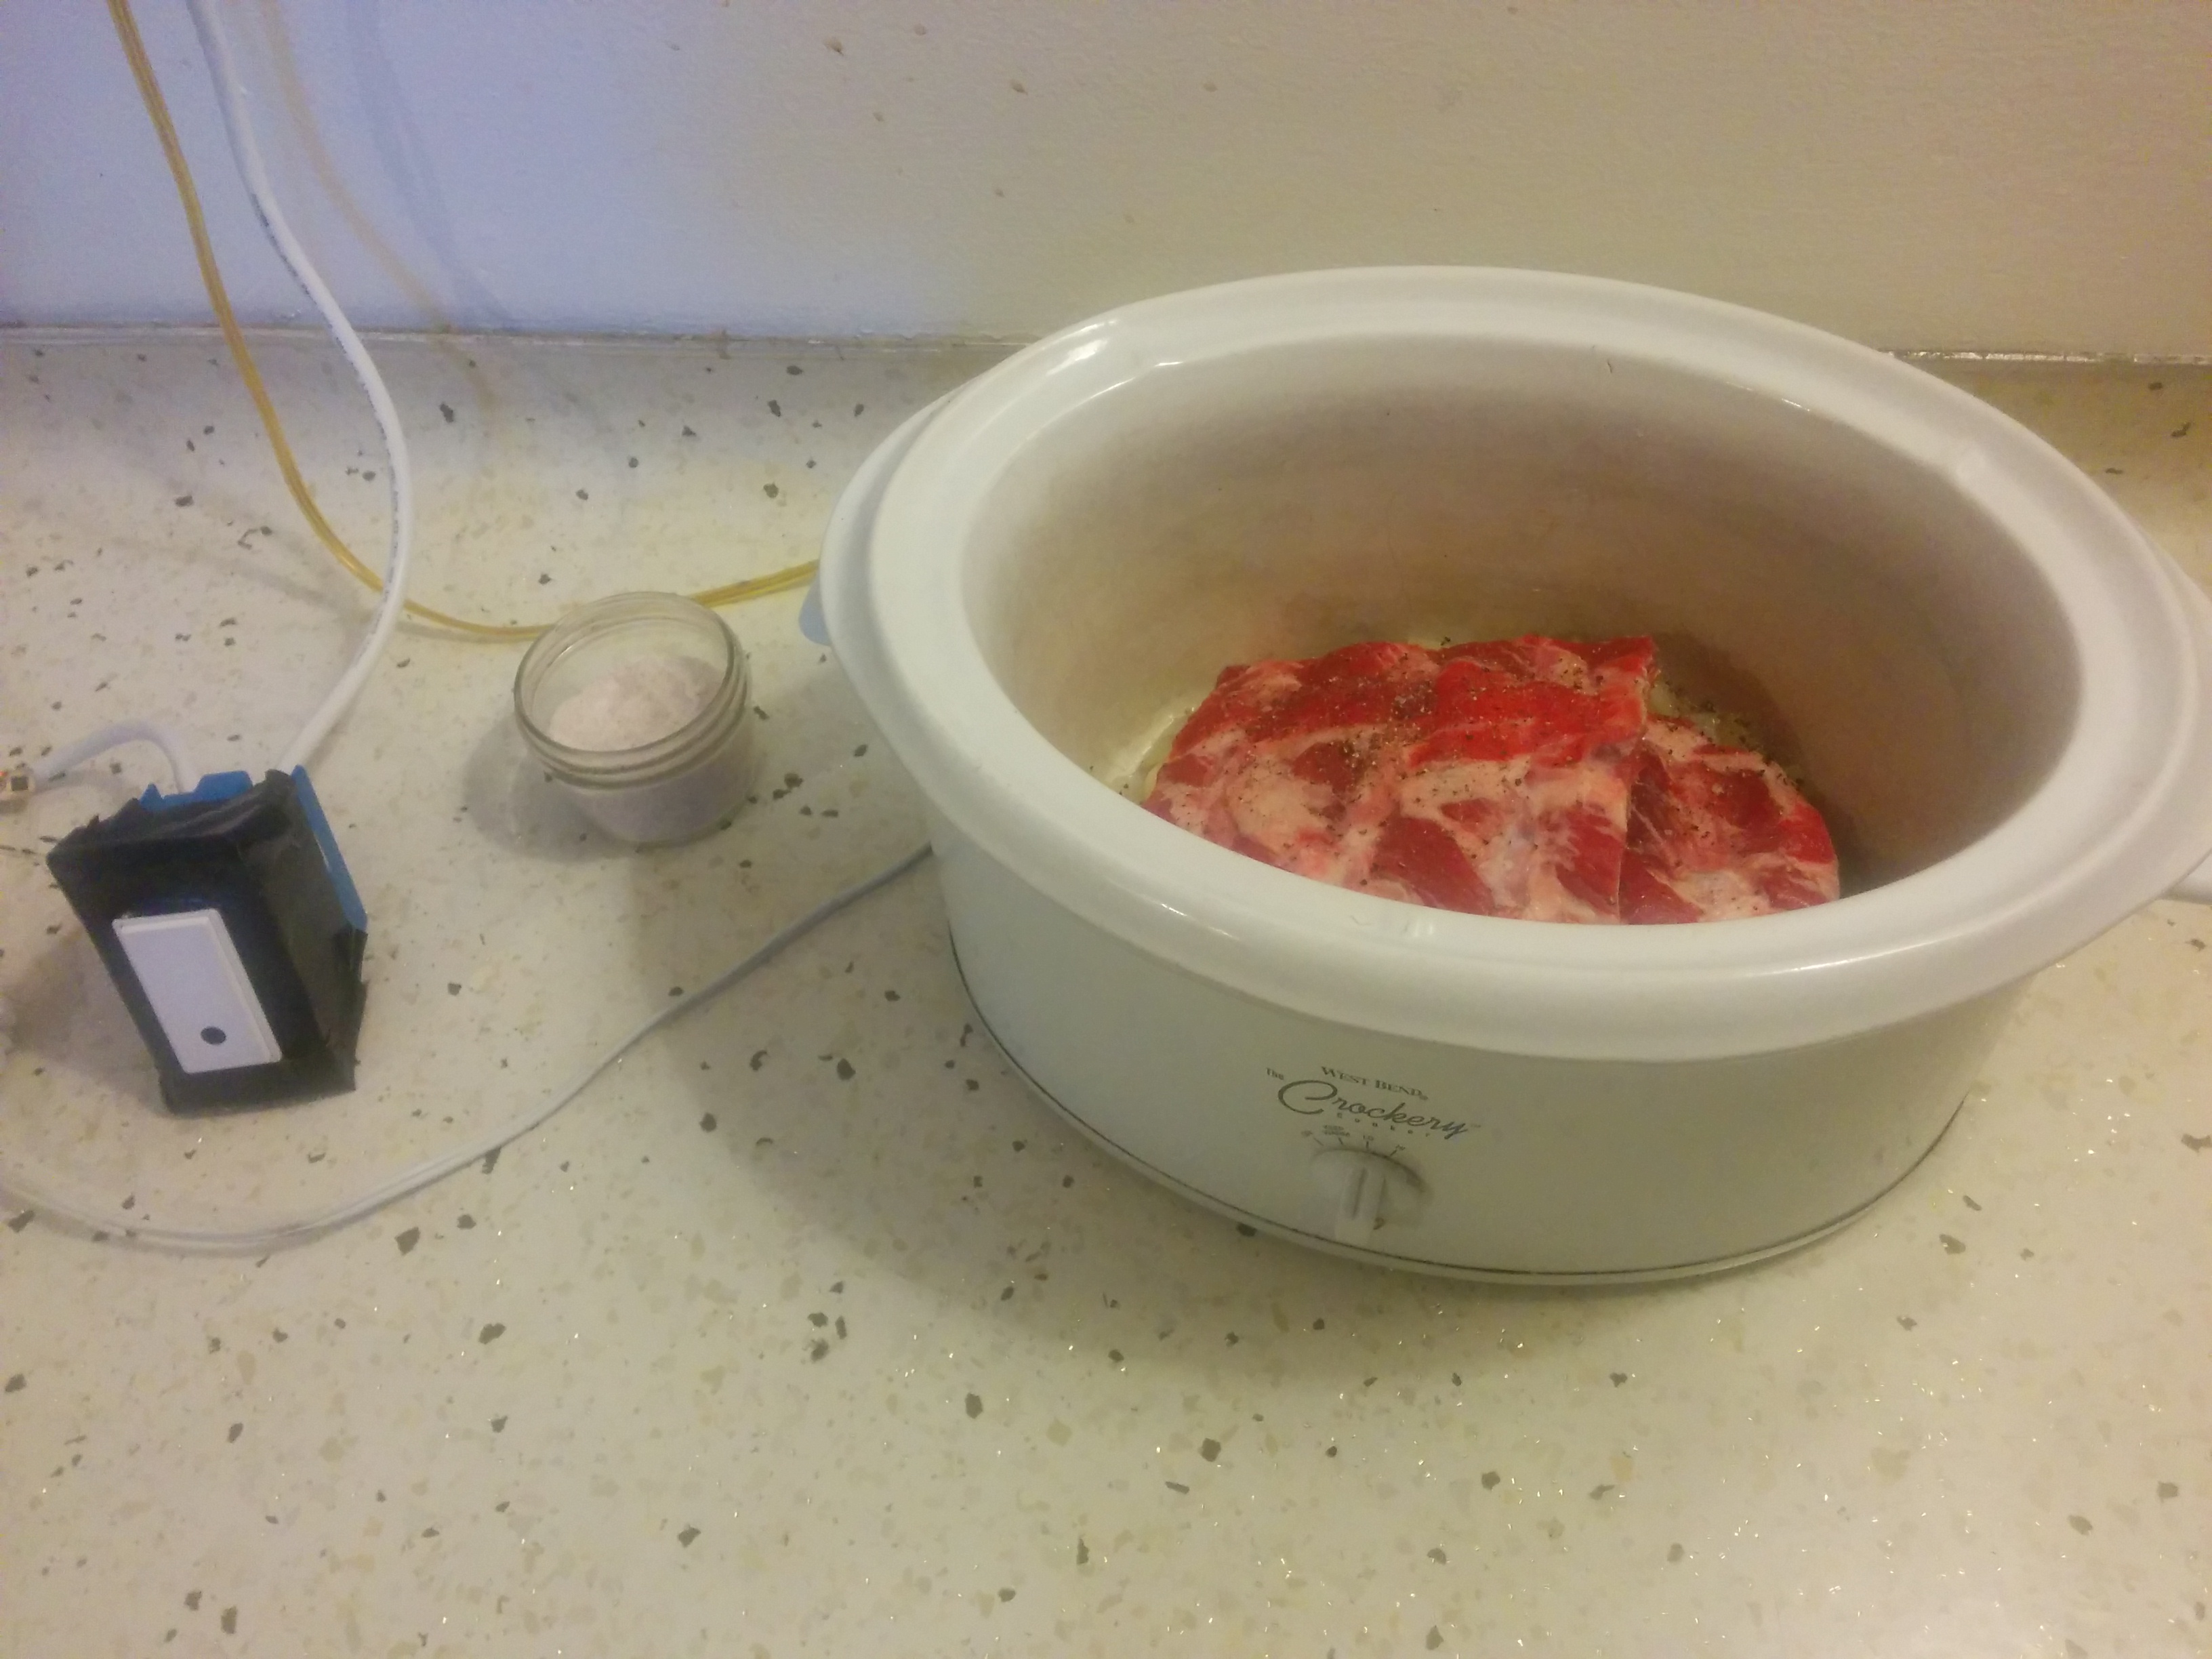
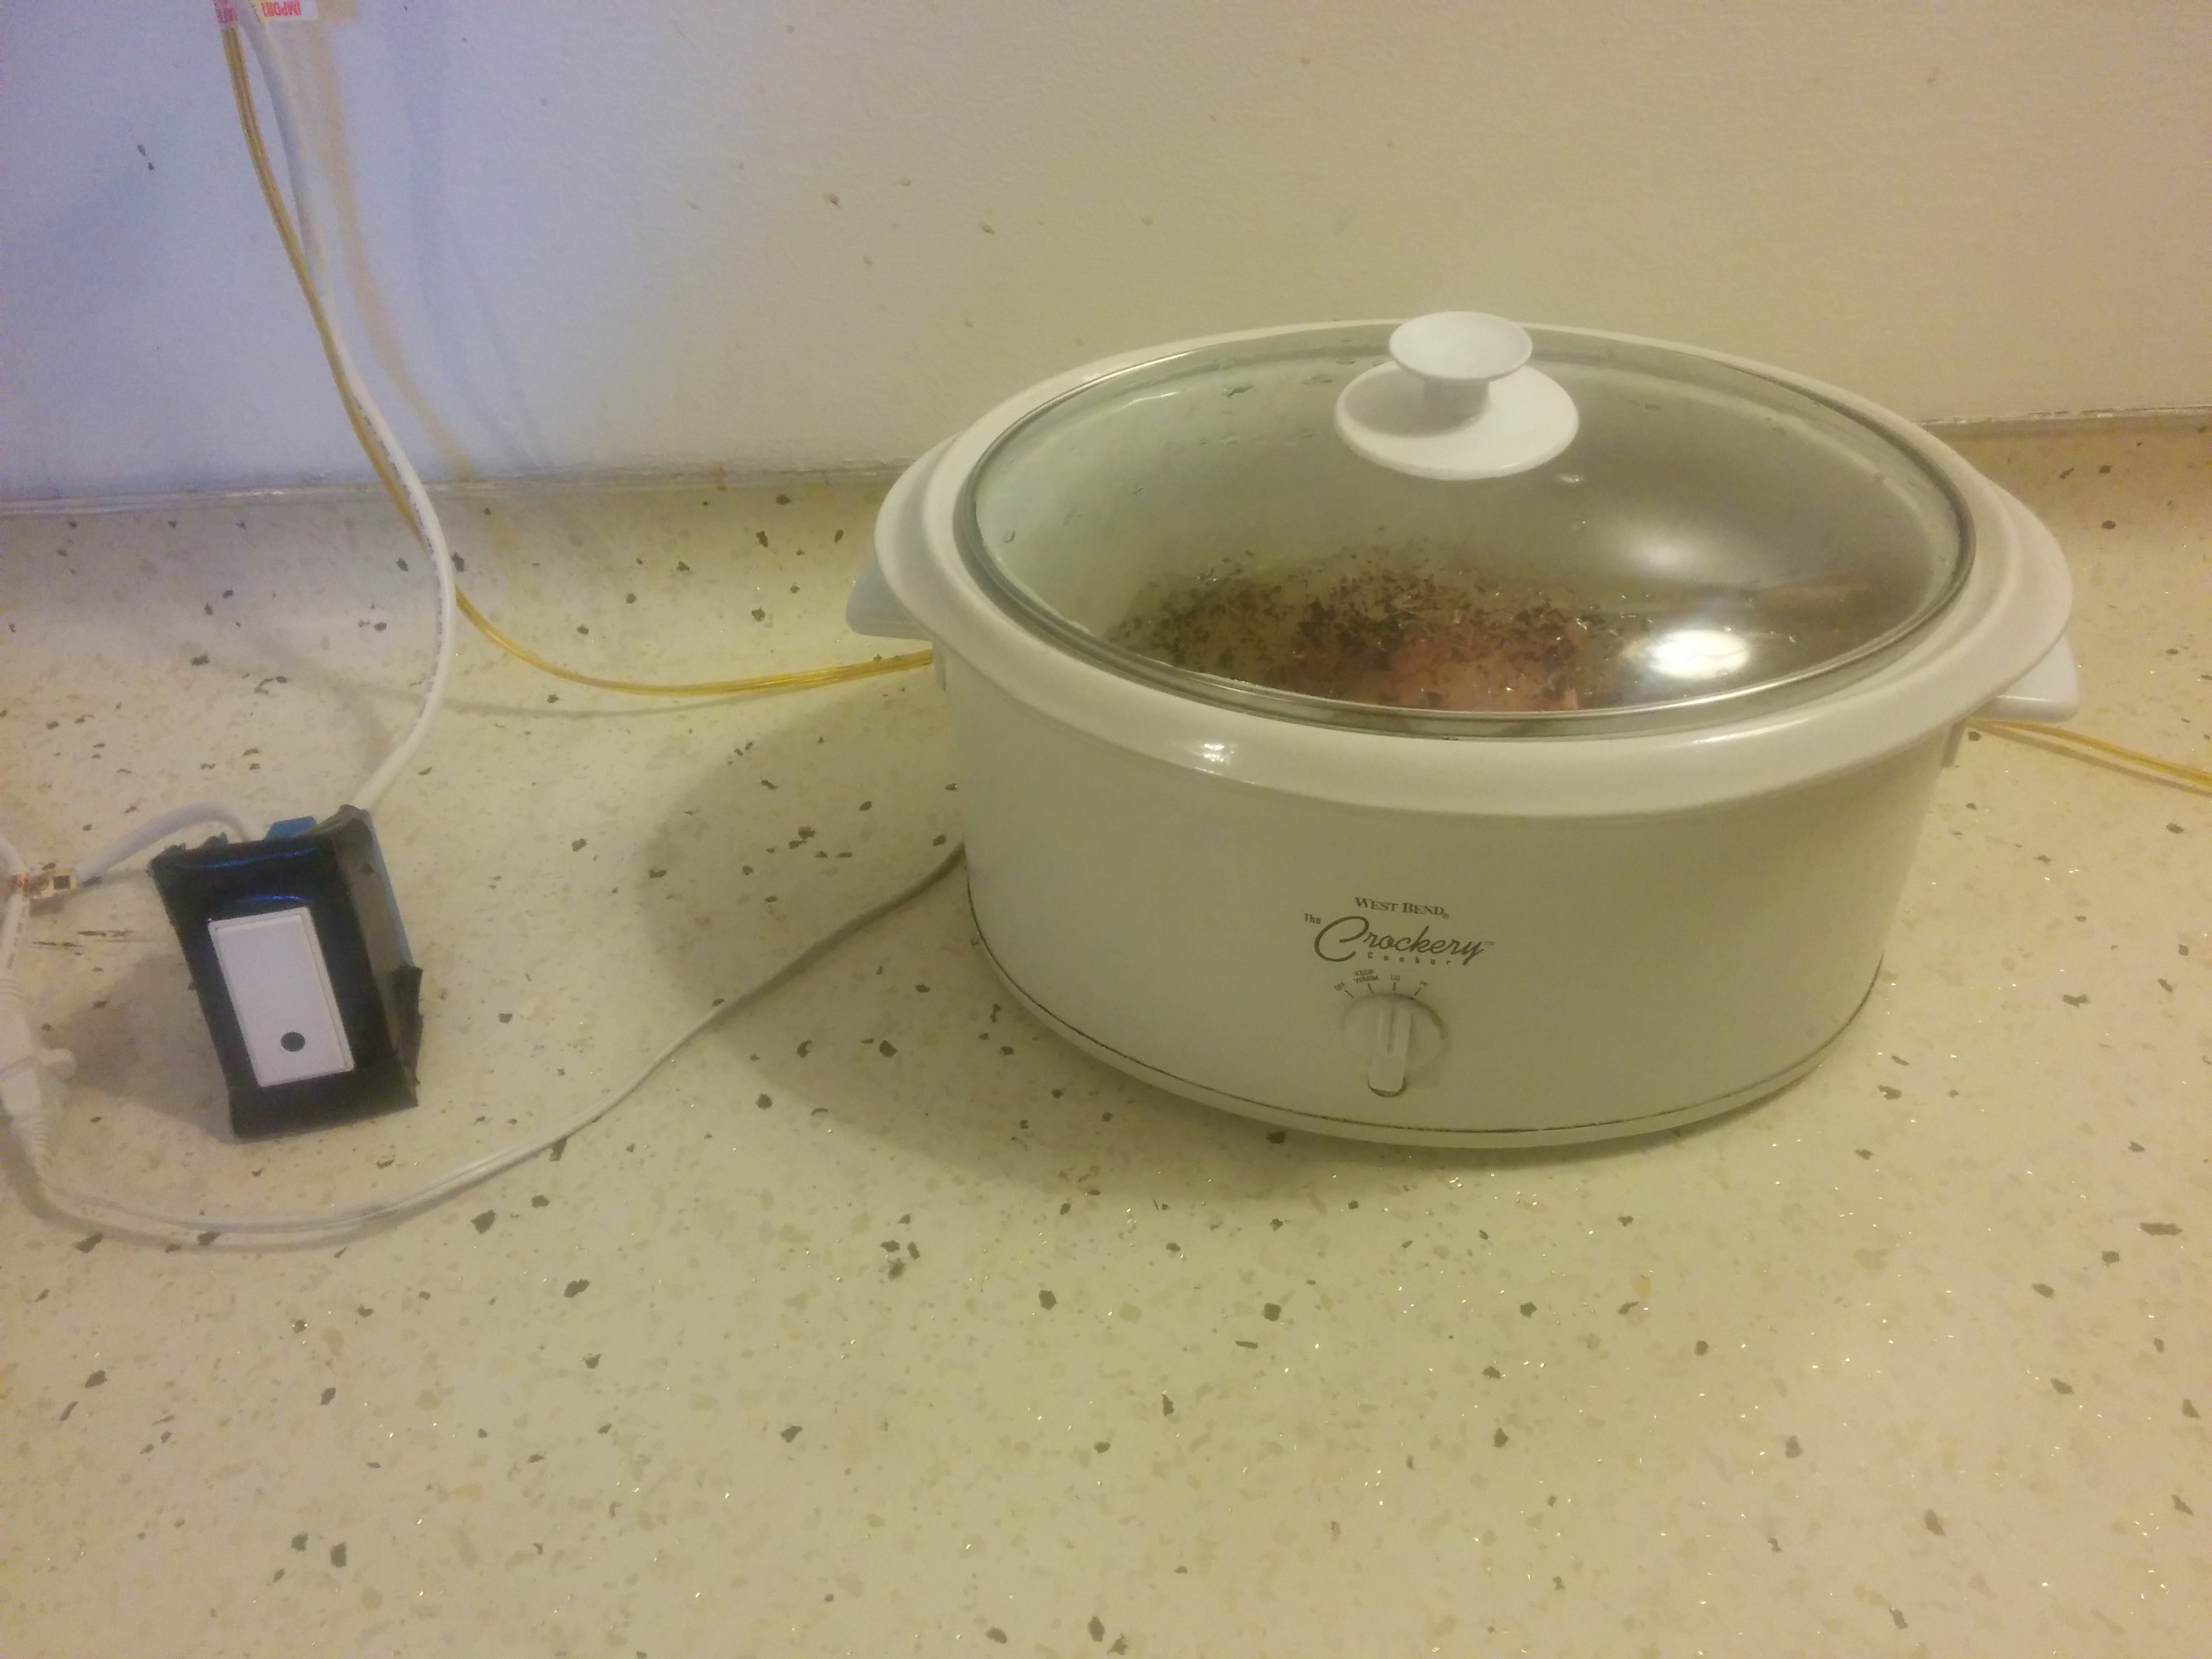
Recipe
1 rack of beef back ribs
Onion
Garlic
Chipotle flakes
Homemade chicken stock
Salt
Pepper
Directions
Sautée the onion and garlic in the morning and put them in the bottom of the crockpot. Cover them with the meat, salt, pepper, chipotle and stock. Set the crockpot to turn itself on 3 1/2 hours before you get home. When you arrive home enjoy!
Thanks for checking out this instuctable. I hope you get a chance to build a controller of your own. I've entered this project in the Crock Pot Contest so if you have enjoyed reading it please go and vote for me.
You can find the contest here:
https://www.instructables.com/contest/crockpotchallenge/
Keep cooking and bon appetit!