Cel Shading Real Life Pictures

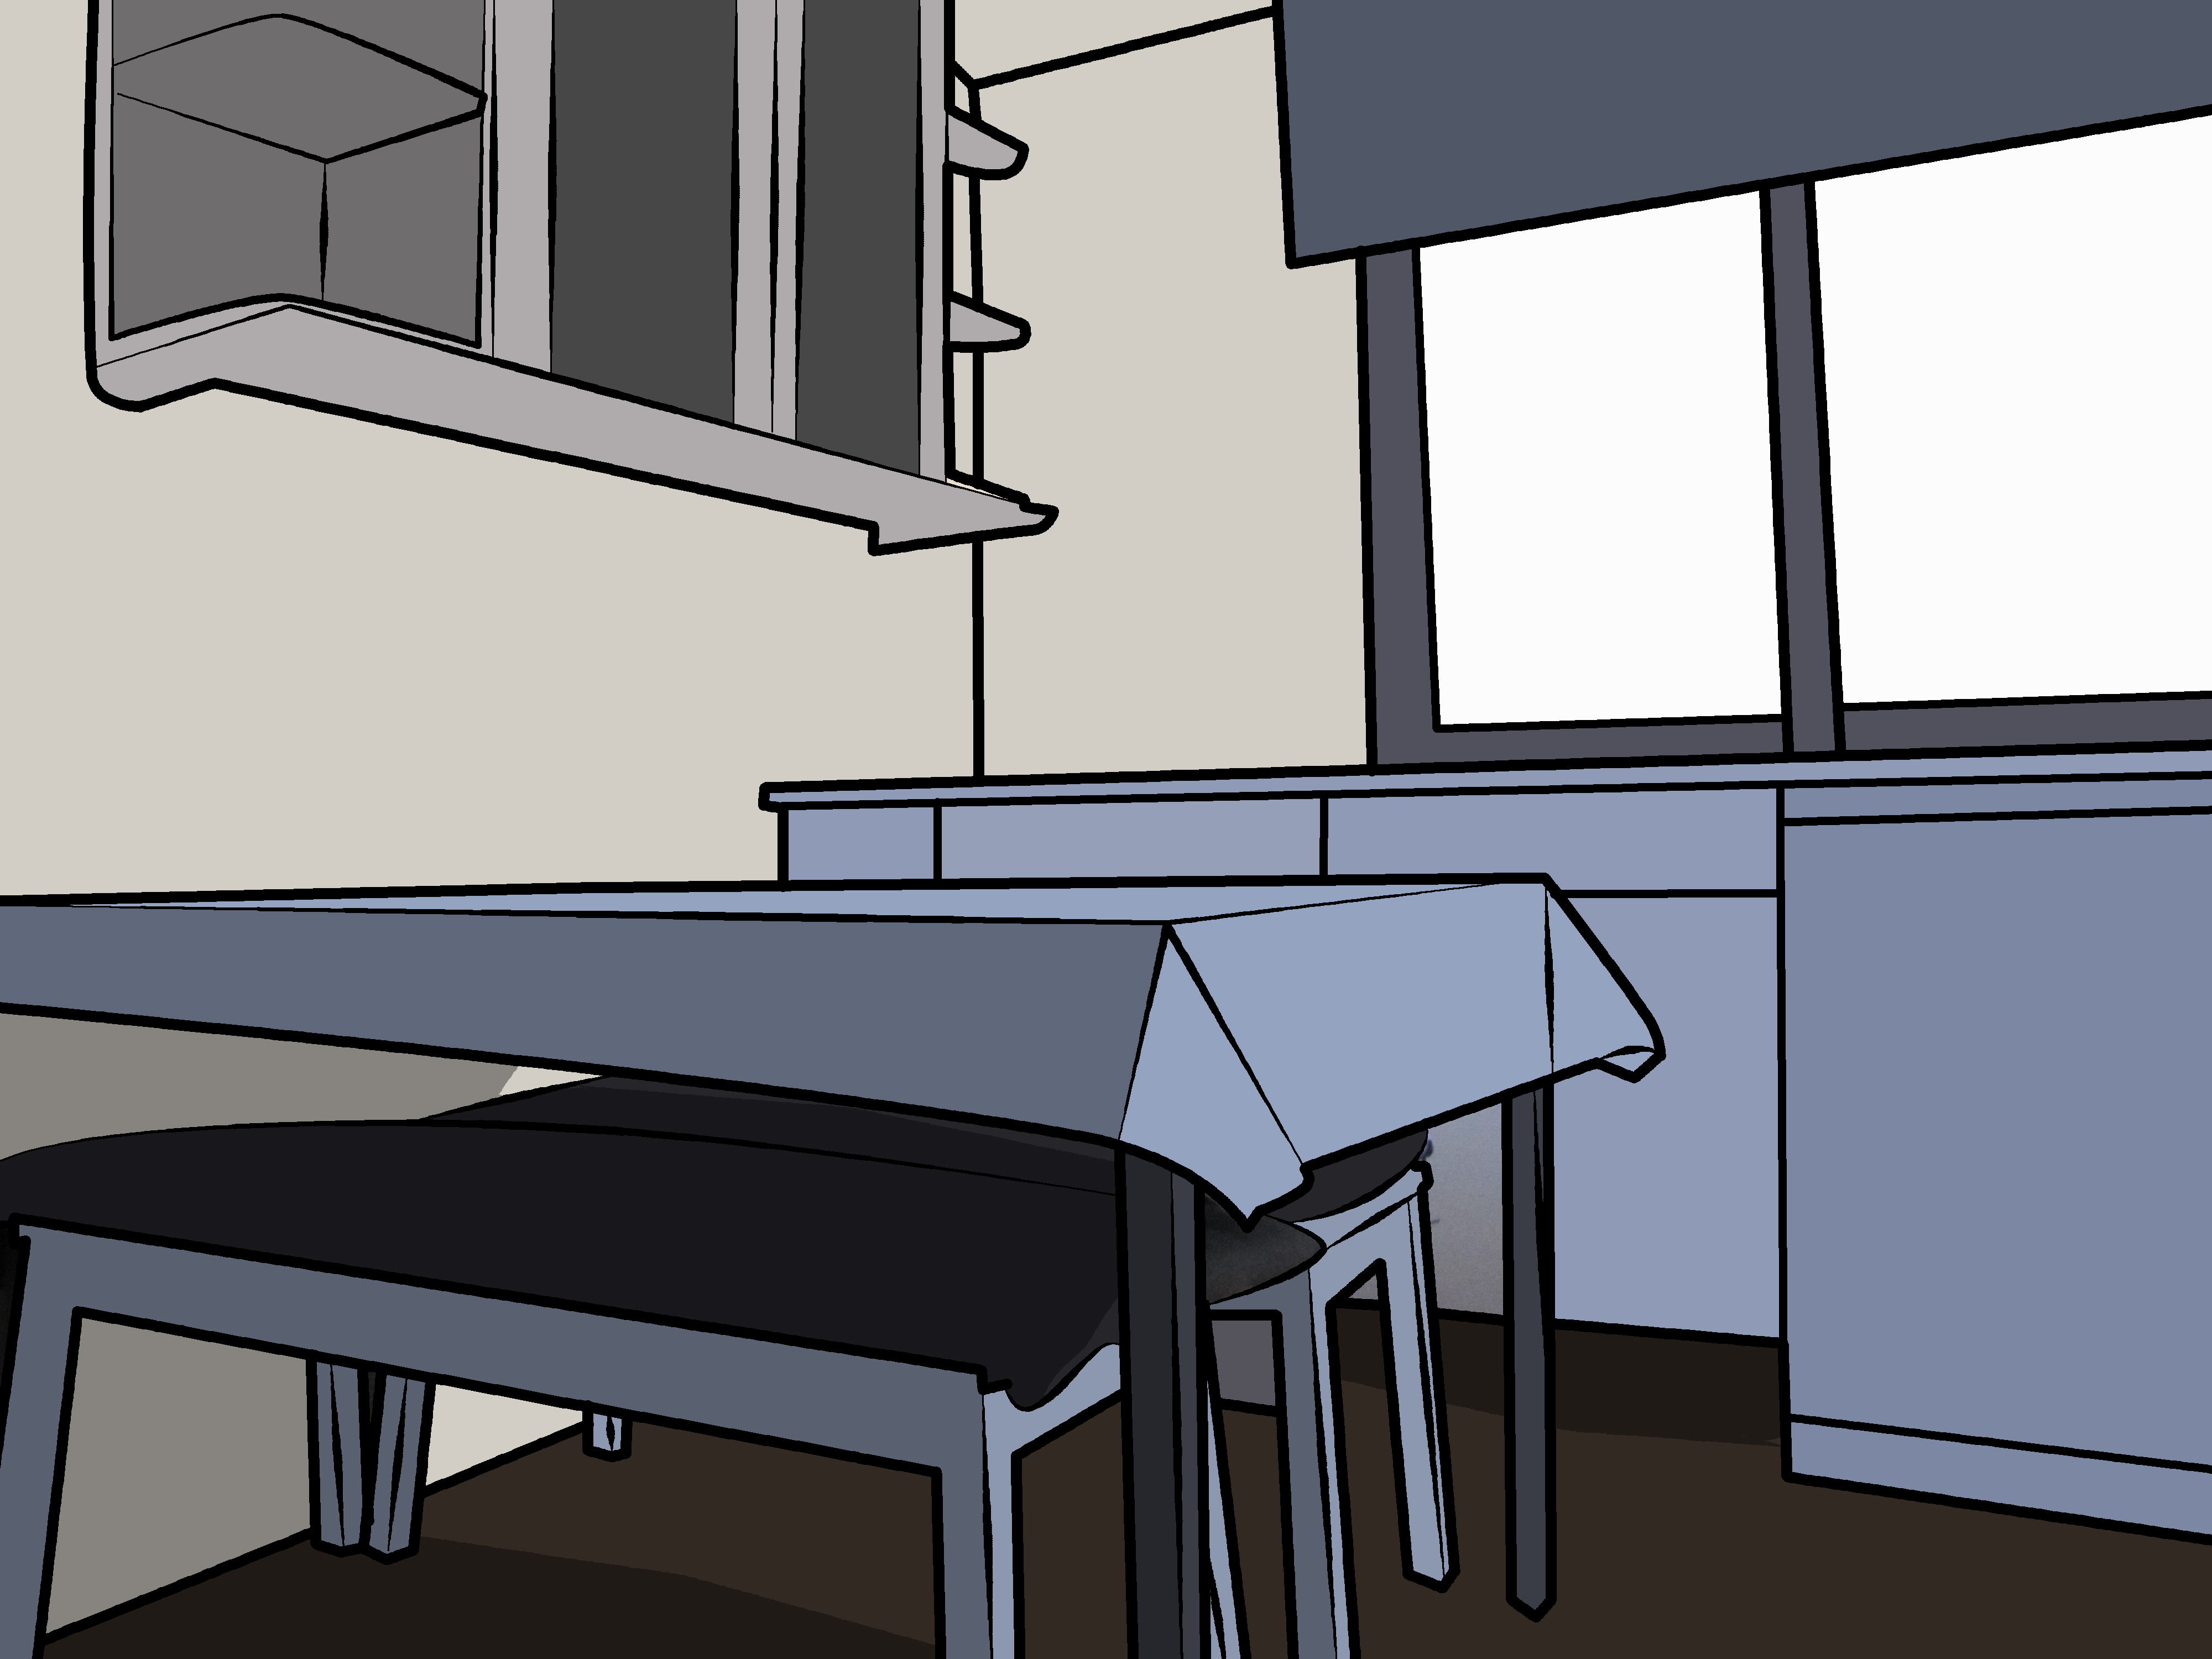
For as long as I can recall, I never was too good at drawing backgrounds and/or landscapes. When I made my first comic ever, I didn't have any background, but instead a line (hehe... lazy me (• ε •) ). However, for my new comic book I thought of doing something a bit strange. Ever heard of Cel shading? Well, if you haven't, Cel shading is a type of non-photorealistic rendering designed to make 3-D computer graphics appear to be flat often to mimic comic books or ink paintings.
Because drawing settings is way too complicated for me I decided to take my own pictures and turn them into a cartoon scenario.
Take a Picture! ♪~ ᕕ(ᐛ)ᕗ
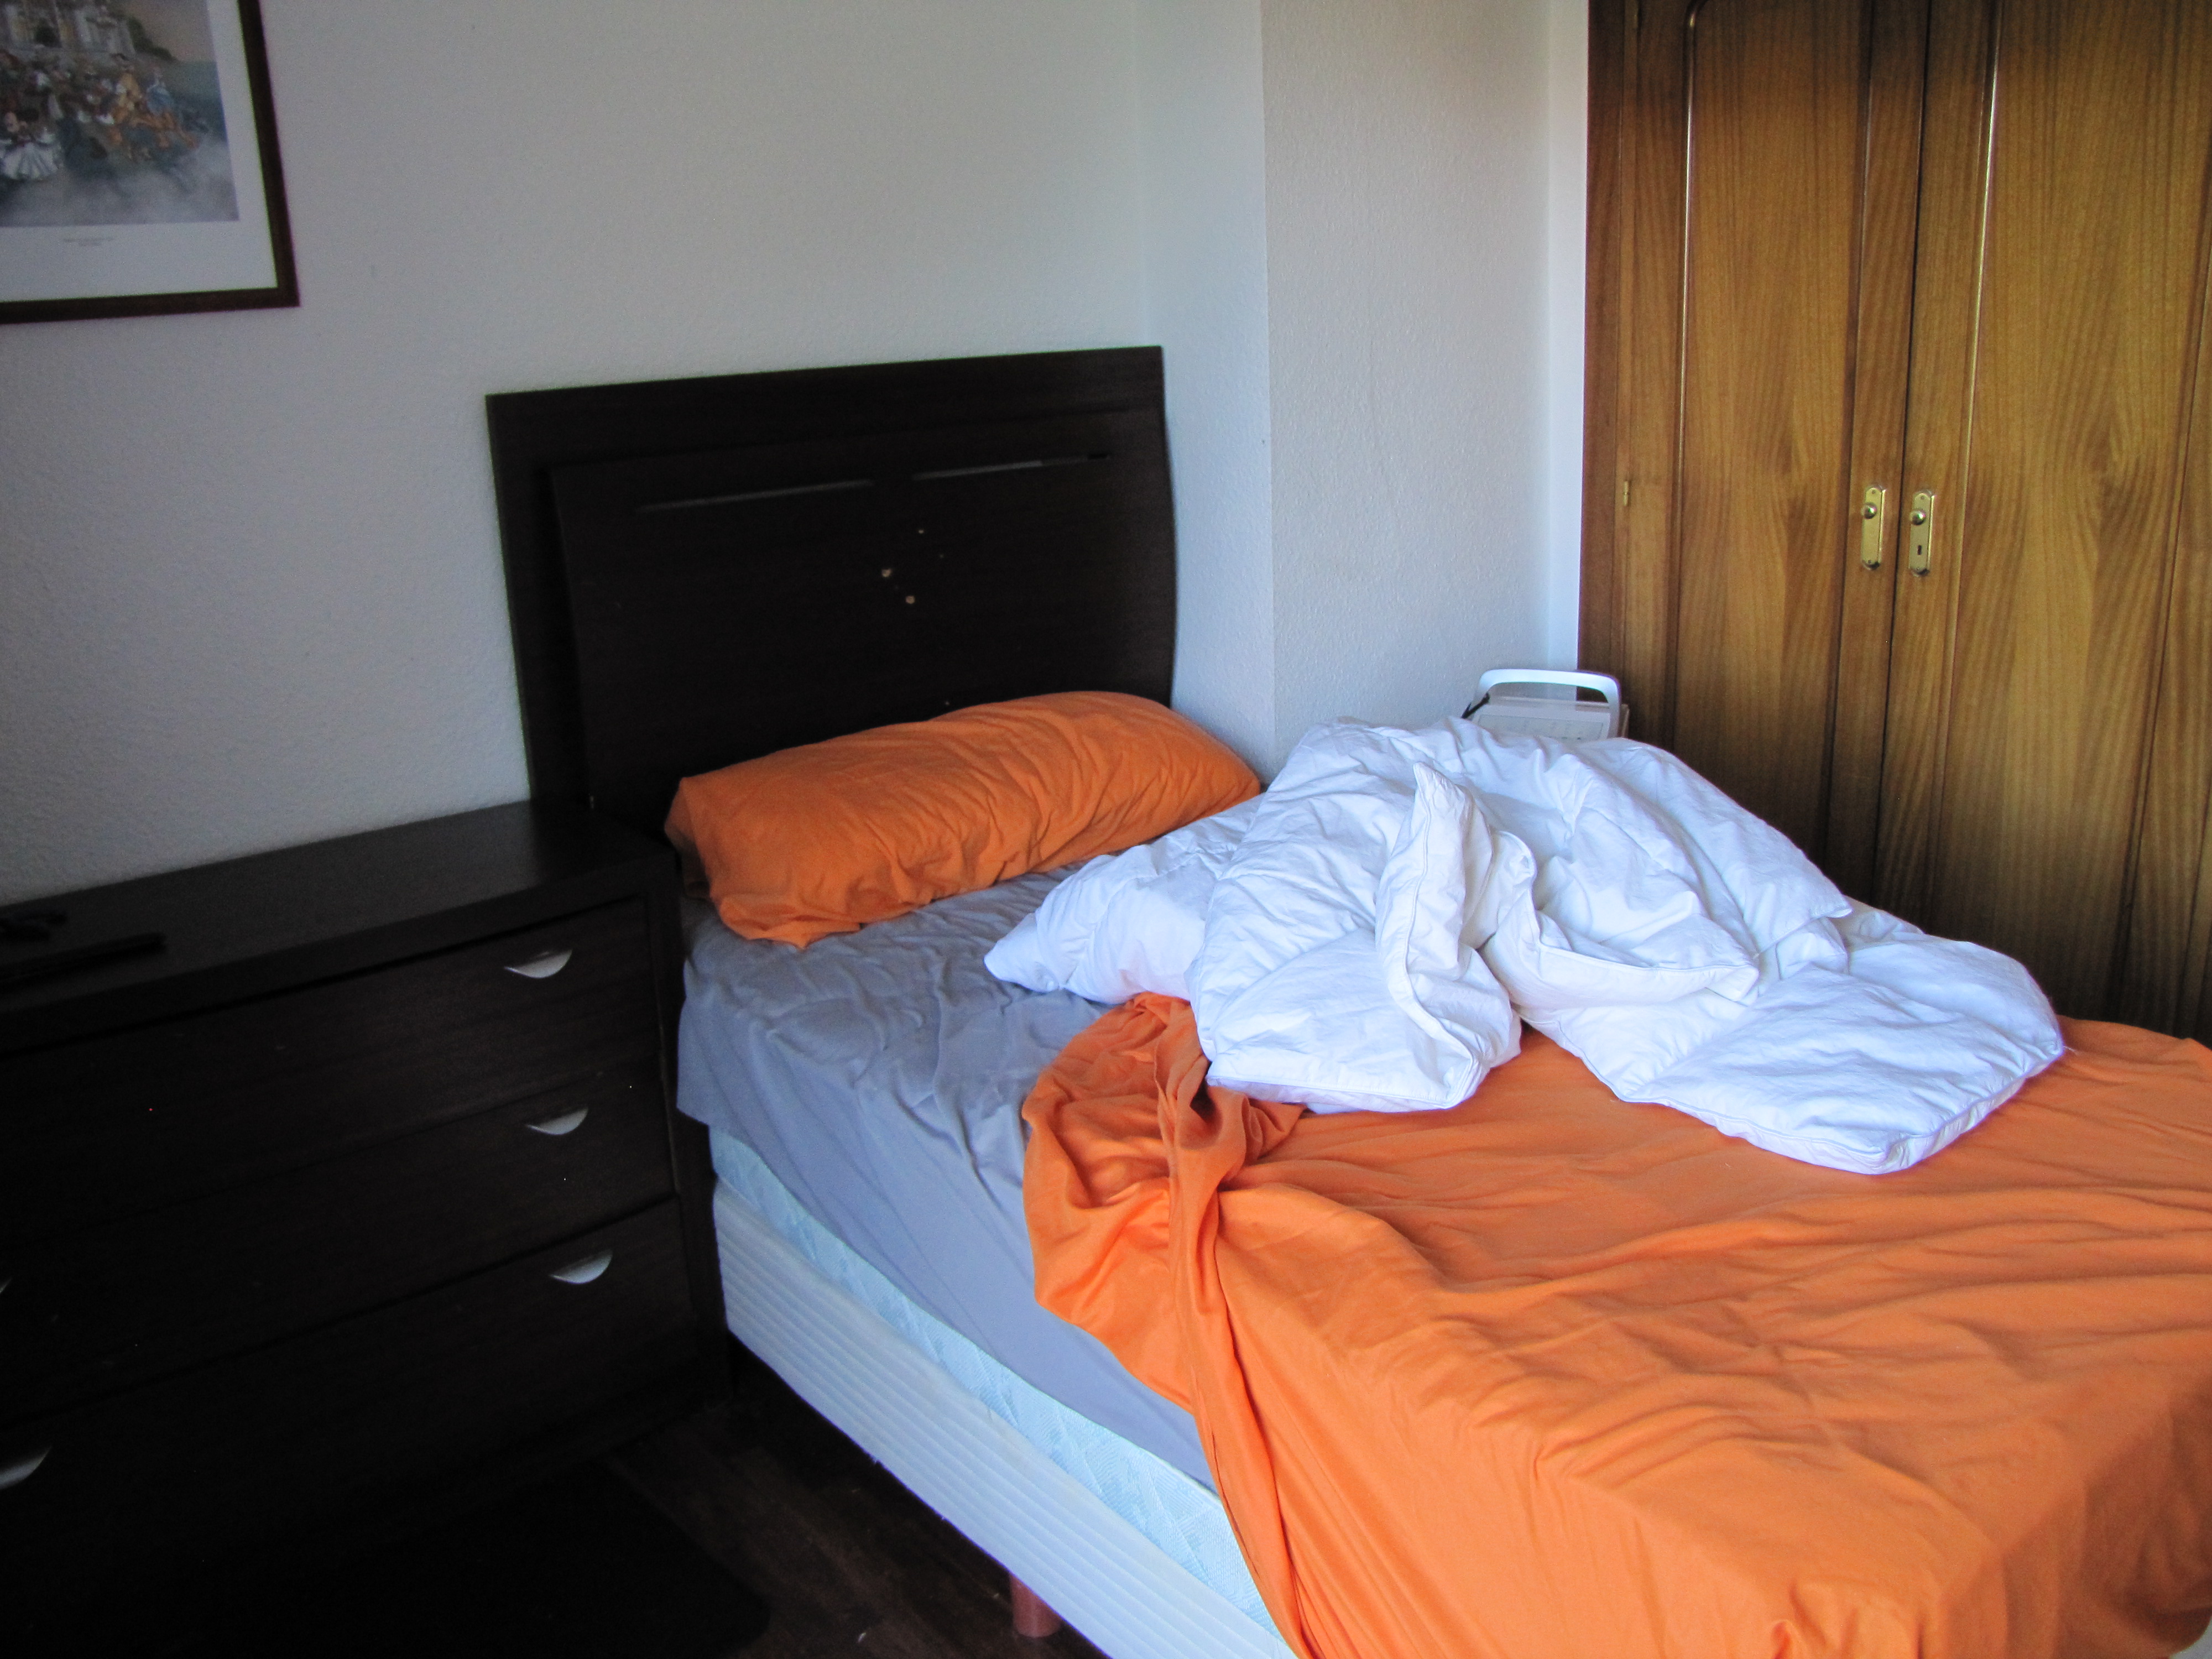
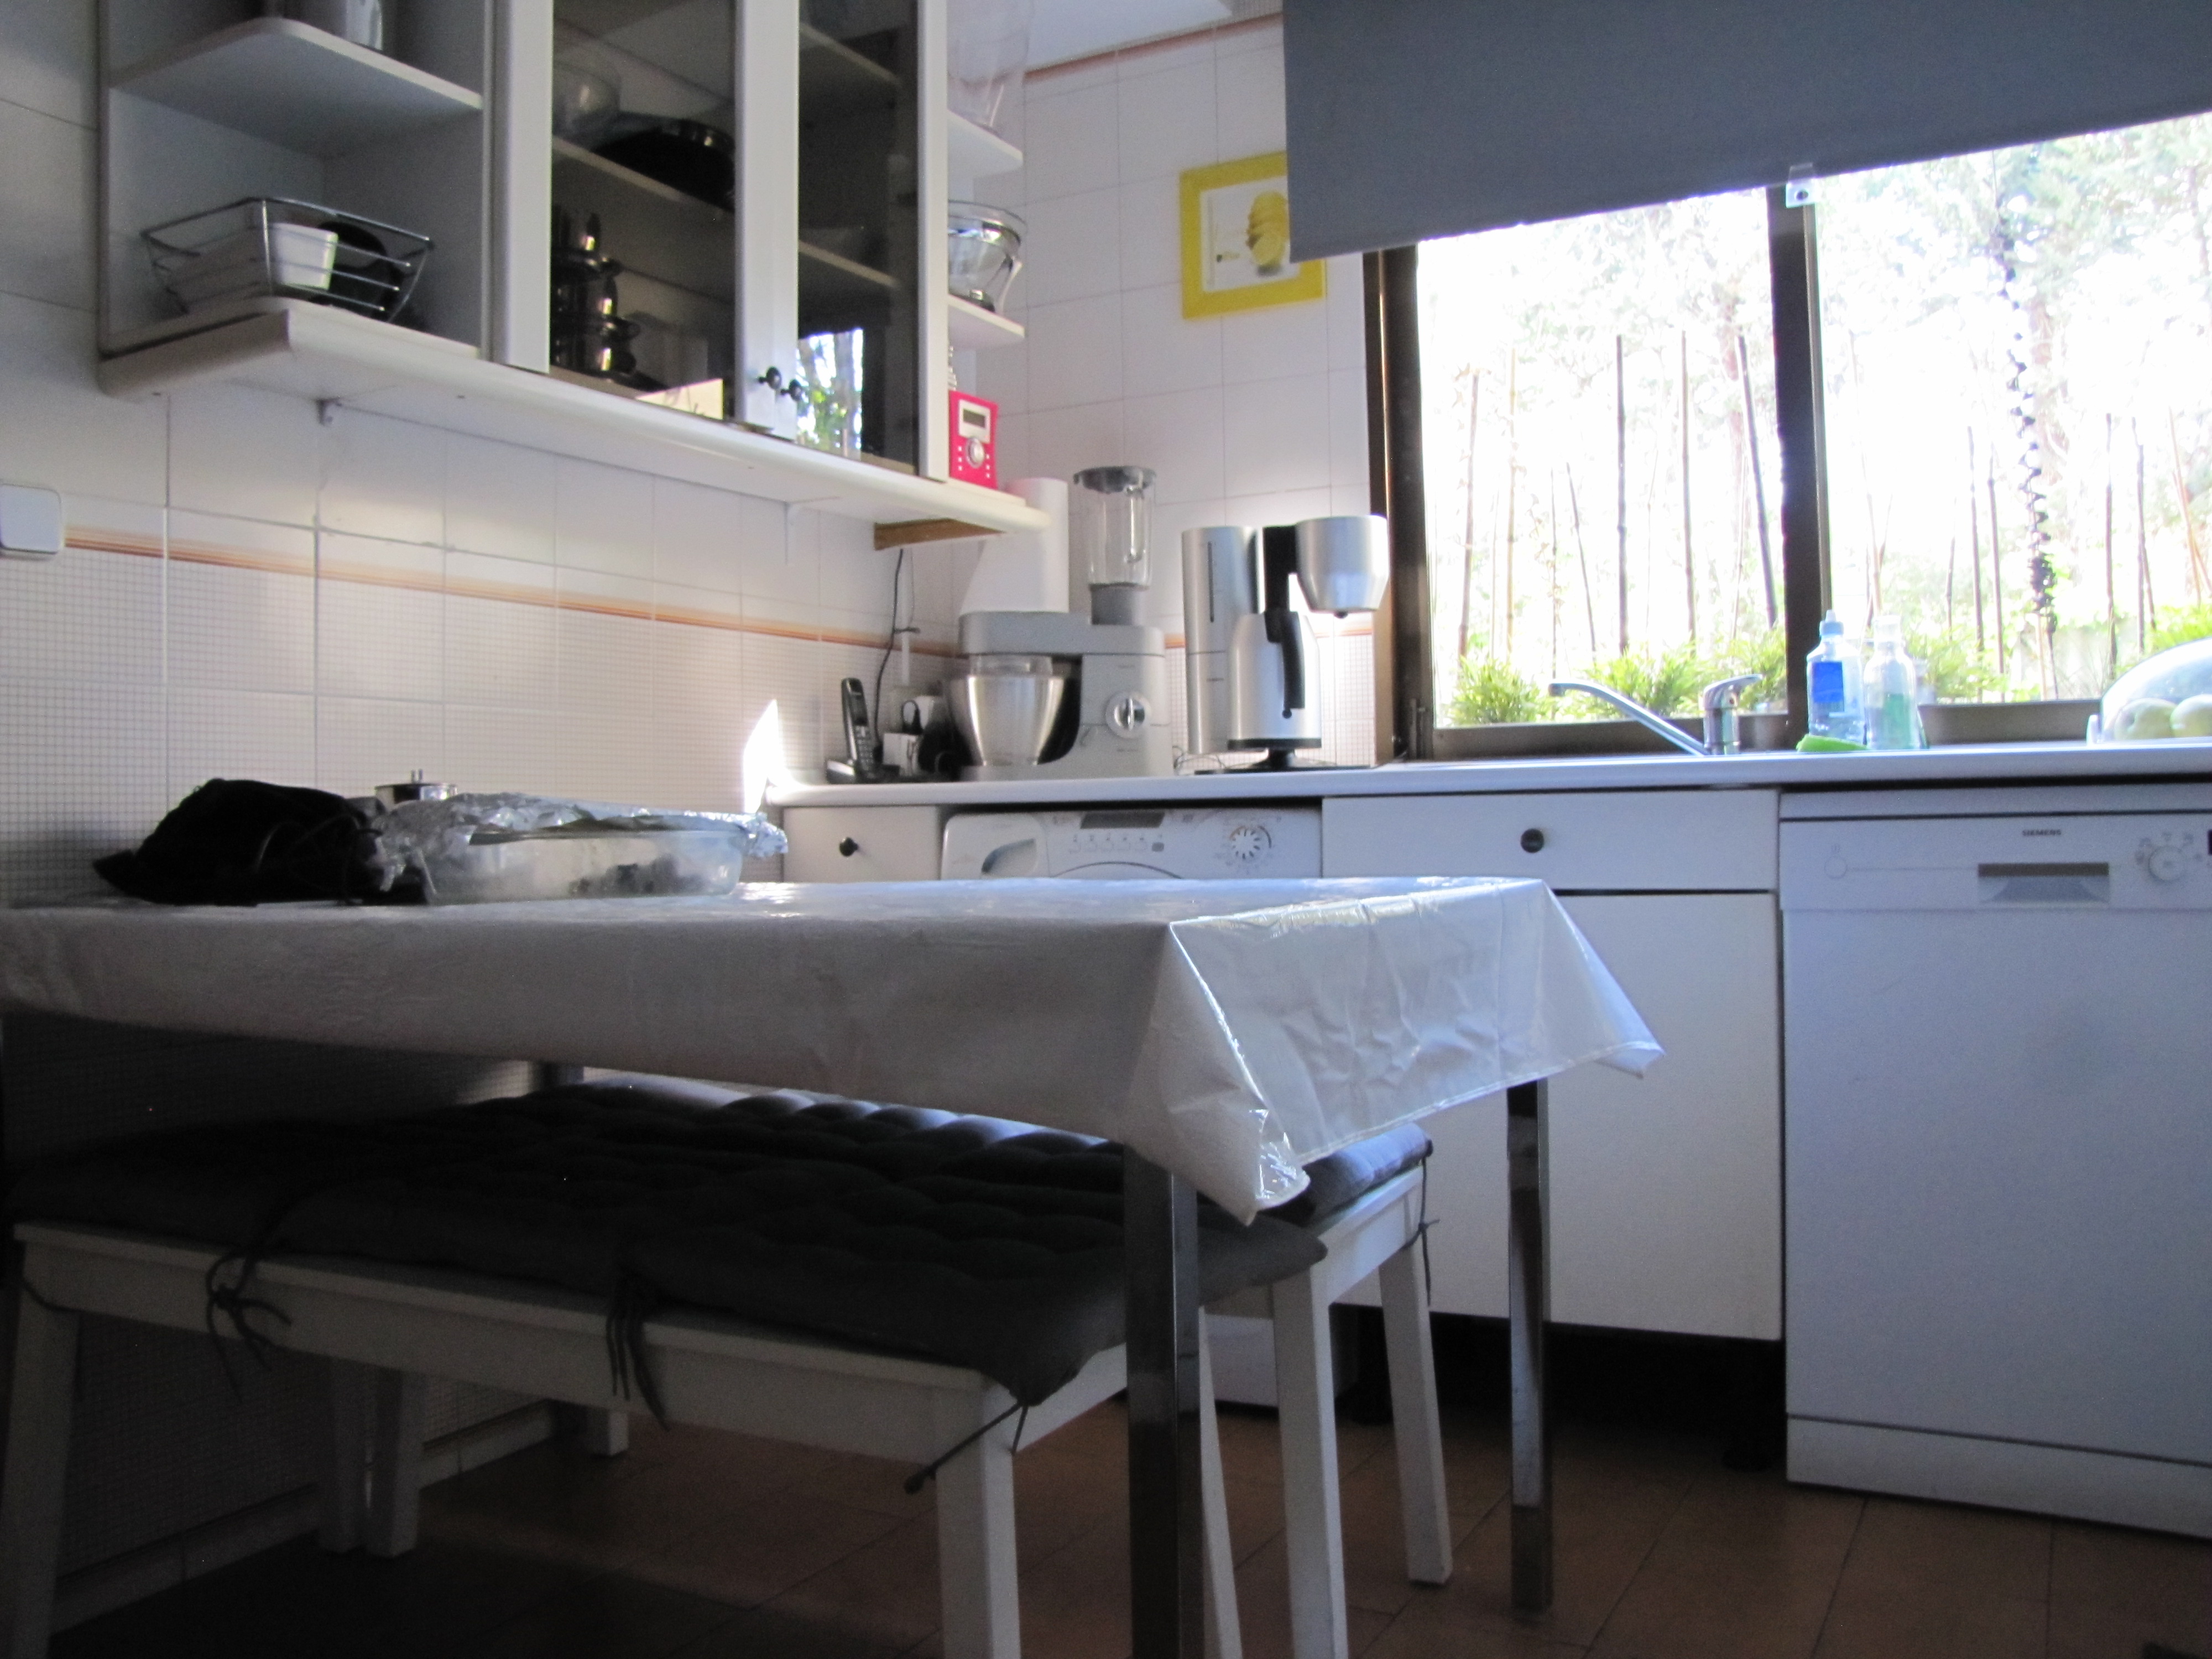
First thing I did was to take a picture of my bedroom (yup... I'm one lazy guy). Camera resolution doesn't really matter because in the end the picture will end up masked once edited by the software used.
Shaping the Setting
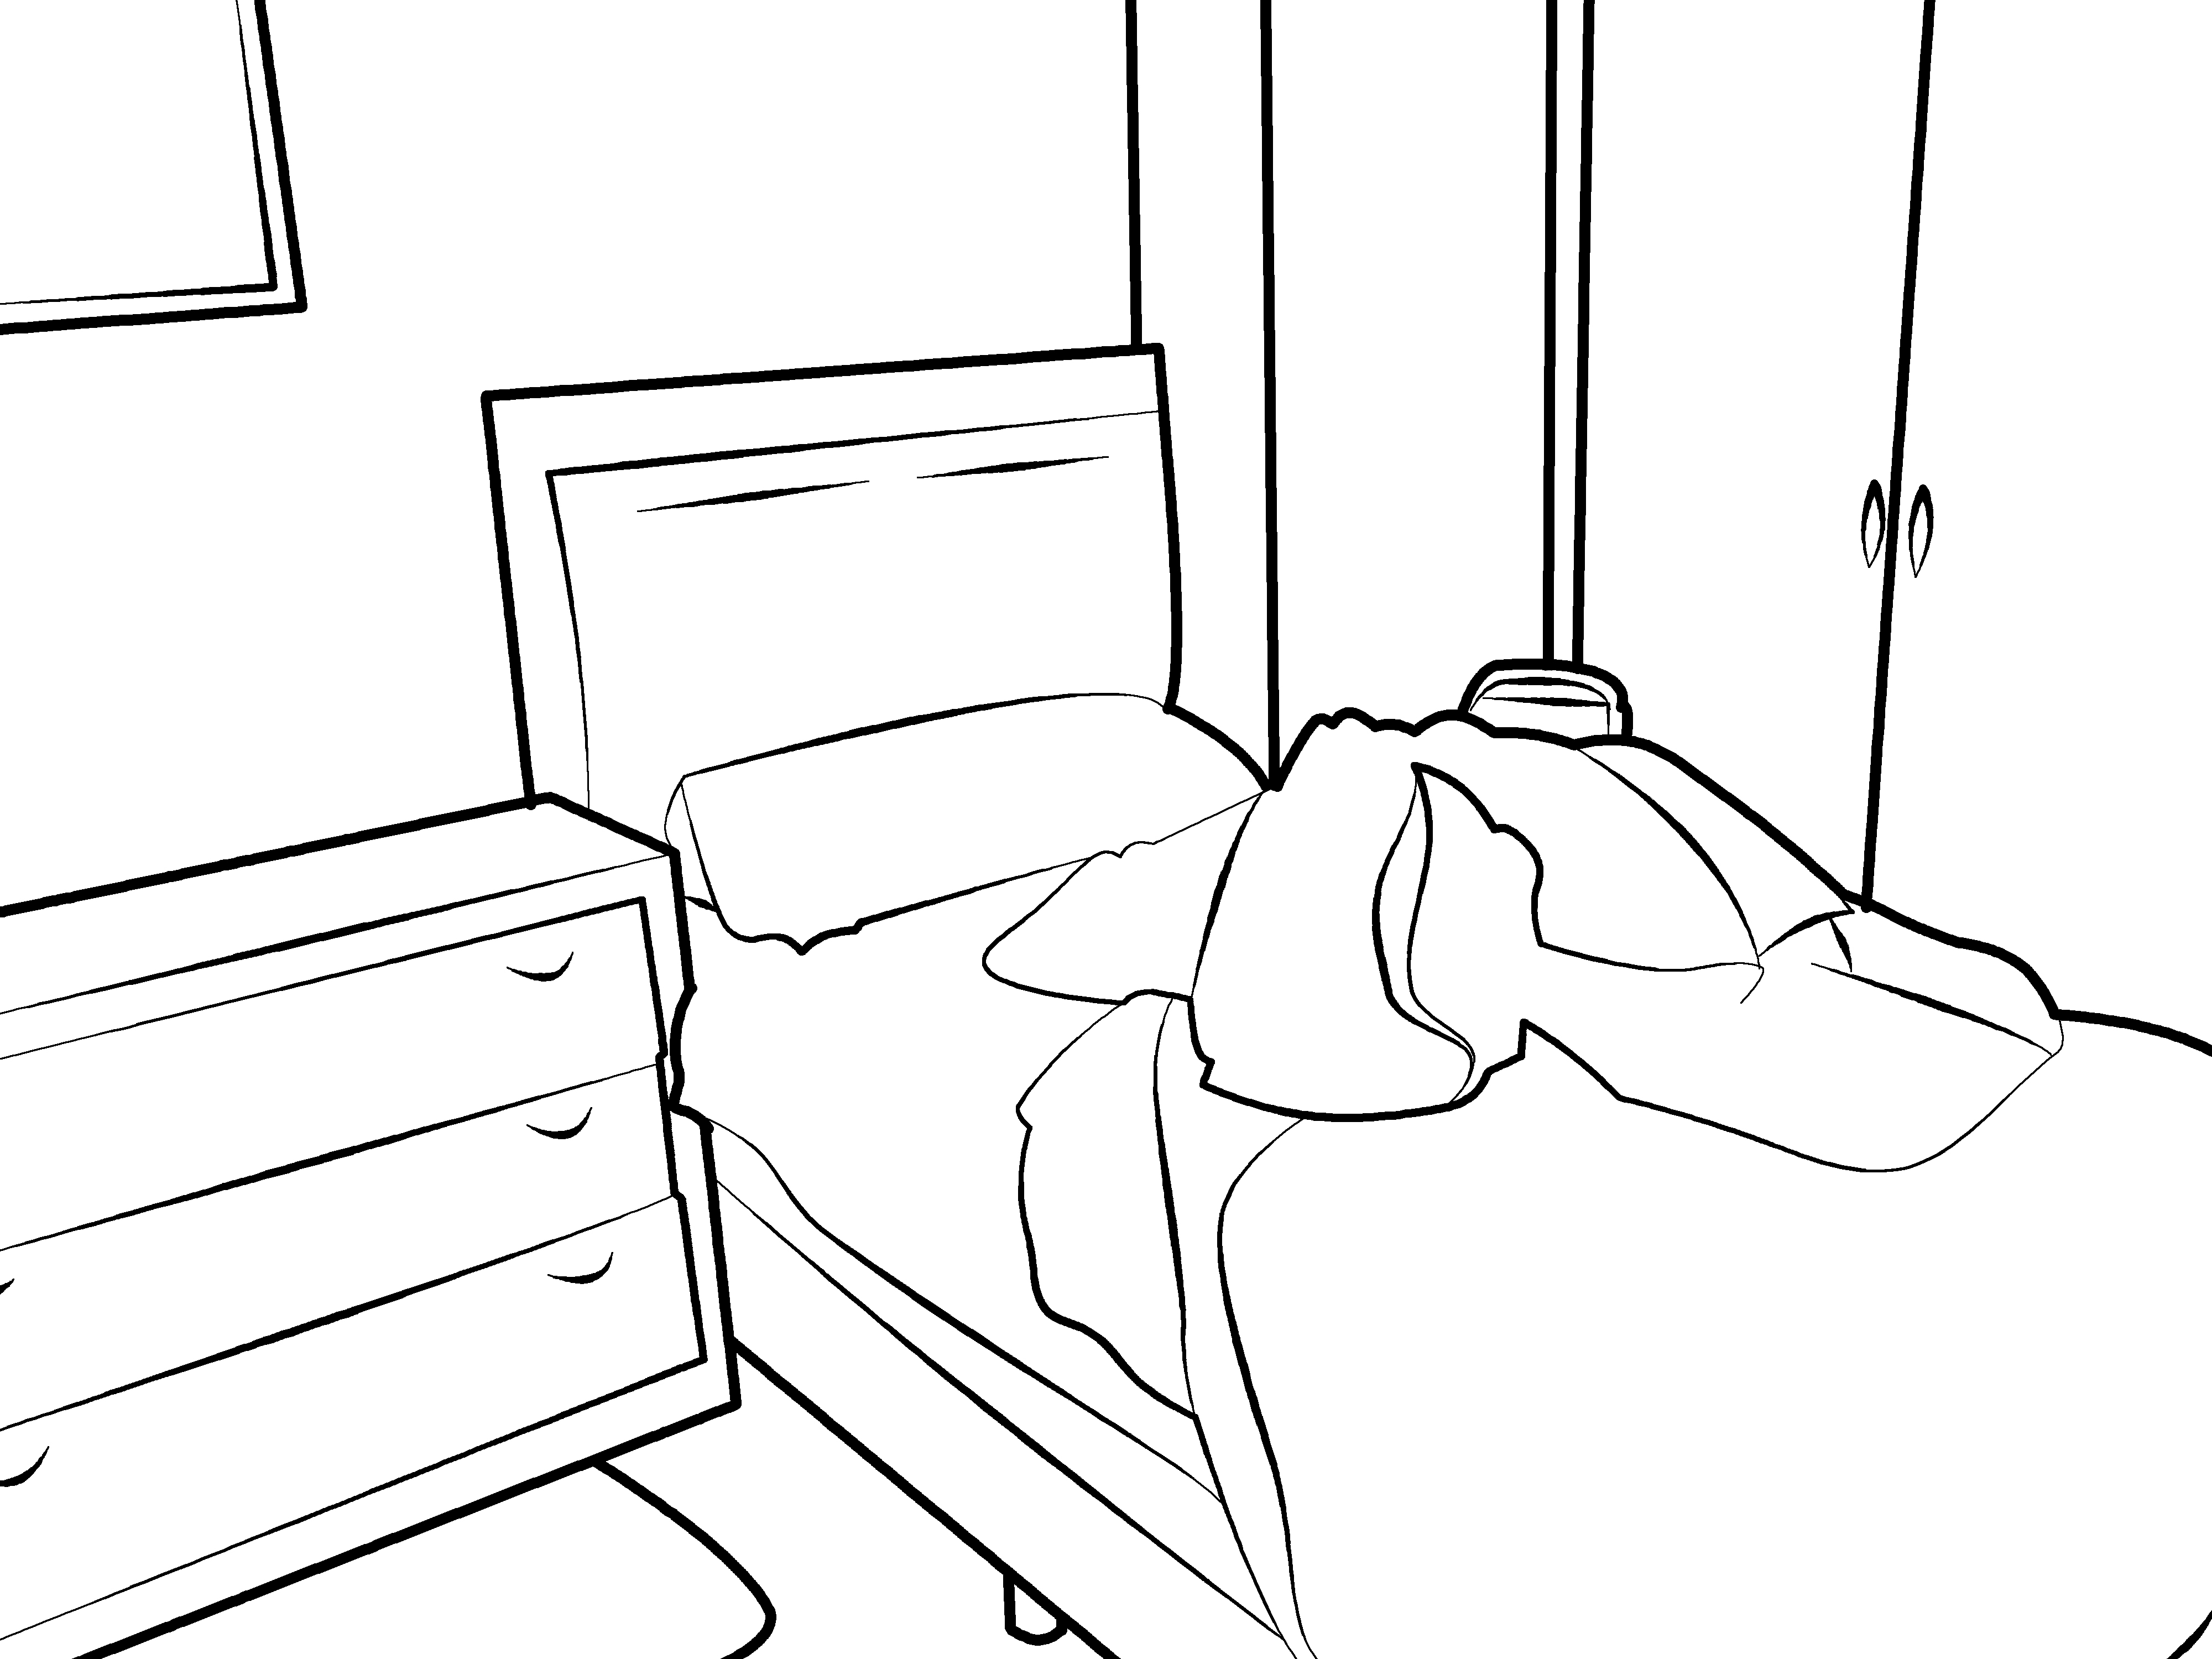
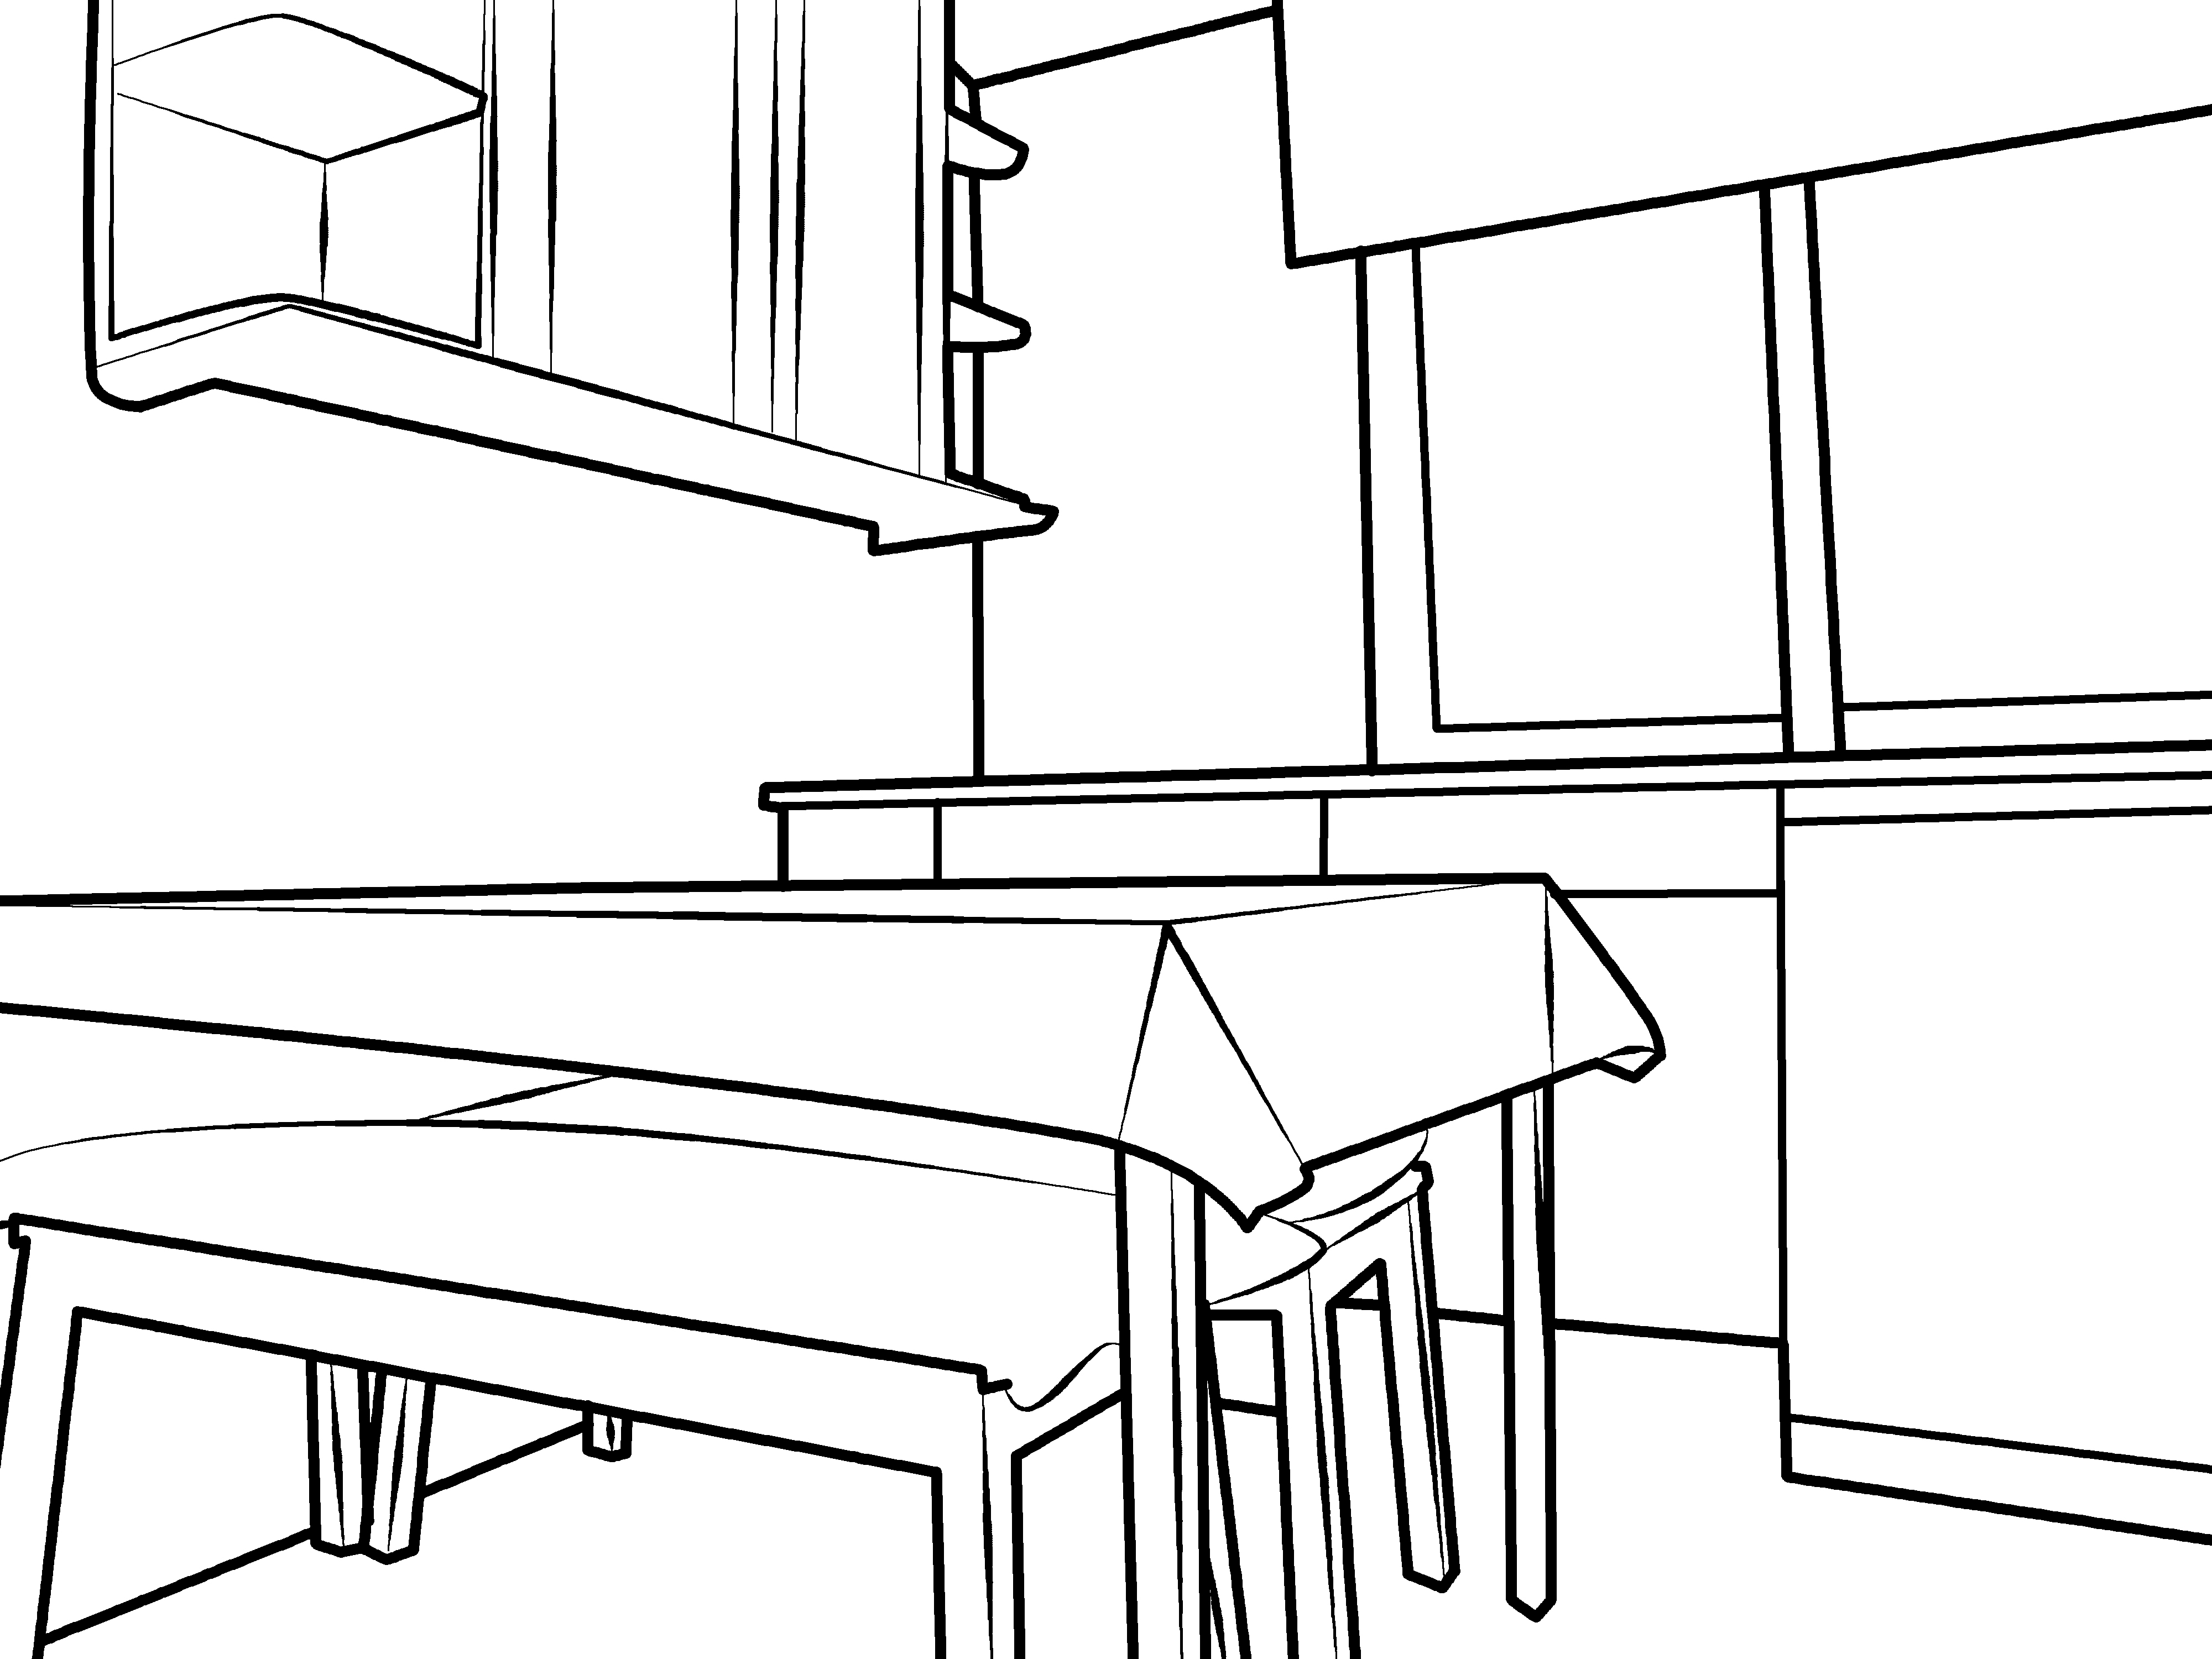
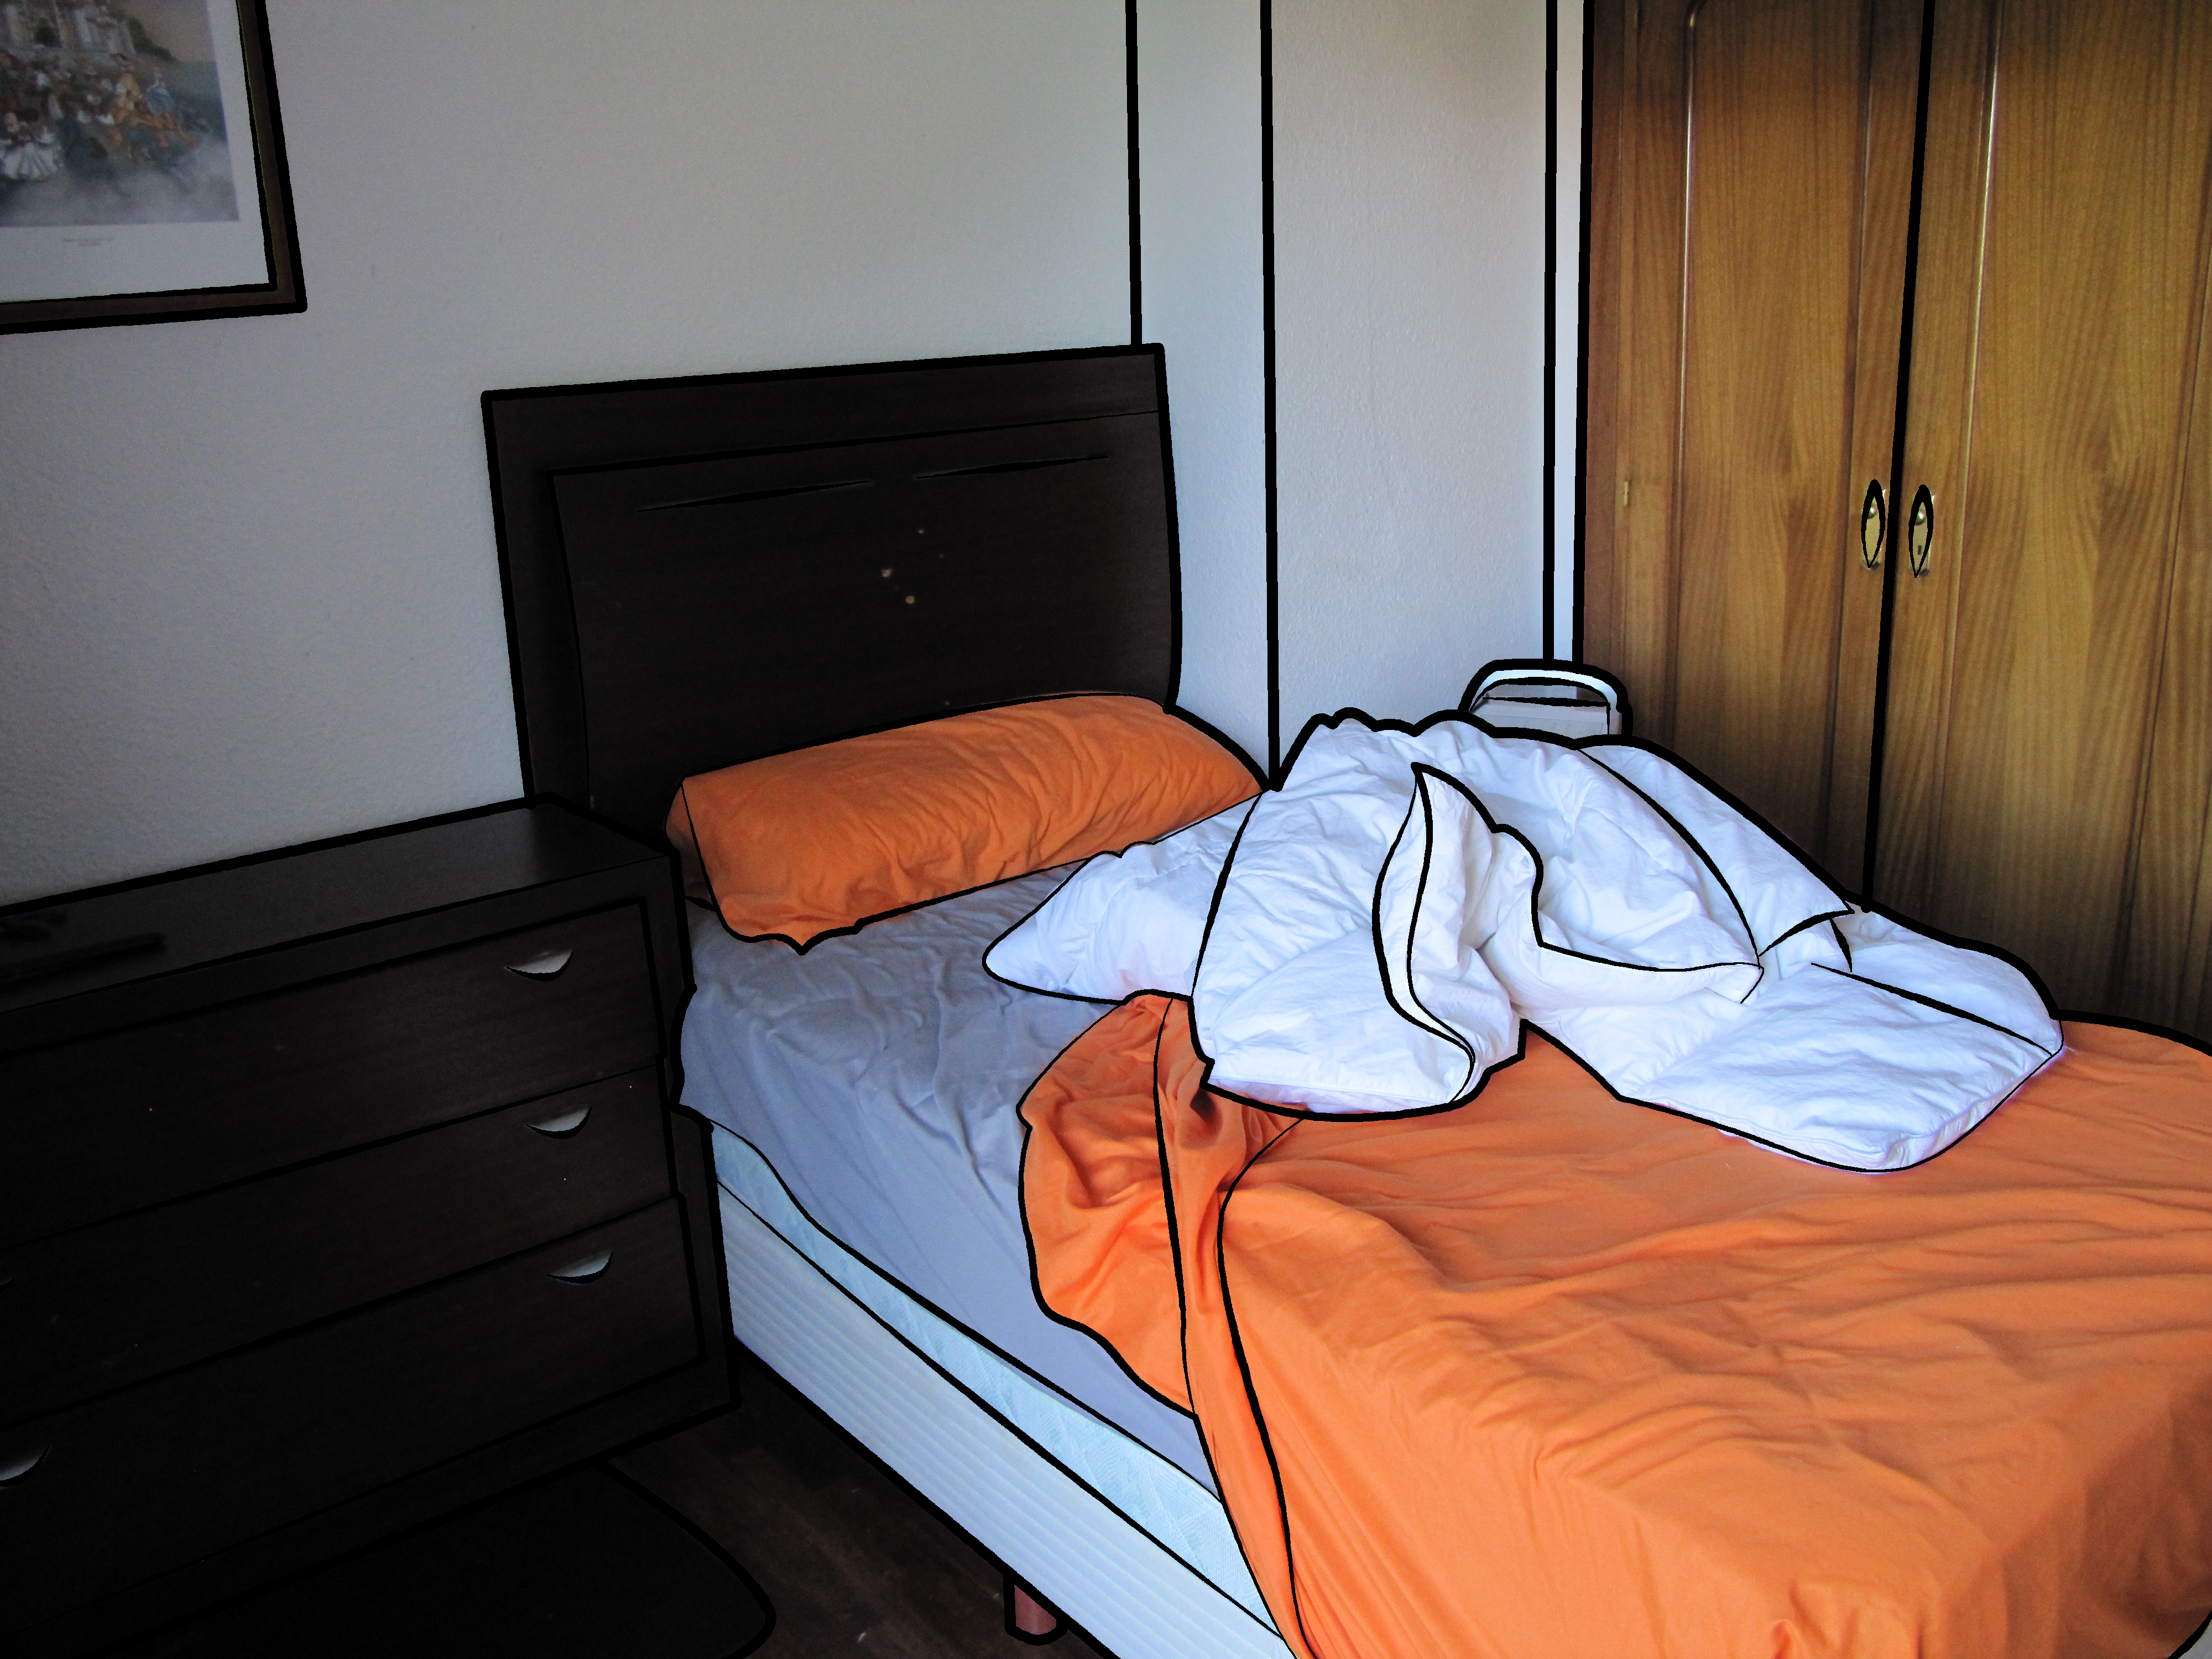
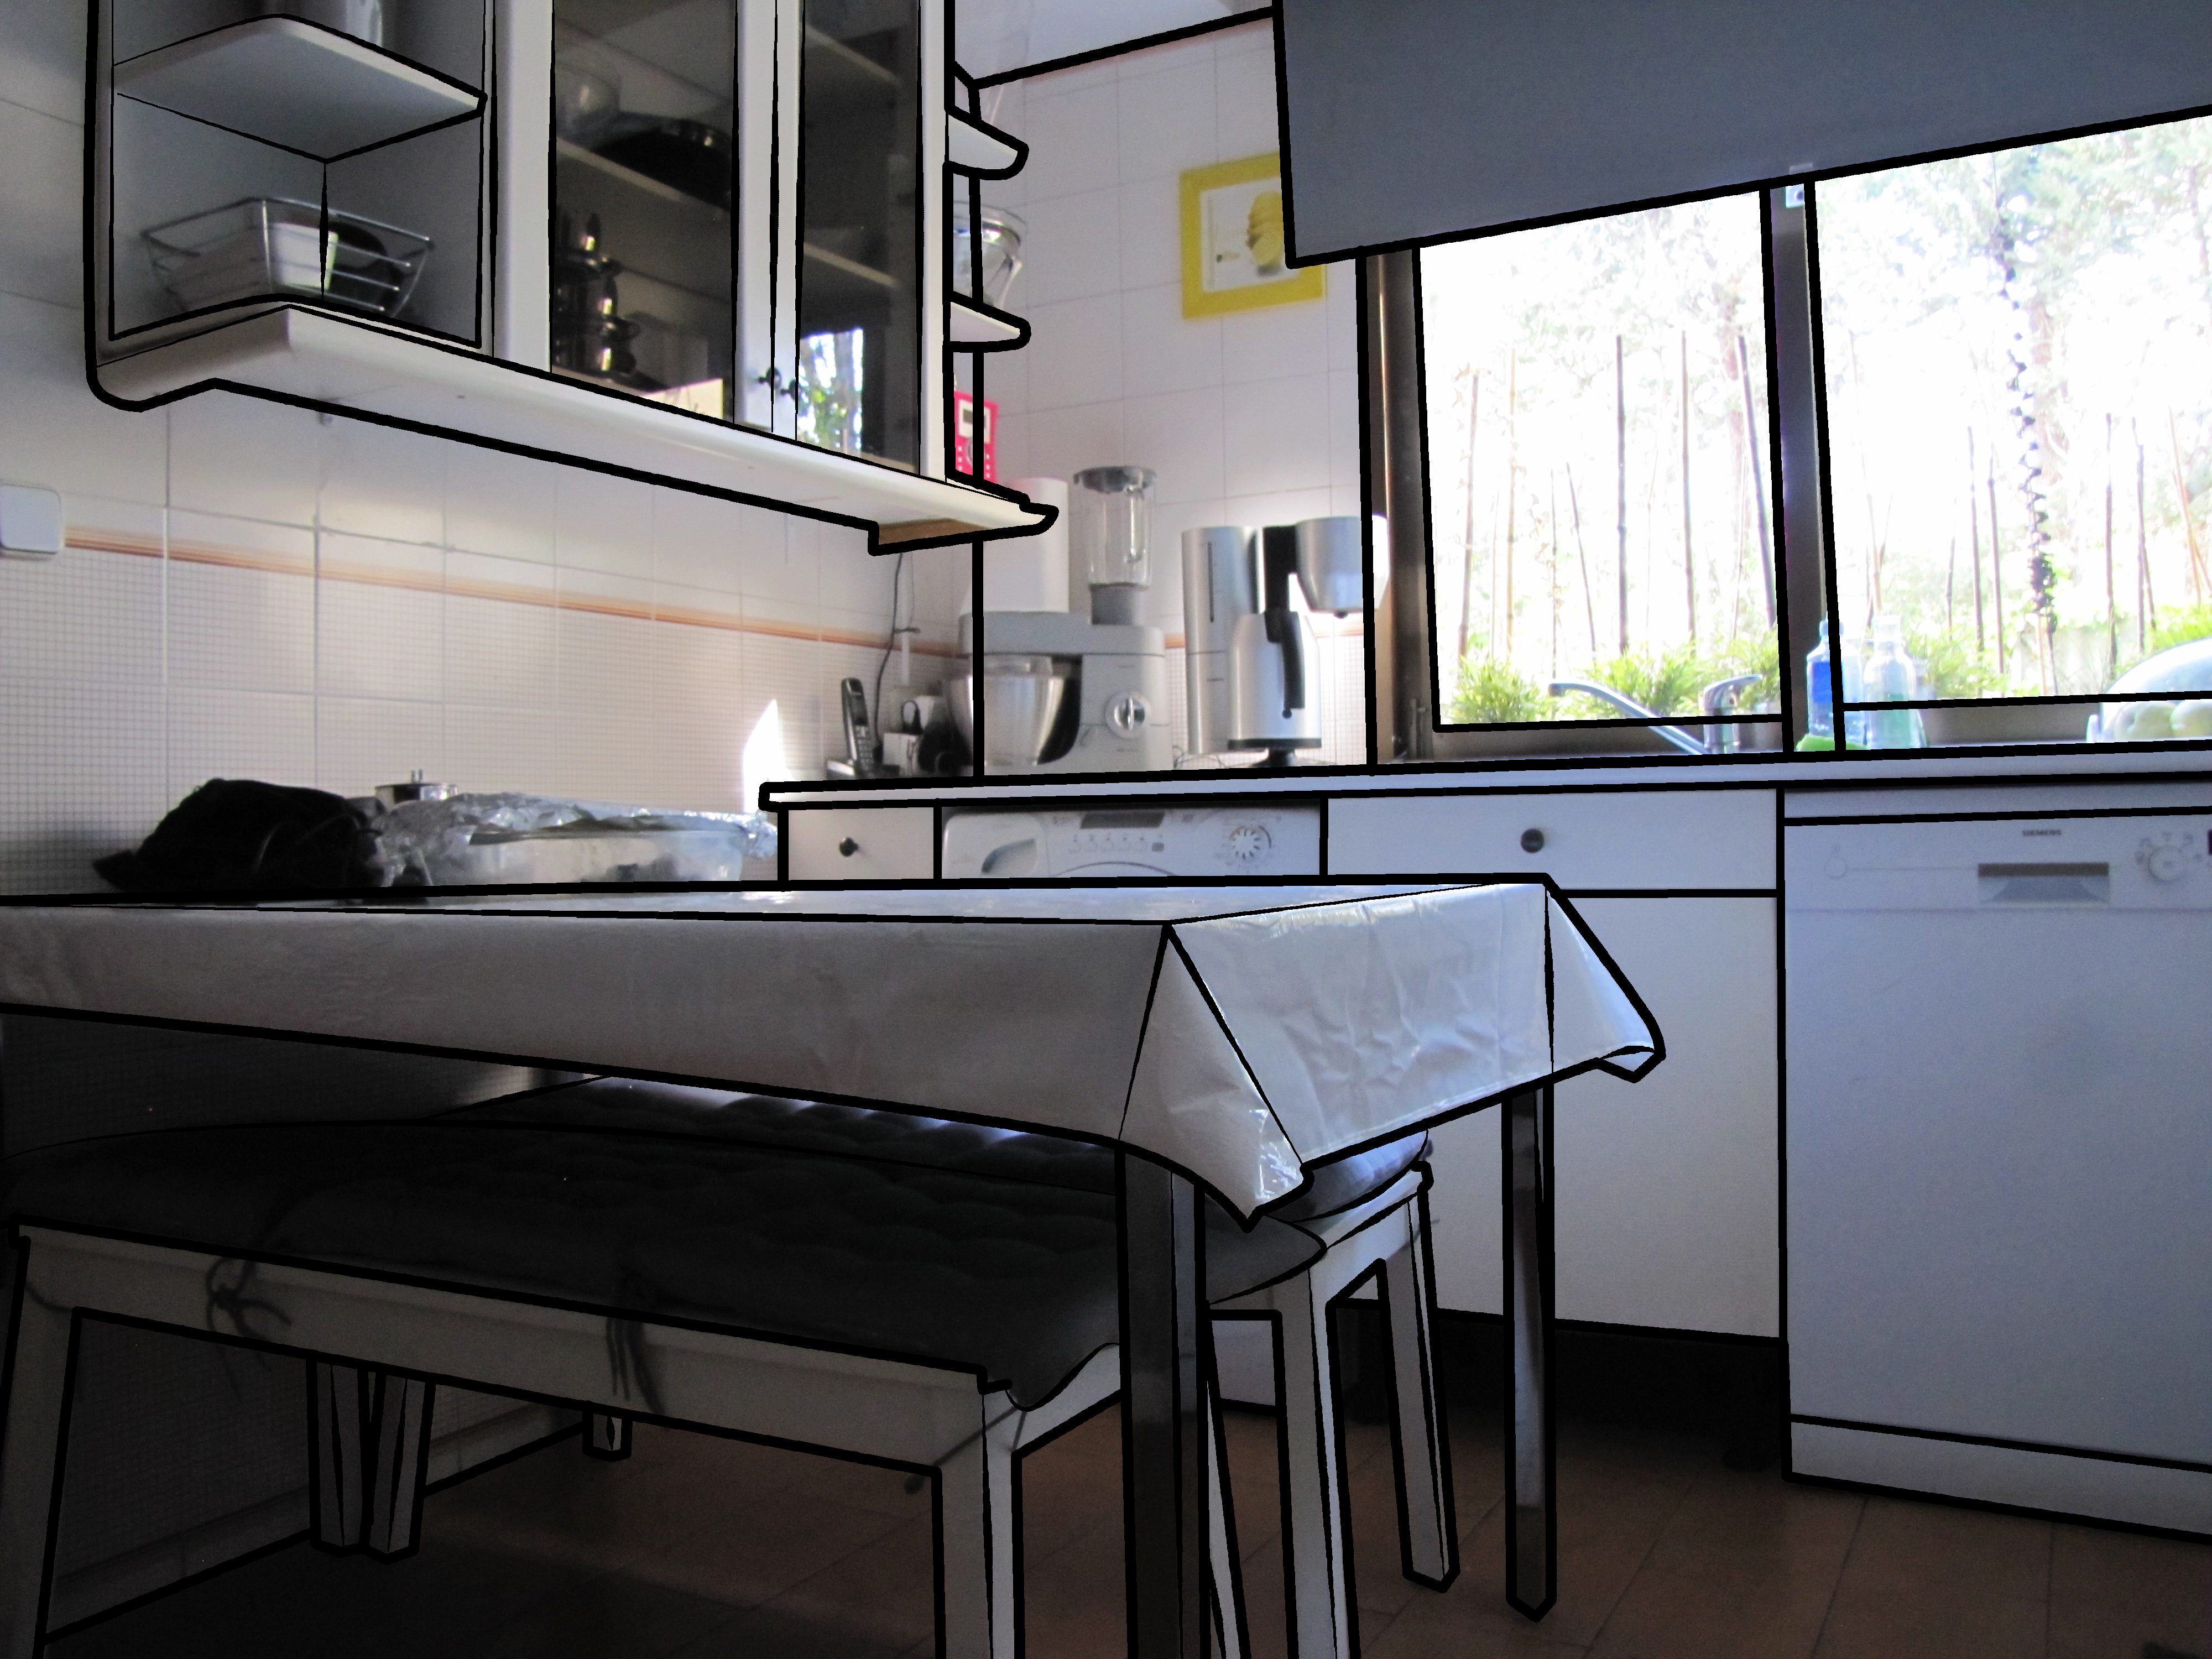

For this particular case I used Photoshop to apply the Cel shading effect for these pictures. But if you prefer using another software that's fine by me.
Keep in mind that I'm going to be using Photoshop in my steps.
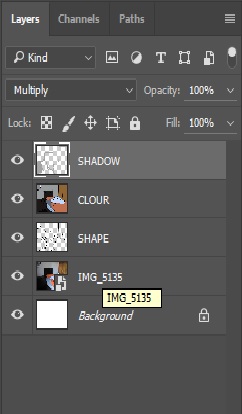
First of all what you have to do is create different layers, Each for the following steps.
All I did then was draw over the shapes of the objects across the room. If you are someone like me and can't afford buying a graphics tablet it's not the end of the world. For all of my art projects I use tool called the PEN tool.
The pen tool is frequently used in the creation of smooth-edged selection. The Pen Tool creates vector paths that can be converted into selections that in turn can be used to extract or mask groups of pixels by using a desired tool. When stroking the path I personally recommend using the pencil tool. While the pencil tool may not look a 102% smooth, it's preferable to work with this tool especially if you work with a mouse like do.
In addition, with the pen I often simulate pressure. What it does is that when the vector line is being stroked, Photoshop gradually increases the pixel's size up to the current size of the chosen tool (pencil tool for example). That way it gives it a more of a drawing characteristic.
Give It Life! Add Colour
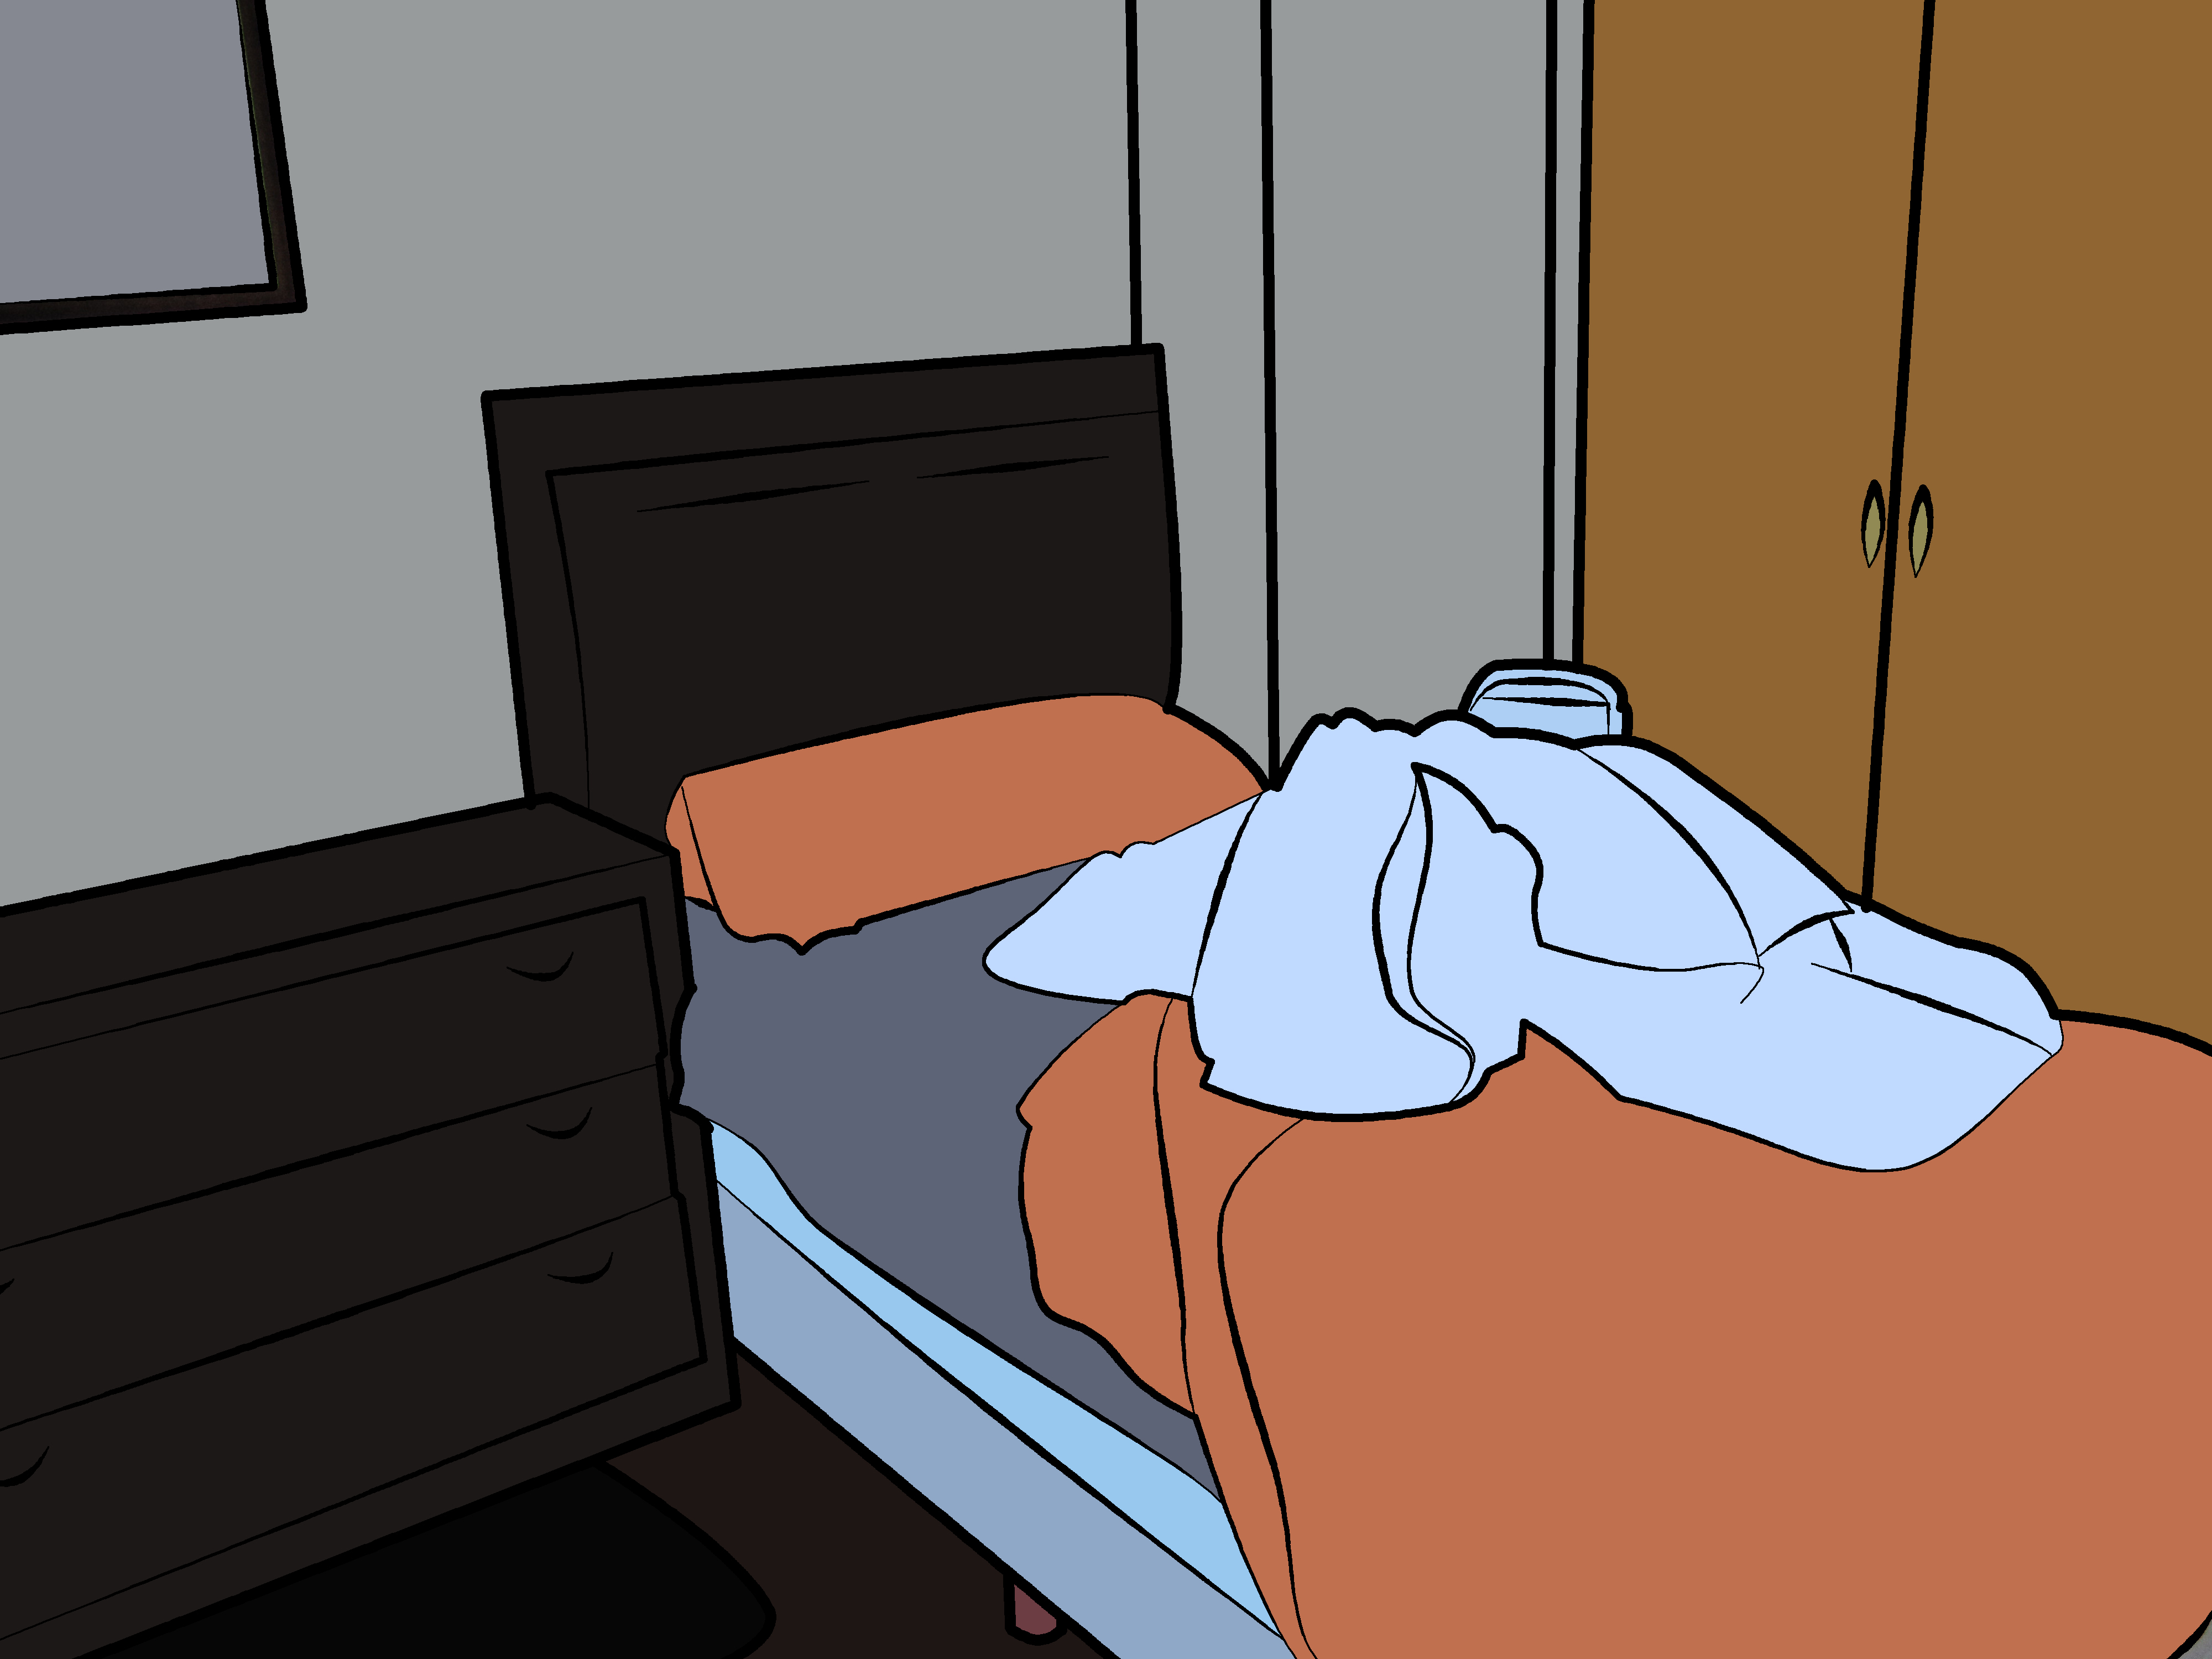
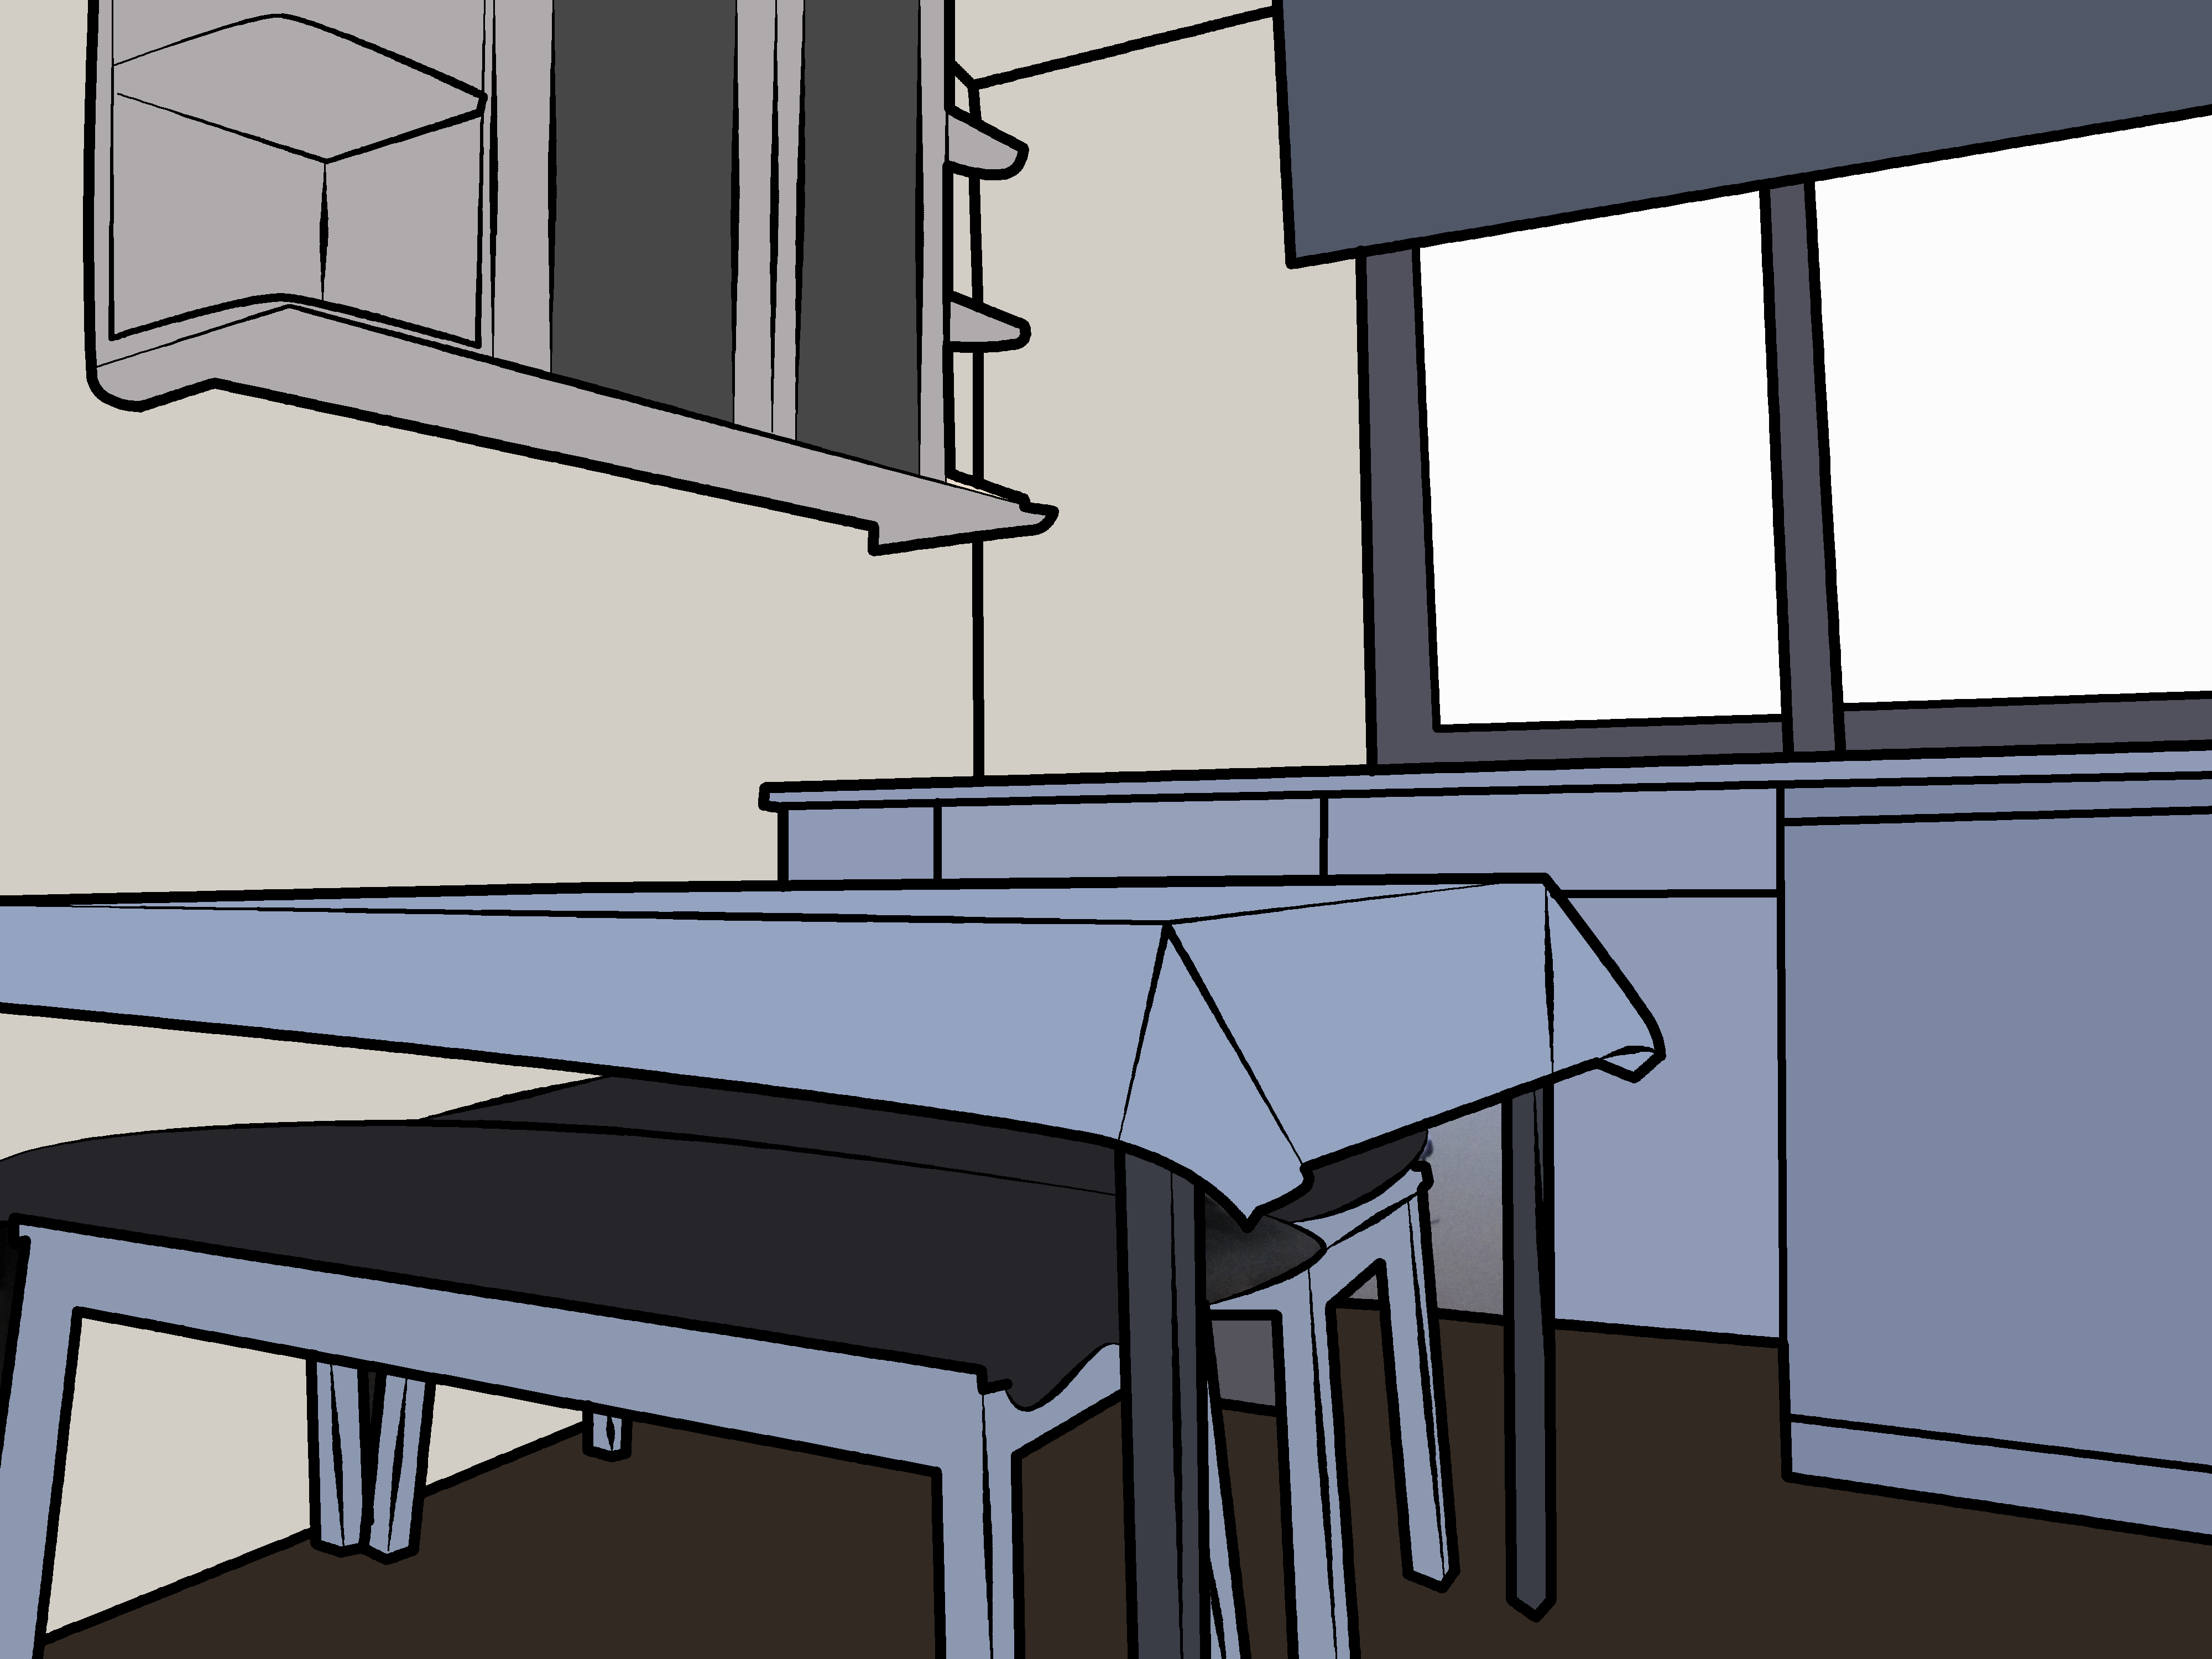
Pencil is a freehand painting tool. Unlike Brush, it can't have soft edges, which makes it perfect for quick colouring of the setting using the Paint Bucket tool.
All you have to do is copy the picture's color and paint it in a new layer.
Last But Definitively Not Least. Shadows
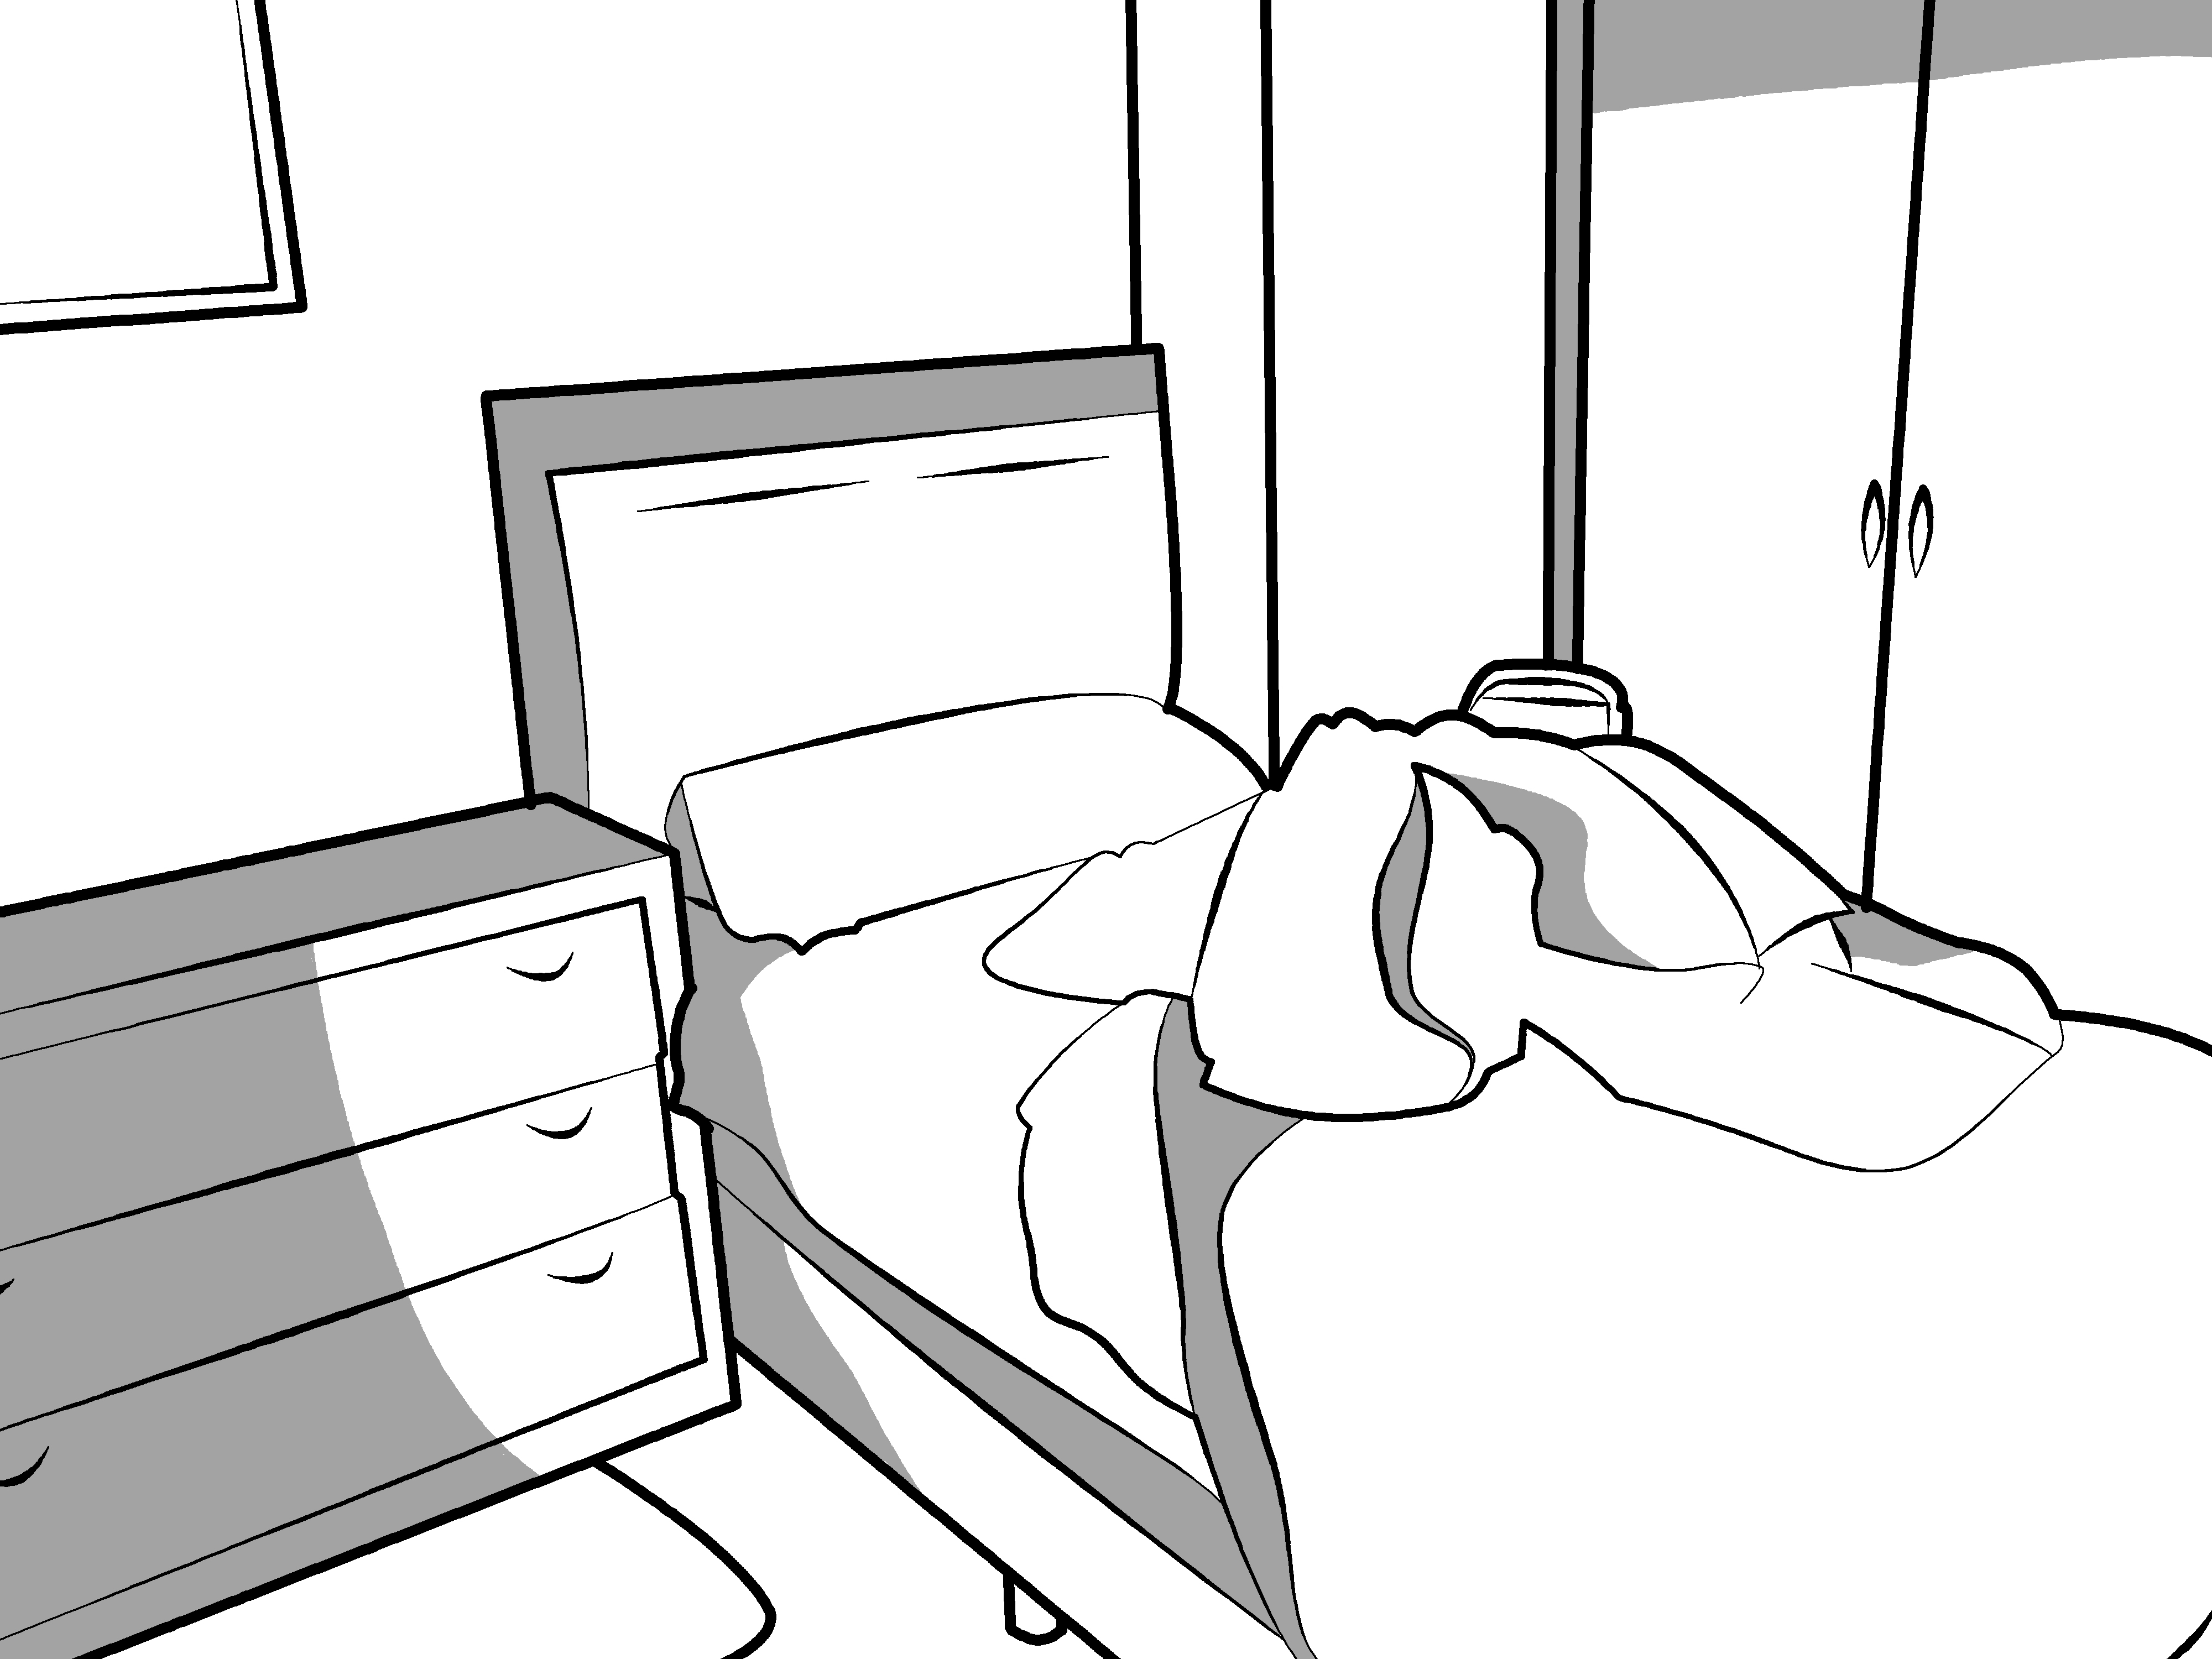
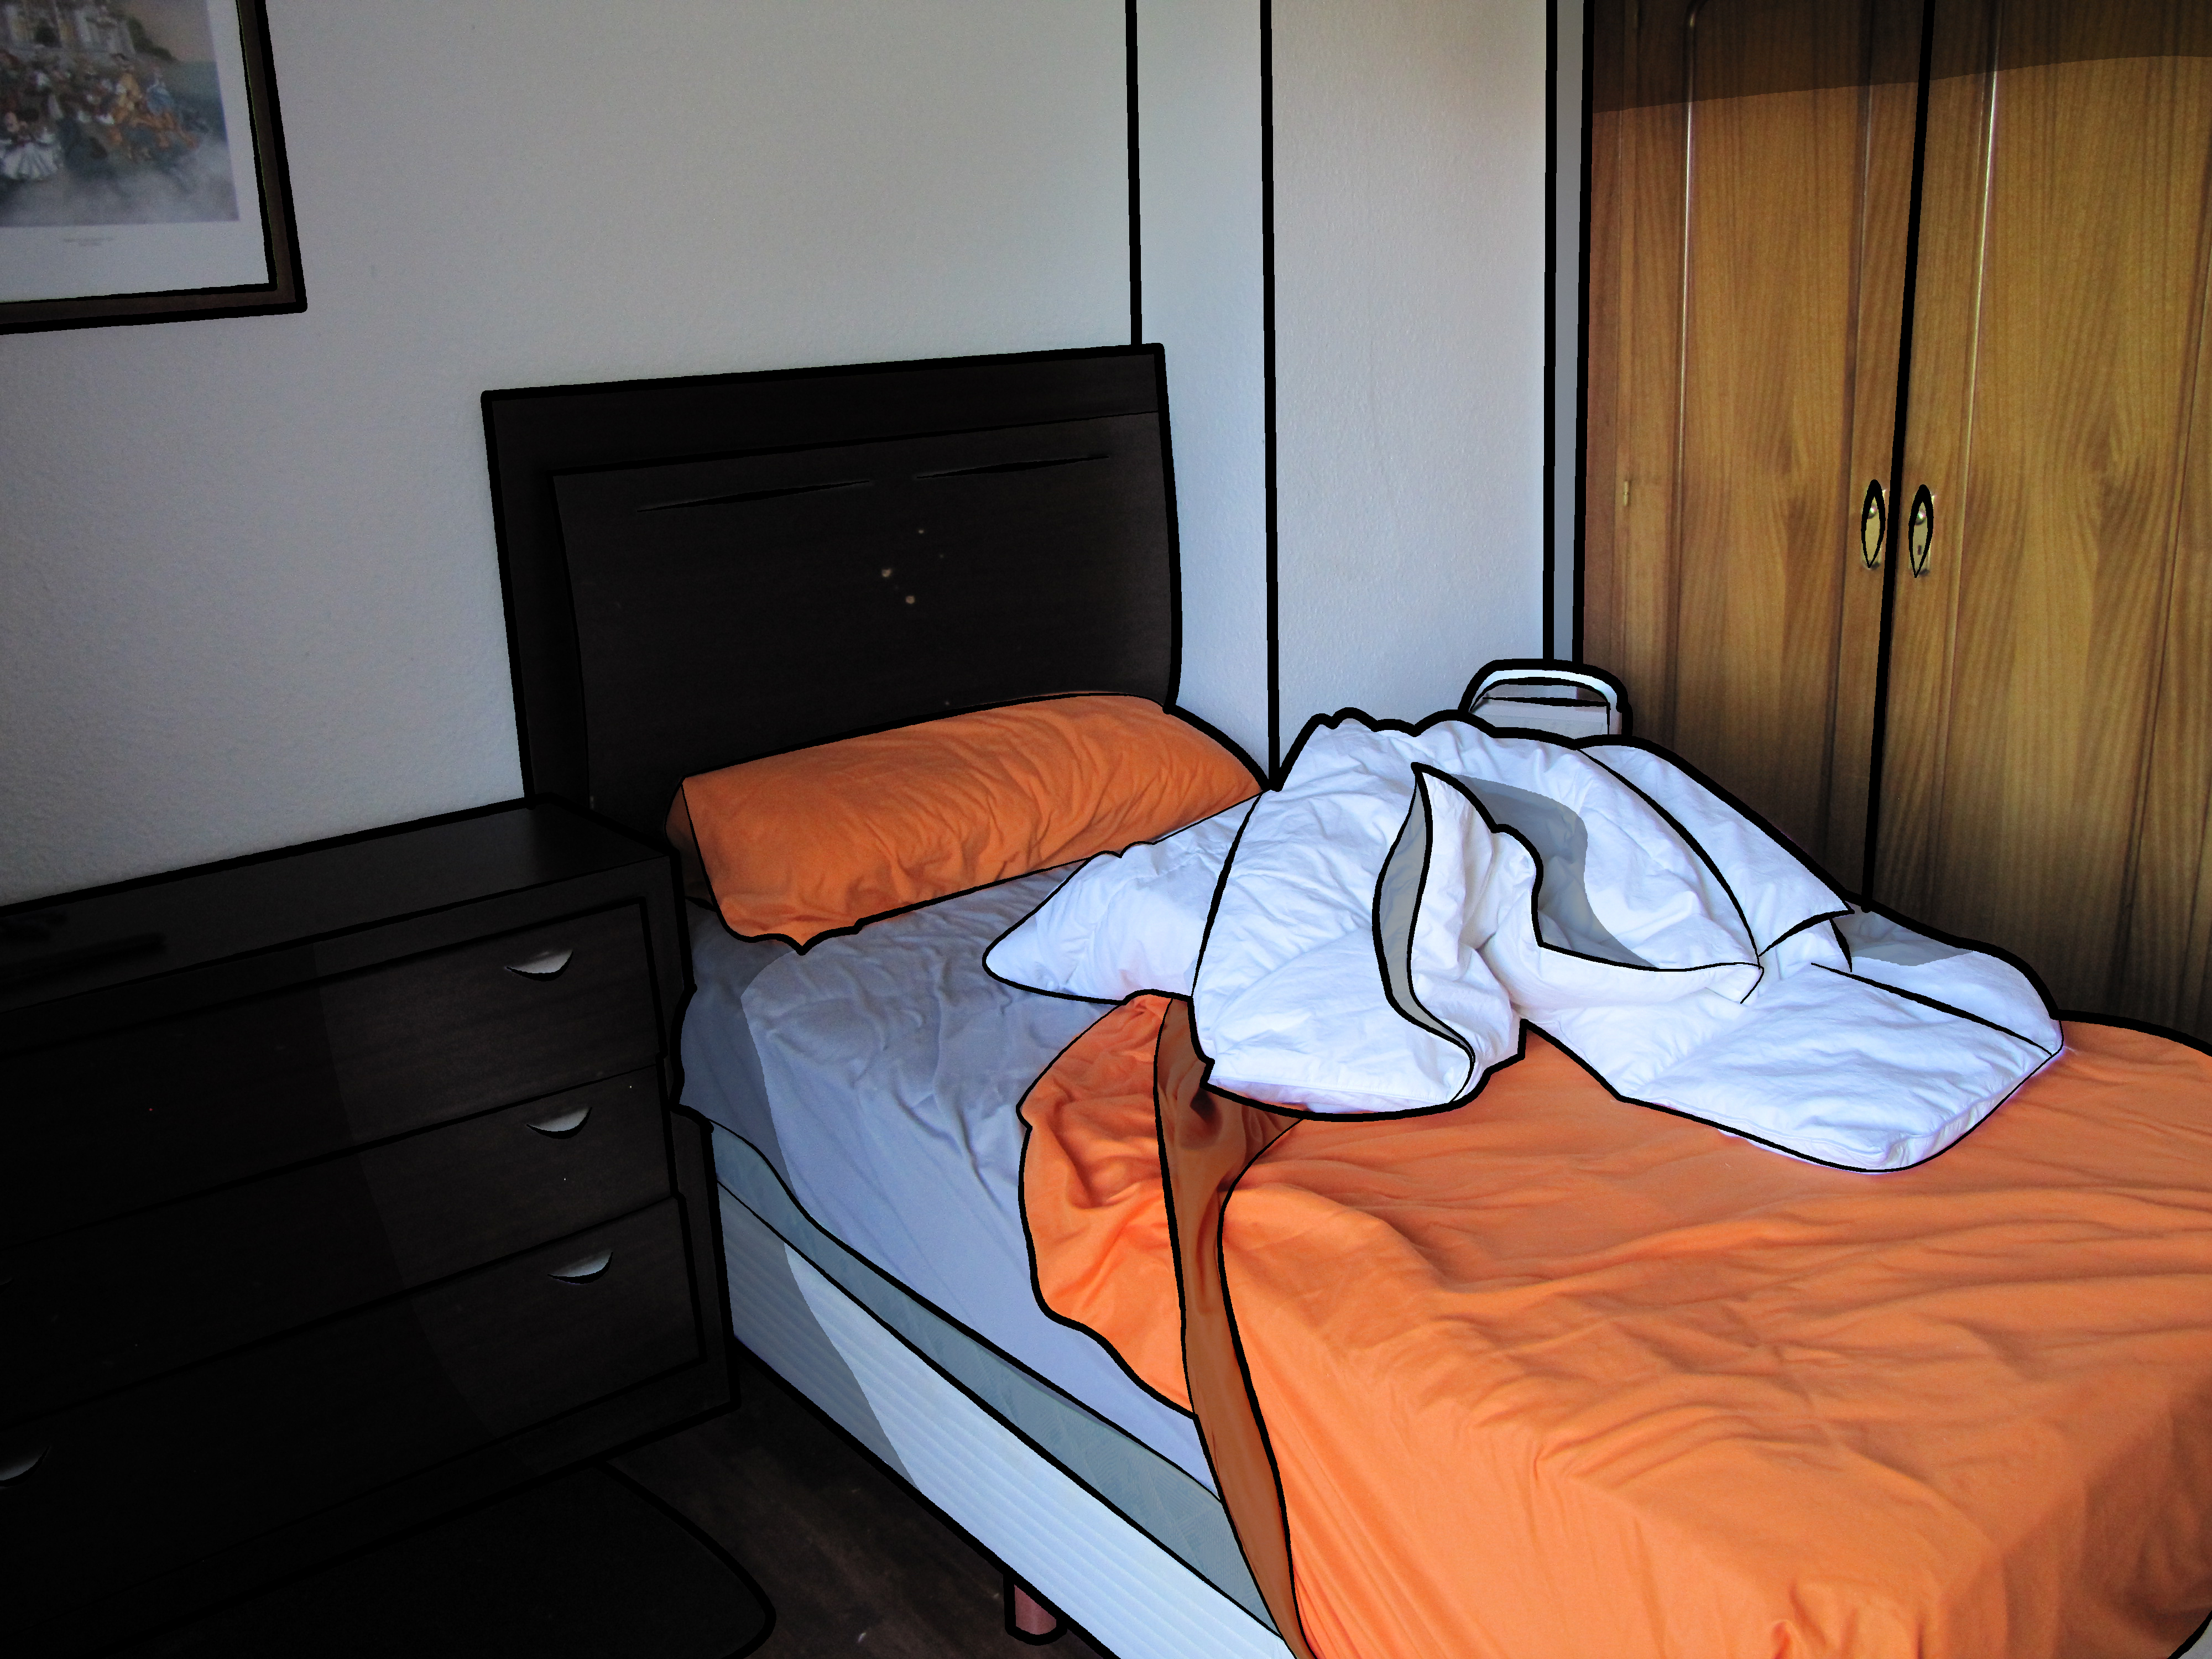
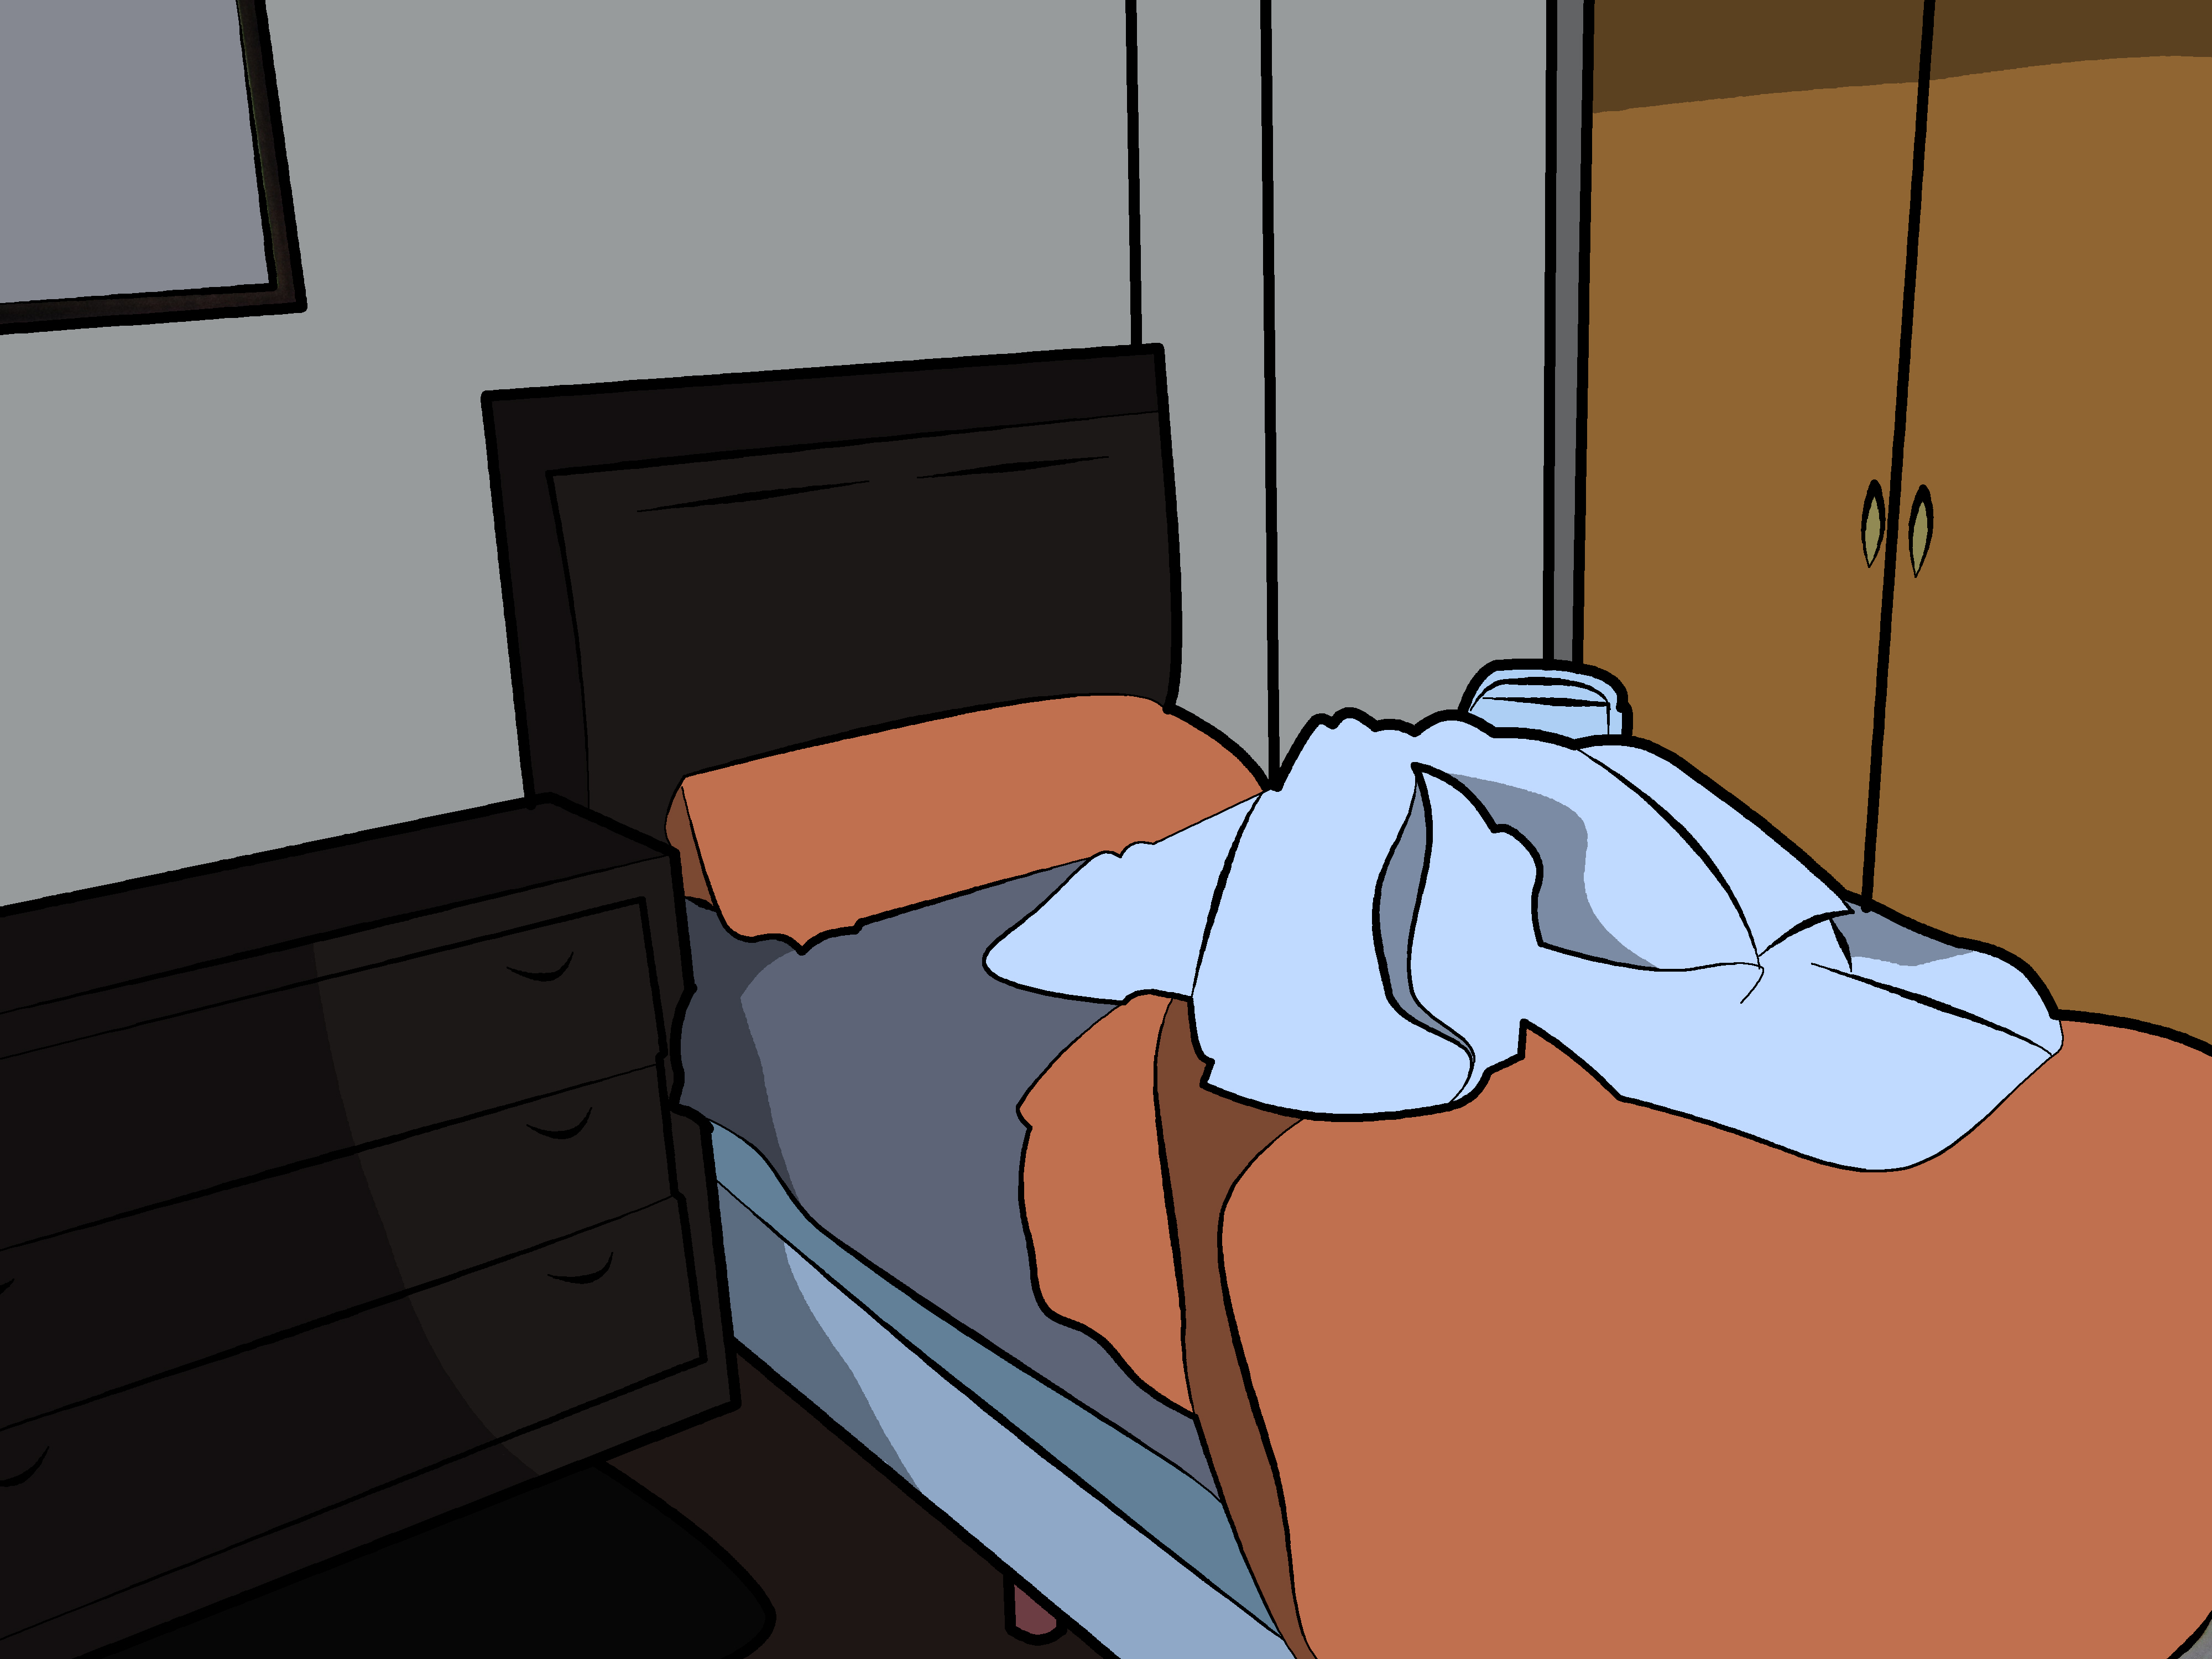
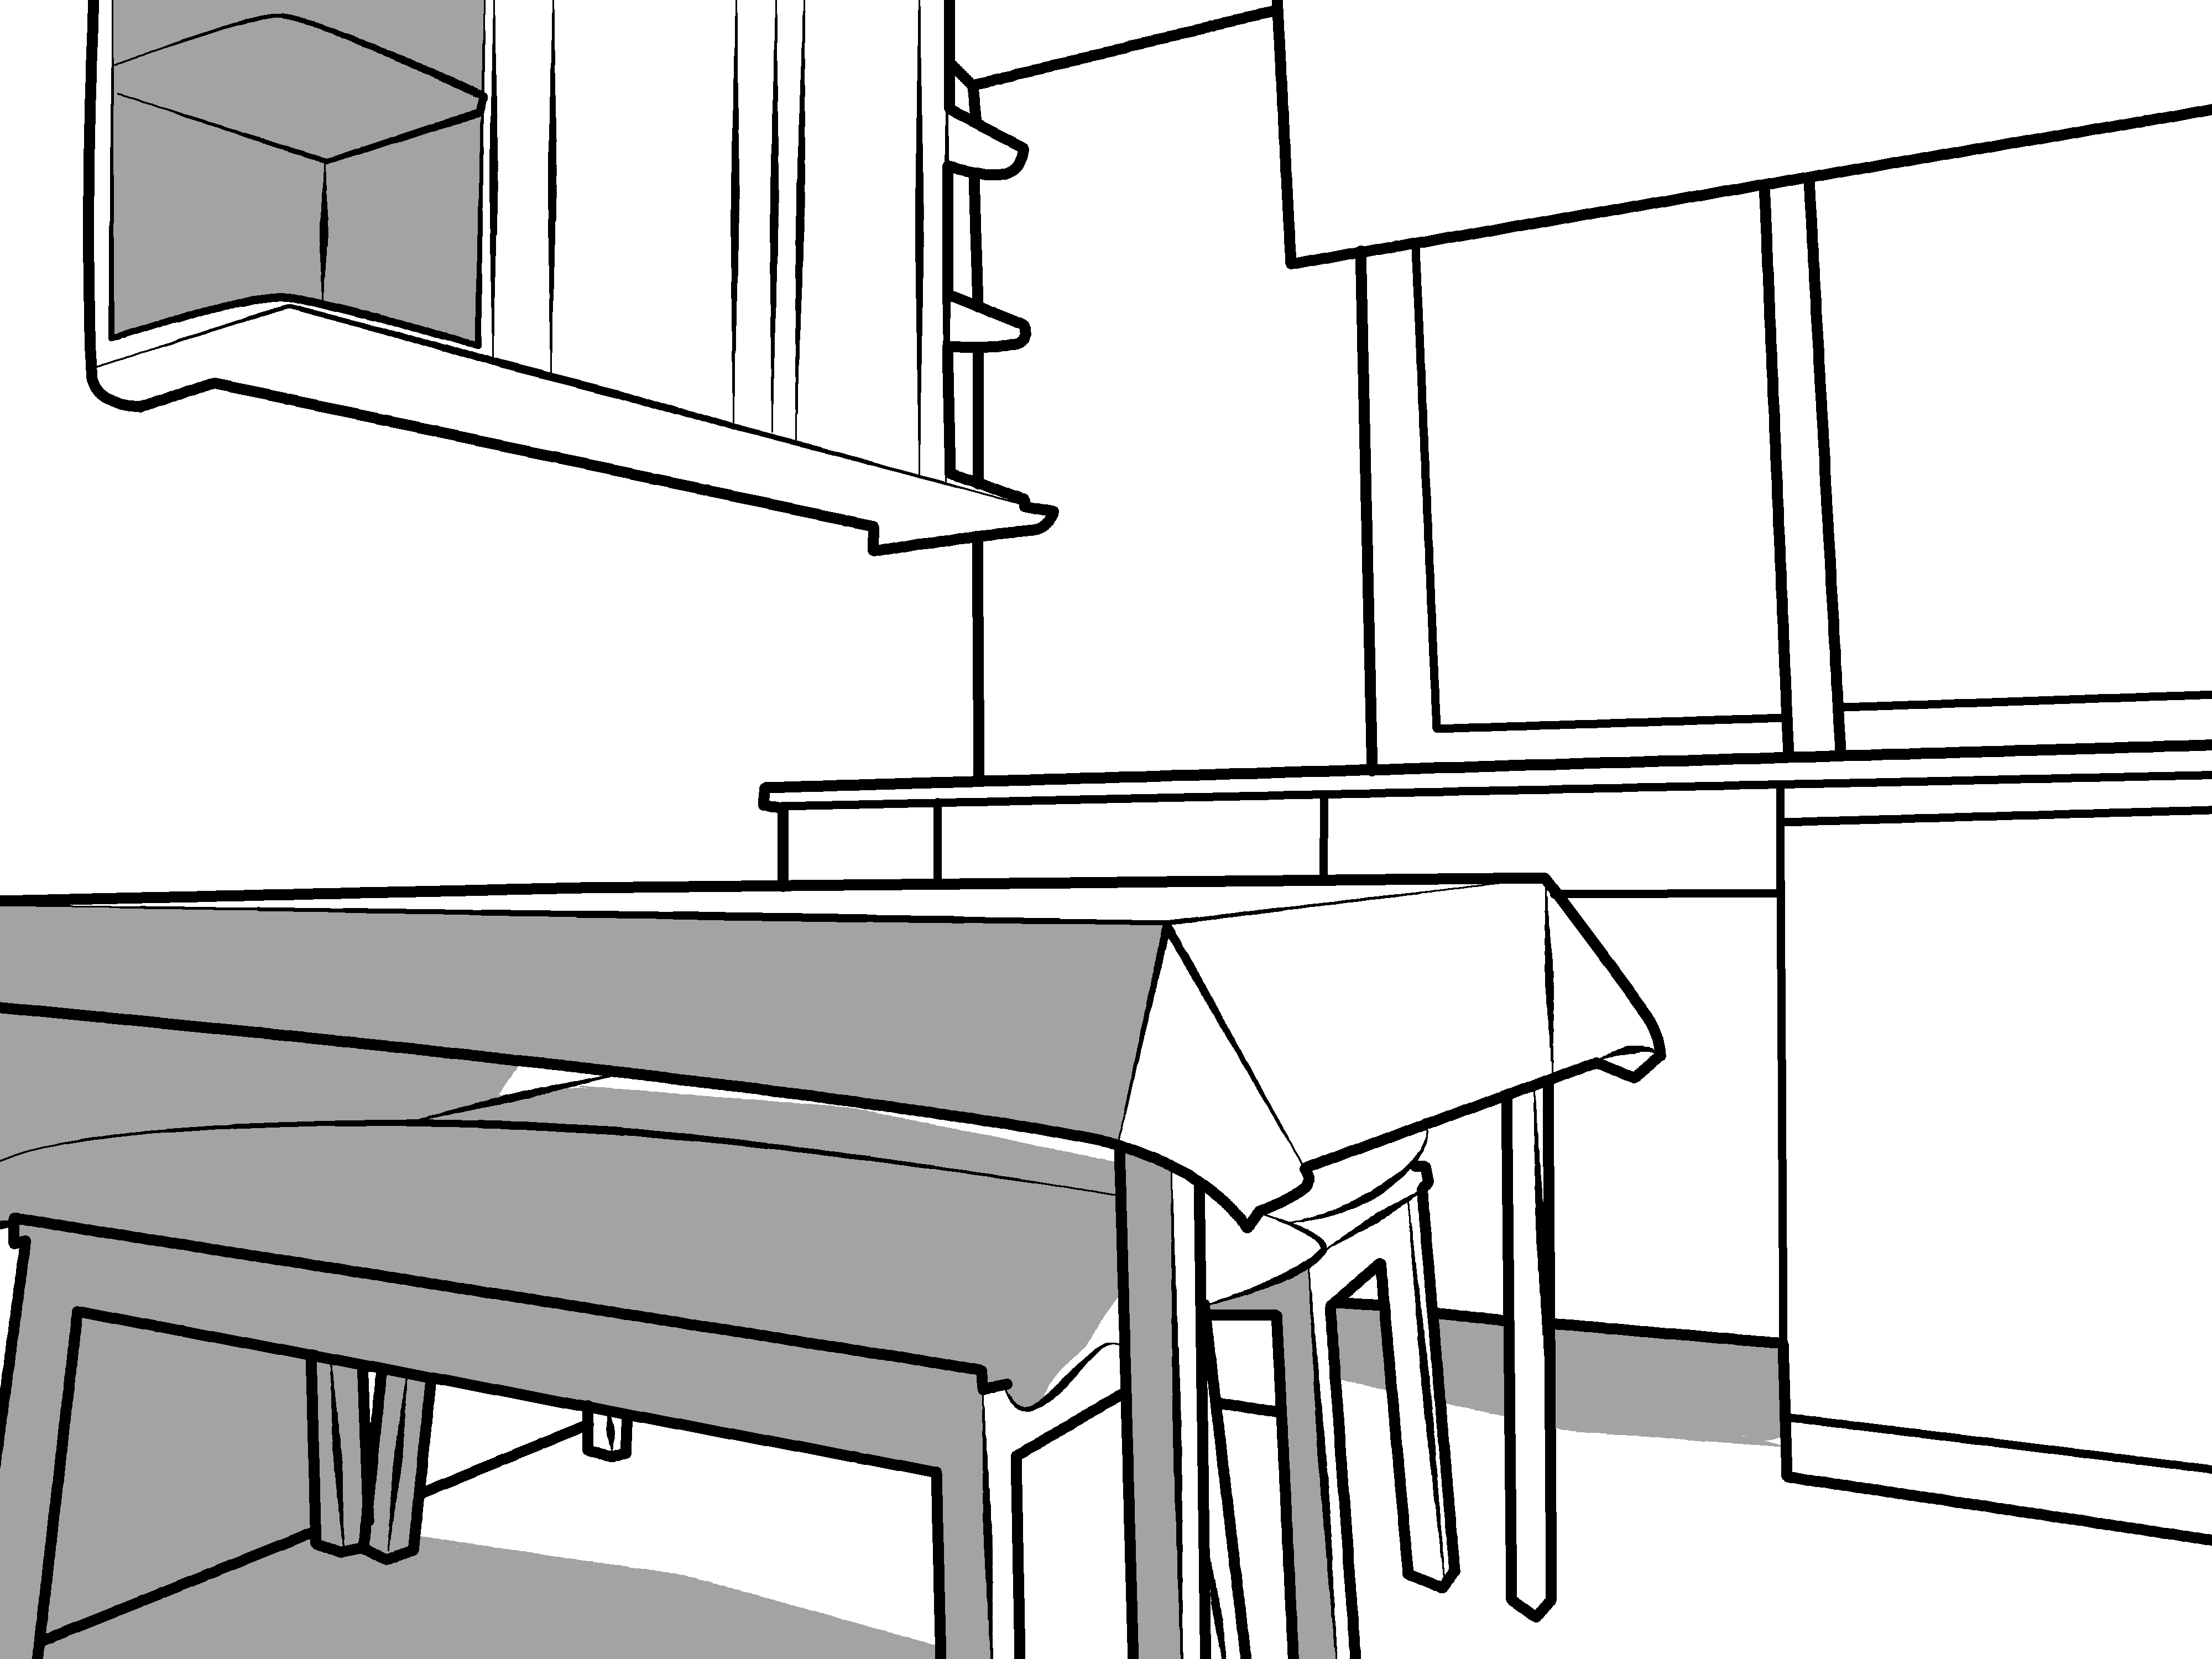
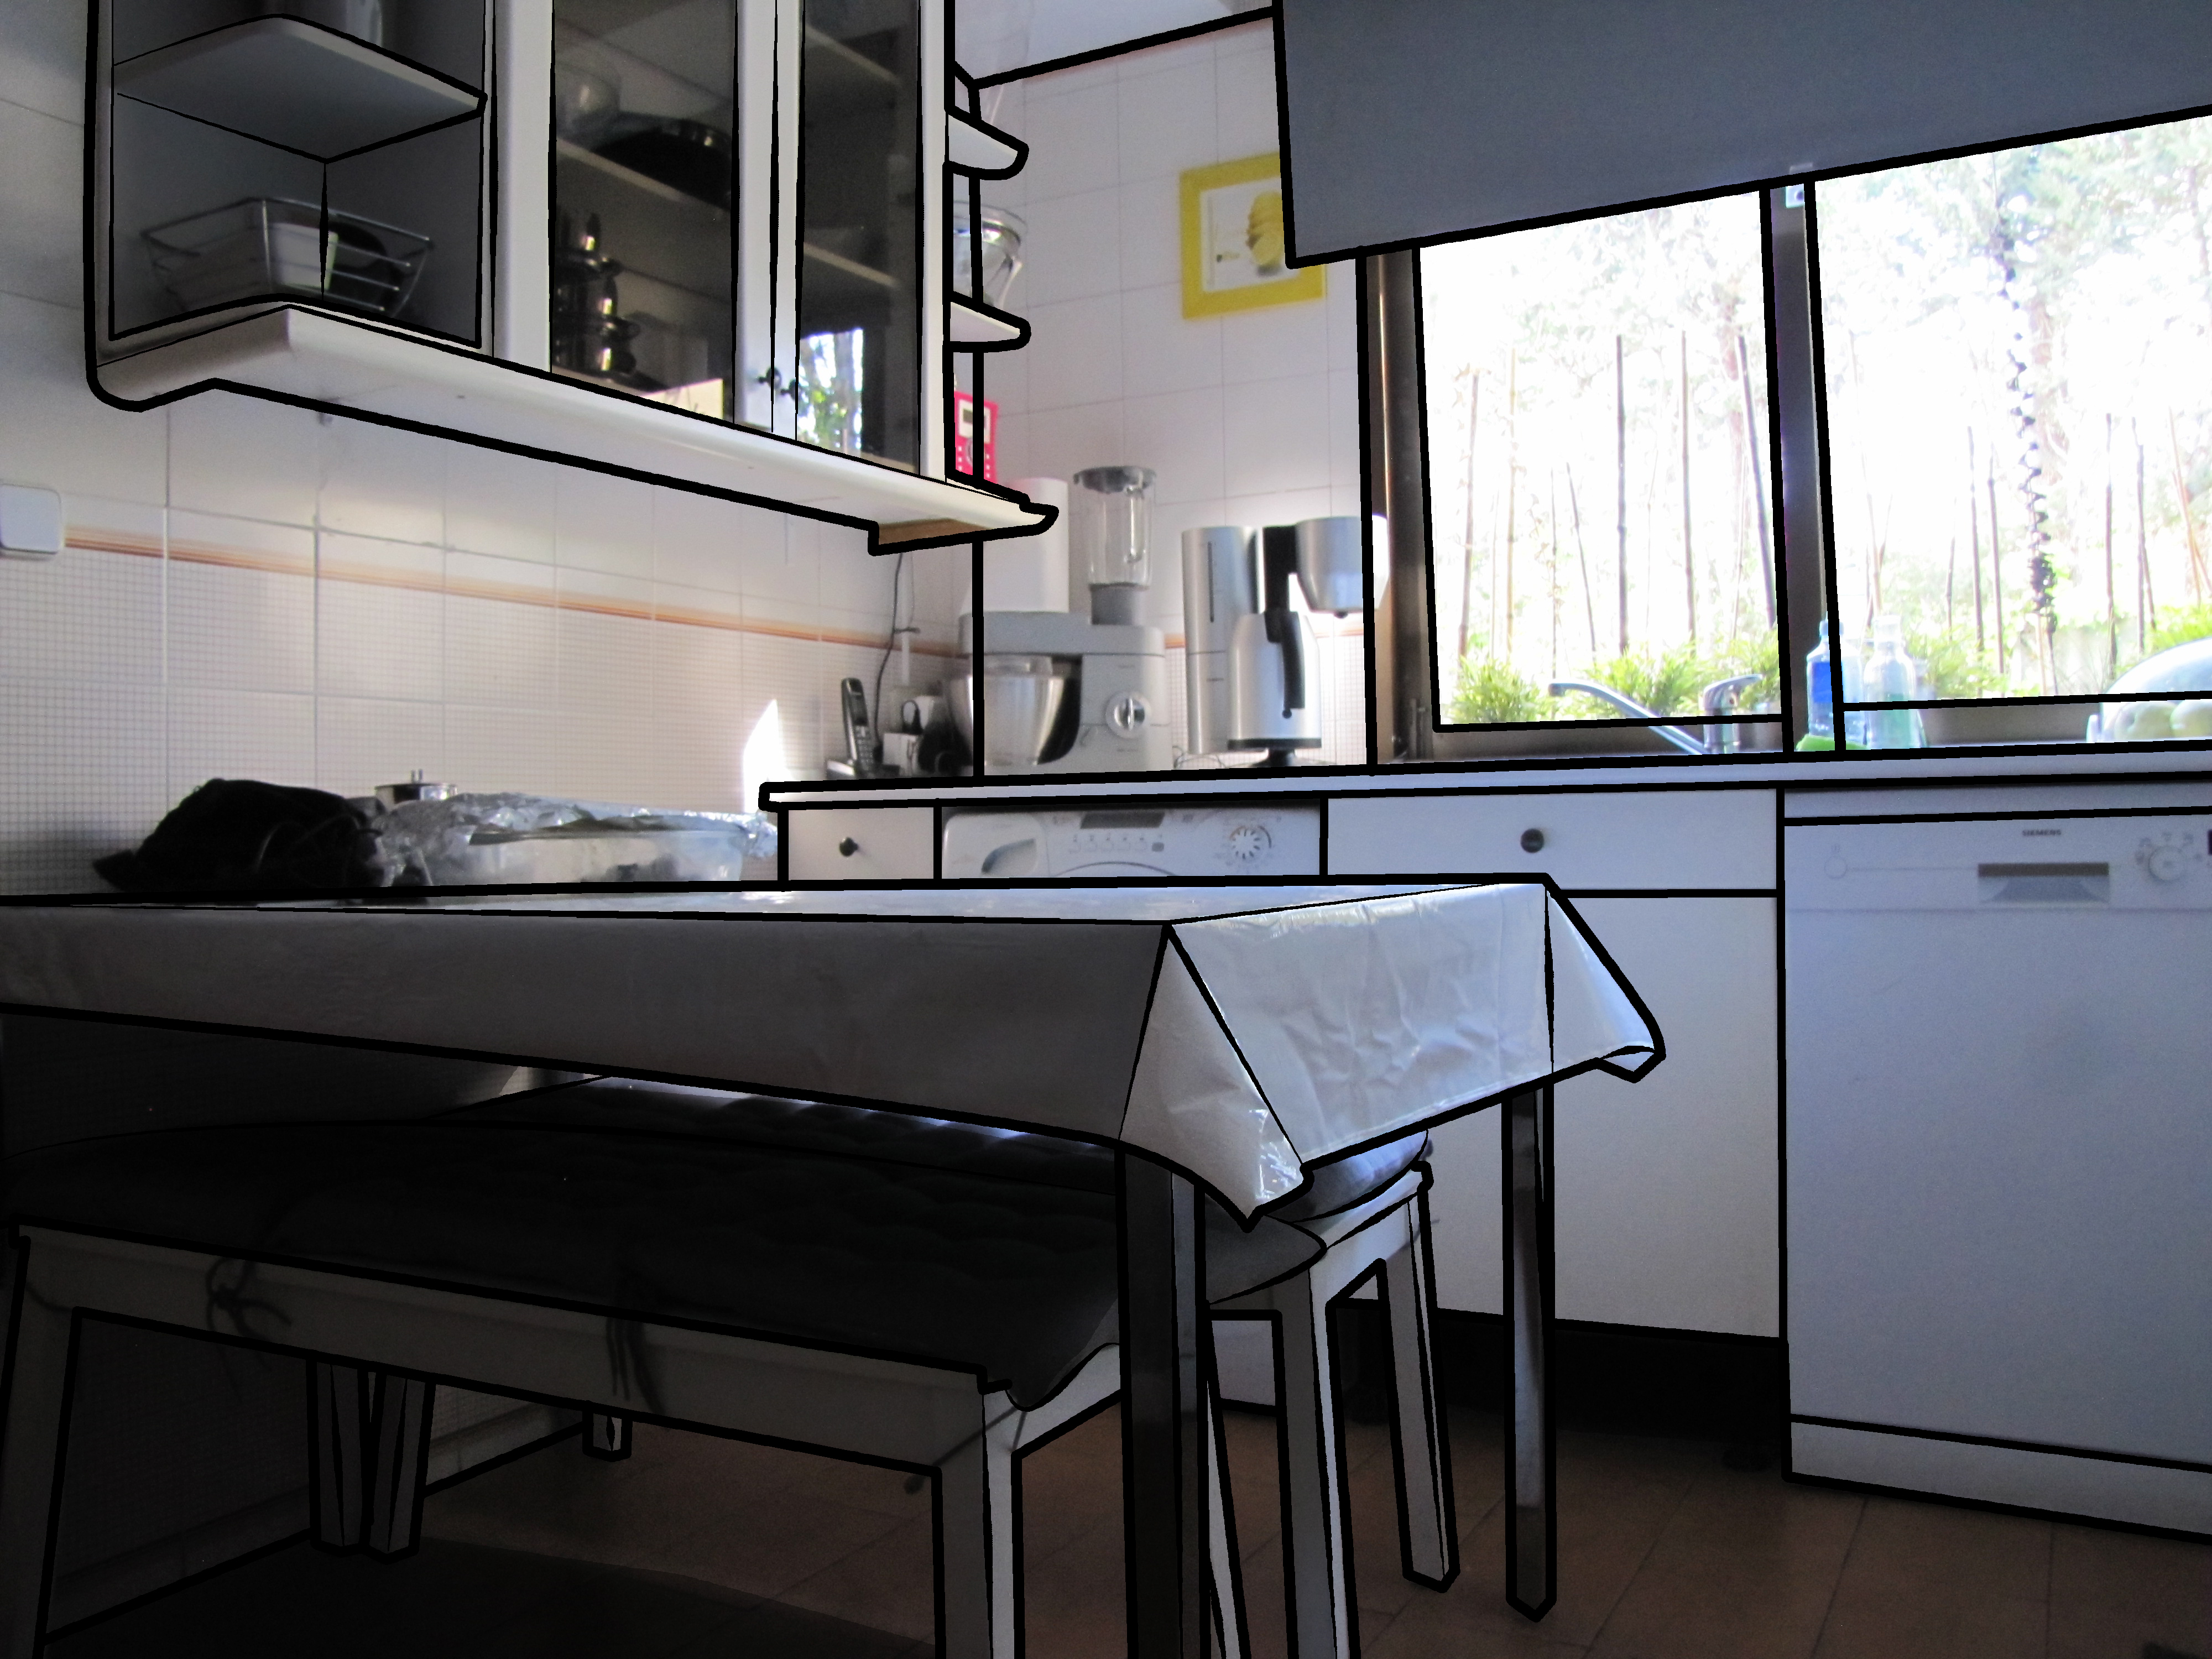

Shadows are simple. The last layer you create should be for shadows. This layer should be a MULTIPLY blend. The Multiply blend mode is named after the actual math that Photoshop performs behind the scenes when you have the multiply mode selected. Photoshop takes the colors from the layer that's set to the Multiply blend mode and multiplies them by the colors on the layer(s) below it, then divides them by 255 to give us the *result, creating a shade effect.
With the multiply blend mode I use a light grey, to give me a neat and clear shadow. Precisely I use the swatch a3a3a3.
All I do then is underline the shadows and paint the gaps. Thanks for reading and I hope you got the best out of this instructable! Also! check out the link bellow to read my upcoming comic prequel!