Carve and Print a Pumpkin With a Secret Message Using Fusion360
by jboyd170 in Living > Halloween
1608 Views, 5 Favorites, 0 Comments
Carve and Print a Pumpkin With a Secret Message Using Fusion360
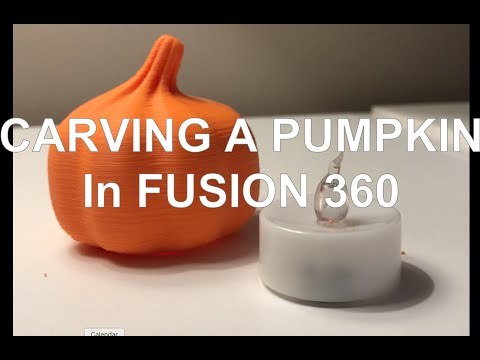
Sculpting a pumpkin using Autodesk's Fusion360 is a great introduction to Fusion360's sculpting environment.
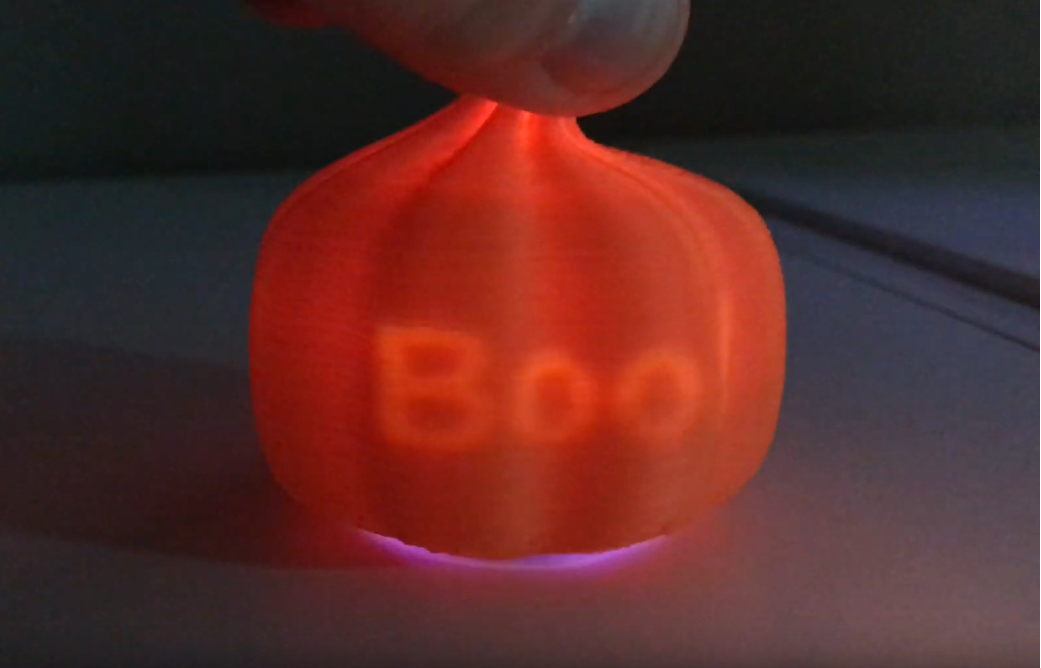
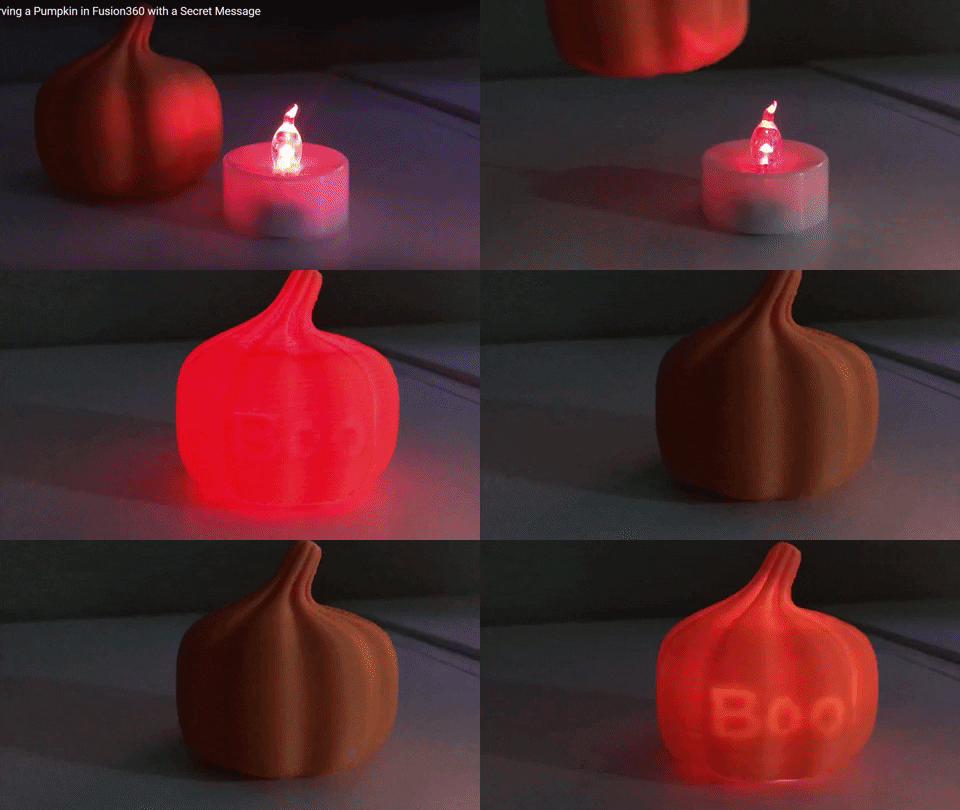
This project takes the standard pumpkin design one step further by sculpting a secret message in the pumpkin. The message is only visible when the pumpkin is 3D printed and lighted from the inside.
The secret is creating a pumpkin with an inner shell and outer shell. Carving the message in the inner shell allows light to shine through the inner shell carving, visible through the thin outer shell.
The video shows the final project printed on a Lulzbot 3D Printer. A 30-min video tutorial is attached to walk you though all the steps in Fusion360. The main 5 steps are highlighted below.
Create a Cylinder 'form' With 'symmetry' and Begin Sculpting
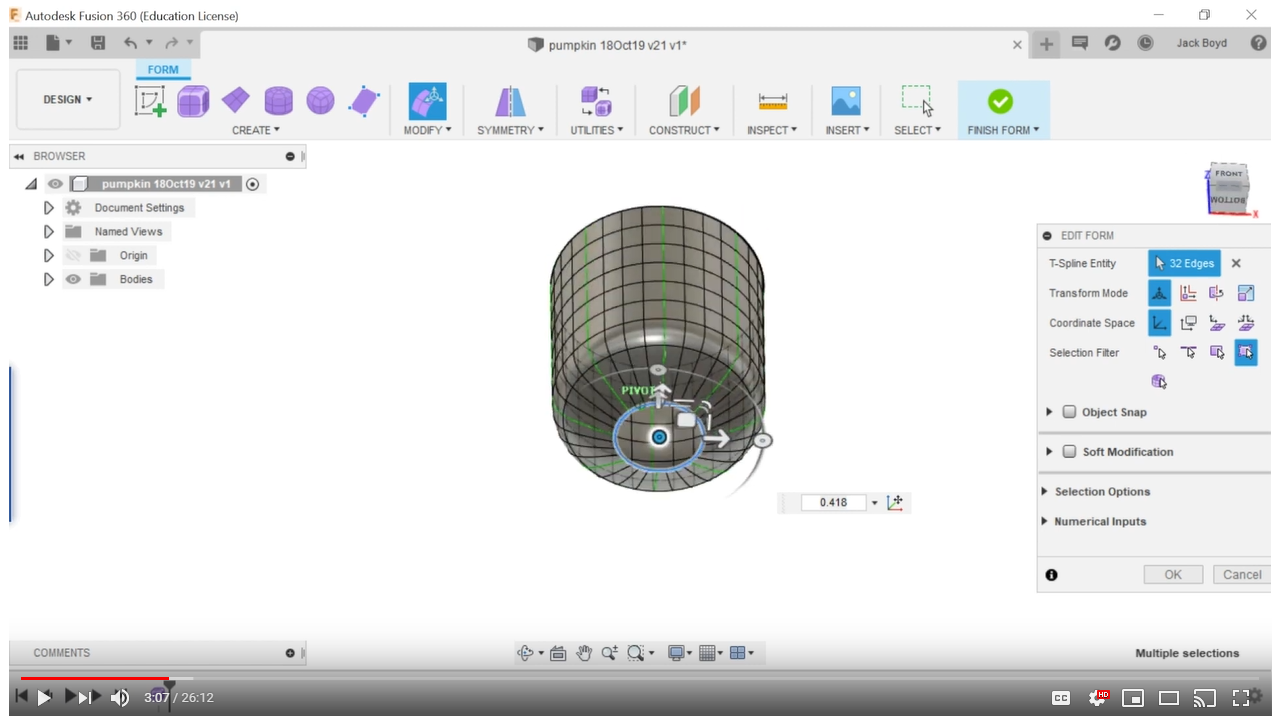
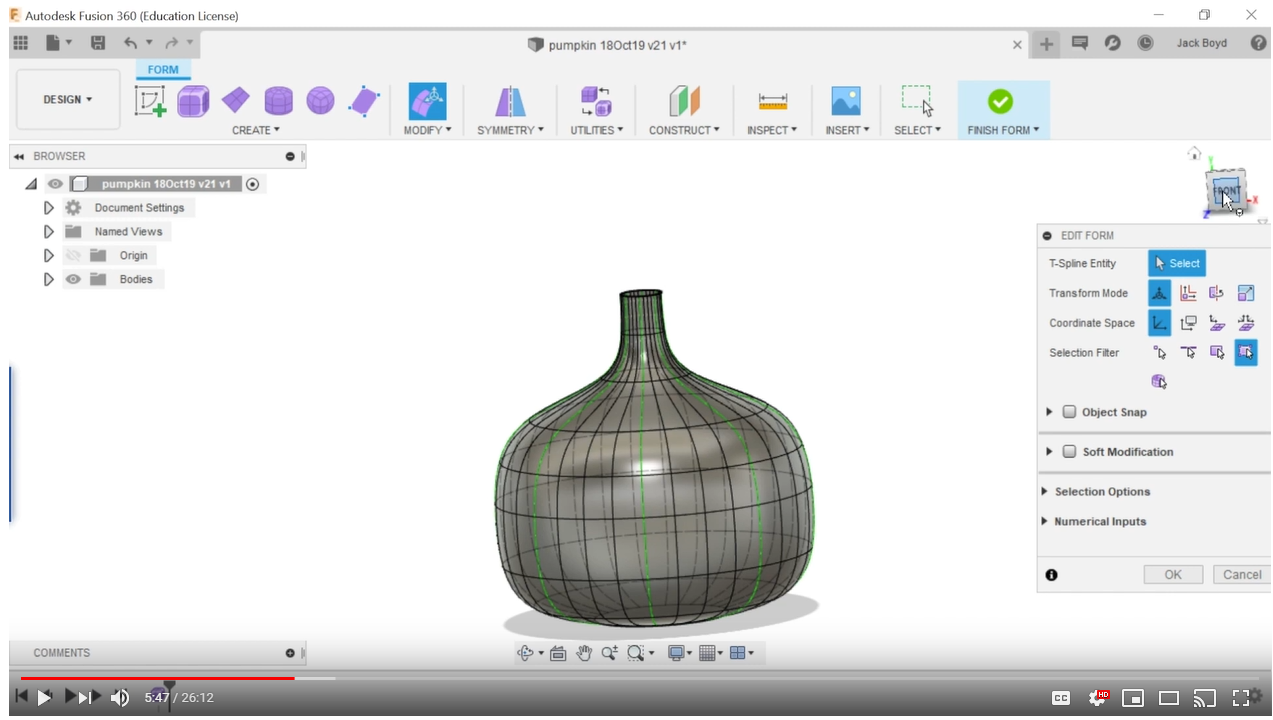
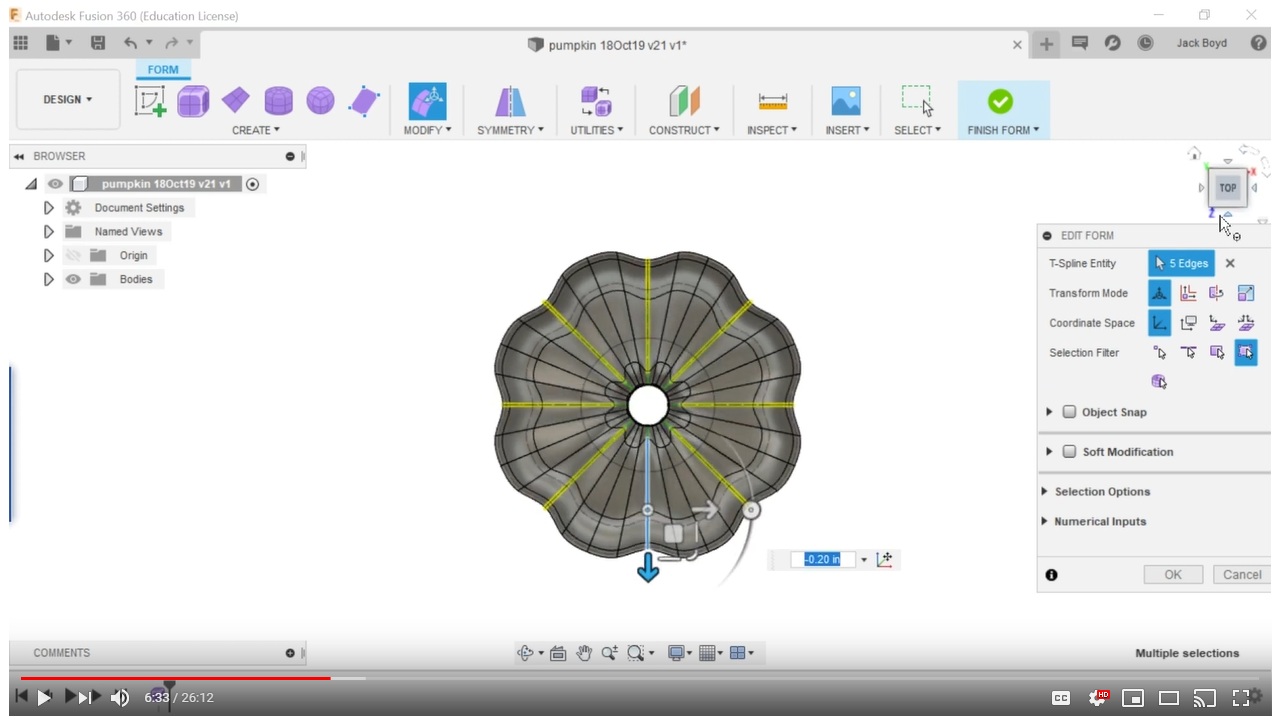
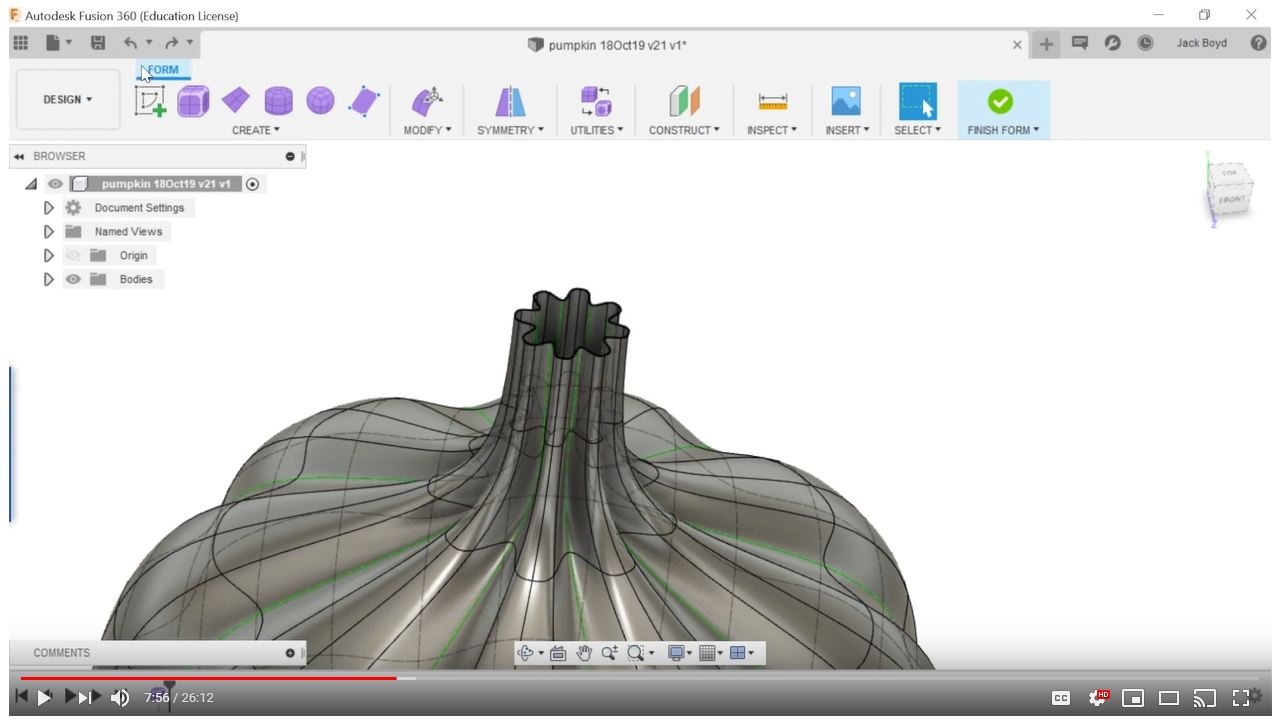
Begin sculpting the pumpkin by creating a cylinder 'form.' Adding 'symmetry' will help you sculpt the pumpkin texture in the next steps. Adjust the circular 'ribs' in the form to create a pumpkin-shaped form. Edit the symmetry line to create the pumpkin's ribs around the face of the pumpkin. Edit the stem in the same way.
Create a Duplicate Body, Thicken Each One So Your Pumpkin Has Two Shells
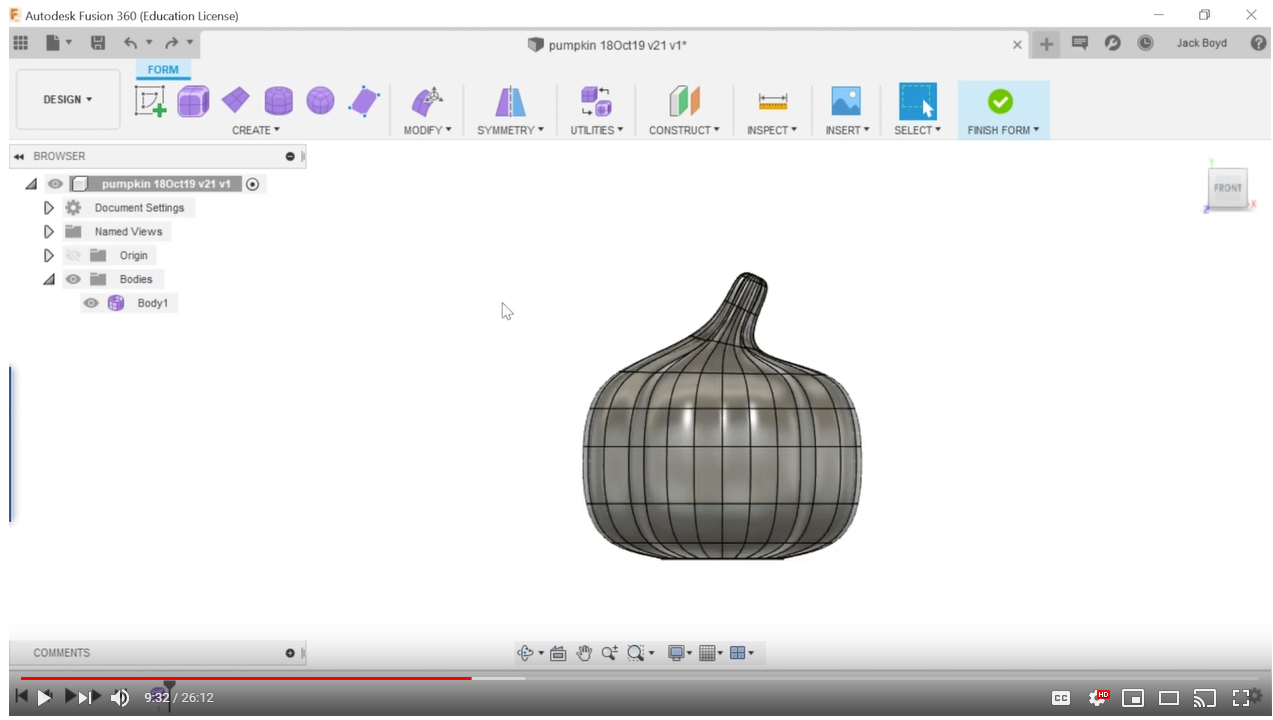
Once you have a form you like, turn off 'symmetry' and adjust the stem to make it look more natural. Pumpkins don't have straight stems!
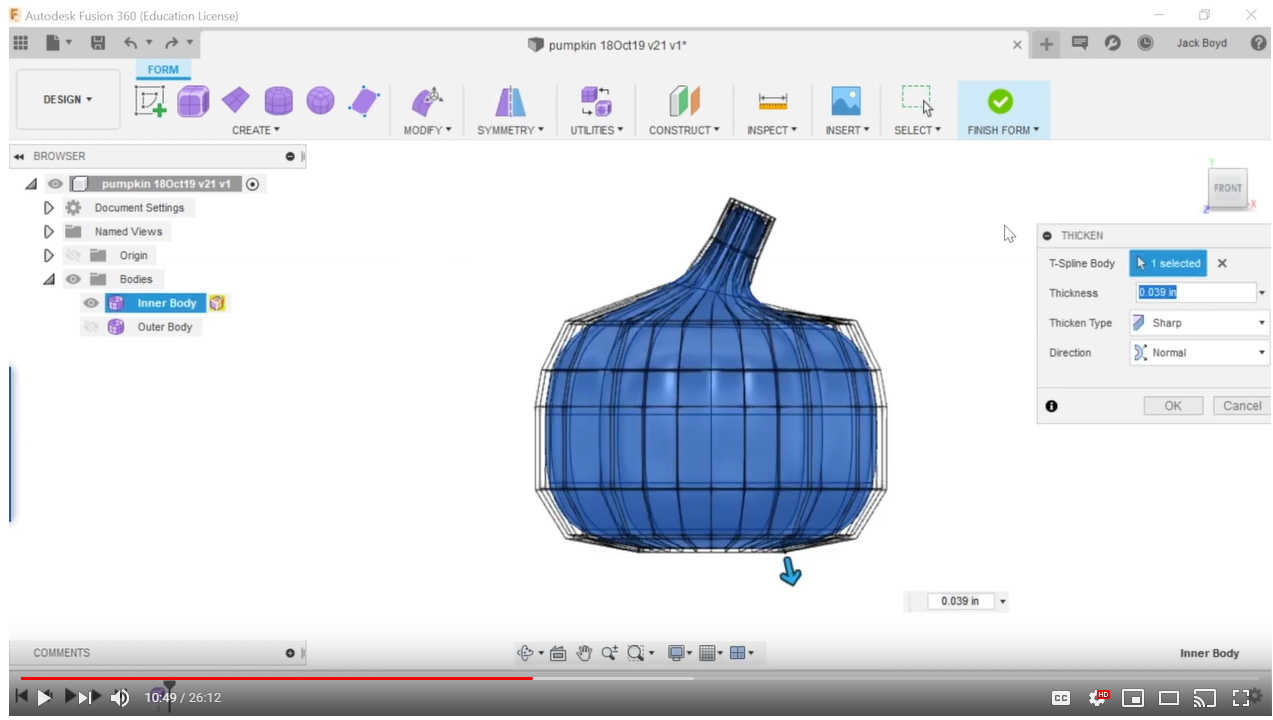
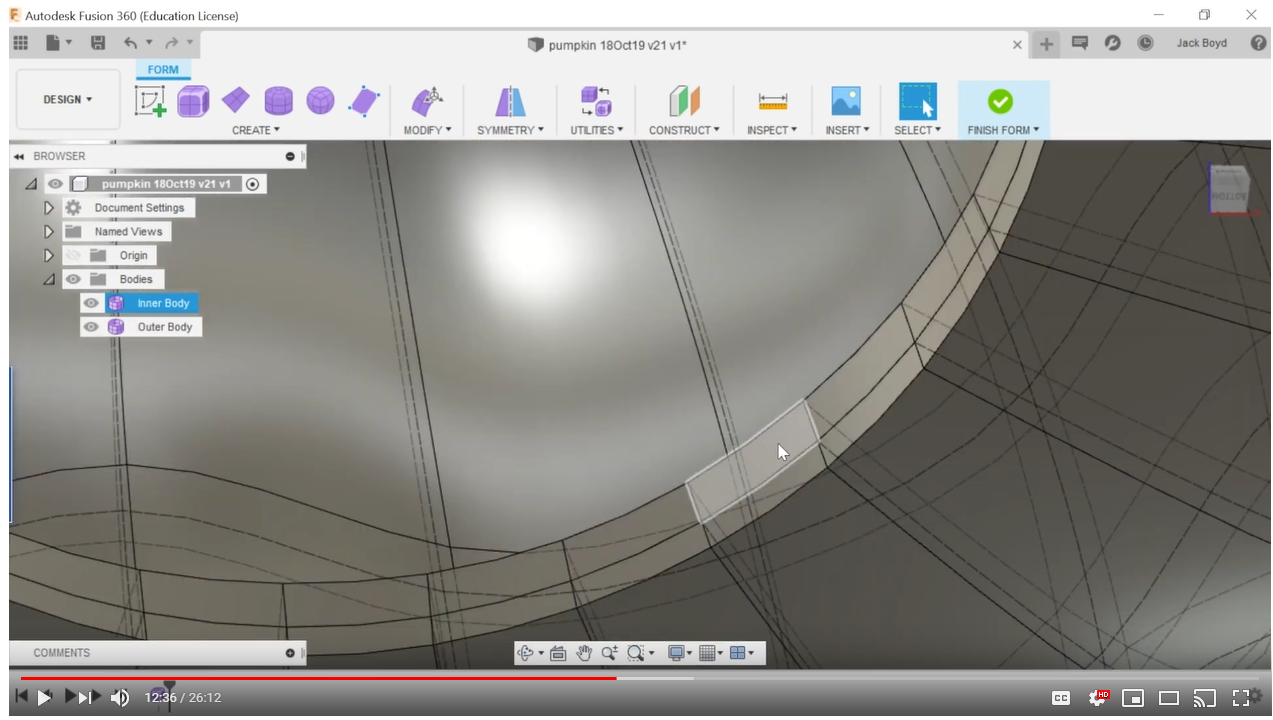
Duplicate the body you've created and turn off the outer body for this step. Use the 'thicken' feature to add a thickness to the inner body of -2mm.
Now turn off the inner body and add a 1 mm thickness to the outer body. Now you'll have one pumpkin with two shells -- an inner and outer shell.
Return to 'model' Mode From 'form' Mode and Add Your Message
Click 'finish form' and work in 'model' mode for the next steps.
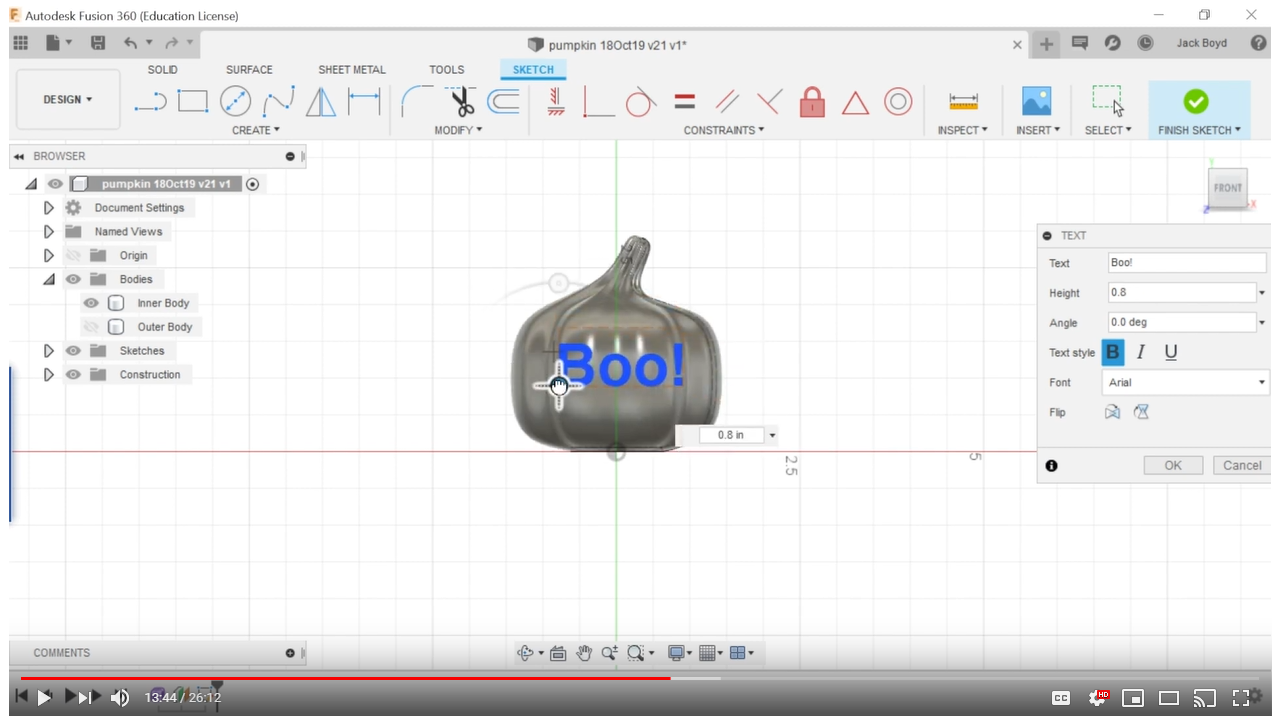
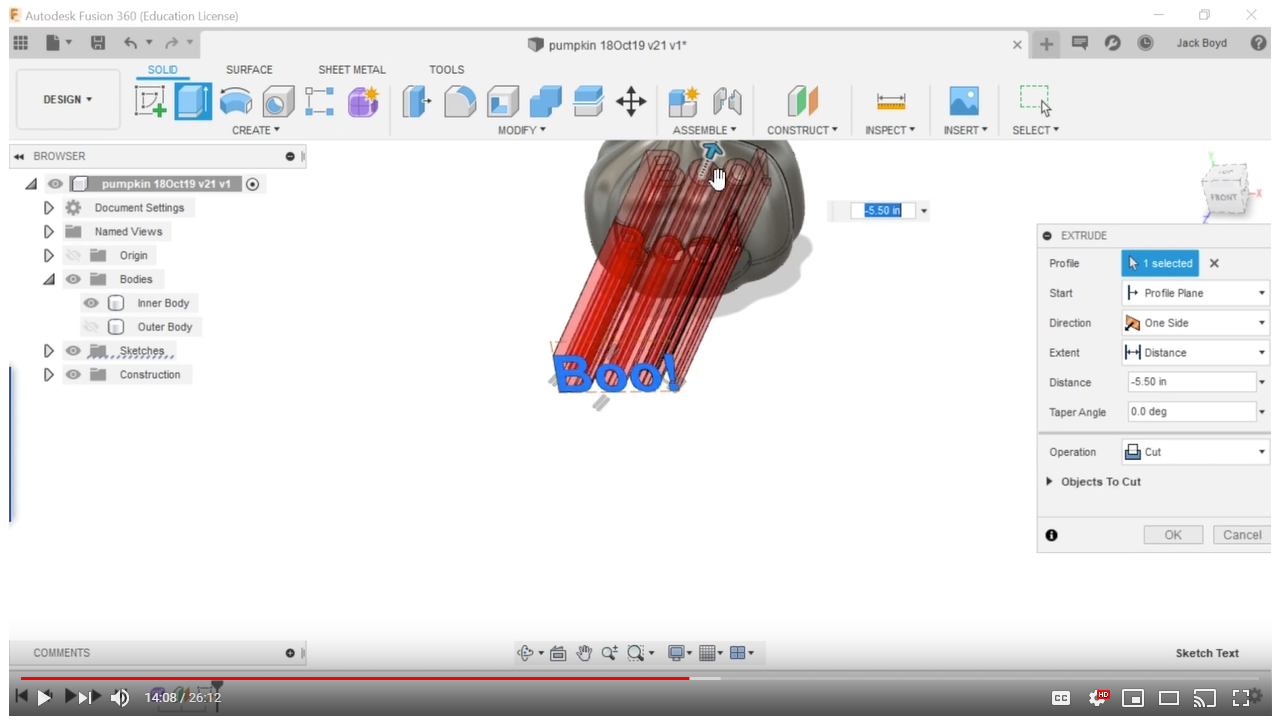
Turn off the outer shell and create a sketch in an offset plane to write a message in front of your pumpkin. You could also create a jack-o-lantern face or other design. 'Press-Pull' the resulting letters or image to carve the letters in the inner shell.
Now turn on the outer shell. You should see that the outer shell covers the carving of the inner shell.
Choose a Texture and Color Your Pumpkin
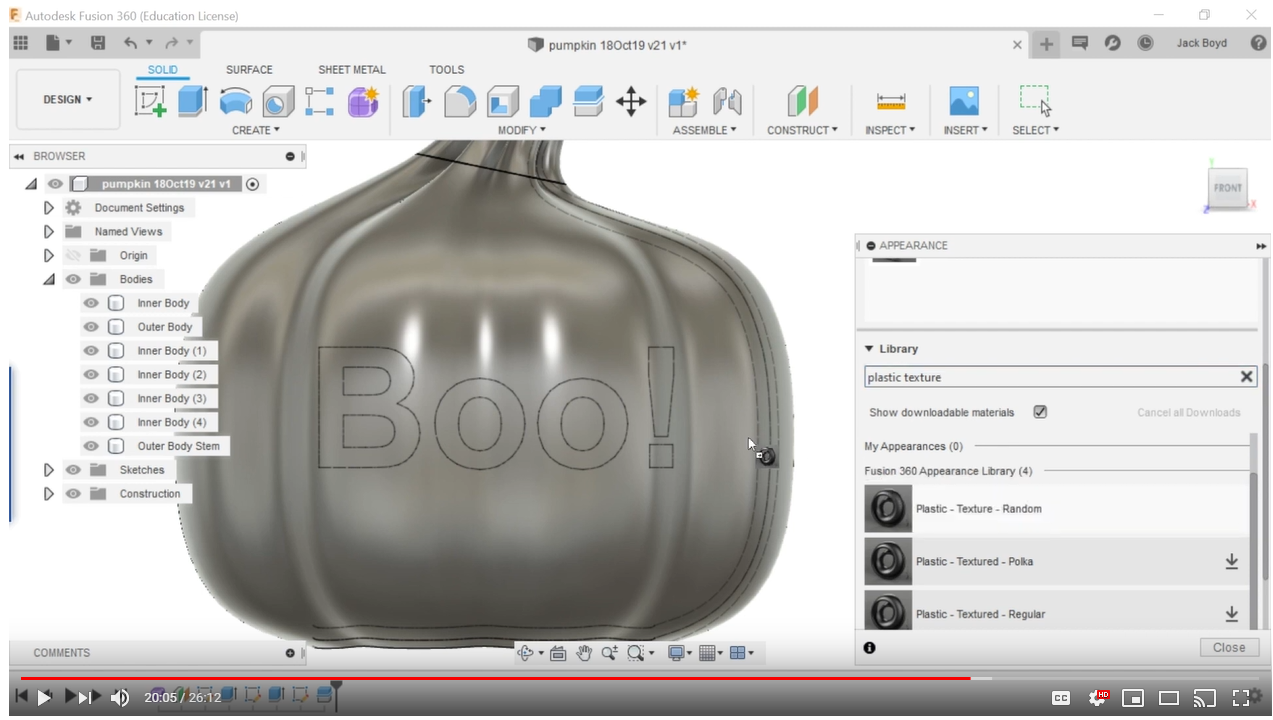
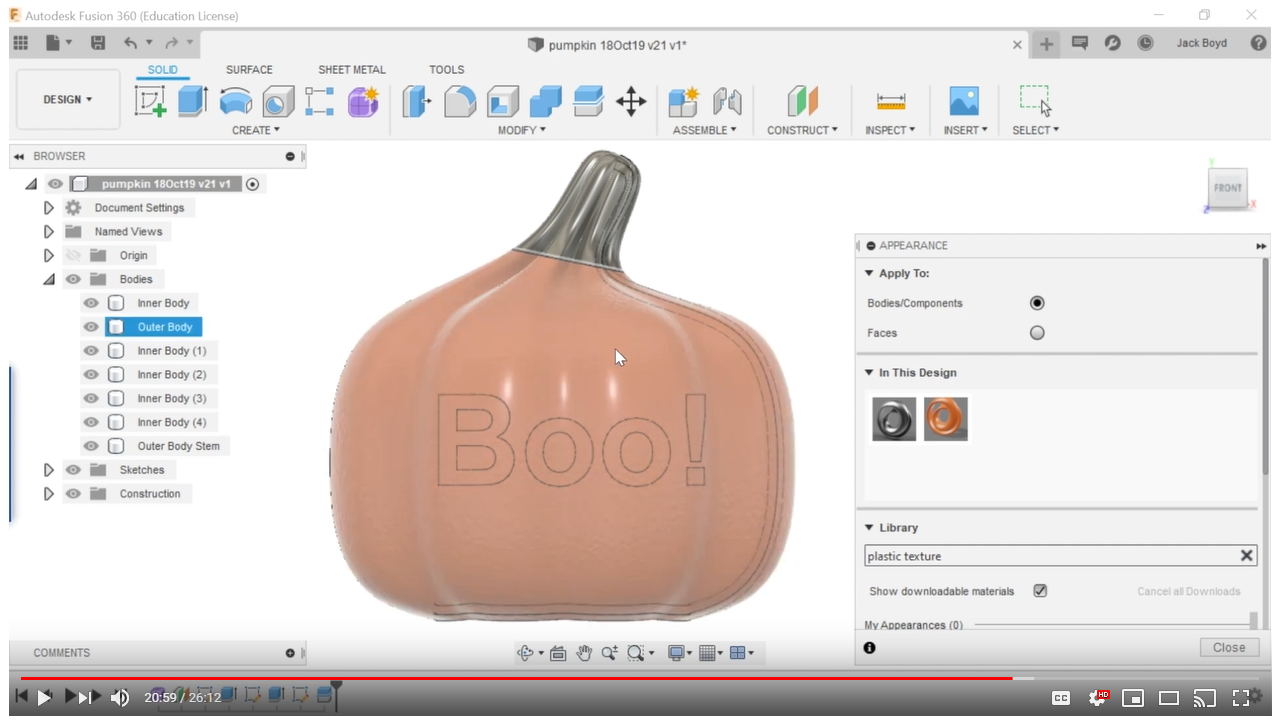
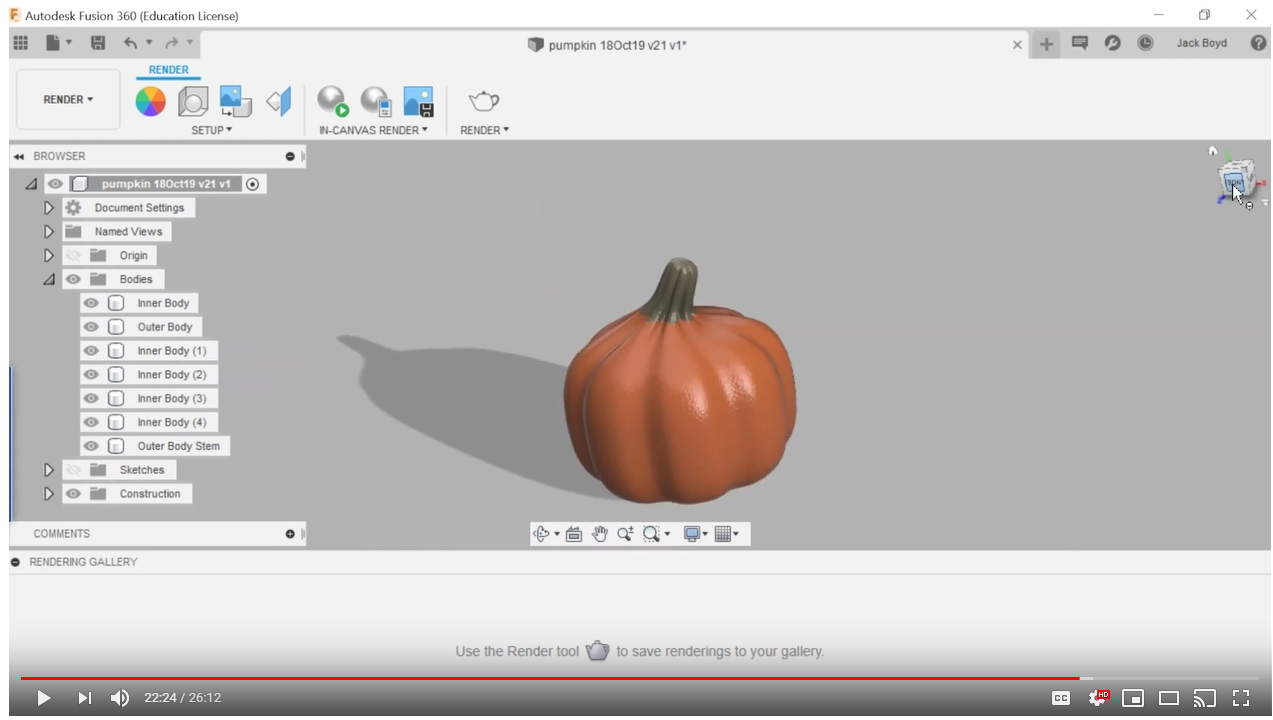
Fusion360 has a variety of textures and colors but you won't find a 'pumpkin' color in the standard list. Select the texture you want and apply it to your pumpkin. Then edit the 'appearance' color that you added 'In this Design' and select from a variety of Pantone colors that are available.
Finally use Fusion360's 'Render' mode to view the final colored model.
Ready Your Pumpkin for 3D Printing
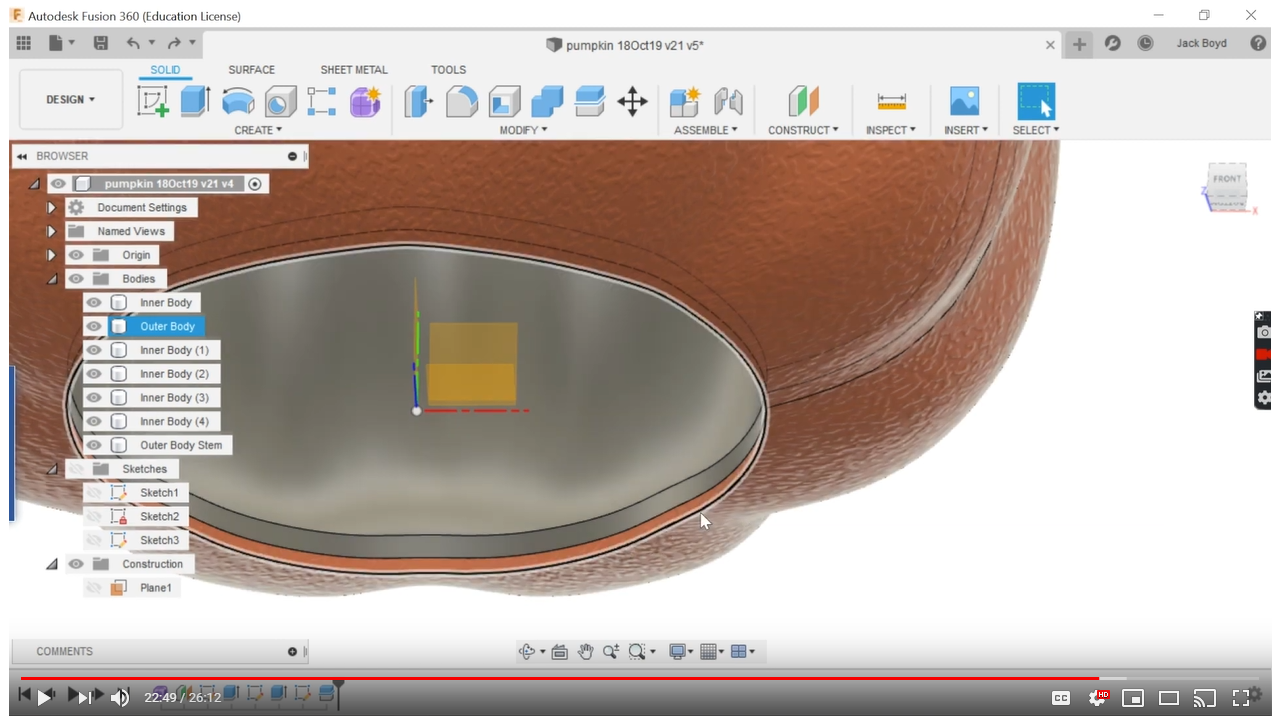
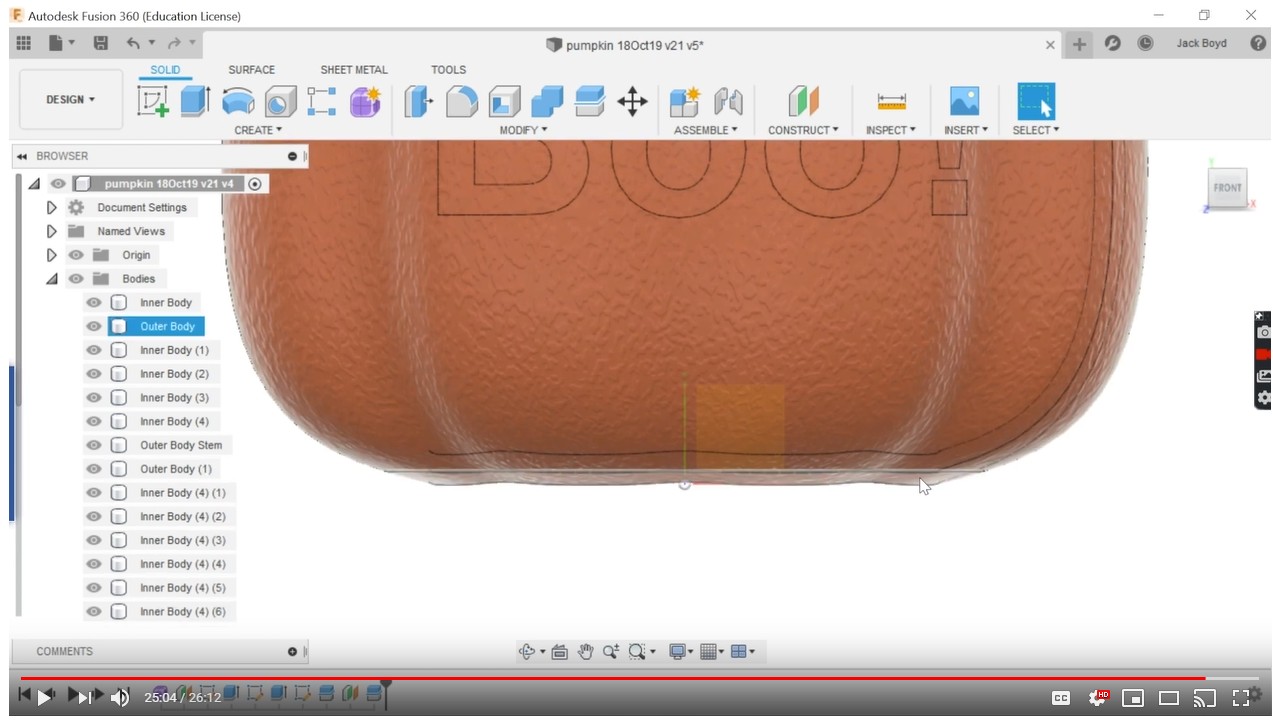
To accommodate the typical LED Tea Lights, I cut a 1 5/8-in diameter circle in the bottom of the pumpkin.
I later discovered the bottom of my pumpkin was not flat caused problems when 3D printing. To create a flat bottom, I created a offset plane 1mm from the base of the pumpkin and use 'split body' to remove 1mm of material which create a flat base.
Now you can export your model as an '.STL' file type or the type that works best with your 3D printer.
Good luck with your pumpkin!