Cardboard Pendulum Clock
by _riley.staudinger in Workshop > Repair
1213 Views, 3 Favorites, 0 Comments
Cardboard Pendulum Clock
I designed this clock off of a Pendulum Clock. Since Pendulum Clocks are very hard to make, I thought I would challenge myself and try to make a fully functional one. All the supplies I used were found around my house, so It was free and fun to make.
Supplies
Cardboard
Hot glue
AA battery
Tape
Scissors
Clock Motor
Clock Hands
Cutting Out the Frame
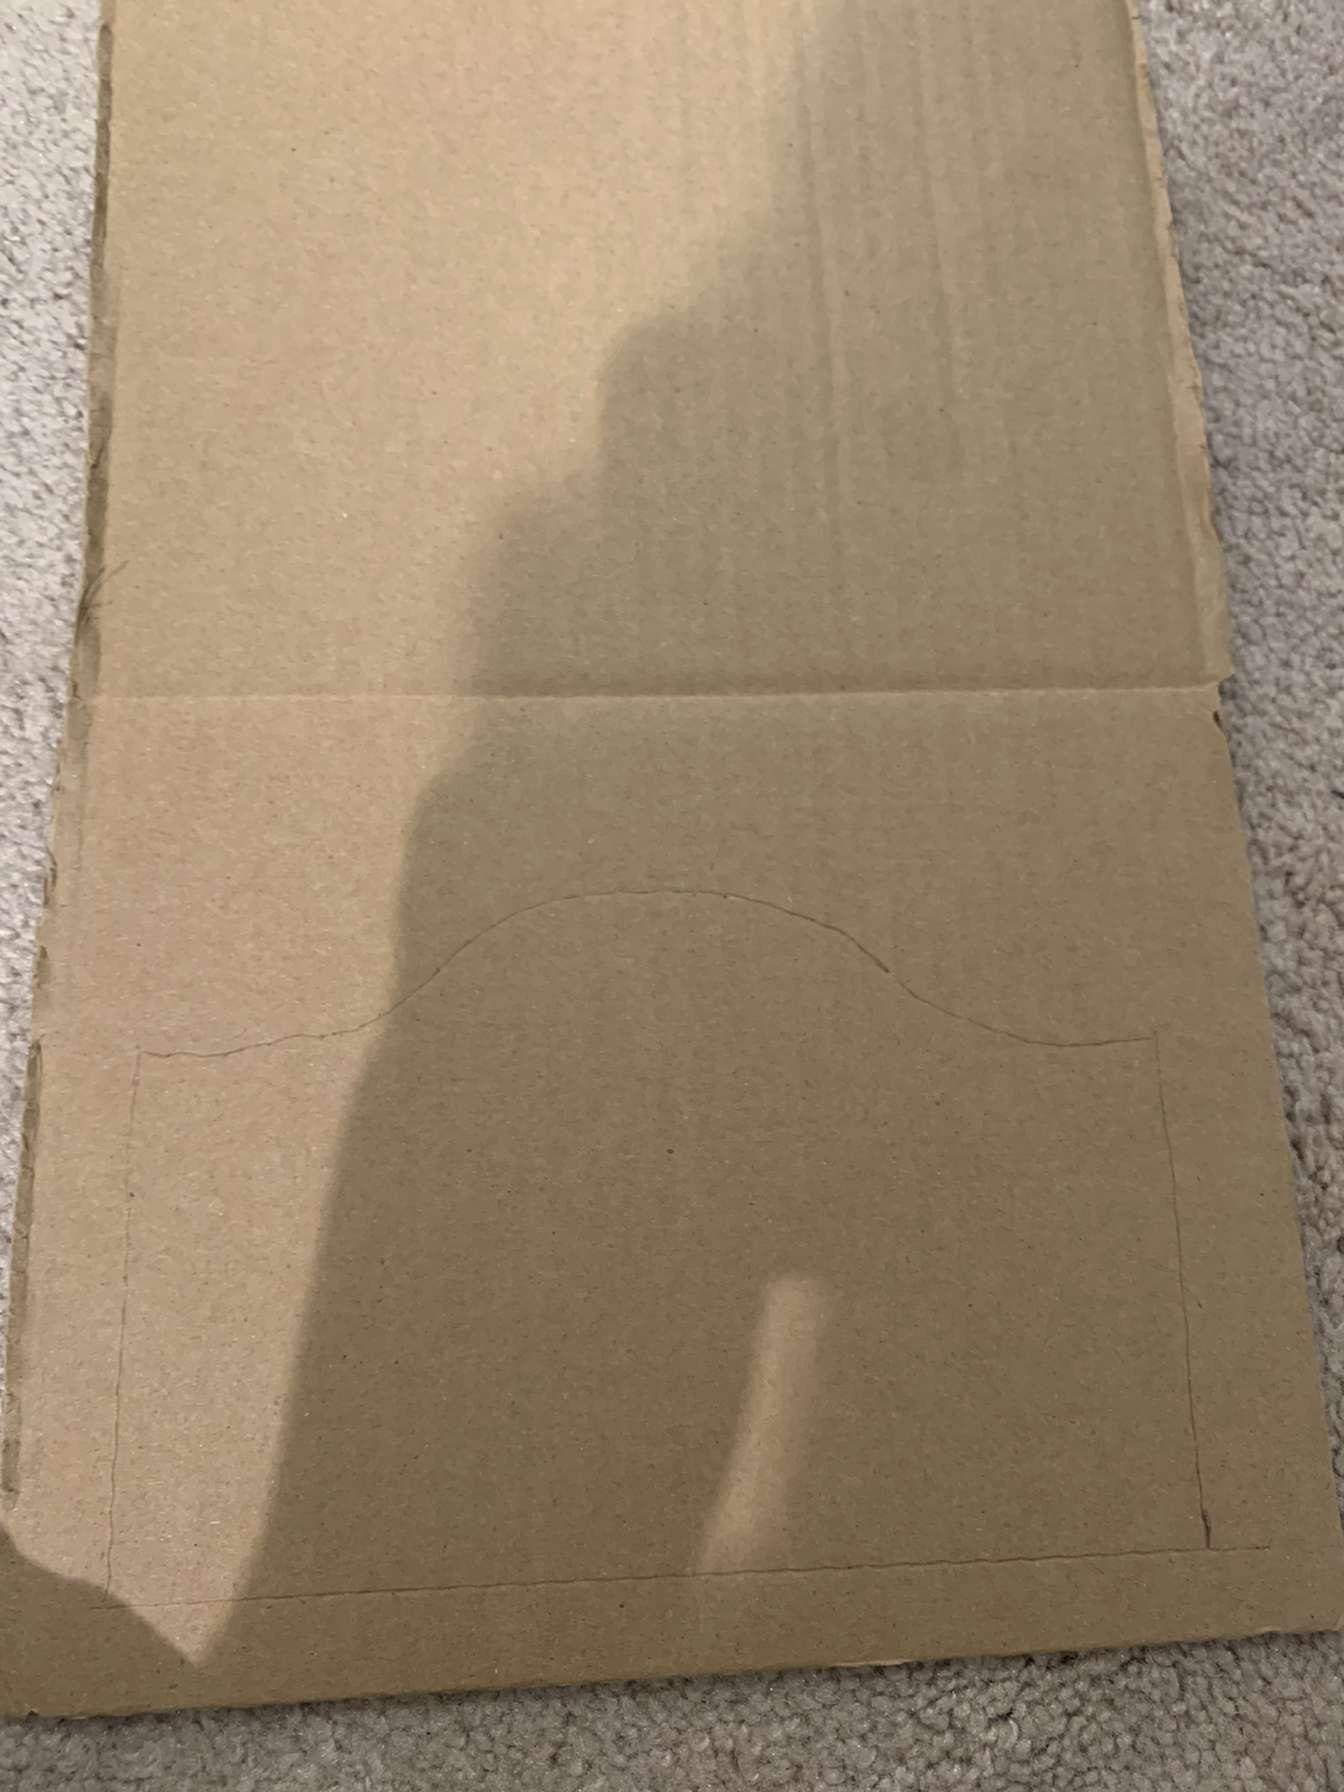

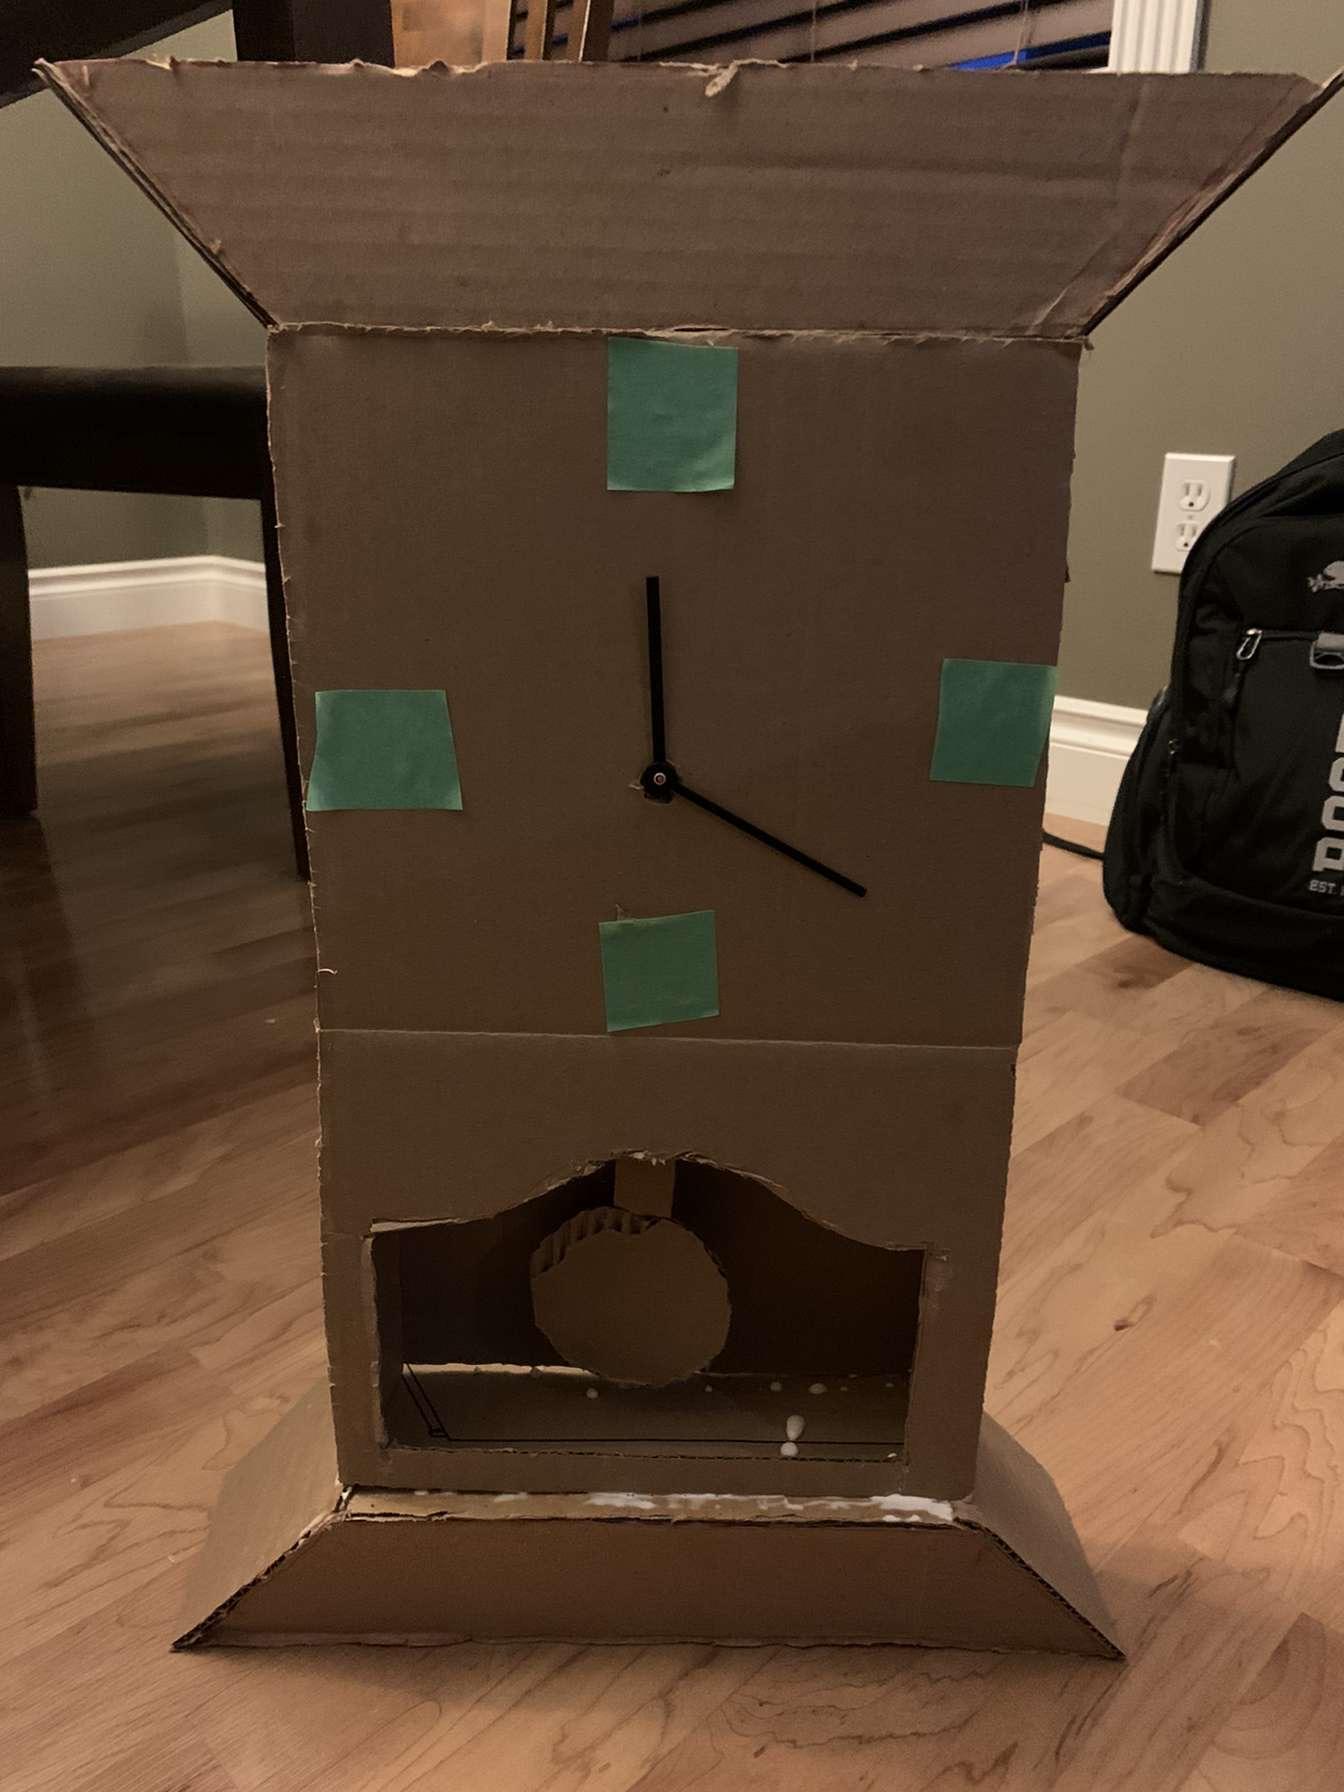
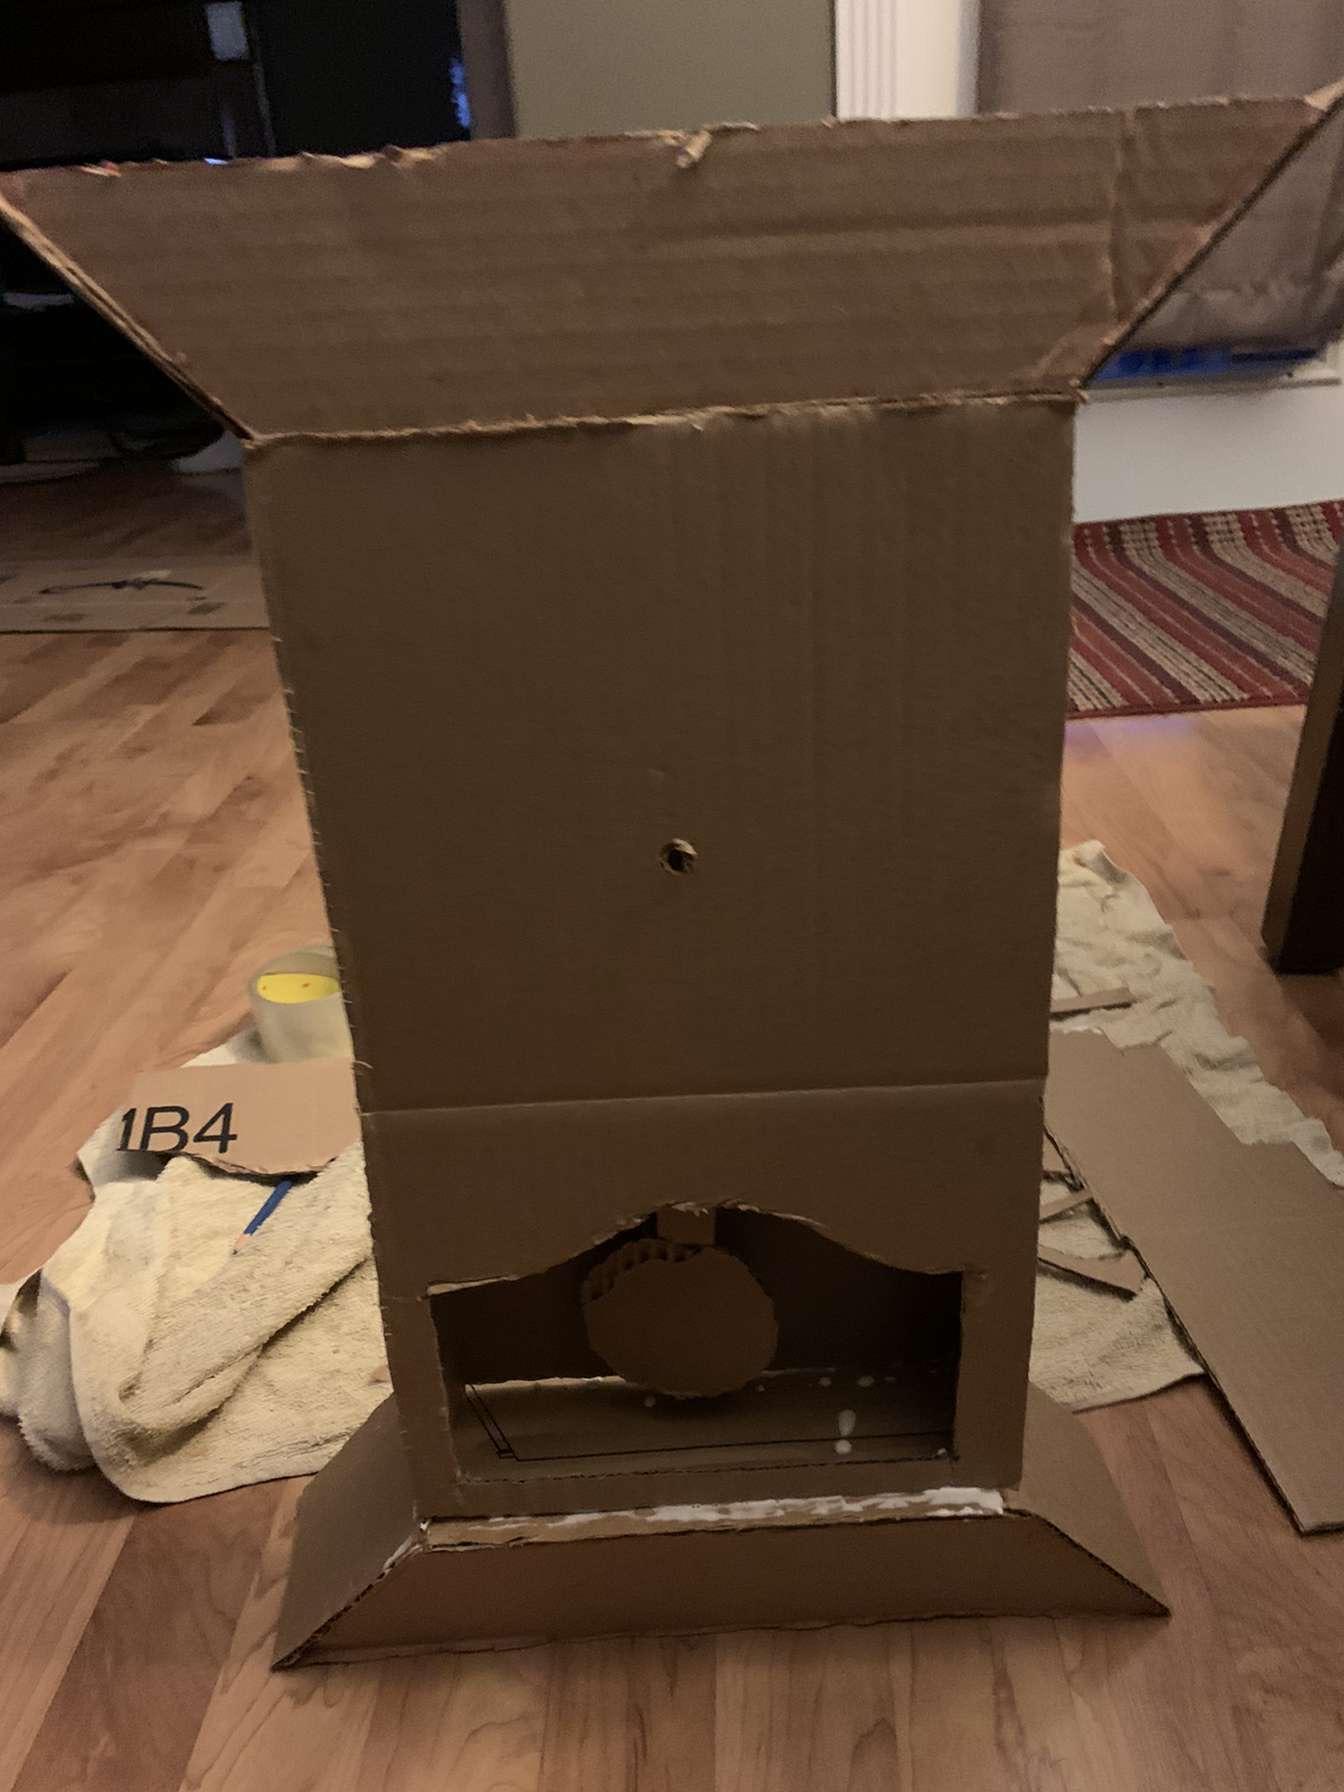
I first started by cutting out the frame. I had to measure the perfect size of the hole where I would put the Pendulum. Then I had to figure out where to put the hole where I would put the clock hands.
Attaching the Clock Motor


I took an old clock motor from an old clock found it in most people's houses. I fit the clock motor through the hole made in the clock face. I powered the motor with a AA battery.
Attaching the Pendulum to the Clock


The first thing I did to attach the Pendulum to the clock was attach a notch a the top of the Pendulum piece. Once I had that, I attached it to a baring inside the clock to move and stay moving.
Attaching the Base and the Top
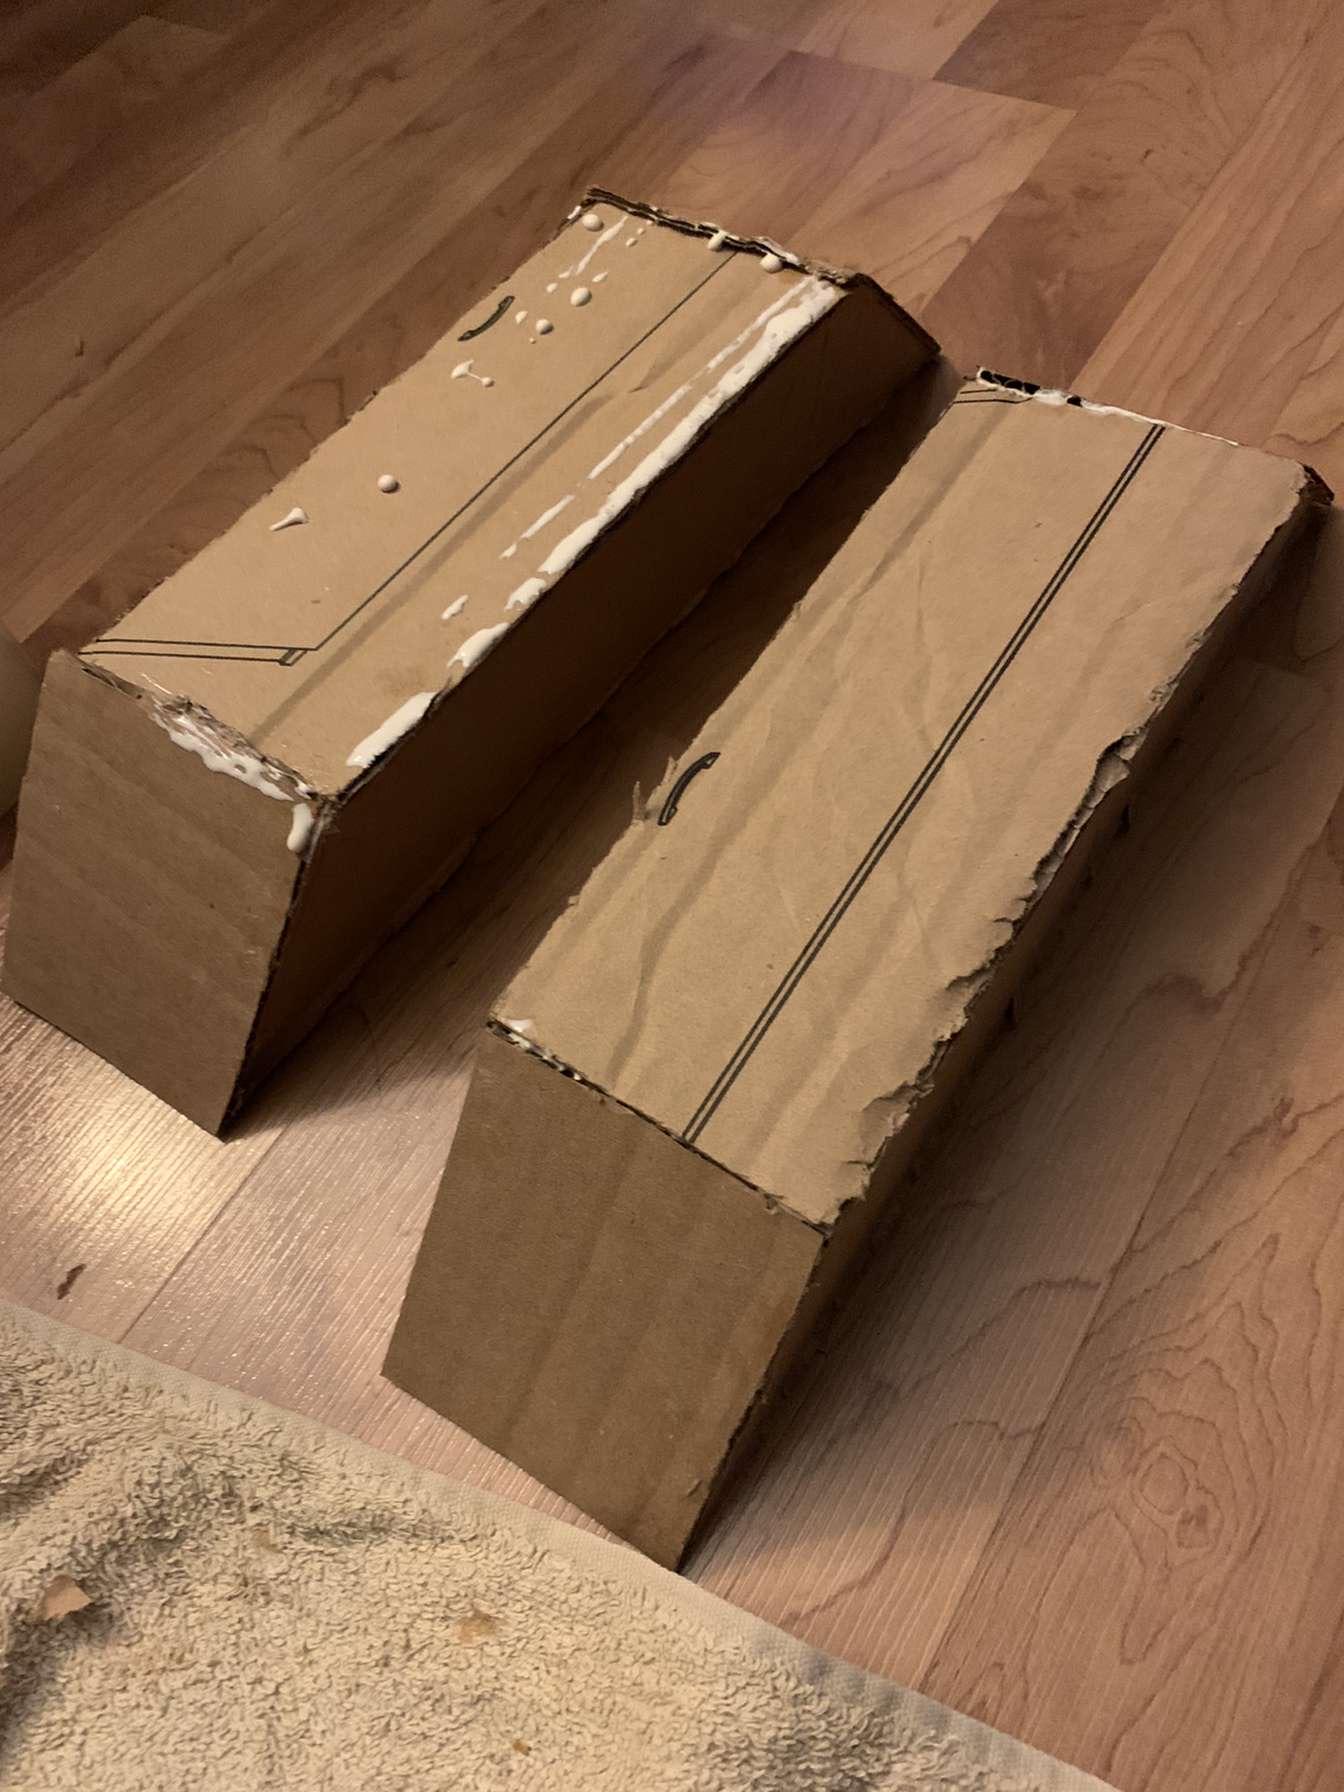
This part of the build was the easiest. I started by getting 4 different-sized pieces and gluing them together. Once I got my base and top of the clock, I attached them. I decided to have my clock sit on the table, so I put rocks into the bottom.
Attaching the Clock Hands
I made sure the motor was still in place and working, then I put the clock hands on the motor. I let the clock run for 12 hours to make sure it was reading the time correctly.
Making and Attaching the Wall Attachments
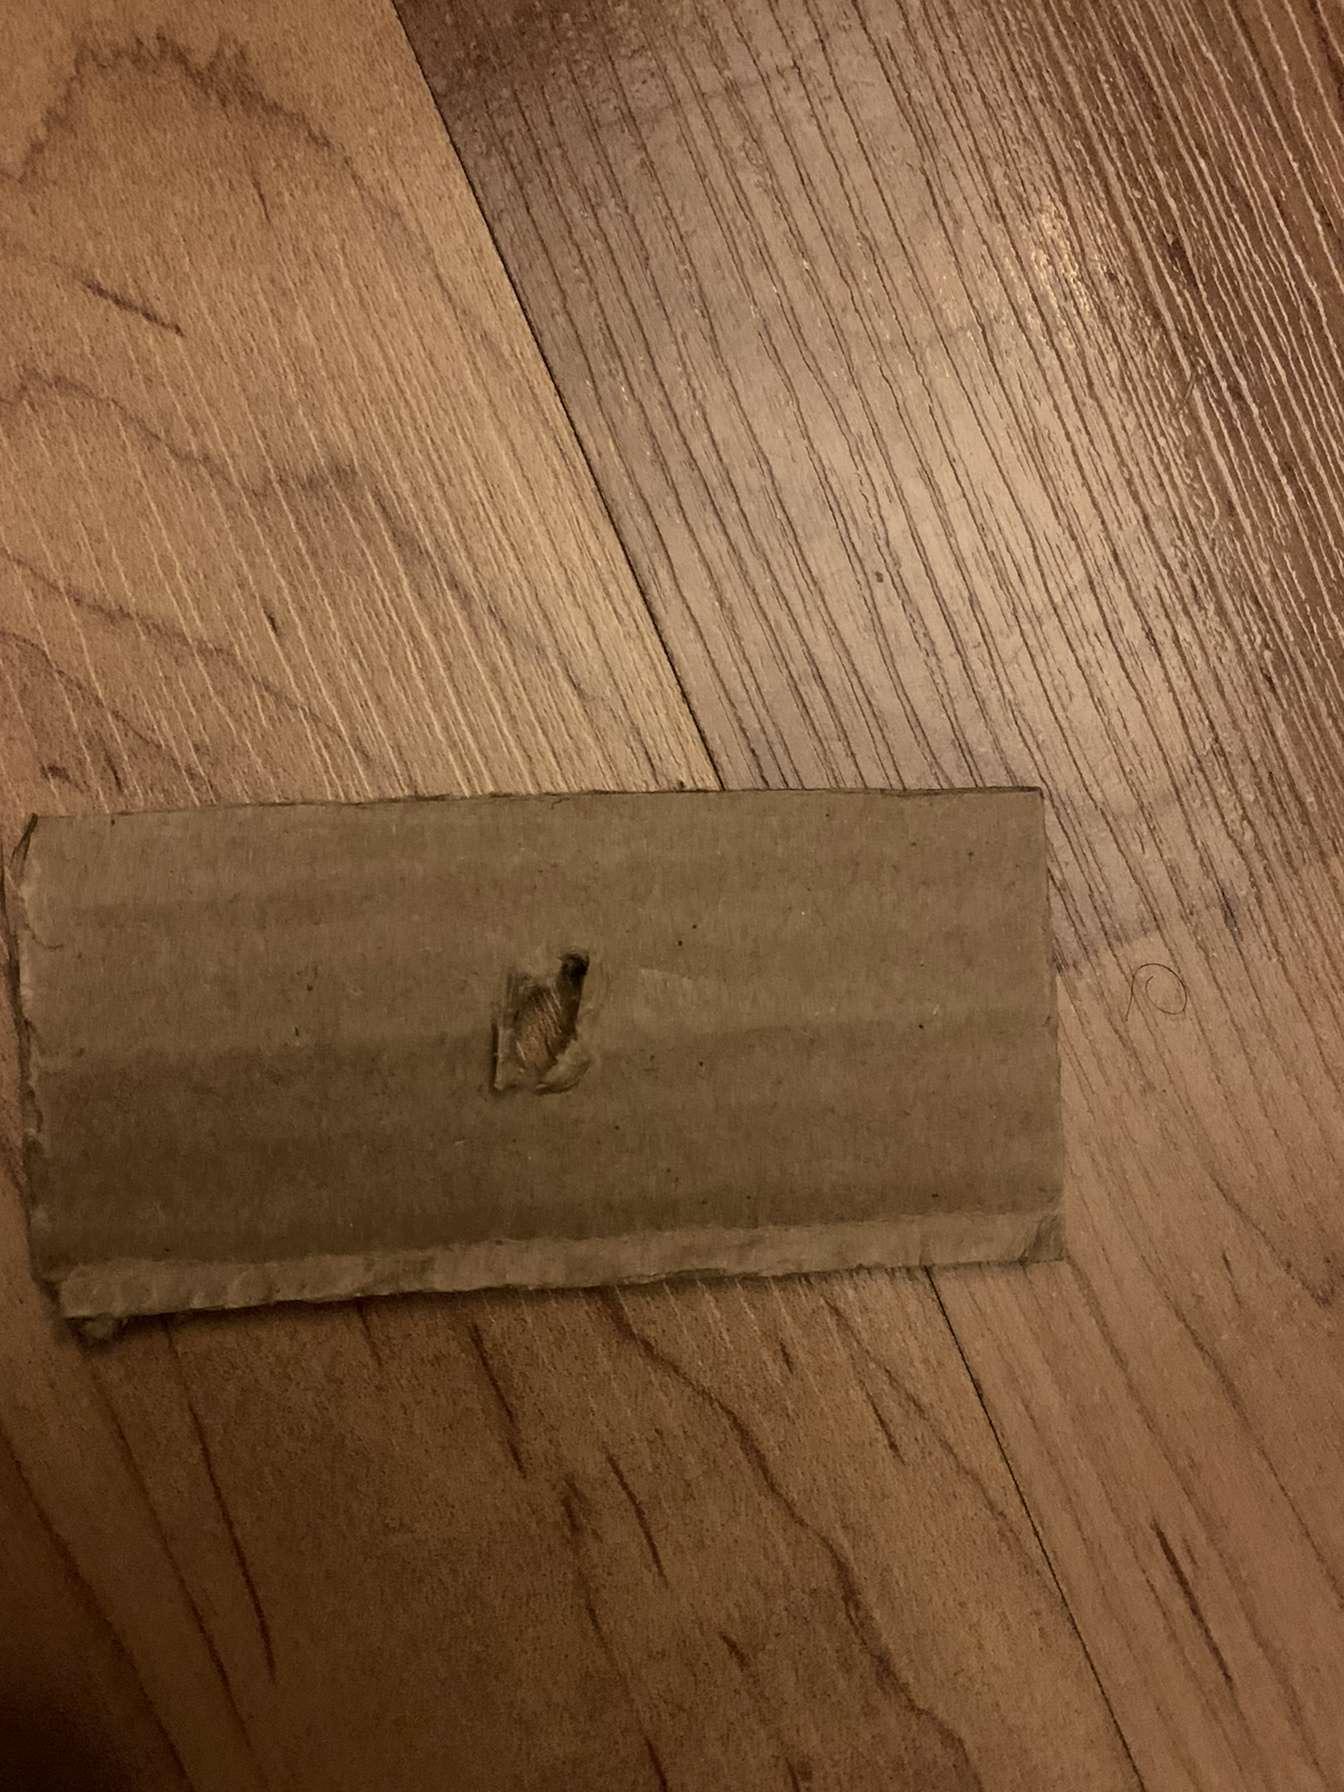

Pendulum Clocks can be either hung from a wall or sitting on the ground. I built it both ways as I could hang it on the wall and sit it on the ground or a desk. To make the Wall Attachment, I cut out a piece of cardboard and put some steel blades in the piece of cardboard. I got the steel blades from an old pair of scissors.
Final Product

In the end, the clock turned out great and worked correctly. The tape on the clock represents 12,3,6 and 9 on the clock, just like on a real one. The Pendulum took a really long time to get right, but it was worth it in the end.