Cardboard Lapdesk




Hello everyone!
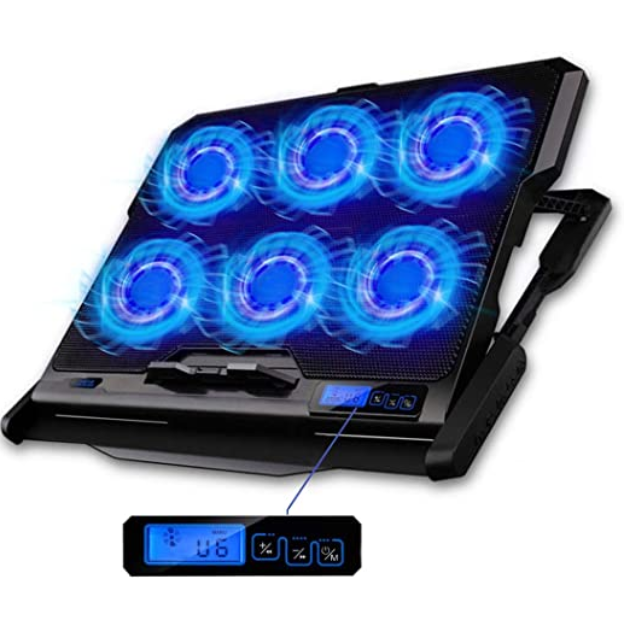
Well Everything started 8 months ago when I was freelancing from home when my boyfriend was nagging me because I used to leave the laptop on in the couch. To solve this, he encourage me to buy this cooling pad and not a lapdesk that I wanted. We ended up buying this cooling pad but as I didn’t had a desk I used it on my lap and I ended up breaking the little support I has on the back so I keep using it as a lapdesk but It ended up making marks in my legs and honestly is not very comfortable.
That’s why I though maybe I could make a lapdesk with something I can work with like Cardboard.
So, I jumped into my computer and stated designing It, I started looking for example so I kept adding things like foldable legs and a drawer and a hole to put my cellphone. Firs I draw a template in Autocad and then I model it in Sketchup.
And that’s how I got to this design, Challenging enough right? I love a Challenge.
------------------------------------------------------------------------------------------------------------------------------------------------------
ESPAÑOL
Todo comenzó hace 8 meses con la compra de este ventilador, yo quería una lap desk pero mi novio me dijo que era mejor porque me ayudaría a mantener la laptop fría, sin embargo a veces trabajo en la computadora con las piernas descubierta y se marcan, además tratando de levantar la laptop lo rompí.
Entonces se me ocurrió que sería divertido hacer una lapdesk con algo que sí se usar que es el cartón.
Para el diseño me basé en varios modelos disponibles entonces le agregué patas retráctiles, un cajón y un espacio para colocar el celular. Primero medí la base que ya tenía y luego la dibujé en autocad para después levantarla en sketchup.
Supplies
Materials:
2 grey cardboard (or paperboard) 100x70cm
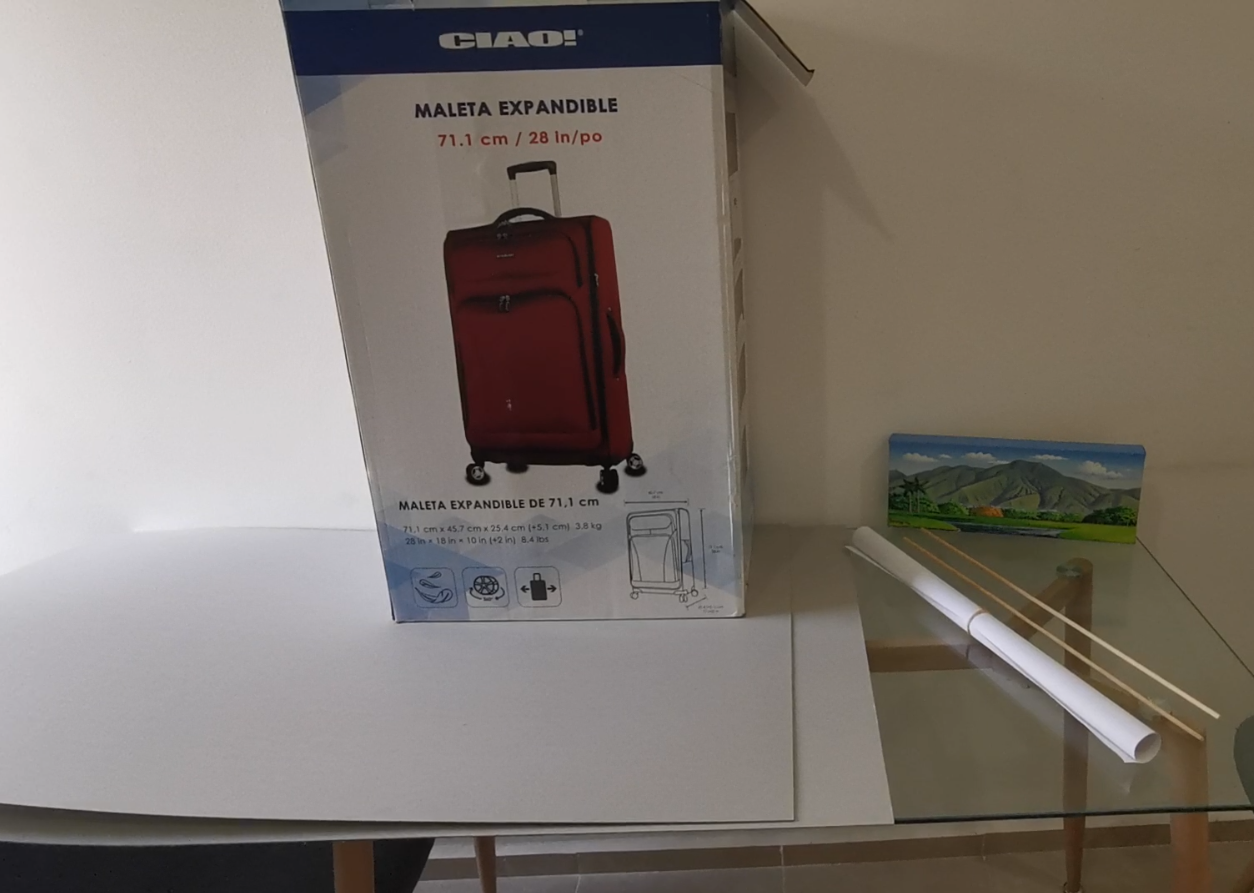
1 big corrugated cardboard box
1 TECHVIDA Cooler Pad (Any cooler pad or you can just ignore this part)
Scrap Paperboard
2 Toilet paper cardboard tubes
4 to 5cm Velcro
2 Wooden sticks about 60cm each (you’ll need 2 x33cm)
3 D-Ring Hangers
Ribbon or rope about 30cm
Acrylic Paint
Tools:
Cutting Mat (so your wife / husband / mom / roomate won’t get upset)
White Professional Glue / Silicone glue
Masking Tape
Cutting ruler or Triangle Rulers
Double Sided Tape
Paintbrush
------------------------------------------------------------------------------------------------------------------------------------------------------
ESPAÑOL
Materiales y herramientas:
2 hojas de cartón gris 100x70cm
1 caja grande
Pegamento blanco
Silicón frio
TECHVIDA Enfriador para Laptop
Masking tape (tirro Cinta adesiva para pintores)
Cutting Mat
Cutter (Trincheta exacto)
Escuadras
Pinturas acrílicas
Brochas
Cutting mat
3 Colgadores de cuadros, D-Ring
Cinta o cuerda 30cm aprox.
Velcro
Cinta doble fas
2 Palitos de madera aprox. 33 cm
2 Tubos de papel toilet
Cartulina retazos
Cut Main Layer Lids


For this you’ll be using the template I’m leaving you. I Strongly recommend you to print it in original size.
Before you cut the layers is important to check the shape of the cooling pad. What I did for the template is to measure the general size of the cooling pad to draw a square and when I printed the template I just drew the silhouette of the cooling pad over the square so It would fit perfectly. Then proceed to cut in the grey cardboard the top layer lid, the middle layer lid and the bottom layer lid which includes a side of the legs. Is important to say that the middle layer which is where the cooling pad is setting, is 4mm smaller than the other two layers, because I removed the thickness of the cardboard.
----------------------------------------------------------------------------------------------------------------------------
ESPAÑOL
Cortar las tapas: Para esto usaras la plantilla que te coloqué. Recomiendo que la imprimas en su tamaño original.
Antes de que cortes algo es importante que cheques la forma original del ventilador. Lo que yo hice para la plantilla fue que medí la medida general del ventilador para dibujar un cuadrado y al imprimirlo dibujé la silueta original del ventilador sobre el cuadrado de la plantilla. Luego puedes proceder a cortar en el cartón gris las tapas superior inferior e intermedia. Este diseño se basa en estas 3 tapas, la intermedia es donde se posa el ventilador y es 4mm más pequeña que las otras.
Cut the Other Side of the Legs and the Edges
Using the template, cut another silhouette of the legs and for the edges I cut 4 strips of 5 cm wide because later you’ll have to adjust it to the final thickness of the desklap.
---------------------------------------------------------------------------------------------------------------------------
Español
Cortar la otra cara de las patas y los bordes: Estos bordes yo calculé al principio hacerlos de 5cm pero al final terminé cortándolos a 3.9cm así que recomiendo cortarlas de 5cm y ajustarlas ya que el cartón corrugado puede venir de diferentes grosores. Usa la plantilla para cortar otra cara de las patas.
Cut the Top and Bottom Layer Filling

Cut in the cardboard box this filling so it will give structure to the lapdesk.
o A: 10 strips of 55x2.8cm
o B: 10 strips of 34.5x2.8cm
o C: 5 strips of 21.5x 3cm
o D: 5 strips of 10.5x3cm
o E: 5 strips of 3.5x3cm
o F: 6 strips of 55x1.5cm
o G: 6 strips of 34.5x2cm o H: 3 long strips of 1.3cm
------------------------------------------------------------------------------------------------------------------------------
ESPAÑOL
Cortar relleno tapa superior: Para el relleno corta las siguientes piezas.
o A: 10 piezas de 55x2.8cm
o B: 10 Piezas de 34.5x2.8cm
o C: 5 Piezas de 21.5x 3cm
o D: 5 Piezas de 10.5x3cm
o E: 5 Piezas de 3.5x3cm
Cortar relleno de tapa inferior:
o F: 6 Piezas de 55x1.5cm o G: 6 Piezas de 34.5x2cm o H: 3 tiras largas de 1.3cm de grosor
Cut the Leg Filling


For this filling I just cut several strips of 3 cm wide, this time against the cardboard nerve so you could see the nerves from the side. Then I used the template to cut:
o I: 6 Piece about 31x 3cm
o J: 6 Piece about 22x3cm
o K: 6 Piece about 7x3cm
----------------------------------------------------------------------------------------------------------------------------
ESPAÑOL
Cortar el relleno de las patas: Para el relleno de las patas preferí cortar tiras largas de 3cm esta vez en contra de la veta del cartón ya que quería que se viera en los laterales de las patas. Luego utilicé la plantilla para cortar los ángulos, o las tapas.
o I: 6 Piezas de aprox 31x 3cm
o J: 6 Piezas de aprox 22x3cm
o K: 6 Piezas de aprox 7x3cm
Glue the Filling to the Top Layer Lid

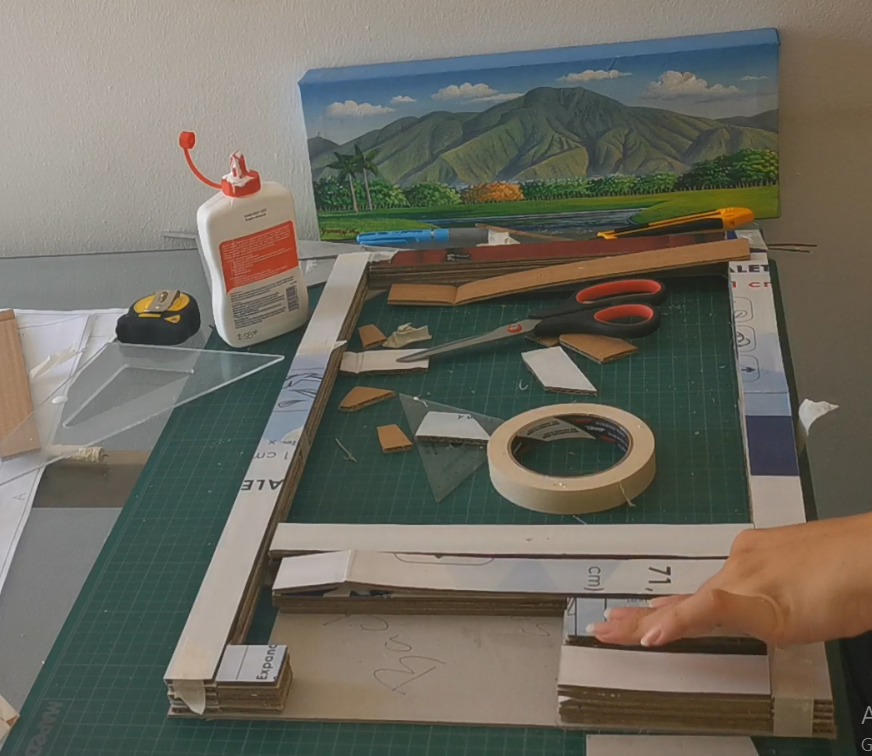
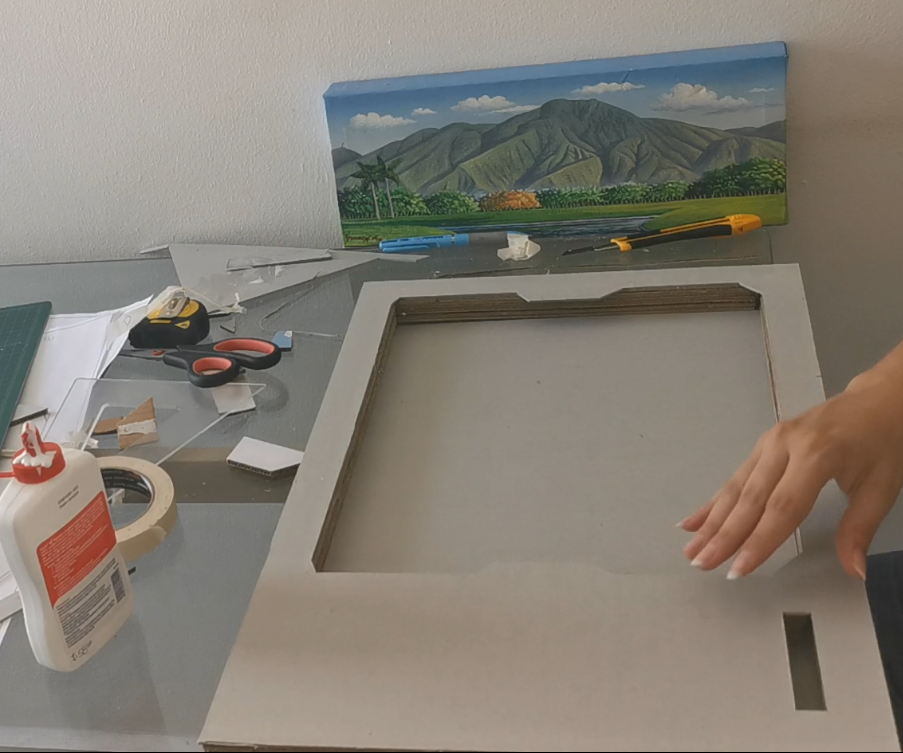

I turned to the back of the top layer lid and started pasting 5 layers of strips (A,B,C,D,E) being careful to leave 2mm from the edge of the lid and that the strip form a 90 degree angle. Later I pasted the mid layer lid and put some heavy books or just something heavy until the glue was dry.
-------------------------------------------------------------------------------------------------------------------------------
ESPAÑOL
Pegar relleno a la tapa superior: Para esto volteé la tapa superior y comencé a pegar las piezas nivel por nivel siempre procurando dejar el espacio para las tapas y que queden a 90 grados. Luego pegar la tapa intermedia y dejar secando con algo pesado encima.
Glue the Legs


To give the legs more structure and avoid then=m to fold or crack, I glued the Piece “I” on one side in a layer and on the other side in the next layer. Each Leg has three layers of corrugated cardboard inside.
---------------------------------------------------------------------------------------------------------------------------------
ESPAÑOL
Pegar las patas: Para pegar las patas y darle más fortaleza, las pegué intercalando la pieza I en un sentido y en la siguiente capa en el otro. Son tres capas de relleno y las dos tapas.
Glue the Filling to the Bottom Layer Lid

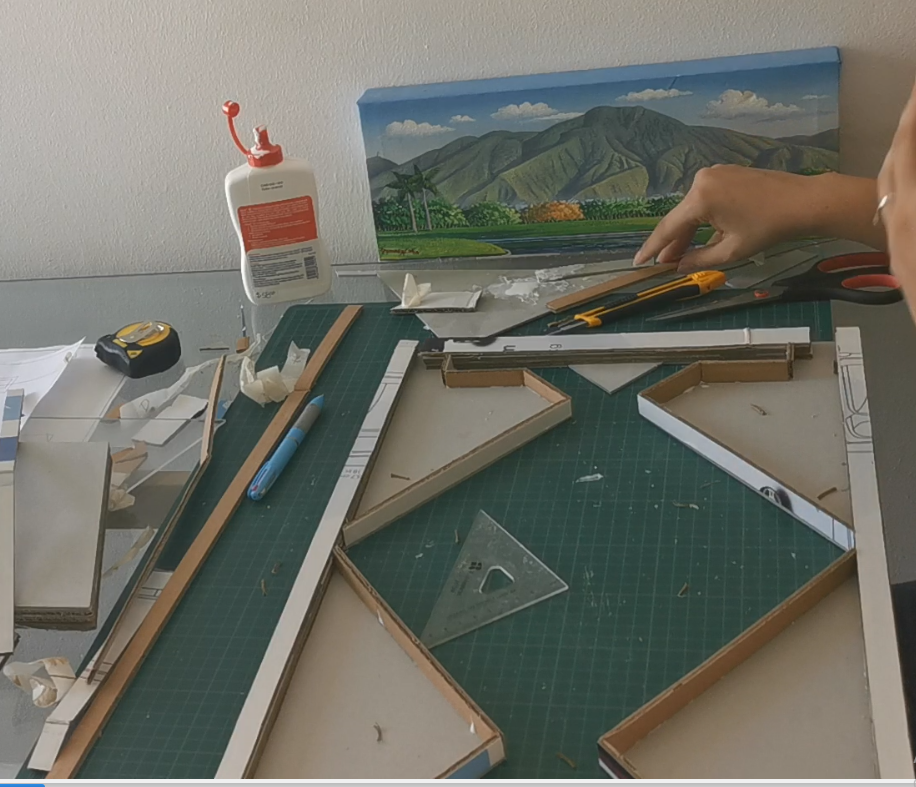


Glue the F y G strips to the edges of the bottom lid (3 layers of cardboard) and try to be careful to leave a 2mm space for the edges, and that the layers form a 90-degree angle, so It would be easy to glue the edge lids later.
Later use the H strips to recreate the shape of the hole for the legs and then give it some structure gluing some scrap cardboard to the sides of this strip.
-----------------------------------------------------------------------------------------------------------------------------
ESPAÑOL
Pegar tapa inferior. Para este Pegas las tiras F y G alrededor, de nuevo dejando el espacio para las tapas y procurando que queden en un ángulo de 90 grados.
Posteriormente usar las tiras largas H para recrear la forma del hueco de las patas y rellenando con cartón sobrante. Dejar secando con algo pesado encima.
Hinge-like Mechanism


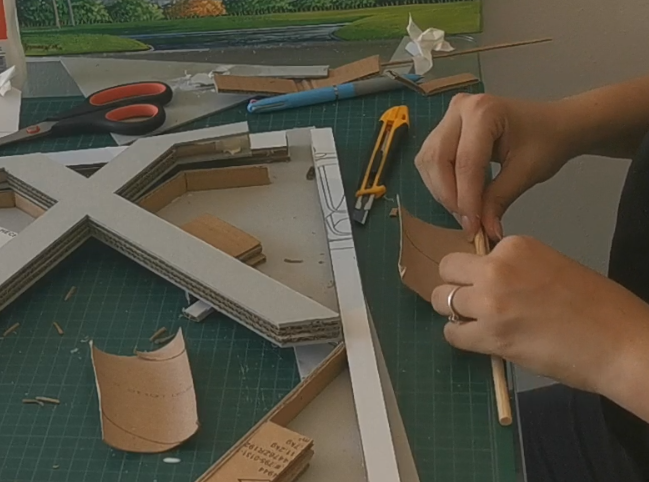
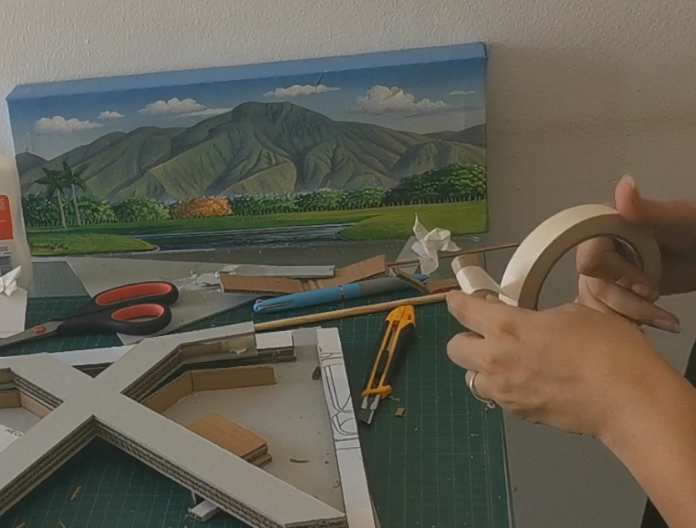
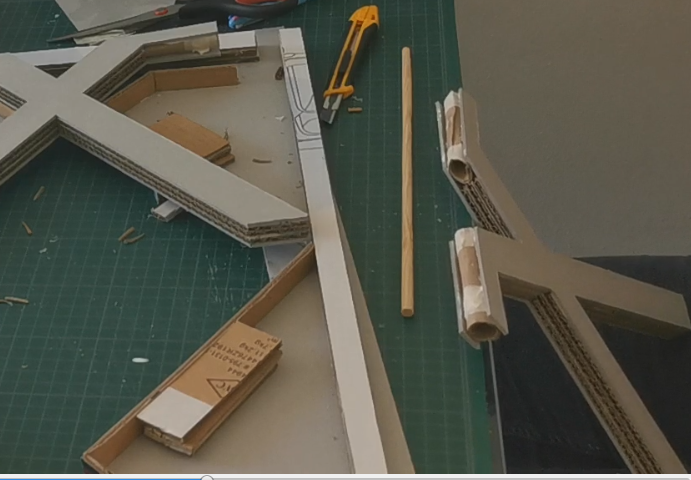
At first I tried to use the corrugated cardboard to create a support for the wooden sticks but it was just too thick, so I grabbed two toilet paper cardboard tubes, cut them in half and Rolled up them with the wooden sticks and taped it with masking tape. Is important to cut the spare cardboard so It would be tight to the wooden stick and limit the movement of the leg. Then I glued the tubes to the empty part of the legs.
-------------------------------------------------------------------------------------------------------------------------------
ESPAÑOL
Mecanismo de giro: Con esto al principio intenté cortar dos piezas del cartón corrugado y doblarlas con las varas de madera, pero quedaban muy anchas así que tomé dos cilindros de papel higiénico, los corté por la mitad, los enrollé alrededor de las varillas y uní con masking tape. Es importante ajustarlo lo más posible pues así limitas el movimiento de las patas. Luego los pegué a la parte superior de las patas que dejé vacío.
Ensemble the Legs

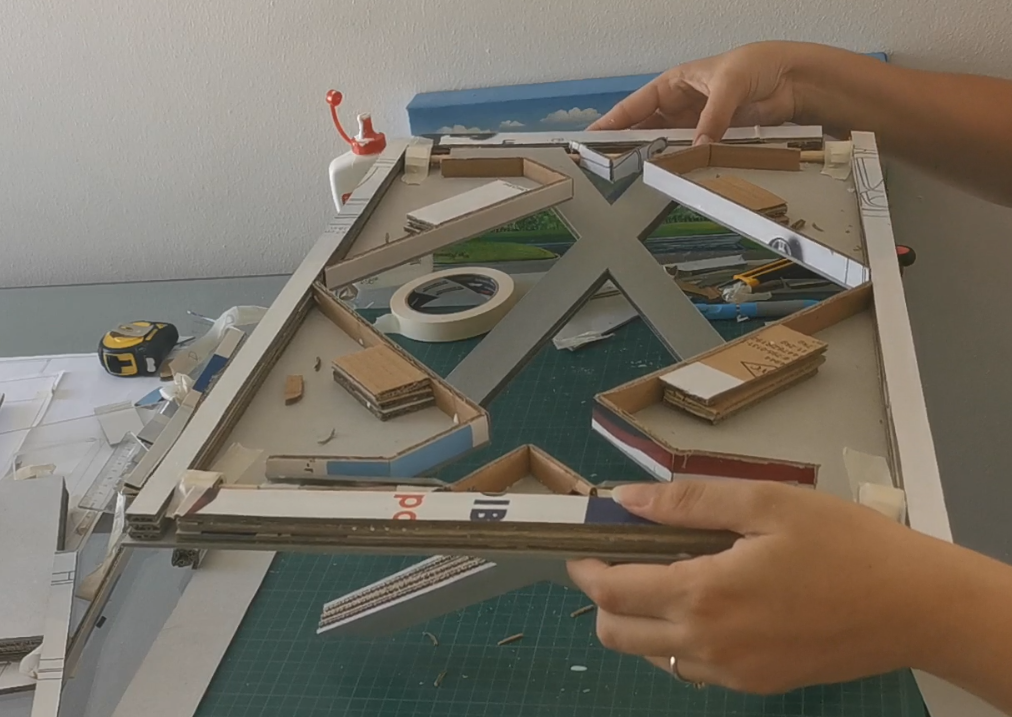

Roll up a piece of spare cardboard with the wooden stick and tape it with masking tape, later cut two pieces of 1 cm of the tube and paste it to the inside of the bottom layer when the wooden sticks are going to be. Then put the legs in place and introduce the wooden sticks thru the legs and tube pieces so the whole system would be complete. Test the rotation of the leg.
--------------------------------------------------------------------------------------------------------------------------------
ESPAÑOL
Ensamble de las patas: Enrolla un pedazo de cartón corrugado y pégalo con masking tape, luego corta pequeños cilindros de 1cm de grosor y pégalos a los extremos de donde se posaría los palitos de madera. Luego coloca las patas en su lugar e introduce el palito de madera a través de las patas y los cilindros que pegaste en los extremos para que quede todo el sistema unido. Haz unas pruebas.
Glue All Together

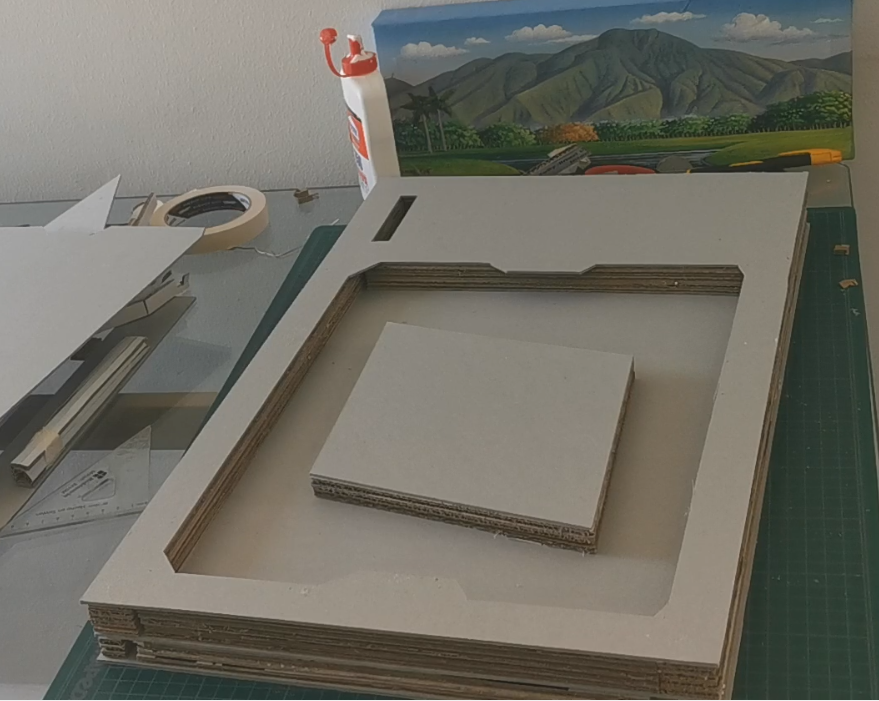

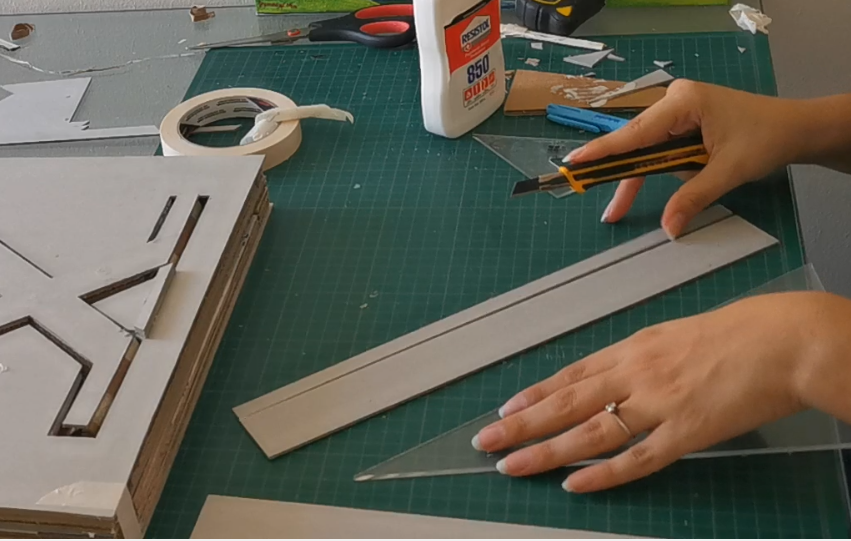


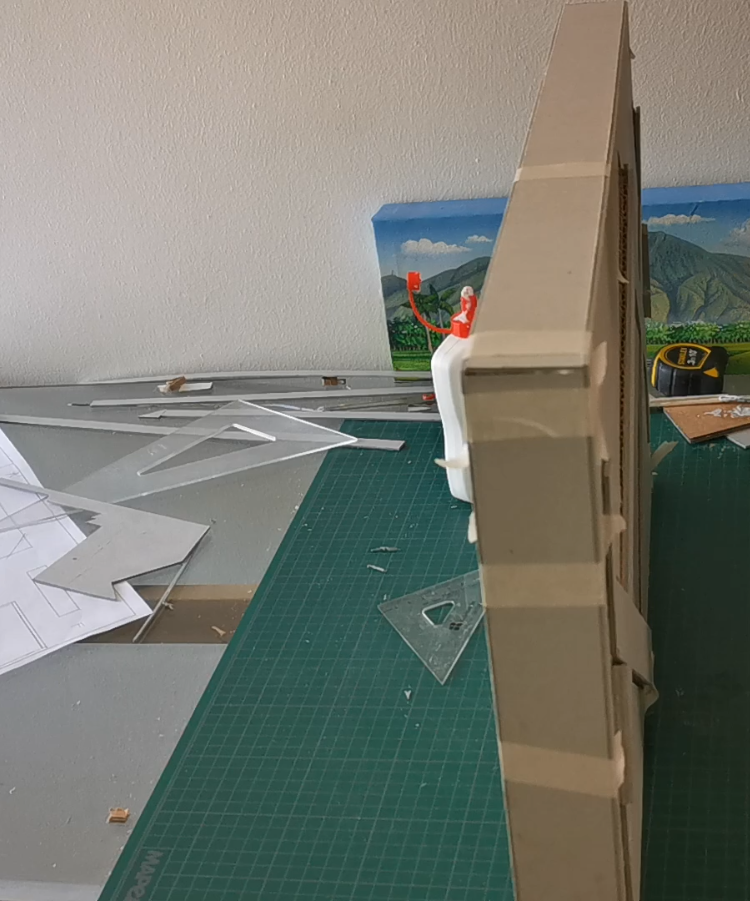
Glue the Top Layer and the Bottom Layer together once you have completed the rotation of the legs. Put something heavy like books on top of the lapdesk until the glue is dry.
Edge lids: measure the final thickness of the lapdesk, ignoring the top and bottom lids and with that measure cut the edge lids. Also cut in one of the sides the hole of the drawer, then glue them to the sides of the lapdesk. Remember two of the sides must be 4mm smaller than the final length of the desklap.
------------------------------------------------------------------------------------------------------------------------------
ESPAÑOL
Pega la parte superior a la parte inferior y pon la a secar con peso encima.
Tapas laterales: Mide el grosor final de la mesa y corta las tapas de acuerdo a este grosor, también recuerda cortar el espacio del cajón en uno de los lados. Luego pégalas a la mesa. Recuerda que dos lados debes cortarle el grosor del cartón para que queden bien.
Making a Stopper
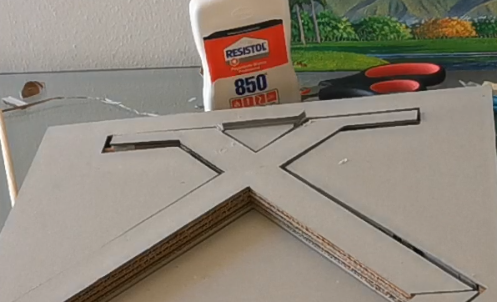

In order to stop the legs from reeling, I pasted together three little pieces of cardboard on each side of the legs.
Also I pasted the Diamont piece to the bottom.
------------------------------------------------------------------------------------------------------------------------------
ESPAÑOL
Topes: Para que las patas no se tambalearan tanto les coloqué unos topes pegando 3 pedacitos de cartón en cada lado.
Drawer

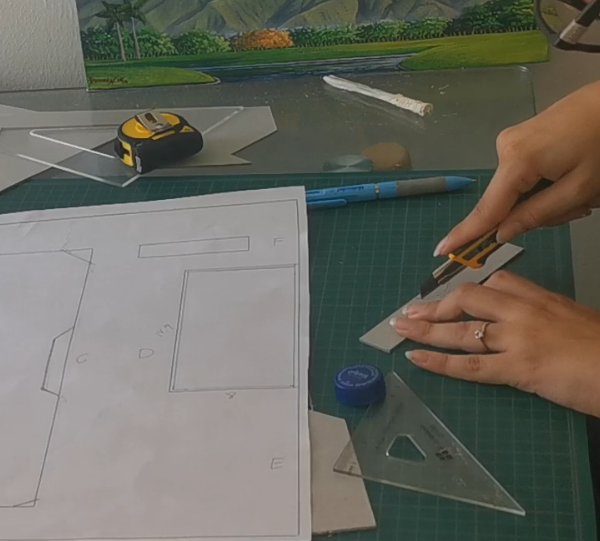

Cut the pieces, cut a little half circle on the front side to use as a knob, then glue all the sides to the edge of the bottom piece.
o Bottom: 14.2x7.2cm
o Sides: 7.2x2cm
o Back Side: 14.6x2cm
o Front: 14.6x2.3cm
------------------------------------------------------------------------------------------------------------------------------
ESPAÑOL
Cajón: Para cortar el cajón debes cortar las siguientes piezas, incluyendo un pequeño semicírculo en el frontis para usarlo como jaladera:
o Fondo: 14.2x7.2cm
o Laterales: 7.2x2cm
o Lateral trasero: 14.6x2cm
o Frontis: 14.6x2.3cm
Pega todas las piezas a los bordes del fondo y déjalas secar aparte.
Paint

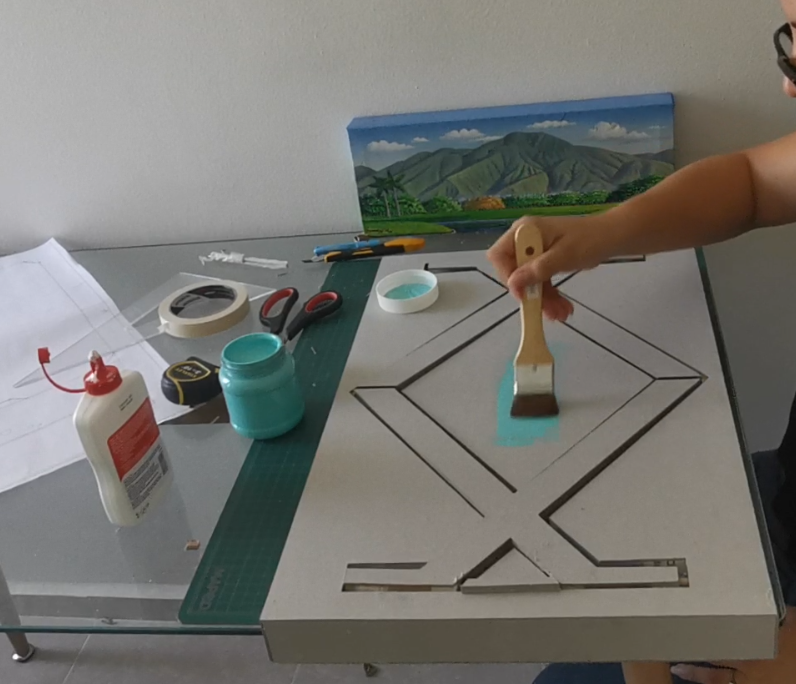
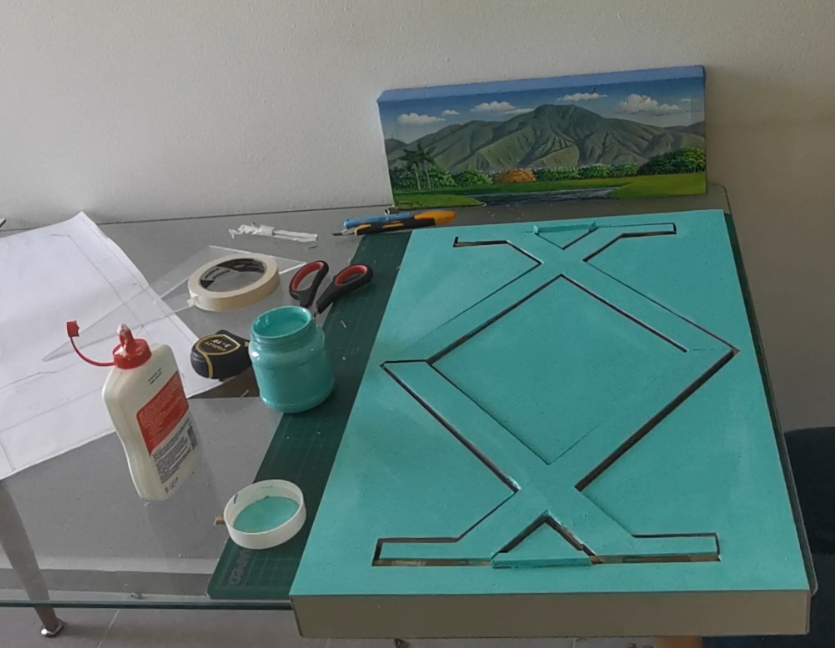


Paint all the surface with your favorite color, I painted mine with turquoise acrylic paint. Is important to don’t use a paint with a really moist consistency, also you shouldn’t use a wet brush to paint, try to use a dry brush directly to the paint, because we all know what happens to cardboard when it gets wet.
------------------------------------------------------------------------------------------------------------------------------
ESPAÑOL
Pinta toda la superficie con tu color favorito, en este caso yo usé pintura acrílica color turquesa, es importante que no uses una pintura que vaya a humedecer mucho el cartón, porque todos sabemos que le pasa al cartón cuando se moja. También recuerda no humedecer tu brocha, usa una brocha seca.
Tensor


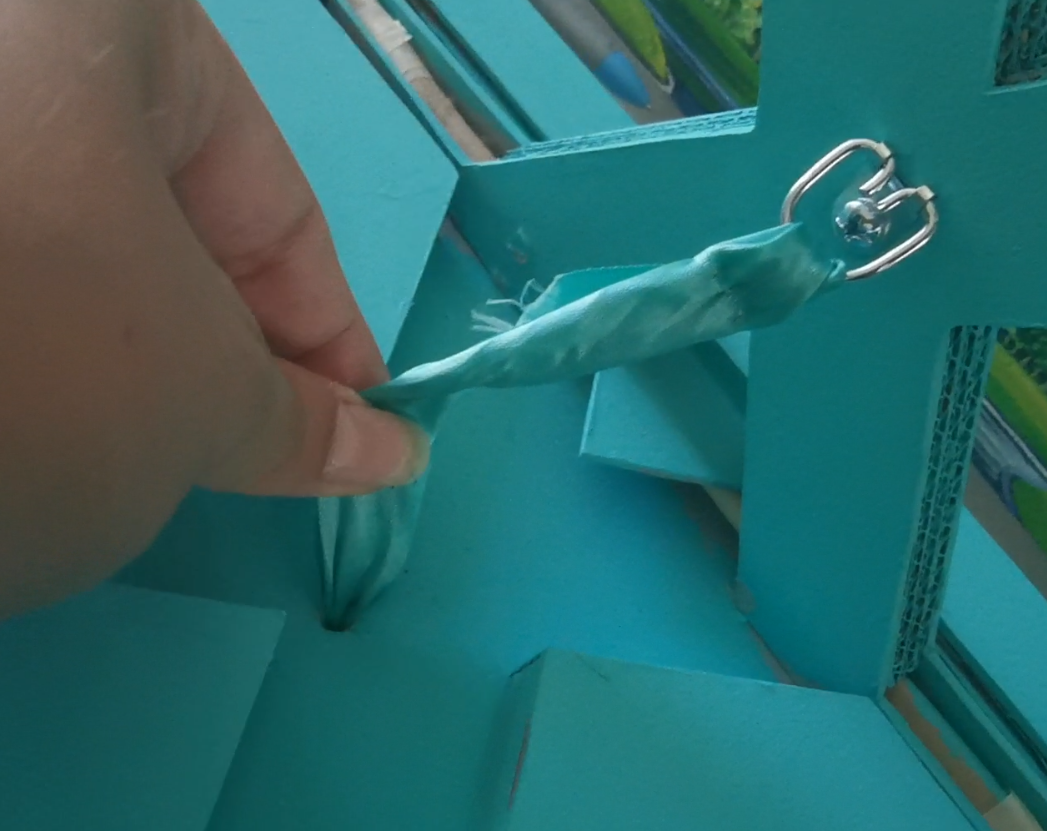
Well my Stoppers didn’t work as I planned so in the thicker side (the side with the drawer), I used one for the leg and another in the middle of the leg's recess, then I measure the length I wanted for the ribbon and hand saw it in place.
For the cooler pad side, I put one hanger on the leg but in the inside of the leg's recess I had to make a hole, insert the ribbon and make a knot on the other side (the Cooler pad recess). Then I measure the length I wanted for the ribbon and hand saw it in place just like the other side.
Also, I added some double-sided tape to a Velcro strip and pasted them in the bottom of two legs and in the mid layer lid so the legs wouldn’t open freely. Of course, I did this before I painted it but I recommend to do it after you paint it.
-------------------------------------------------------------------------------------------------------------------------------
ESPAÑOL
Tensores: Como me di cuenta que mis topes no eran suficientes para que la mesa no tambaleara usé una cinta con los D-Hangers para generar unos tensores. Coloqué primero los hanger uno en cada pata y uno en el lado derecho ya que en el lado izquierdo daba directamente al área donde se posa mi ventilador y no podía colocarlo, así que en este lado hice un hueco y pasé la cinta y le dejé un nudito. Para el otro lado, medí la cinta y cosí a mano en el sitio.
También le agregué velcro con cinta doble fas a ambas patas para que se mantuvieran cerradas. Esto lo hice antes de pintarlas, pero recomiendo hacerlo después.
Details
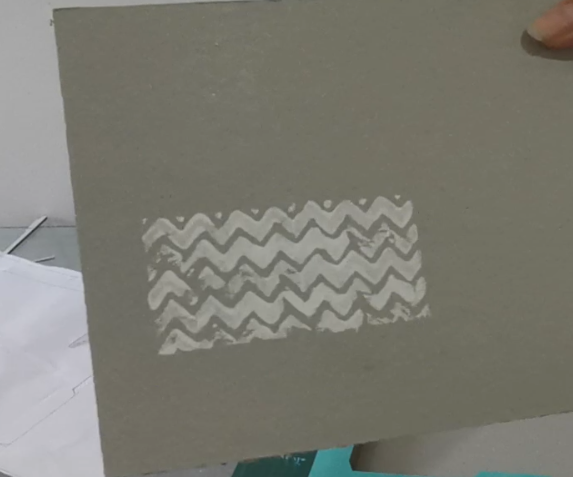
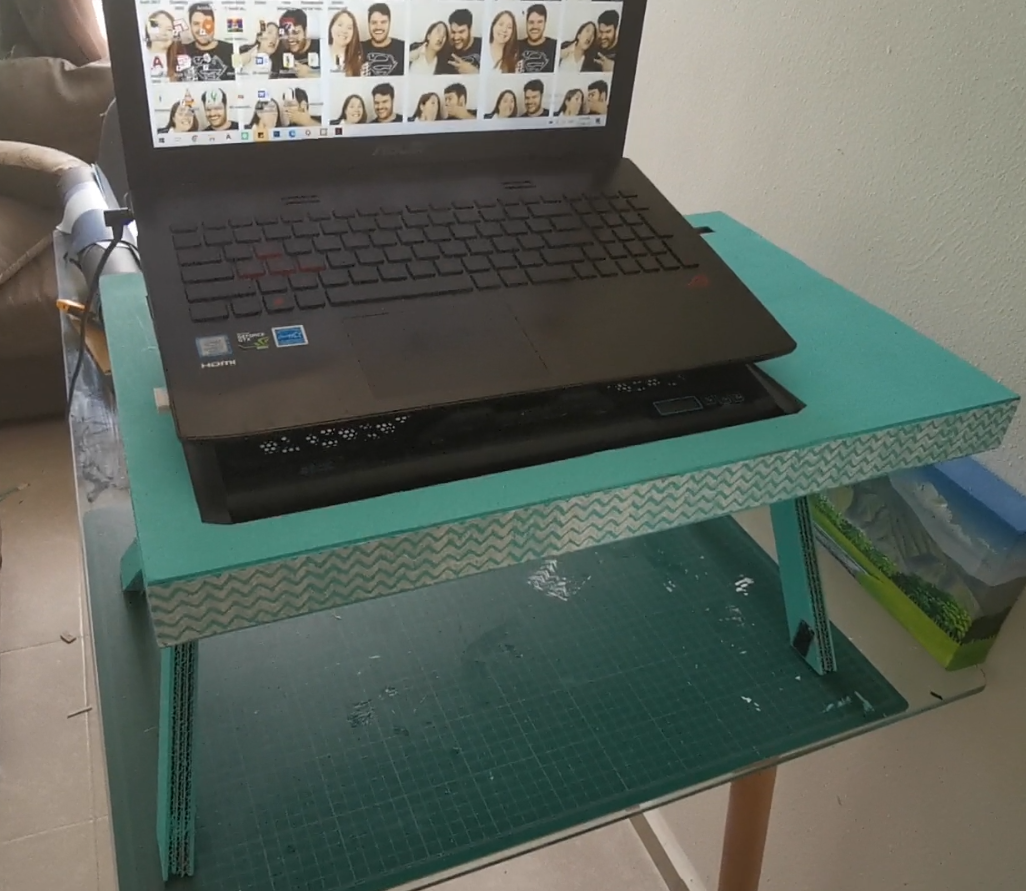


Fort he decoration of the edges I used an Old stamp I had with white acrylic paint and I stamp it all over the edges so I would have that rustic finish that I really like.
For the mouse pad detail, I did it because I found out that my mouse didn’t work in a painted cardboard, so I grabbed a bunch of scrap paperboard I had and choose one I like and would work. Then I cut a piece of 25.5x13.1cm and pasted it with silicon glue this time because decorative paper is more sensitive to moist. Is important to use just a little of silicone so the paperboard would not deform.
------------------------------------------------------------------------------------------------------------------------------
ESPAÑOL
Detalles: Para el detalle alrededor de las tapas laterales usé un stamp que tenía desde hace tiempo y con pintura acrílica lo fui estampando por todo el bordé, al final quedó un poco rústico, pero así me gusta.
Para el detalle del mousepad, me di cuenta que mi mouse no funcionaba directamente al cartón pintado, a pesar de que sí funciona con el cartón sin pintura), así que busqué retazos de cartulina que tenía en la casa y seleccioné uno en el que funcionara así que corté un pedazo de 25.5x13.1 y lo pegué esta vez con silicon frío ya que este humedece muy poco la cartulina, lo que sí es importante es echarle muy poco para que la cartulina no se doble o se deforme.
Credits

Thank you so much for seeing my tutorial! Please leave a comment.
Credits:
- Wooden Image Designed by rawpixel.com / Freepik
- Crying Emoji designed by Freepik from Flaticon