Cardboard Desk Lamp
by PenfoldPlant in Workshop > Laser Cutting
124444 Views, 760 Favorites, 0 Comments
Cardboard Desk Lamp
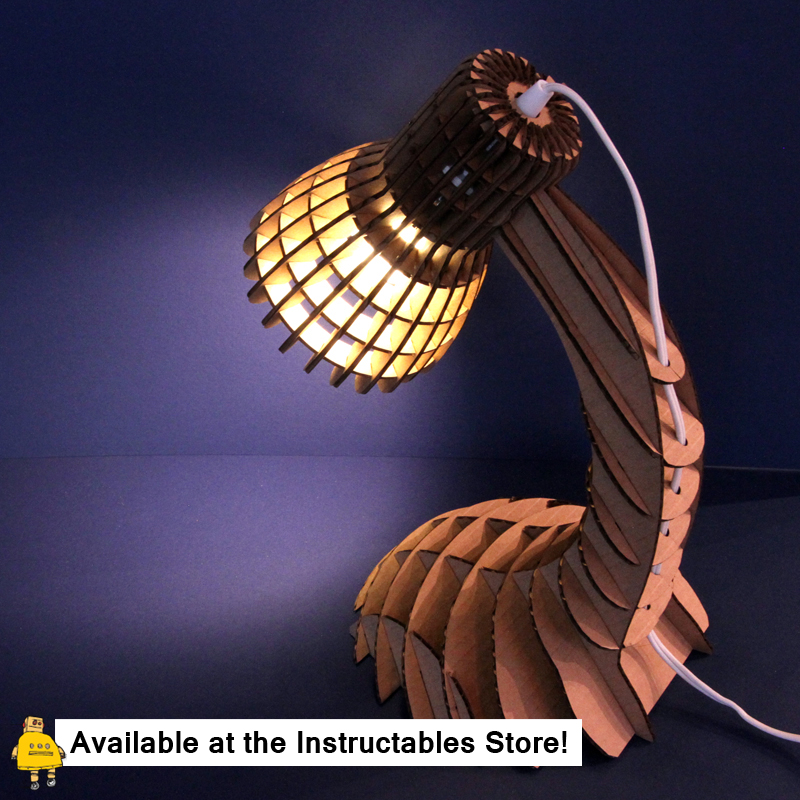
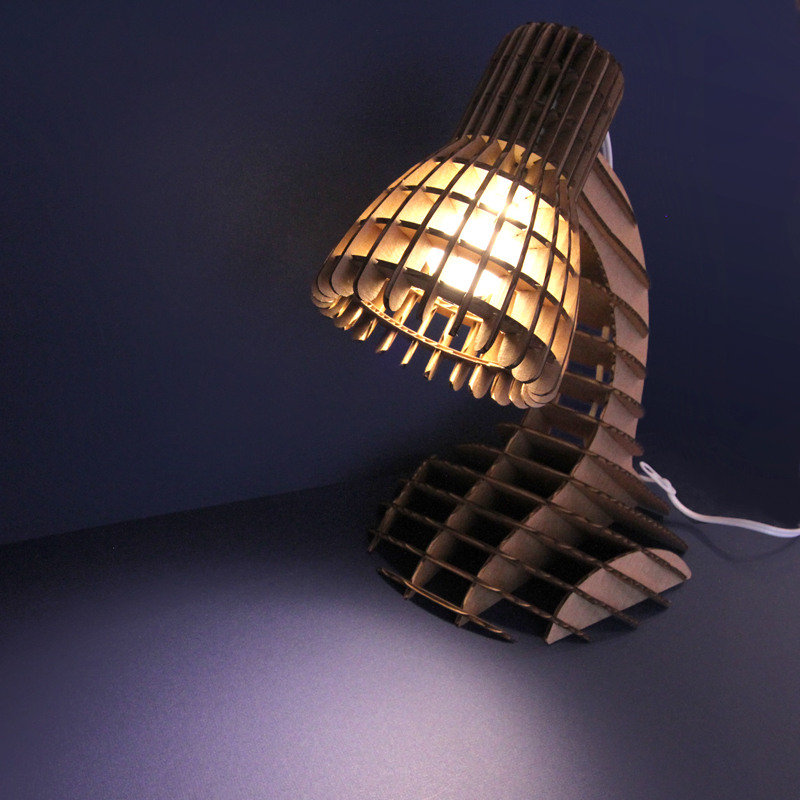
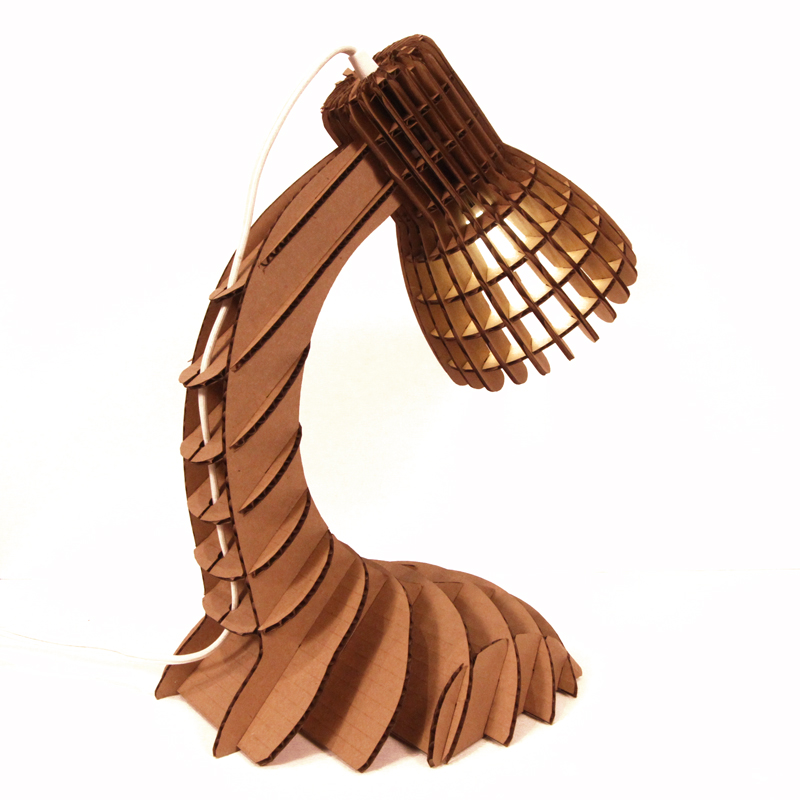
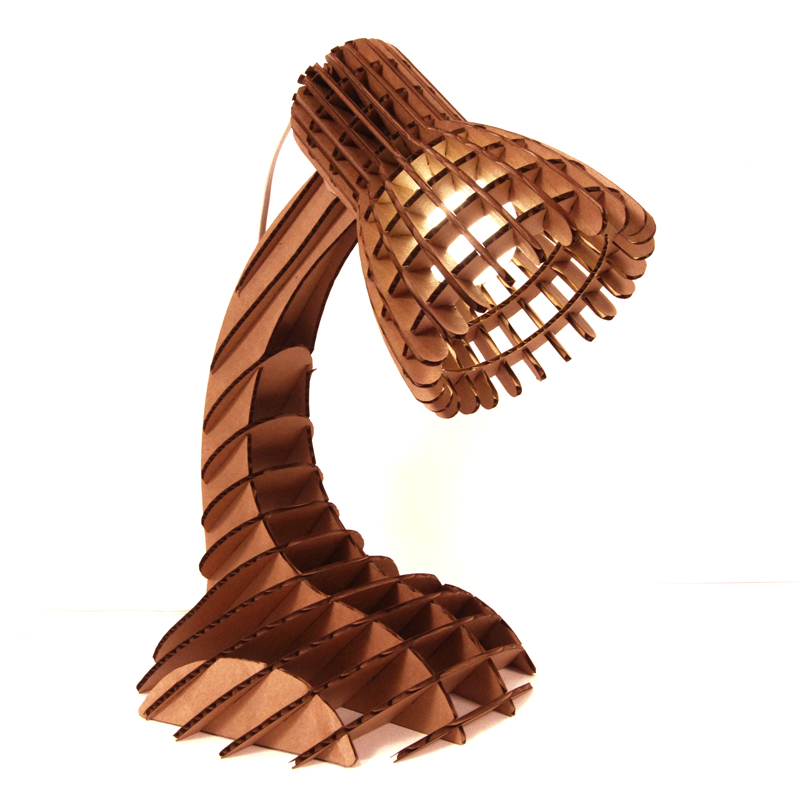
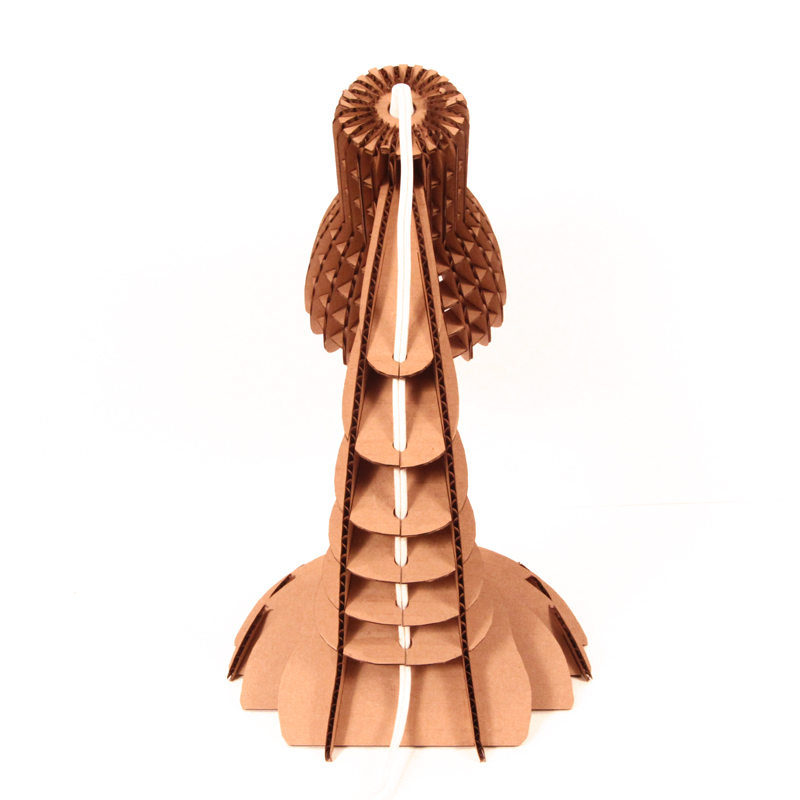
I originally designed this lamp to go on my own desk in the Instructables Lab, but due to popular demand I've had to make a few more. It's now available on the Instructables Store. I hope you like it!
I designed the lamp using Autodesk 123D and Autodesk 123D Make, then cut the parts using a laser cutter.
Here's how it all fits together:
Designing the Lamp Model
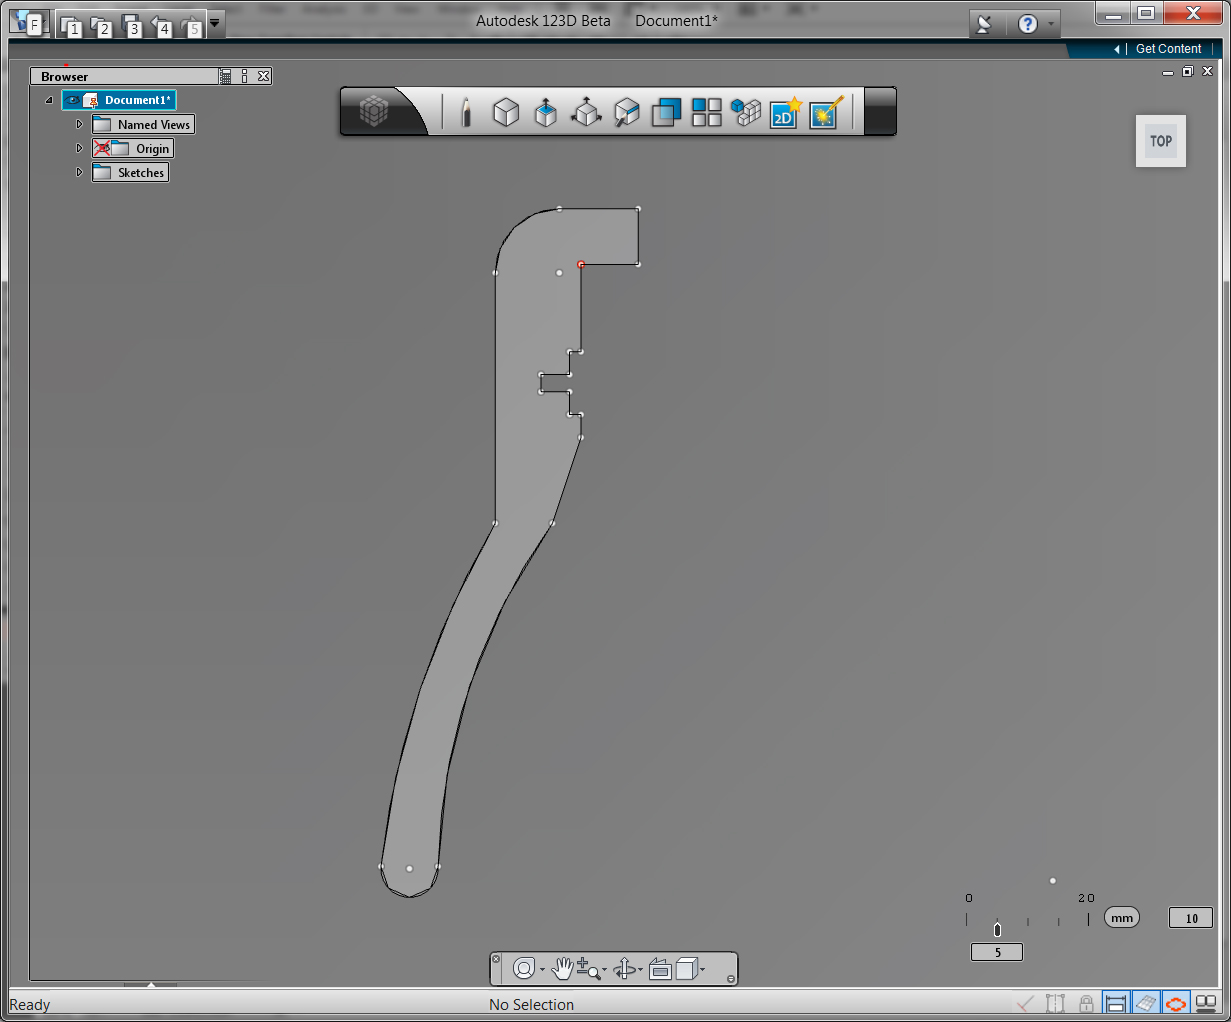
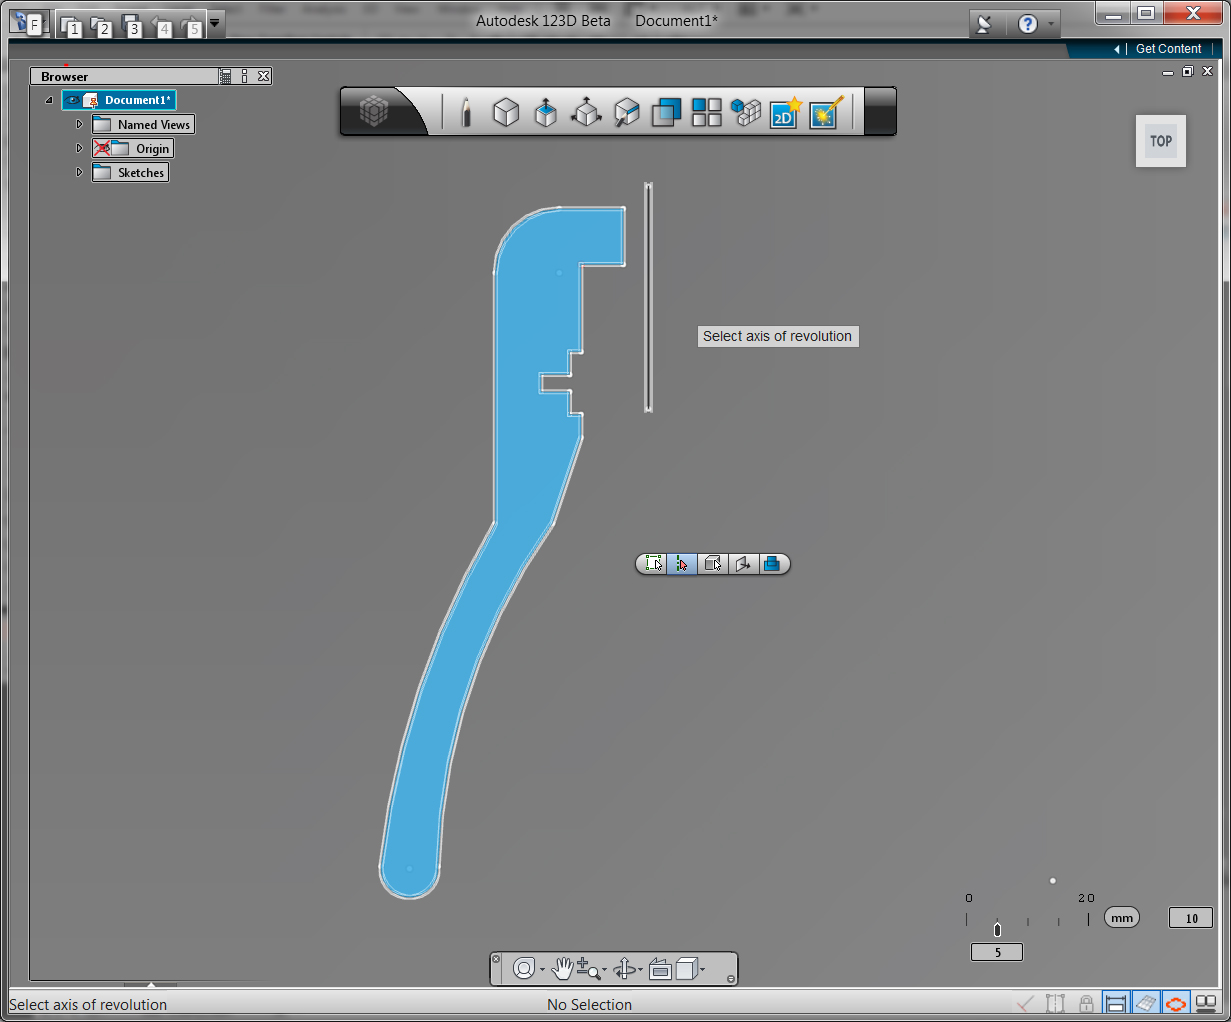
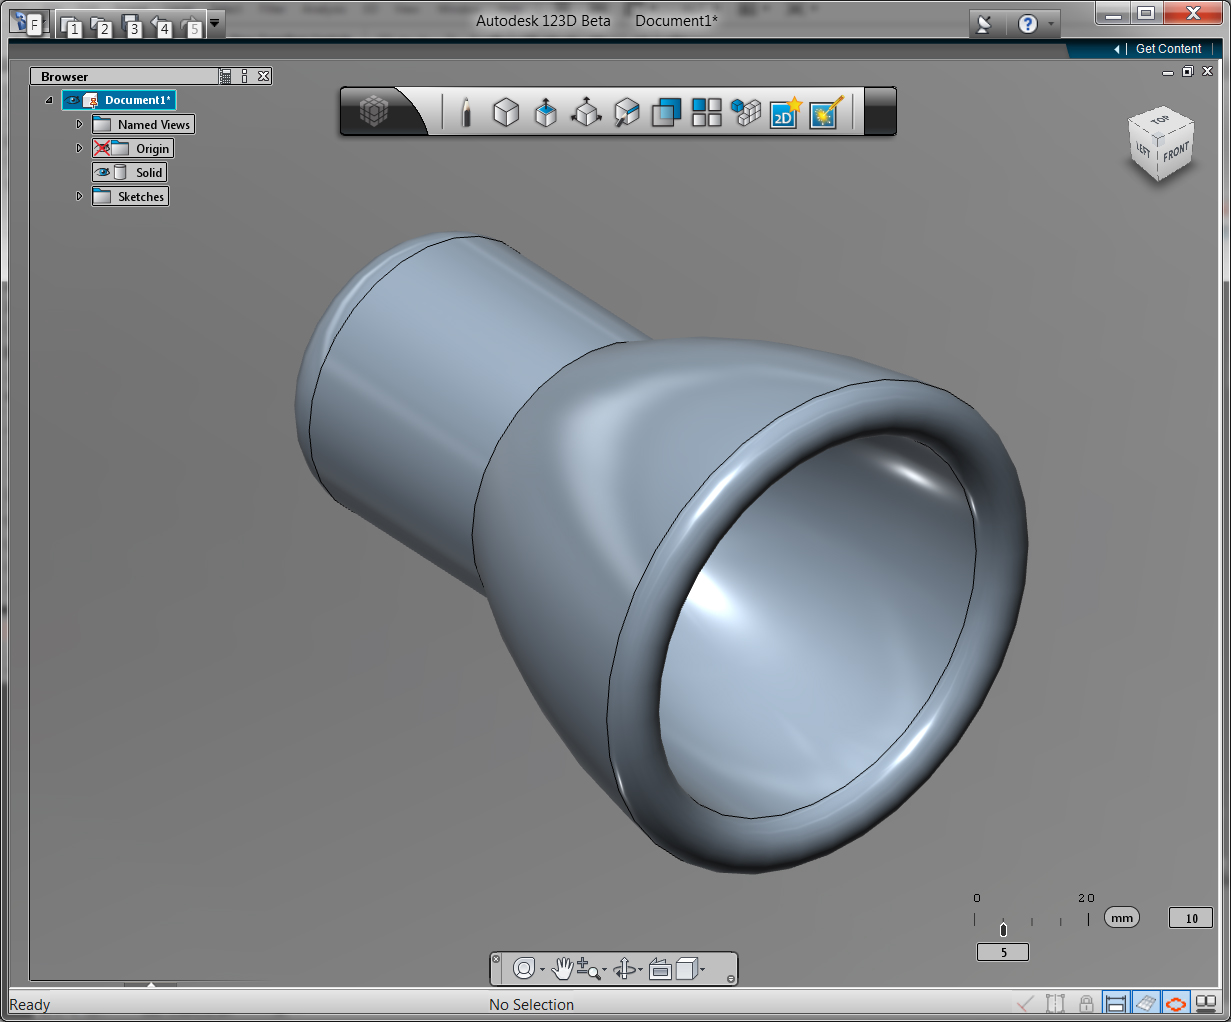
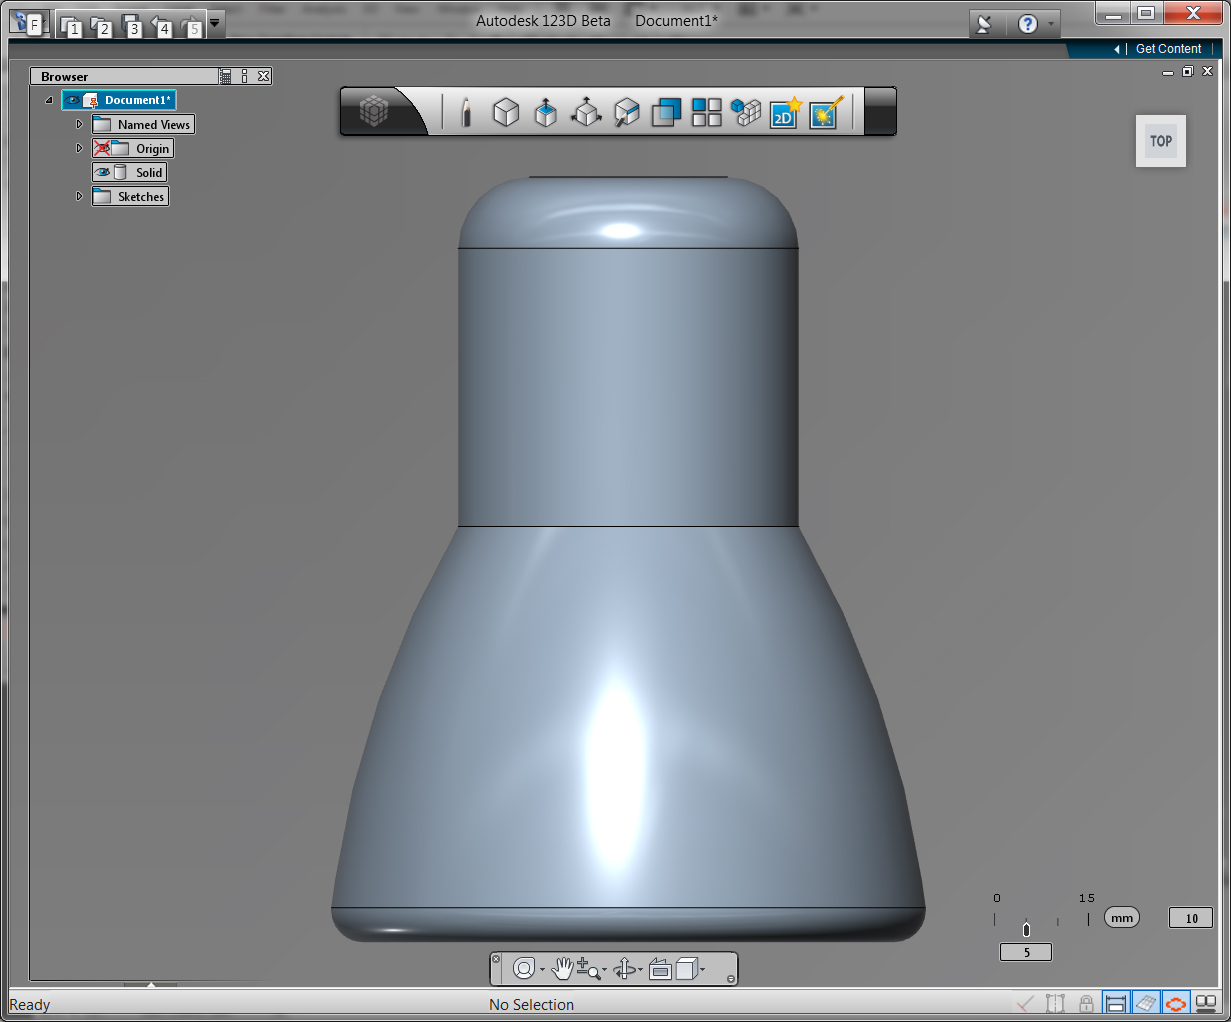
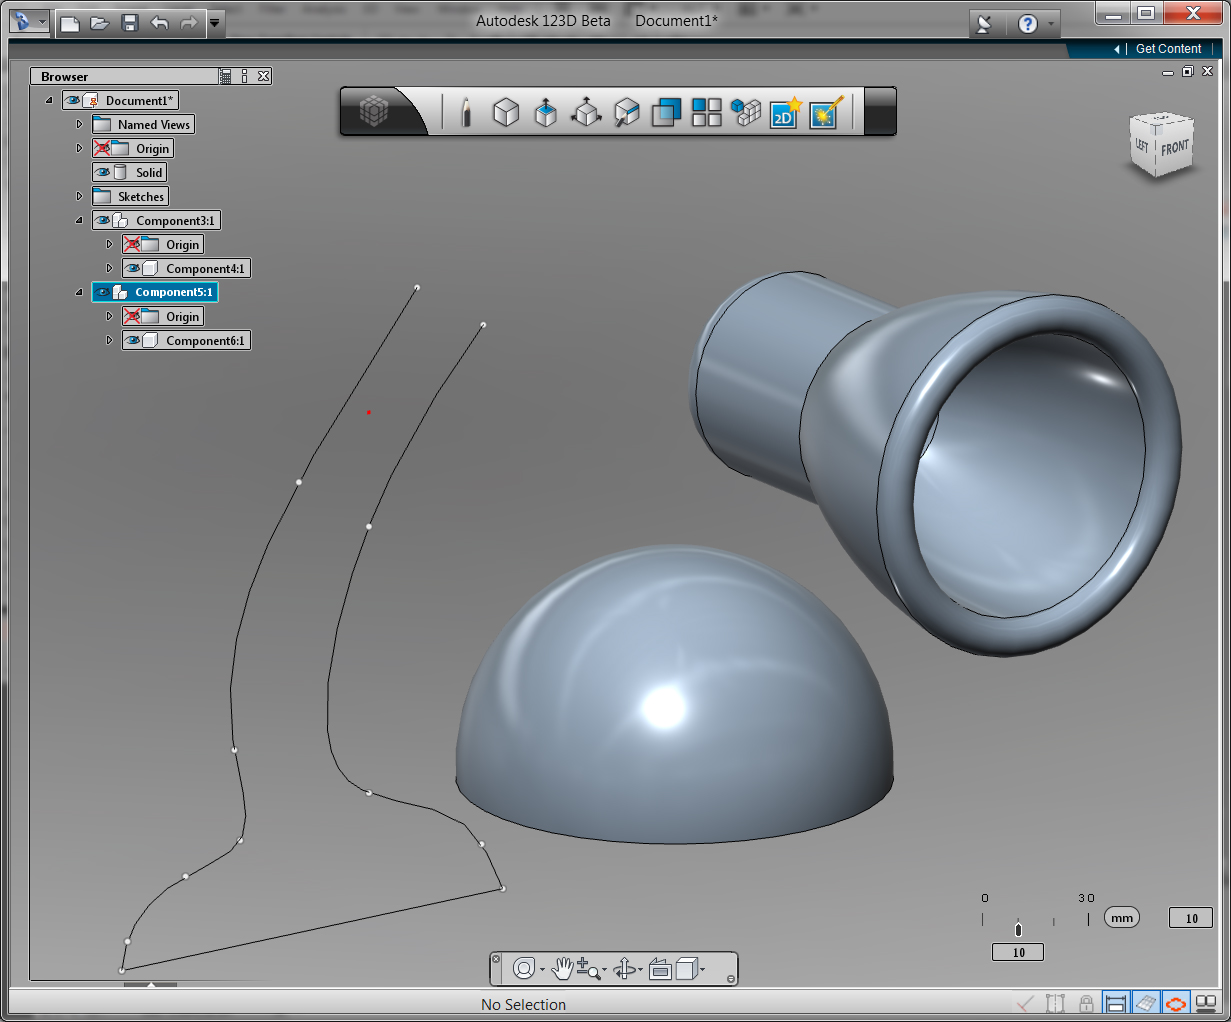
I started by designing a 3D model of the lamp using Autodesk 123D, which is freely available online.
To make a cross section of the lampshade, I used the Draw tool and the 3-Point Arc tool. Notice the grooves on the inside of the lamp; they're carefully sized to hold the electrical lamp components in place once the lamp is assembled. Everything else was just roughly estimated and tweaked as needed.
To turn the cross section into a 3D object, I used the Revolve tool. This tool spins a profile around an axis of your choice, producing an object with rotational symmetry.
I made the stand using a combination of hand-drawn splines and hemispheres, adjusting it until it looked sufficiently lampy. At the time of writing, Autodesk has not yet included a tool for accurately measuring the lampiness of a 3D model, so I had to judge that entirely by eye.
I joined the two parts together using the Combine tool (set to Join mode), then exported the object as an STL file. I've included the STL file here, with 1 STL unit equal to 1 human inch.
Downloads
Slicing the Lamp in 123D Make
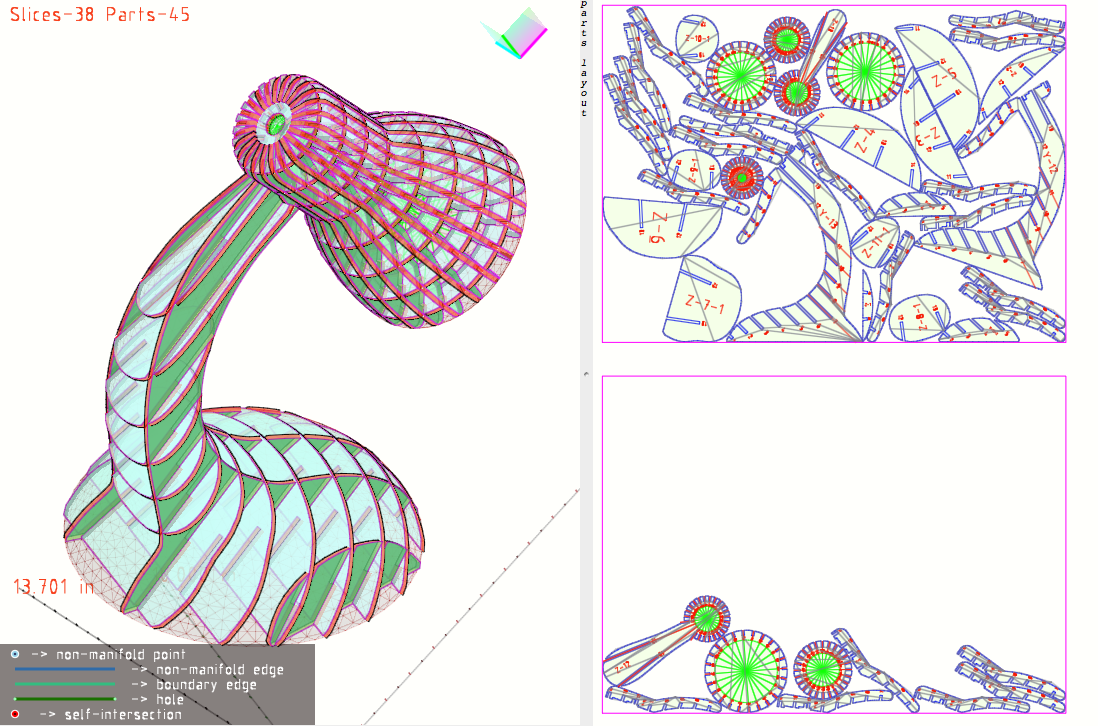
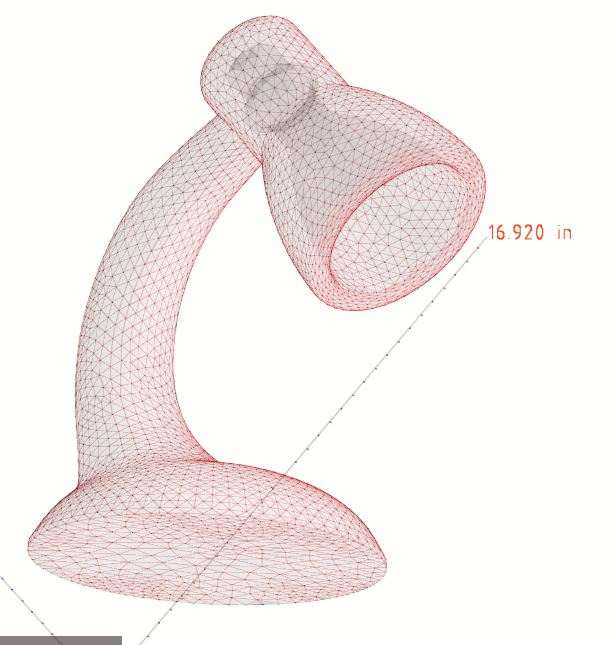
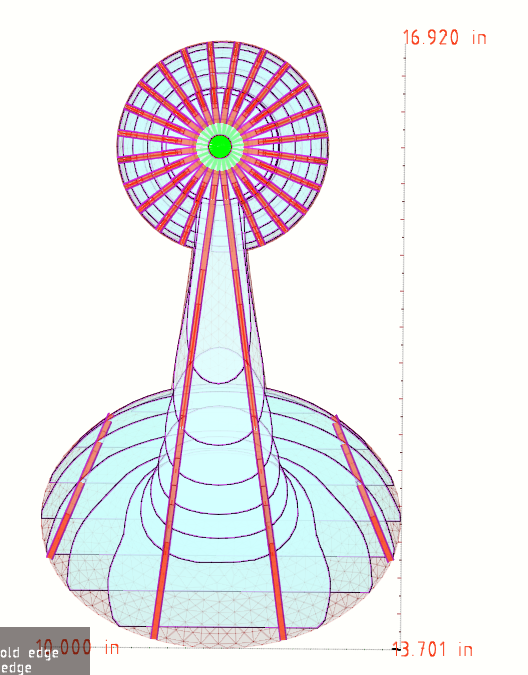
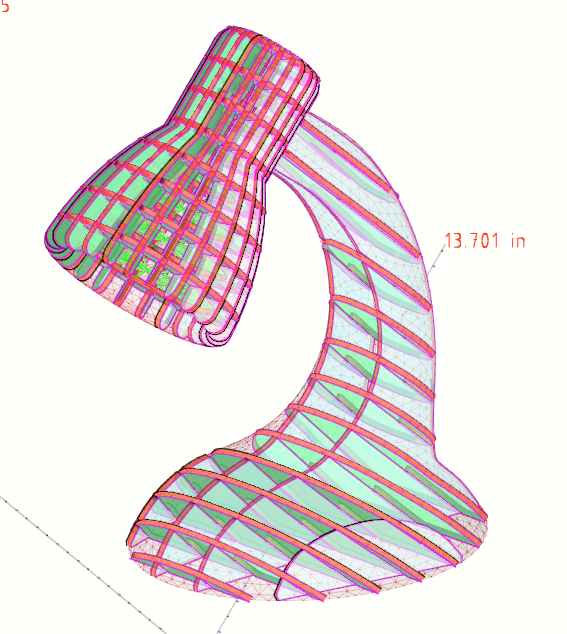
I used a preview build of 123D Make to deconstruct the 3D model into a series of radial slices.
In case you haven't heard me rave about it before, 123D Make is a free app that does one thing and it does it extremely well. It takes any 3D model you give it and quickly lets you convert it into 2D vectors that can be cut from sheet material. At the moment, the publicly available version only allows you to perform simple slicing and to create perpendicular interlocking waffles, but future releases will allow for radial slicing, surface paneling, complex joint-making and a large handful of other cool things. With a bit of luck, these updates will appear online within the next couple of months. Watch this space!
Once I'd adjusted the radial center of my grid to align with the center of the lampshade, I fiddled with the number of slices and the material thickness until I had something that could support its own weight when made from cardboard.
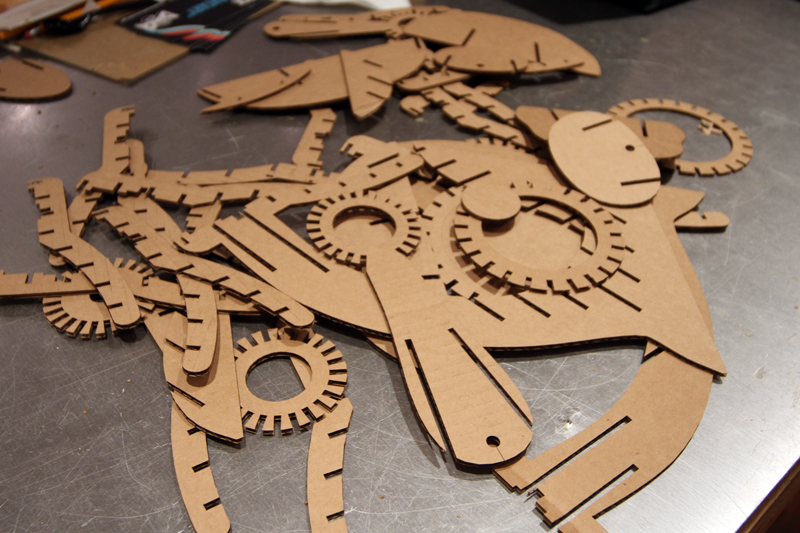
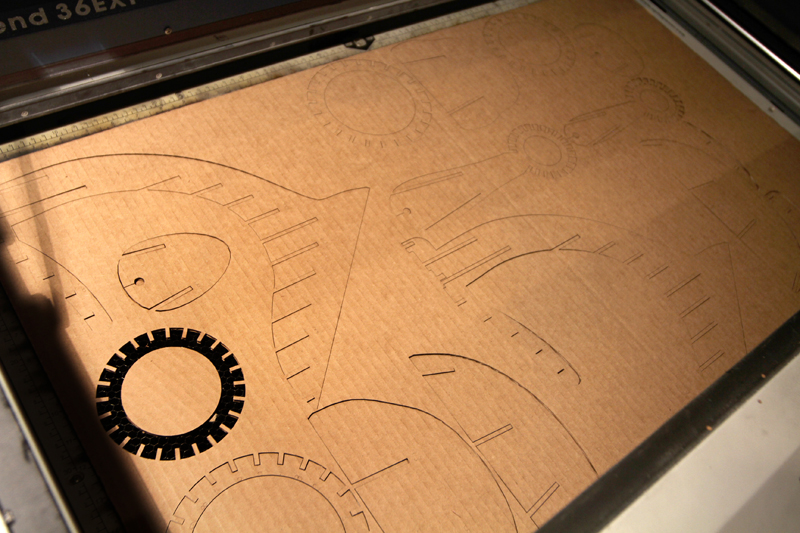
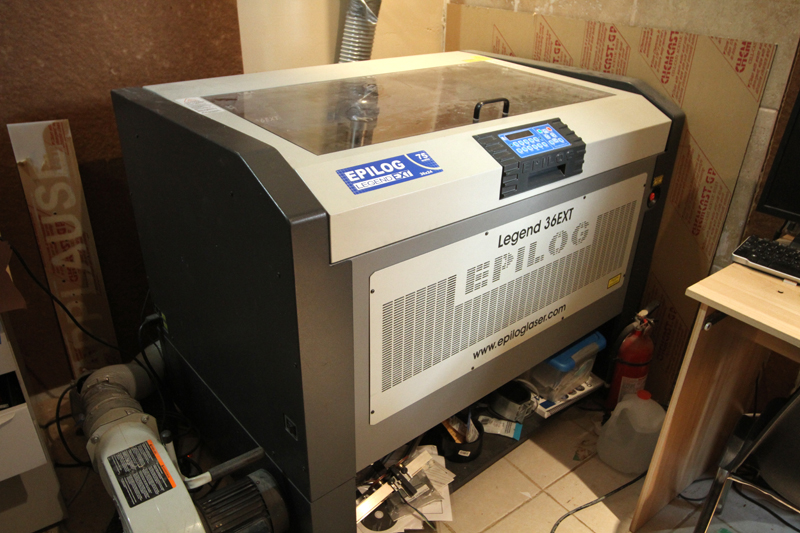
Laser Cutting the Parts
Assembling Around the Bulb Socket
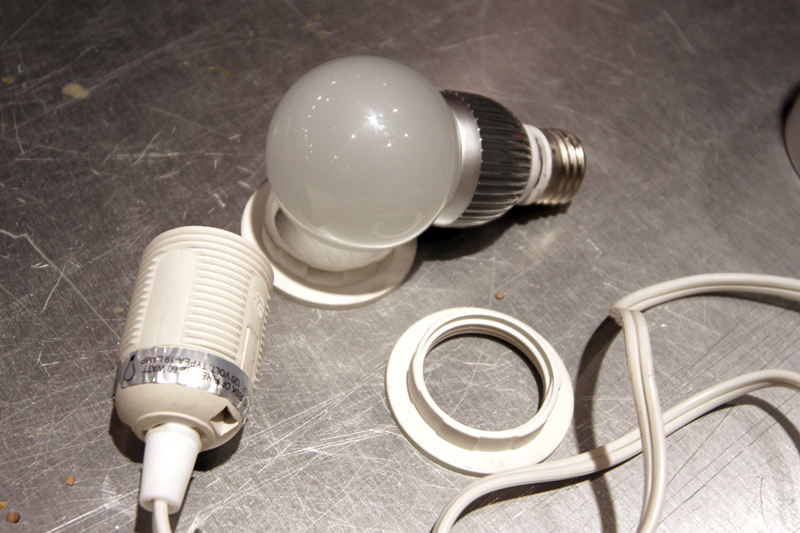
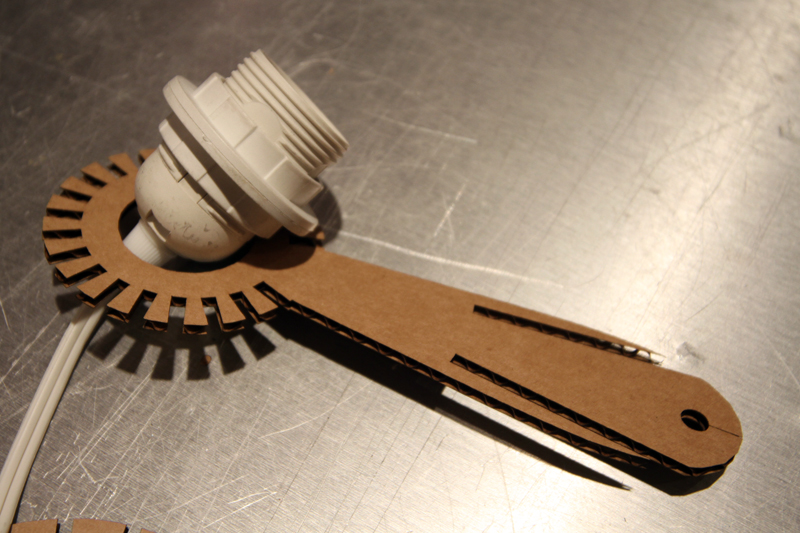
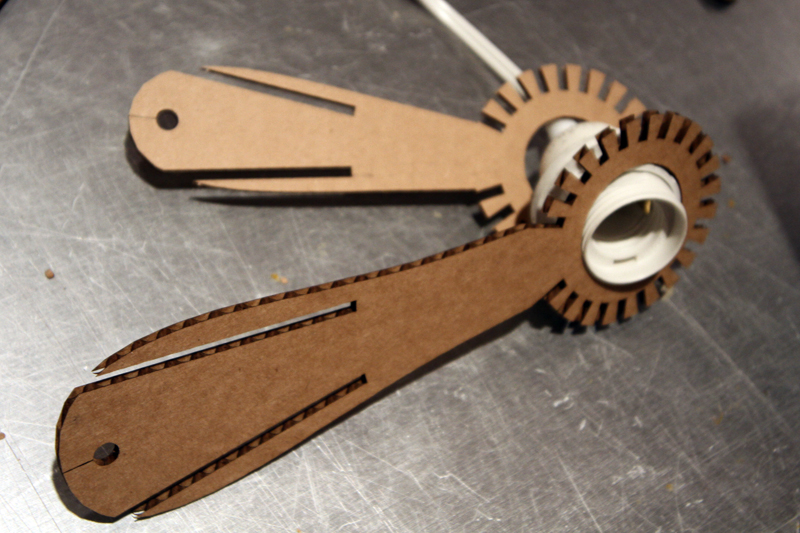
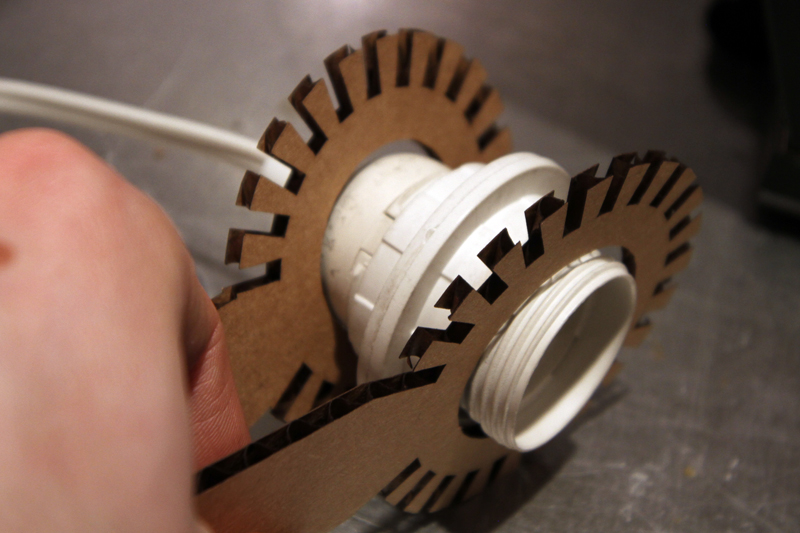
For my lamp, I started in the center of the lampshade and worked my way out, including the lighting fixture from the very beginning. I bought the lighting fixture pre-assembled at a local hardware store, so I didn't need to do any soldering or rewiring to get it to work safely.
Adding Structure
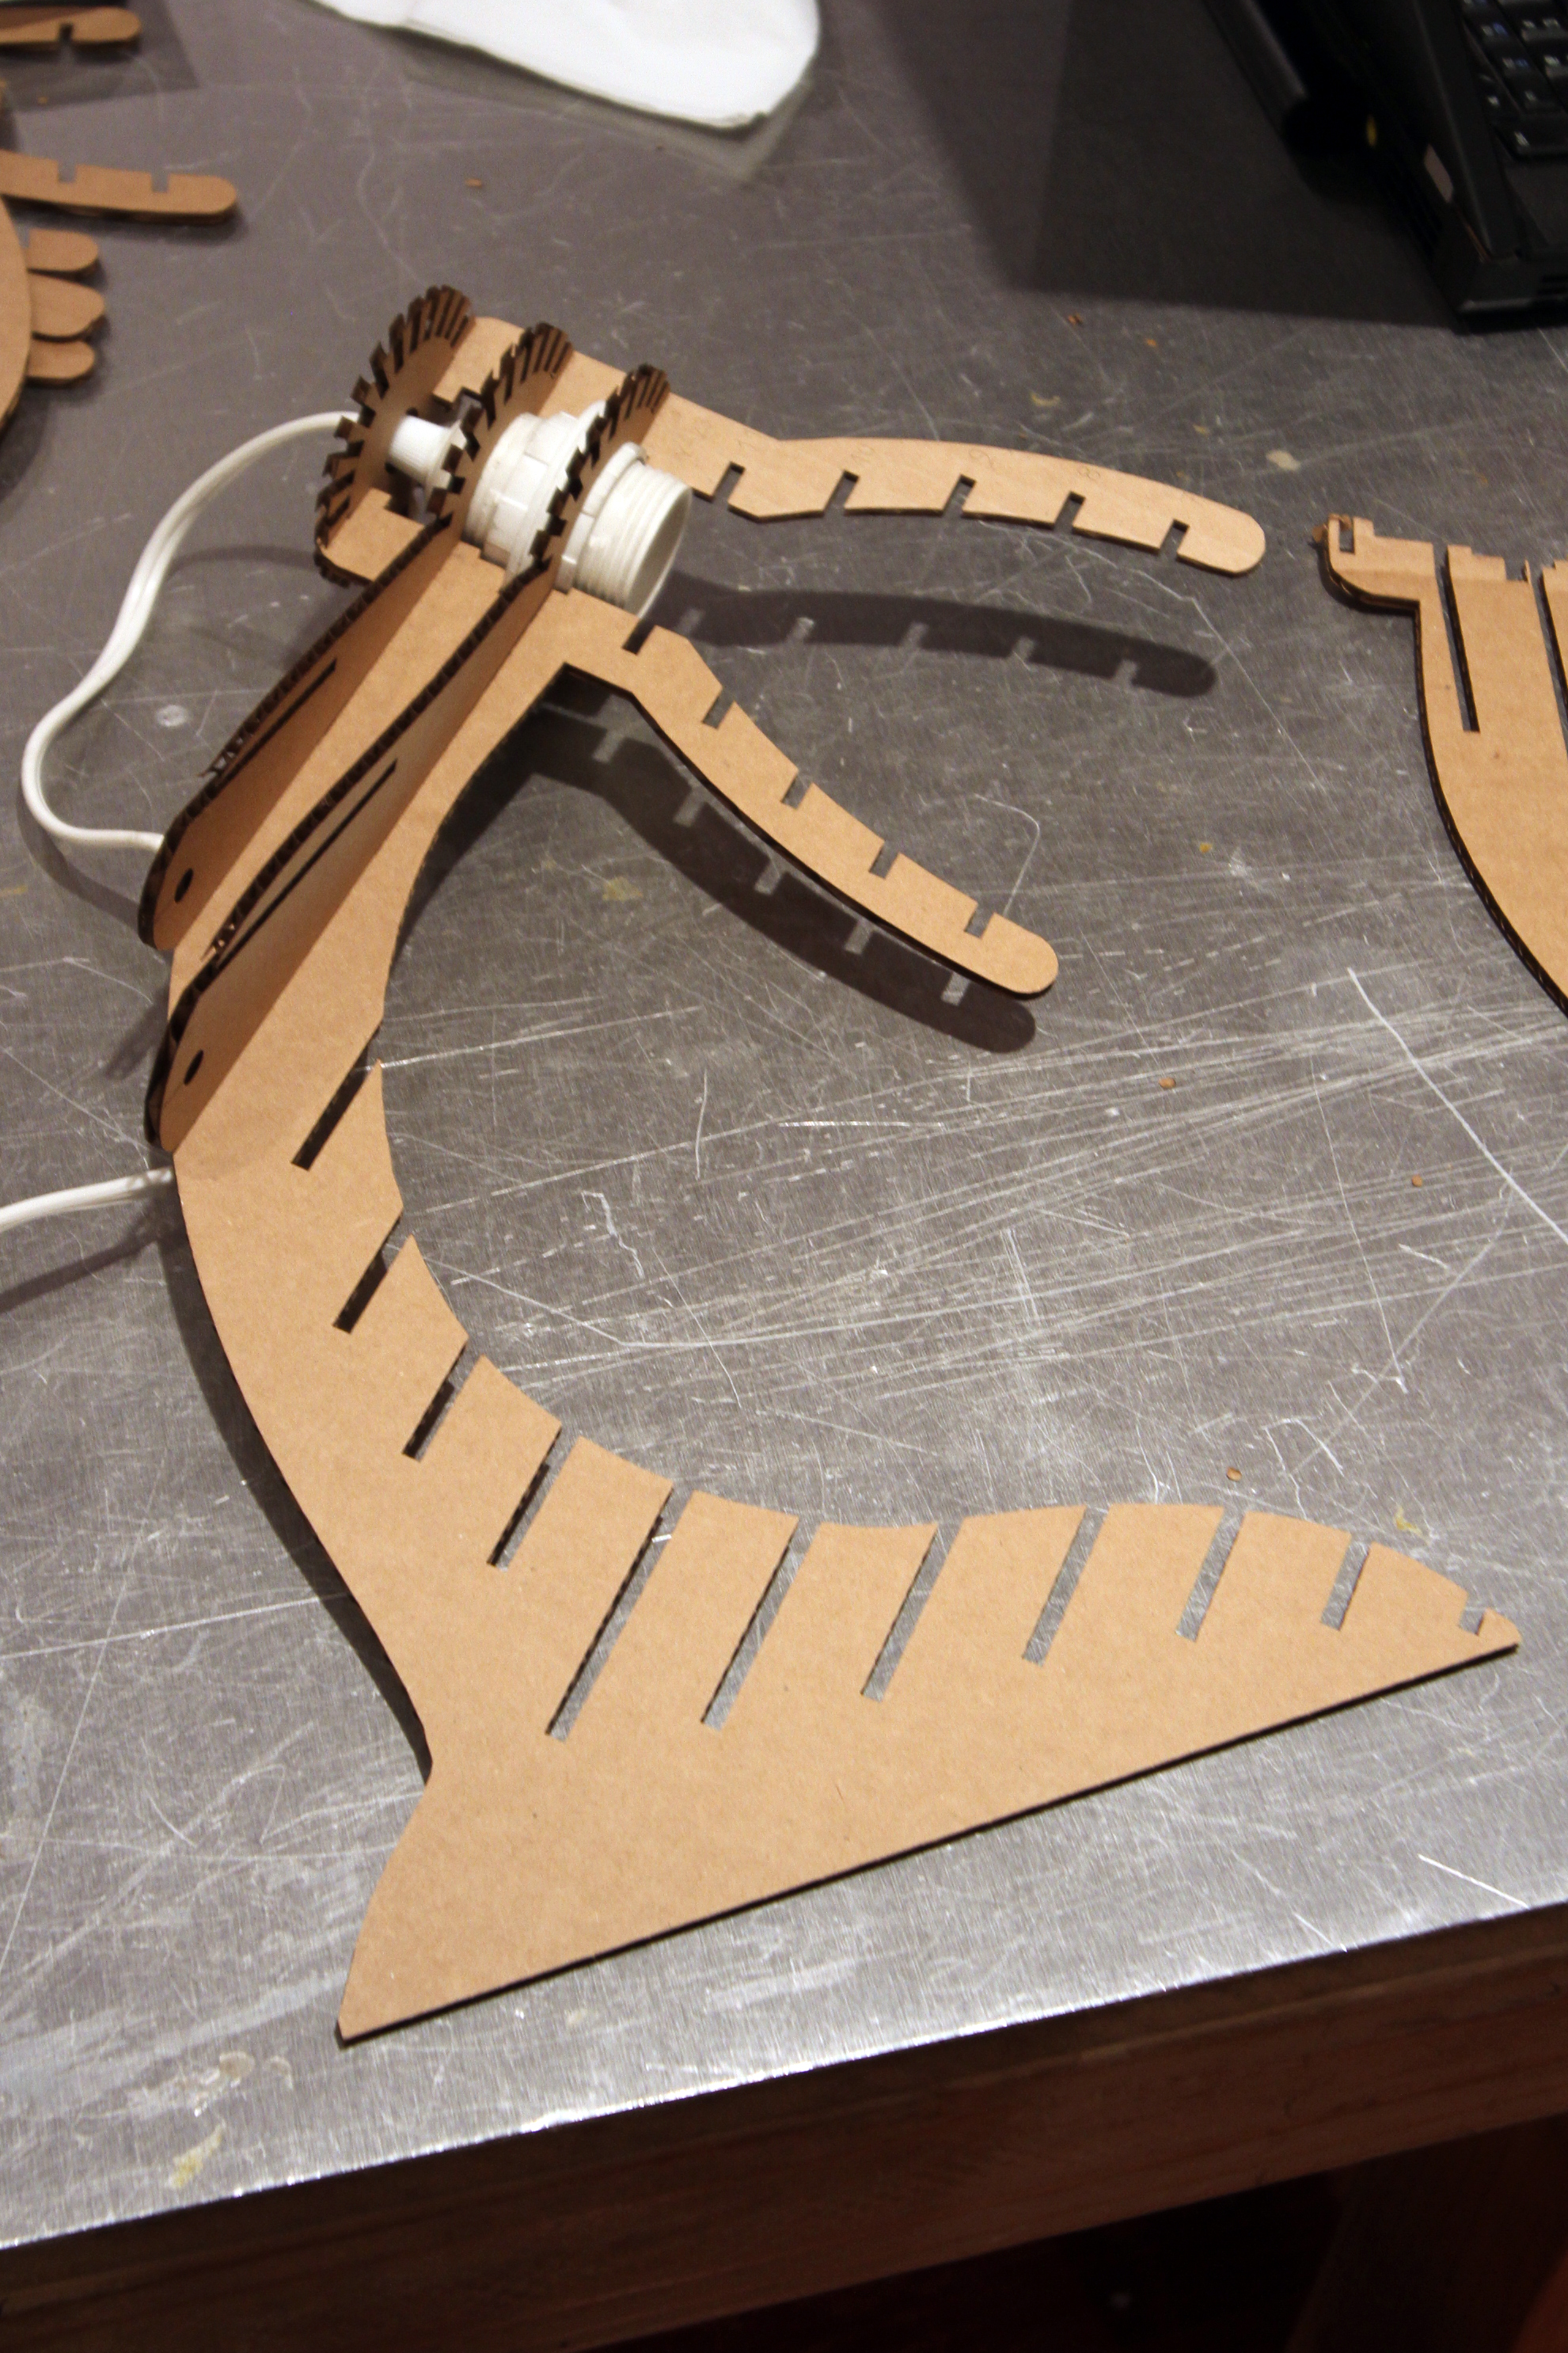
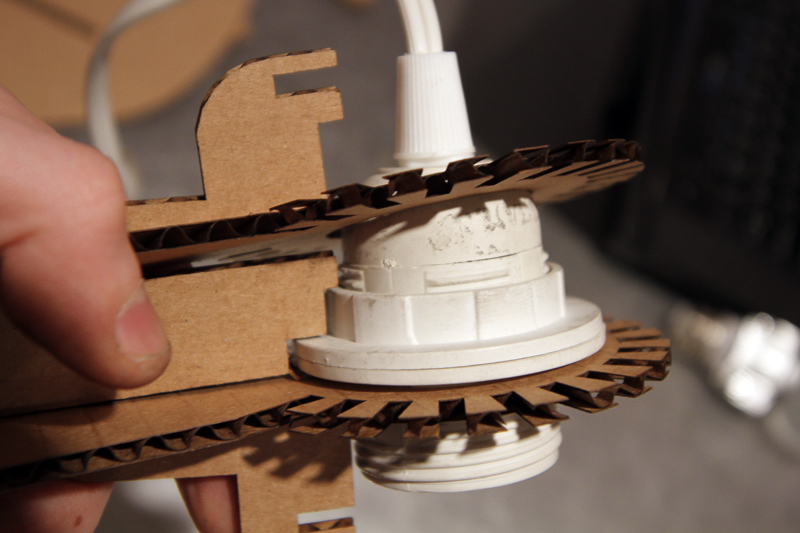
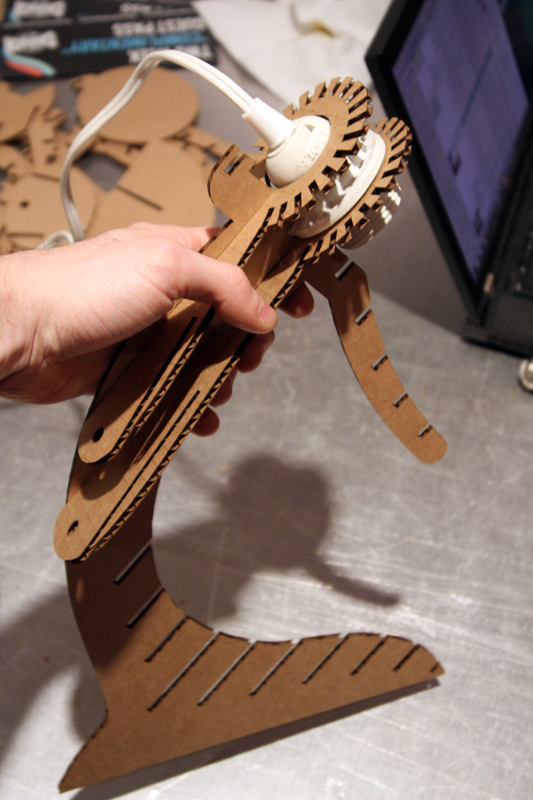
Look, it's already starting to resemble a lamp! I love it when you can see where a kit's going half-way through finishing it.
Testing With a Bulb
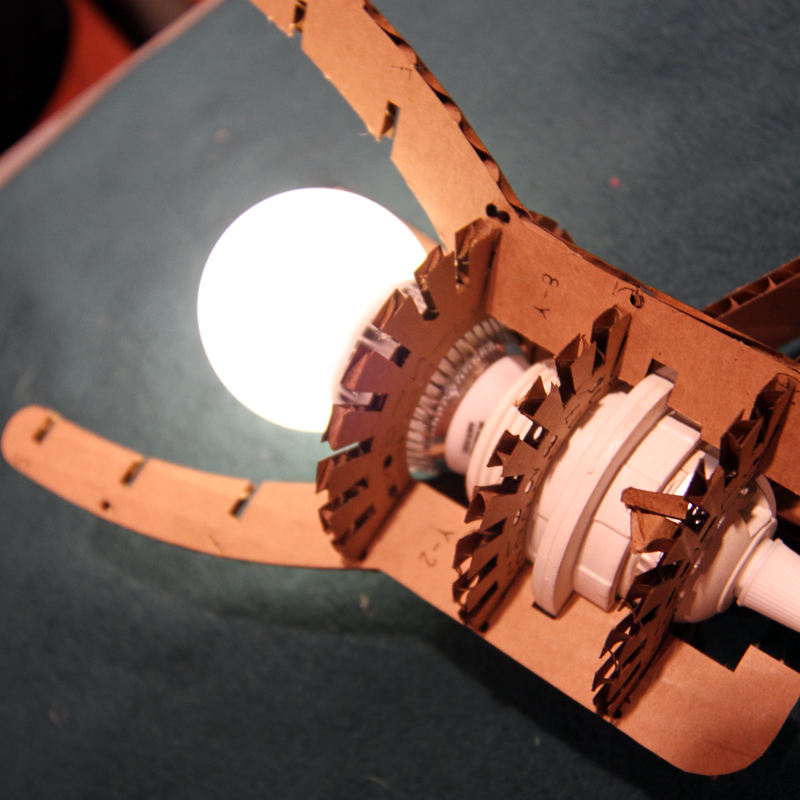
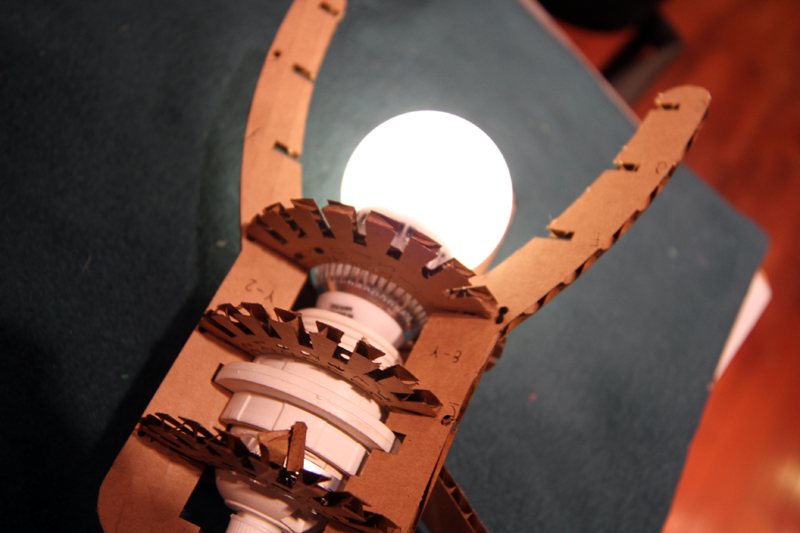
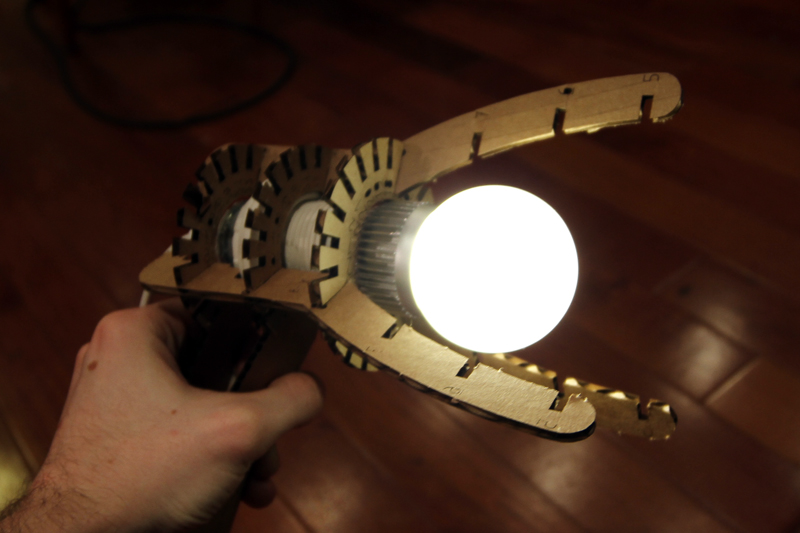
I connected an LED bulb and left it in place for a couple of hours, keeping an eye on it in case of unwanted conflagration (see above). I was pleased to find that the bulb stayed cool enough to handle and the cardboard showed no signs of singeing.
Adding Rings to the Shade
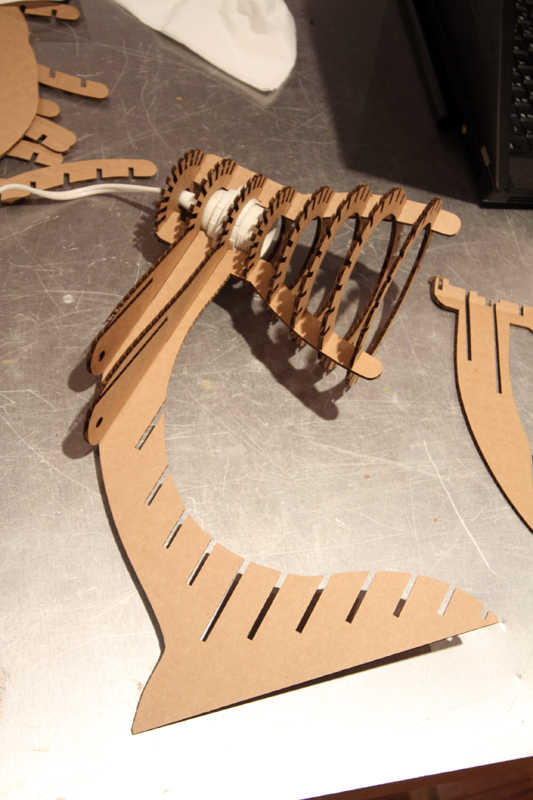
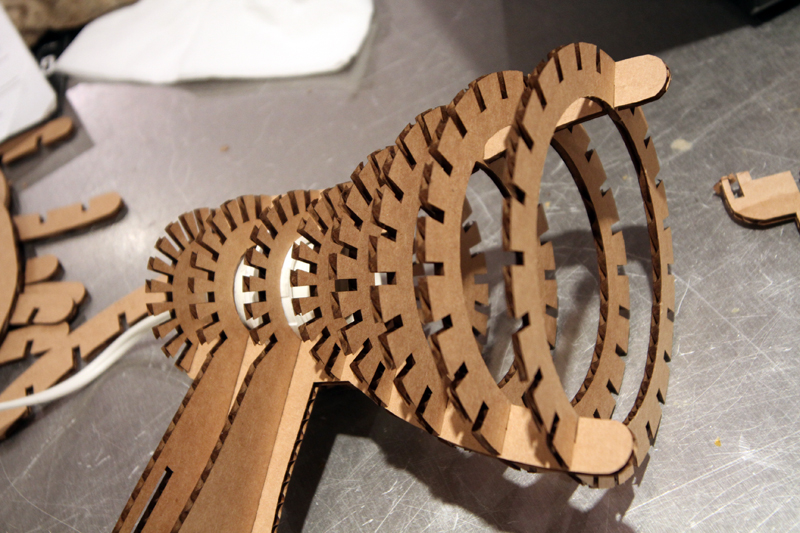
Completing the Assembly
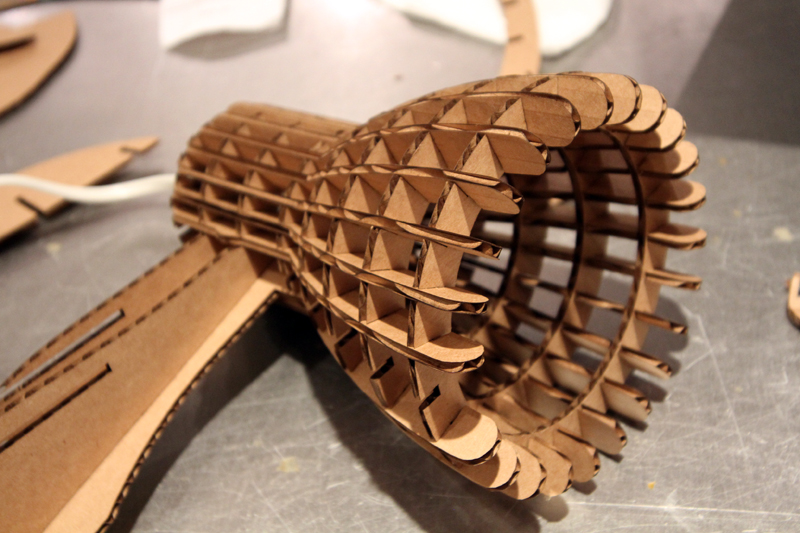
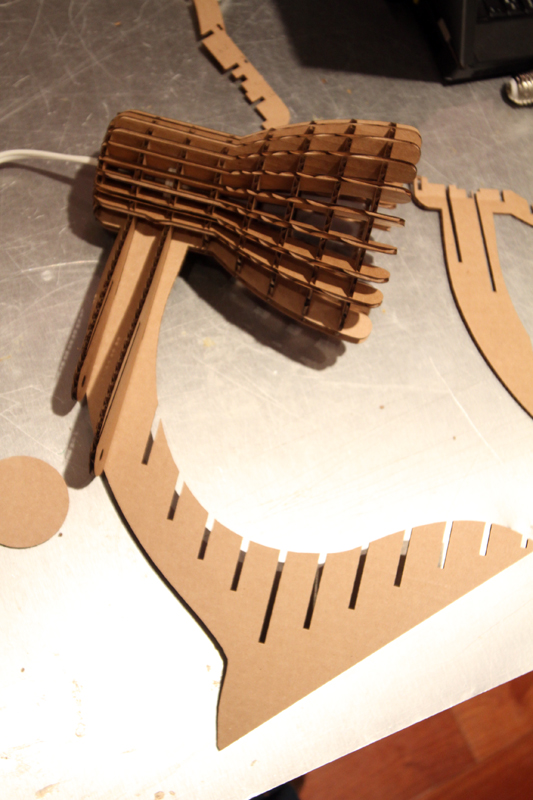
The Finished Lamp


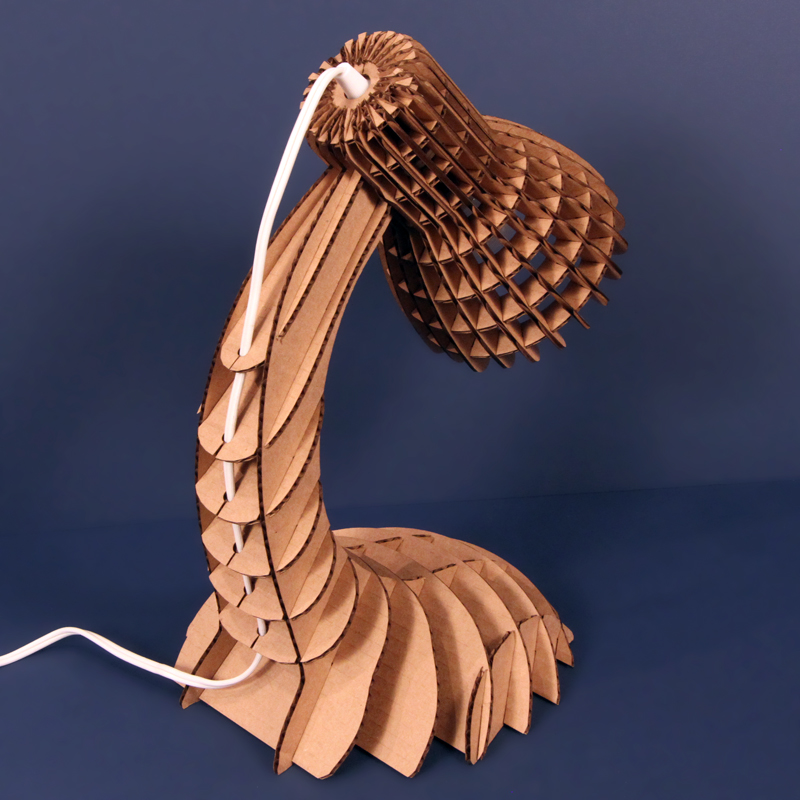
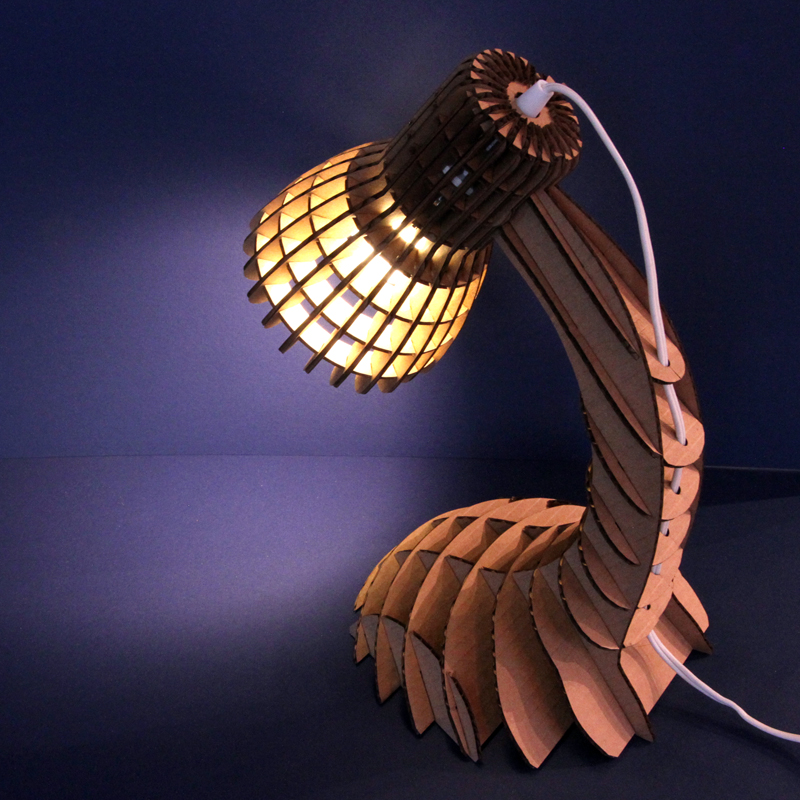

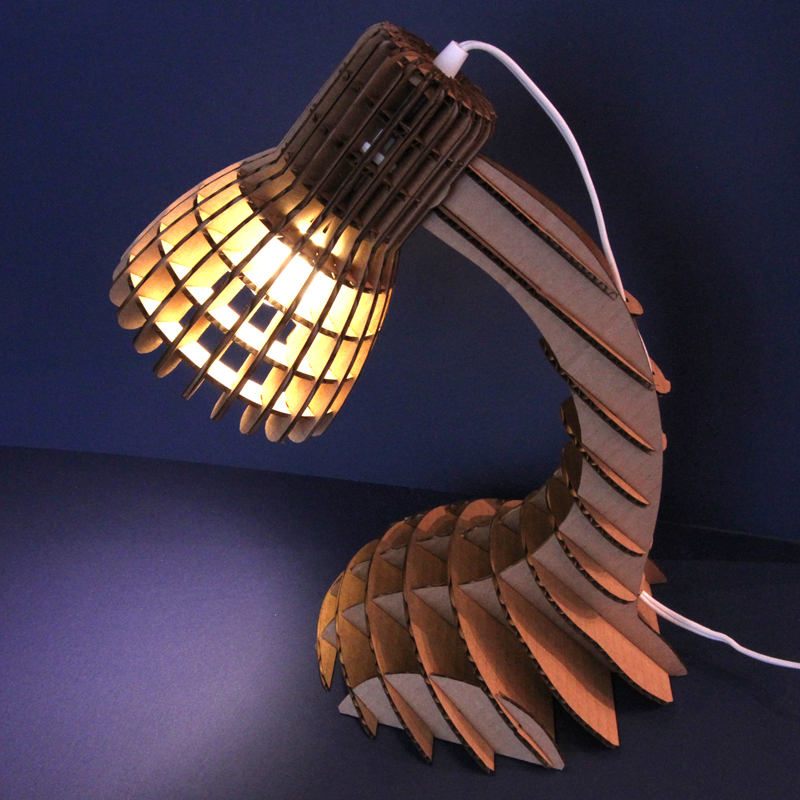
As mentioned before, you can now buy the lamp from the Instructables Store!