Car Rasing--Python Application
by Lan_Makerfabs in Circuits > Arduino
781 Views, 1 Favorites, 0 Comments
Car Rasing--Python Application
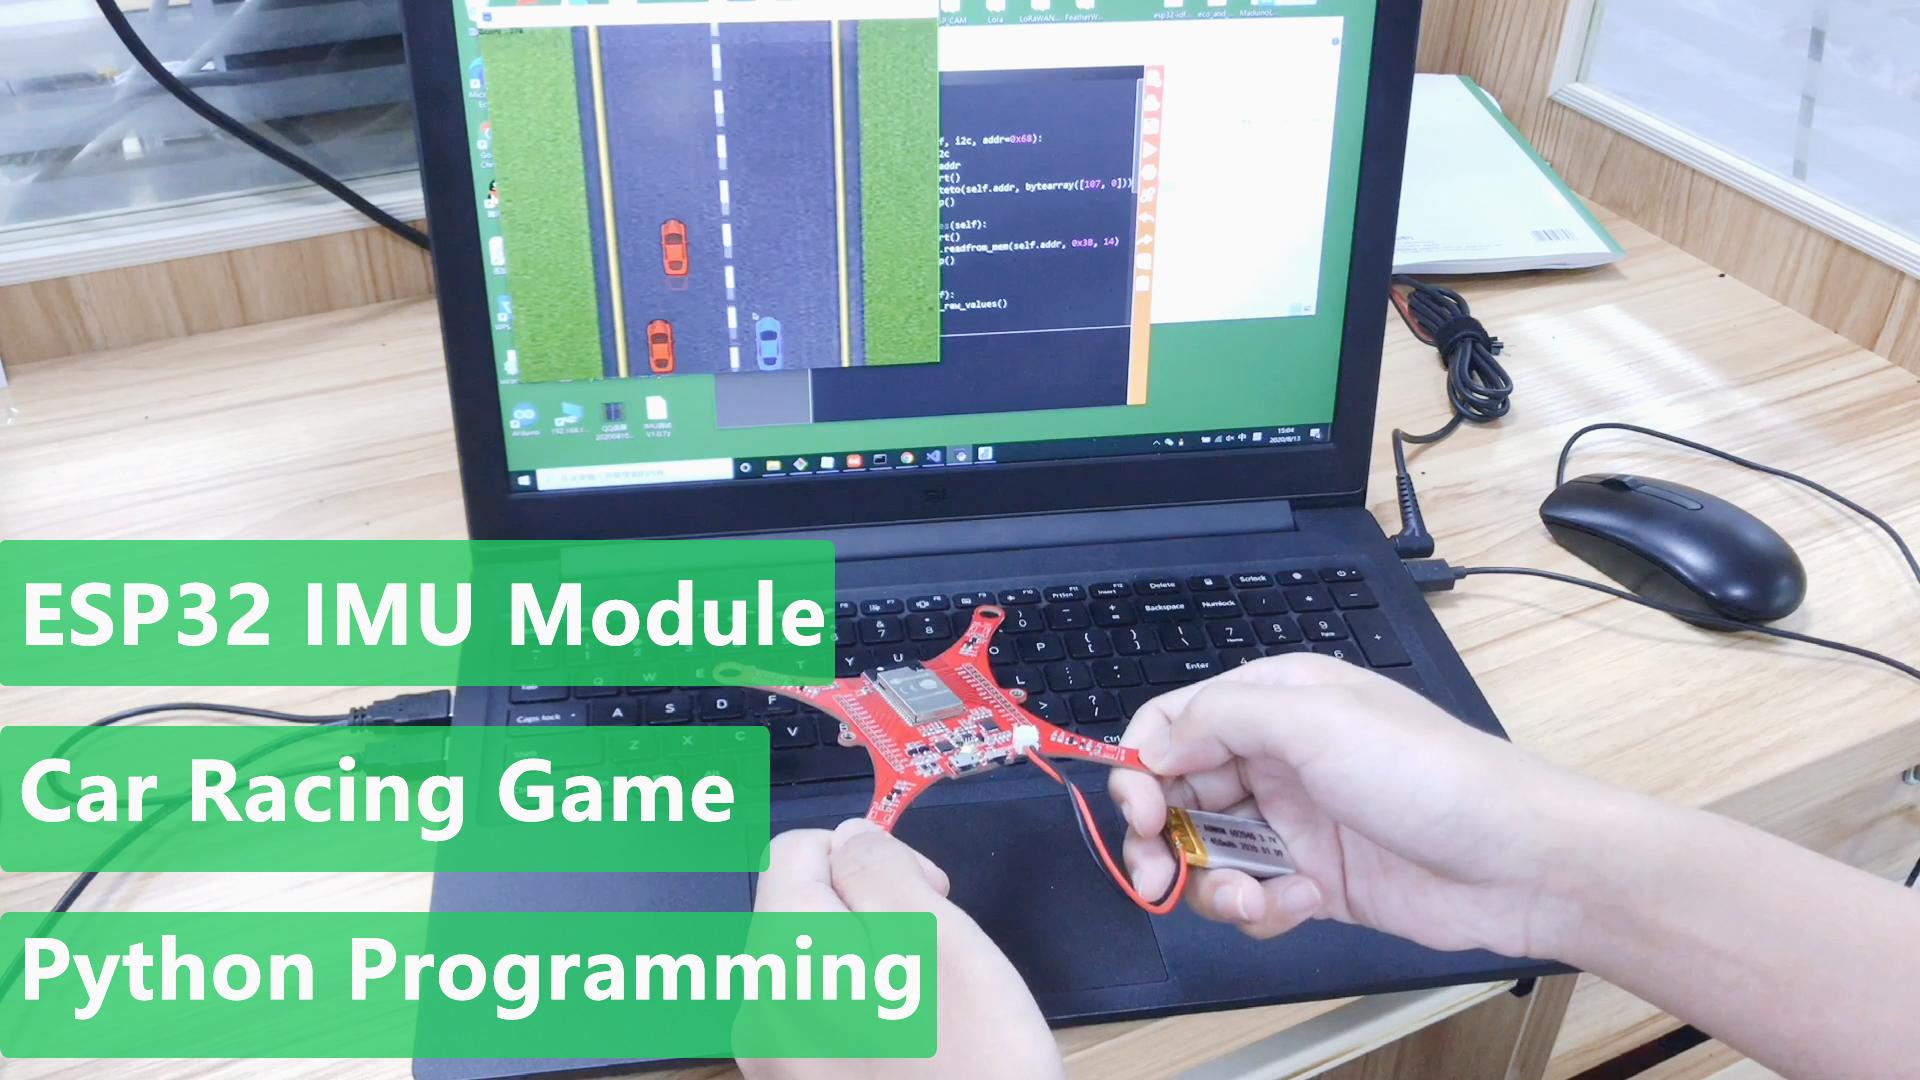
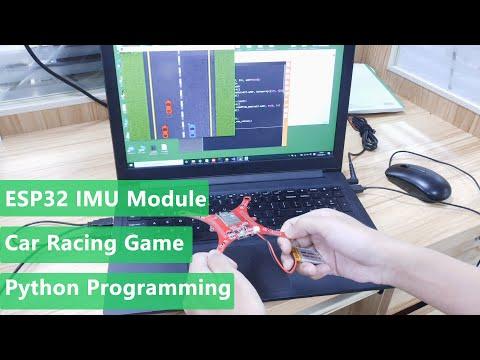
A few weeks ago, I used Python to make a racing game when I was learning Python, but I didn’t want to use the keyboard to play it. This kind of game was not fun and difficult. Then I made a wireless control module with IMU and ESP32 that used it instead of a keyboard and gamepad to play the game. Now I will share it.
Supplies
Connection
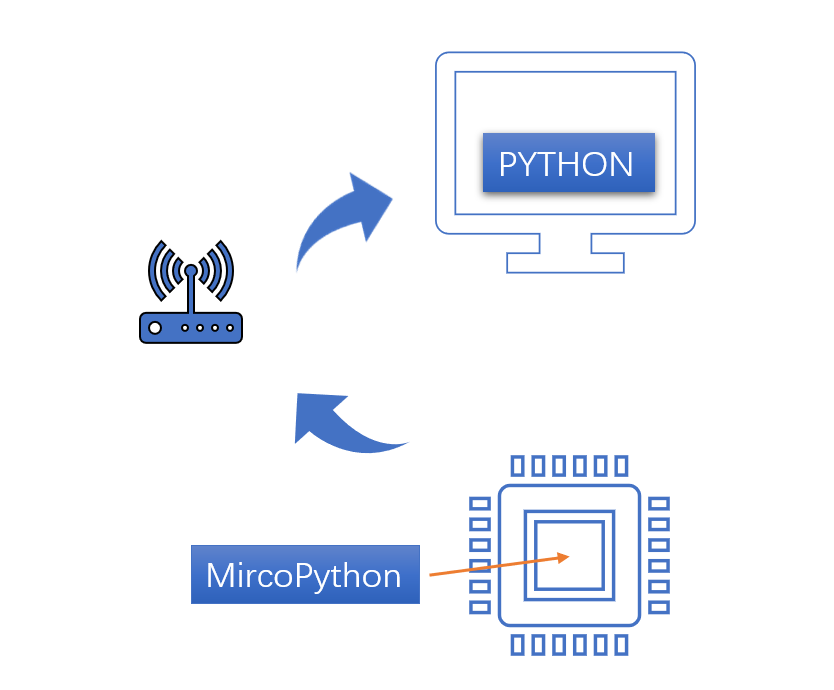
Power the ESP32 via Micro USB or battery.
Software on PC
Python3
- You can download from here: https://www.python.org/downloads/. Choose the 3.8.5 version,download and install it.
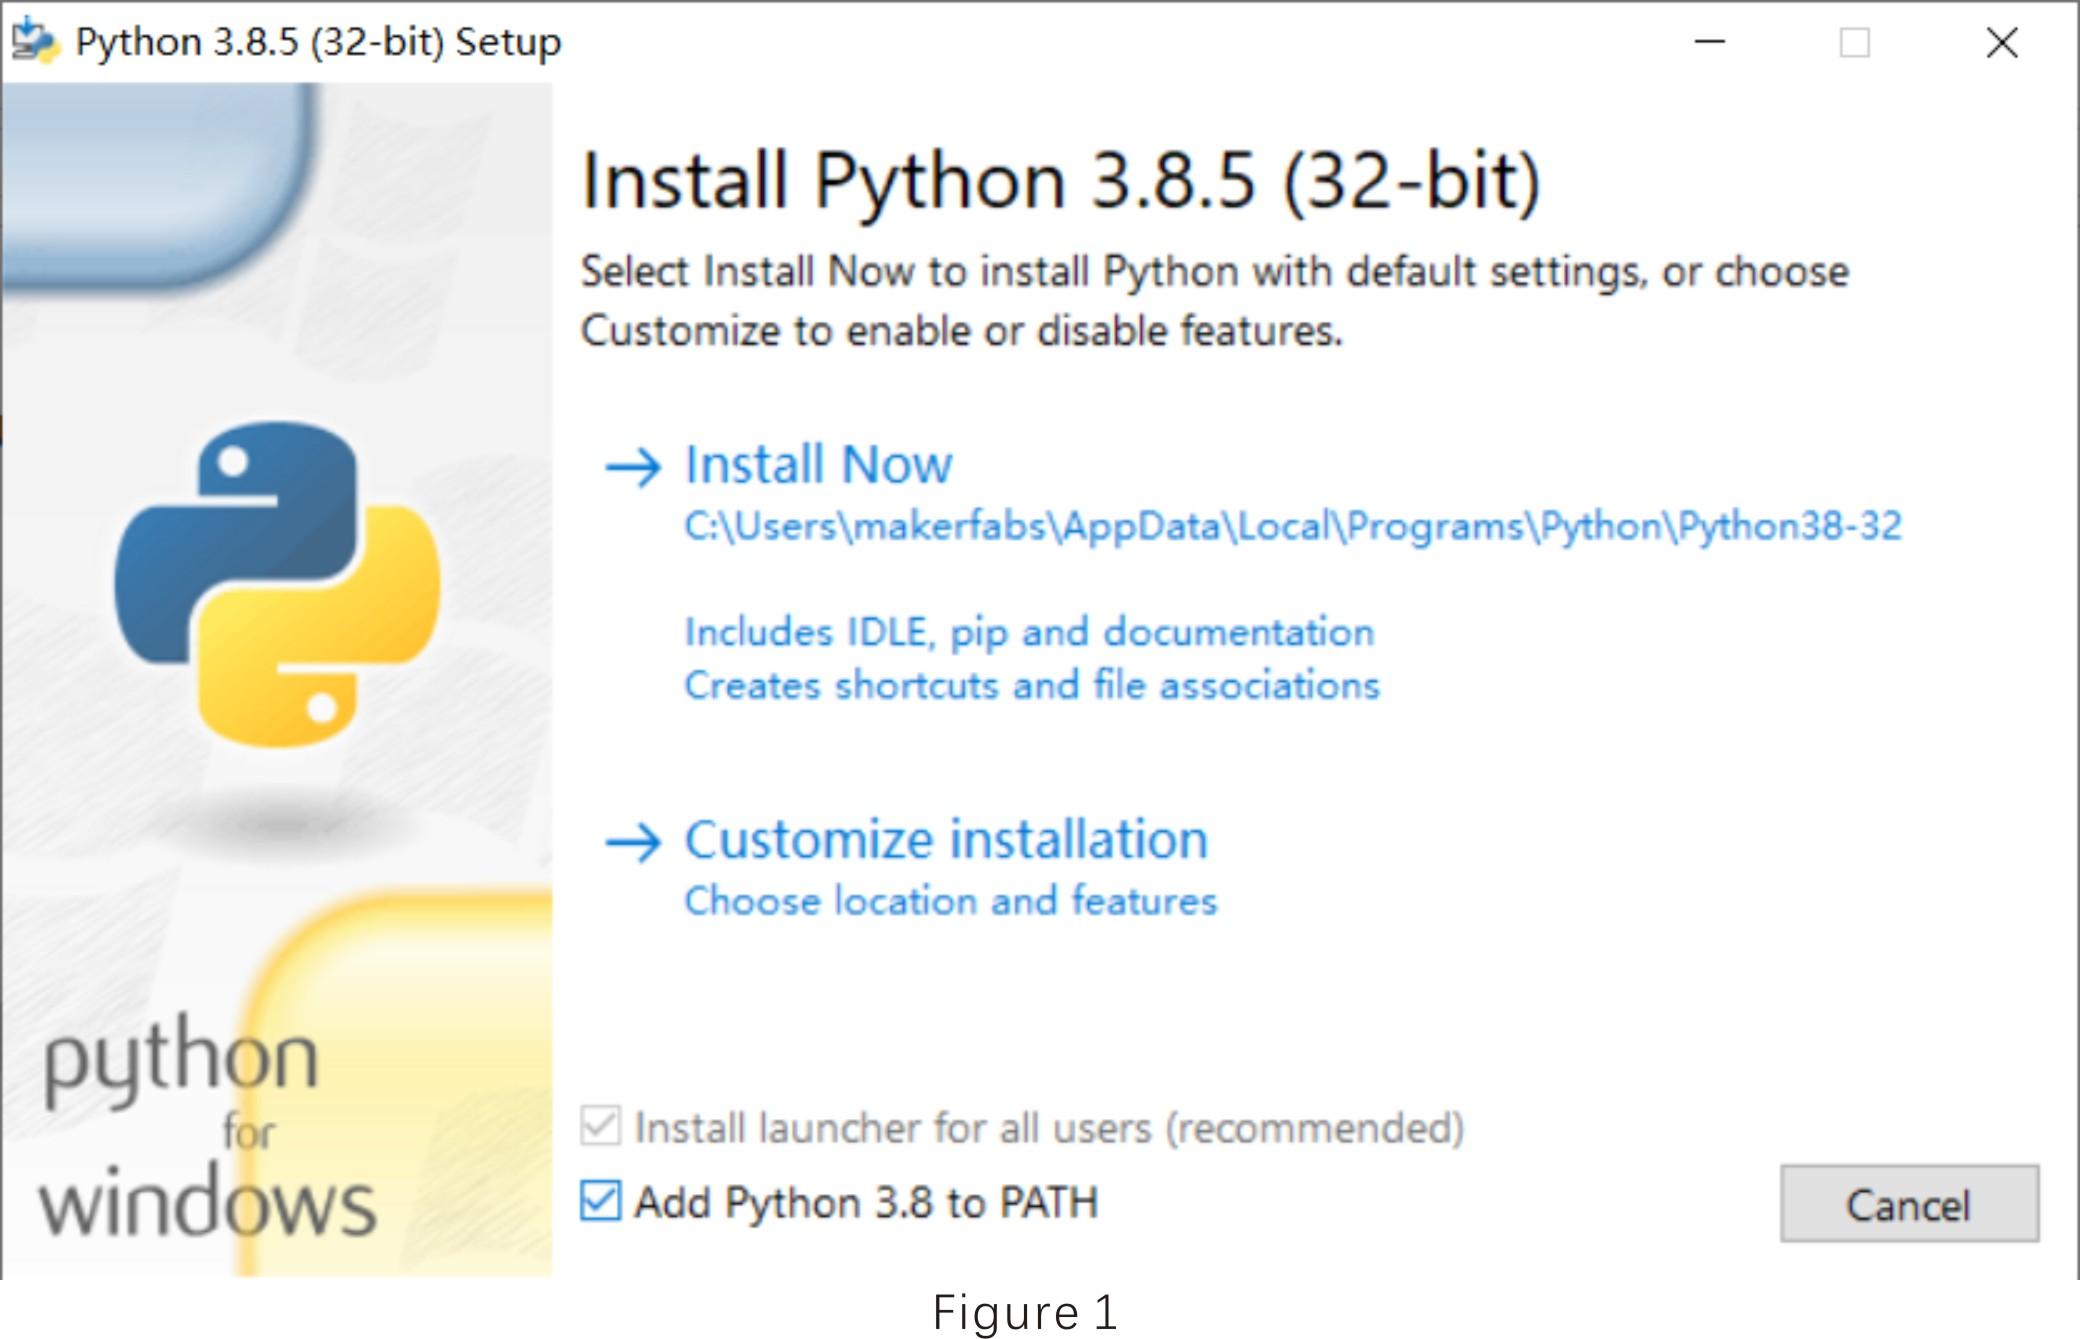
- “Add Python 3.8 to PATH” the selection must be checked during the installation process, as Figure 1.
Visual Studio code
- You can download the Visual Studio code from here: https://code.visualstudio.com/. Install according to the installation wizard.
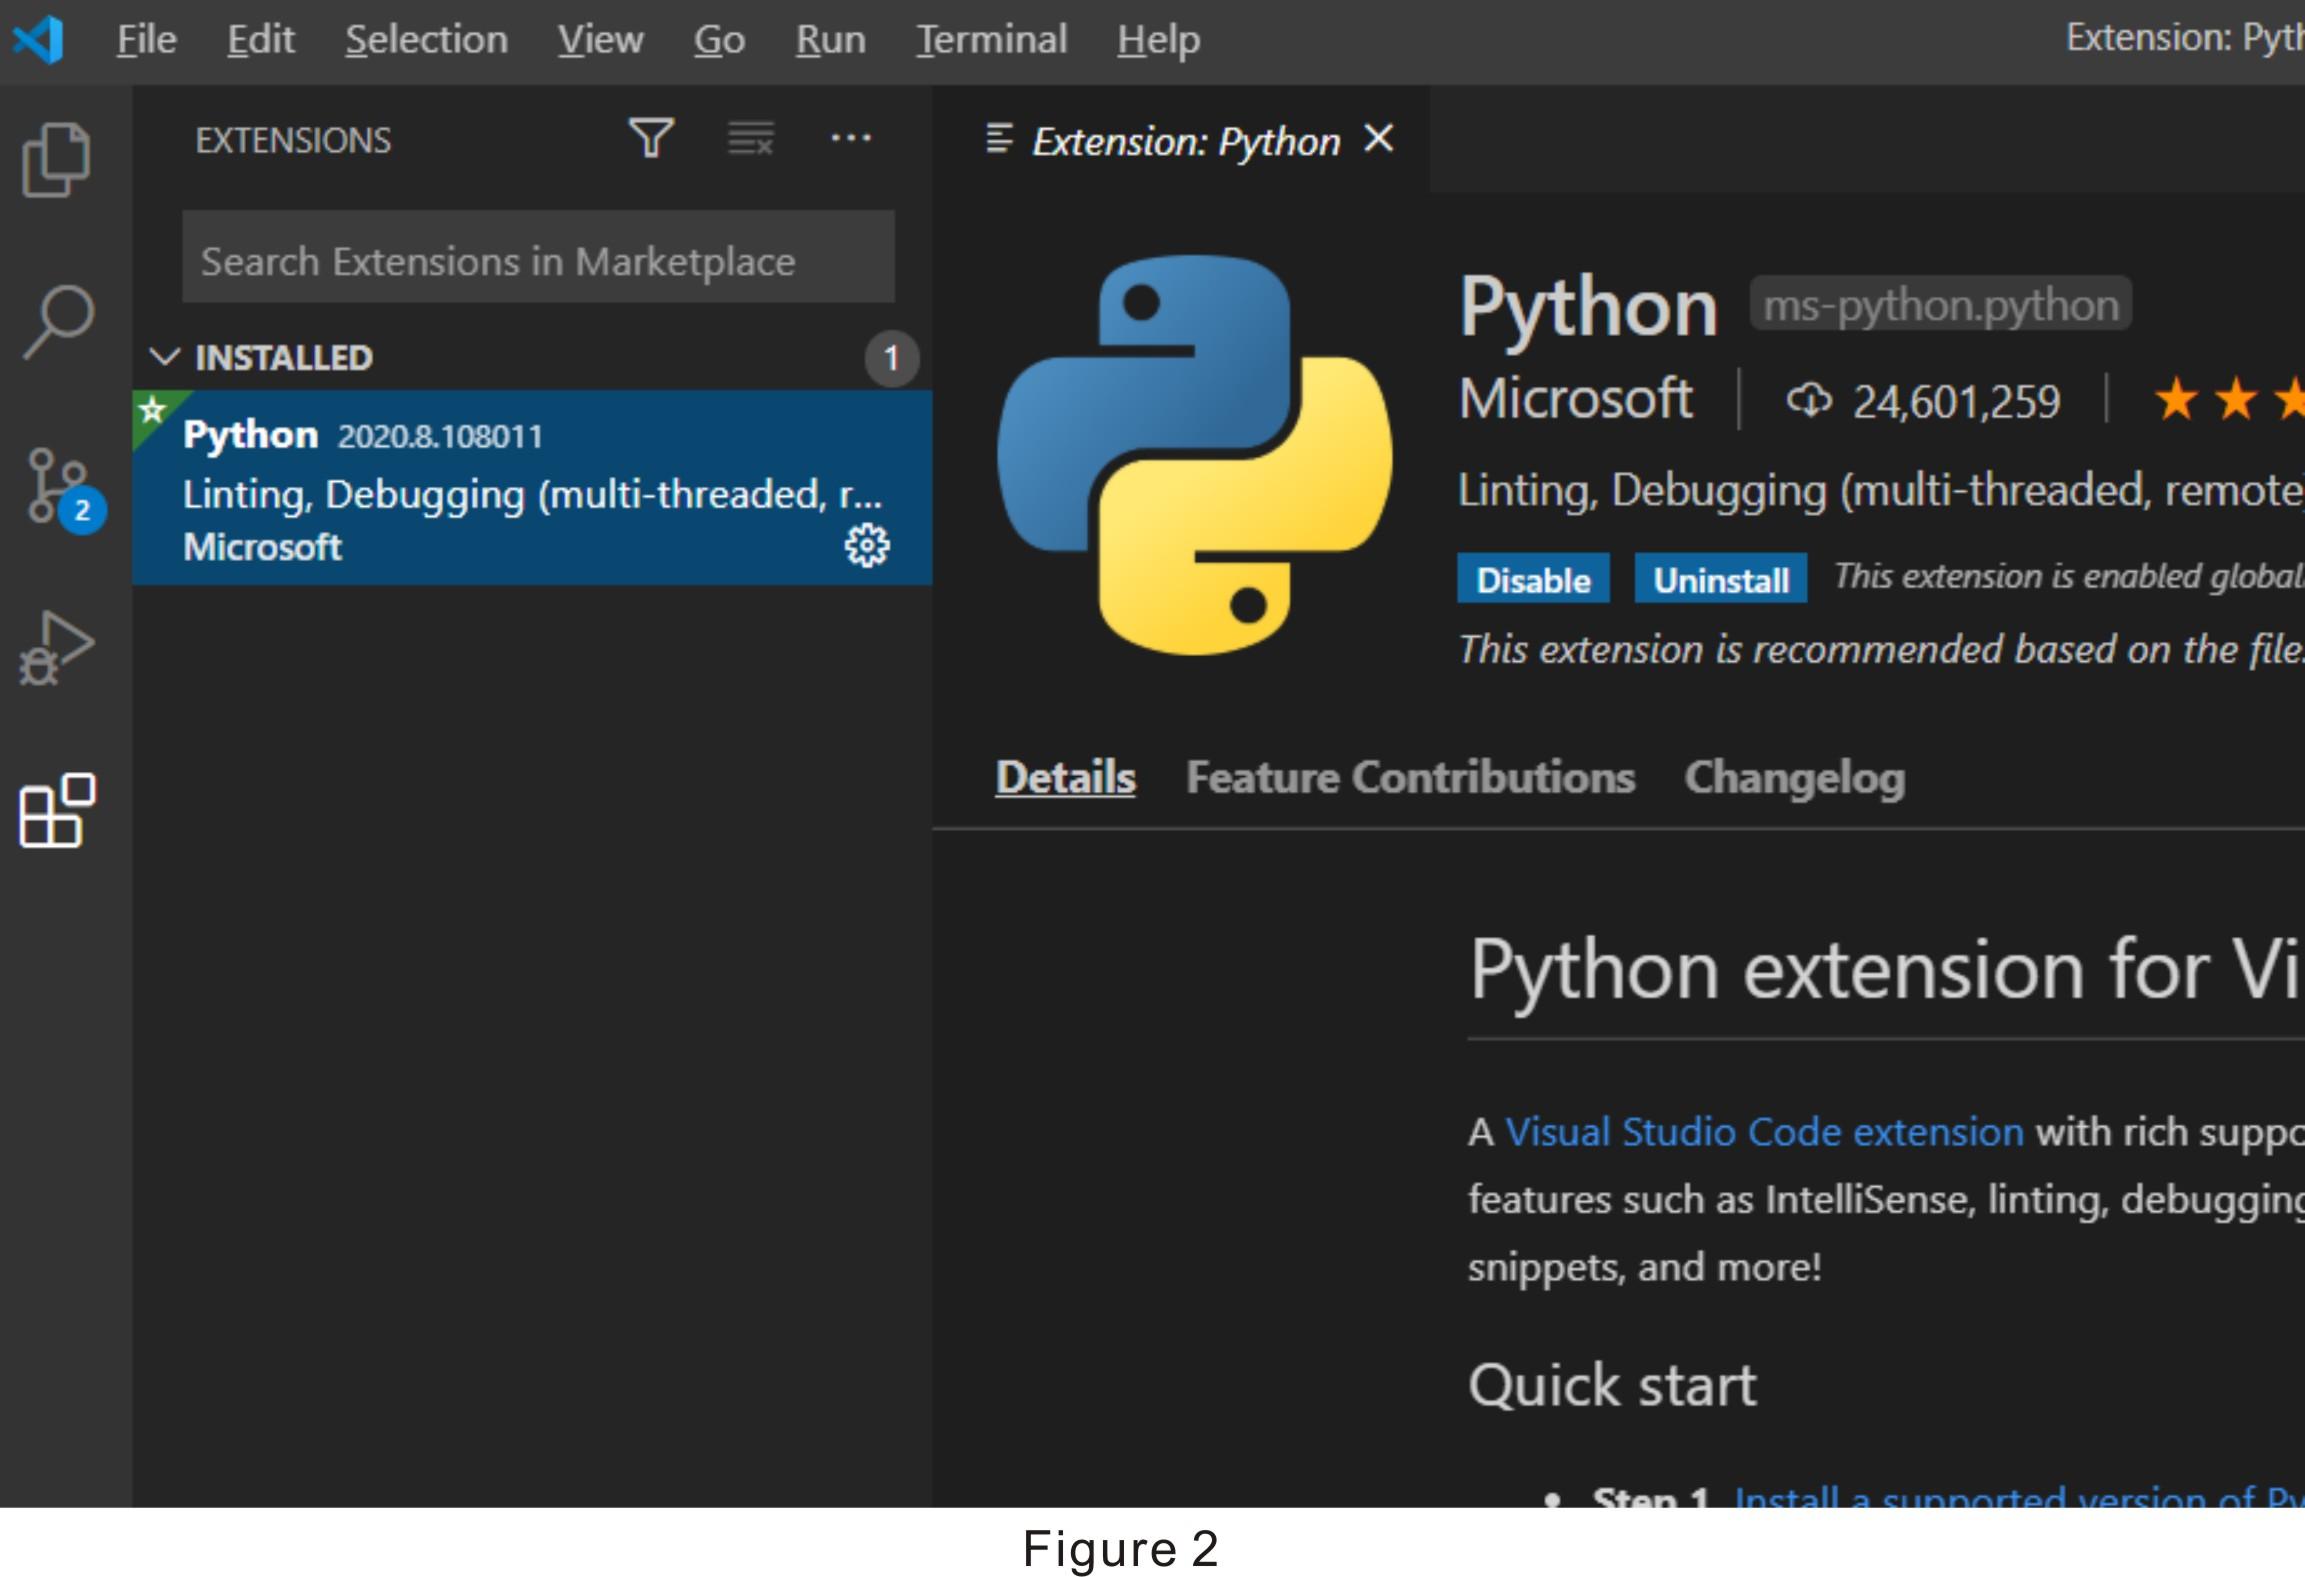
- Open the Visual Studio code, and search for python under the Extensions page and install it, as Figure 2.
- Open the Python file, click the button “Run Python in Terminal” on right to run the program.
- Uncommon function libraries used by the program must be installed before running the program, as the following libraries:
import pygame
import time
import random
It will prompt that some libraries are not installed after the program runs.
You can run the following command in cmd.exe to install and uninstall libraries:
pip install xxx   // xxx is library name
pip uninstall xxx   // xxx is library name
pip list    //   print installed libraries
- After the library installation is complete, the python program can be exited and executed on the PC.
Code
- You can get the code from here:
- The code is “\Project_IMU-Car-Racing\car_racing_py\car_racing.py”.
- Setting UDP server
import socket
BUFSIZE = 1024
ip_port = ('192.168.1.234', 80)
server = socket.socket(socket.AF_INET, socket.SOCK_DGRAM)  # udp
server.bind(ip_port)
- Obtain and process the data received by the UDP server.
 	data,client_addr = server.recvfrom(BUFSIZE)
        #Return response information
        server.sendto(data.upper(),client_addr)
        print('server reserve:',data)
        #Decoding the message
        data_str = data.decode('utf-8').encode('utf-8')
        #Strings are parsed into dictionary objects
        xyz = eval(data_str)
        #Parse the x and y angles
        imu_direct_x = int(xyz["x"])
        imu_direct_y = 0 - int(xyz["y"])
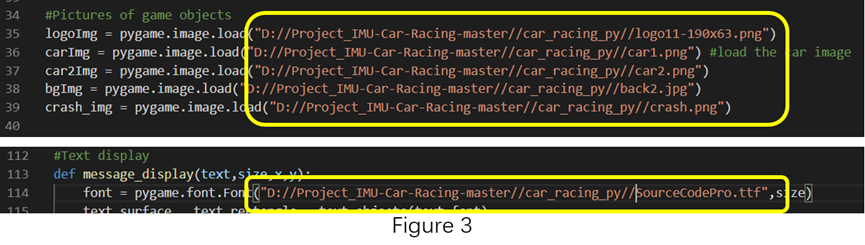
- Fill in the address of the files completely to promise the program executed normally, as Figure 3.
Firmware About ESP32
uPyCraft_v1.1
- You can download from here: https://randomnerdtutorials.com/uPyCraftWindows
- On the official website of MicroPython, there are simple and typical application cases.
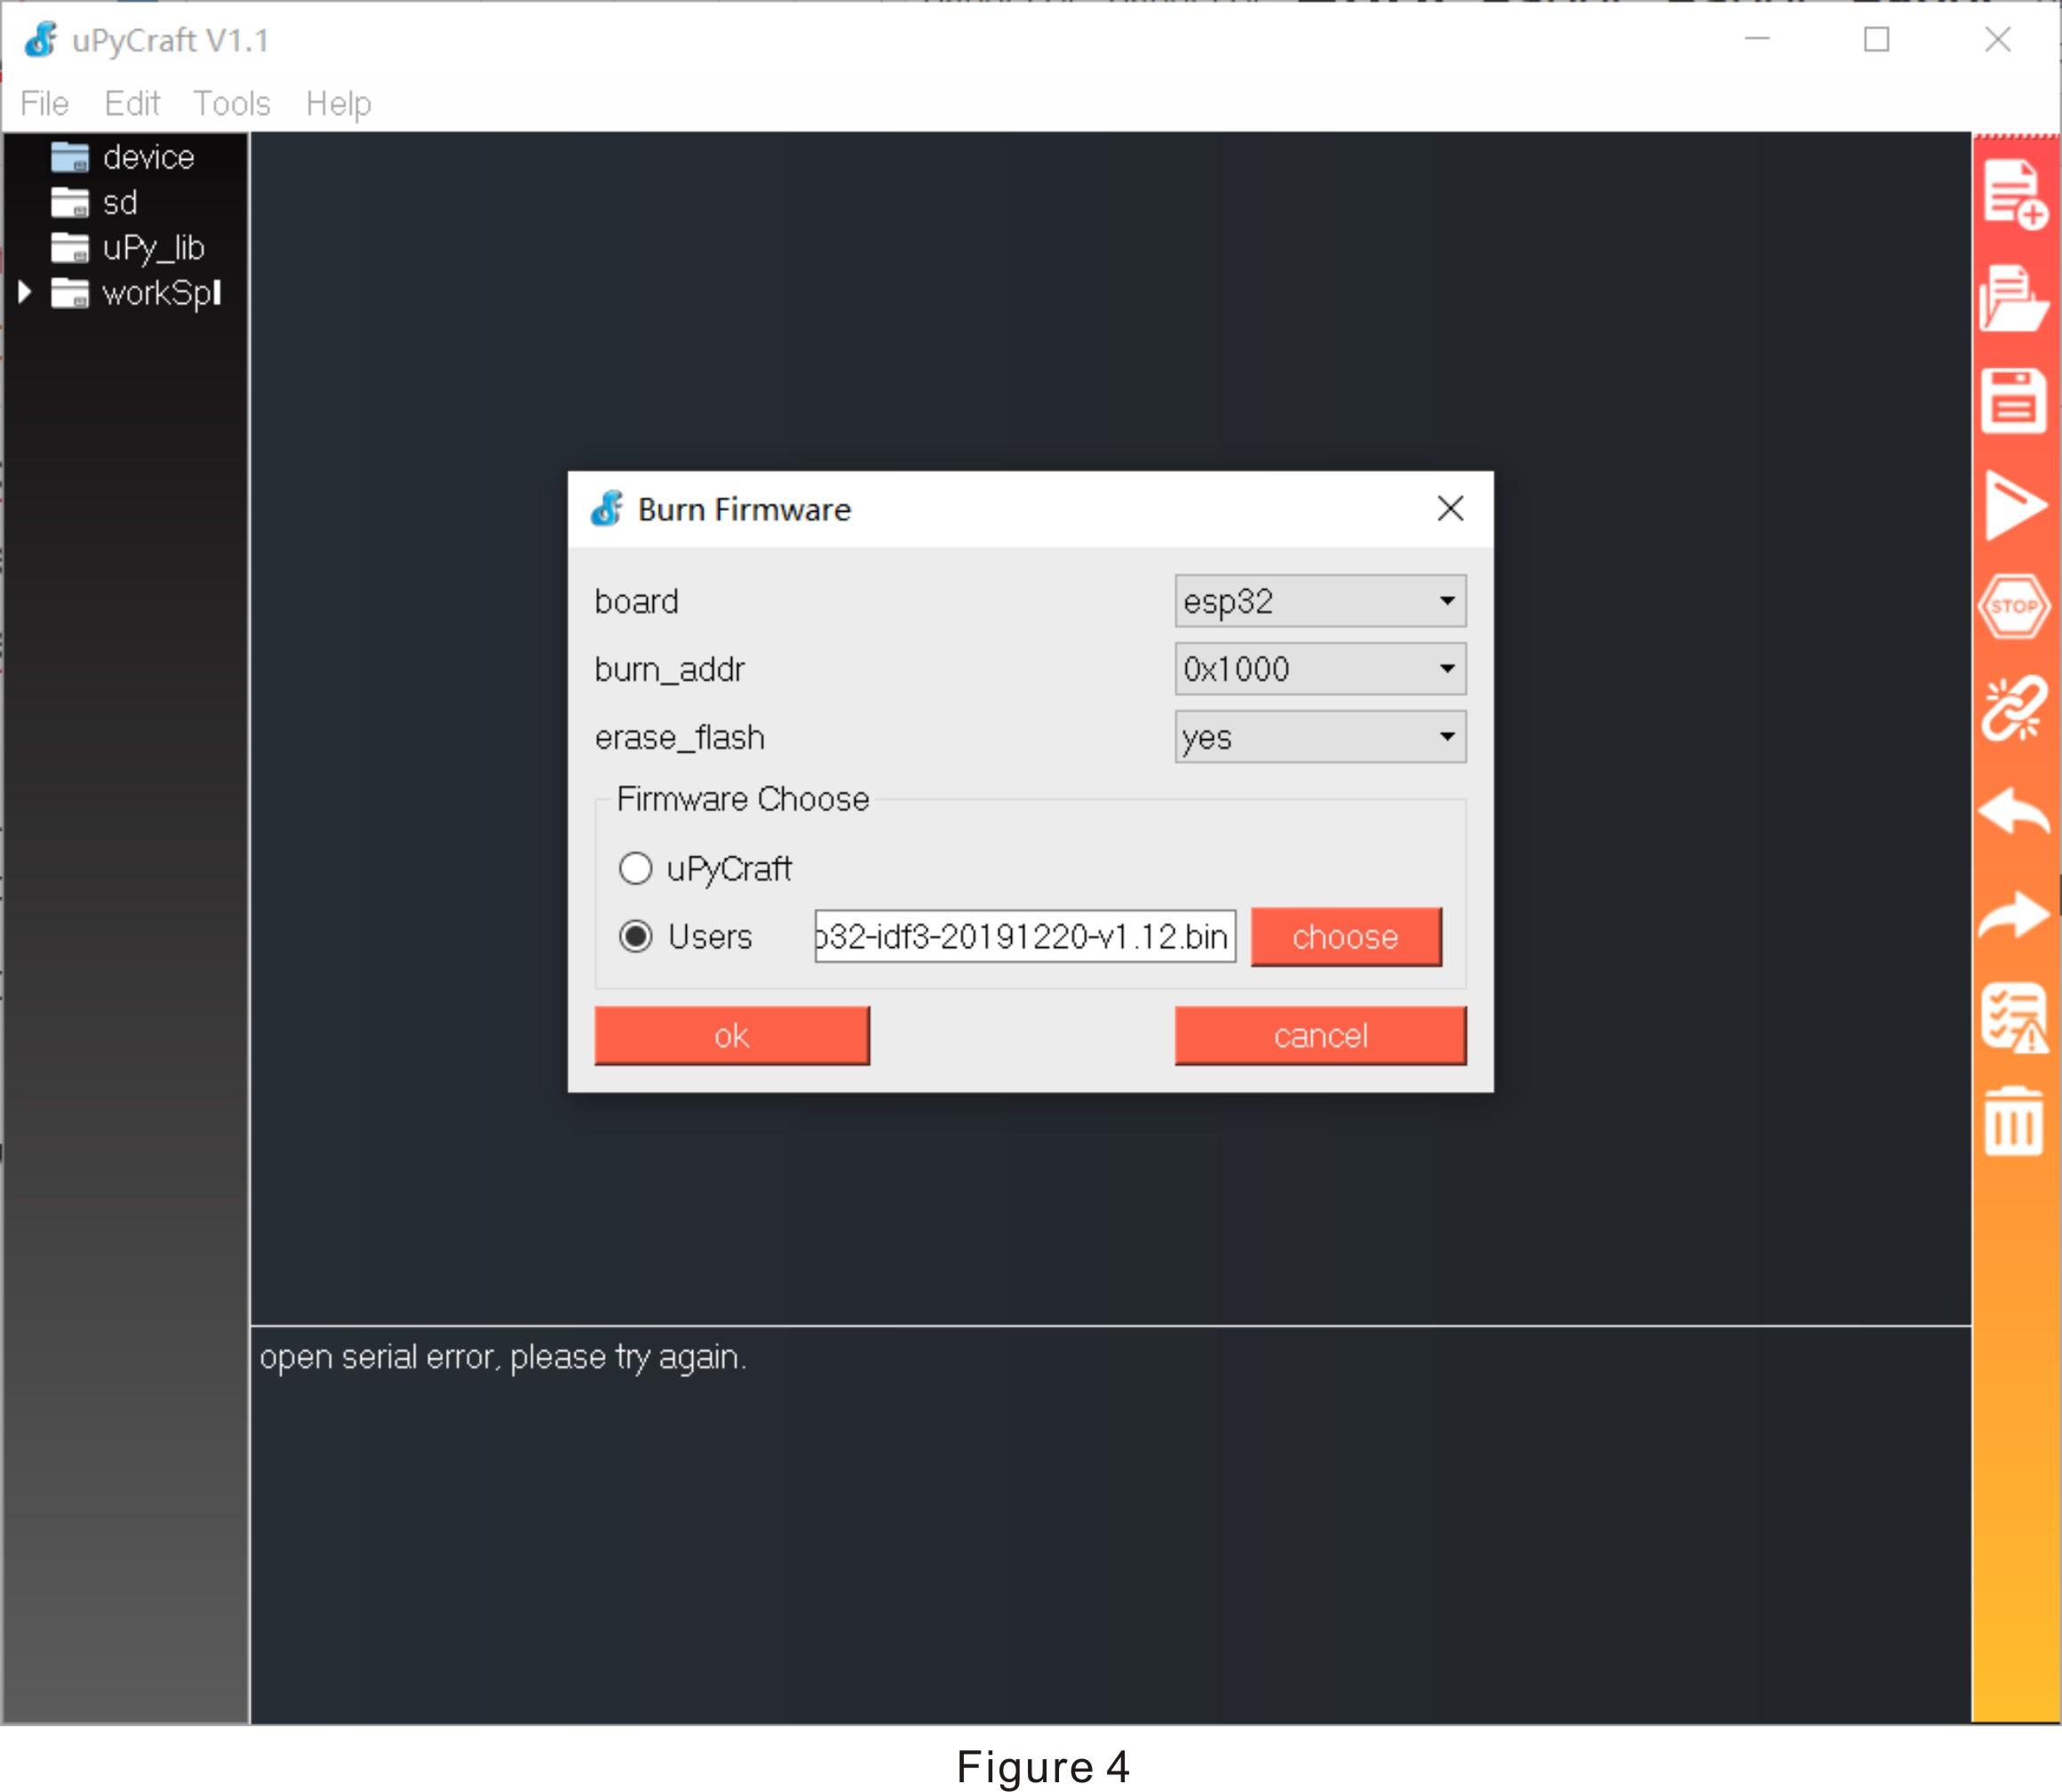
- Connect the board to the PC by USB cable. Open uPyCraft_v1.1, select the tools:” Tool > board > esp8266” and “Tools > port > com*”, click the connected button on right. If the connection is not successful, the prompt will be shown as “open the serial error, please try again”. You have to update the firmware to promise the connection successfully. The firmware download link is http://www.micropython.org/resources/firmware/esp... Open “Tools>BurnFirmware”, set the parameter, as Figure 4, and click OK.
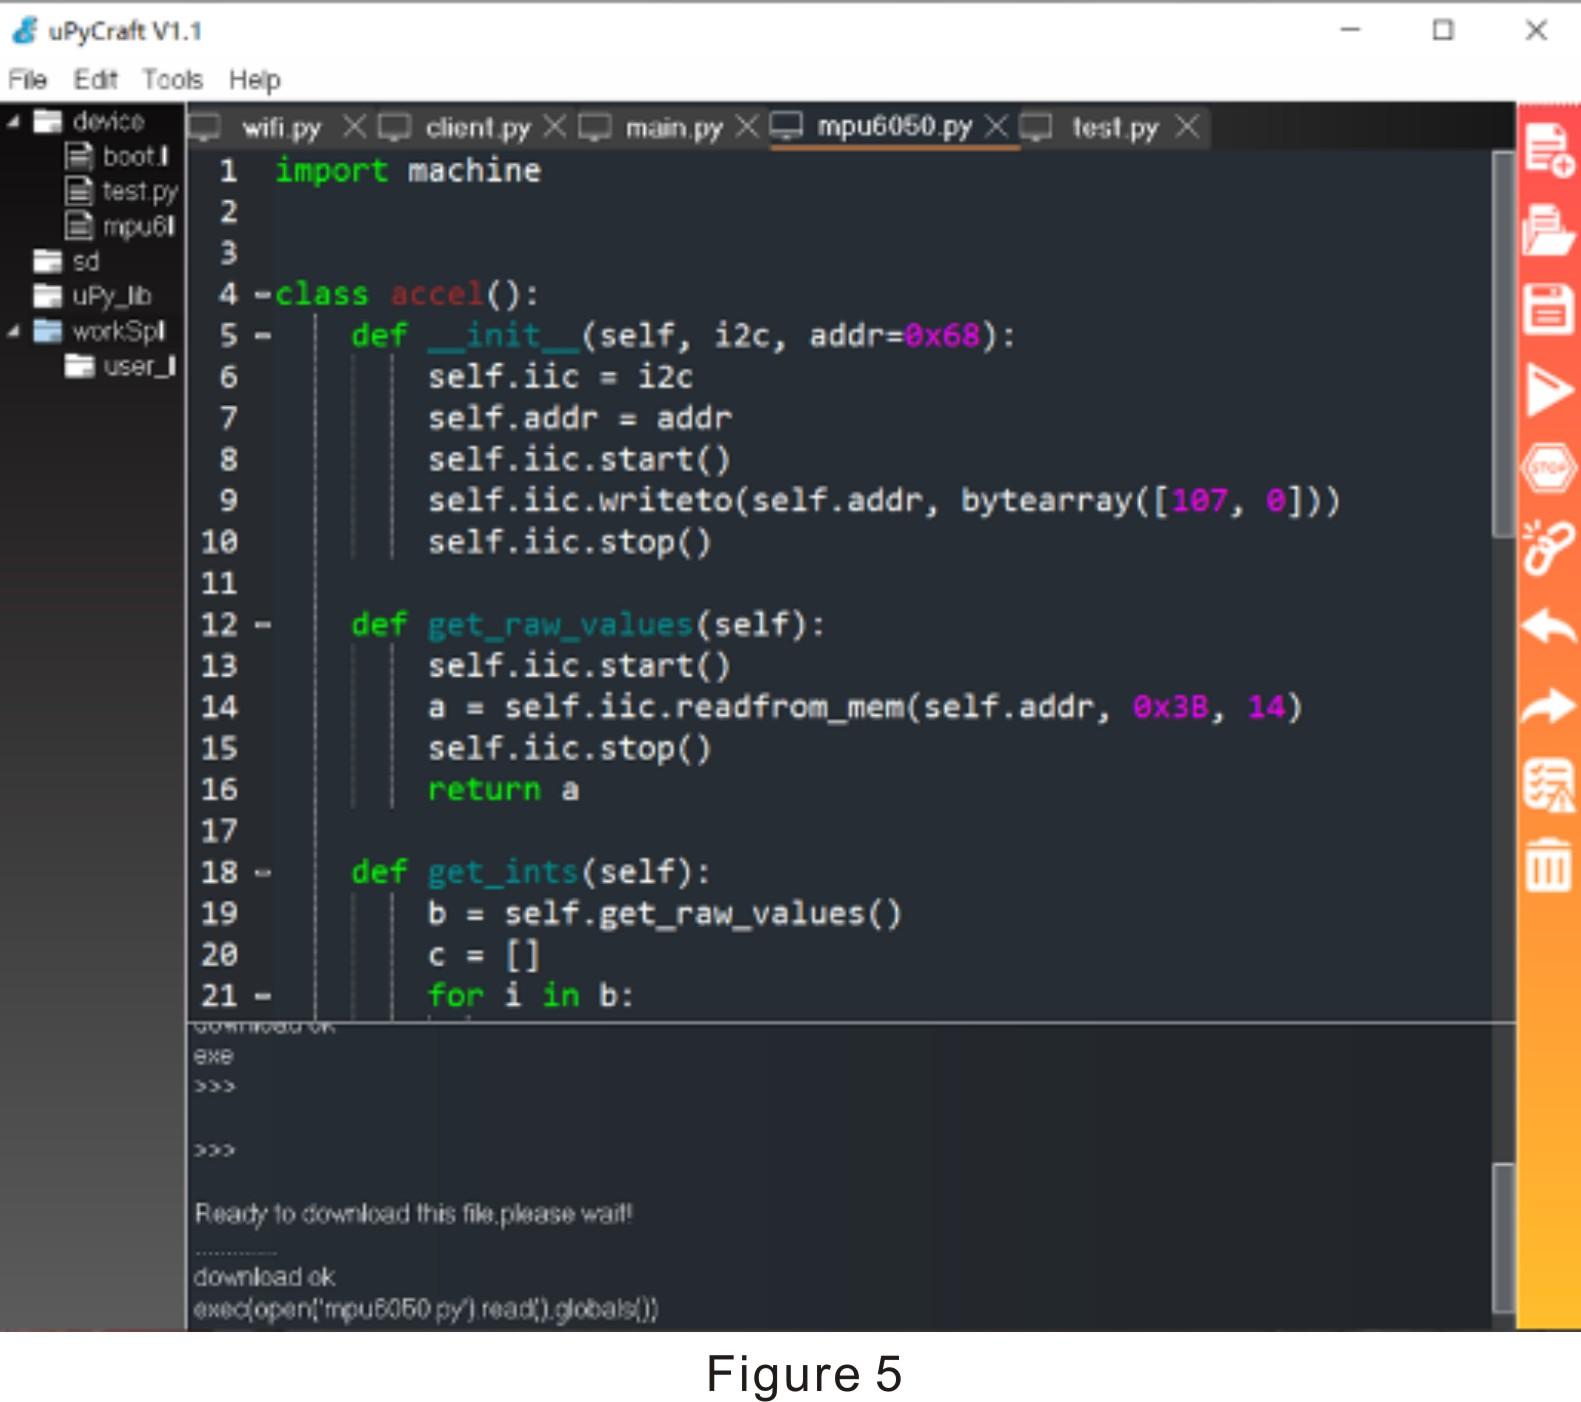
- Open the Python file, and click the “DownloadAndRun” button on right. The program has been downloaded to the board, you can see it in the “device” menu on the left, as Figure 5.
Code
- You can get the code from here: https://github.com/Makerfabs/Project_IMU-Car-Raci...
- Change the wifi config in "/Project_IMU-Car-Racing/ESP32_mpu6050/workSpace/wifi.py".
SSID = "Makerfabs"      #Modify here with SSID
PASSWORD = "20160704"   #Modify here with PWD
- Get your PC Lan IP and change the code in "/Project_IMU-Car-Racing/ESP32_mpu6050/workSpace/client.py".
def main():
  wifi.connect()
  ip_port = ('192.168.1.125', 80)
  client = socket.socket(socket.AF_INET,socket.SOCK_DGRAM)
- Receive and process the sensor data.
acc_data = accelerometer.get_values()
    try:
      temp = avgfiter_x.fit(acc_data['AcX']/16384-error_x,5)
      temp_int = int(temp*10)
      xyz["x"] = temp_int
      temp = avgfiter_y.fit(acc_data['AcY']/16384-error_y,5)
      temp_int = int(temp*10)
      xyz["y"] = temp_int
      temp = avgfiter_z.fit(acc_data['AcZ']/16384-error_z,5)
      temp_int = int(temp*10)
      xyz["z"] = temp_int
- Send data
text = str(xyz)
    client.sendto(text.encode('utf-8'),ip_port)
    data,server_addr = client.recvfrom(BUFSIZE)
Operation

- Connect the board to the PC by USB cable, and use uPyCraft to download all file in "/Project_IMU-Car-Racing/ESP32_mpu6050/workSpace".
- Use the command line to run the file: “/Project_IMU-Car-Racing/car_racing_py/car_racing.py” as Figure 6. Click “GO” and reset eps32.
- Tilting the IMU left and right to control the car position.
- Tilting the IMU back and forth to control the car speed.
Show