Car Play With Raspberry Pi
by ShepherdTheCreator in Circuits > Raspberry Pi
51261 Views, 28 Favorites, 0 Comments
Car Play With Raspberry Pi
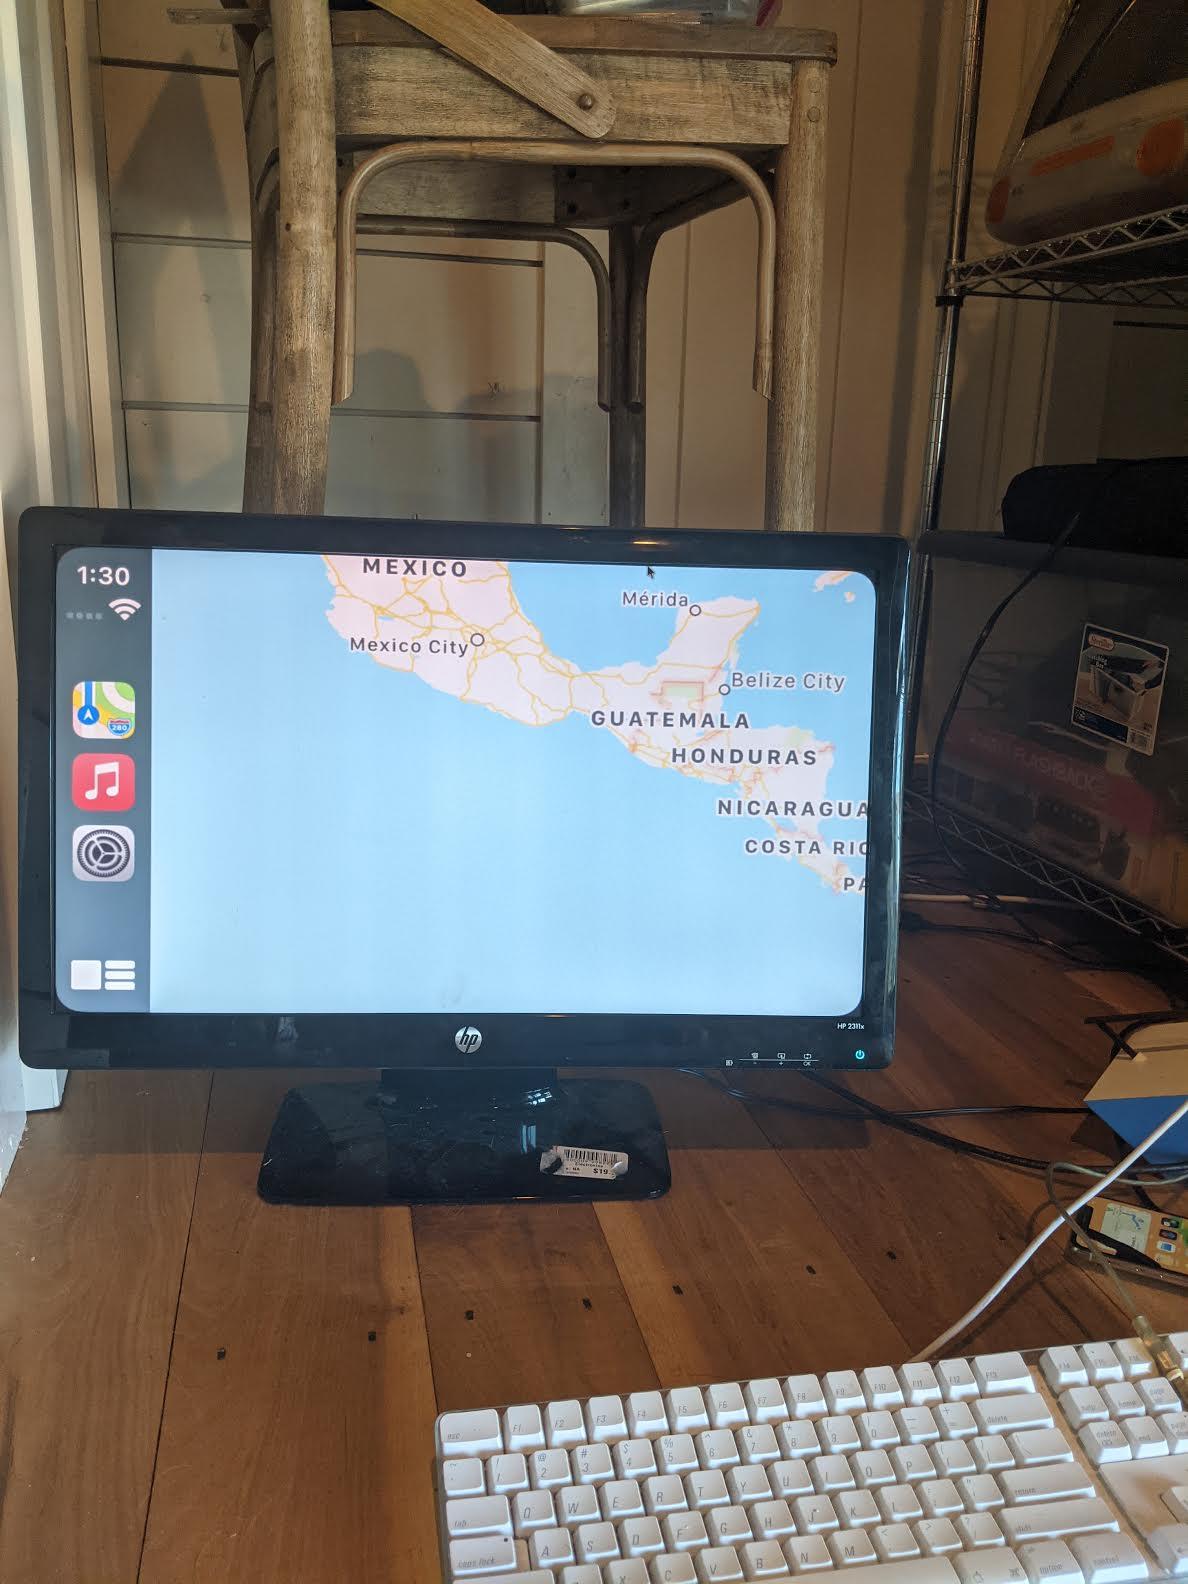
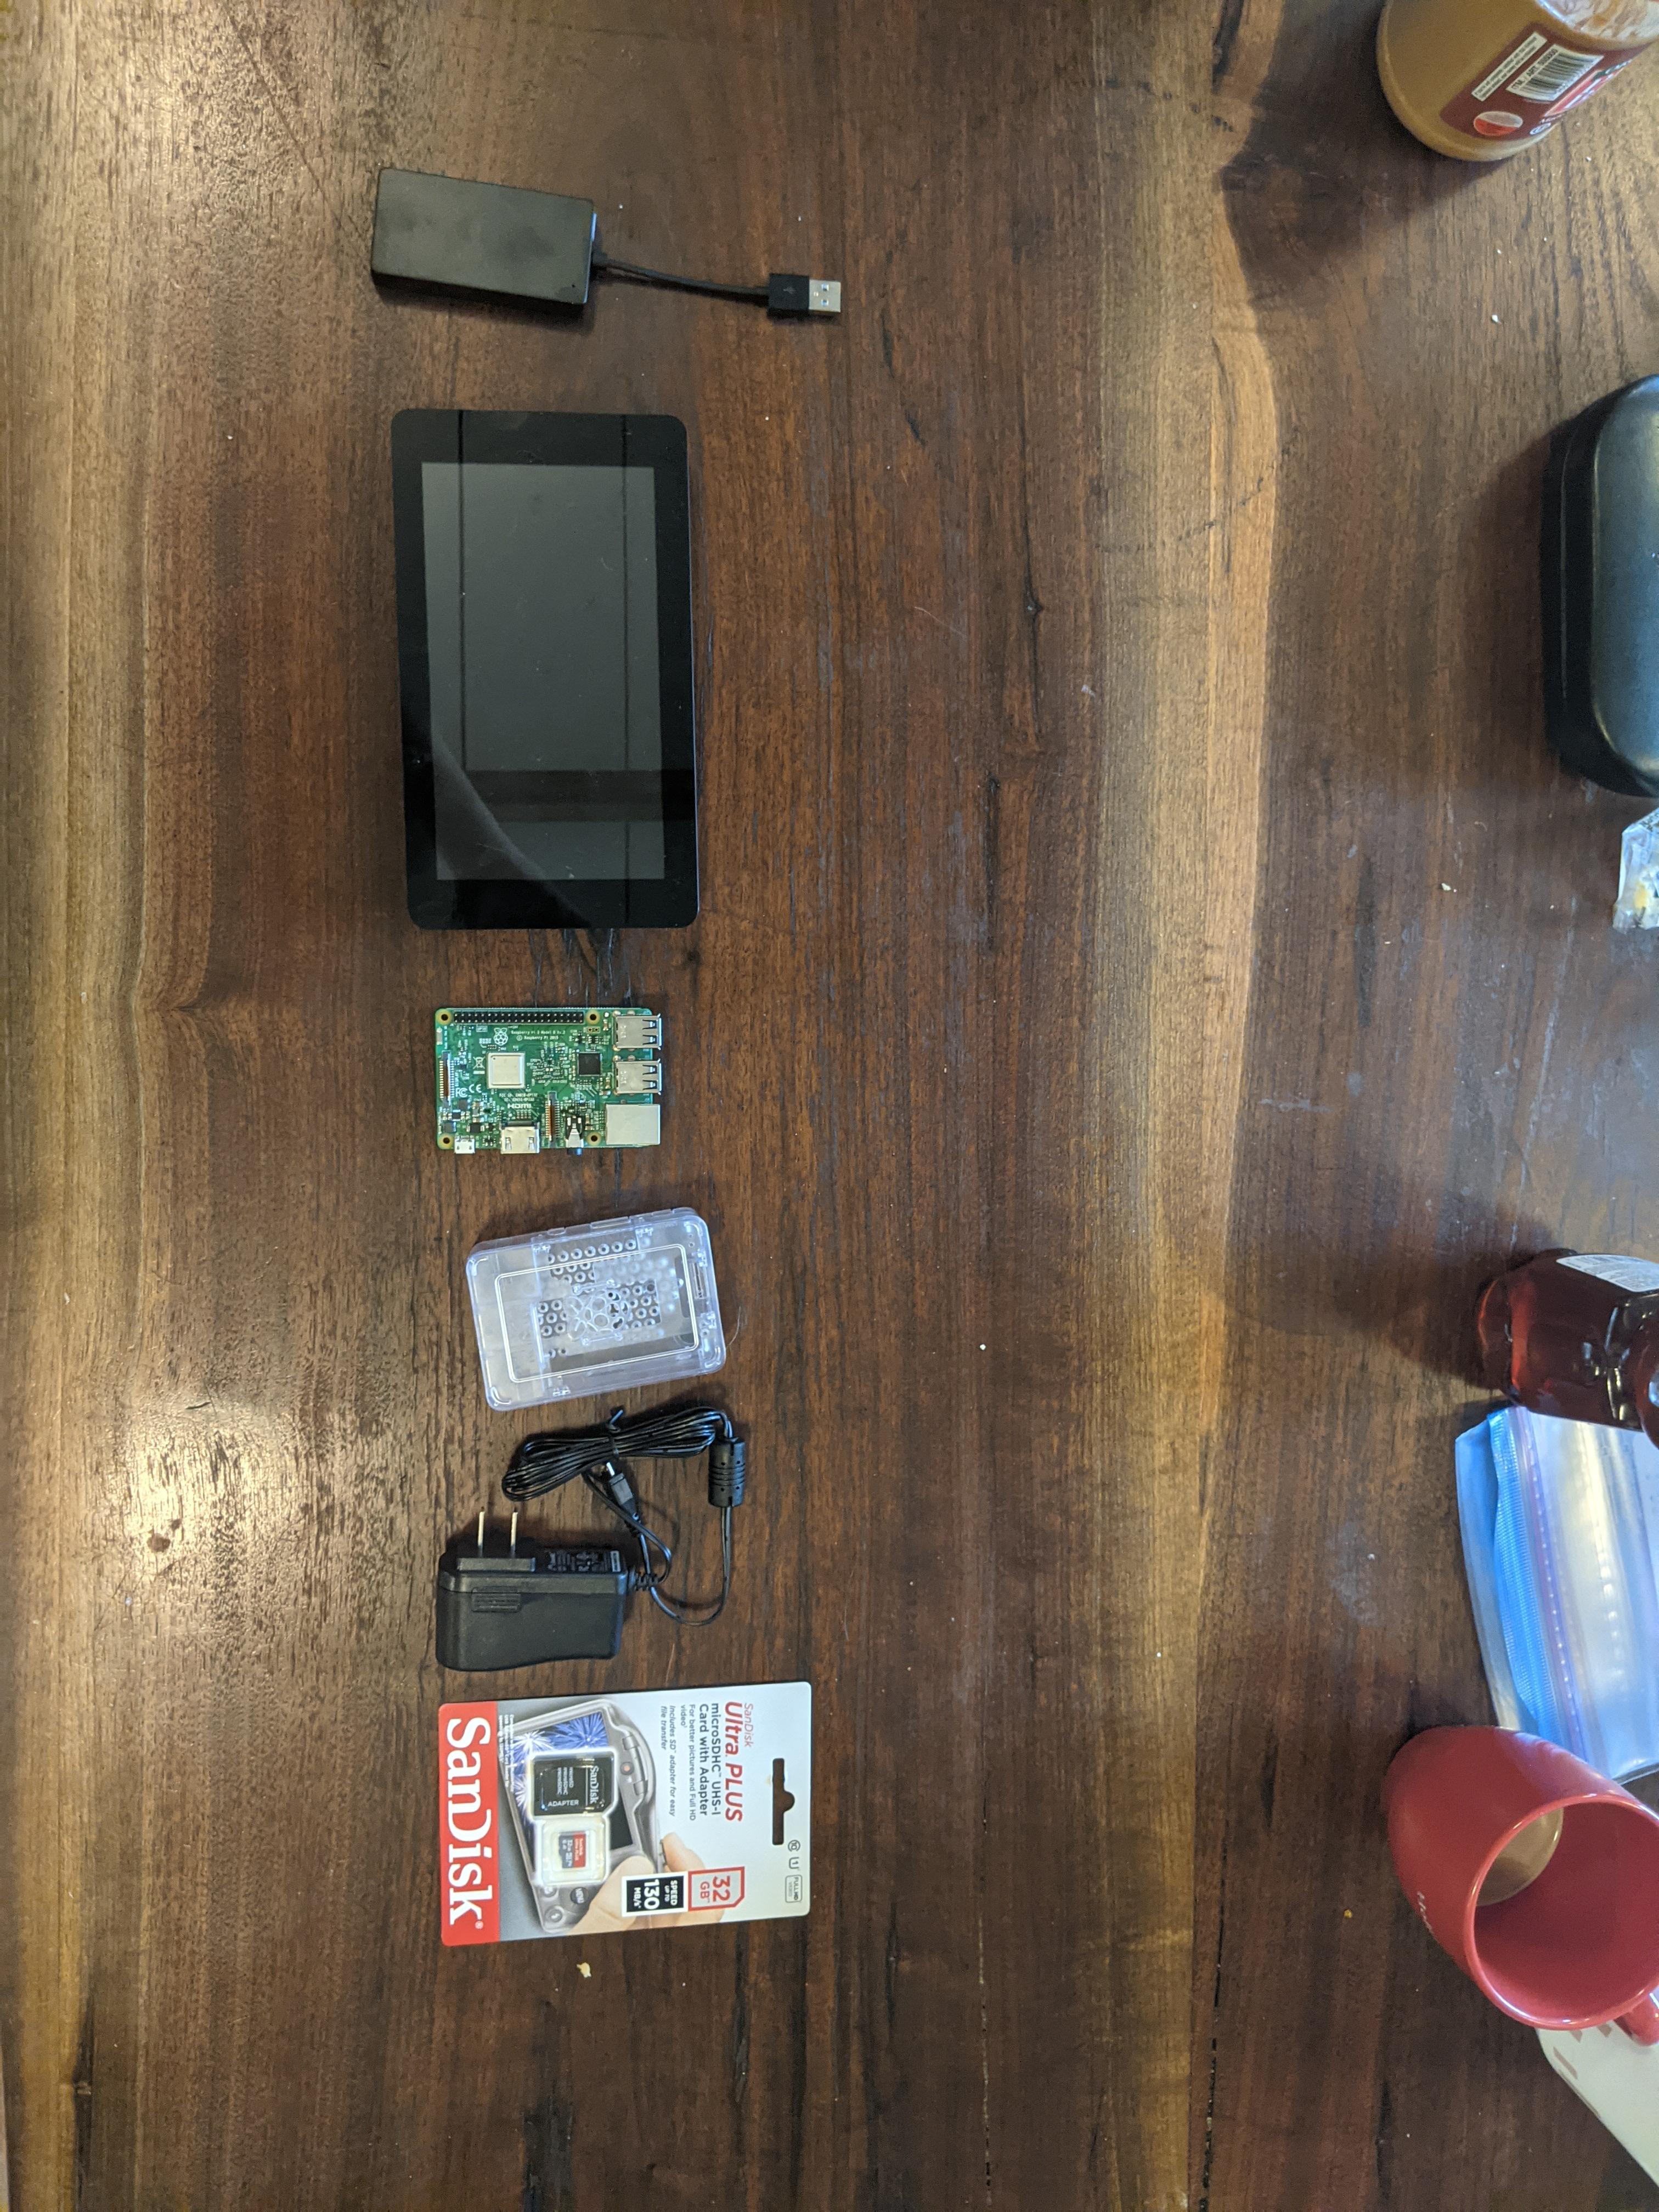
before we start if you could check out me and my brothers YouTube channel that would be great! all of my projects and extra reviews will be posted on mine and my bros is Minecraft
link to mine, ShepTheCreator
https://www.youtube.com/channel/UCJmbd9kueKYd92oOe...
link to my bros, Loki Diamond
https://www.youtube.com/channel/UC9pac_dWBP7IPfZjI1PhfTw
This is my CarPlay that I made with the raspberry pi. This picture that I have is on an HDMI monitor just so the picture can look better instead of it having to be zoomed in on the 7" display. Note: you do not have to use the HDMI monitor long term, but for the setup process you need a monitor with an HDMI connector.
Supplies
Supplies
1: Raspberry pi 3/4.
2: Of course. 2: 7" official raspberry pi display.
3: Hdmi monitor.
4: Car-link auto kit dongle. https://autokitcarplay.com/?ref=ffvubbrpl
5: Sd card. 16 gb or over 16 gb. Note: probably an ssd would work better but I believe that includes some coding so, use an Sd if you are a beginner.
6: Adapter. For flashing the image.
7: Micro USB cable. P.S I would recommend, if you have a block connector use that. If not, then a usb.
8: Aux cord to plug into car.
9: A white noise AUX cord canceller.
Installing Linage Os on Pi
First, you are going to need to flash linage os onto the raspberry pi. Go to https://konstakang.com/devices/rpi3/LineageOS17.1...
and install it. Next install Balena etcher.
https://sourceforge.net/projects/etcher.mirror/
Now, on the select image button select linage os 17.1.
And put your Sd card in the adapter and that in your computer.
It should show up if it doesn't then hit select drive and chose it.
Next, hit flash then wait.
Change the Shader.
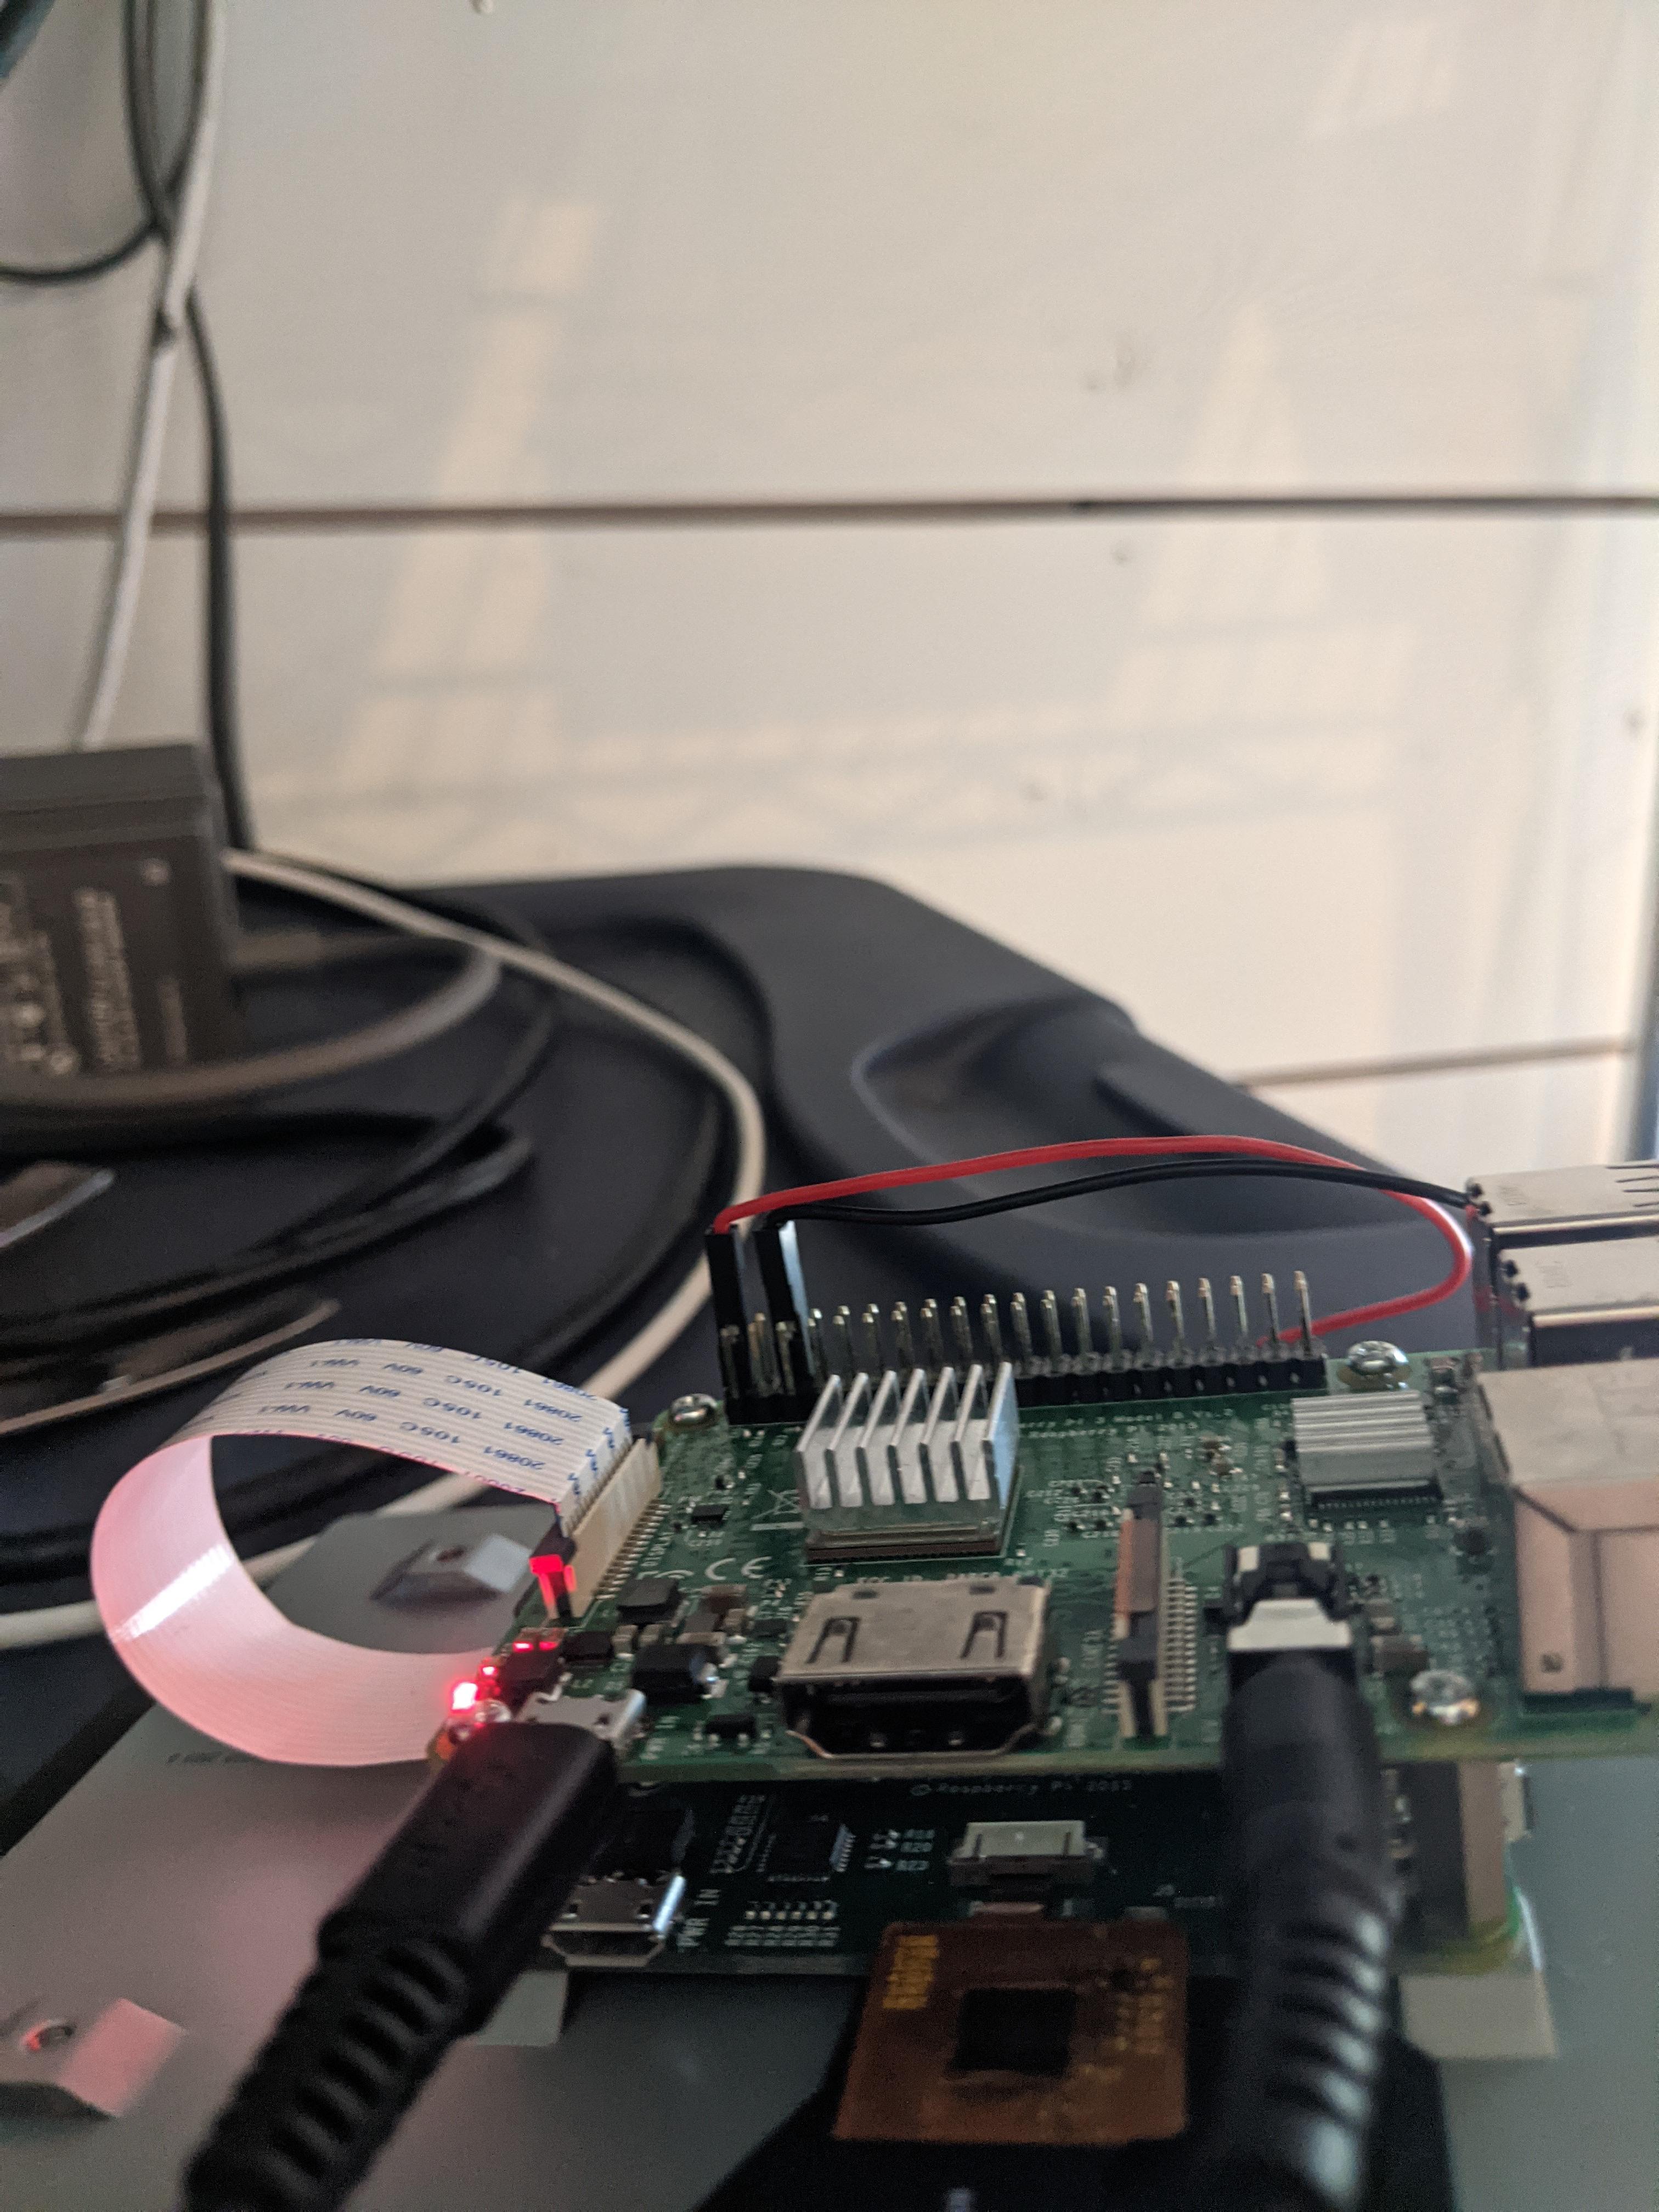
Congratulations you're now running your very own android.
Go through the setup process. Connect to the internet set the time and that's basically it for the setup.
You should have an android tablet. Next go to settings and display and change it so it doesn't rest until 30 minutes.
So it doesn't go dim when you're driving.
Now change the shader. This might seem complex but android 10 makes it easy.
First go to system and advances settings and the one with the raspberry pi symbol.
And on shaders change it from mesa to swift shader.
Now you can run it on your touch screen.
By the way the wiring is at the top
Installing CarPlay
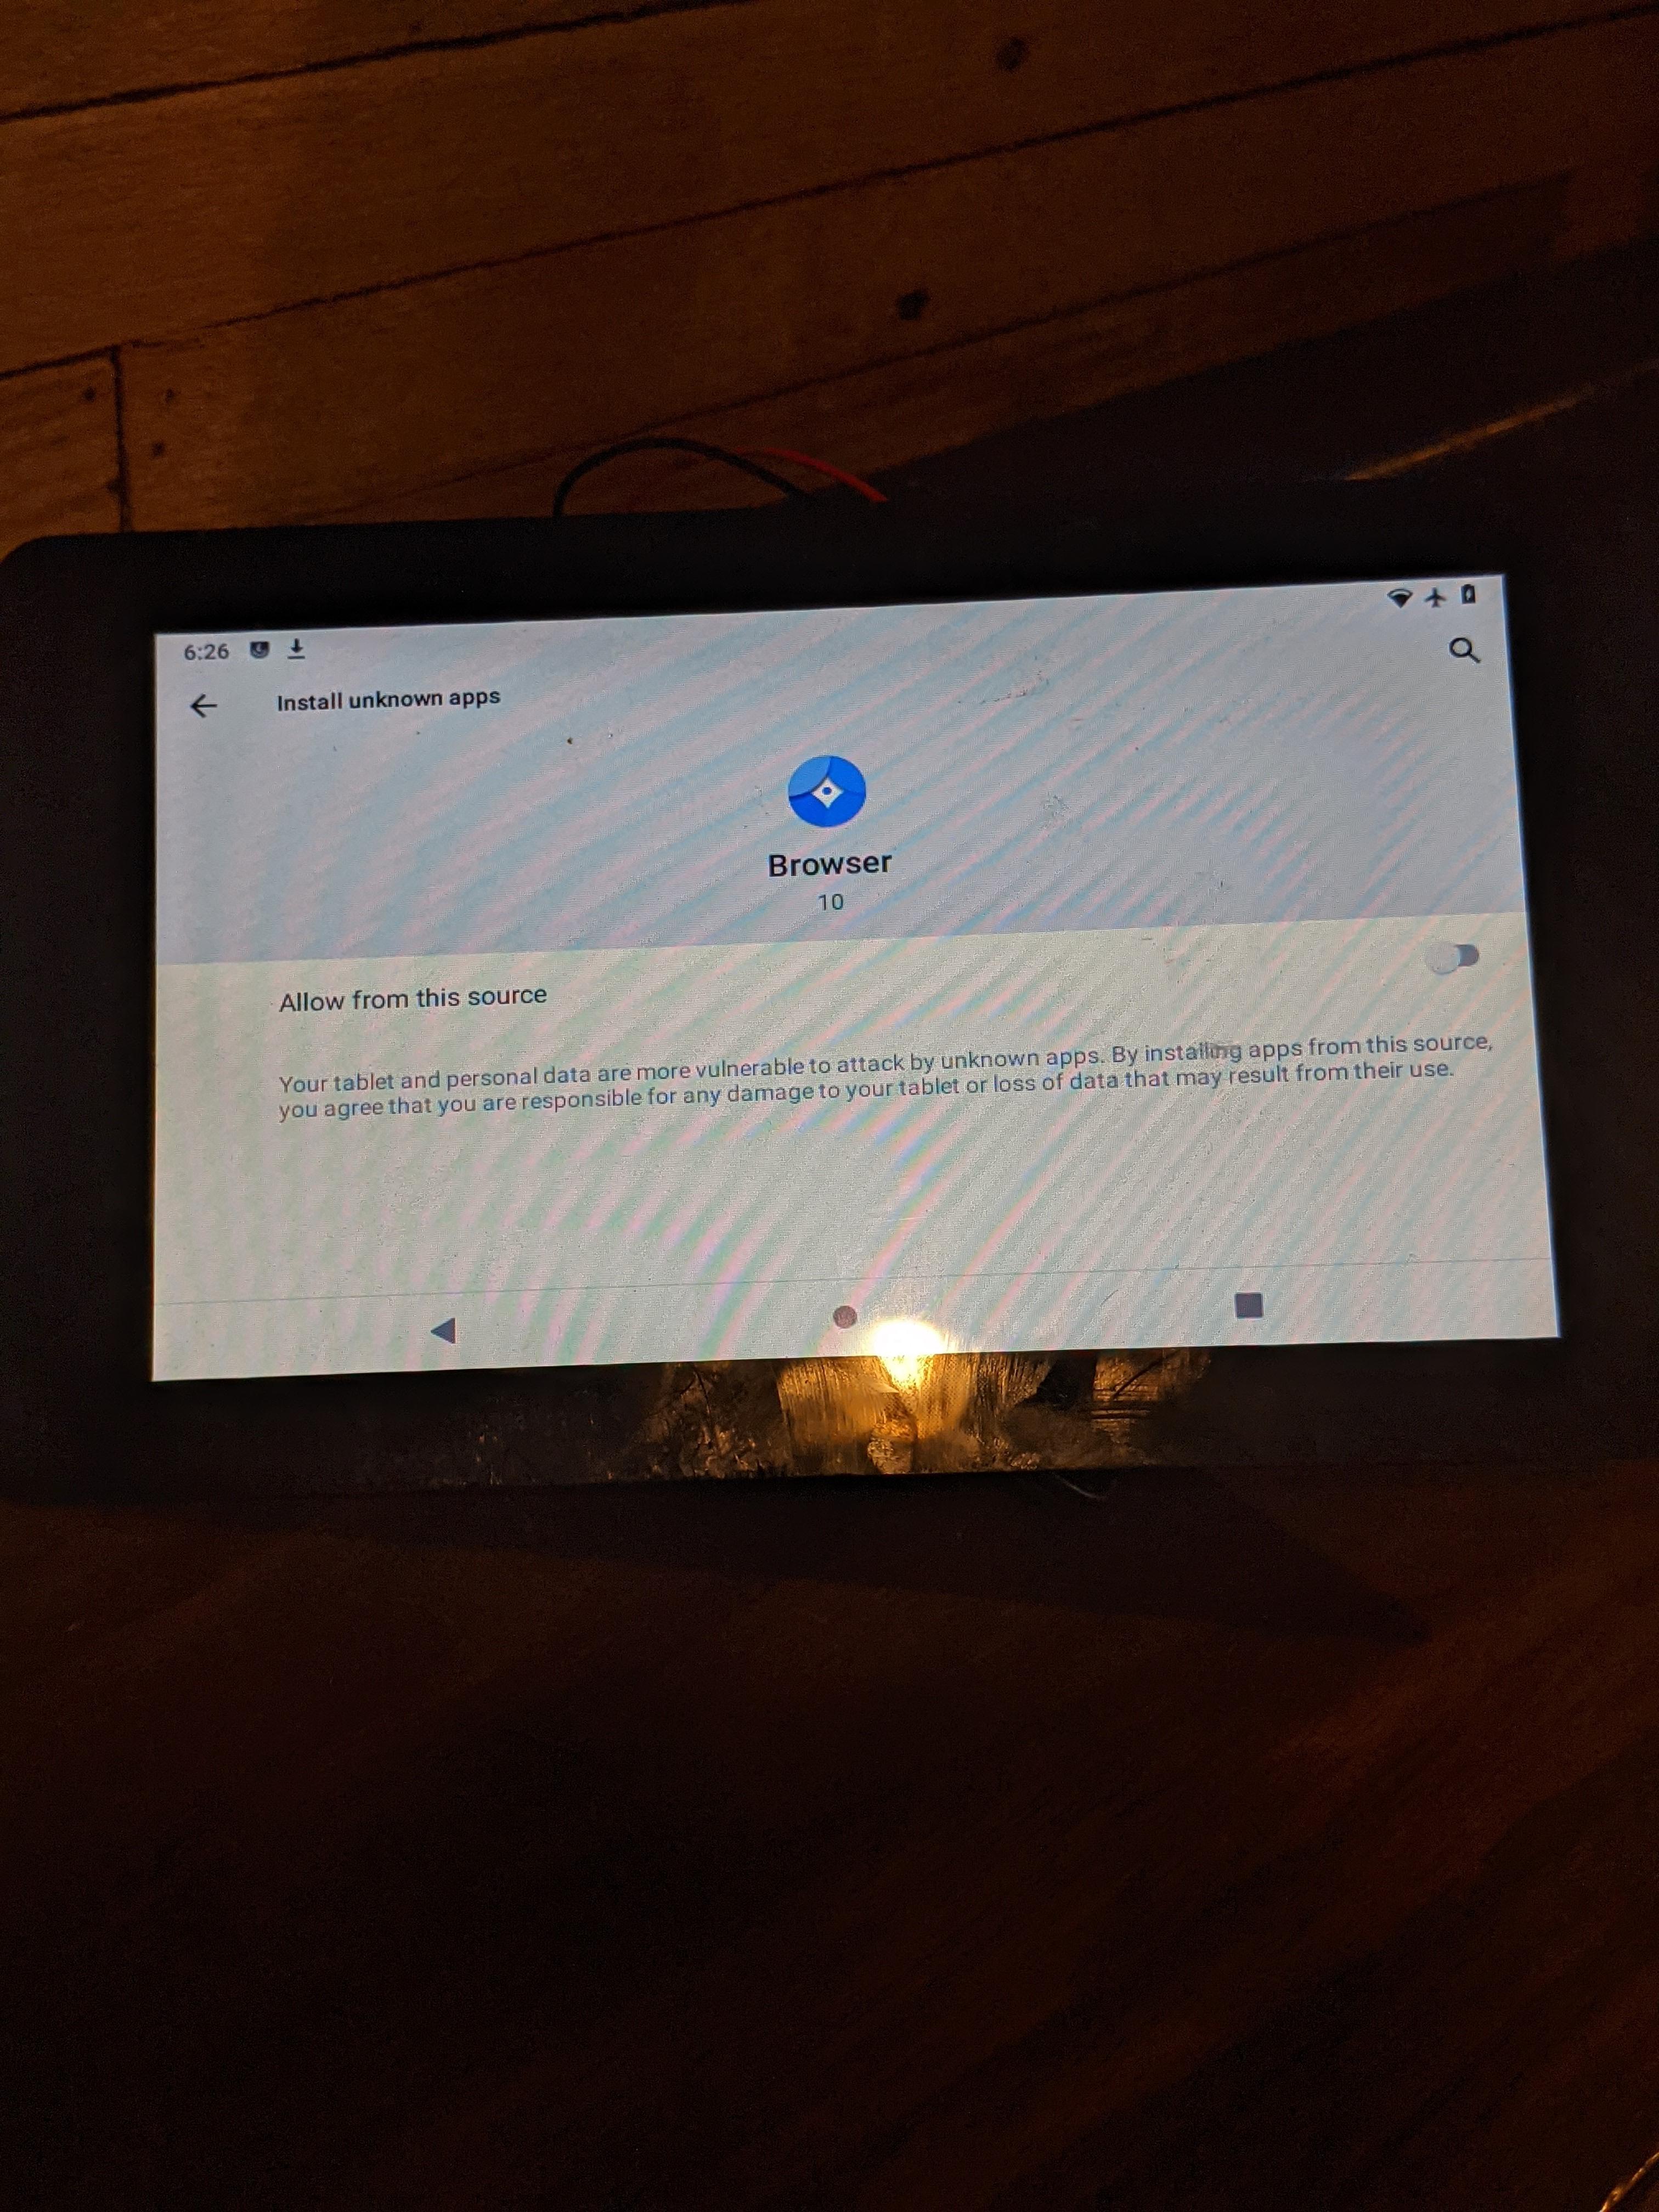
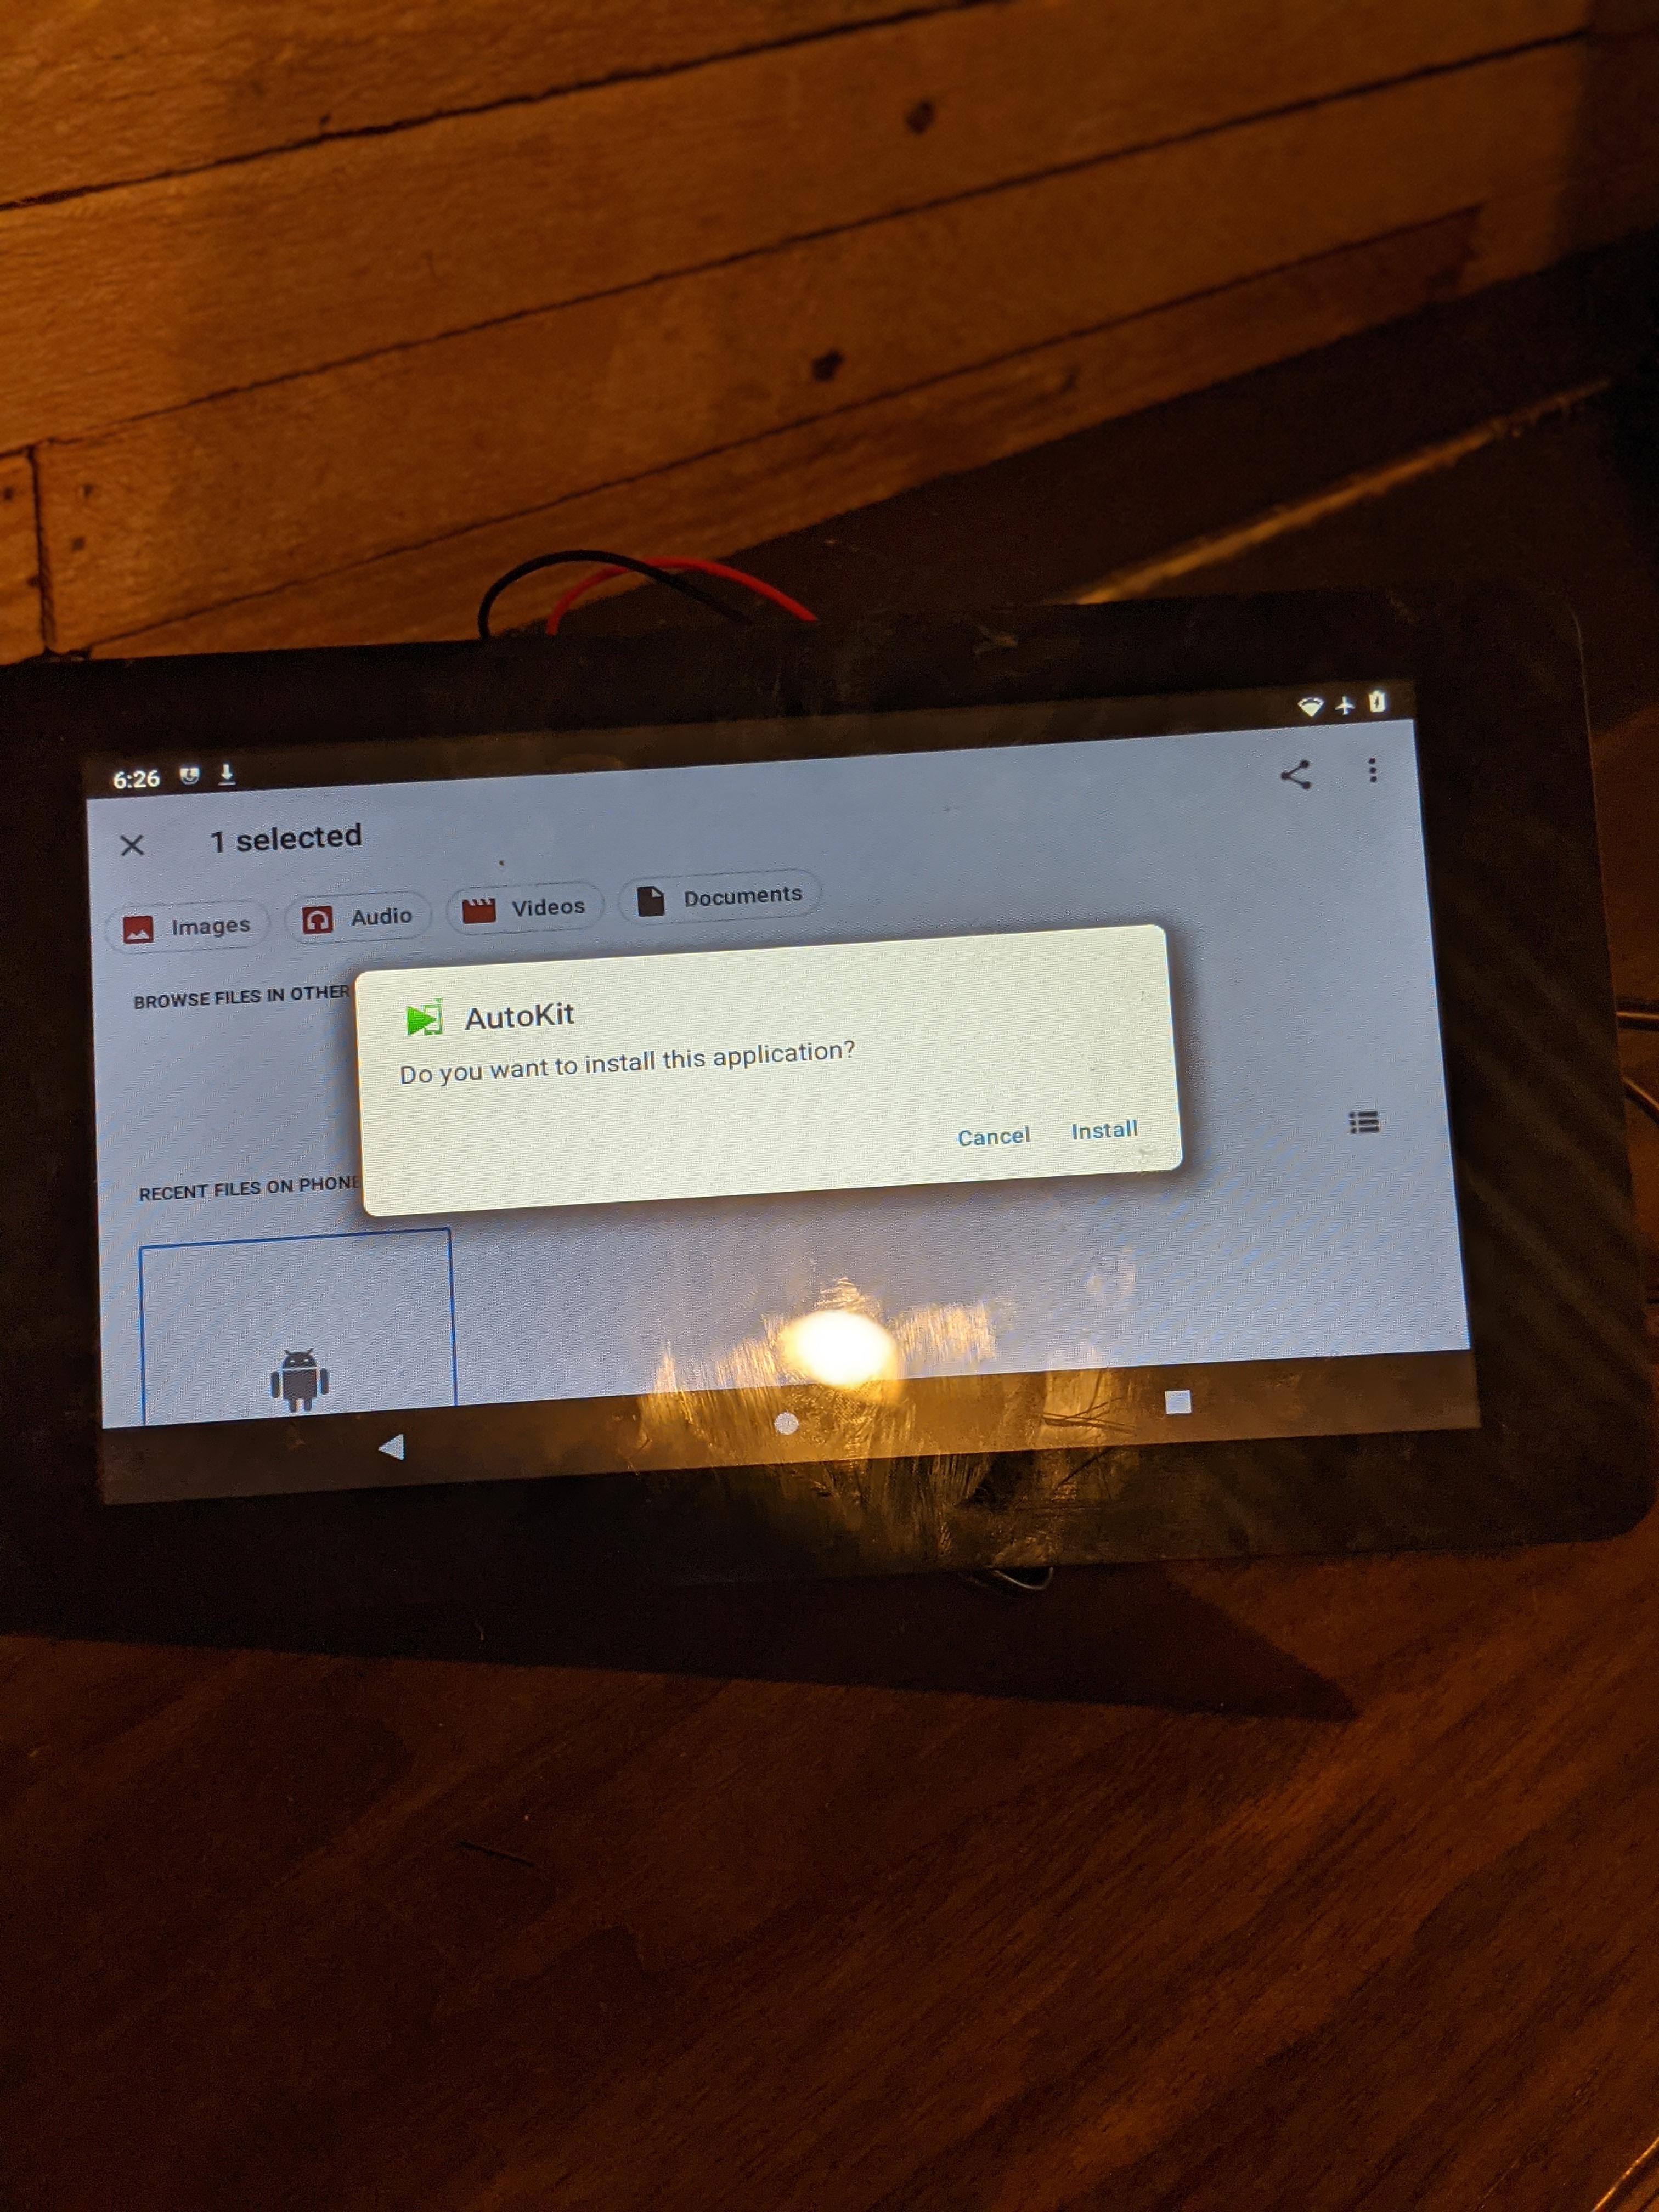
Now open your browser, which should be blue. Then open it and wait for the Google bar to open because that's the only way it will let me search.
https://autokitcarplay.com/blogs/news/how-to-download-and-install-autokit-apk
And if it just brings you to an image and no download then there are some other ones that I've come across. Next, open files and tap it. It should install then see if you want to open. Then open it! Hit allow on whatever you want, but I should note that some of these features do a lot, like the mic. You’re basically done now but check on settings for updates then choose your settings, like if you want it to come on right when you plug in your phone, which I would recommend. And it should connect.
The Manual
Here I have the official manual for y'all to check out.