Canning Fruit
by Paige Russell in Cooking > Canning & Preserving
66994 Views, 133 Favorites, 0 Comments
Canning Fruit

Canned fruit is a pantry classic, and canned peaches are my favorite, so that is what I used to demonstrate this technique. If peaches are no longer in season in your area, you can apply the same steps to other fruits as well, like:
pears
plums
apricots
grapes
nectarines
pineapple
There are two ways to safely prepare the fruit to be canned: raw pack and hot pack. While raw packing (which means washing, slicing and packing the fruit without pre-heating it) is faster and a bit less work, it can result in more buoyant fruit pieces that will float to the surface of the canning liquid. This is know as 'fruit float'. The result is that some of the top layer of fruit pieces will stick above the liquid and turn brown. It does not spoil the fruit, it's just an unappetizing look. I prefer using the hot pack method, as it produces a better quality canned fruit (my opinion) and 'the float' is less likely to occur.
Safe Home Canning

This recipe is a project that I made to go with my Instructables Canning & Preserving Class. I will not be going over all the safety ins and outs of home canning in this instructable, so I highly recommend that you read through Lessons 1 & 2 of my class before you give this recipe (or any other home canning) a go!
Tools & Equipment
General Tools:
- Cutting board
- Paring knife
- Colander
- Shallow glass or ceramic bowl
- Measuring cup
- Slotted spoon
- Ladle
- Kitchen towels
- Large non-reactive pot (not aluminum or copper)
- Scale
- chopstick or steak knife
Canning Specific Tools:
- canning pot w/ round jar rack
- 6 pint jars w/ rings and brand new lids
- canning funnel
- lid lifter
- jar lifter
How Much Fruit Per Jar?

For most of the fruits listed above, the ratio is:
1 1/4 lbs (567 gr) per pint jar (which was approx. 2 1/2 medium sized peaches for me)
2 1/2 lbs (1.13 kg) per quart jar
There are two exceptions:
Plums = 1 lb (454 gr) per pint jar / 2 lbs (1.13 kg) per quart jar
Pineapple = 1 1/2 lbs (680 gr) per pint jar / 3 lbs (1.36 kg) per quart jar
For this recipe, we'll be making 6 pints of canned peaches, which means we will need 7 1/2 lbs of peaches. (Approx. 12-15 peaches)
How to Can Using a Boiling Water Bath
Here's a bullet point run down of the boiling water bath canning process with a few notes and how to's added in.
Please try not to feel overwhelmed by this long list and just give it a quick read. Both of the recipes in this lesson illustrate the process clearly, but this can act as a quick reference guide if needed. (I've included a printable pdf of this list for even easier countertop reference.) :)
- Fill your canning pot with water, put it on the stove and set it to boil. It can take up to a ½ hour for that much water to heat up, so that's why I've made this the first step.
- Add a round rack to the pot.
- Wash the jars you'll be using well and submerge them in the canning pot water.
- If the recipe you're using calls for less than 10 minutes of processing time in the boiling water bath, you need to sterilize the jars. This is done by leaving the jars in the water once it's come to a full boil for at least 10 minutes. Once the 10 minutes are up, you can remove the jars and fill them with the recipe's food. I'll go over sterilizing the jars in more detail at the end of this list.
- Lay one kitchen towel next to the stove to place the hot filled jars on when they come out of the pot. Place another towel in an out-of-the-way spot where the jars can remain undisturbed for 12 hours post canning.
- Set out all your tools.
- shallow heat-proof bowl with the sealer lids spread out (unstacked) in it
- lid lifter
- jar lifter
- lid rings
- slotted or un-slotted spoon
- ladle (if necessary)
- wide mouth funnel
- chopstick or steak knife for removing air bubbles from the inside wall of the jars before lidding
- paper towels to wipe the jar rims before lidding
- Follow the recipe to create the food filling.
- Once the filling is ready, use the jar lifter to remove the jars from the hot or boiling water of the canning pot, emptying them before placing them on the kitchen towel you set out. Pour enough water from the last jar onto the lids in the shallow bowl to soften the sealing compound. (DO NOT BOIL THE LIDS!) Pour the rest of the water back into the canning pot and set the jar on the towel. NOTE: You should never boil the sealer lids. This could damage the sealing compound. Adding just boiled or simmered water is fine though.
- Place the canning funnel in the first jar and use the spoon or ladle to transfer the food into the jar. Keep the spoon as low as possible so that you don't introduce unnecessary air bubbles into the food. If you're adding whole fruit, pack it in tightly and leave 3/4" headspace. When adding the liquid that follows, fill it so that there is 1/2" headspace. (Headspace is from the top of the food to the rim of the jar.) If you're adding a preserve, jelly, or jam, leave 1/4" headspace.
- Run the chopstick or plastic knife around the inside of each jar to remove any large air bubbles. (Small ones are ok.)
- Use a damp paper towel to wipe the rims of the jars.
- Using the jar lifter, remove a sealer lid and place it on the jar so that it's centered and the sealing compound lines up with the rim.
- Add and gently hand-tighten the lid ring. Don't tighten it too much, as air needs to be able to escape the jar during processing in order to create the vacuum seal.
- Repeat for the remaining jars.
- Use the jar lifter to carefully place the jars into the canning pot so that they aren't touching each other or the sides of the pot. You want the water to cover the jars by 1-2 inches. If the pot has so much water that it's in danger of overflowing, remove some of the water. The 1-2 inches of water above the jars is necessary, but more than that isn't, as it would just have the potential to bubble over as it processes.
- Set your timer to the processing time suggested in the recipe (plus any additional minutes necessary if you live at an altitude above sea level. See the chart in the next step for how to calculate this.). Once the water returns to a boil, hit start.
- Once the jars have processed for the correct amount of time according to the recipe, use the jar lifter to carefully remove the jars, keeping them level, and set them on the 'out of the way' towel.
- After one hour, it's important to check to see if the lids sealed properly. There are two ways of doing this:
- Press down on the center of the lid with one finger. If there's no give in the lid, it is sealed. If it pops down and then back up again, it hasn't sealed.
- OR remove one of the lid rings and using the tips of your thumb and fingers, grab hold of the edges of the sealing lid and try to lift the jar a few inches off the table. If the lid is sealed properly, the jar will easily lift up by the lid. If it isn't, just the lid will lift off.
*Test each jar using either technique. Any jars that didn't seal properly must go immediately into the fridge and be eaten within 3-4 days.
- Let the jars set for 12 hours on their towel before moving them to the cupboard or pantry.
- Eat them within 1 year.
How to Hot Pack Fruit for Canning

Ingredient List
- 7.5 lbs peaches (approx. 10-12)
- 3 cups white grape juice
- 3 cups water
Picking Your Fruit

As with all foods that you preserve, choose fruit that is blemish and bruise free, and if possible, at the peak of its growing season. Once canned, fully ripe peaches will taste best, but underripe peaches will have a better texture. So try to pick peaches that have a strong 'peach' smell at room temperature, but are still firm when squeezed. This applies to most other fruit, with the exception of pineapple which you want to be fully (but not overly) ripe.
NOTE: Try to never put peaches or any stone fruit in the fridge for an extended period of time. They will become mealy and lose some of their flavor which canning will not be able to restore. Whatever goes into the jars, is what will come out of them, quality wise.
Set Up Your Boiling Water Bath

Fill your deep canning pot with water, add your jar rack, and start heating it up. If it starts to boil before you're ready with the simmered peach slices we'll be prepping in the coming steps, just turn off the burner and turn it back on as you start to simmer the peaches.
Bring Another Large Pot of Water to Boil

Separate from the canning pot, bring a large pot of water to boil. We are going to use this to remove the skins of the peaches and then again for simmering them, which is the 'hot' part of hot packing.
Prep the Peaches for Simmering

Freestone Peach Halving

Clingstone Peach 'X'ing
If you're using freestone peaches (those that come away easily from the pit), use a paring knife to cut them in half and remove the pits. You can also remove the red flesh surrounding the pit now, or post blanching. If you're using clingstone peaches (those that refuse to be easily separated from their pits), use a paring knife to make an 'X' in the skin at one end of each peach (like pictured above).


Place the half or whole peaches into the non-canning pot of boiling water for 30 seconds. This makes the skins easier to remove as well as helping to keep the peaches from browning once sliced before we blanch them.
Remove with a slotted spoon. Immediately run the peaches under cold water for 30 seconds. This makes the skins even easier to remove.


Once the peaches are cool enough to handle, use a paring knife and your fingers to remove the skins from all the peaches. Once all the skins are removed, cut the peaches into slices. (Or leave them in halves if you prefer.) For clingstone peaches, it can be easier to cut the slices right off the pit.
OPTIONAL: You can use a small metal spoon or the paring knife to remove the red flesh that surrounded the pits. This isn't inedible, it just detracts from the classic canned peach look. Whether or not to do this step is totally up to you.
Prep Your Canning Station

Next, lay out everything you'll need to pack and lid the jars in preparation for canning.
- large non-reactive pot
- canning pot with round jar rack half filled w/ boiling water
- 6 clean pint jars on a towel
- slotted spoon
- canning funnel
- shallow glass or ceramic bowl
- 6 lids and lid rings
- lid lifter
- jar lifter
- ladle
- chopstick or steak knife
Dump the water out of the simmering pot and wipe out any peach chunks that are lingering from the skin blanching we did in the last section. Set it back on the stove.
NOTE: Once the water in the canning pot is boiling, wash and rinse your canning jars and lids. No need to sterilize them for this recipe since the processing time is over 10 minutes.
Simmering the Peaches

Traditionally peaches are canned in sugar syrup, but since the added sugar isn't necessary for their safe canning, I prefer using a 50/50 mix of water and unsweetened fruit juice instead. White grape or filtered apple juice are both great choices.
Using only water is also an option, but I find it tends to leach some of the flavor out of the fruit, which is why I combine it with fruit juice. Likewise, it's also ok to use fruit juice with no added water. That's something you can play with over time to find your ultimate flavor ratio.
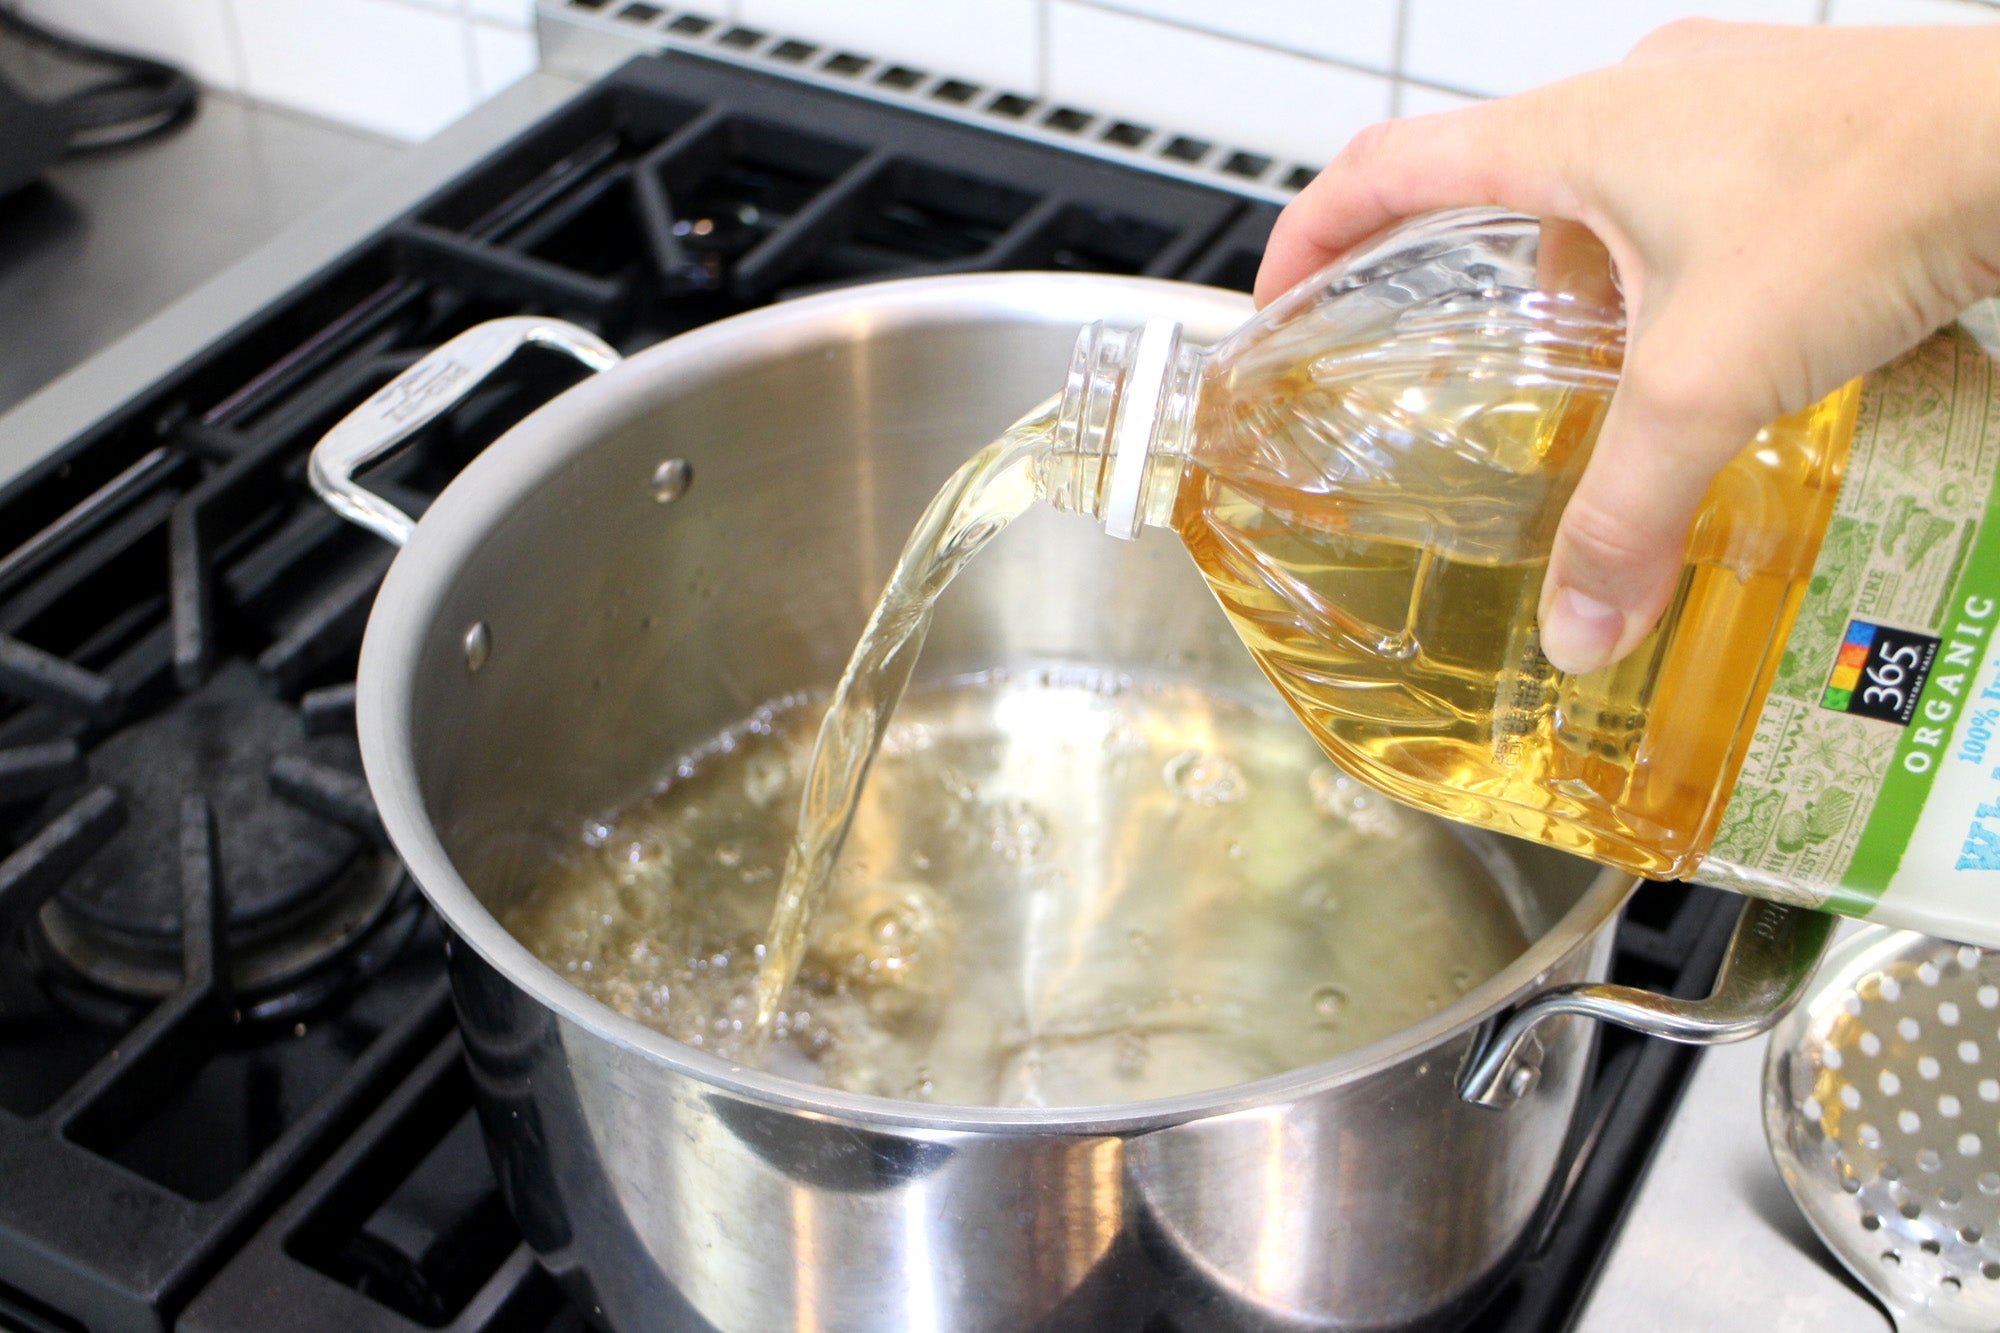

Add 3 cups of grape juice and 3 cups of water and bring it to a boil.


Once the juice mix is boiling, add in the peach slices and simmer them for 2 minutes.
Loading & Lidding the Jars

While the peaches are simmering, dump the warm water out of the jars and put the funnel in the first jar.


Once the 2 minutes are up, use the slotted spoon to transfer the fruit to the jars, remembering to add the contents slow and low so you don't add any unnecessary air bubbles. Pack the fruit down with the back of a spoon as you go.

Leave 3/4" headspace for each jar.


Then use a ladle to fill the jars with the hot grape juice mix until there's ½" of headspace remaining.

Use the back of a spoon to push down on the peaches to force any large air bubbles to the surface. Then run a chopstick or steak knife around the inside walls of each jar, also to release any trapped air bubbles.

Use a damp paper towel to wipe off the jar rims and remove any food bits that could get in the way of a proper seal being created during canning.


Use the magnetic jar lifter to remove the lids from the shallow bowl and place them on the jars so that the sealing compound lines up with the jar rim (like pictured above).


Gently finger tighten the lid rings in place. (Don't tighten them too much, as air needs to be able to escape the jar during processing in order to create the vacuum seal.)
Processing the Jars


Remove enough water from the canning pot so that the pot's only half filled. The filled and lidded jars will displace enough water to raise the water level back up where it needs to be for processing. If for some reason you need to add more water in order for it to be 1-2" above the jars, boil some in a kettle and add it from there.


Use the jar lifter to load the jars into the canning pot.

Once the water returns to a FULL BOIL, set your timer to 20 minutes for pint jars and 25 minutes for quart jars. Make sure 1-2" inches of water remain above the jars throughout processing. Add more from a boiled kettle if necessary.

IMPORTANT NOTE: If you live more than 1000 feet above sea level, please refer to the Altitude Adjustment Chart above for how to adjust your processing time. For a more detailed description of why this is necessary, read Lesson 2 of my Canning & Preserving Class.


Once the processing time is up, use the jar lifter to remove the jars while keeping them level, and place them on an 'out of the way' towel where the jars can hang out undisturbed to cool and set for 12 hours.

NOTE: Ideally, using the chopstick and the back of spoon, you will have removed most of the trapped air bubbles. But if there are still bubbles post processing, not to worry! It won't affect the safety, flavor, or texture of the canned fruit.


After one hour, perform one of the seal checks on each jar. (Refer to the Boiling Water Bath canning how-to list for a description of both ways to check for a proper seal.) Any jars that fail the test, put immediately into the fridge and eat within 3-4 days.

After the jars have cooled and set for 12 hours, label them with the canning date and move them to the cupboard, pantry or root cellar.
Storage Tips

Once your precious jars of preserved yumminess have cooled and sat in place for 12 hours, move them to a dark, cool cupboard, pantry, or root cellar. There they will keep for up to 1 year, but once opened, must be kept in the fridge.
To learn how to make the other preserved foods in the above image, check out my Canning & Preserving Class!