Calibrate Your Garmin Edge 500 Battery Indicator
by fullcarbonbike in Circuits > Electronics
12436 Views, 3 Favorites, 0 Comments
Calibrate Your Garmin Edge 500 Battery Indicator
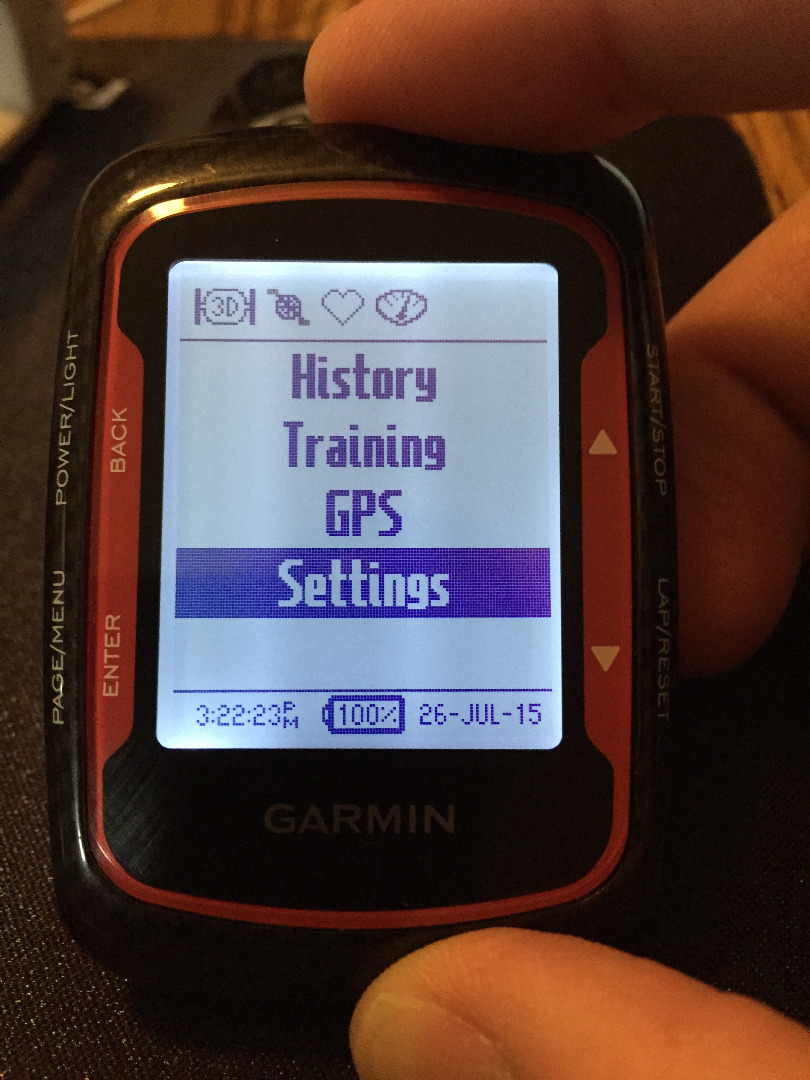
If you own a Garmin Edge 500 you may have noticed that over time the battery indicator will always report 100%, no matter how long a ride it may have been used to record. In the photo, you can see the battery indicator on mine reports 100%, even though I had just finished a ~8.5 hour ride.
The following Instructable requires no special tools, just the steps shown and some time to allow the battery to completely discharge and then recharge. The steps that follow will help accelerate the discharge process, temporarily.
Settings
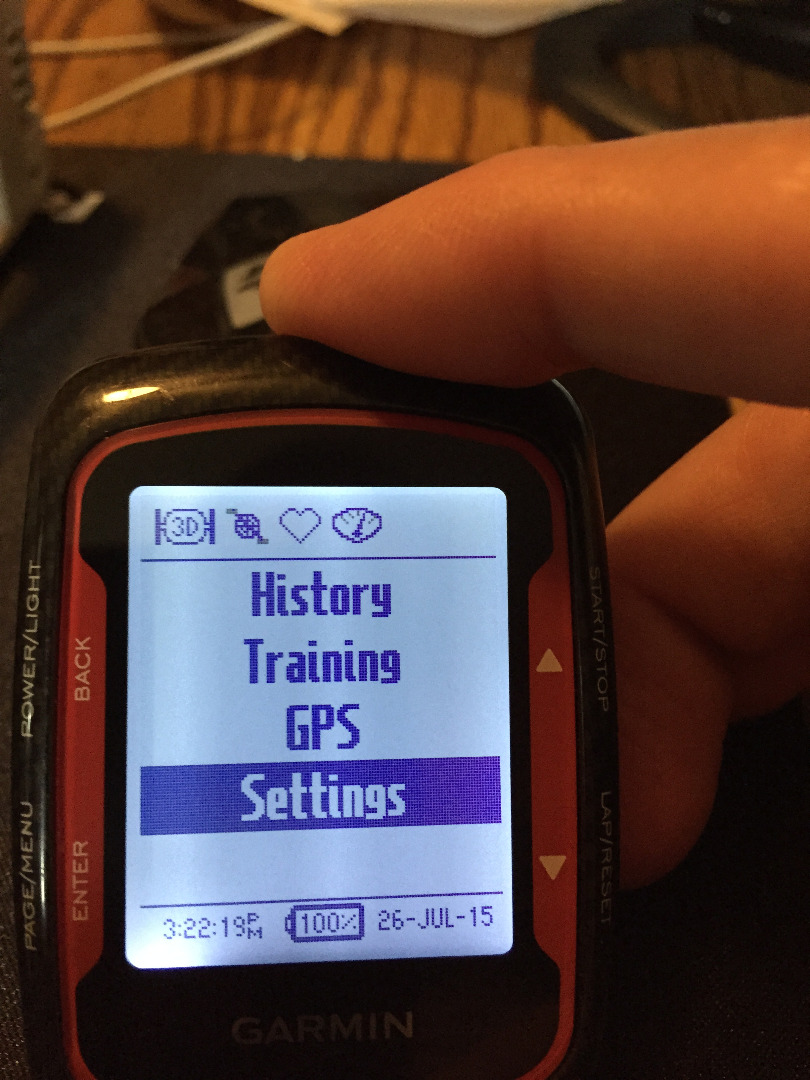
Press the the Power/Light[Back] button, to turn the unit on. After the banner/copyright screen has completed, press and hold the Page/Menu[Enter] button until the first menu page is displayed. Then, using the [Up/Down] scroll buttons on the right side of the unit, scroll down to the "Settings" option in the menu and then press the [Enter] button again.
System
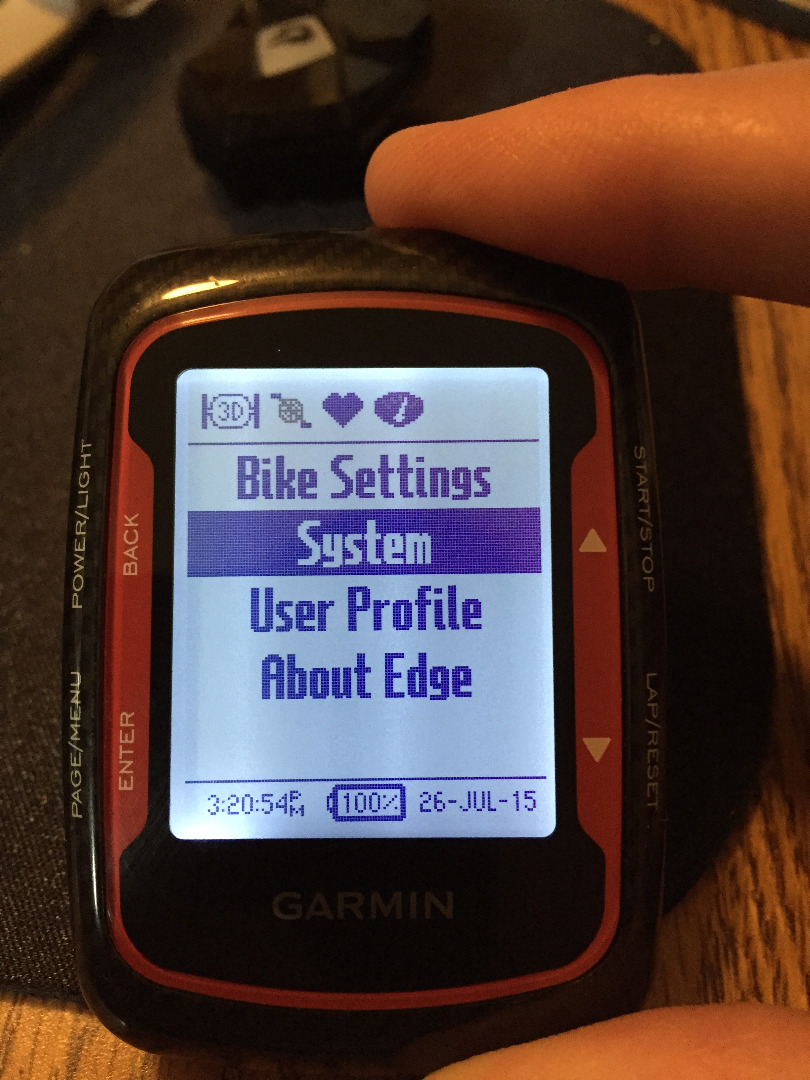
The unit will now display the next menu page, use the scroll buttons again, to select the the "System" option and press the [Enter] button again.
Display - Stays On
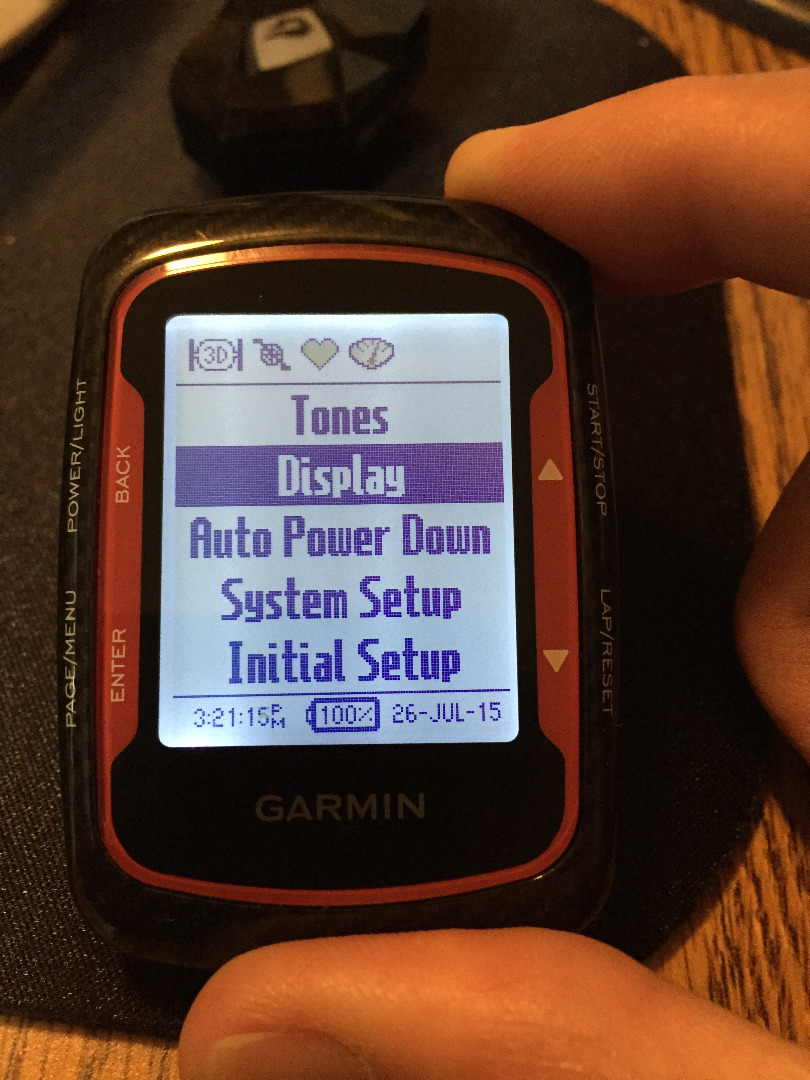
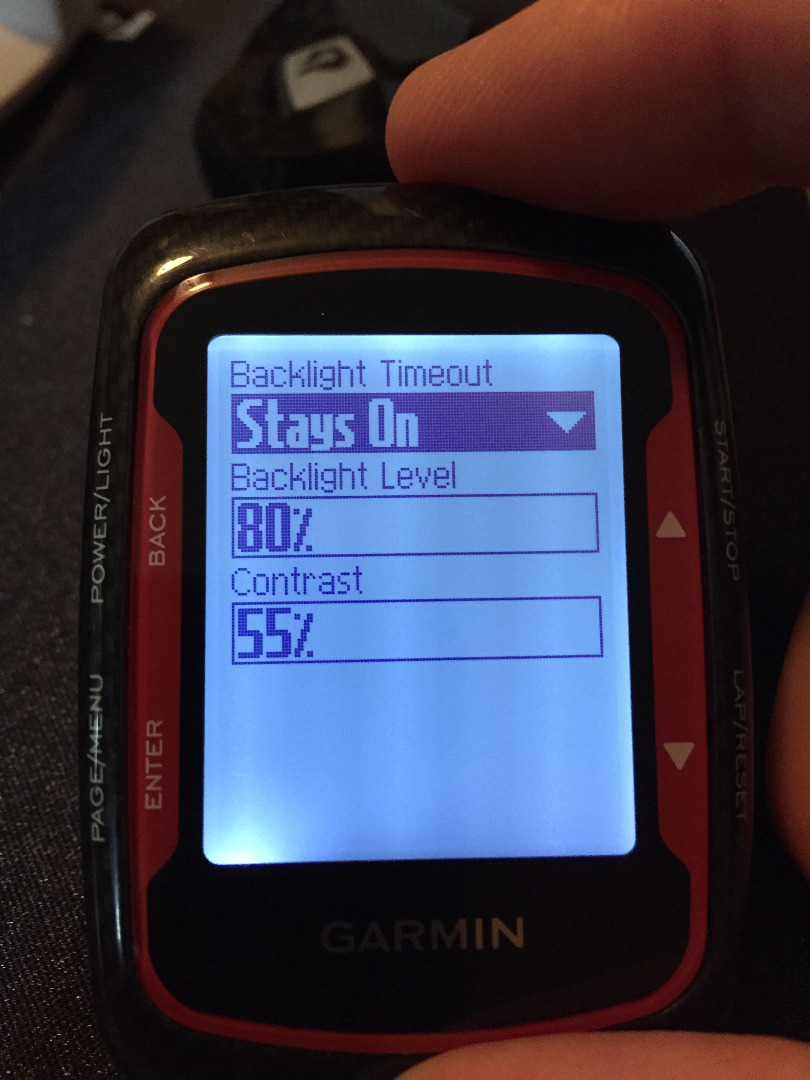
The unit will now show the menu screen shown in the first picture in this step. Use the scroll buttons to select the Display option and press [Enter]. The next screen will show the second picture in this step, and it should have the first item selected "Backlight Timeout". I normally have this set to 2 minutes, (make note of your settings, so that you can charge it back at the end of this process). For this procedure, you'll want to select the "Stays On" option, so the that remaining power will drain faster. To do this, press [Enter] to show the menu options and scroll thru them to select the "Stays On" option and press [Enter]. After selecting that option, press the [Back] button, so that the unit returns to the previous menu screen.
Auto Power Down - Off
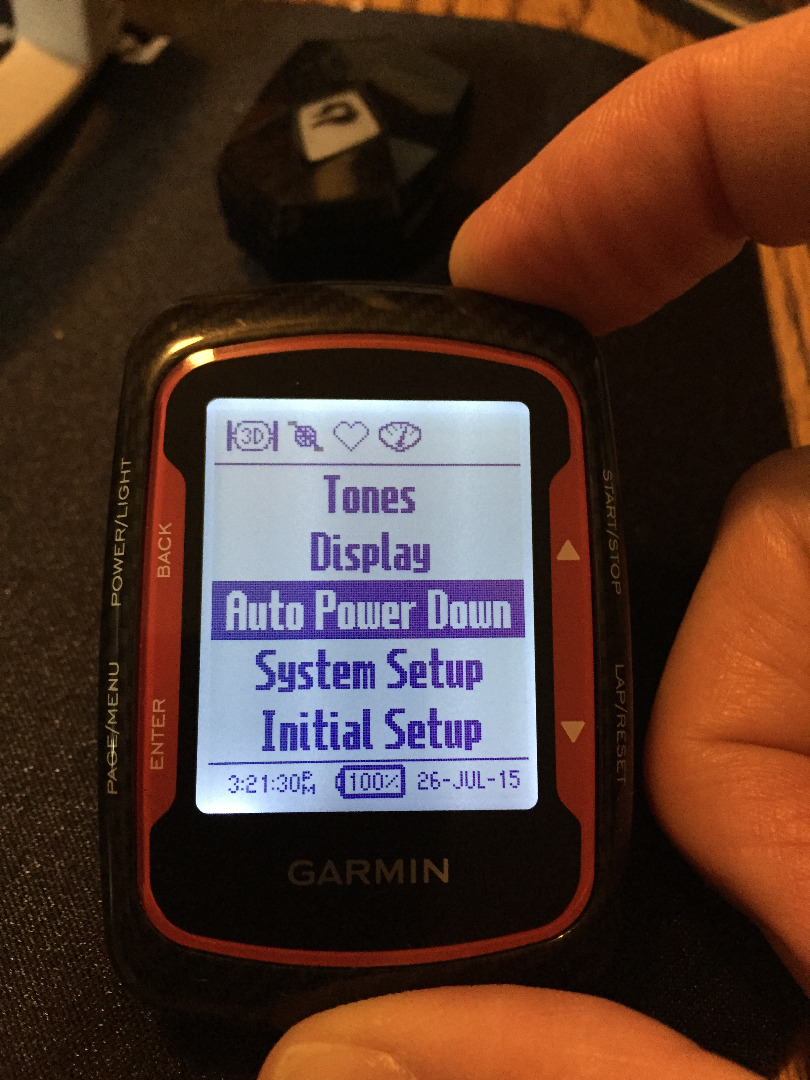
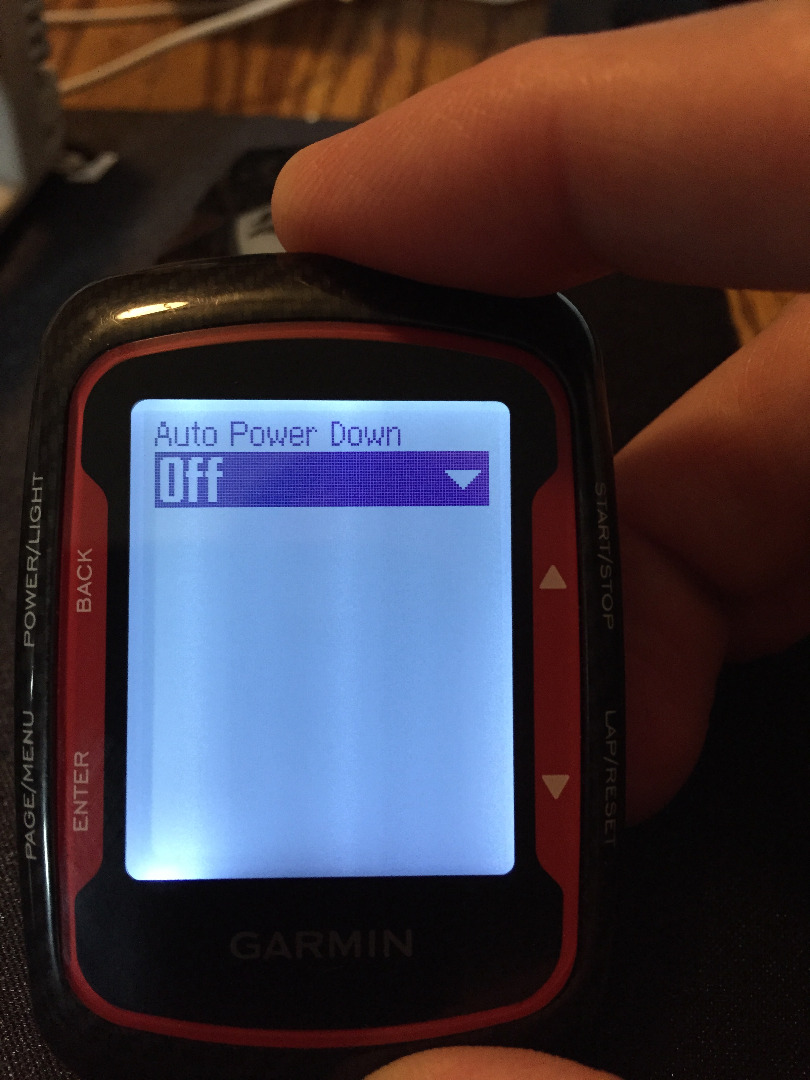
Now, with the unit back on the previous screen, use the scroll buttons to select the "Auto Power Down" option and select it by pressing [Enter]. On the next screen, the default setting is "On", (make note of your settings, so that you can charge it back at the end of this process) press the [Enter] button to show the "On / Off" options and use the scroll buttons to select "Off" and press [Enter] again.
Discharge & Recharge
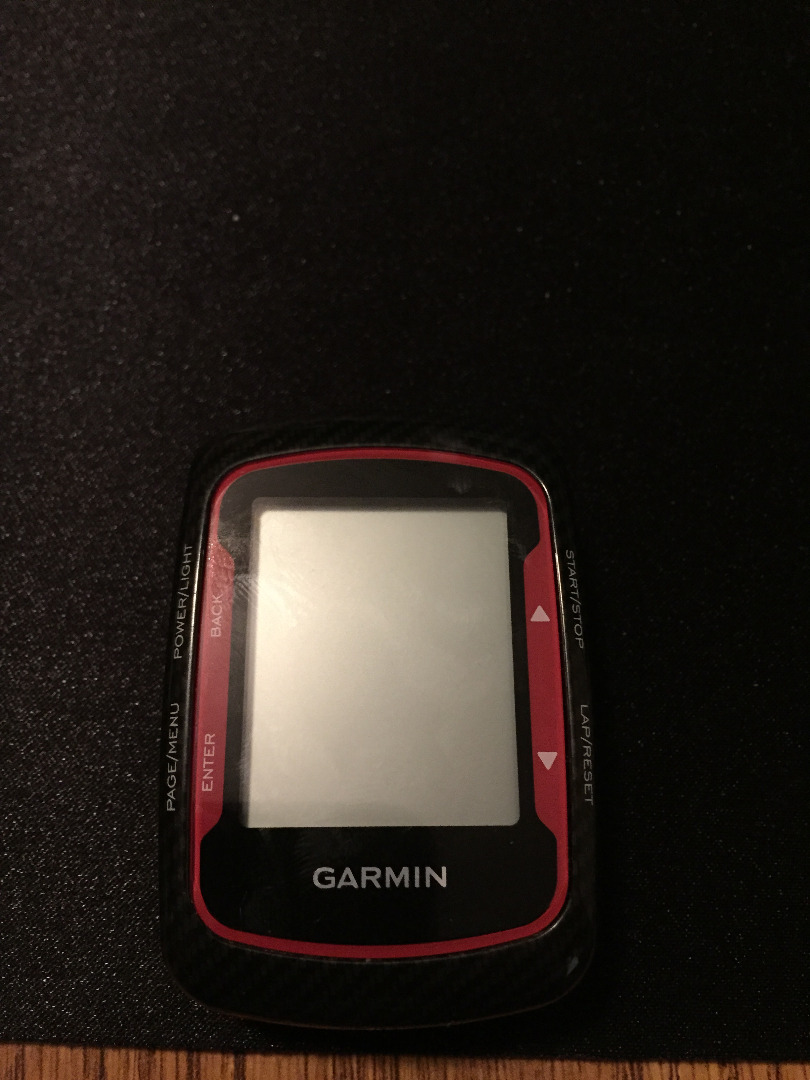
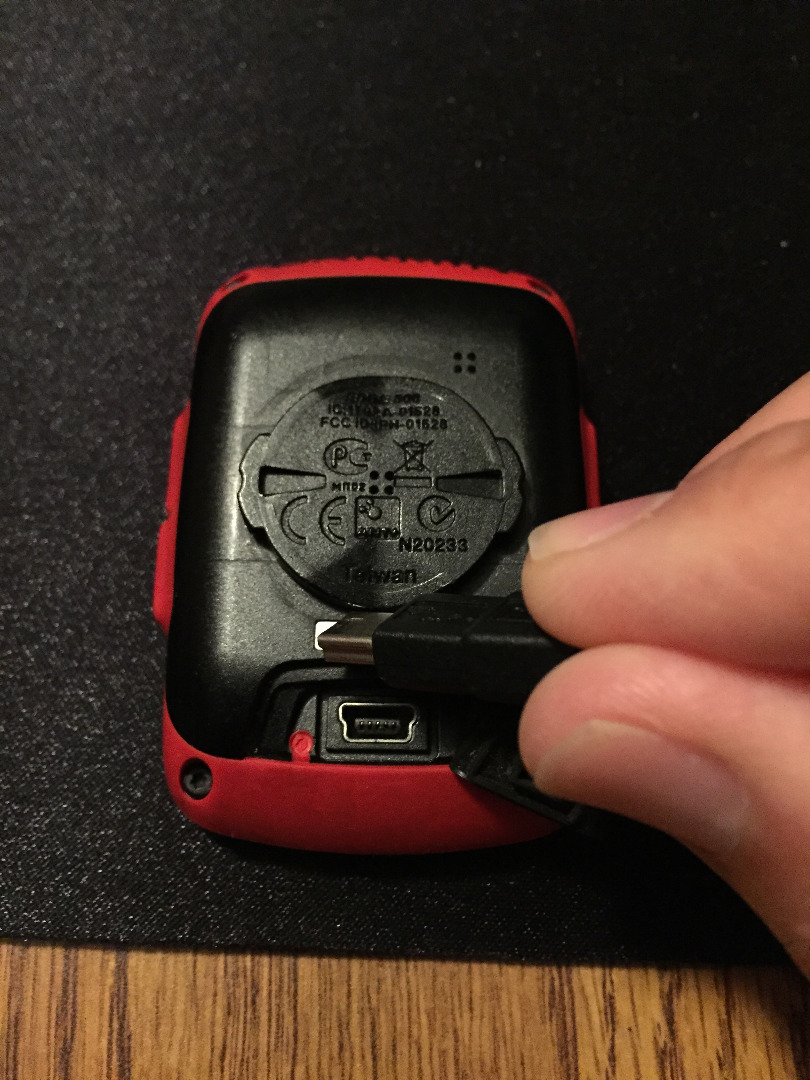
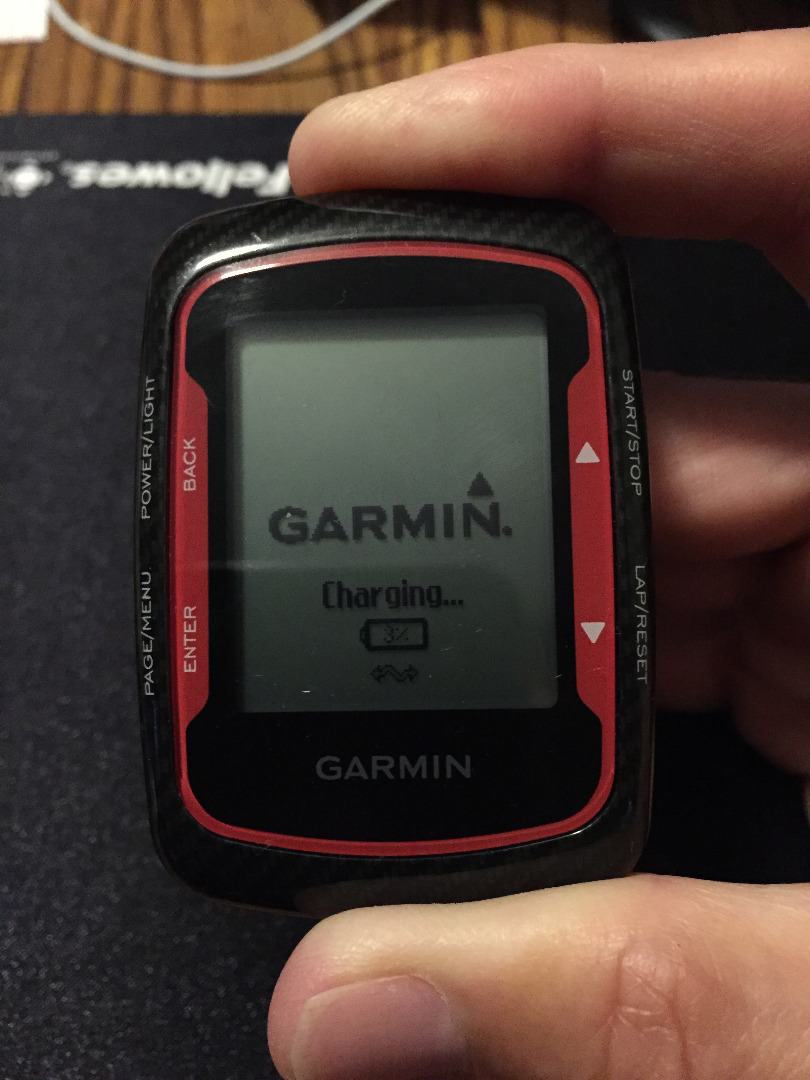
Use the [Back] button to return to the main screen, and then monitor the unit until it shuts down (this could take several hours, so plan ahead if you intend to use the unit for a ride). The shutdown happens a bit before the unit is 100% discharged, which helps prevent battery damage.
Once the unit does shutdown, plug it in to your charger/USB port. You should now see the display shown in the 3rd picture for this step (with ~3% power left). The battery indicator should now be showing the correct indication of the battery charge status.
Once the unit is fully recharged, go back in to the System menu and and set the Backlight Timeout and Auto Power Off to their original settings, so the unit doesn't continue to discharge.