Calibrate Your Saws - DIY Guy
by LowesDIYGuy in Workshop > Tools
7268 Views, 53 Favorites, 0 Comments
Calibrate Your Saws - DIY Guy

Occasionally, due to normal wear and tear on your saw, the bevel or miter angles can slip out of alignment.
This can wreak absolute havoc on your cuts.
Today, we're going to show you how to calibrate your:
Compound Miter Saw
Circular Saw
Table Saw
As always, make sure to read and follow all manufacturer's directions when operating power tools.
Stay safe, keep your fingers!
Watch the Video!
Two and a half minutes of your life well spent.
Gather Your Materials
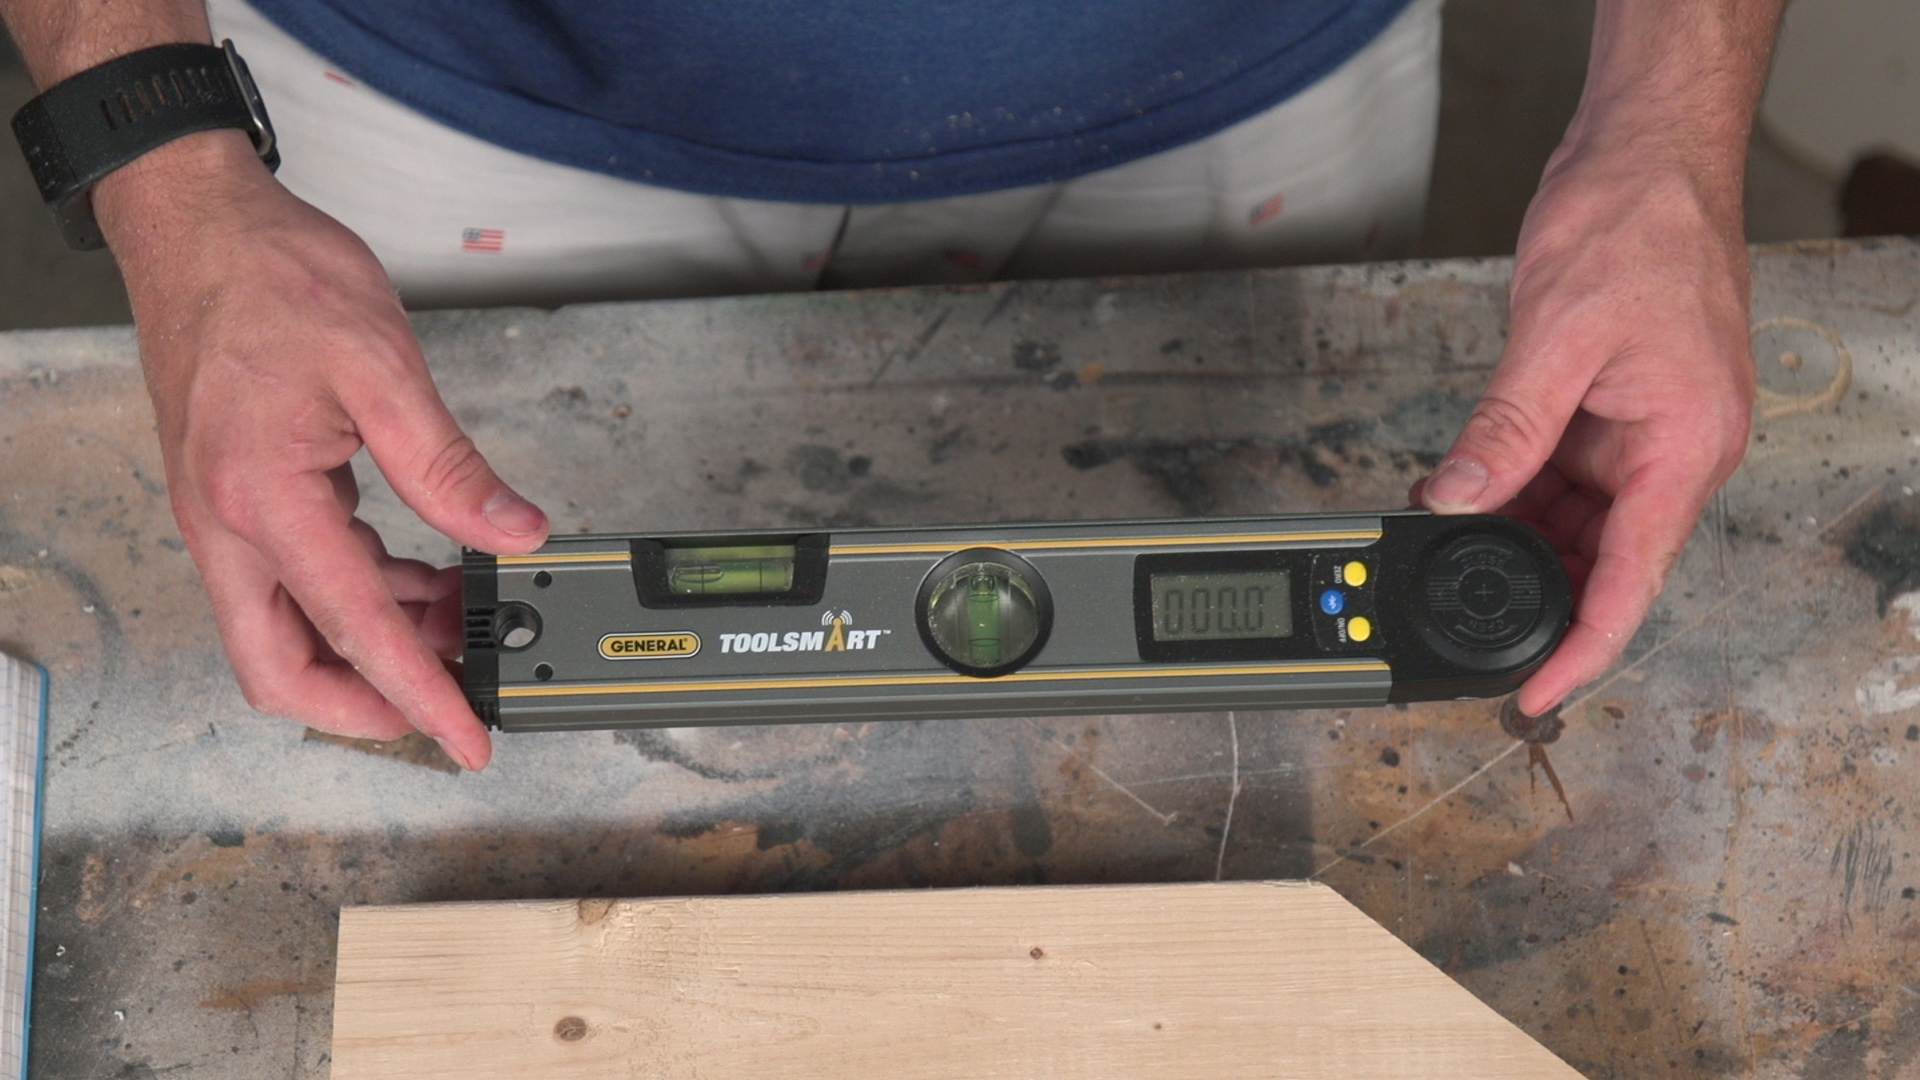
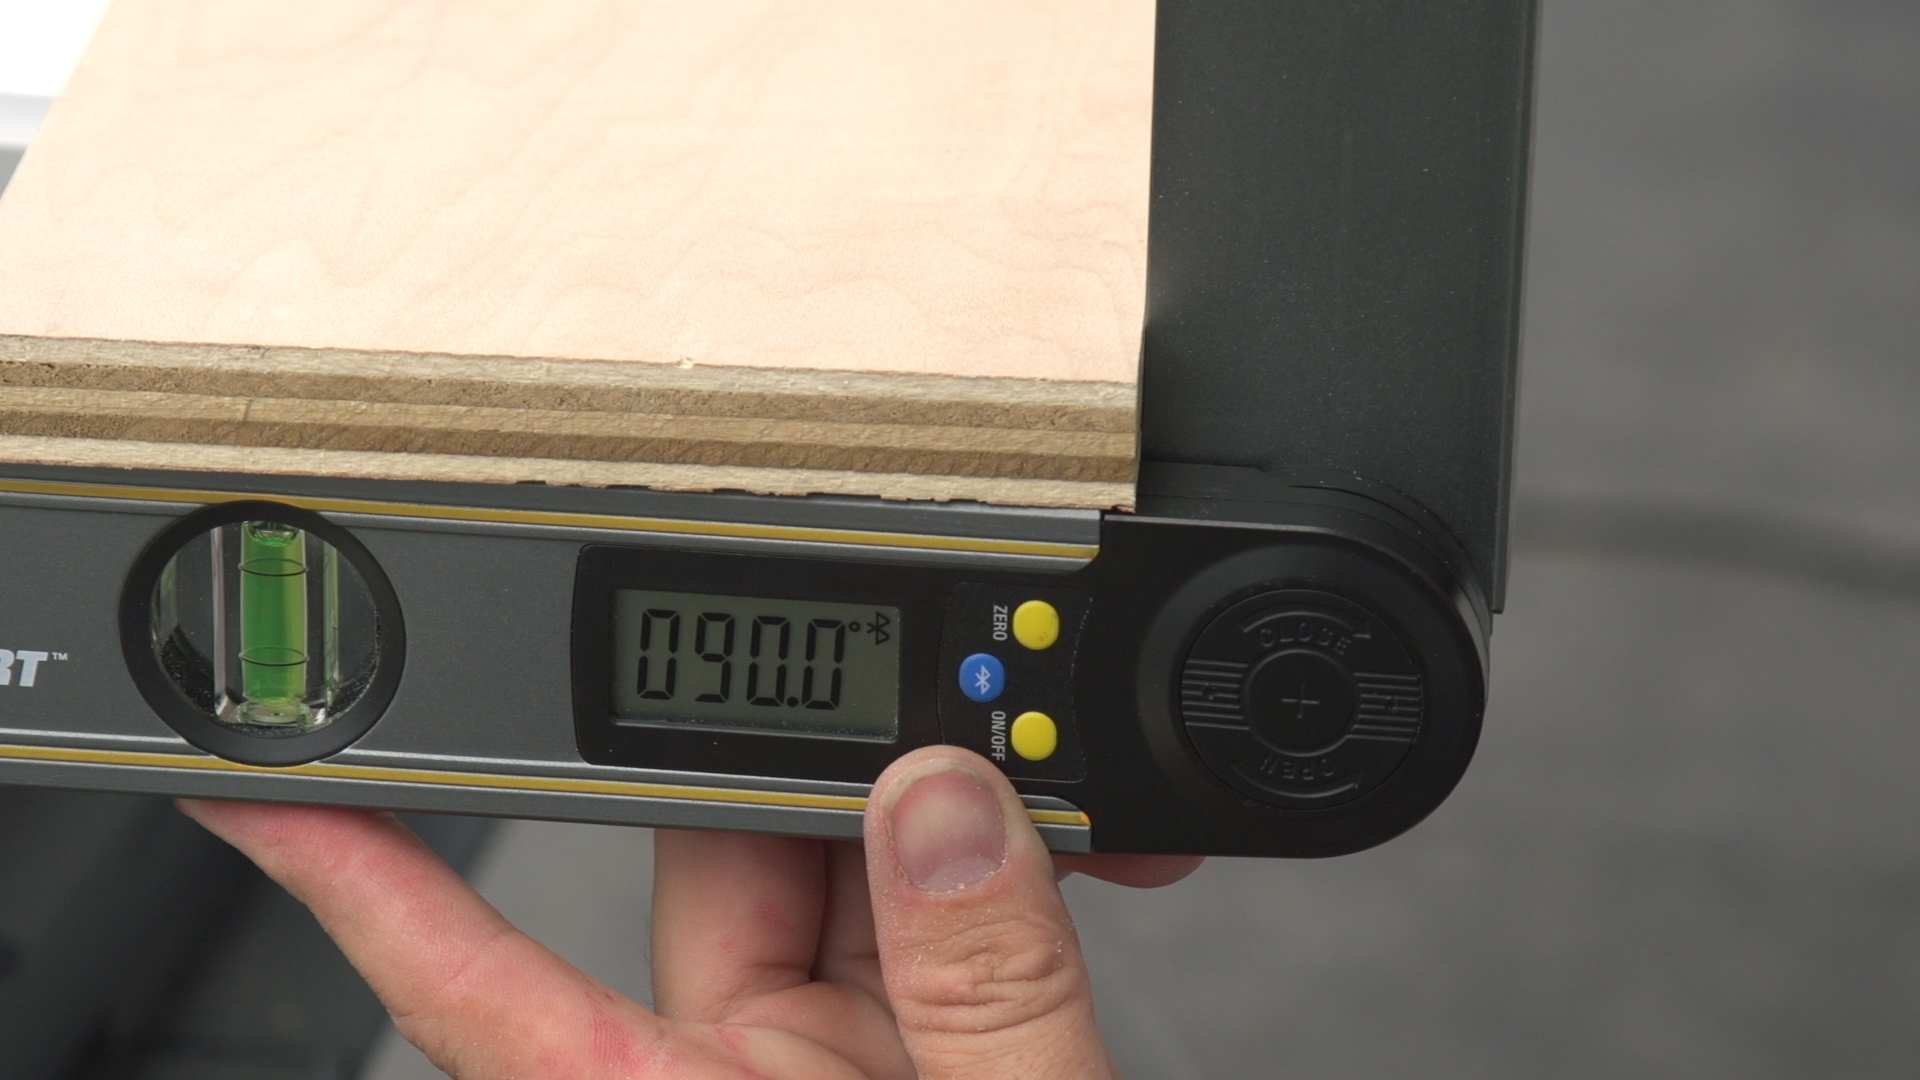
To calibrate your saw, you'll need a digital angle finder, like this one.
General Tools & Instruments ToolSmart Digital Angle Finder
You'll also need some scrap wood to make test cuts.
We used a spare 2x4 and a sheet of plywood.
Make a Test Cut
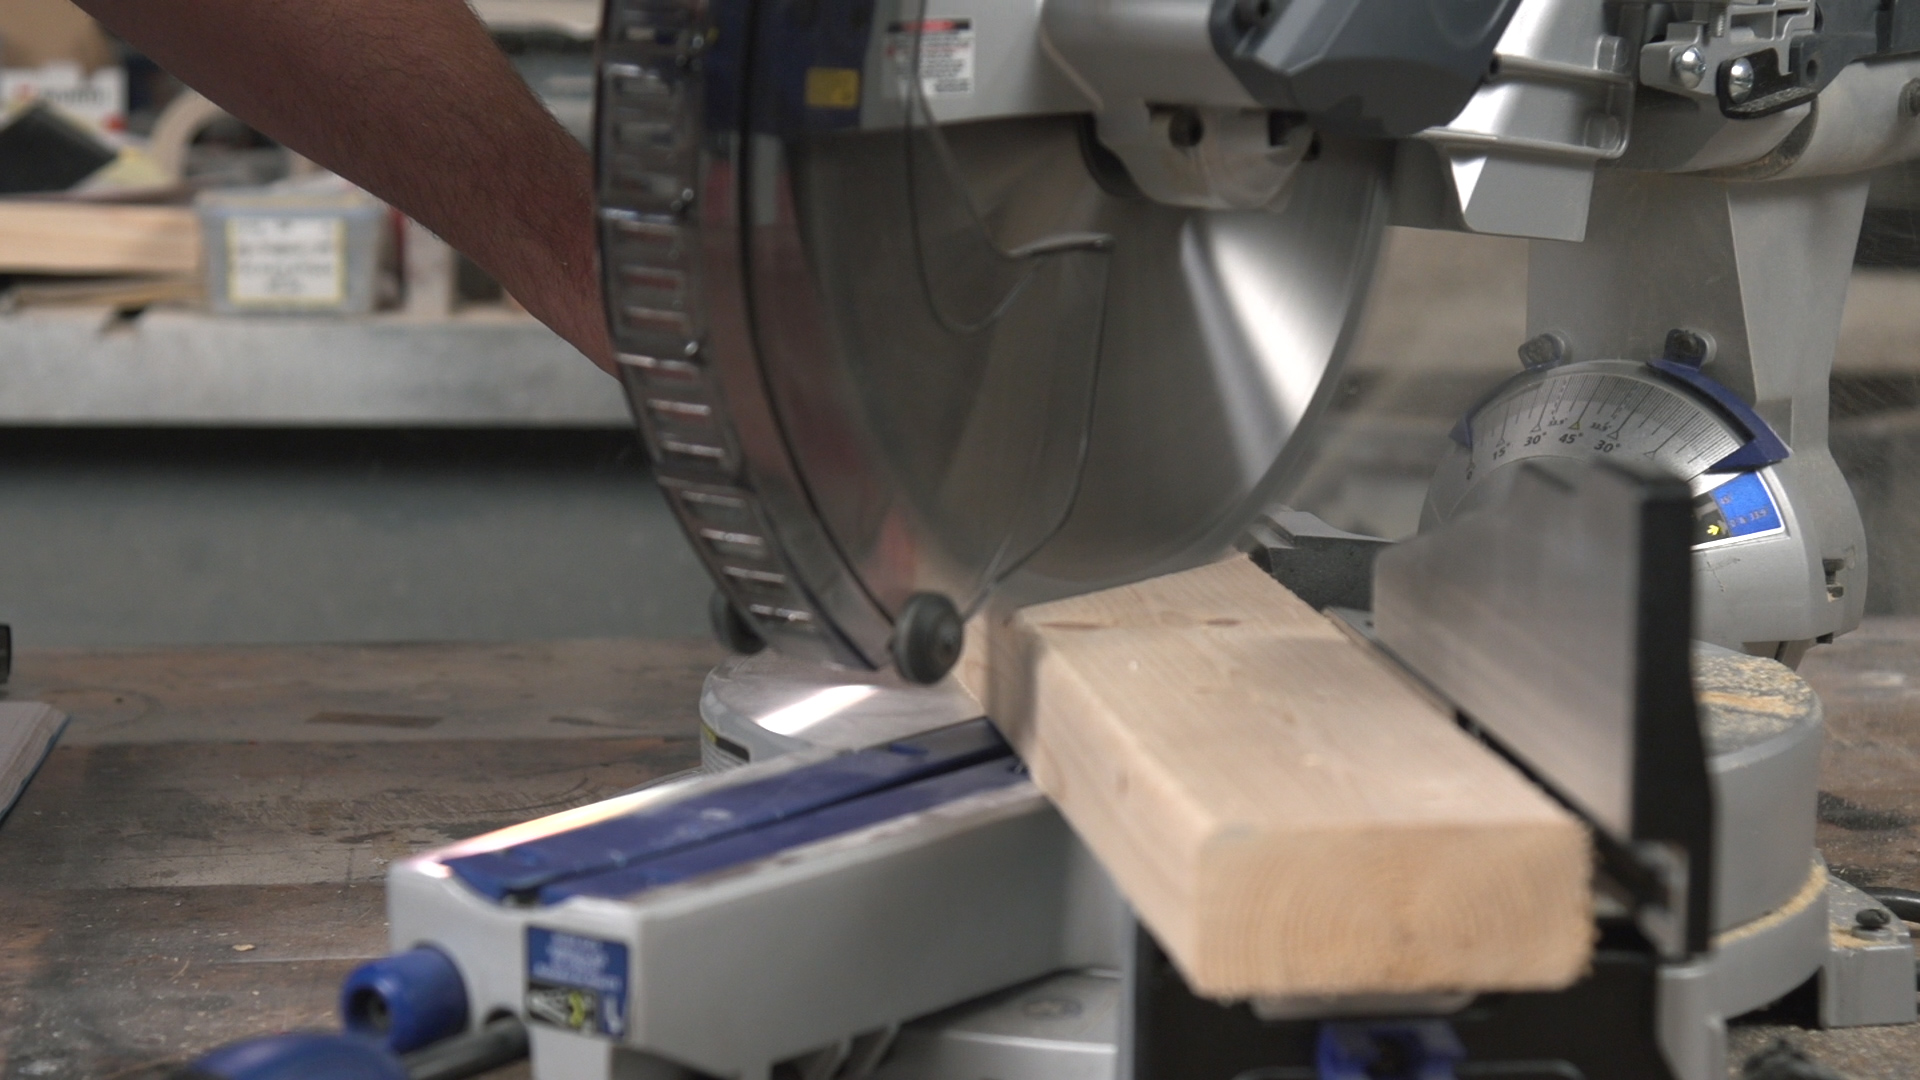
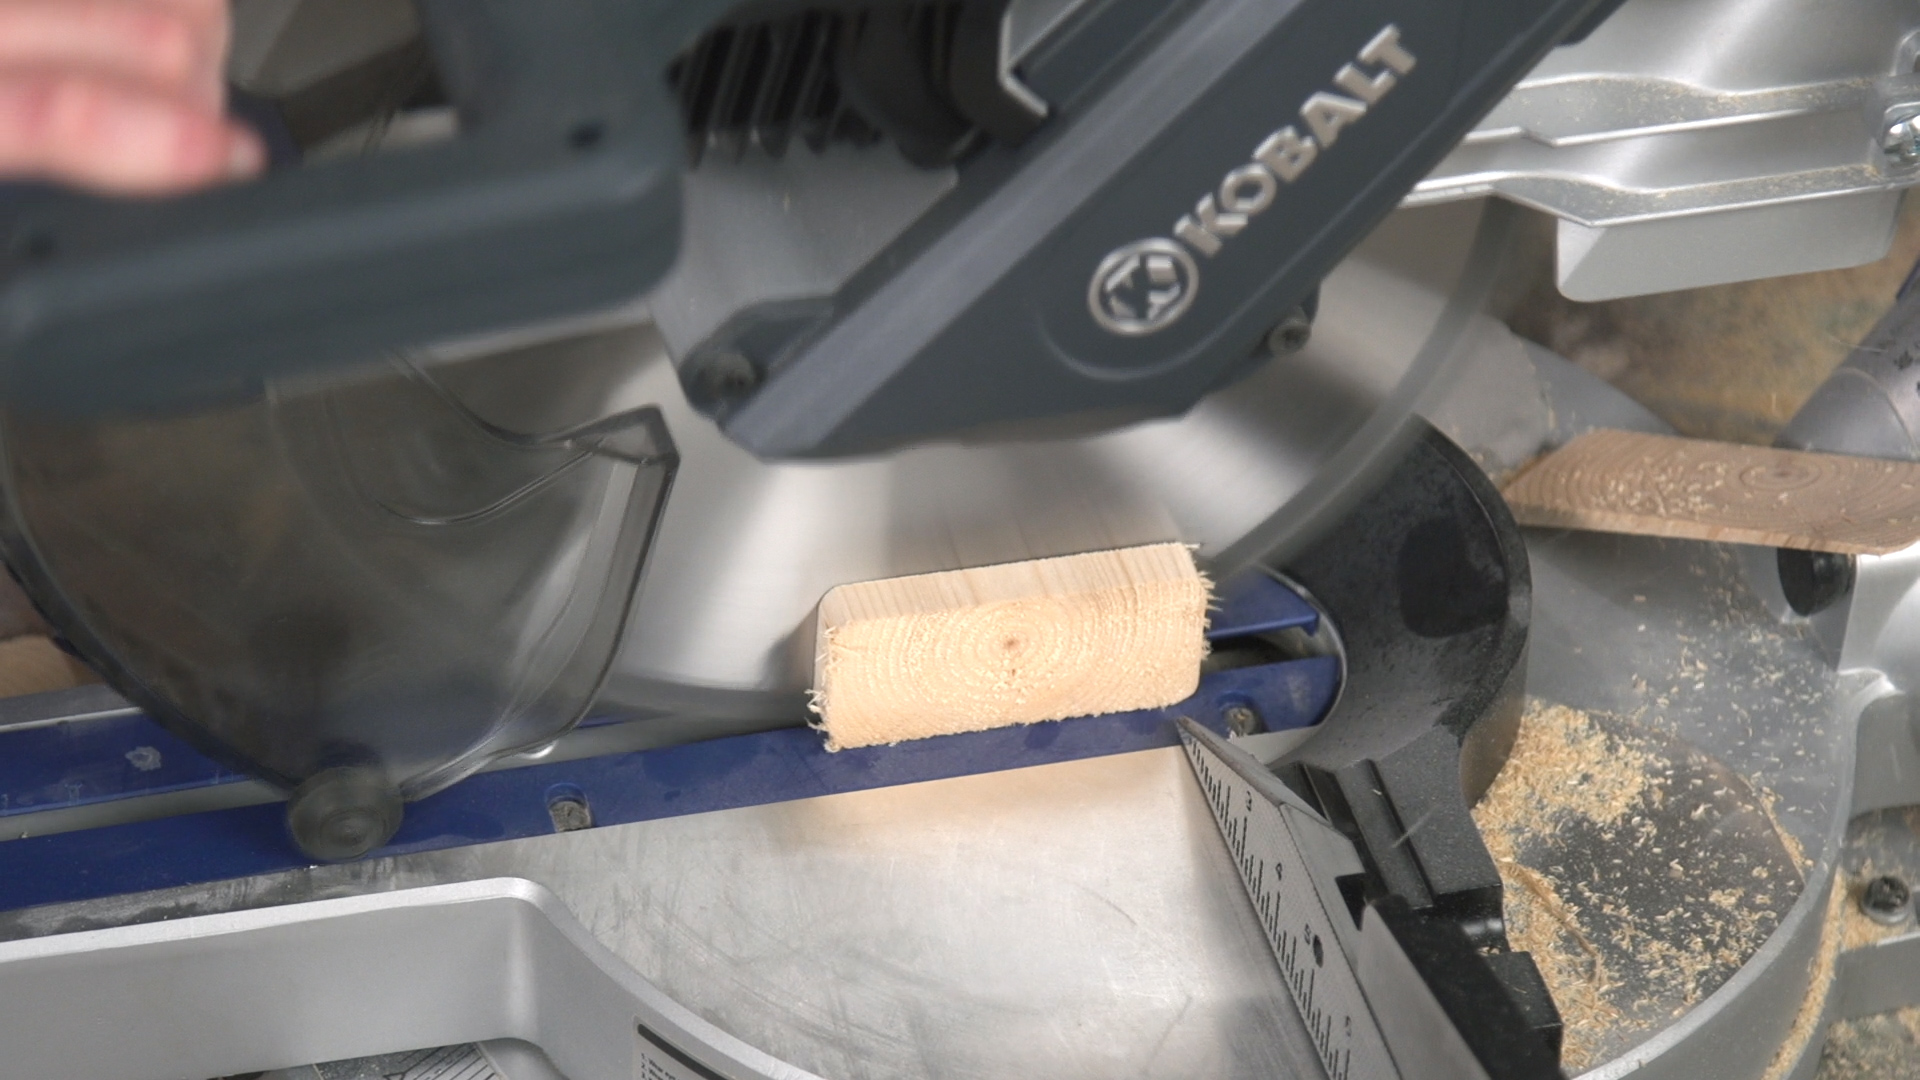
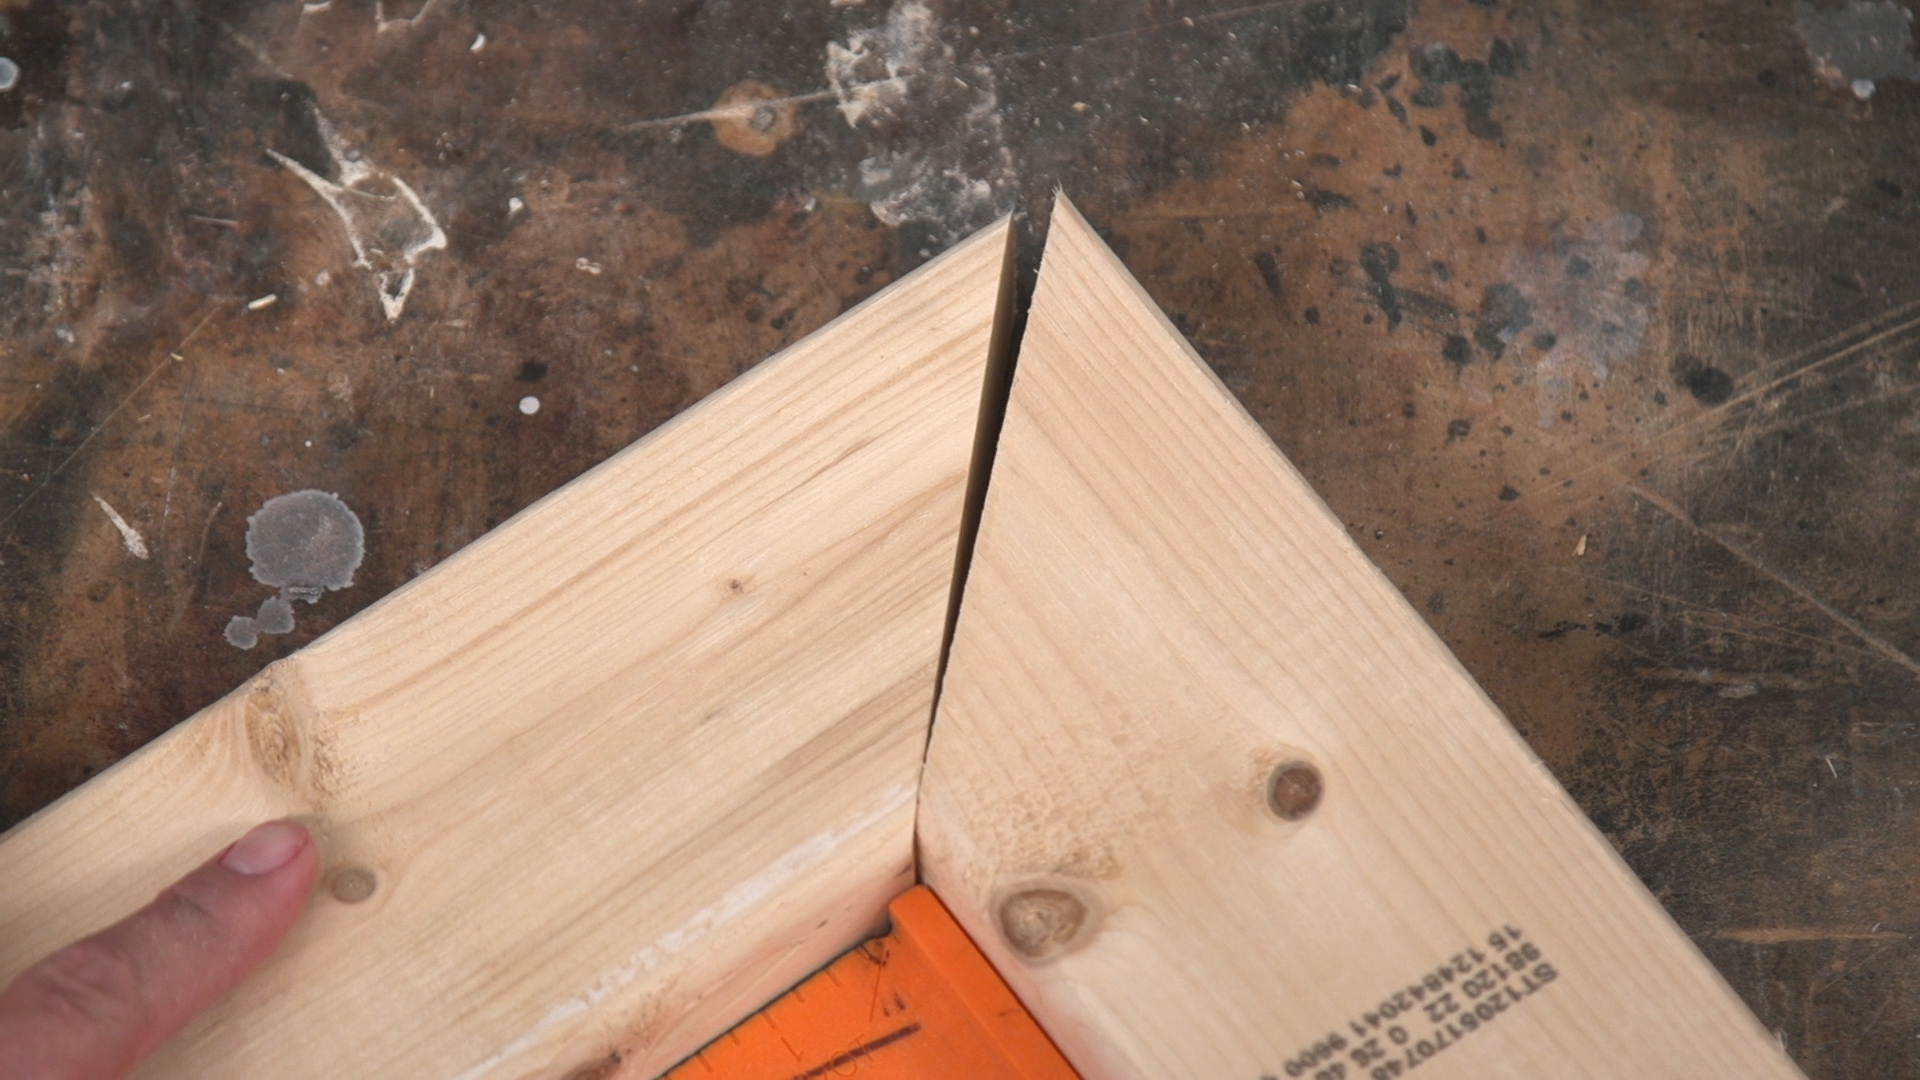
We'll start by calibrating a compound miter saw.
Grab a piece of scrap wood and make a couple test cuts. Specifically, a 45° cut and a 90° straight cut.
If your saw has somehow been knocked out of alignment, your angled cuts will be pretty obviously wrong.
Check Your Cuts
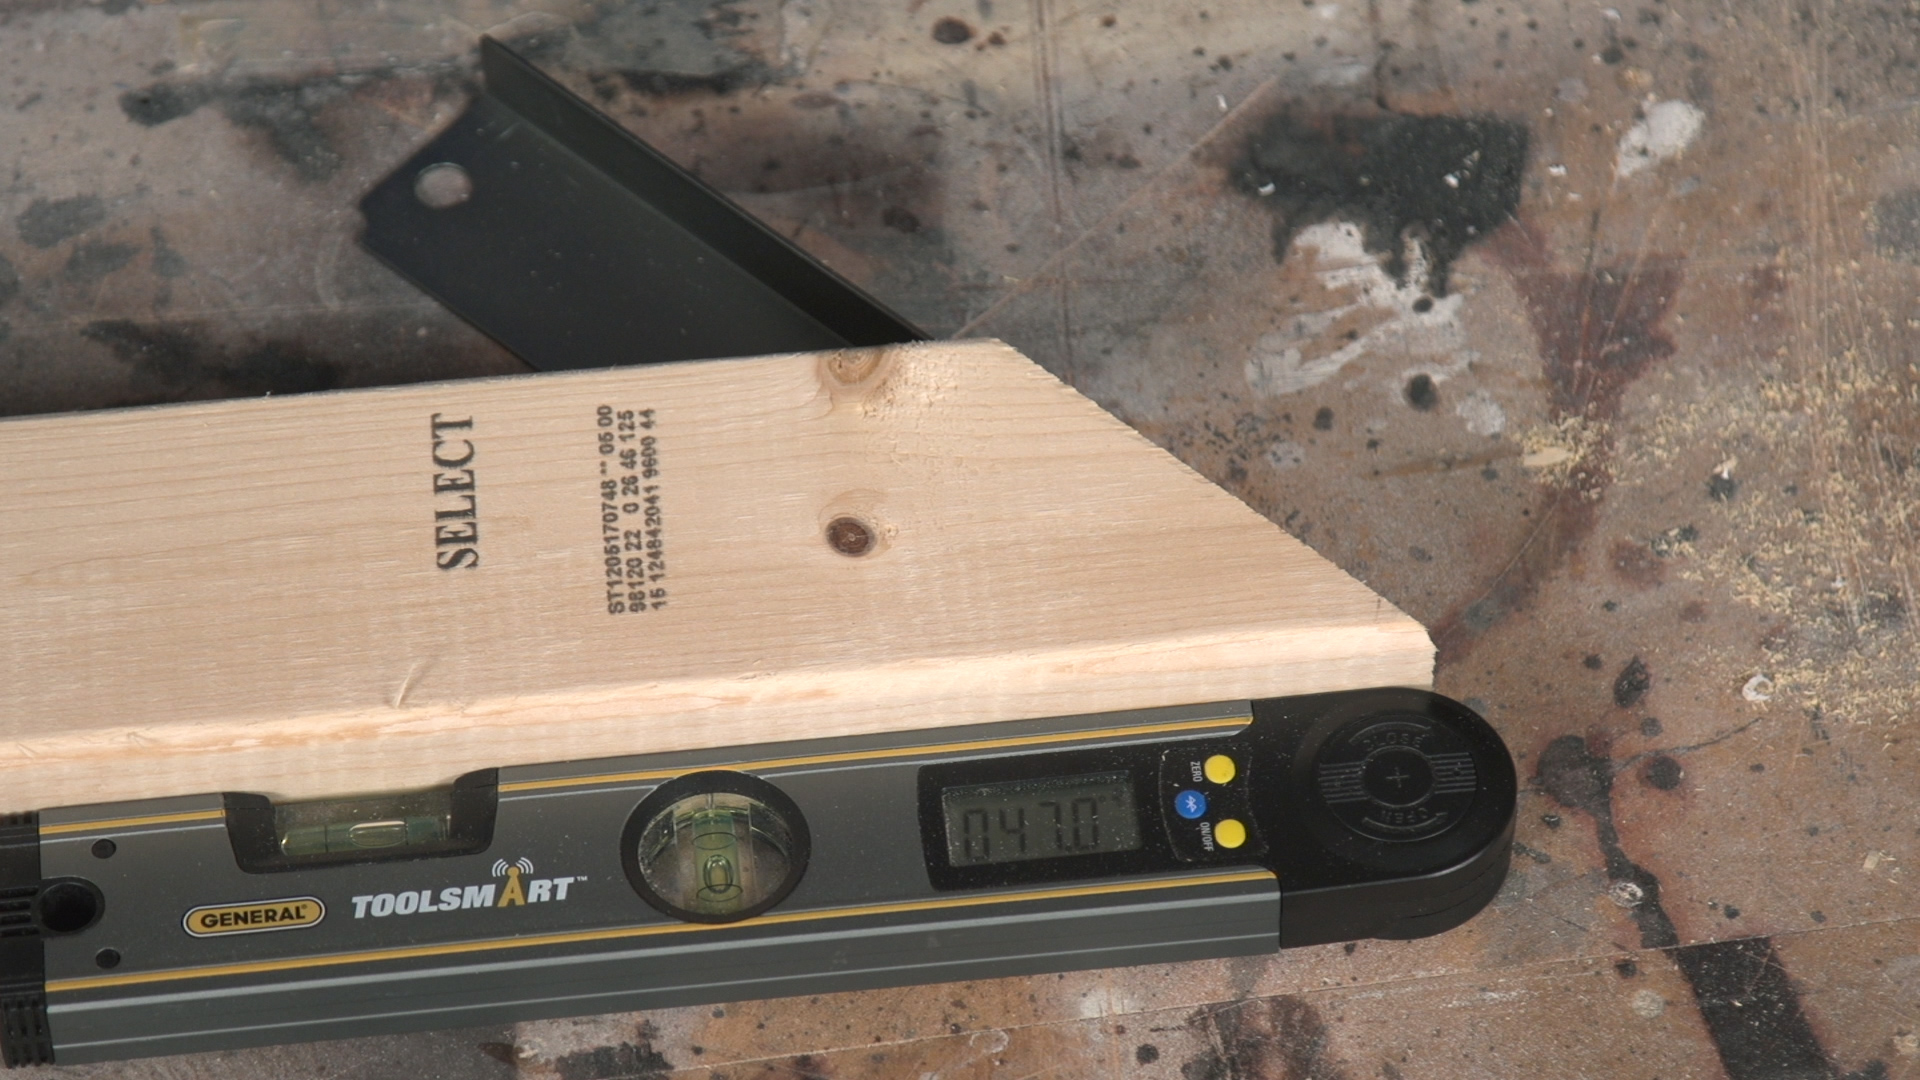
Use a digital angle finder to check your cuts.
If you get anything other than 45°and 90° measurements, you'll need to calibrate your saw.
In this case, our saw is cutting 45° cuts at 47°. That's quite a ways off from where we want to be.
Compensate Your Saw
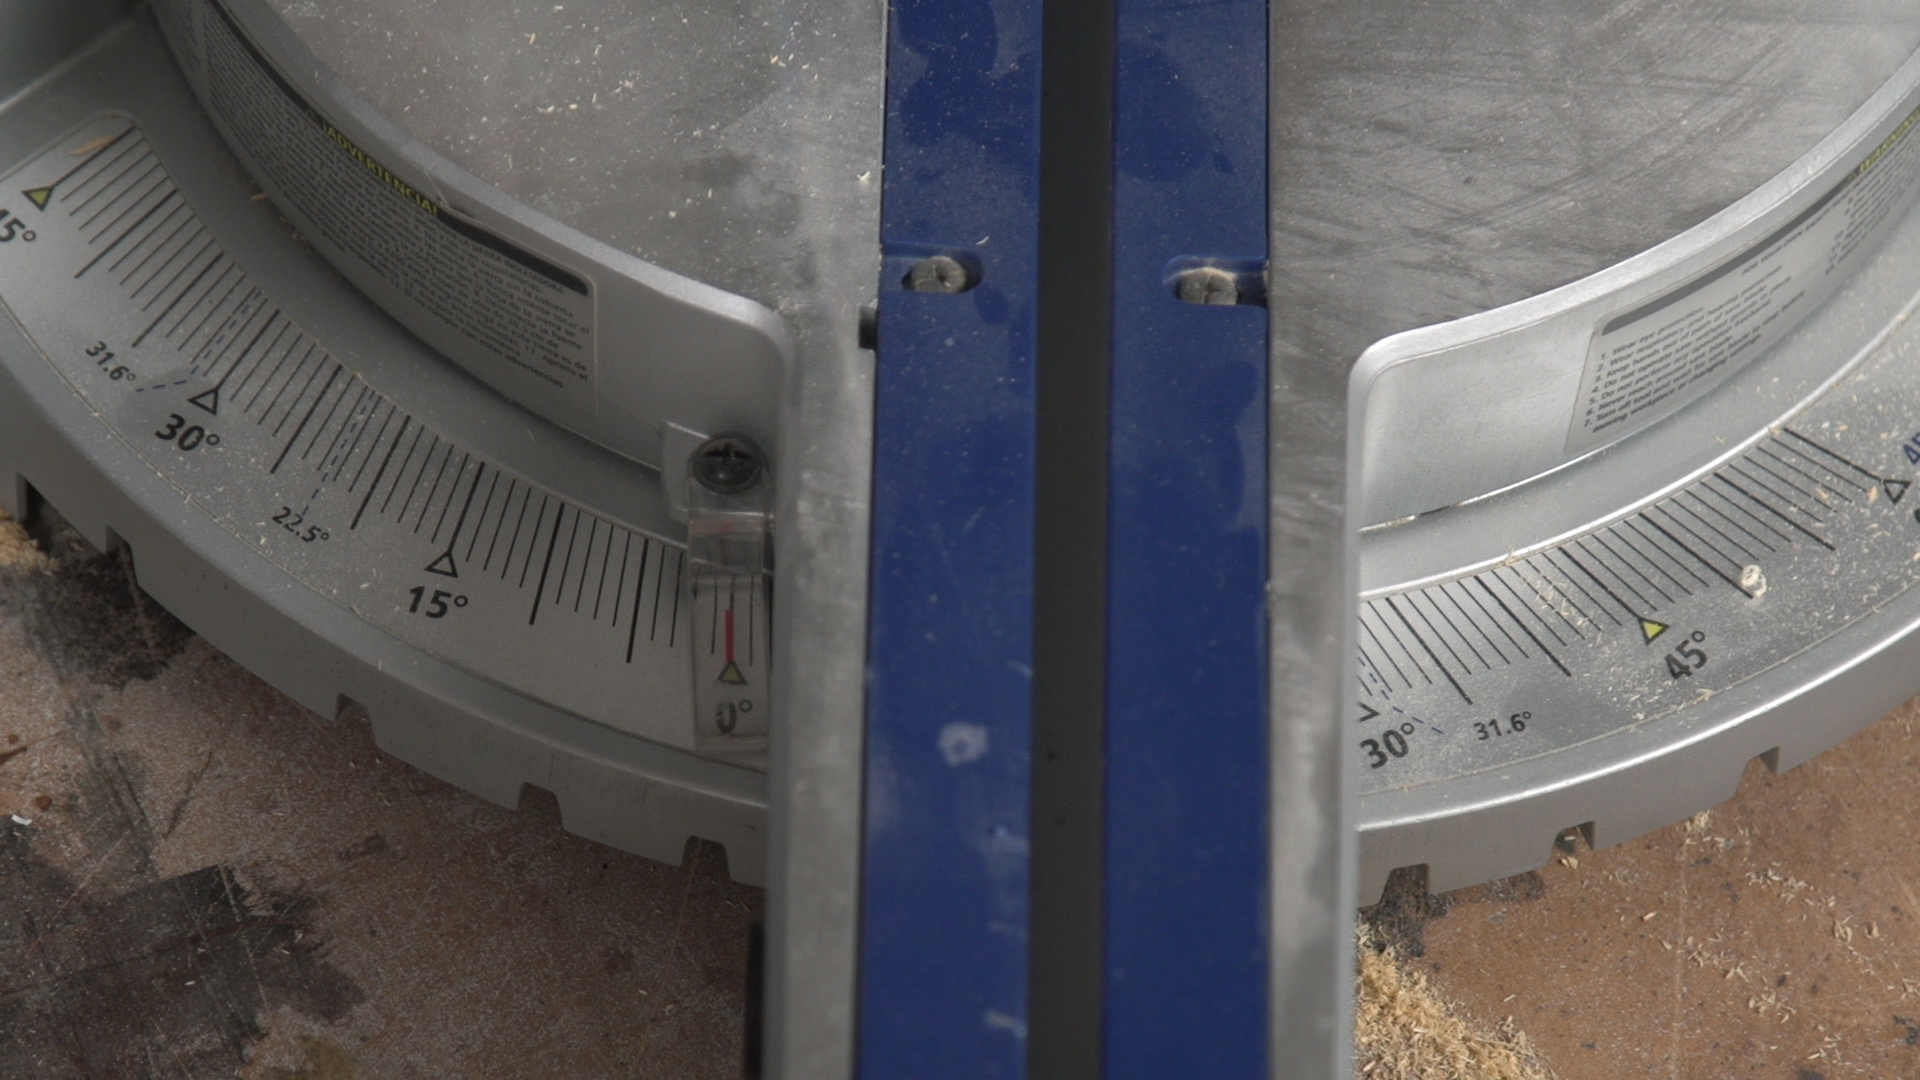
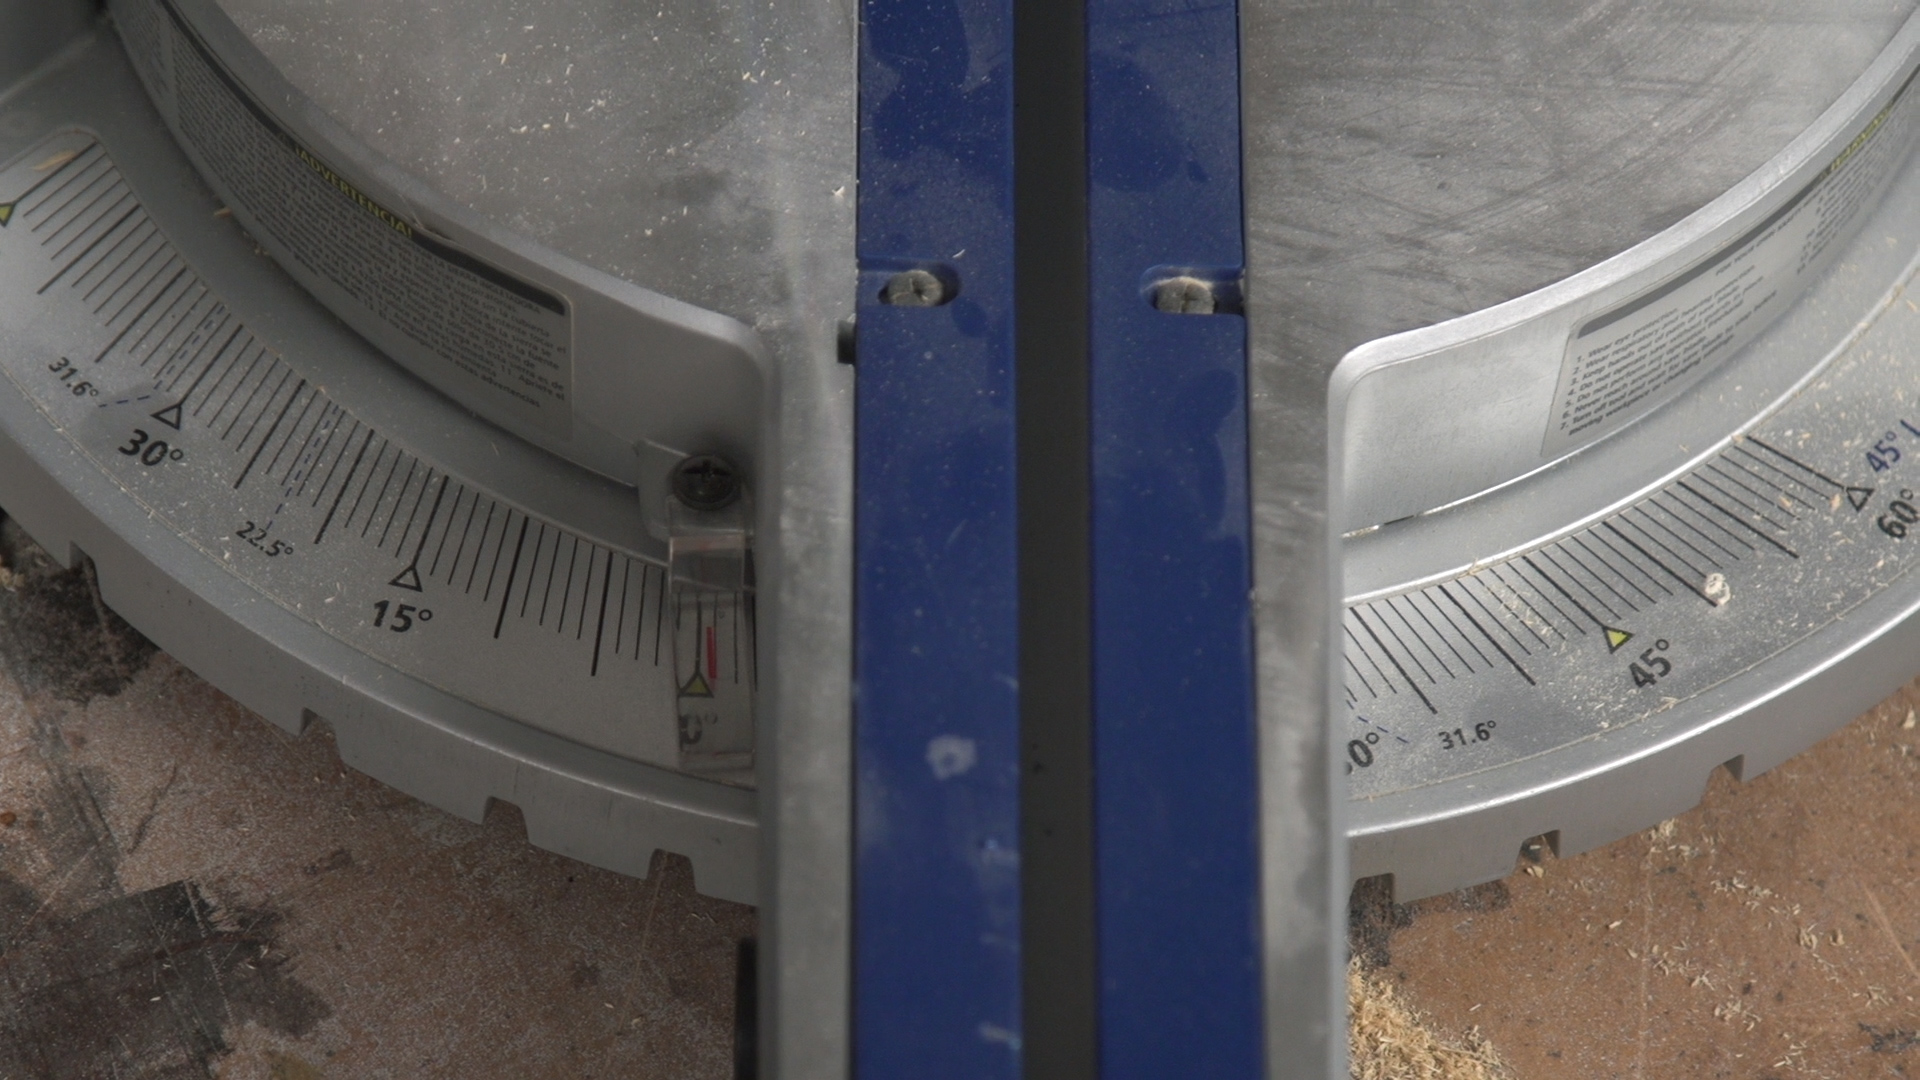
To fix the problem, start by moving your saw in the opposite direction from where the correct angle should be.
If your saw is cutting 46° instead of 45°, move your saw back to 44°.
If your saw is cutting 44° instead of 45°, move your saw forward to 46°.
Cut Again
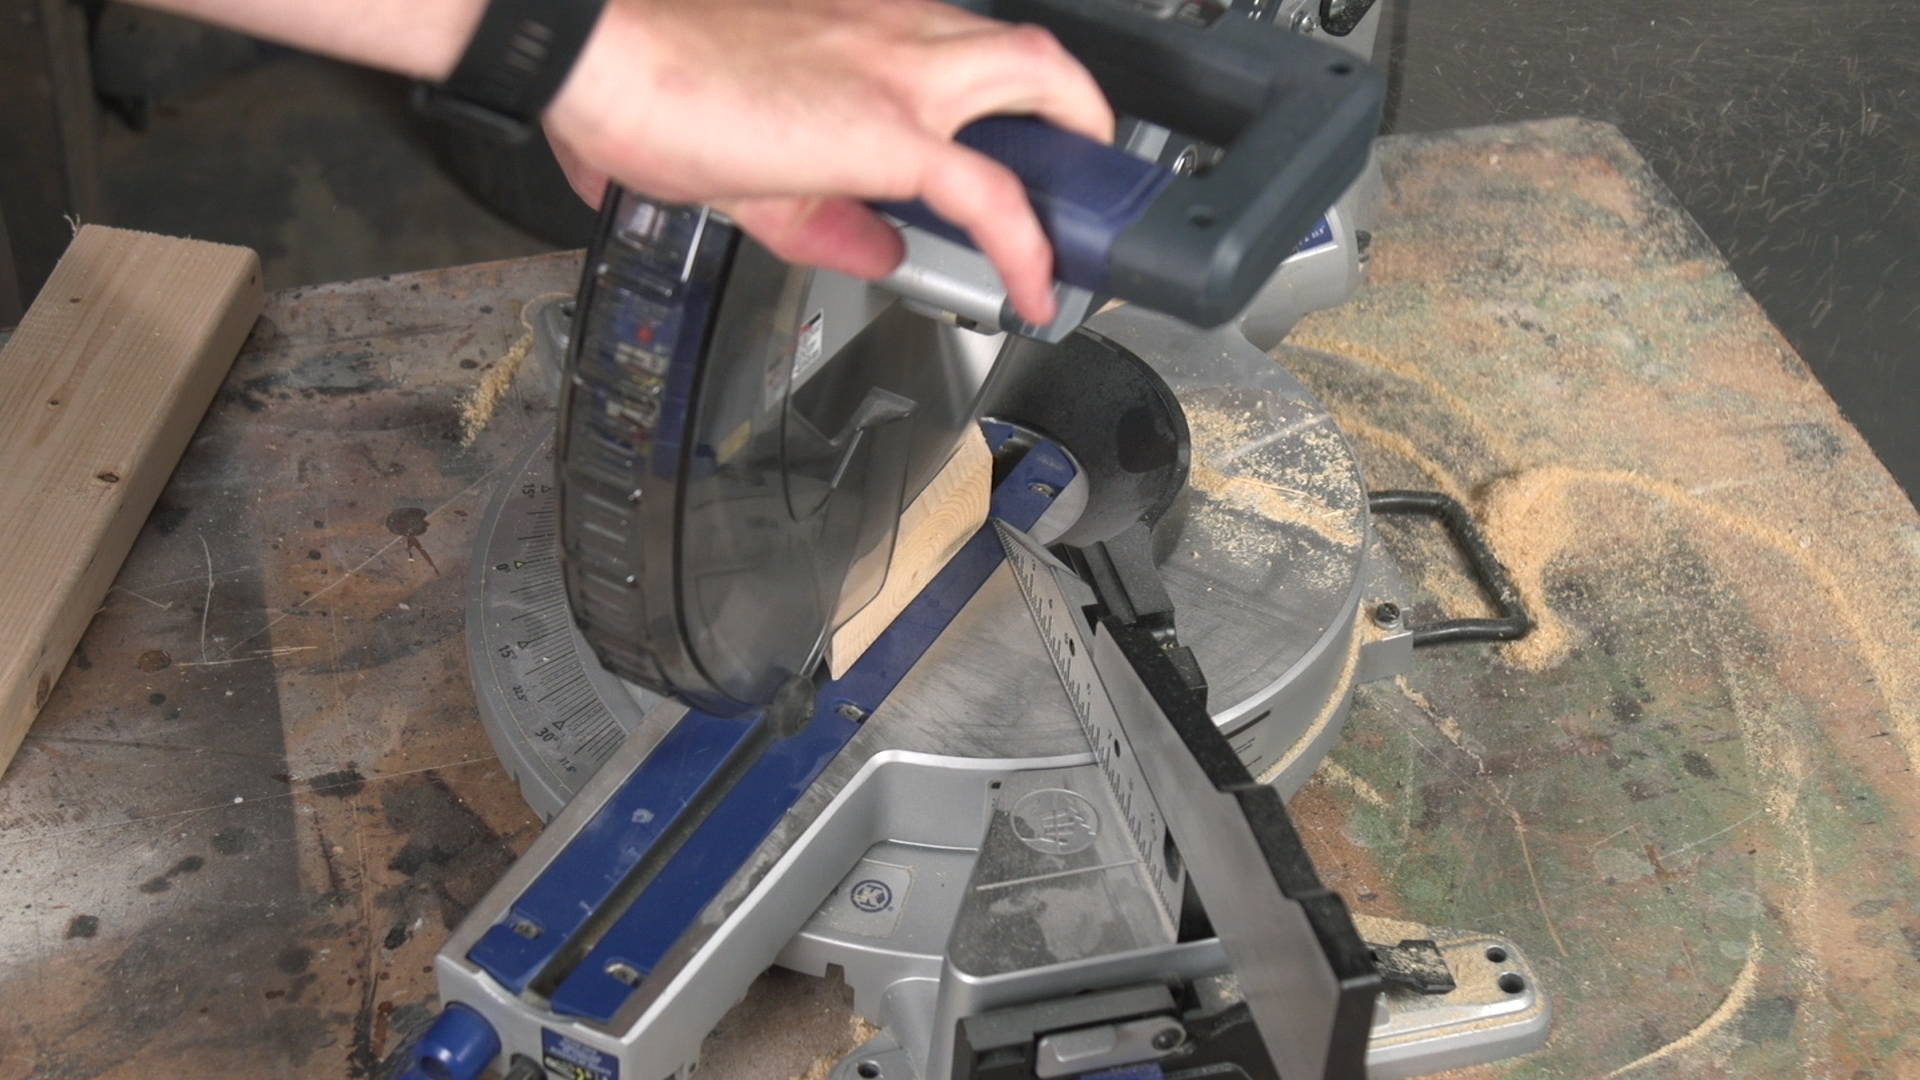
Make a couple more test cuts to see if you've fixed the problem.
We did another 45° and 90° cut.
Check Again
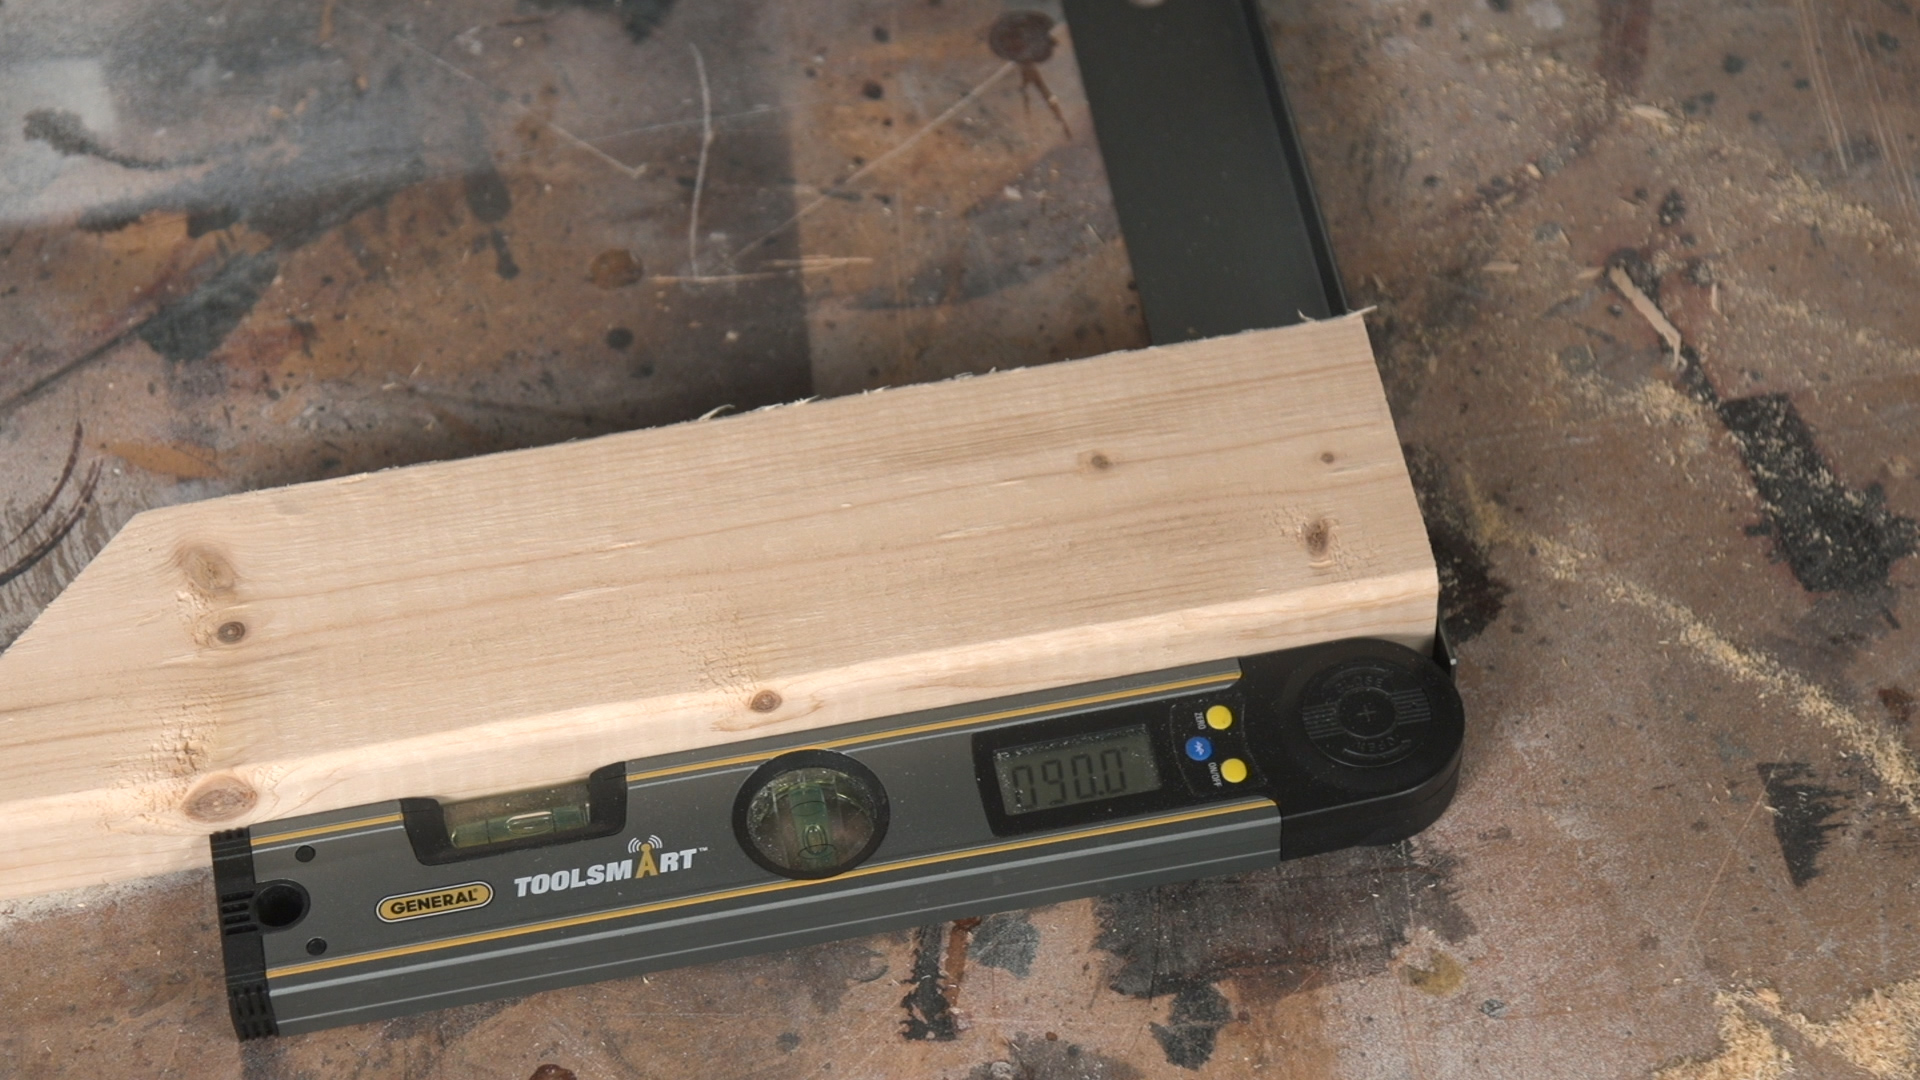
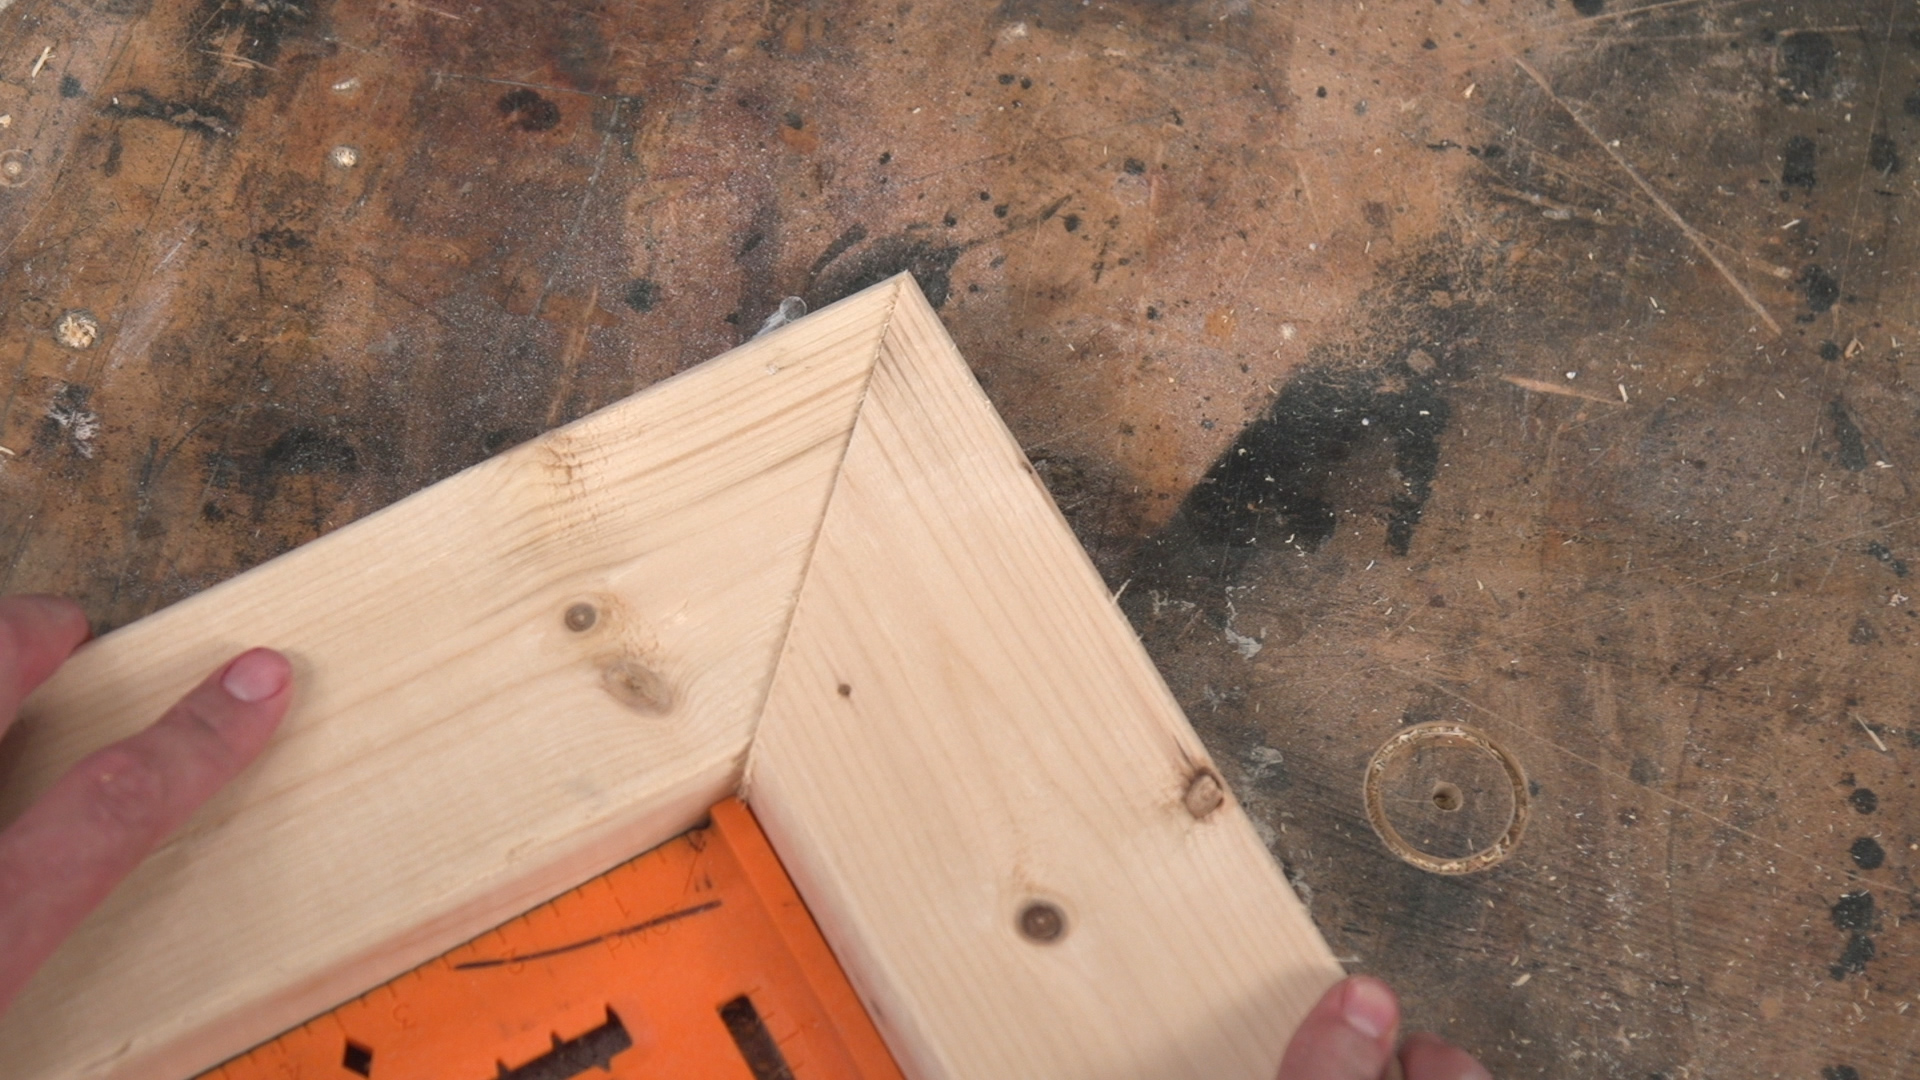
Measure those test cuts again with your digital angle finder.
If they measure correctly, great! If not, go back to Step 3 and repeat until your 45°and 90° measurements are correct.
Calibrate Your Saw
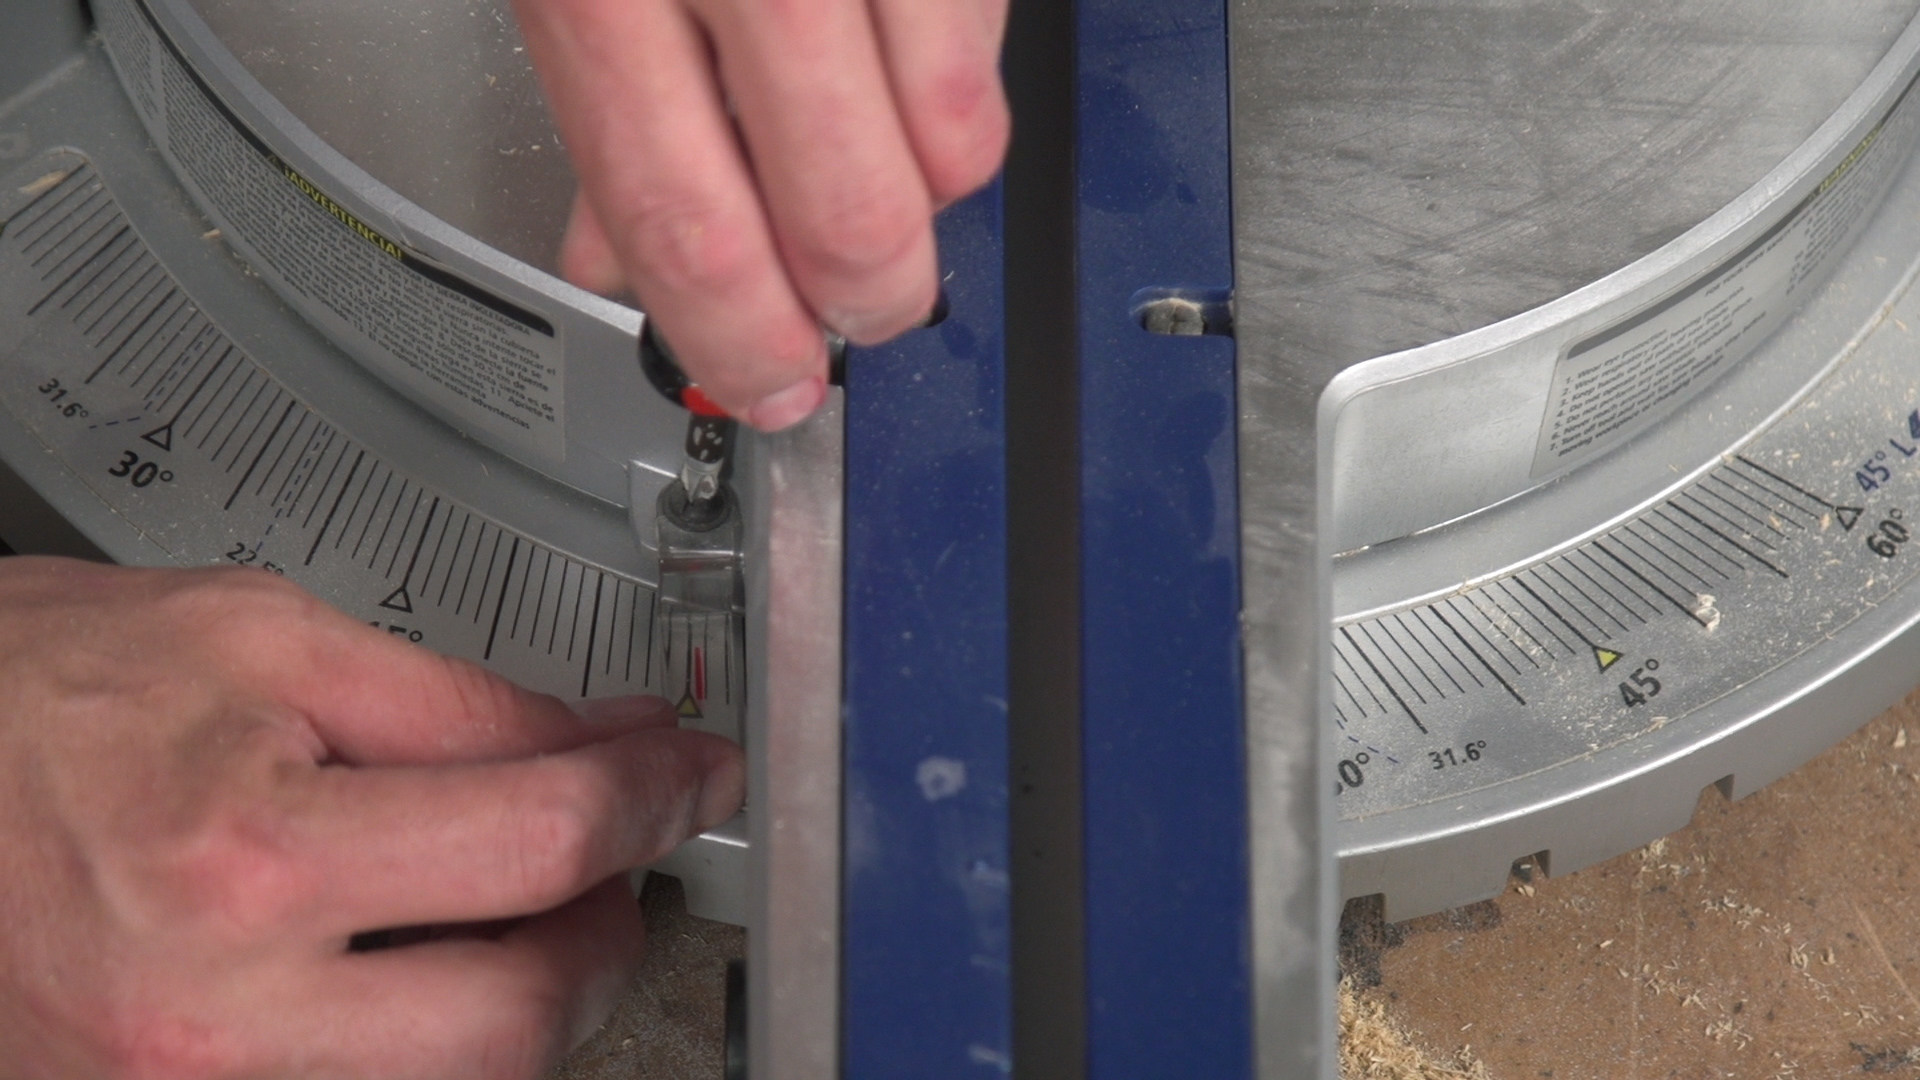
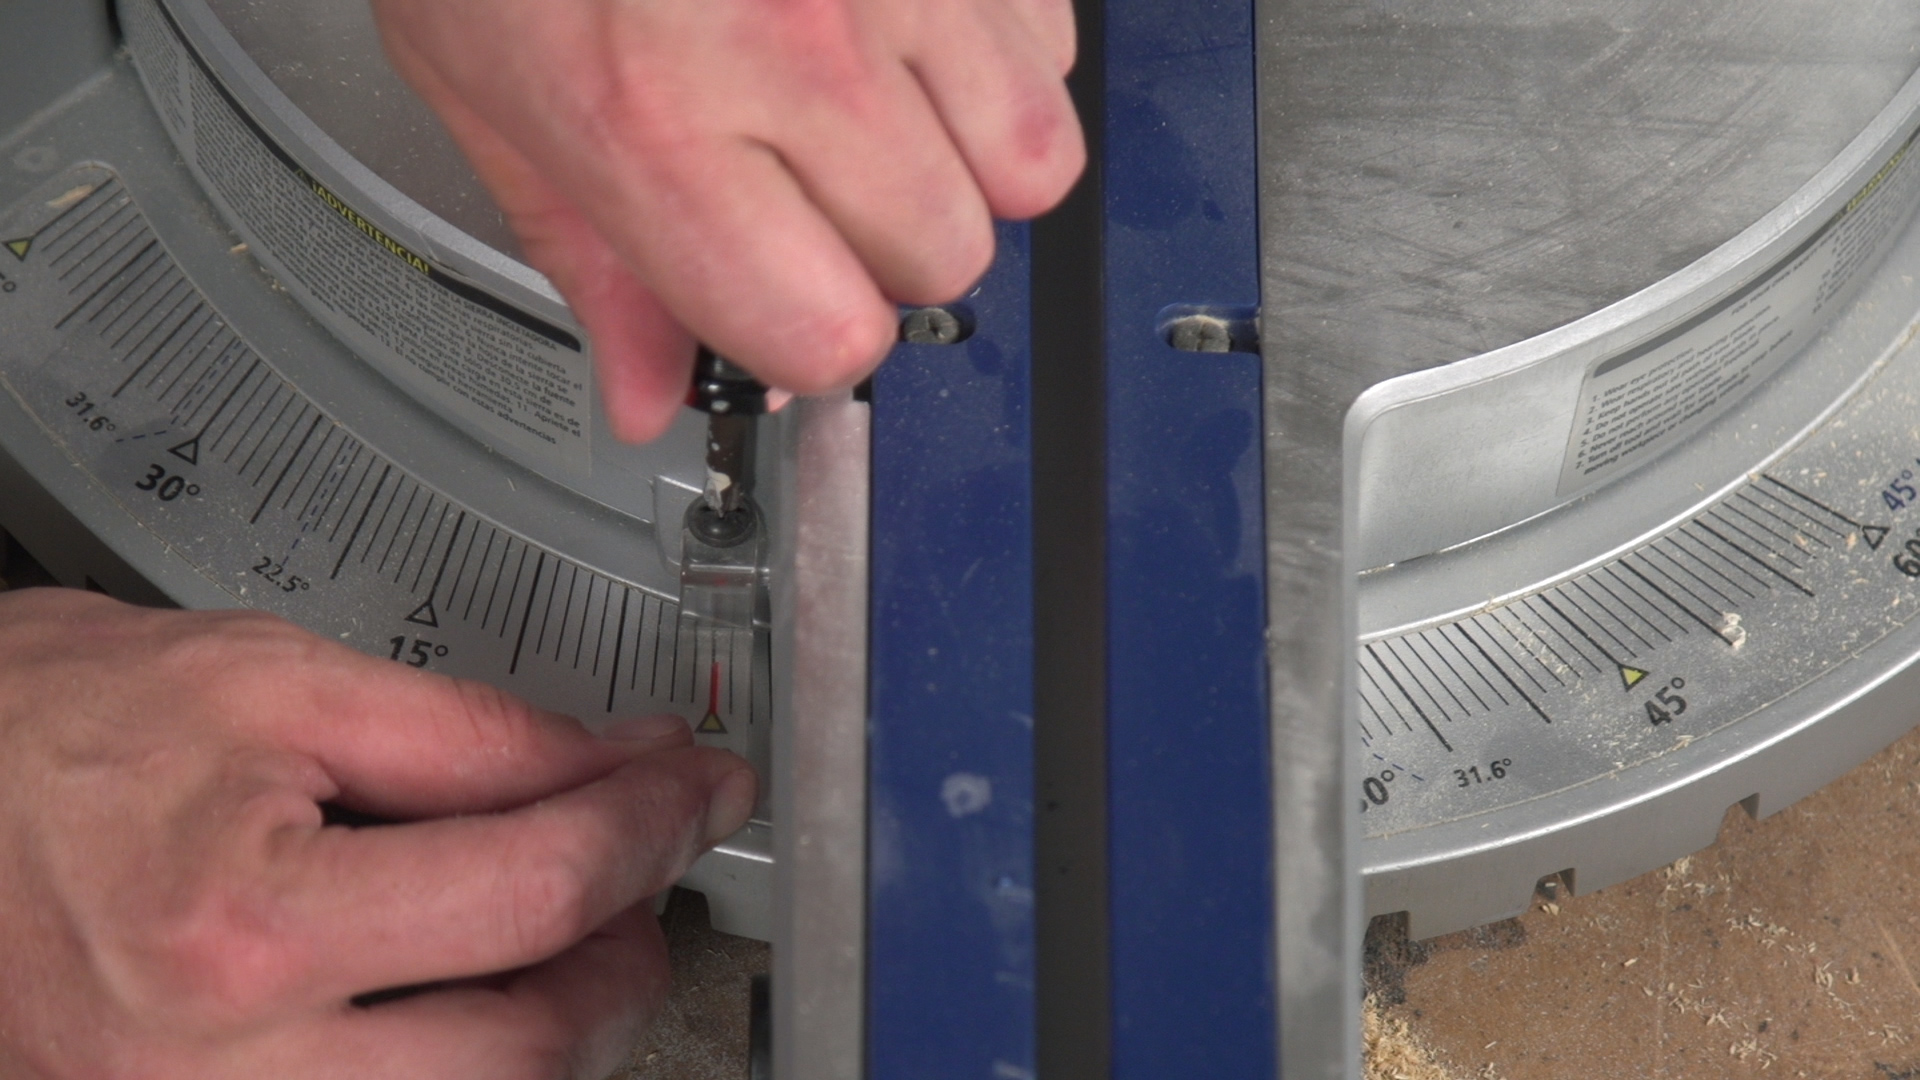
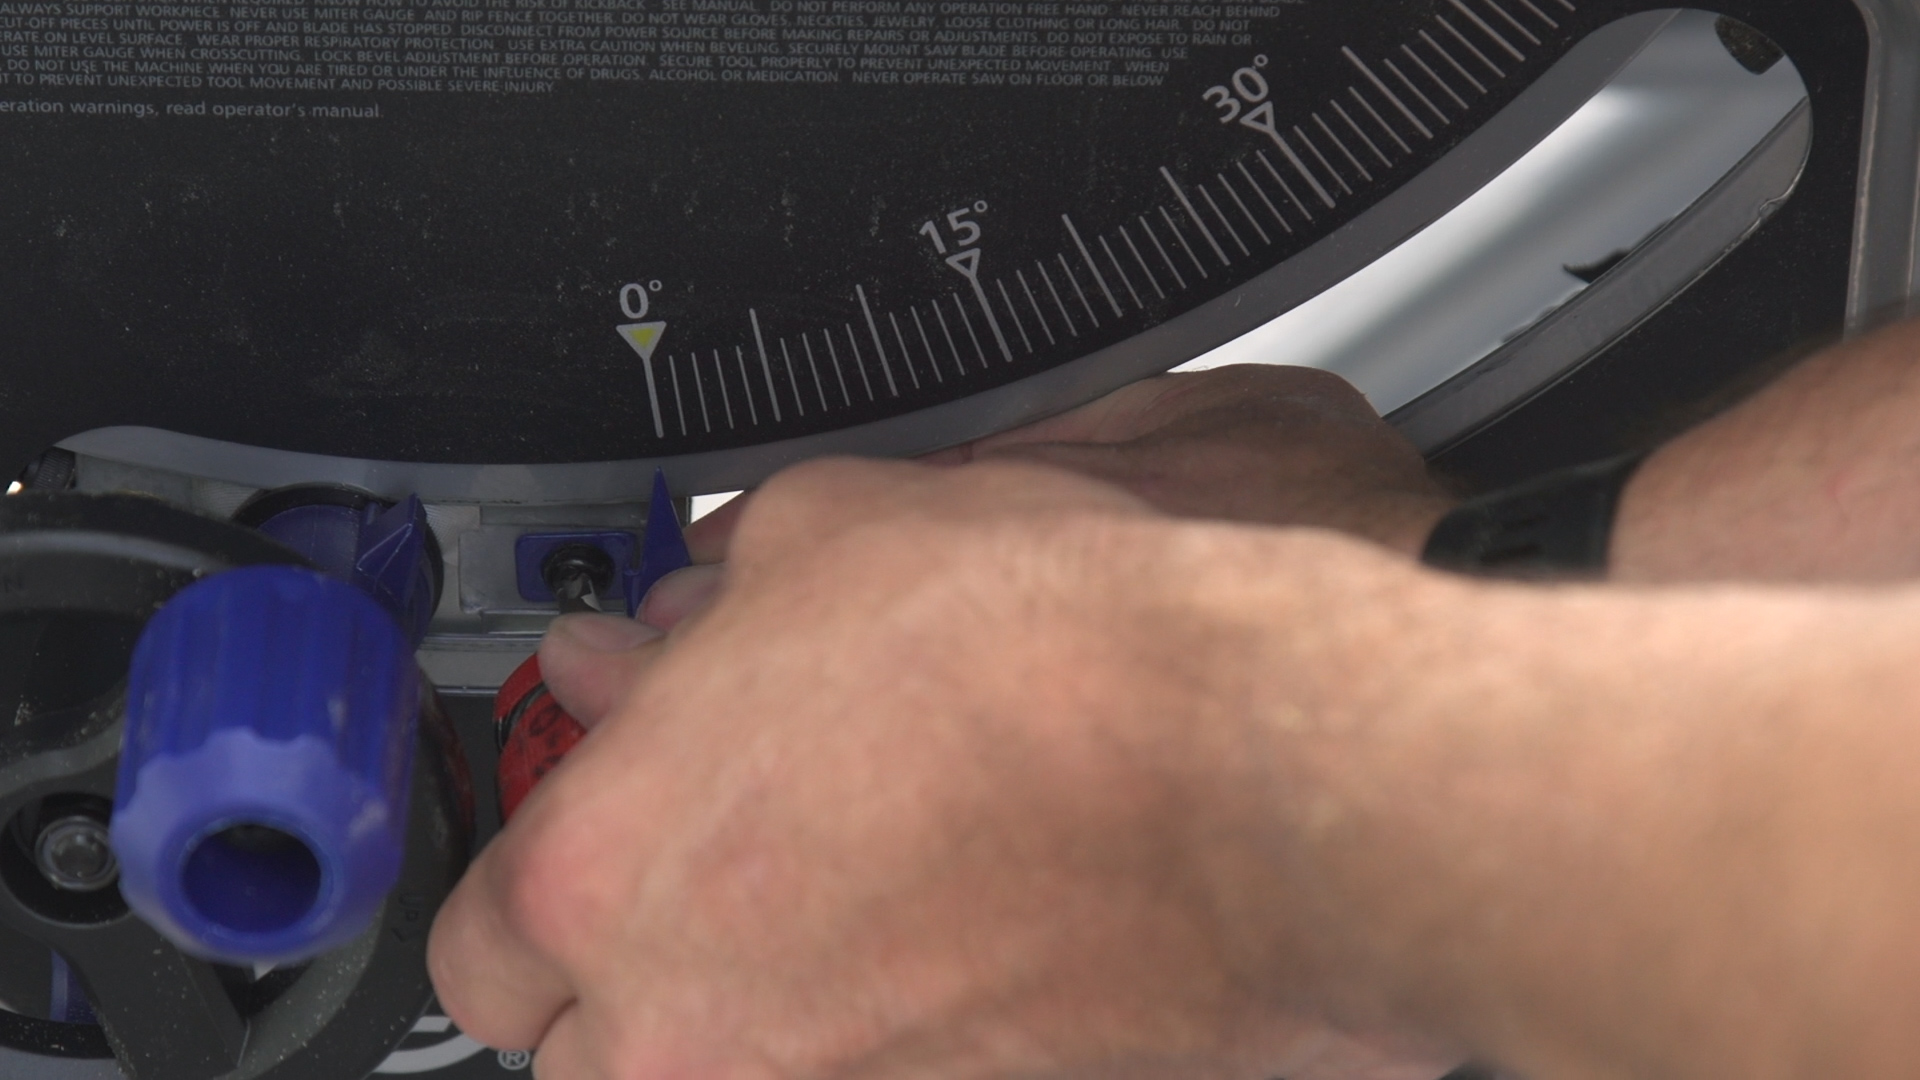
Once you've found a position that allows you to make correct cuts, locate the angle indicator and set it back to where it should be. In this case, we're moving it from 1° to the right of zero, to 0°.
Most saws have an adjustable angle indicator, and it usually just takes a screw driver to loosen and adjust.
Now you can count on your saw to make correct cuts every time.
Bevel Angle
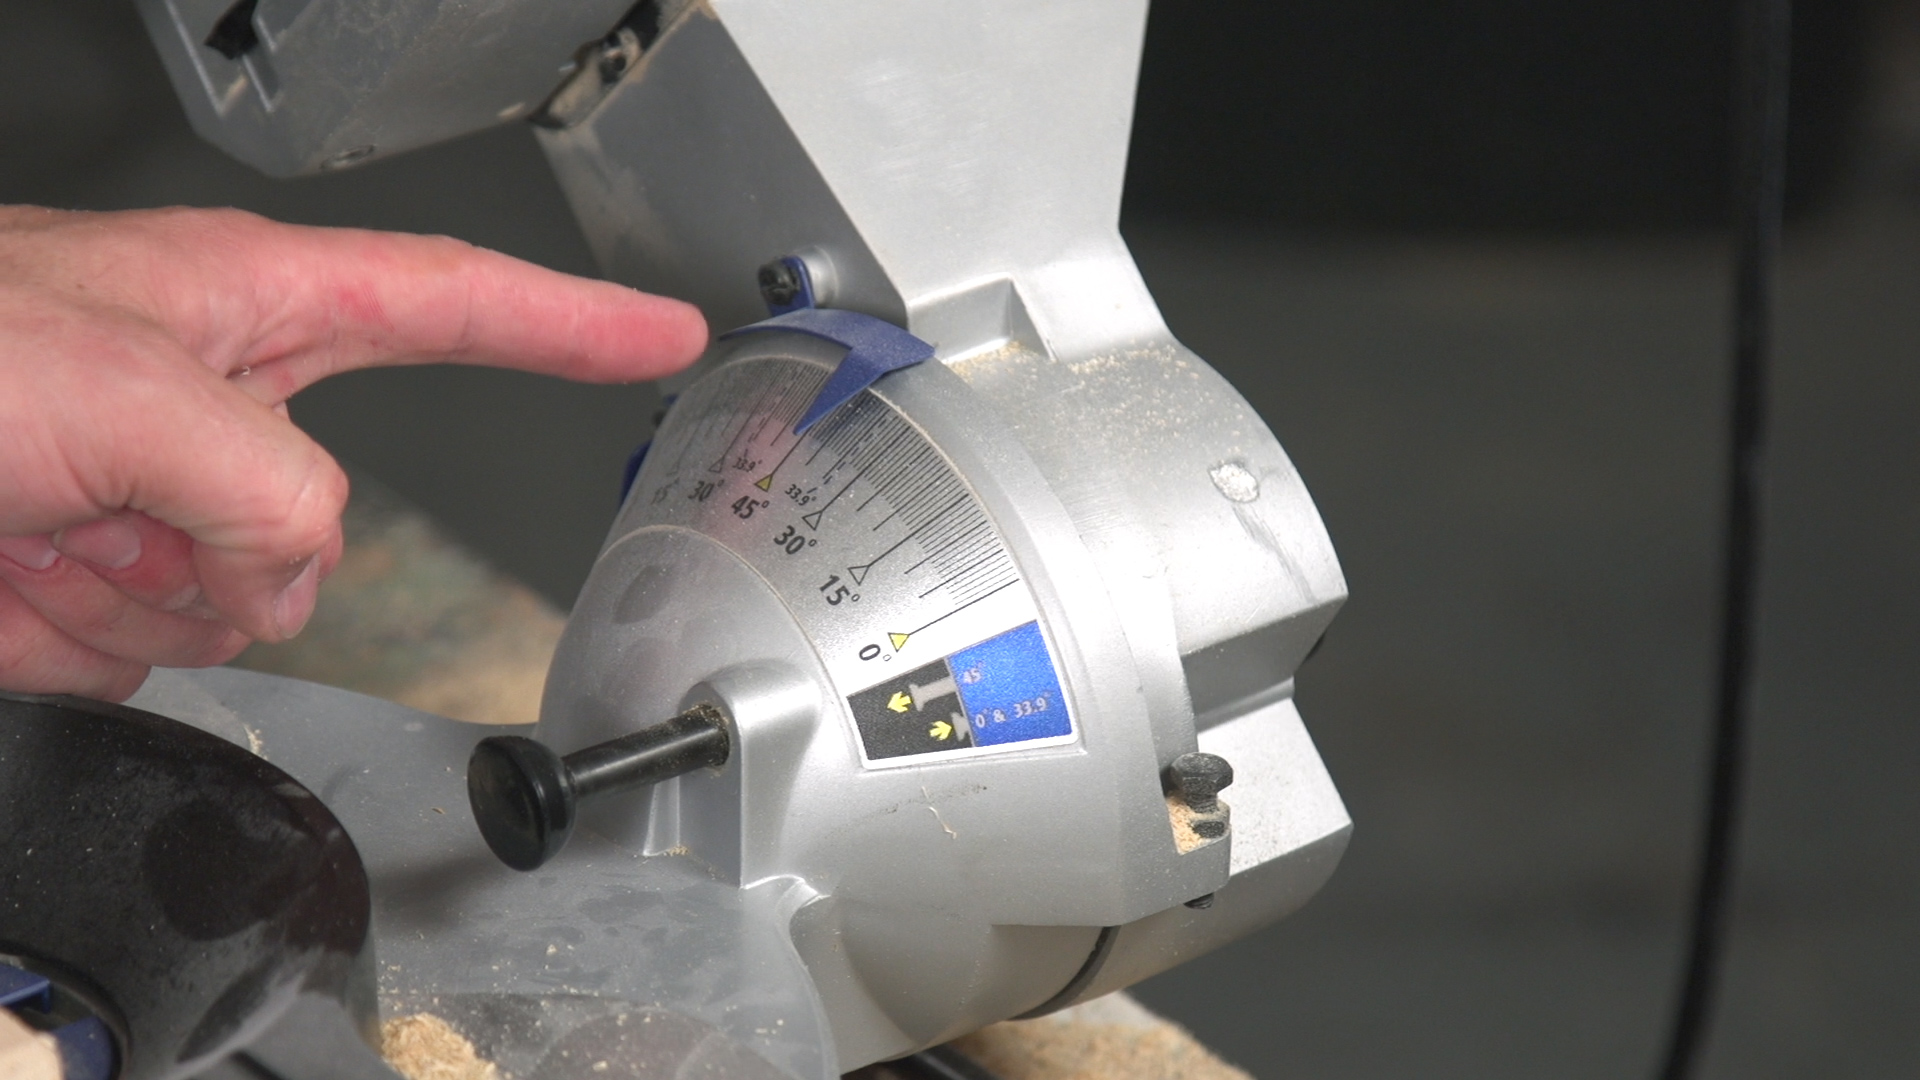
This method also works for checking your miter saw's bevel angle.
DON'T Attempt to Measure the Blade Directly
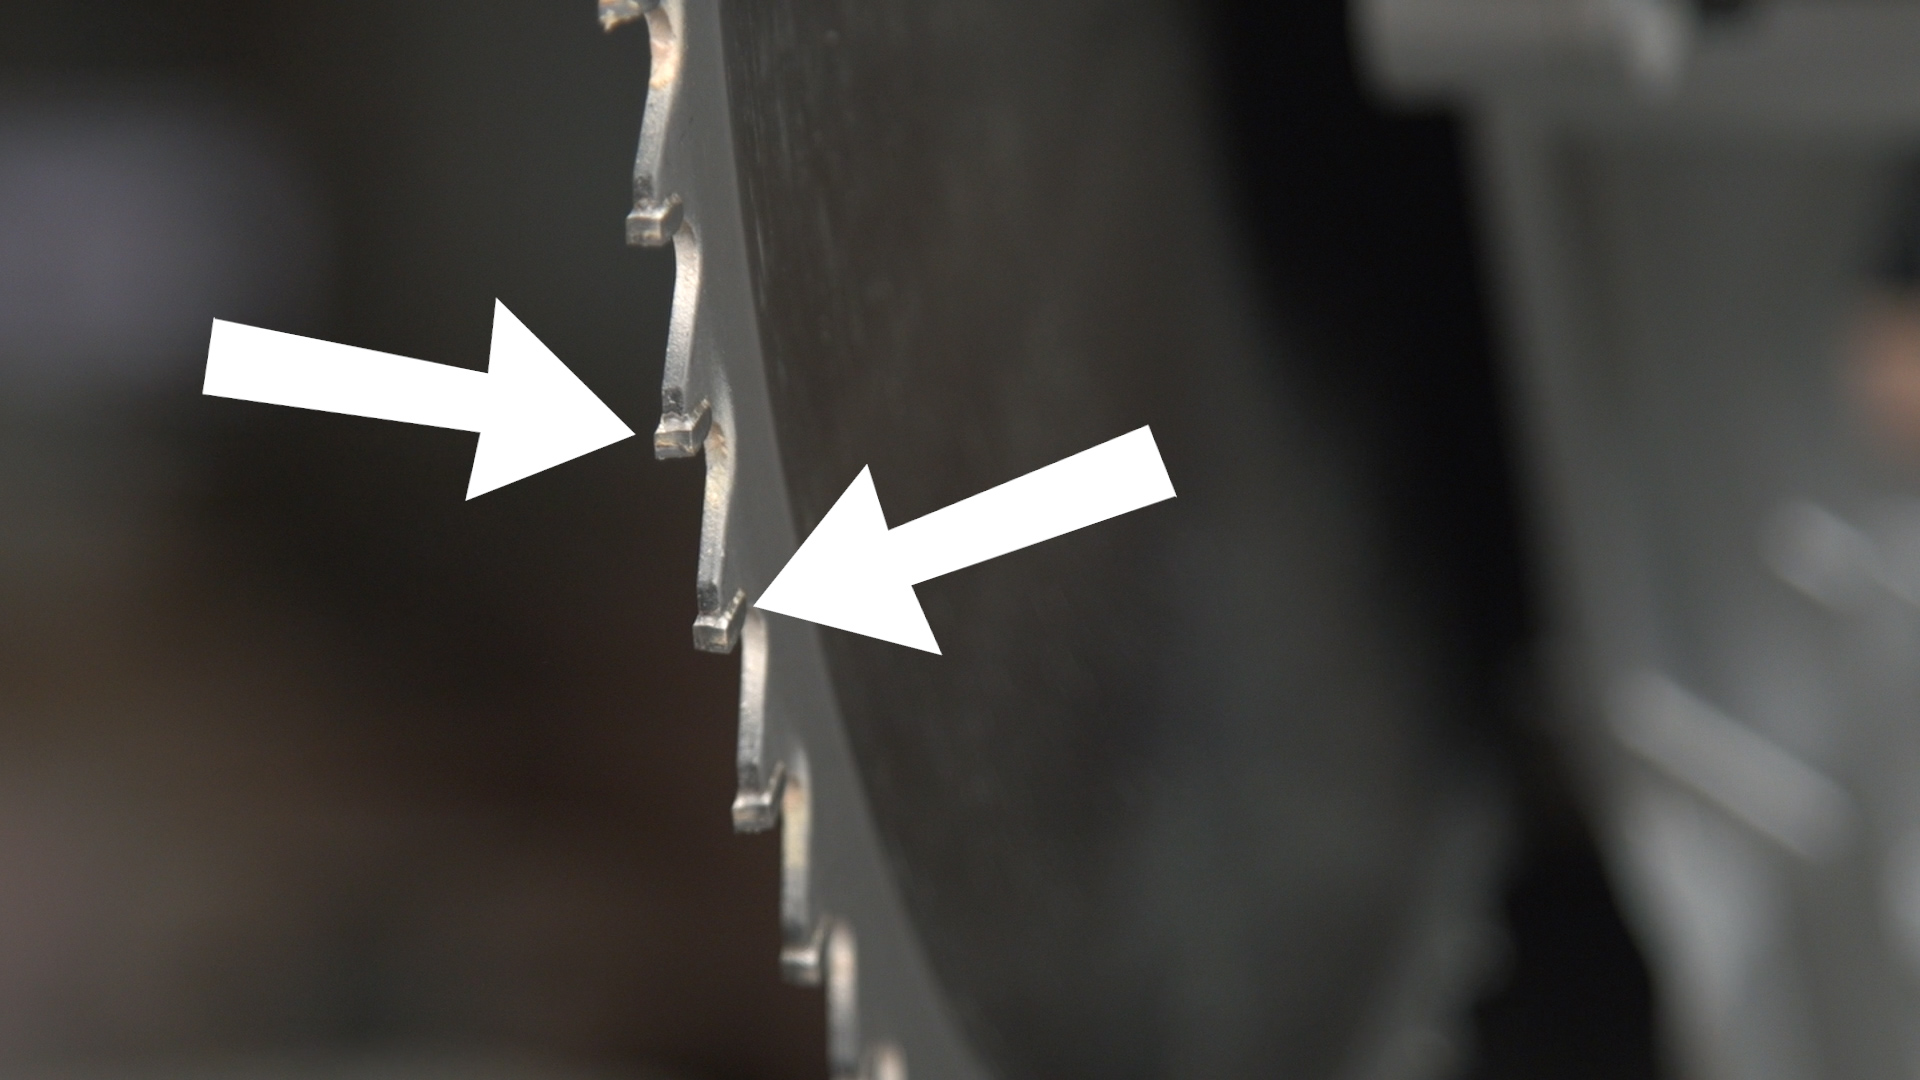
It can be tempting to measure the blade angle by placing your angle finder against the blade, but we'd advise you not to do this.
The teeth of the blade often protrude out from the body of the blade, making it difficult to get an accurate measurement.
There are just too many ways to mess this up, and after all, what's most important at the end of the day are the results you're actually getting from your cuts.
Circular Saws Are a Little Different
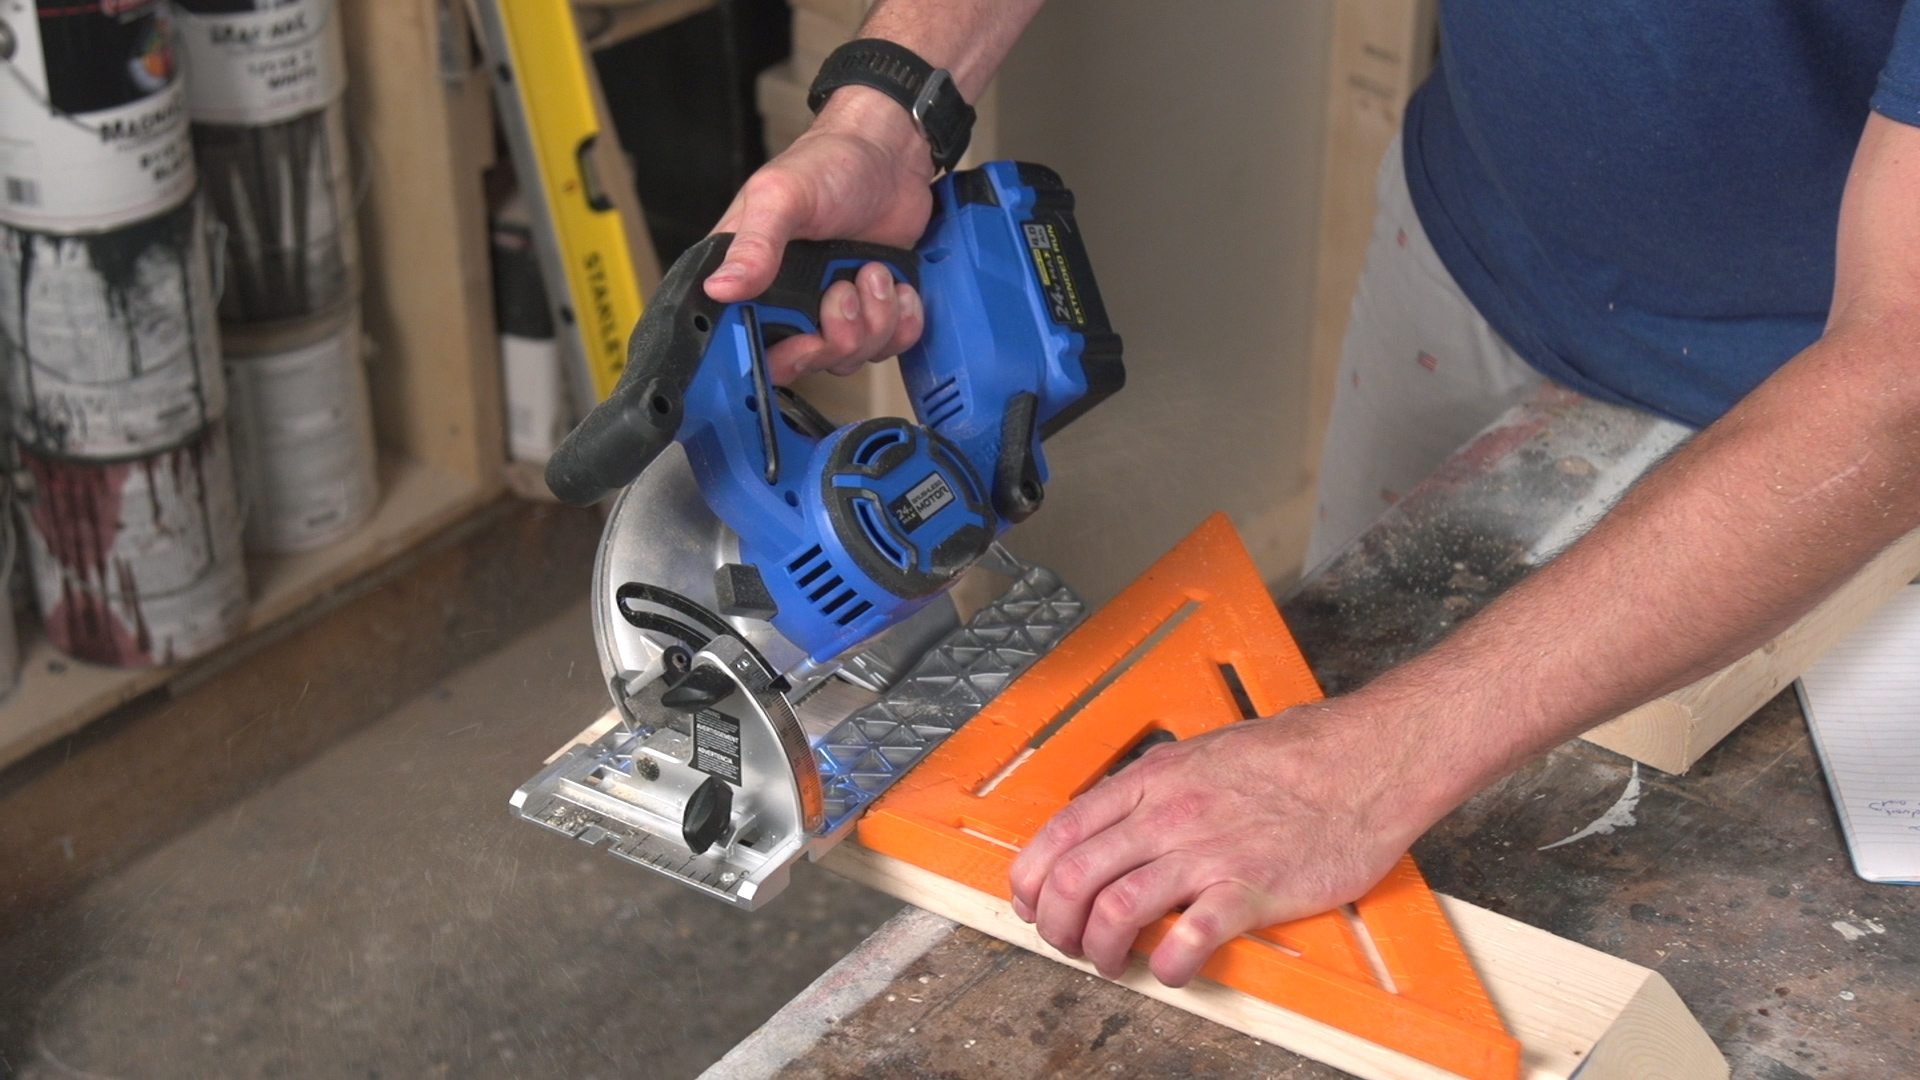
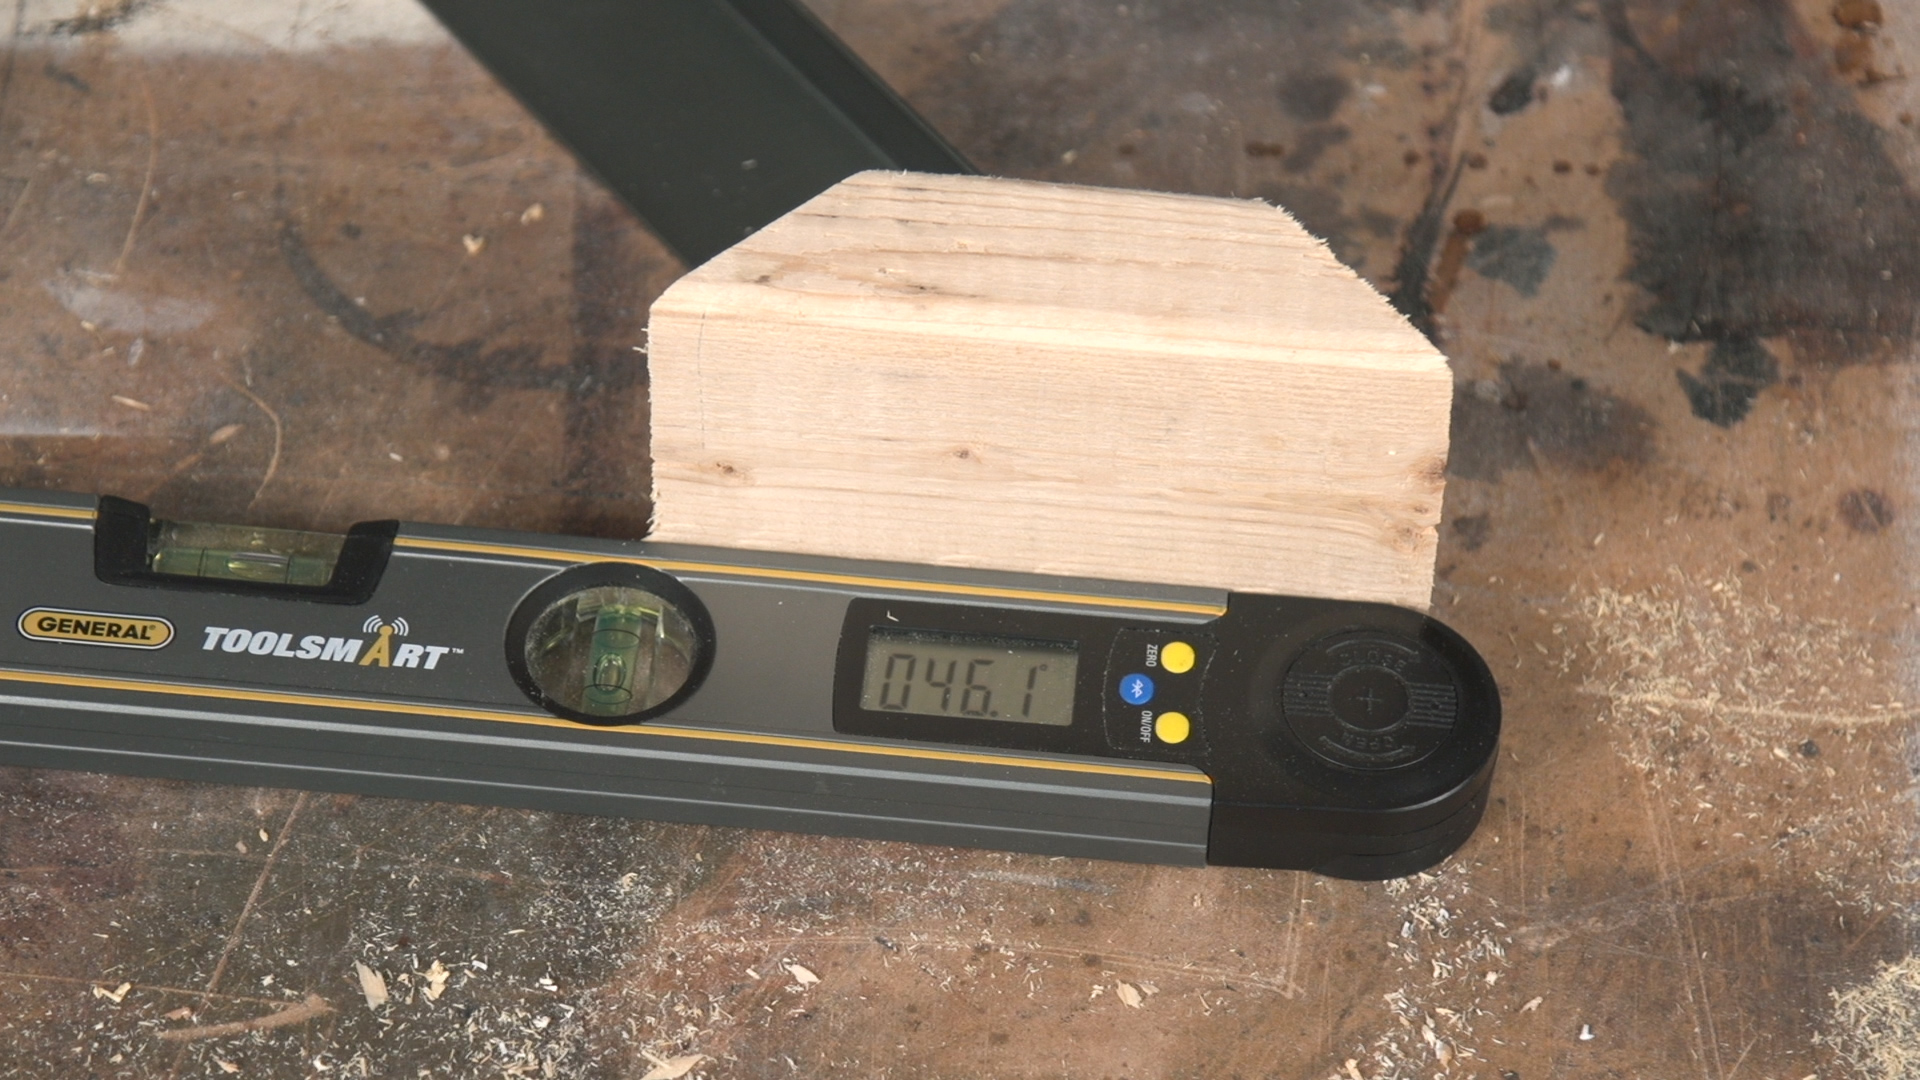
Circular saws do not have adjustable angle indicators like other saws do, so once you've compensated your saw's cutting angle to something that measures correctly, that's all you need to do.
You'll have to compensate your angles each time you cut.
Table Saws Work Just Like Miter Saws
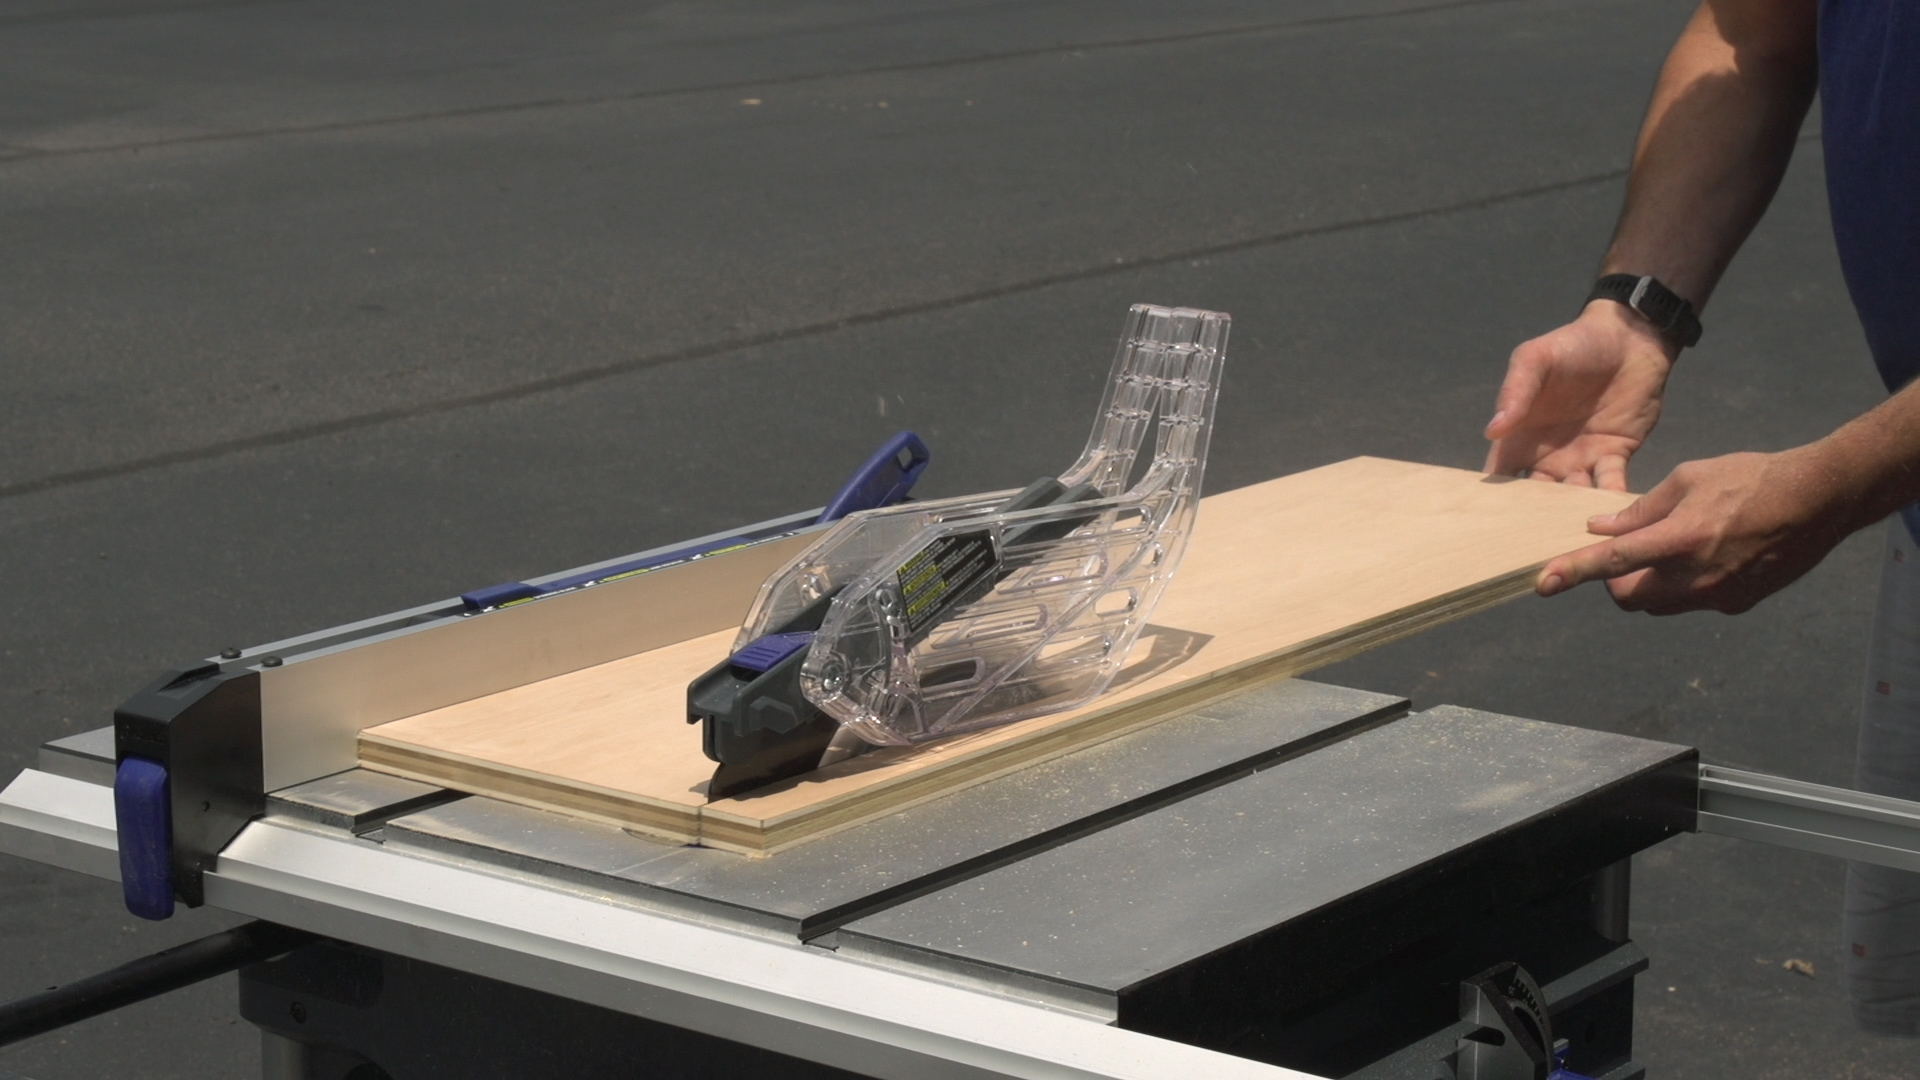
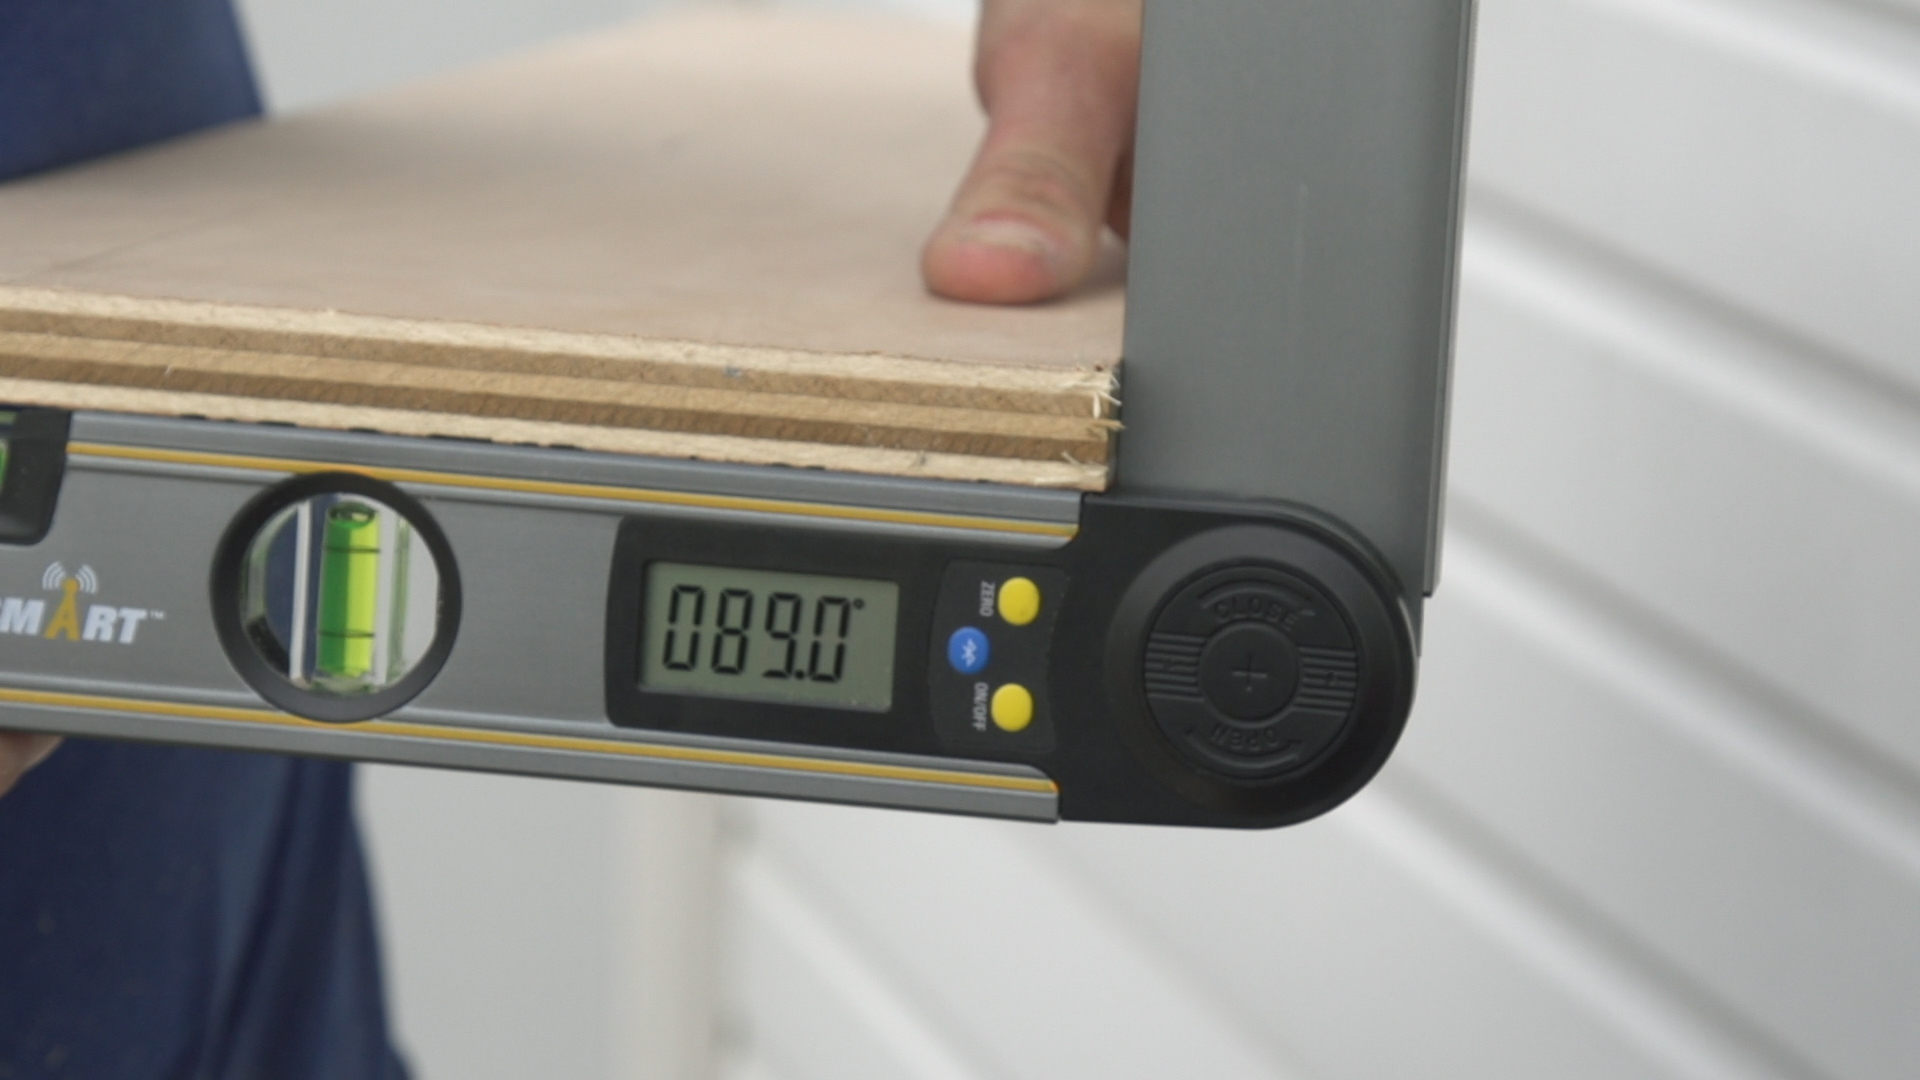
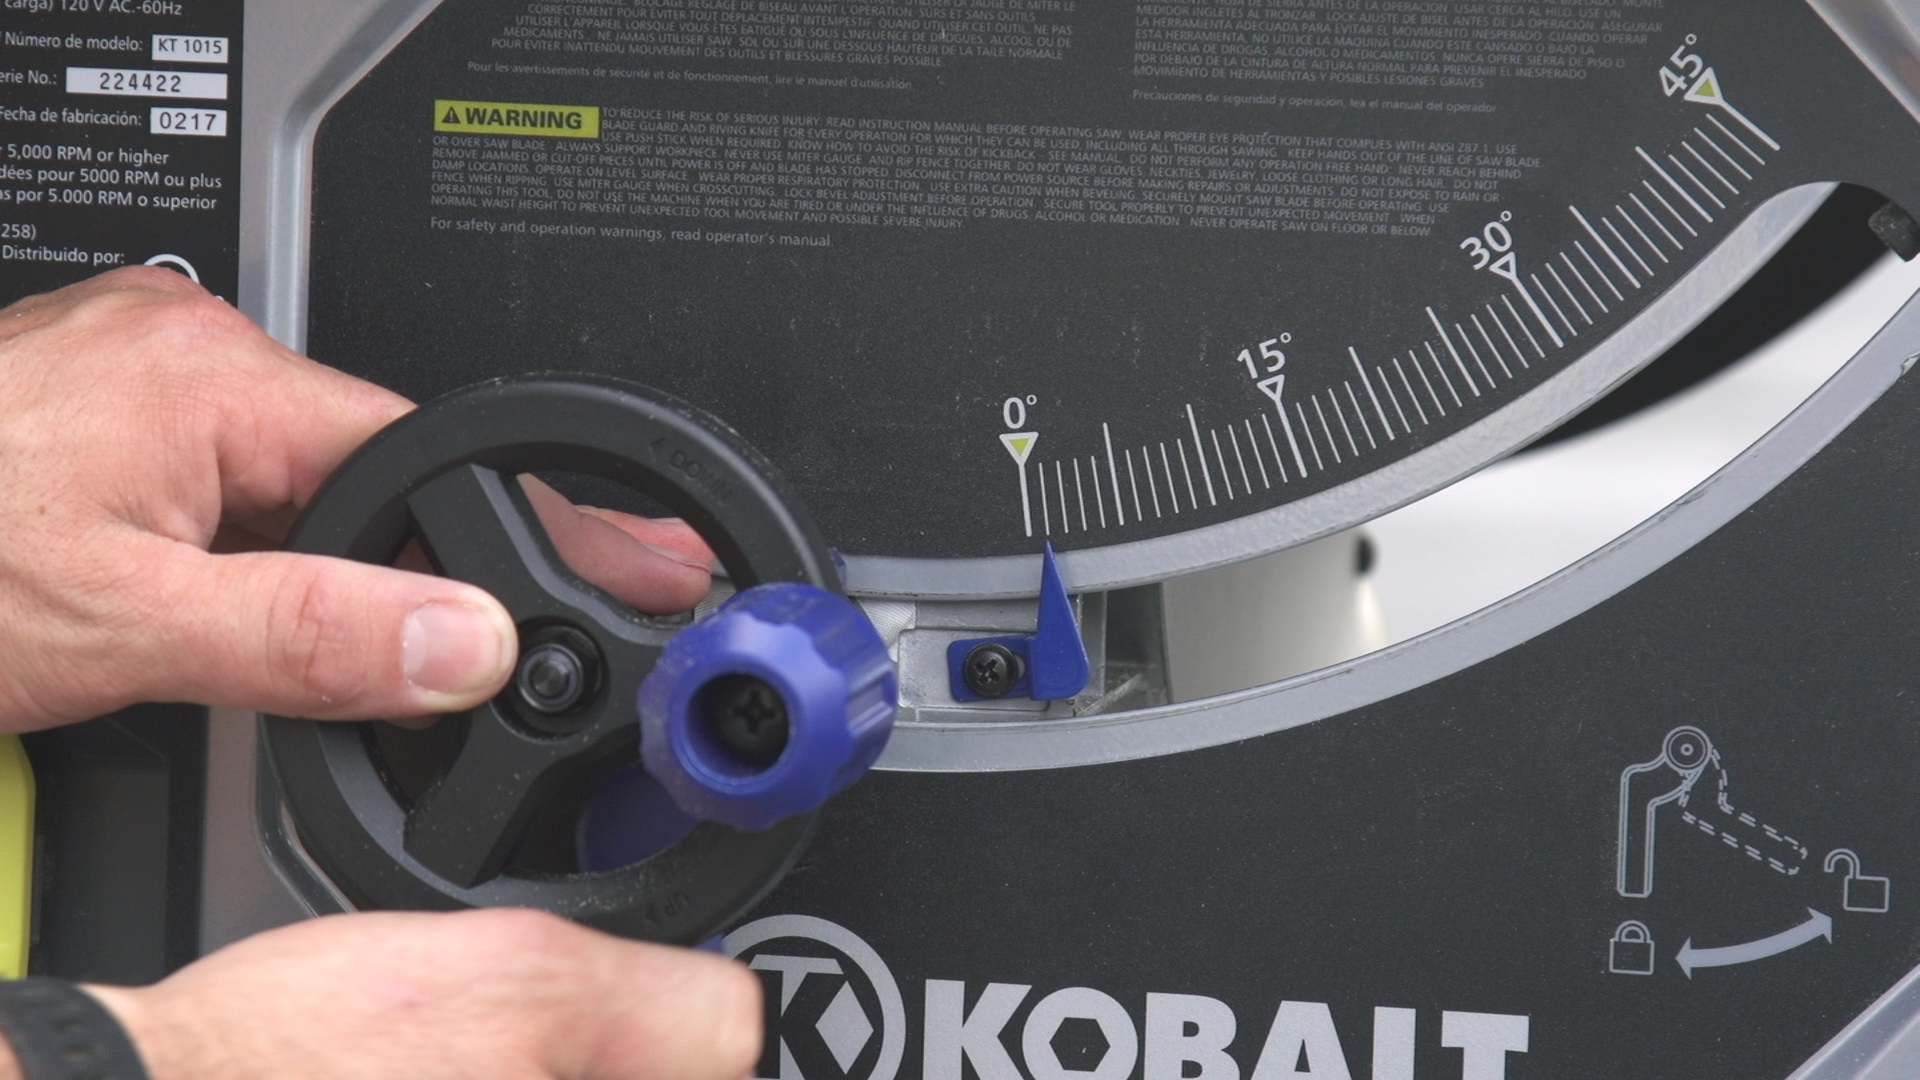
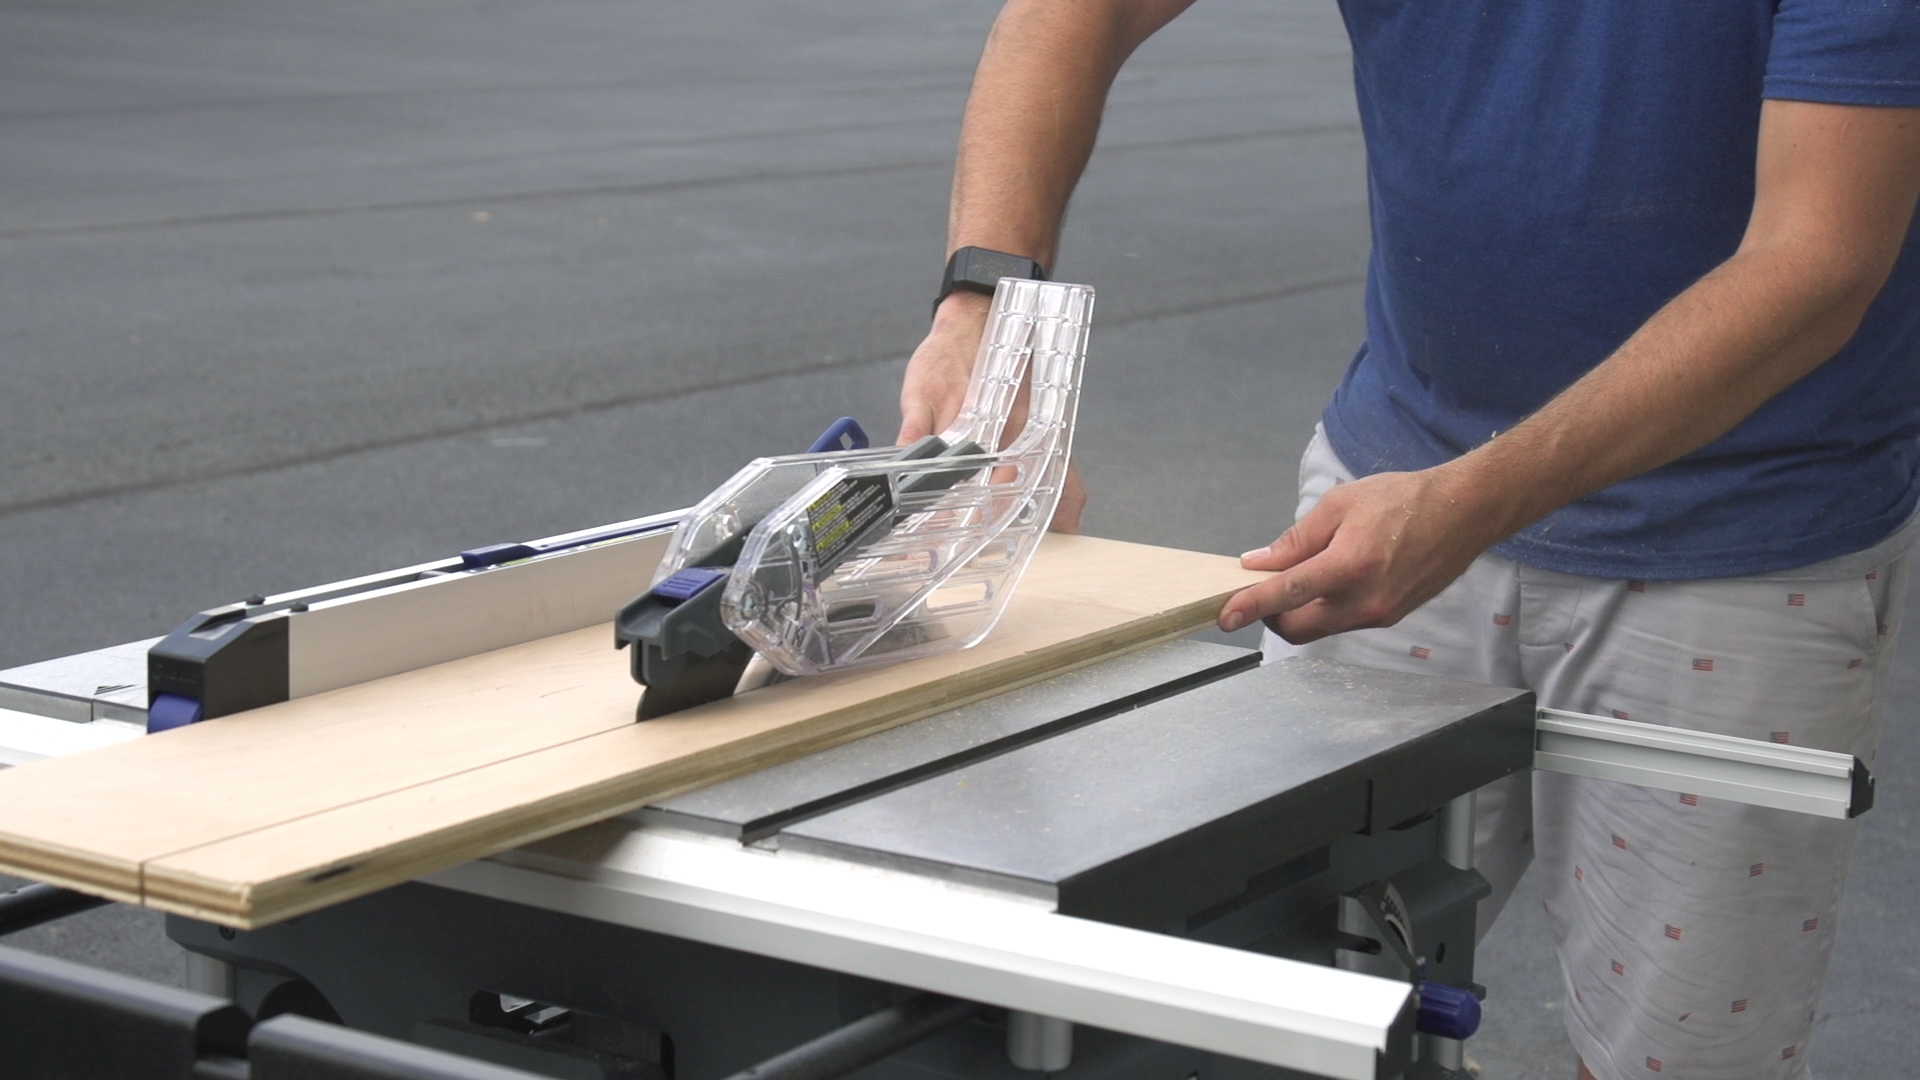
Ready to check your table saw? Great!
Head on back to Step 3 and use the exact same method.
Remember the 6 C's
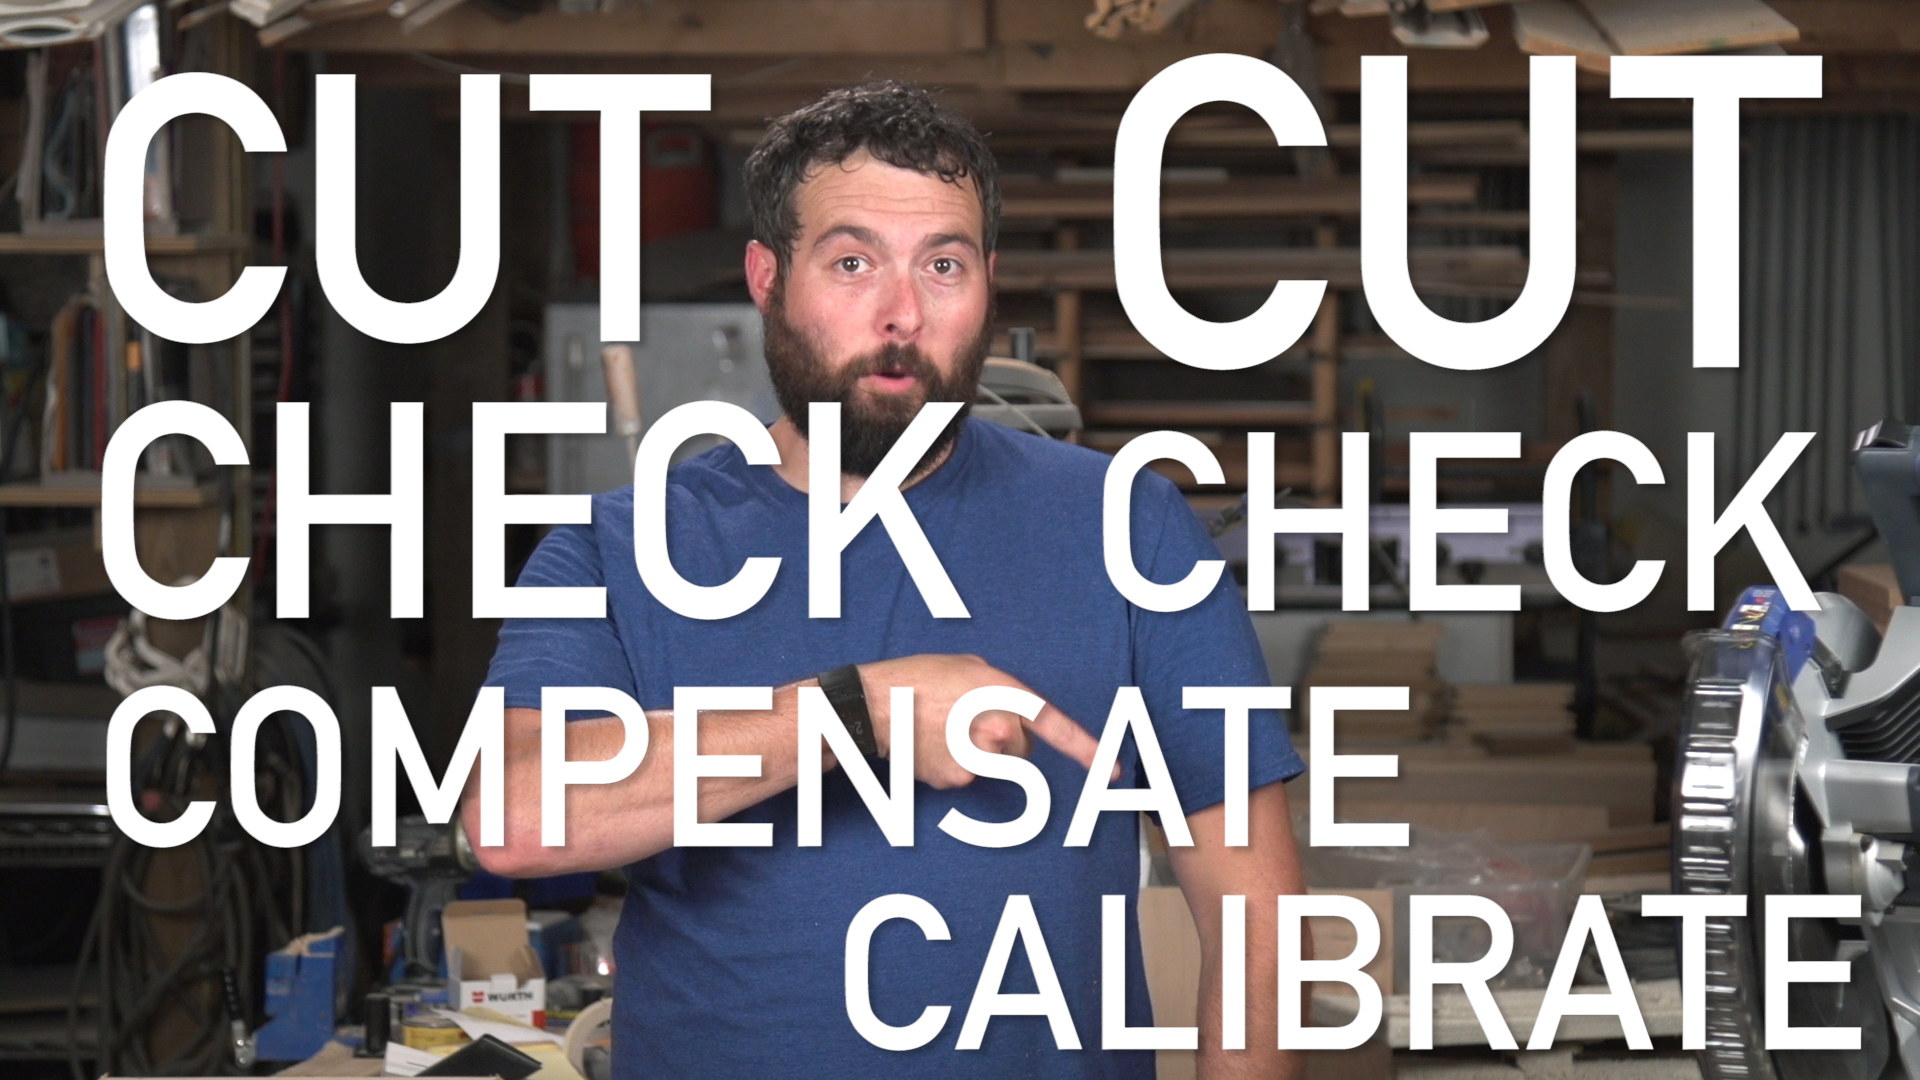
Cut: Make a test cut.
Check: Check your cut with a digital angle finder.
Compensate: Move your saw's angle in the opposite direction from the way your cut was off.
Cut (Again): Make a new test cut.
Check (Again): Measure that cut. And if it's correct...
Calibrate: Move the angle indicator to it's new, correct position.
Subscribe to Our New DIY Guy YouTube Channel

If you found this Instructable helpful, we'd love it if you subscribed here, as well as over at our new DIY Guy YouTube Channel.
We'll release new episodes every Wednesday morning, as well as extra stuff throughout the week.
And remember to turn on notifications at YouTube so you'll know each time we upload a new video.
Thanks again!