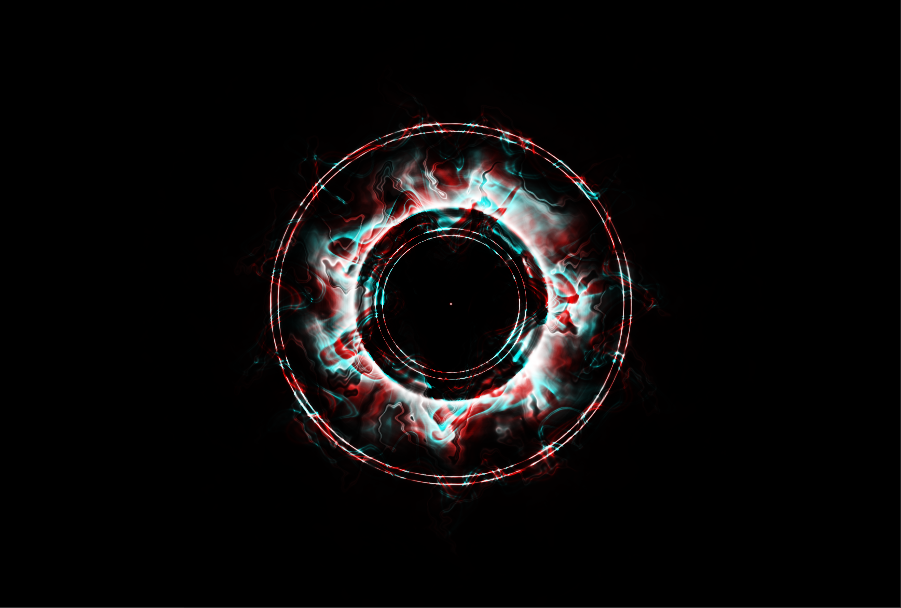
COOL CIRCLE OF GHOSTLY LIGHTS With PHOTOSHOP Only :)
by hackerwiz in Craft > Digital Graphics
3676 Views, 43 Favorites, 0 Comments
COOL CIRCLE OF GHOSTLY LIGHTS With PHOTOSHOP Only :)
 _.png)
 _.png)
 _.png)
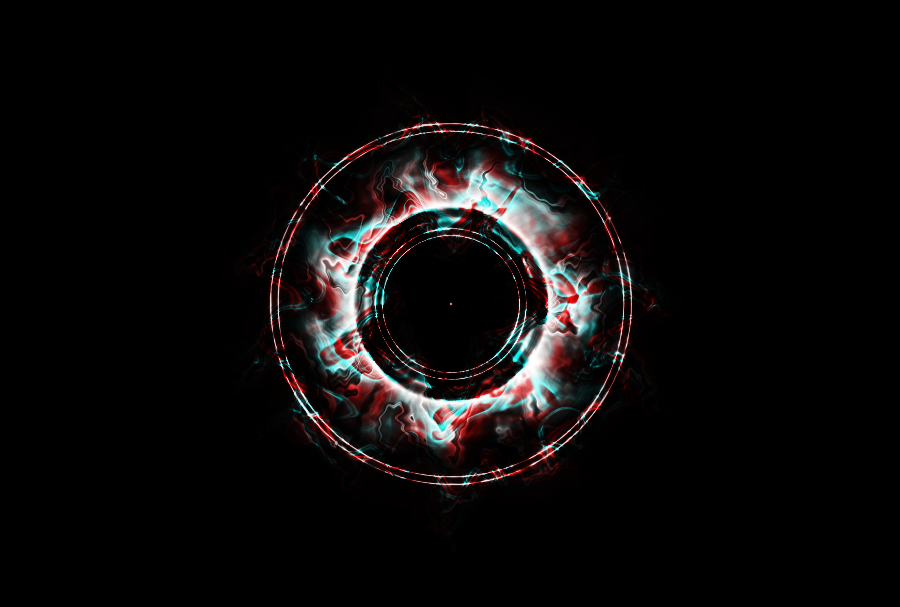
Hey guys I am up with my Photoshop Tutorial and this one is different because of its different story.
I don't usually make photoshop tutorials because I don't usually make my own stuff on photoshop as I usually just watch tutorials and try to copy them.Once while copying a video I didn't like what I ended up with and started playing with the image. After a little random nonsense this thing was born.I won a handful of competitions with this and I want to share it with you.
Open a New Project
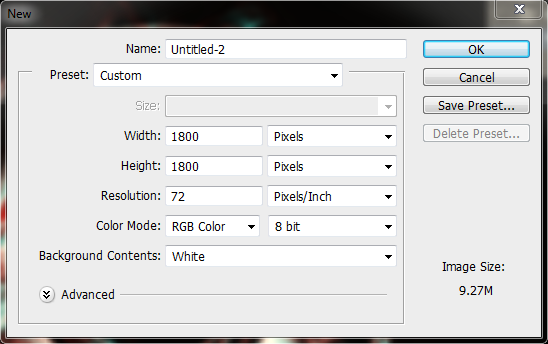
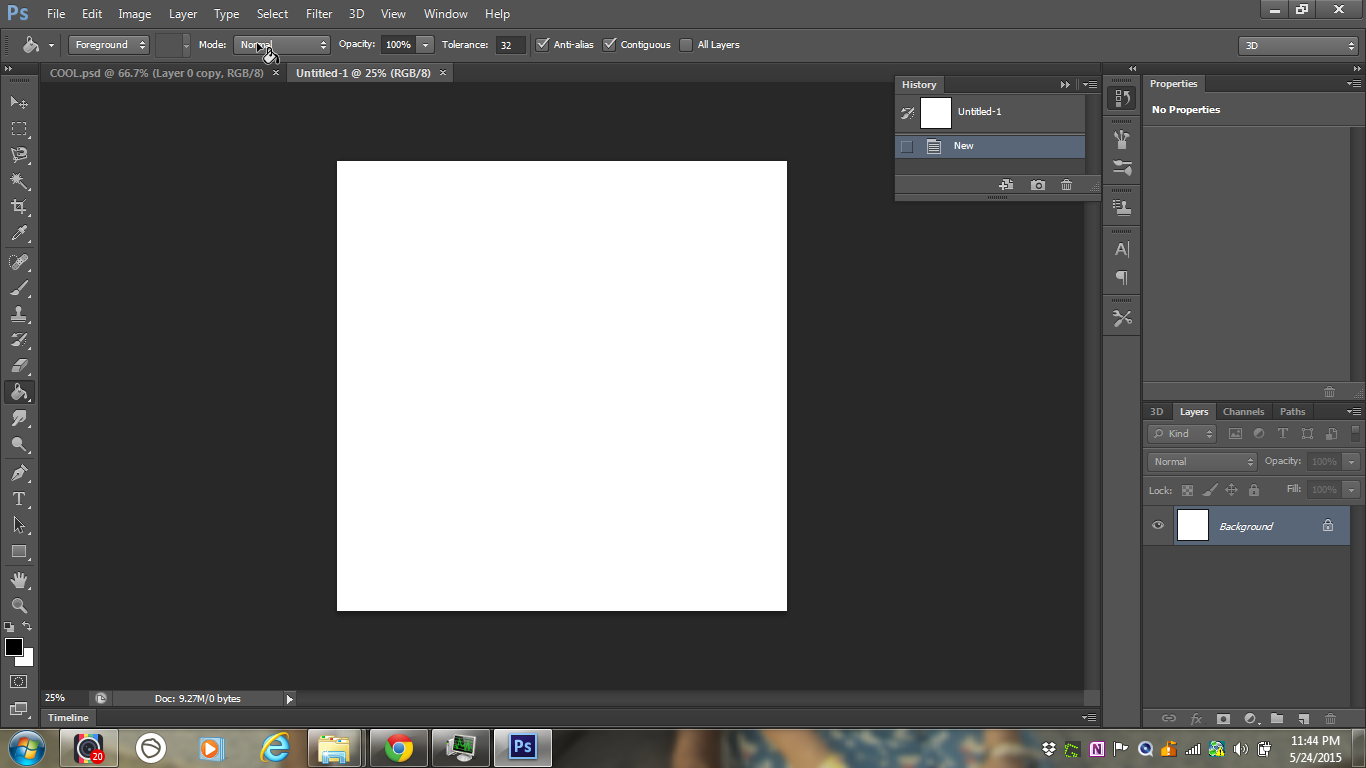
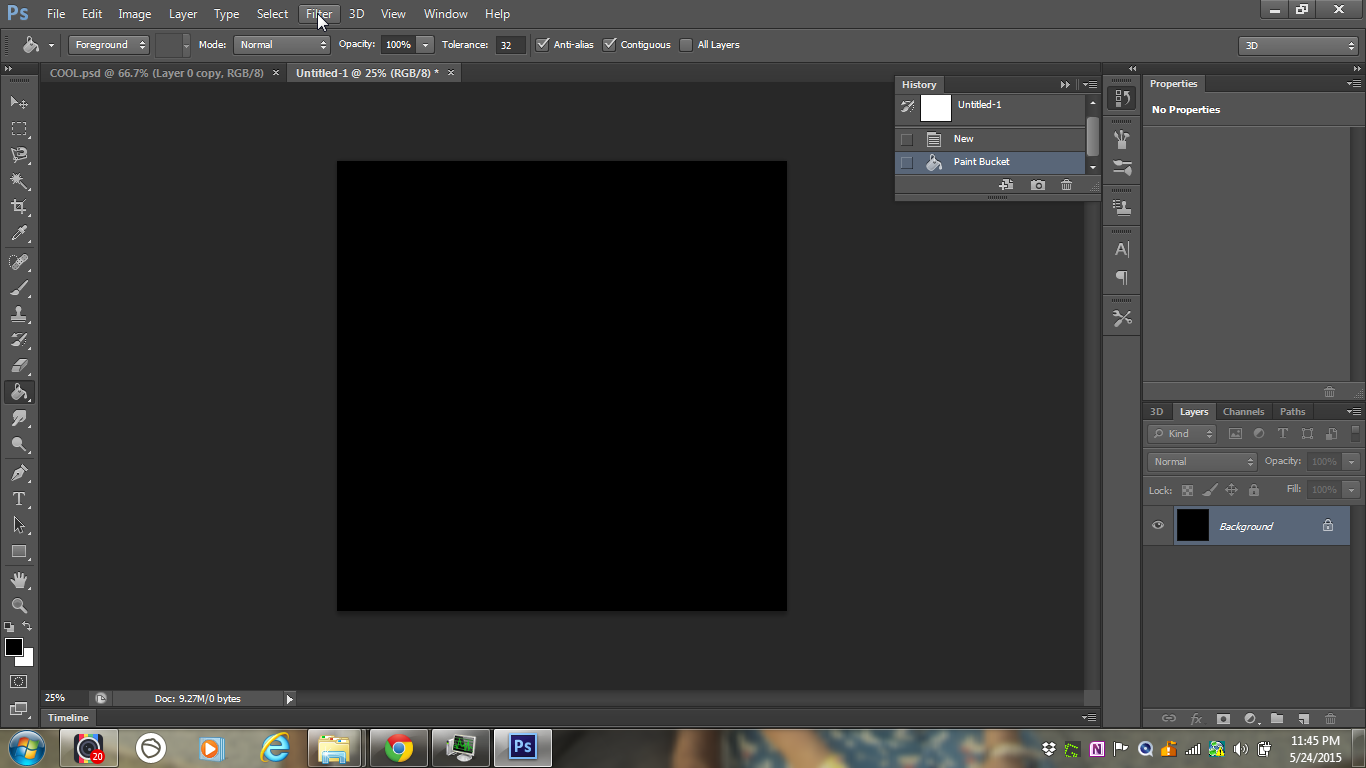
Start witha new project.
Fill in the option accordingly.
You can fill in with mine or your preference just dont use any inhuman resolution that would take a day to process.
:)
Now choose paint bucket and with black fill the screen by clicking on the area.
:)
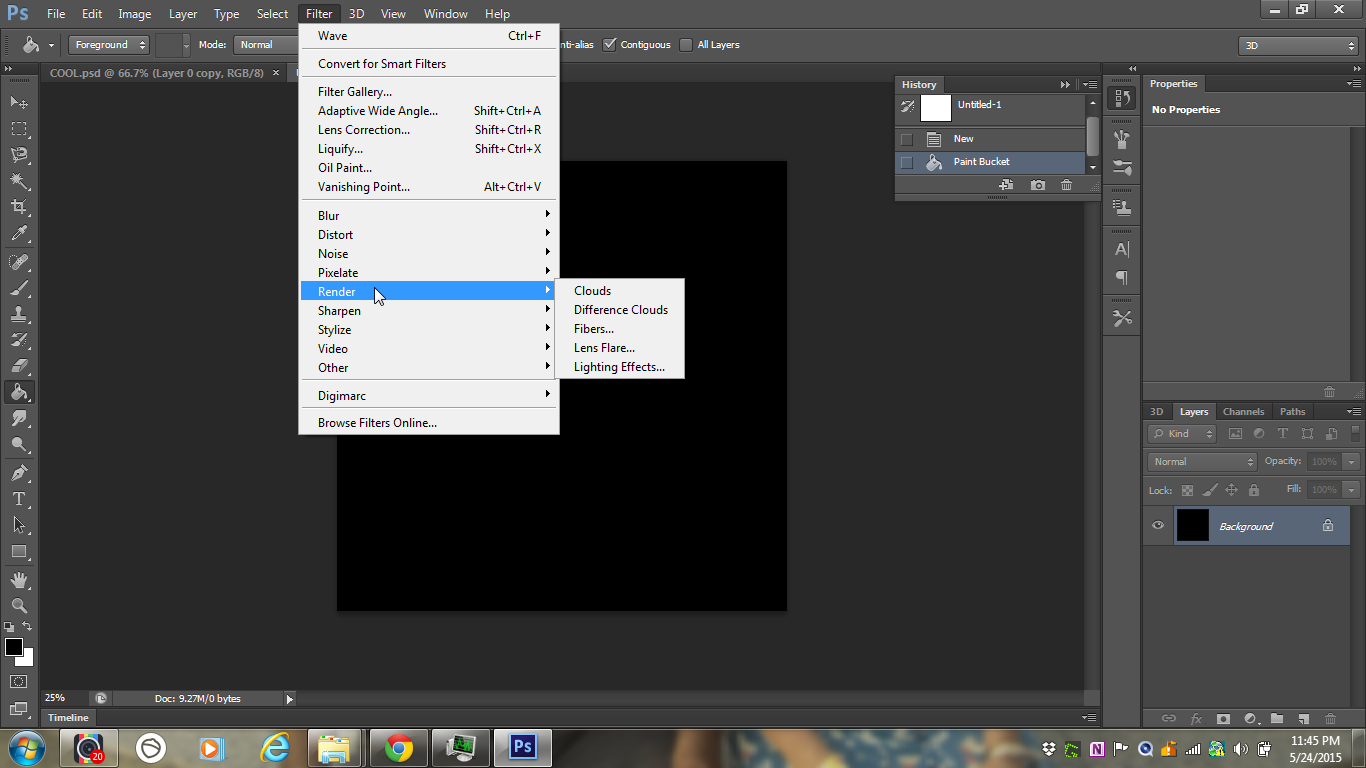
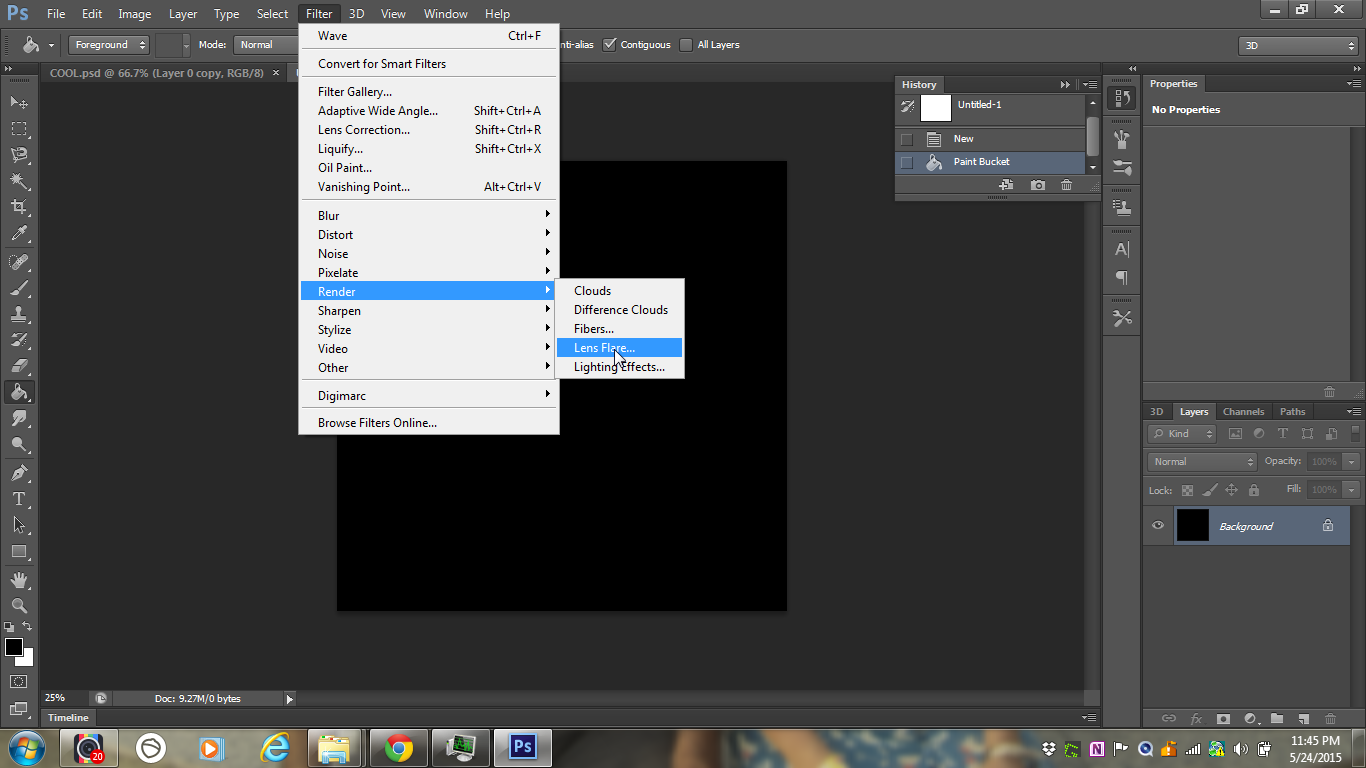
Now go to
FILTERS>RENDER>LENS FLARE
:)
THE LENS FLARE
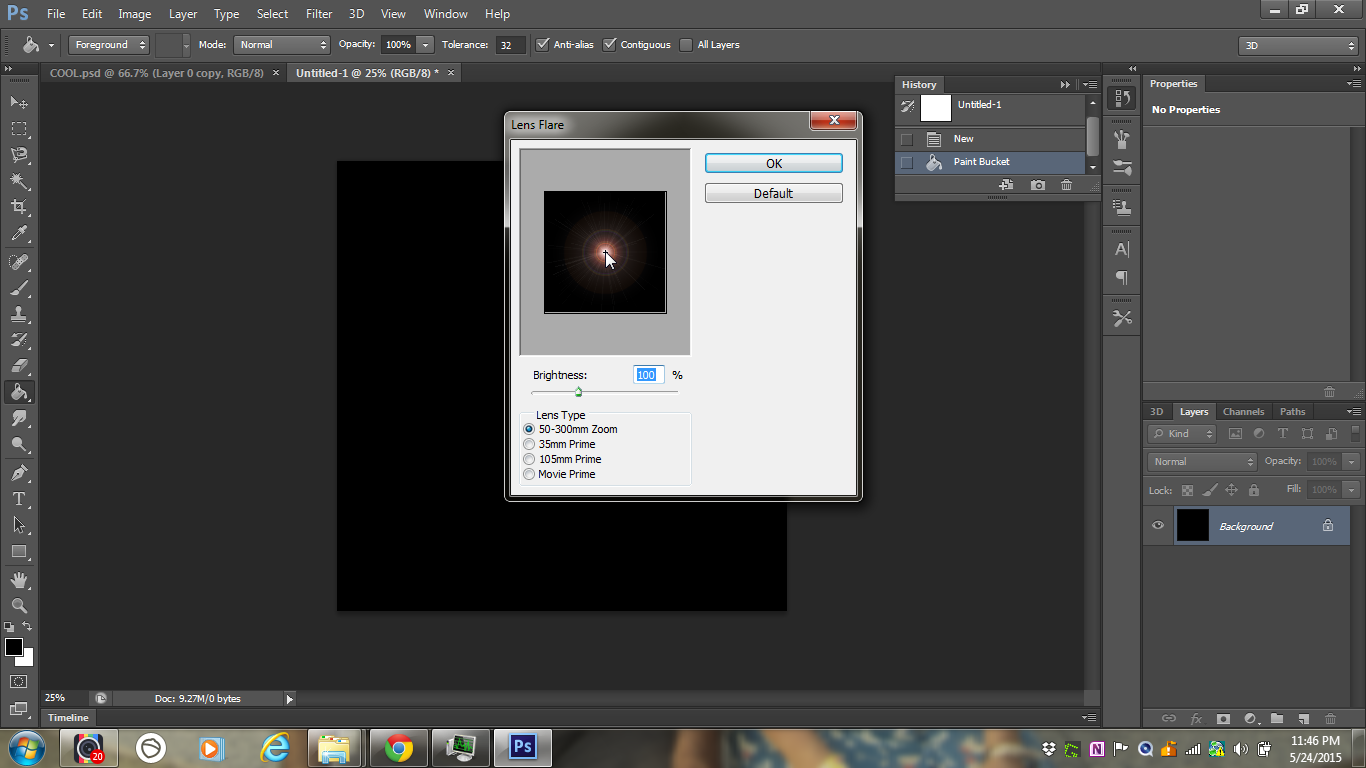
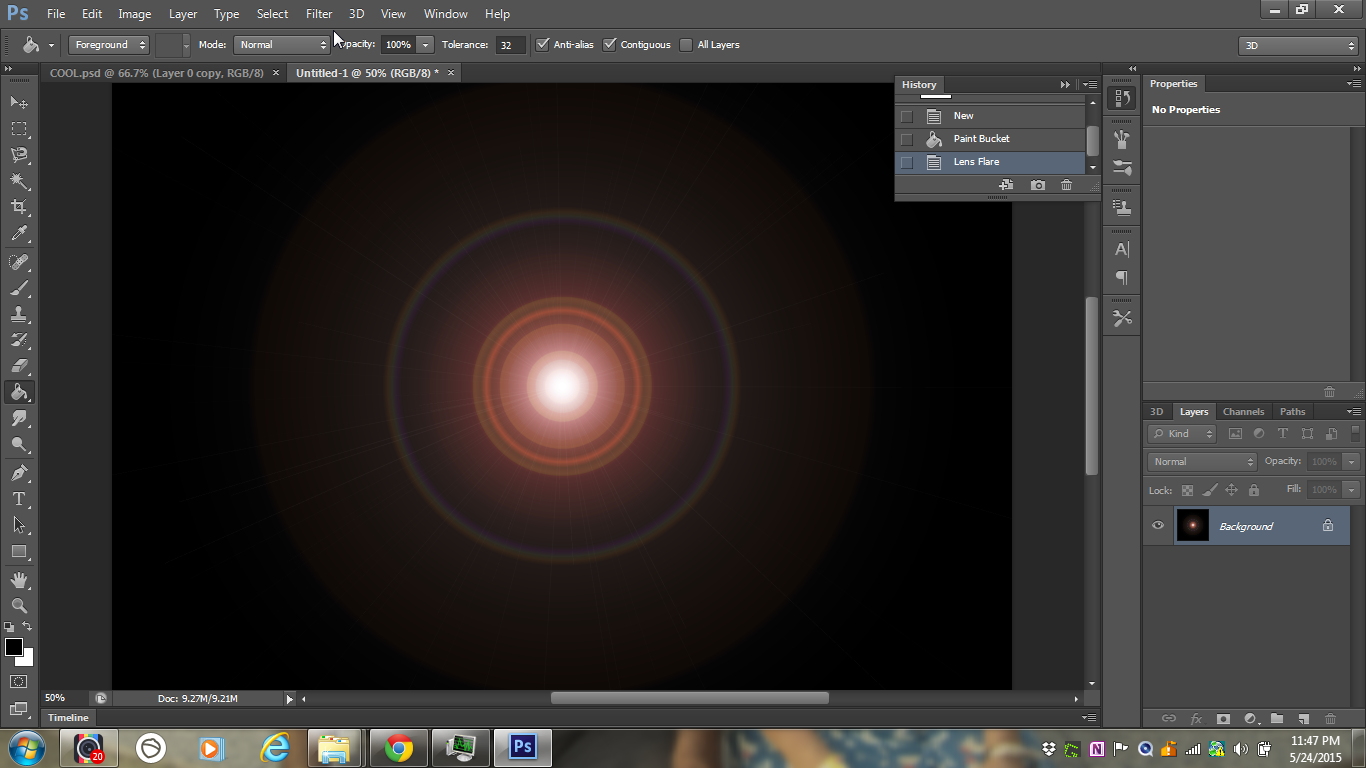
When the LENS FLARE opens make the cross in the black box such that it is in the middle and the flare forms more or less a circle
:)
Now go to
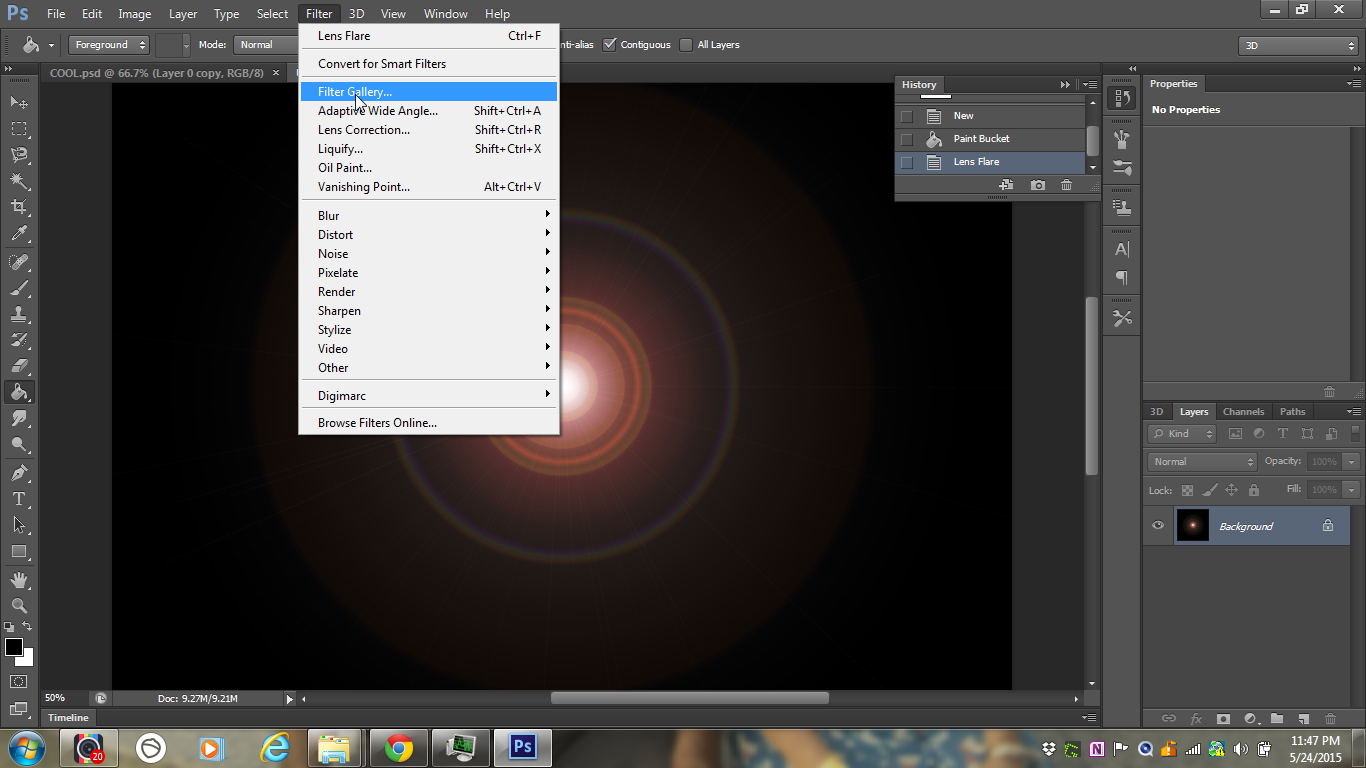
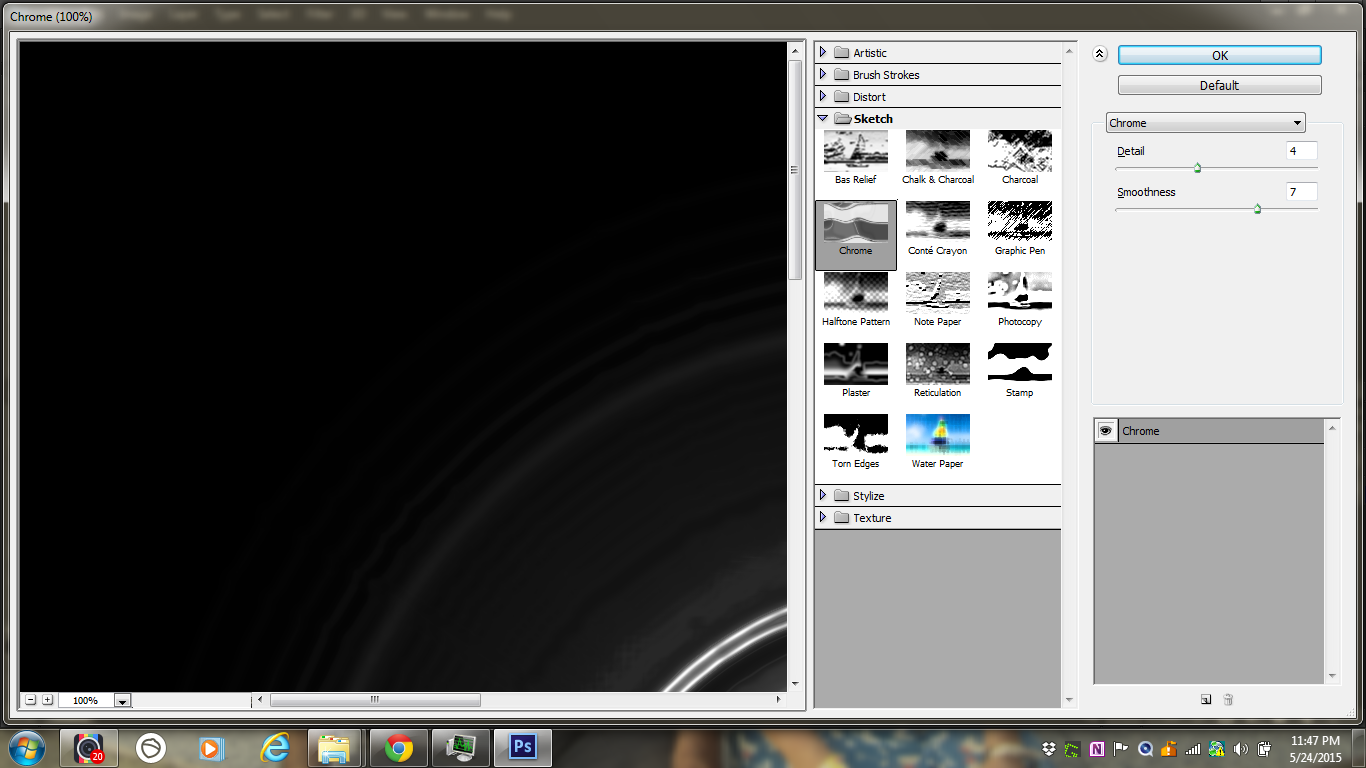
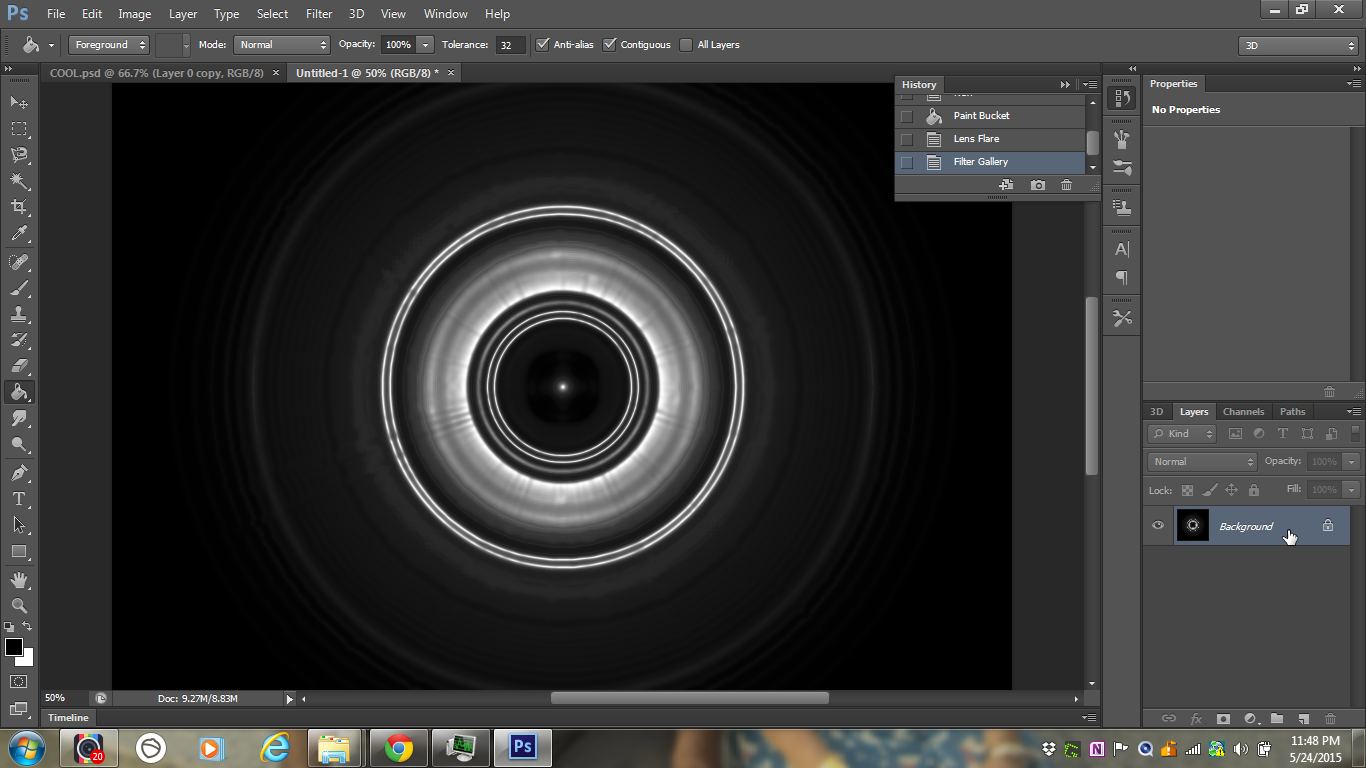
FILTERS>FILTER GALLERY and from the box choose SKETCH>CHROME
:)
Now the layer already is locked.
To unlock double click on the layer and press enter.
:)
DUPLICATE THE LAYER AND ADD WAVE
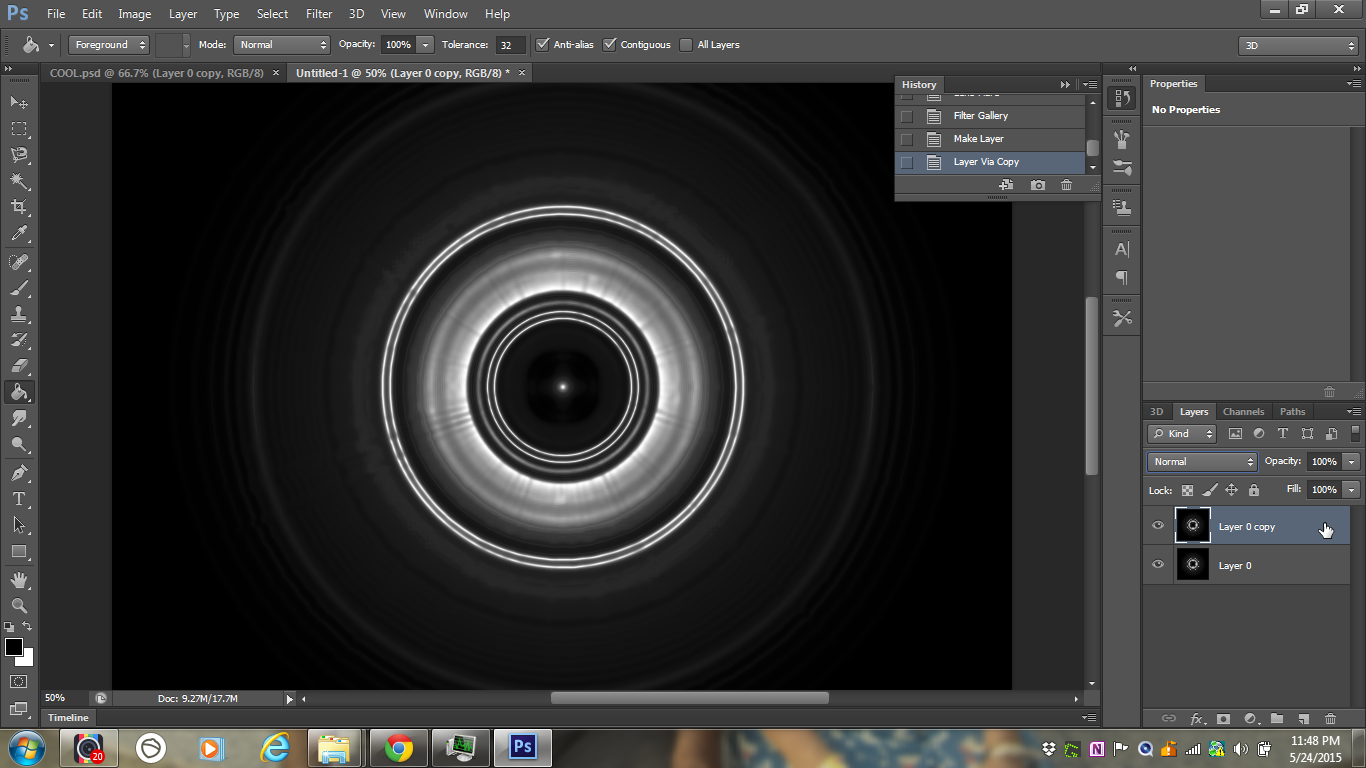
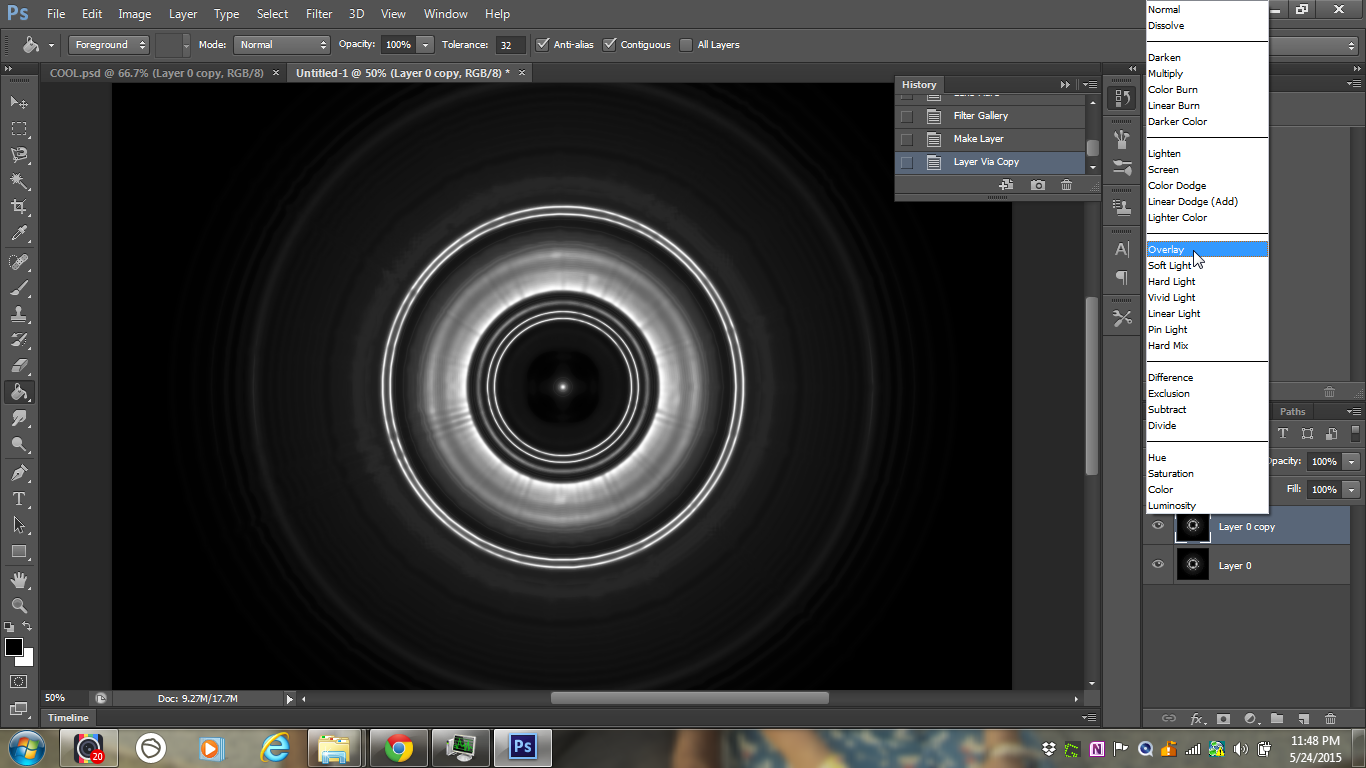
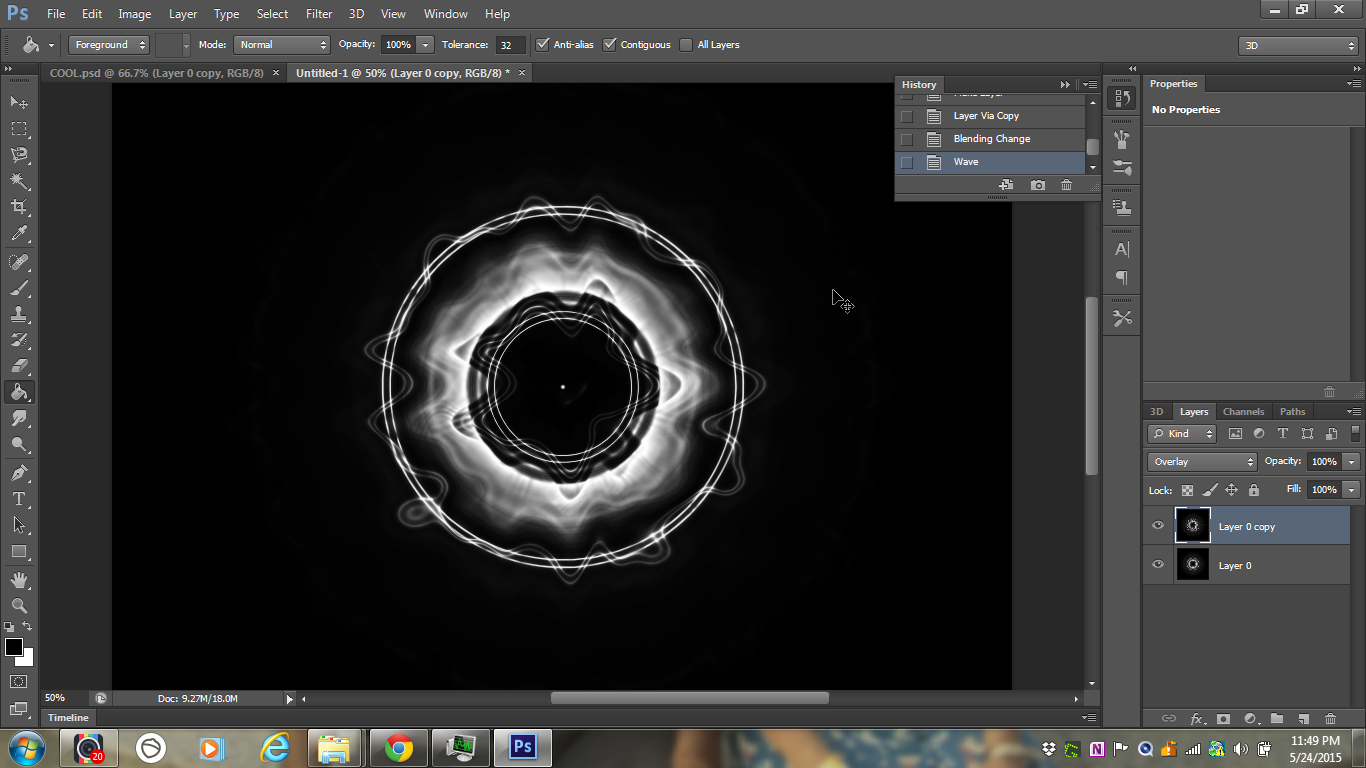
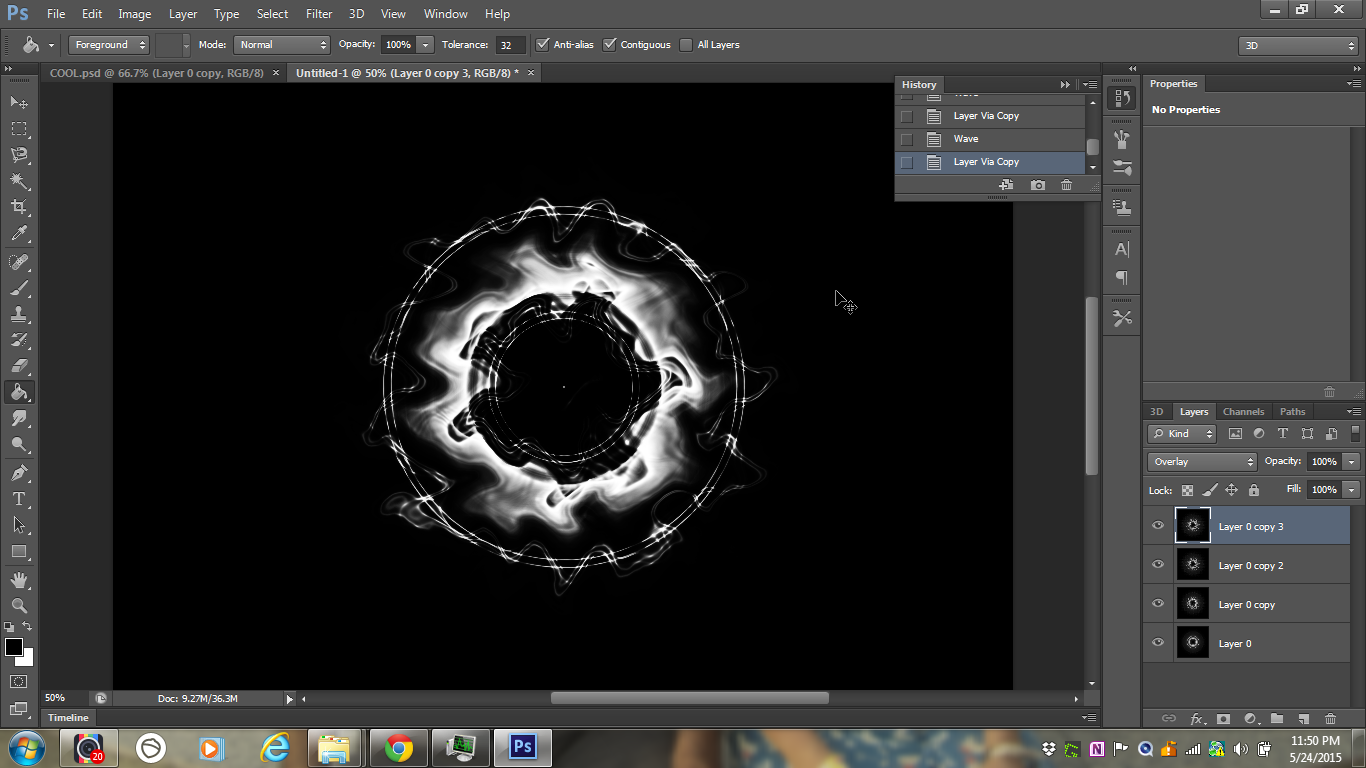
To duplicate the layer press ctrl + j and from the drop down box above the layer box choose overlay
:)
Now time to wave ~
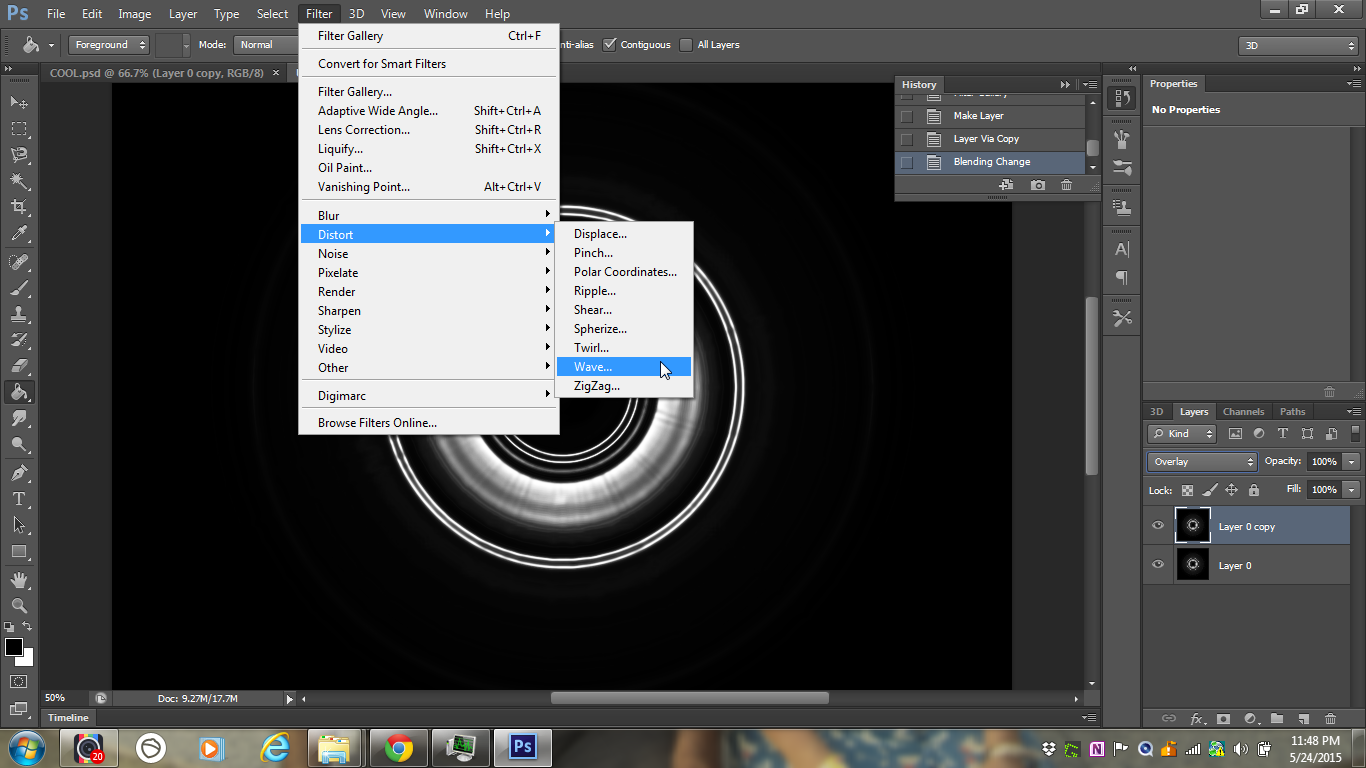
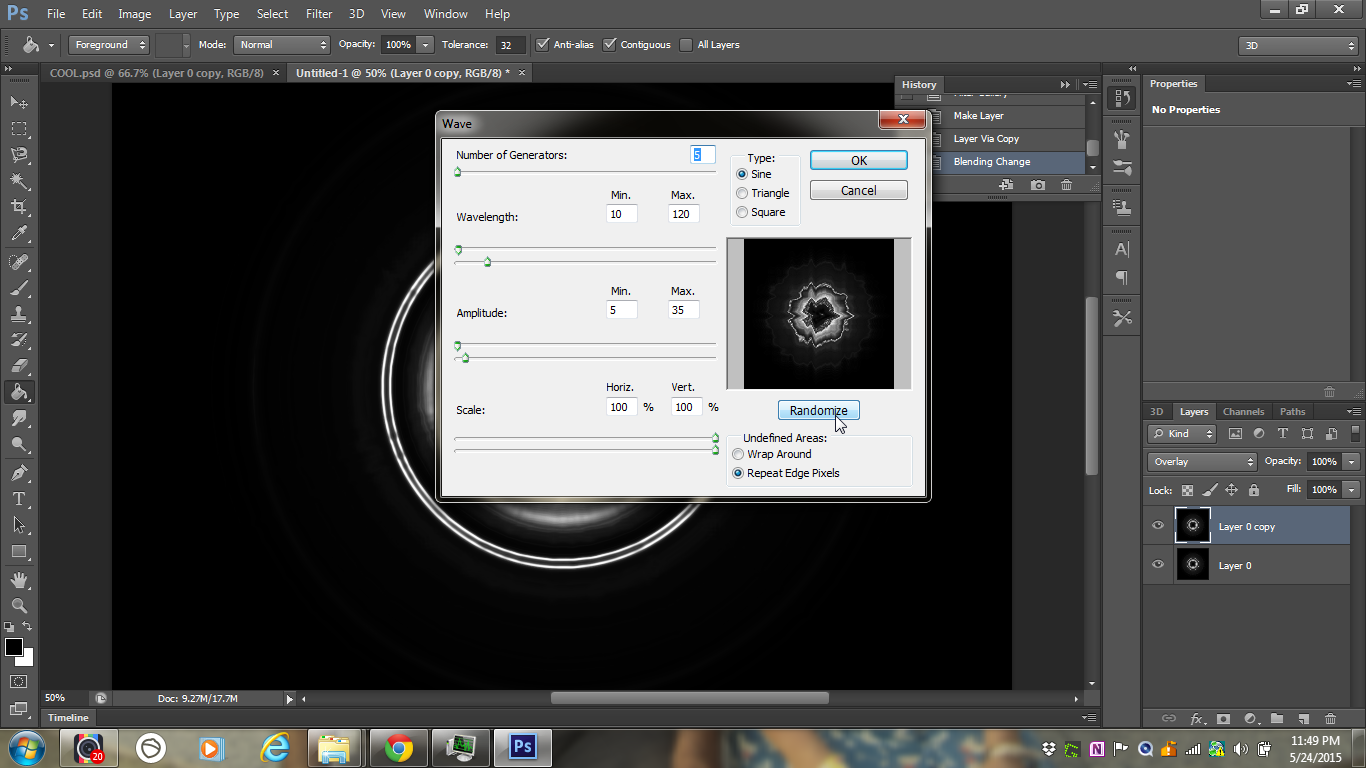
Go To FILTERS>DISTORT>WAVE and with the default sttngs click randomize until you are satisfied with the effect.
(It doesn't really matter what it looks like now) now click ok..
:)
Now click on the topmost layer and duplicate and ad wave.
Do this until you have one original and FOUR duplicated layers in total. The IMAGE shows one less duplicate layer but I ended up with the number that I told you to have.
You can make as many layers as you want to. The results will be a little different maybe cooler.
:)
LAST STEP
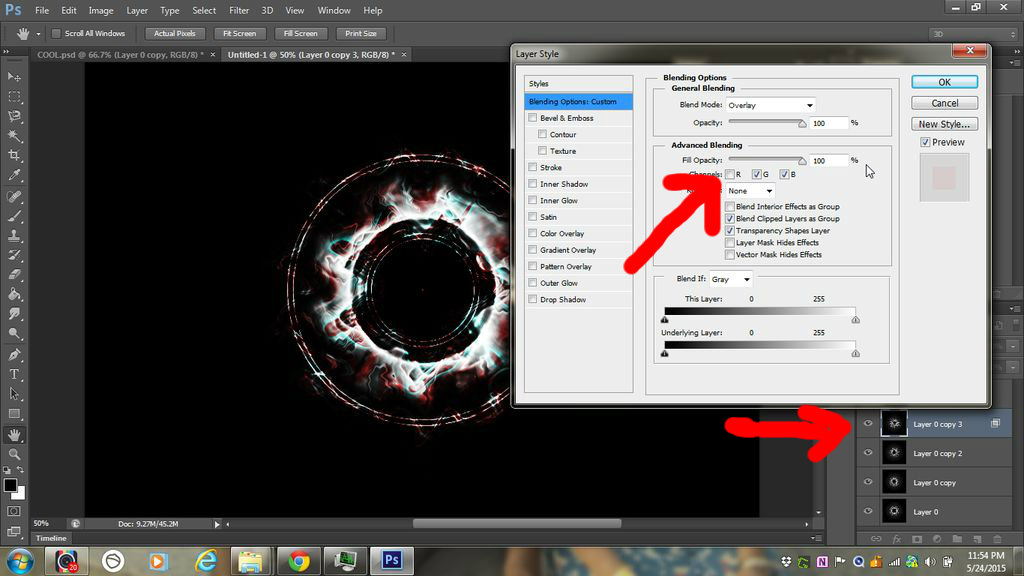
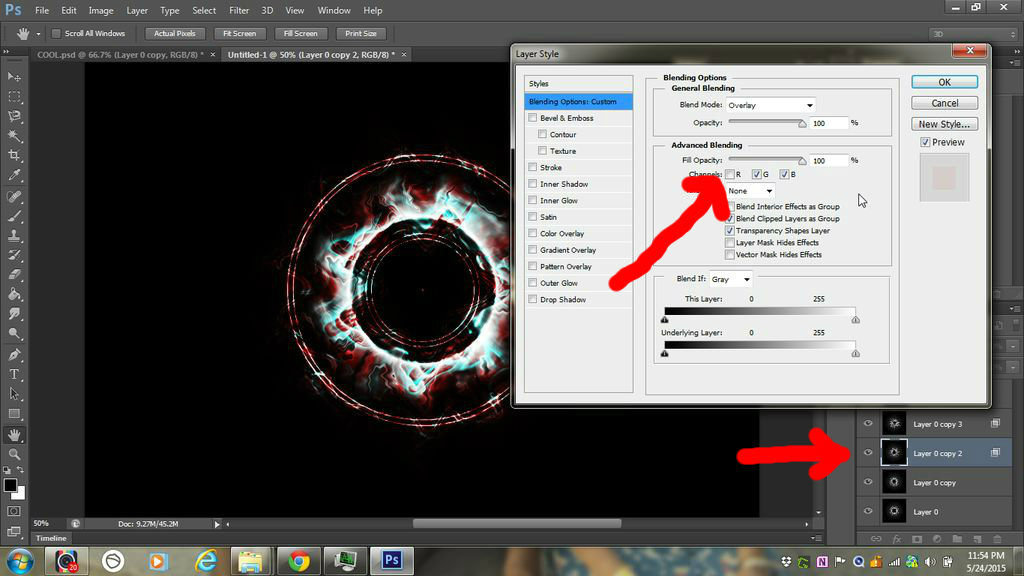
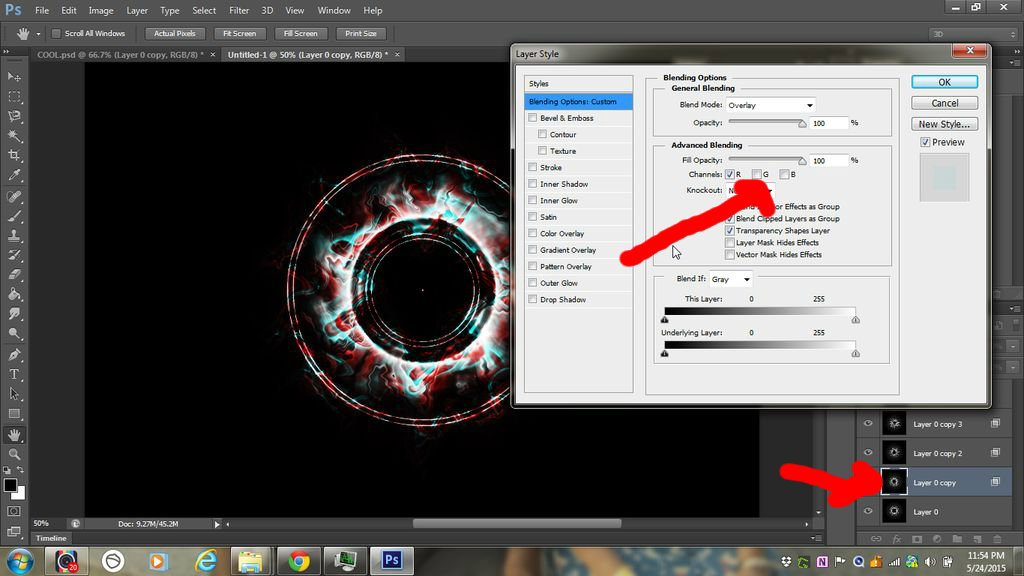
Noe double click on second layer "copy three" or just right click on it and click on blending stuff
:)
In channels click on R so that G and B remain checked and repeat this for third layer and in fourth layer click on G and B so that R is checked alone
:)
You can try stuff by checking the other ways out but try not to meddle with the first and the last layer or it'll look cartoon-like
This is anentry for Mind For Design contest if you like my tutorial then vote