COI - Light Transmission Meter
by FCFI Makerspace in Circuits > Gadgets
1337 Views, 10 Favorites, 0 Comments
COI - Light Transmission Meter


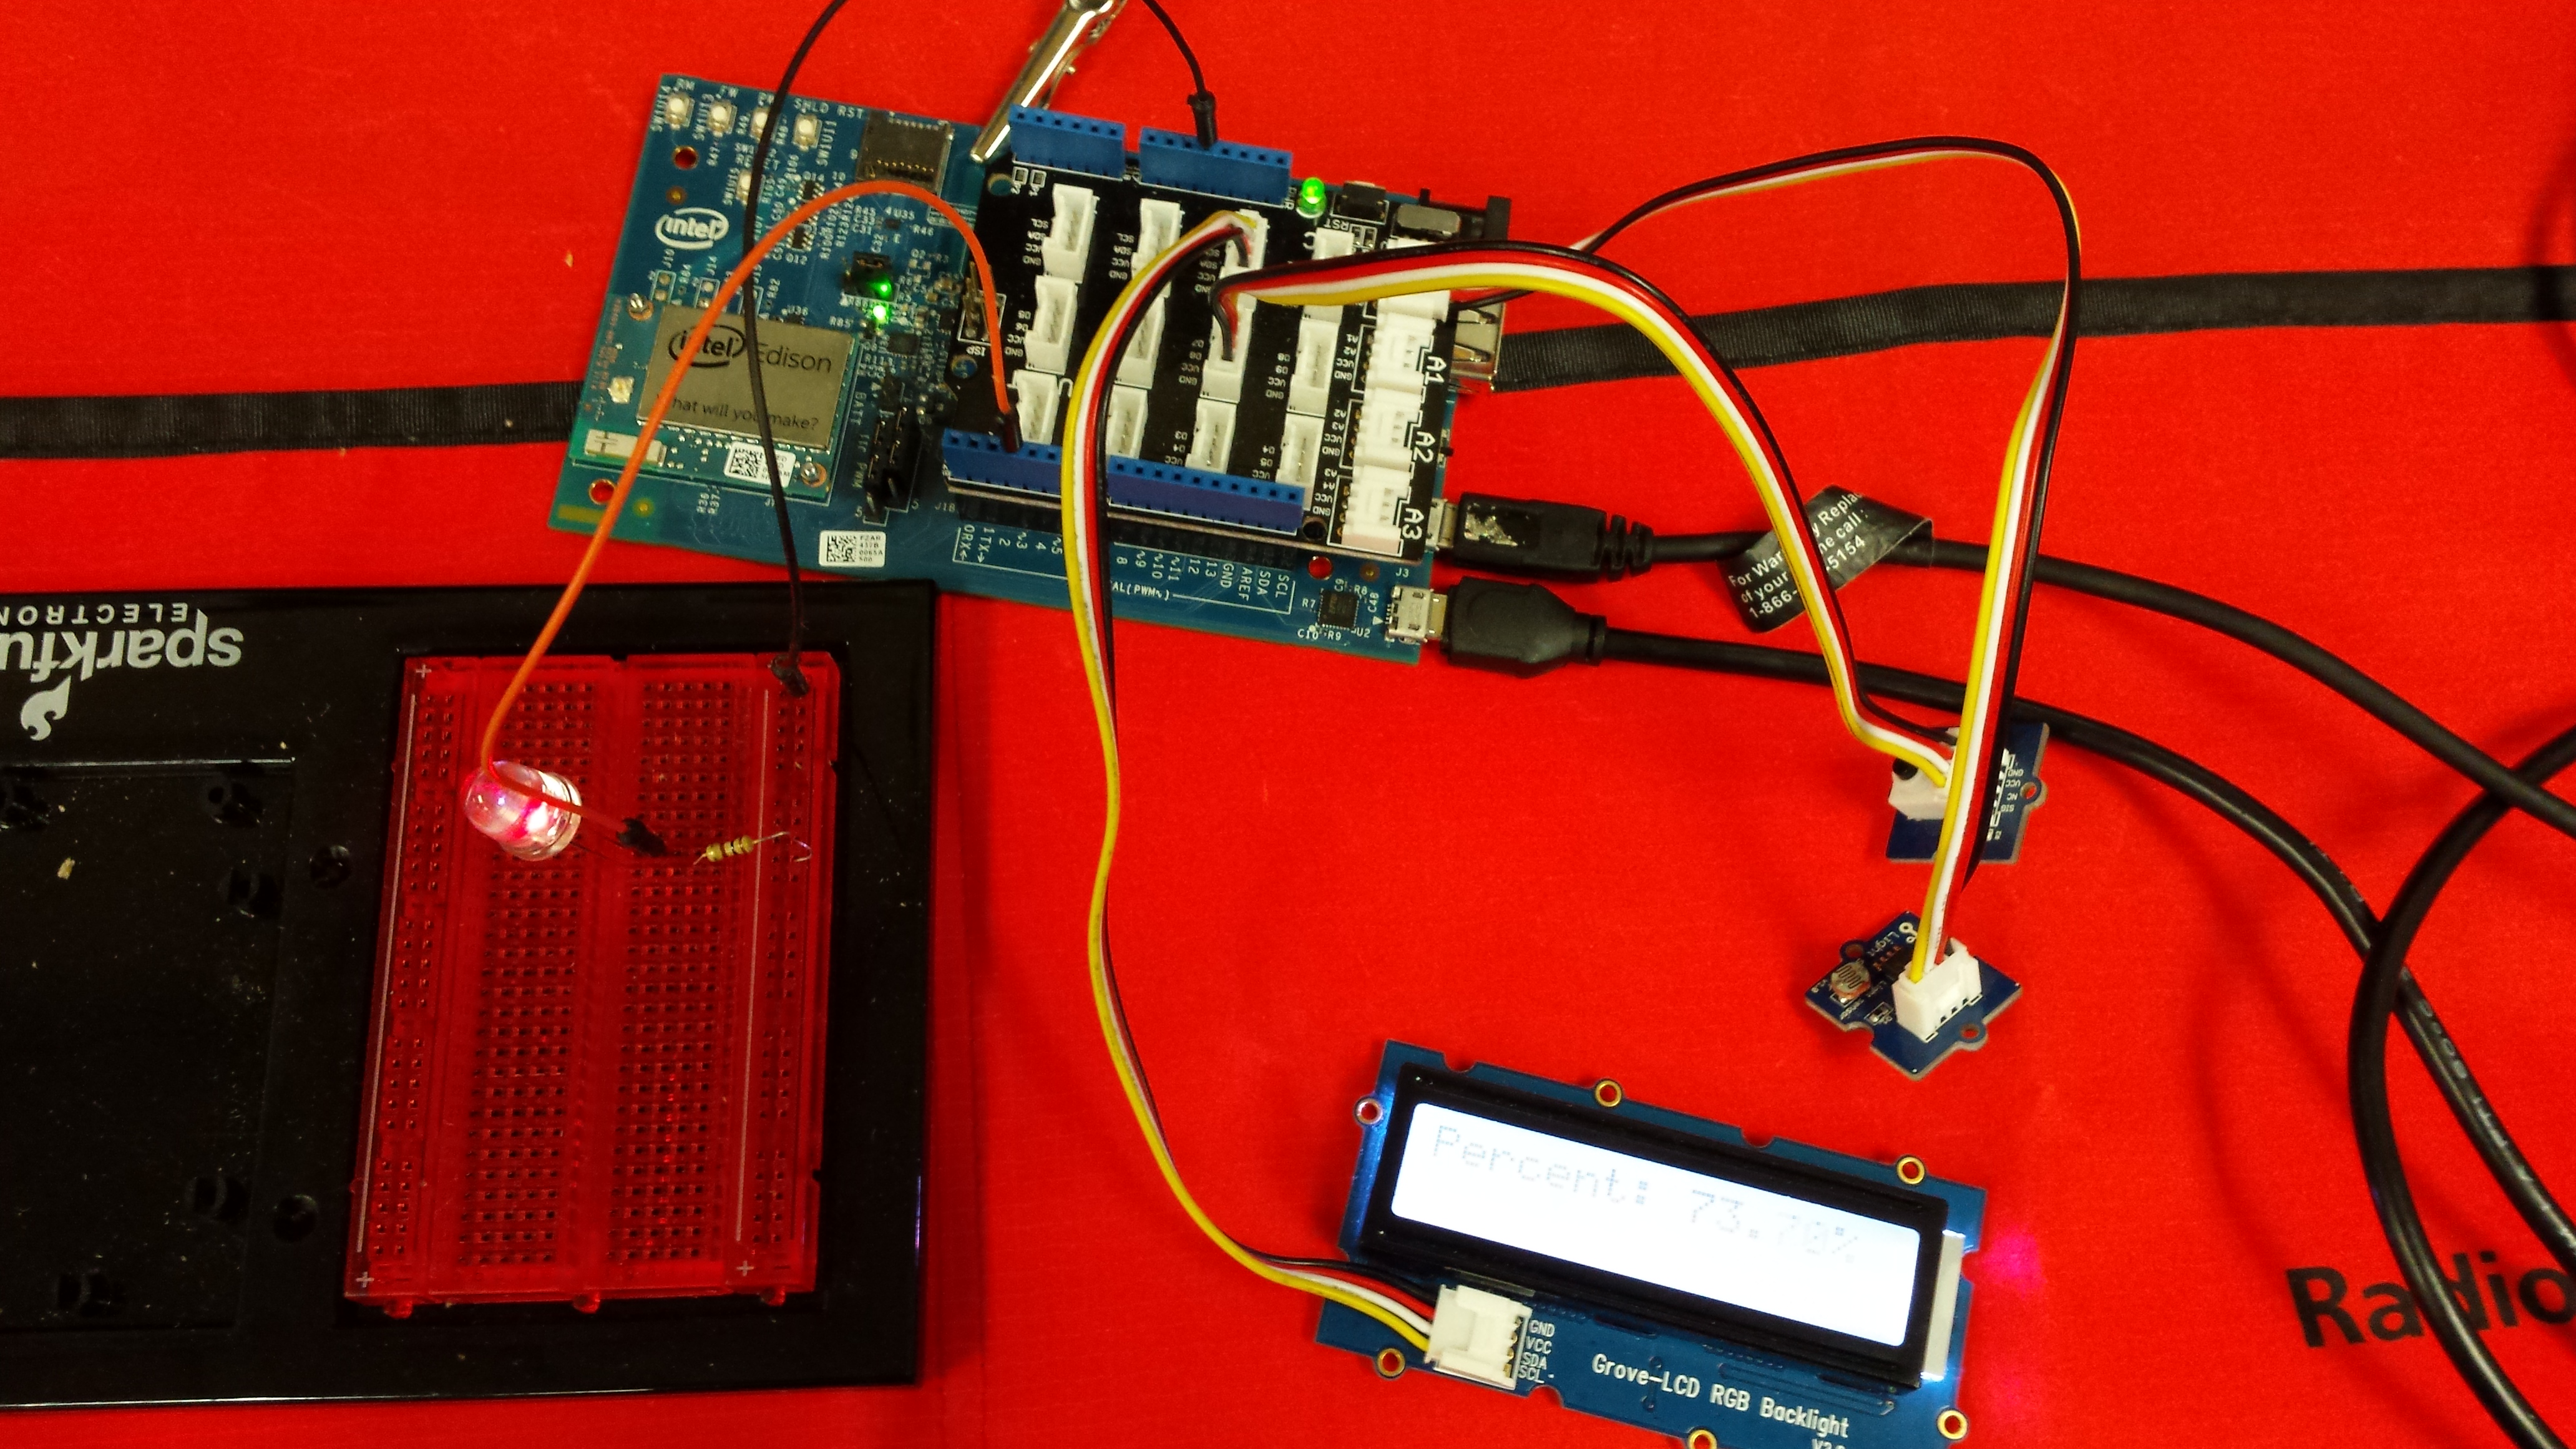
The finished product uses the light sensor provided in the Grove Starter Kit Plus to measure change in light intensity. It measures an initial value of light, and tells you how bright or dark it is becoming based on change in its environment. This can be used to tell the opacity of certain materials such as polylactic acid (used in 3D printing), or determine how light pollution is affecting an area over time.
Hardware
- Intel Edison
- Static Mat
- Computer
- Bread Board
- 2 Mini USB Cables
- 3 Jumper Cables
- 2 Pin Cables
- 100 OHM resistor
- LED Light (intensity - 400mcd, wavelength - 600nm, FW current - 20mA)
- Seeed Light Sensor
- Seeed RGB Backlight LCD
- Seeed Button Sensor
Setup

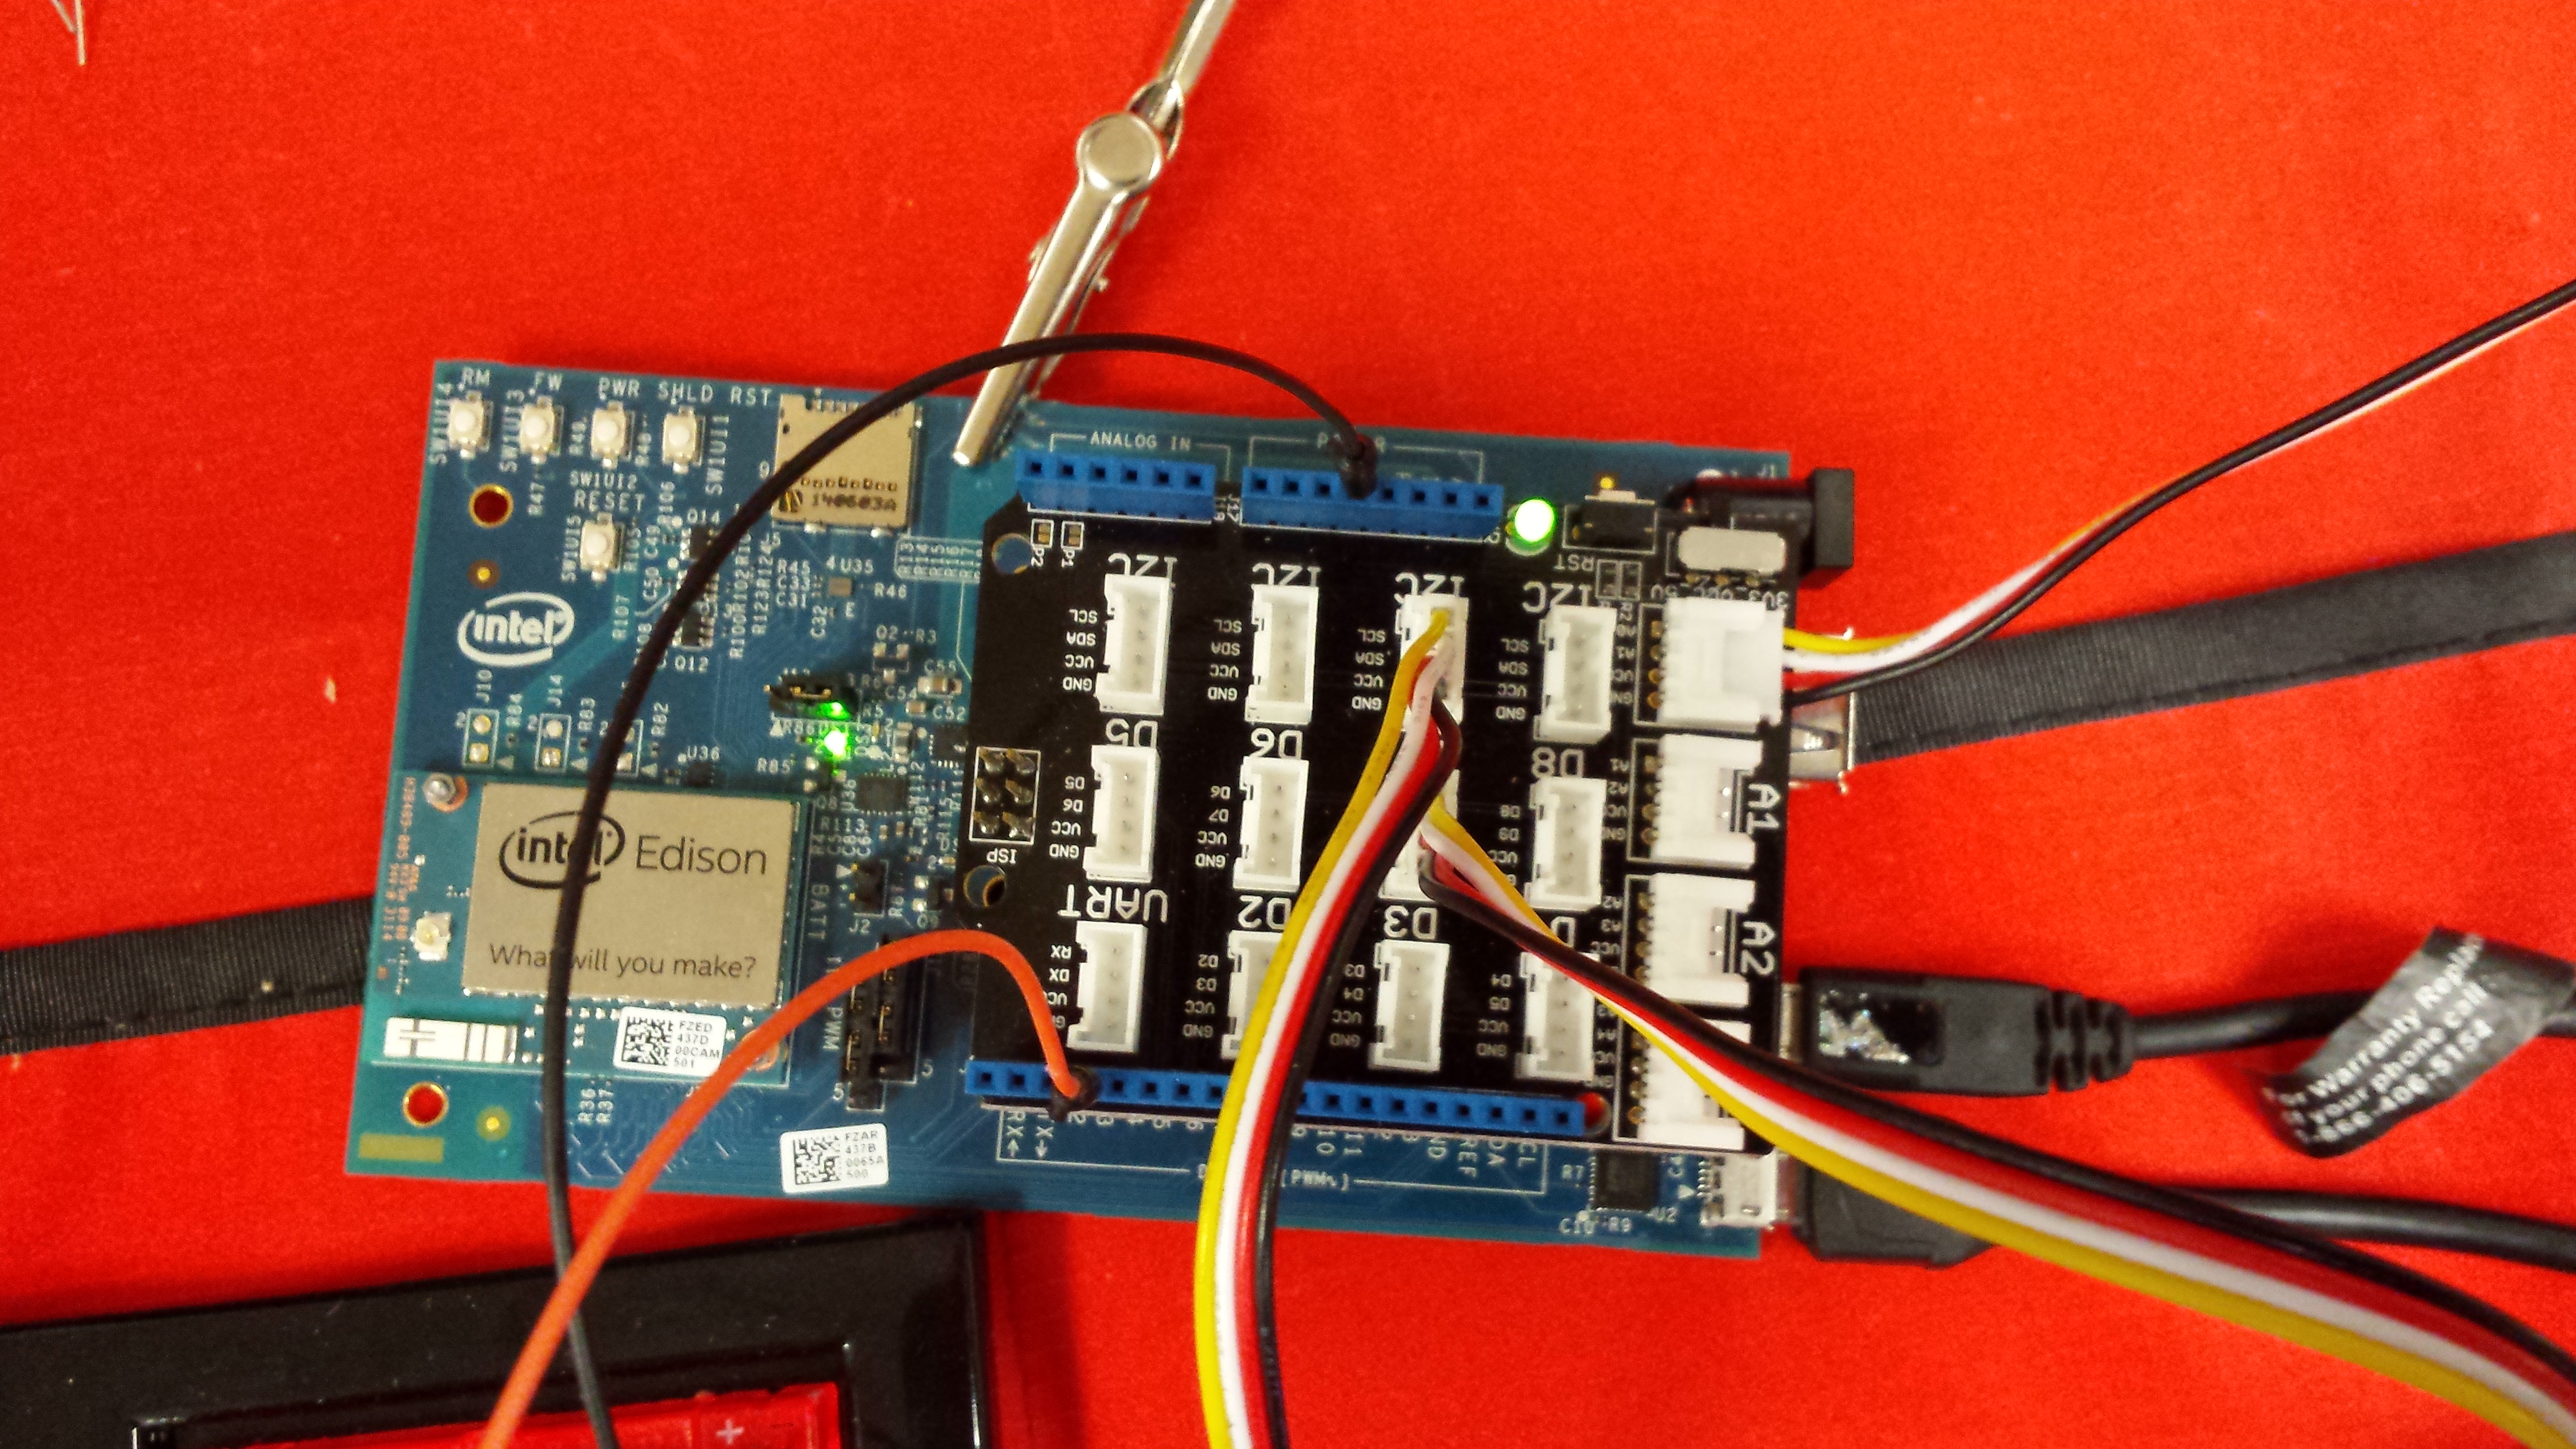
- Plug your Grove base shield into your Edison.
- Plug jumper cable into I2C port (which one doesn’t matter). Plug other end into RGB Backlight LCD.
- Plug jumper cable into D7 port. Plug other end into button sensor.
- Plug jumper cable into A0 port. Plug other end into light sensor.
- Plug pin cables into 5V port (by the I2C ports) and ~3 port (by UART port).
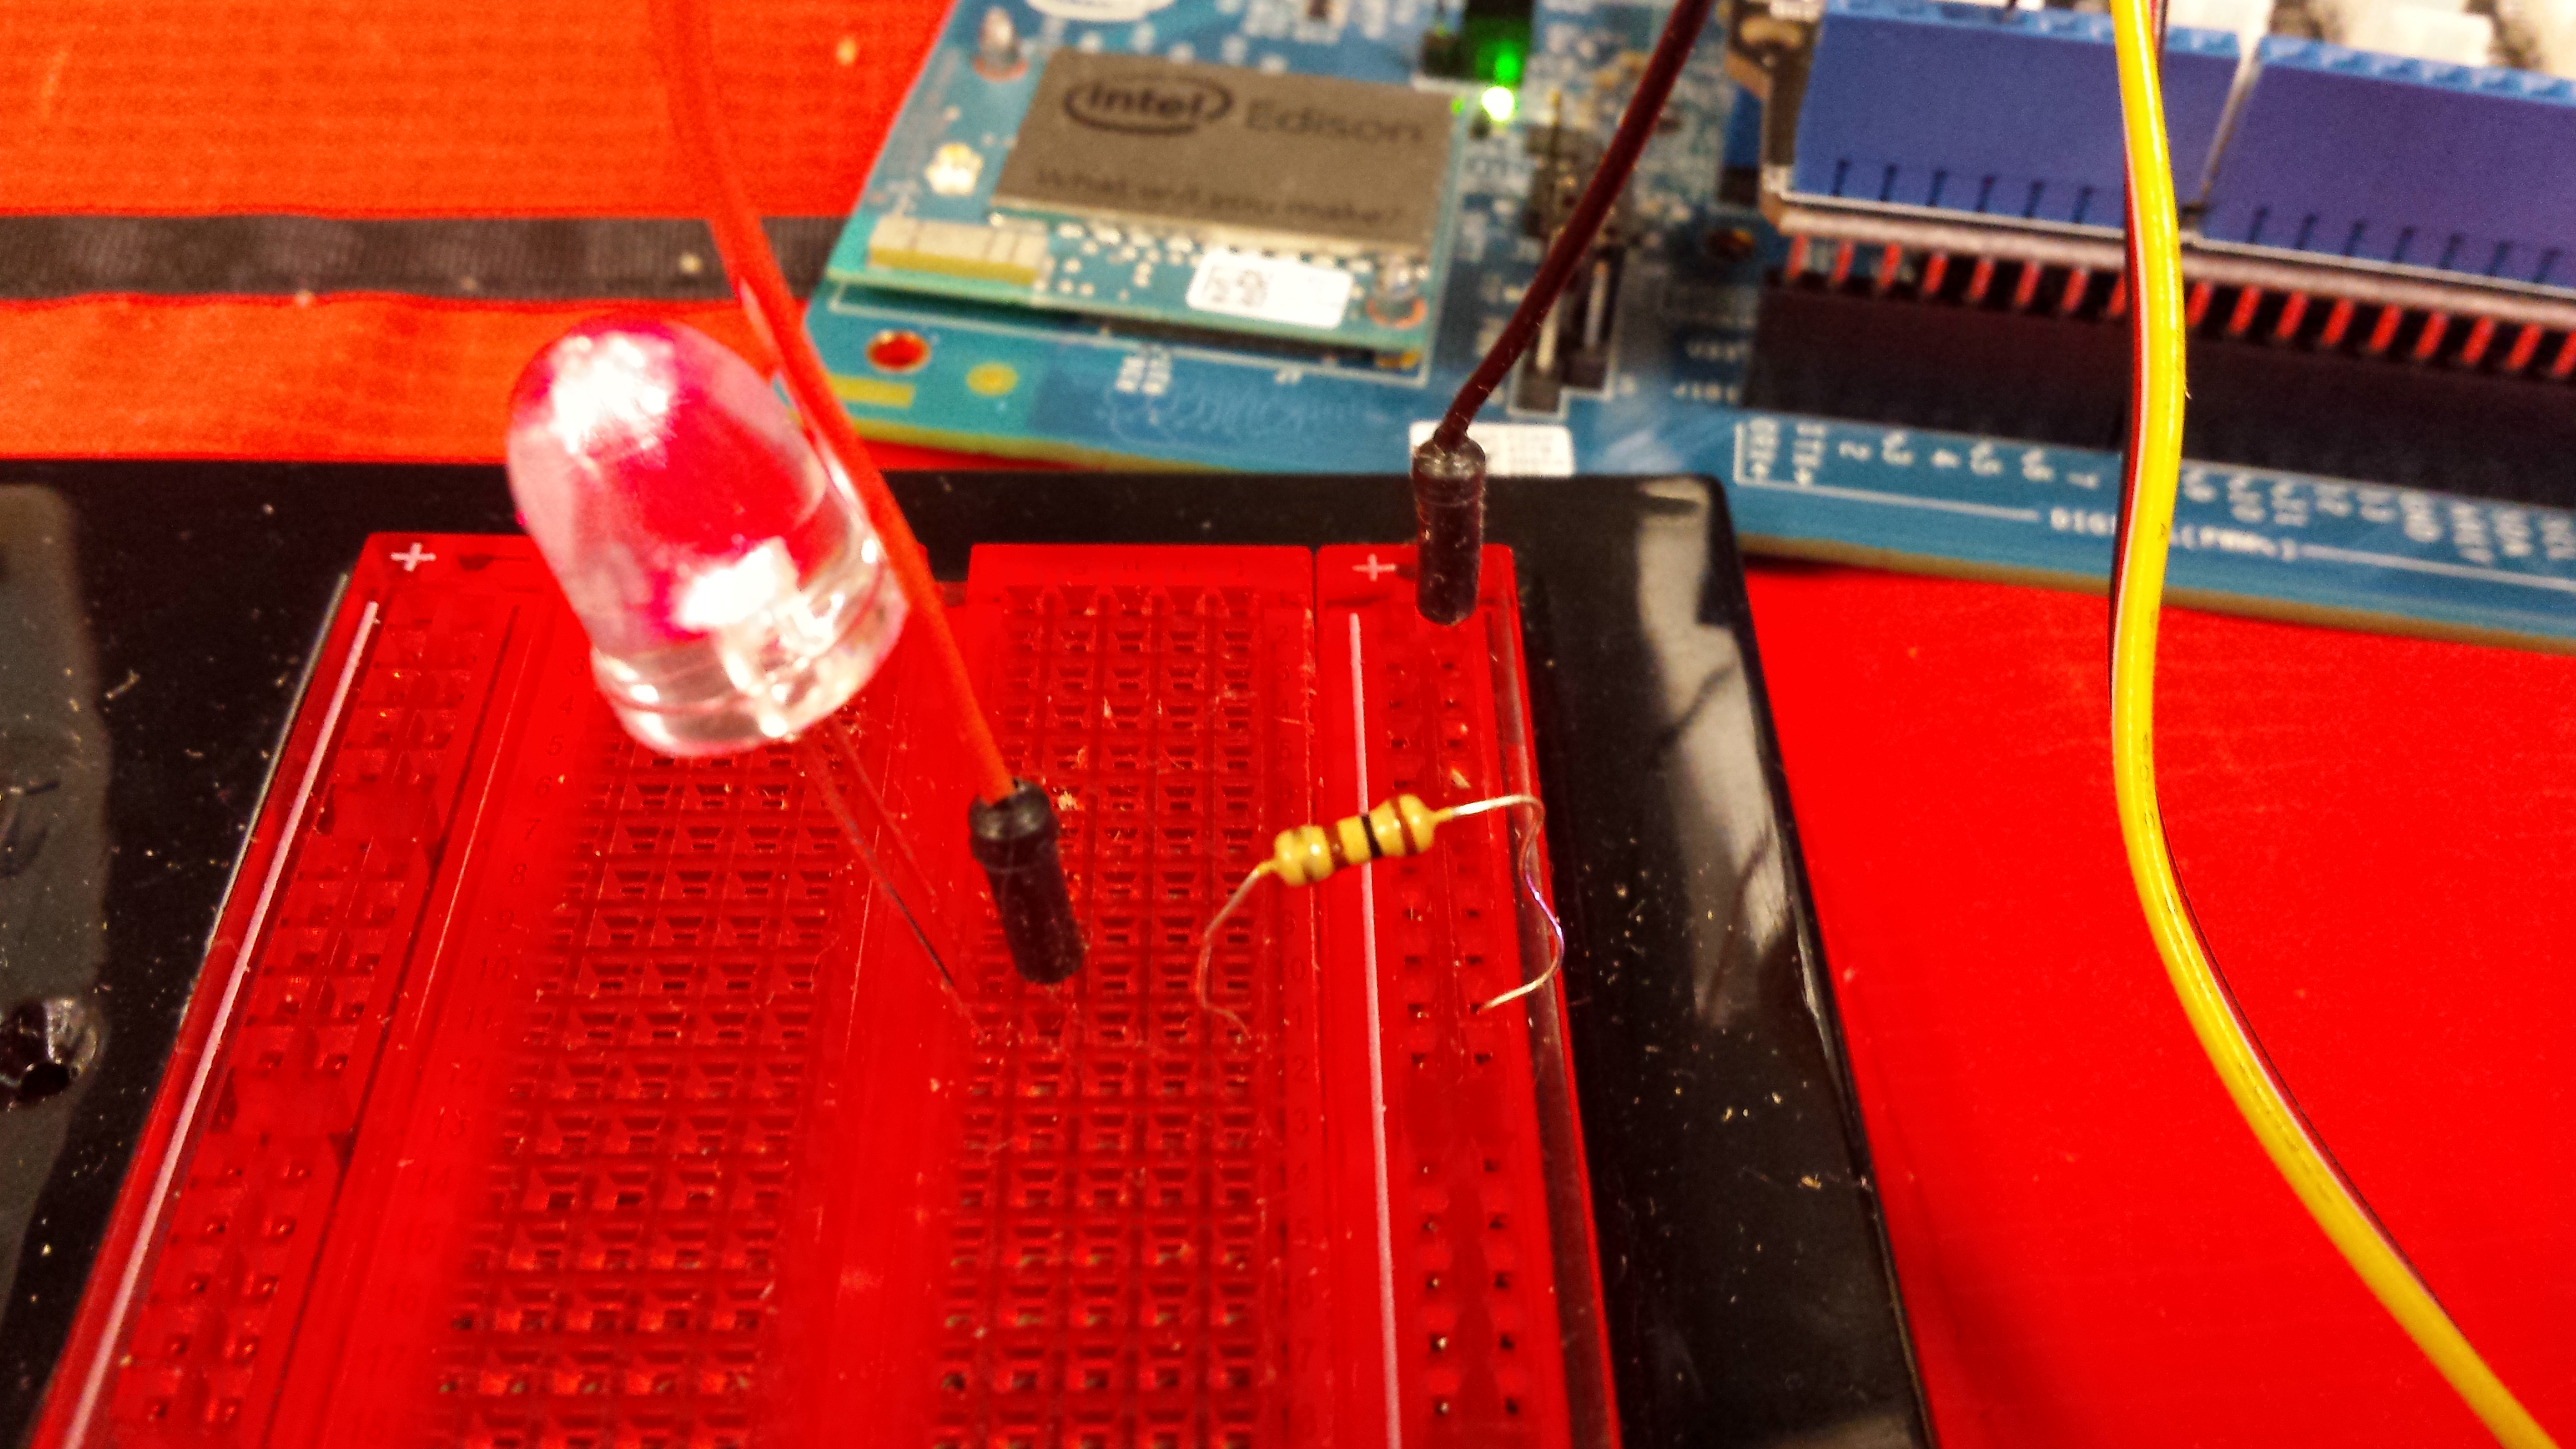
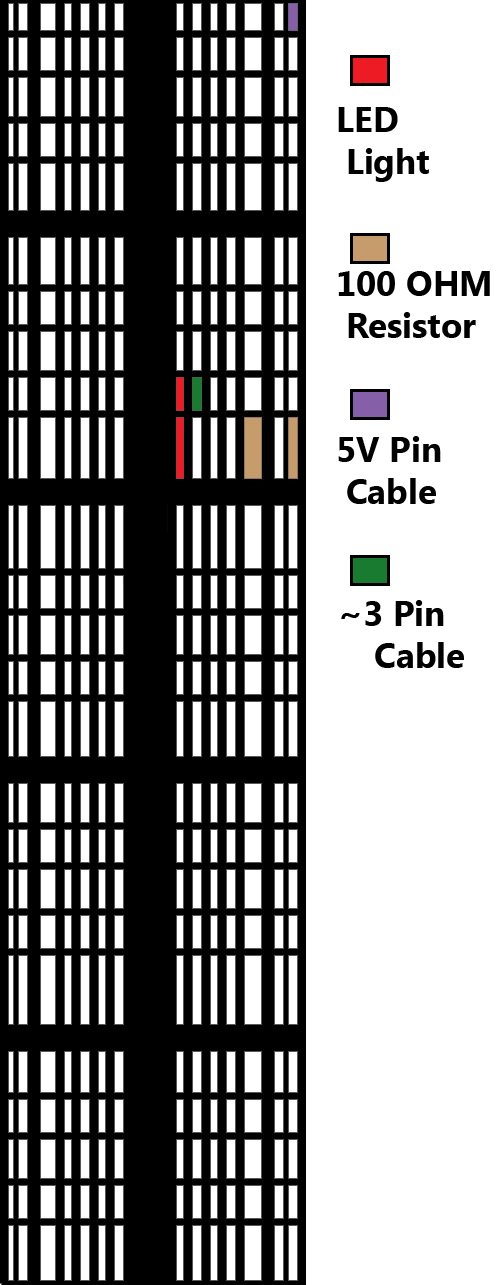
- Wire LED and 100 Ohm resistor in series from the 5V port to ~3 signal. (Check bread board diagram and set up accordingly.)
- Download code at the end of page.
- Paste code into Arduino IDE.
- Upload the code into Edison.
- Measure light intensity.
Programming/Code
Download the file at the end of the instructable, or copy the following code into your Arduino-Intel IDE (Integrated Development Environment). Upload the code to the Edison Board.
//This code drives a light transmission meter.
//Pressing the button calibrates the light intensity meter to 100%
//The LCD screen displays the brightness relative to the calibration mark.
//LED wired through analog pin ~3, and light intensity through A0.
//Button through D7
#include
#include
rgb_lcd lcd;
int ledPin = 3;
int buttonPin = 7;
int lightPin = A0;
int maxBrightness = 0;
int minBrightness = 255;
int maxLightIntensity = 1023;
void setup() {
  pinMode(ledPin, OUTPUT);
  pinMode(buttonPin, INPUT);
  analogWrite(ledPin, maxBrightness);
  lcd.begin(16,2);//Configure the number of rows and columns on the lcd screen
  lcd.setRGB(255,255,255);
}
void loop() {
if(digitalRead(buttonPin)==HIGH){
maxLightIntensity = analogRead(lightPin);
}
double percent = 100*((double)analogRead(lightPin))/maxLightIntensity;
lcd.setCursor(0,0);
lcd.print(" ");//Clear LCD screen
lcd.setCursor(0,0);
lcd.print("Percent: ");
lcd.print(percent);
lcd.print("%");
delay(100);
}Downloads
Lessons Learned
While working on this project, we ran into an error where we were no longer able upload code to the edison board. We received a message “transfer incomplete”. After some research we discovered this was due to running out of memory on the edison board. We followed the instructions on www.instructables.com/id/Resolving-Edison-Transfer-Incomplete-Problem/?ALLSTEPS to resolve this issue and prevent it in the future.