COI - Activate the Buzzer
by FCFI Makerspace in Circuits > Assistive Tech
1040 Views, 9 Favorites, 0 Comments
COI - Activate the Buzzer


Hardware:
- 2 jumper cables
- 1 Seeed button/touch sensor
- 1 Seeed Buzzer
- Intel Edison
- 2 mini USB cables
- Computer
- static mat
Setup:
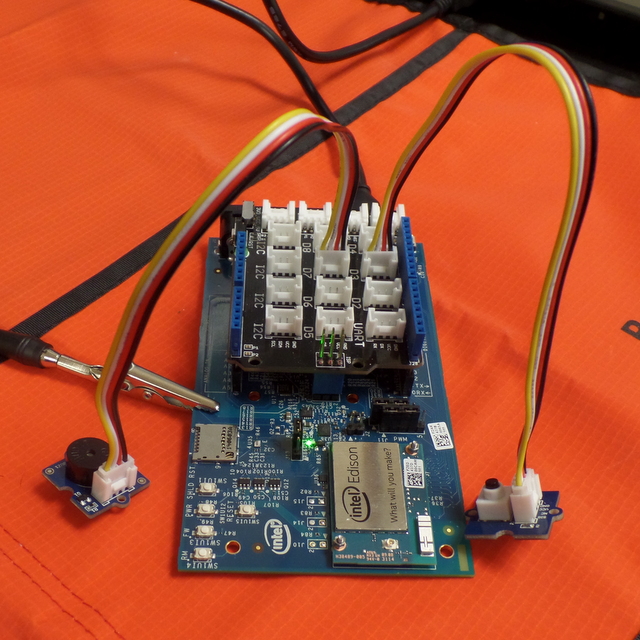
- Plug in Grove base shield into your Edison(doesn't have to be an Intel Edison,it can be an Arduino board )
- Plug jumper cable into port D3(Make sure that ground is in the ground part)
- Plug the same jumper cable into the Grove-button(again make sure its plugged into write)
- Plug a new jumper into D7
- Plug the new jumper into Grove-Buzzer
- Download code at end of page
- Upload code into Arduino IDE
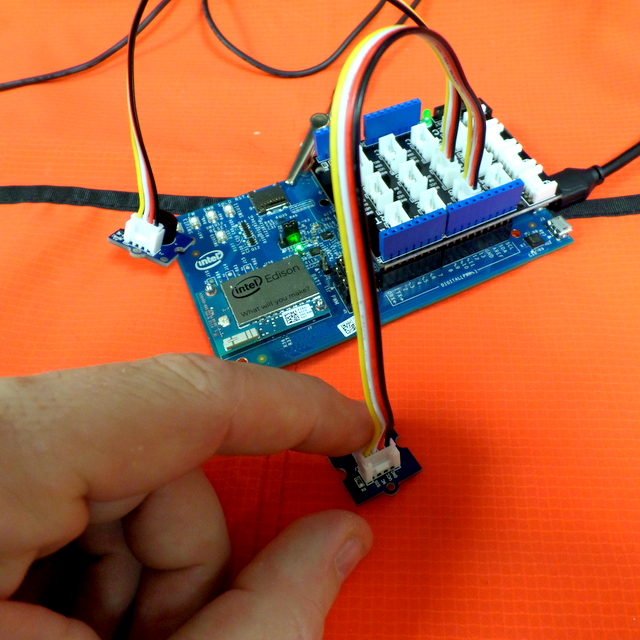
- Upload code to Edison and push the button
Software:
Open the Arduino Edison IDE and use the following code:
const int
pinButton = 3;
const int
pinSpeaker = 7;
void setup()
{pinMode(pinButton, INPUT);
pinMode(pinSpeaker, OUTPUT);
}
void loop()
{if(digitalRead(pinButton))
{digitalWrite(pinSpeaker, HIGH);
}
else
{digitalWrite(pinSpeaker, LOW);
}
delay(10);
}
Verify and upload the code.
Result:
This hardware combination and code activates the buzzer when you press the button. We also wish to improve on this as we learn more Arduino code and add more hardware. Our goal is to be able to read texts and translate it into Morse code, read certain combinations such as S.O.S, send S.O.S, email emergency personnel, Morse code to text to speech and whatever else we can think of.
Experience:
You should be careful when trying to do this. Always be sure to use the static mat or the machine can malfunction. It may also shock you so be careful.
Be sure the ports are secured or the code may not activate the jumper cables in the corresponding port.