CNC Cut Fizzbot
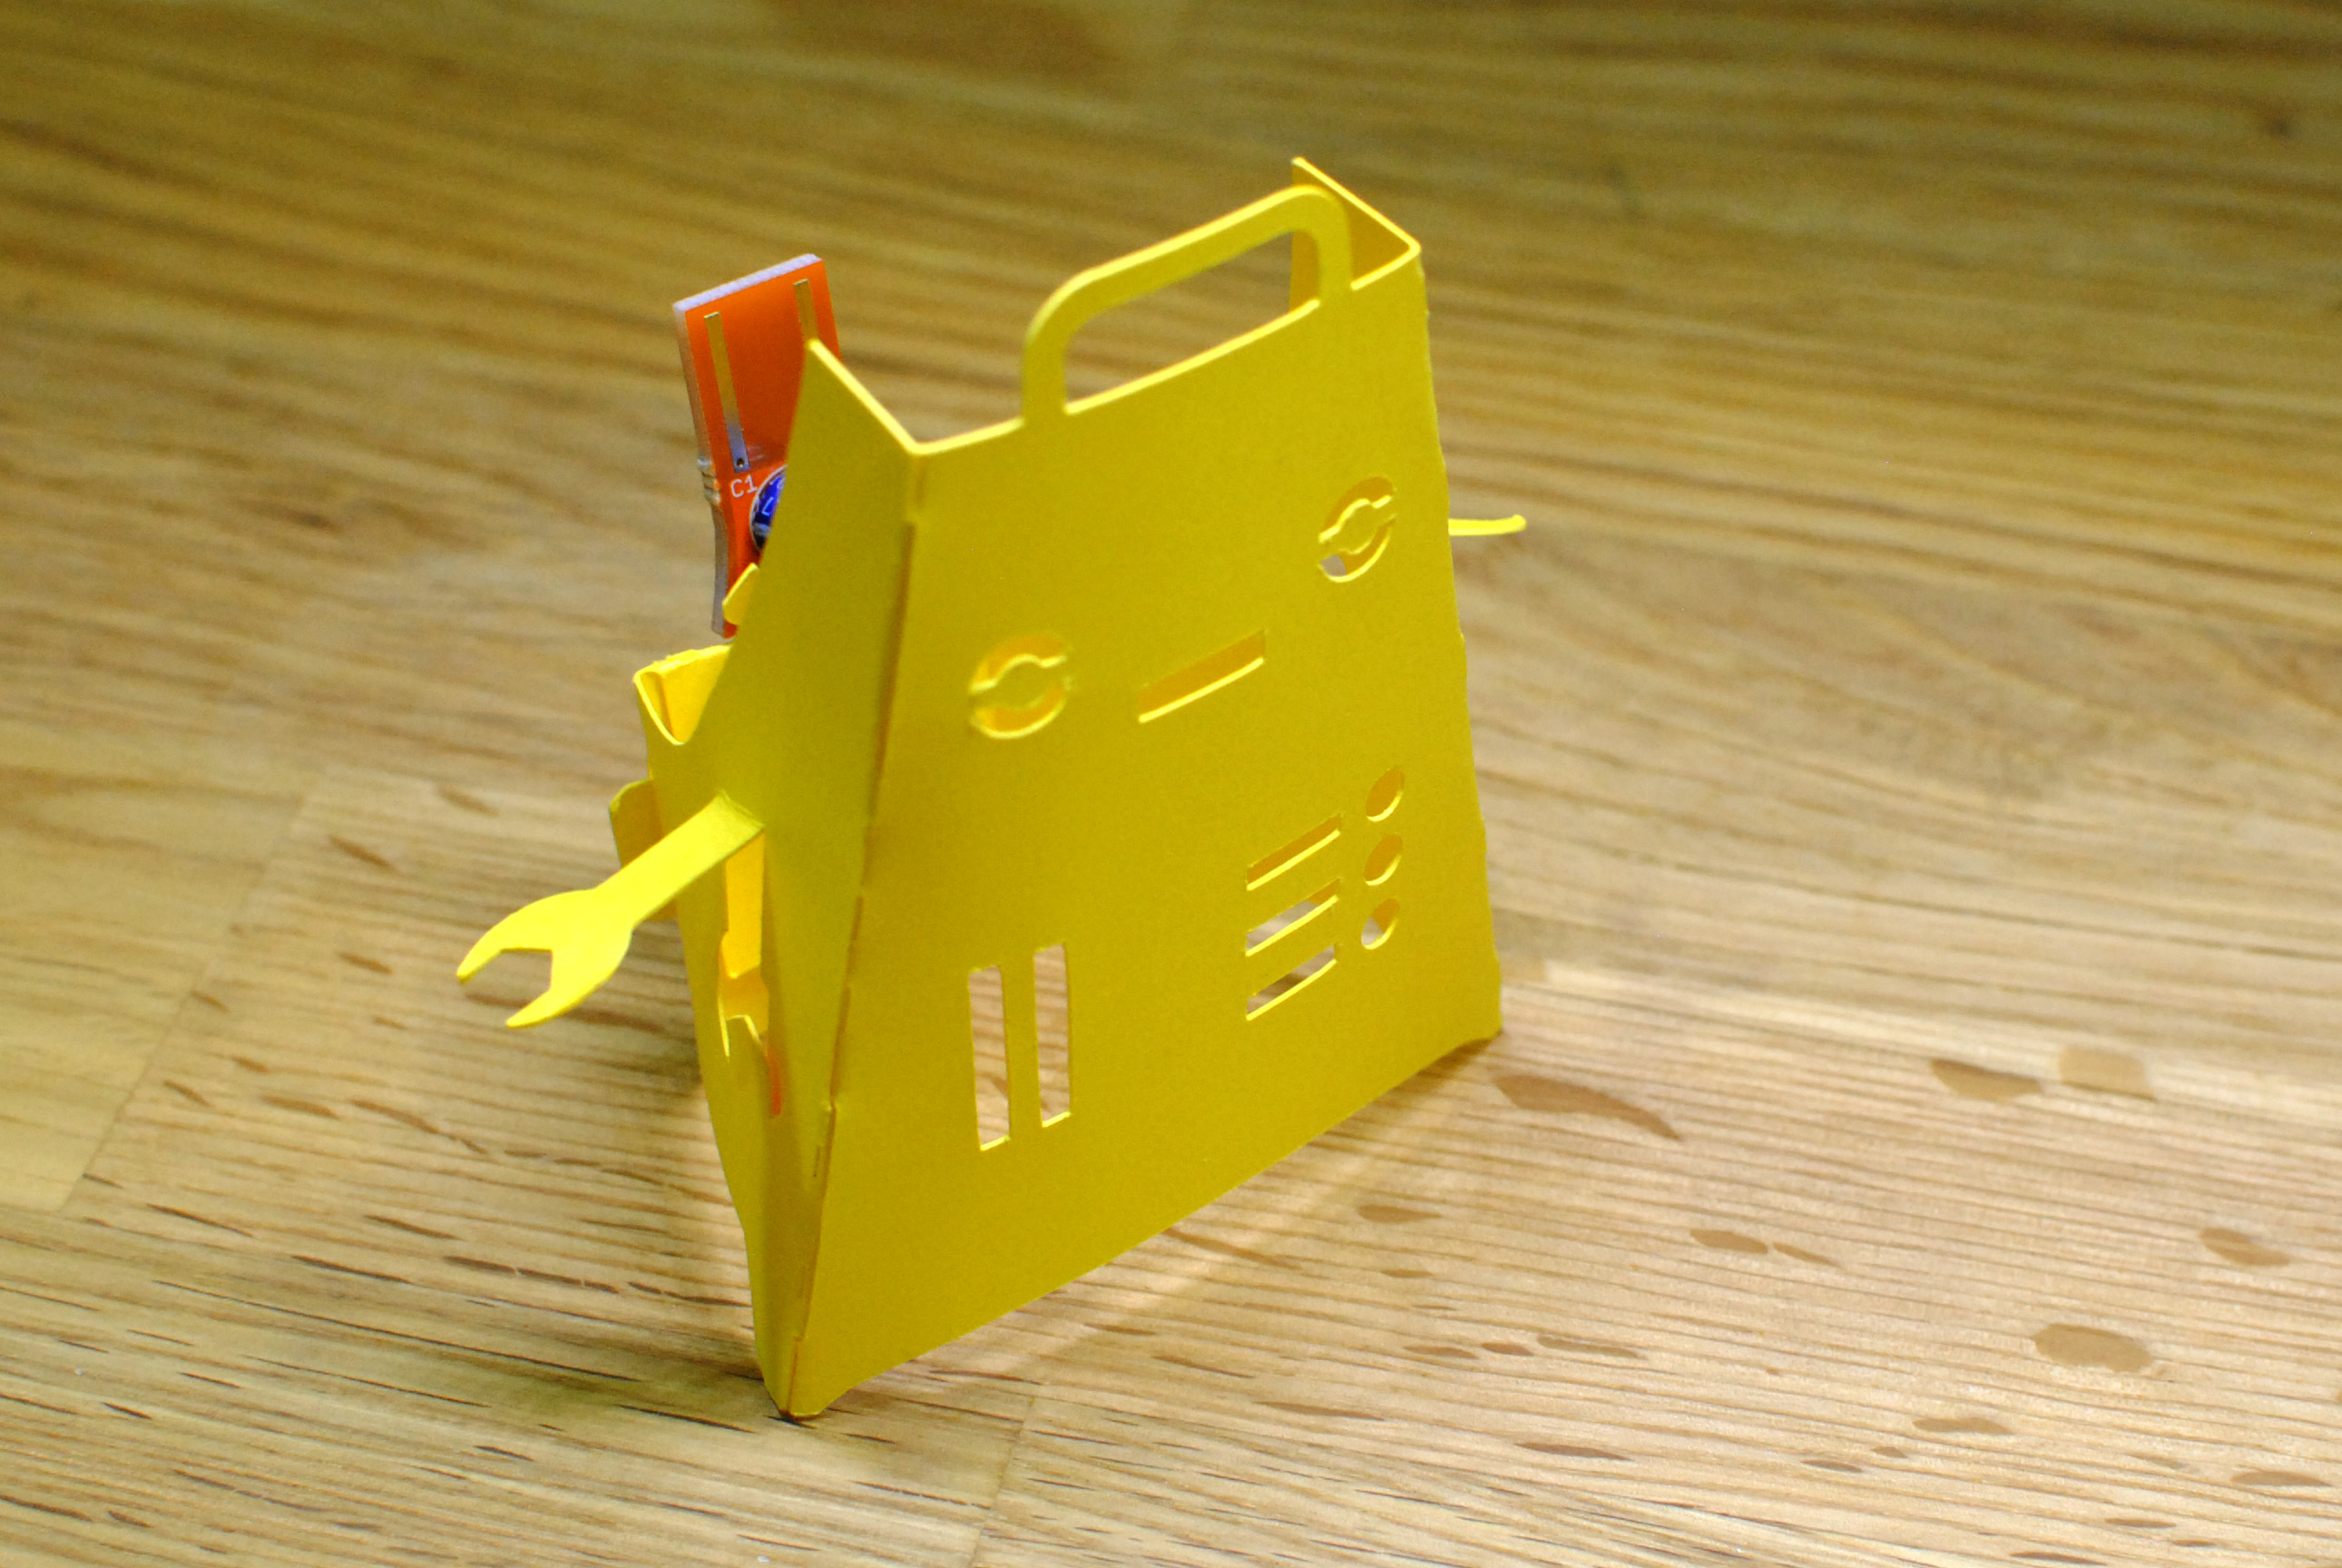
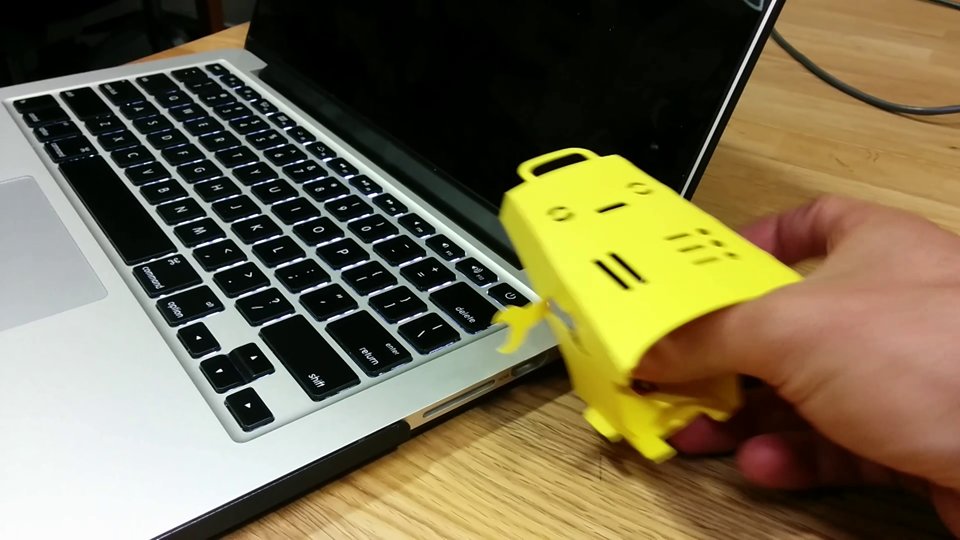
This shows how to assemble a CNC cut Fizzbot (one that is cut out with a laser cutter or paper cutter). It doesn't cover the cutting as that's specific to the machine you are using, or you may have your own pre-cut Fizzbot (Robot, Dragon or Unicorn) that you bought from the Crafty Robot in person.
What You Need
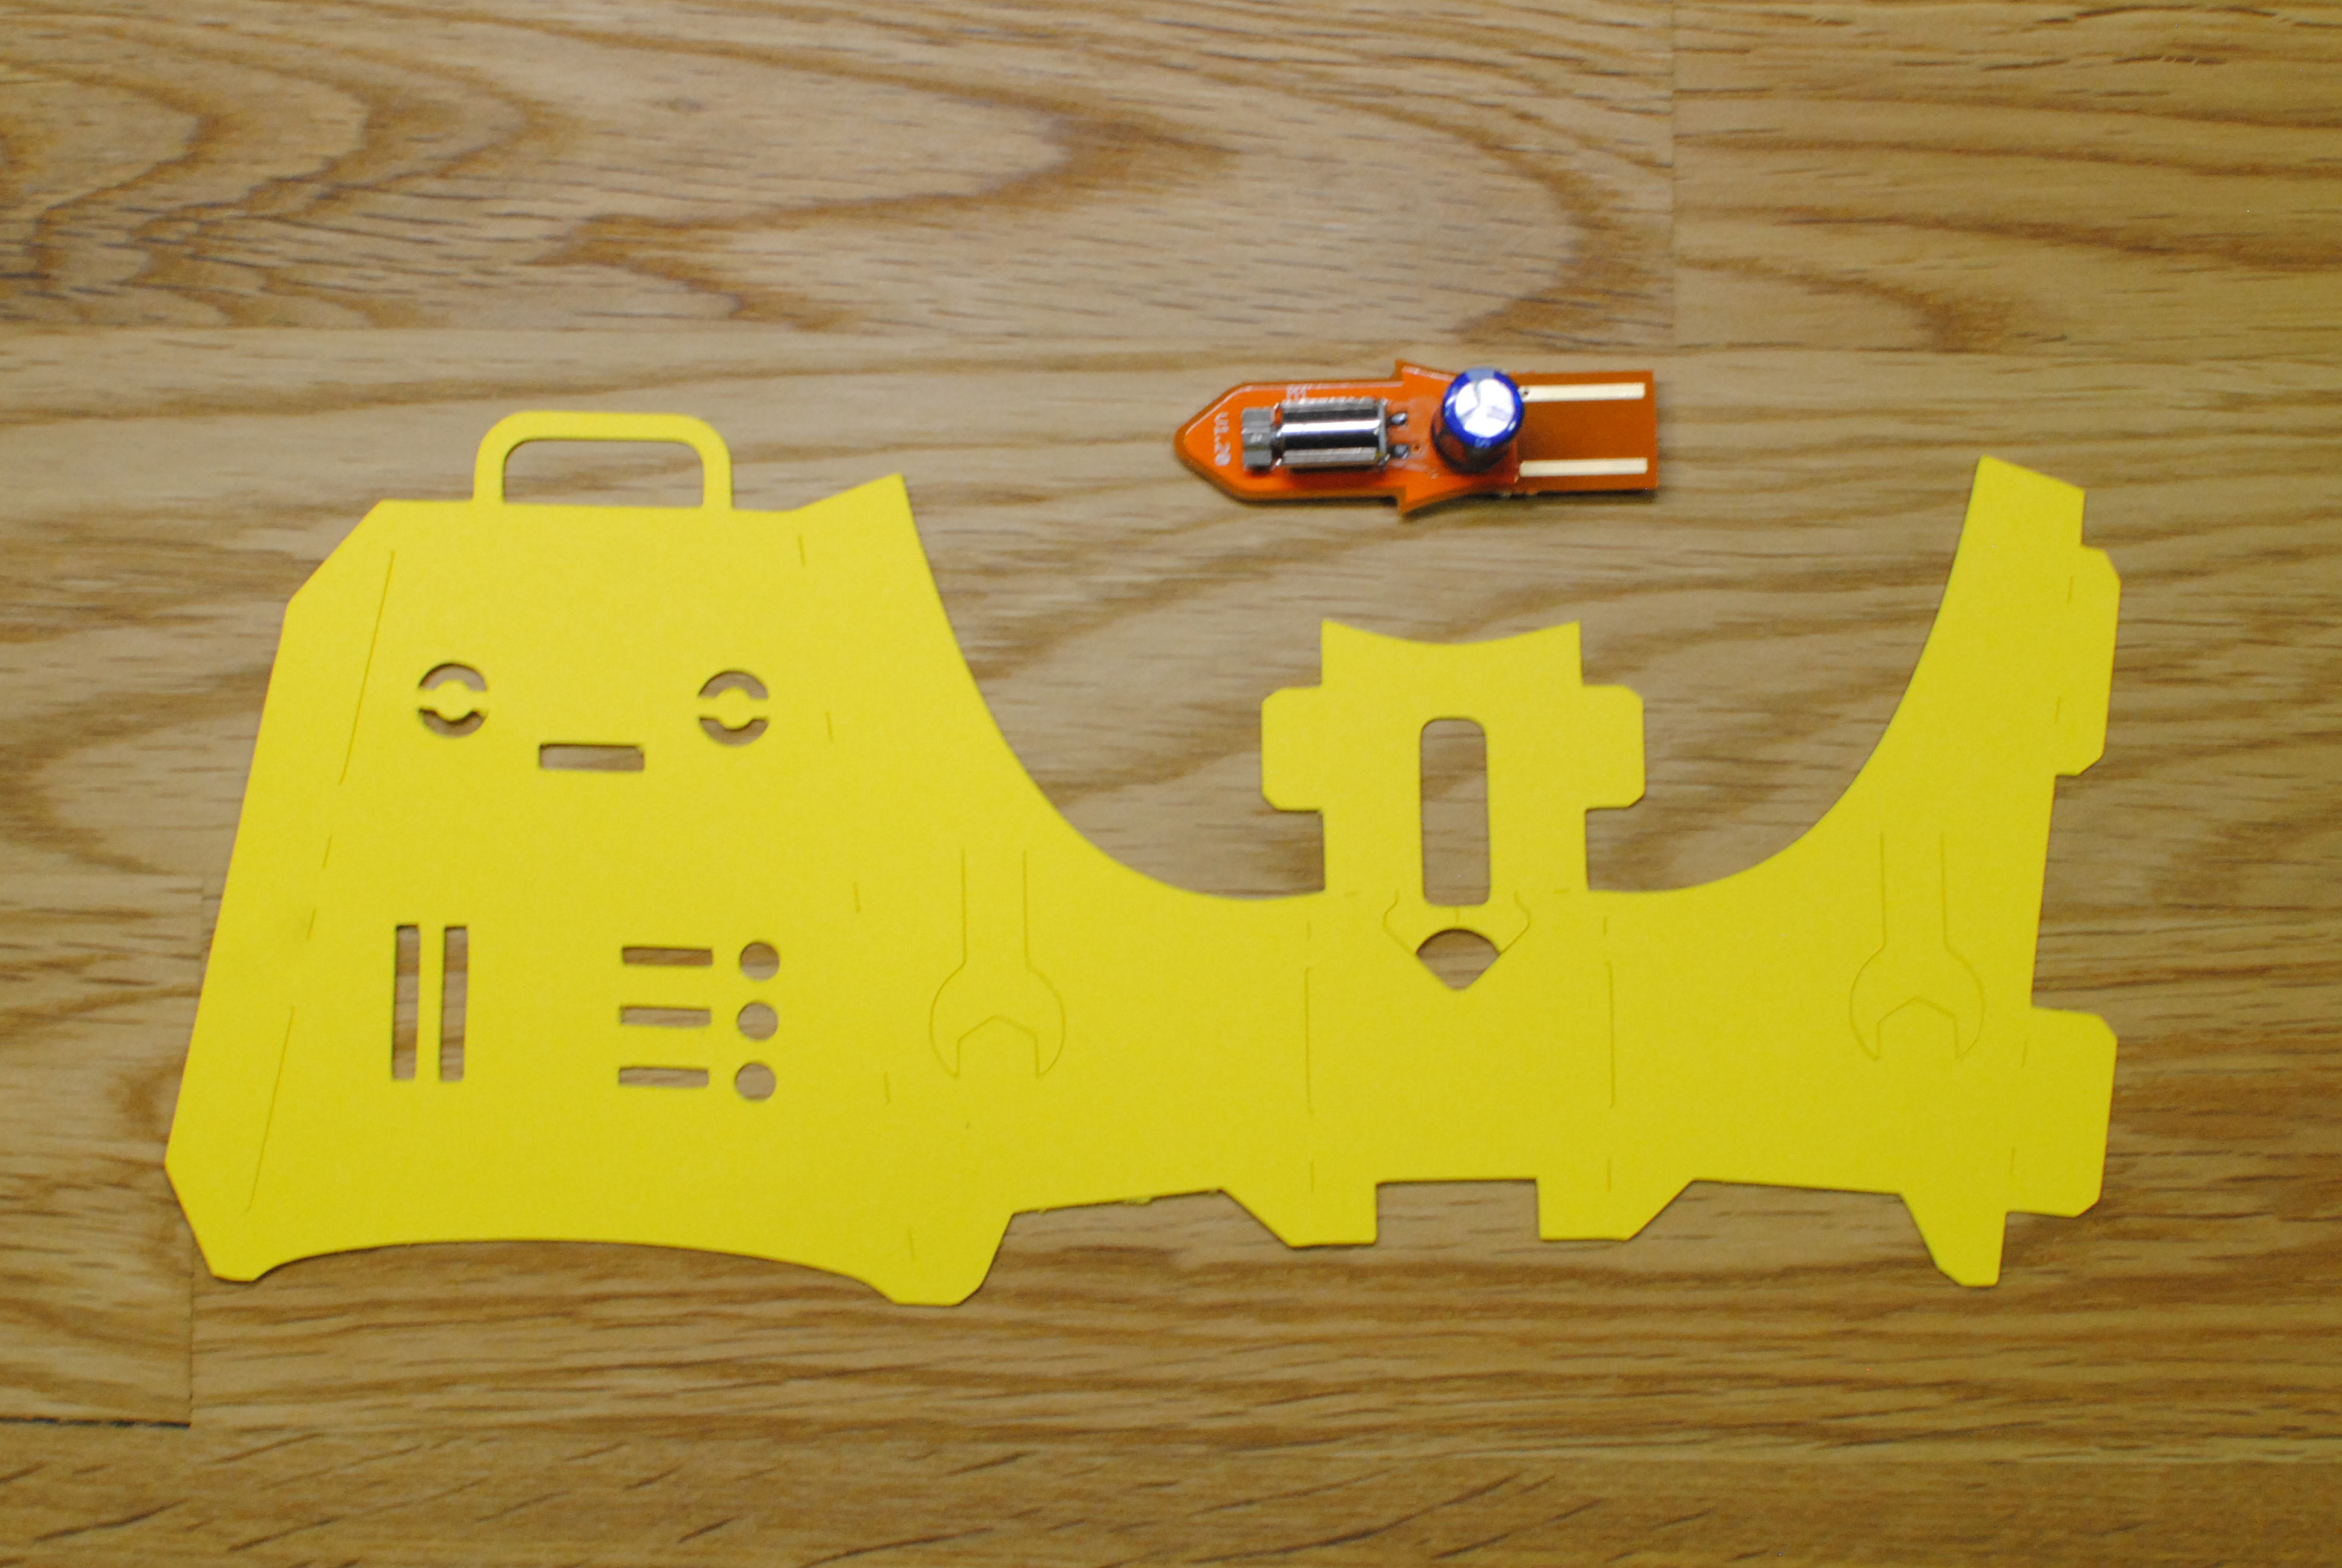
All you need is a cut Fizzbot template (download the DXF to cut your own) and a Fizzbit.
Downloads
Step 1: Make the Fizzbit Slot
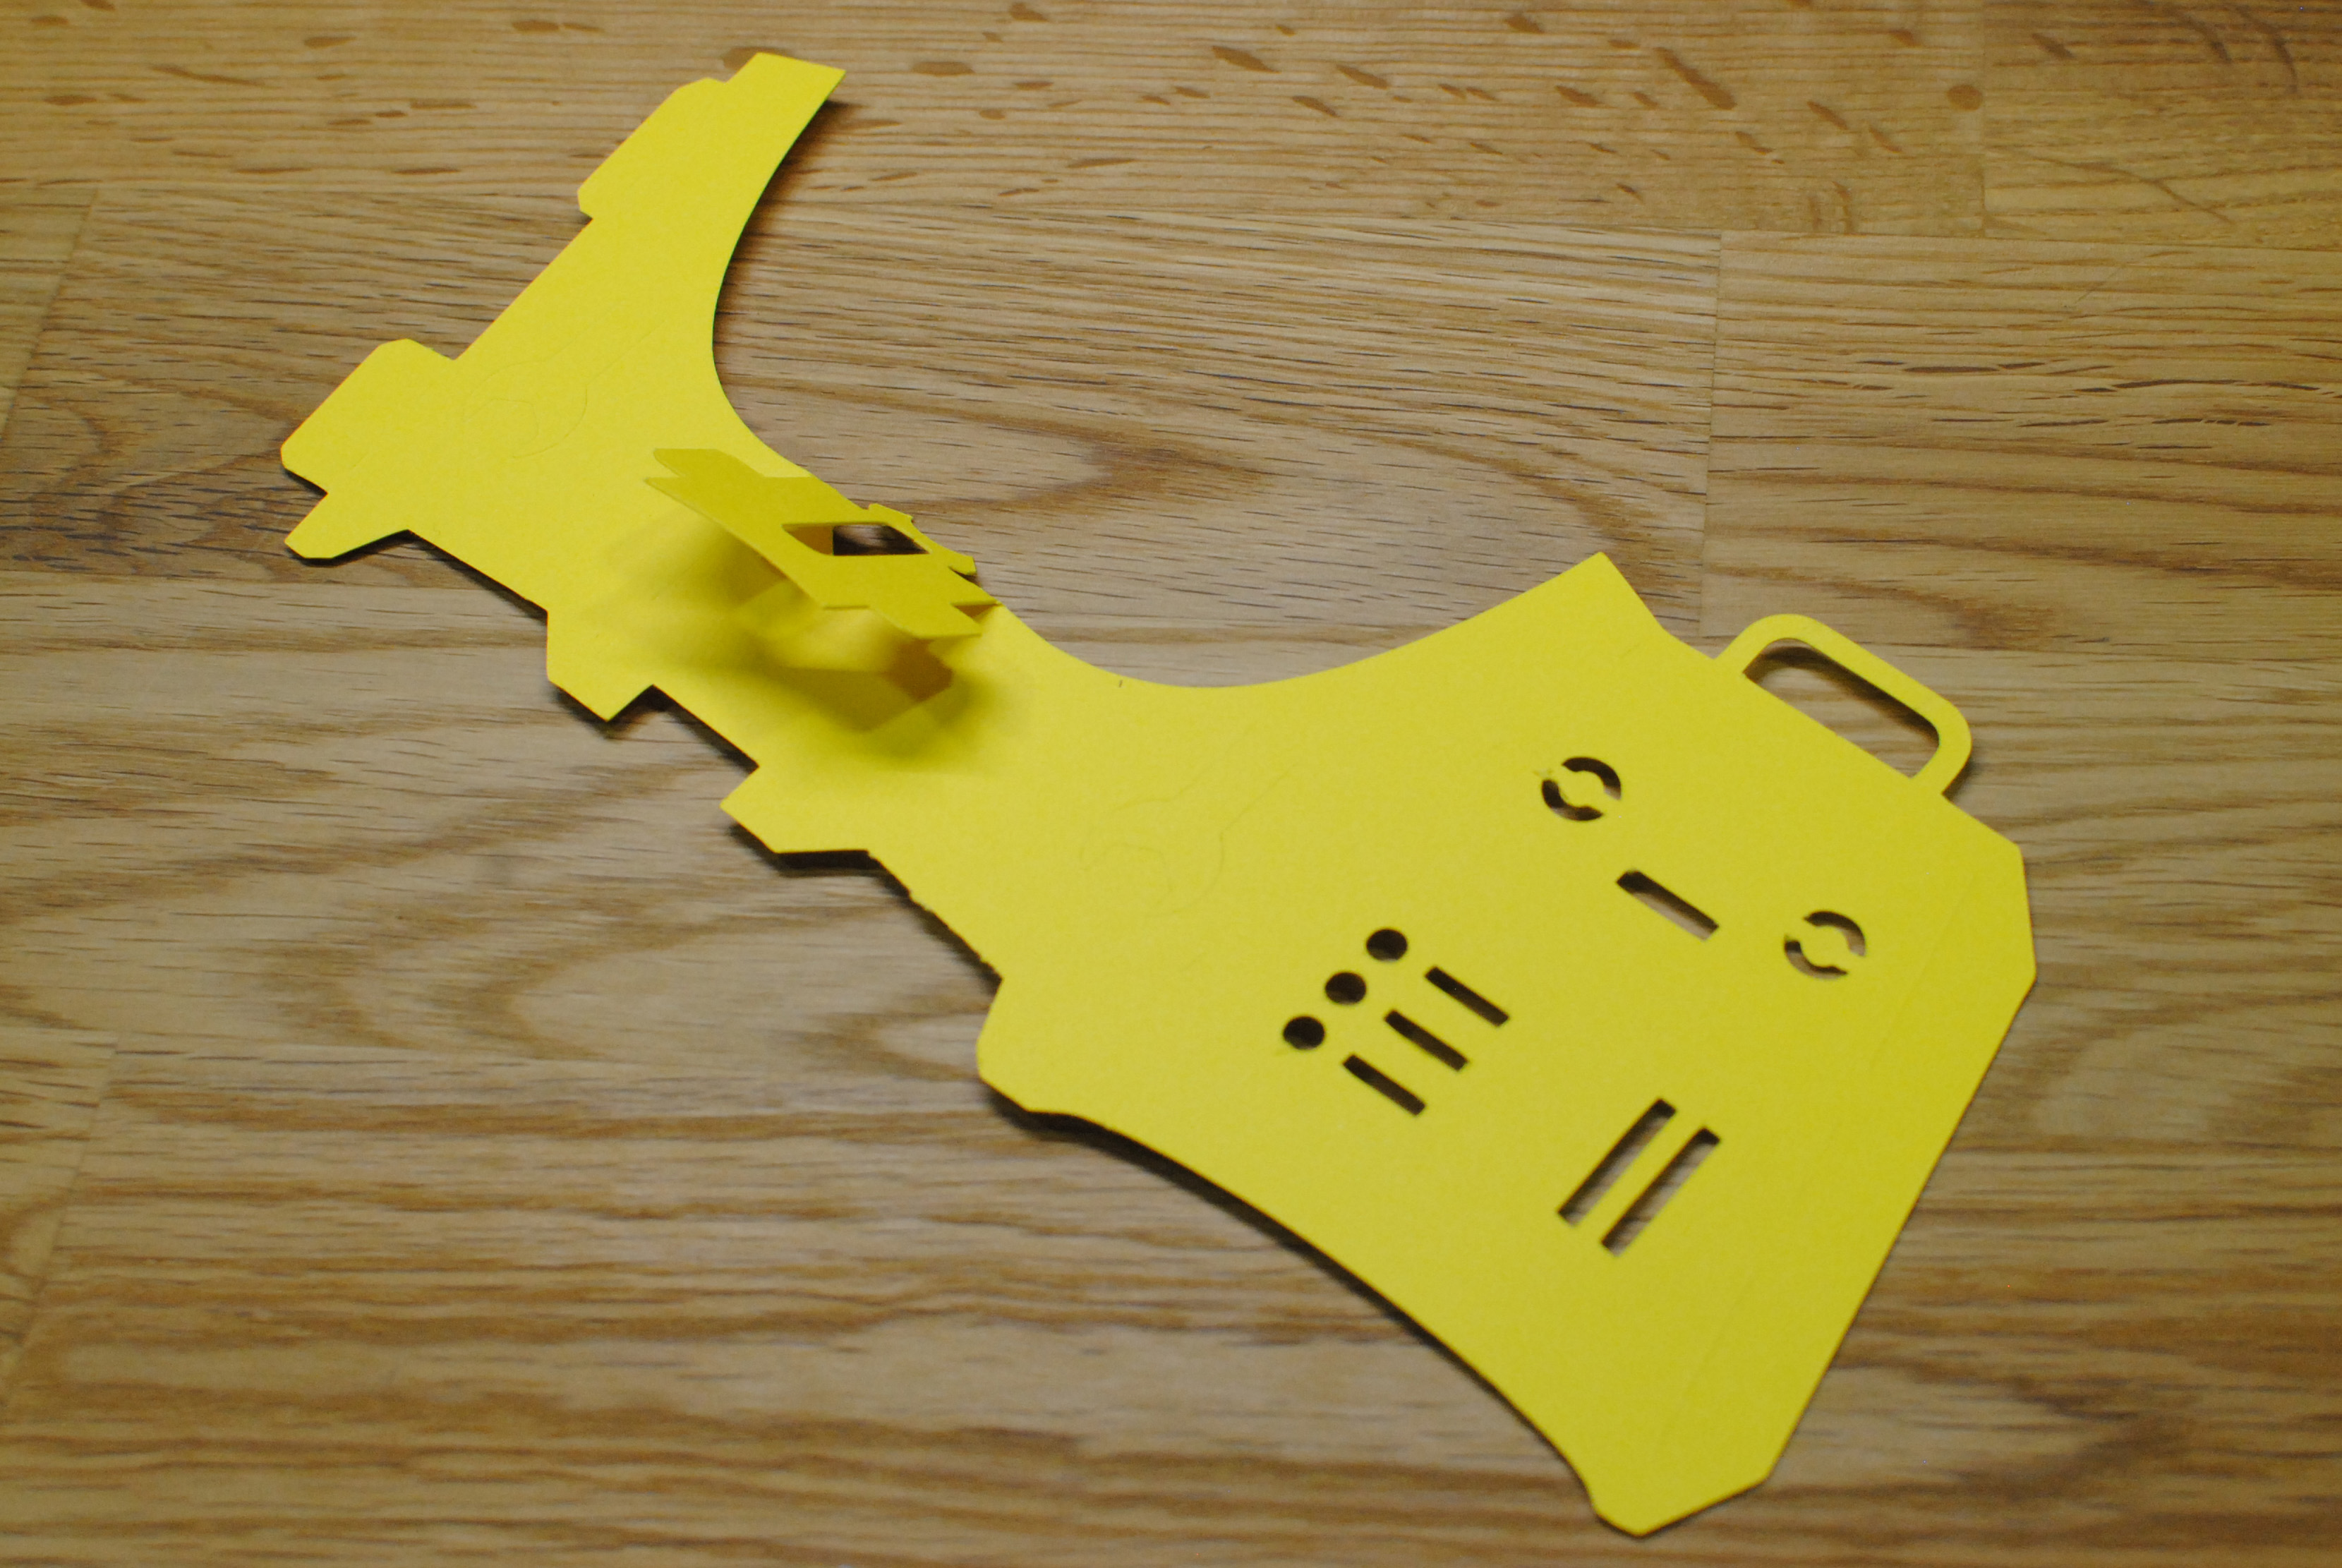
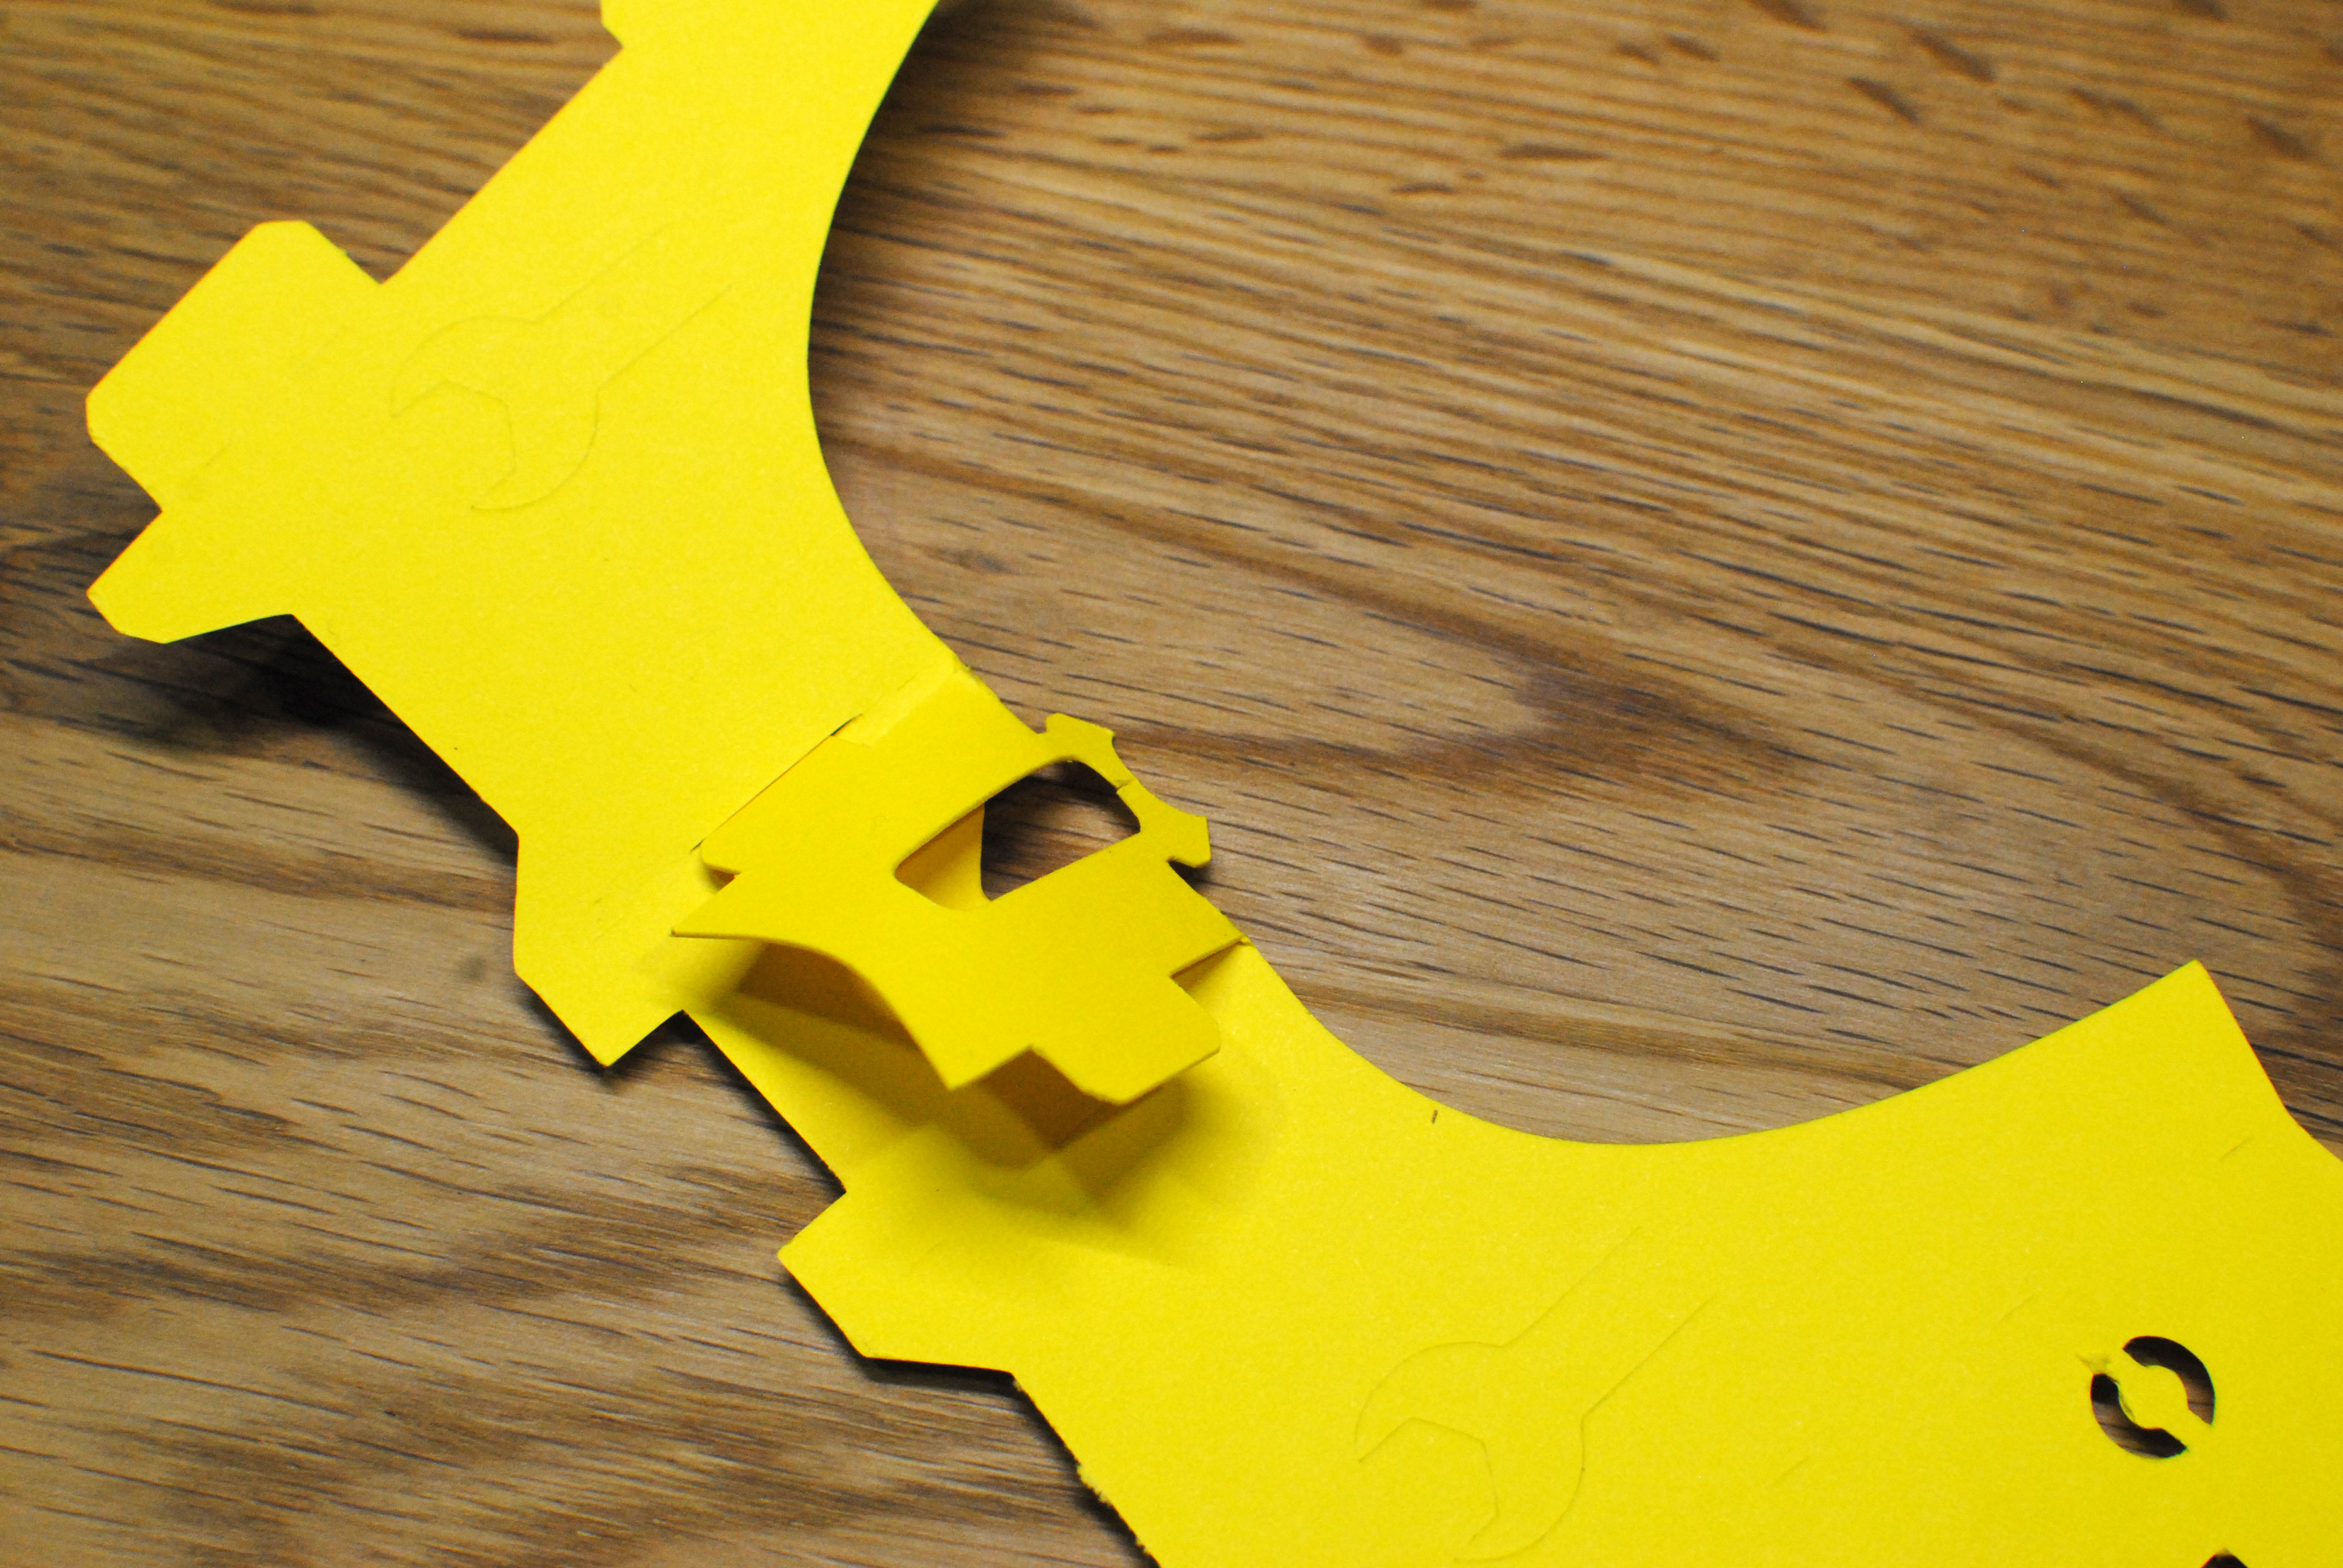
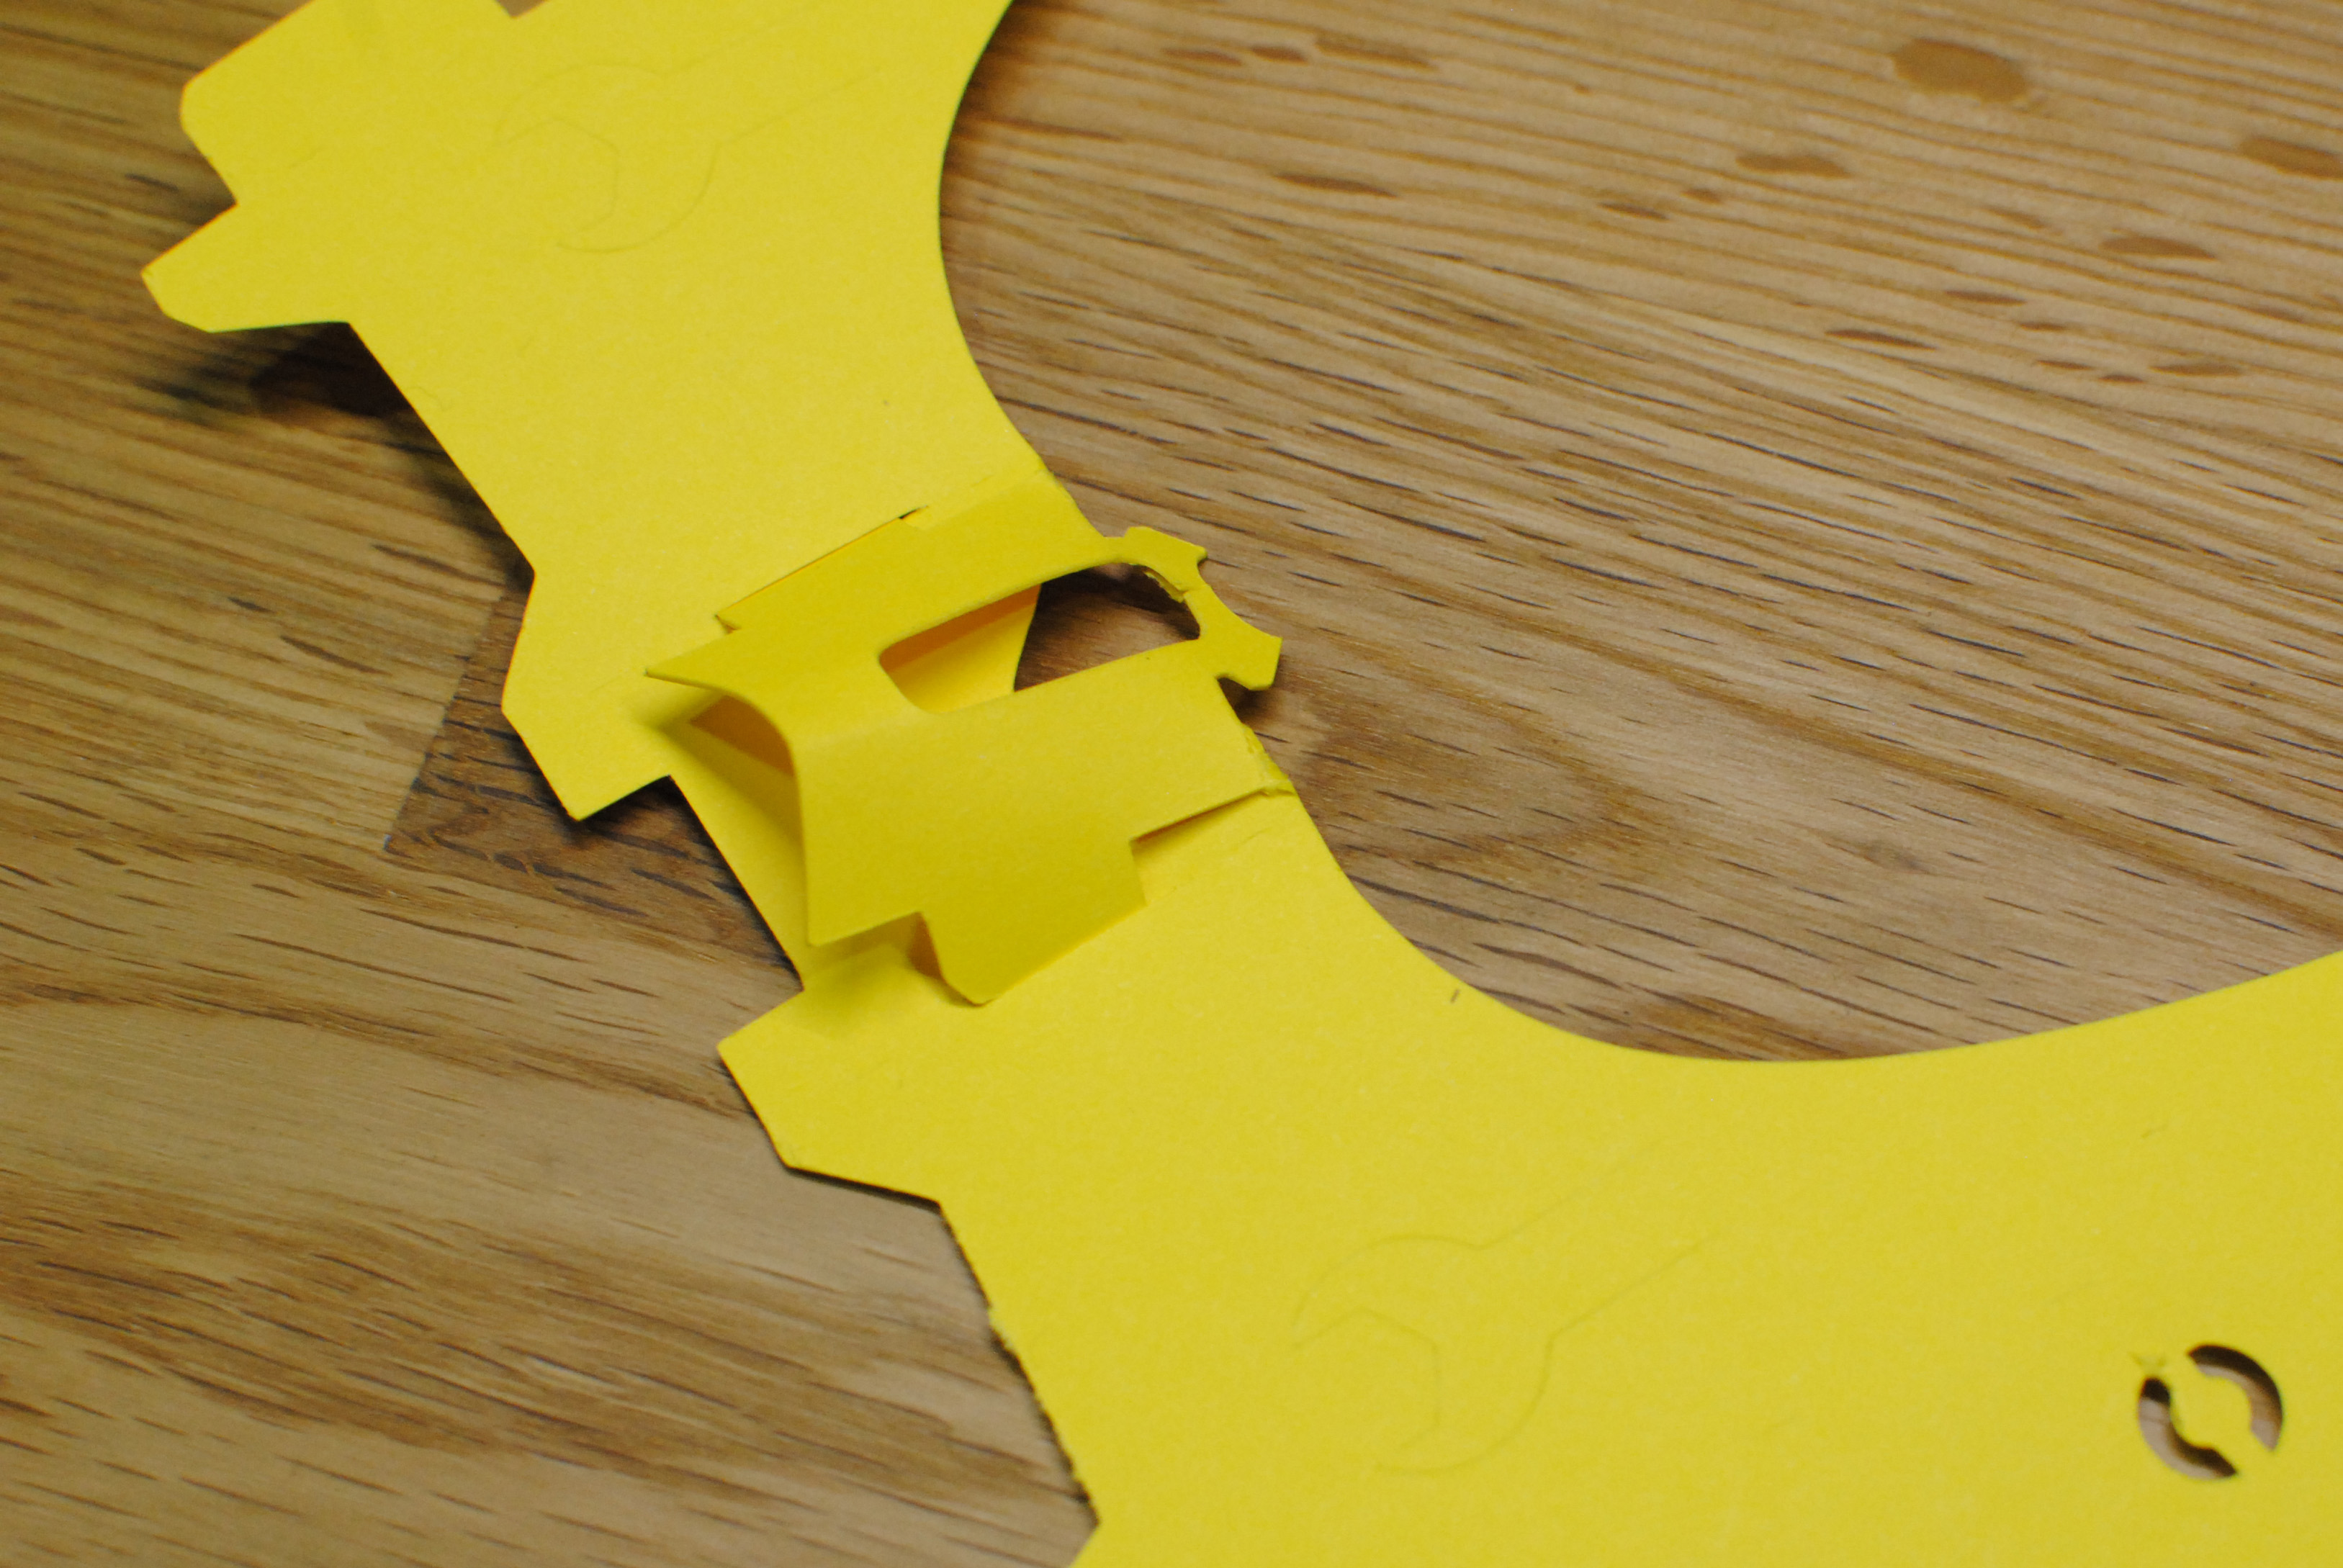
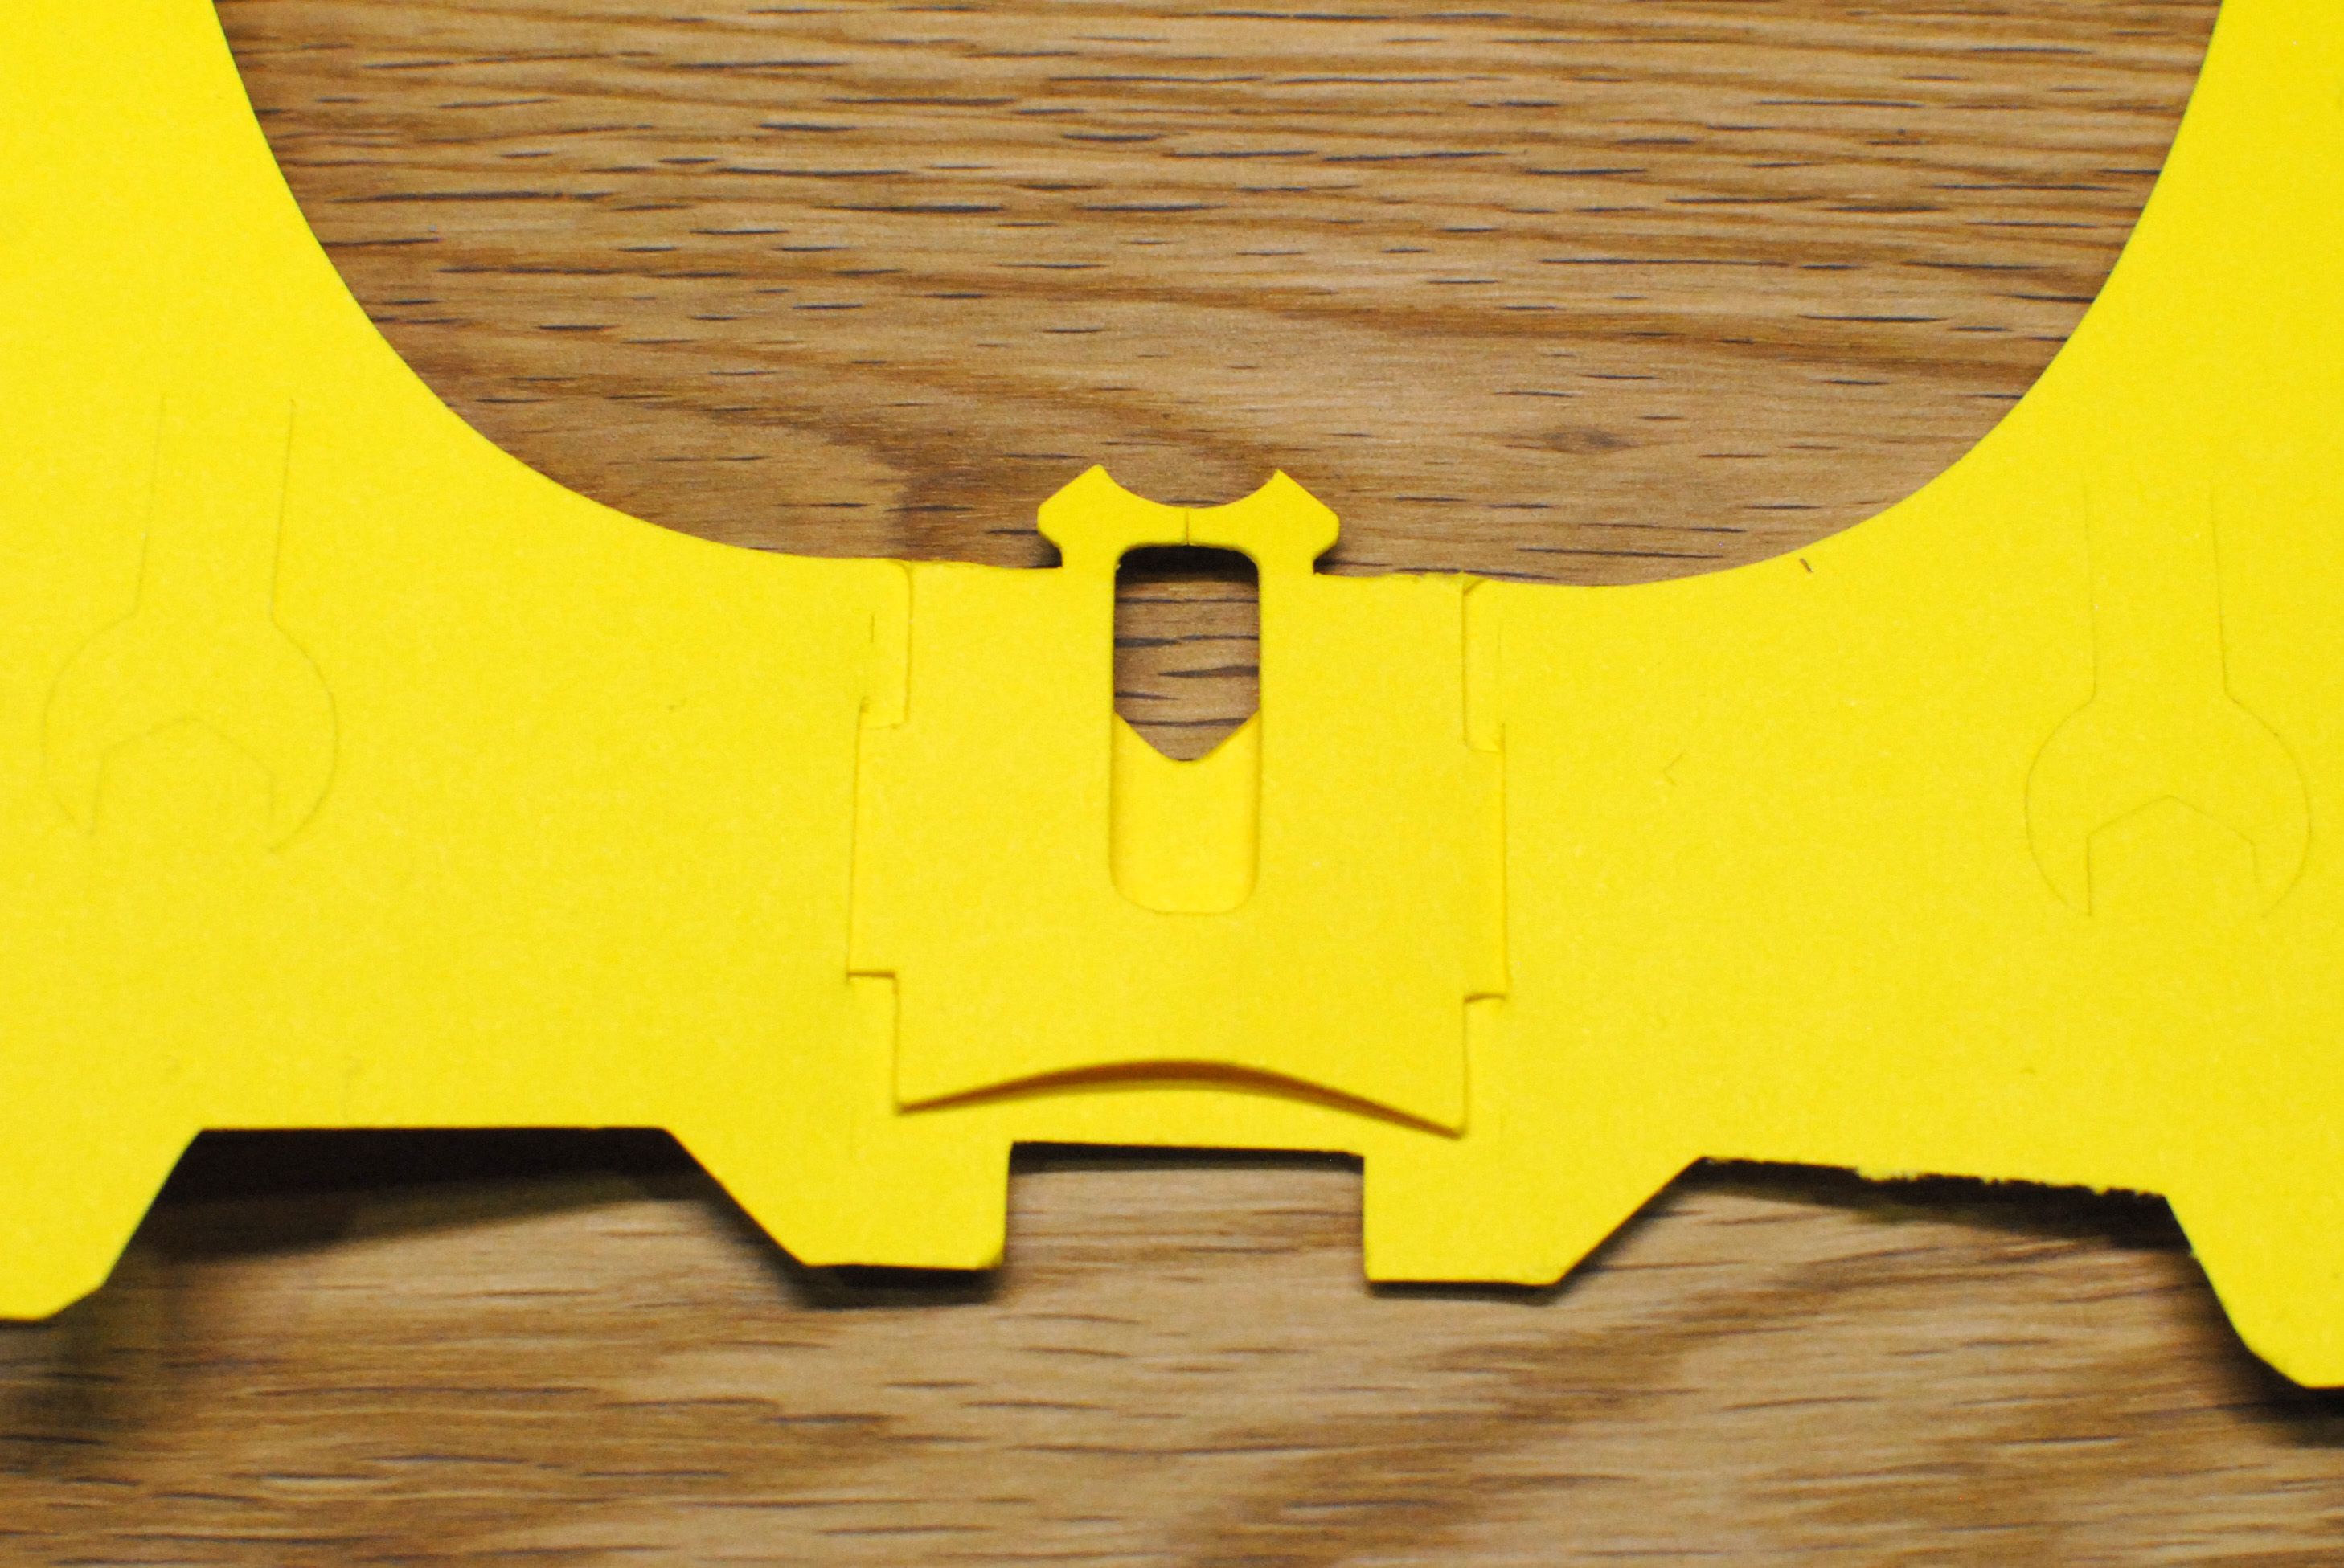
Fold over the front of the Fizzbit slot and poke the two tabs on the side into the slits above the Fizzbot's back legs. Push the whole thing flat once the tabs have been poked through.
Step 2: Make the Rest of the Folds
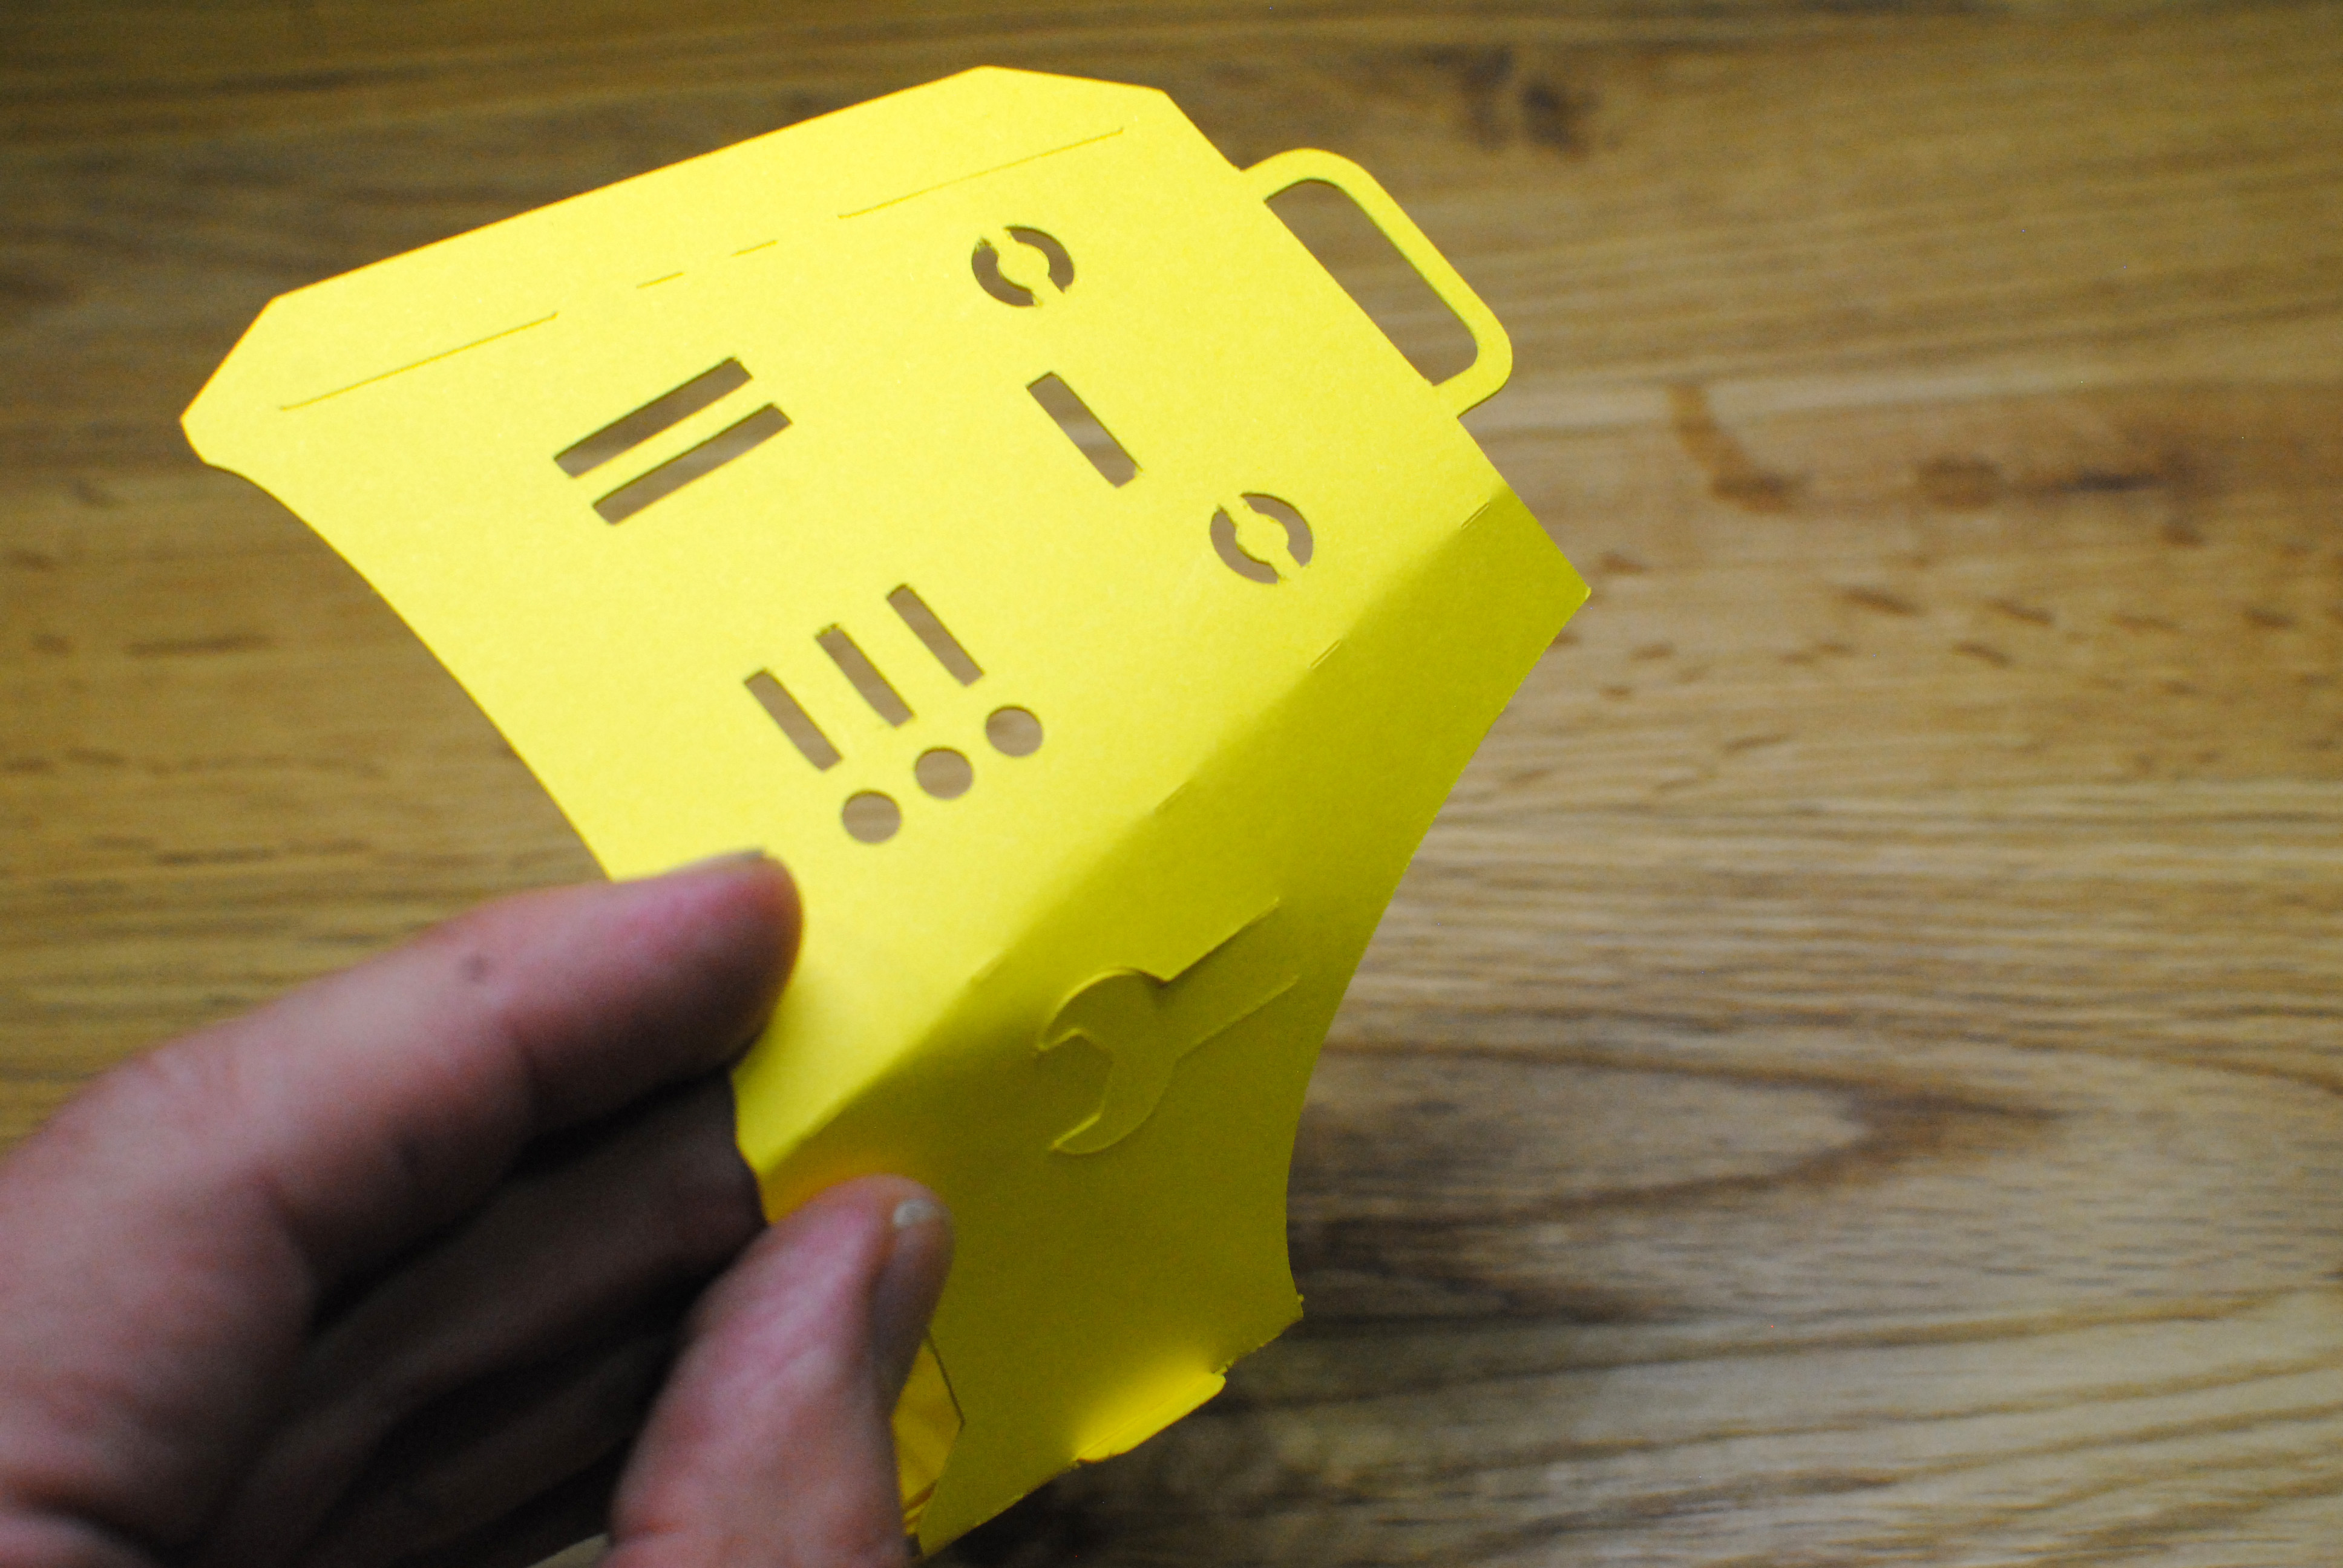
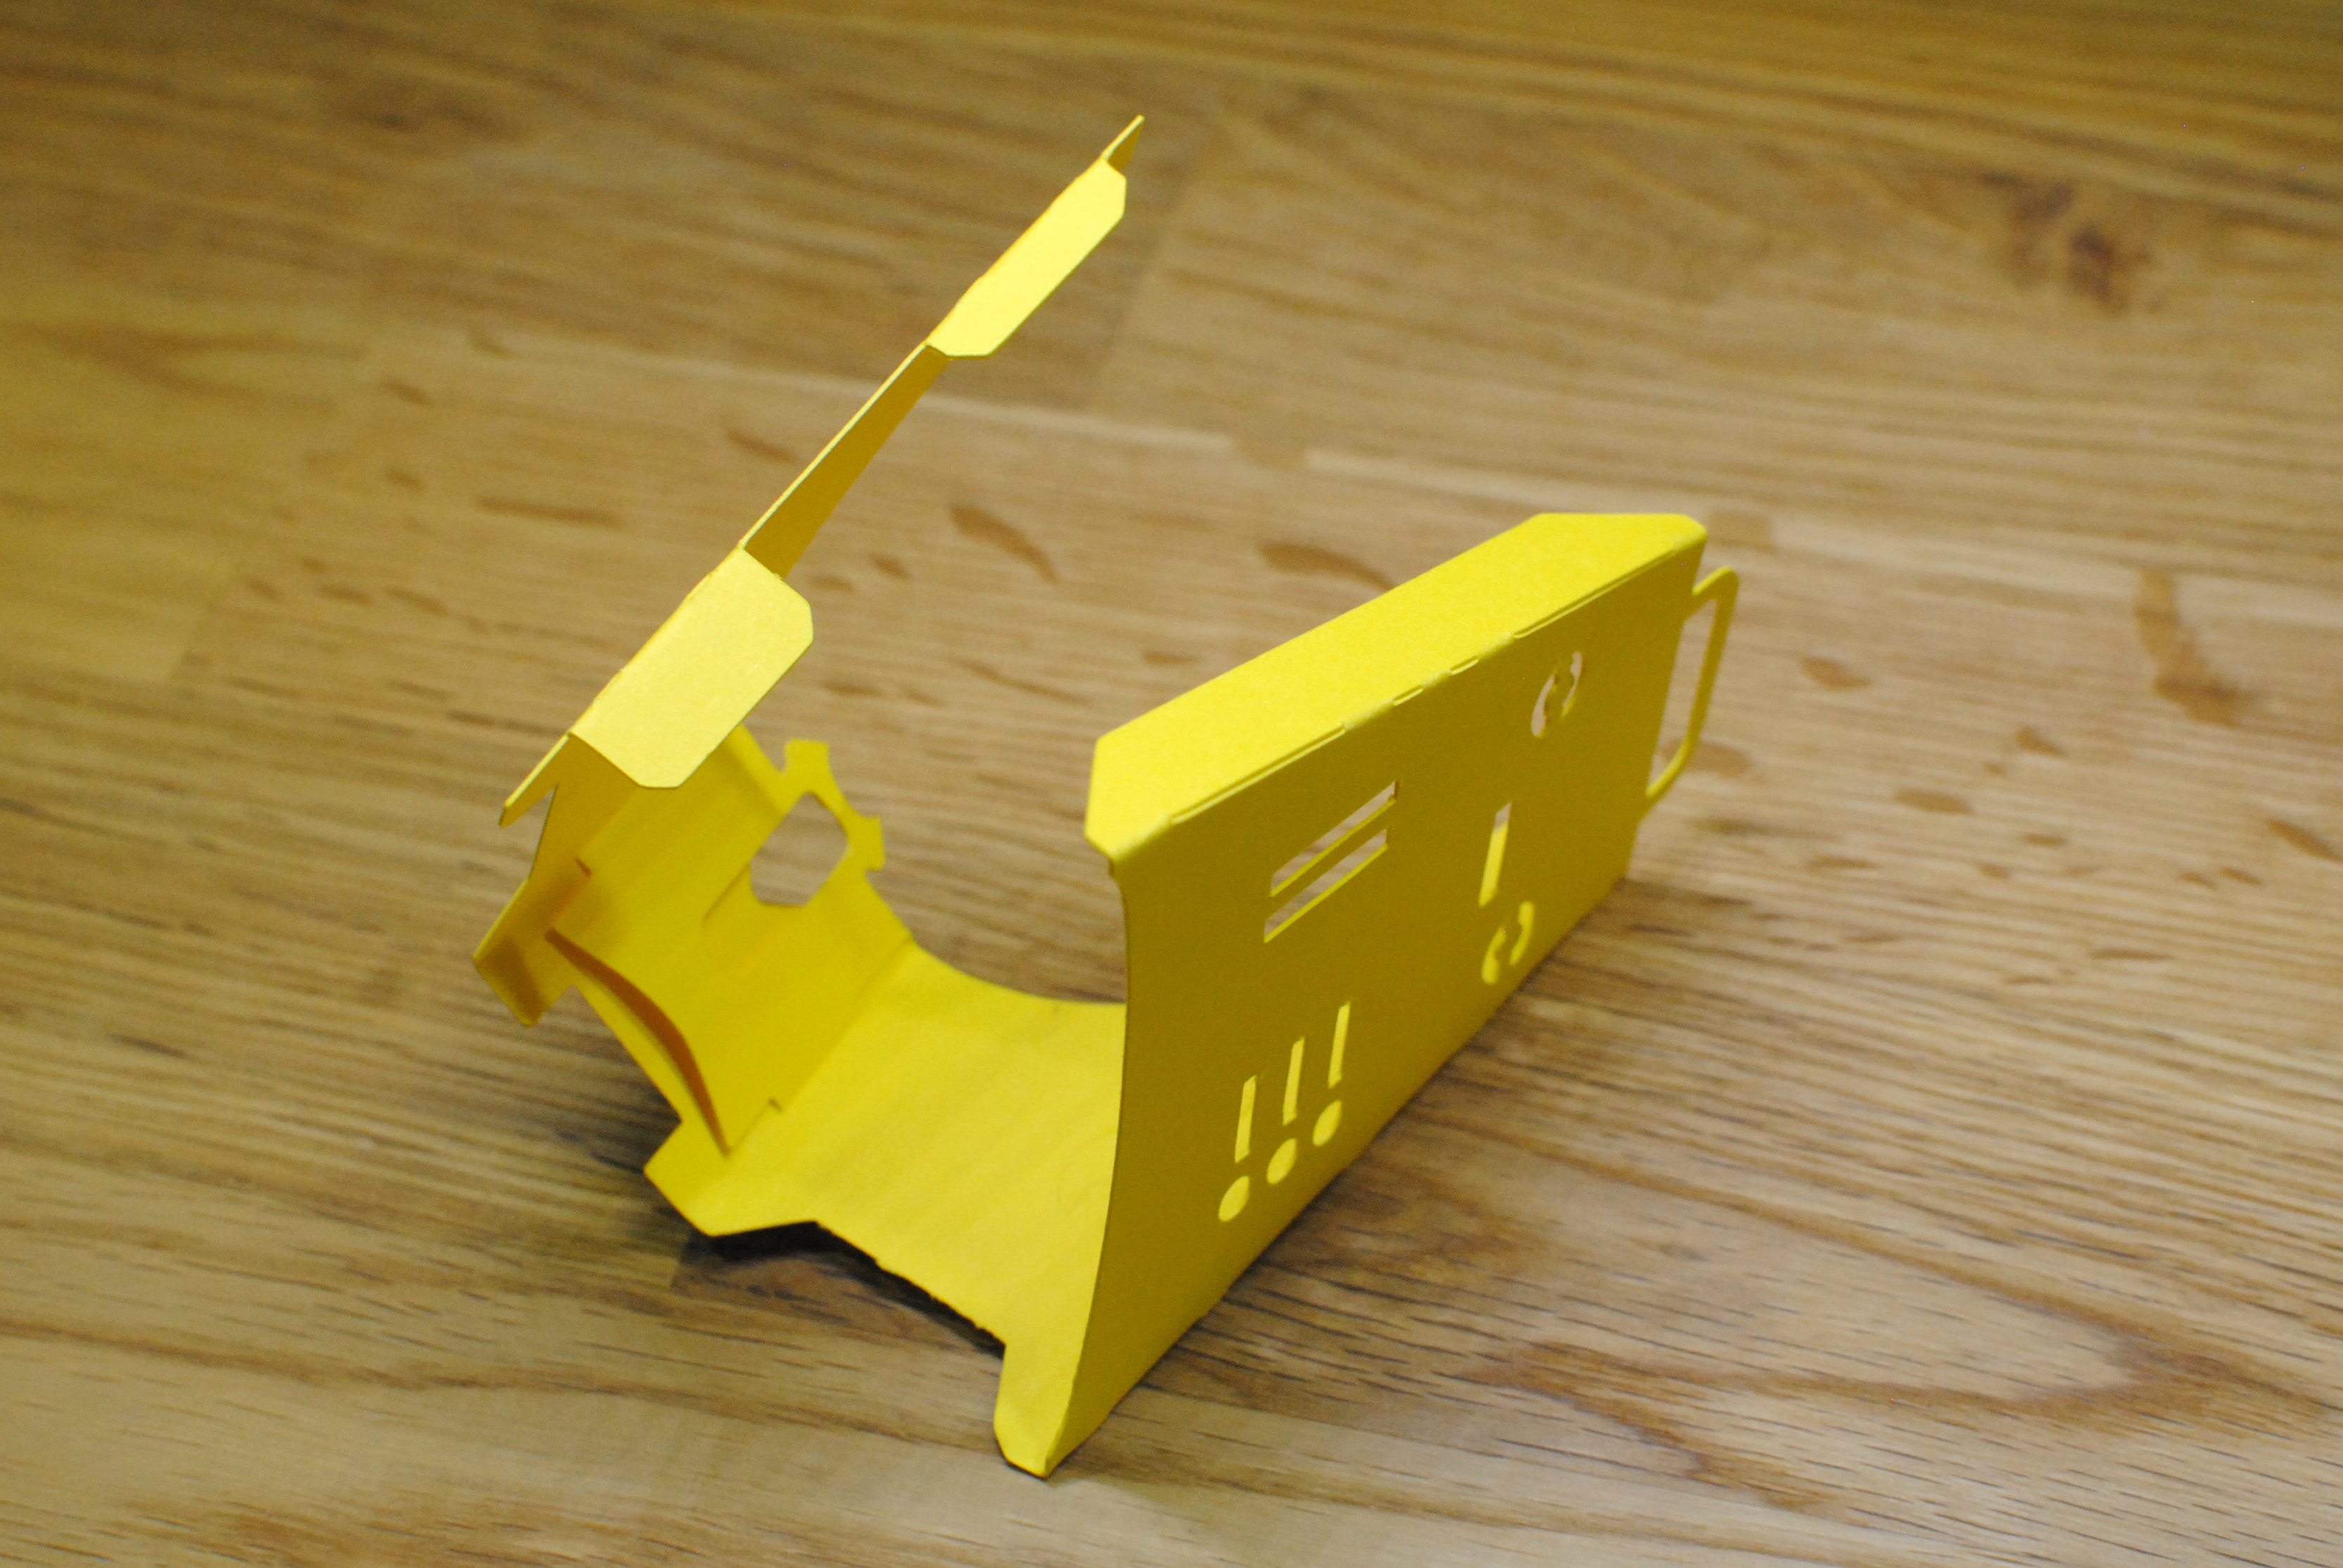
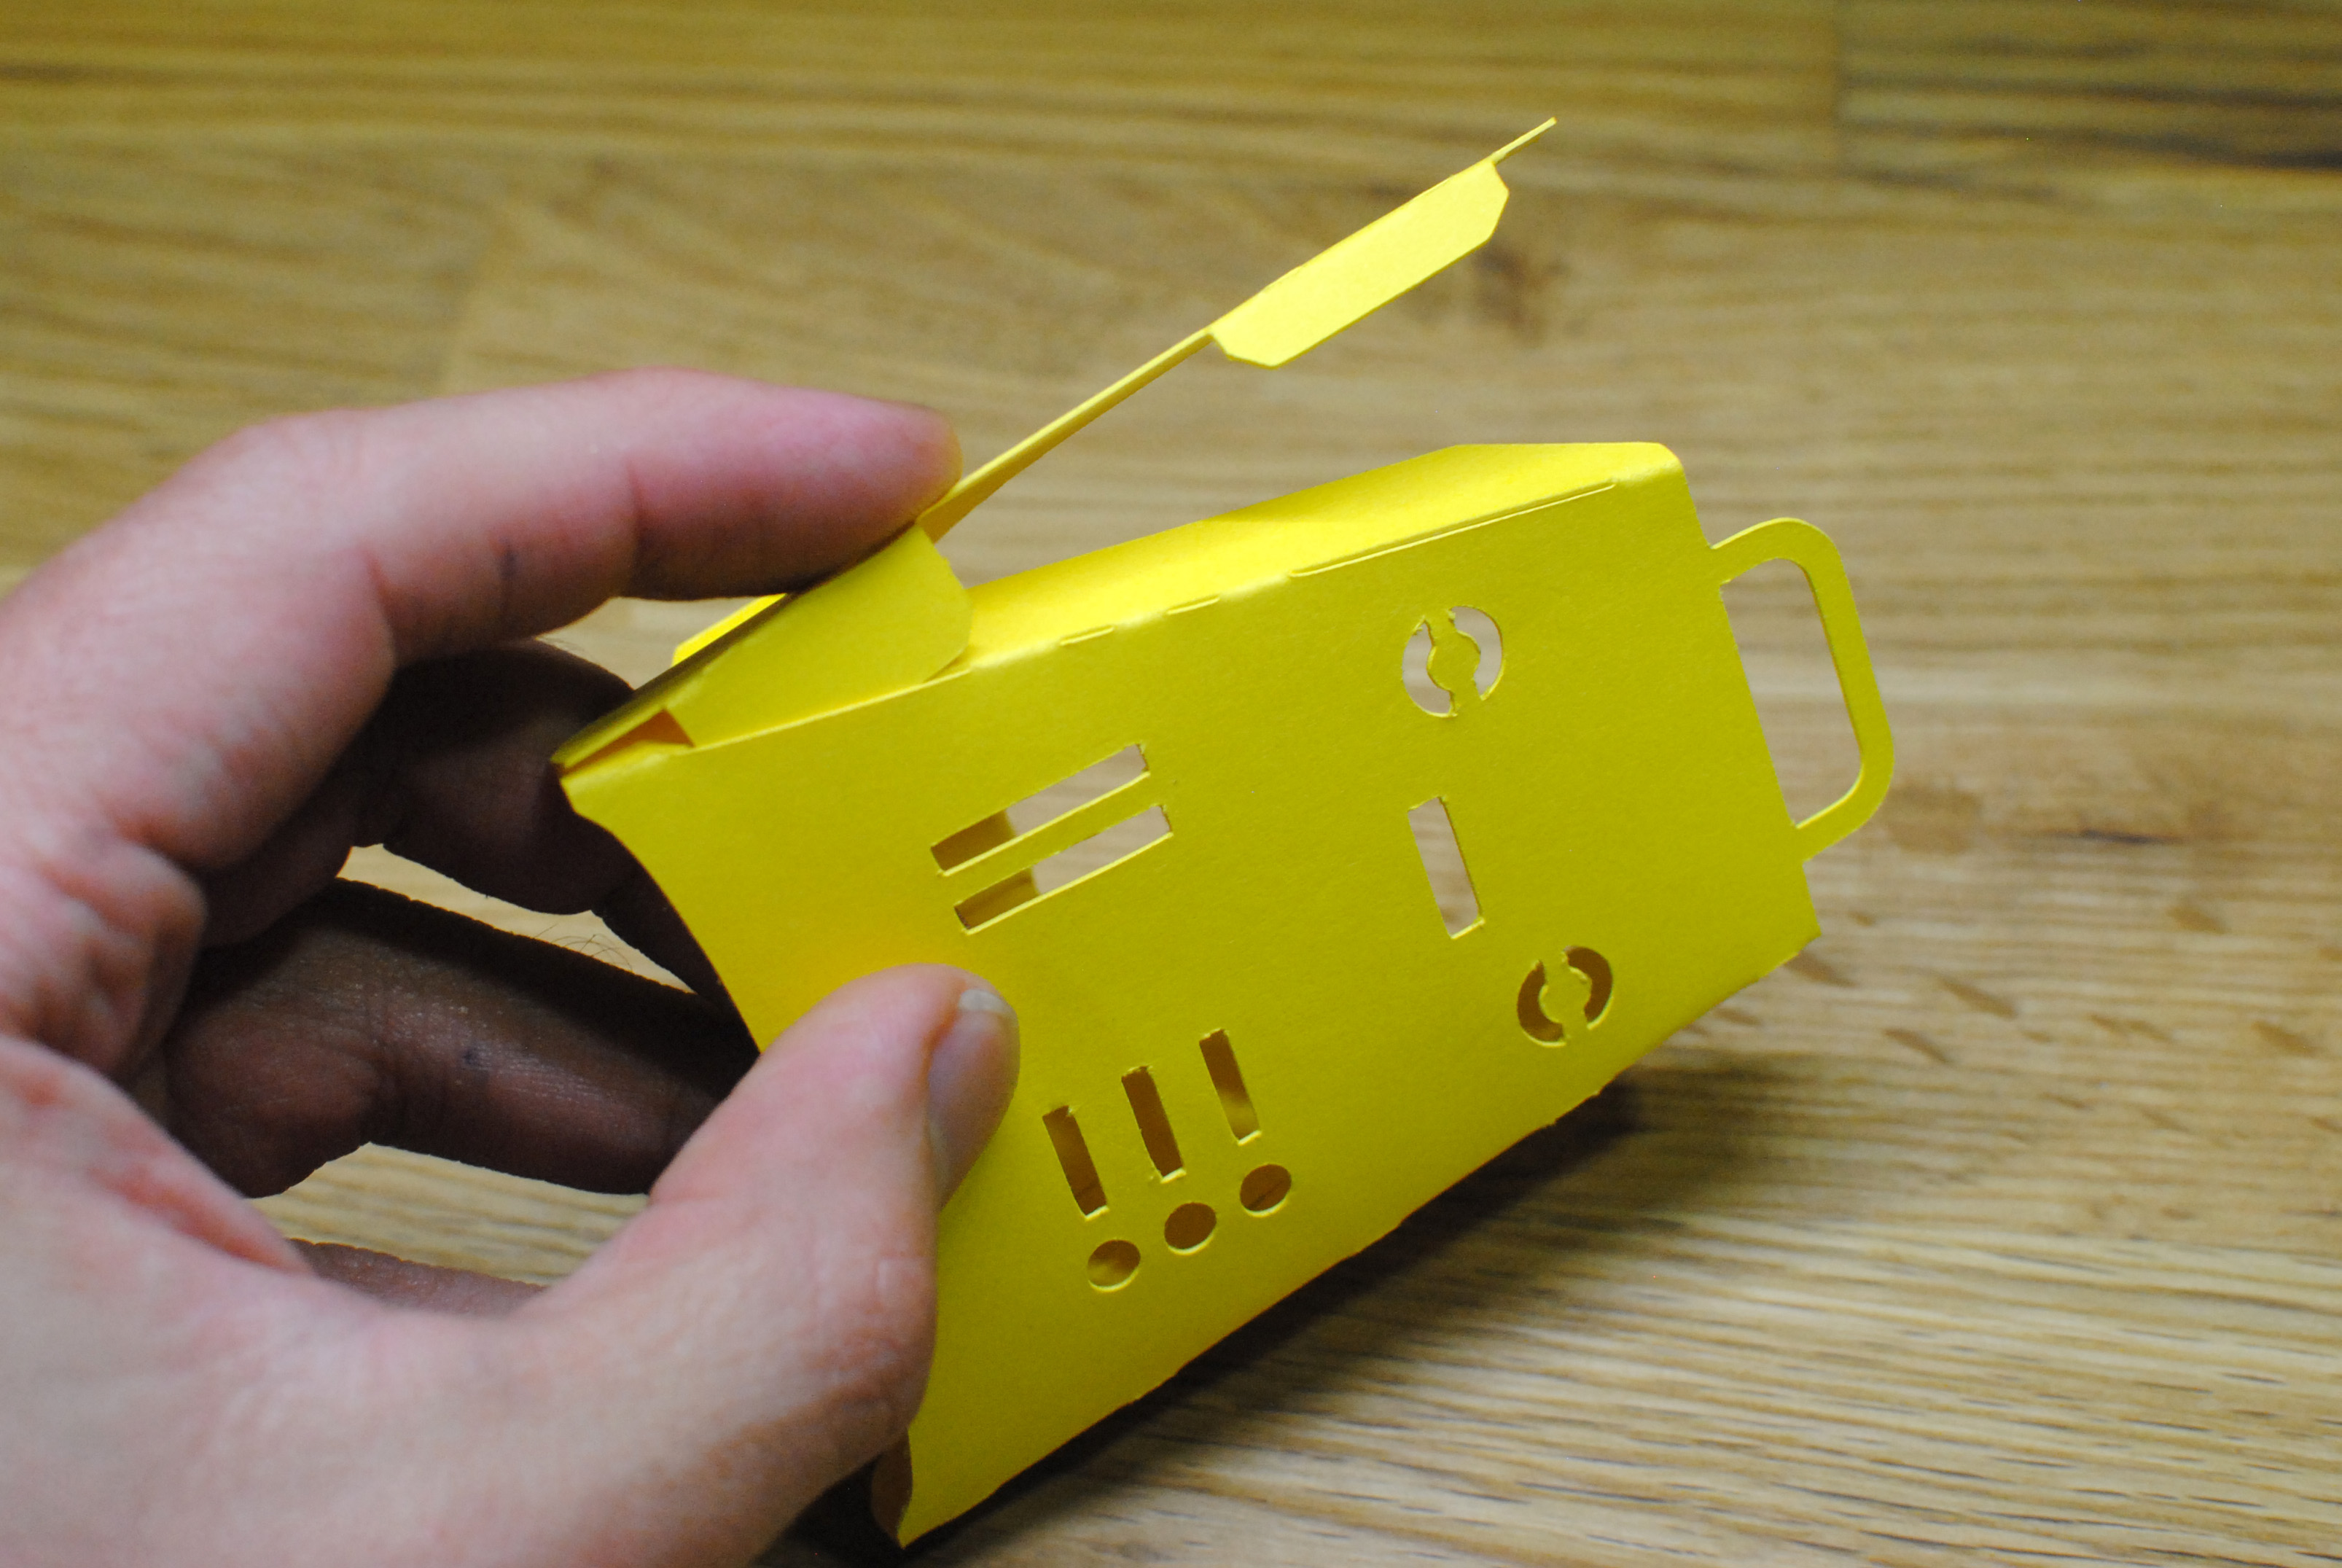
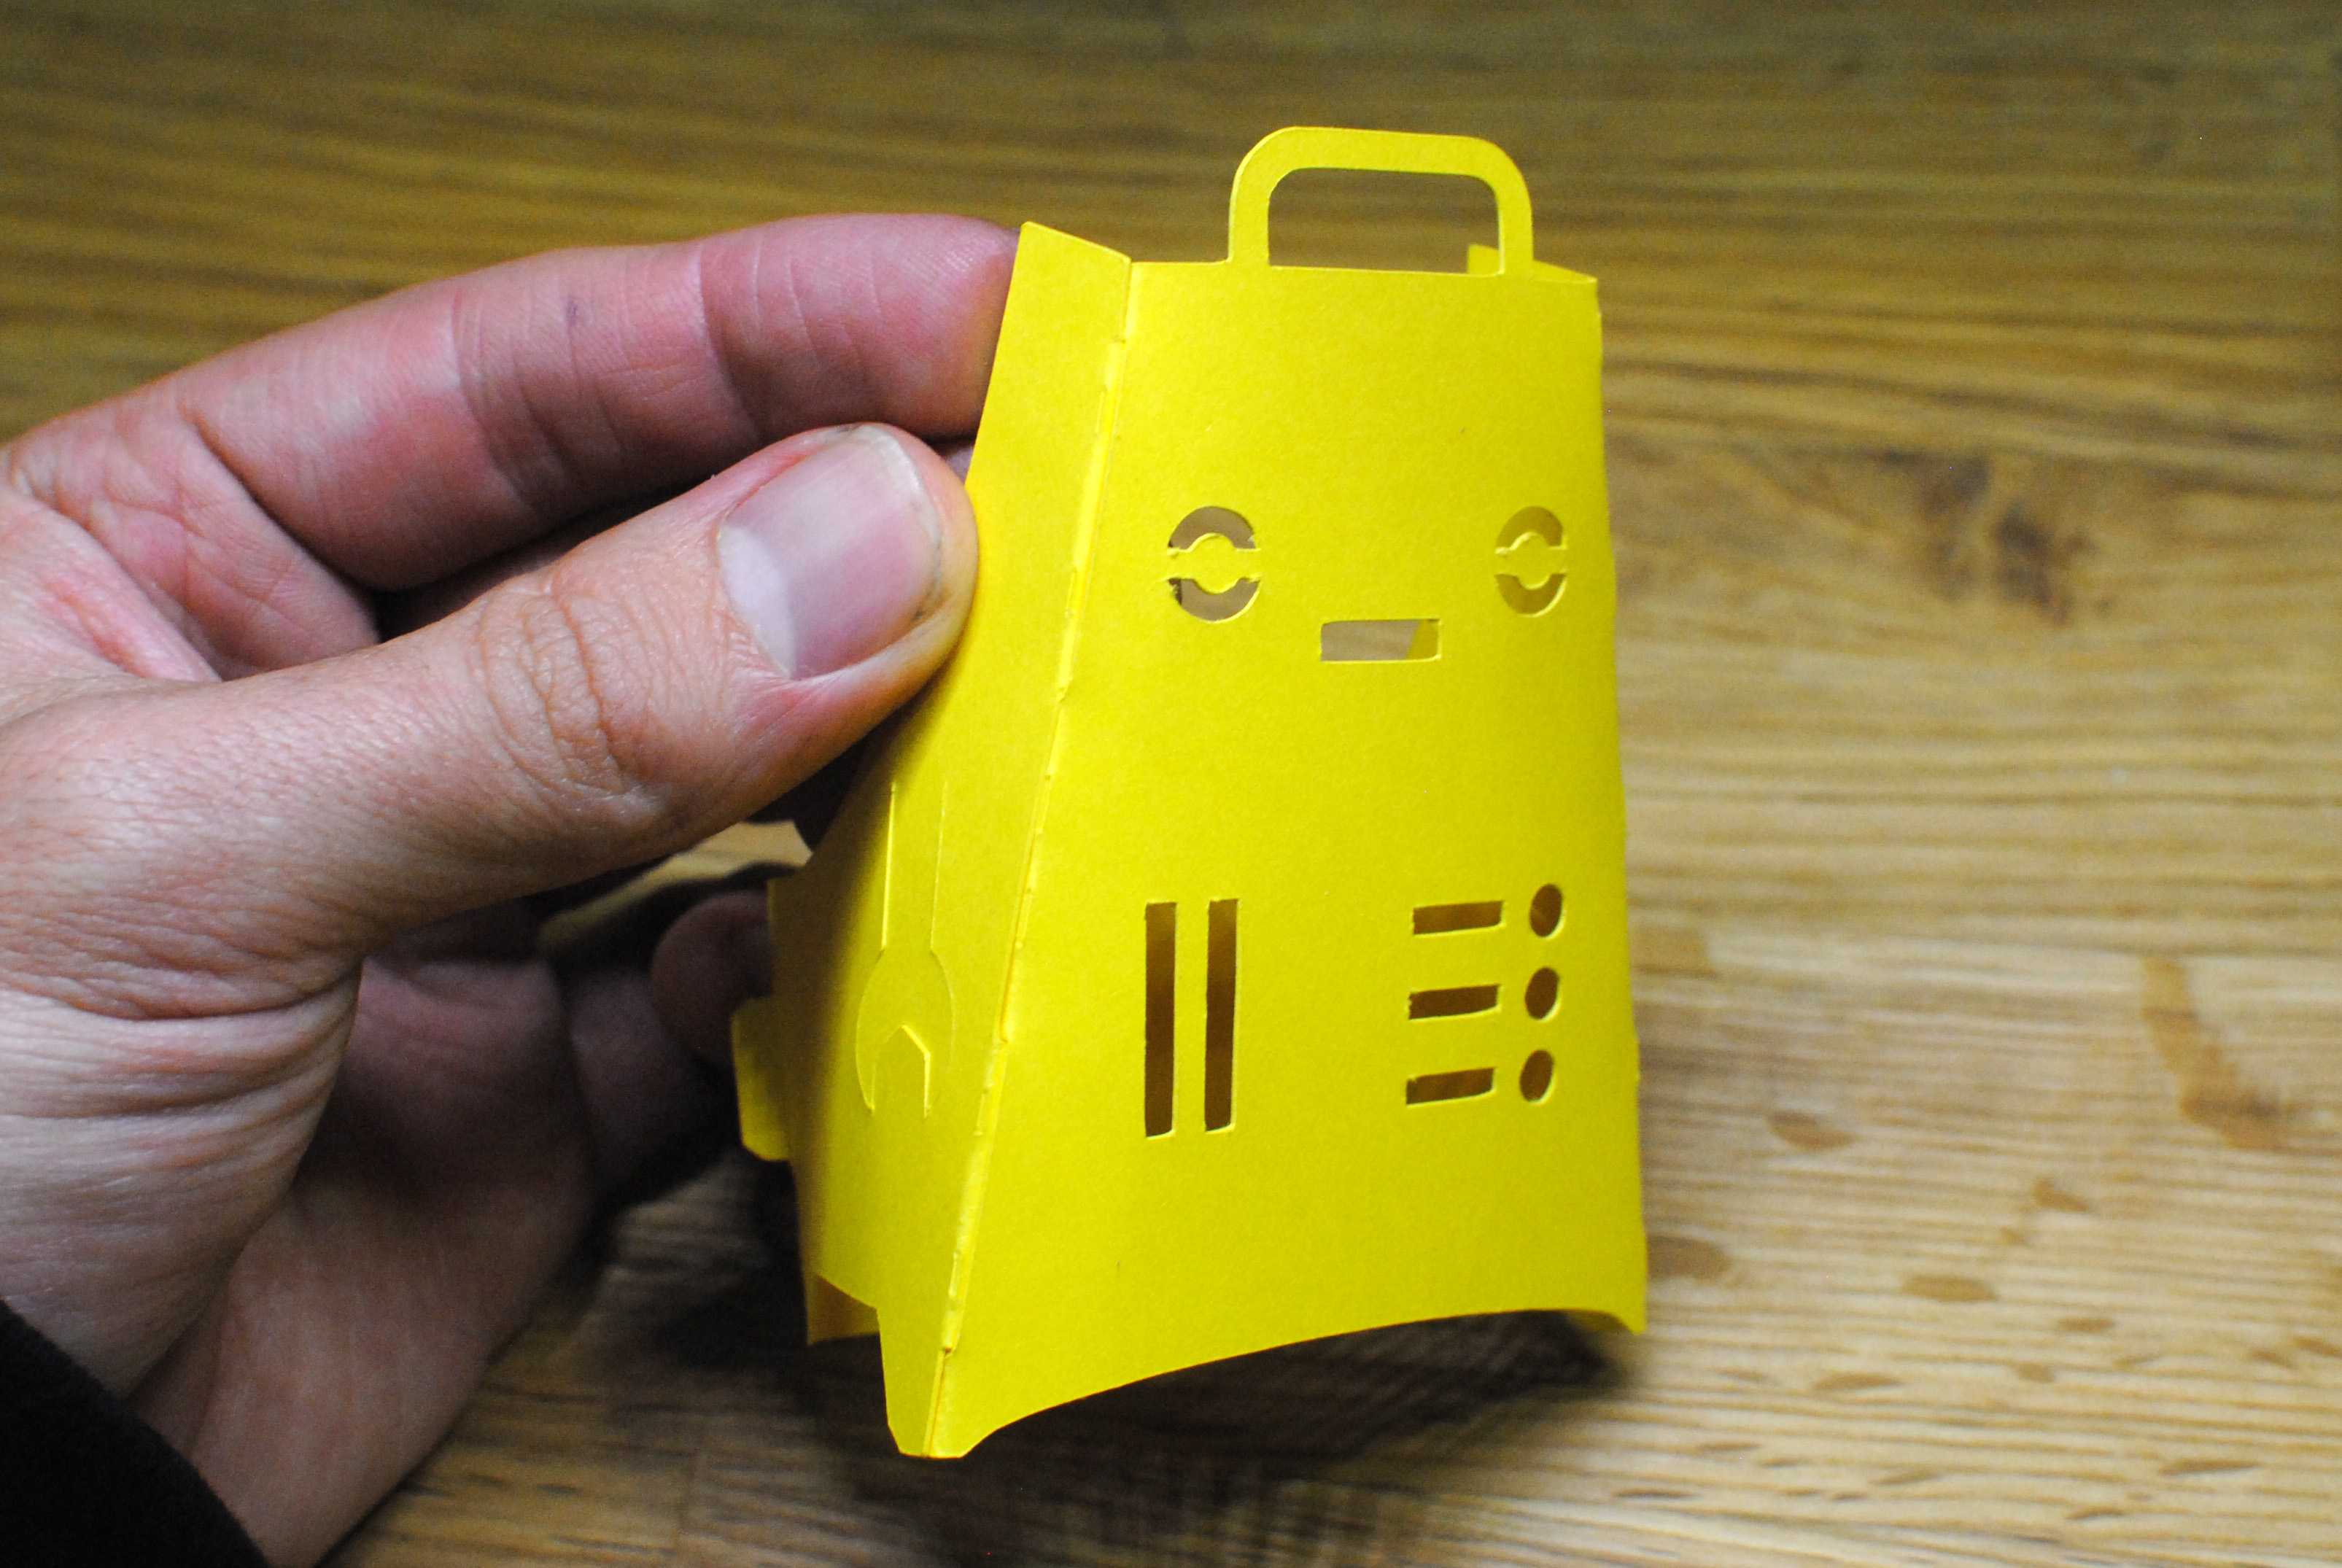
Fold along all of the dotted lines and your Fizzbot should begin to take shape. Poke the two tabs sticking out of the left-hand end into the slots at the fold on the right edge.
Step 3: Fold Up the Arms
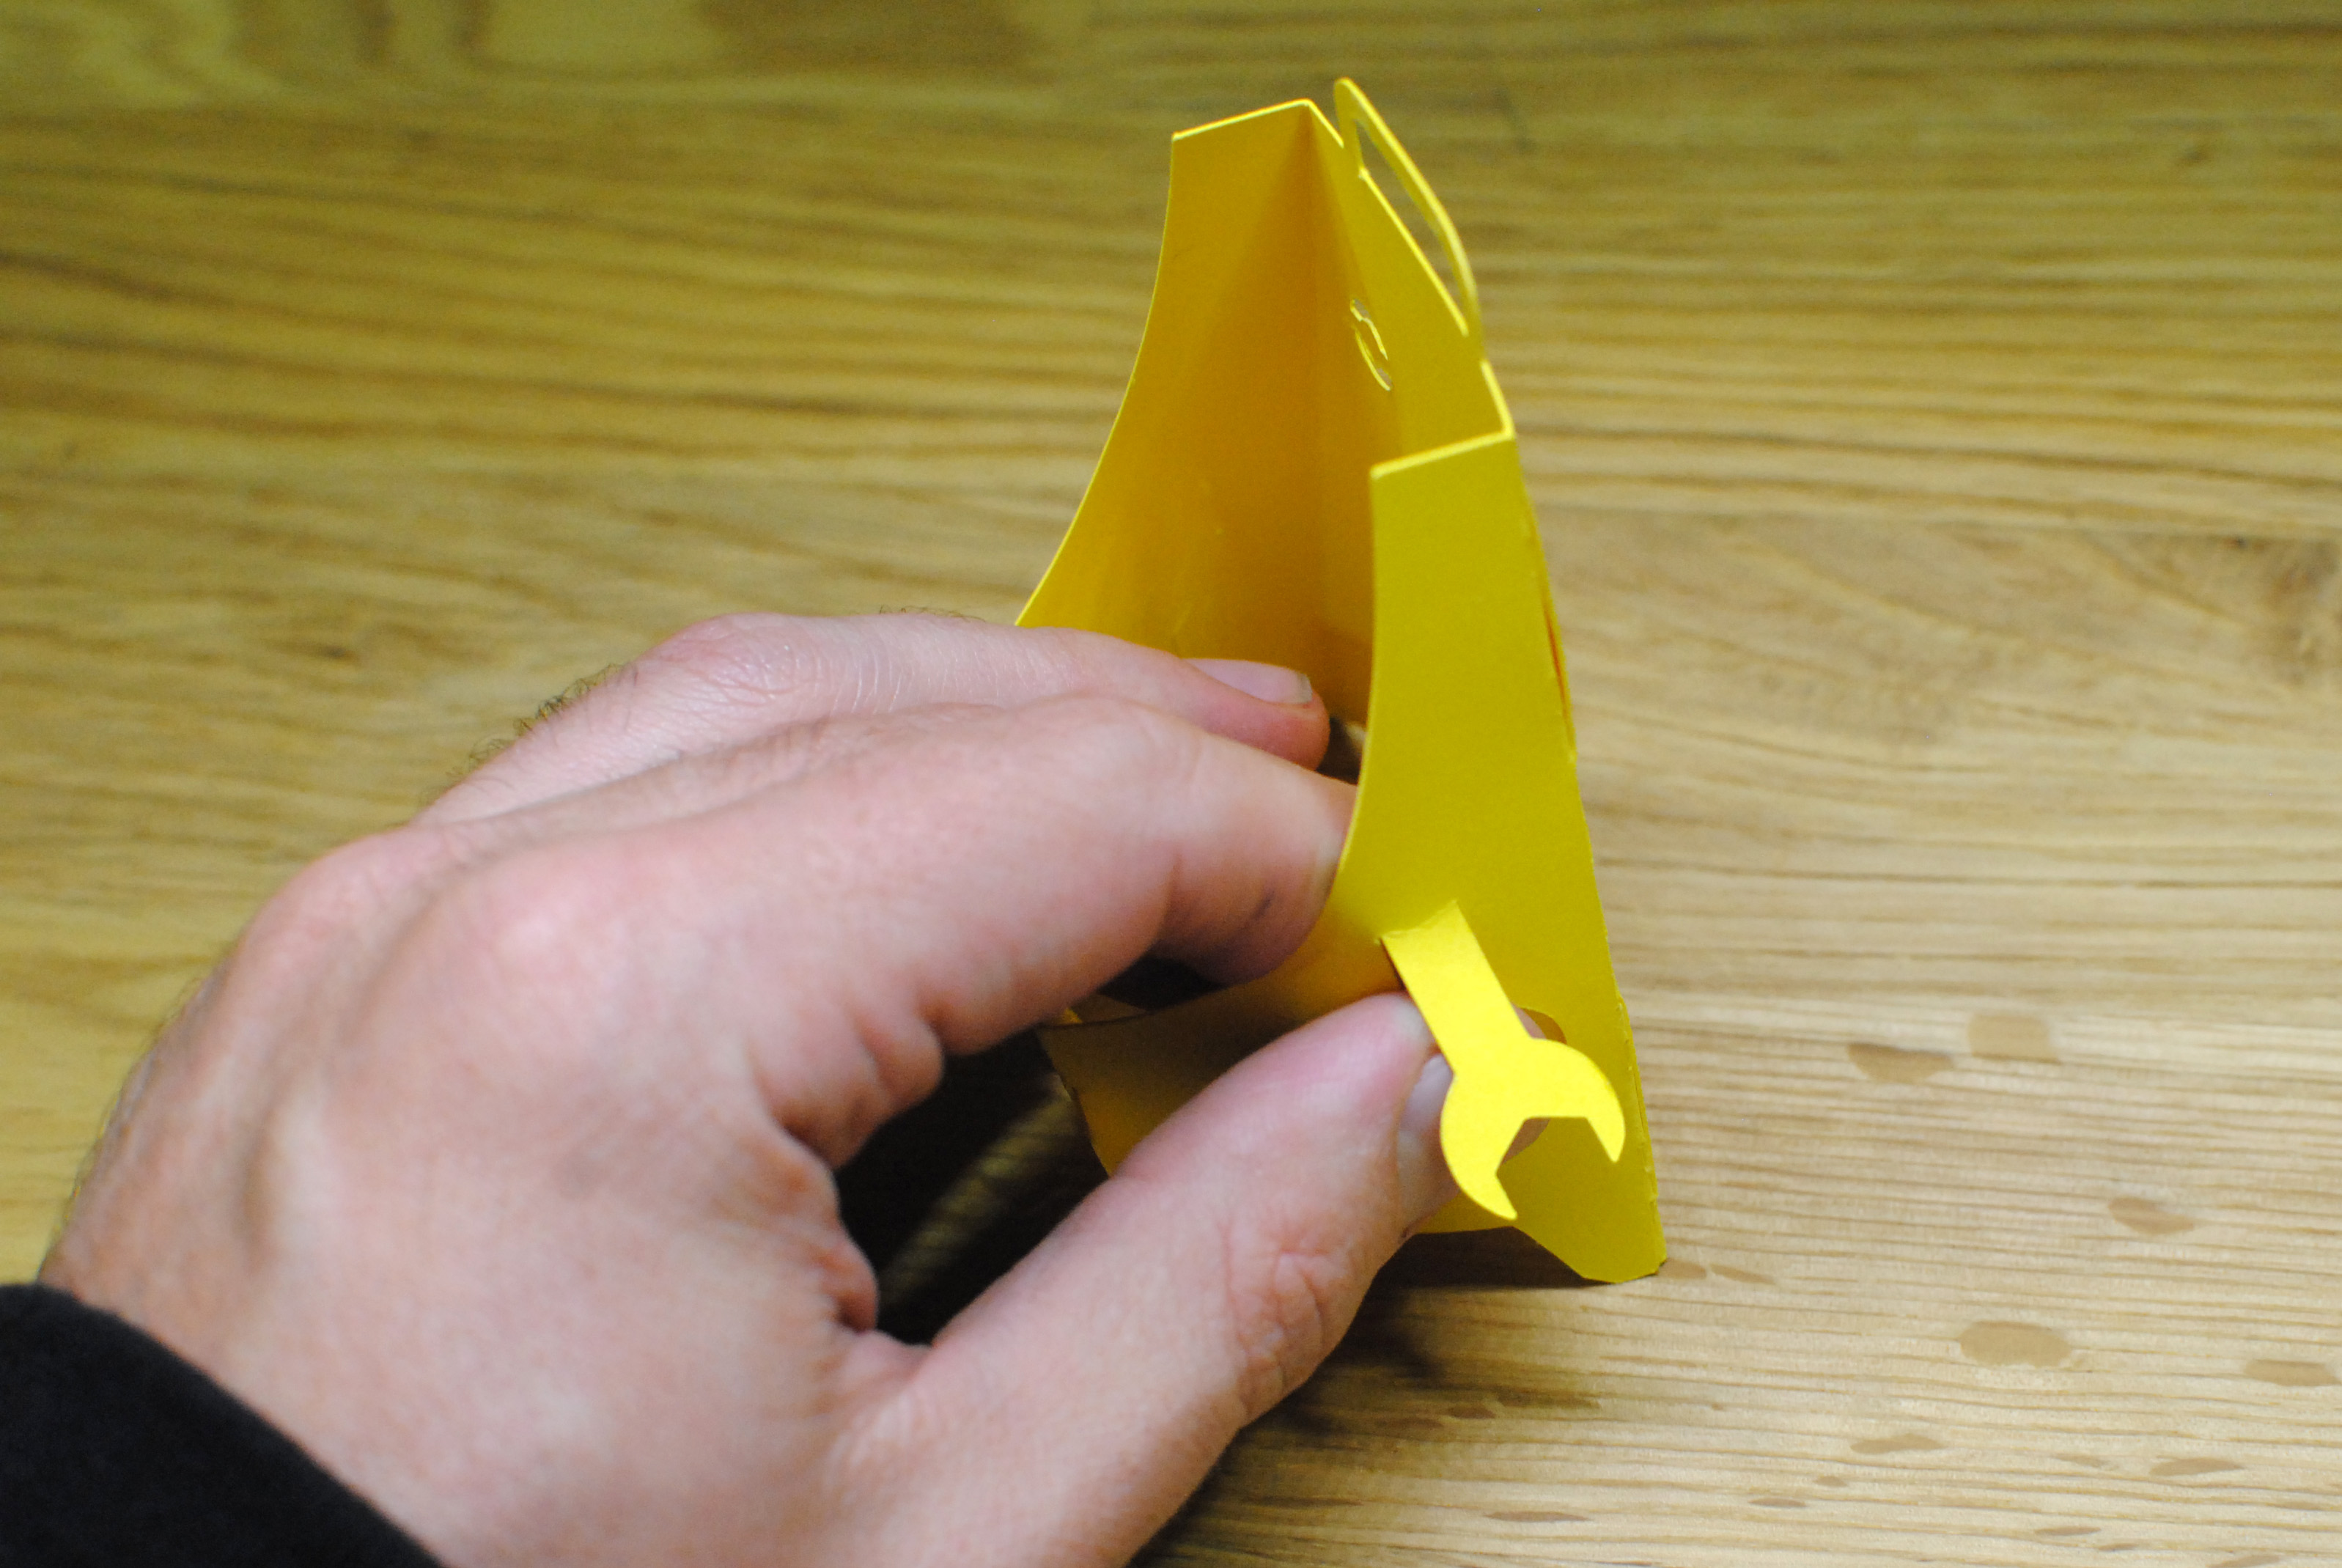
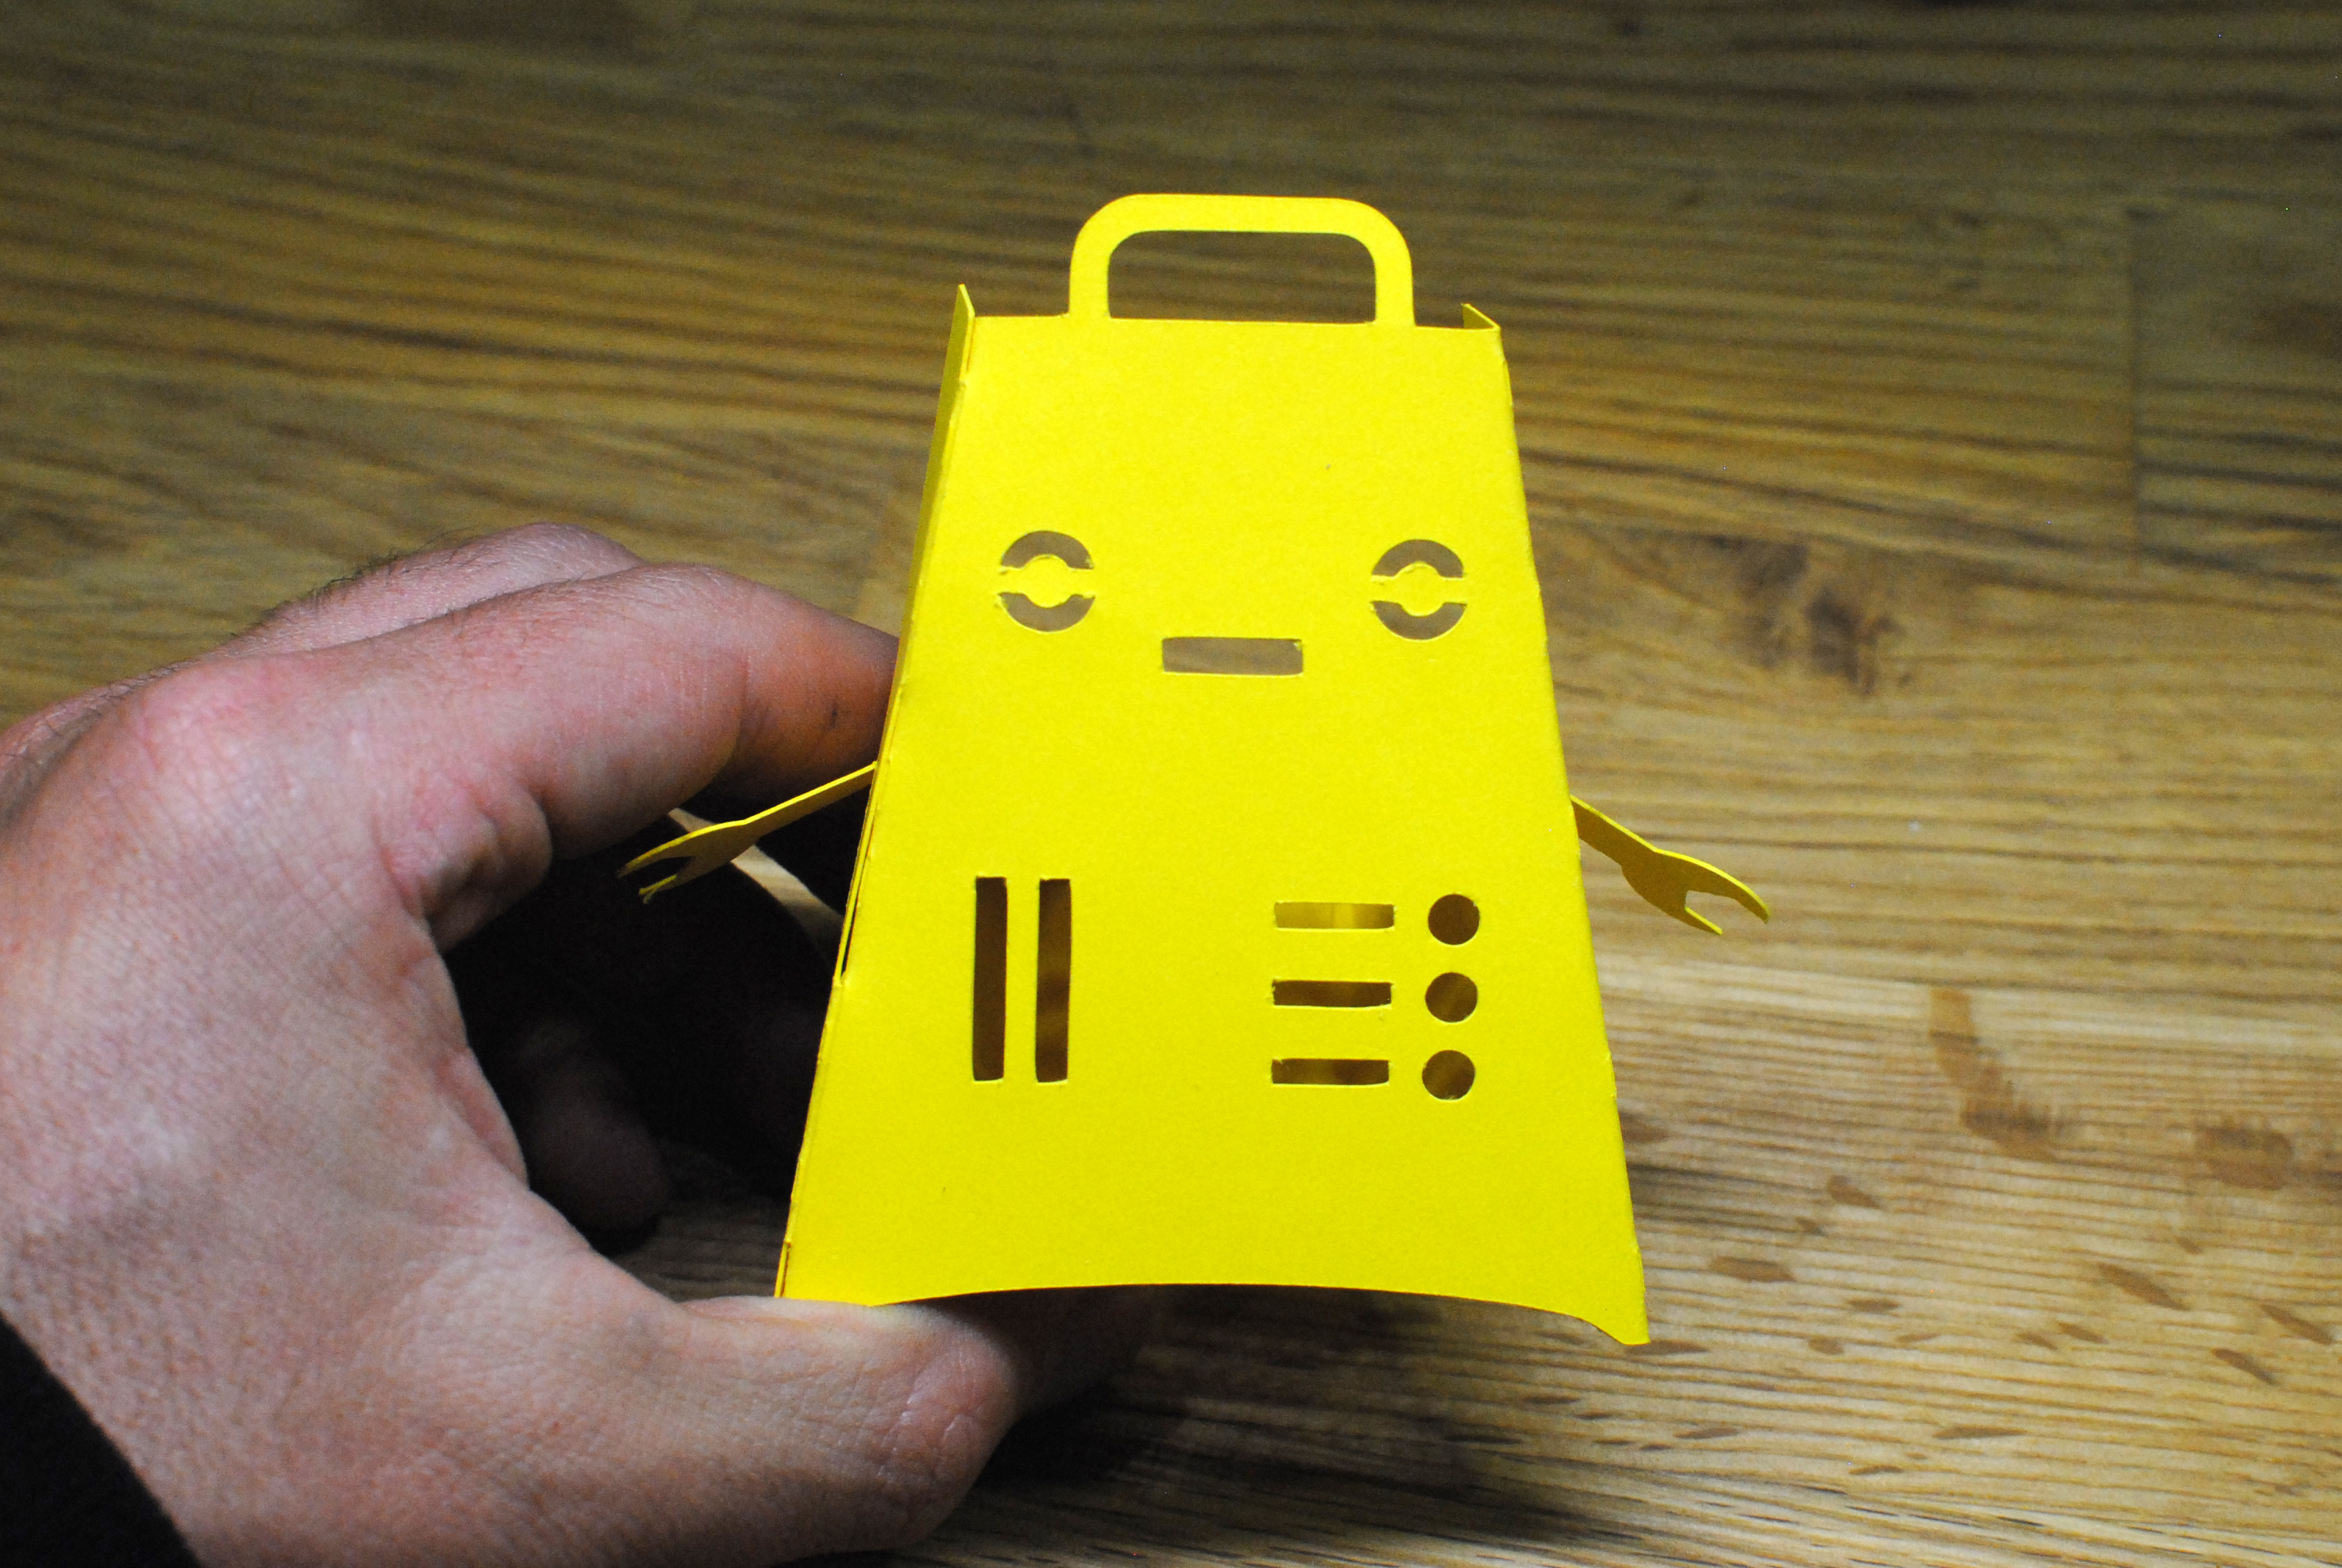
If your Fizzbot has arms pop the hands out and fold the arms up.
Step 4: Fit the Fizzbit
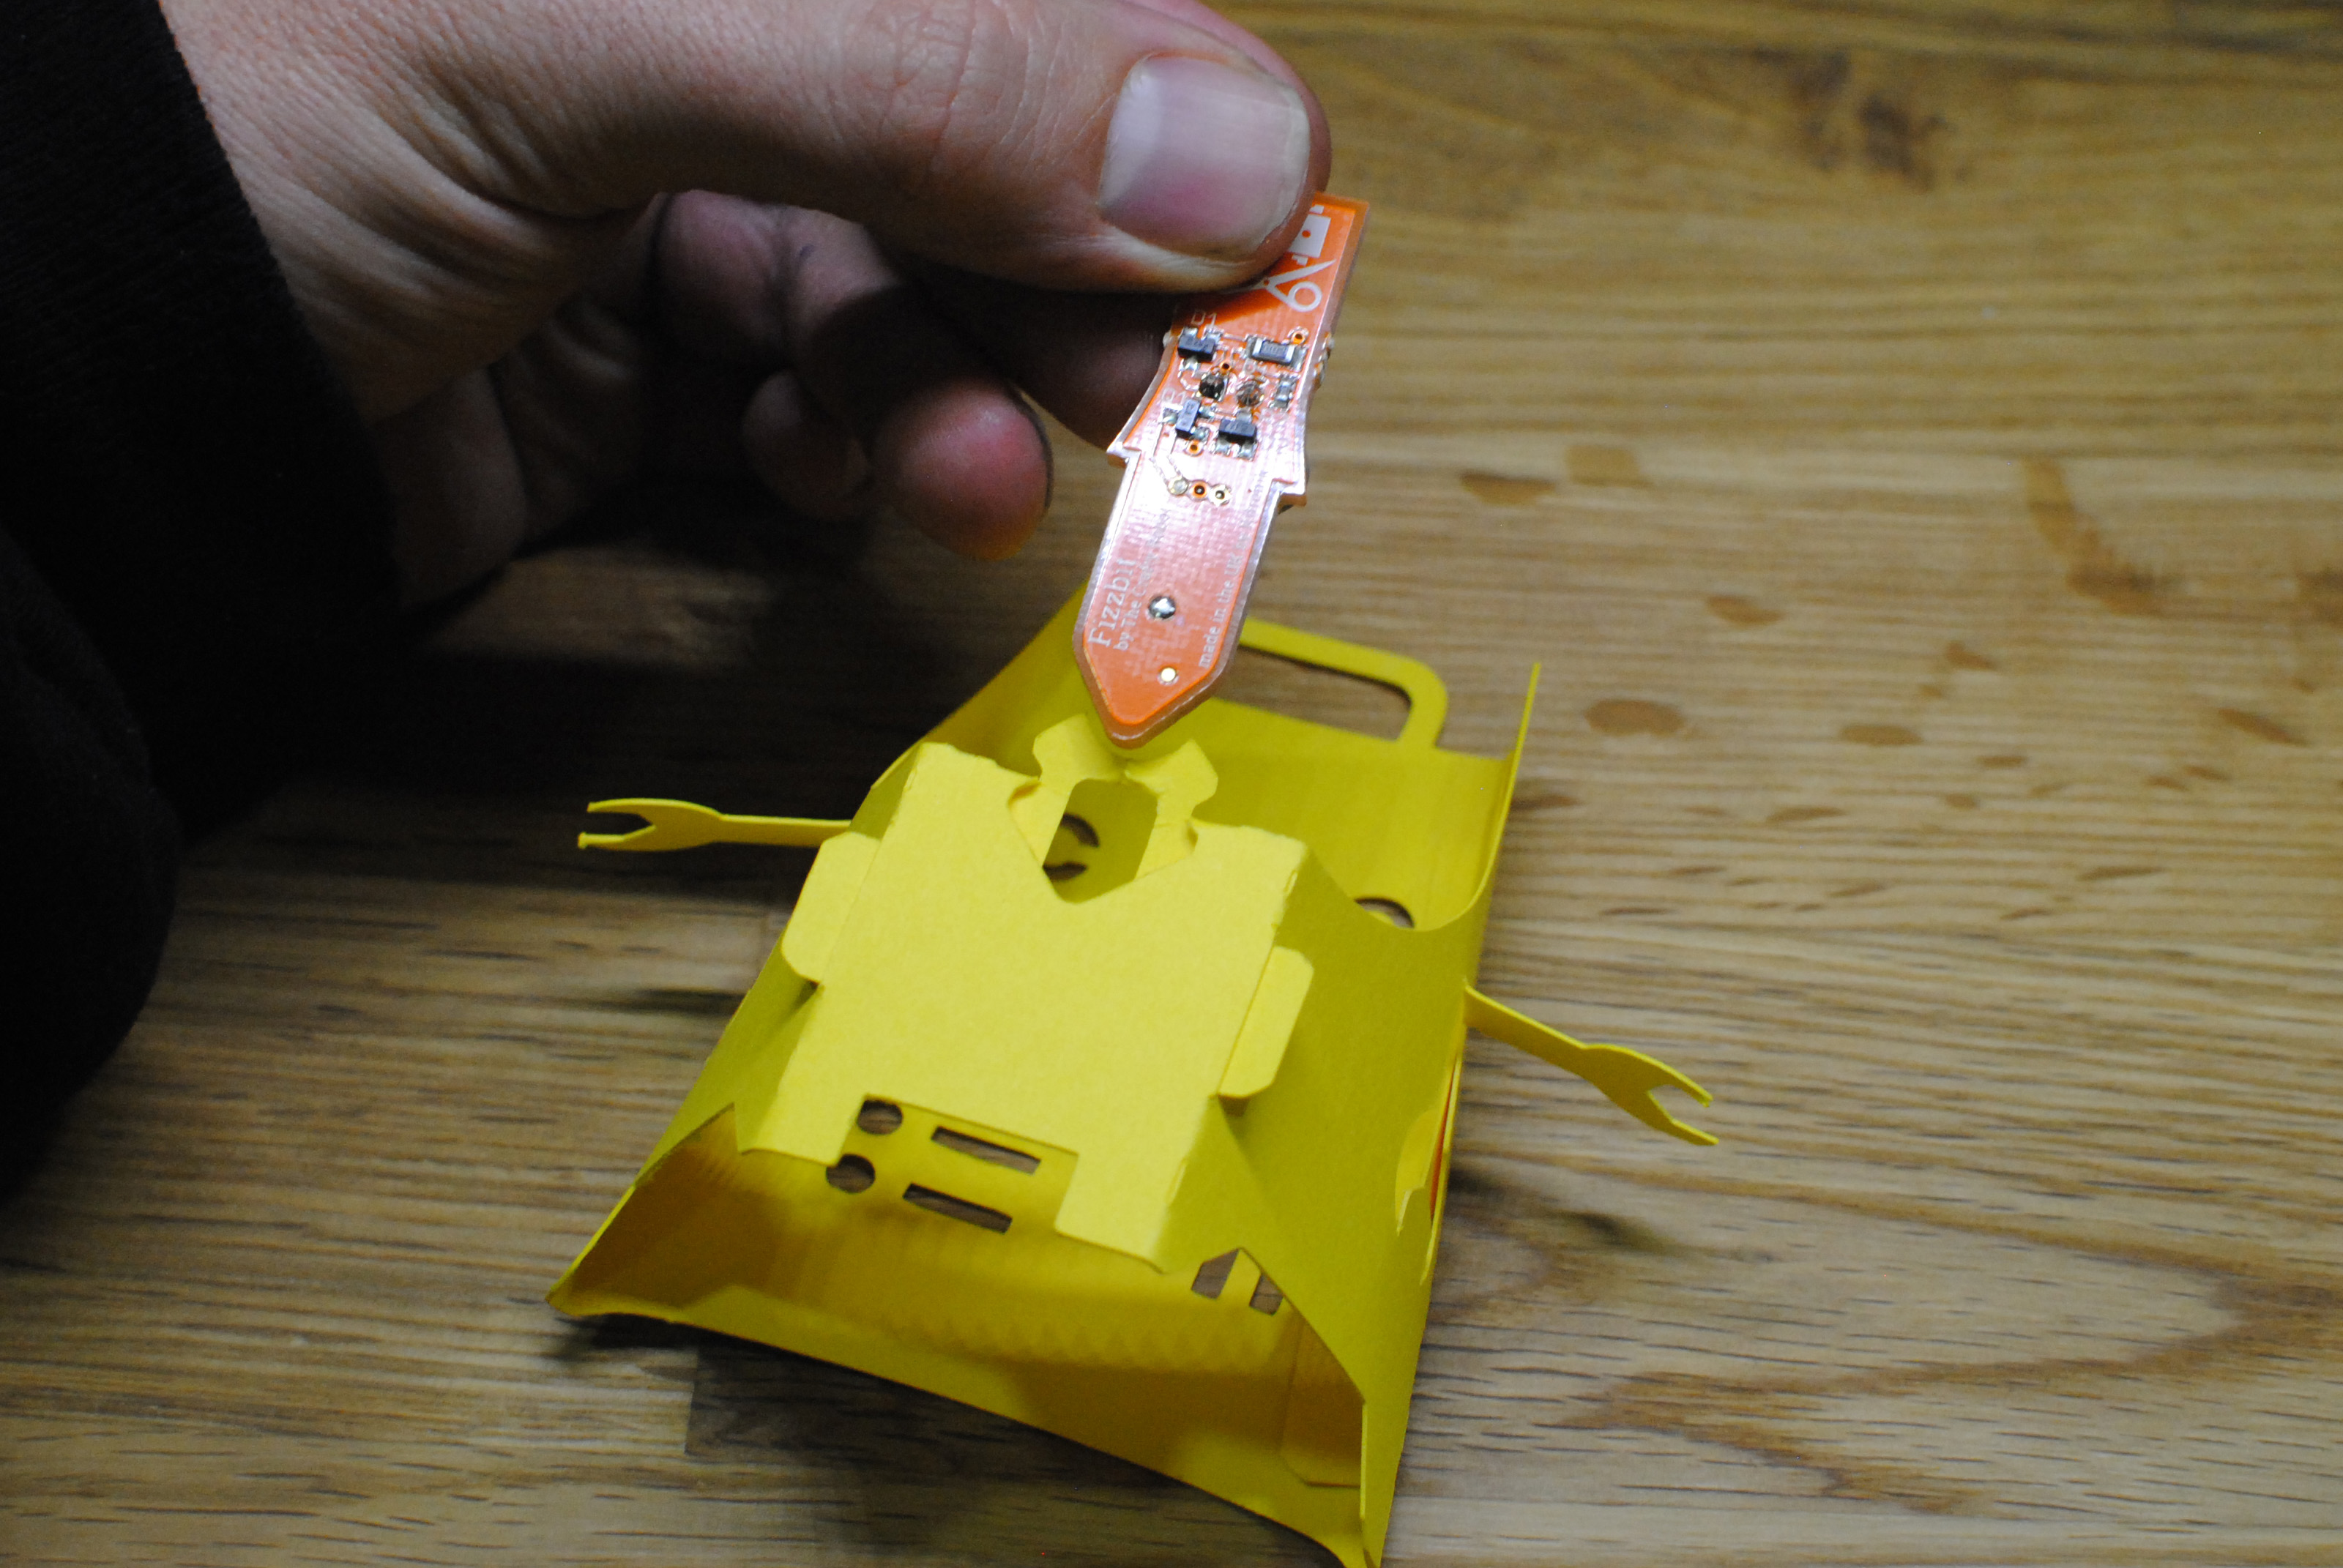
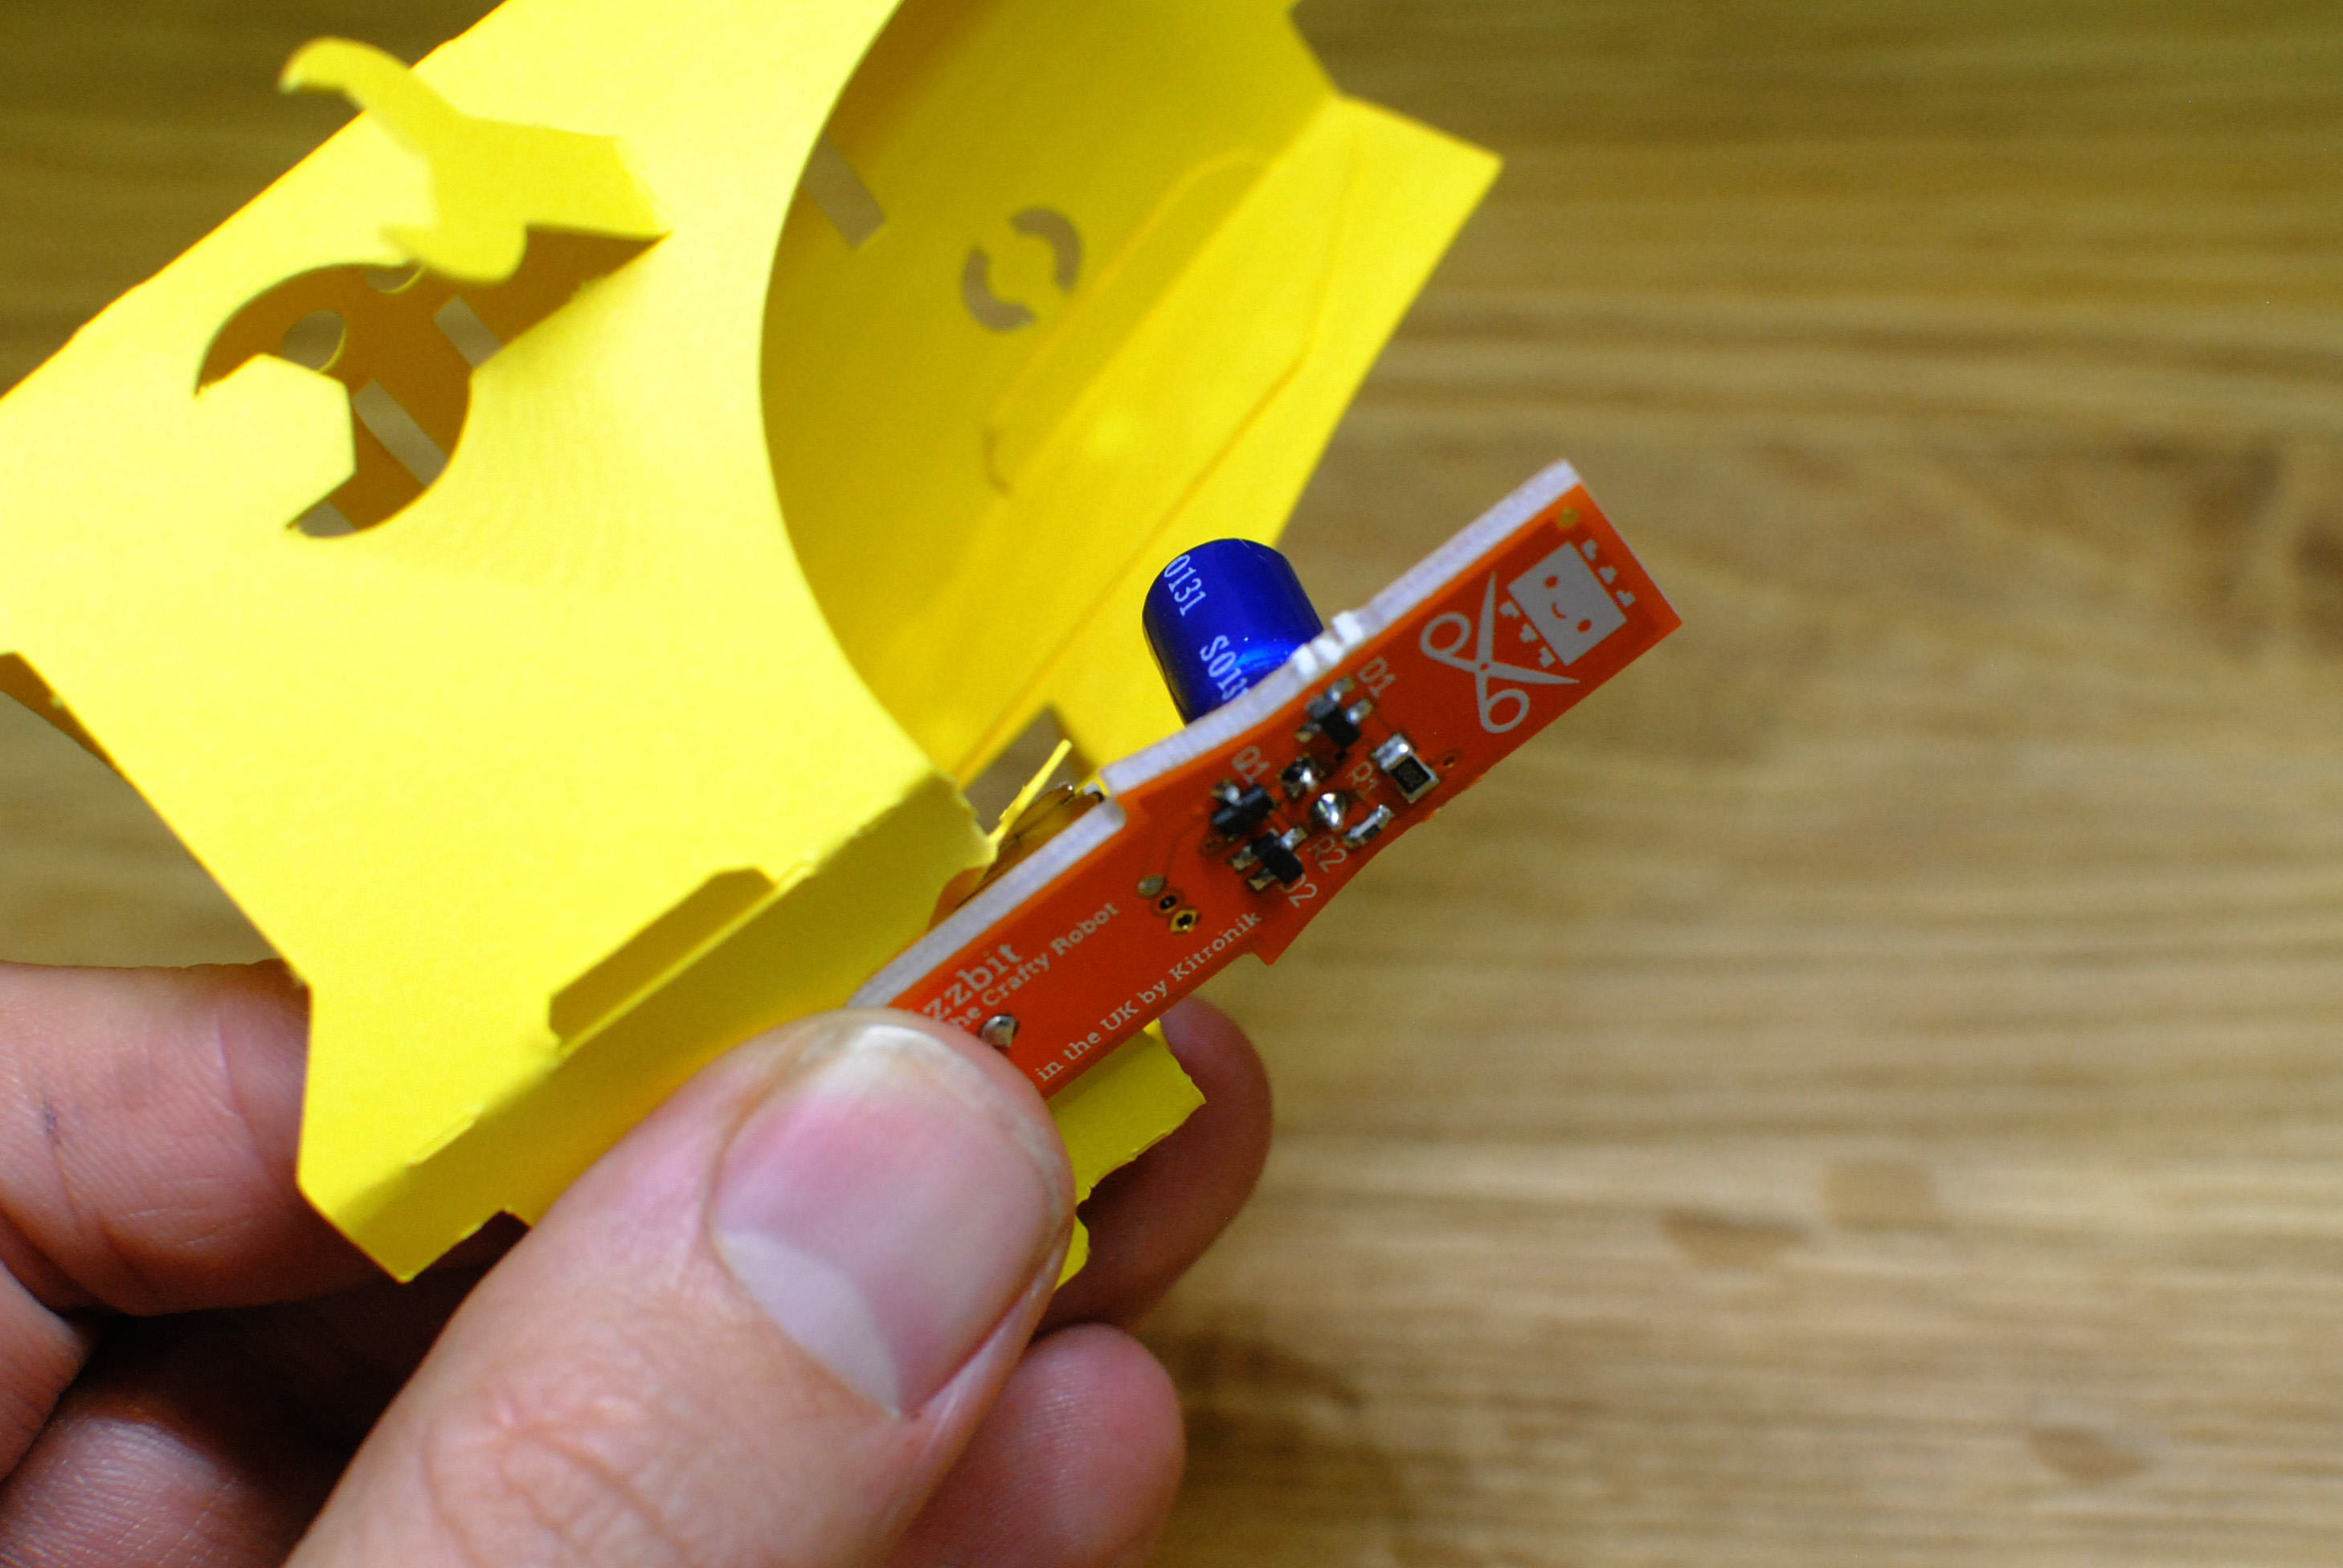
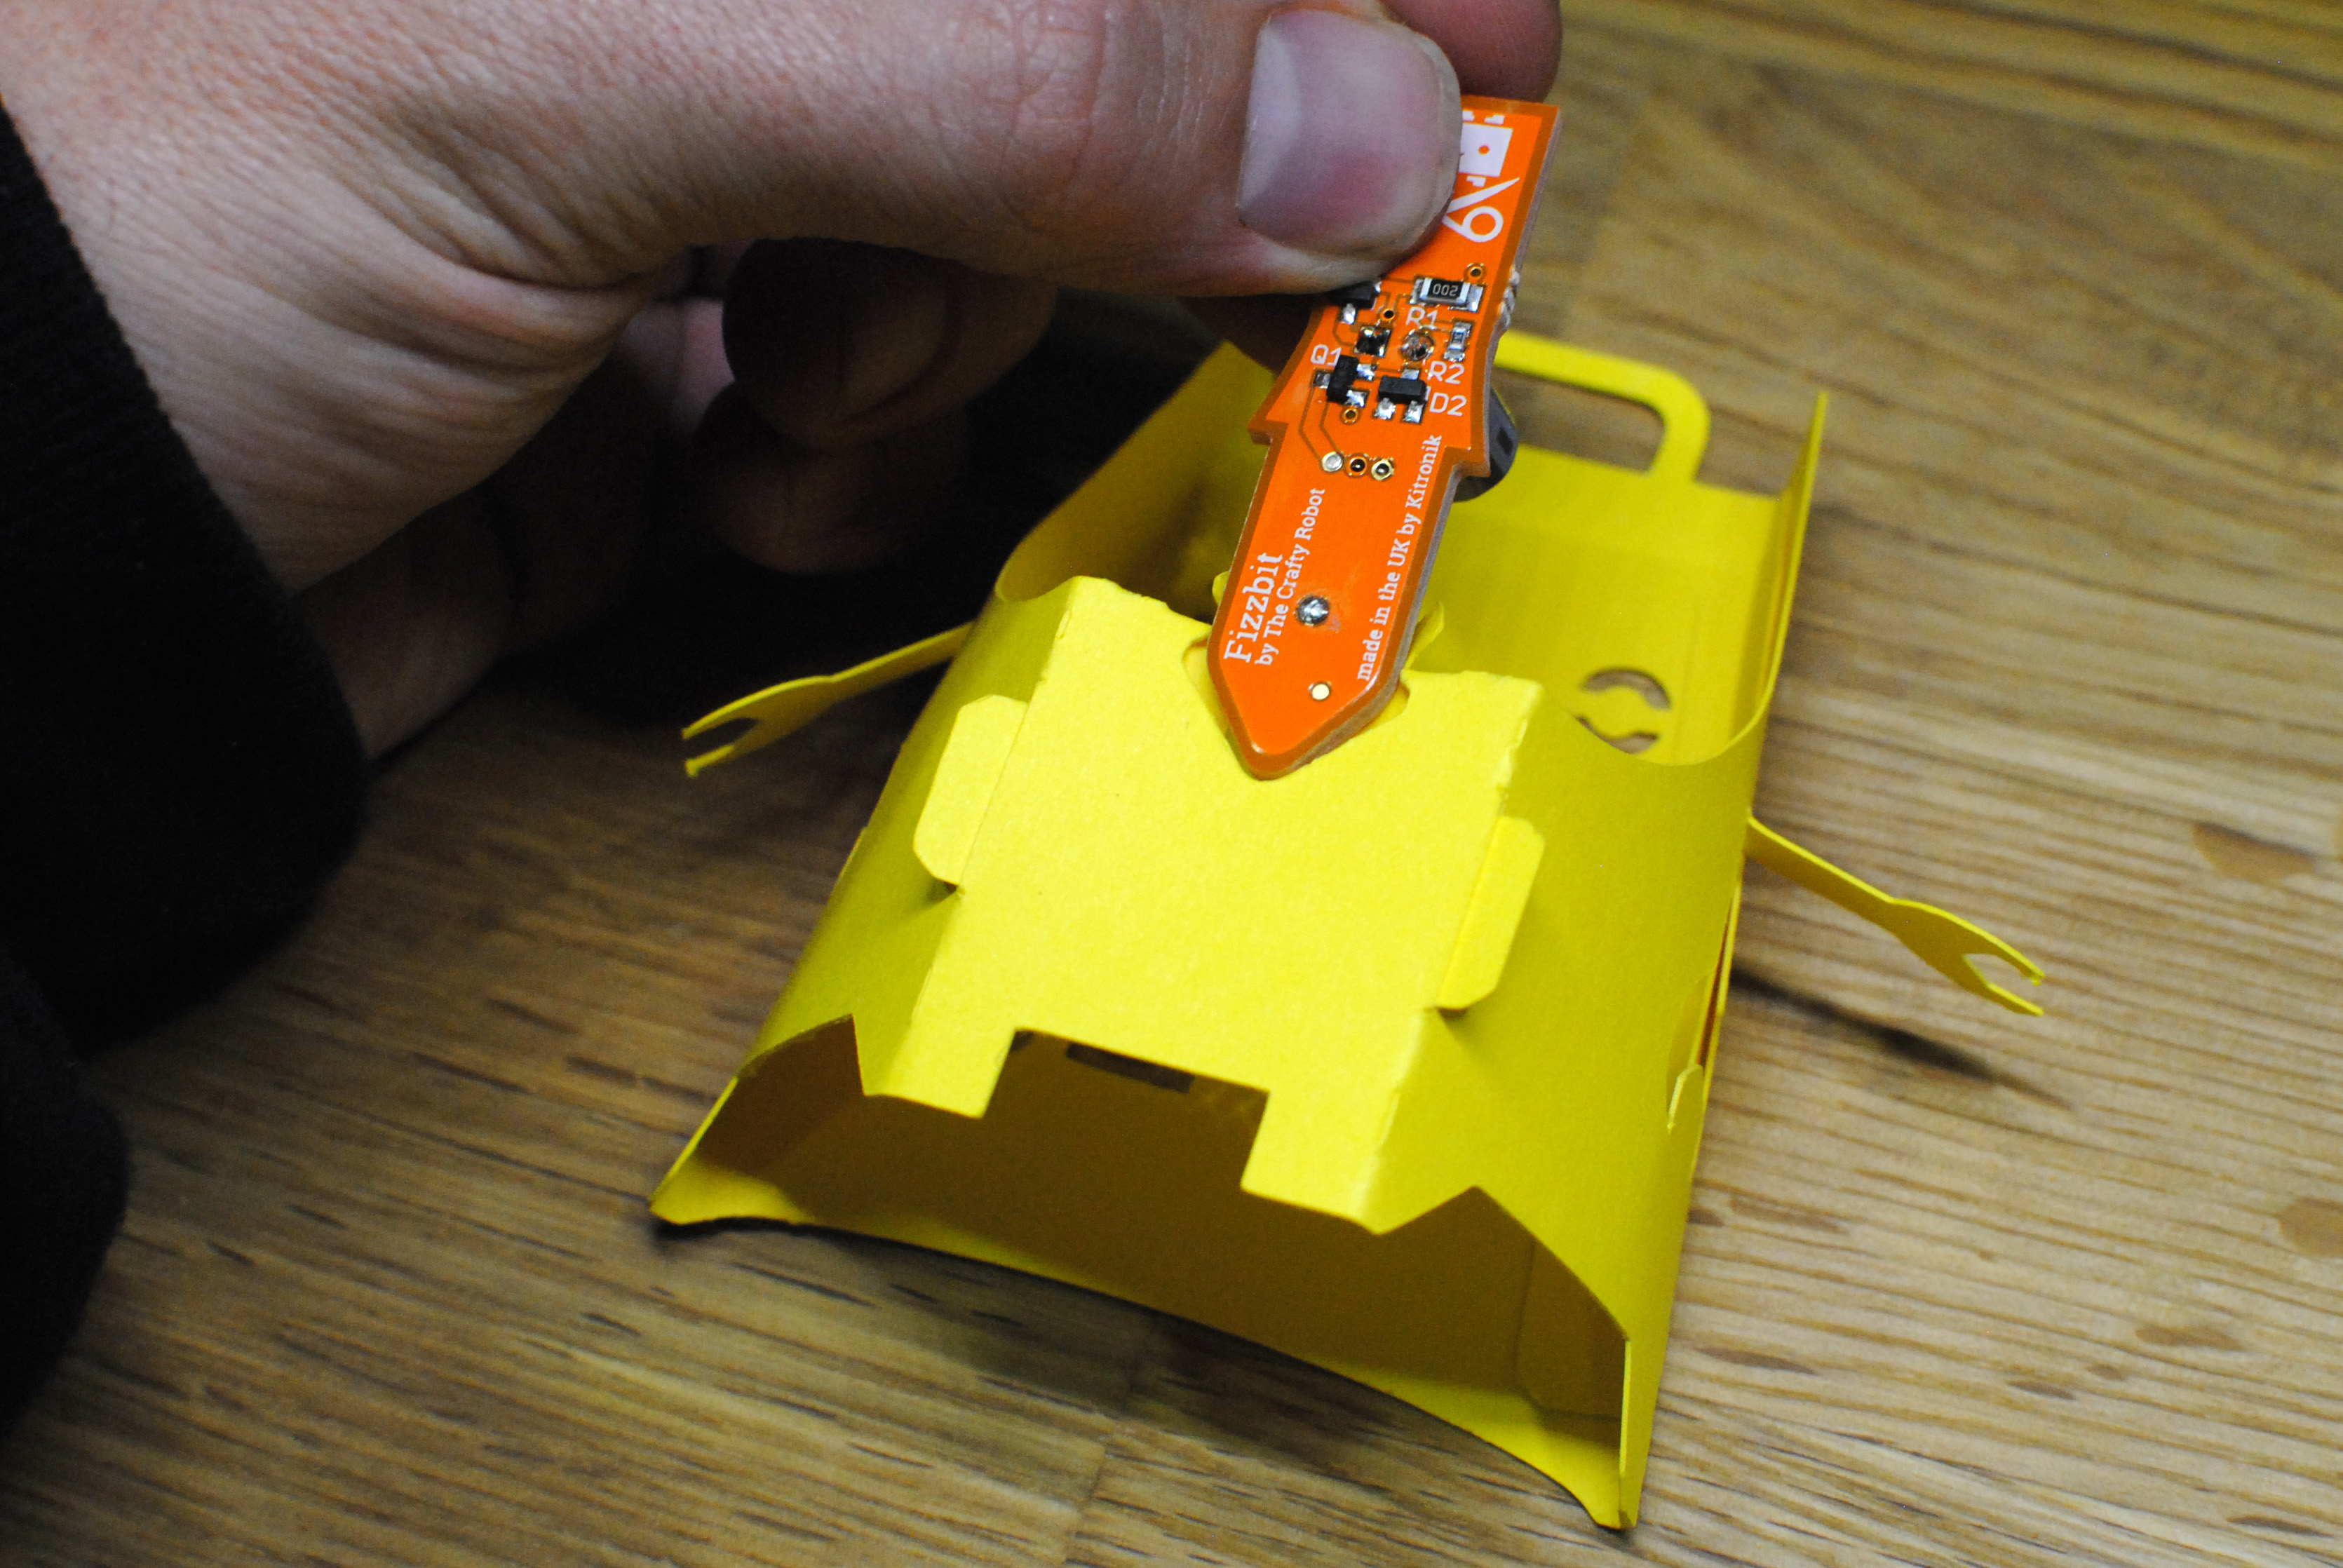
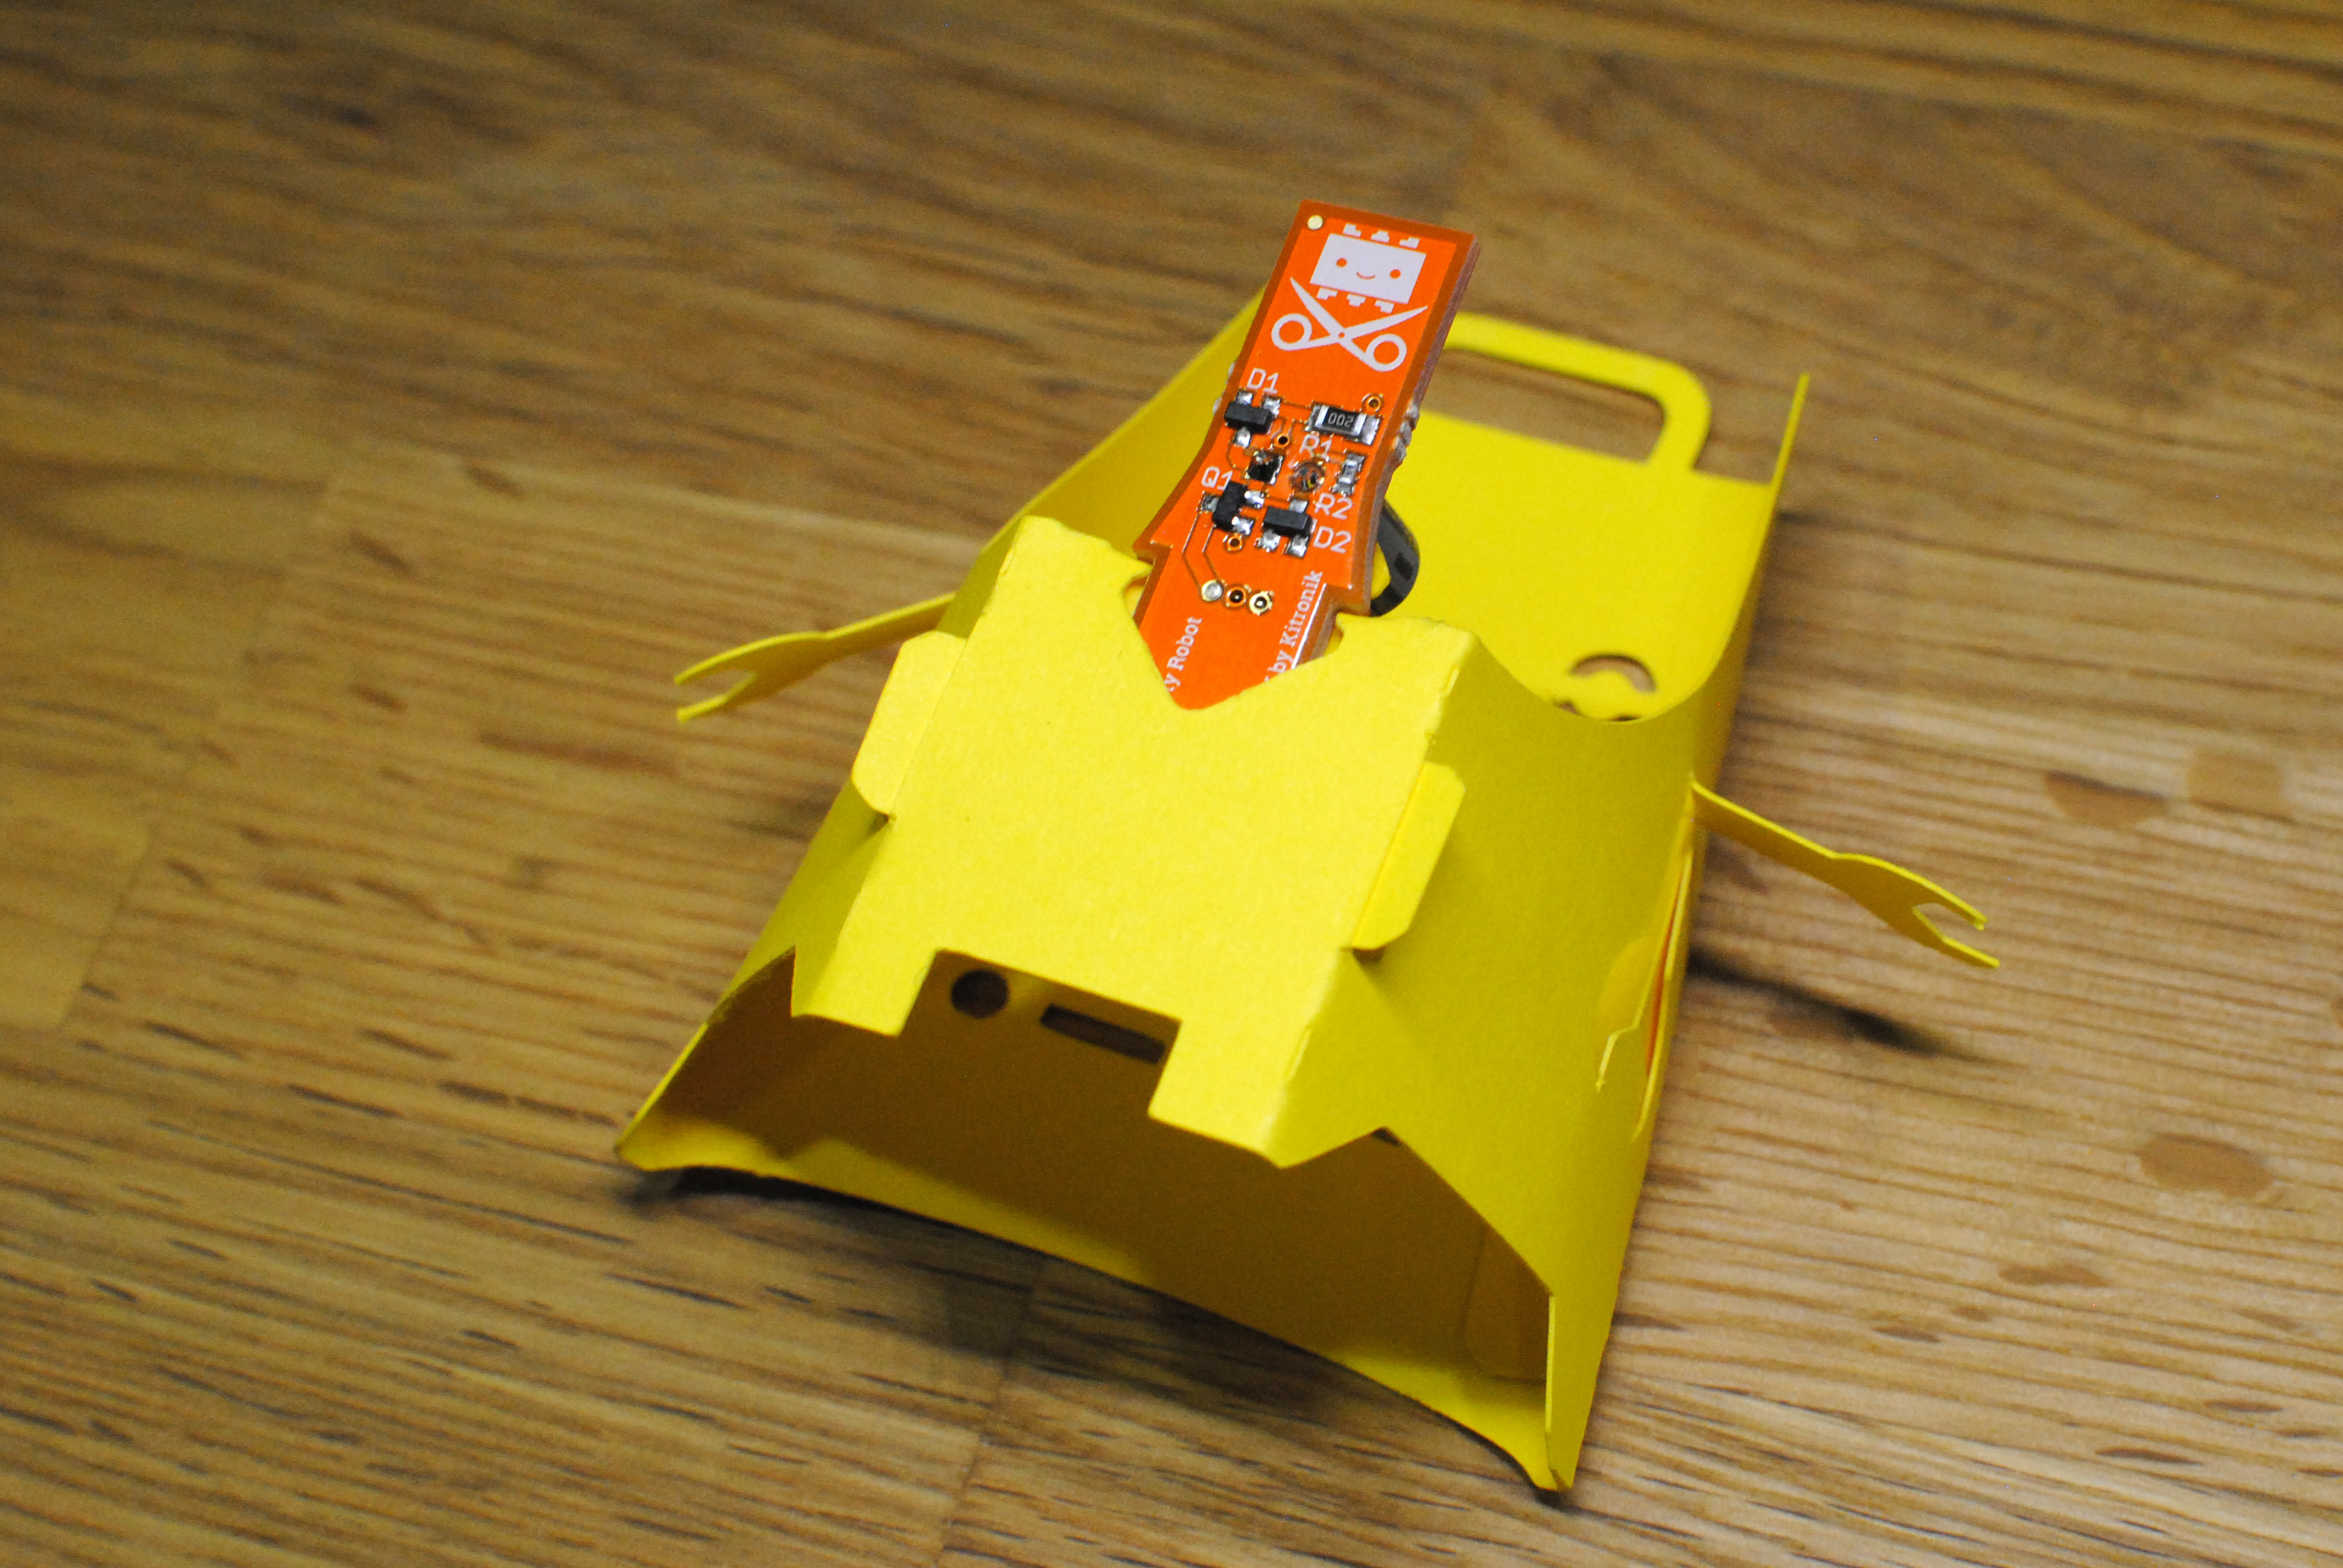
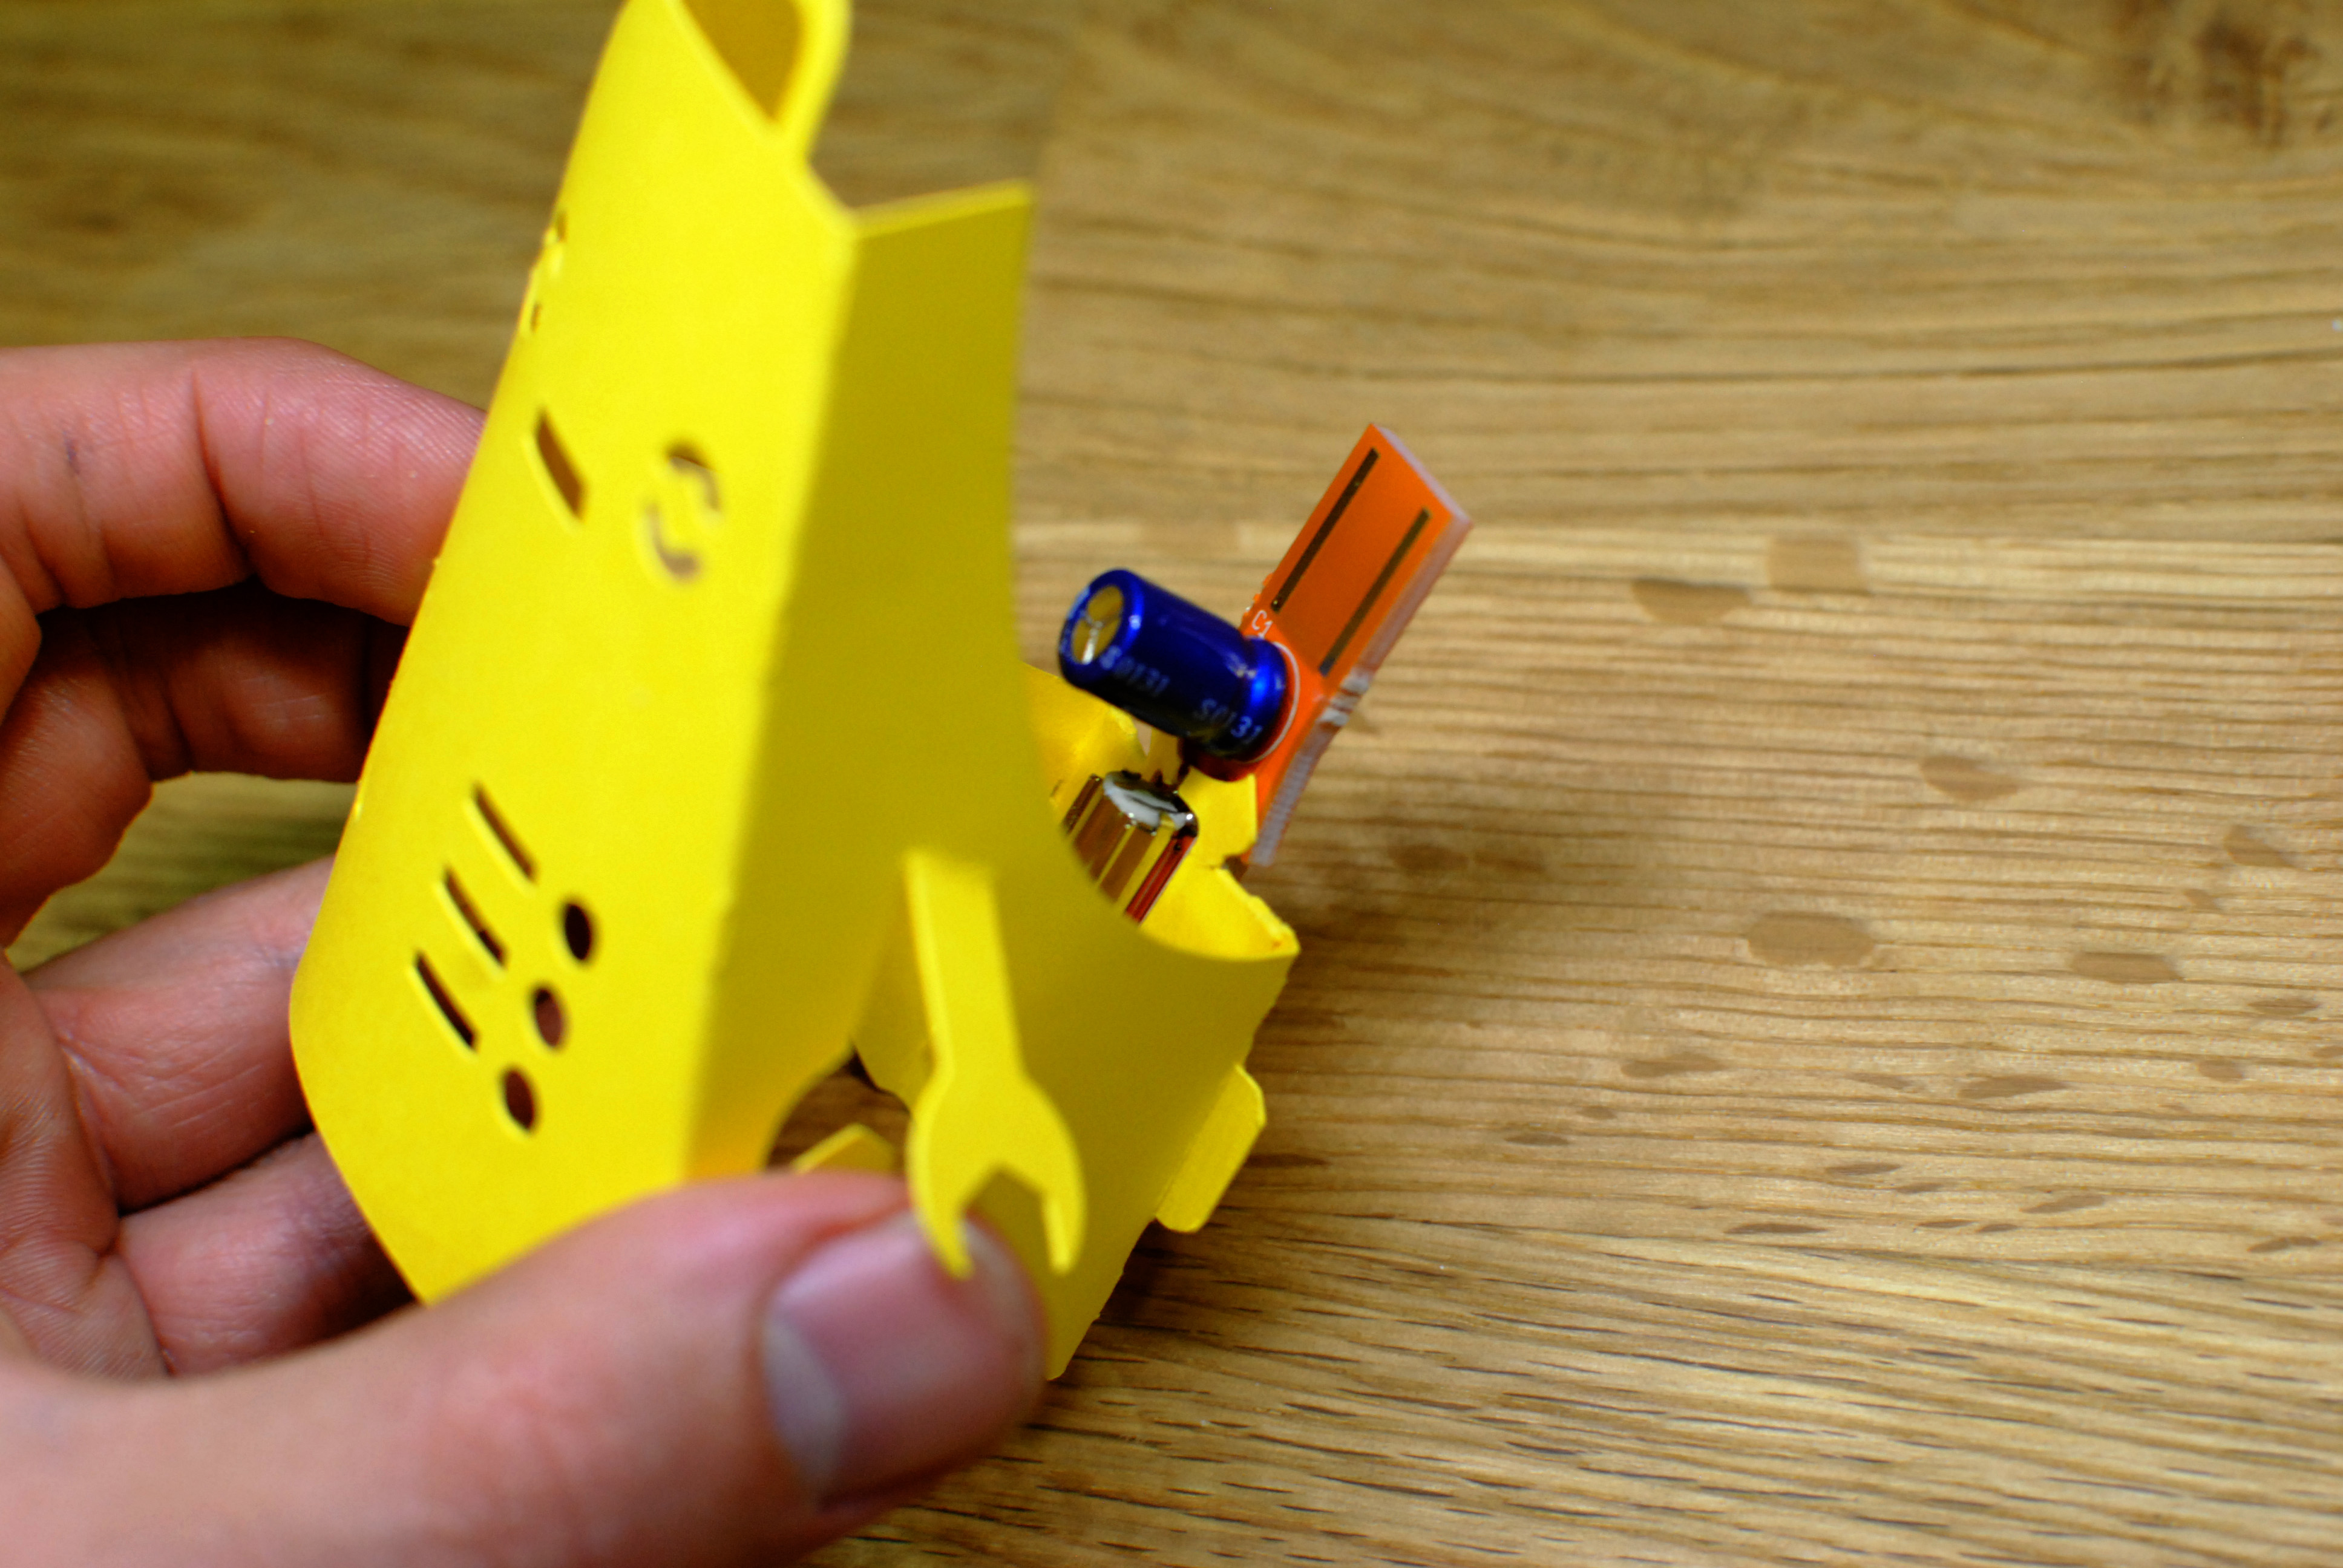
Take the Fizzbit and carefully push the motor between the two hooks above the Fizzbit slot. Pull the Fizzbit up slightly so that the pointy end can slip past the triangular notch in the back of the Fizzbot. You should then be able to push the Fizzbit down into place. If they are not already in the right place push the hooks back over the top of the motor. It should now be held securely. If you find that the hooks are not holding the Fizzbit in place when you pull the Fizzbot out of the USB, use a bit of glue or double-sided tape on the back of the Fizzbit, behind the motor.
Step 5: Plug in and Enjoy
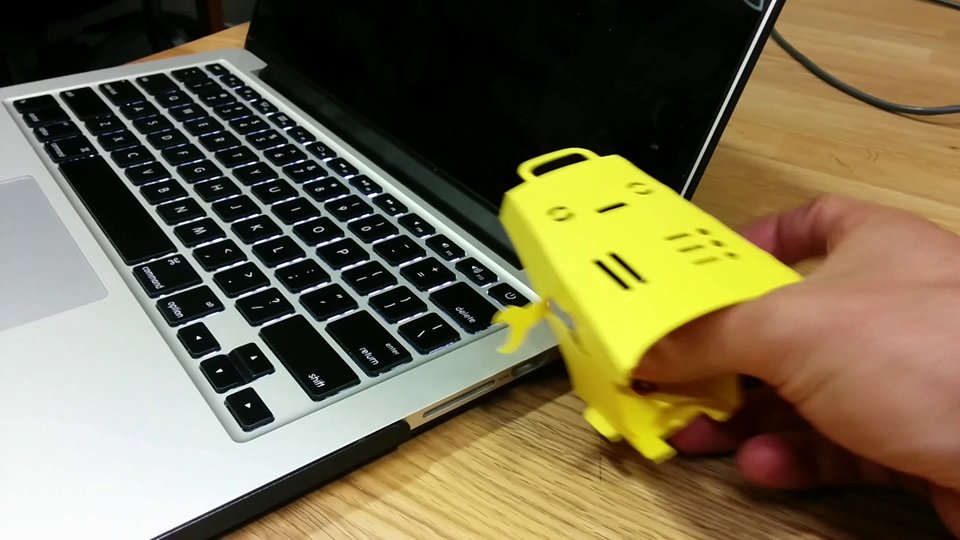
Now your Fizzbot is fully assembled all you need to do is plug the USB connector on the end of the Fizzbit (which should be sticking out from your Fizzbot like a tail) into a USB port. Leave it there for 30s and then unplug. The Fizzbit should start vibrating as soon as you unplug it and if you put the Fizzbot down it should start running around.
When you are bored of your Fizzbot just download and make another or design your own (remember to re-use your Fizzbit).