CNC Tutorial: Image to Vector
by RoguePirin in Workshop > CNC
37198 Views, 134 Favorites, 0 Comments
CNC Tutorial: Image to Vector
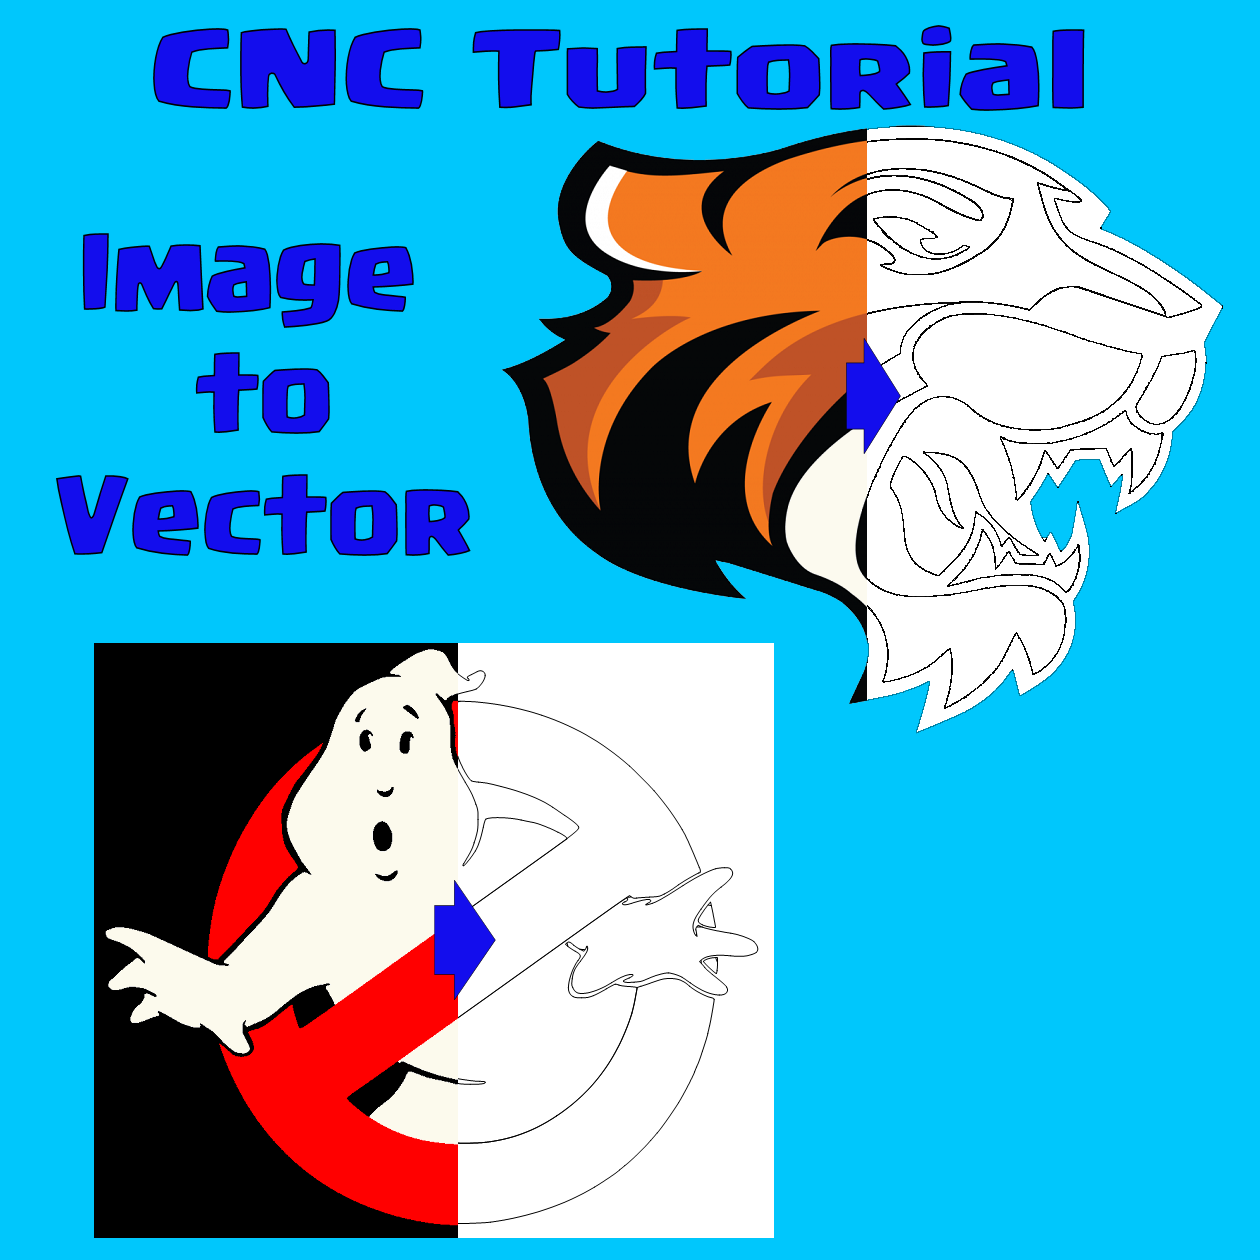
When making a project with your CNC machine, you may want to embellish your project with a fun image. Since the machine has to move the tool through a defined path, you need to be able to specify your image using vectors.
This instructable provides one way to convert a raster image into a vector outline that you can then use in your CNC software to spruce up your project. There are many ways to do this; some full-featured commercial software will even do it better than this method... for a price. This instructable will only use tools that are offered for my favorite price: FREE.
Acquire Your Image

This instructable is geared towards converting simple designs with distinct edges. It will not work if you are trying to convert a photograph with many colors and gradient shading.
If you don't already have an image to convert, the internet is a great resource. Just be sure that if you use the image for commercial purposes that you have rights to that image. I use a few tricks to find suitable images using Google.
Trick 1: Use An Image of Sufficient Size
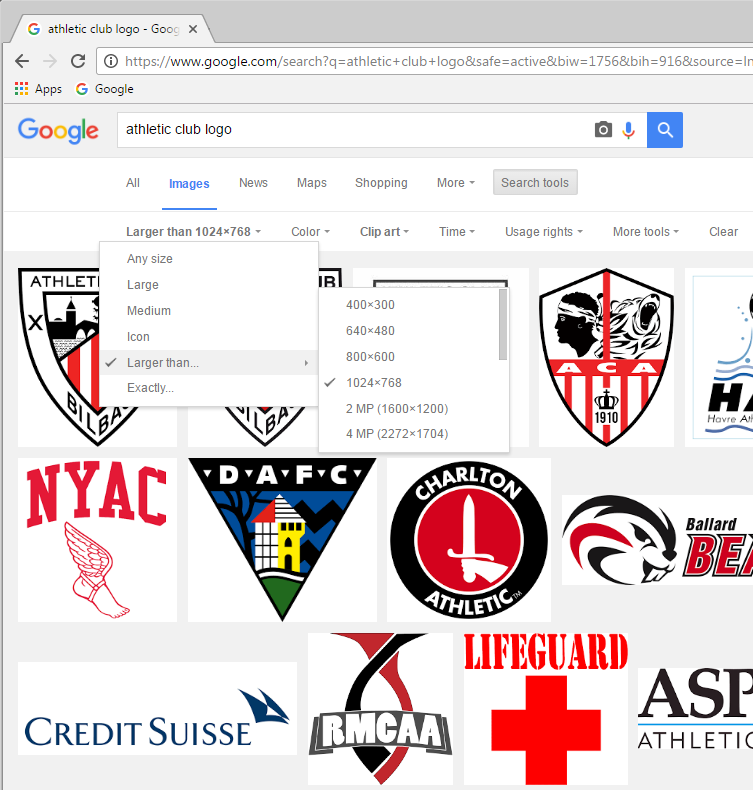
The higher the resolution of your starting image, the better success you are going to have with this process. Once the image is converted to Vectors, you can scale it infinitely large or small, without losing detail; but you have to get a high quality Vector image first. To ensure your Google Image search returns only suitably sized images, use the search tools that are at the top of the results; specifically, Search tools -> Size -> Larger than... -> 1024x768 (see the first photo).
Trick 2: Check the Clip Art or Line Drawing Filter
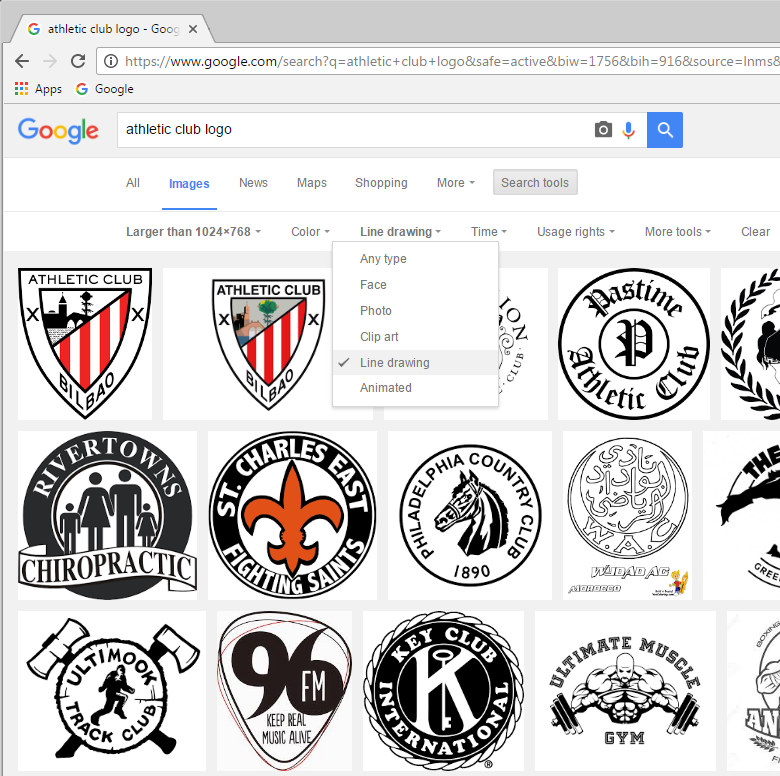
Again, photo-realistic images are not a good candidate for vector conversions. To avoid having to wade through those types of results, you can use the Search tools again to select the Type of image you want. The "Line drawing" or "Clip art" types are right up our alley, as they won't be photo-realistic (see the second photo).
Trick 3: Avoid the Ubiquitous JPEG Image, if Possible
Although the JPEG/JPG format is everywhere, it highly compresses images to save space. It also blurs (aliases) the lines and loses detail. This is fine for photo-realistic images, because the subject is usually a real world photo where soft edges and transitions are preferred. However, for what we are trying to achieve, this can be our largest source of problems. If you can find images in PNG, TIFF/TIF, BMP, etc., you will likely be much better off (see the 3rd photo to see how a "line" isn't a clean line in a JPG). I'll describe how to deal with JPG images in the next step.
Prepare Your Image: Reduce Color Count

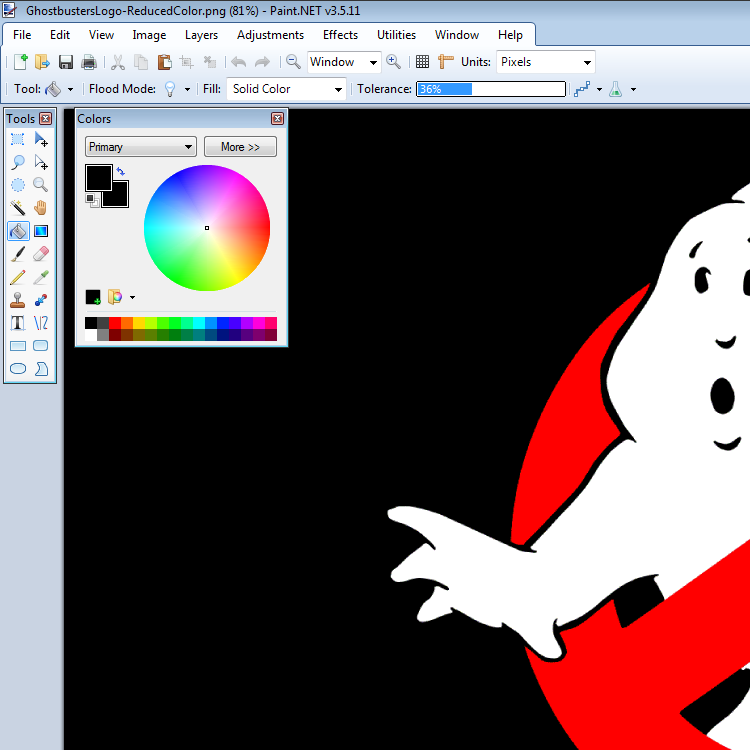
At this step, you should have selected an image. To convert it to a vector, we need to manipulate/touch it up. Ideally, the image should only have the minimal colors necessary to represent it. In the first photo, you can see that the tiger should only be 4 colors, and the Ghostbusters logo should only be 3 colors. It turns out that the Ghostbusters image I found has over 10 colors in it (if you zoom in on the red, you will see a blend of many shades of red).
The Color Replacer Tool
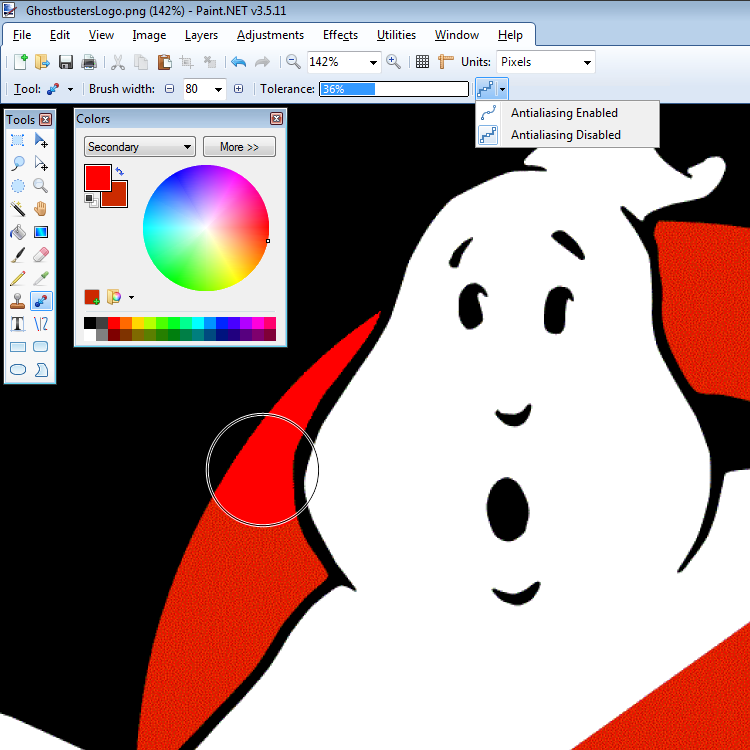
To reduce the color count in your image, use the "color replacer tool" in your favorite graphics program. I use the free image editor Paint.NET for Windows, where the tool is called "Recolor." What the tool does is replace any color found that matches the background color with the chosen foreground color. I chose RED as the foreground color, and then used the "eye dropper tool" (called "color picker" in Paint.NET) to select one of the blend colors in the red slash across the ghost. I then increased the brush size, so that the tool covered more of the image at once, and I also increased the tolerance, so that more shades of red were recolored. Finally, I ensured that antialiasing was turned off.
With these settings. I proceeded to move the tool around the image, with the button on the mouse held down to keep the tool active. Because of the tolerance setting I used, I only had to move the tool over the red blended area once. Everything was converted to the single red color at this time. After that, my image is basically 3 colors; black, white, and red (there are a few shades of grey and reddish-grey at the transitions between the 3 colors, but that is OK). Now, save the image as your master image; NOTE that you do not want to save this as a JPG image. The compression will ruin all of your hard work. Save it in a format that has lossless compression (PNG or TIFF), or save it uncompressed (BMP).
Create Sub-Images






To generate the vectors from the final image, I use another free software called Inkscape. It has a tool called 'Trace Bitmap' that will generate a set of vectors around an image. I have found that it works best on black and white images, so we will convert our image to several black and white sub-images first.
Create Sub-Images
Each area of our image that we are interested in needs to be separated out into individual black and white image. For the Ghostbusters image, the red circle and the ghost are the two areas of interest. We don't need the surrounding black, as it is technically not part of the image (and we can use the ghost and circle together later on for any black that might be needed). So, we need to create two black and white sub-images. For the red circle, we need to first convert the ghost to all black, and then we need to convert the red to white. This can be done very easily, now that we have reduced our image to just the basic colors.
Loading the MASTER image back into your image editing software (i.e. Paint.NET), set the foreground color to black, and then use the 'Flood' tool (called 'Paint Bucket' in Paint.NET) to color the white ghost black. Once that is done, change the foreground color to white and use the 'Paint Bucket' tool to change the red circle to a white circle. We have now isolated the red circle portion of our image. Save this sub-image (not as a JPEG) as another file; do not overwrite your MASTER image.
Repeat this process with the MASTER image, but this time, change the red circle color to black so that only the ghost is white. Save this sub-image (not as a JPEG) as another file; do not overwrite your MASTER image.
I did this with the Tiger, too, as an example, but I am not going to describe it. The steps are the same as with the Ghostbuster image.
Generate Your Vectors
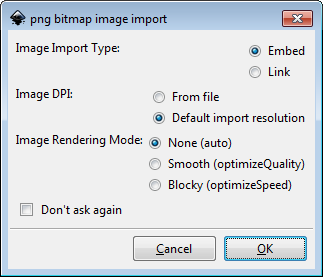
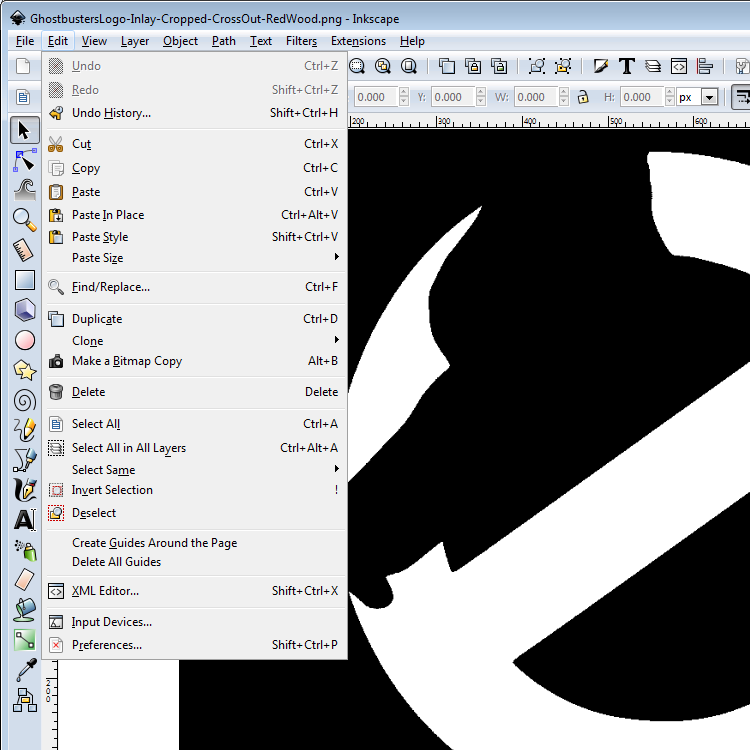
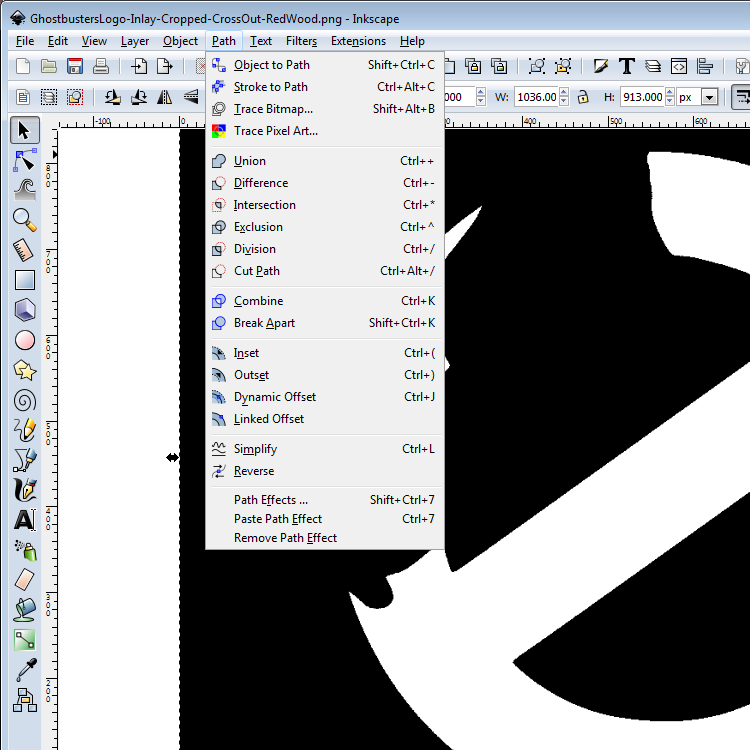
Now that each sub-image has been created, it is time to generate a vector for each component using Inkscape. There is a write-up on the Inkscape website on how to use it; I will summarize it below.
Generate Sub-Image Vectors
Load each sub-image, one at a time, into Inkscape. Let's start with the Ghostbusters circle sub-image. When opening the image, you may be presented with a form asking how to handle the image. For some reason, when I open my PNG images, the application errors out if I chose to use the DPI from the file. If I choose "Default import resolution," it works. It doesn't matter which of these options that you choose, however, you MUST choose the same option for each sub-image file you open. You also want to choose "None" for Image Rendering Mode, as you don't want the program to manipulate your image for you.
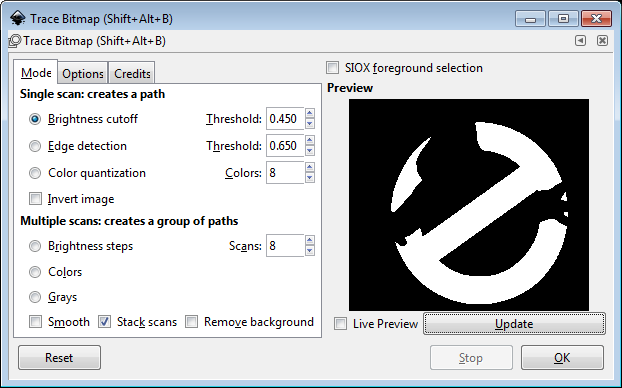
Once the file has been opened, you have to select the whole image. This can be done through the menu item Edit->Select All. Once the entire image is selected, you now choose the "Trace Bitmap..." tool from the menu Path->Trace Bitmap. The Trace Bitmap window shows up with a bunch of options. The great thing here is that our approach of making black and white sub-images makes most of these settings irrelevant. Just accept the default values and click the preview button. If your image shows up in the window, you did it! If you click the Preview button and nothing appears in the preview window, that is usually a sign that you forgot to select the image first. One quirk that Inkscape has with this tool is it doesn't just trace the image that is open, you actually have to select it first. Once the image shows up in the preview, click the OK button and the Vectors will be created on your image. Another Inkscape quirk here is that clicking OK doesn't return any kind of message, nor does it close the window. Just close the window yourself.
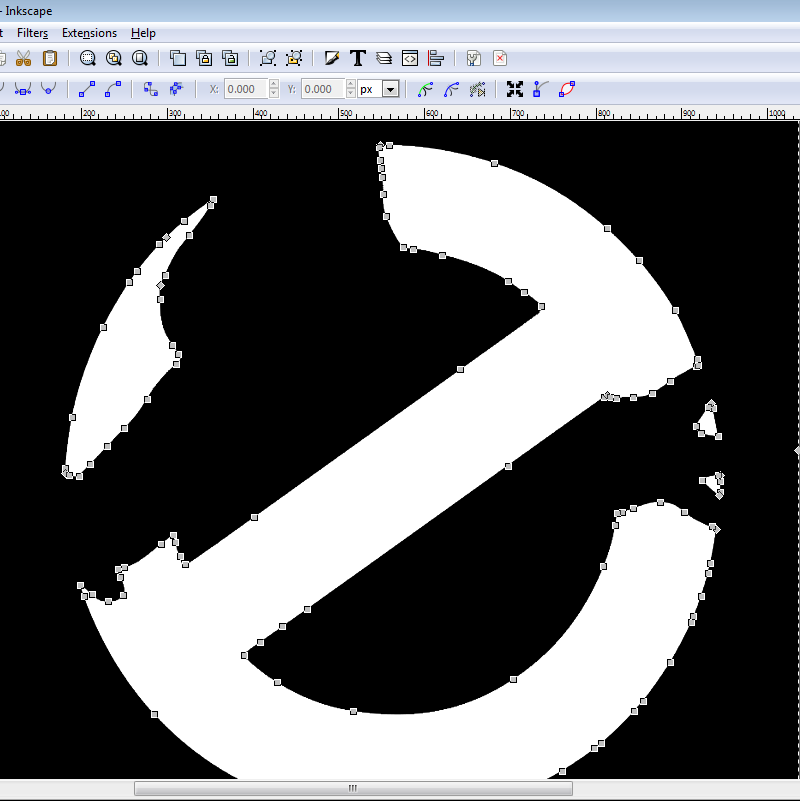
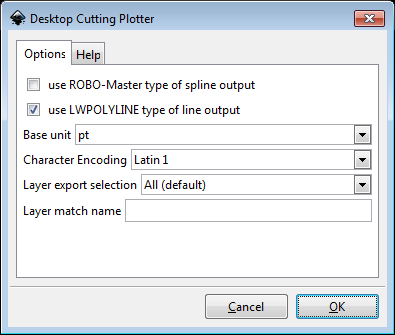
You can verify that the vectors were created correctly by double-clicking your mouse on any black/white transition line to select the vectors. All the vectors will now be highlighted, with each node being shown with a grey square. If you get this, you did it correctly and you can save the file. You want to save the file as a different type; save it as a DXF file. Inkscape primarily works with SVG files, but that won't help us here. The SVG format includes a lot of extraneous information that we don't care about yet; the DXF file will just be the vectors. This is important because our desired final output is just a file with vectors. Repeat this process for the other sub-images you have.
A Little Clean Up
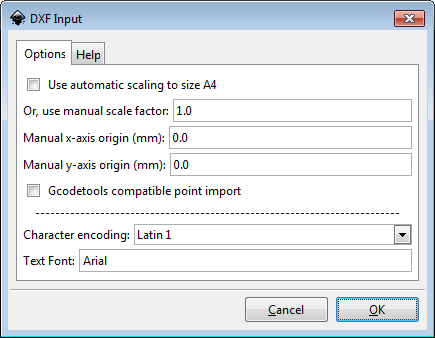
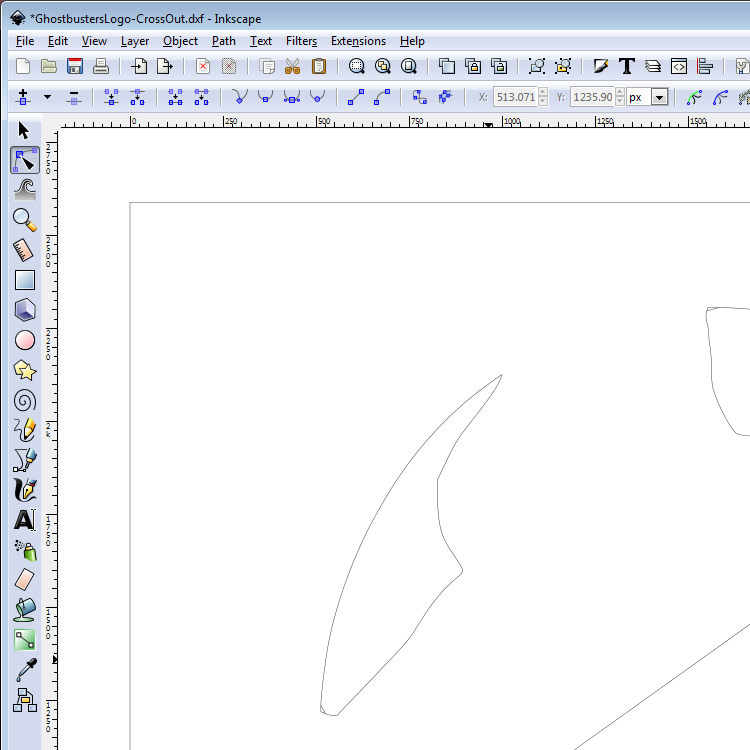
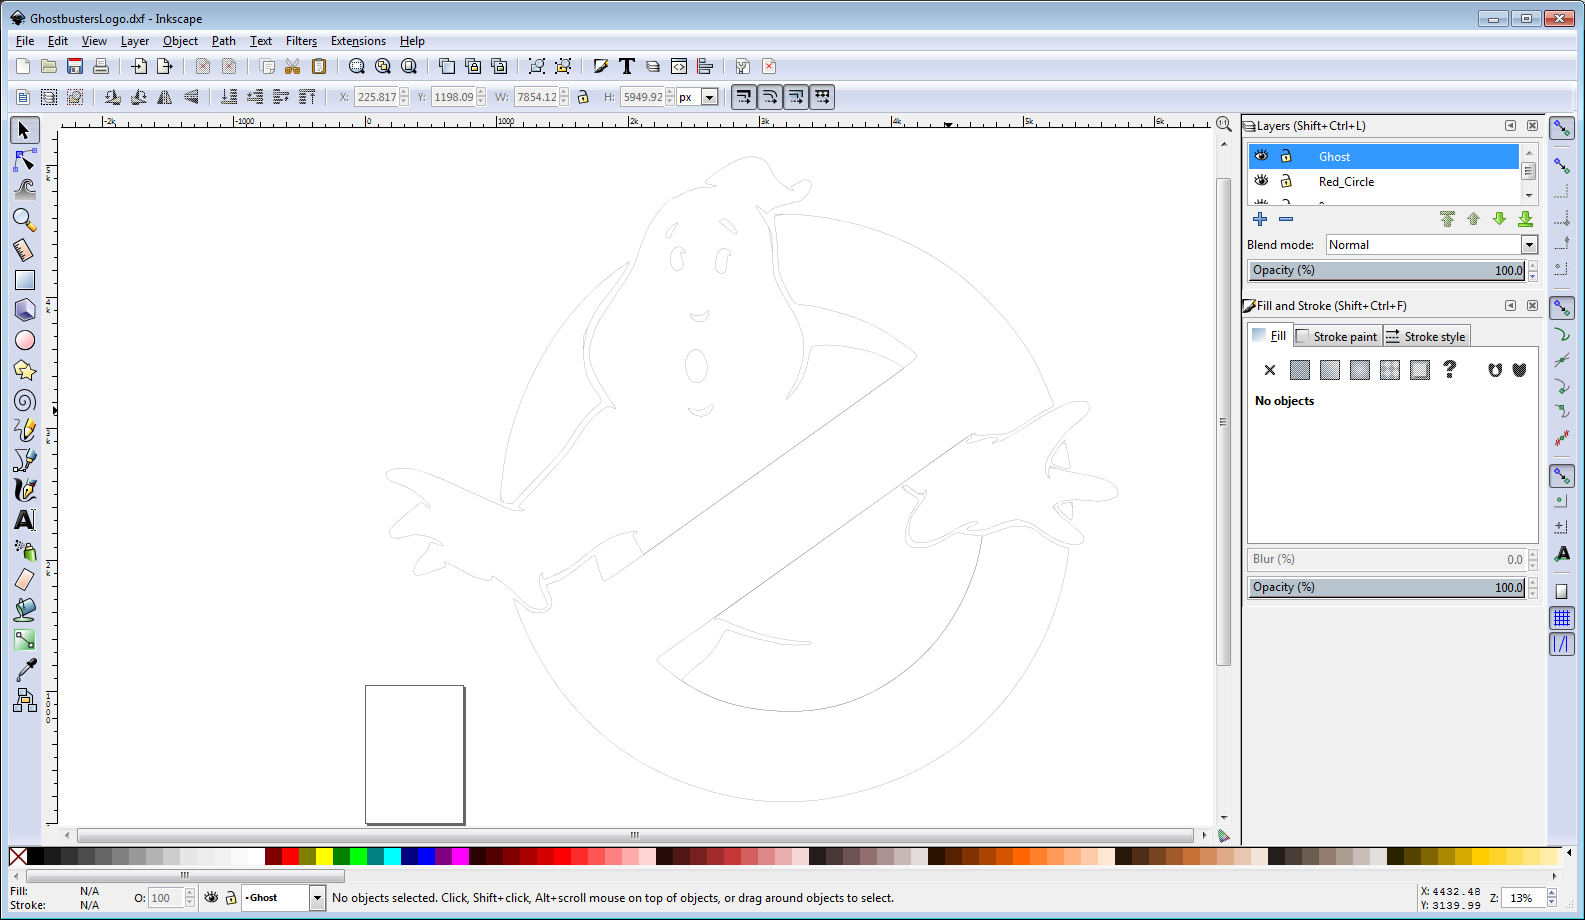
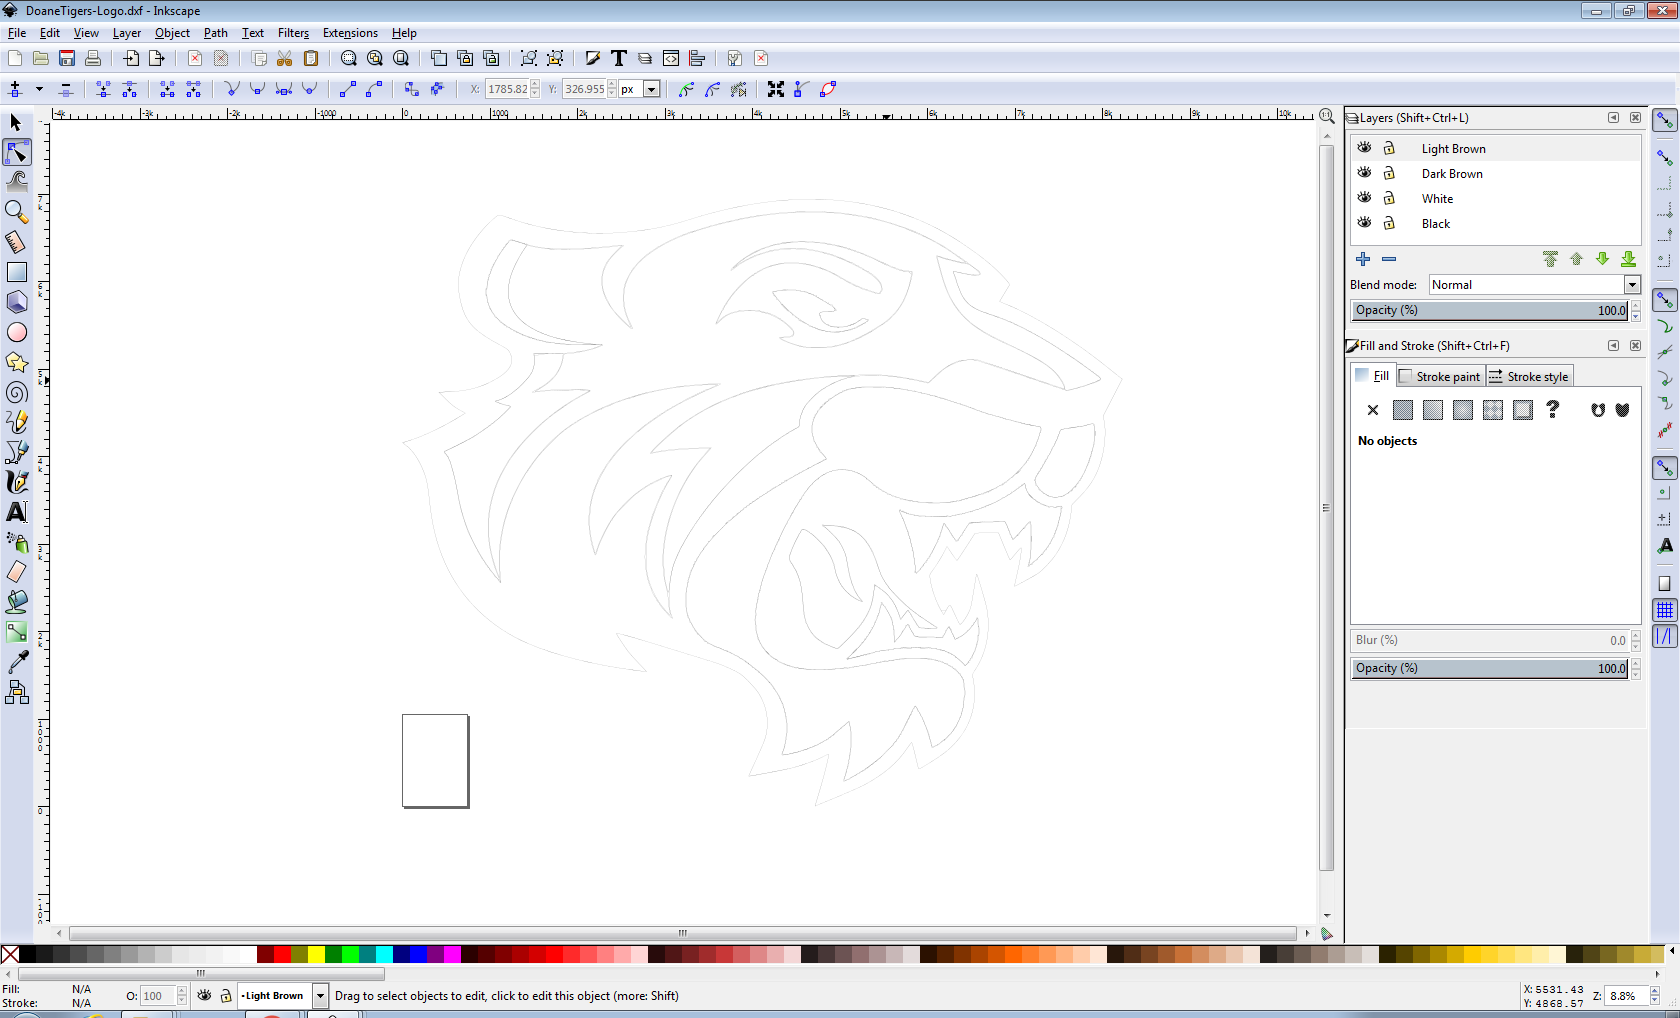
Close all images that are open in Inkscape. Now, load your first sub-image DXF file. You will be prompted for scaling information; ensure the scaling is at 1. None of the sub-images should be scaled; once all the sub-images are combined, then feel free to scale the image.
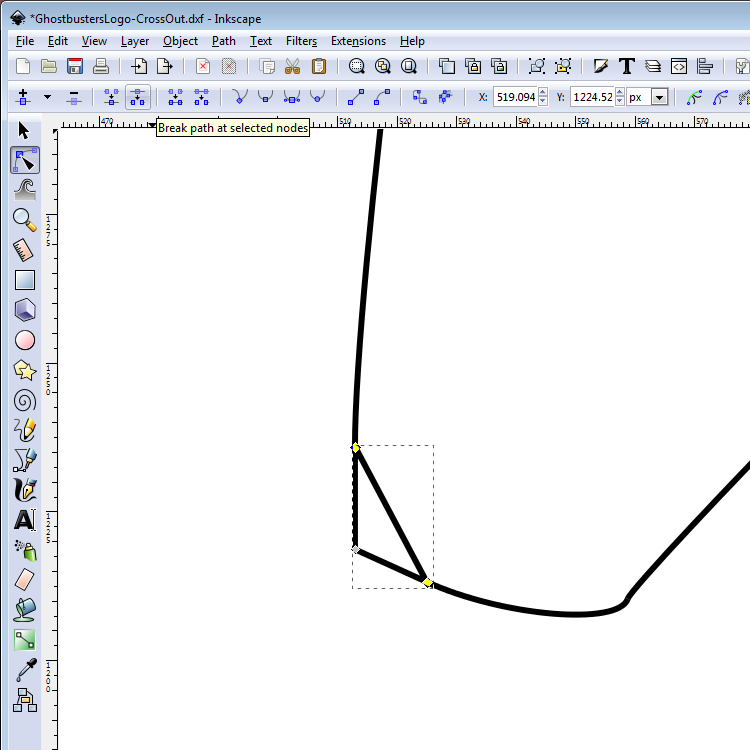
Once the image is loaded, you will only see the vectors that traced around your sub-image. You may also see an outer rectangle of vectors; if you do, you will want to deleted those. There may be a few undesirable vectors that the tool created (the black/white sub-image approach we took should keep this to a minimum, but no tool is perfect) that you will want to delete as well. Once you have deleted those, you can save your cleaned-up DXF file again. Follow this process to clean up the remaining sub-images.
Combine the Sub-Images
The last step is to combine each of the cleaned up sub-images into one master vector image. Each sub-image will be placed on a different layer so that they can be individually selected in the CNC CAM tool.
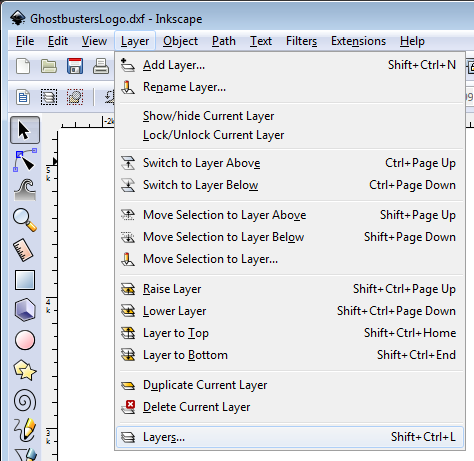
Open one of your sub-images (I used the red circle first). It will have all of your vectors, for the sub-image, on a single layer. Select the menu item Layer->Layers to bring up the layers window. You can right click on the layer and choose to rename the layer.
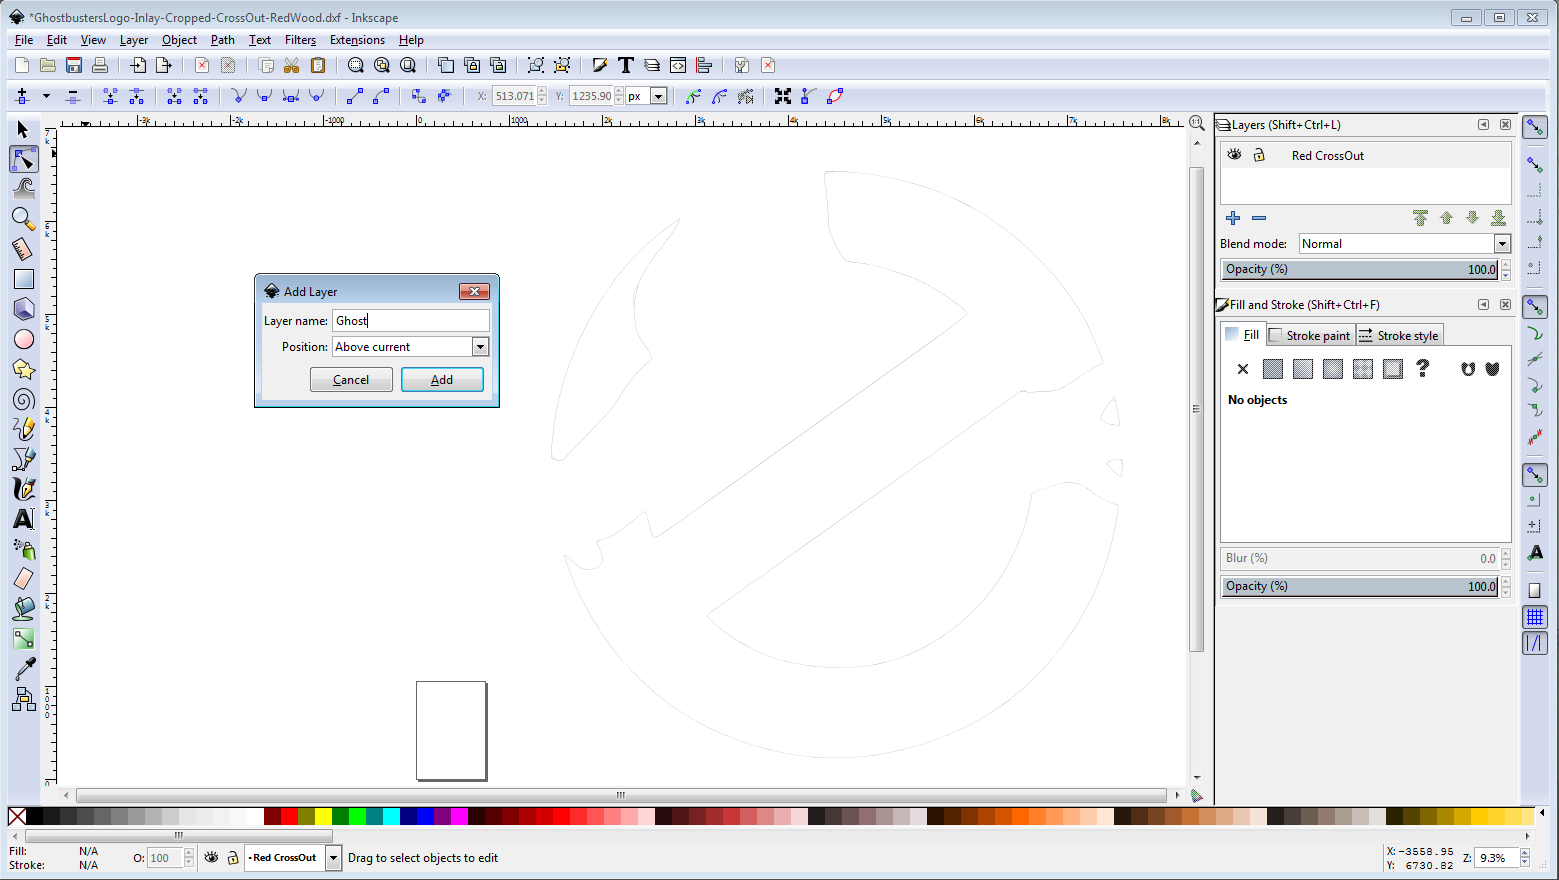
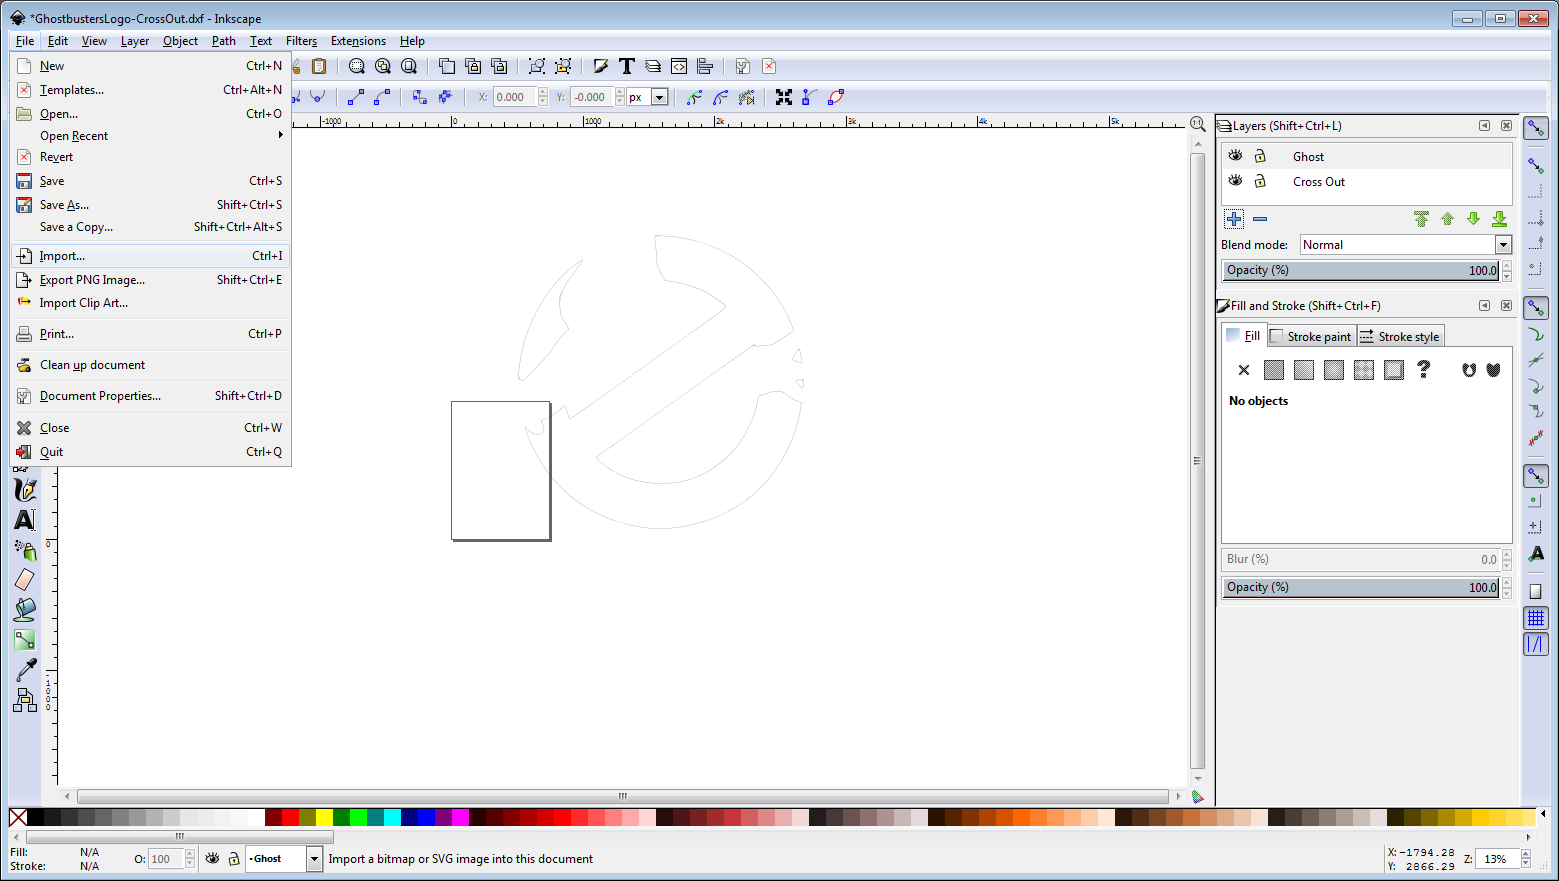
Now you want to create a second layer. You can do this through the menu item Layer->Add Layer, or you can click the plus ('+') sign in the Layers window. It will prompt you to enter a name for the layer, as well as ask if you want the new layer above or below the current layer. I always choose above, as that makes the new layer automatically selected for the next operation. I called my new layer 'Ghost.' Now you want to bring in your next sub-image. You can import your next image into the current layer by using the menu item File->Import. Select the next sub-image (I picked the Ghost.dxf) and it will import it onto the new layer.
[I don't know why, but sometimes, when I import on a new layer, the vectors are imported correctly, but then they are automatically shifted away. This is not desirable, as we want each layer to be in the same place it was in our original image. If this happens, I found that I can undo the import operation with the menu item Edit->Undo Import. Then, I open my sub-image using the File->Open menu item. Opening the second sub-image this way will create a new edit window for the sub-image. In this new window, I select the entire set of vectors (Edit->Select All), I copy the selected vectors (Edit->Copy), and then I switch back to the original edit window where I created the new layer. With the new layer selected, I paste the vectors onto this new layer (Edit->Paste In Place).]
Once the sub-image has been added to the new layer, you can repeat the process of adding a layer for each remaining sub-image DXF file. Once all sub-images have been imported onto individual layers, save the resultant MASTER file as a DXF or SVG, depending on what your CNC CAM program accepts.
Use Your Vector Image
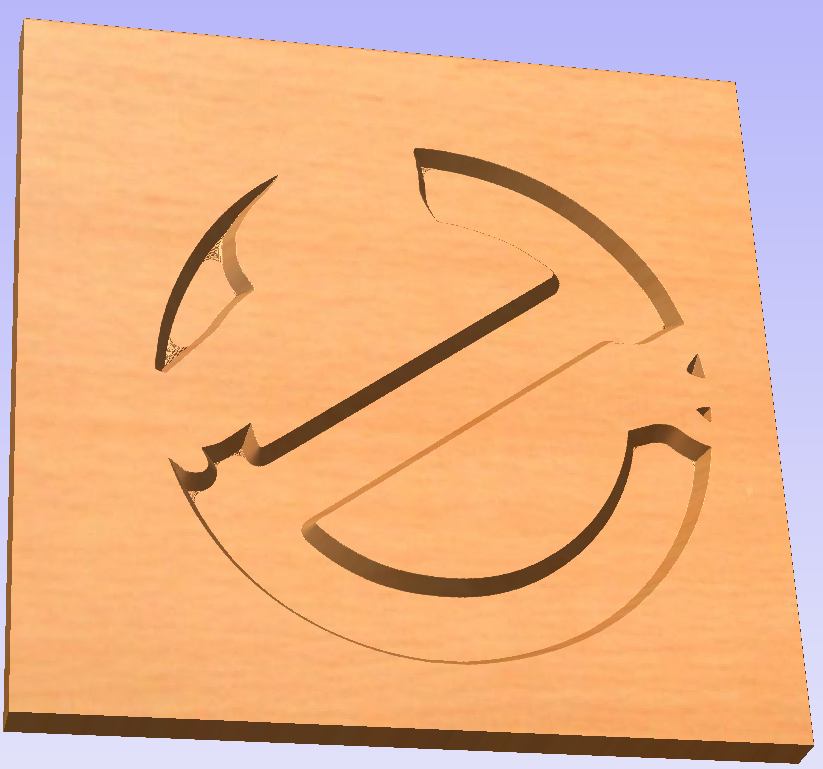
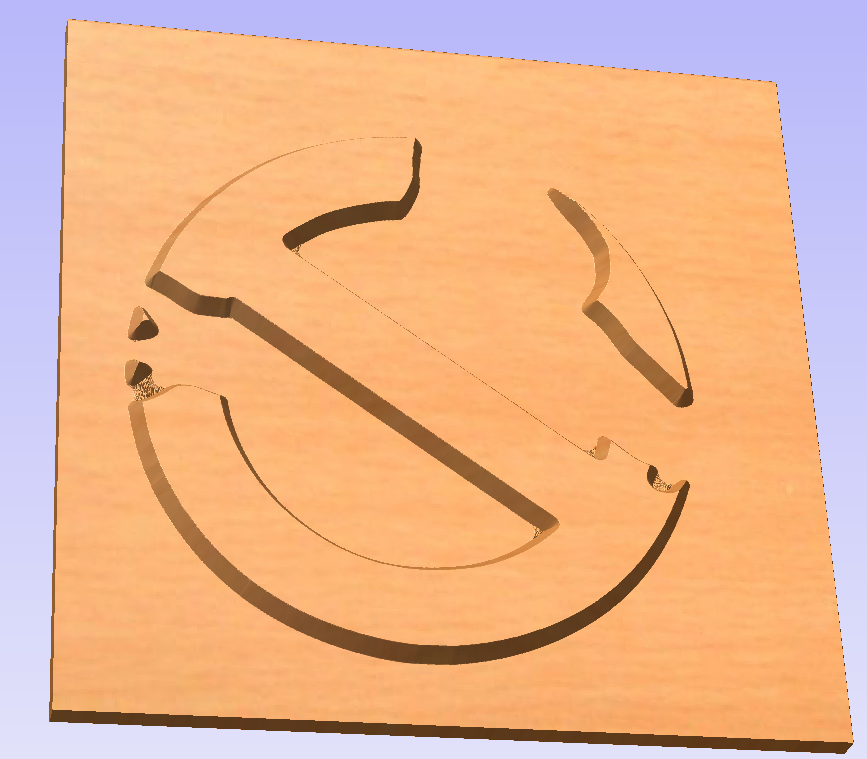
Now that you have converted your original image into a multi-layered vector image, you can load it into your favorite CNC CAM program. You could then run a cutting path ON the vectors with a V-Bit for an engraved outline, or you could even do an inlay (see the pictures). You are only limited by your creativity at this point, since the technical hurdle of having a vector image has been solved!.
I hope you found this tutorial useful and that it helps you add that extra kick to your CNC projects. If you feel like I've earned it, I'd appreciate a vote for the CNC contest, just hit the "Vote!" button on top right. Thank you.