CNC Router Bar Stool
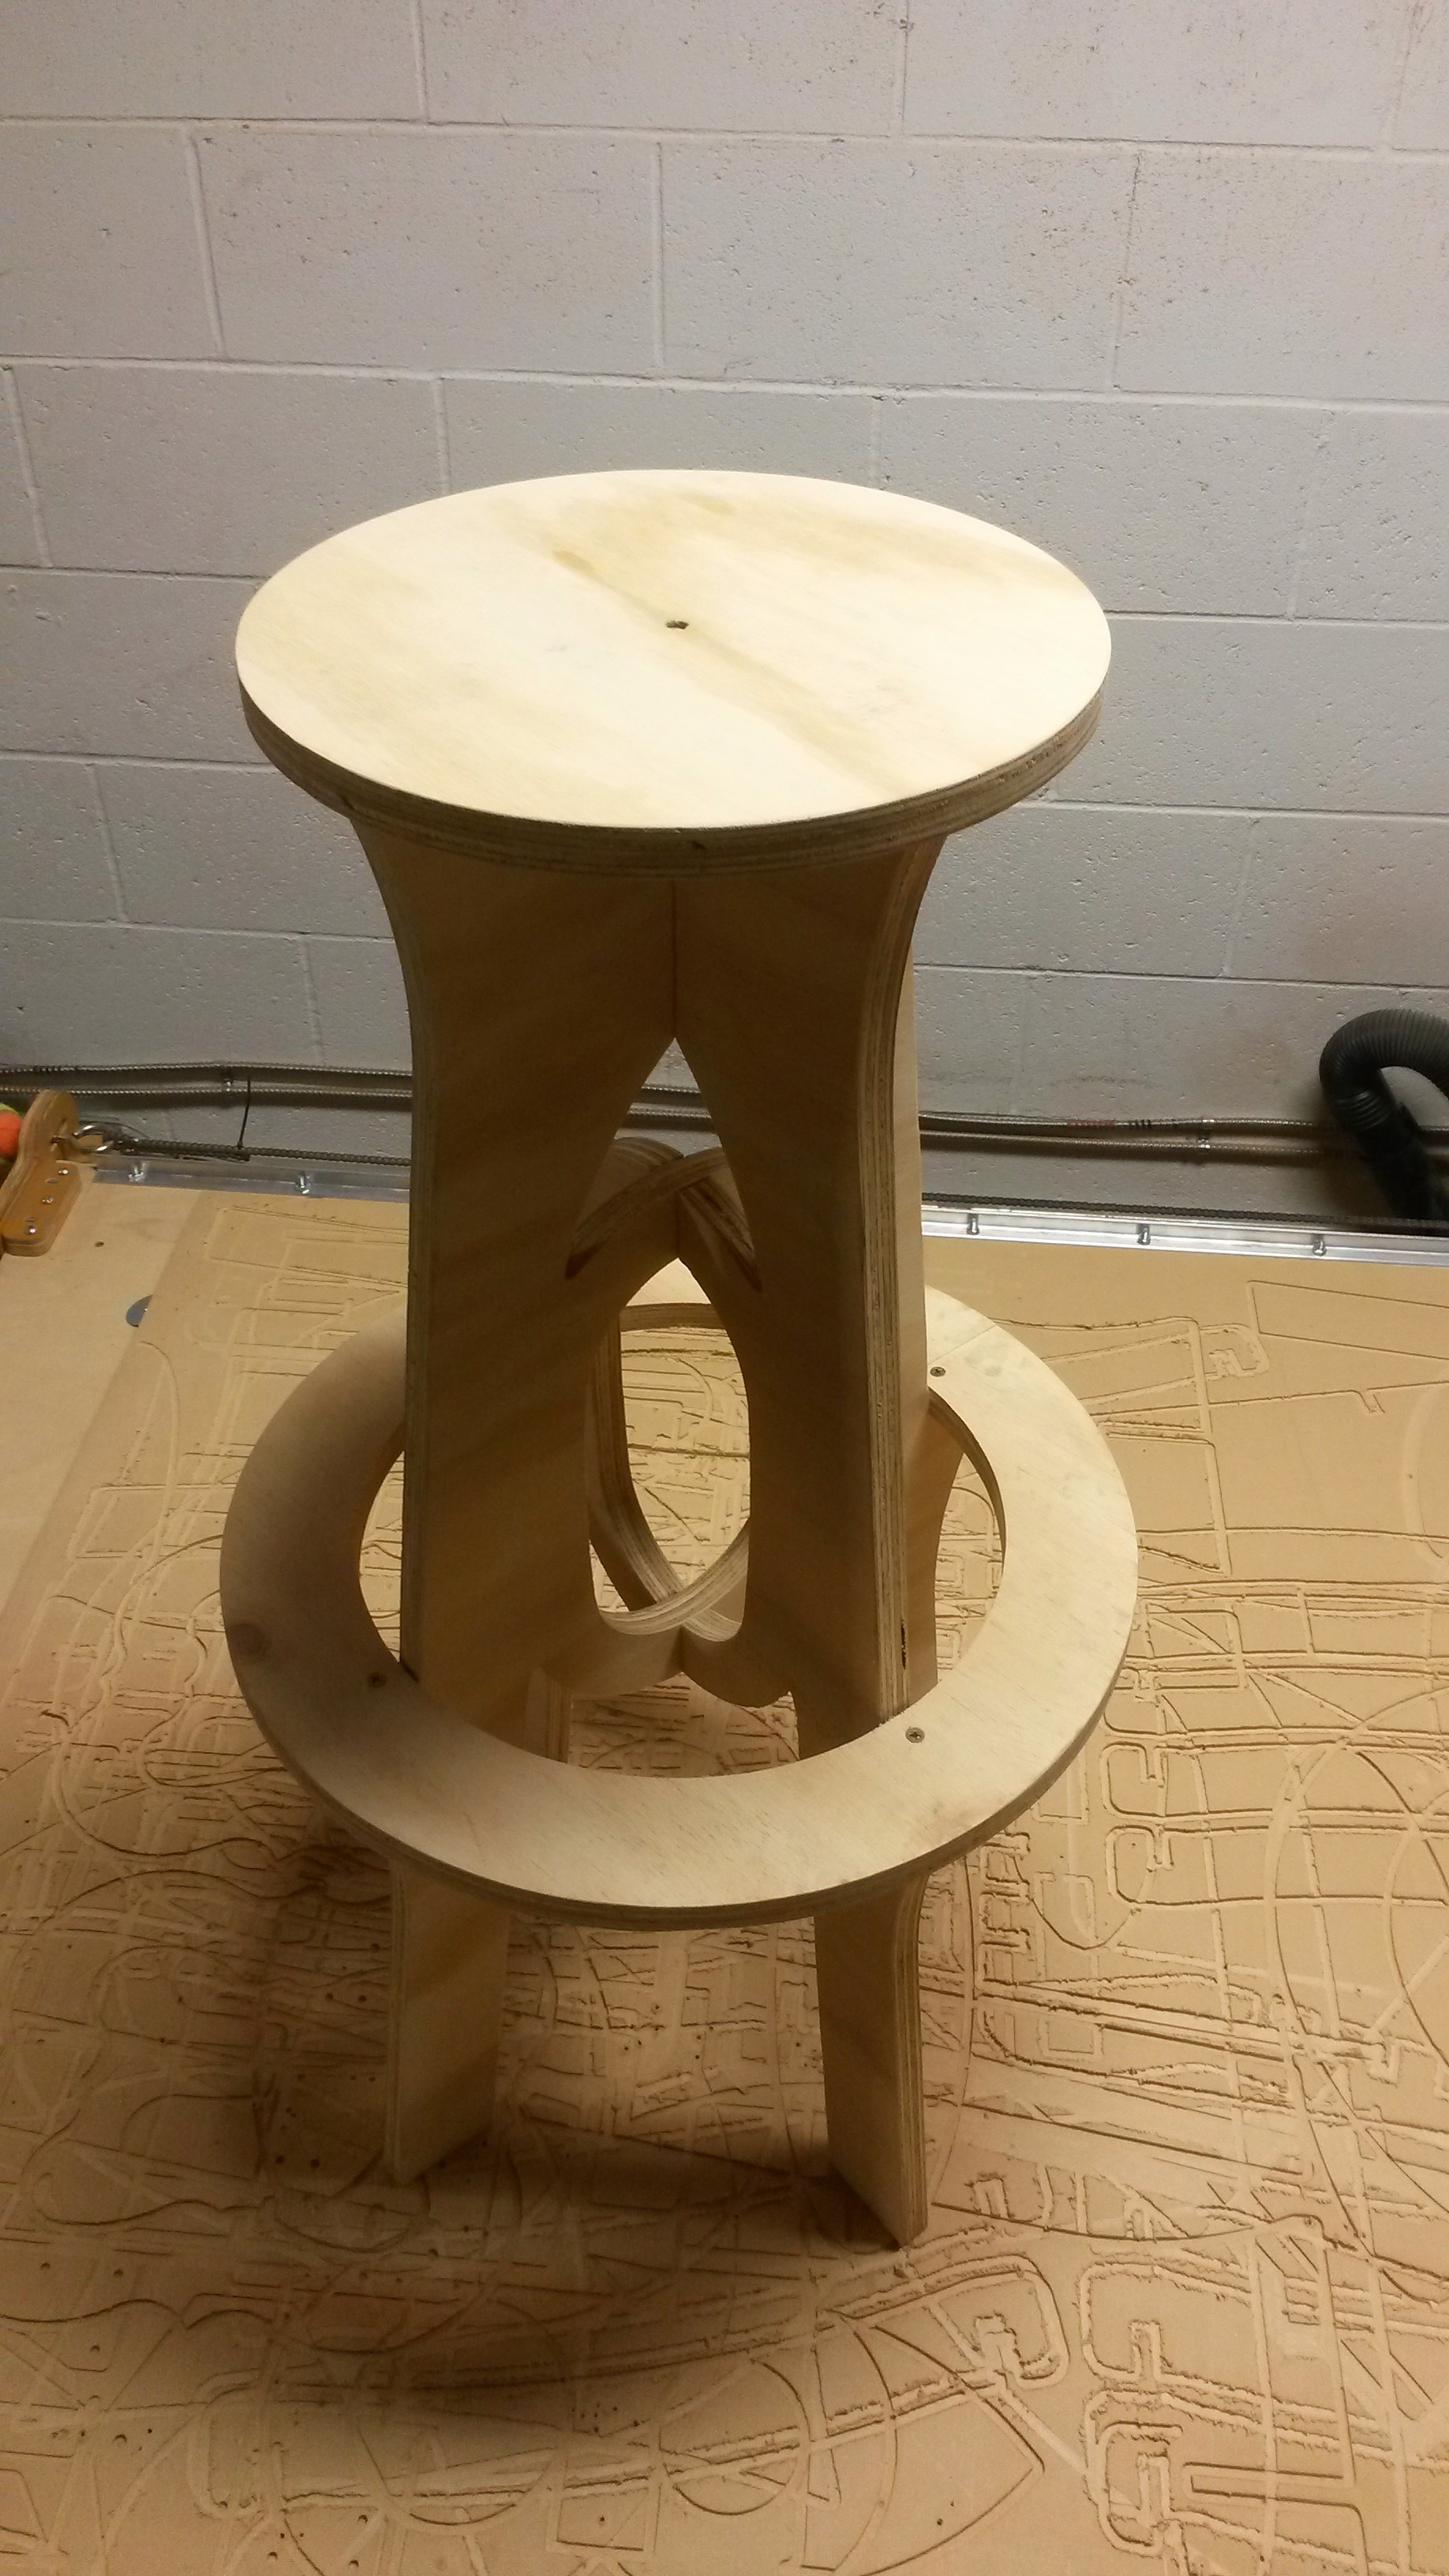
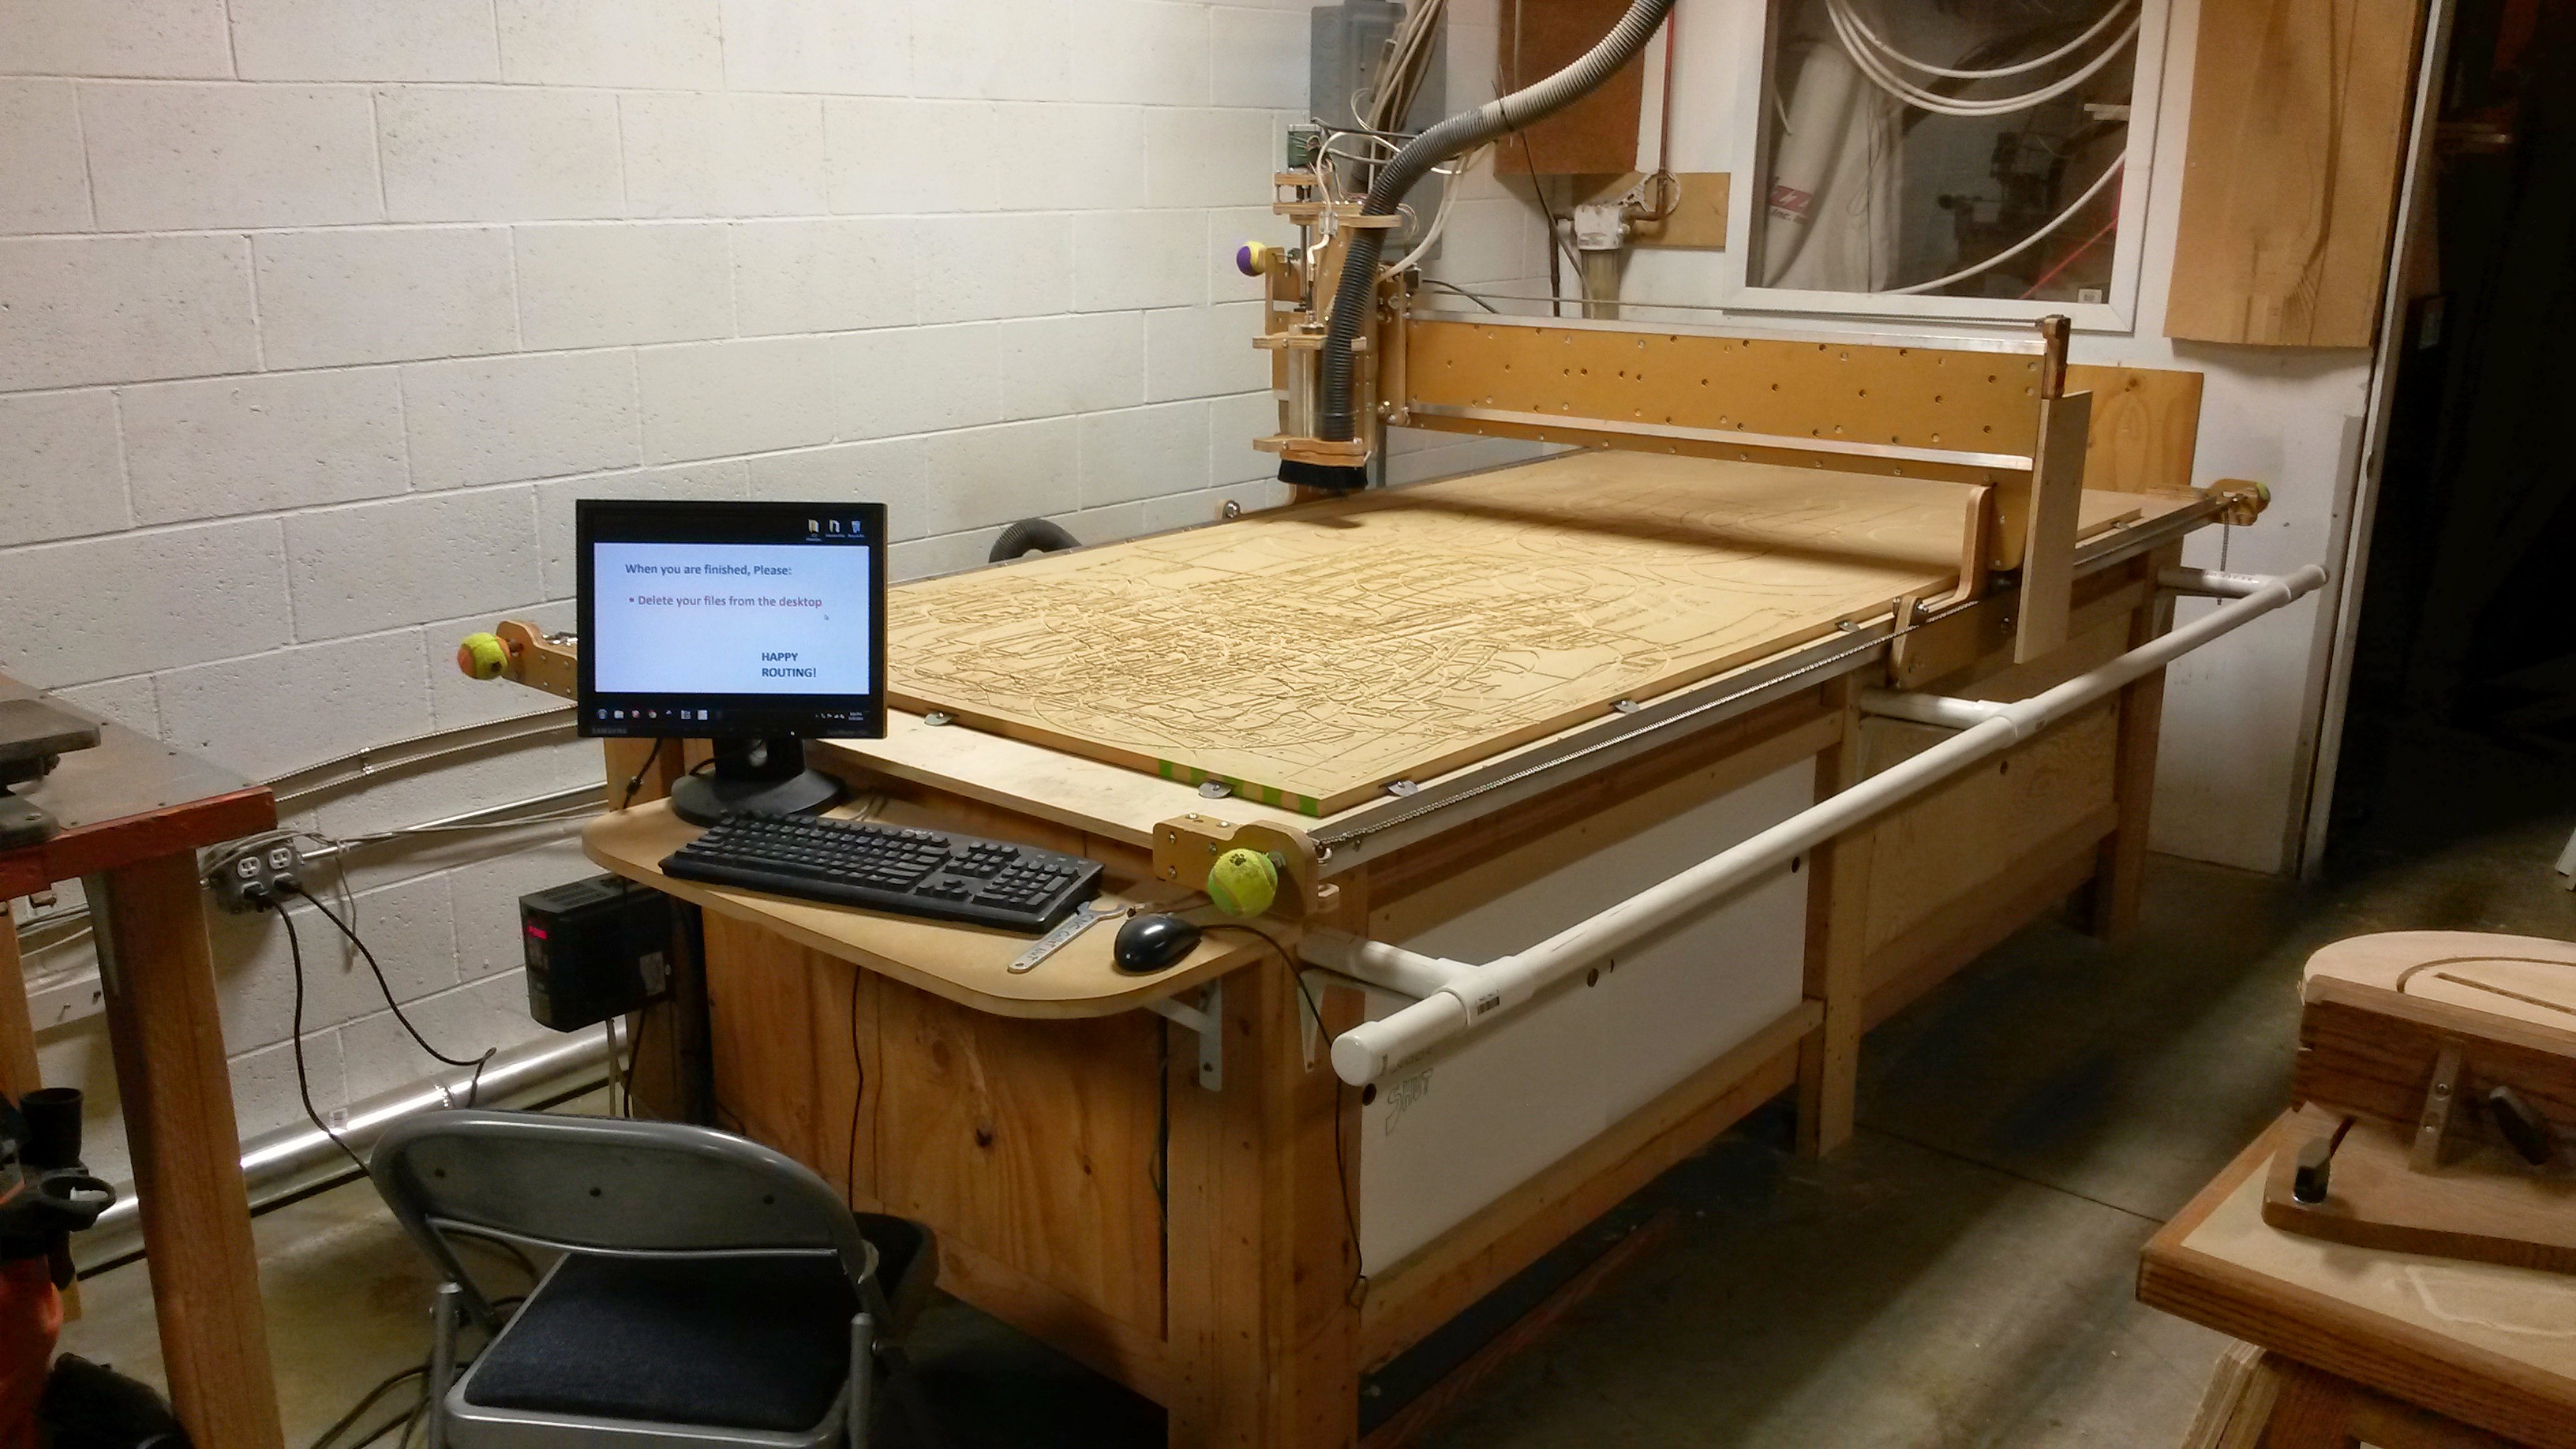
In this Instructable you will:
- Setup the CNC Router
- Load a DXF file and generate the G-CODE the machine will use to cut out the stool
- Cut out a bar stool using the CNC Router
Gather the Supplies
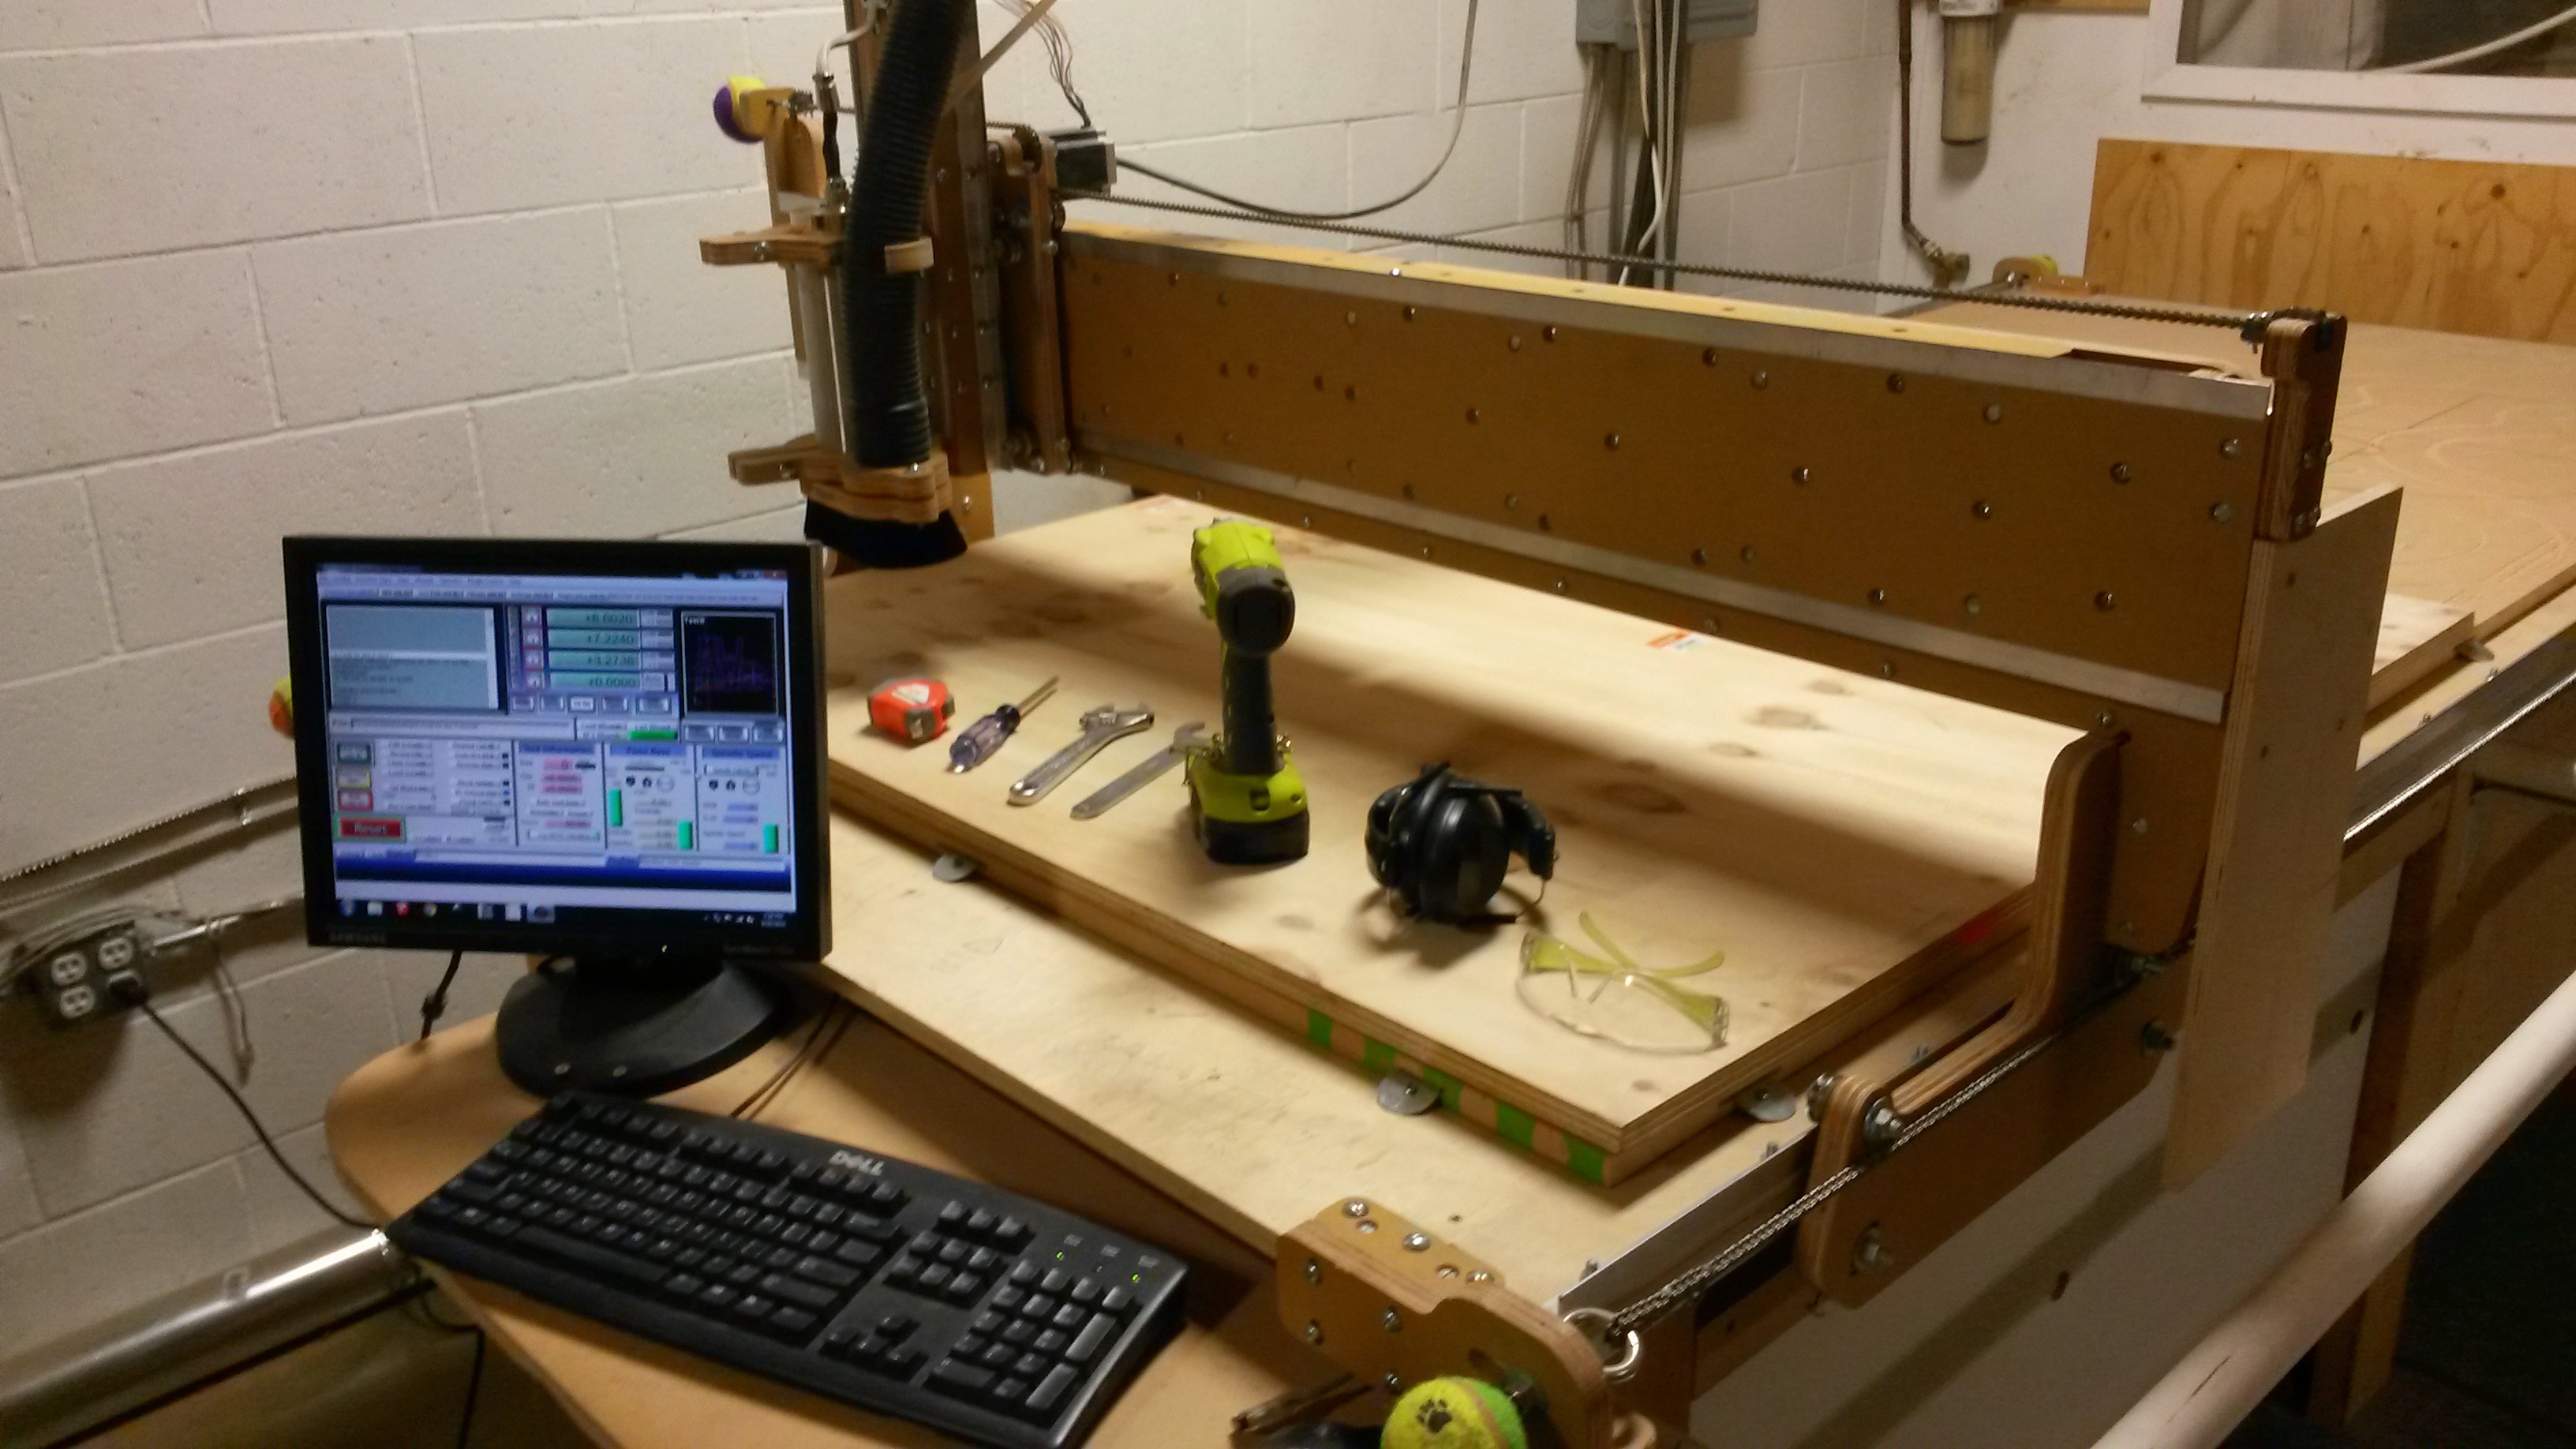
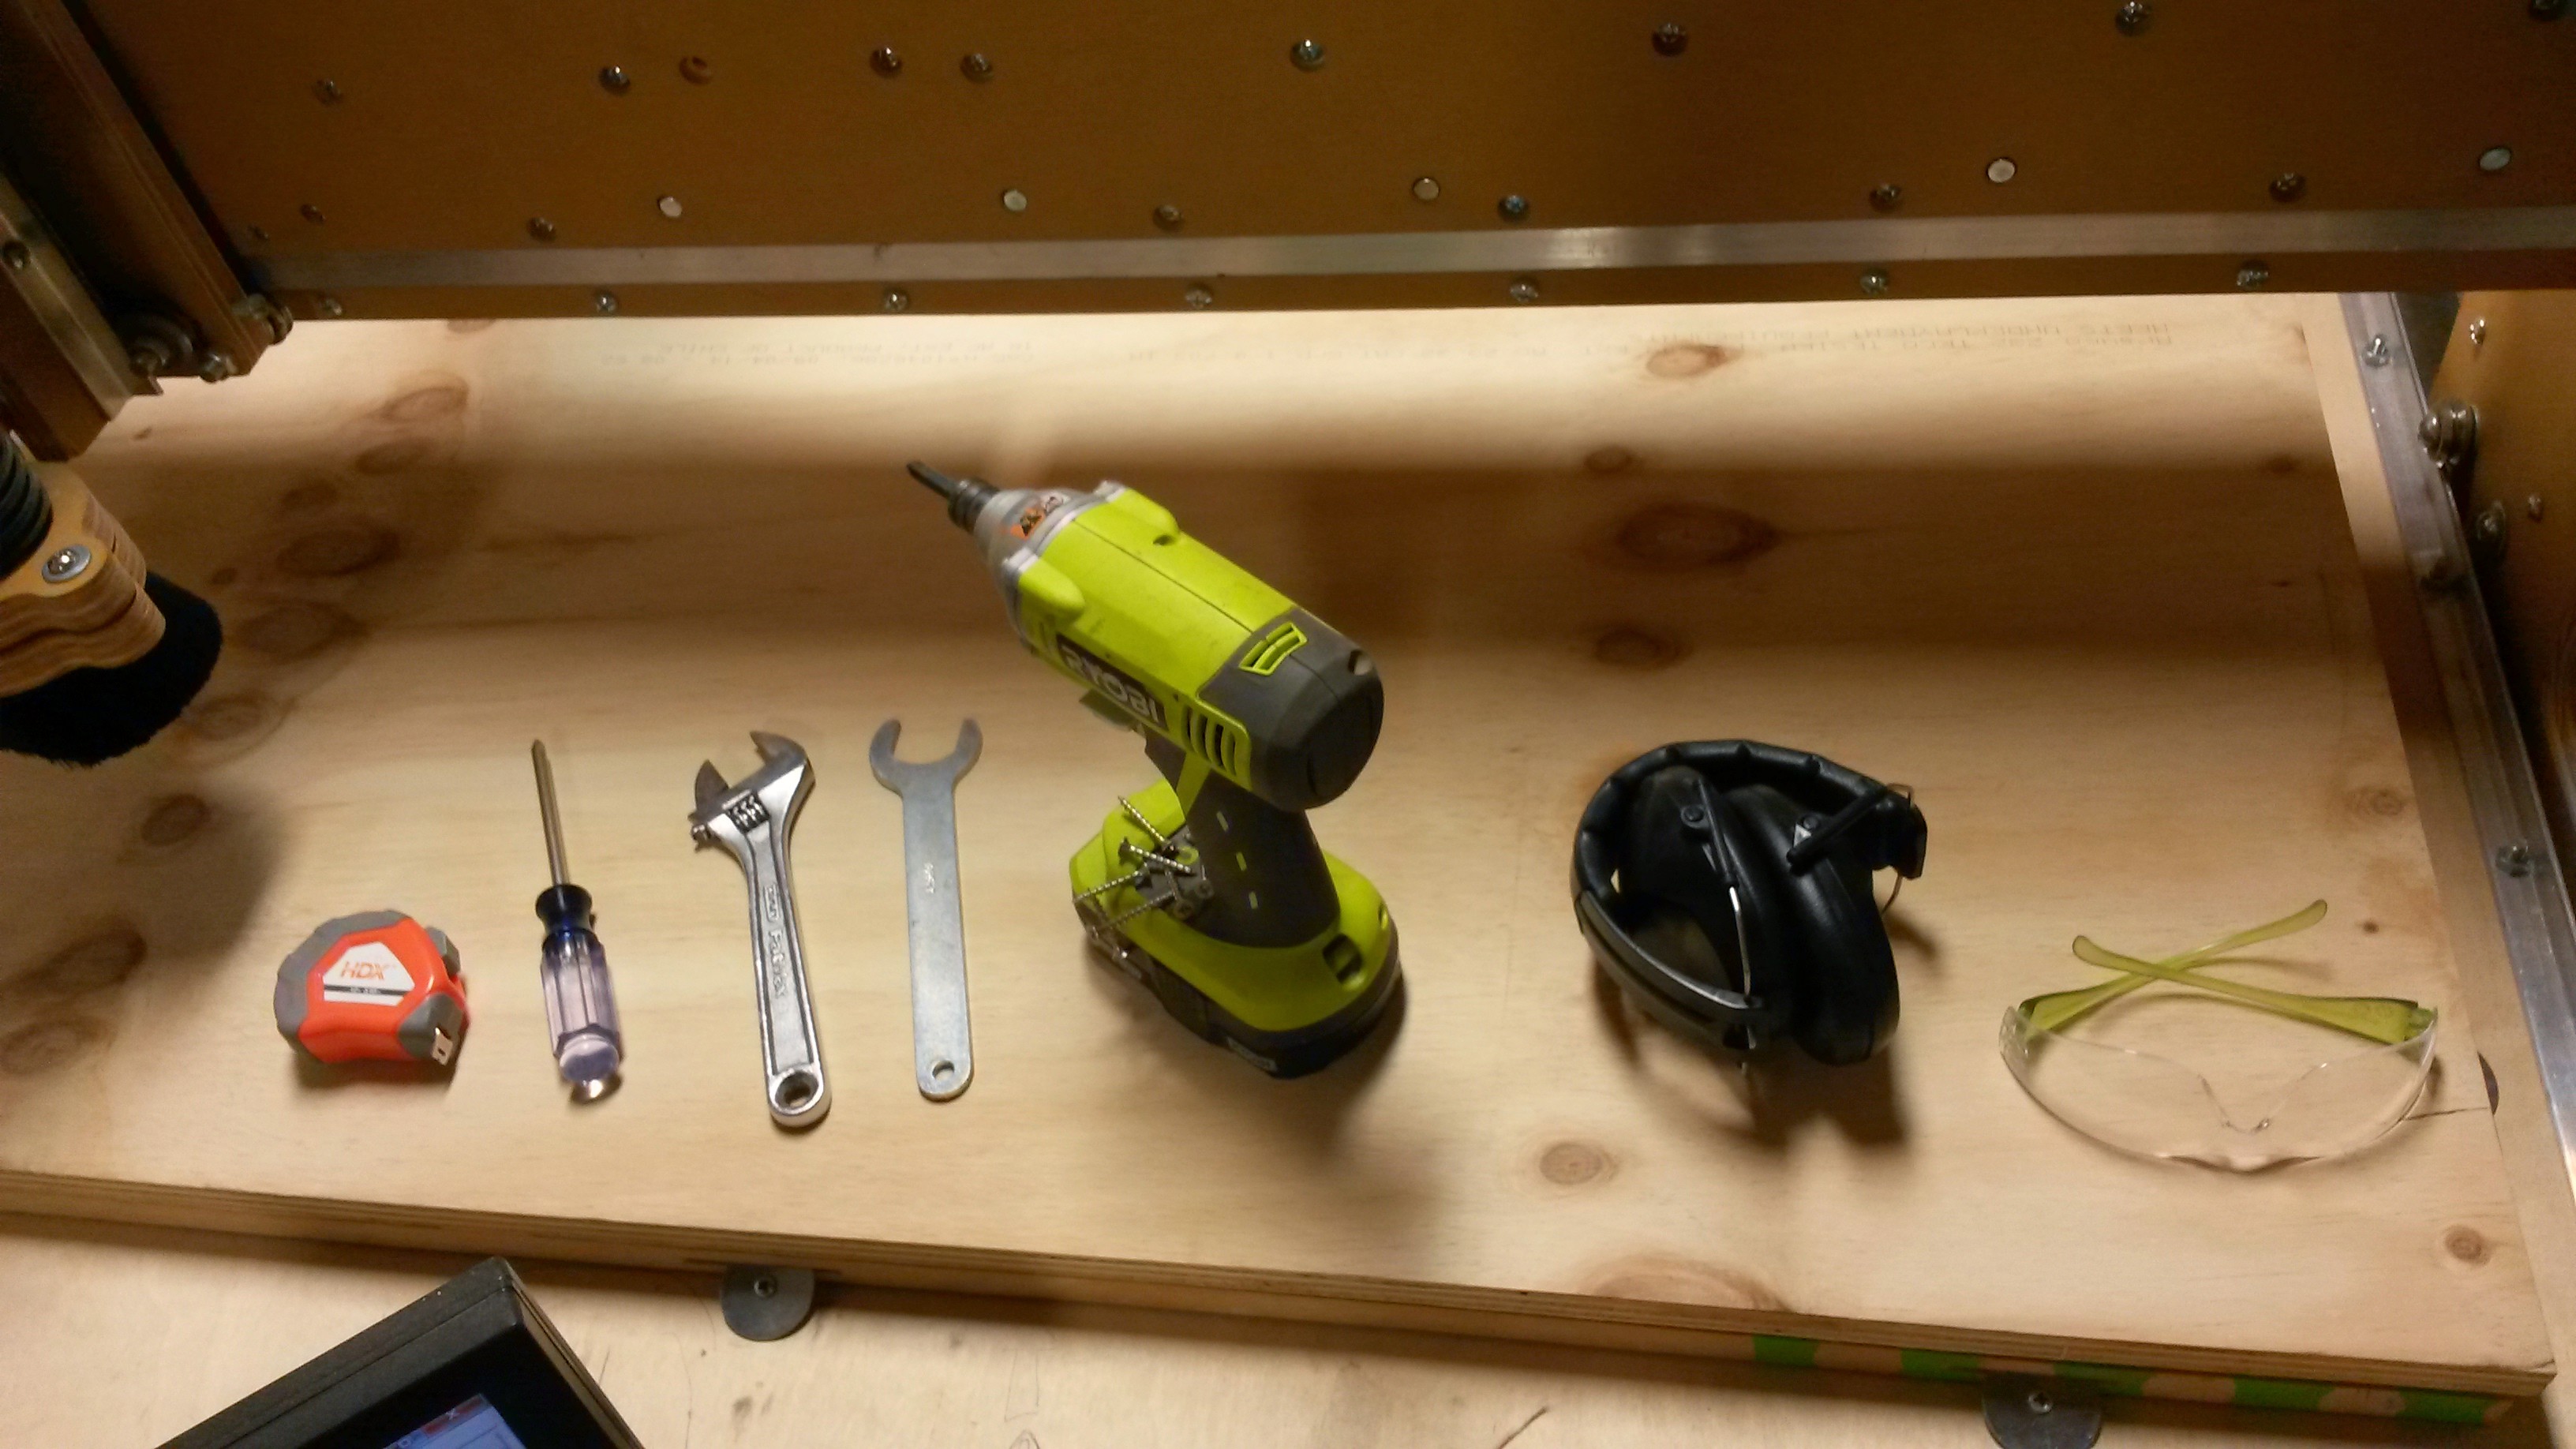
You will need:
- CNC Router and controlling computer with Cut 2D and Mach 3
- Stool DXF file
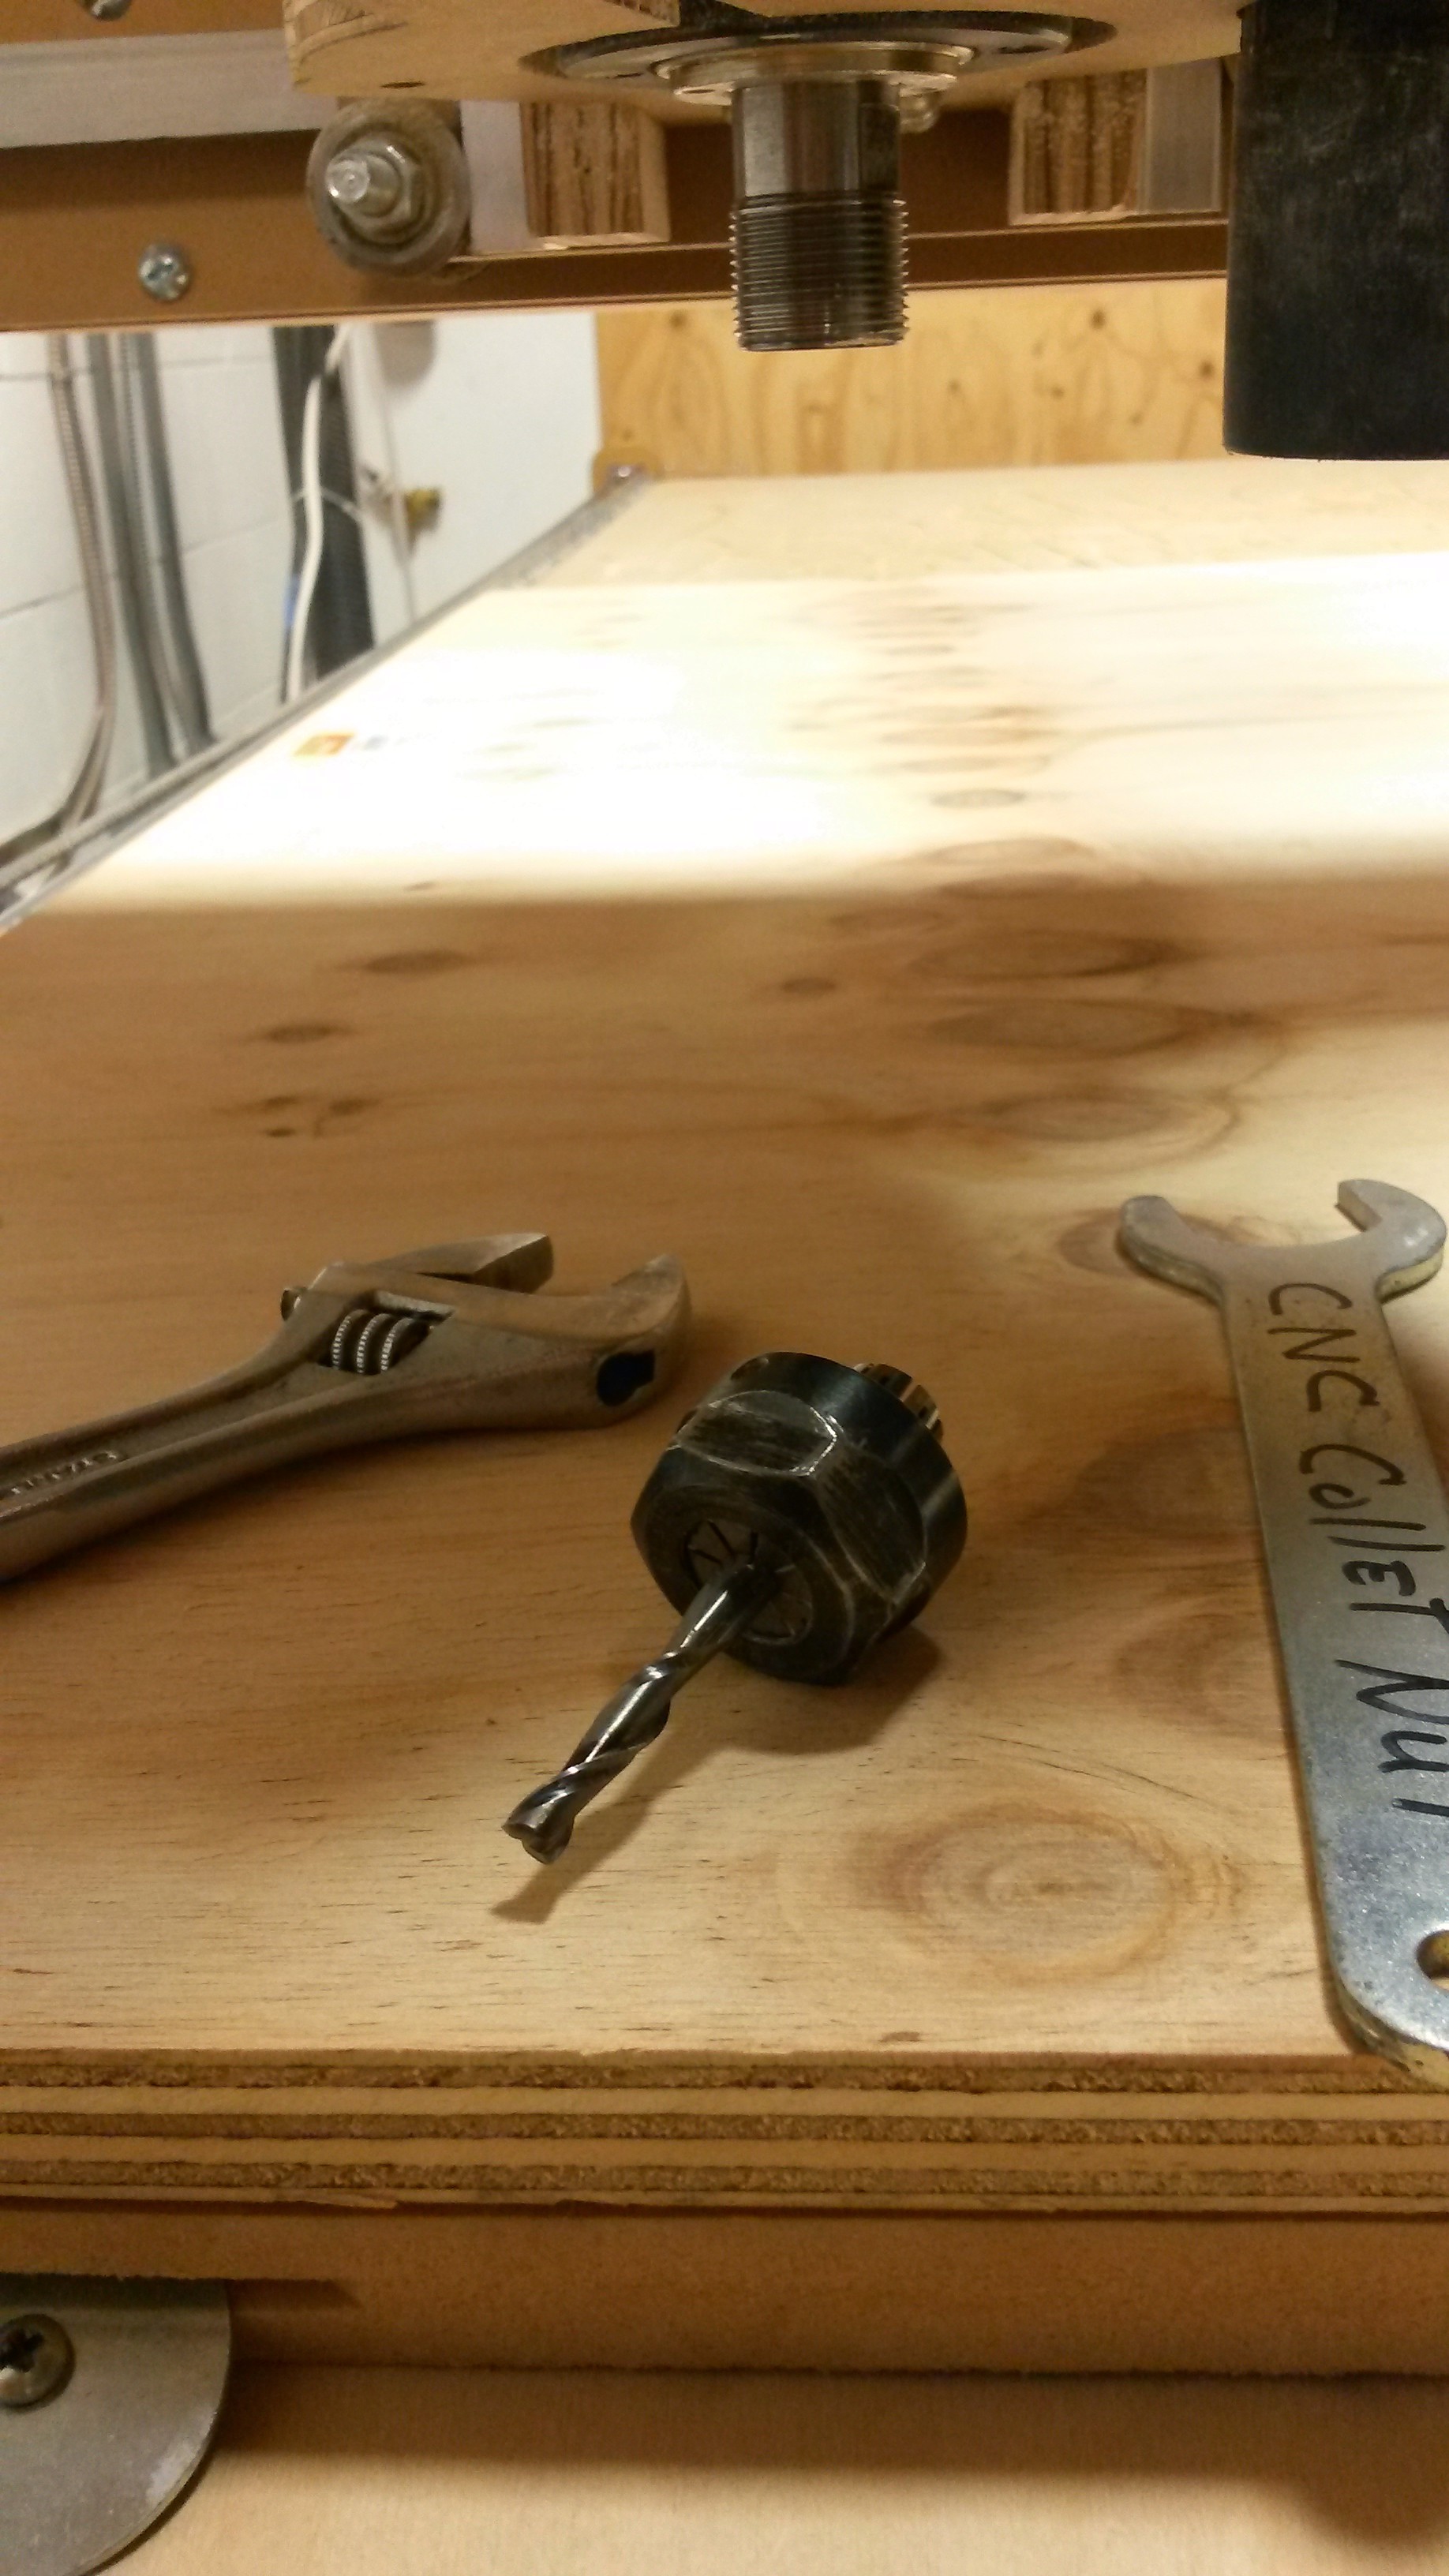
- 0.25-inch End mill (2 flute)
- 4-foot by 3-foot piece of 0.703-inch thick plywood
- "CNC Collet Nut" Wrench (or Adjustable Crescent Wrench)
- 21mm Wrench (or Adjustable Crescent Wrench)
- Screwdriver and screws
- Safety glasses
- Hearing protection (optional, but recommended)
- Tape measure (optional, but recommended)
Downloads
Load DXF
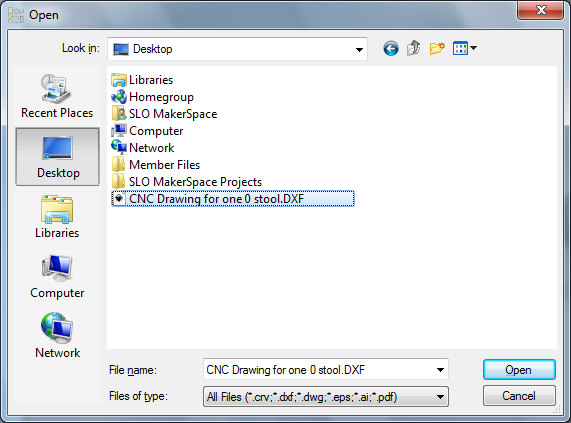
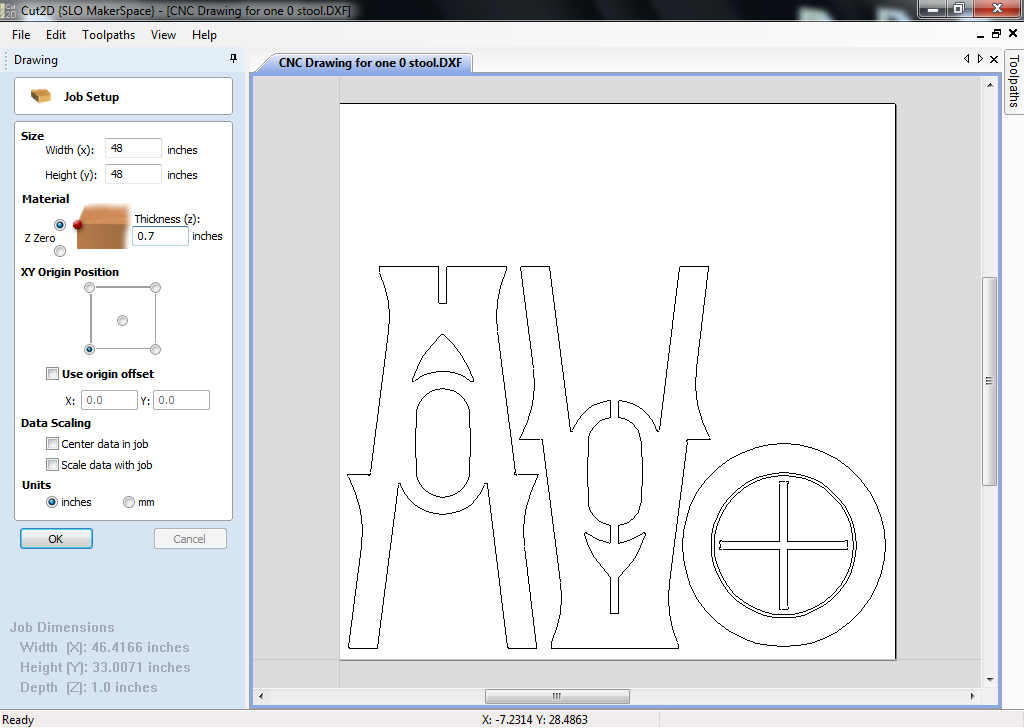
- Download attached DXF file (if you haven't done so already) and rename it to something recognizable if necessary ("CNC Drawing for one 0 stool.DXF")
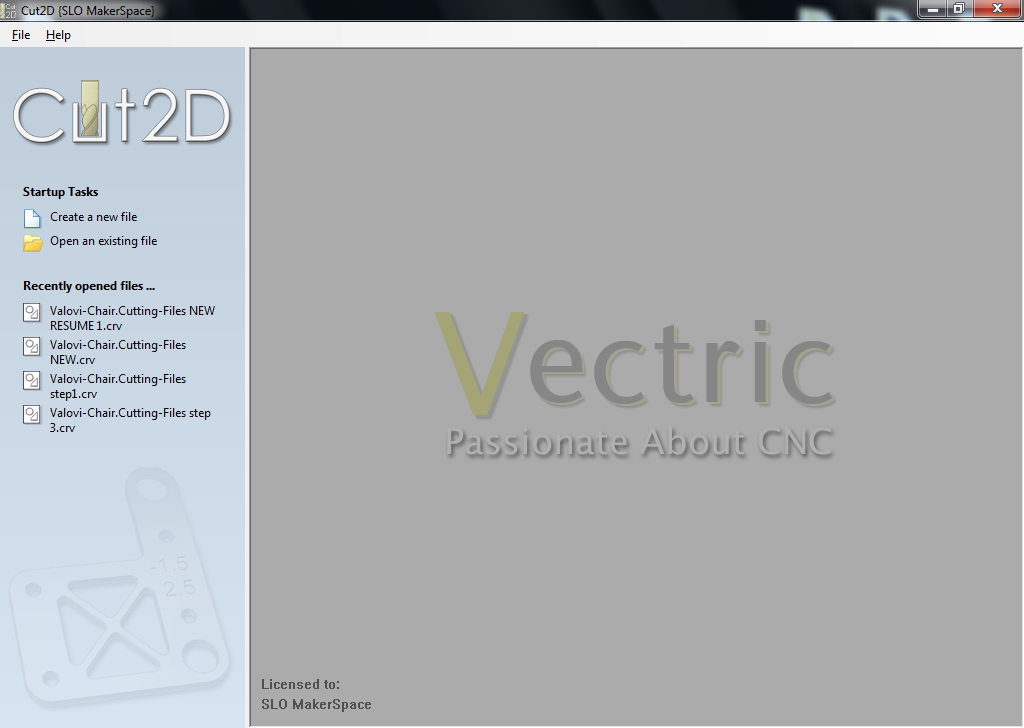
- Open Cut 2D (Picture 1)
- Click "Open an existing file" (Picture 2)
- Select "CNC Drawing for one 0 stool.DXF" (Picture 3)
- The "Job Setup" page will load (Picture 4)
- Adjust size of wood (width = 48 inches, height = 36 inches)
- Adjust thickness (0.7 inches)
- Uncheck "Use origin offset"
- Click "OK"
Downloads
Join Vectors
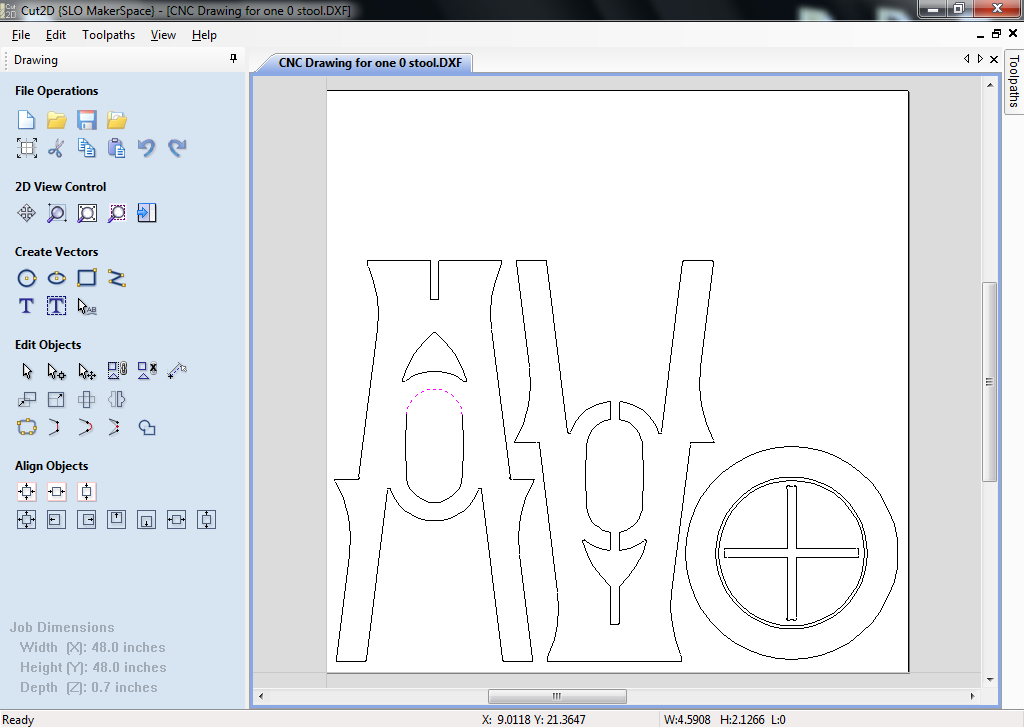
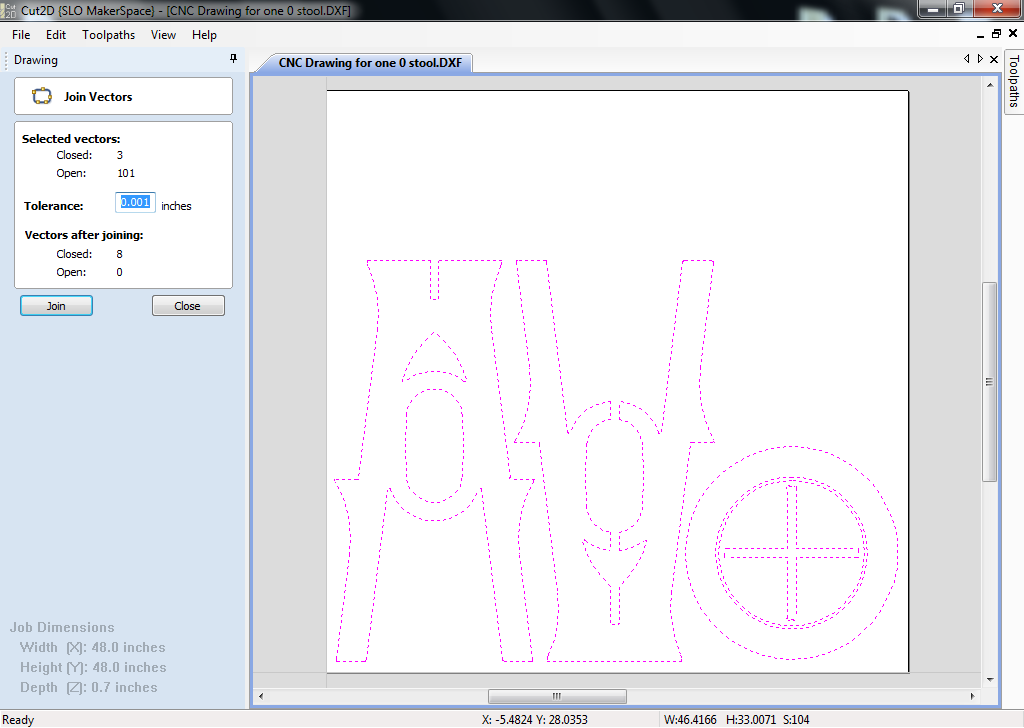
The imported DXF will be a series of unconnected lines and curves. (Picture 1) You will want to join the vectors to create closed objects.
To do this:
- Type "j" on keyboard
- The "Join Vectors" menu will appear on the left (Picture 2)
- Select all of the objects on the sheet by clicking and dragging a box around them
- Click "Join" in the "Join Vectors" menu on the left
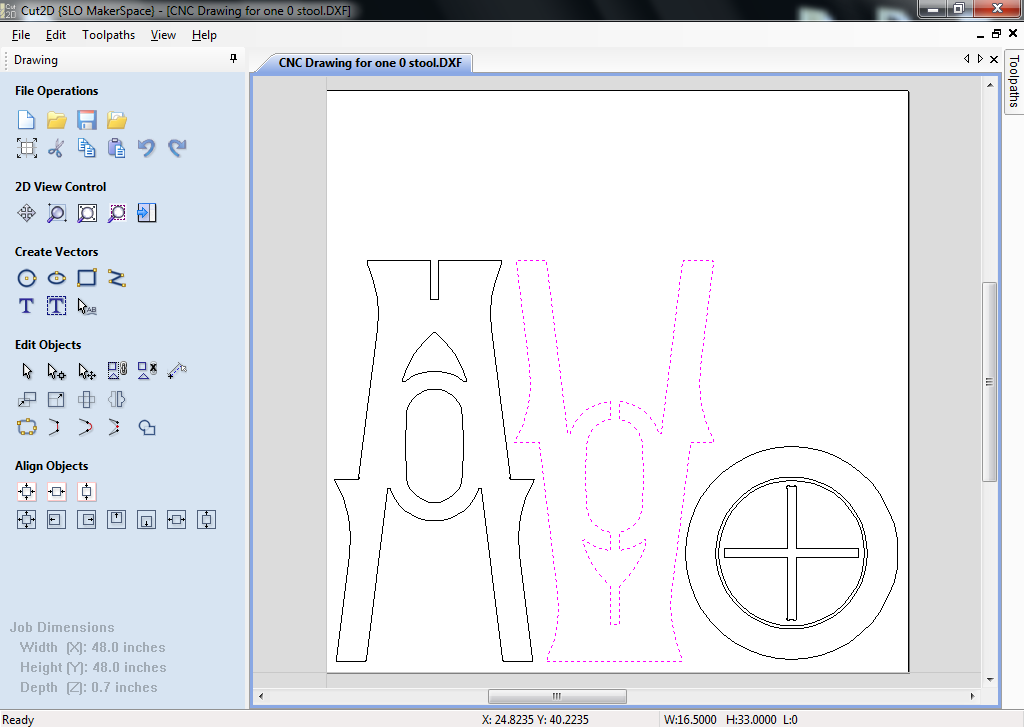
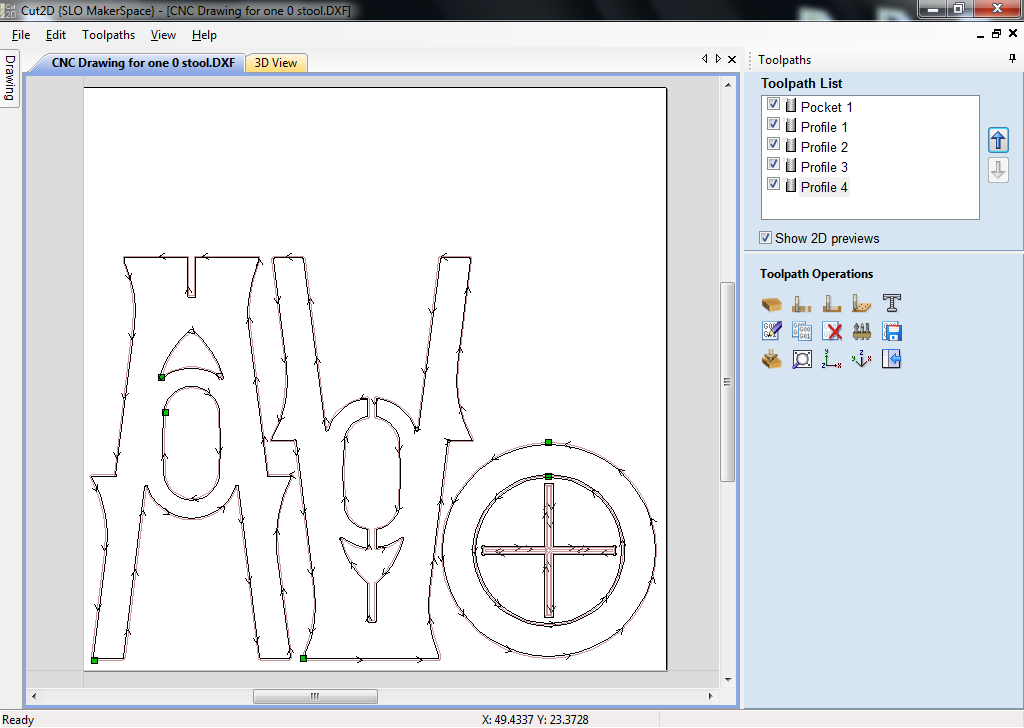
There should now be 8 closed vectors which you can select by clicking on them. (Picture 3) We will use these vectors to create toolpaths in the next step.
Cut 2D Tip:
You can click and drag down and right to select only the objects within your selection window. You can click and drag up and left to select all objects touching or inside of your selection window.
Create Toolpaths
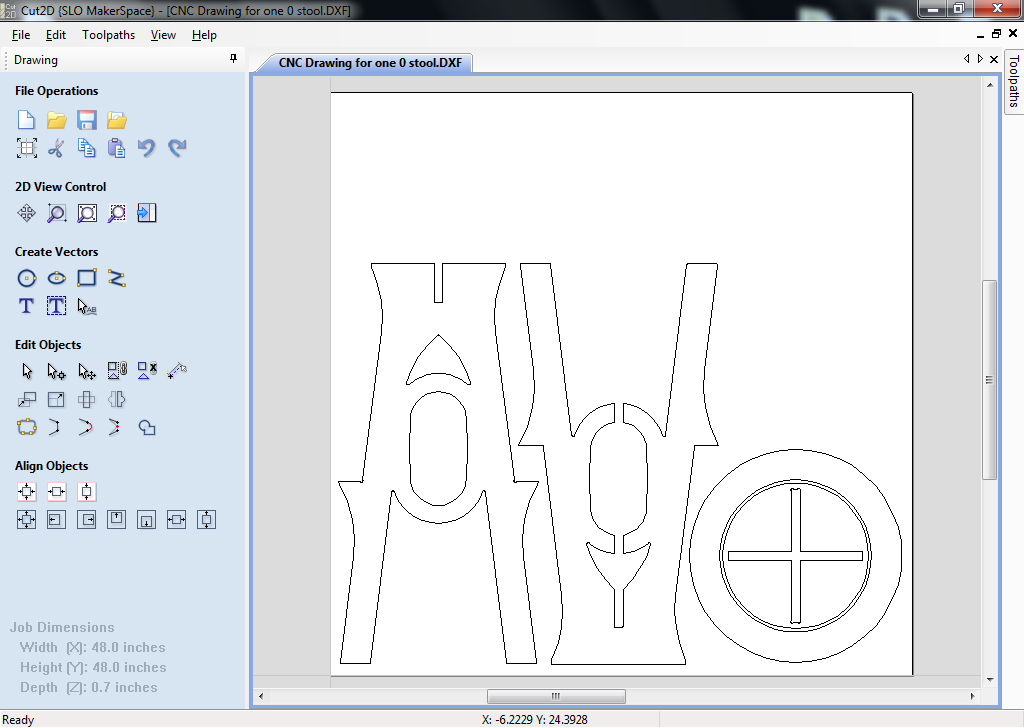
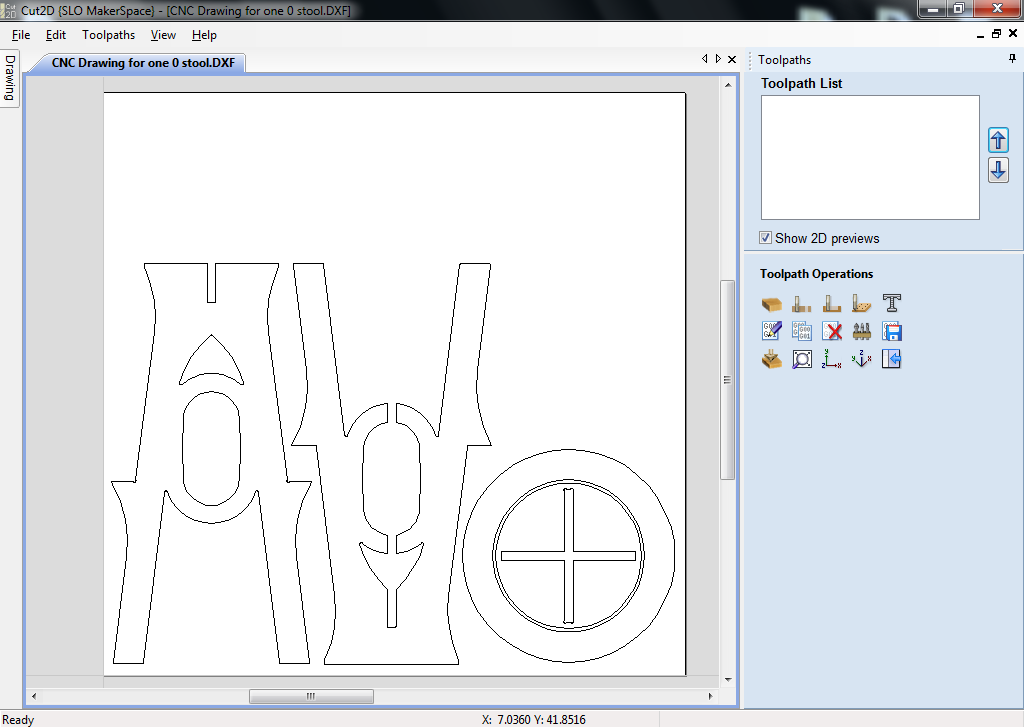
We will now create the toolpaths necessary to generate G-Code for the machine to use to cut the plywood.
Click 5th button under "2D View Control" (as shown in screenshot) to go to the toolpaths menu. (Picture 1)
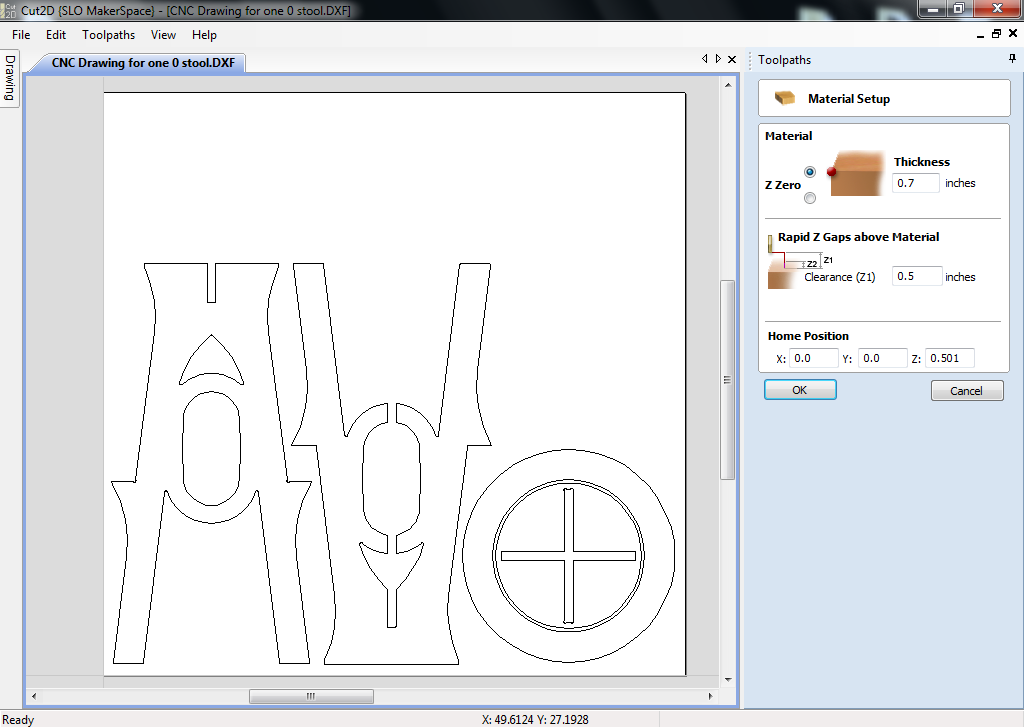
- Material Setup (Picture 3)
- Click 1st button in grid (as shown in picture 2) to go to the material setup menu
- Make sure material thickness is 0.7 inches and "Z1 Clearance" is adequate (I chose 0.5 inches)
- Click "OK"
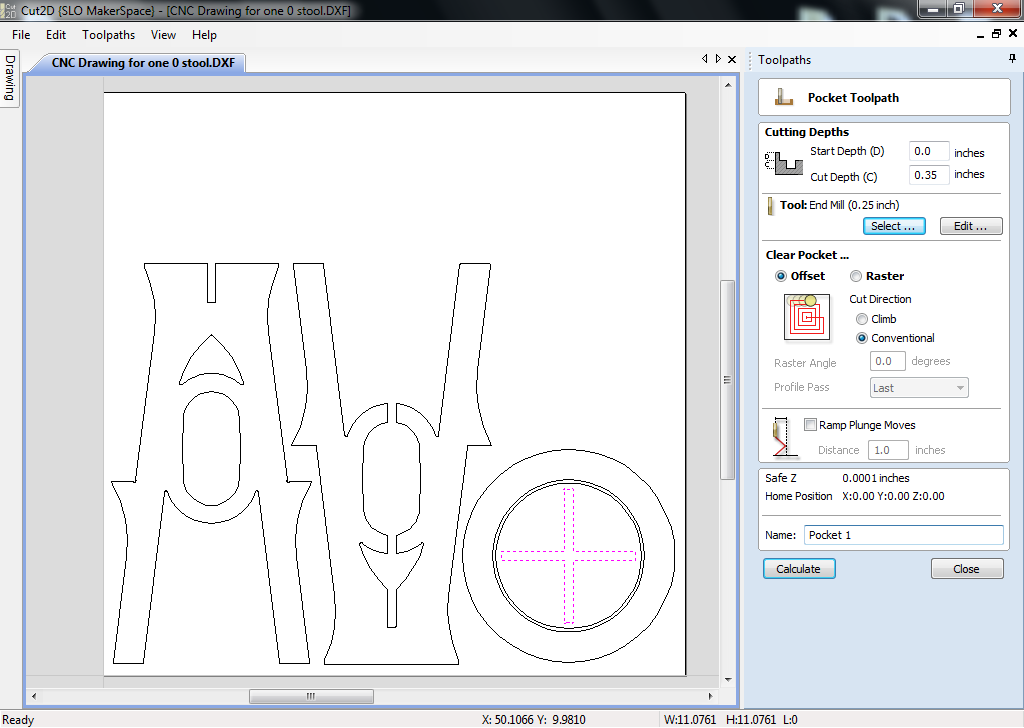
- Pocket Toolpath (Picture 4)
- Click 3rd button in the first row of the grid (as shown in screenshot) to go to the pocket toolpath menu
- Select the "+" shape on the drawing that will become the pocket on the underside of the stool seat for the stool legs to fit into
- Set the cut depth to 0.35 inches
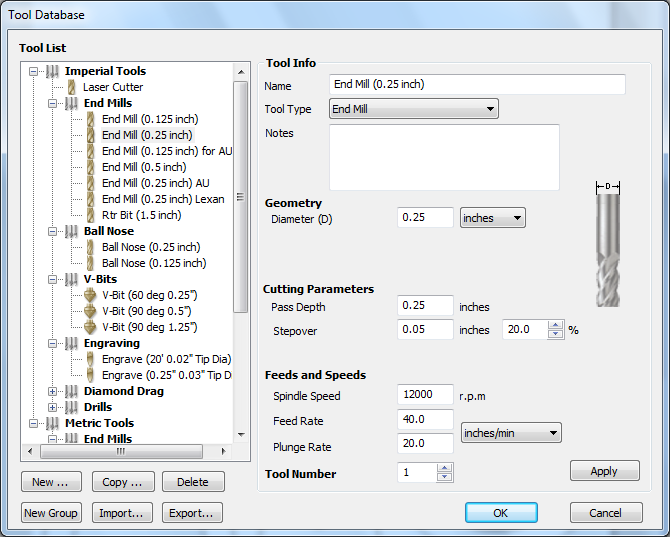
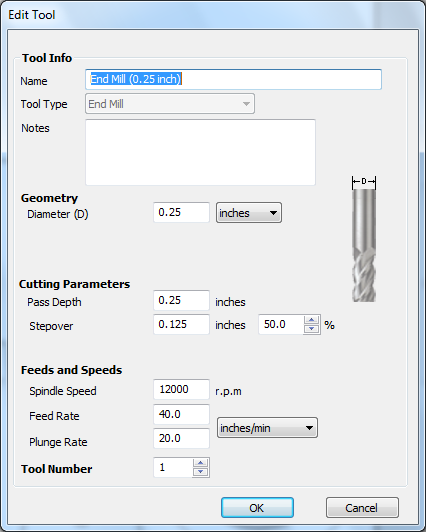
- Click "Select" under the end mill tab. Select a 0.25-inch end mill in the tool database. We'll want the pass depth to be 0.25 inches and the stepover to be 50% (0.125 inches). Click "OK." (Picture 5)
- Click "Calculate"
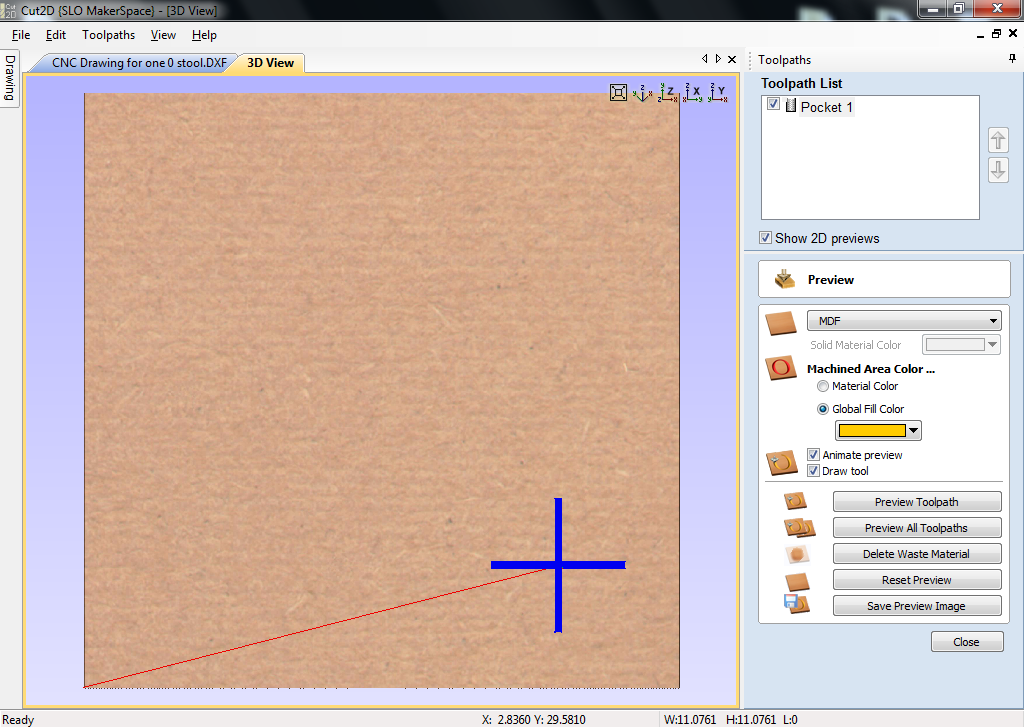
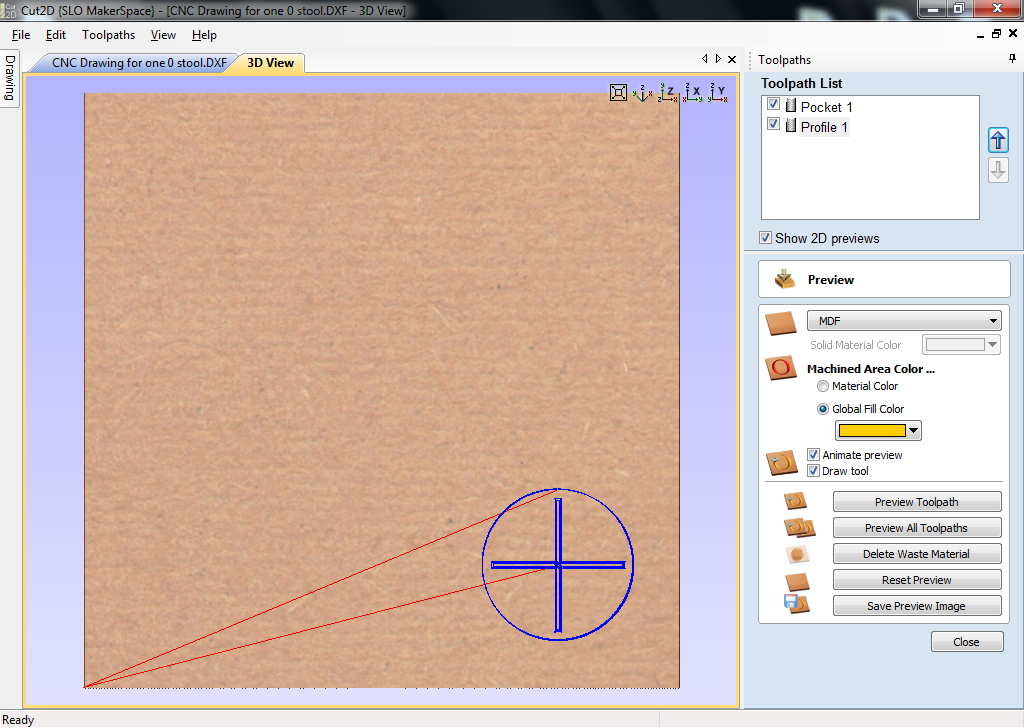
- A preview screen will appear. Click "Close." (Picture 6)
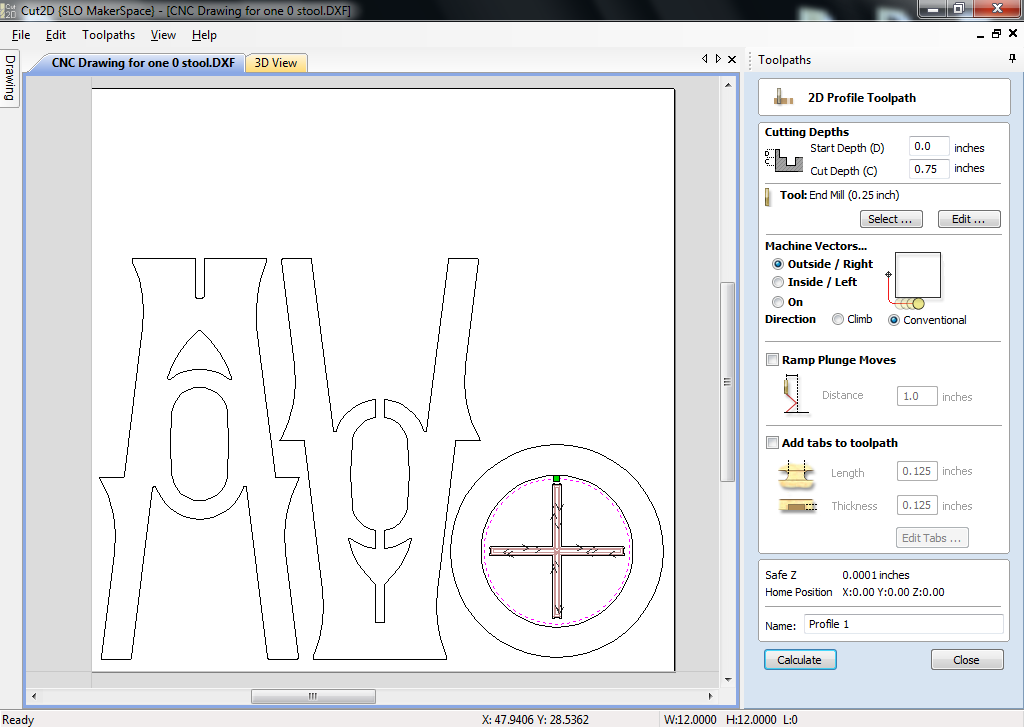
- Profile Toolpaths (Picture 7)
- Click 2nd button in the first row of the grid (as shown in screenshot) to go to the profile toolpath menu
- Select the nearest circle on the outside of the pocket we just created. This will become the stool seat.
- Set the cut depth to 0.75 inches.
- Make sure the end mill is selected and setup in the same way as we specified for the pocket toolpath (Picture 8)
- Select "Outside / Right" under "Machine Vectors..."
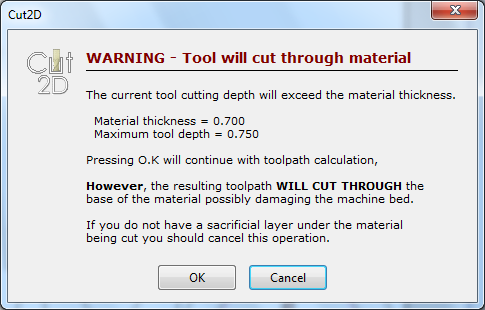
- Click "Calculate." A warning will appear. (Picture 9) We have a spoils board (a "sacrificial layer") on top of the machine bed which the end mill will cut into after it cuts through the plywood, so click "OK."
- A preview screen will appear. Click "Close." (Picture 10)
- Repeat steps under "profile toolpaths" above (list # 3) selecting the largest outside circle for step 2, which will create a ring that will become the footrest for the stool
- Repeat steps under "profile toolpaths" above (list # 3) selecting the chevron/triangle and the "0" inside the left stool leg object in the drawing for step 2, and selecting "Inside / Left" in step 5.
- Repeat steps under "profile toolpaths" above (list # 3) selecting the two large leg objects for step 2
Notes:
- It is important to create the toolpaths in an order in which inside cutouts and pockets will be cut before the larger shapes. Otherwise, the inside shape will become loose once it is cut out, and it will be no longer possible to cut it further.
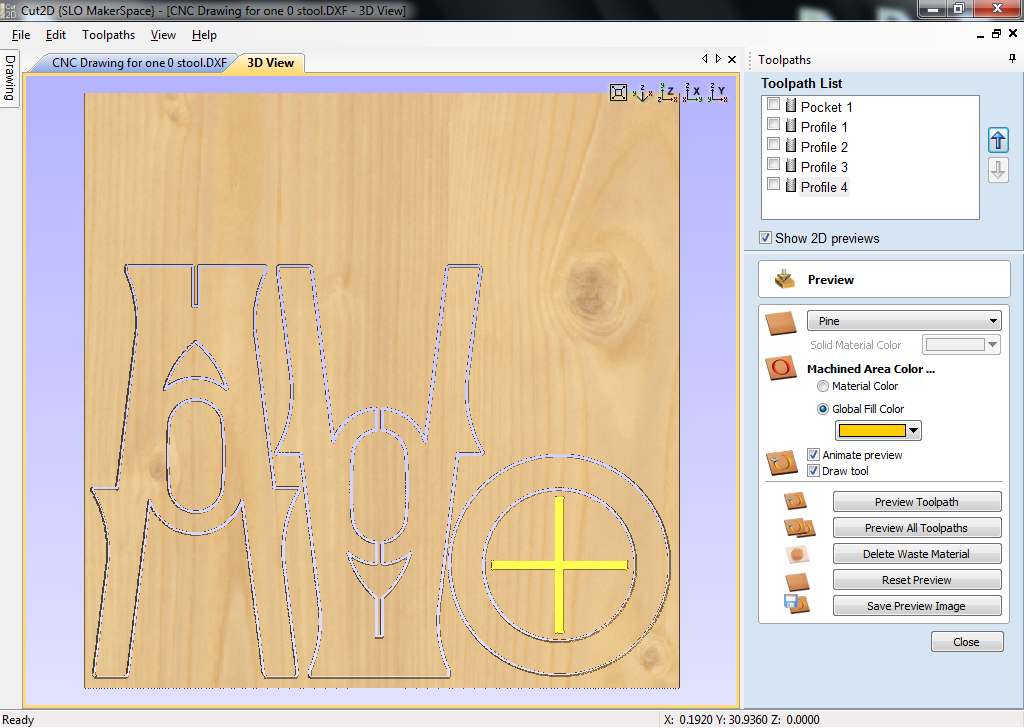
- You can preview the toolpaths you created by clicking the first button in the third row of the grid in the toolpaths menu. Select all the toolpaths in the upper right list and click "Preview all toolpaths" in the buttons below. (Picture 11)
Output G-CODE
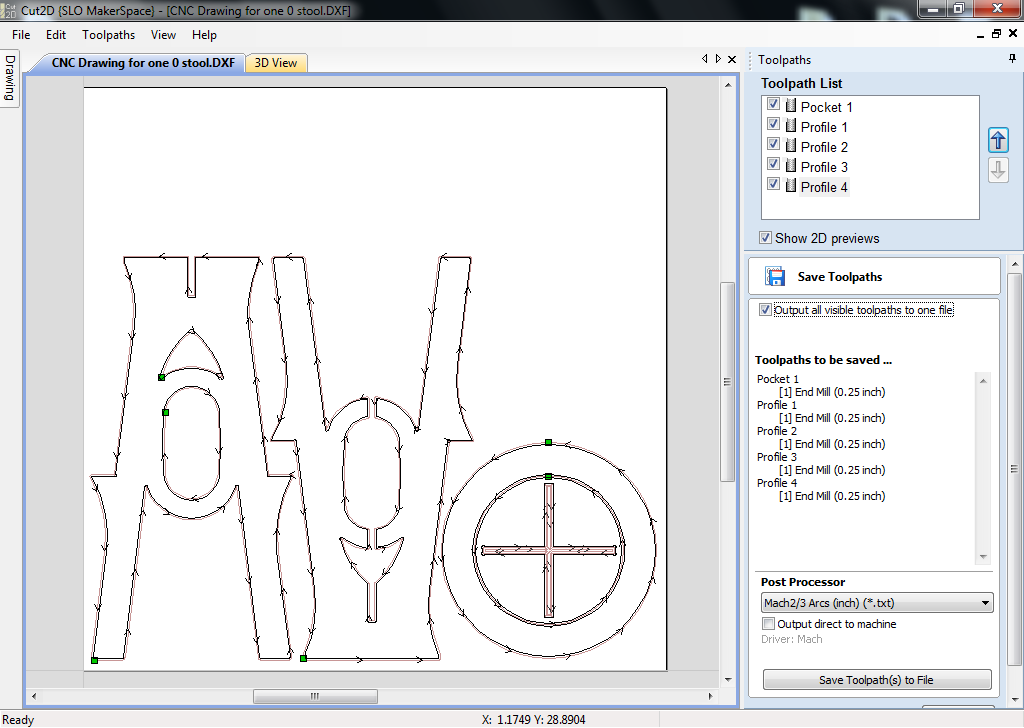
We will now create the code that the machine will use to cut out the stool.
- Click the 5th button in the second row of the grid in the toolpaths menu: "Save toolpaths" (Picture 1)
- Select all the toolpaths in the upper right list (Picture 2)
- Make sure "Output all visible toolpaths to one file" is selected
- Make sure Mach2/3 is selected as the post-processor
- Click "Save toolpath(s) to file"
- Pay attention the the place and name you are saving the file, and click "Save"
Load Plywood
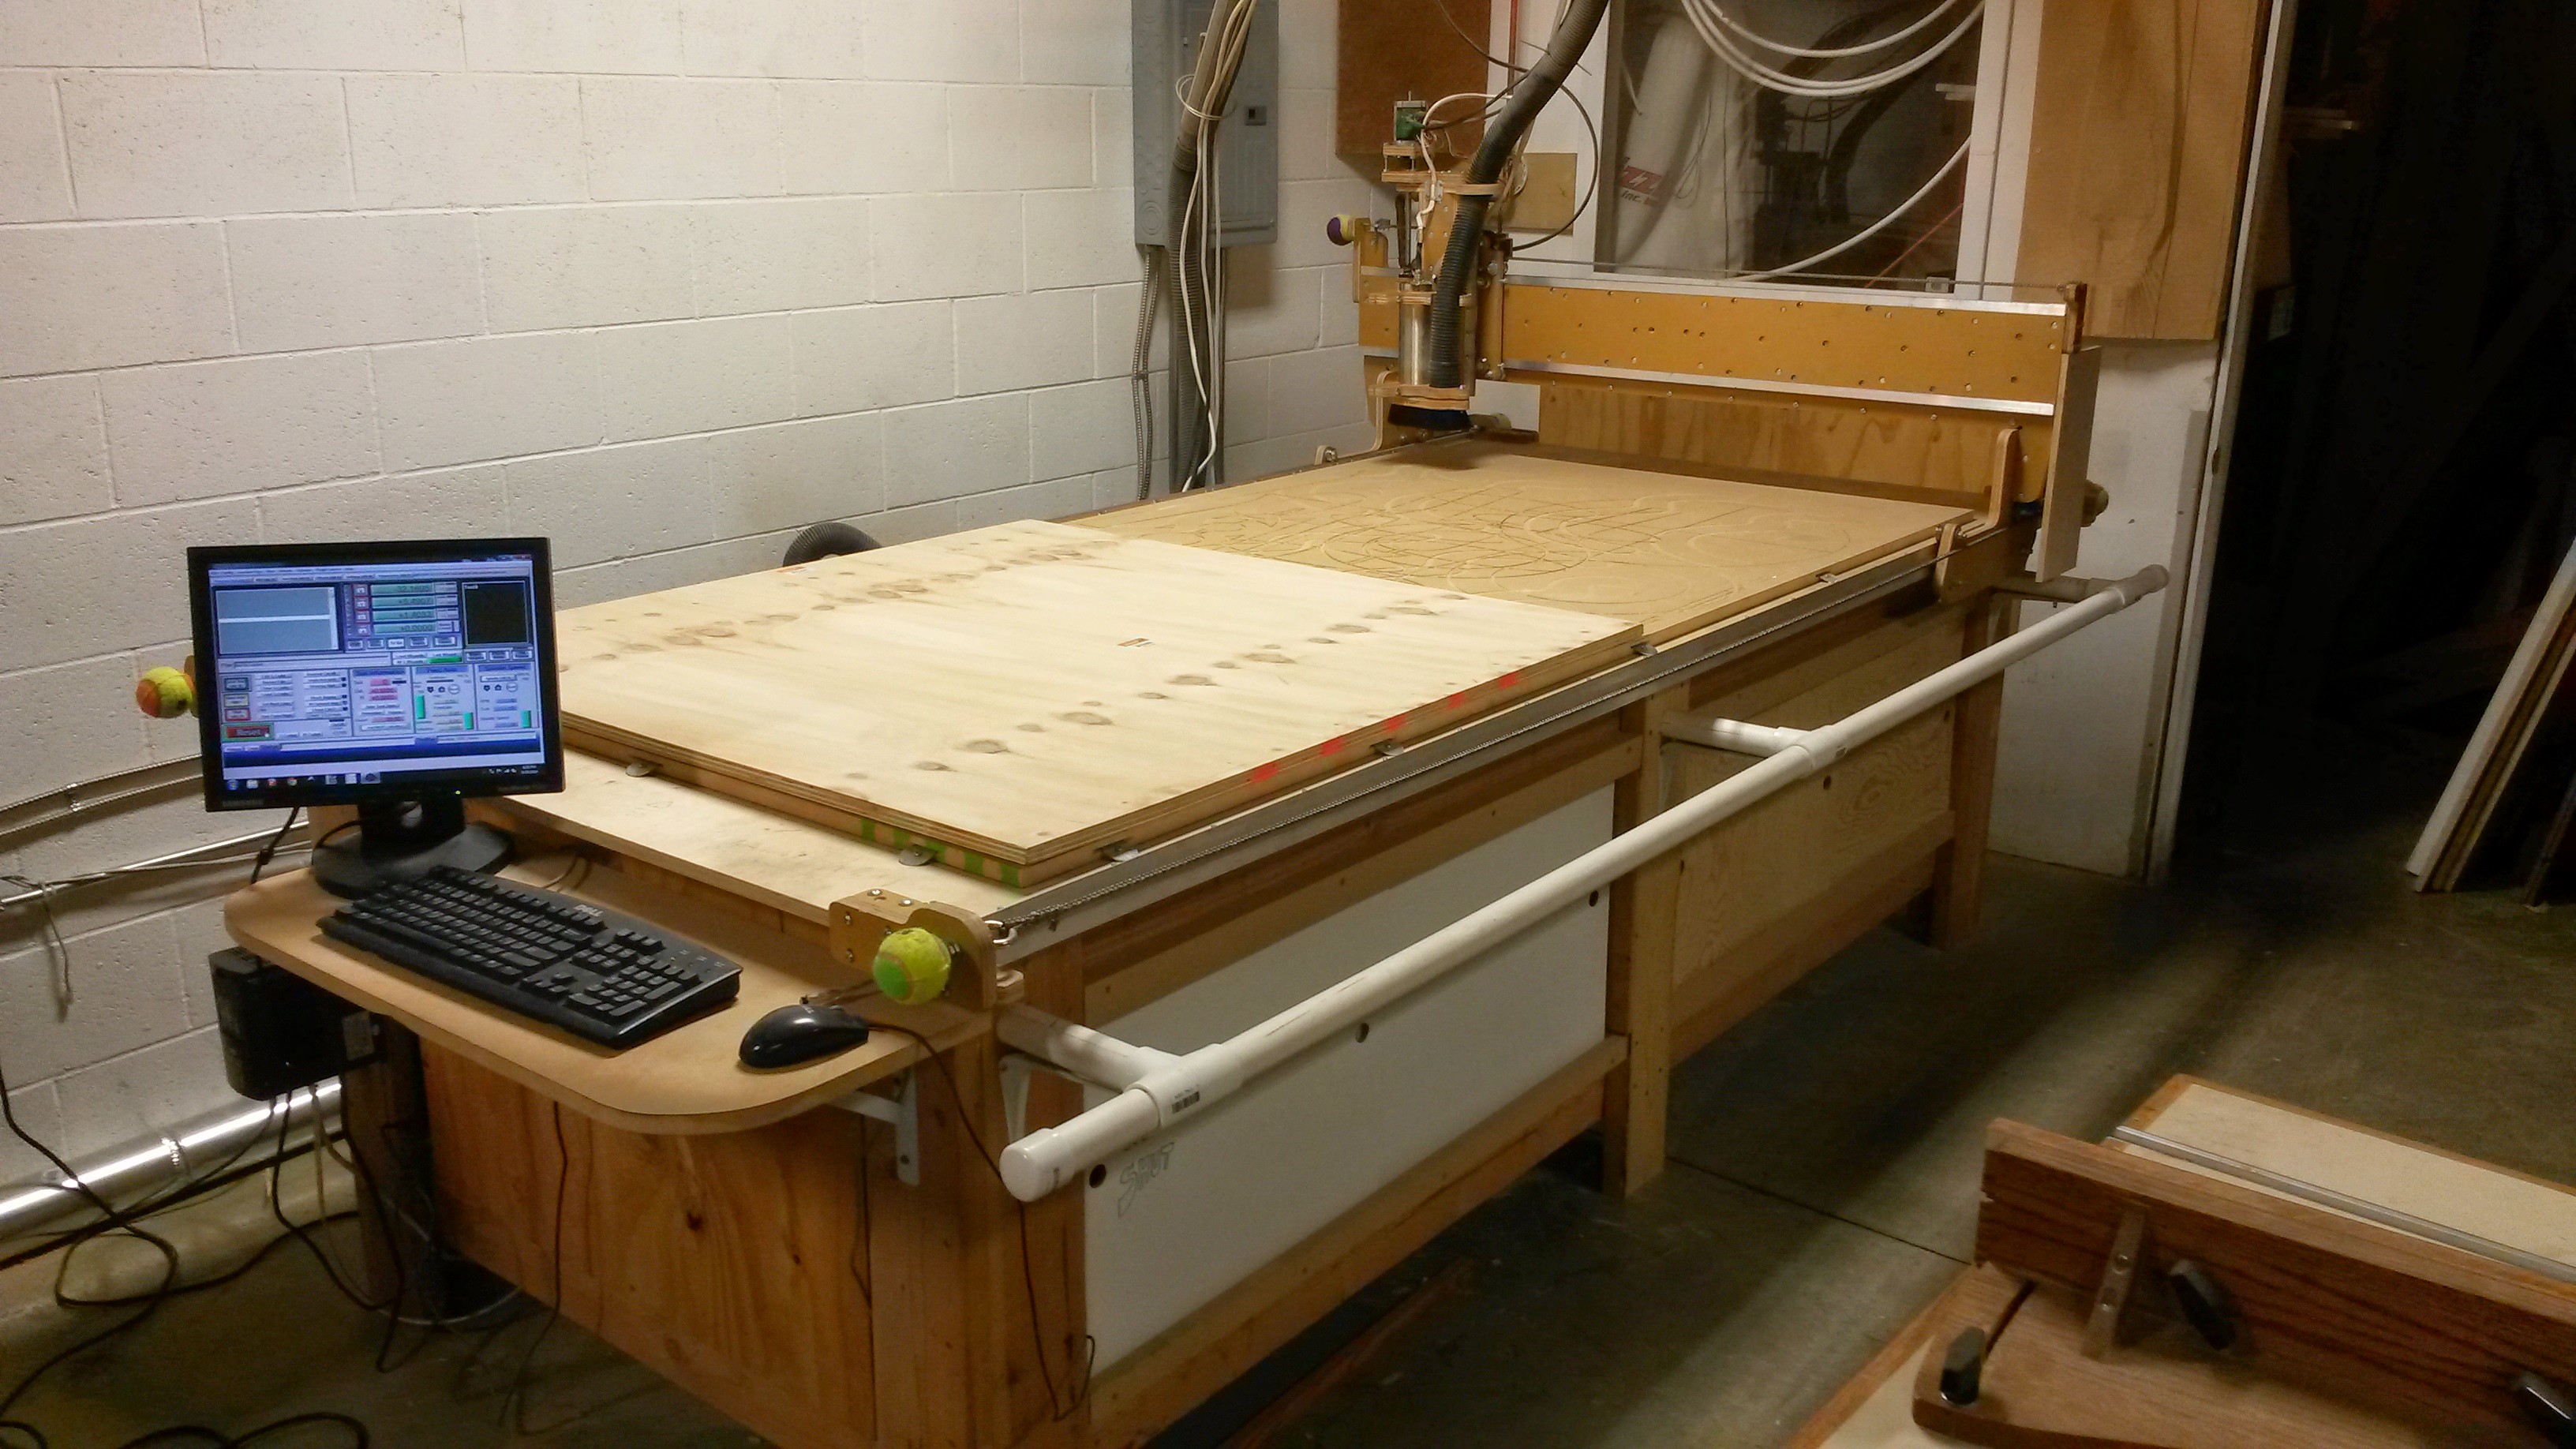
- Move gantry out of the way
- If stepper motors are powered up, use Mach 3 (details in Step 8: Load G-Code in Mach 3)
- If stepper motors are not yet plugged in, you may gently push it by hand
- Set plywood on top of spoils board. Be sure to line up the edges of the plywood with the edges of the spoils board.
- Screw plywood into spoils board at edges.
Insert the End Mill
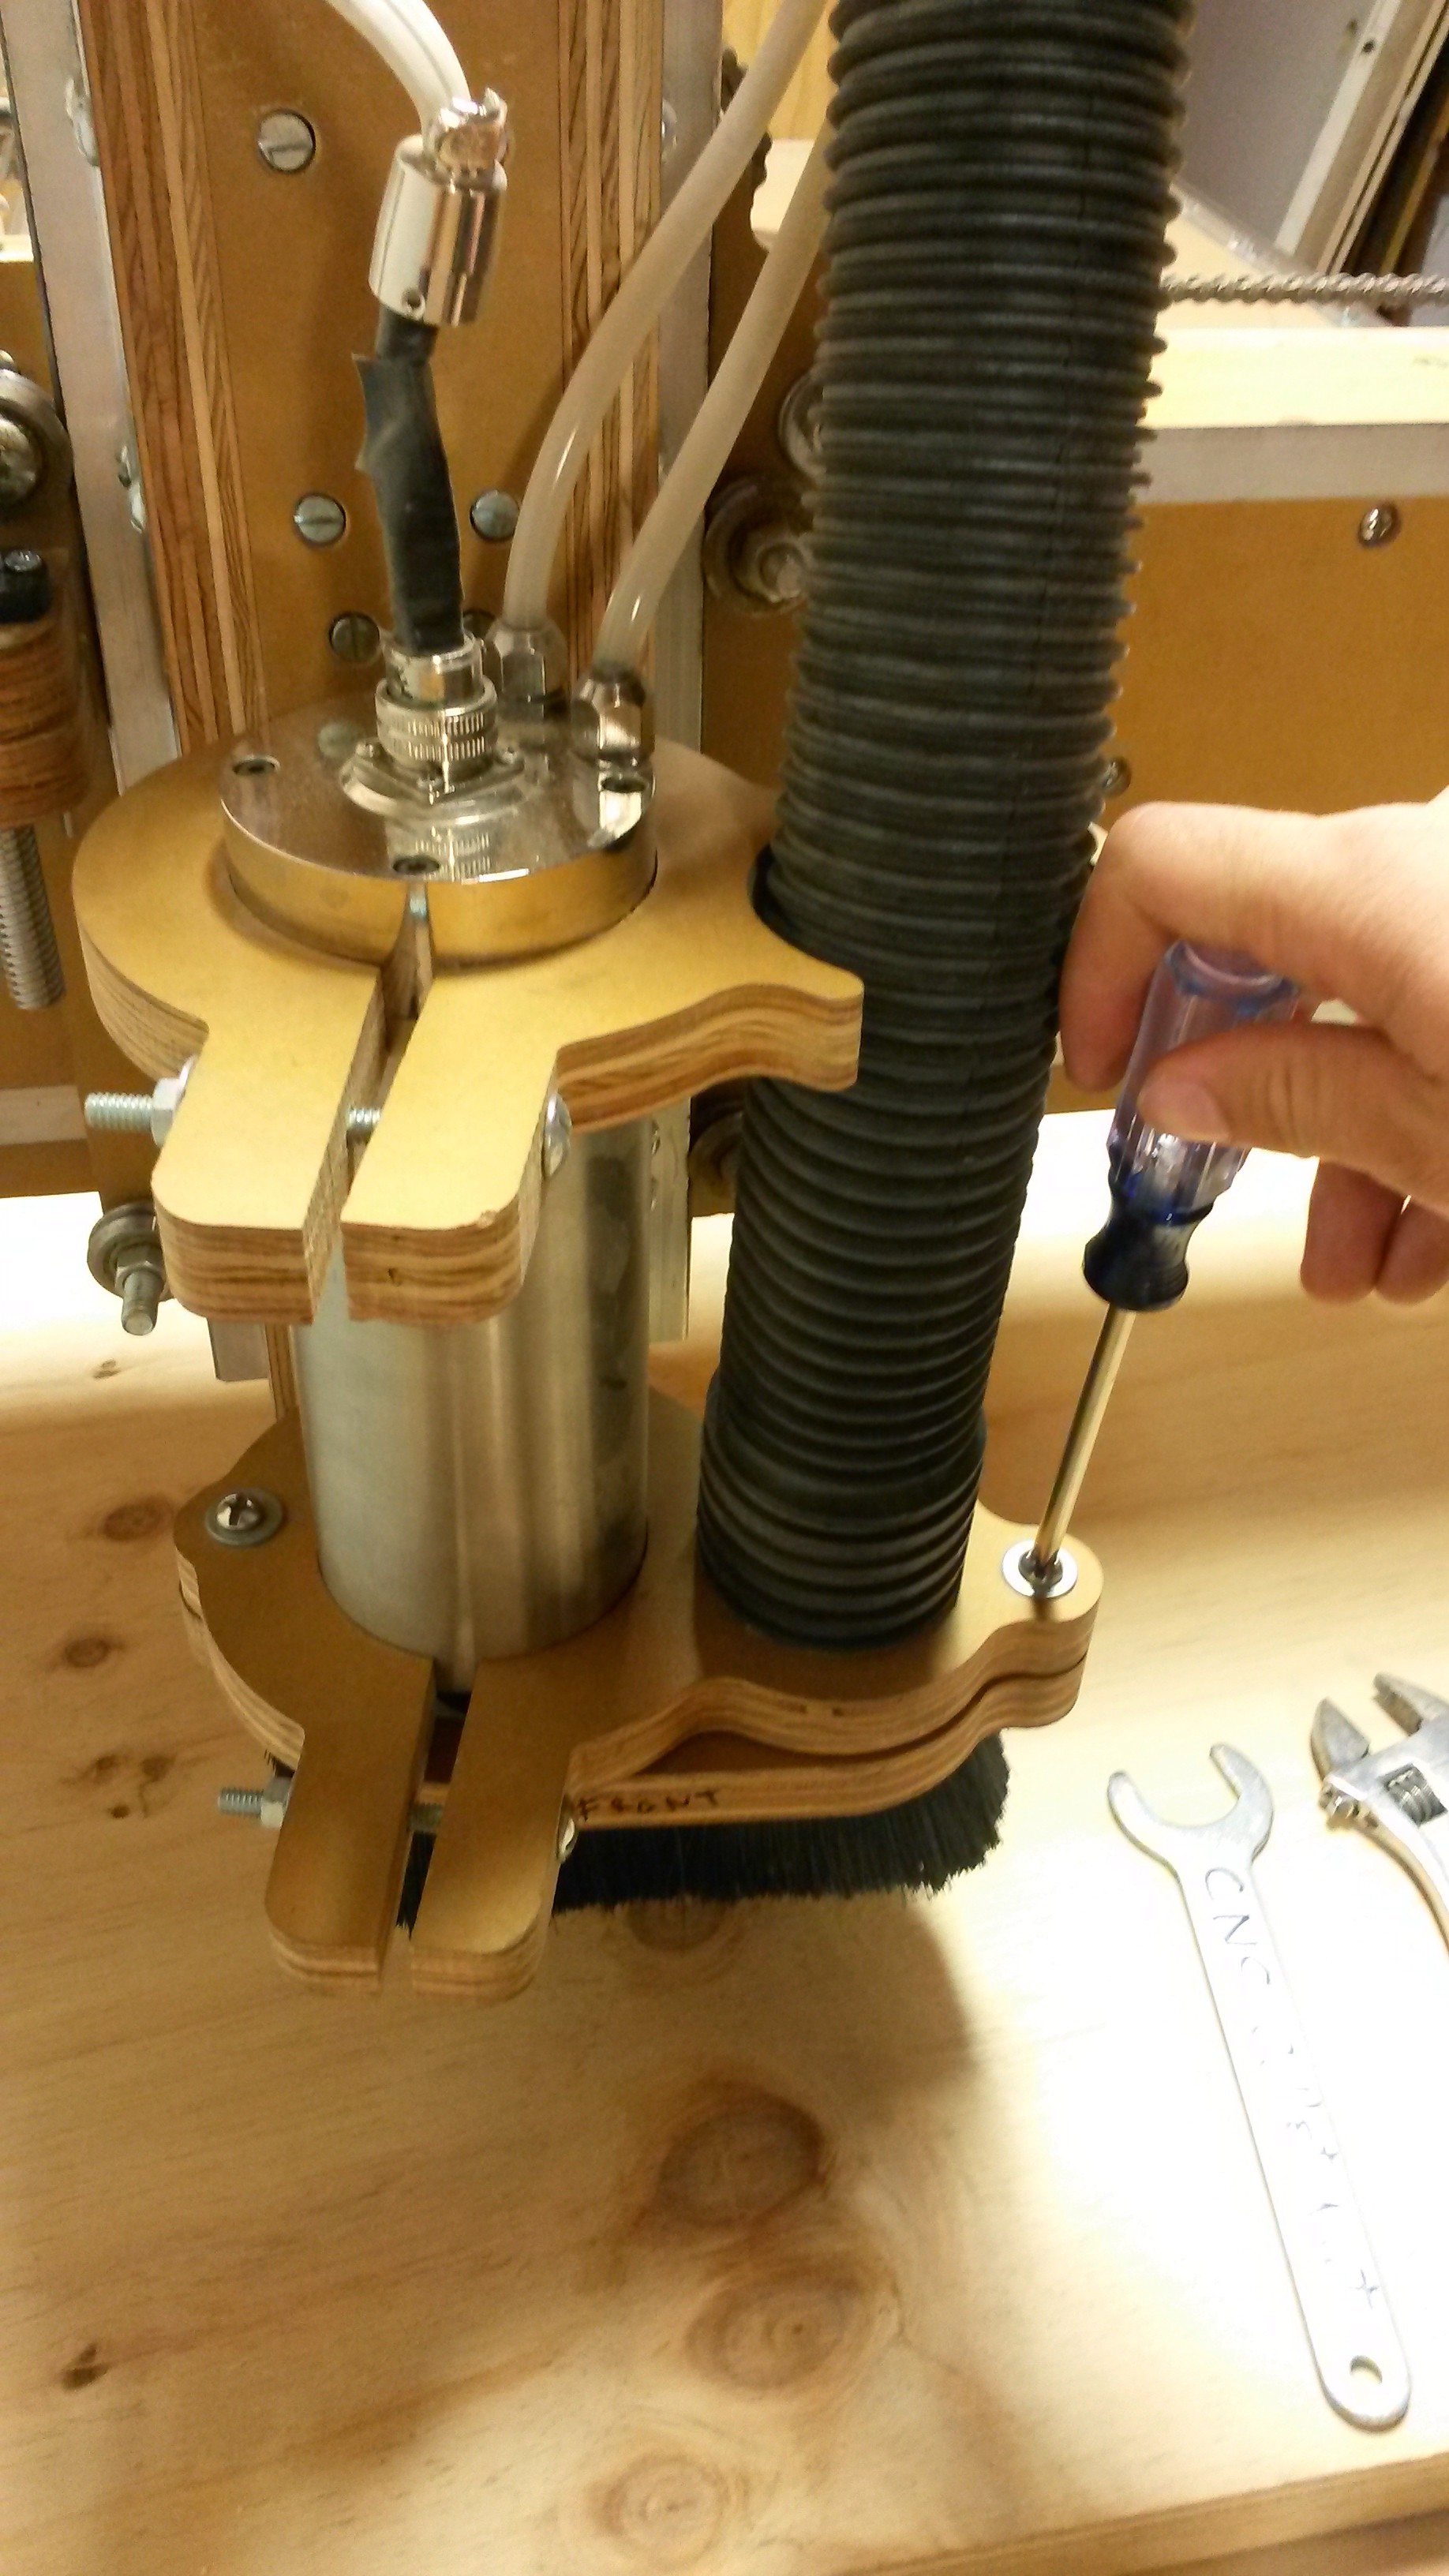
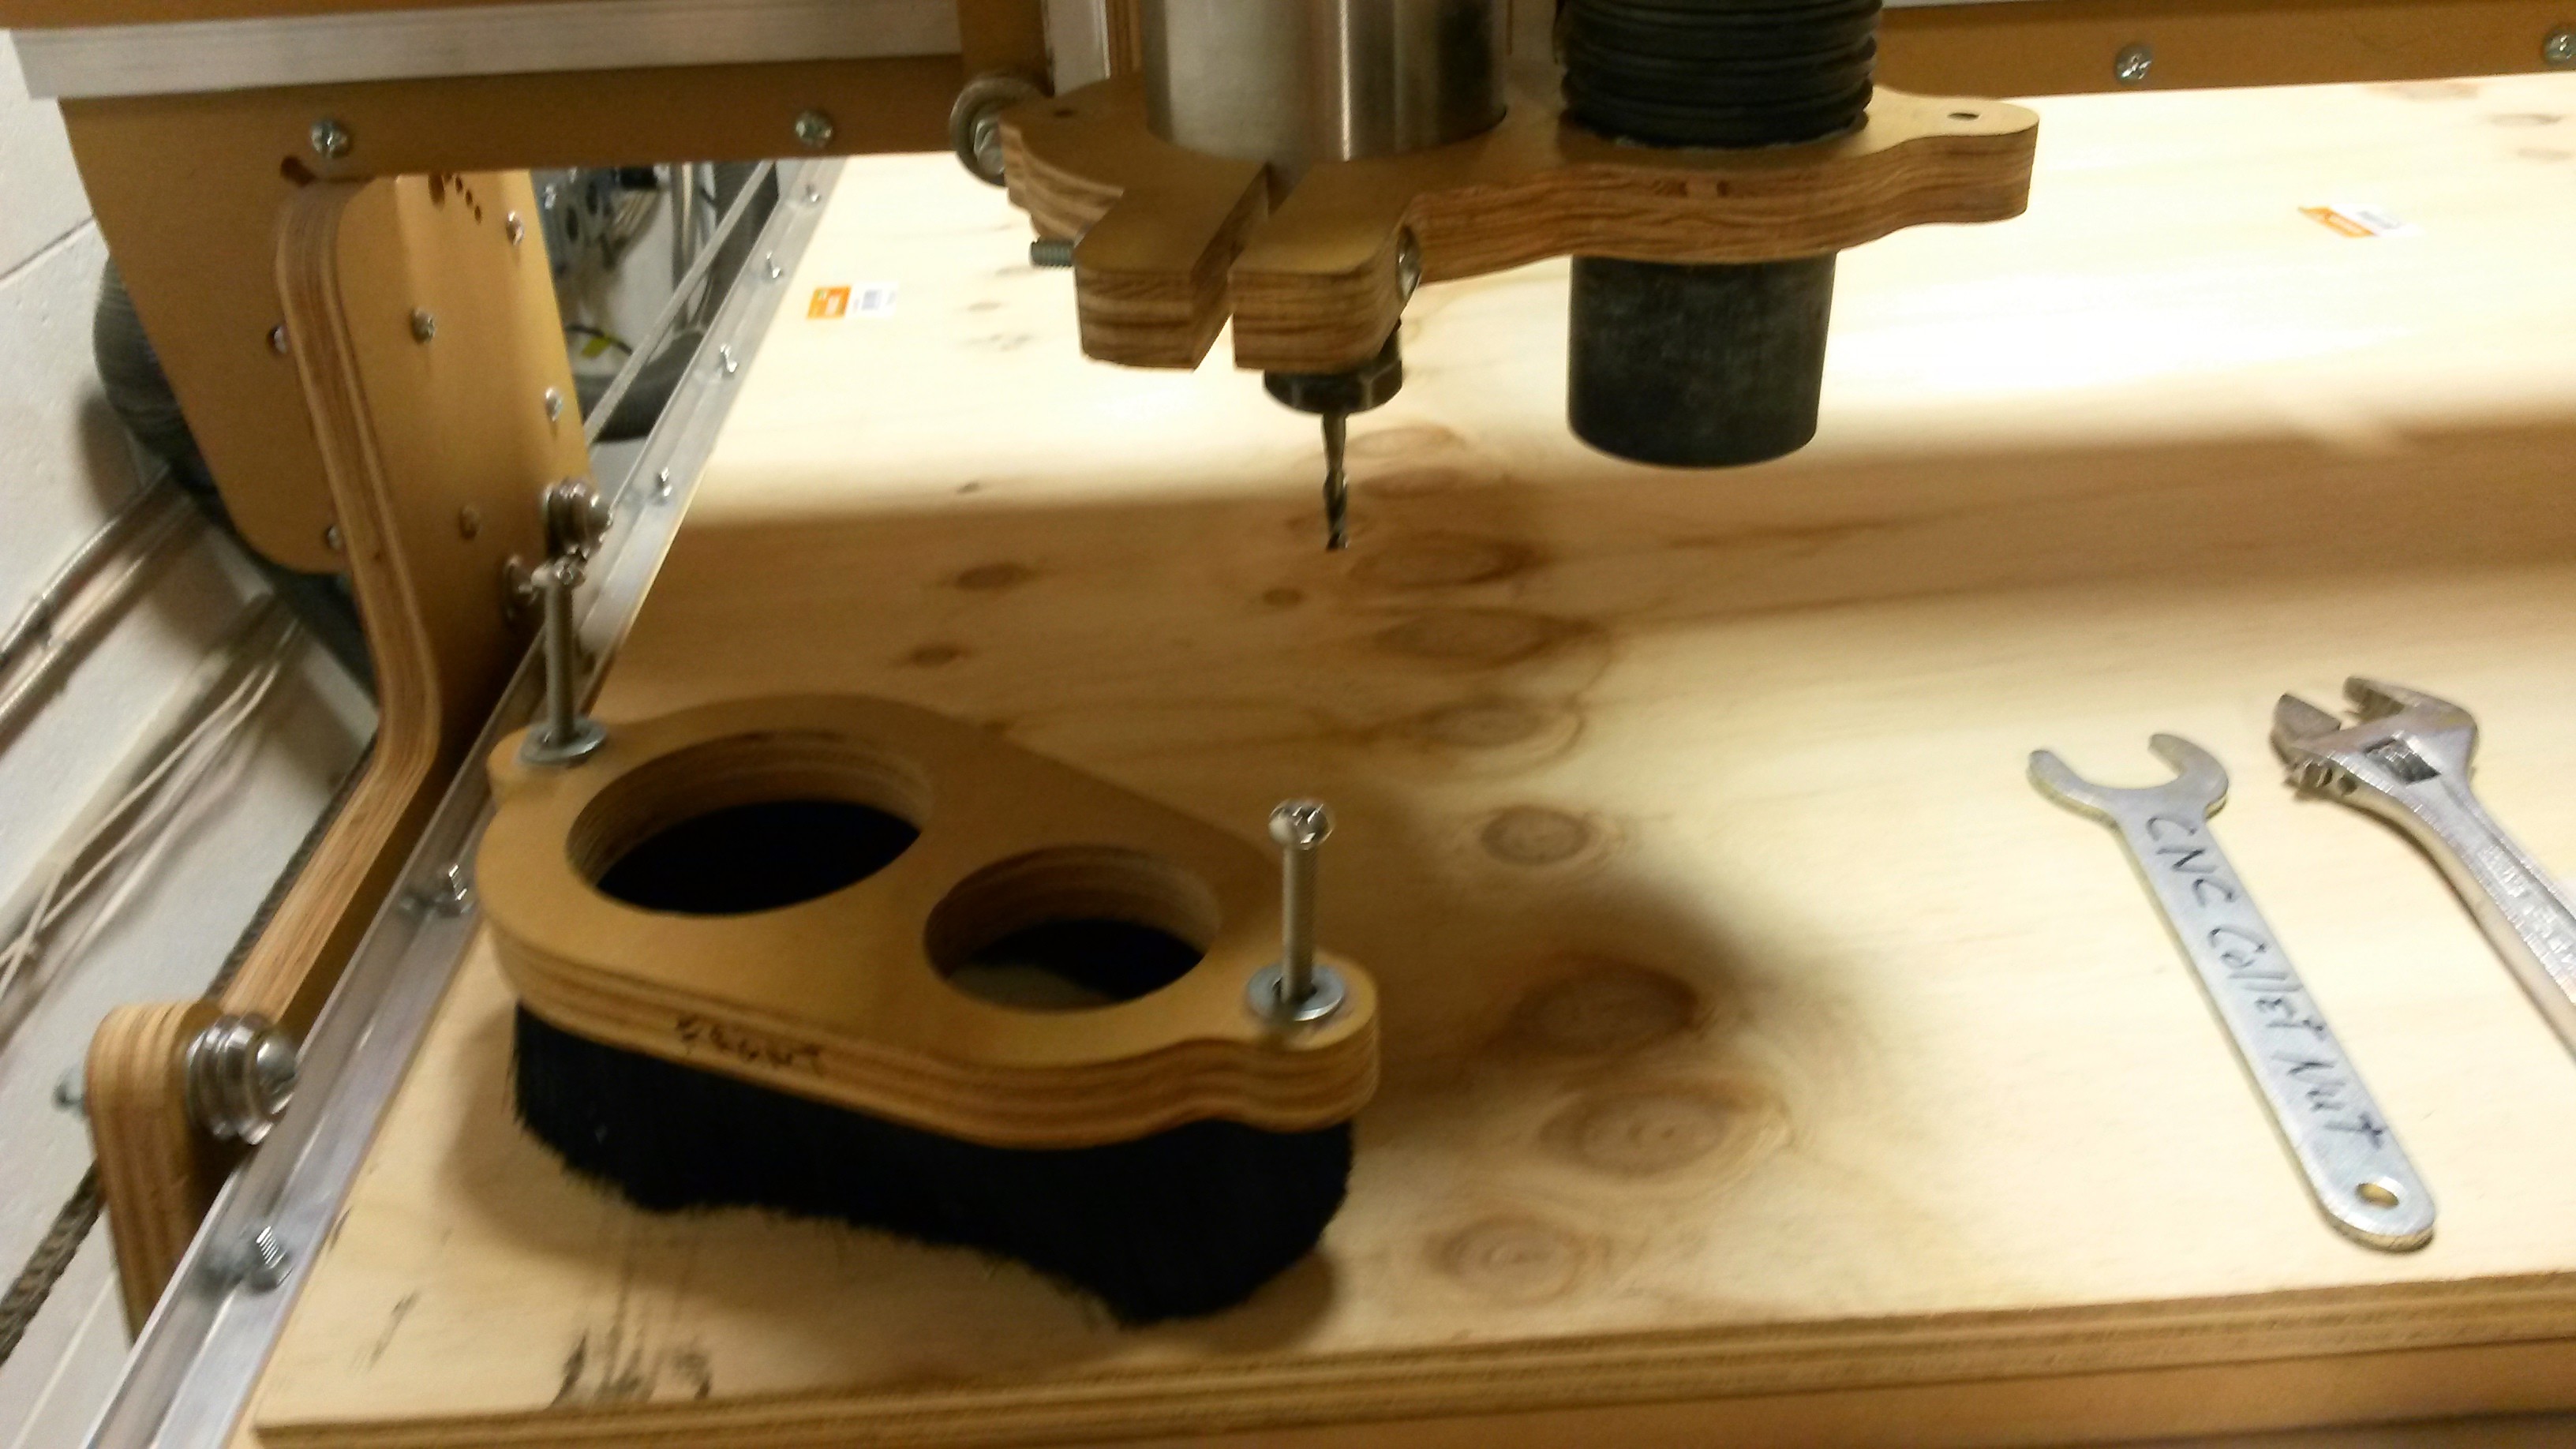
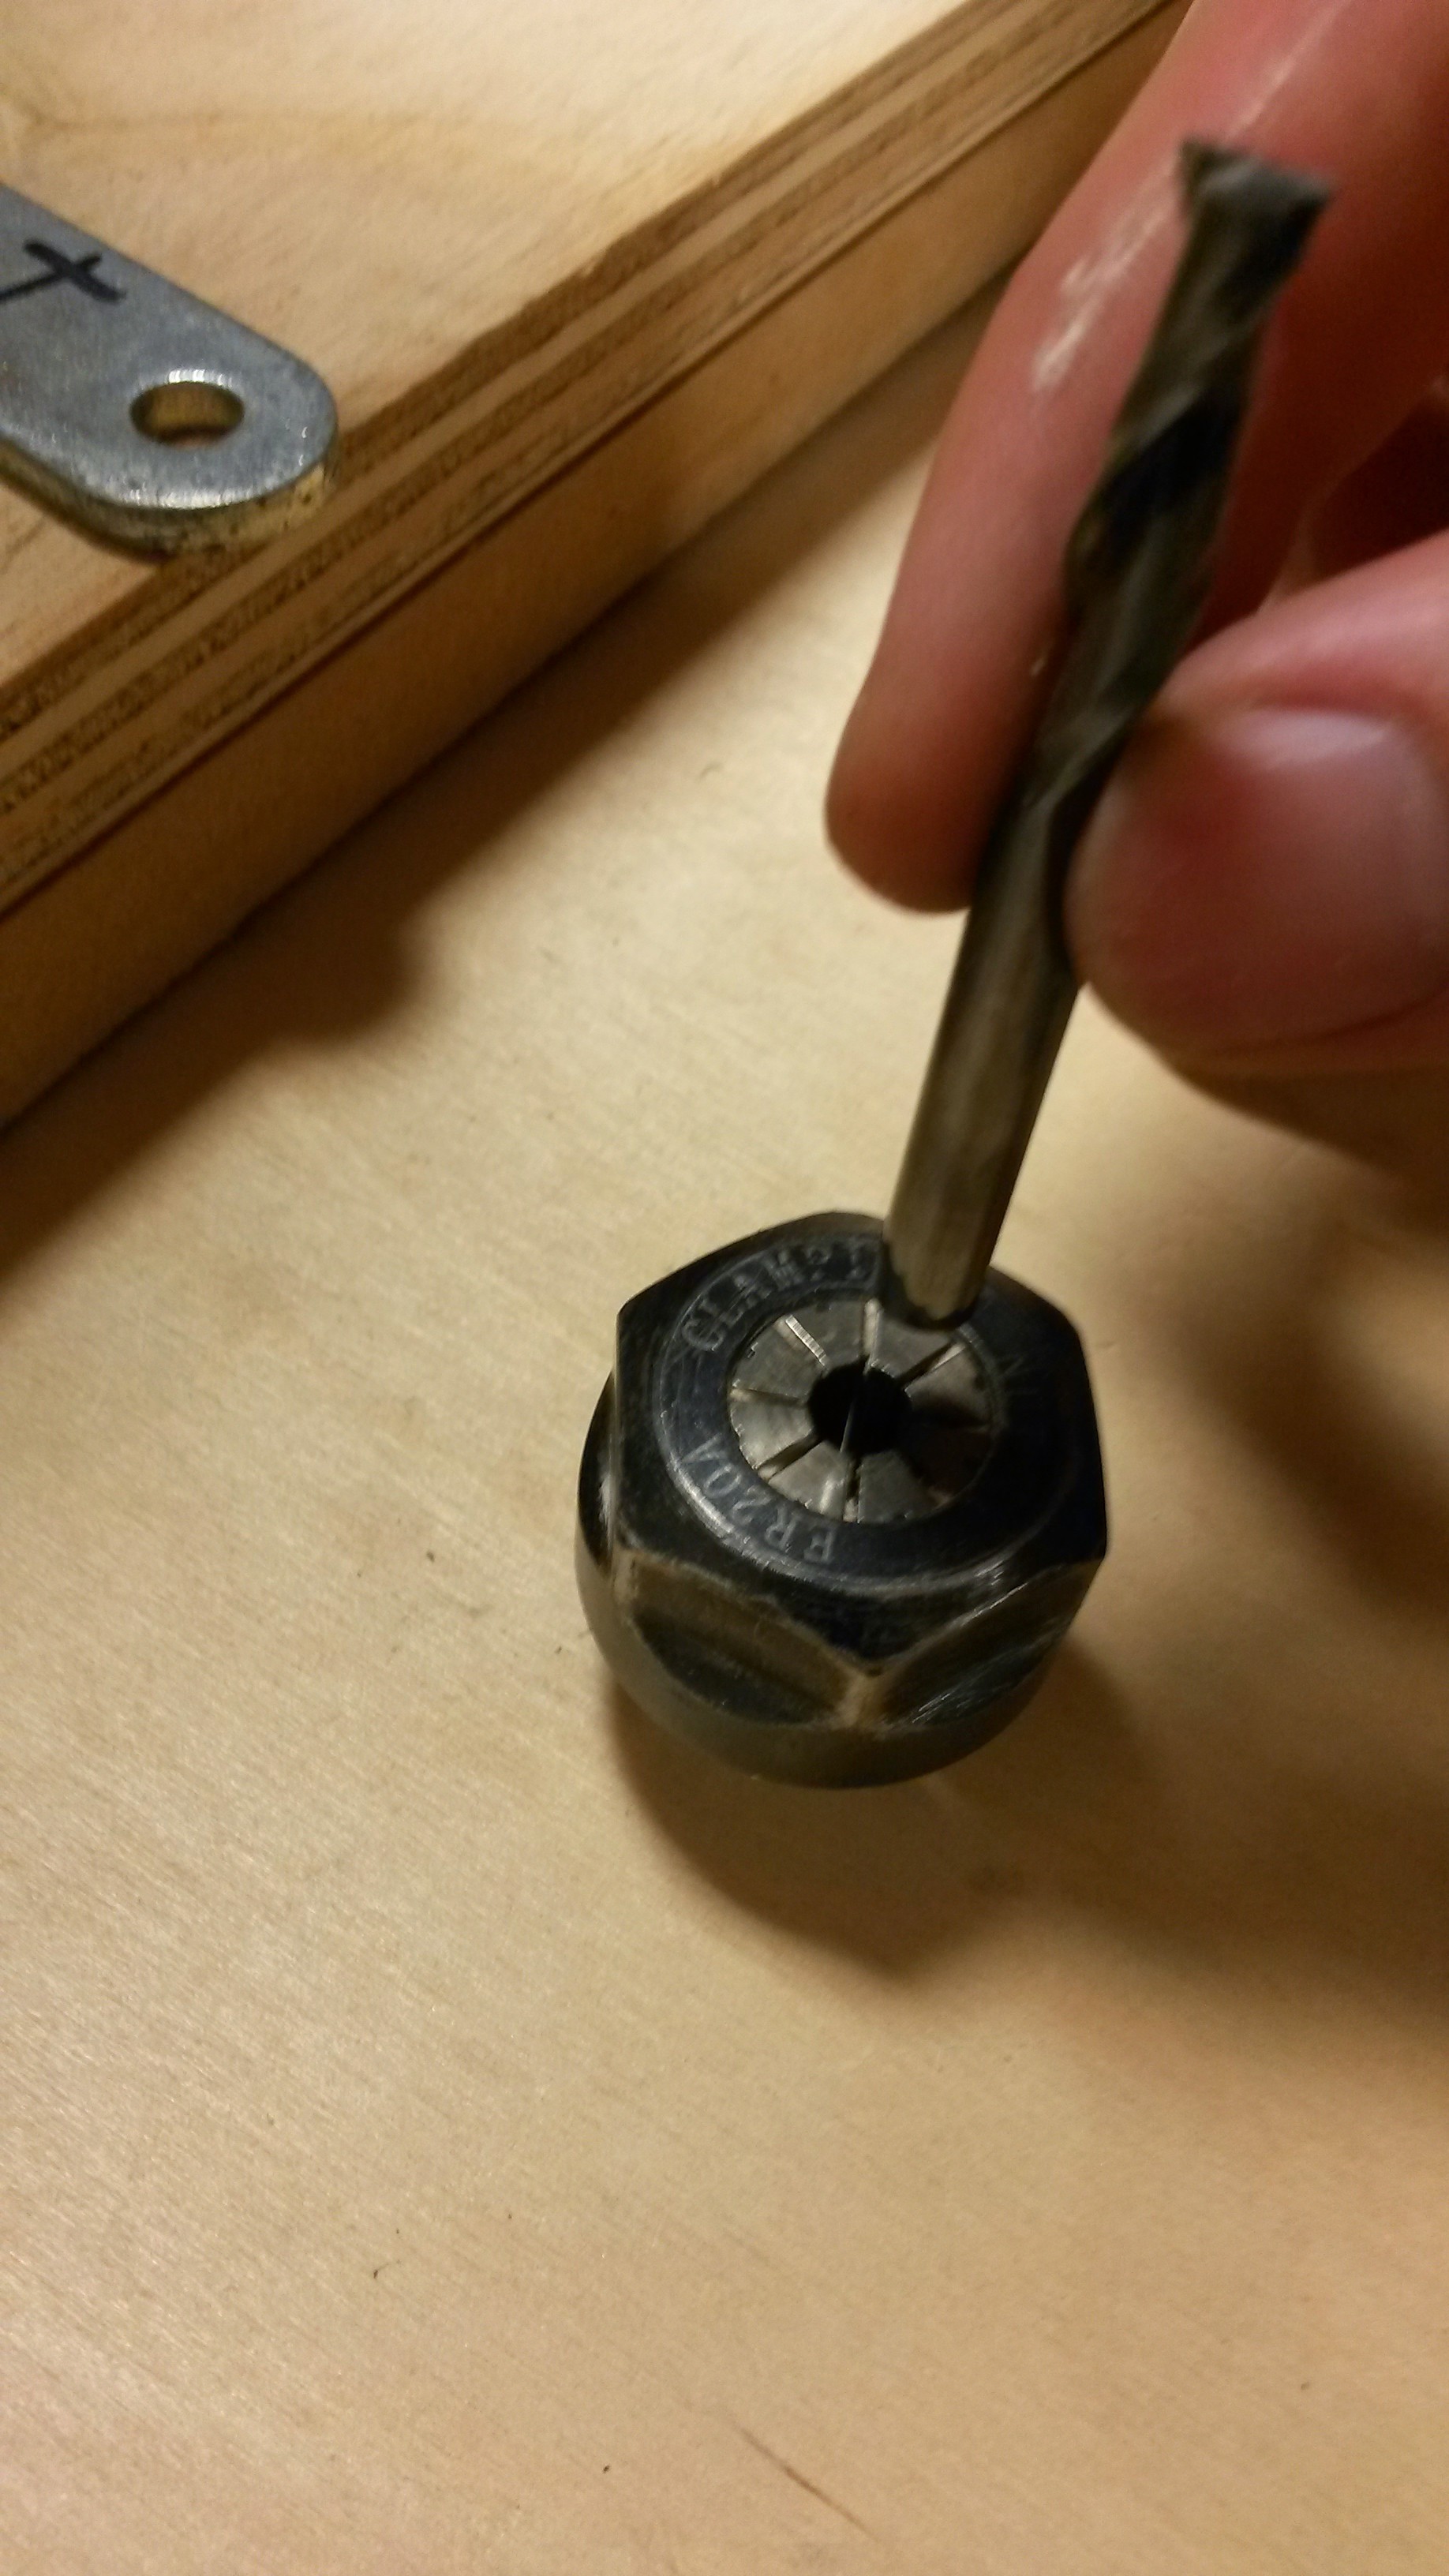
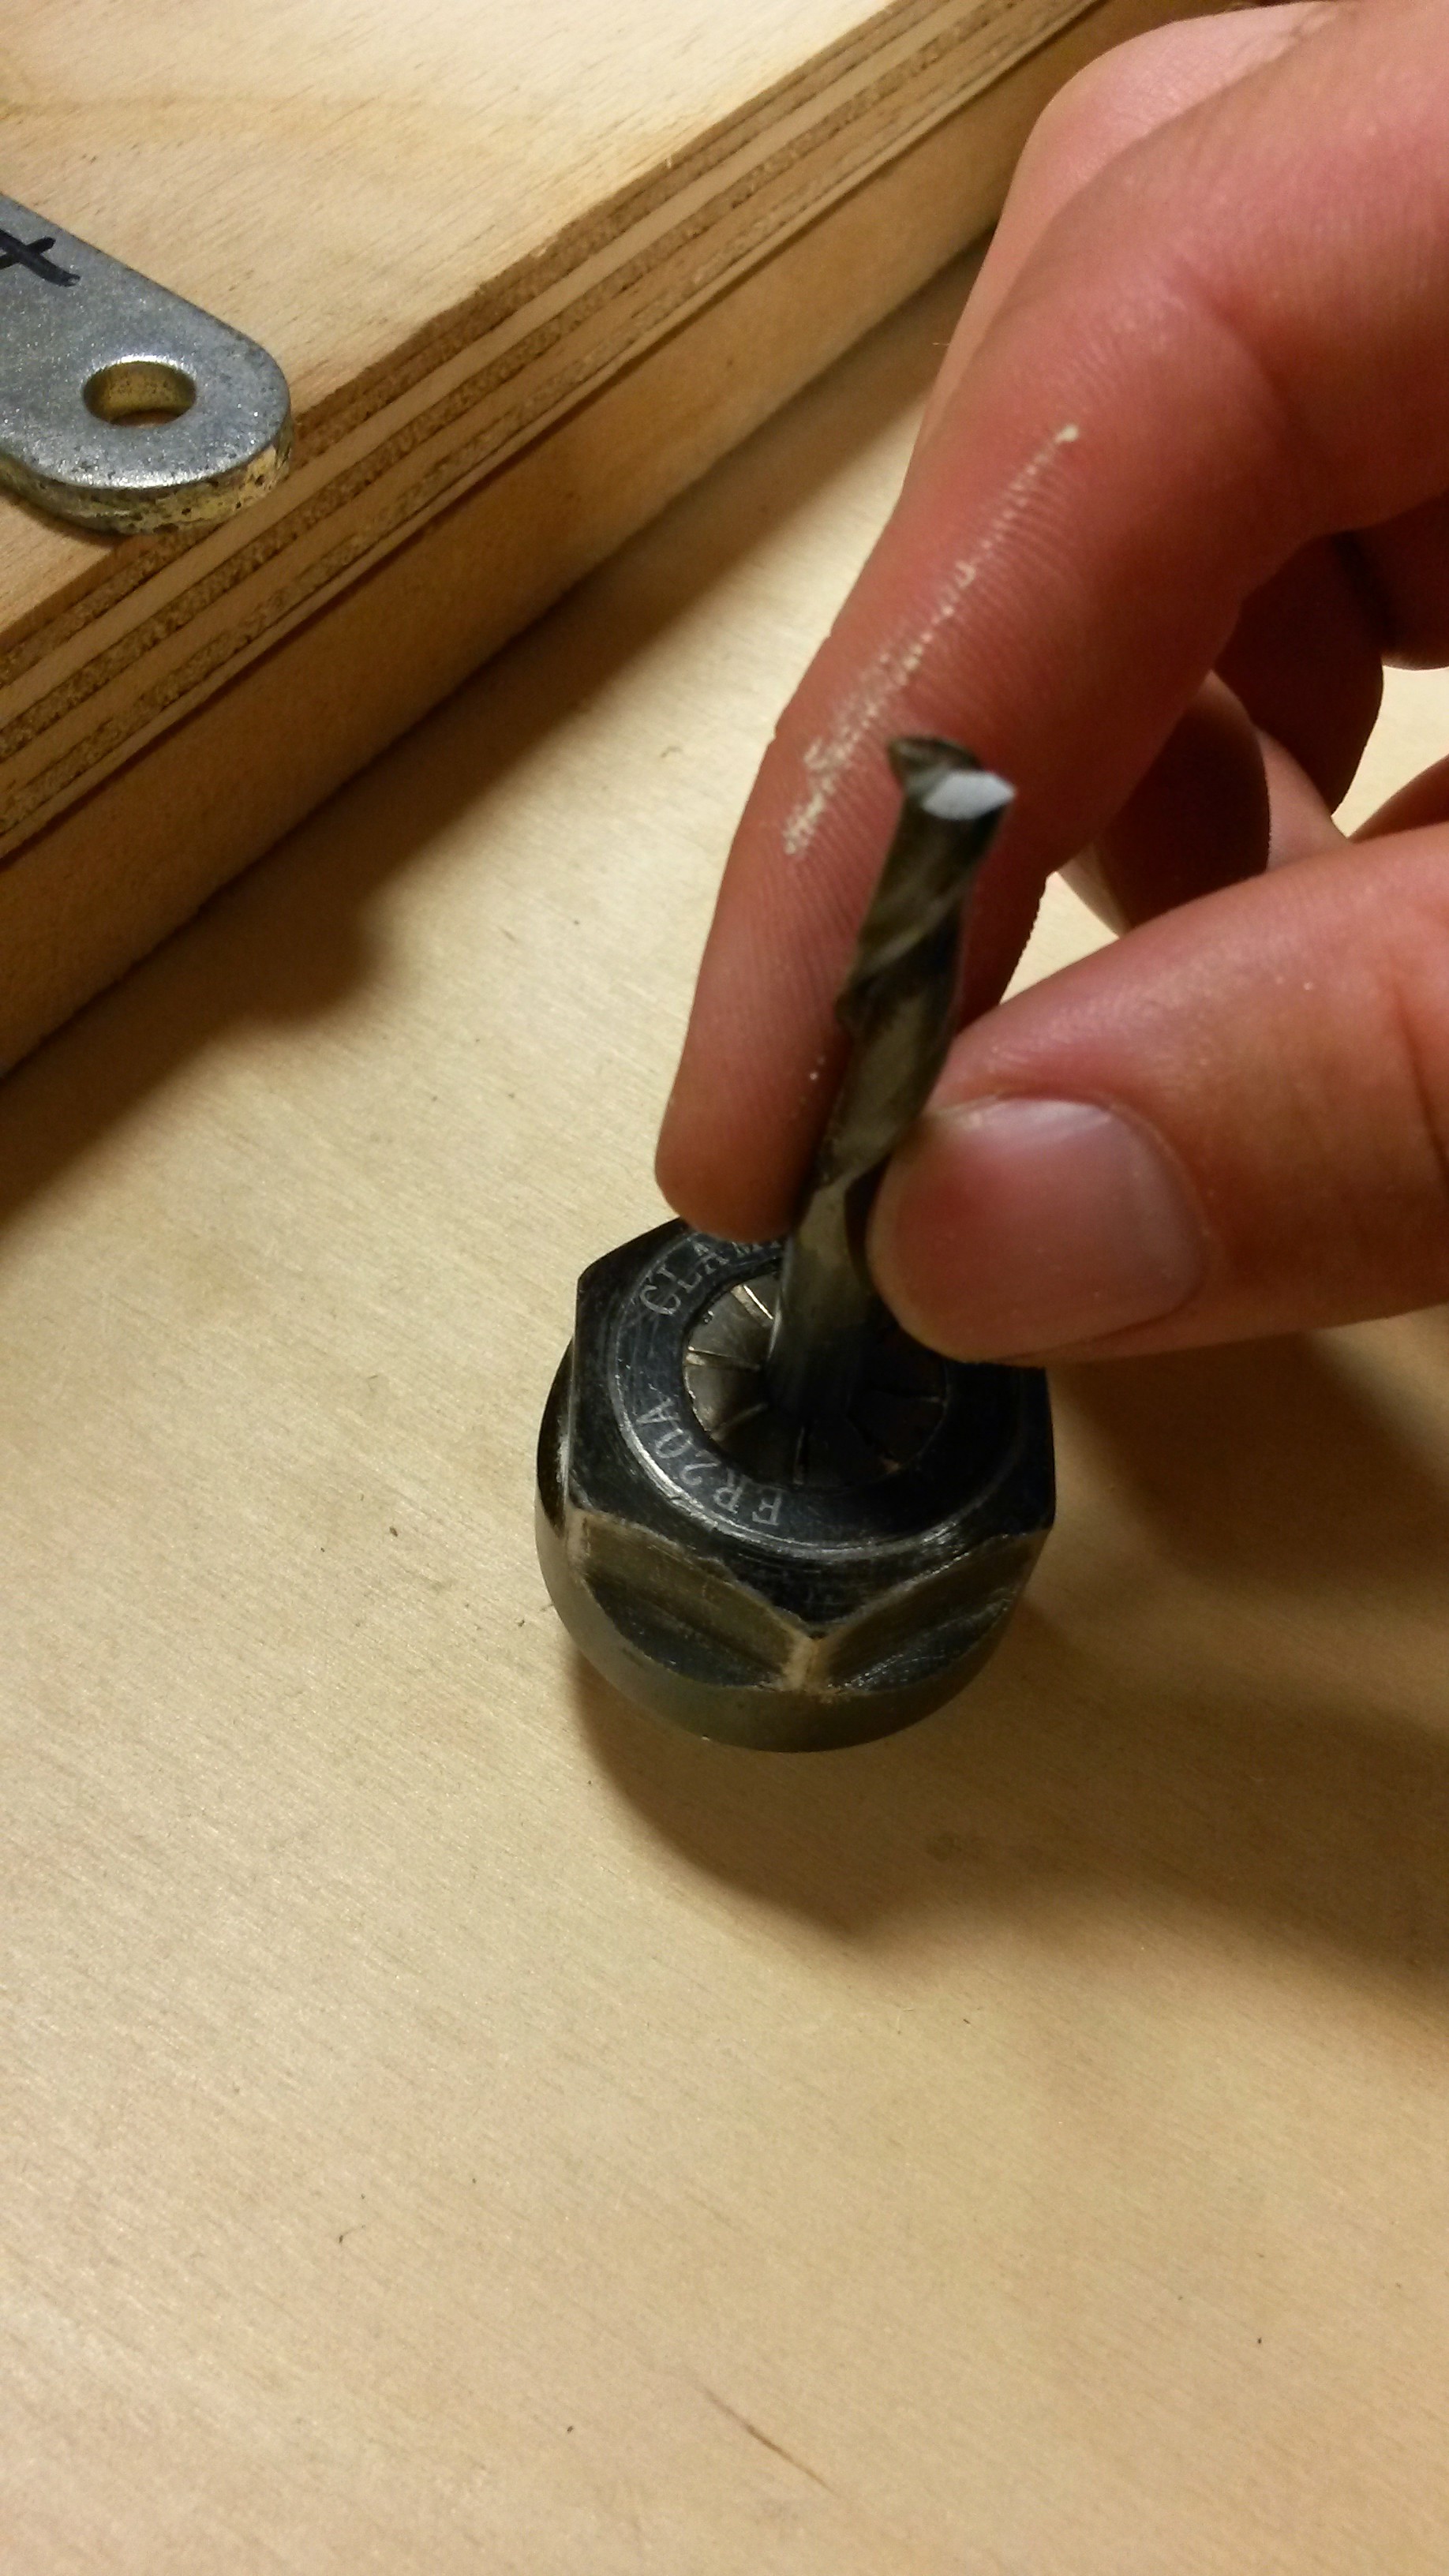
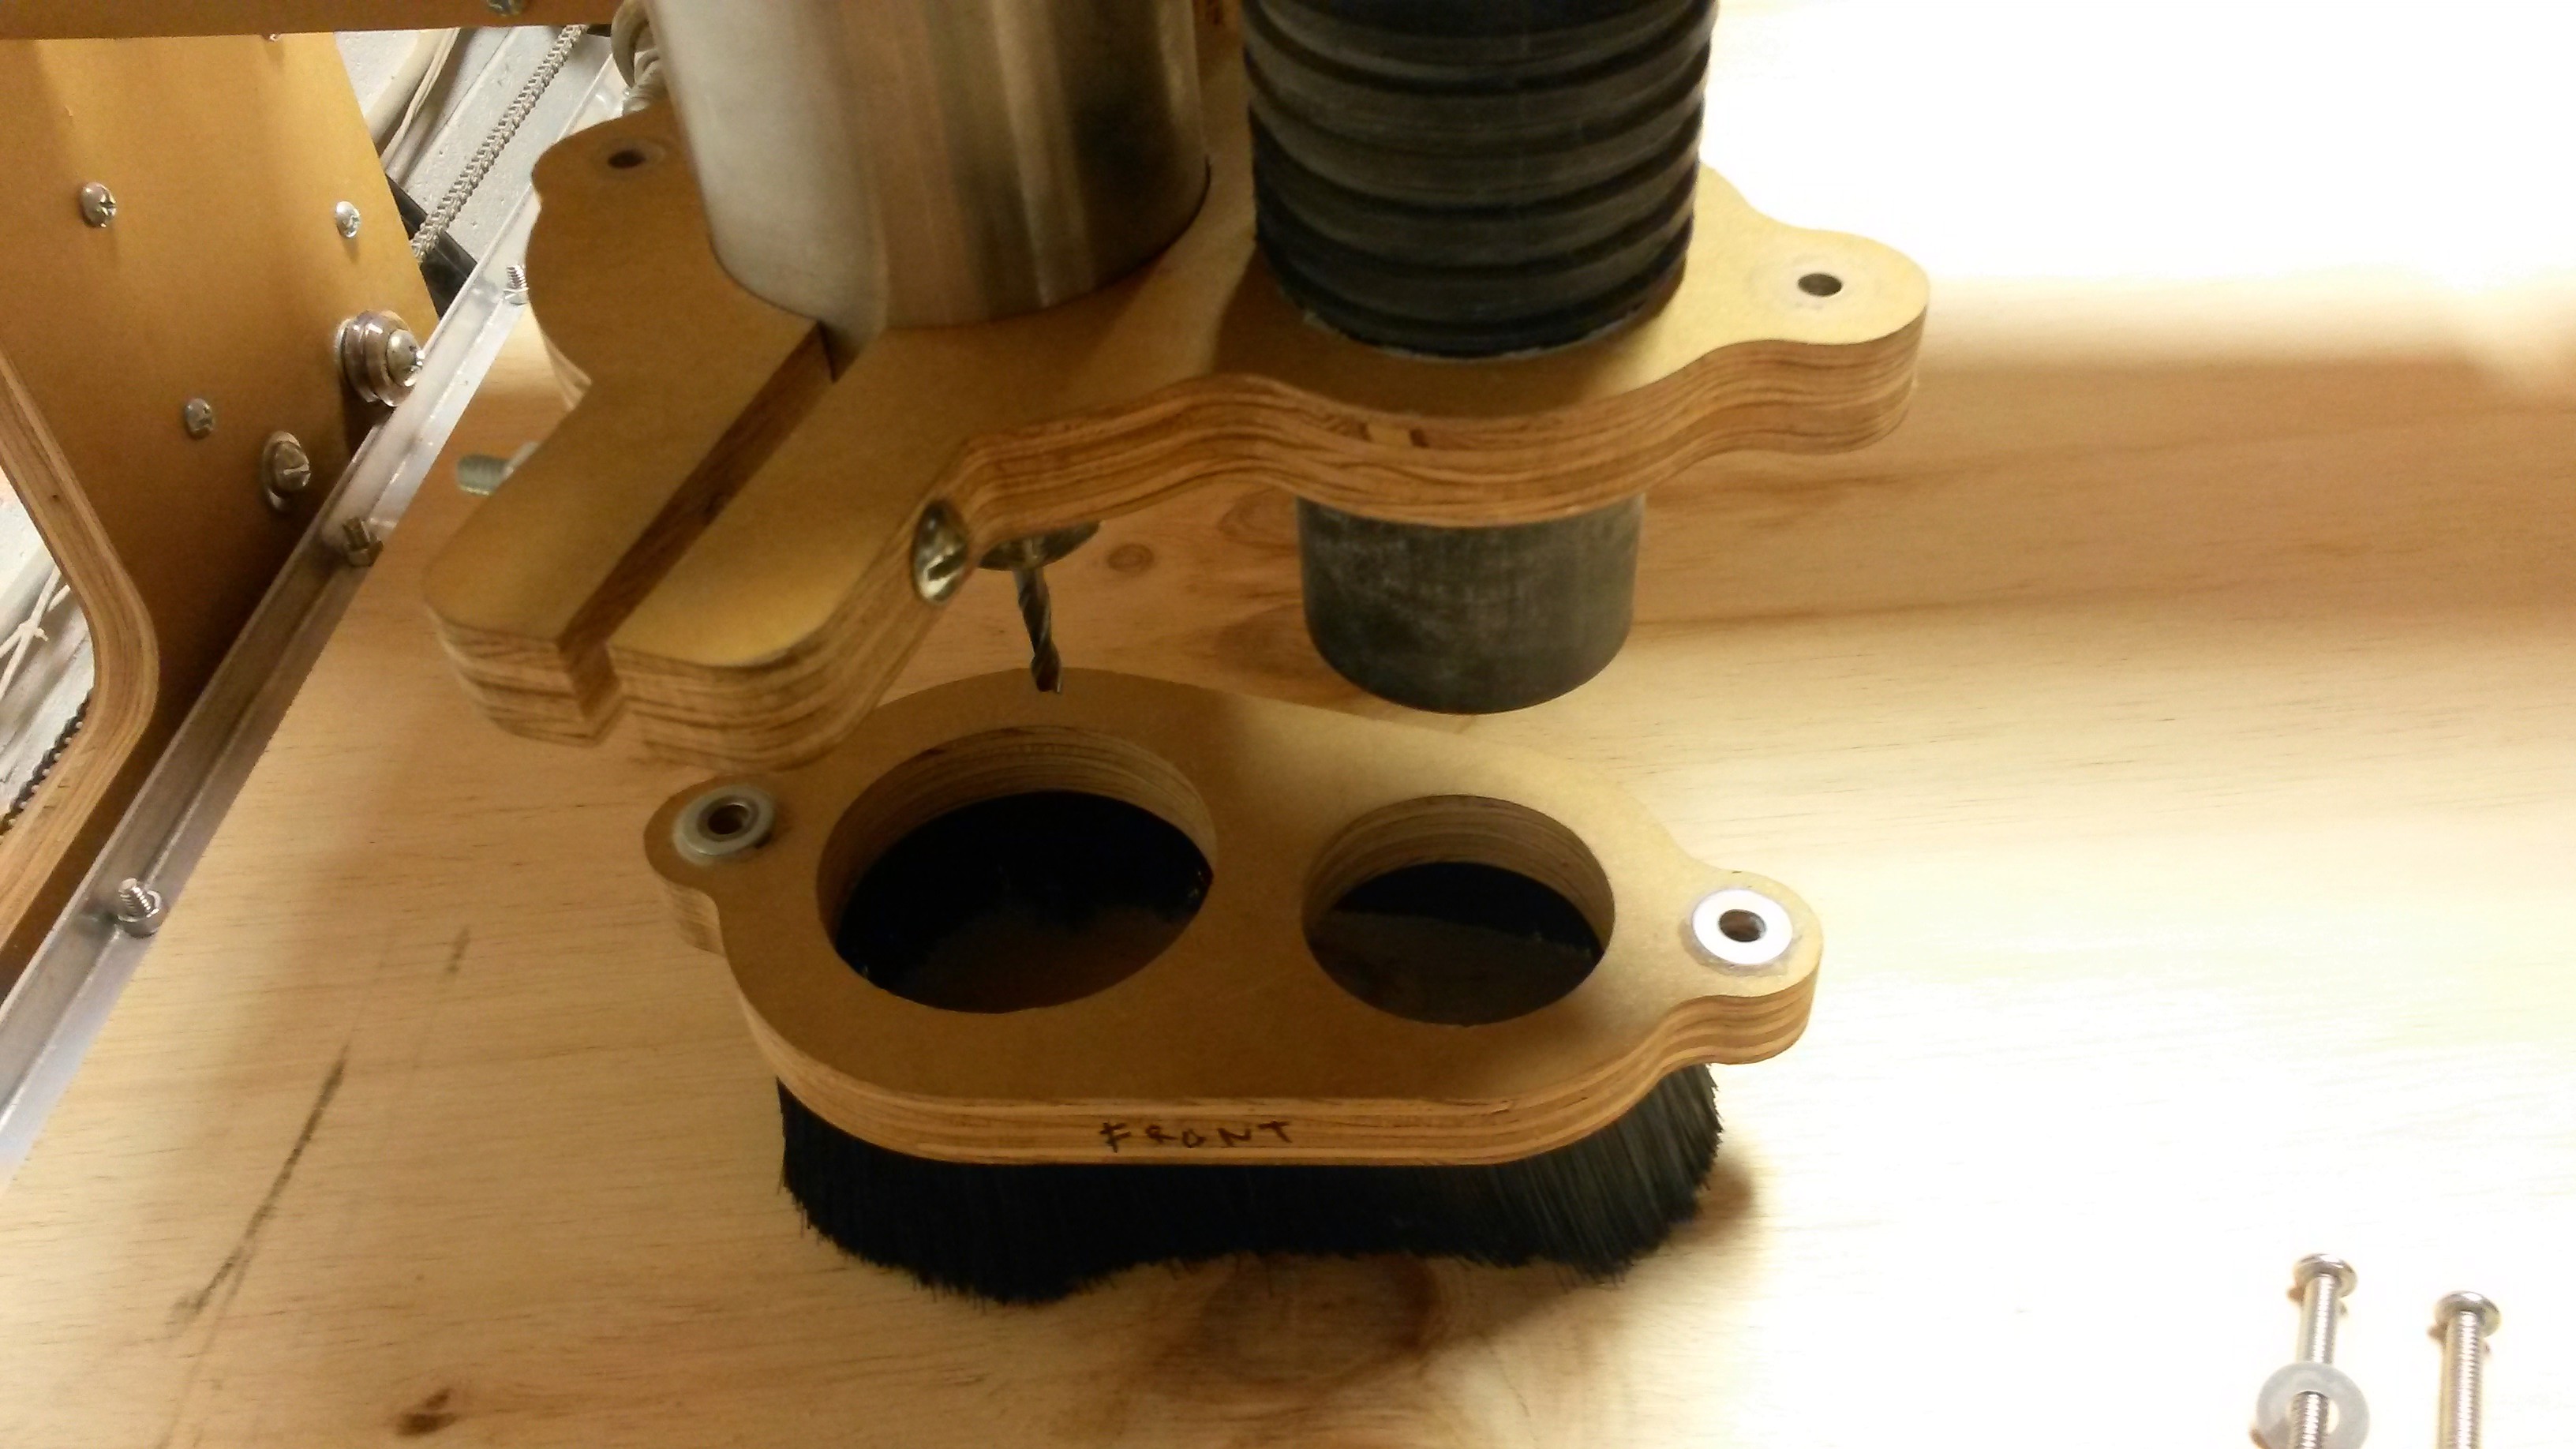
- Remove debris skirt using the two screws on top (Pictures 1&2)
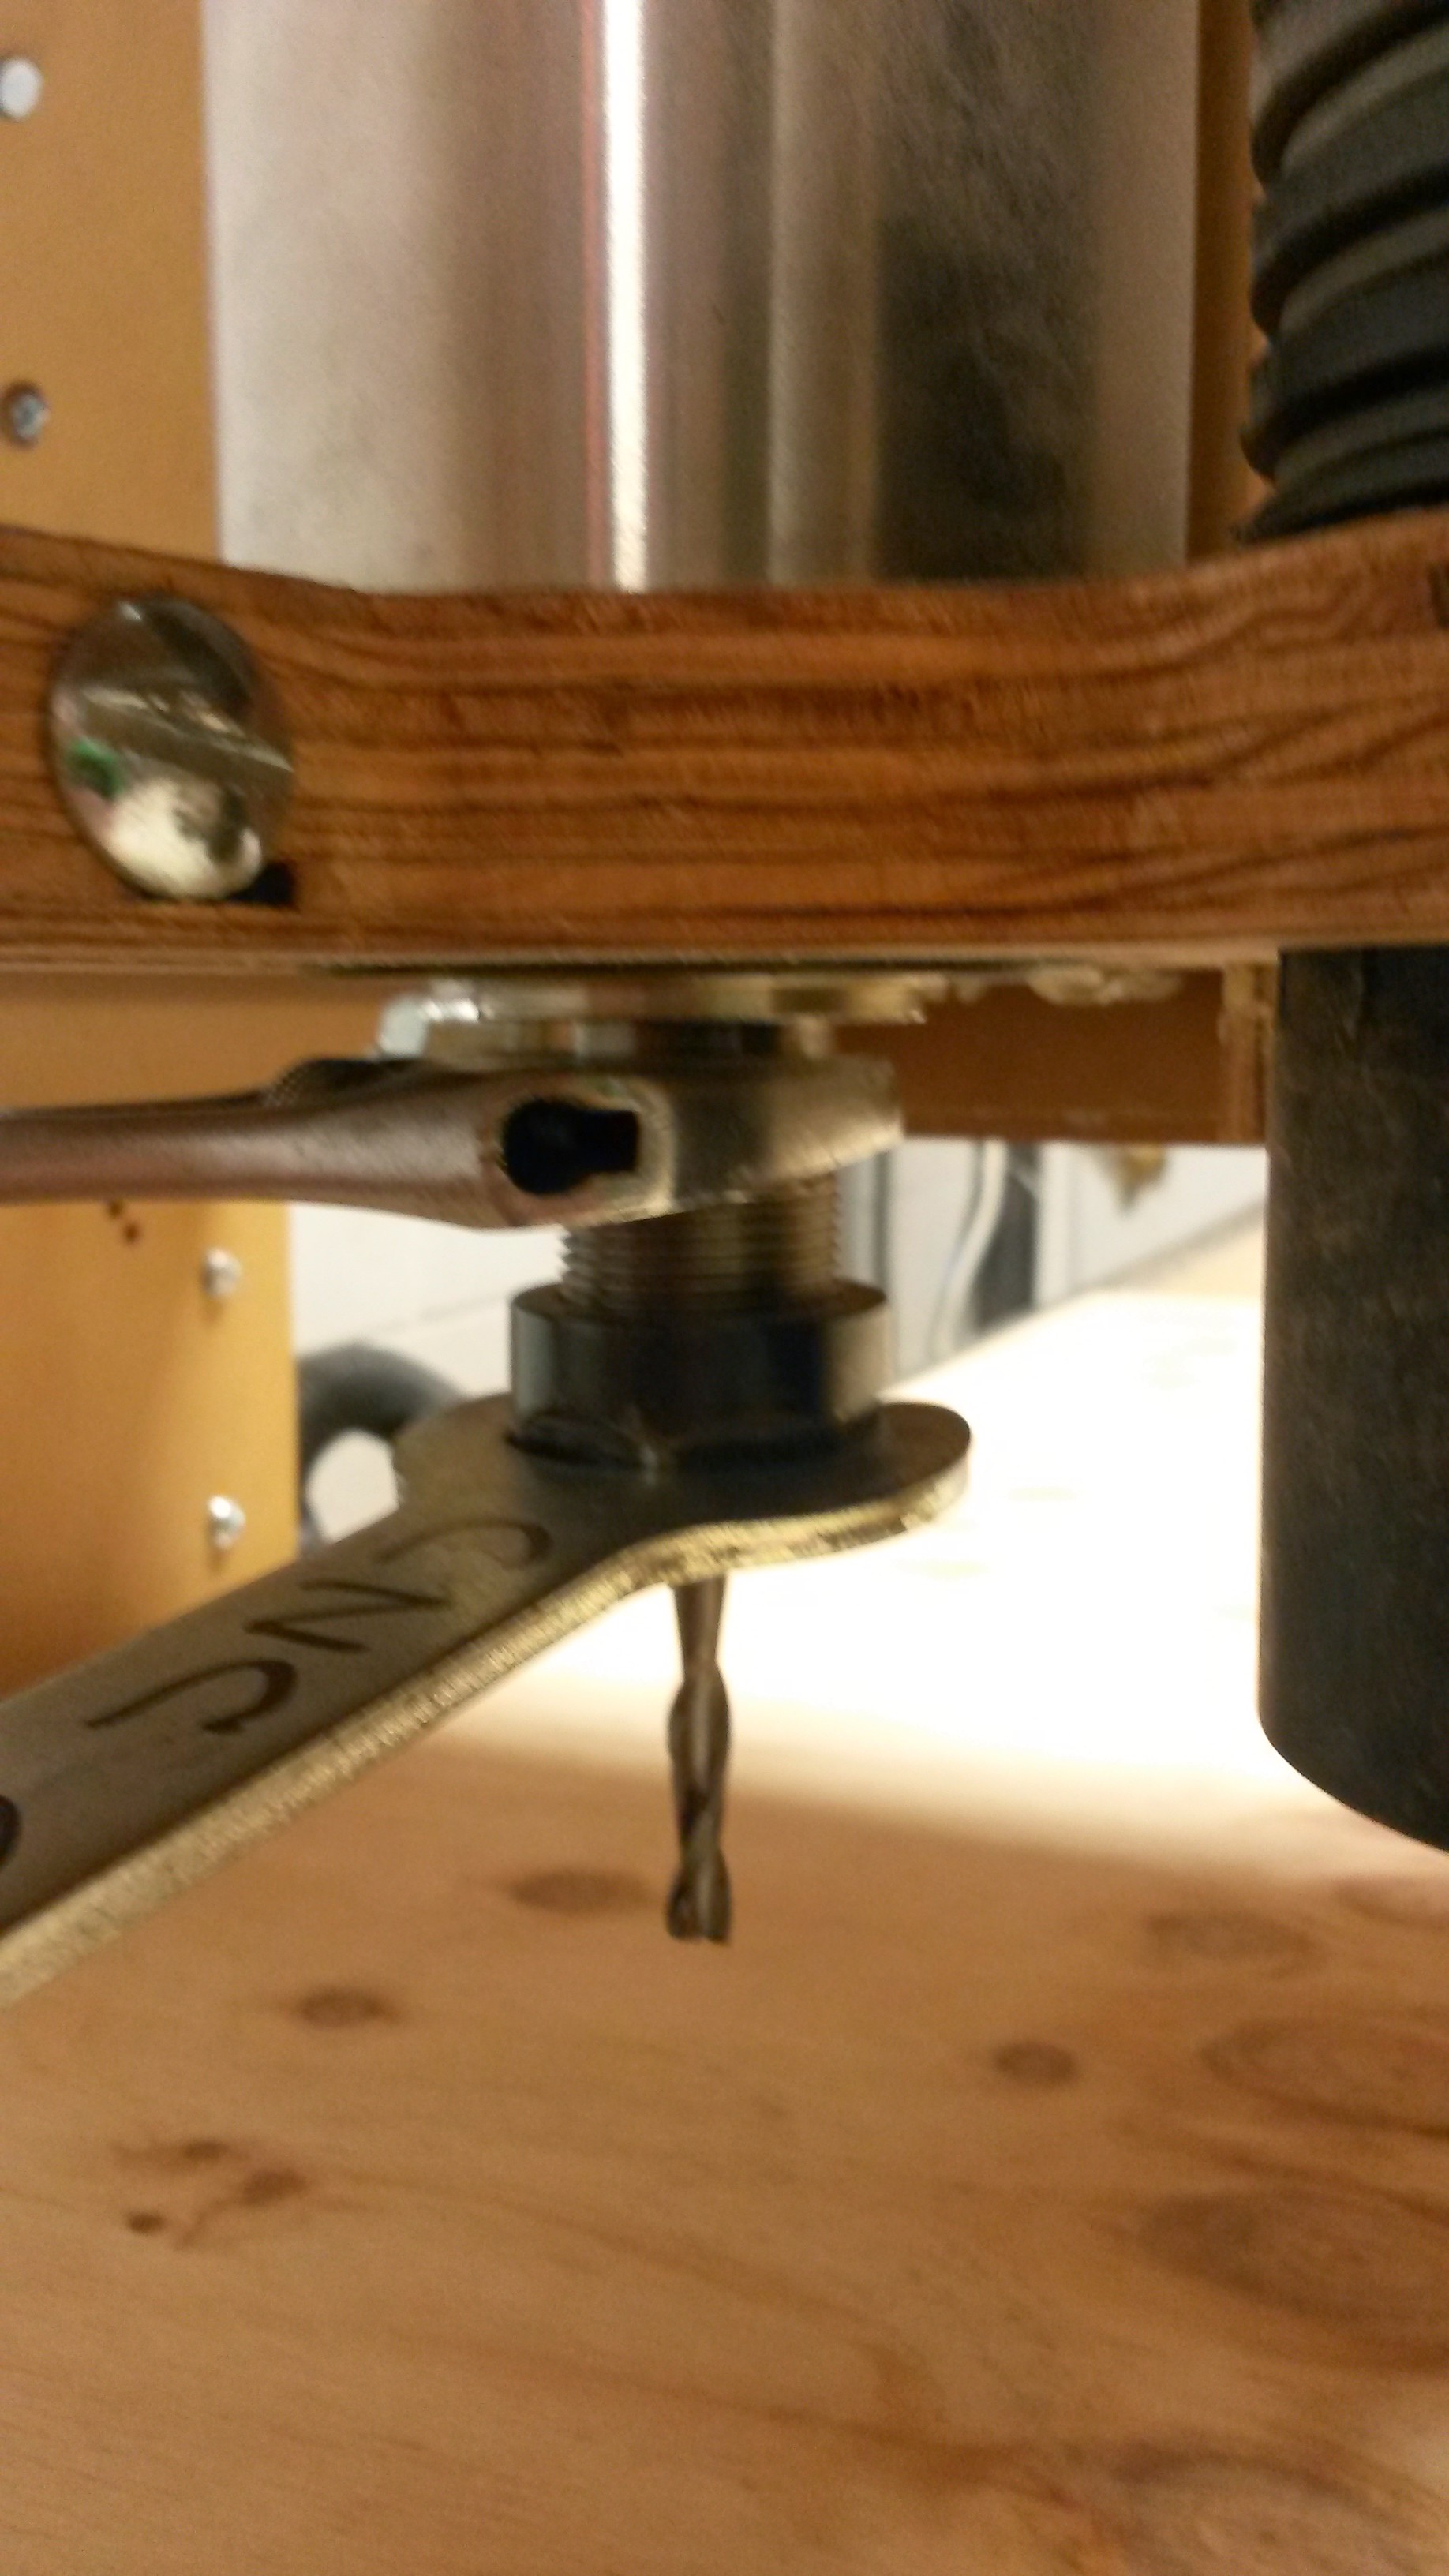
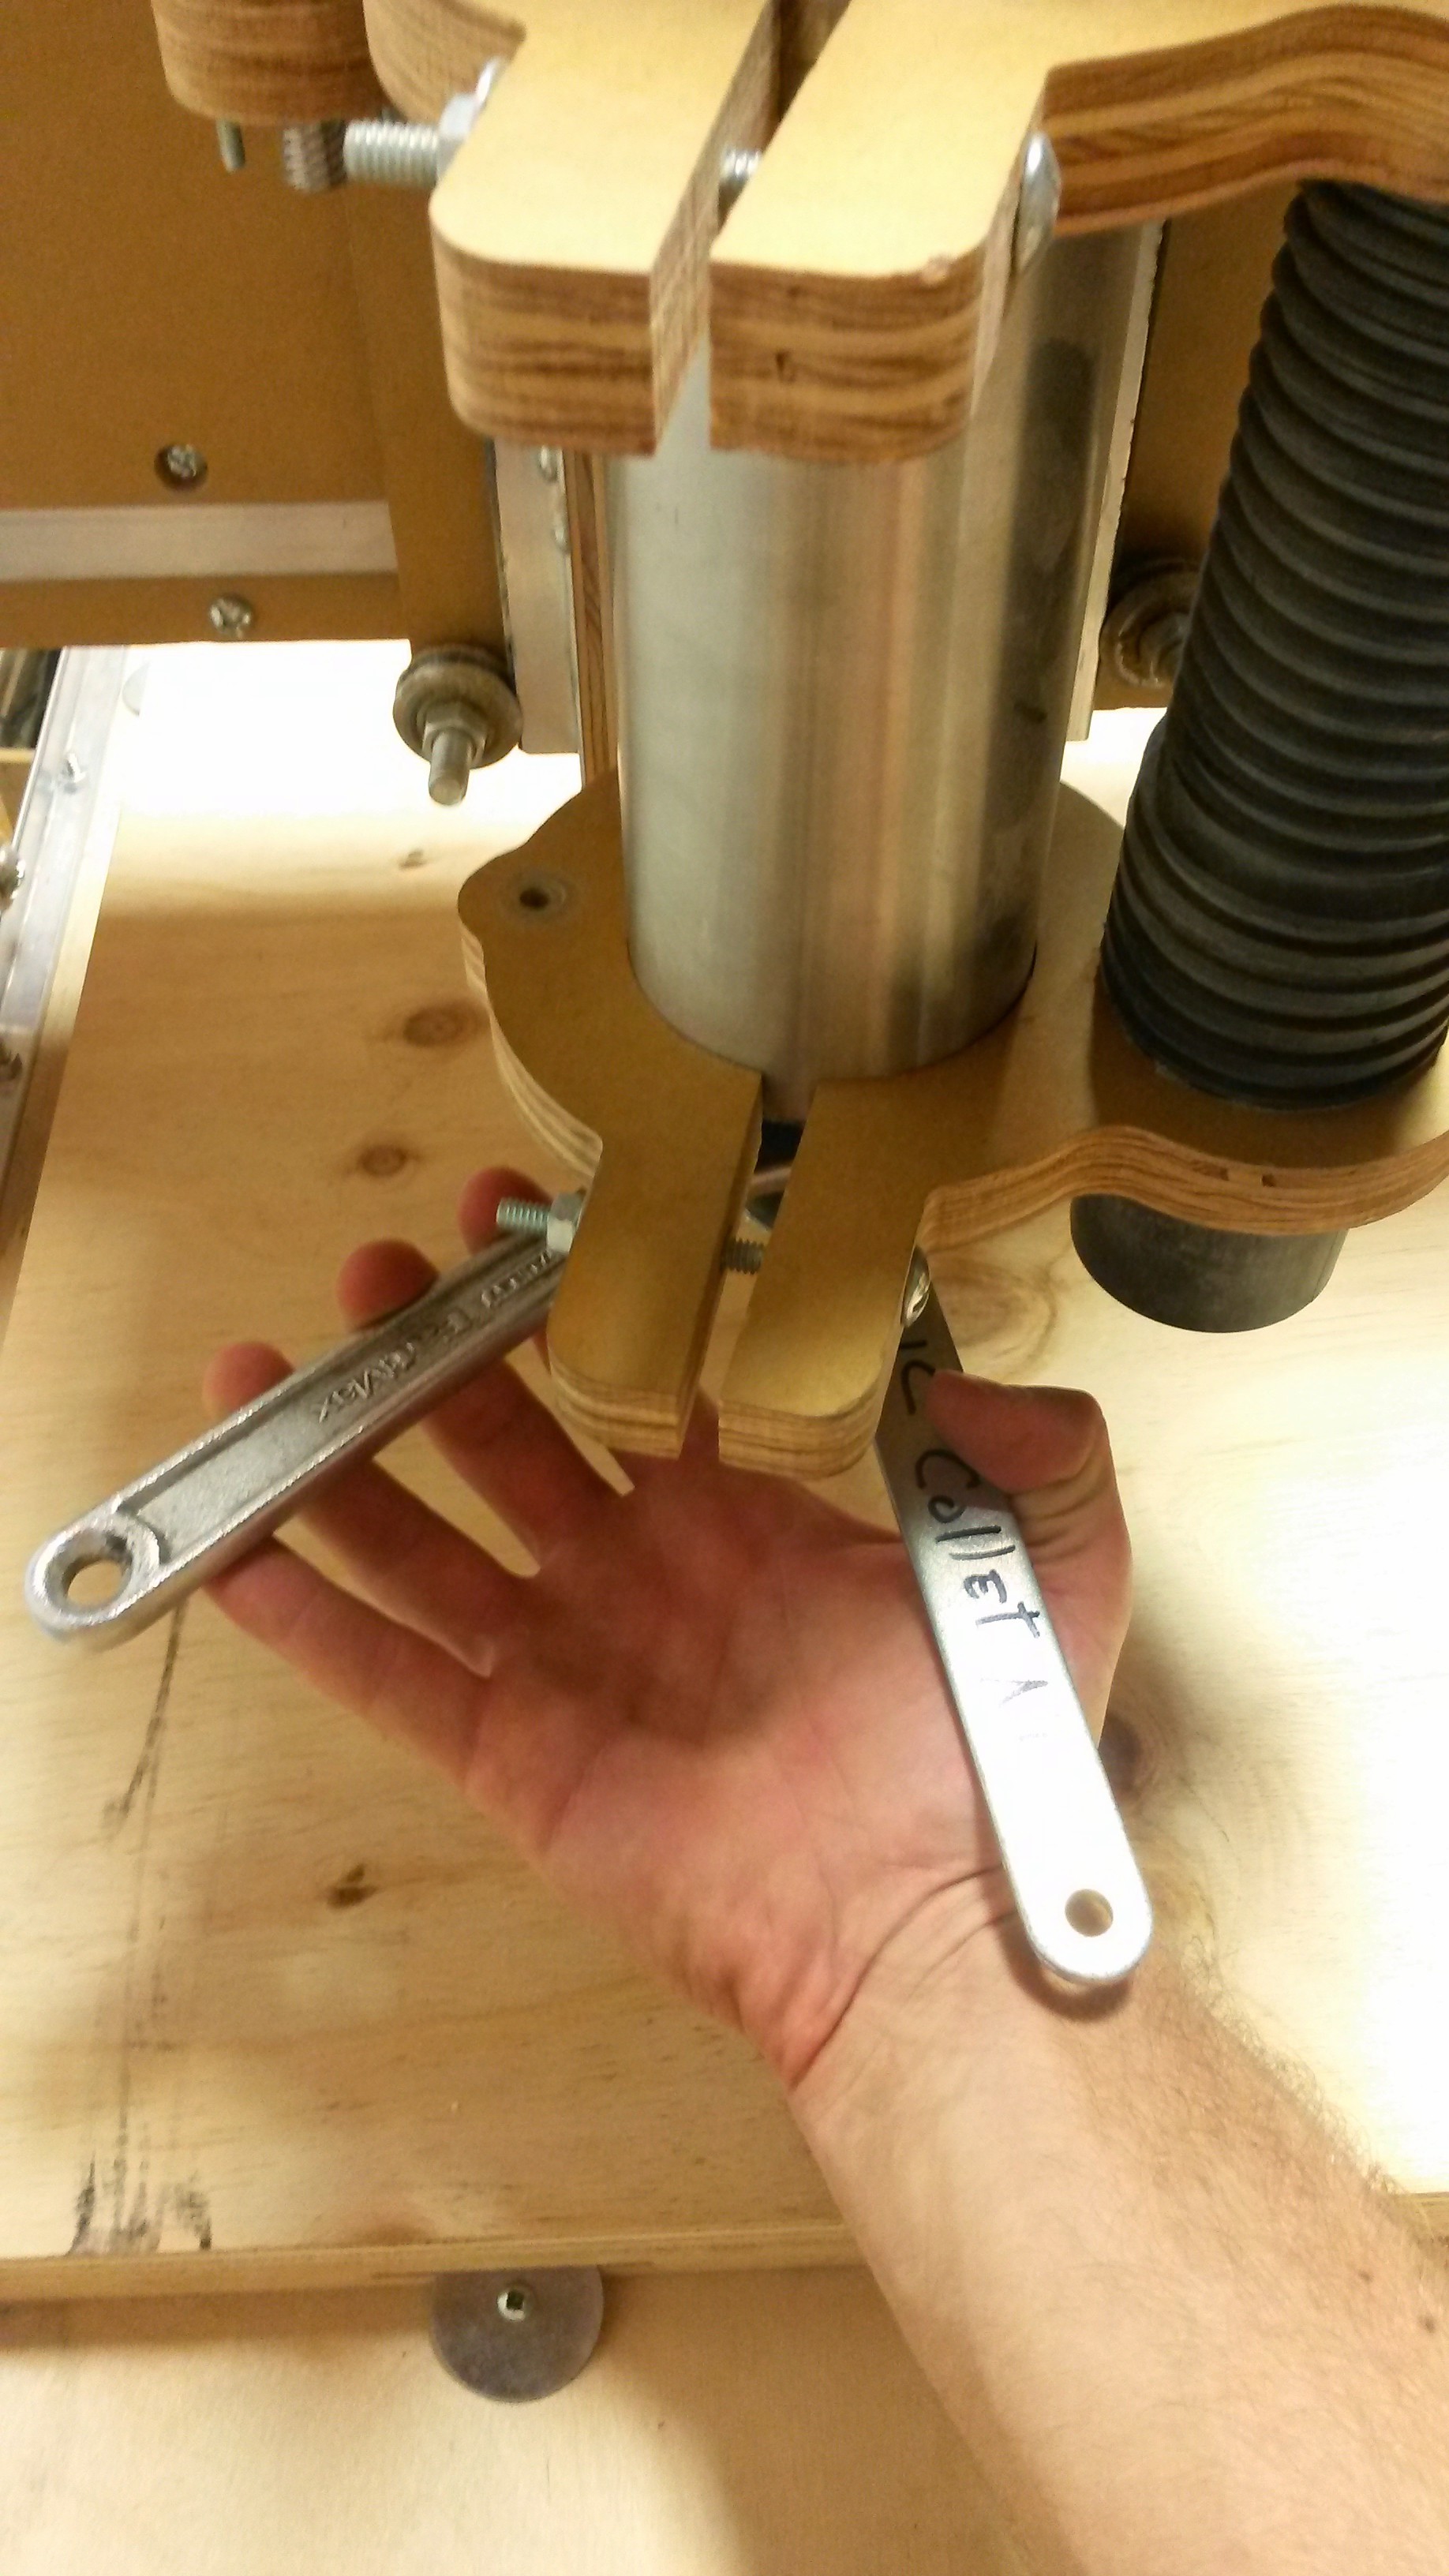
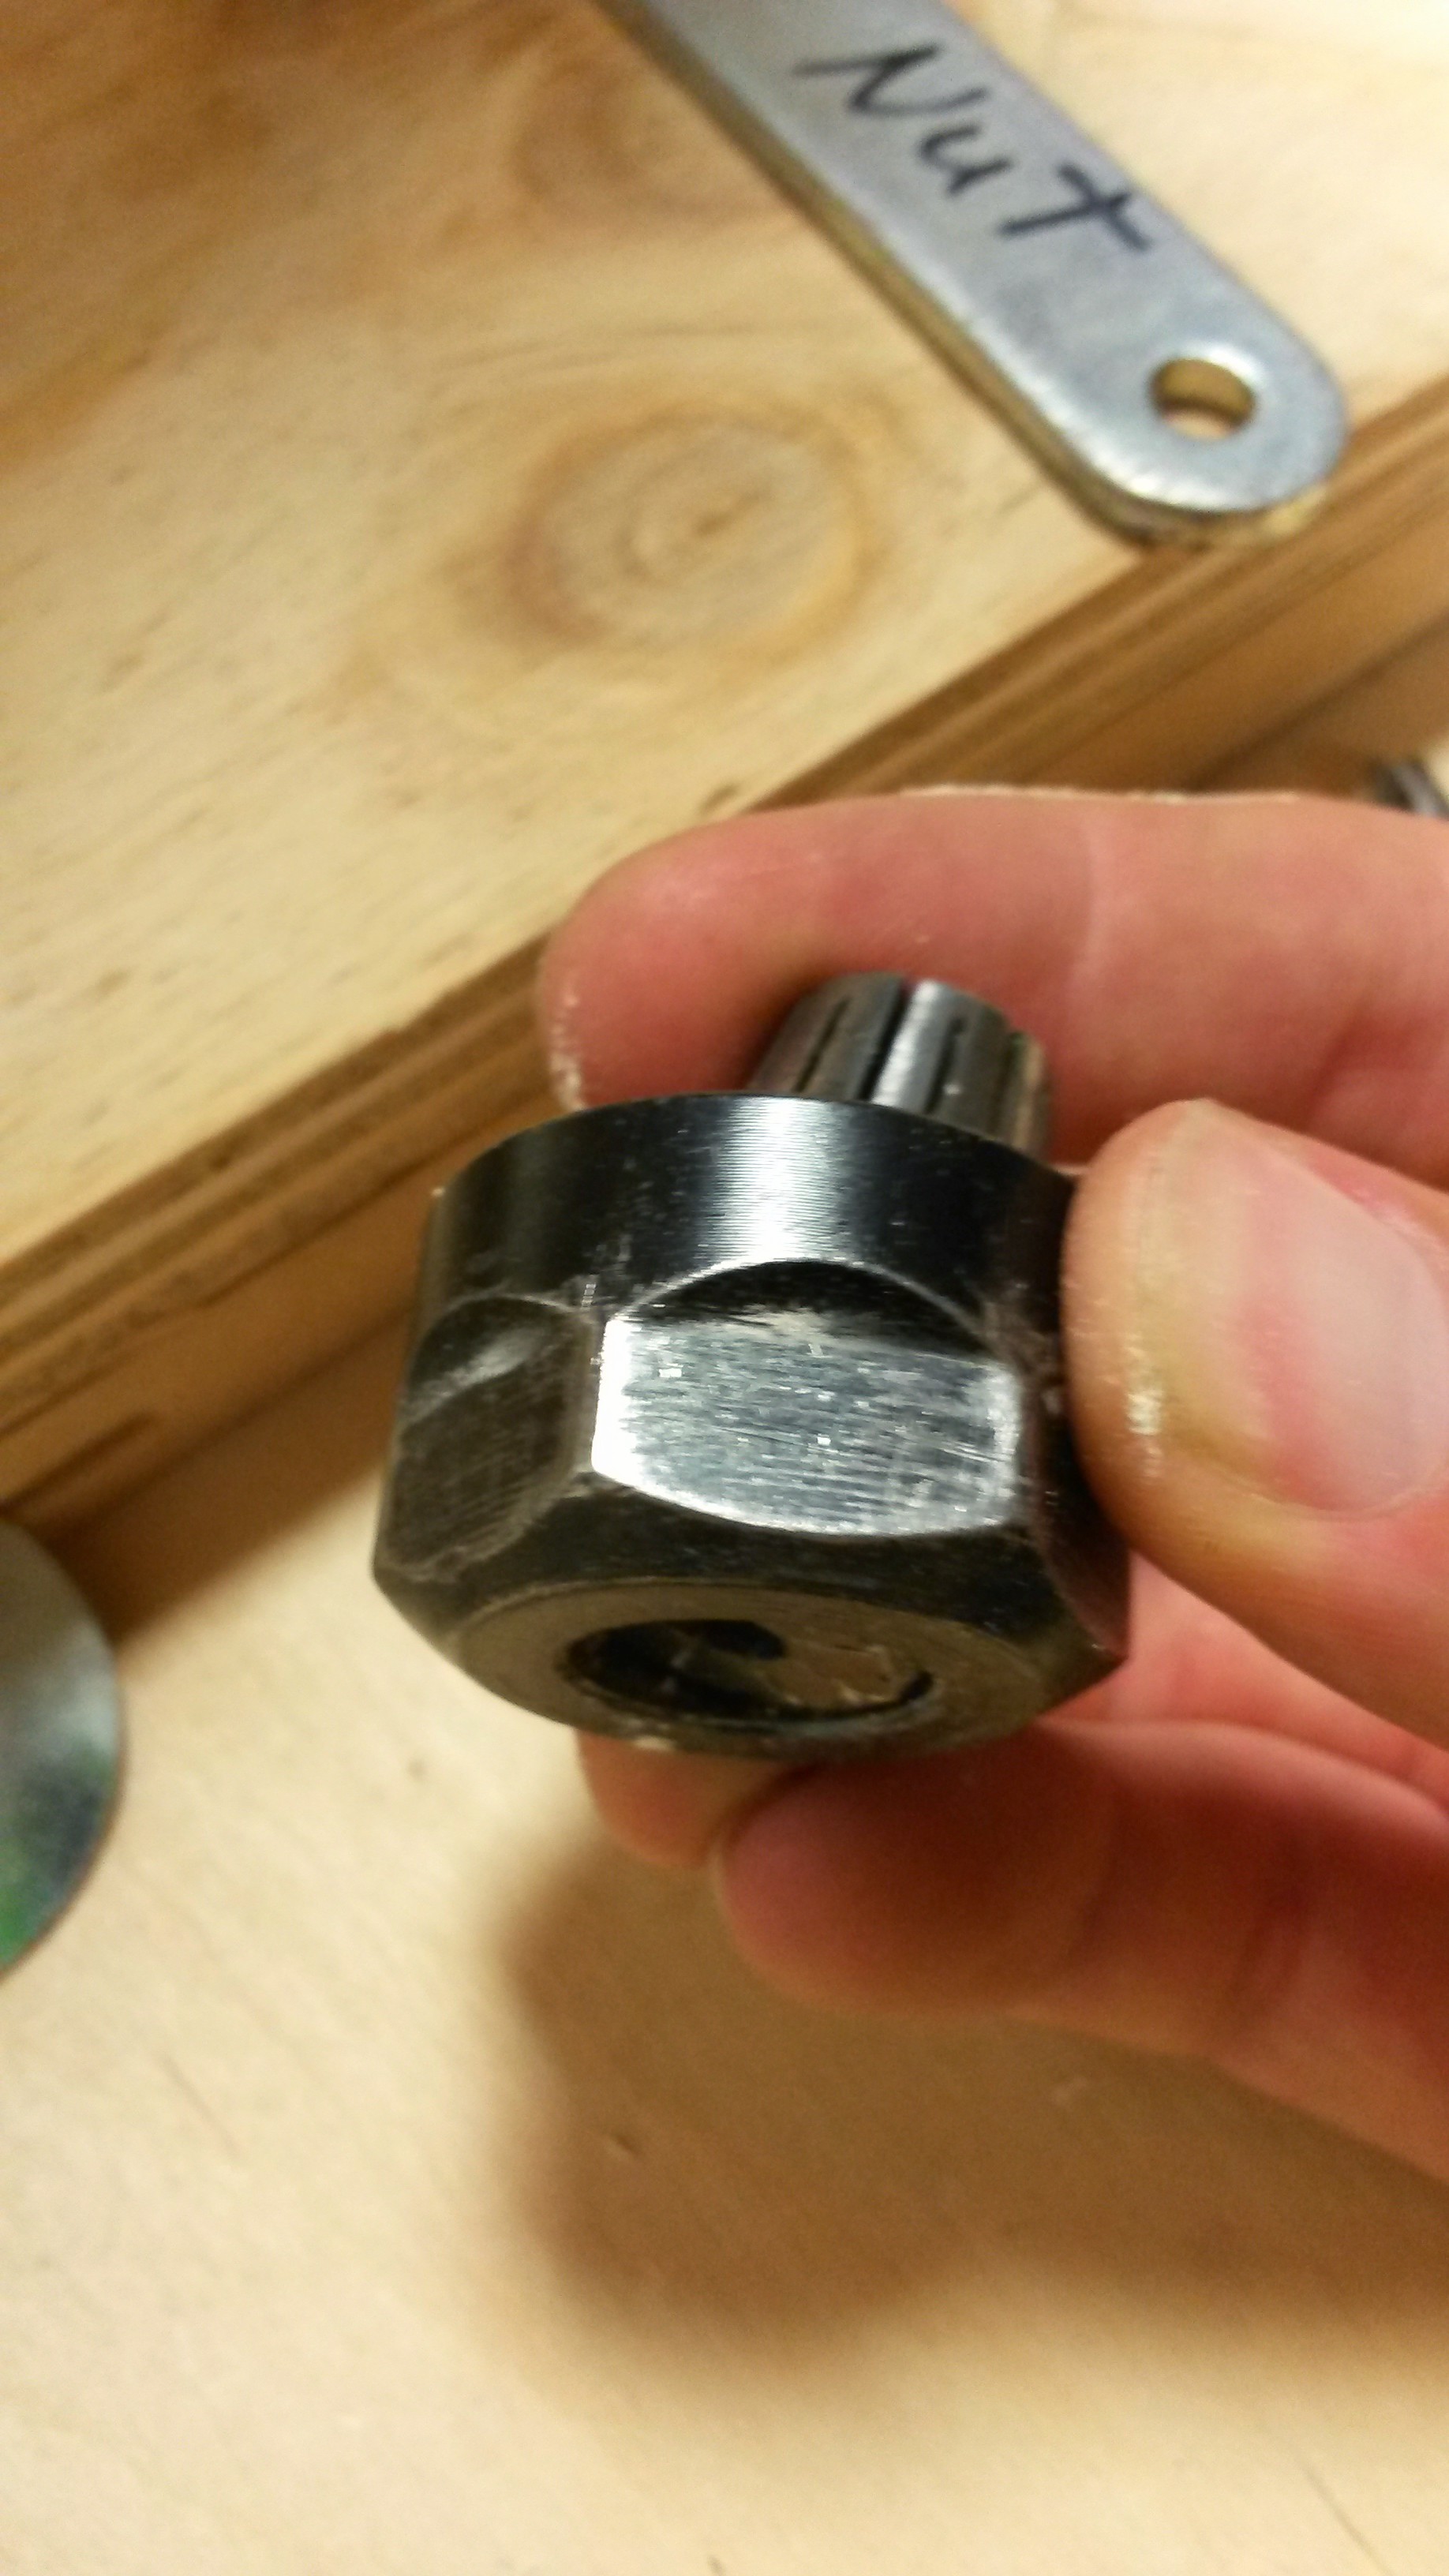
- Remove the collet nut by using the collet nut wrench and a 21mm wrench as shown (Pictures 3&4)
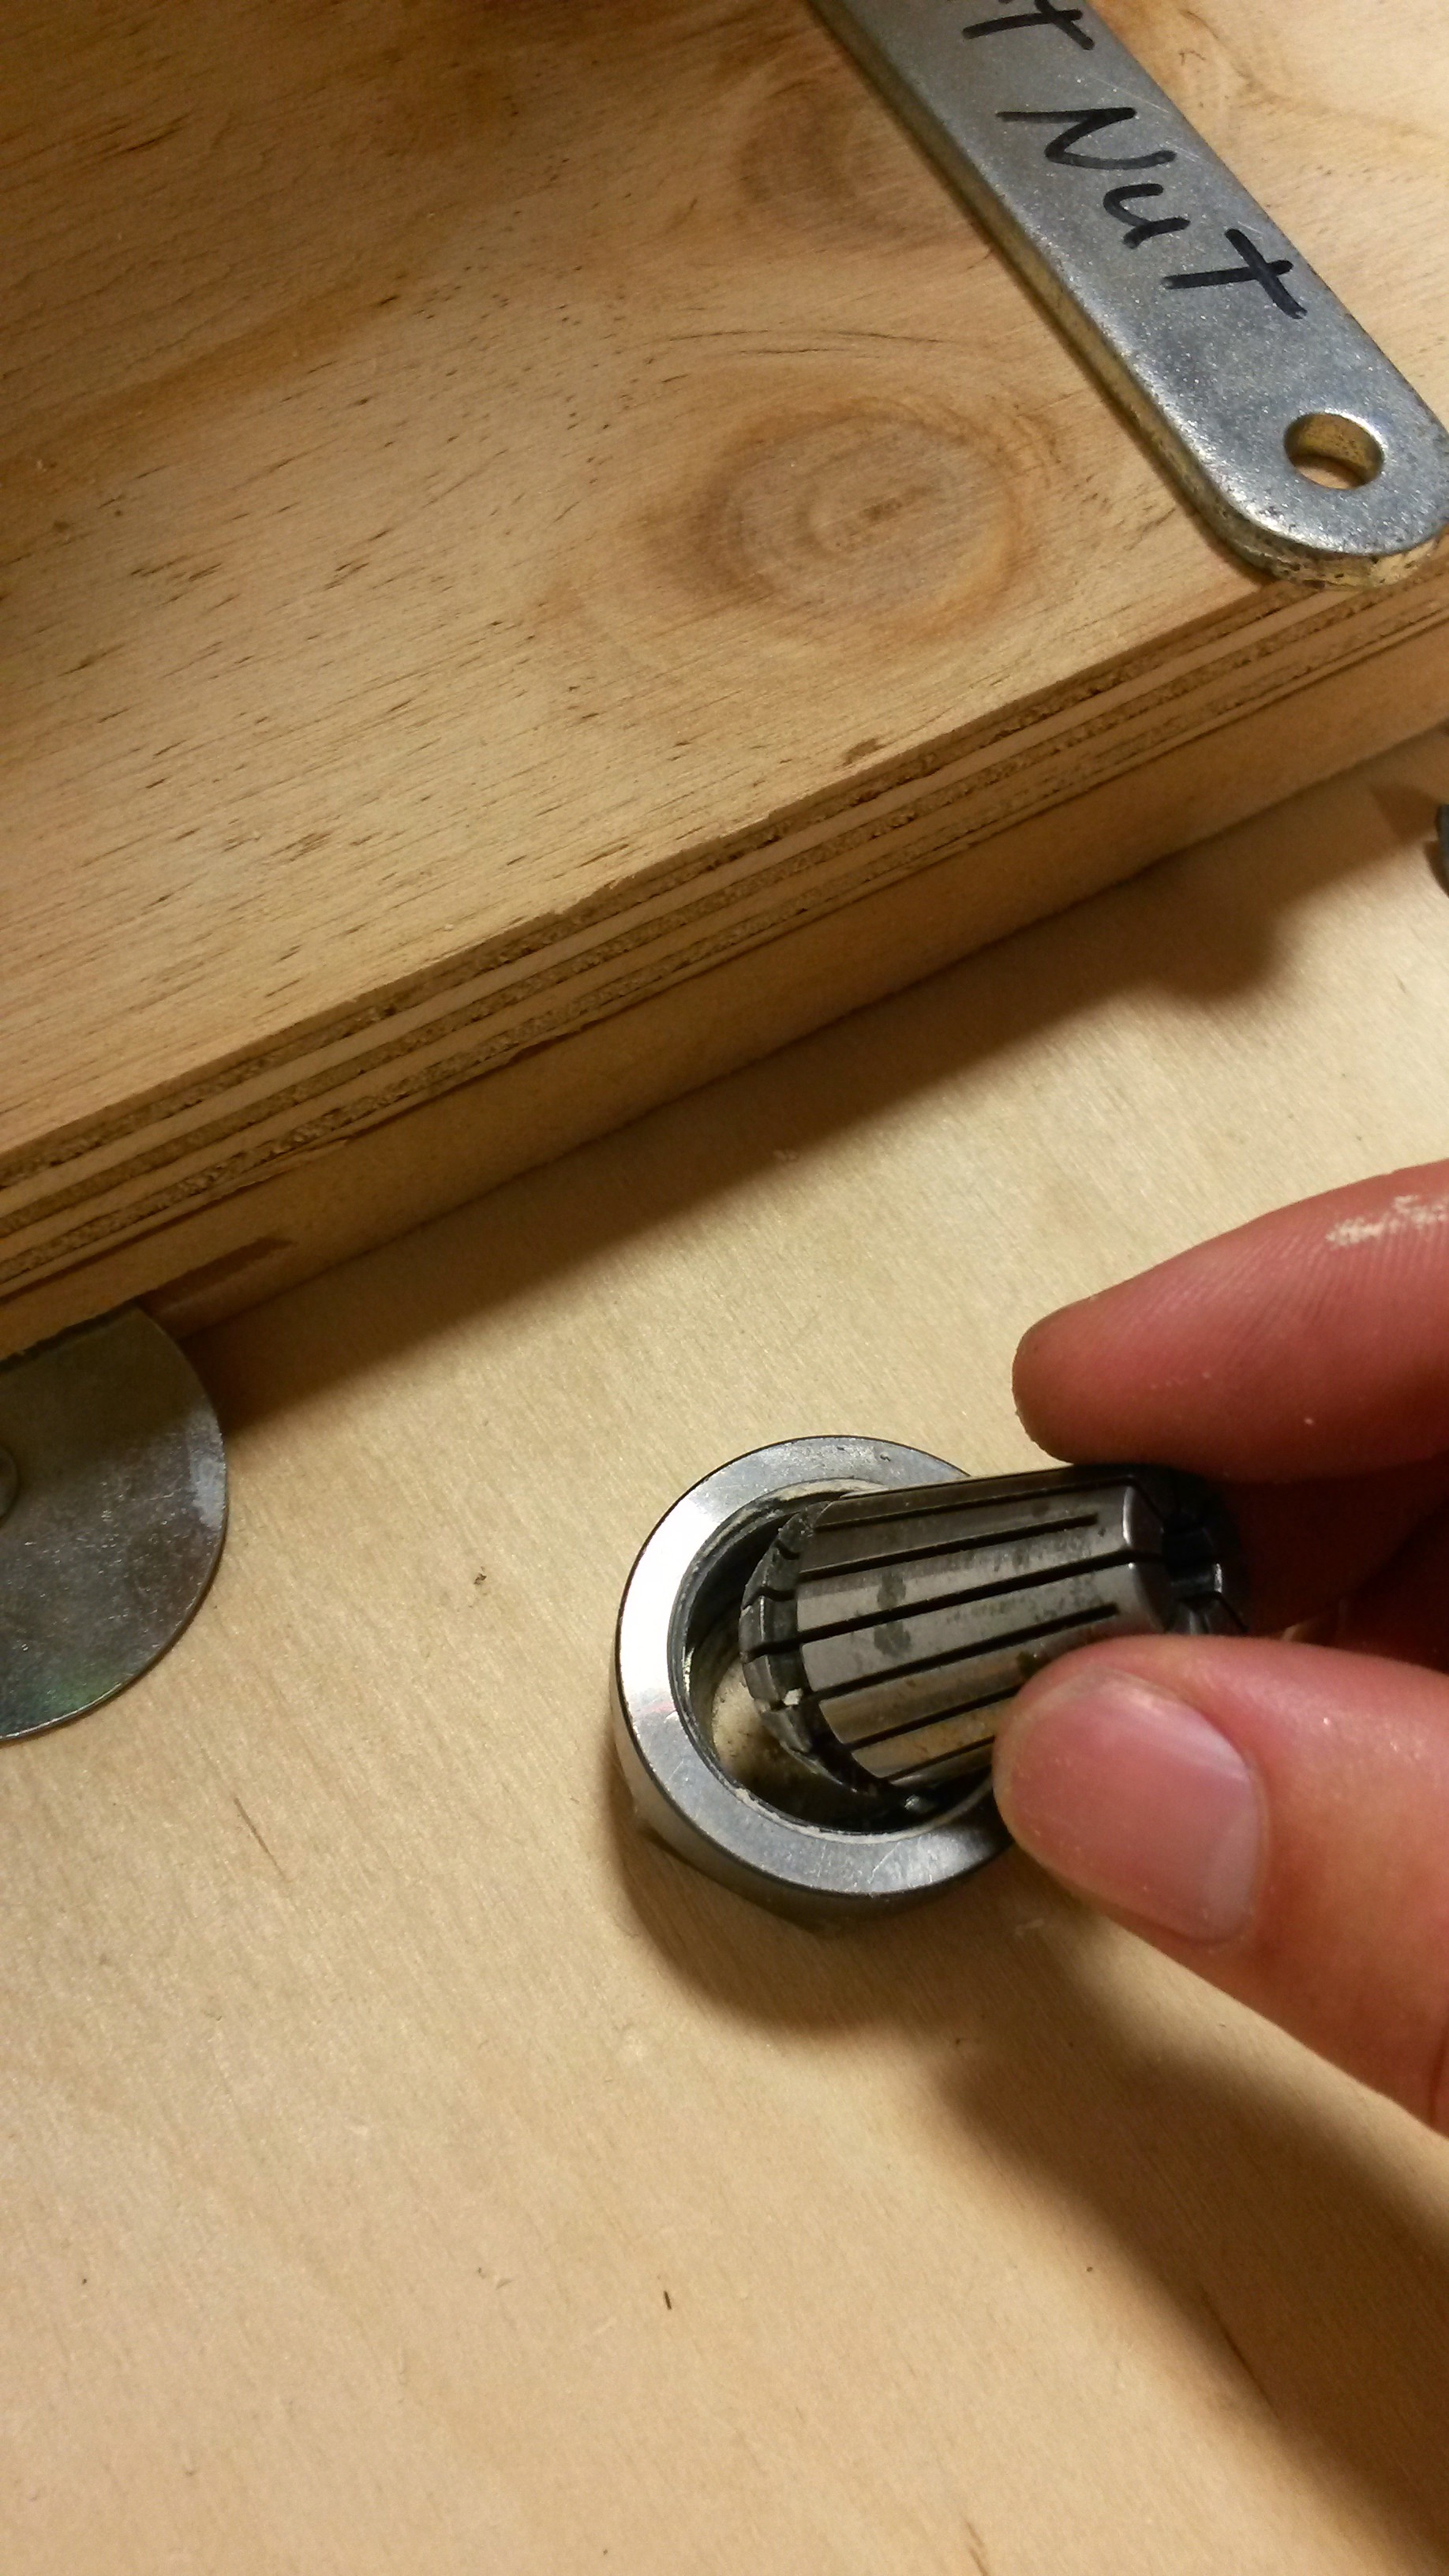
- Remove collet by pushing it sideways (at a perpendicular angle to where the end mill will go) (Picture 5)
- Insert correct size collet (0.25-inch) (Picture 6)
- Insert 0.25-inch end mill (Pictures 7&8)
- Replace collet nut and tighten until snug
- Replace debris skirt (Picture 9)
Load G-CODE in Mach 3
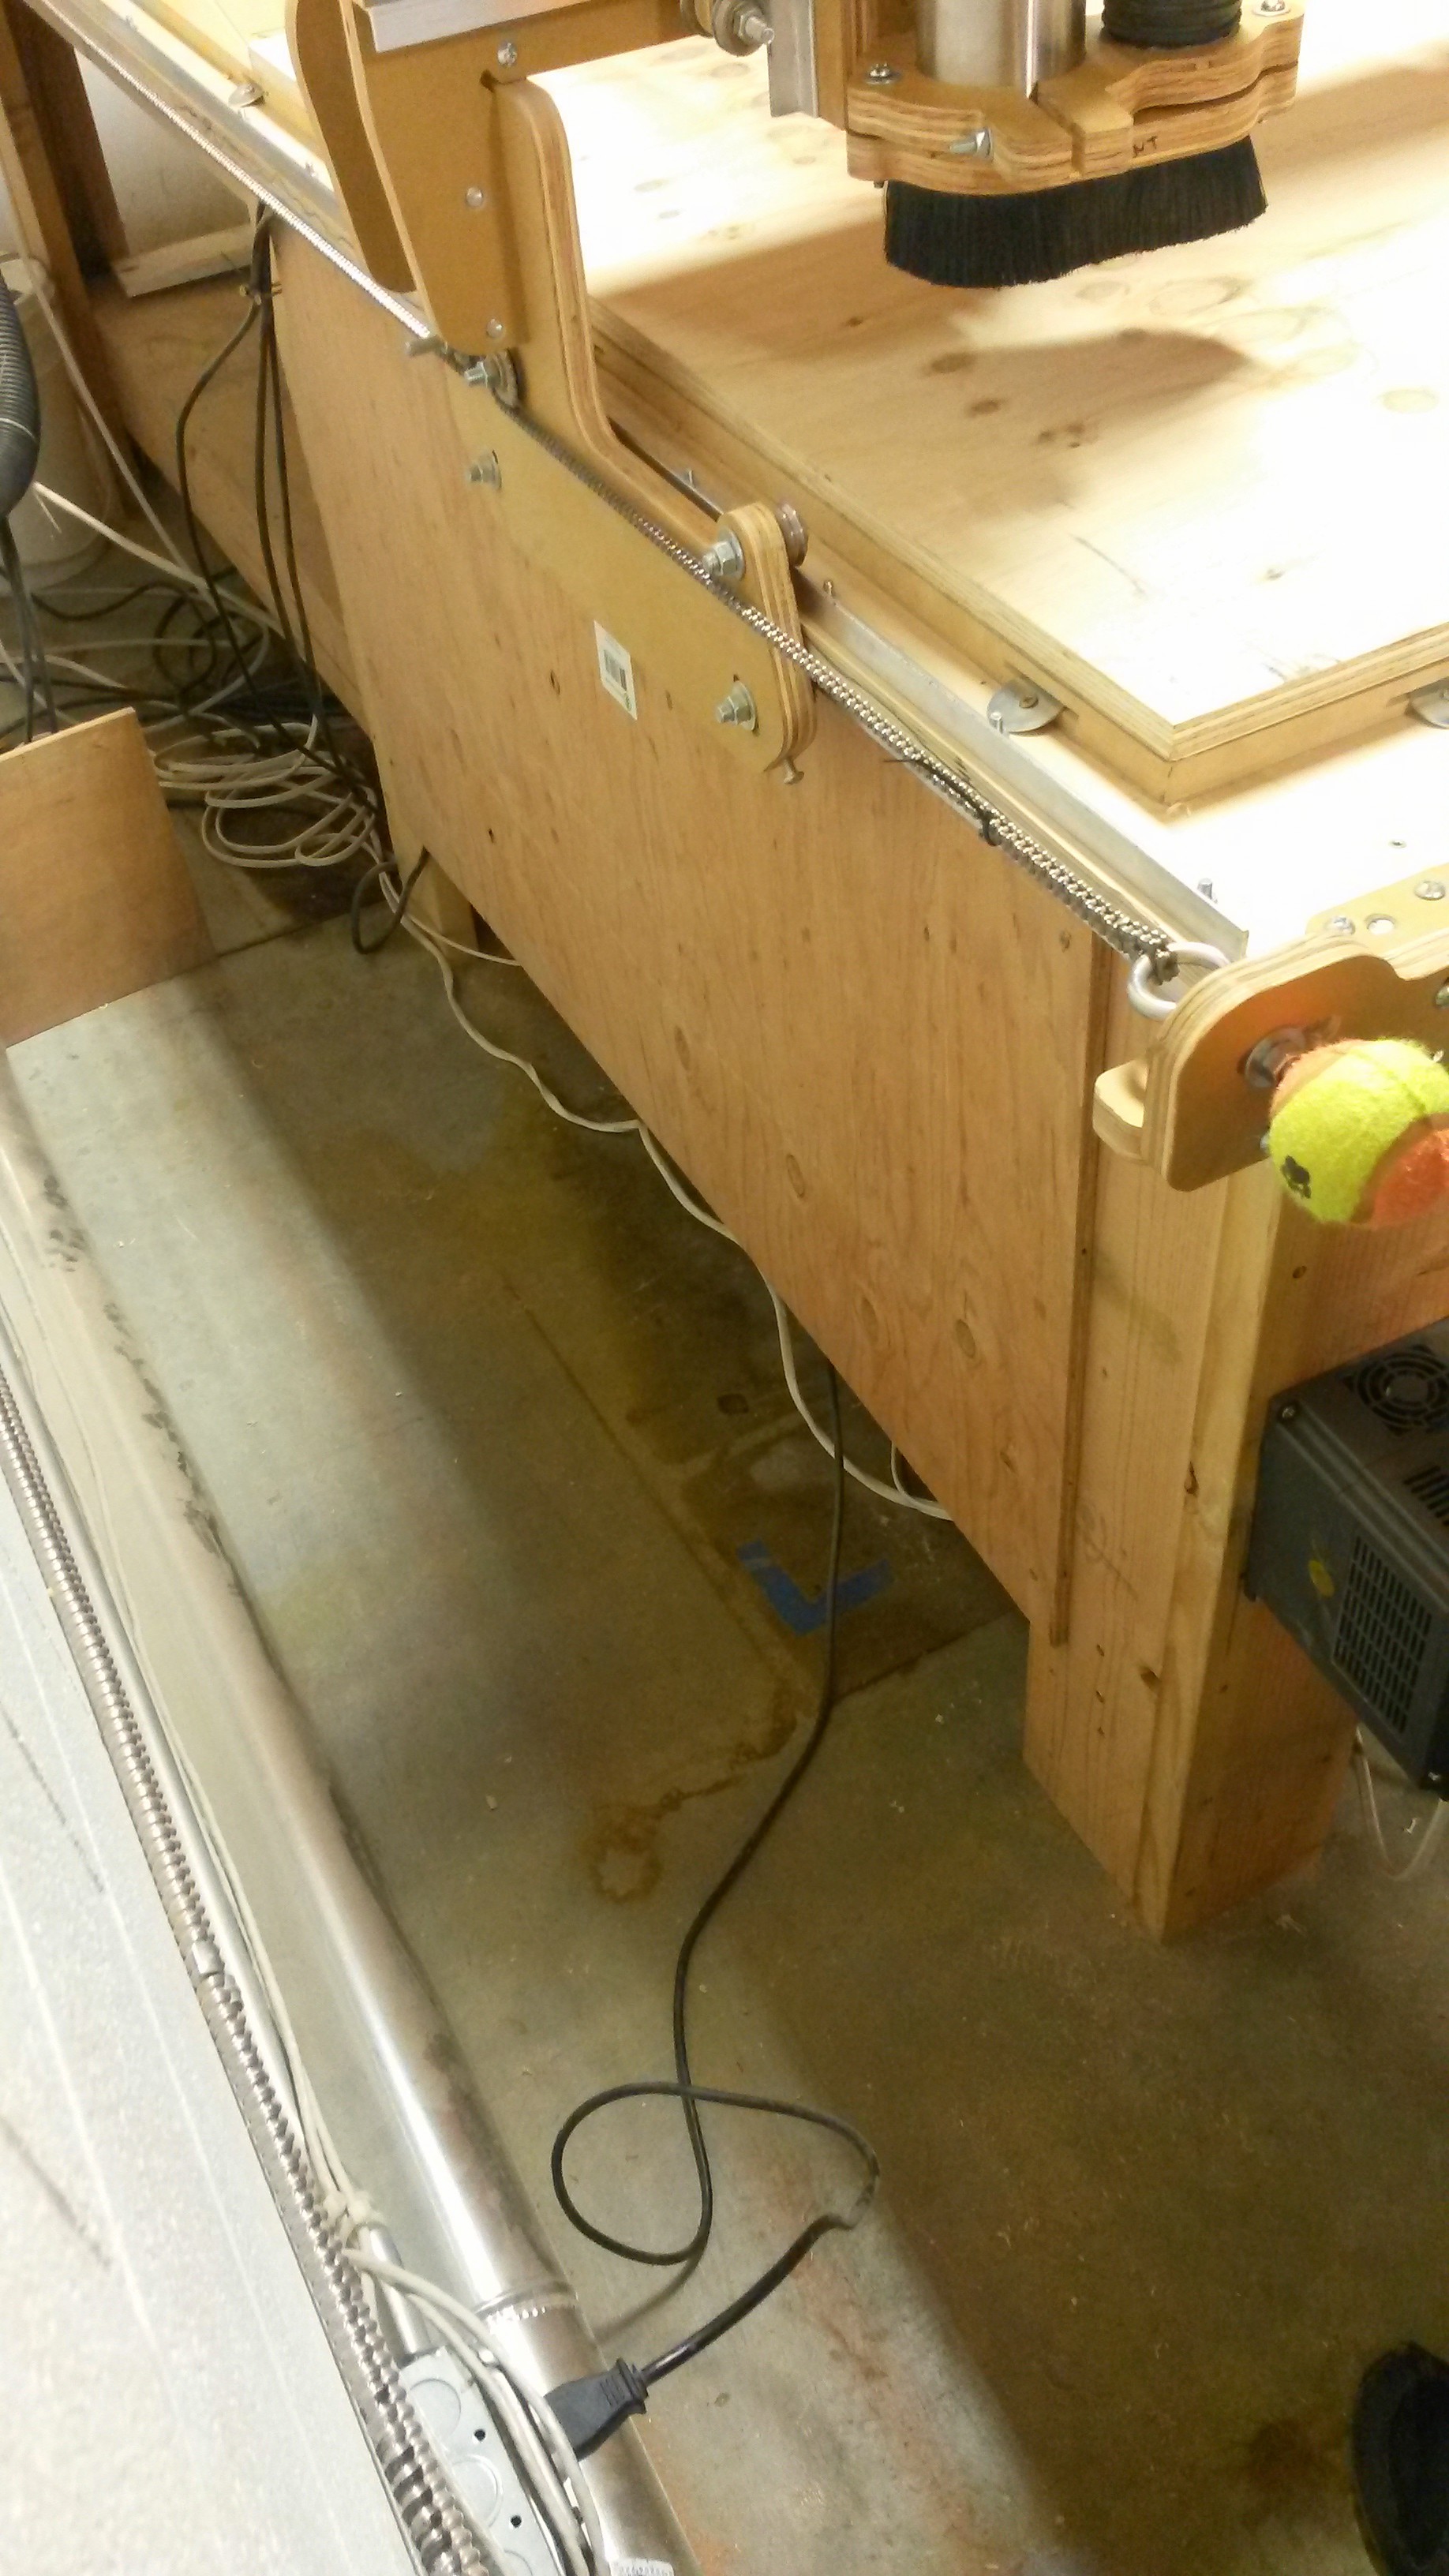
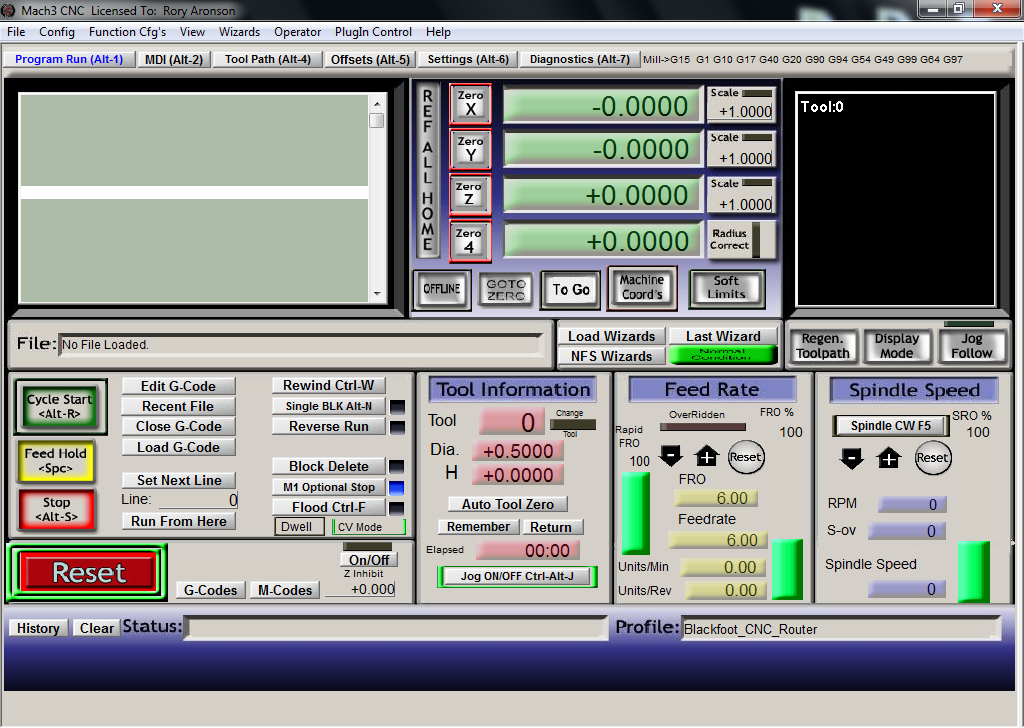
- Plug in the stepper motor power cord/plug (behind the computer monitor, between the CNC Router and the wall) (Picture 1)
- Open Mach 3 (Picture 2)
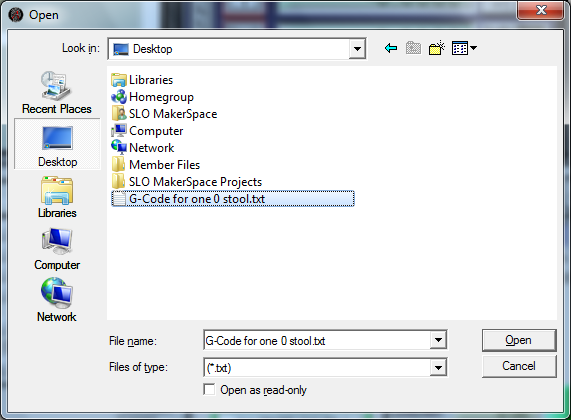
- Click "Load G-Code" (Picture 3)
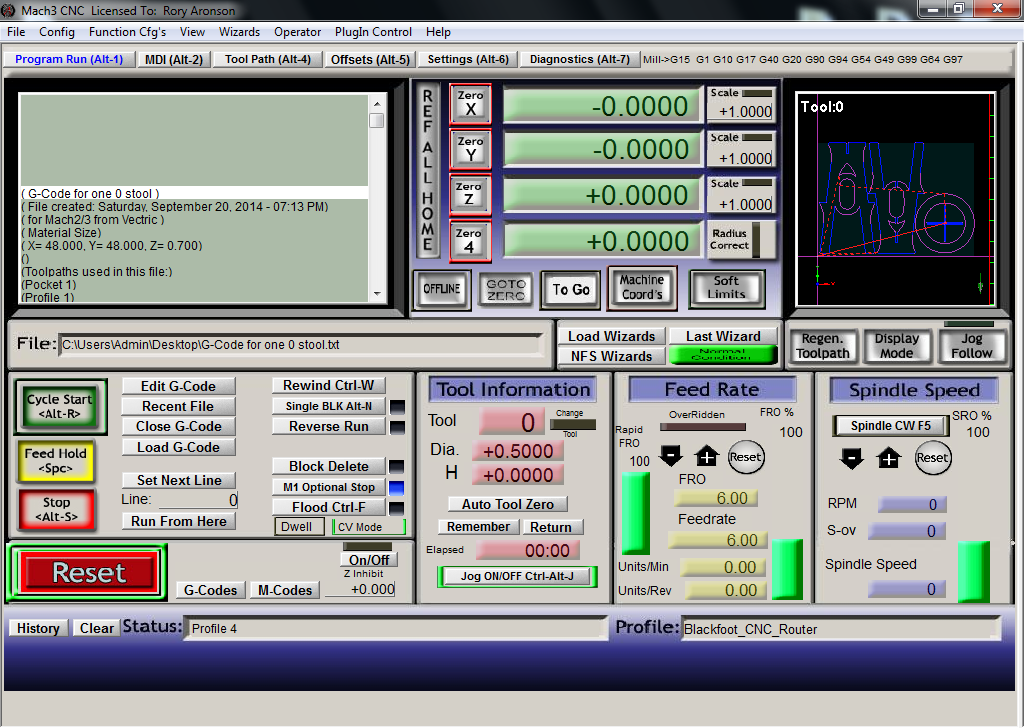
- Select TXT file we created in Step 5: Output G-Code. (Picture 4)
- If you just opened Mach 3, the RESET button border will be blinking. This is a safety feature; if you are ready to take control of the machine motors, click the "RESET" button.
- Move the machine by using the keyboard arrow keys and the page up / page down buttons so that the end mill is at the surface and at the lower left edge of your plywood.
- Click "Zero X" "Zero Y" and "Zero Z"
- Add and check anchoring screws (Picture 5)
- Move the machine using the keyboard across the work surface and watch the virtual drawing in the upper right of the Mach 3 window.
- Use the crosshair that it shows you (the vertical and horizontal lines that intersect showing the location of the end mill) to make sure that the end mill will be able to reach all corners of the drawing and that it will not hit any screws. You can use the mouse wheel to zoom in and out after clicking on the drawing. You can pan by holding down the left and right mouse buttons and dragging.
- Mark spots to drive in more screws as necessary to prevent the plywood from moving or vibrating too much. It is recommended to attach the chevron/triangle and the "0" that will be cut out of the left stool piece.
- Drive in screws where you marked
Set Up CNC Router and Begin Cutting
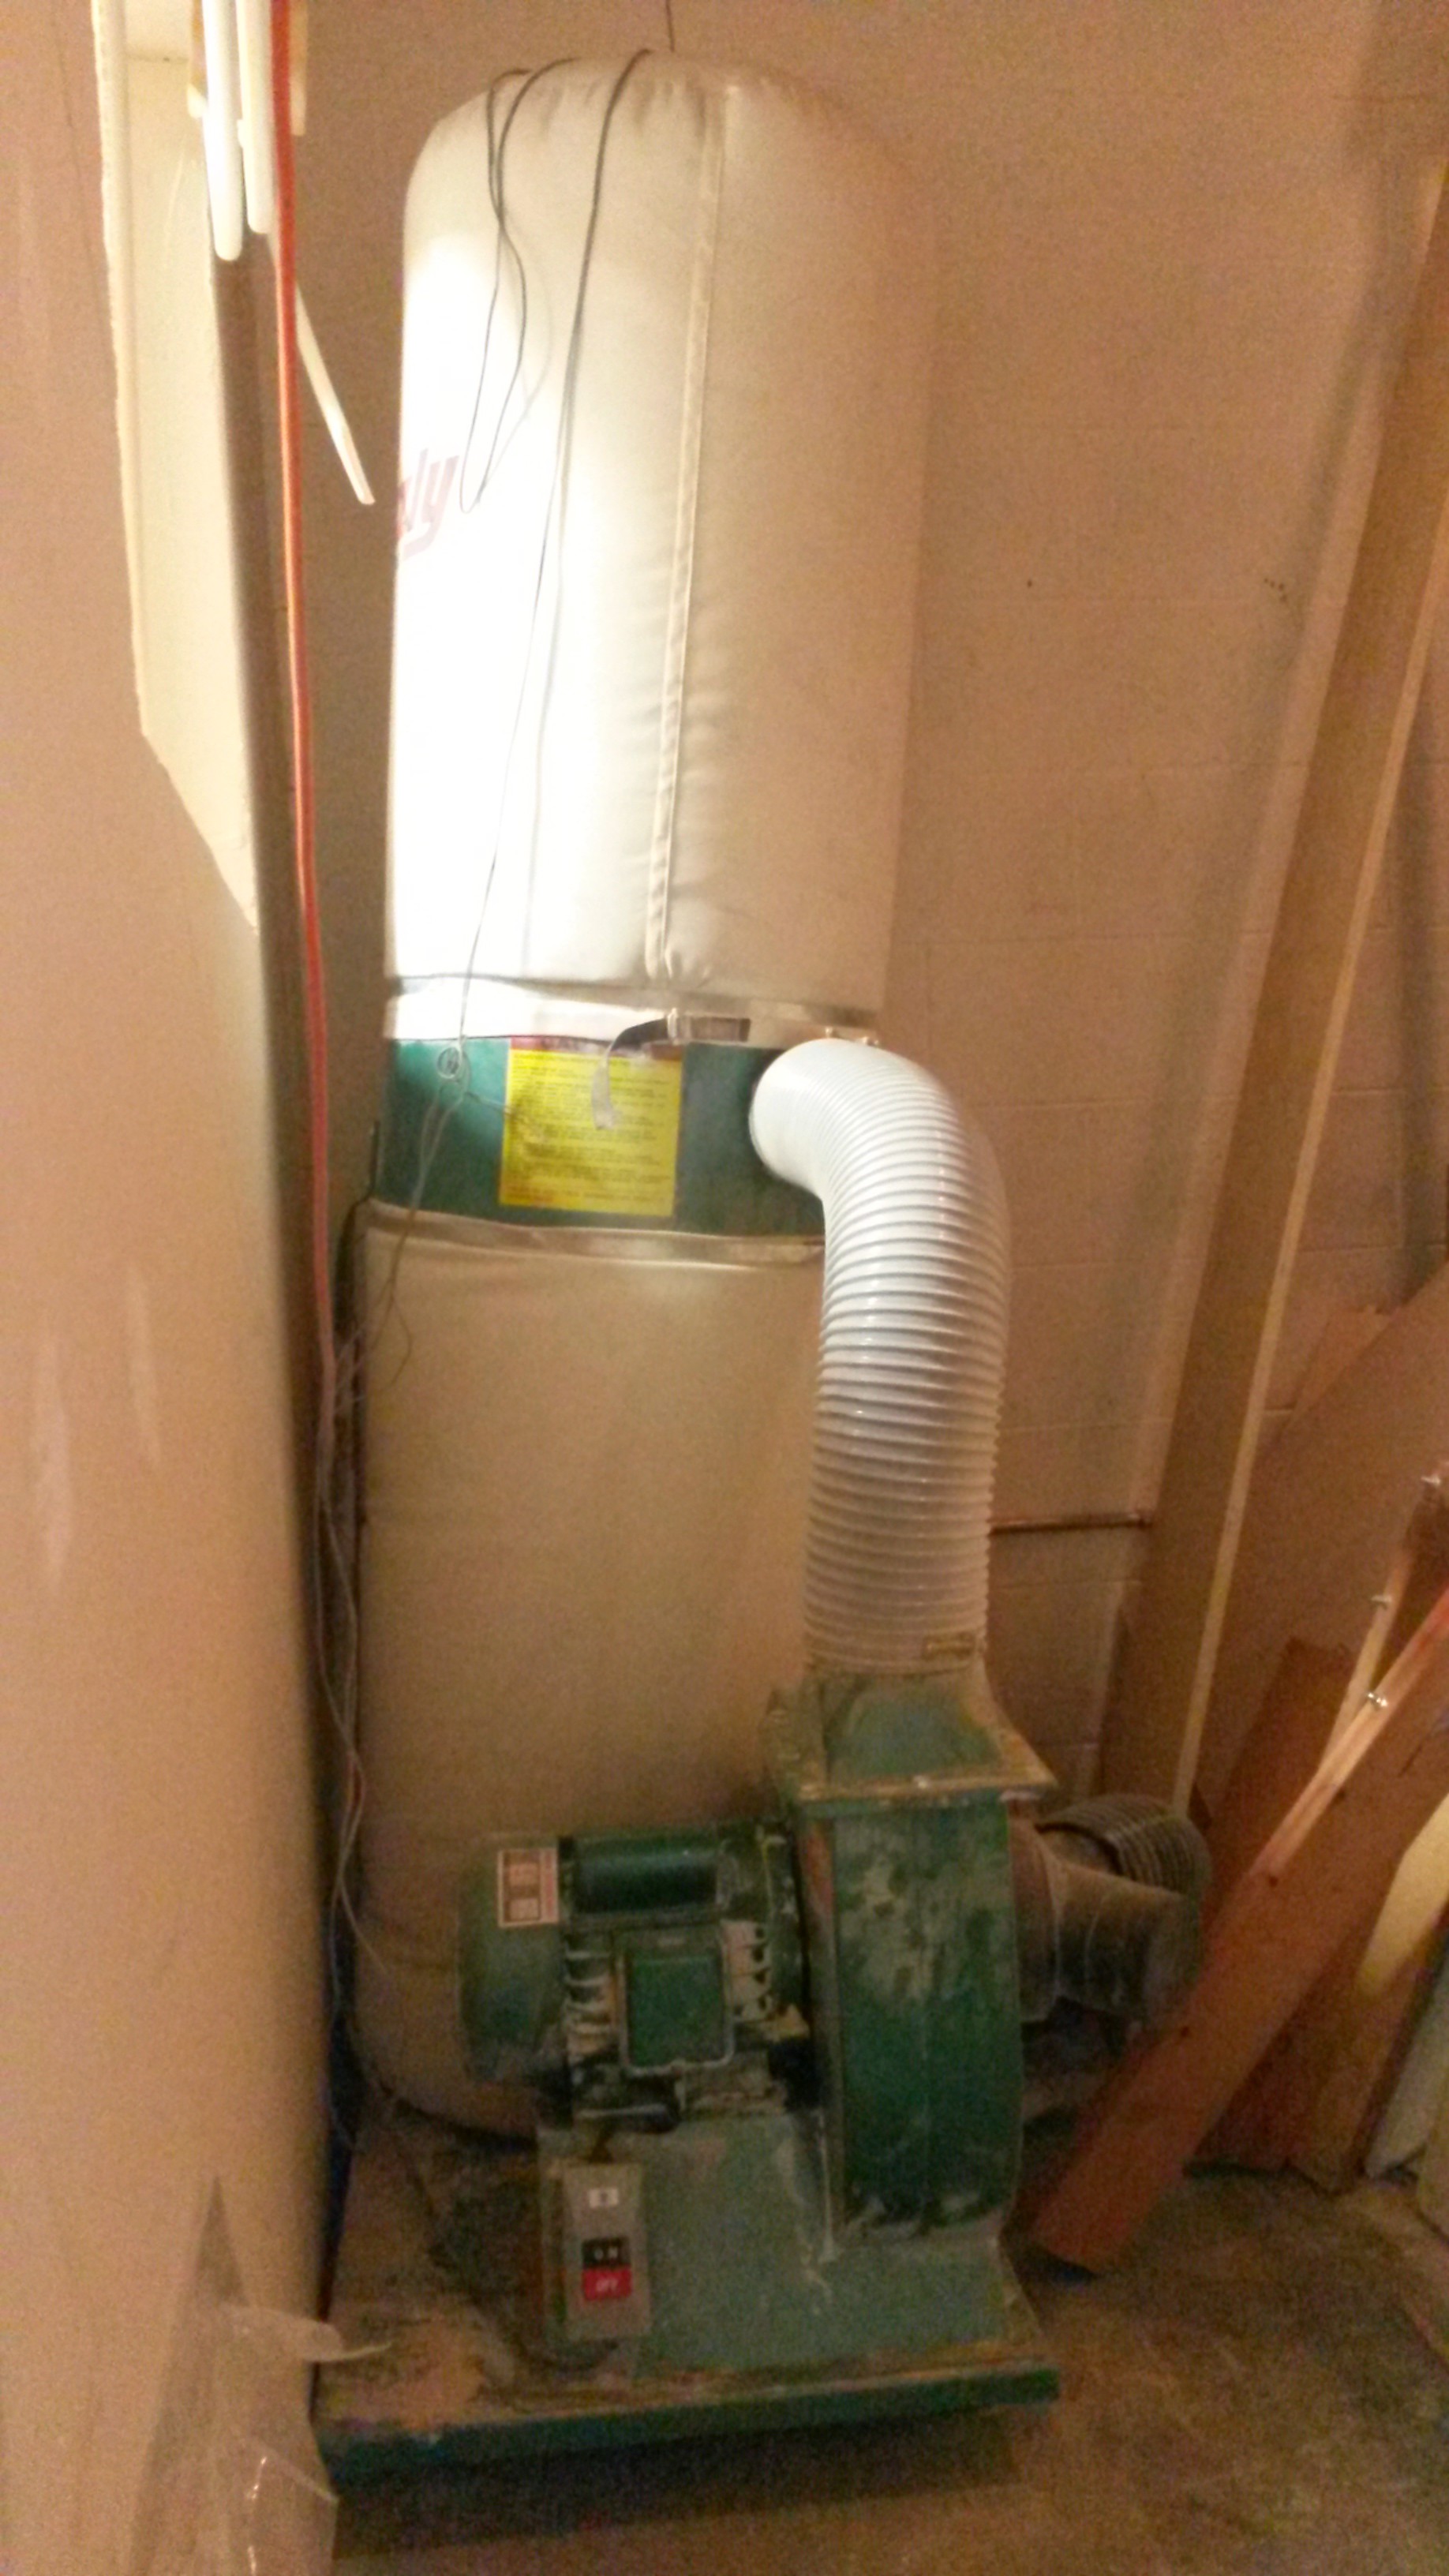
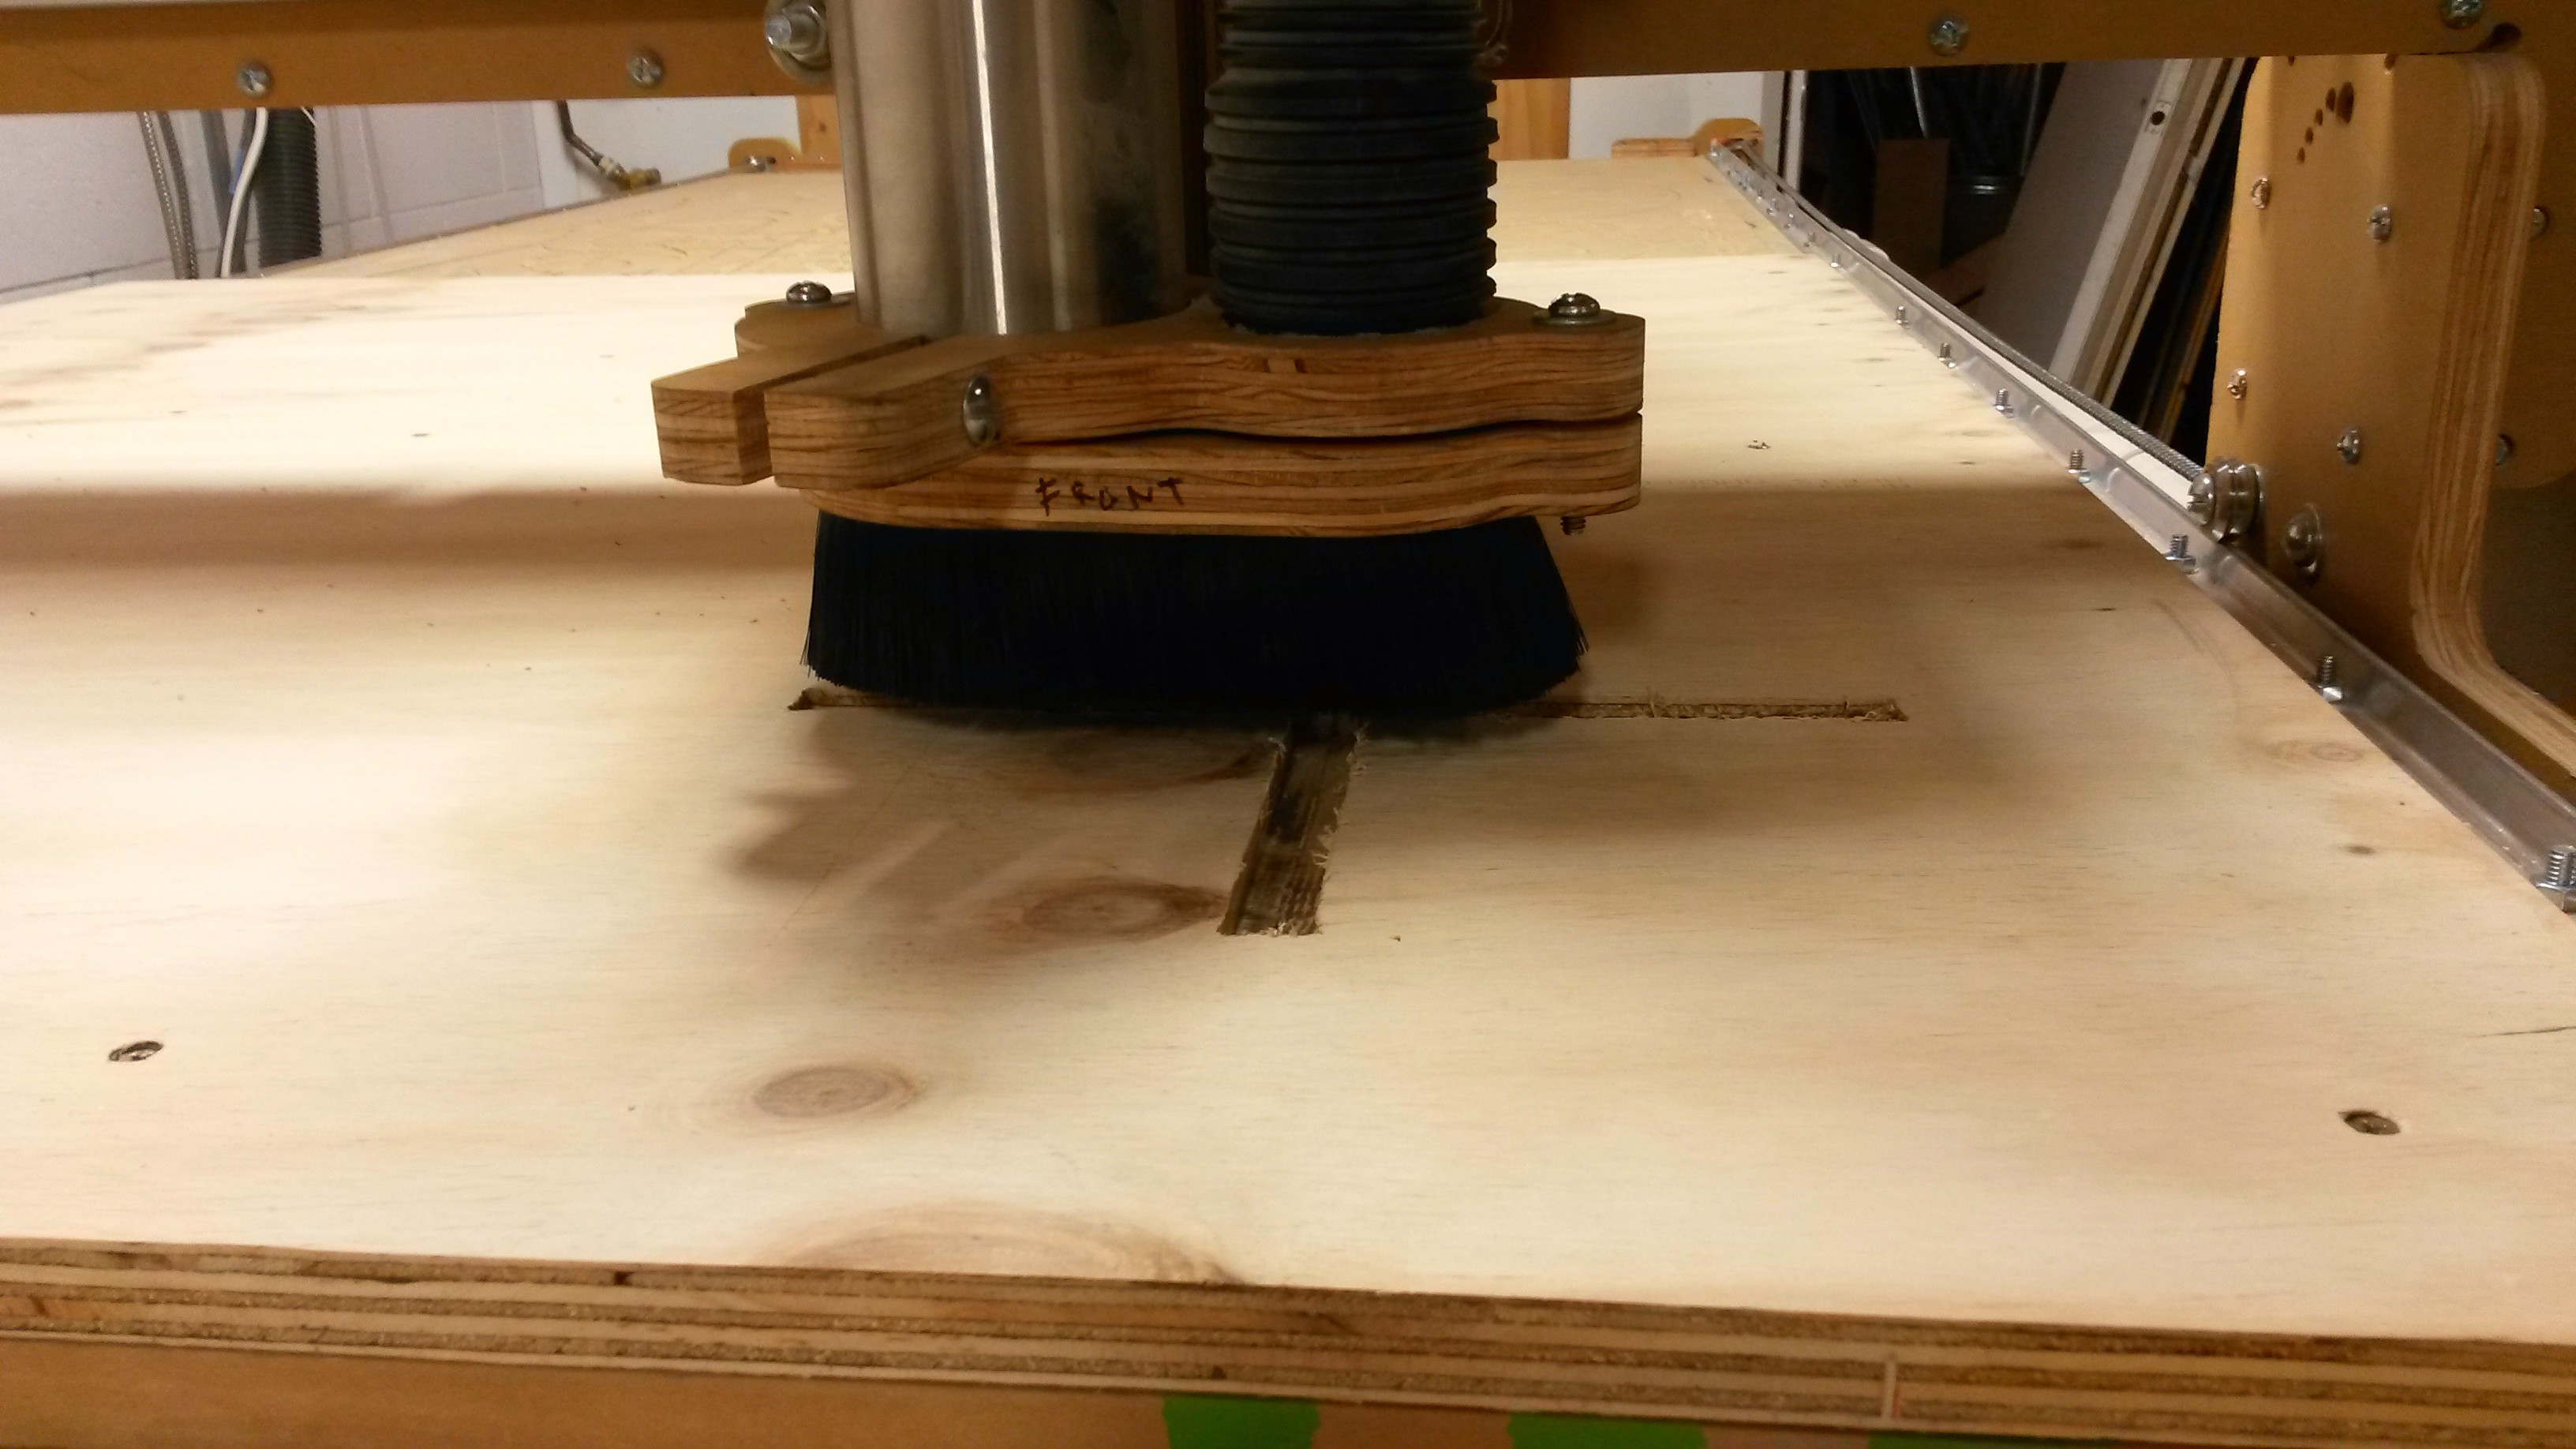
- Turn on sawdust collection vacuum (in the room behind the CNC Router) and make sure suction is generated at the inlet adjacent to the end mill. (Picture 1)
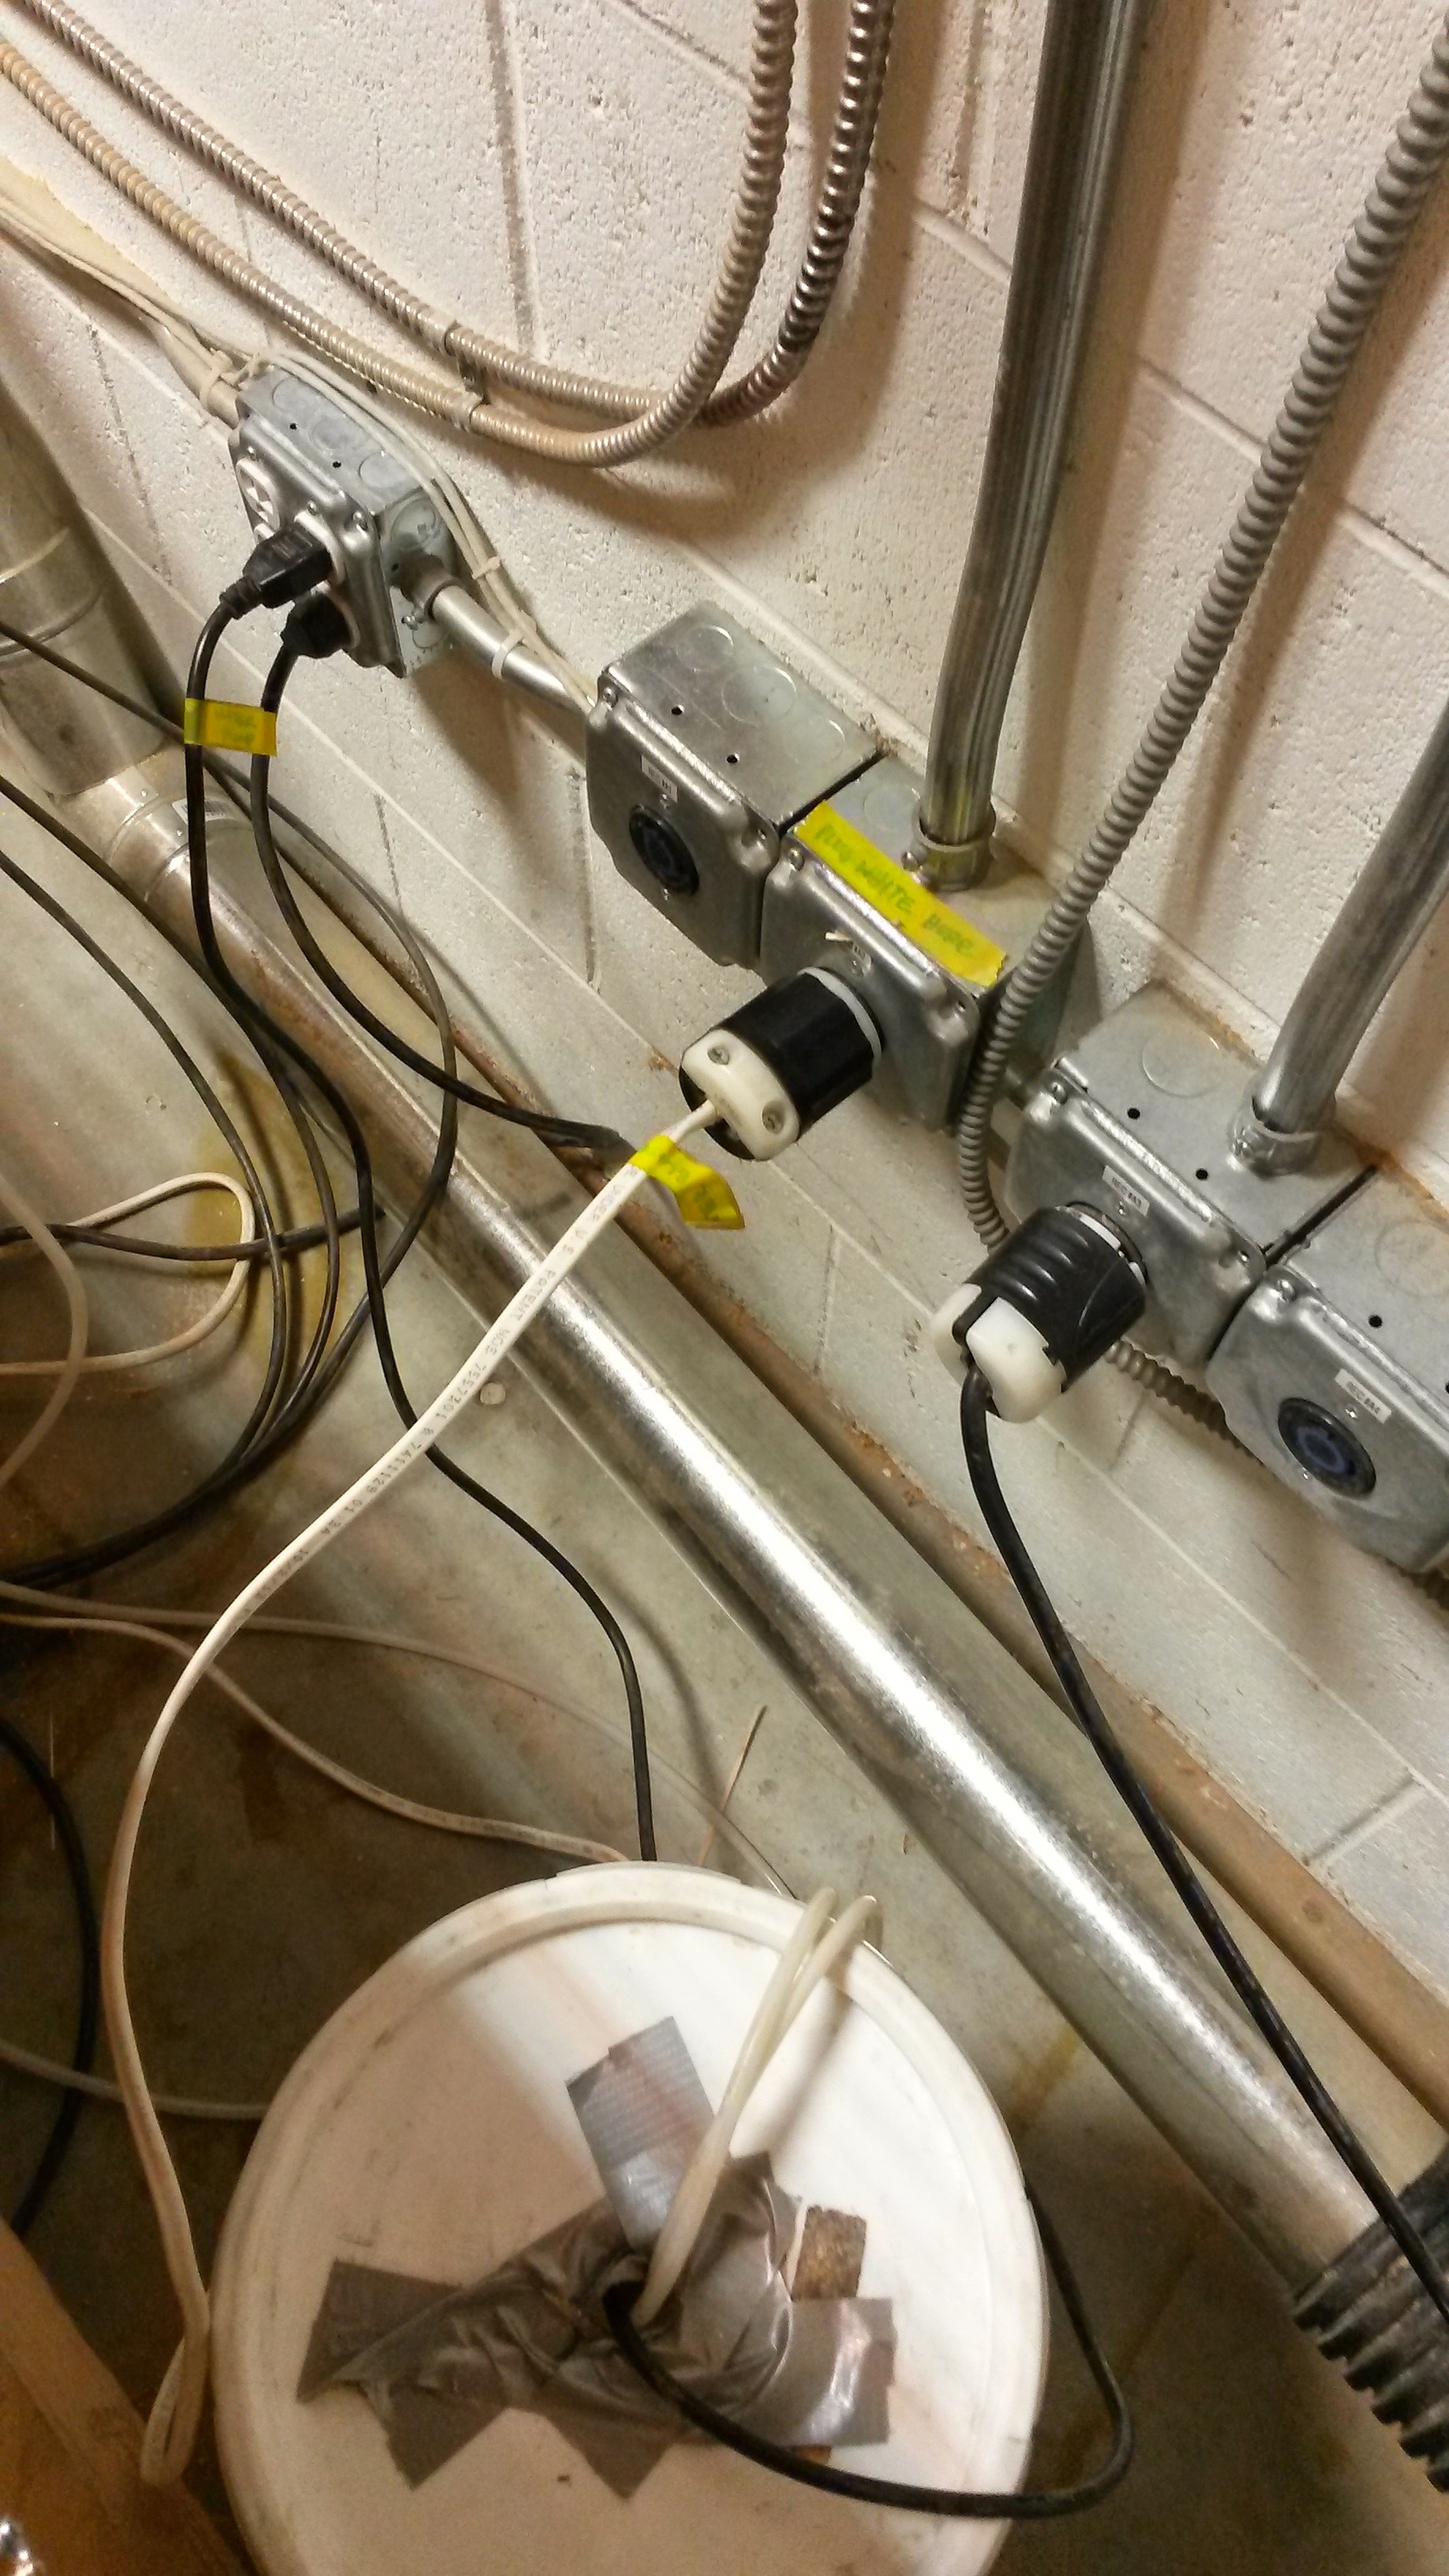
- Plug in water pump (the cord/plug attached to the white bucket between the CNC Router and the wall). This pump will circulate water and cool the spindle. (Picture 2)
- Plug in the spindle motor (the white 220V cord/plug labeled "Router") as shown in picture 2.
- Double-check all setup procedures and make sure you are wearing protective eyewear.
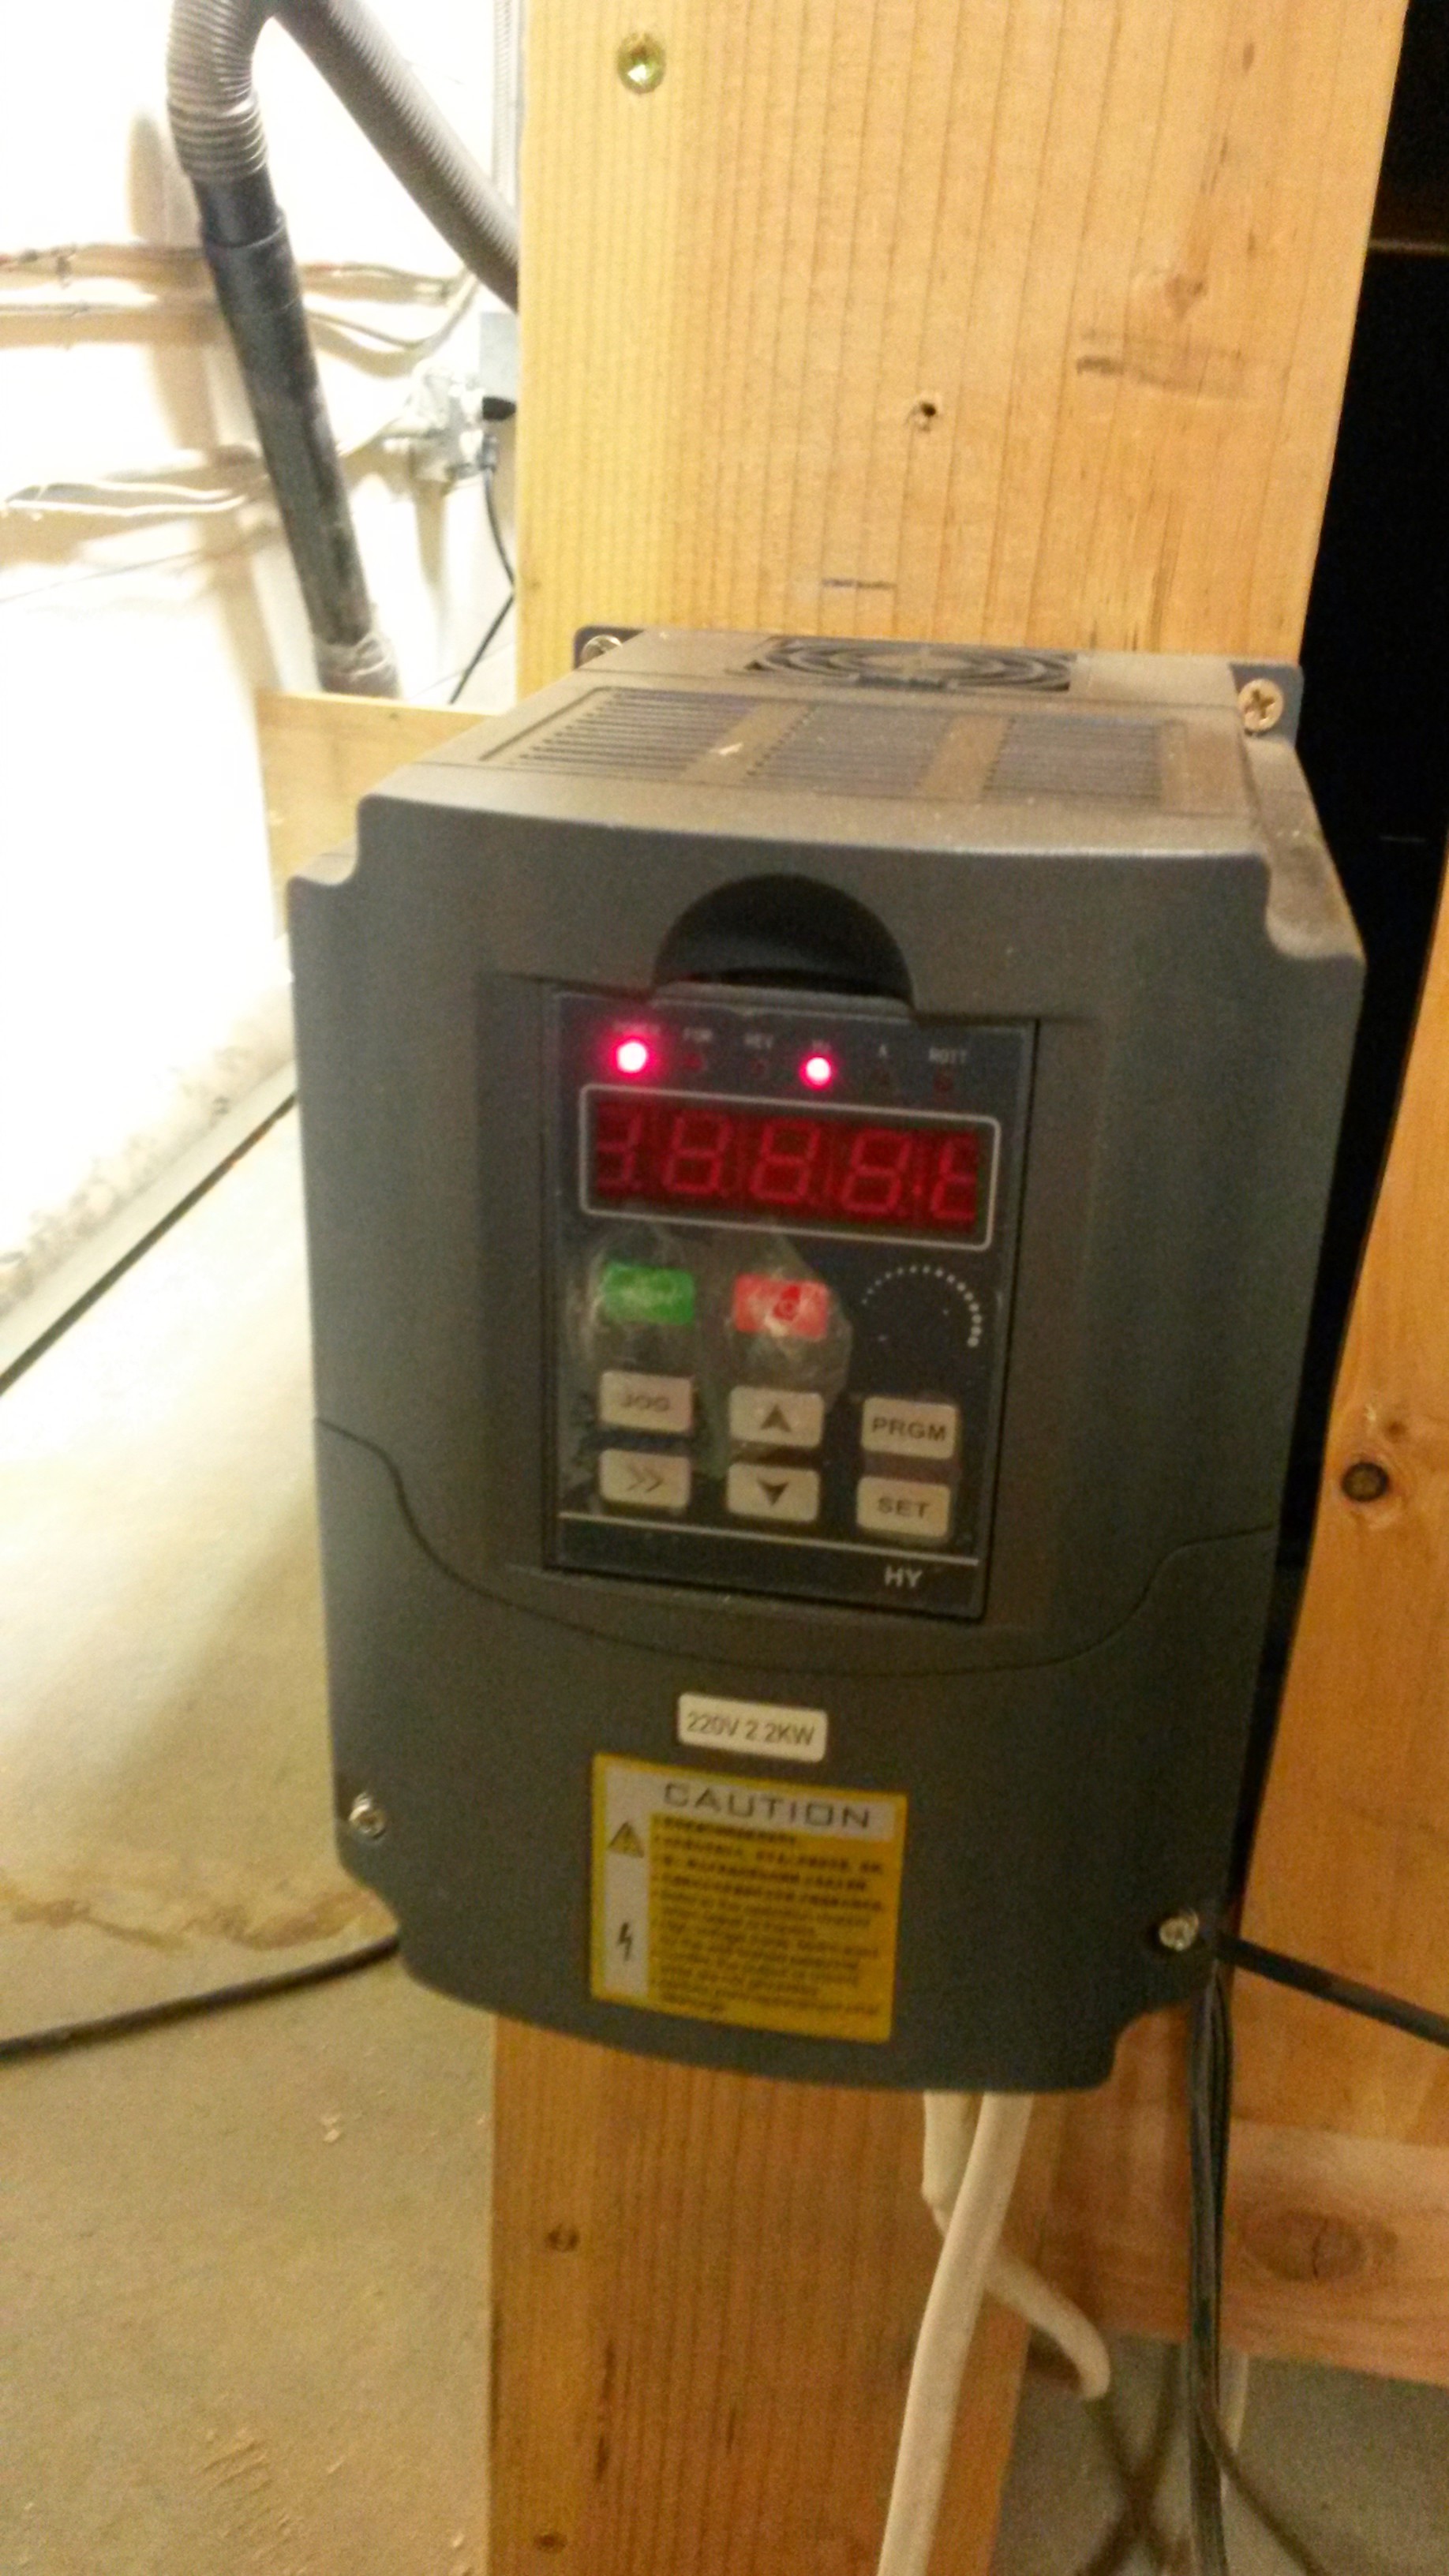
- Press (and hold briefly) the green button on the spindle control box below the computer monitor to start the spindle. Wait for it to speed up. (Picture 3)
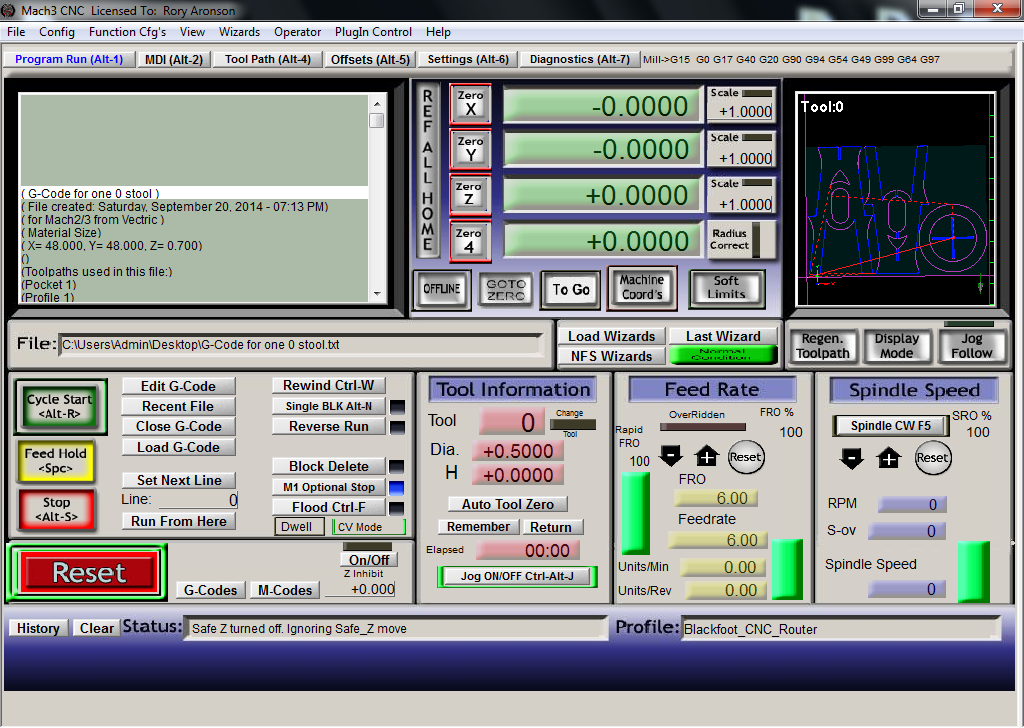
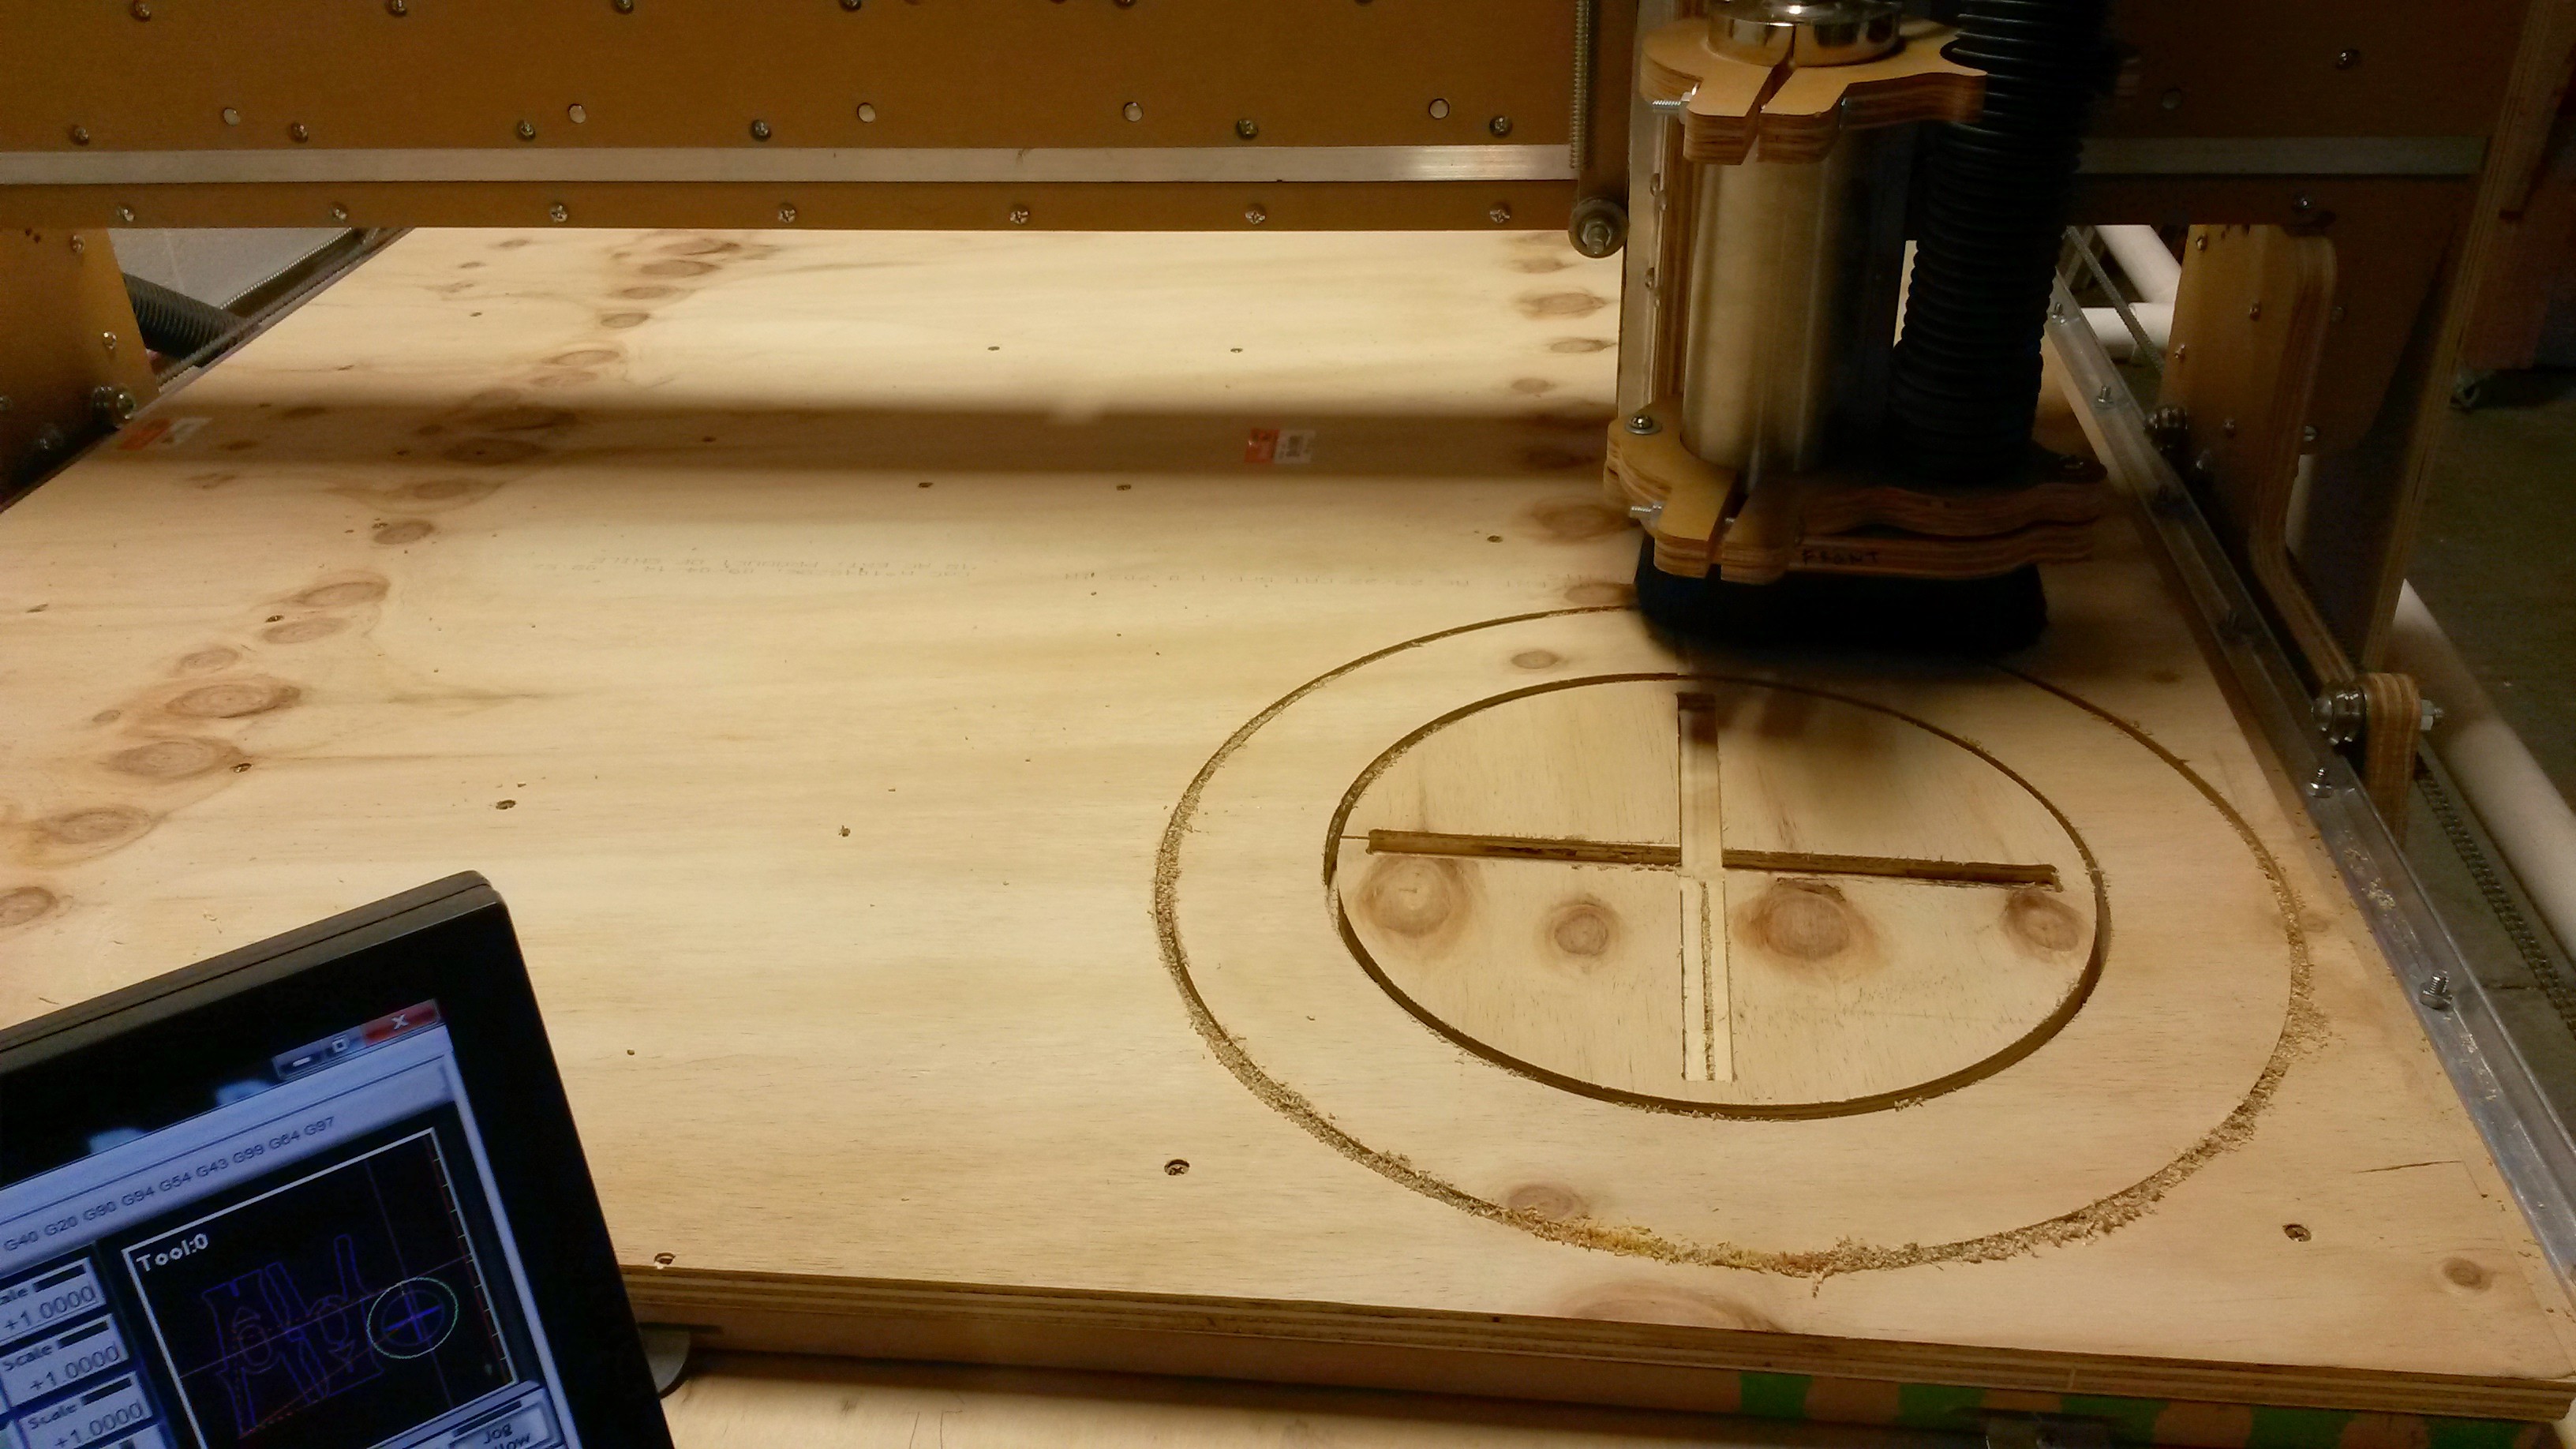
- Click the green "Cycle Start" button in Mach 3. Watch the machine and the controls as it starts up to make sure everything is operating as expected. Verify that the zero Z coordinate is correct. Be ready to click the red "Cycle Stop" button if needed. Once clicked, it will stop the code from running and you can fix what you need to and press the green "Cycle Start" button again to continue. However, if it is stopped on a curve, you may need to restart the process. (Picture 4)
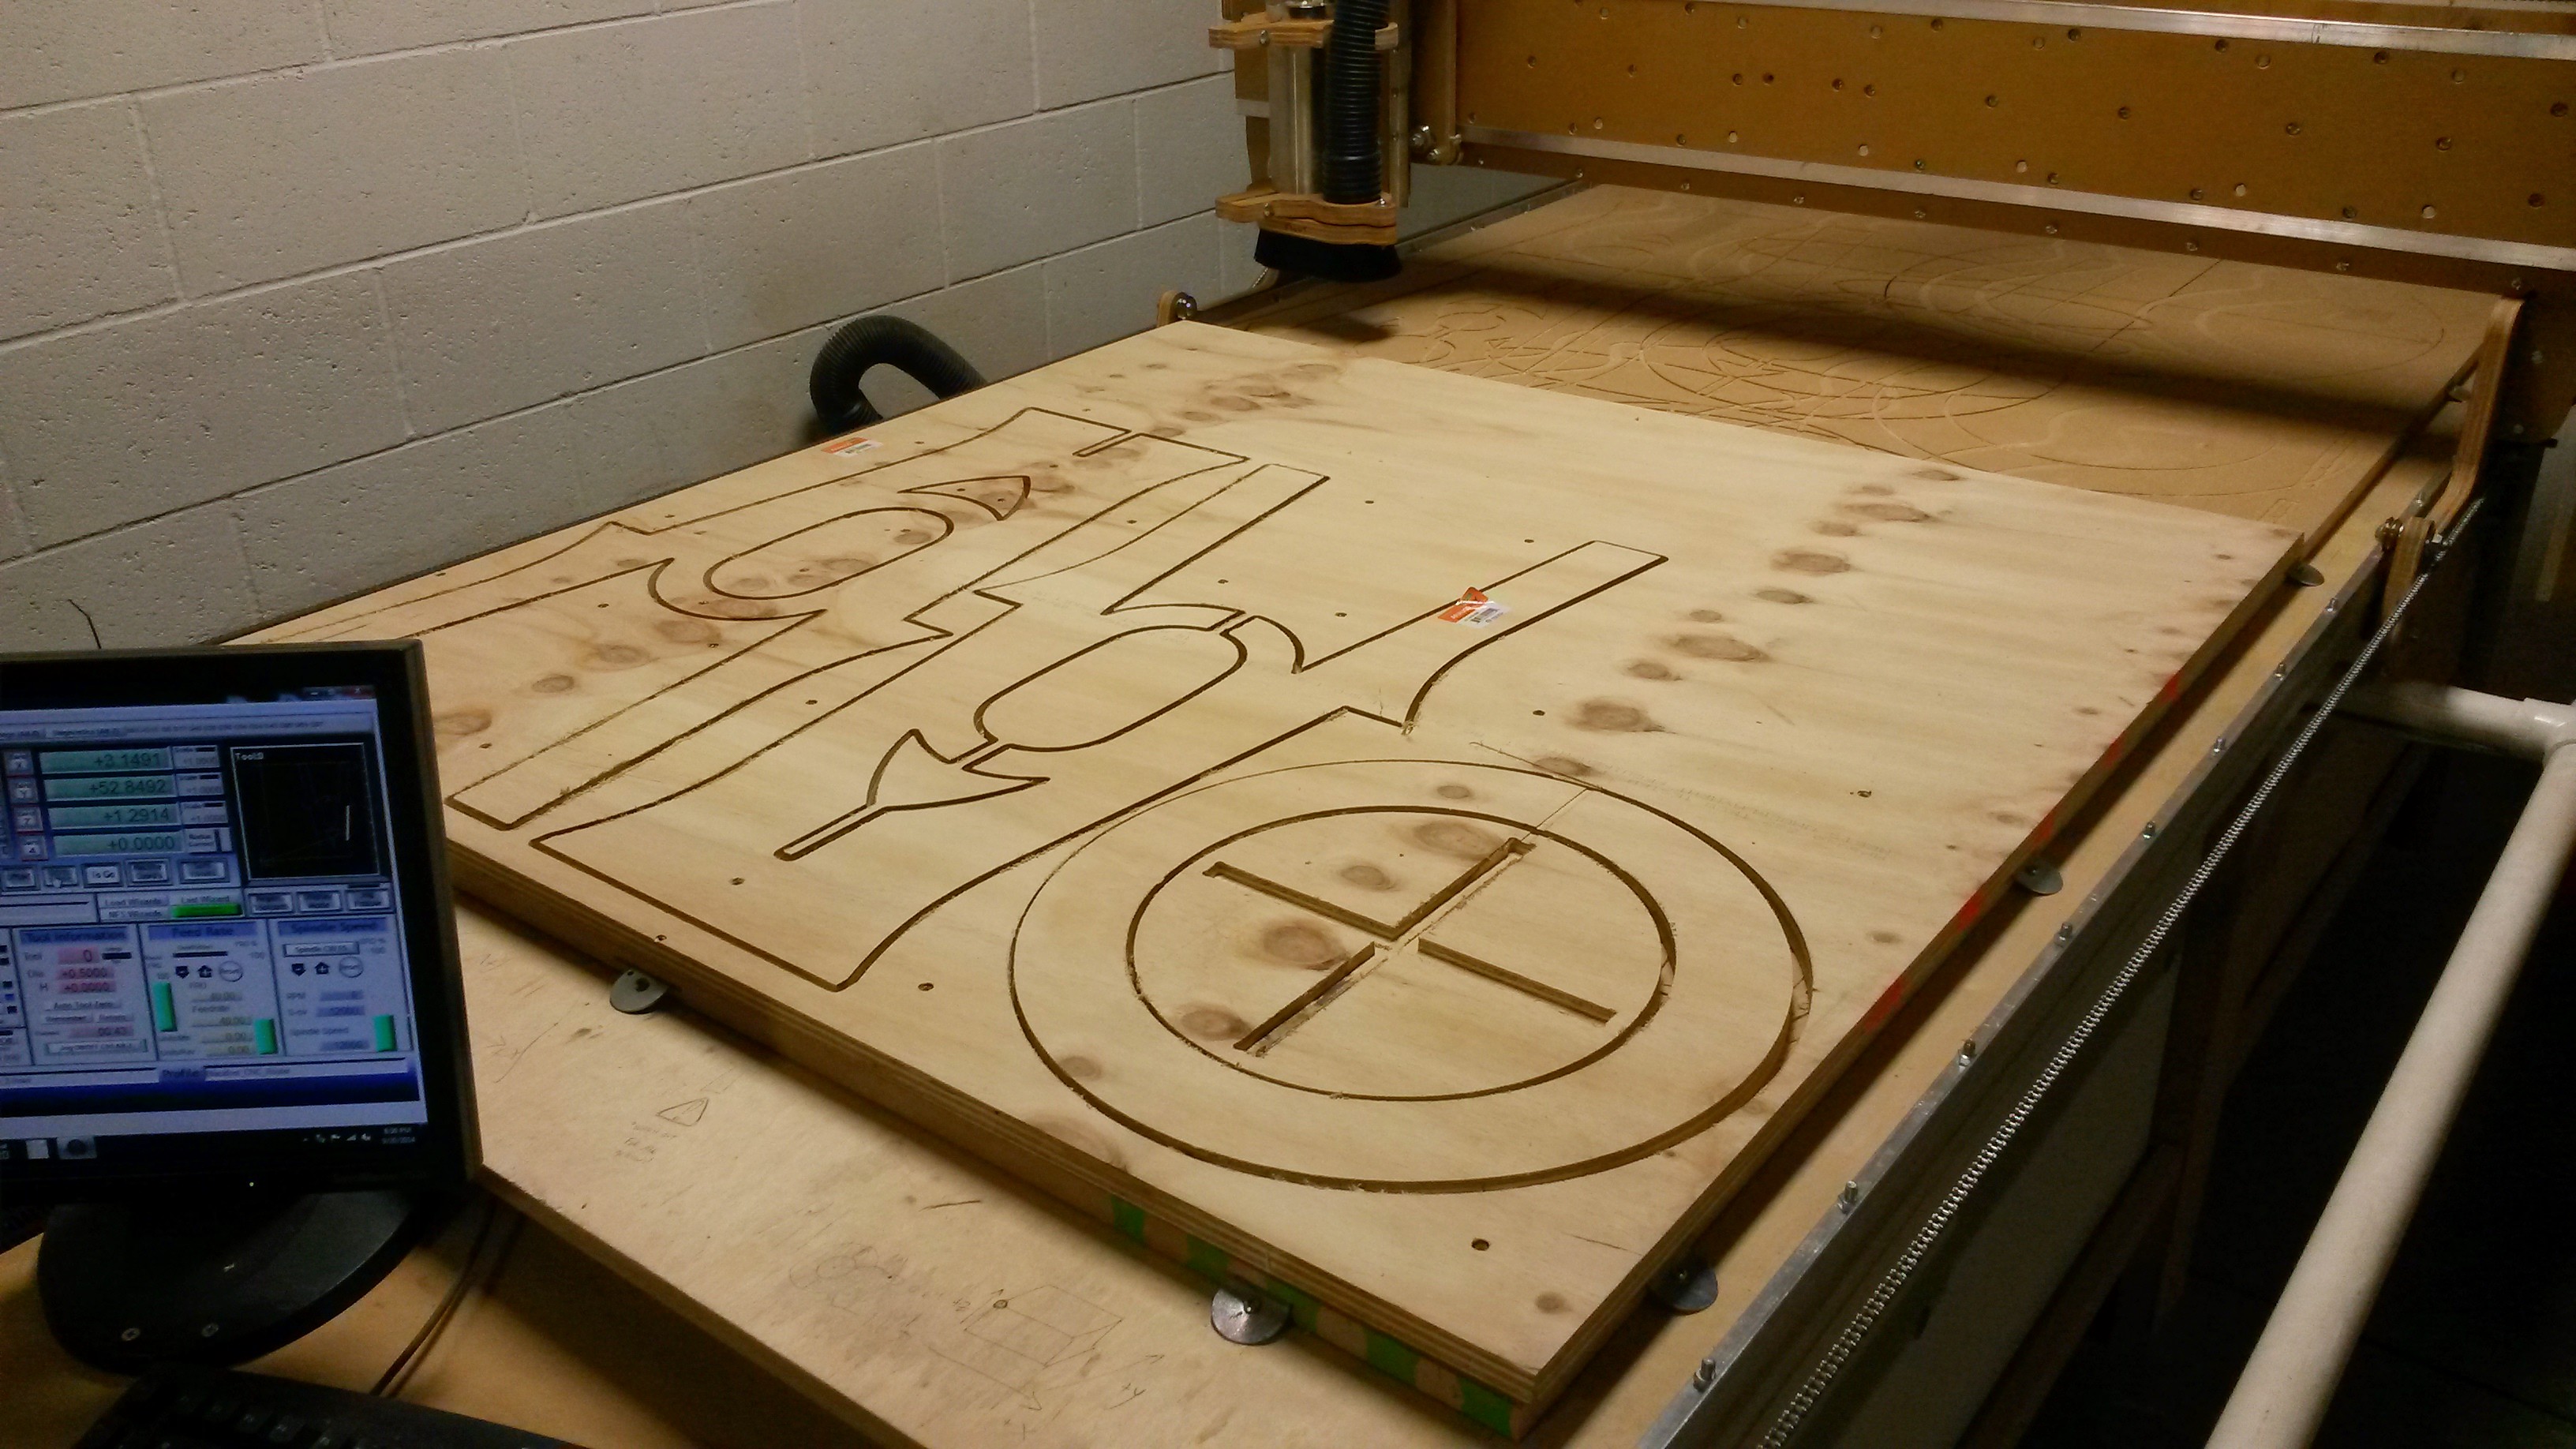
- Continue monitoring as the CNC Router cuts out the stool!
- Once the cutting has been completed, press (and hold briefly) the red button on the spindle control box below the computer monitor to stop the spindle.
Assemble the Stool and Clean Up
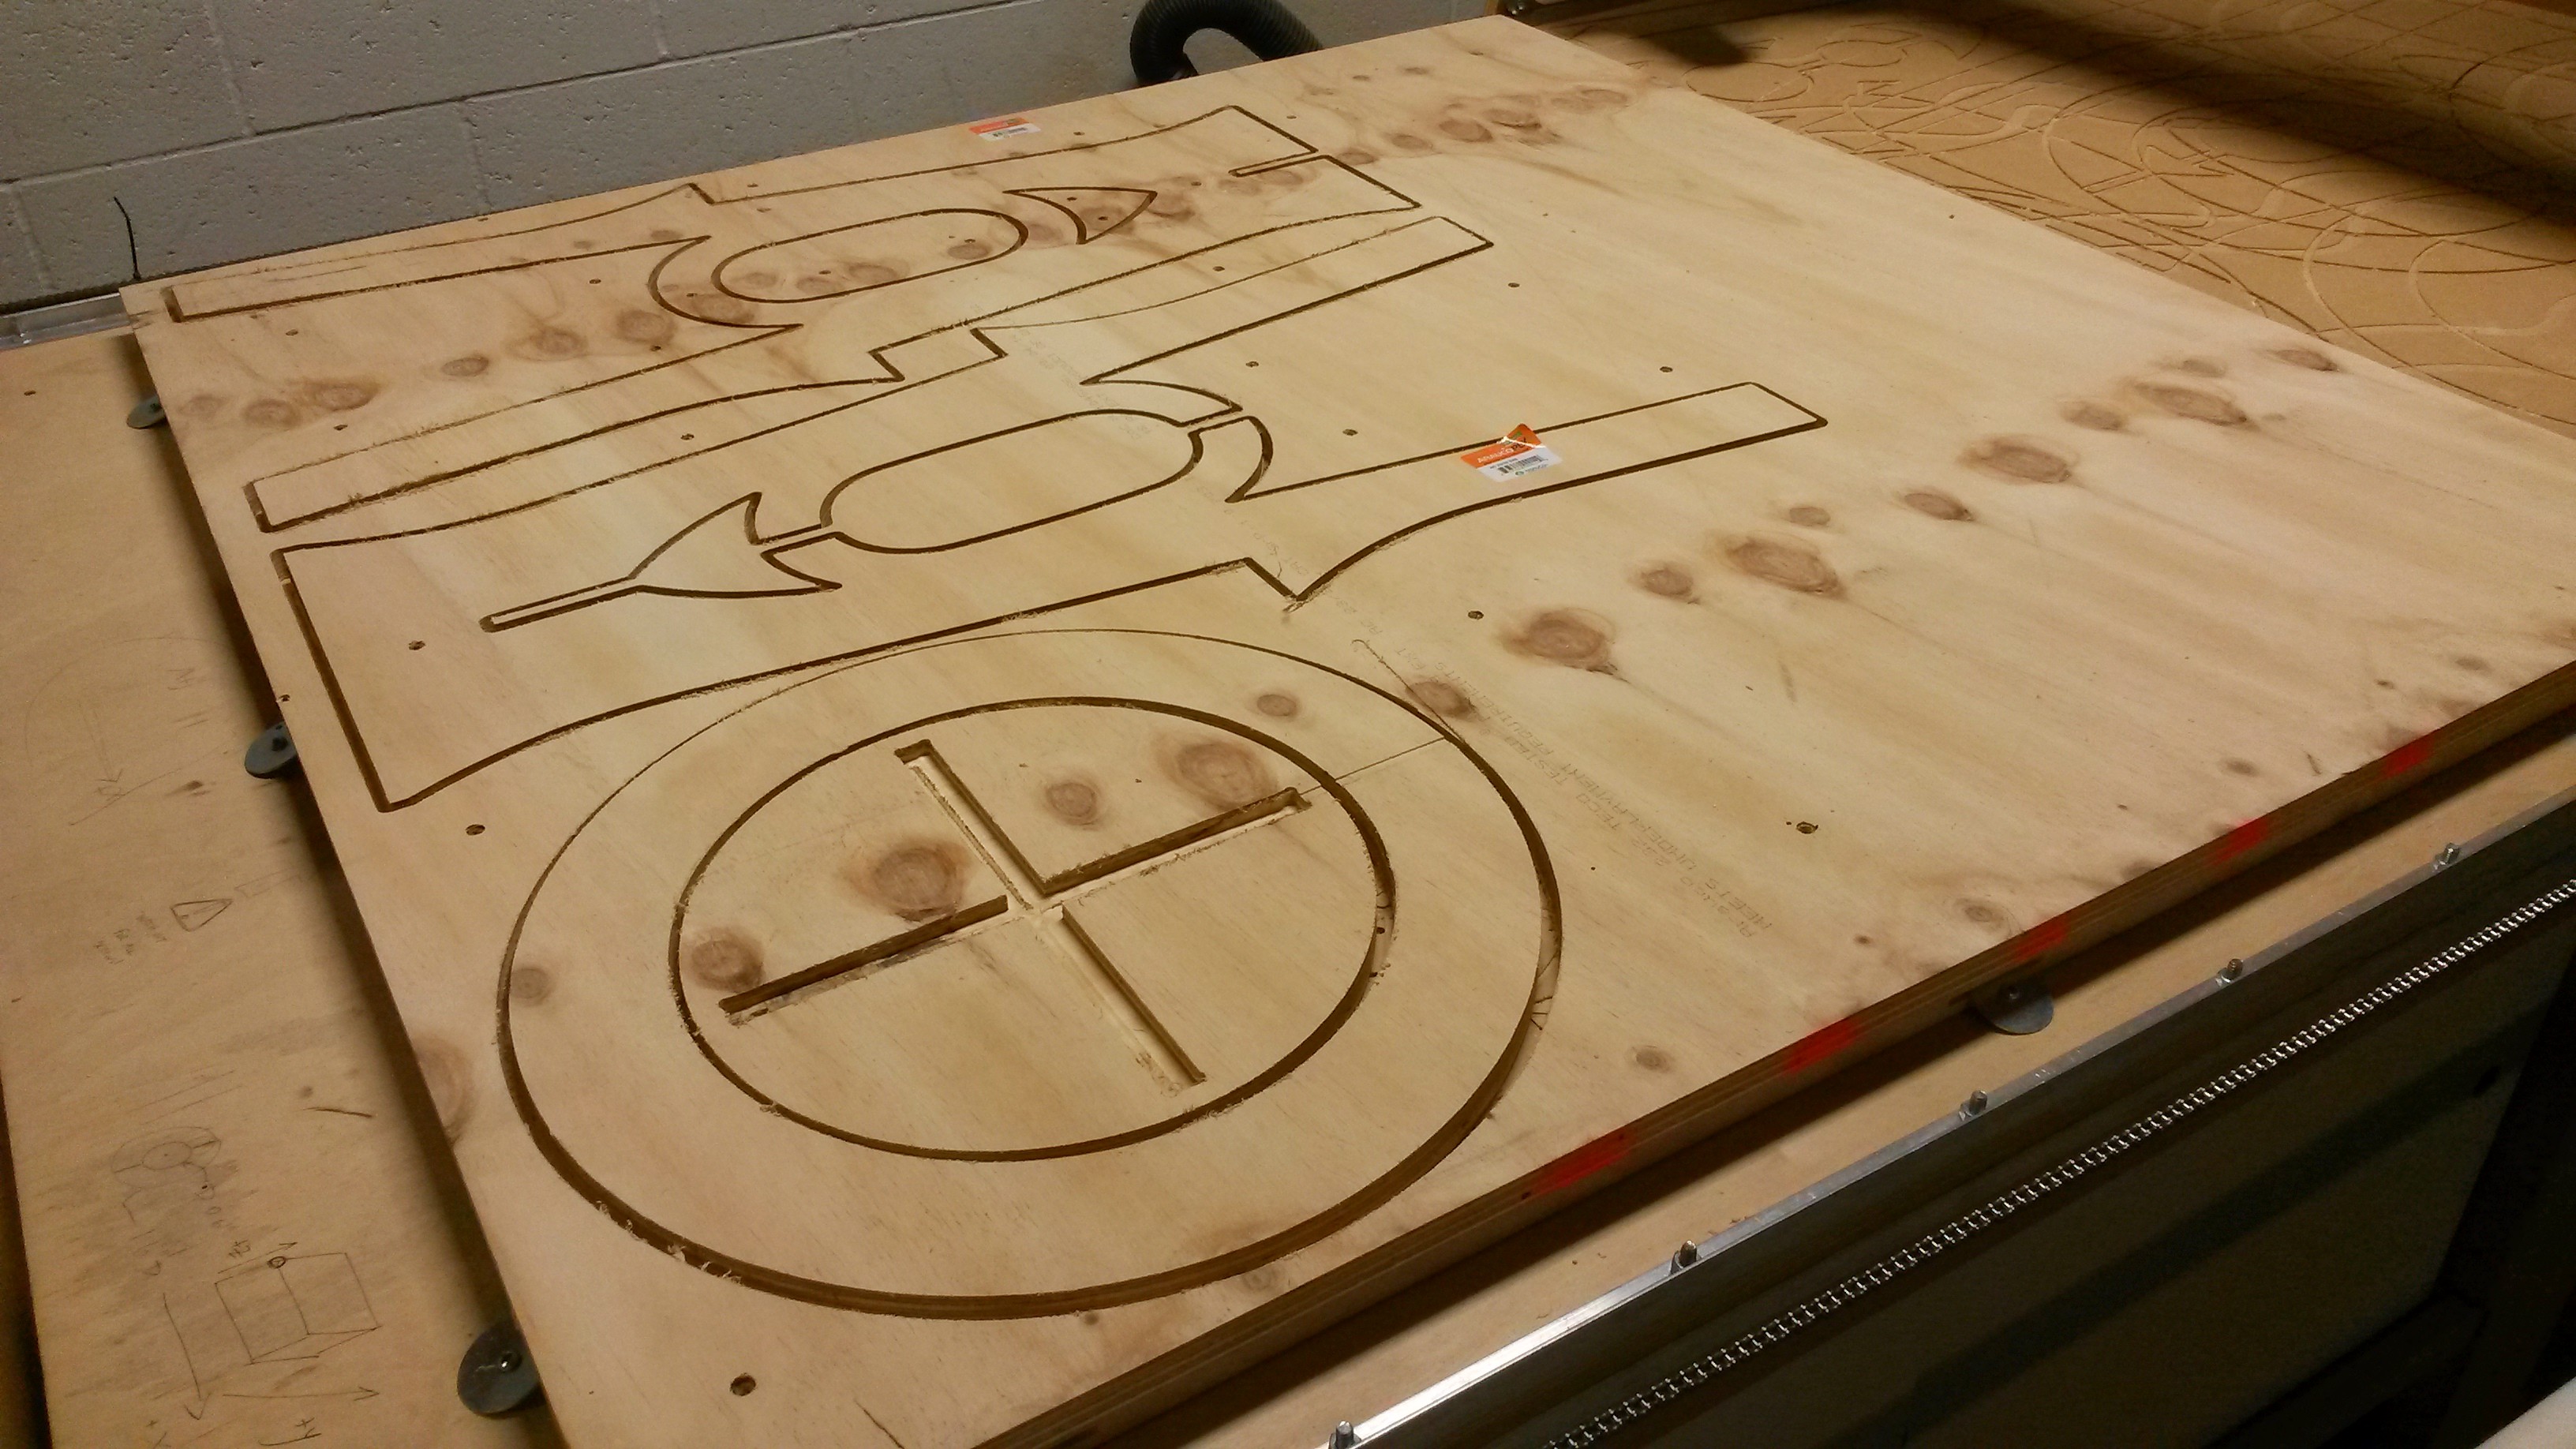
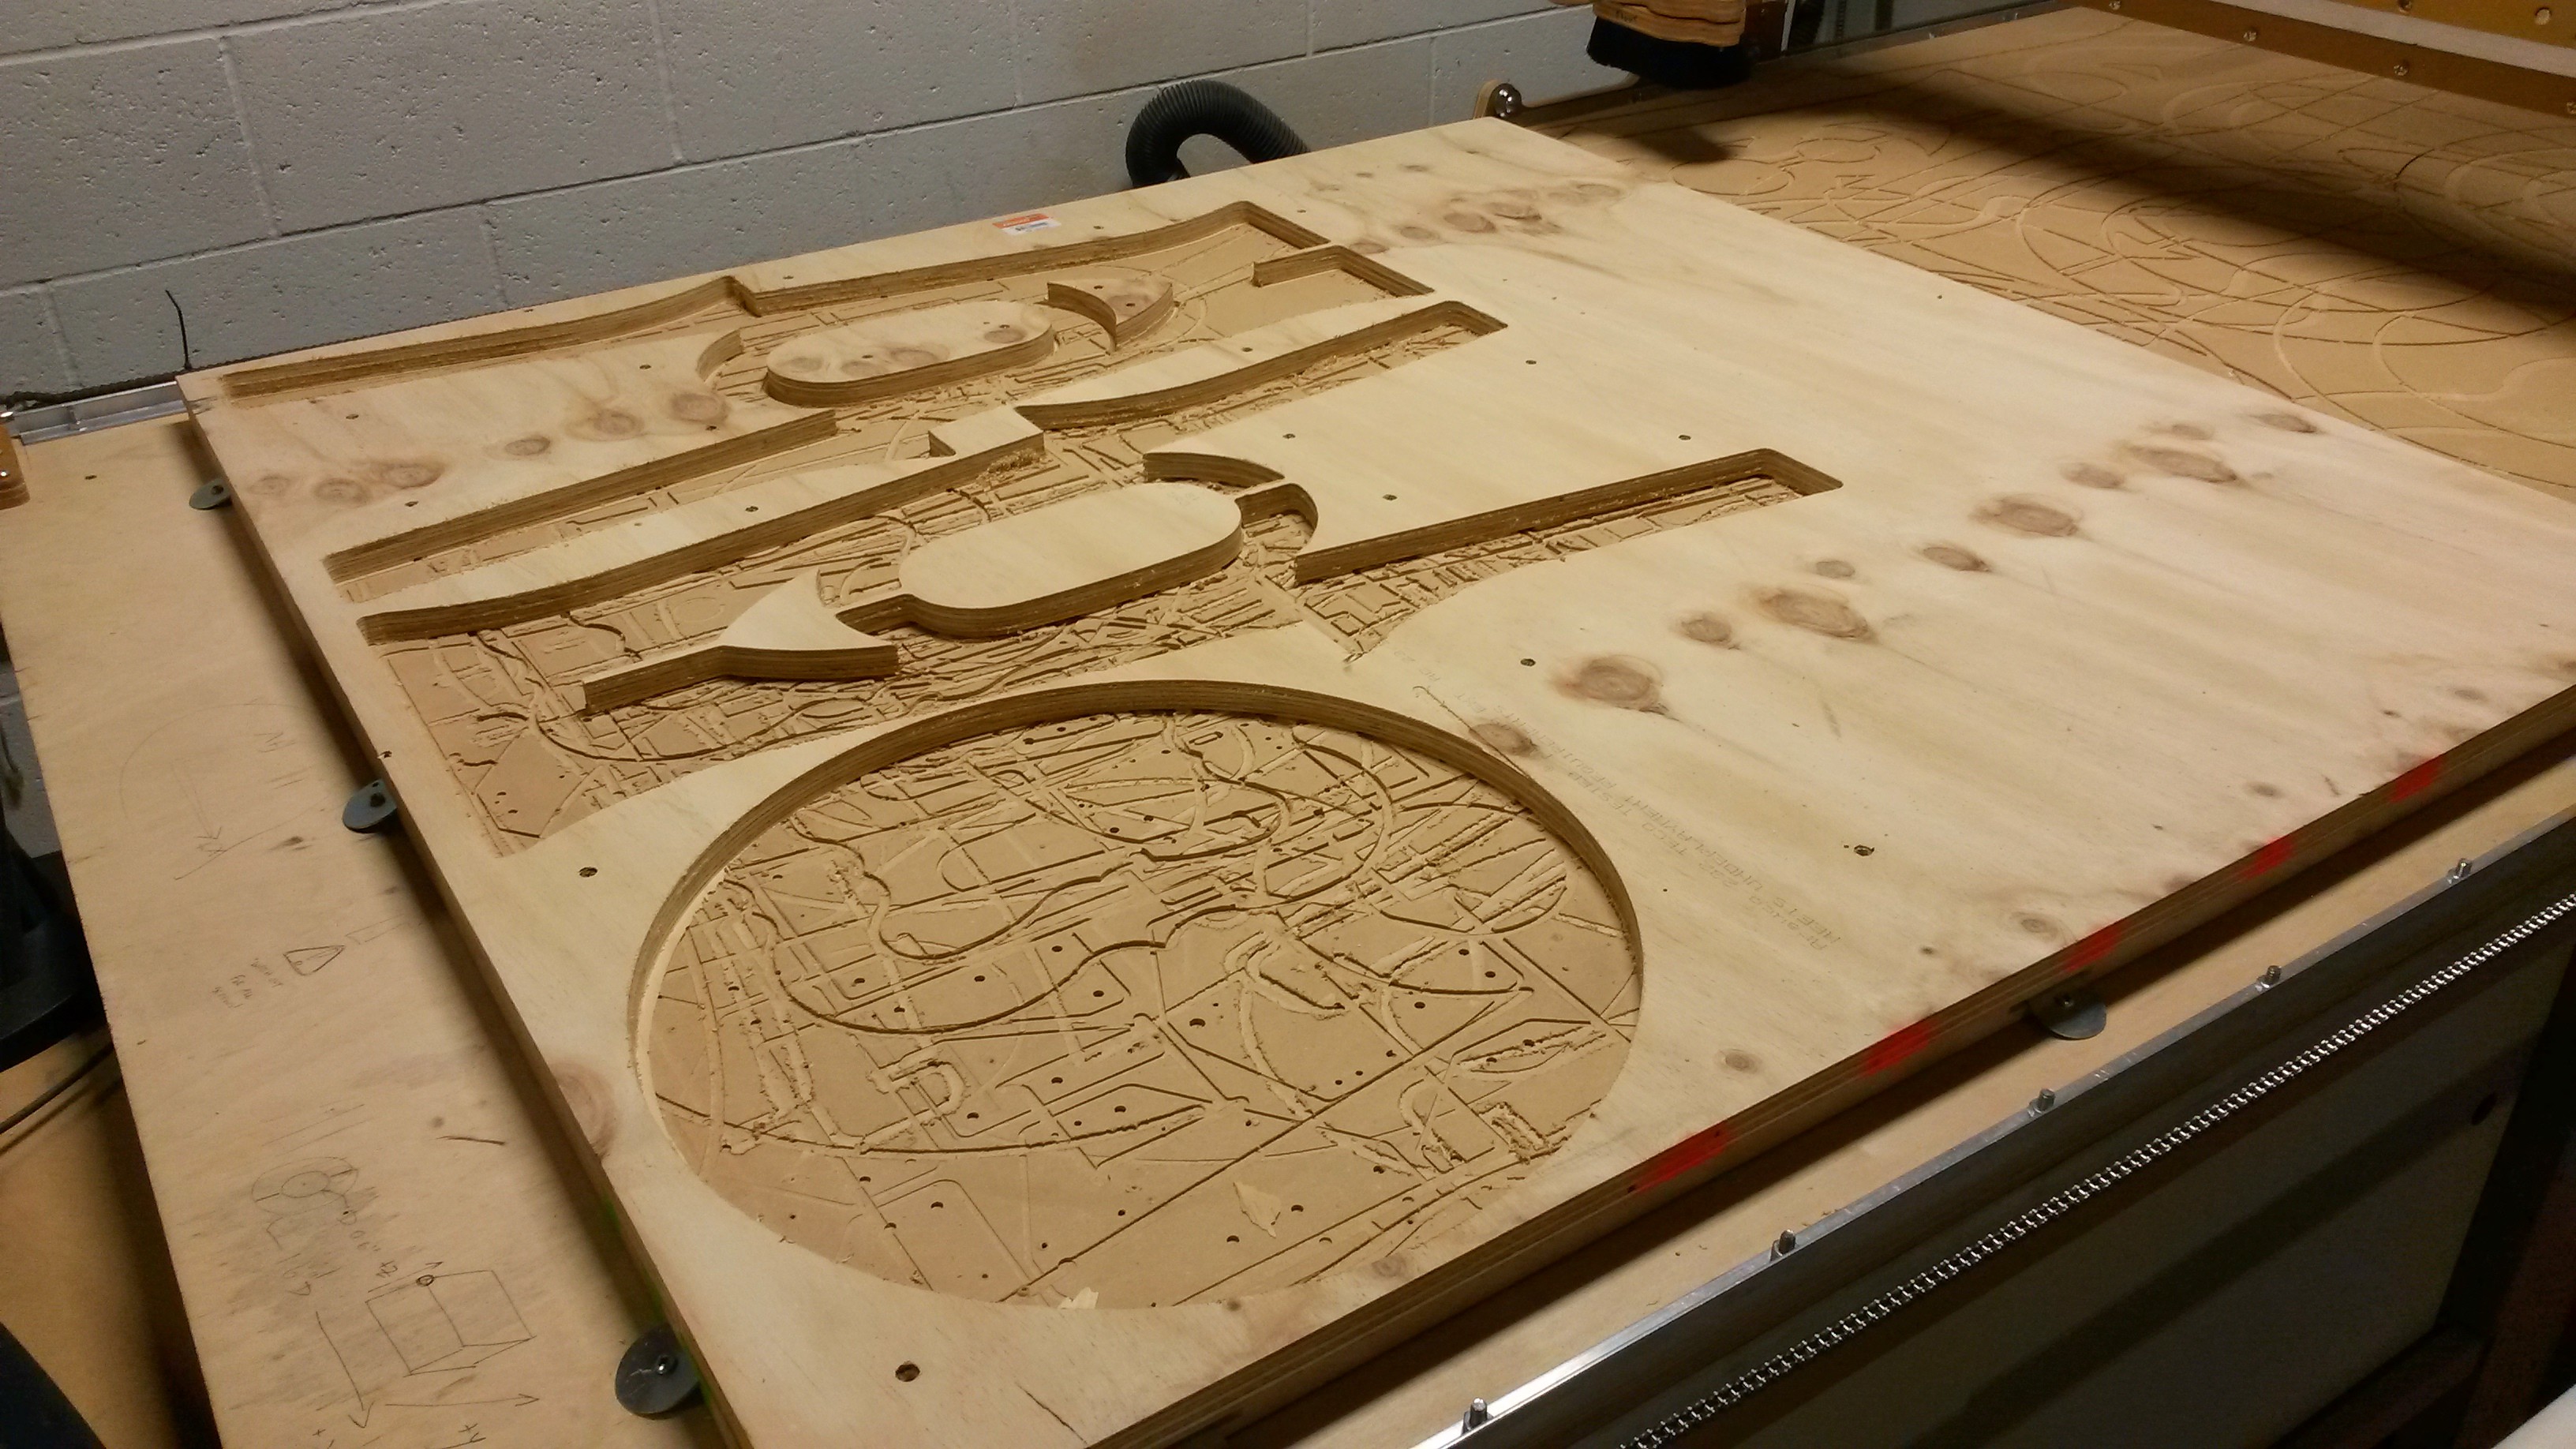
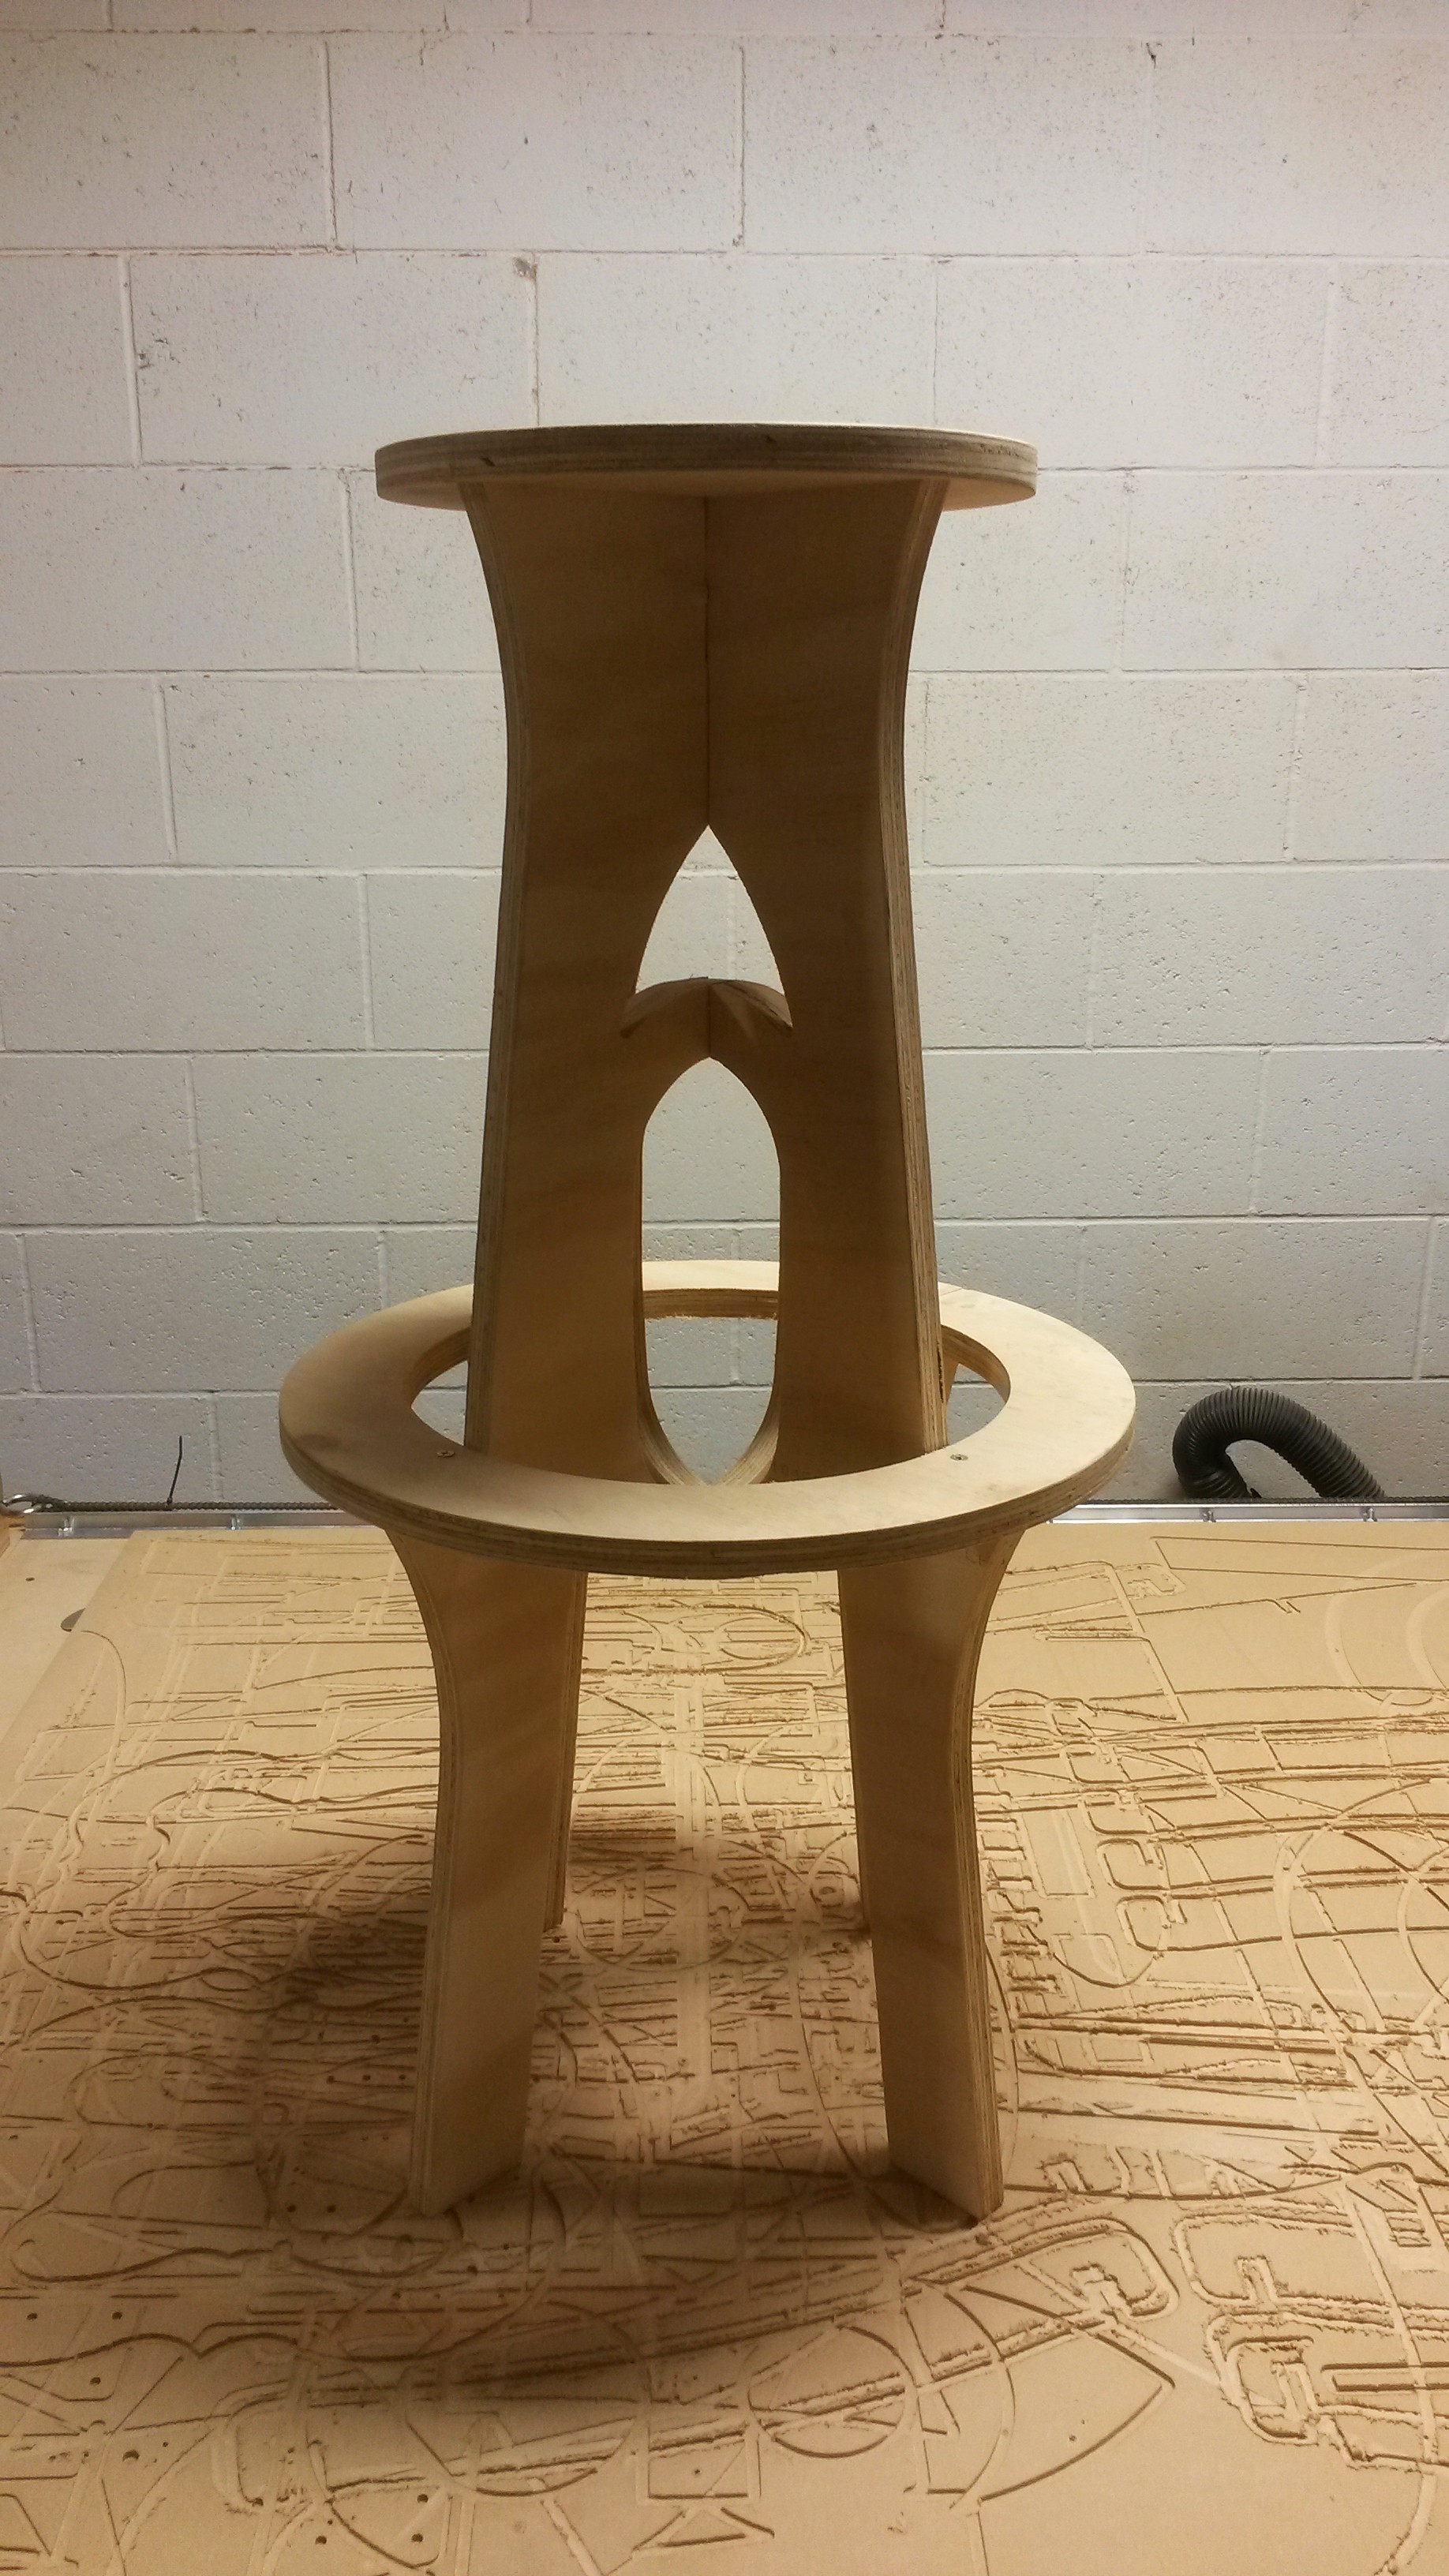
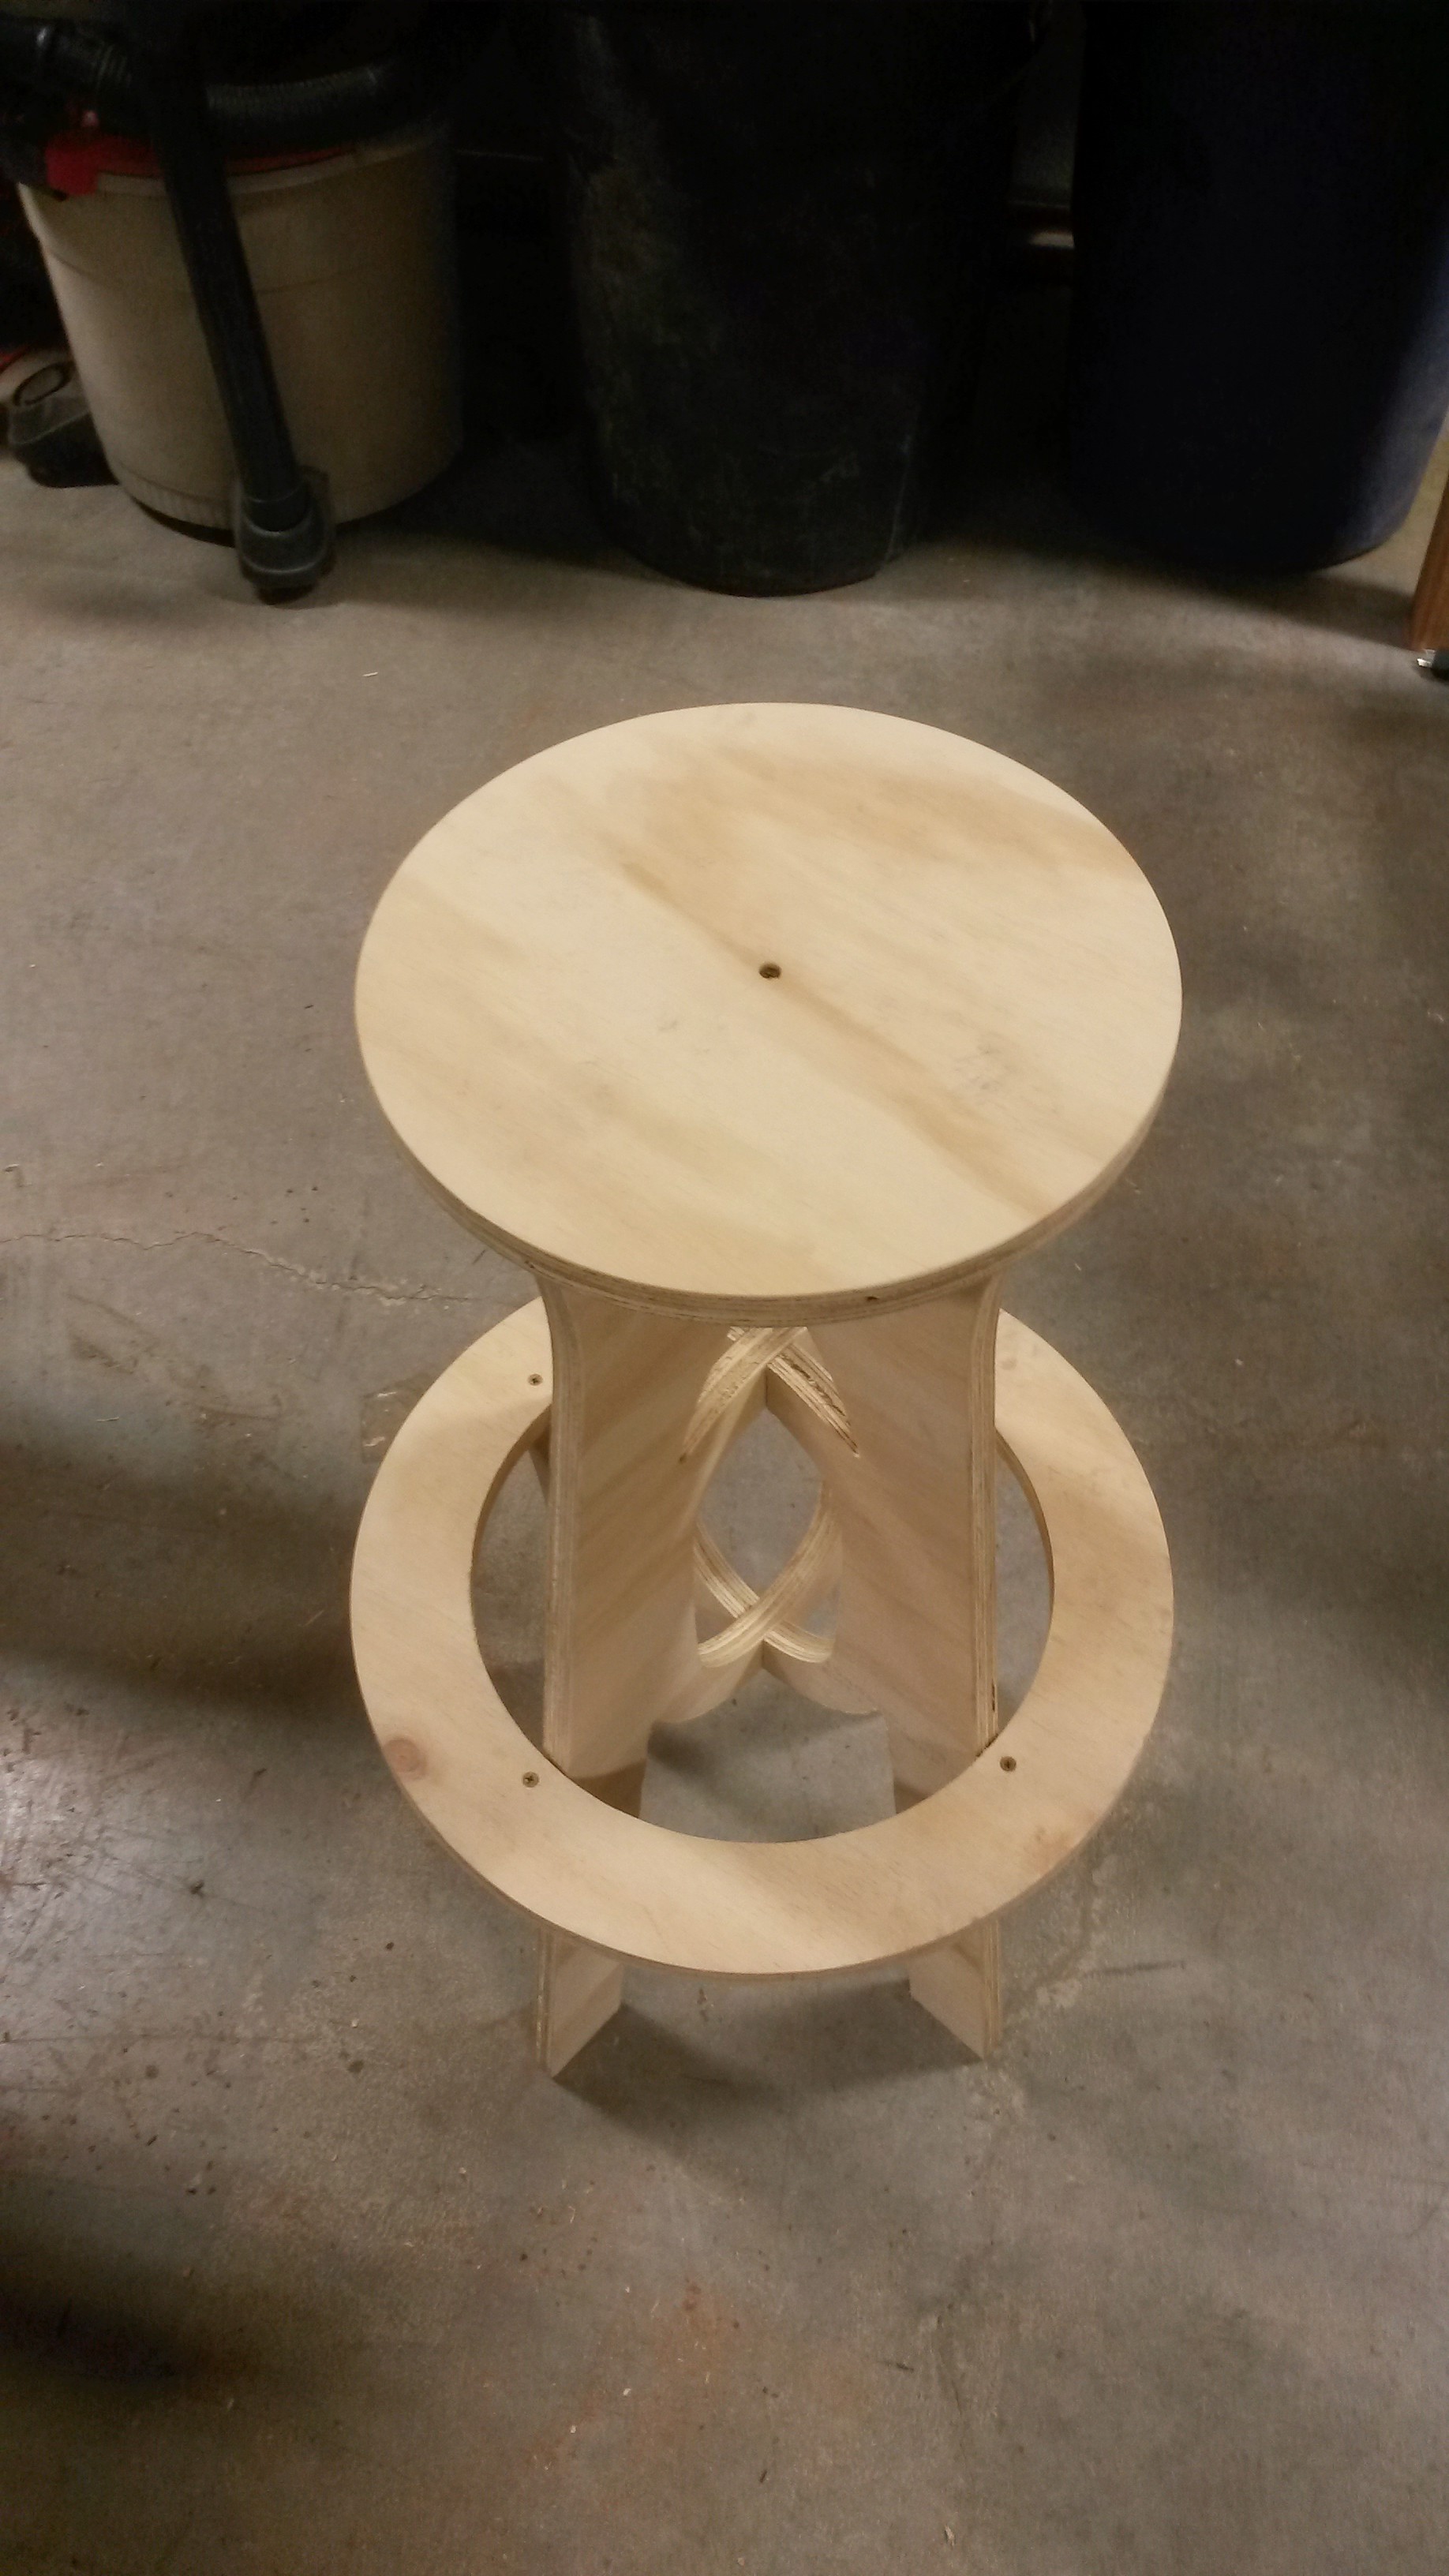
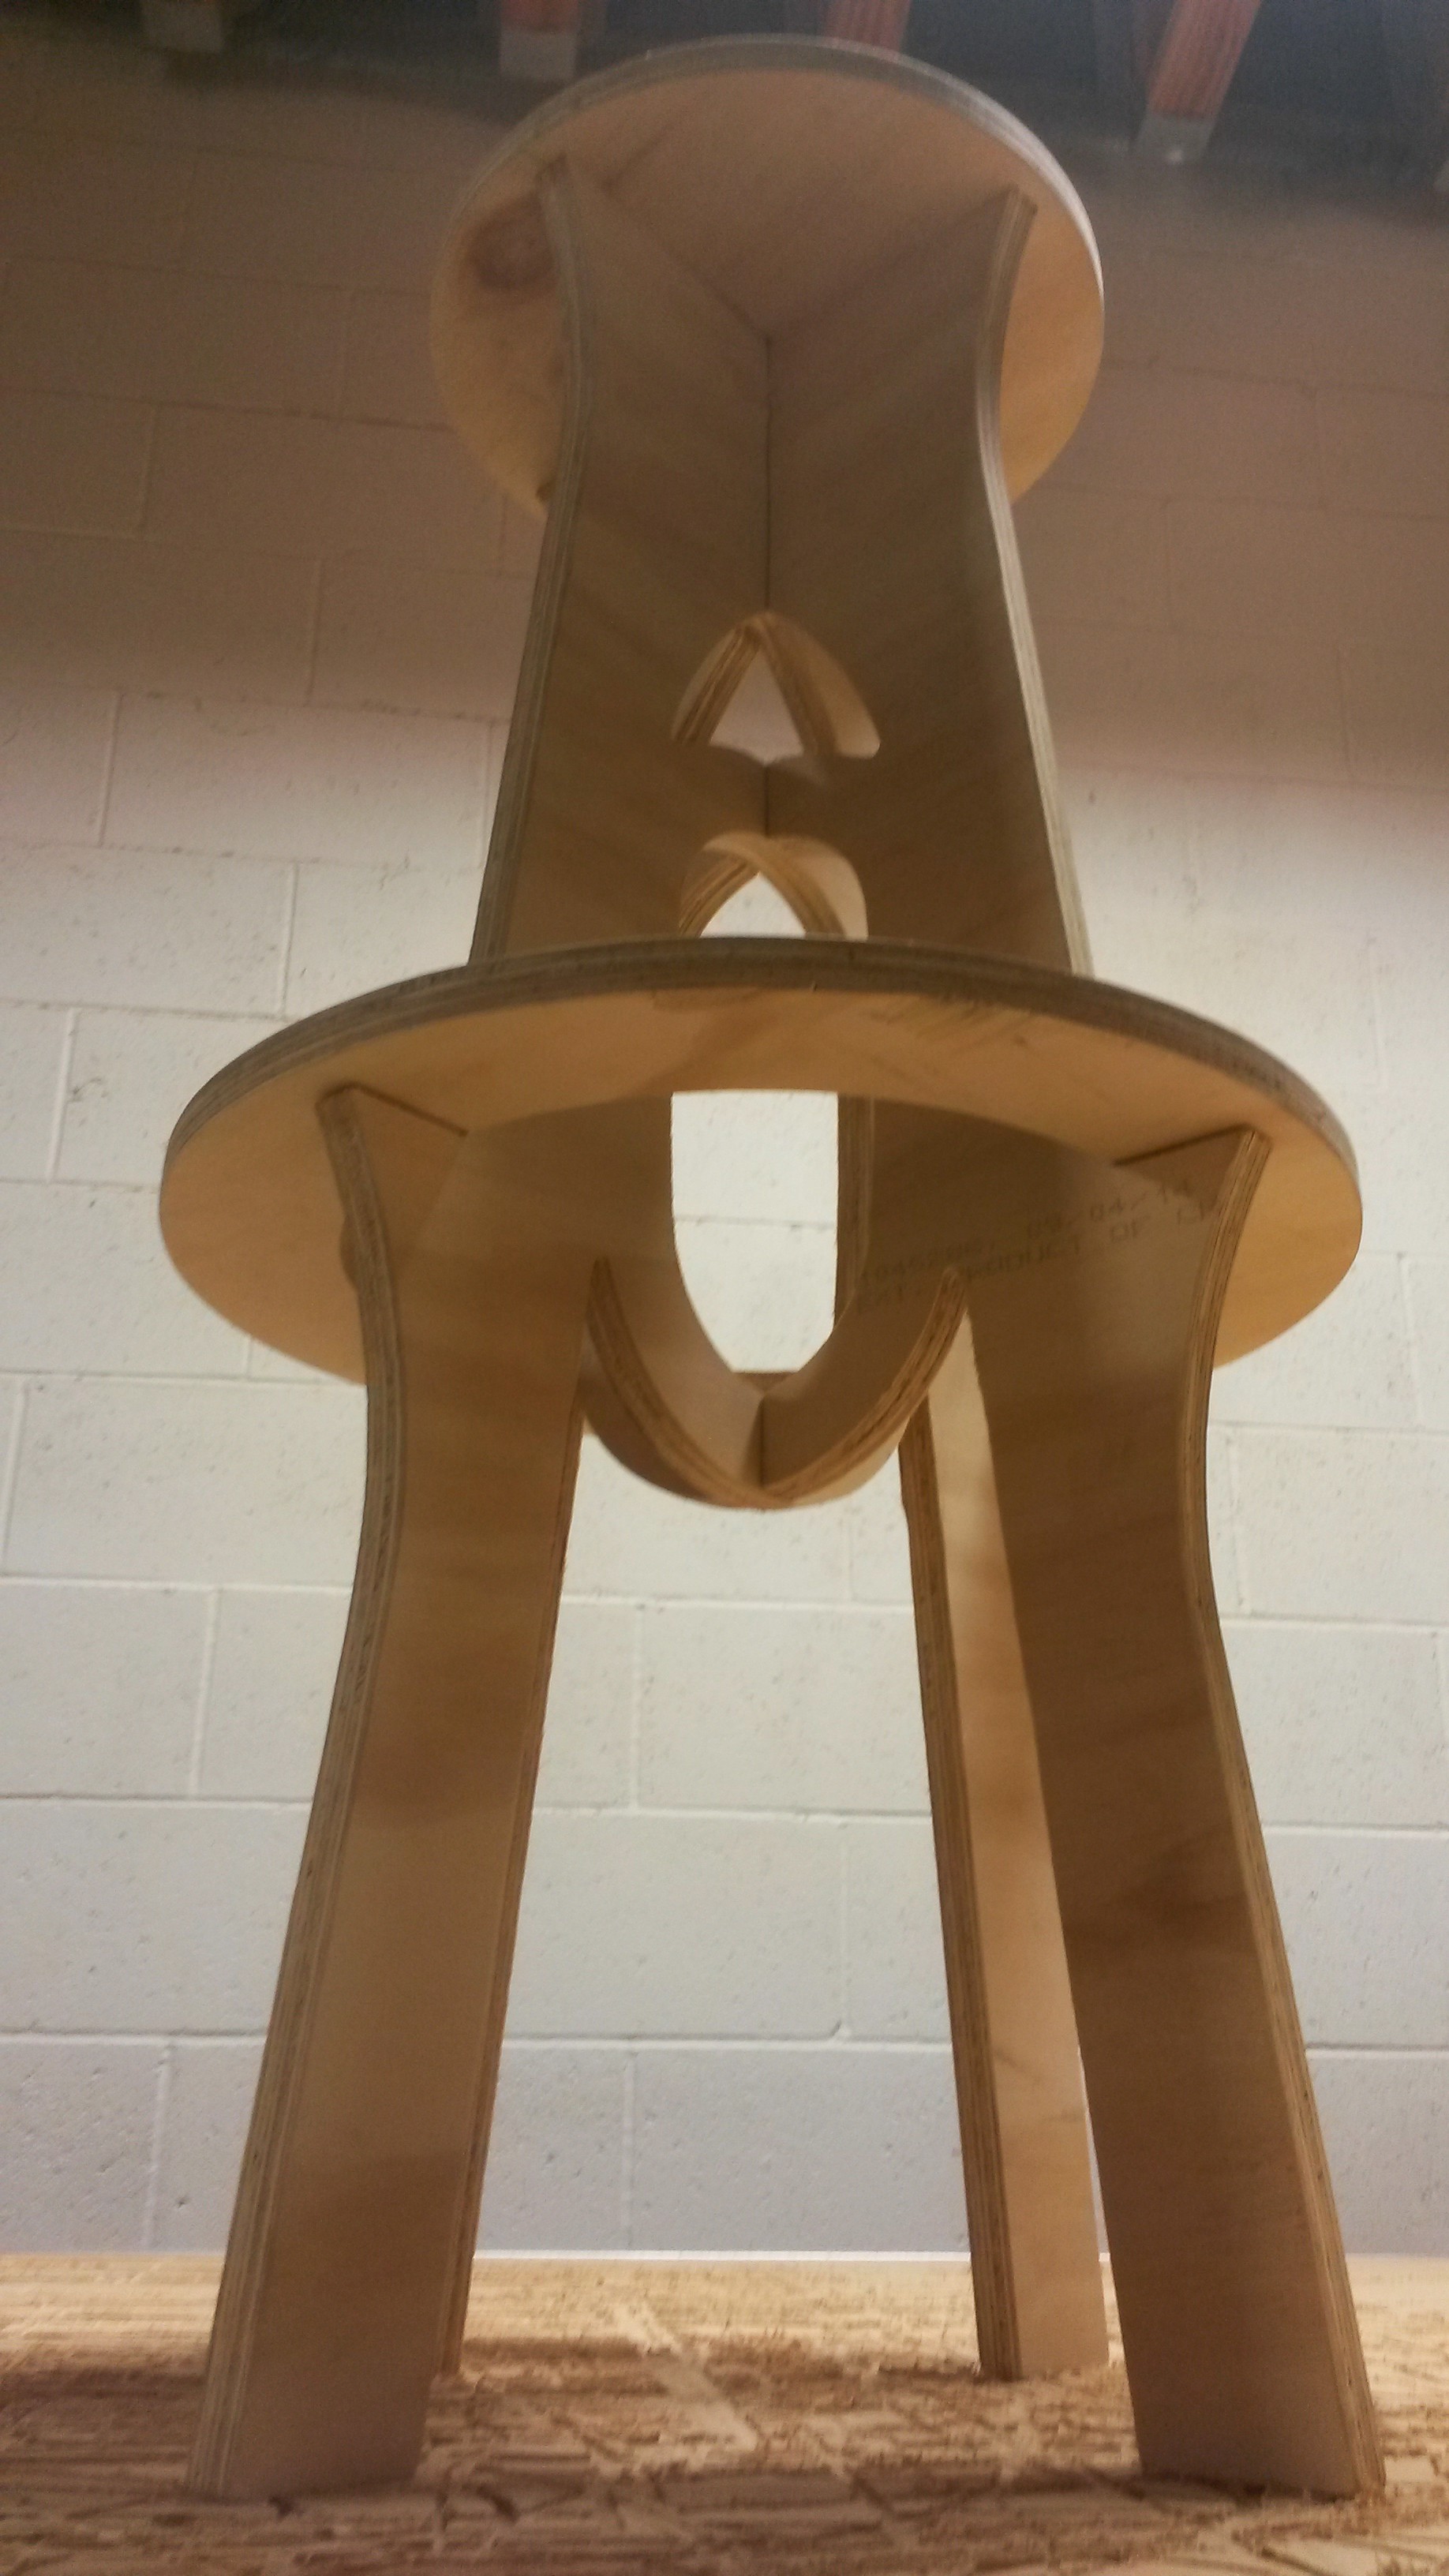
- Unplug spindle motor, water pump, and stepper motor power
- Turn off the sawdust collection vacuum
- Remove the cut stool pieces
- Remove remaining scrap from CNC Router table
- Vacuum all surfaces
- Remove end mill
- Put all tools away
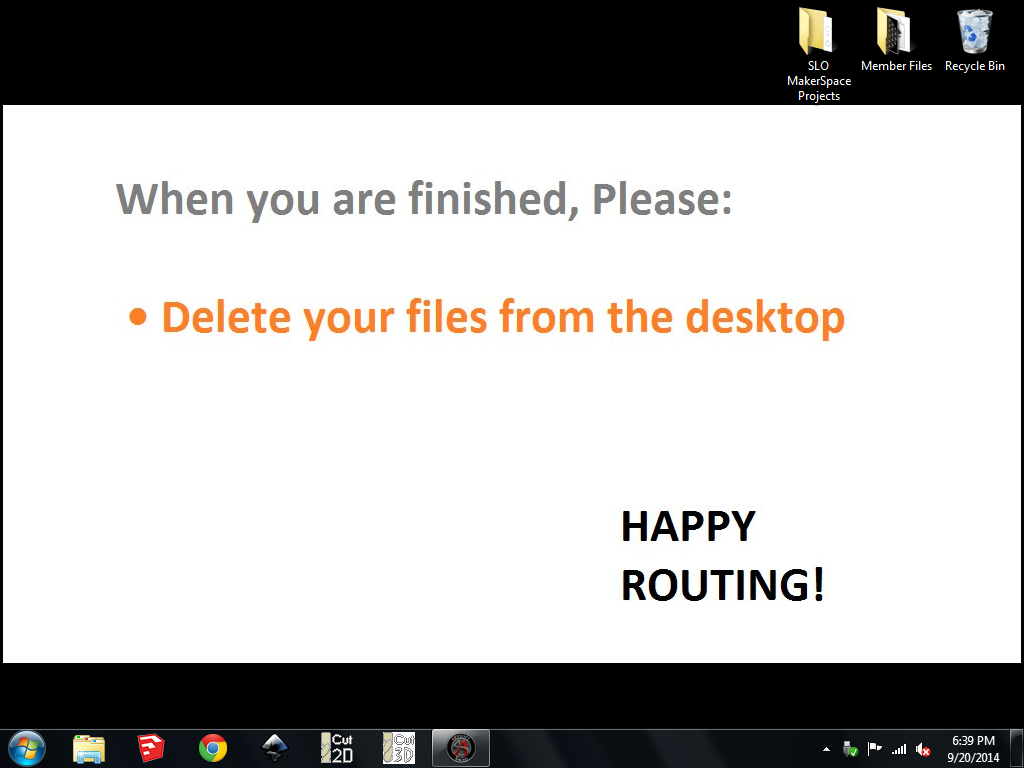
- Close computer programs and delete your files from the desktop
- Sand the edges of the stool pieces
- Assemble the pieces
- Screw in the footrest (and seat if necessary)
- Enjoy your new stool!