CNC Plasma MB Sign
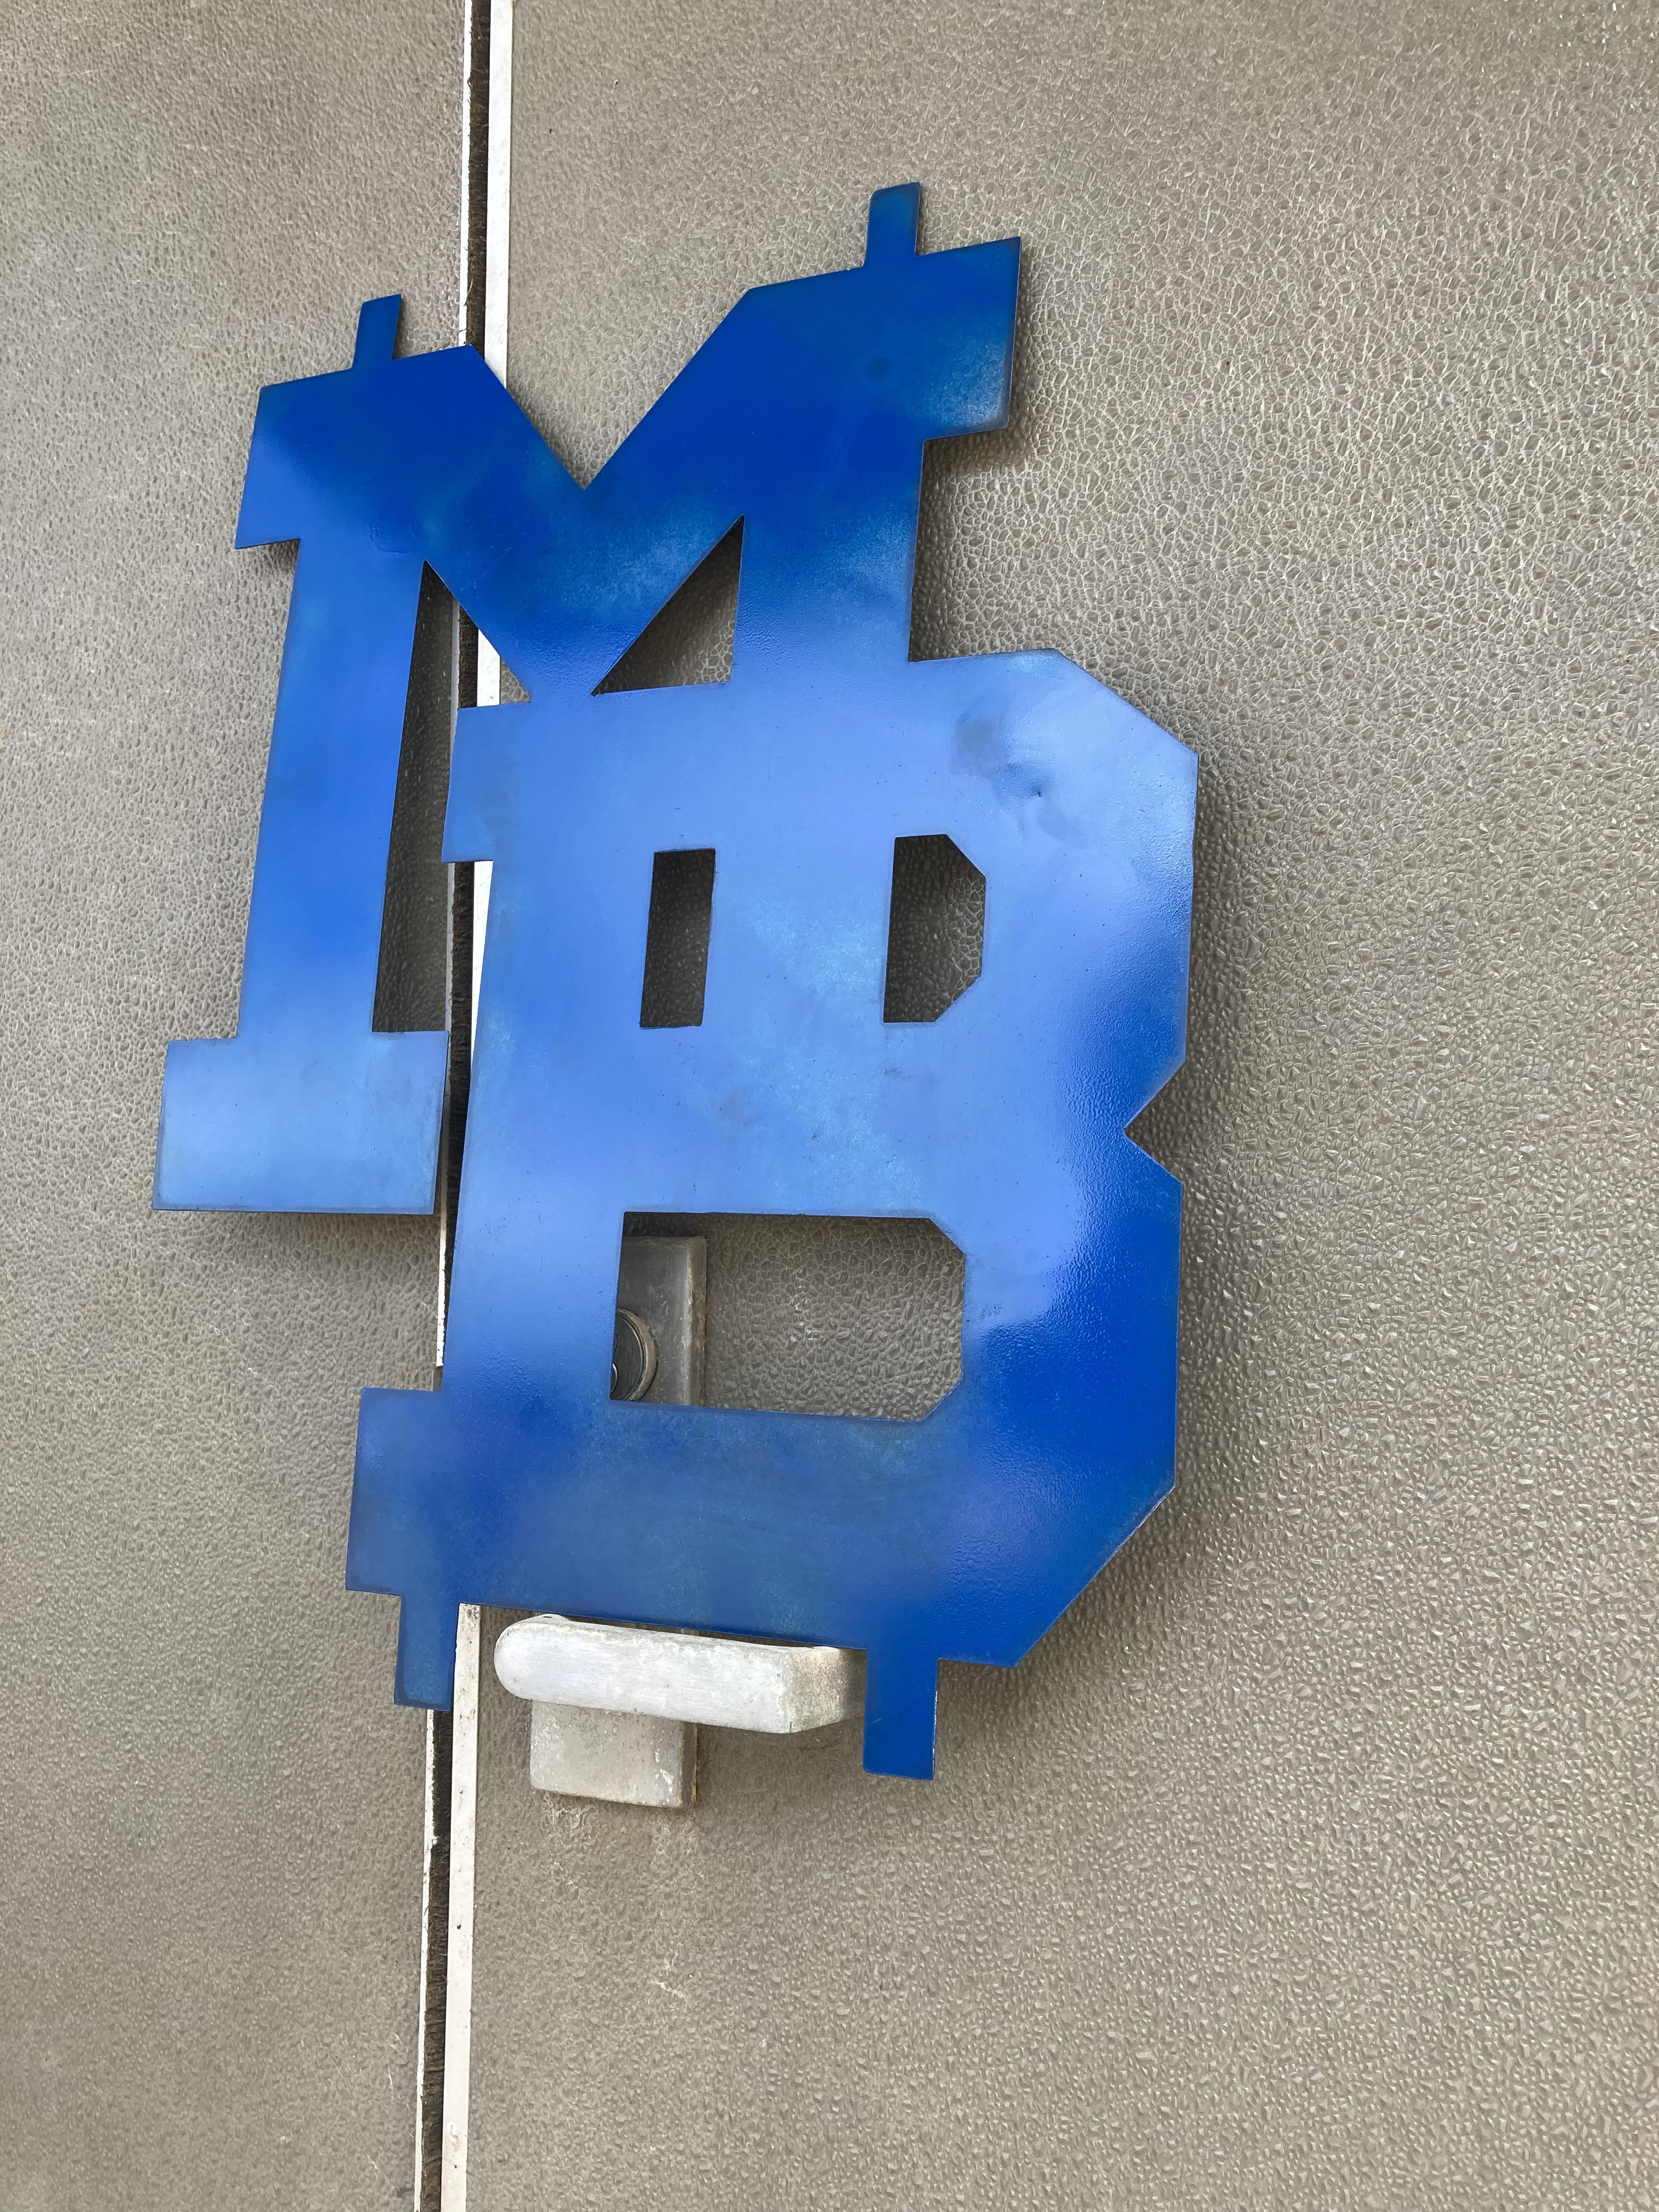
This is how to make a MB Sign on the Plasma Cutter at MBHS.
Supplies
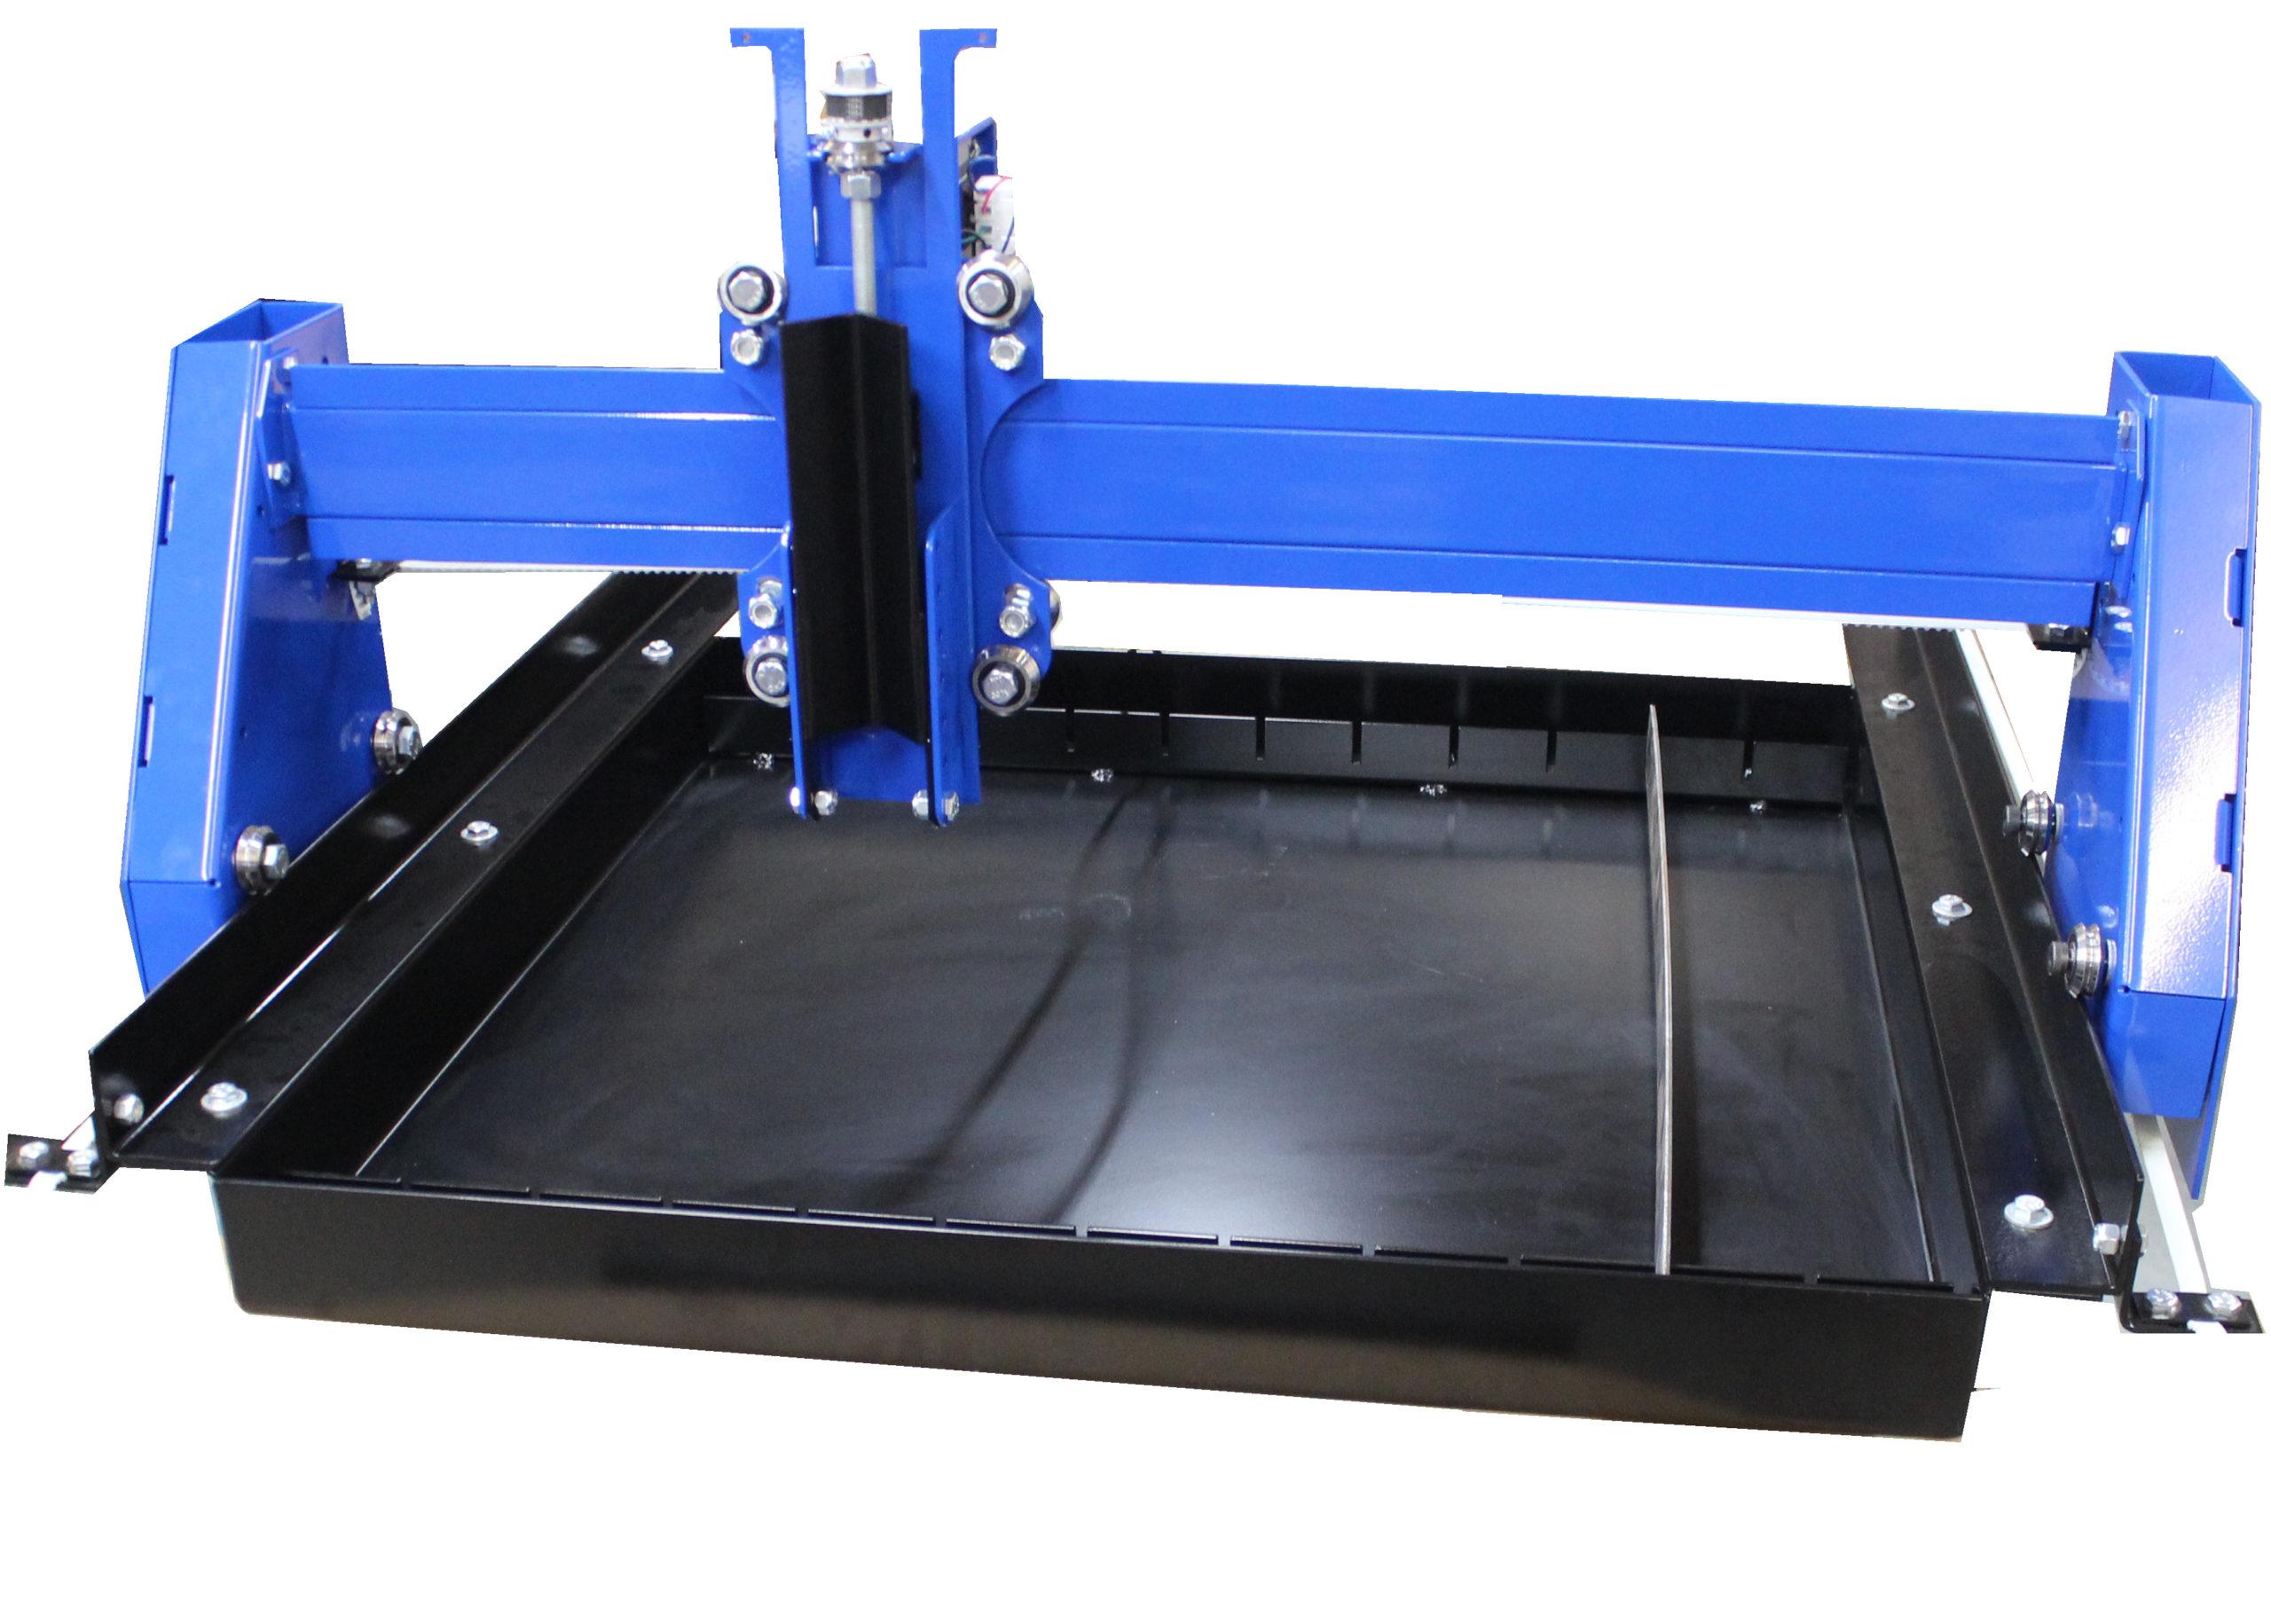
Materials: Fusion 360, CNC Plasma cutter, and a piece of stock that is your desired size and thickness.
Opening Up the Pre-existing MB Logo CAD File
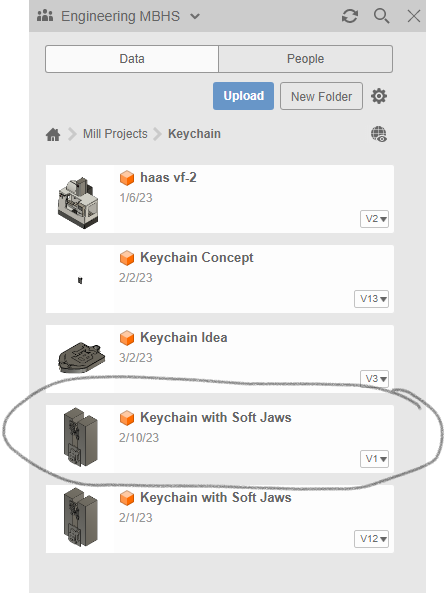
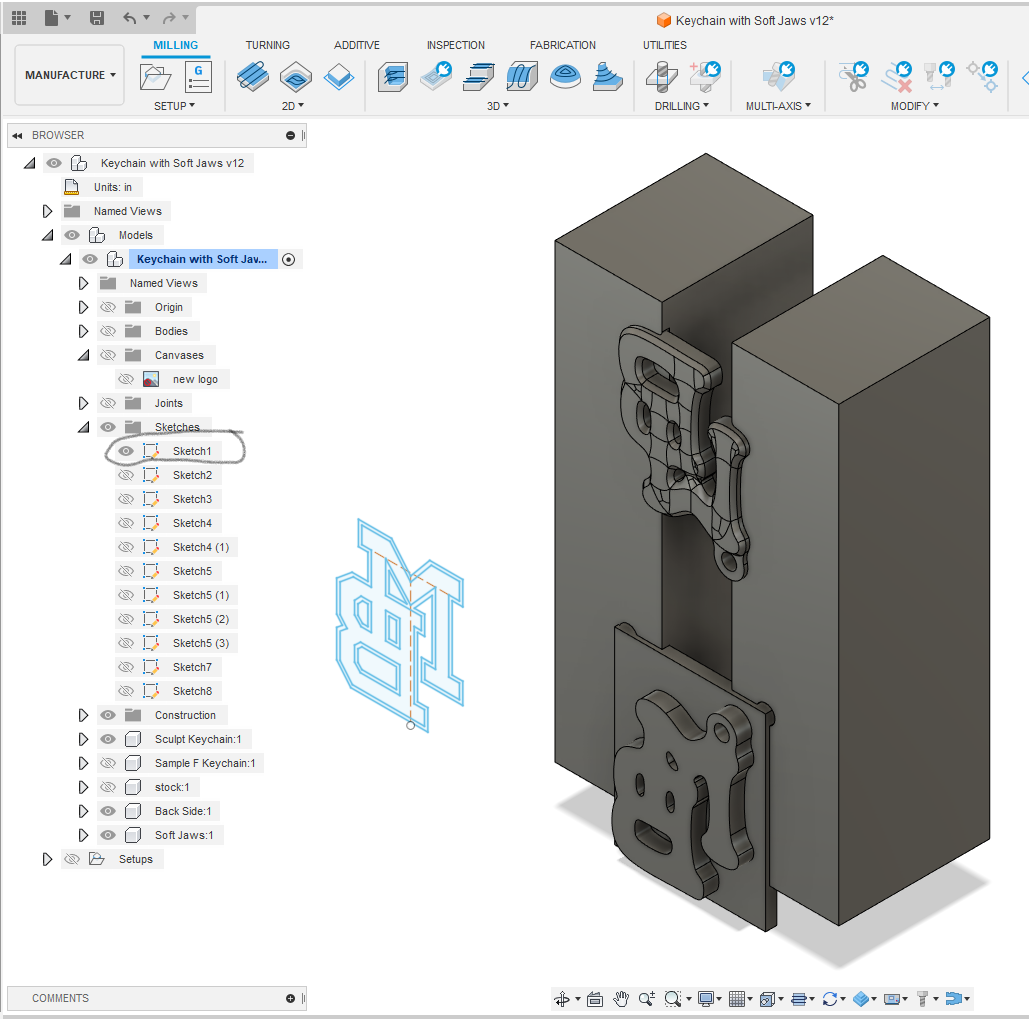
First, open up the preexisting MB logo design sketch from the Keychain with Soft Jaws file in the Keychain folder. This folder is located in the Mill Projects folder in Engineering MBHS in Fusion 360. Once the file is open, the sketch is titled Sketch1. Open up a new tab in Fusion, and click Create New Sketch. Copy and paste the sketch for the MB logo into this new sketch on Fusion 360.
Sizing the Sketch
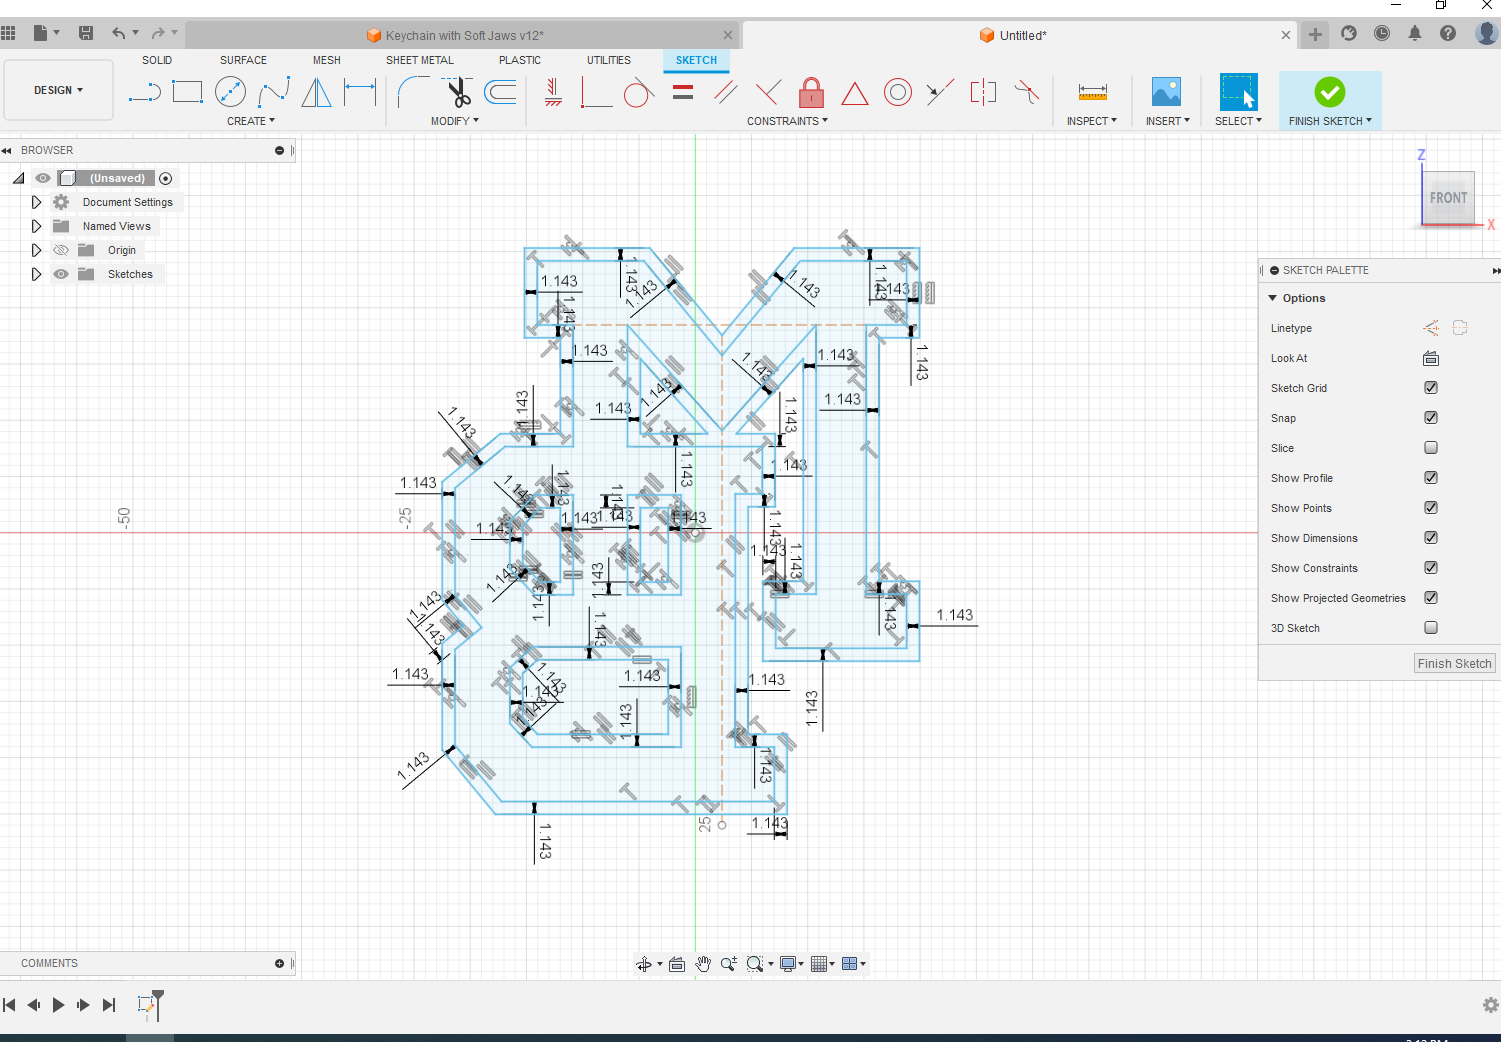
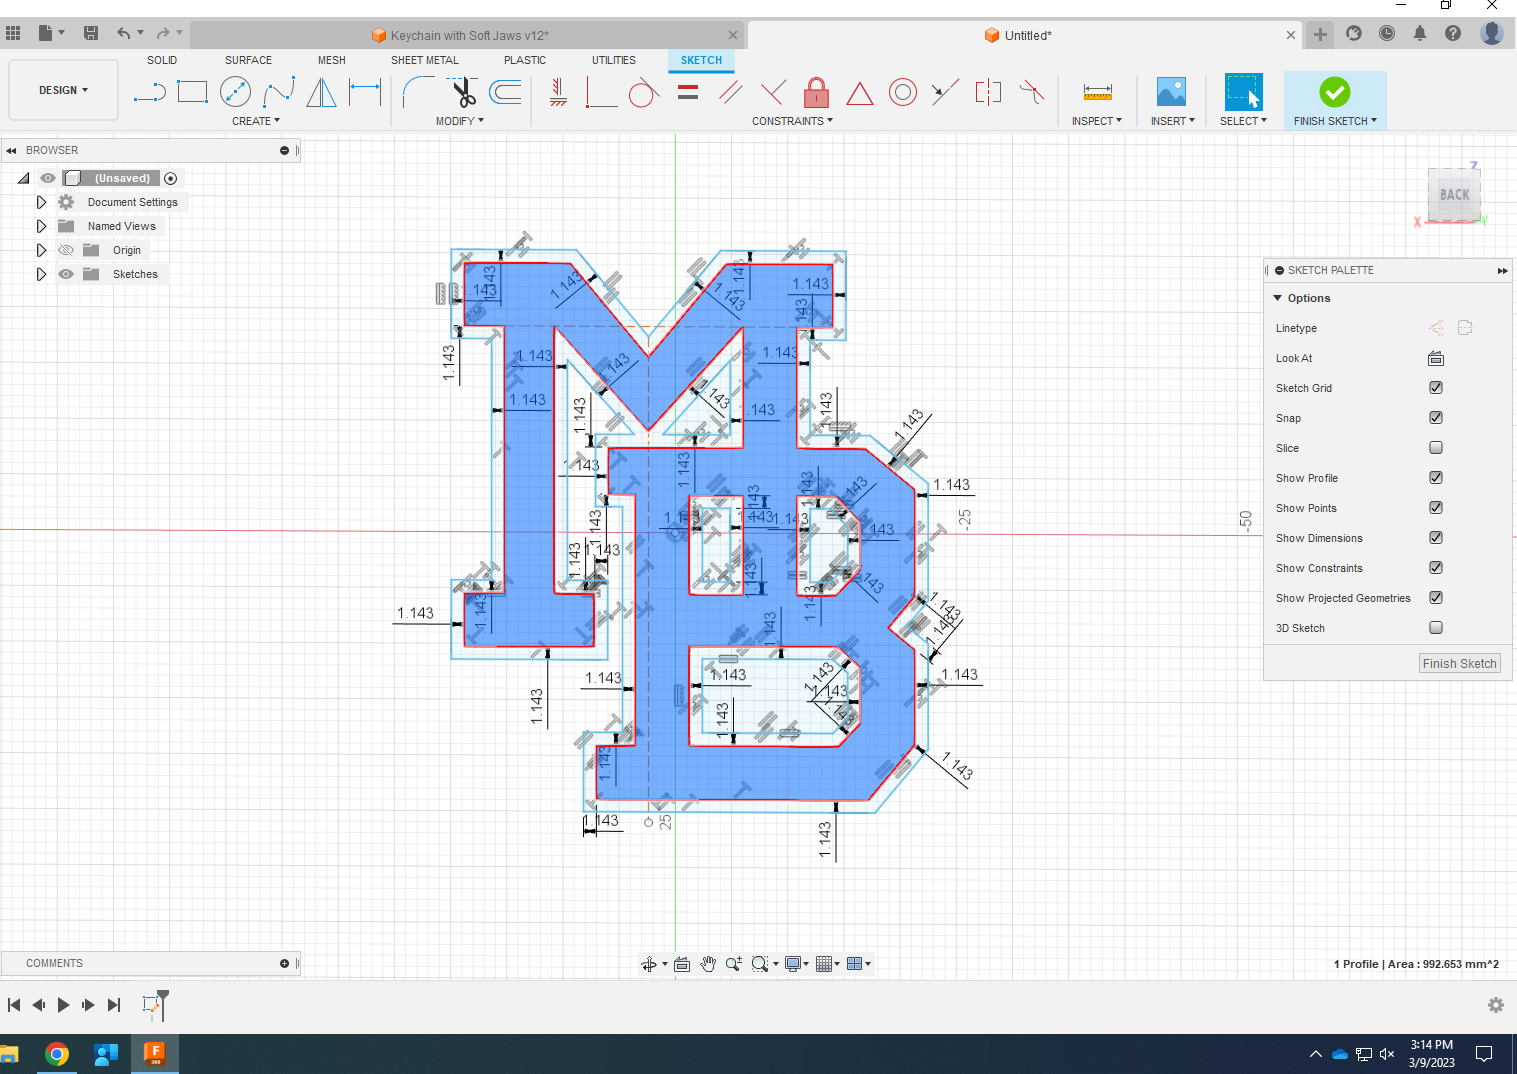
Now that the sketch is opened in a new tab, delete the interior geometry. Since the sign is just being cut out on a Plasma Cutter, we are not going to need a border so there is no need for the interior geometry. What needs to be deleted is highlighted in the picture above.
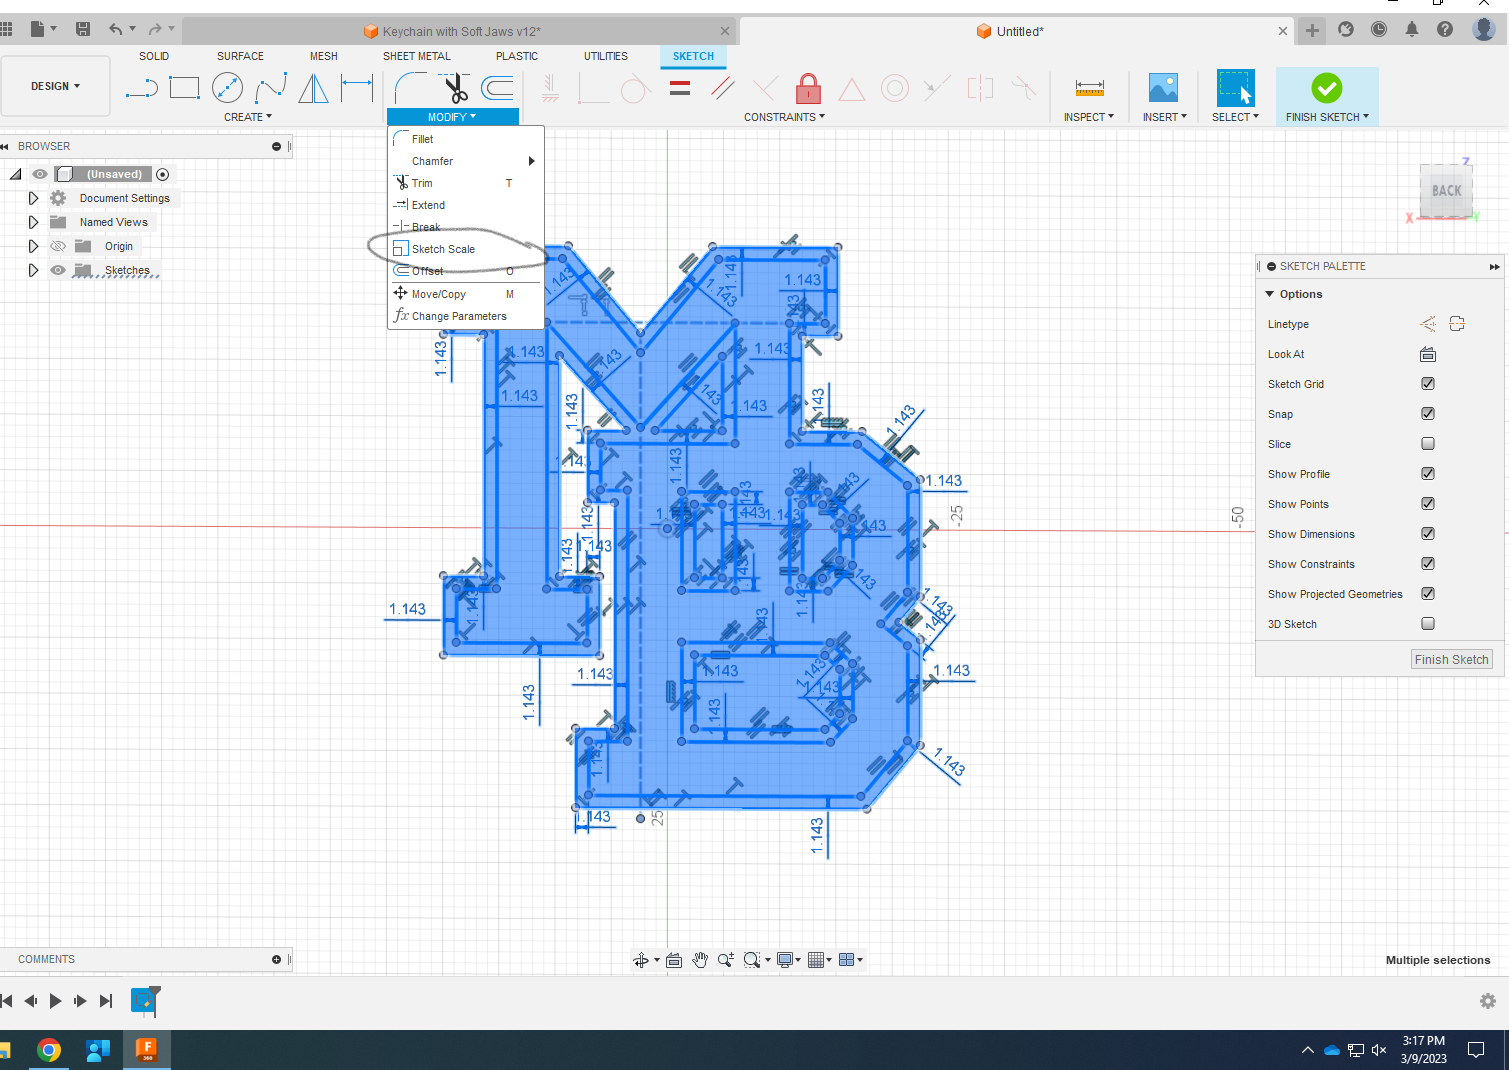
Once the interior geometry is deleted, size the sketch to your desired size by highlighting the sketch and selecting Scale Sketch underneath the Modify dropdown. Scale the sketch to your desired size.
First Part of Setup
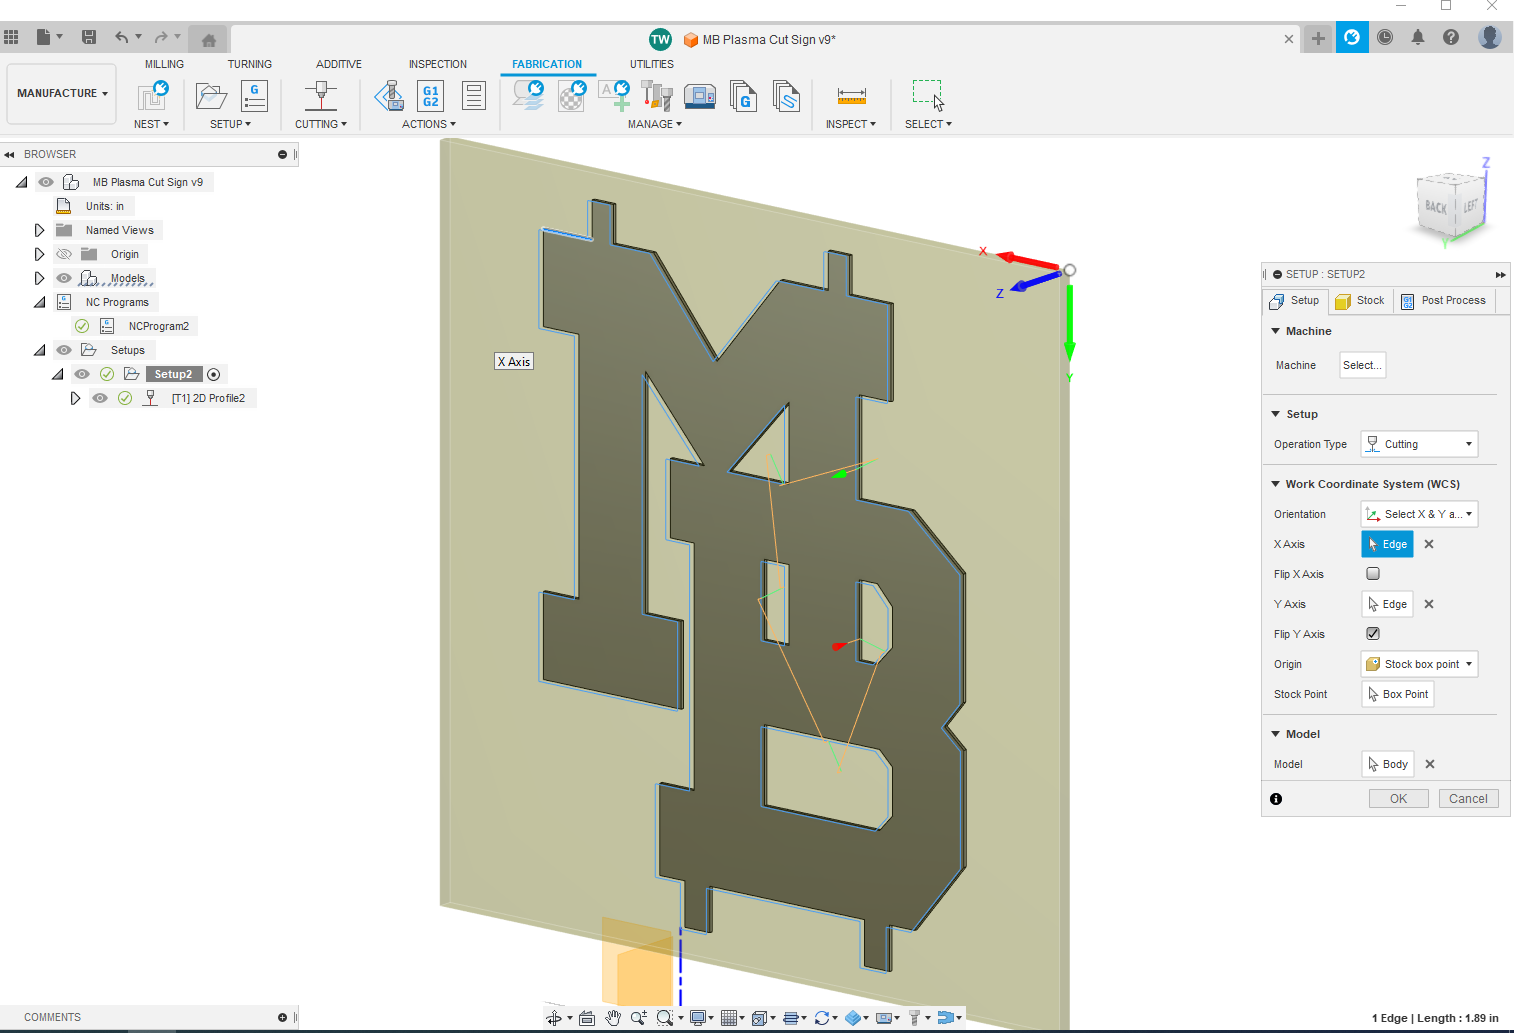
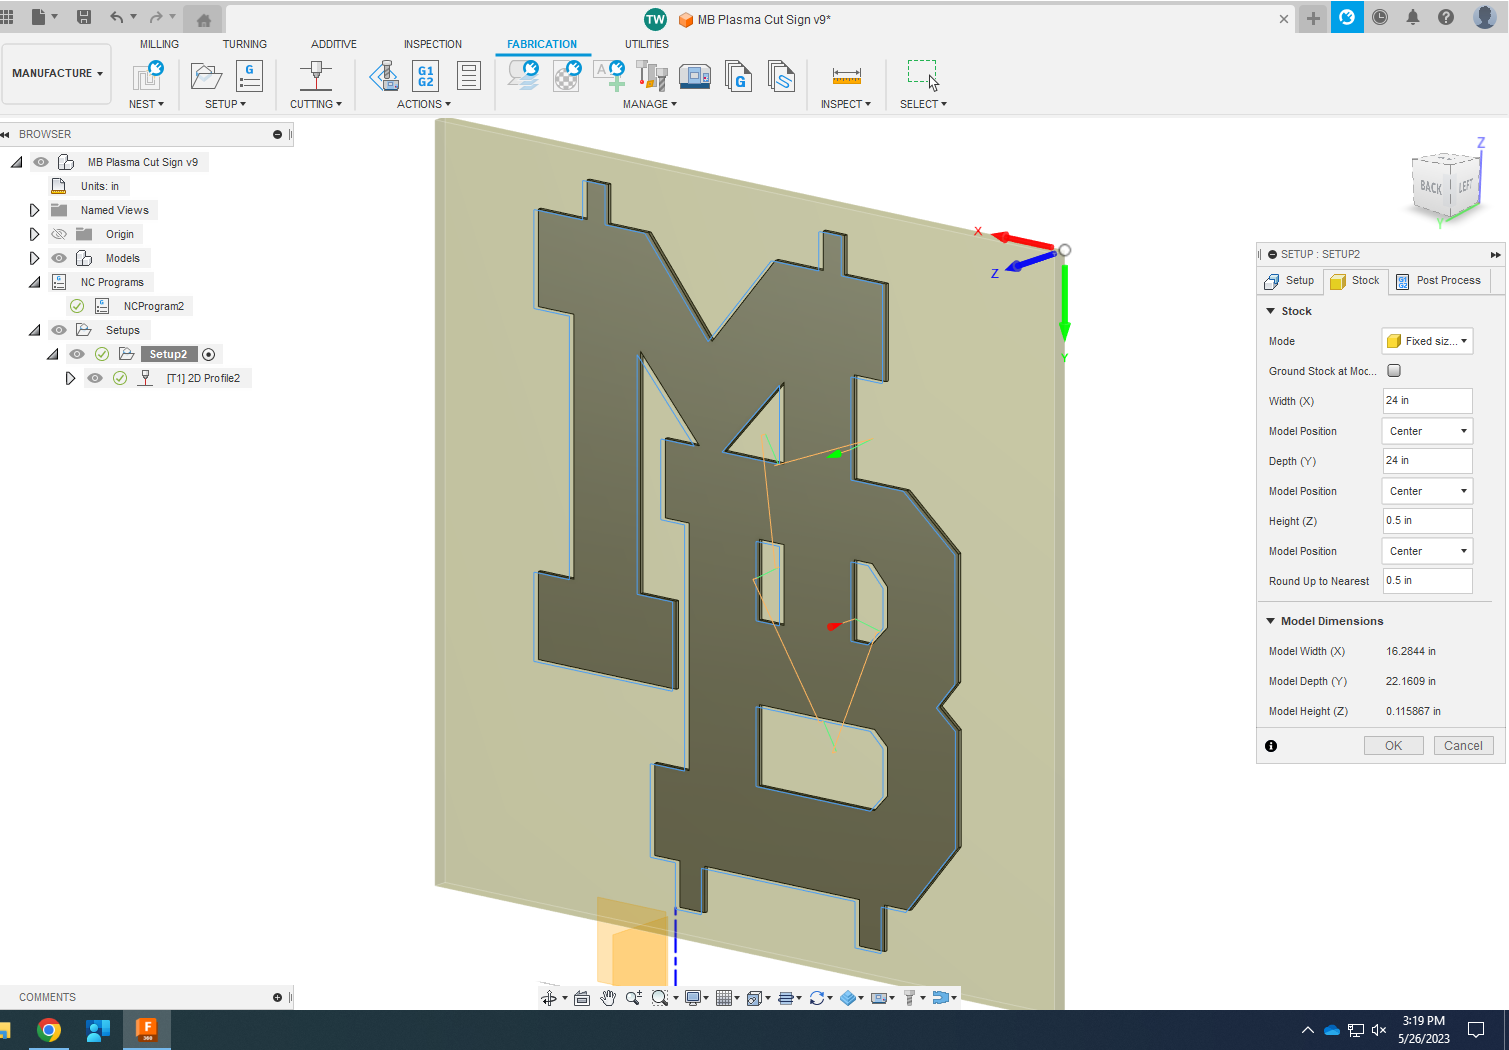
Once the sketch is sized to your desired size, the next step is to program the CAM for the CNC Plasma. Select new setup and select cutting as the operation type.
Next, select your WCS, making sure that the axises are oriented properly.
Then, switch over to the stock tab, and ize the stock to the necessary size. Select fixed size box for stock mode.
Second Part of Setup
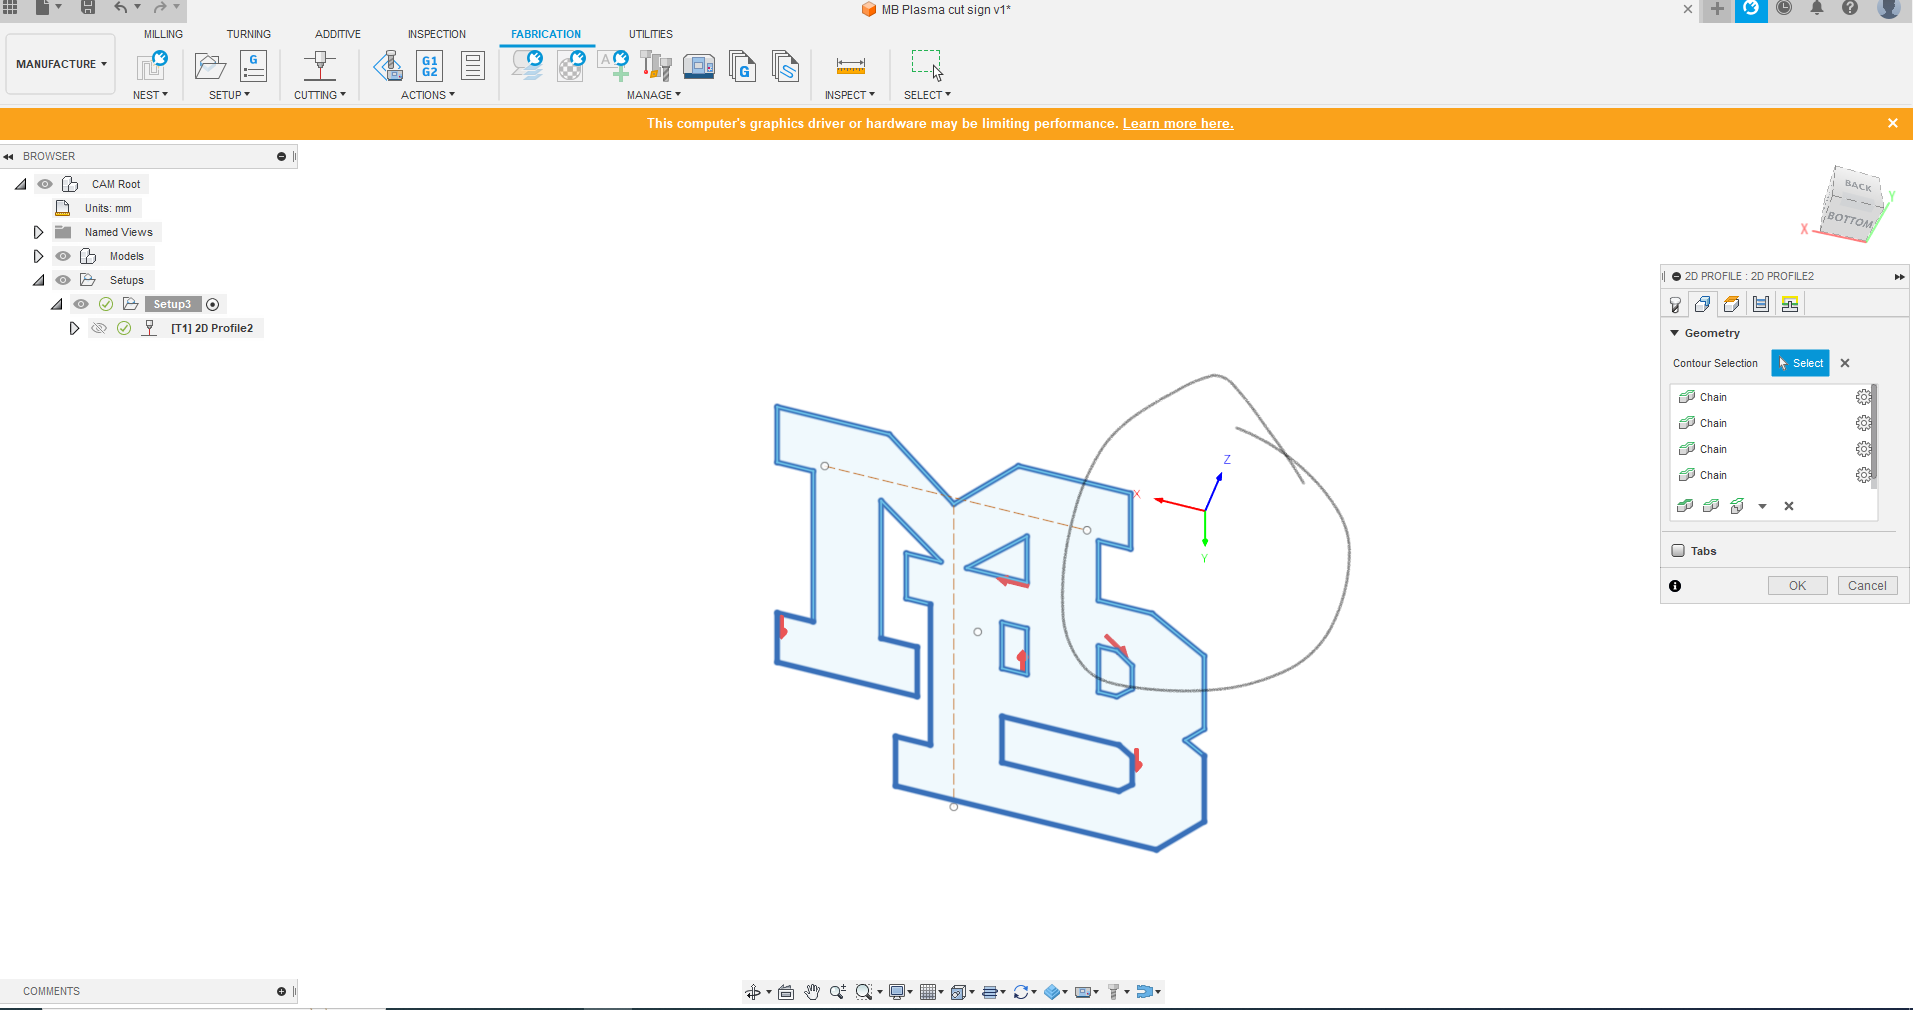
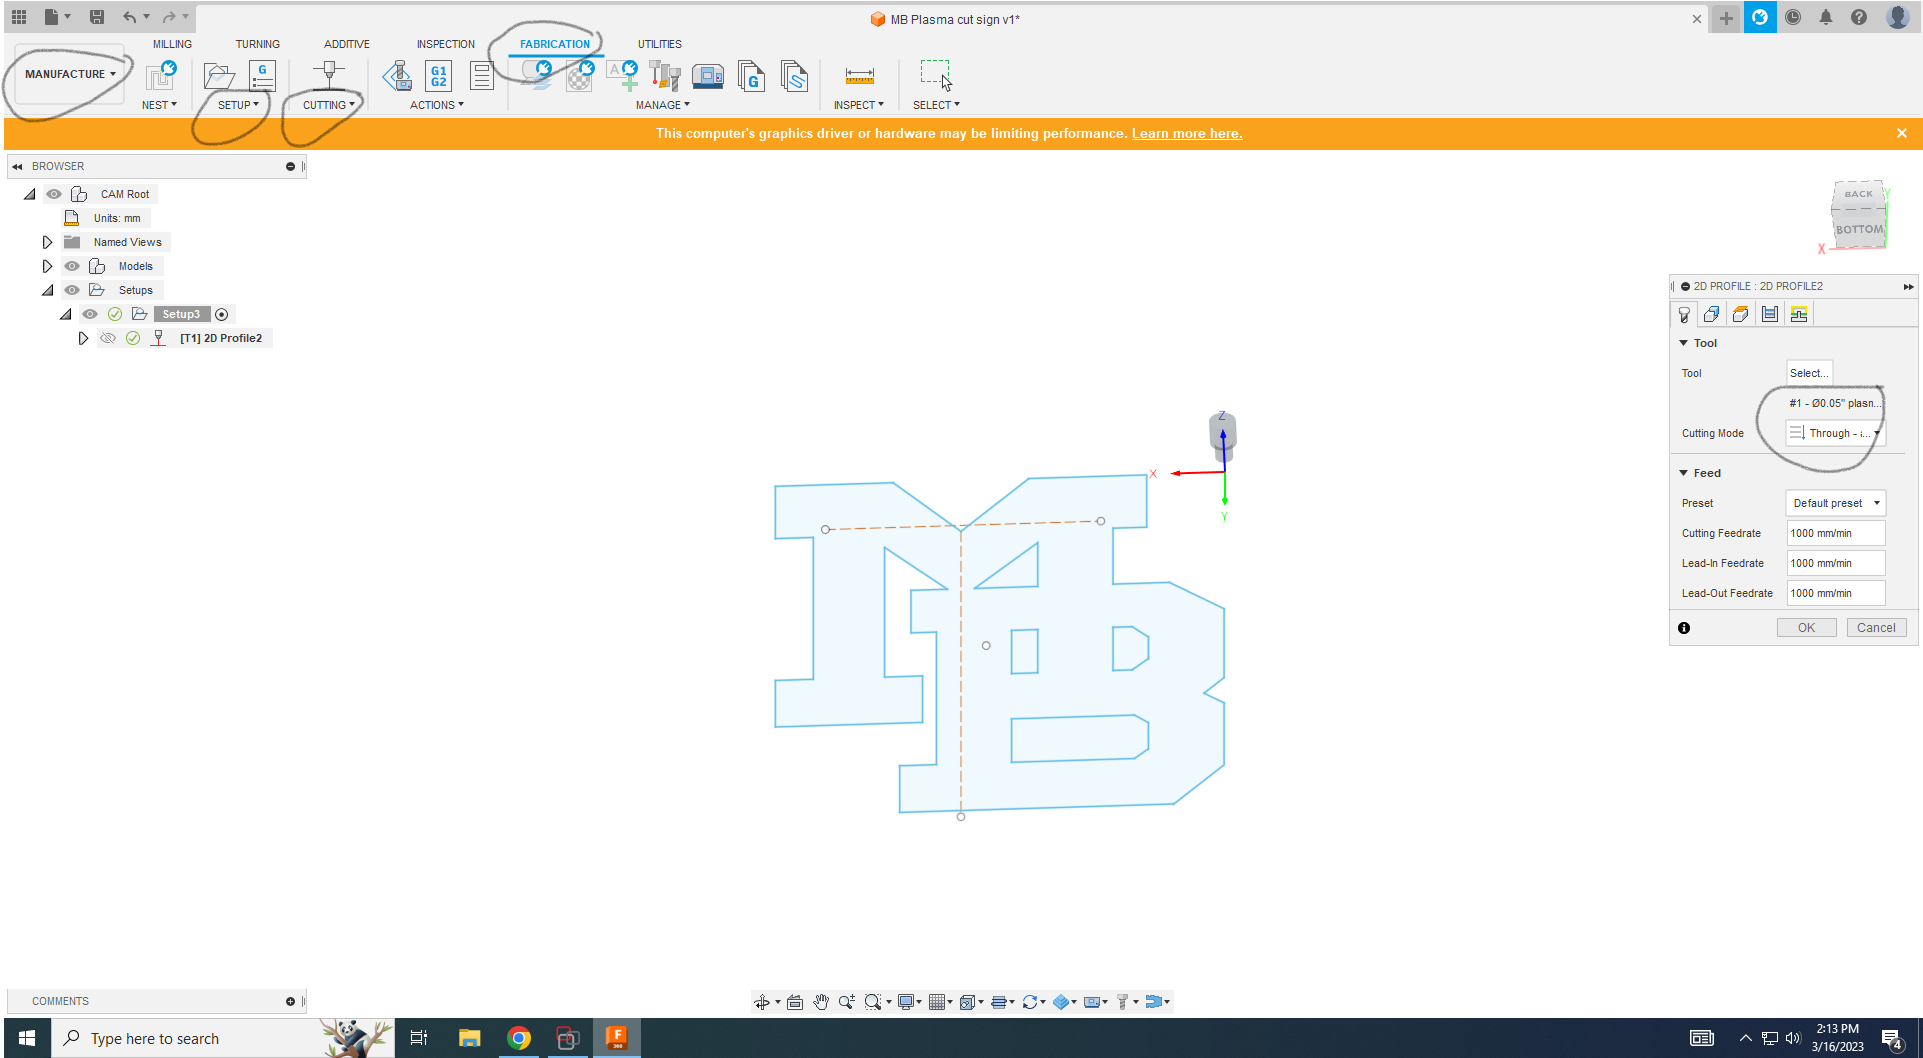
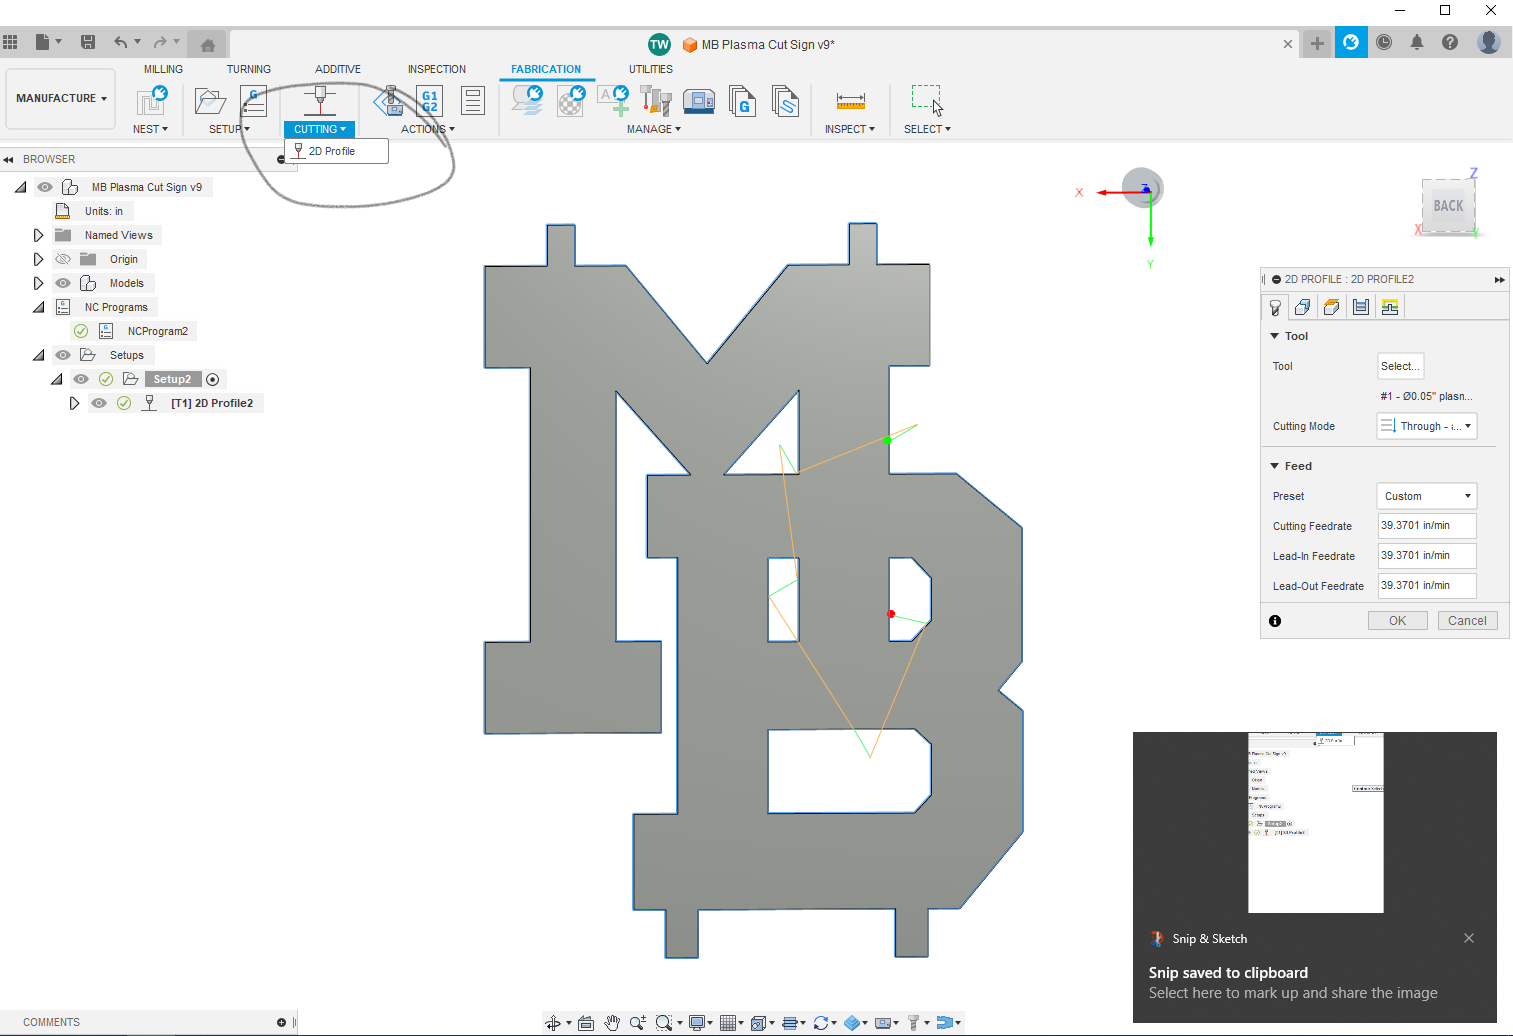
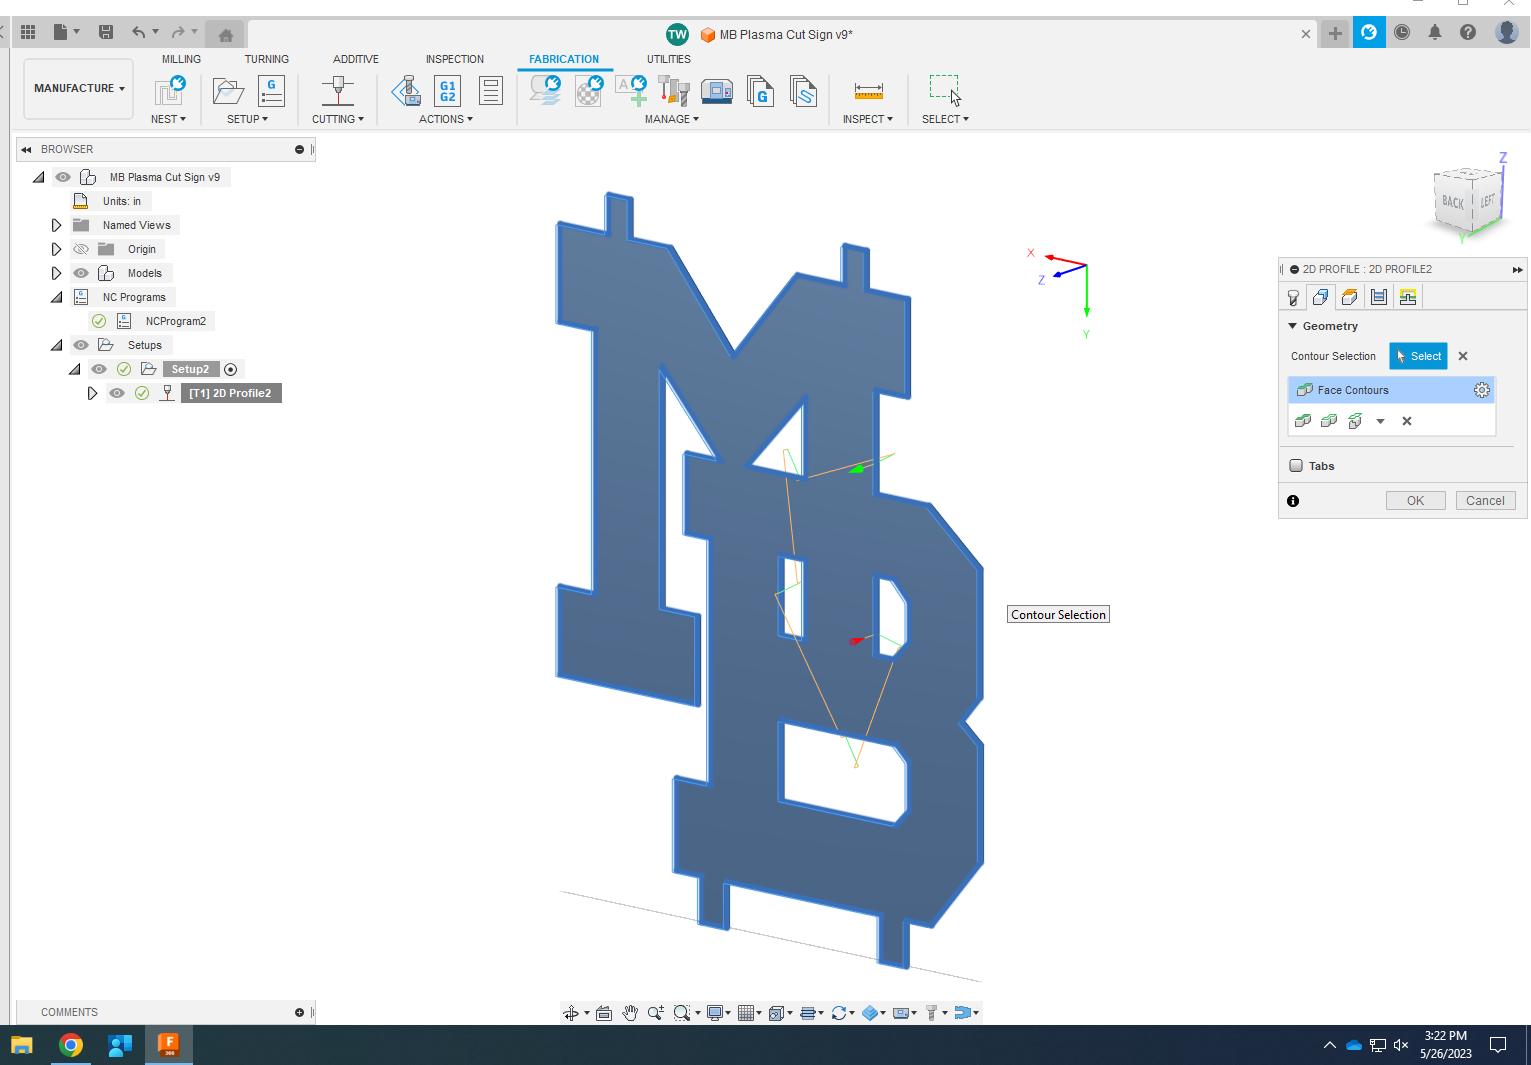
Now, we will program the profile that actually cuts out the part. To begin, select new profile underneath the cutting dropdown. Once the profile window pops up, select the .05" plasma as the tool, and the cutting mode as through - auto.
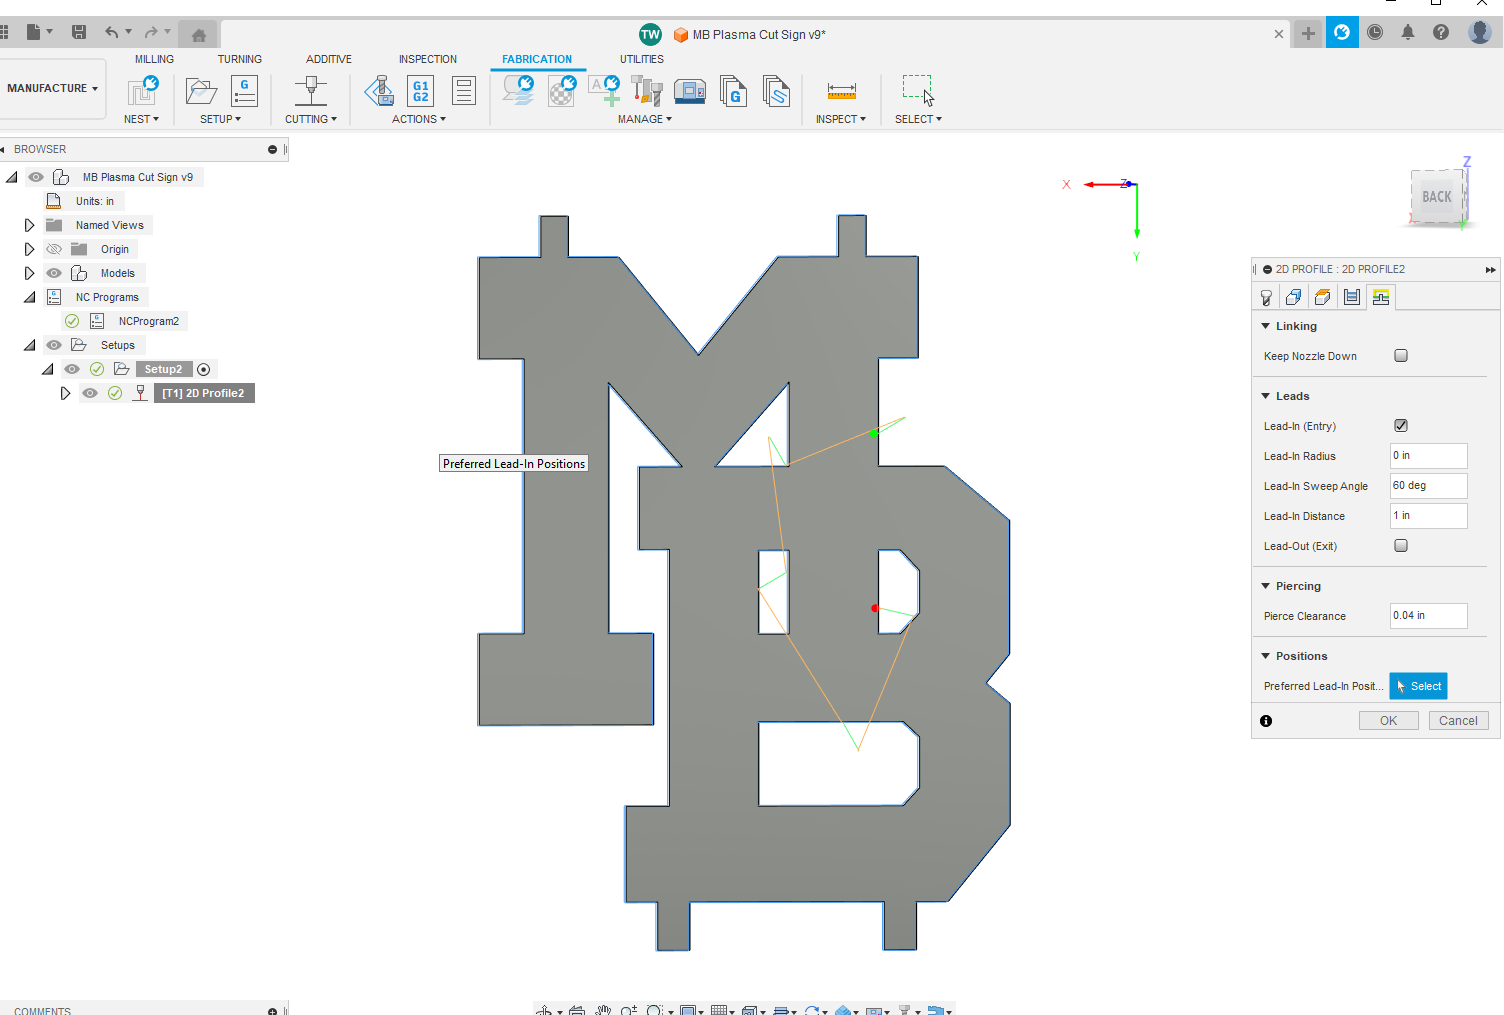
Switch over to the geometry, and select face contours. Next, switch over to the linking tab and make sure that all of the lead ins and outs are not interfering with the actual part. Click OK, and the CAM is done.
Generating an NC Program
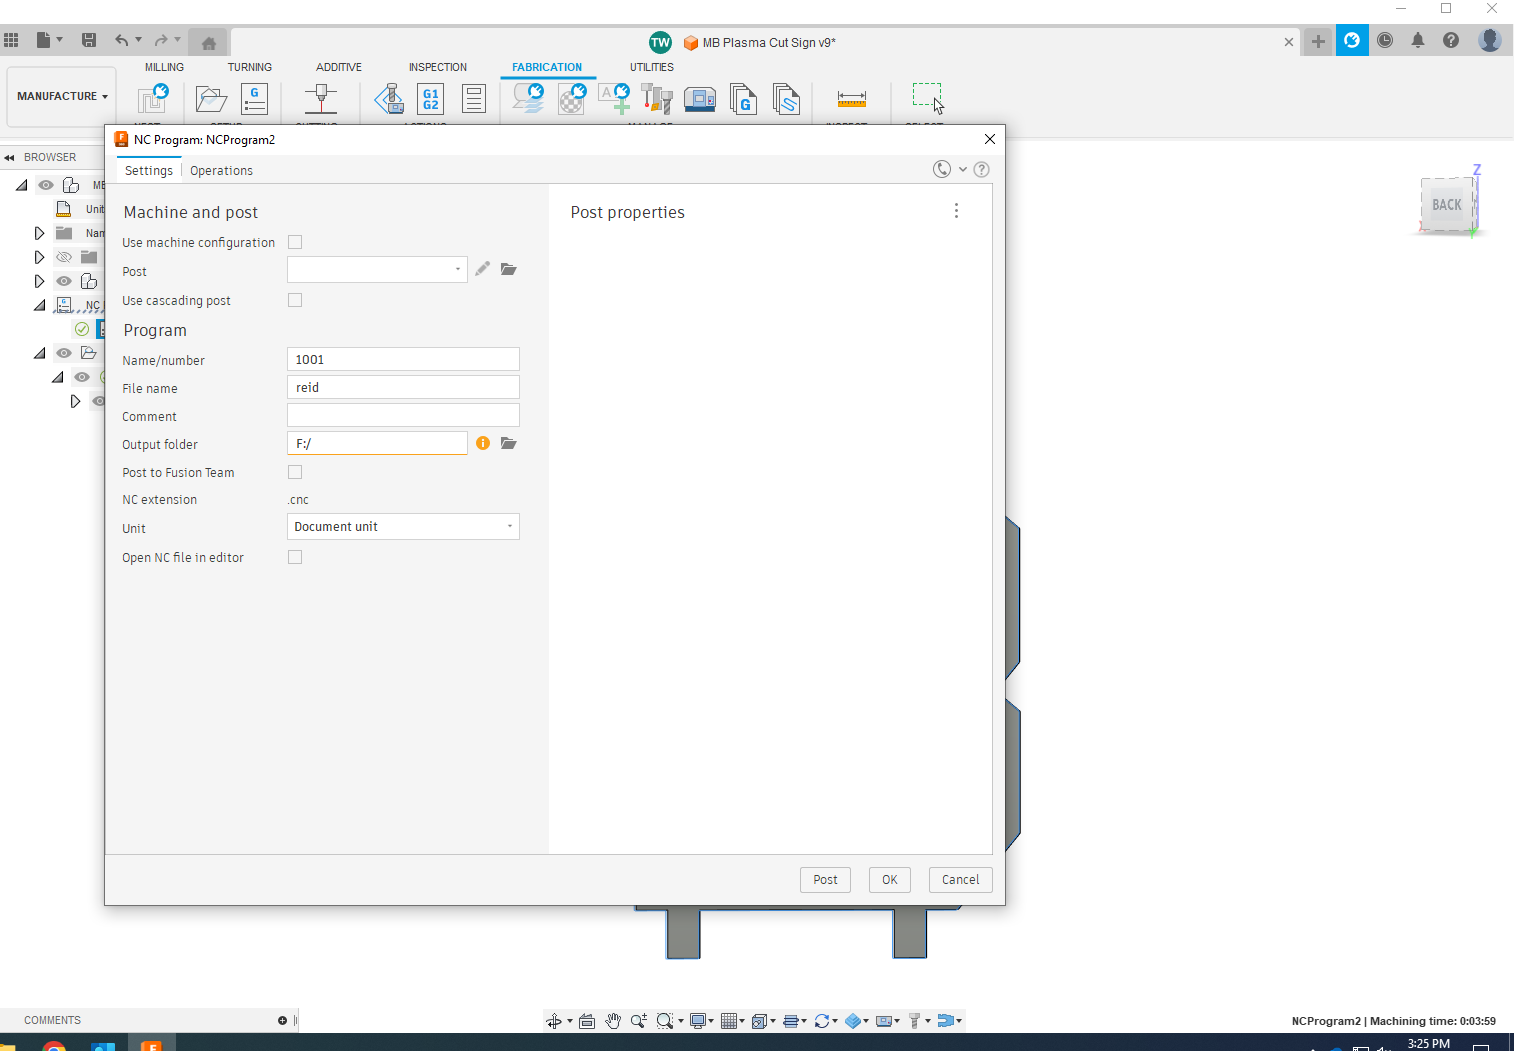
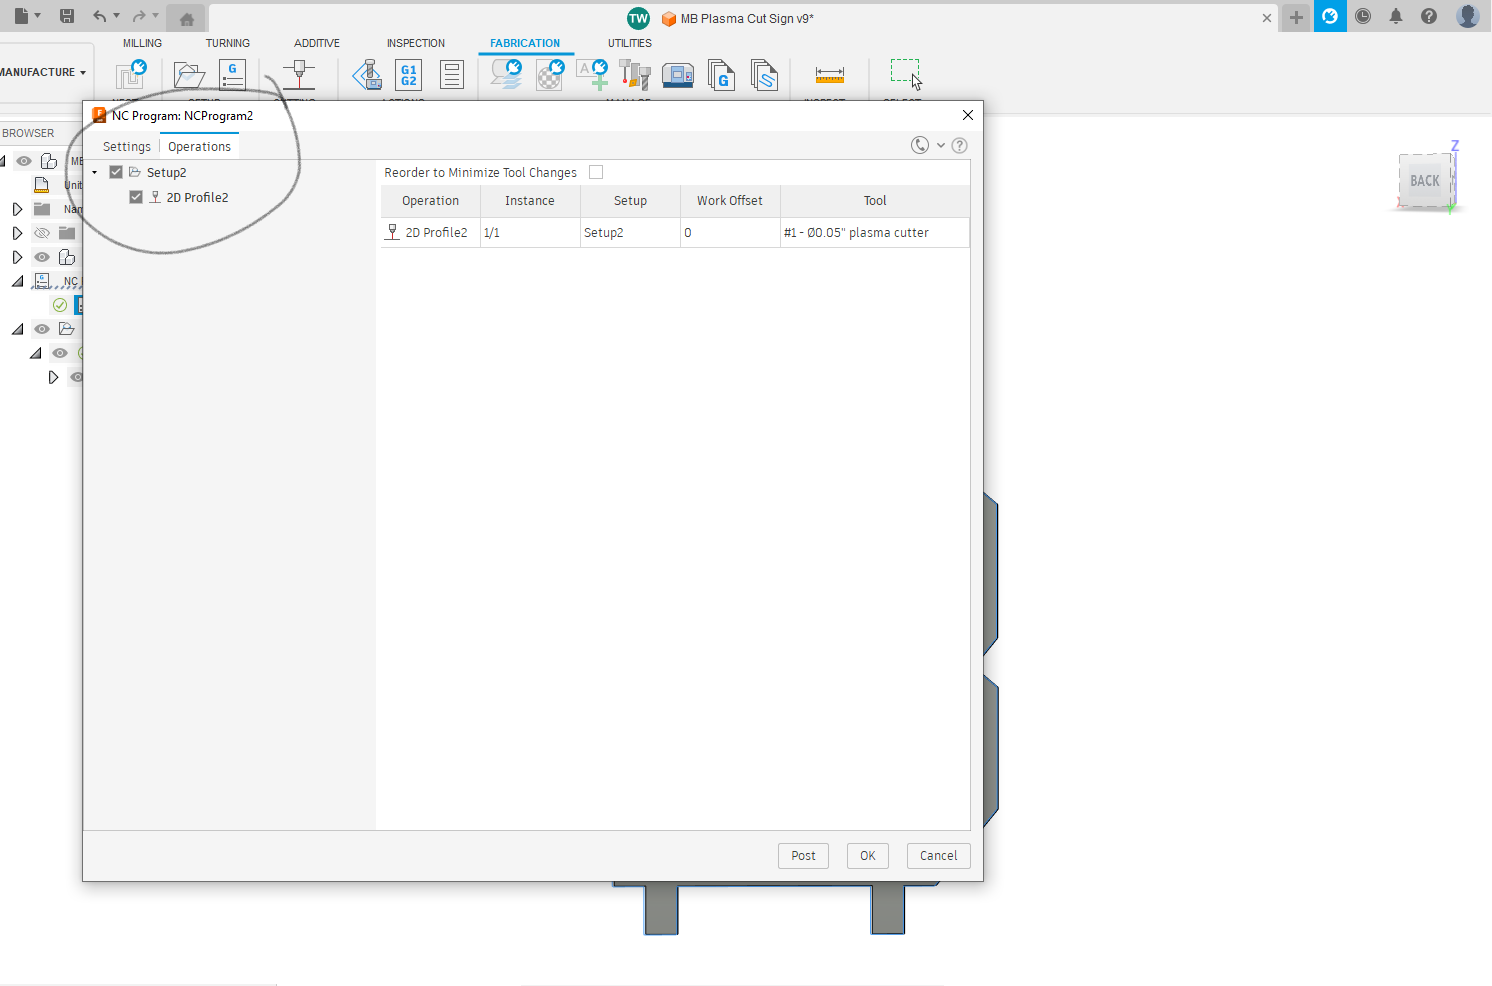
Now, plug in a flash drive to upload the CAM onto. Select new NC Program, and when the popup appears, name it what you want.
Next, switch over to the operations tab and select the setup. Finally, click upload, and select the flashdrive.
Getting the Plasma Cutter Ready
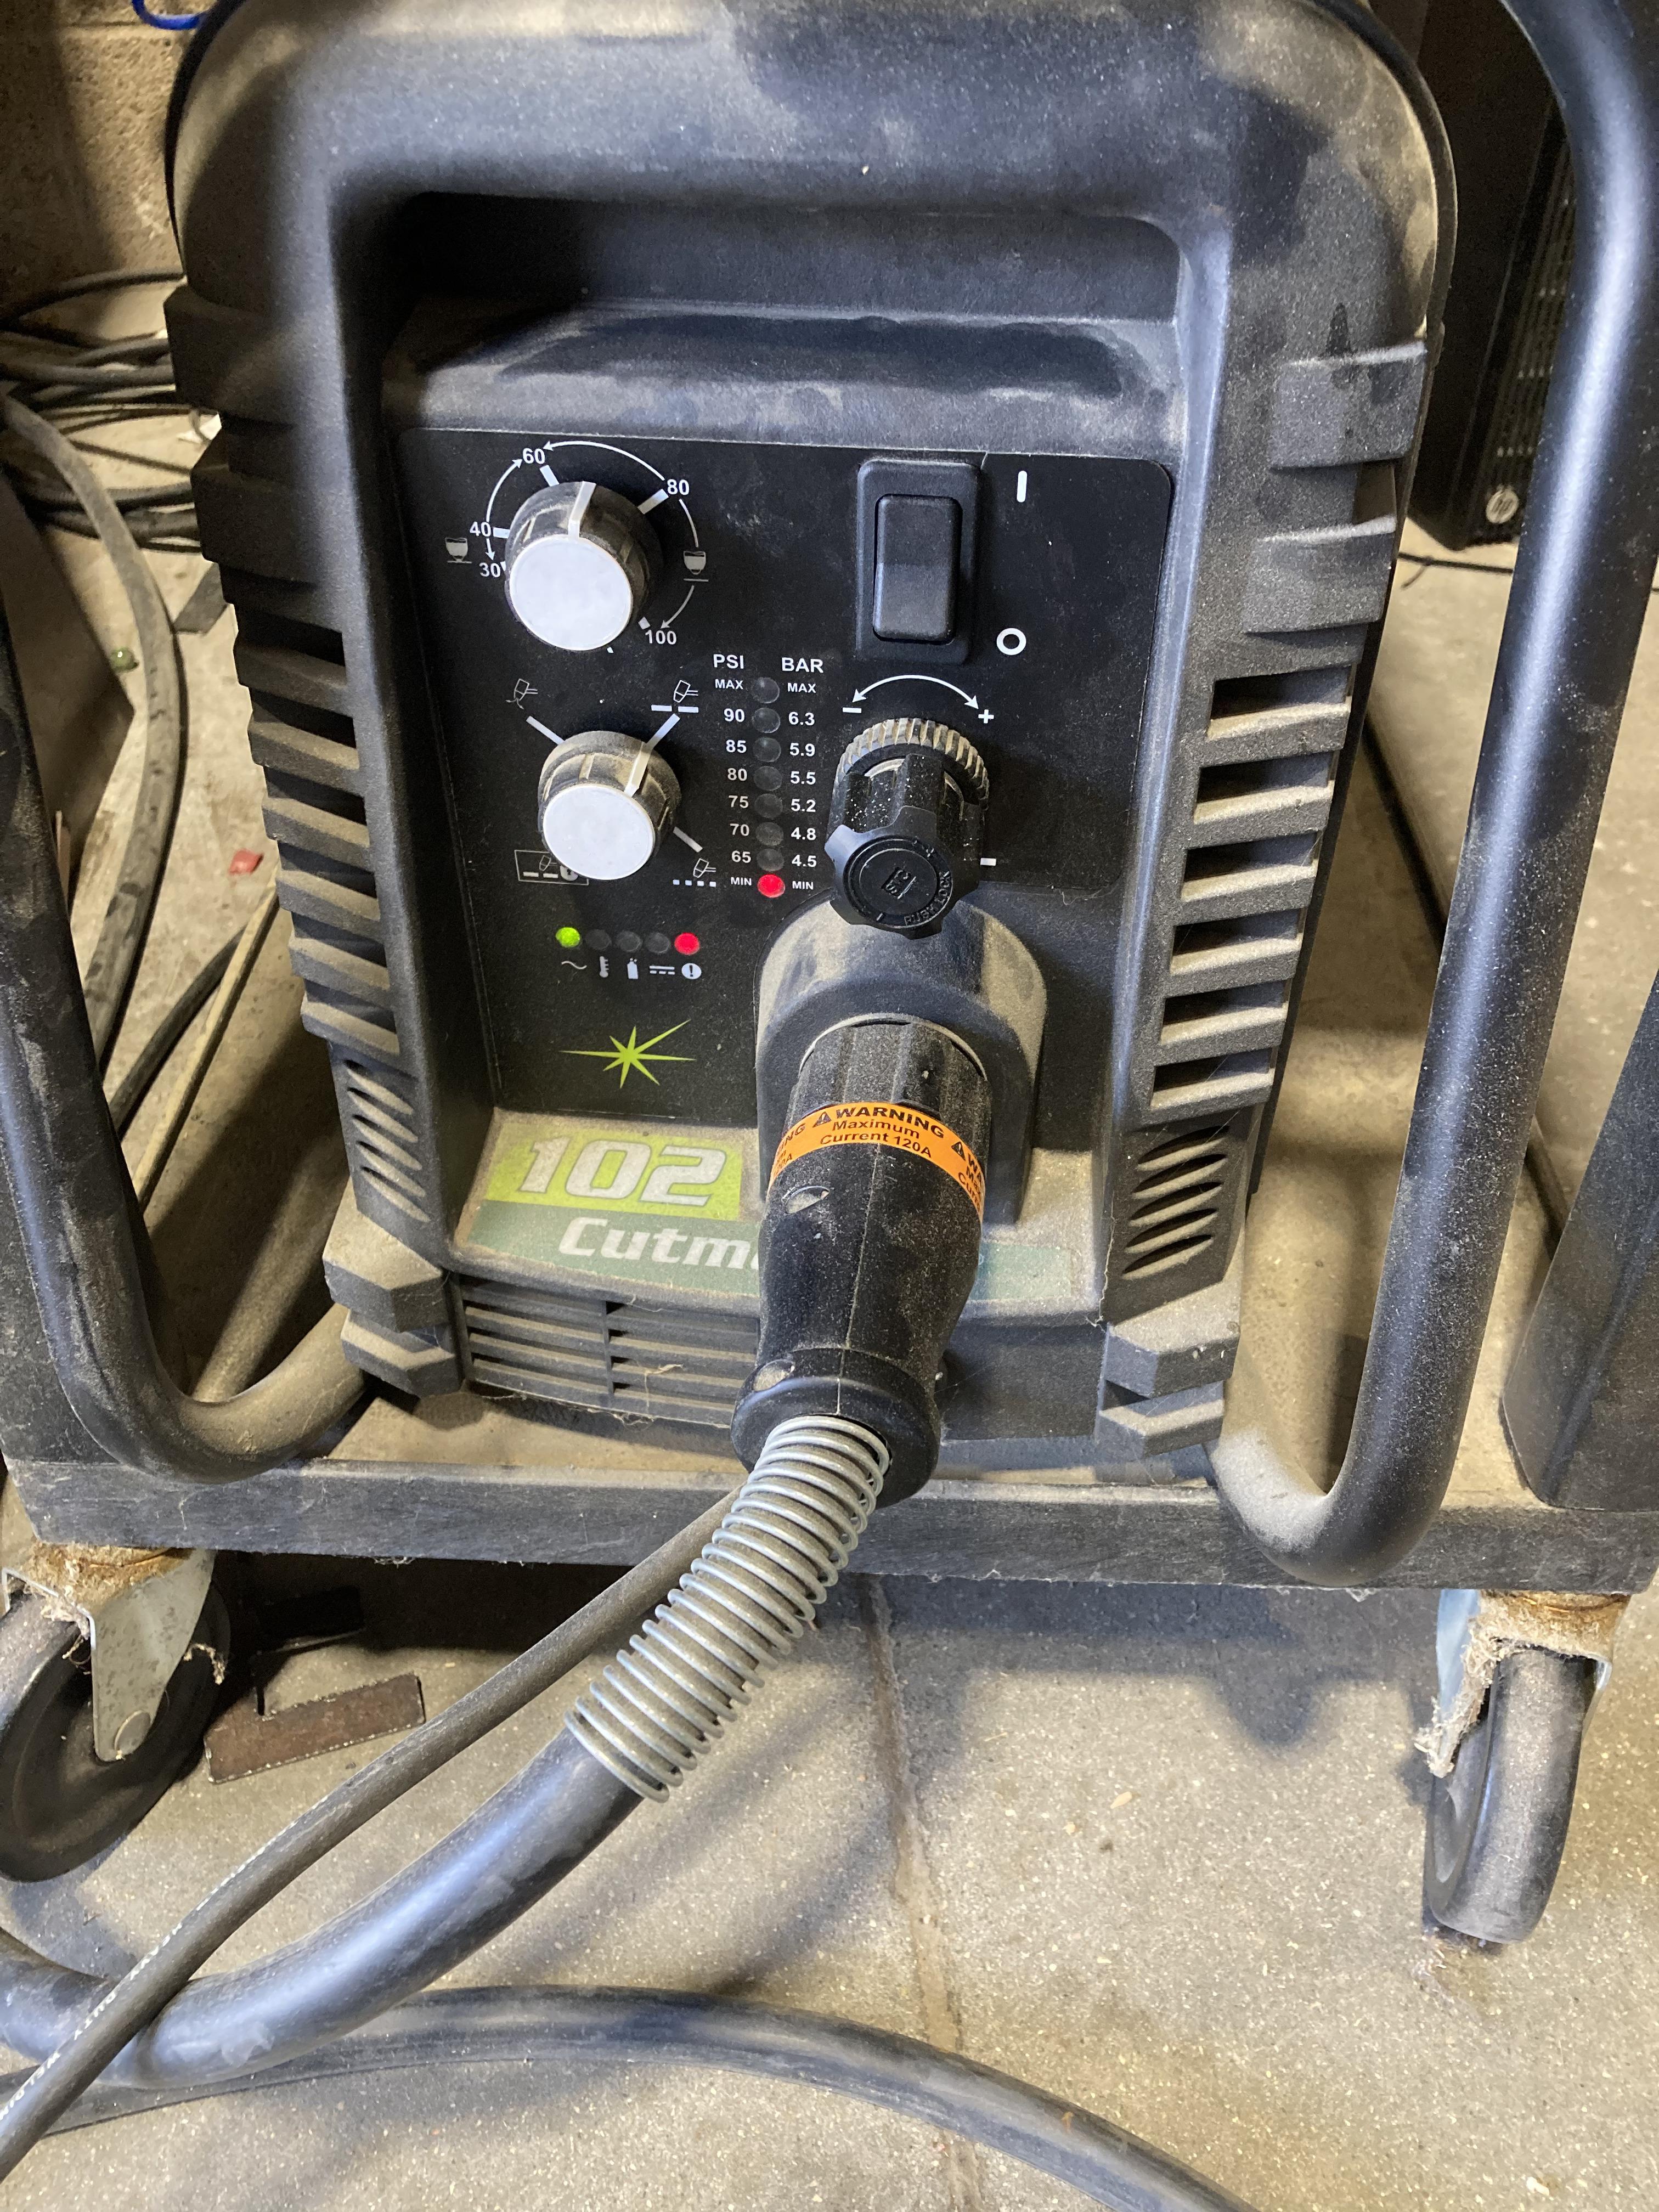
Now, it is time to cut out the part on the Plasma Cutter.
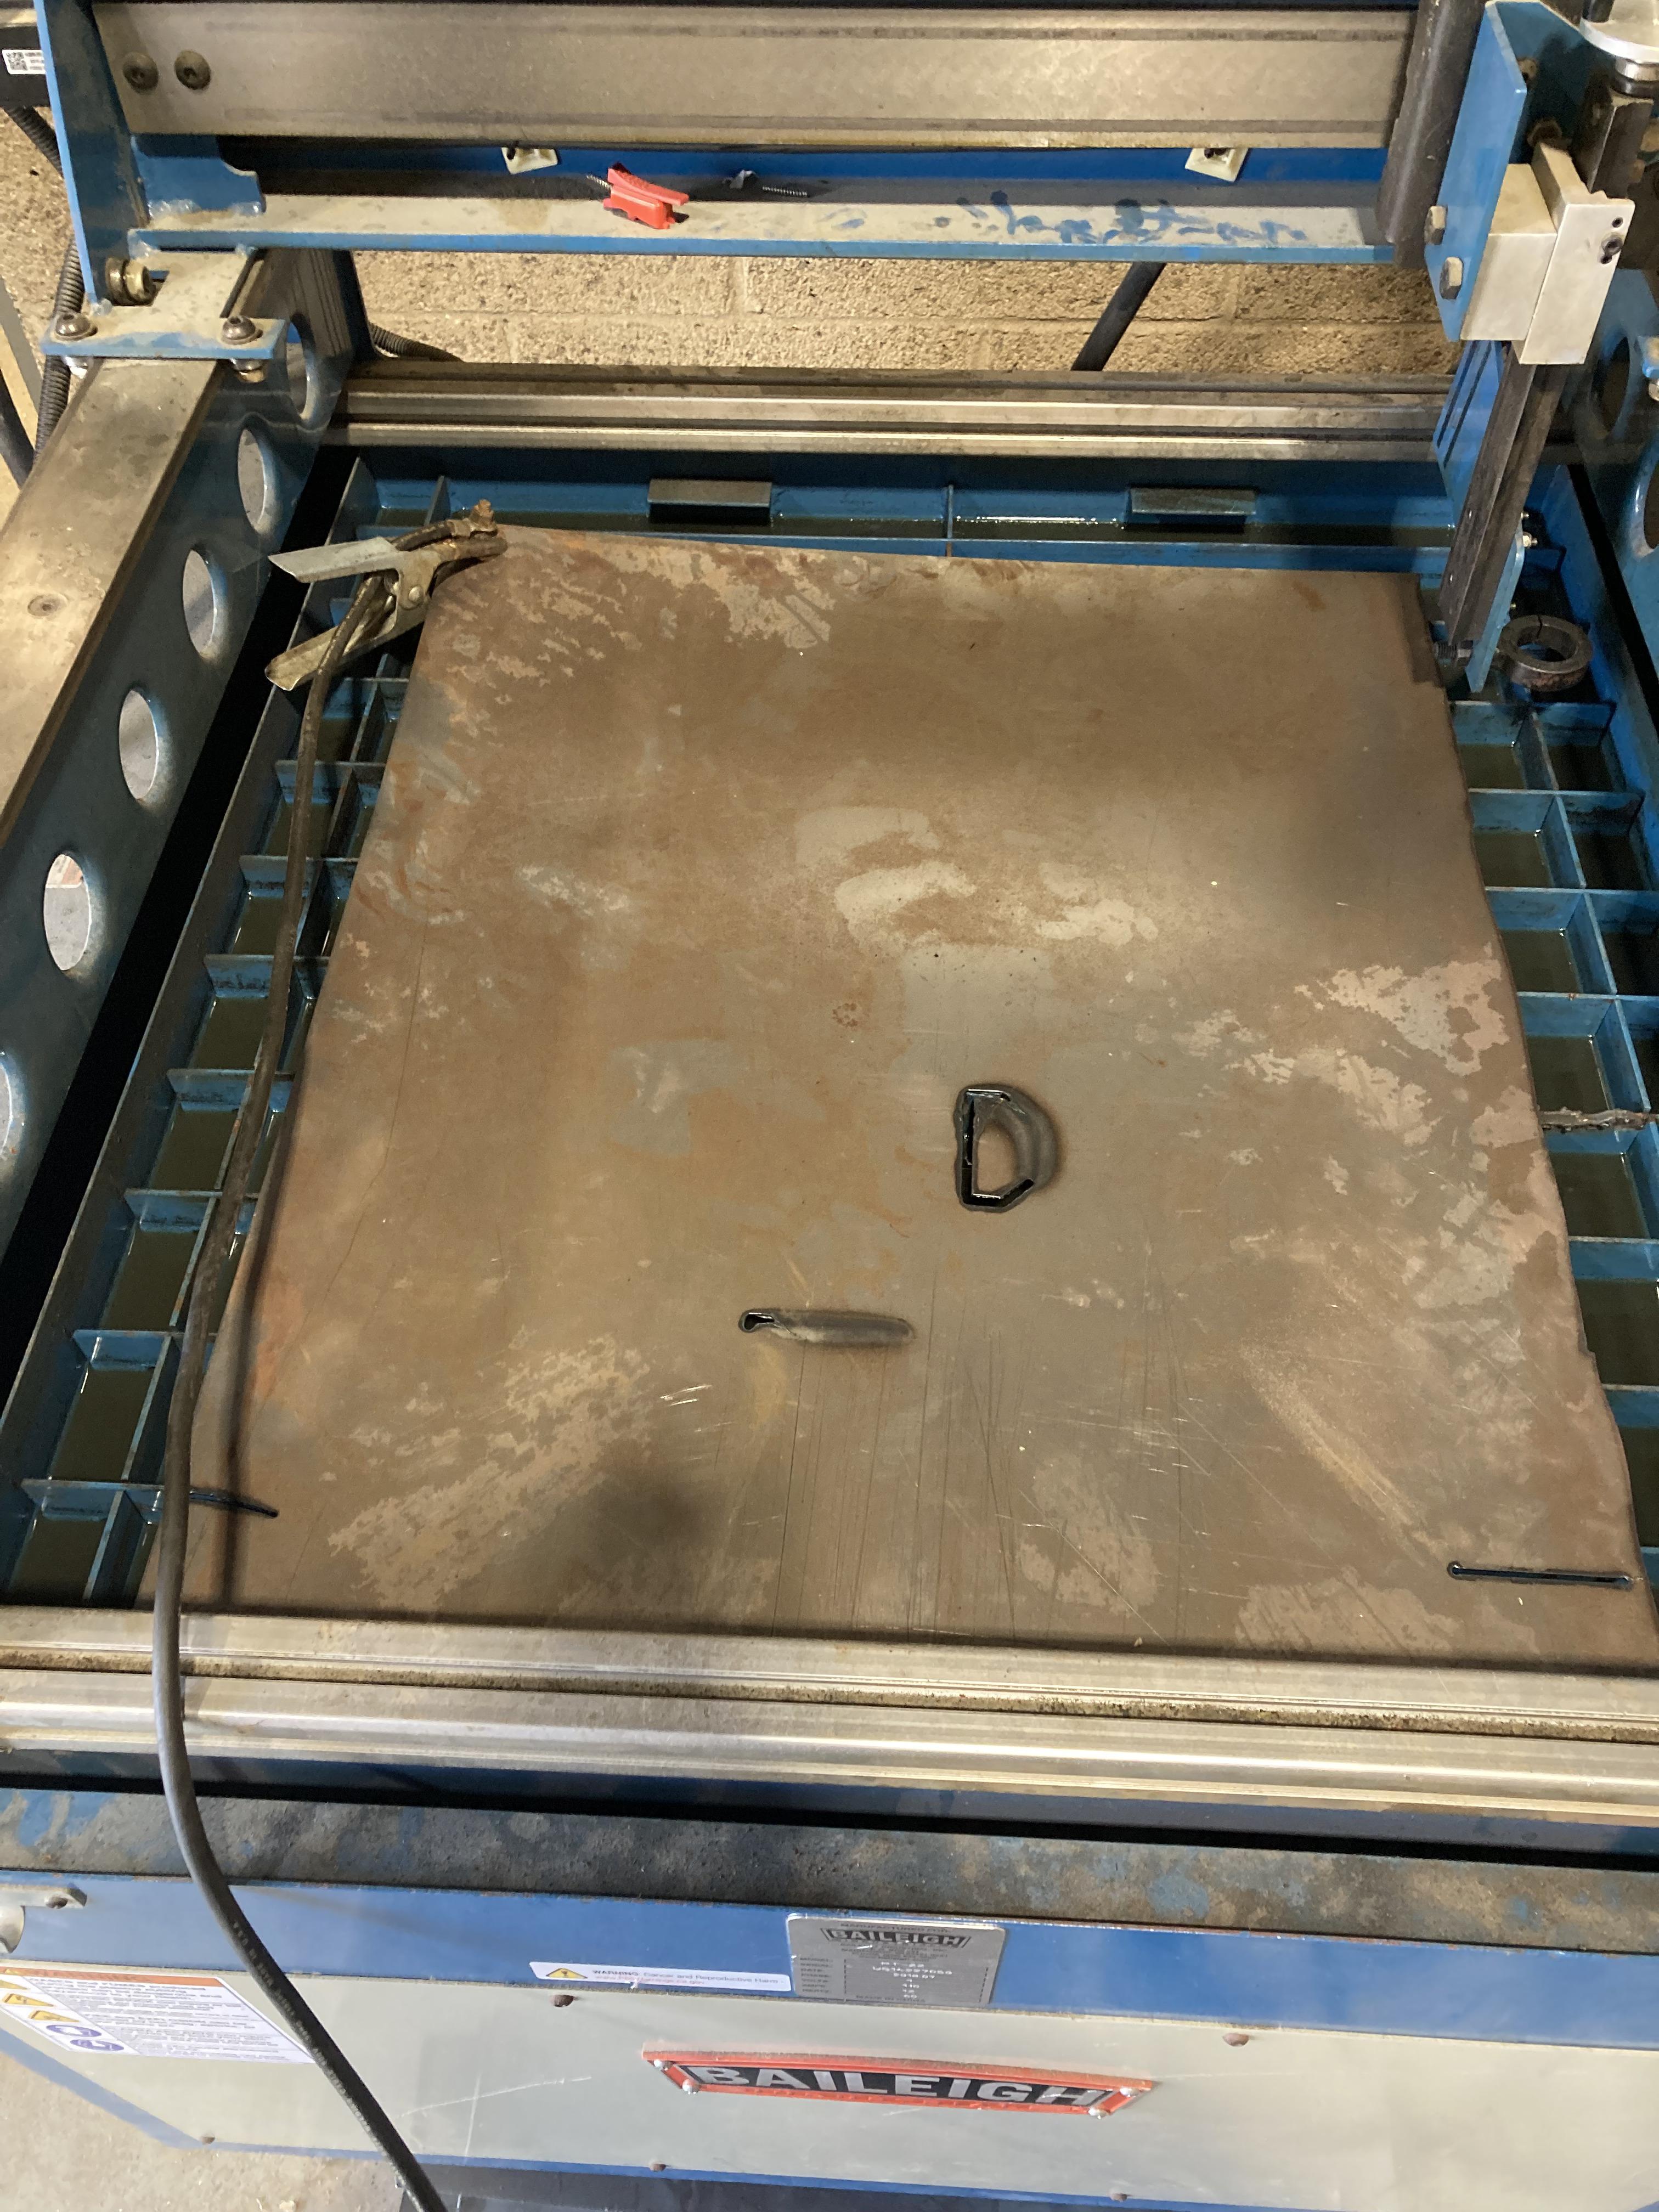
Place the stock in the middle of the plasma cutter, and secure it with the clamp, as seen in the picture above.
Turn on the machine. Once the controller wakes up, select orient X and Y axises to return the machine home.
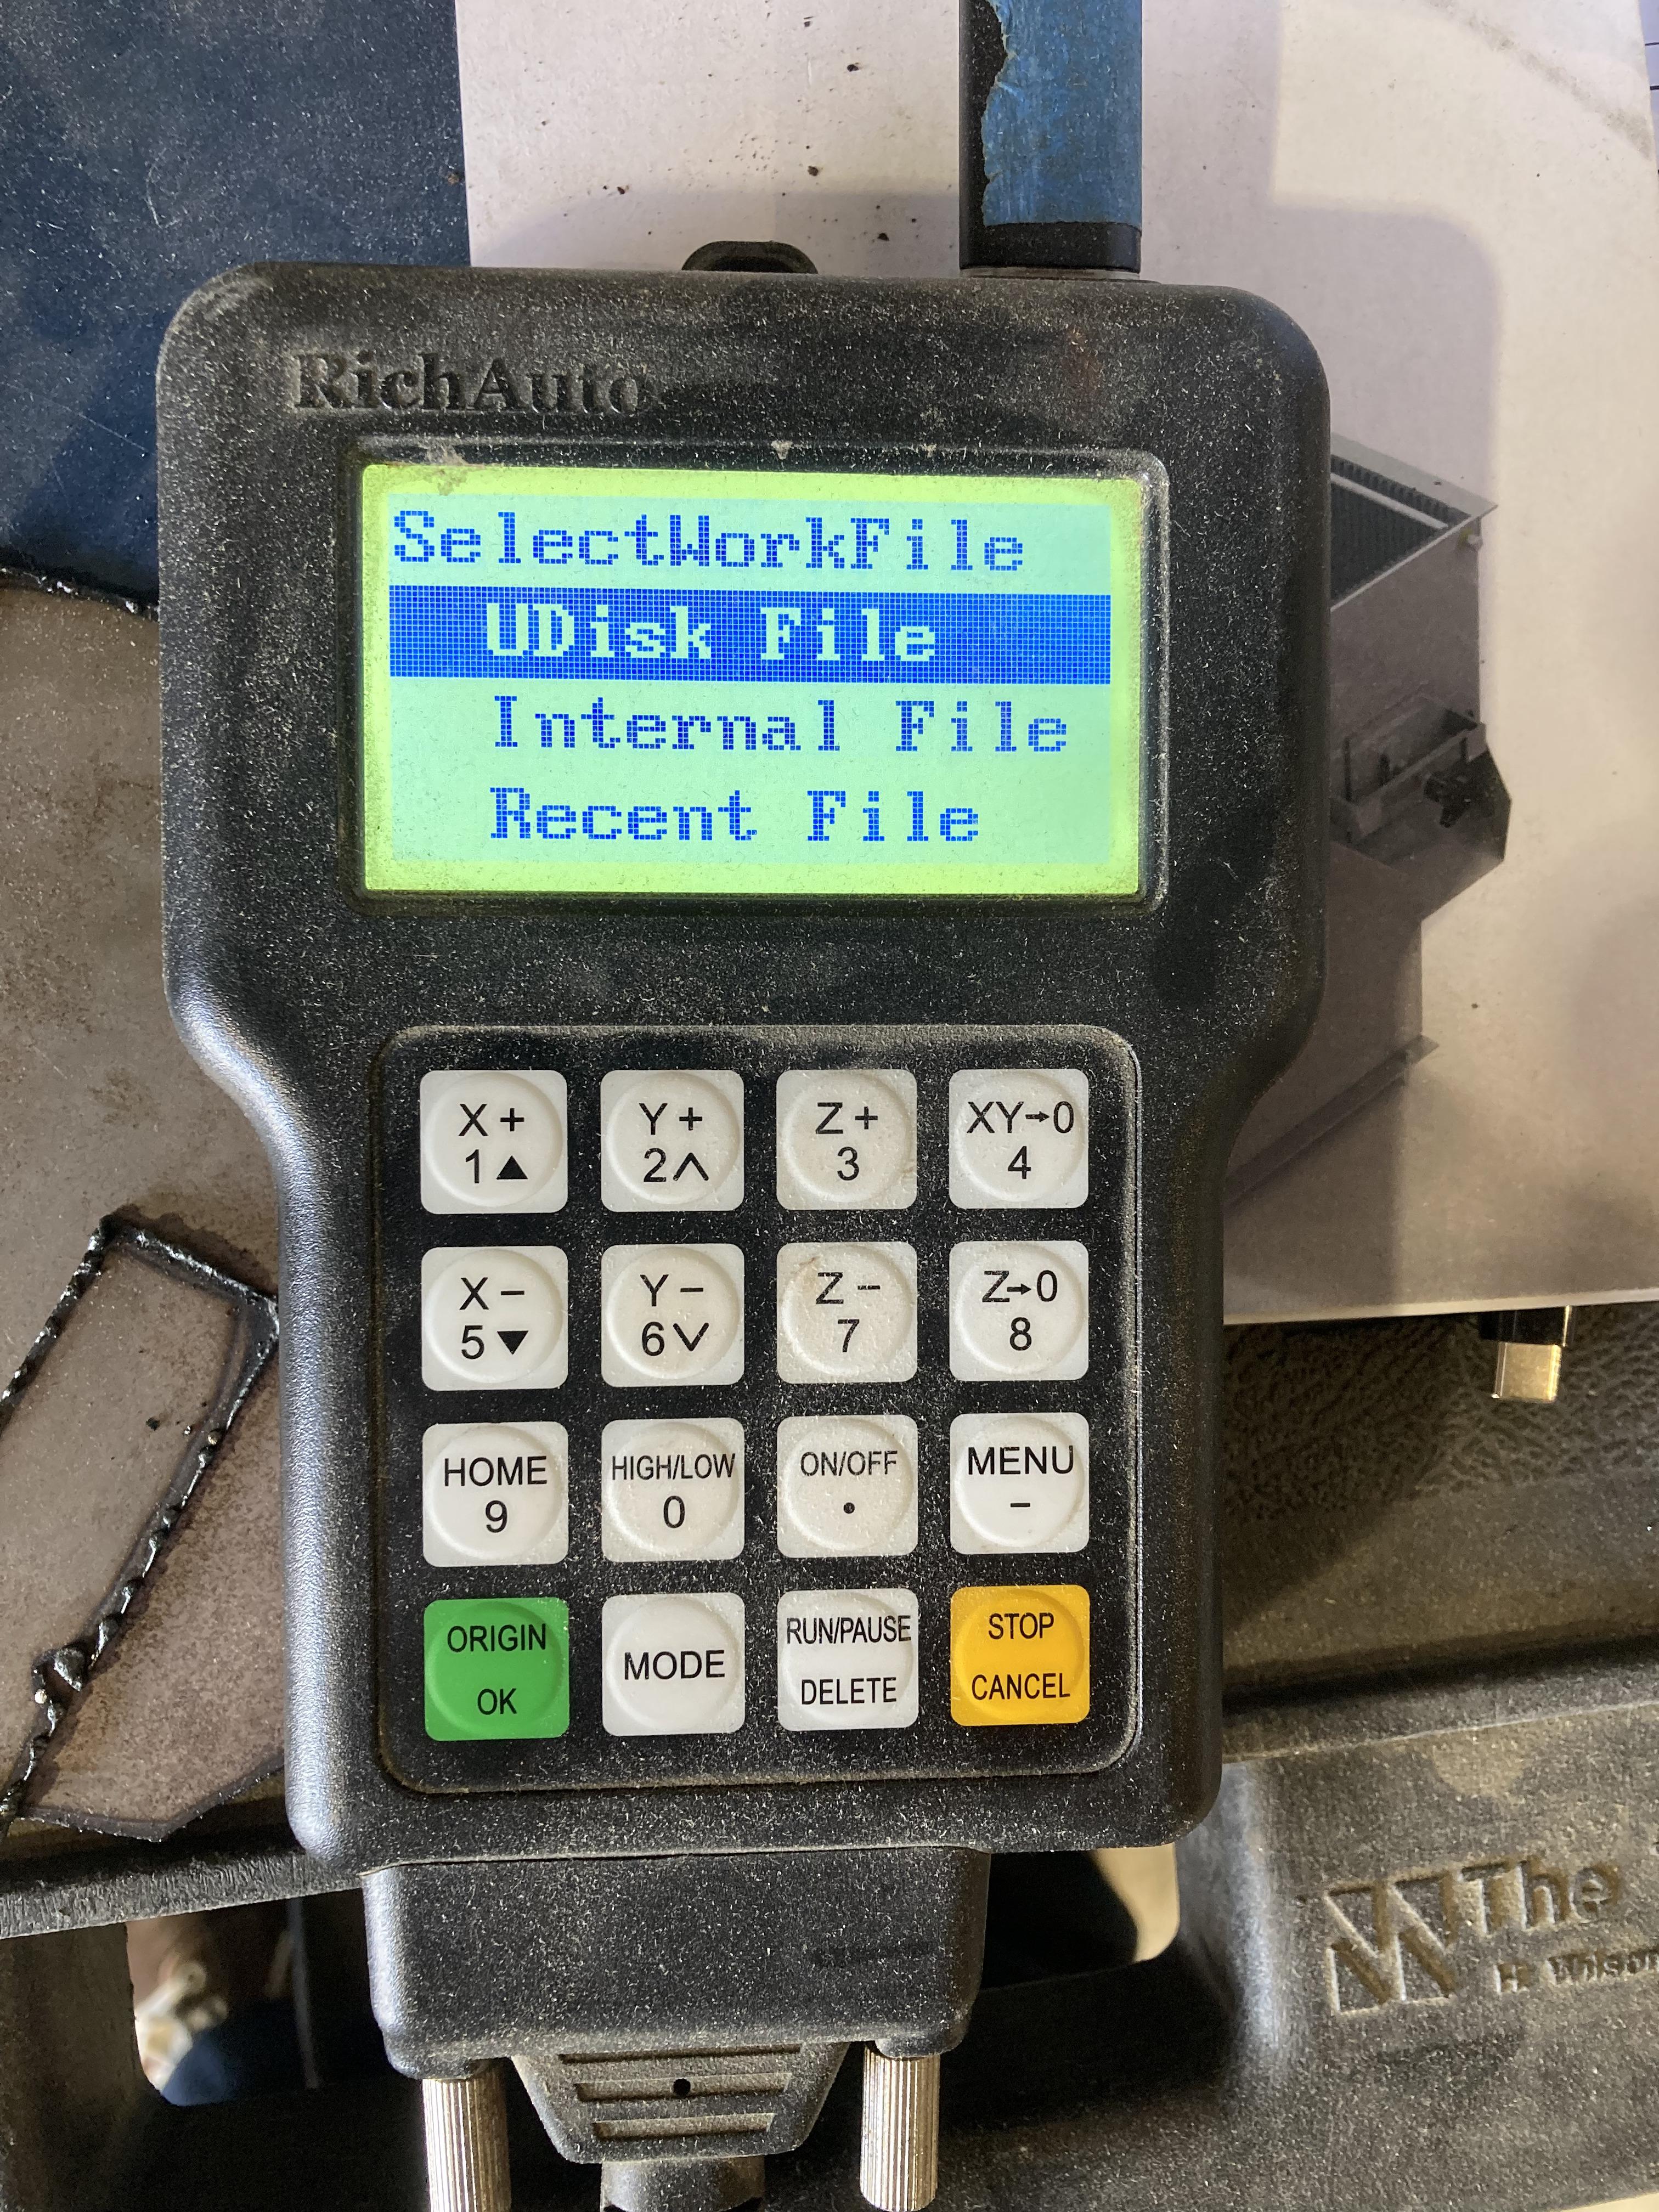
Then, select Run/Pause, and select UDisk File, as in the picture above. Find your file, and then keep the machine there. We will know turn on the actual plasma.
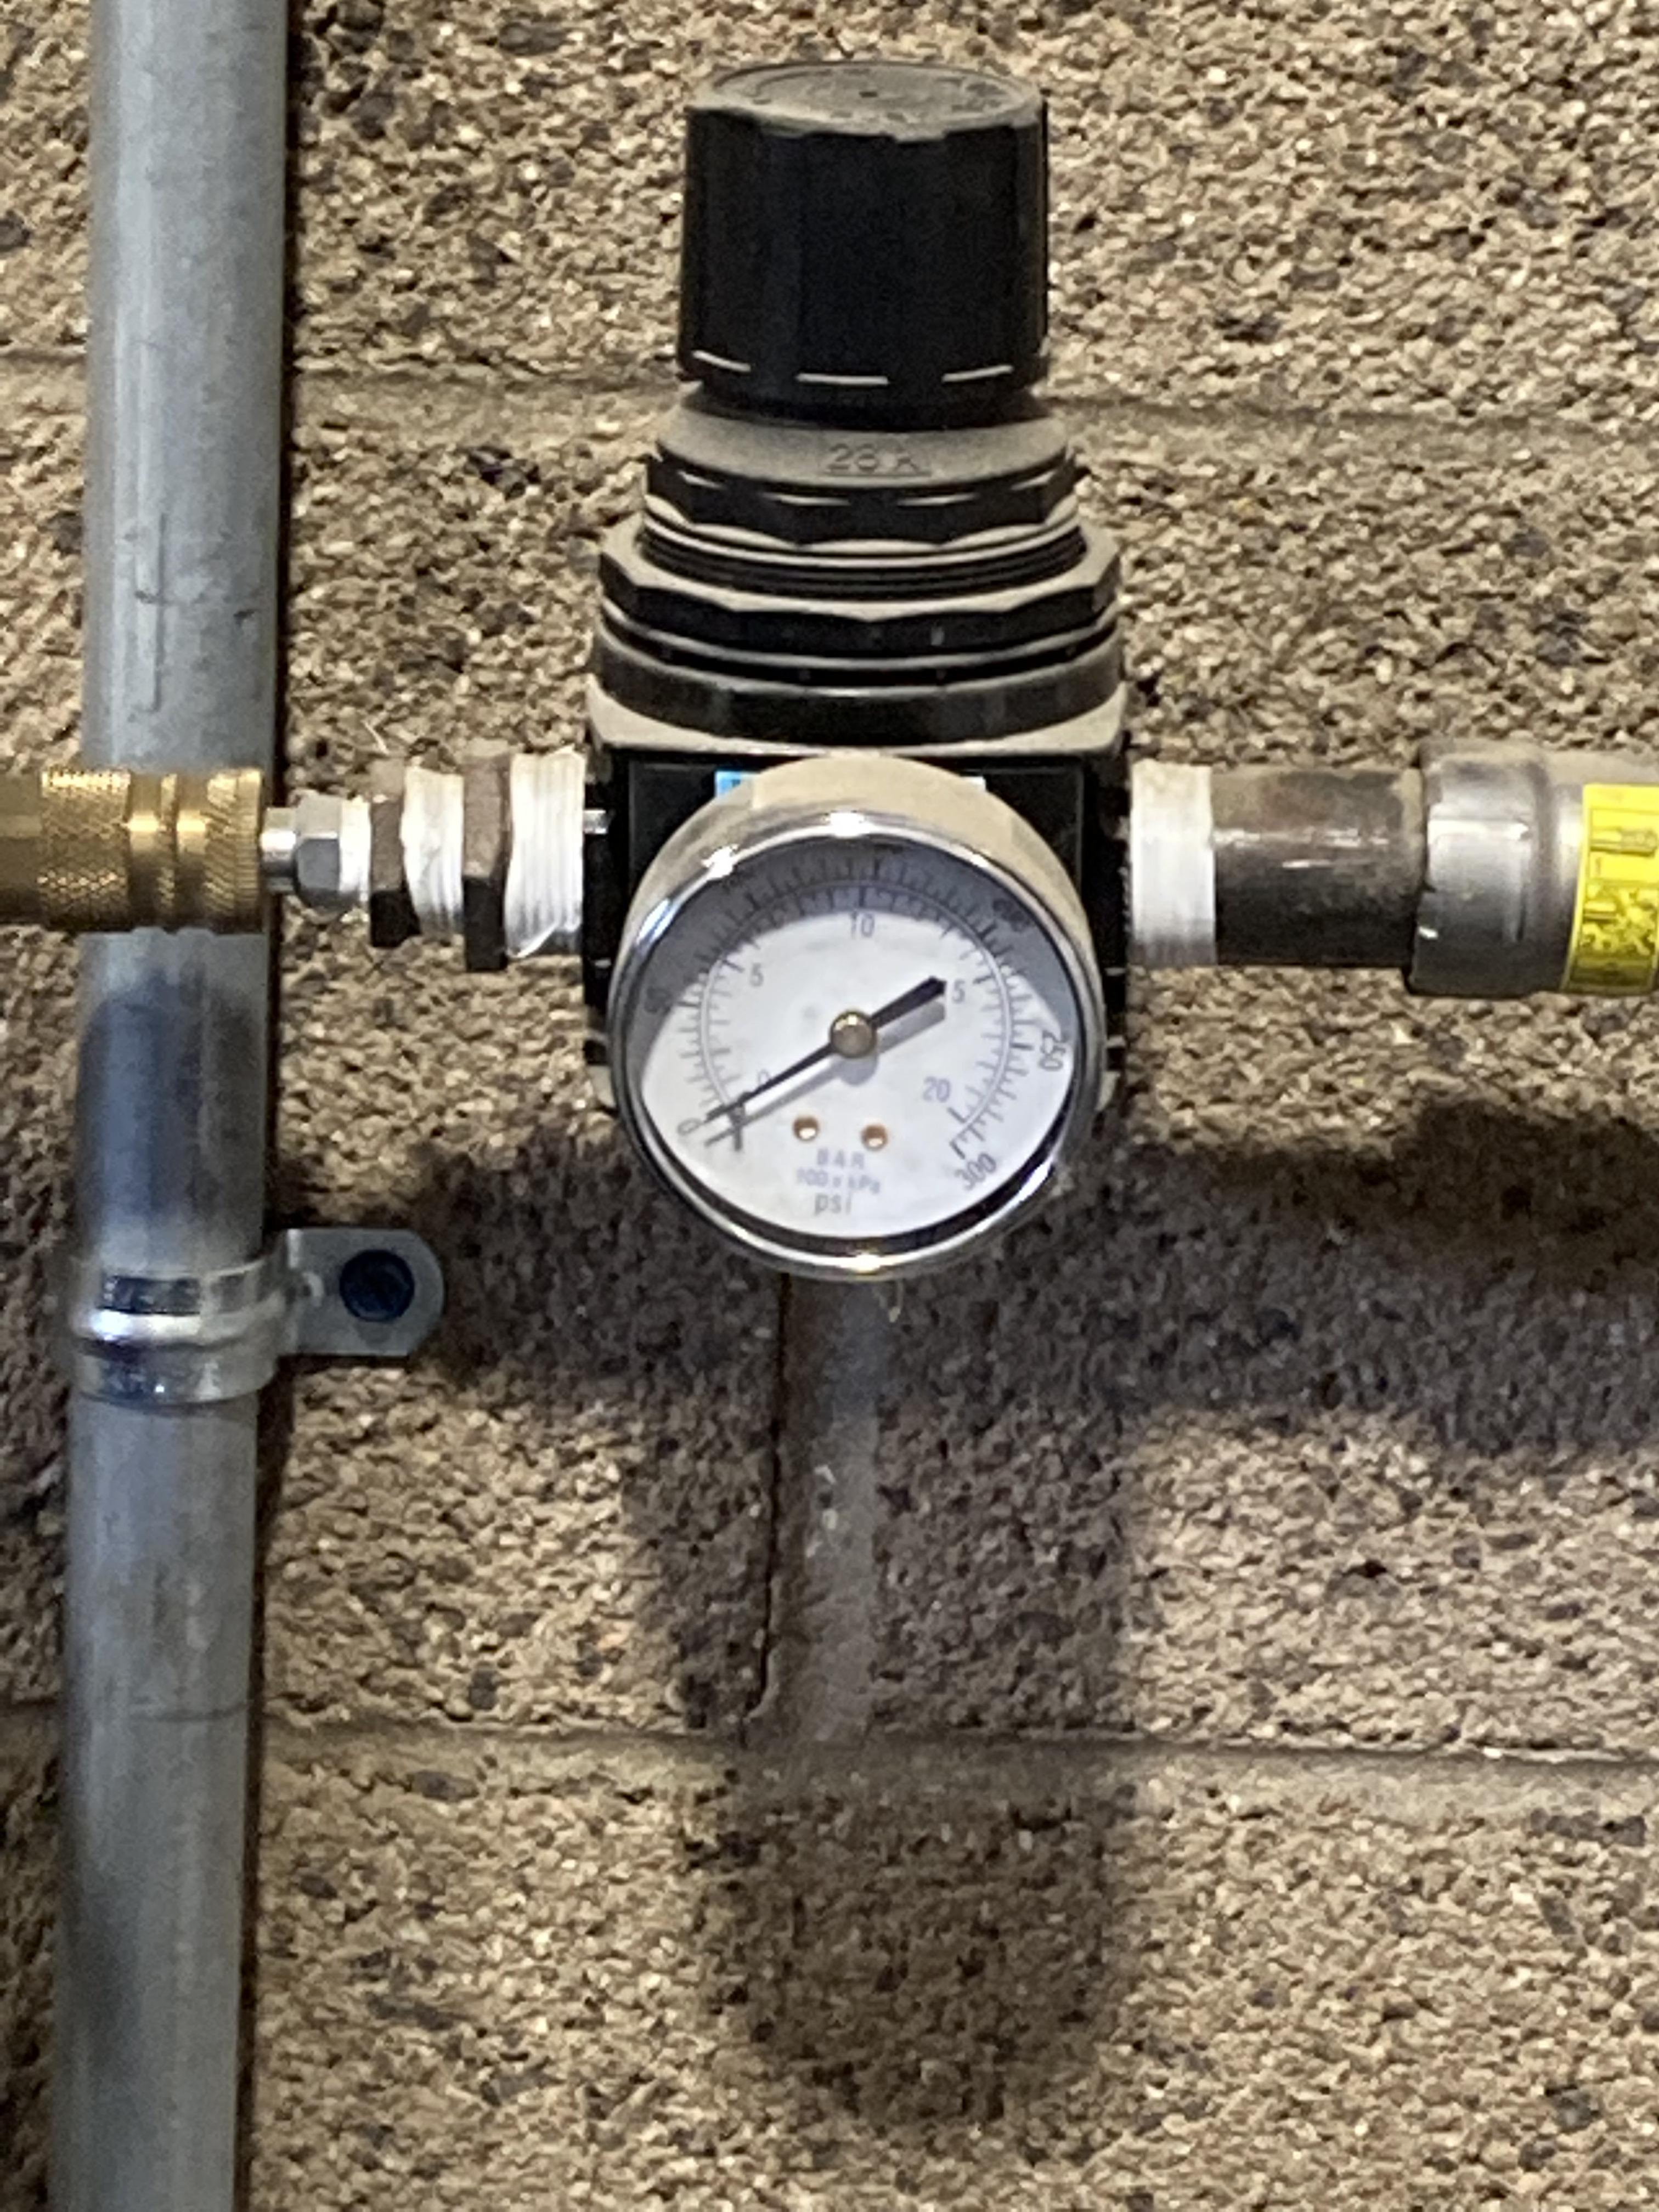
Turn on the plasma down below. Look and see if the dial on the wall has pressure. IT should be at leas 100 psi. If it is not, turn on the pressure and let it pressurize until it reads around 100. Once the machine has pressurized, use the dial on the right to turn up the psi and barometer to around 60.
Adjust the height of the plasma using a wrench; different cutting heights are better depending on material thickness.
Cutting Out the Part
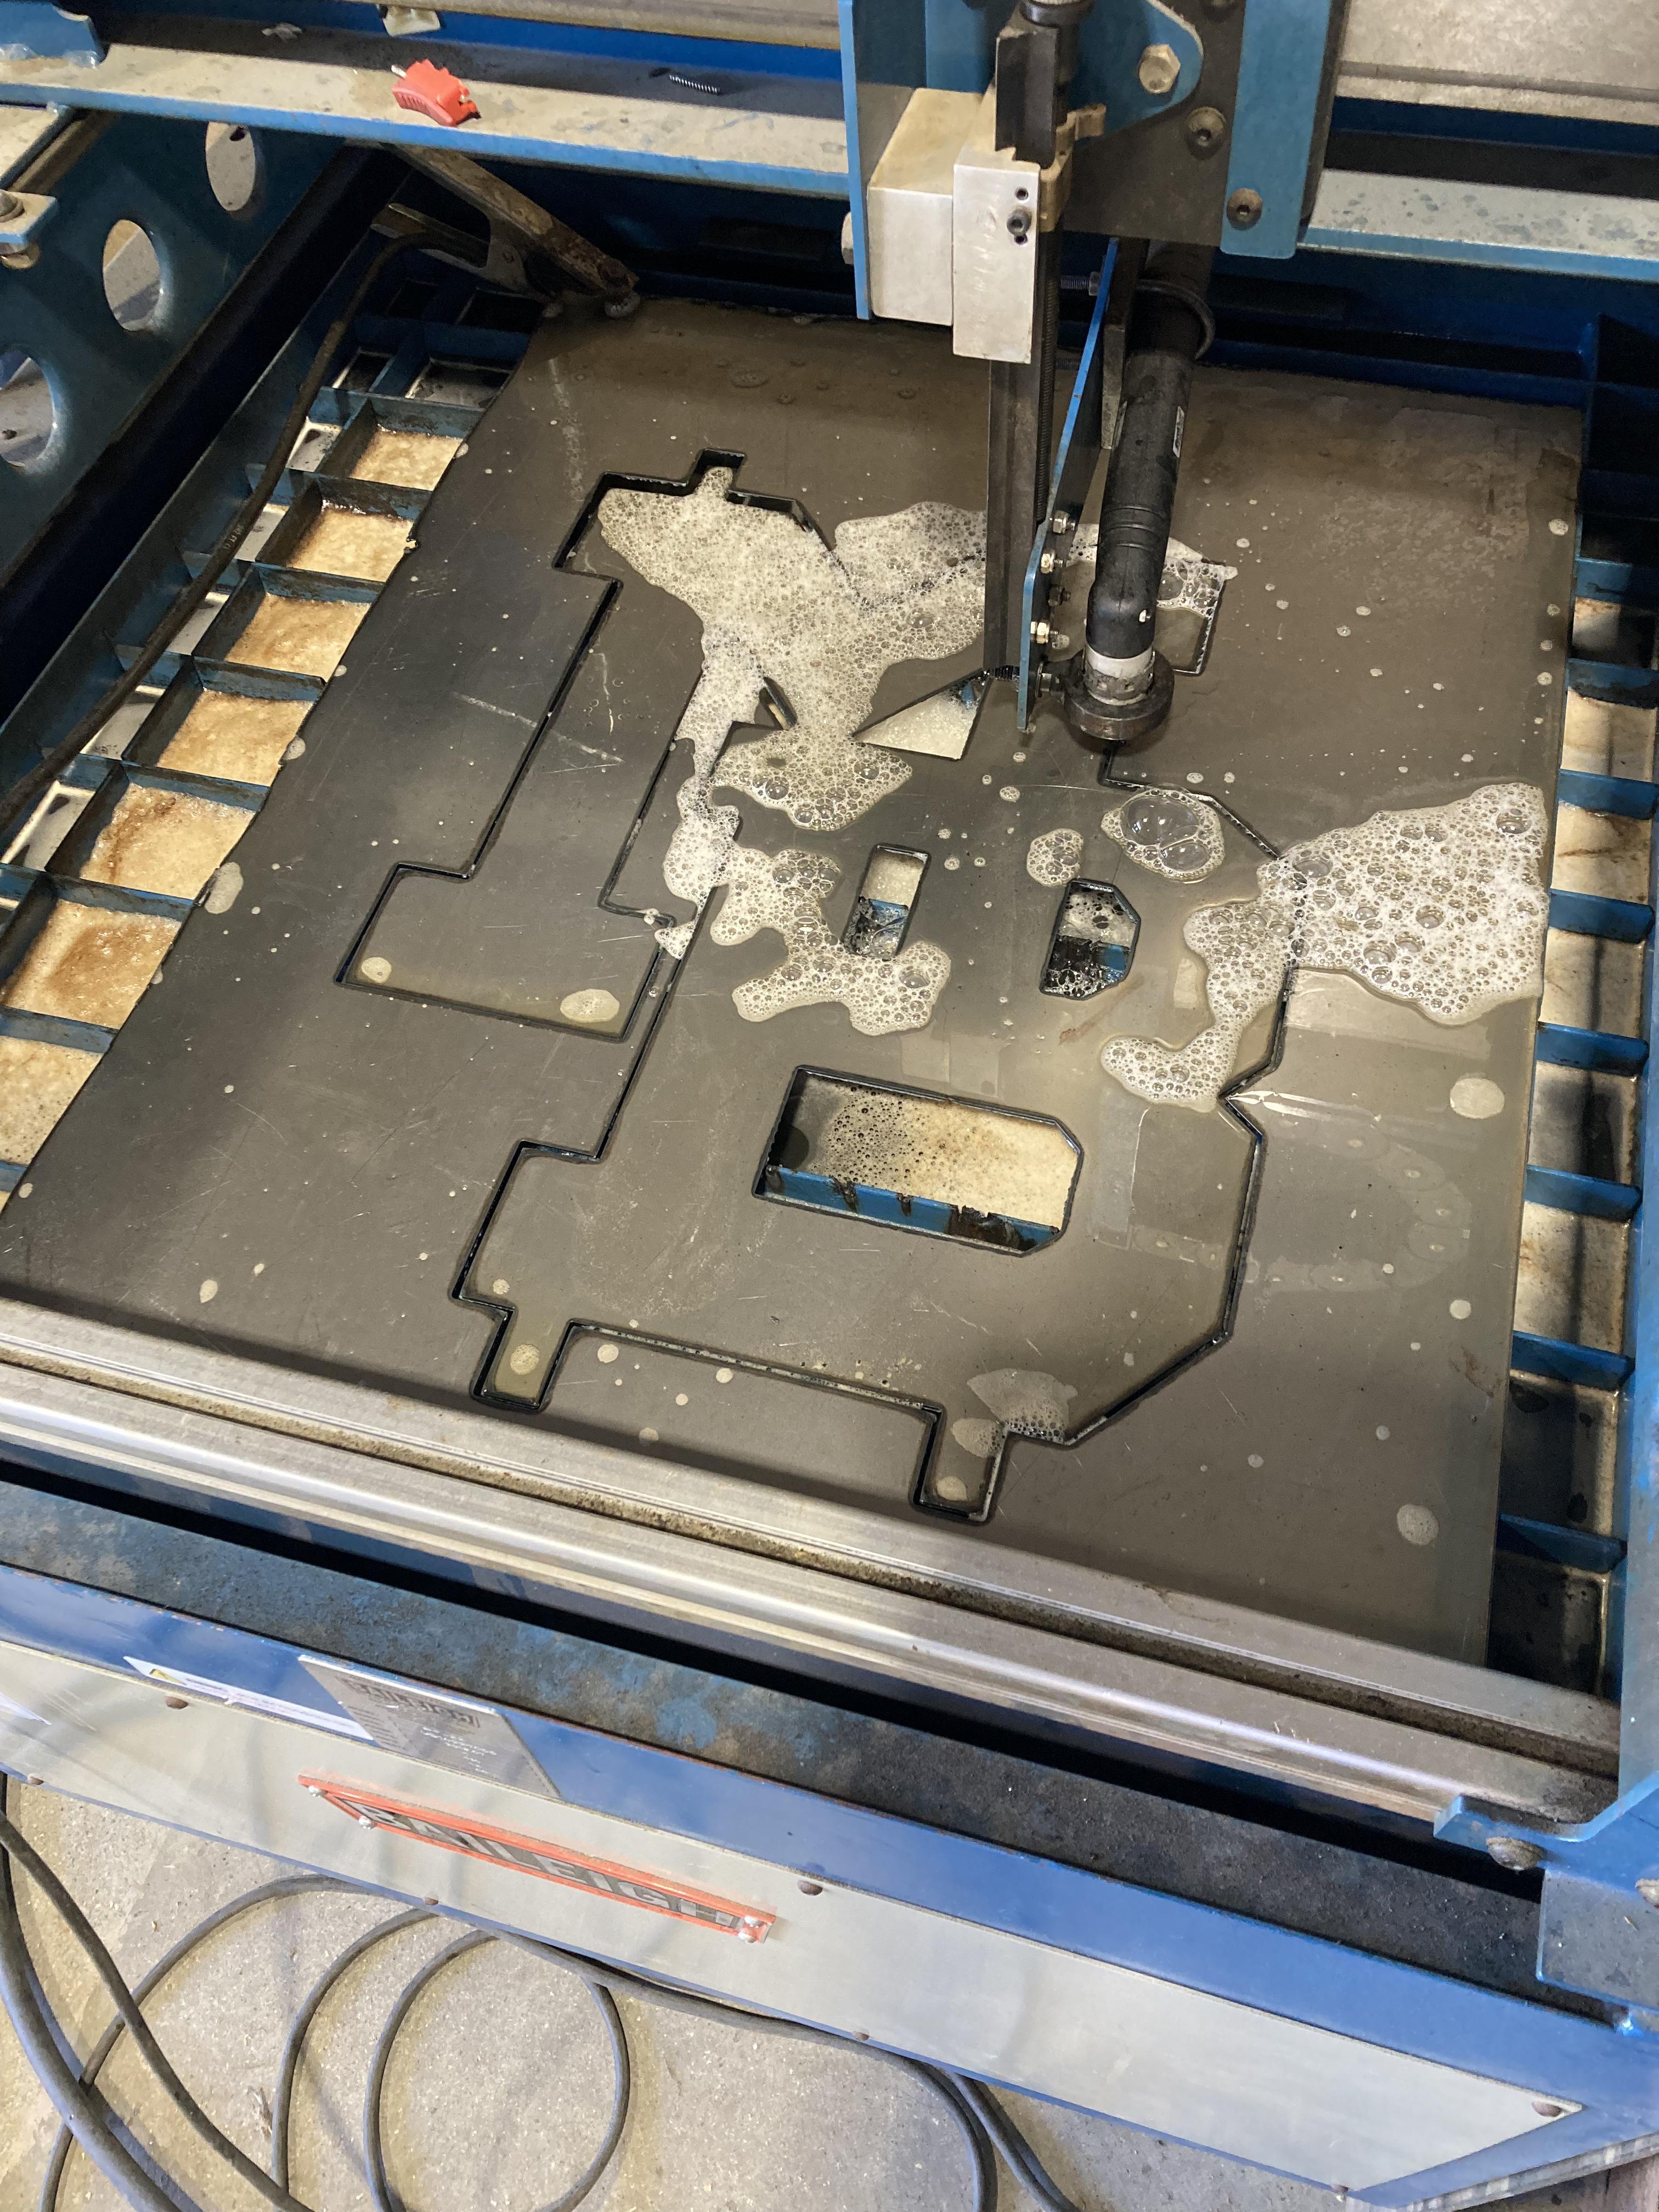
Now, select OK on the handheld controller, and let the machine run. Make sure that the machine is cutting completely through. Once it is done, remove the part. and turn off the machine. Make sure that you wear proper PPE while using the Plasma cutter.
Deburring and Painting the Sign
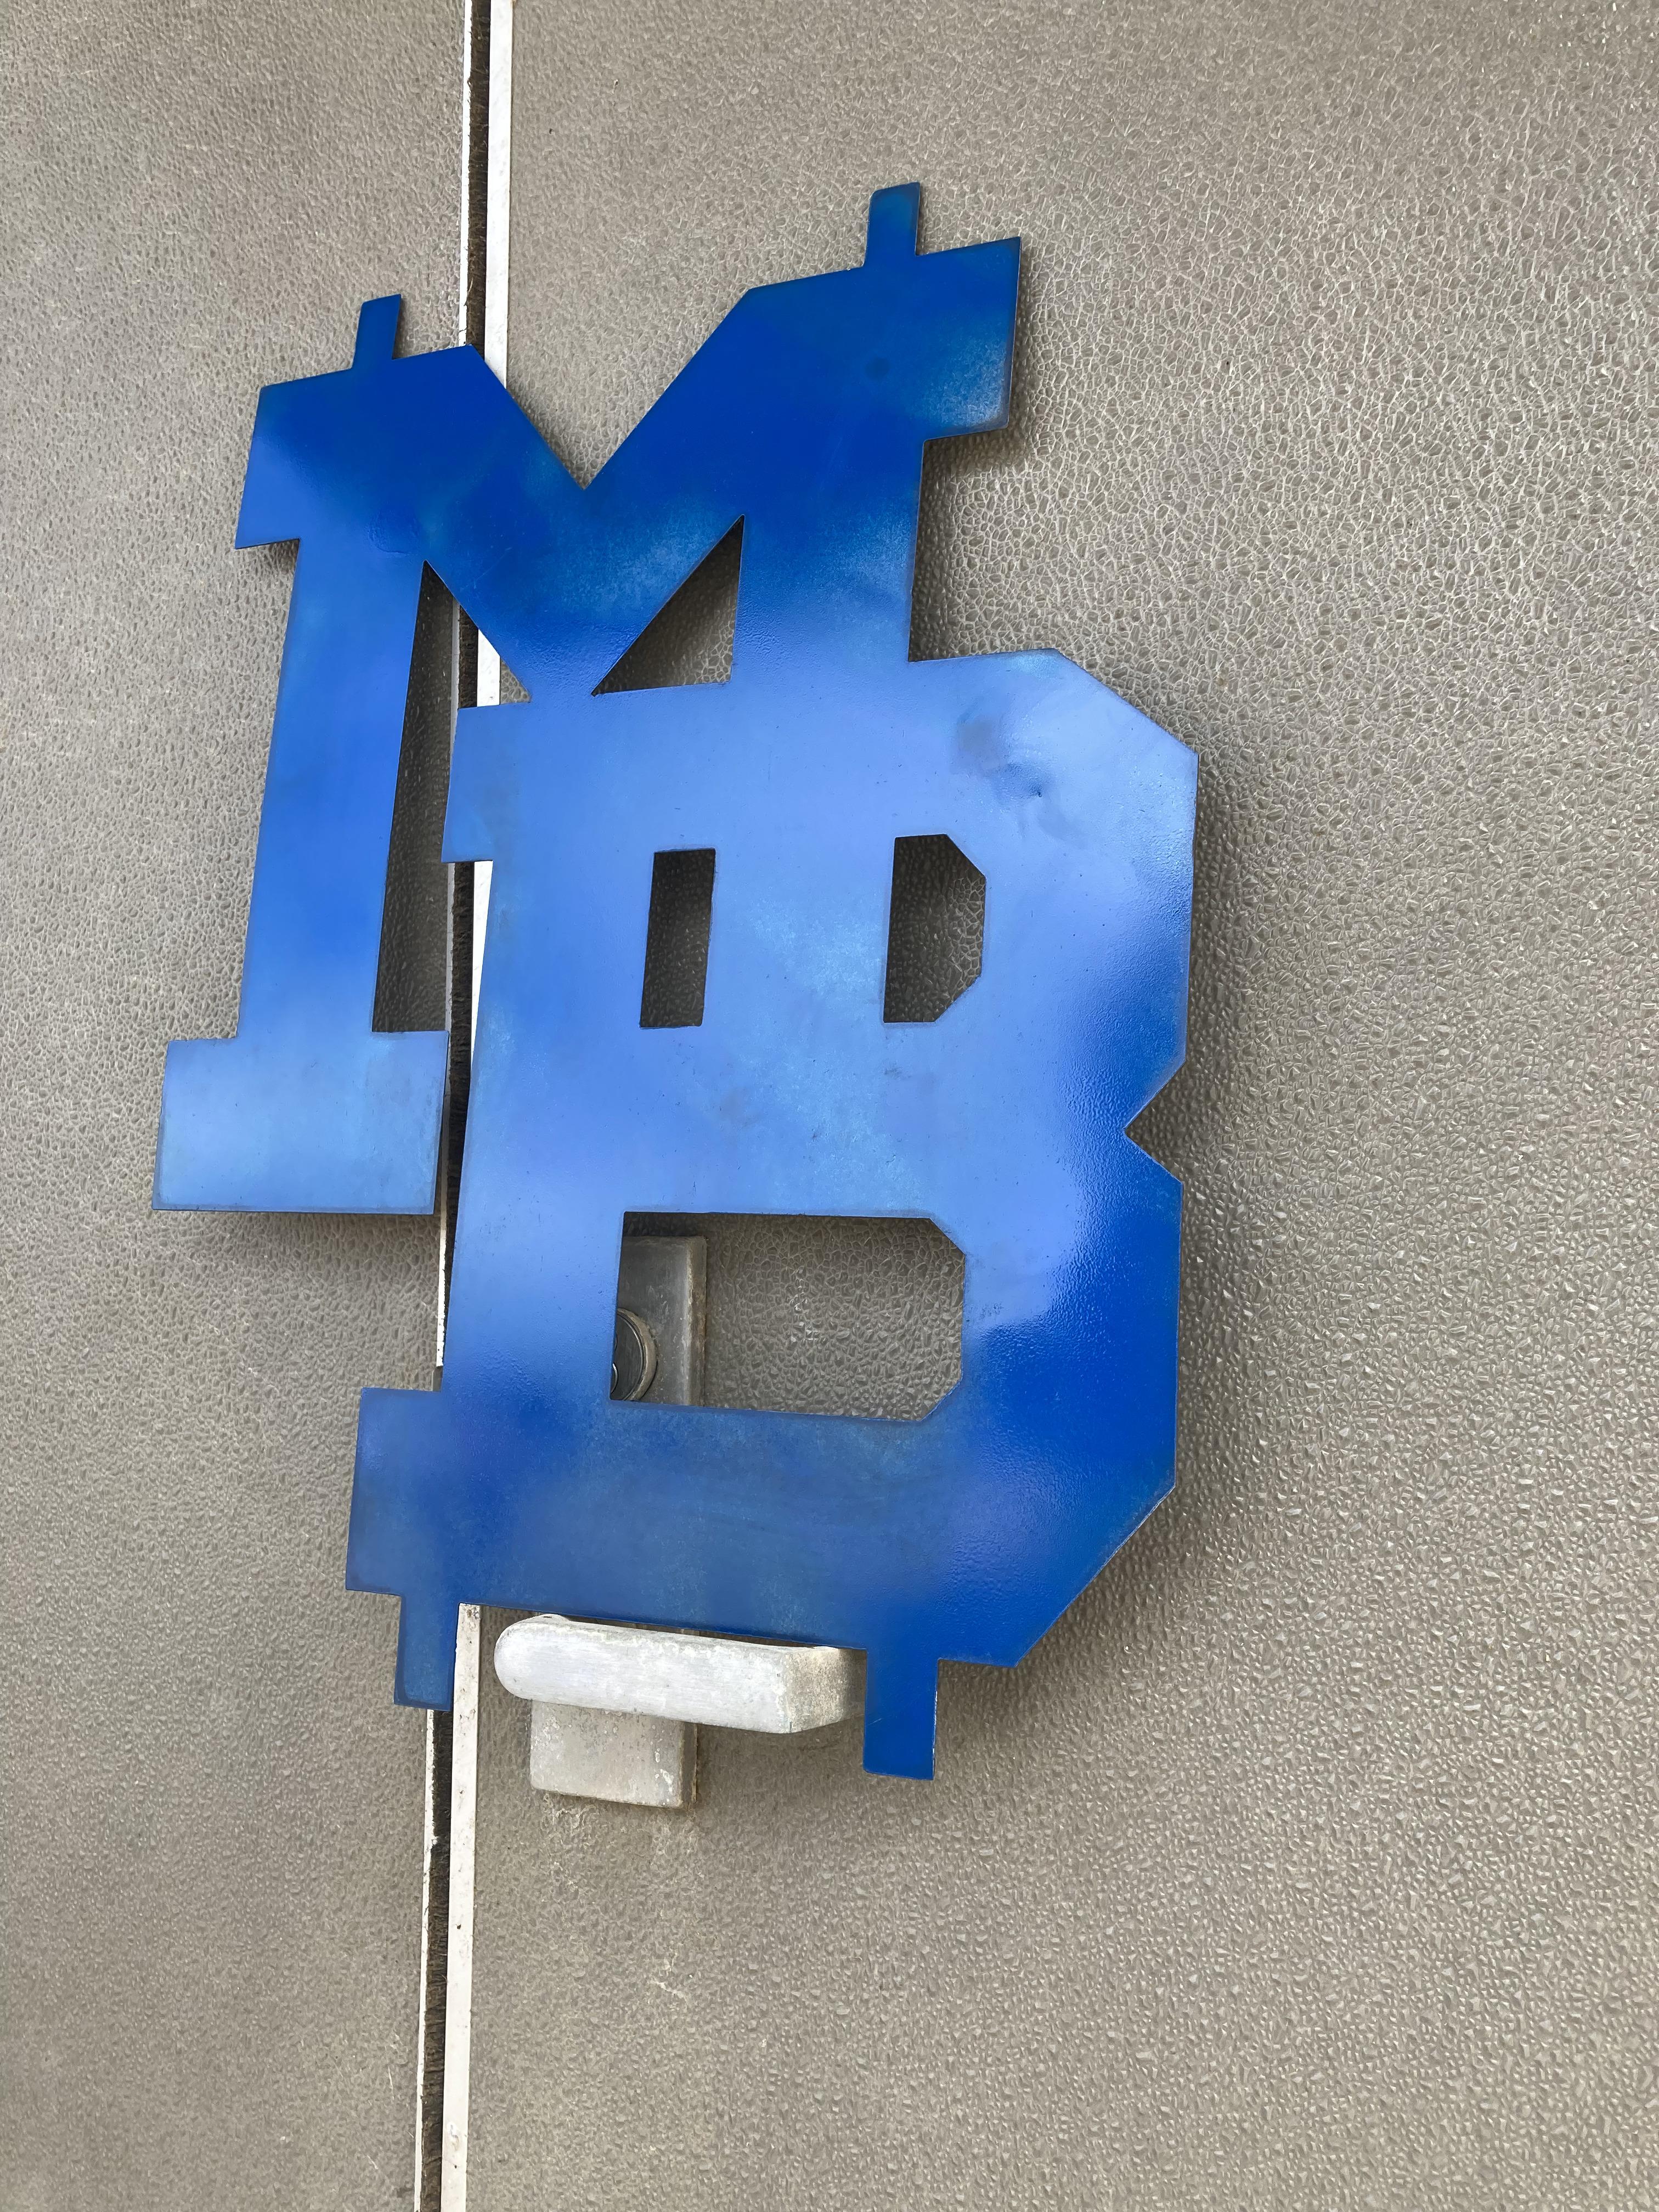
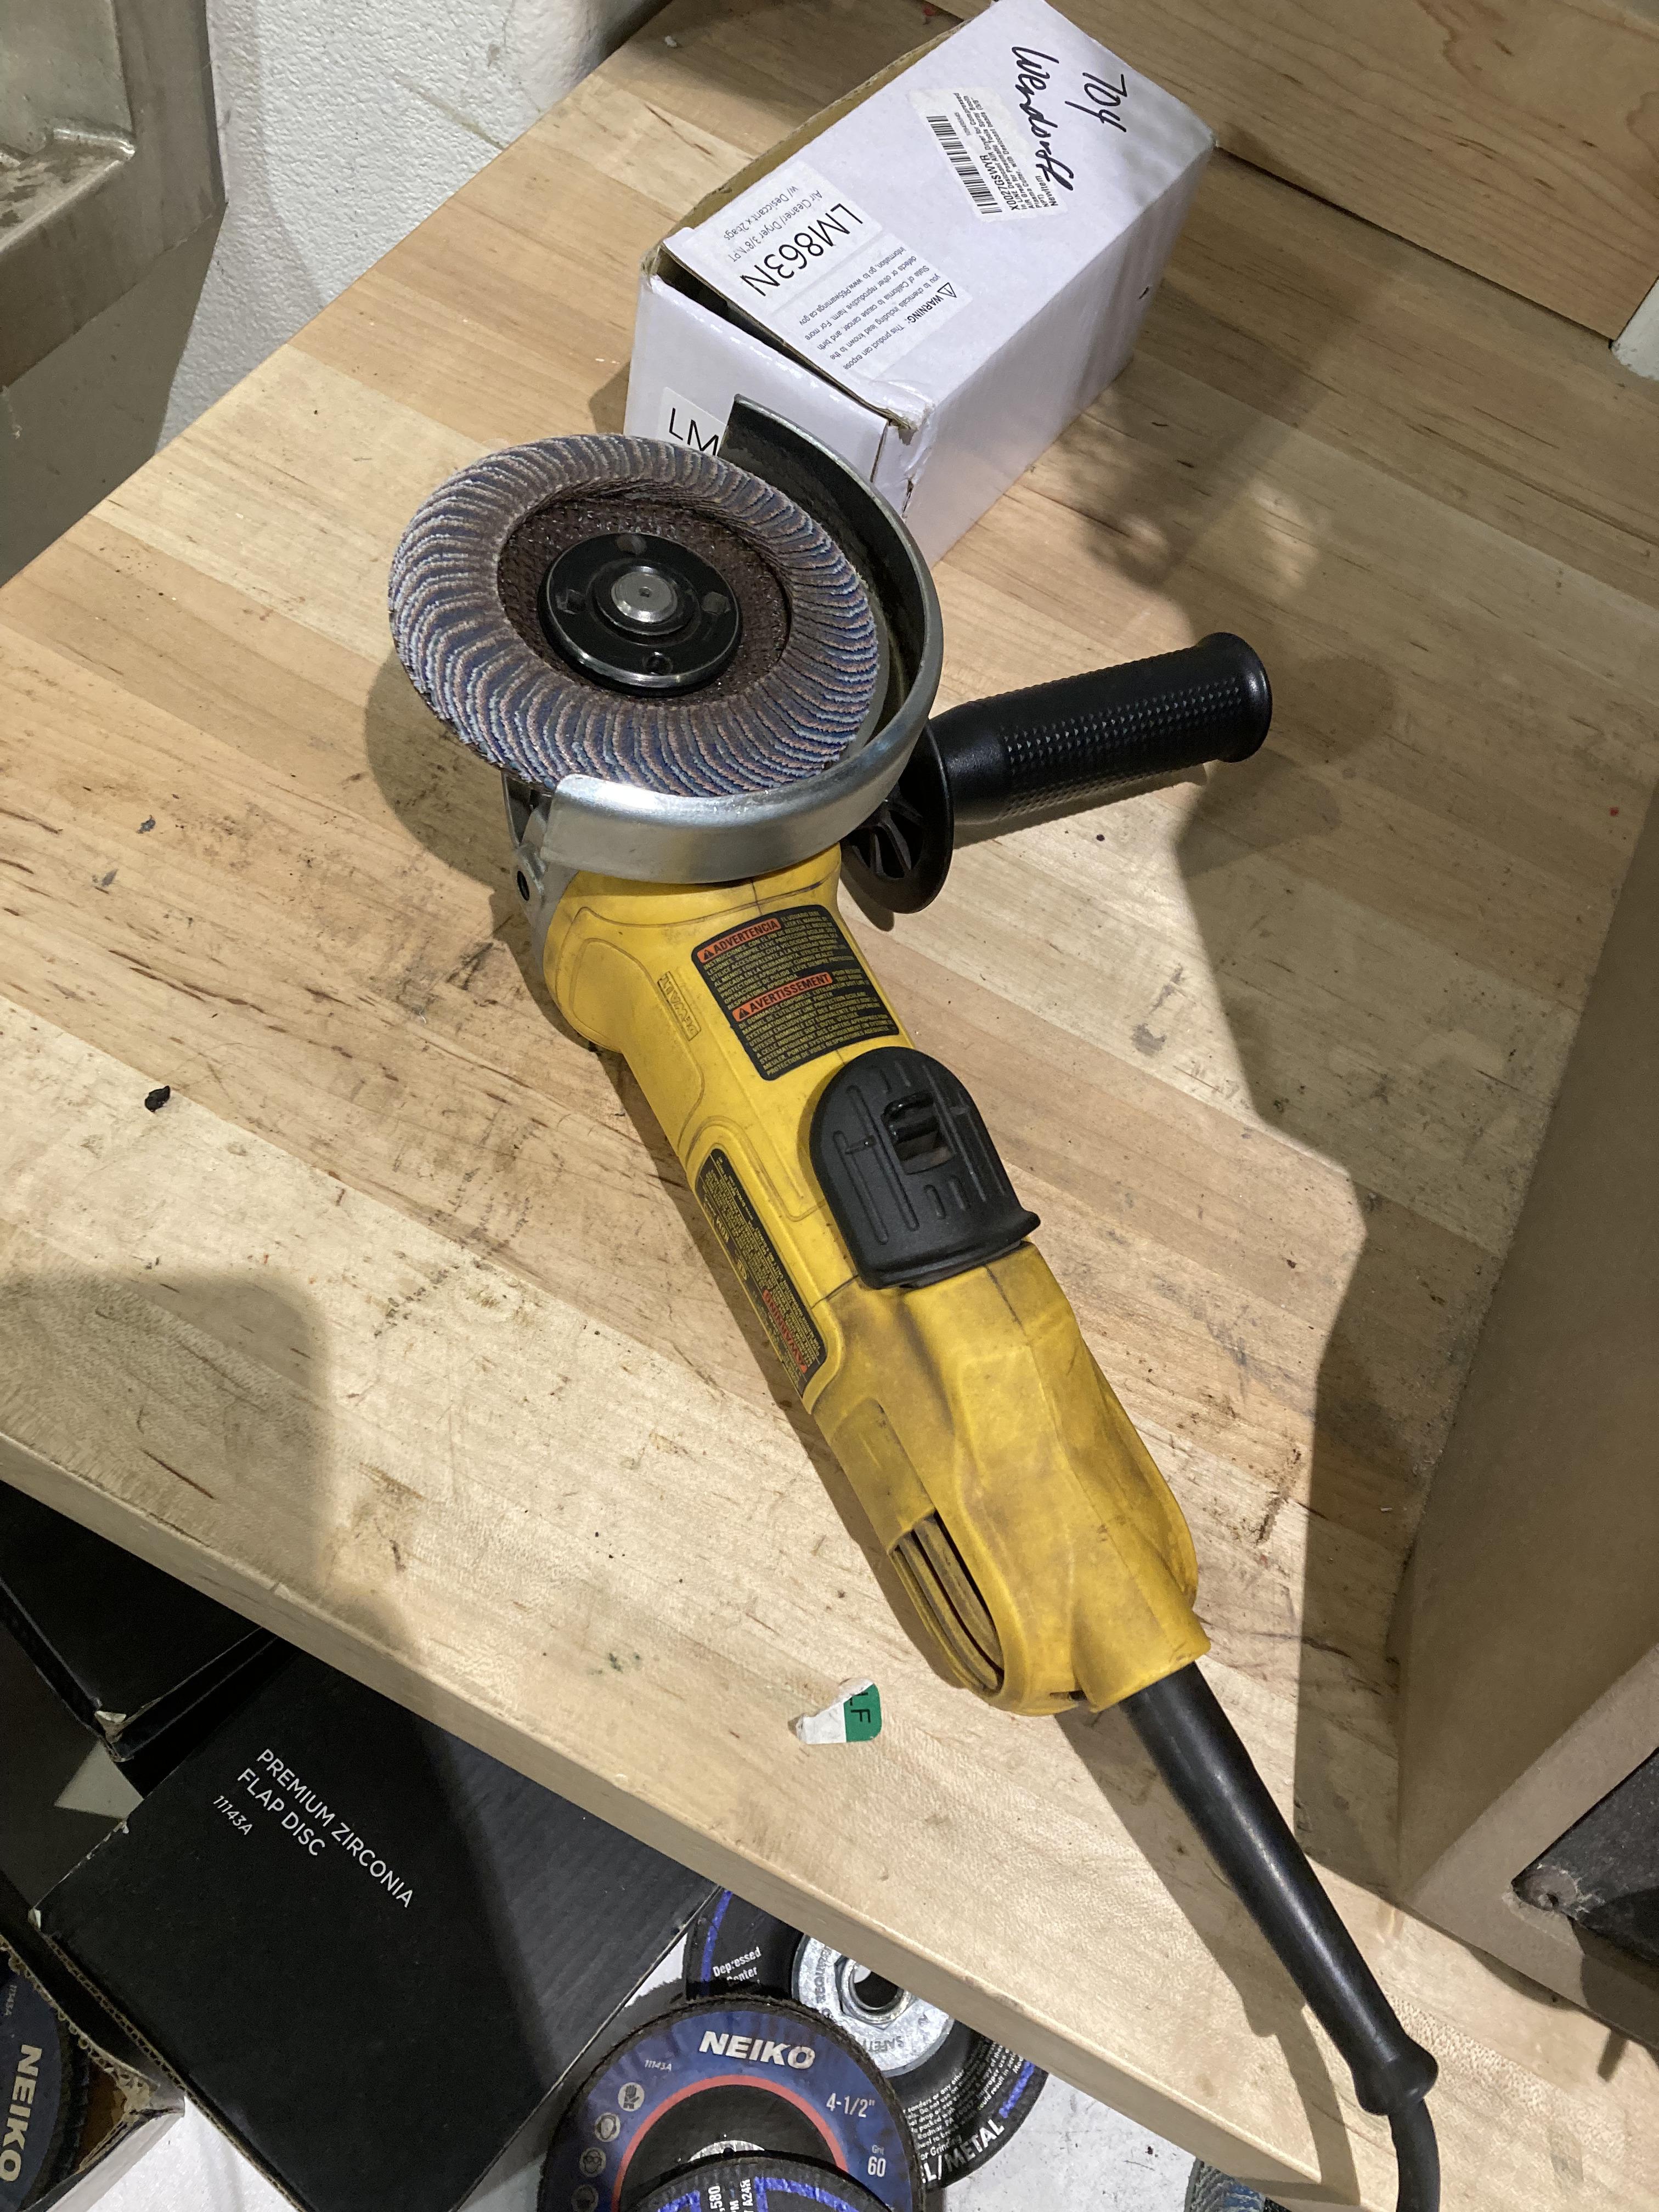
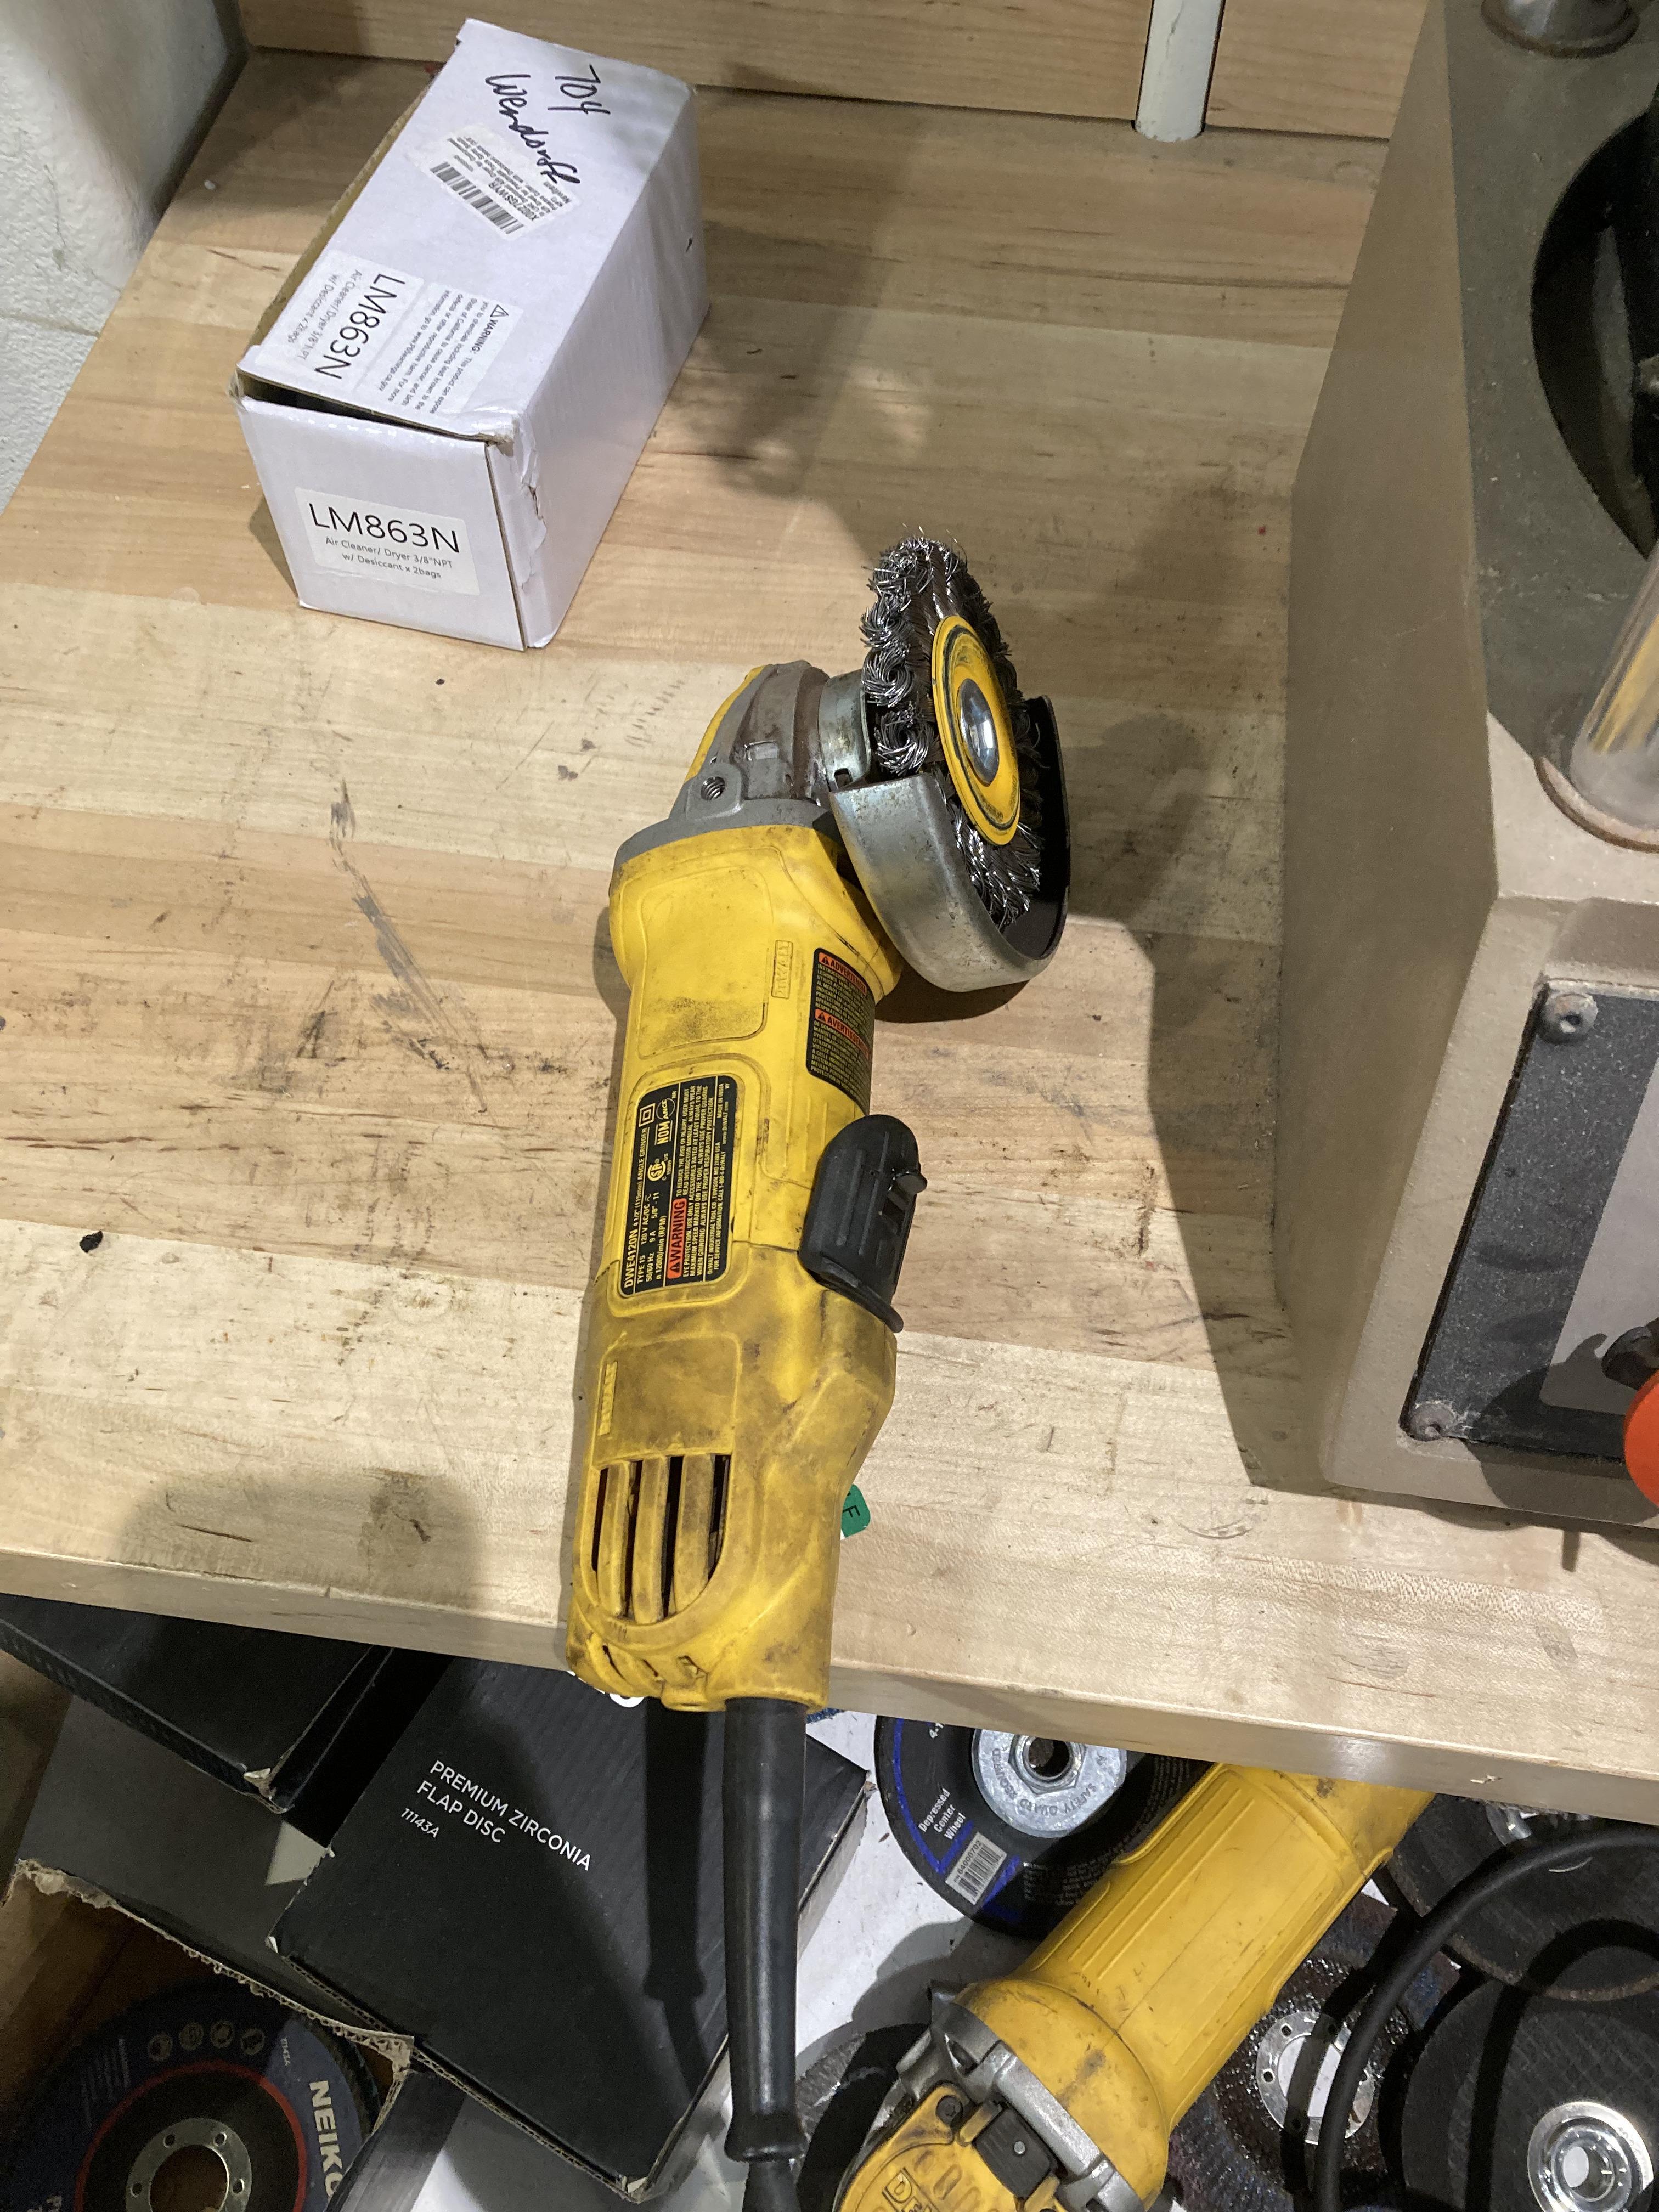
Now that the sign is cut out, debur the edges using the two machines shown above. Make sure to clamp down the part while you are doing so, and be careful of taking off too much metal.
Once the edges are deburred, paint the sign using spray paint. It is best to do multiple coats.
The sign is now complete!