CNC Cling Film Cutouts for a Privacy Window!
by bryans workshop in Workshop > CNC
2333 Views, 14 Favorites, 0 Comments
CNC Cling Film Cutouts for a Privacy Window!
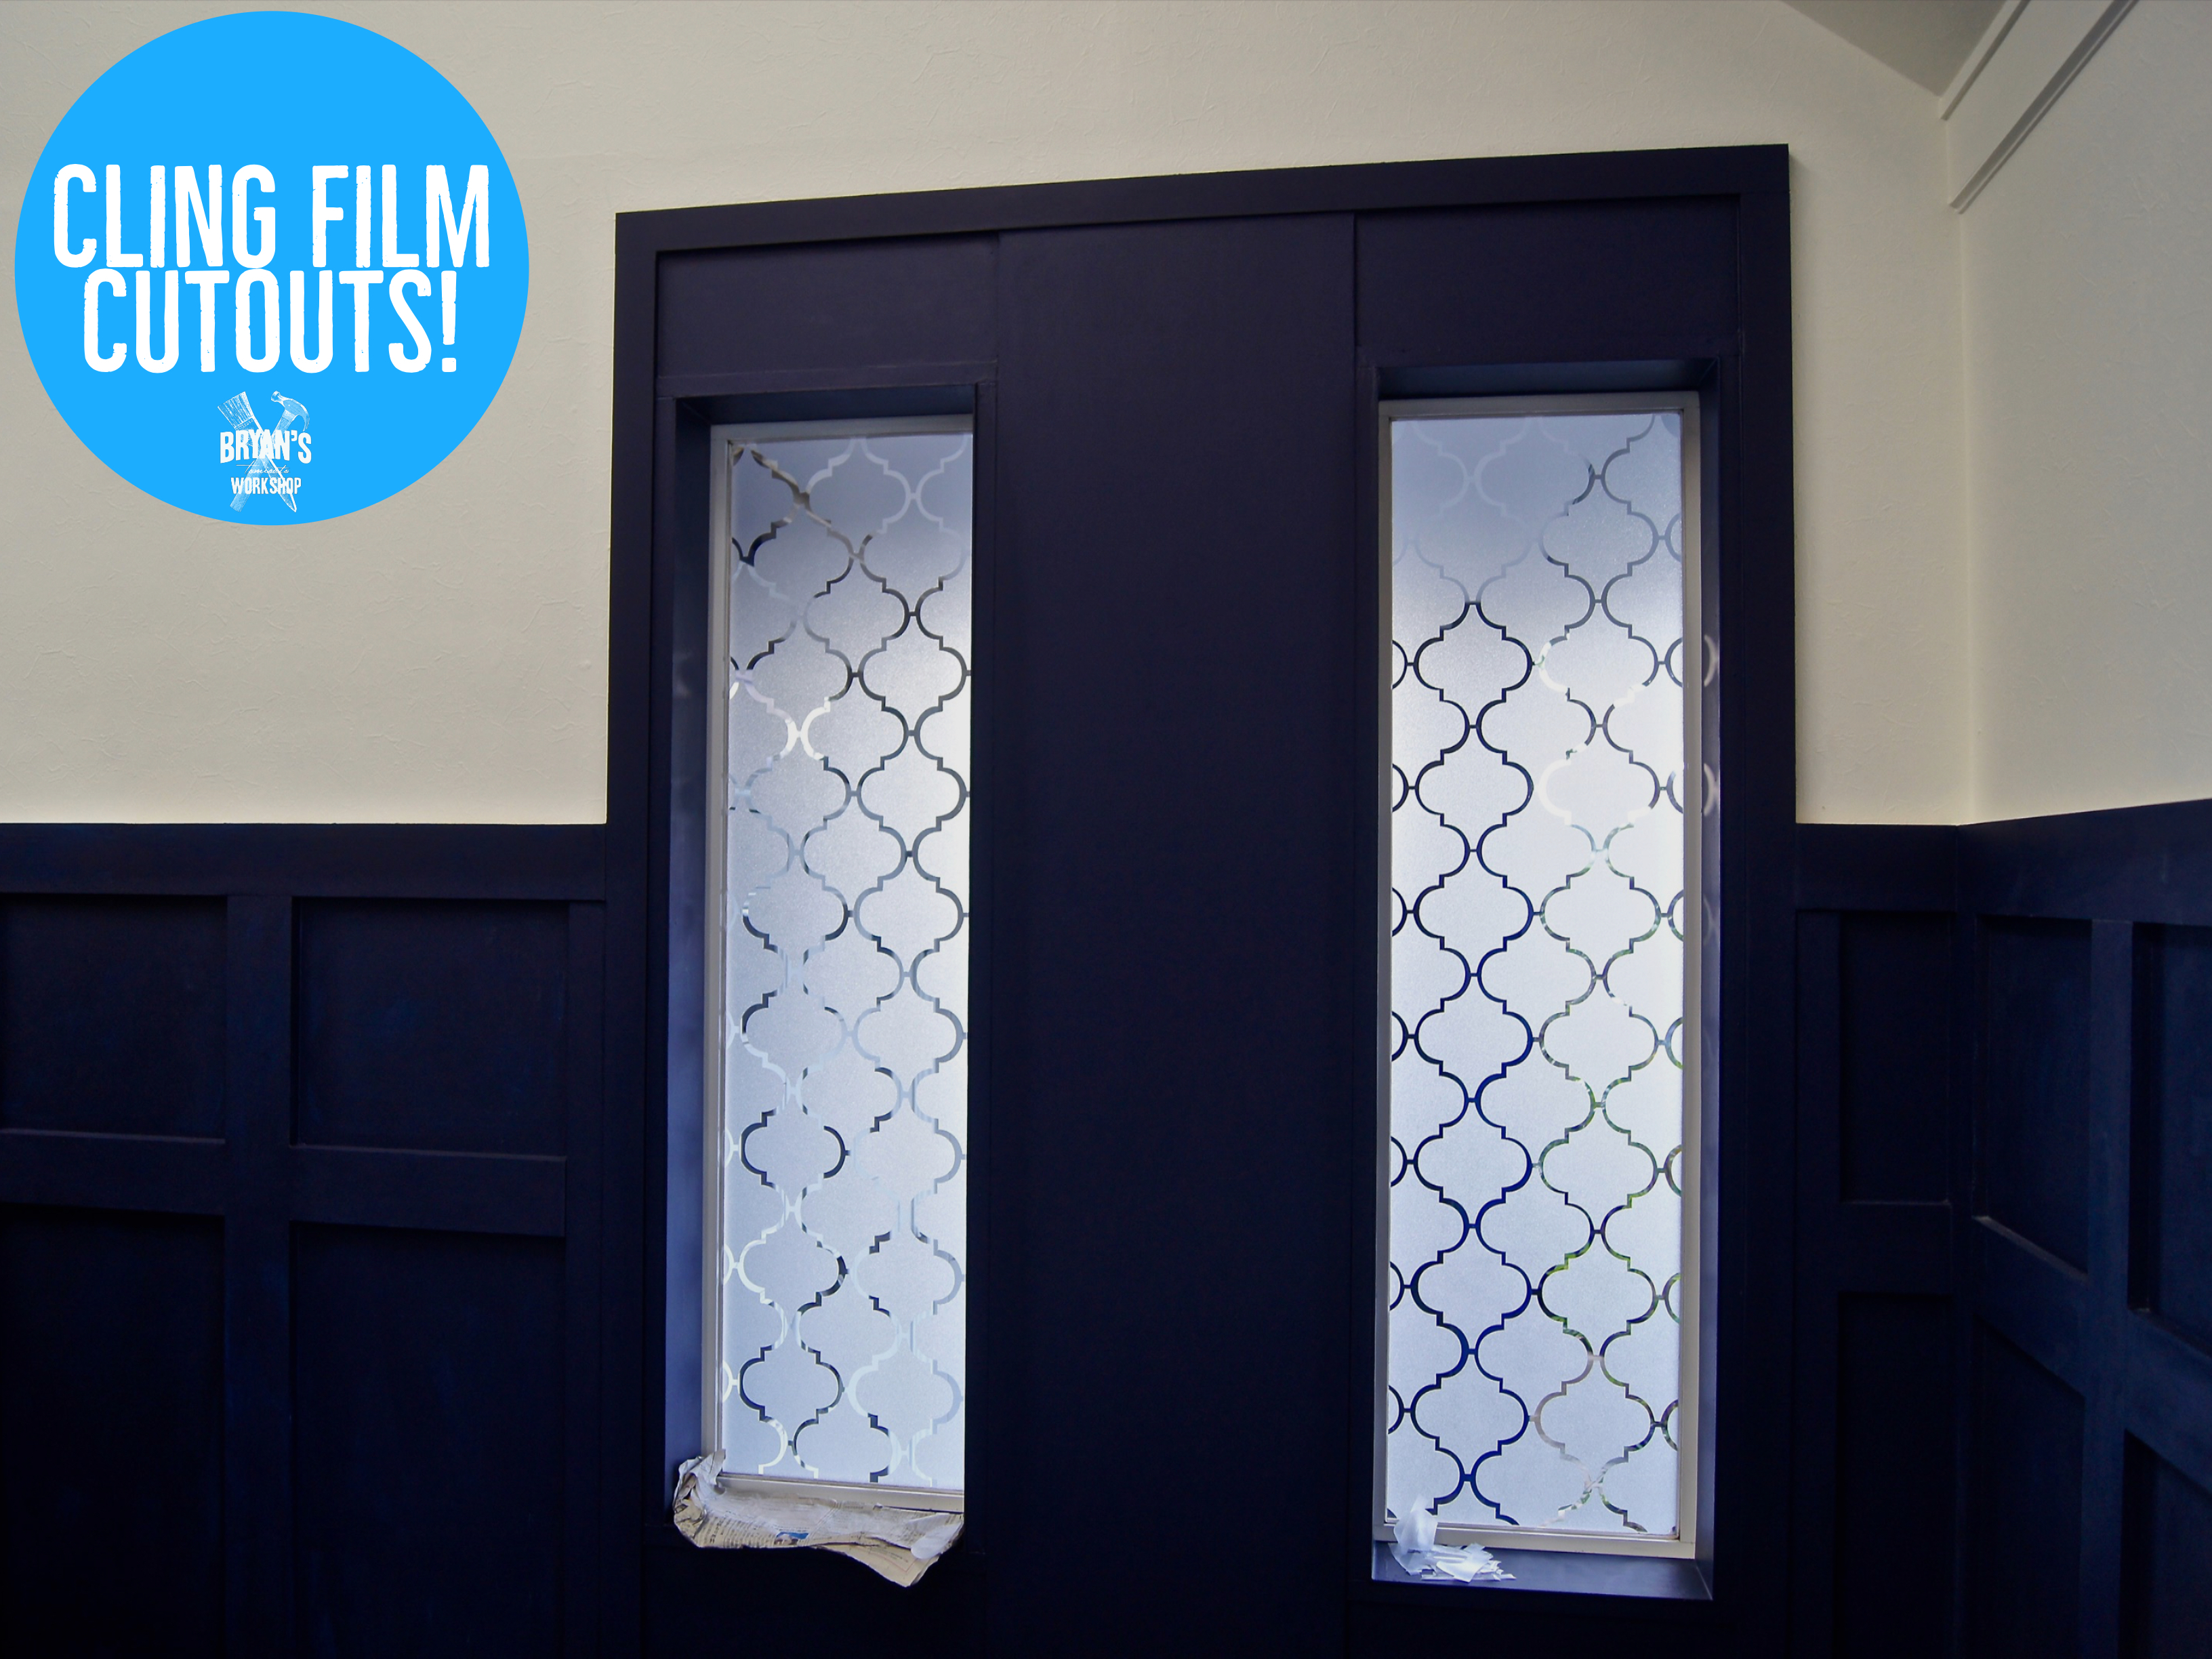
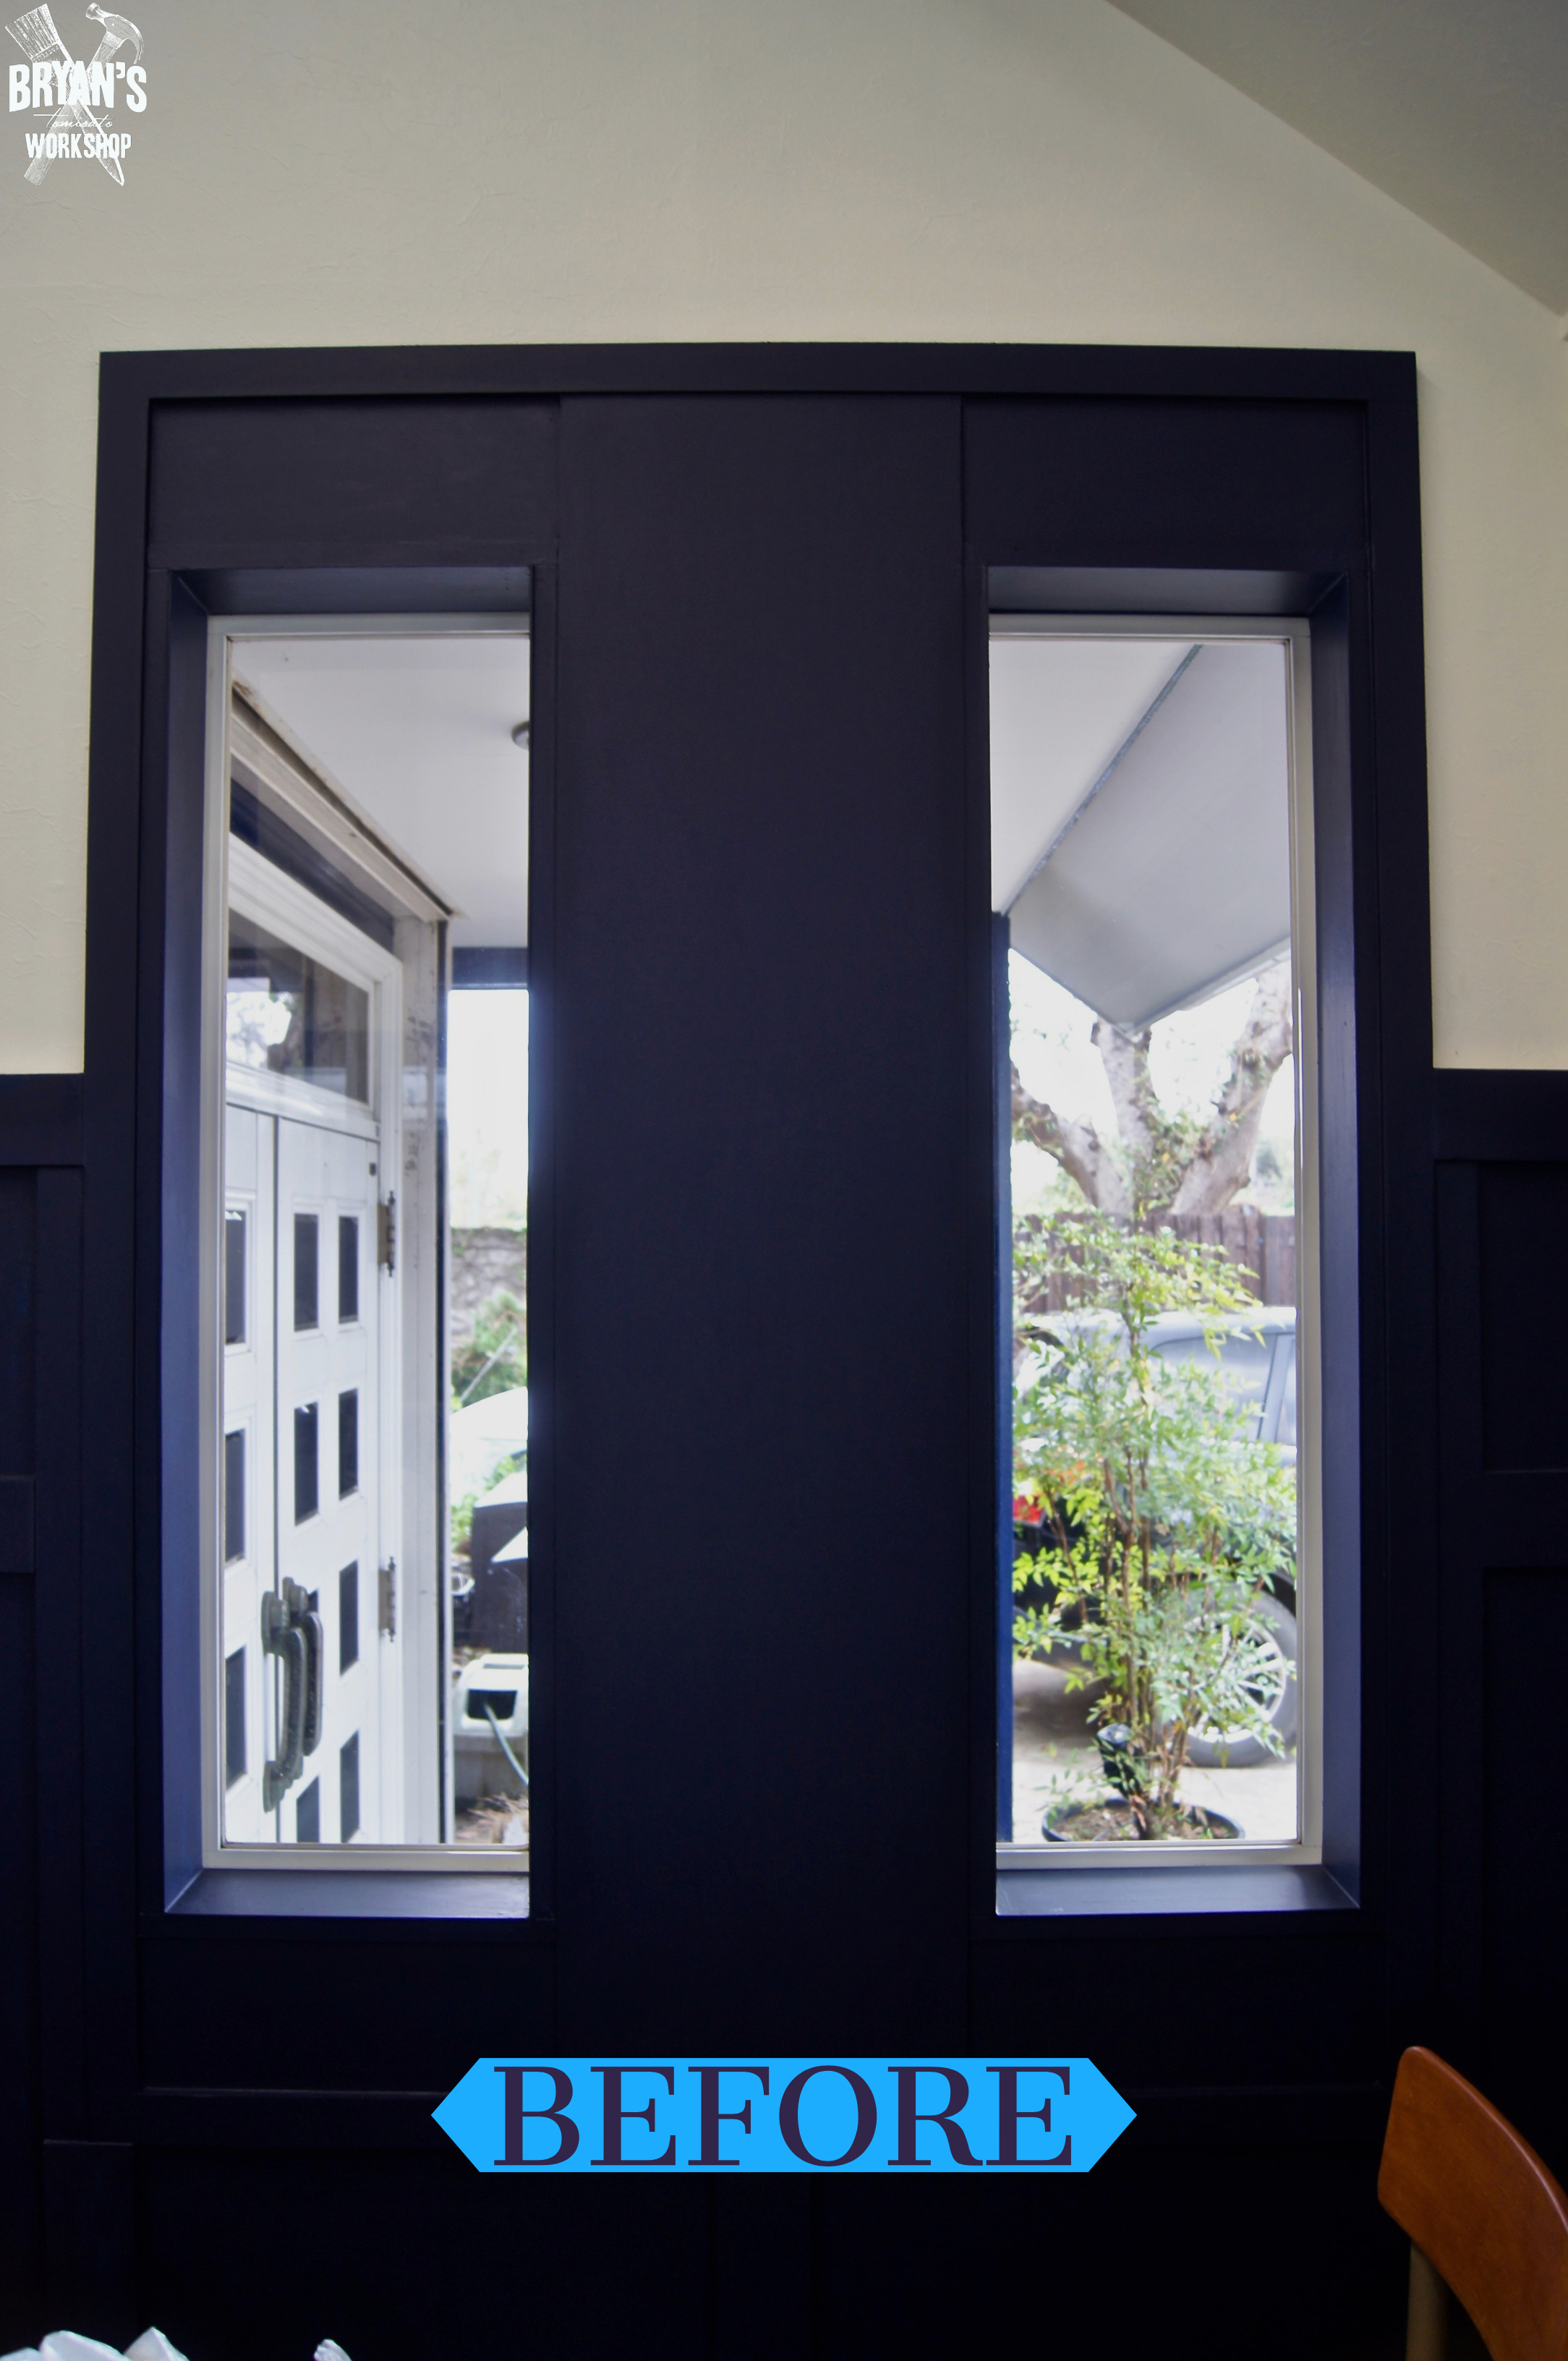
We did a contact paper privacy window a couple years ago and the two most asked question were:
"Can this be done with cling film?"
"Can these be cut on a circuit cutter machine?"
The difference between contact paper and cling film is that contact paper is adhesive-backed and cling film statically clings. Think of them as contact paper = permanent and cling film = temporary. Cling film cutouts are also reusable!
Also, cling film comes in about a kajillion designs and can easily be applied in one piece. You don't need to go through the trouble of cutting out any shapes to do this.
My lovely wife Mariko and I love art and the process of creating it. The goal of these privacy windows wasn't to do them as fast and as easy as possible, but to create something unique together.
Window cling films are also called decorative films and help block heat, cold and UV rays. We looked at local Japanese brands, but found them cheaper on AliExpress. The quality is the same as they both block 99% of harmful UV rays. Hooray!
Supplies
Cling film. We ordered from AliExpress.
The CNC Machine
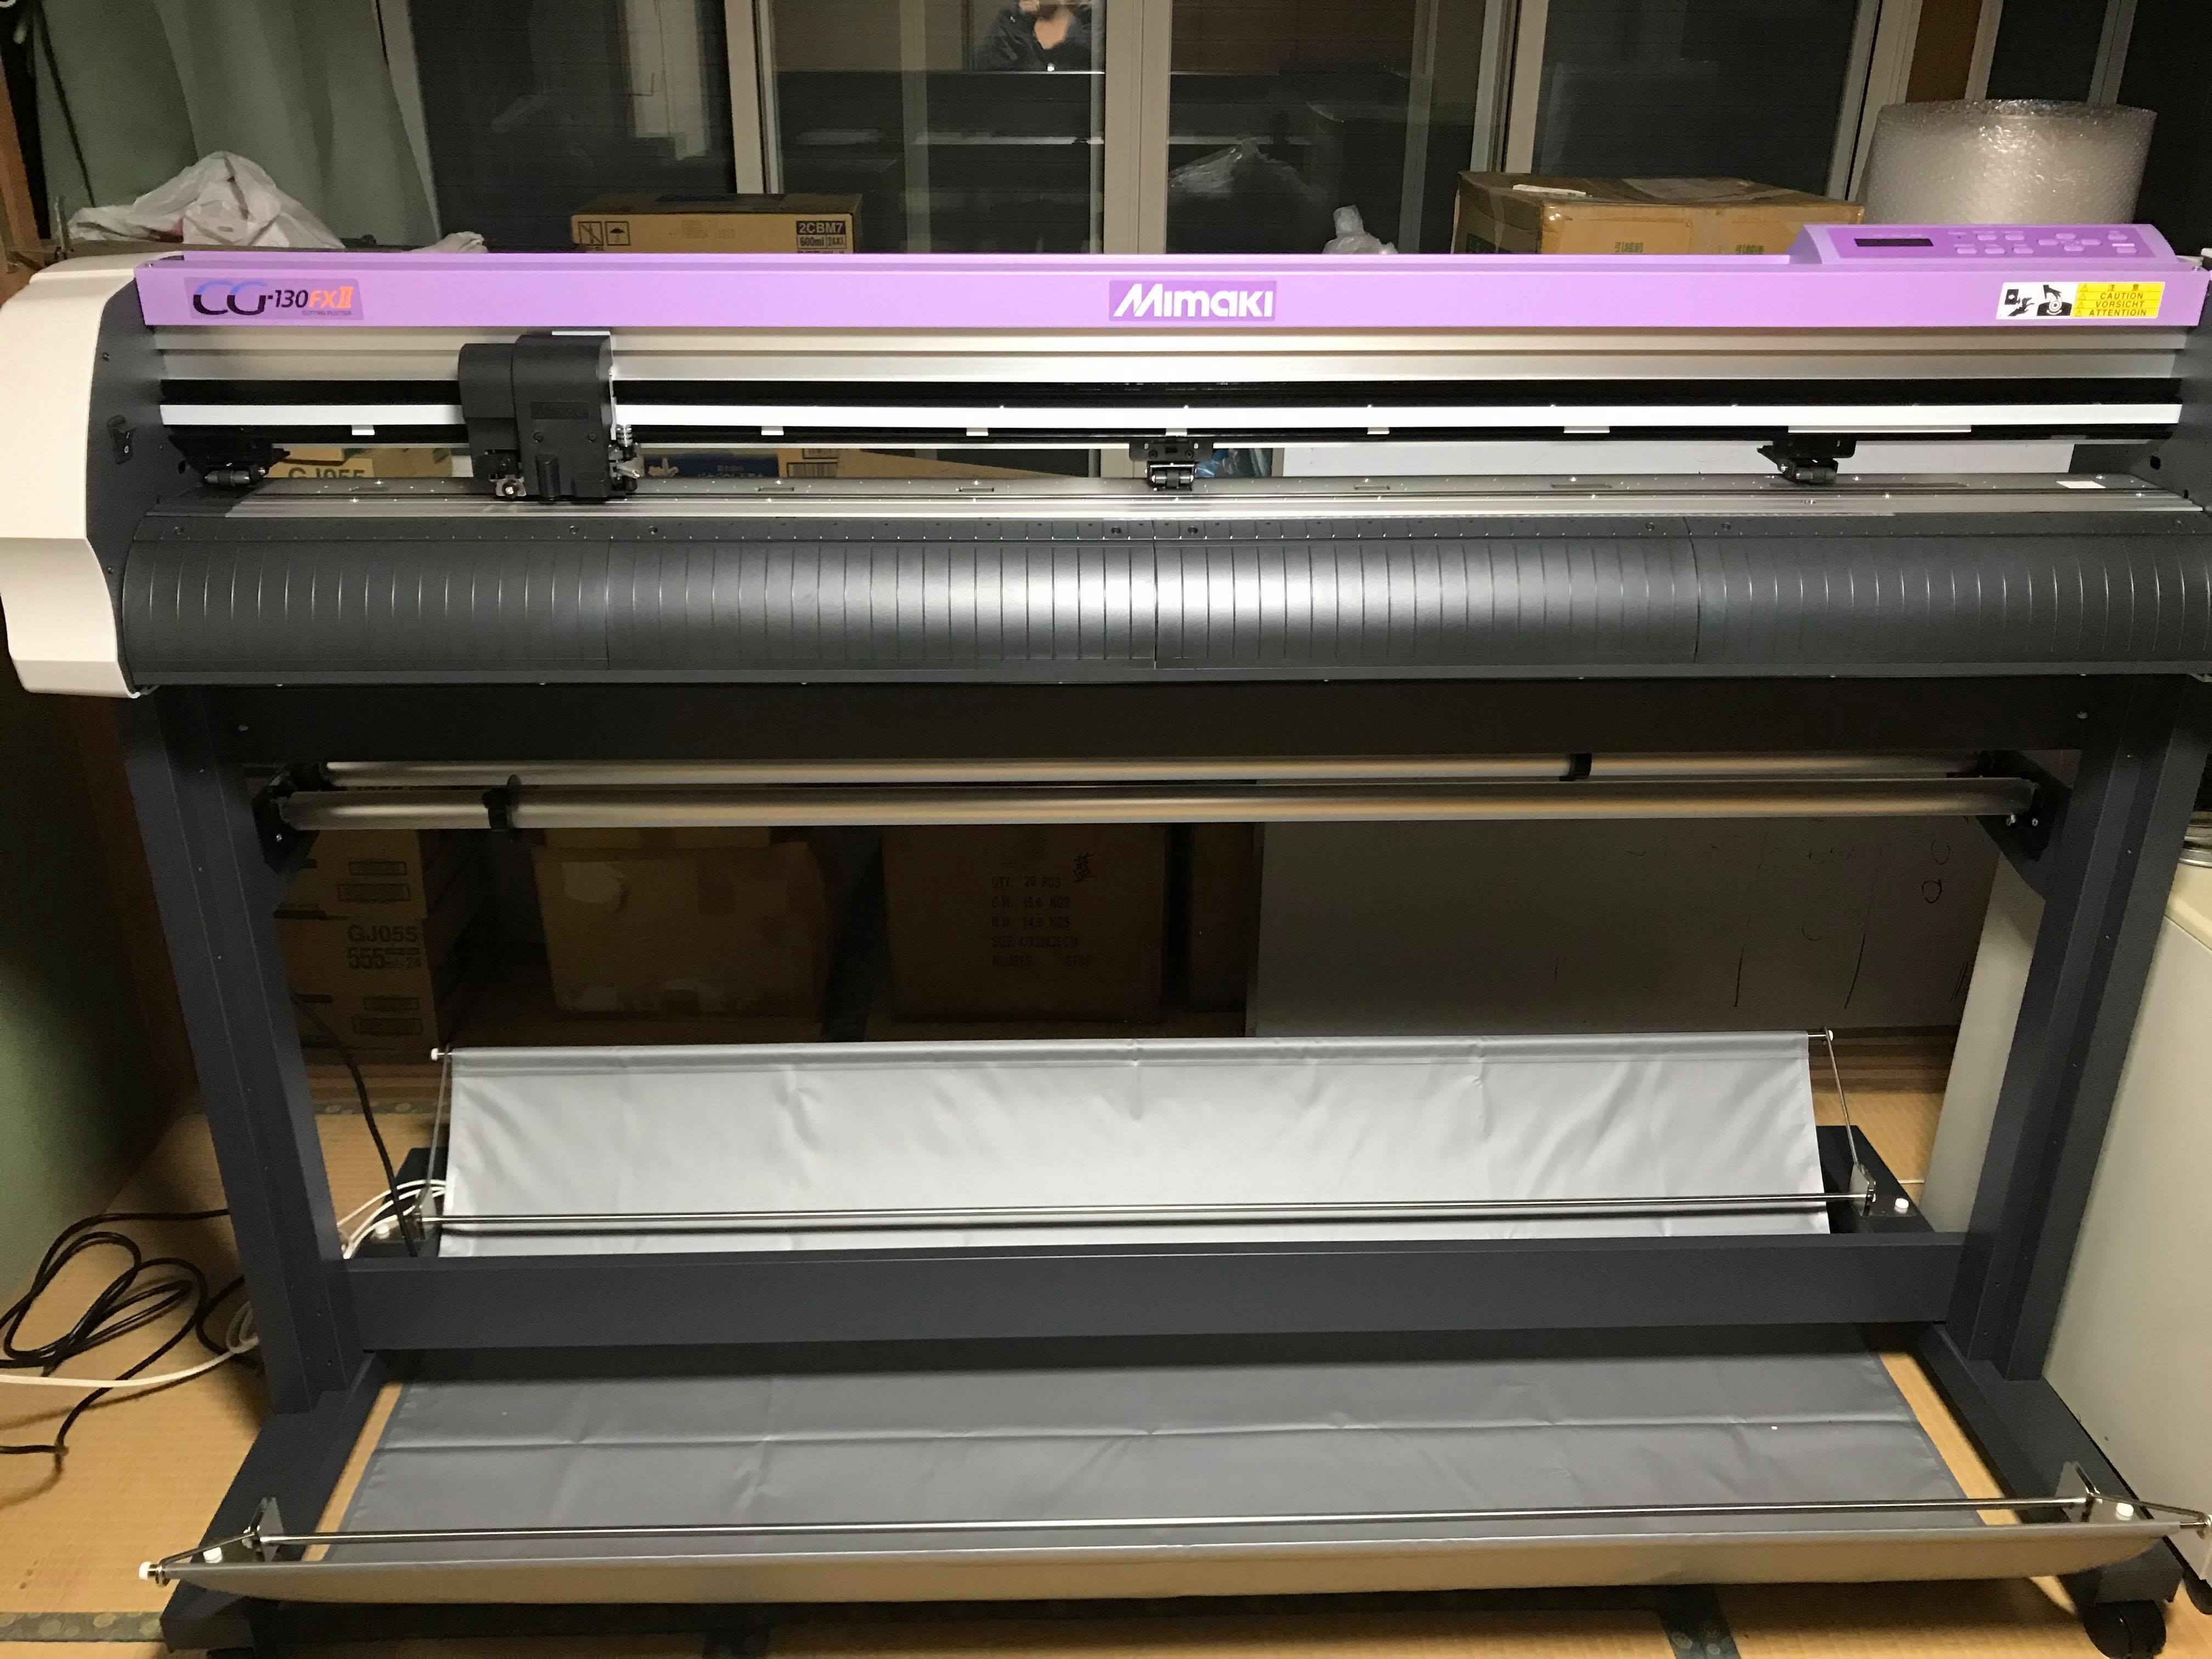
We used the Minaki CG-FXII series. You can find it here:
https://mimaki.com/product/cutting/c-roll/cg-fxII-...
It's pretty simple to use! From the site:
If you're creating the data:
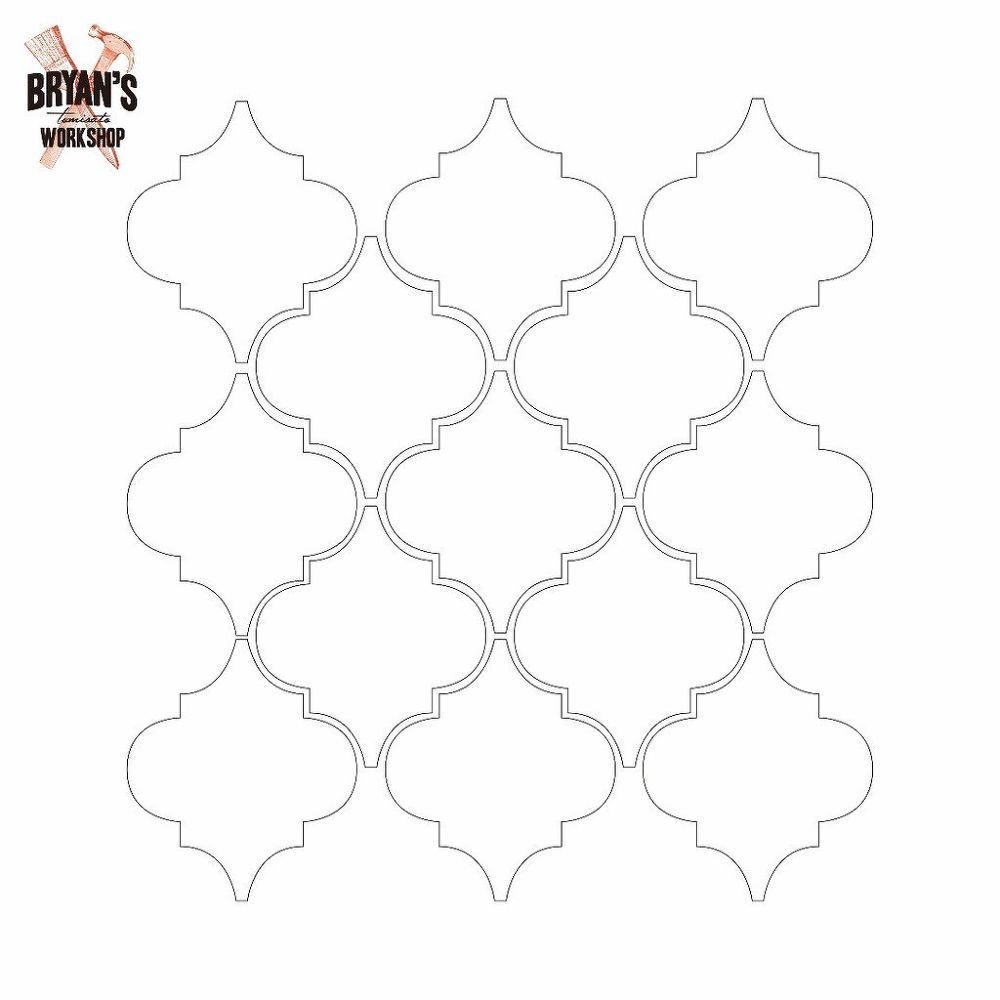
1. Create your desired design using Illustrator.
2. Once your design is completed, create a cutting line around your design using [FineCut8] and its [Frame Extraction] option.
3. After setting the cutting lines, set the Register Marks using [FineCut8].
4. Save the data as an EPS file.
To Cut:
1. Connect the cutting plotter to the PC by USB and open your data in Illustrator.
2. Hide every layer except the cutting lines and the register marks layers.
3. After selecting all cutting lines and registered marks, click on the [Plot] button to open [FineCut8] cutting menu.
4. Click on the [Register Mark] tab and select [Detect Mark] to detect the register marks.
5. Click the [Plot] button to start cutting.
6. The window film is ready to be used.
To print:
1. After starting [RasterLink6], open your EPS data by selecting [Open] from the [File] menu.
2. Create a special color plate (White layer in this case) for your data using the [Special Plate] function.
3. Duplicate your color plate (Color layer in this case) by selecting [Duplication]
4. Then, using the [Composition] function, select the output order : Color [3]White [2] Color [1]
5. Set the printing condition and the position on the [General Print] screen.
6. Print
Downloads
Tools
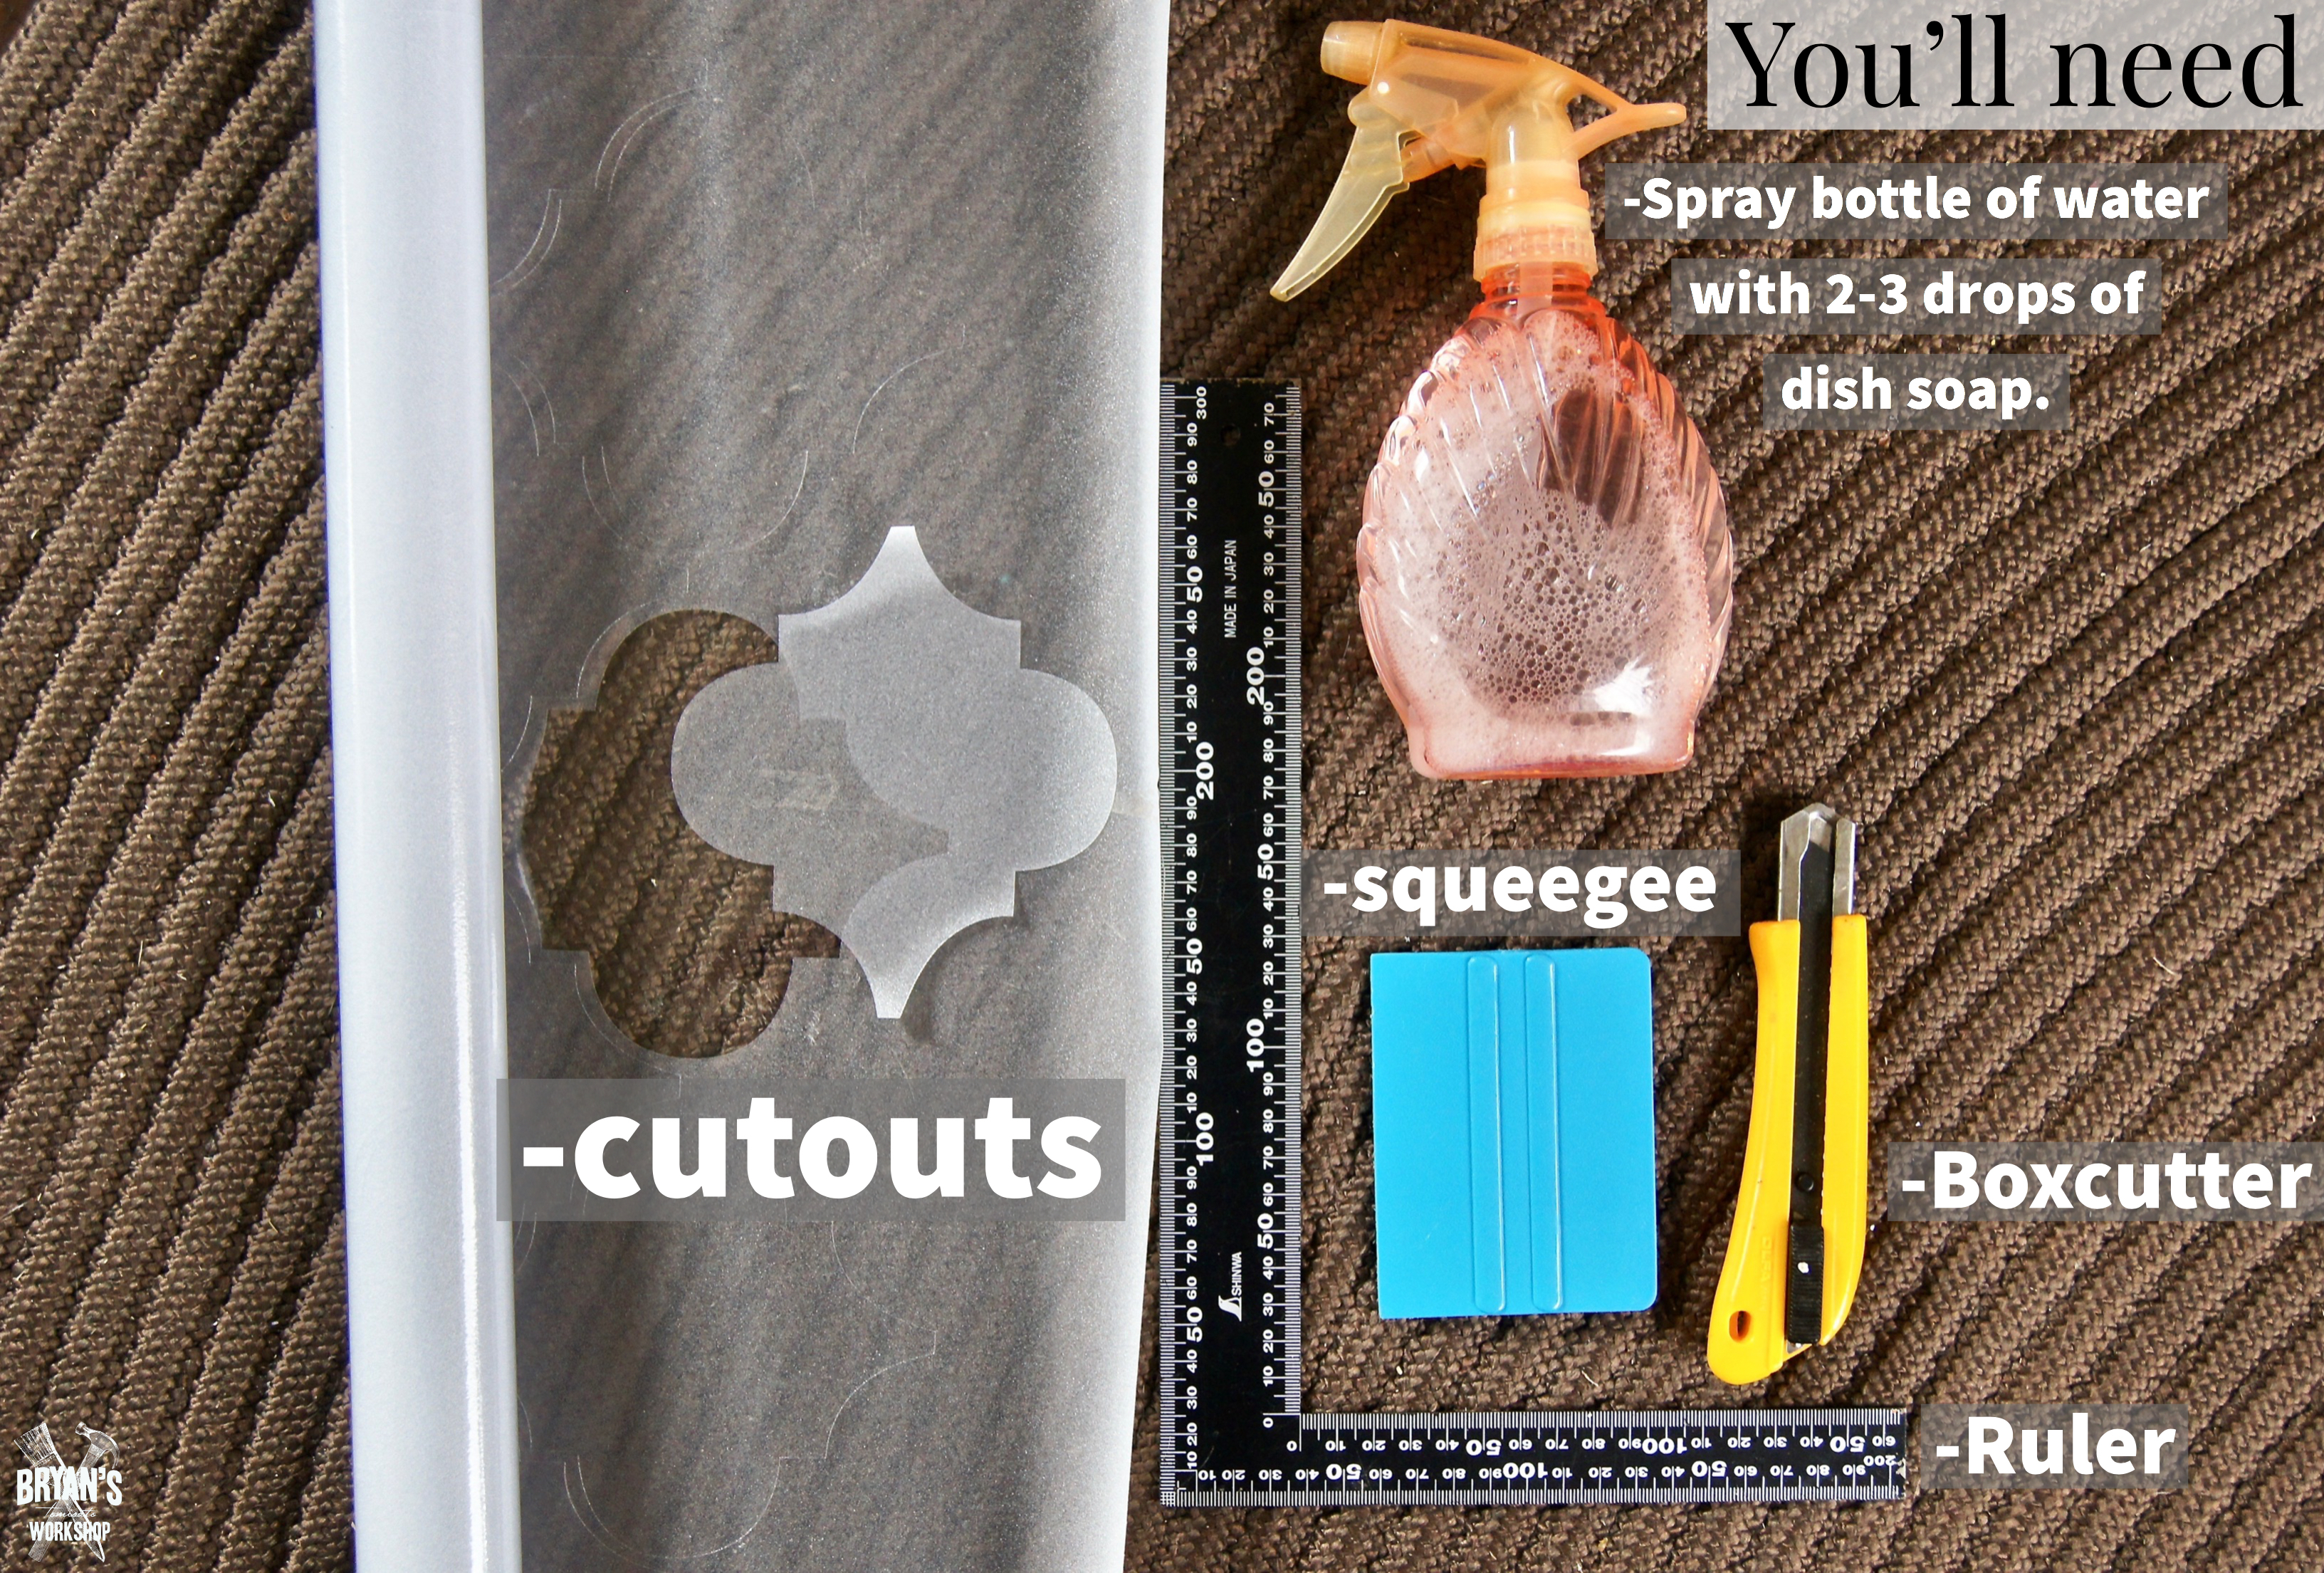
Here's a roll of film we put on the machine. If you're doing this by hand. the easiest way to cut them out is to trace a pattern on the back with a permanent marker and cut out with a good pair of scissors.
You'll need:
-A spray bottle with 2-3 drops of dish soap.
-Squeegee or something like a credit card.
-Boxcutter or exacto knife or machete.
-Ruler
-The cutouts
Start!
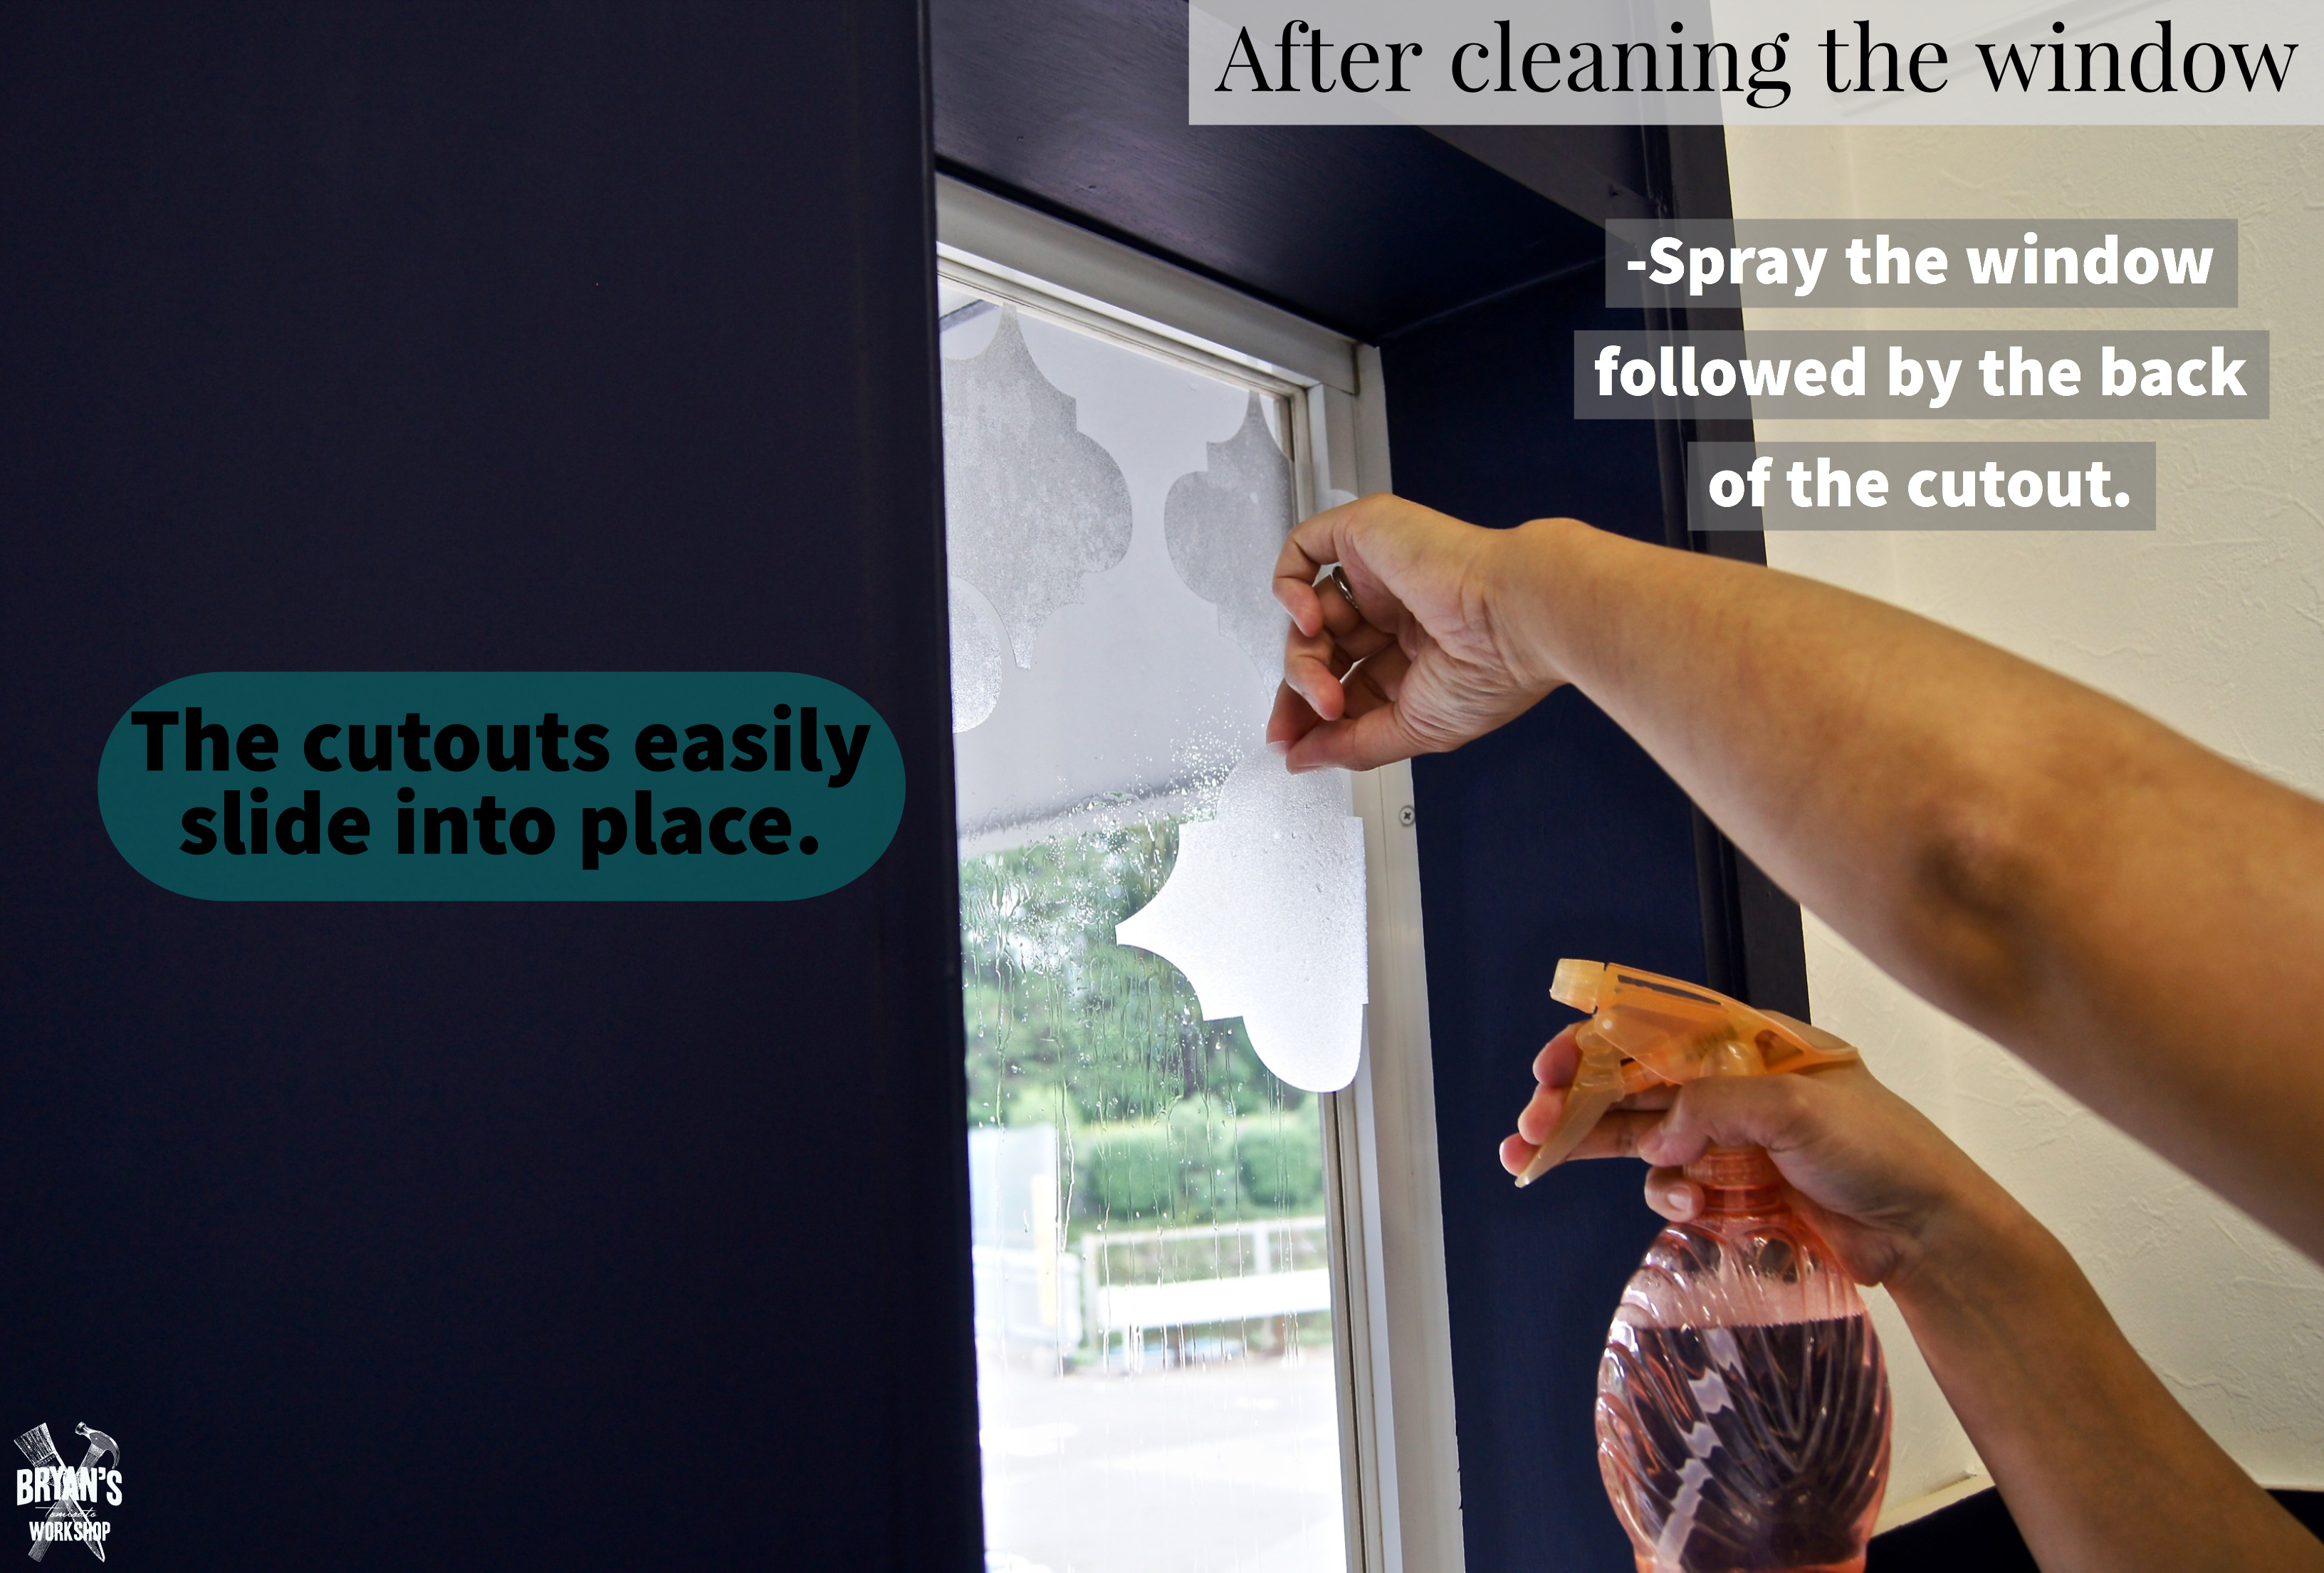
Clean the window first!
These are really easy to put up. Just spray the window and the back of the cutout and then place the cutout on the window. It slides around easily into place.
*Make sure you have towels on the windowsill and extra towels on hand for the runoff.
Positioning!
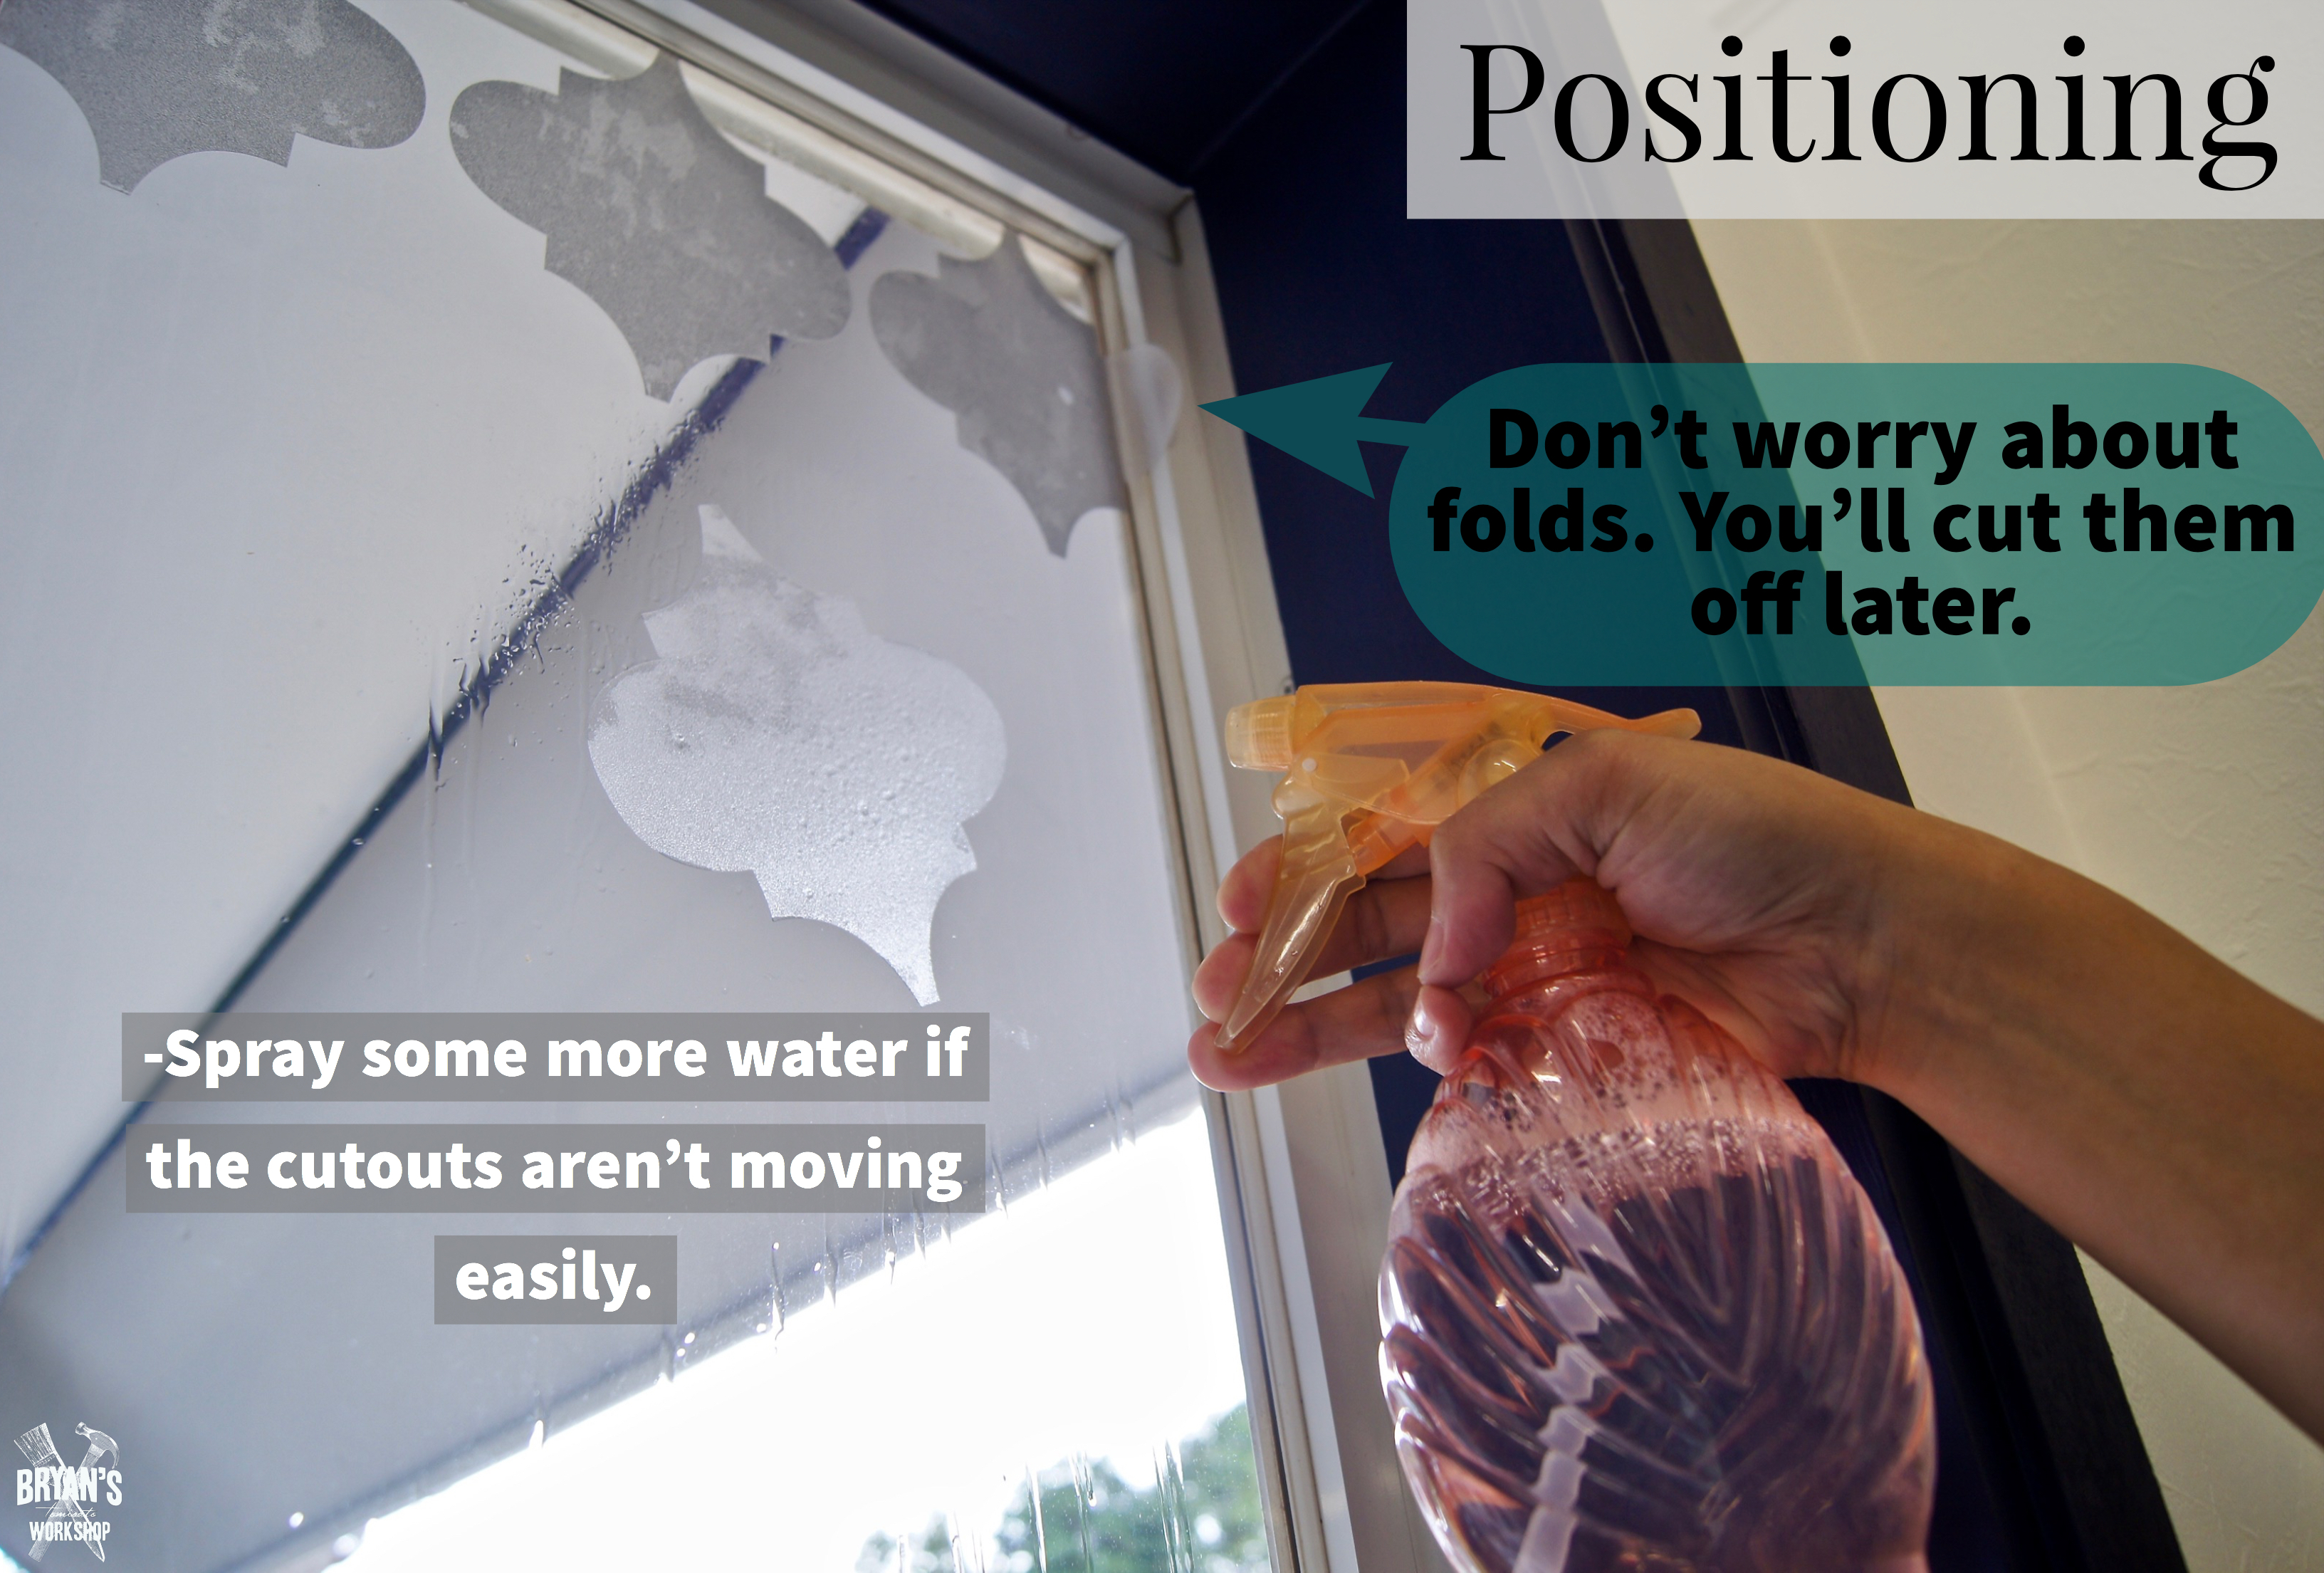
Slide the cutouts into place and fold them into corners to fit. You'll cut away the extra later.
Squeegee Time!
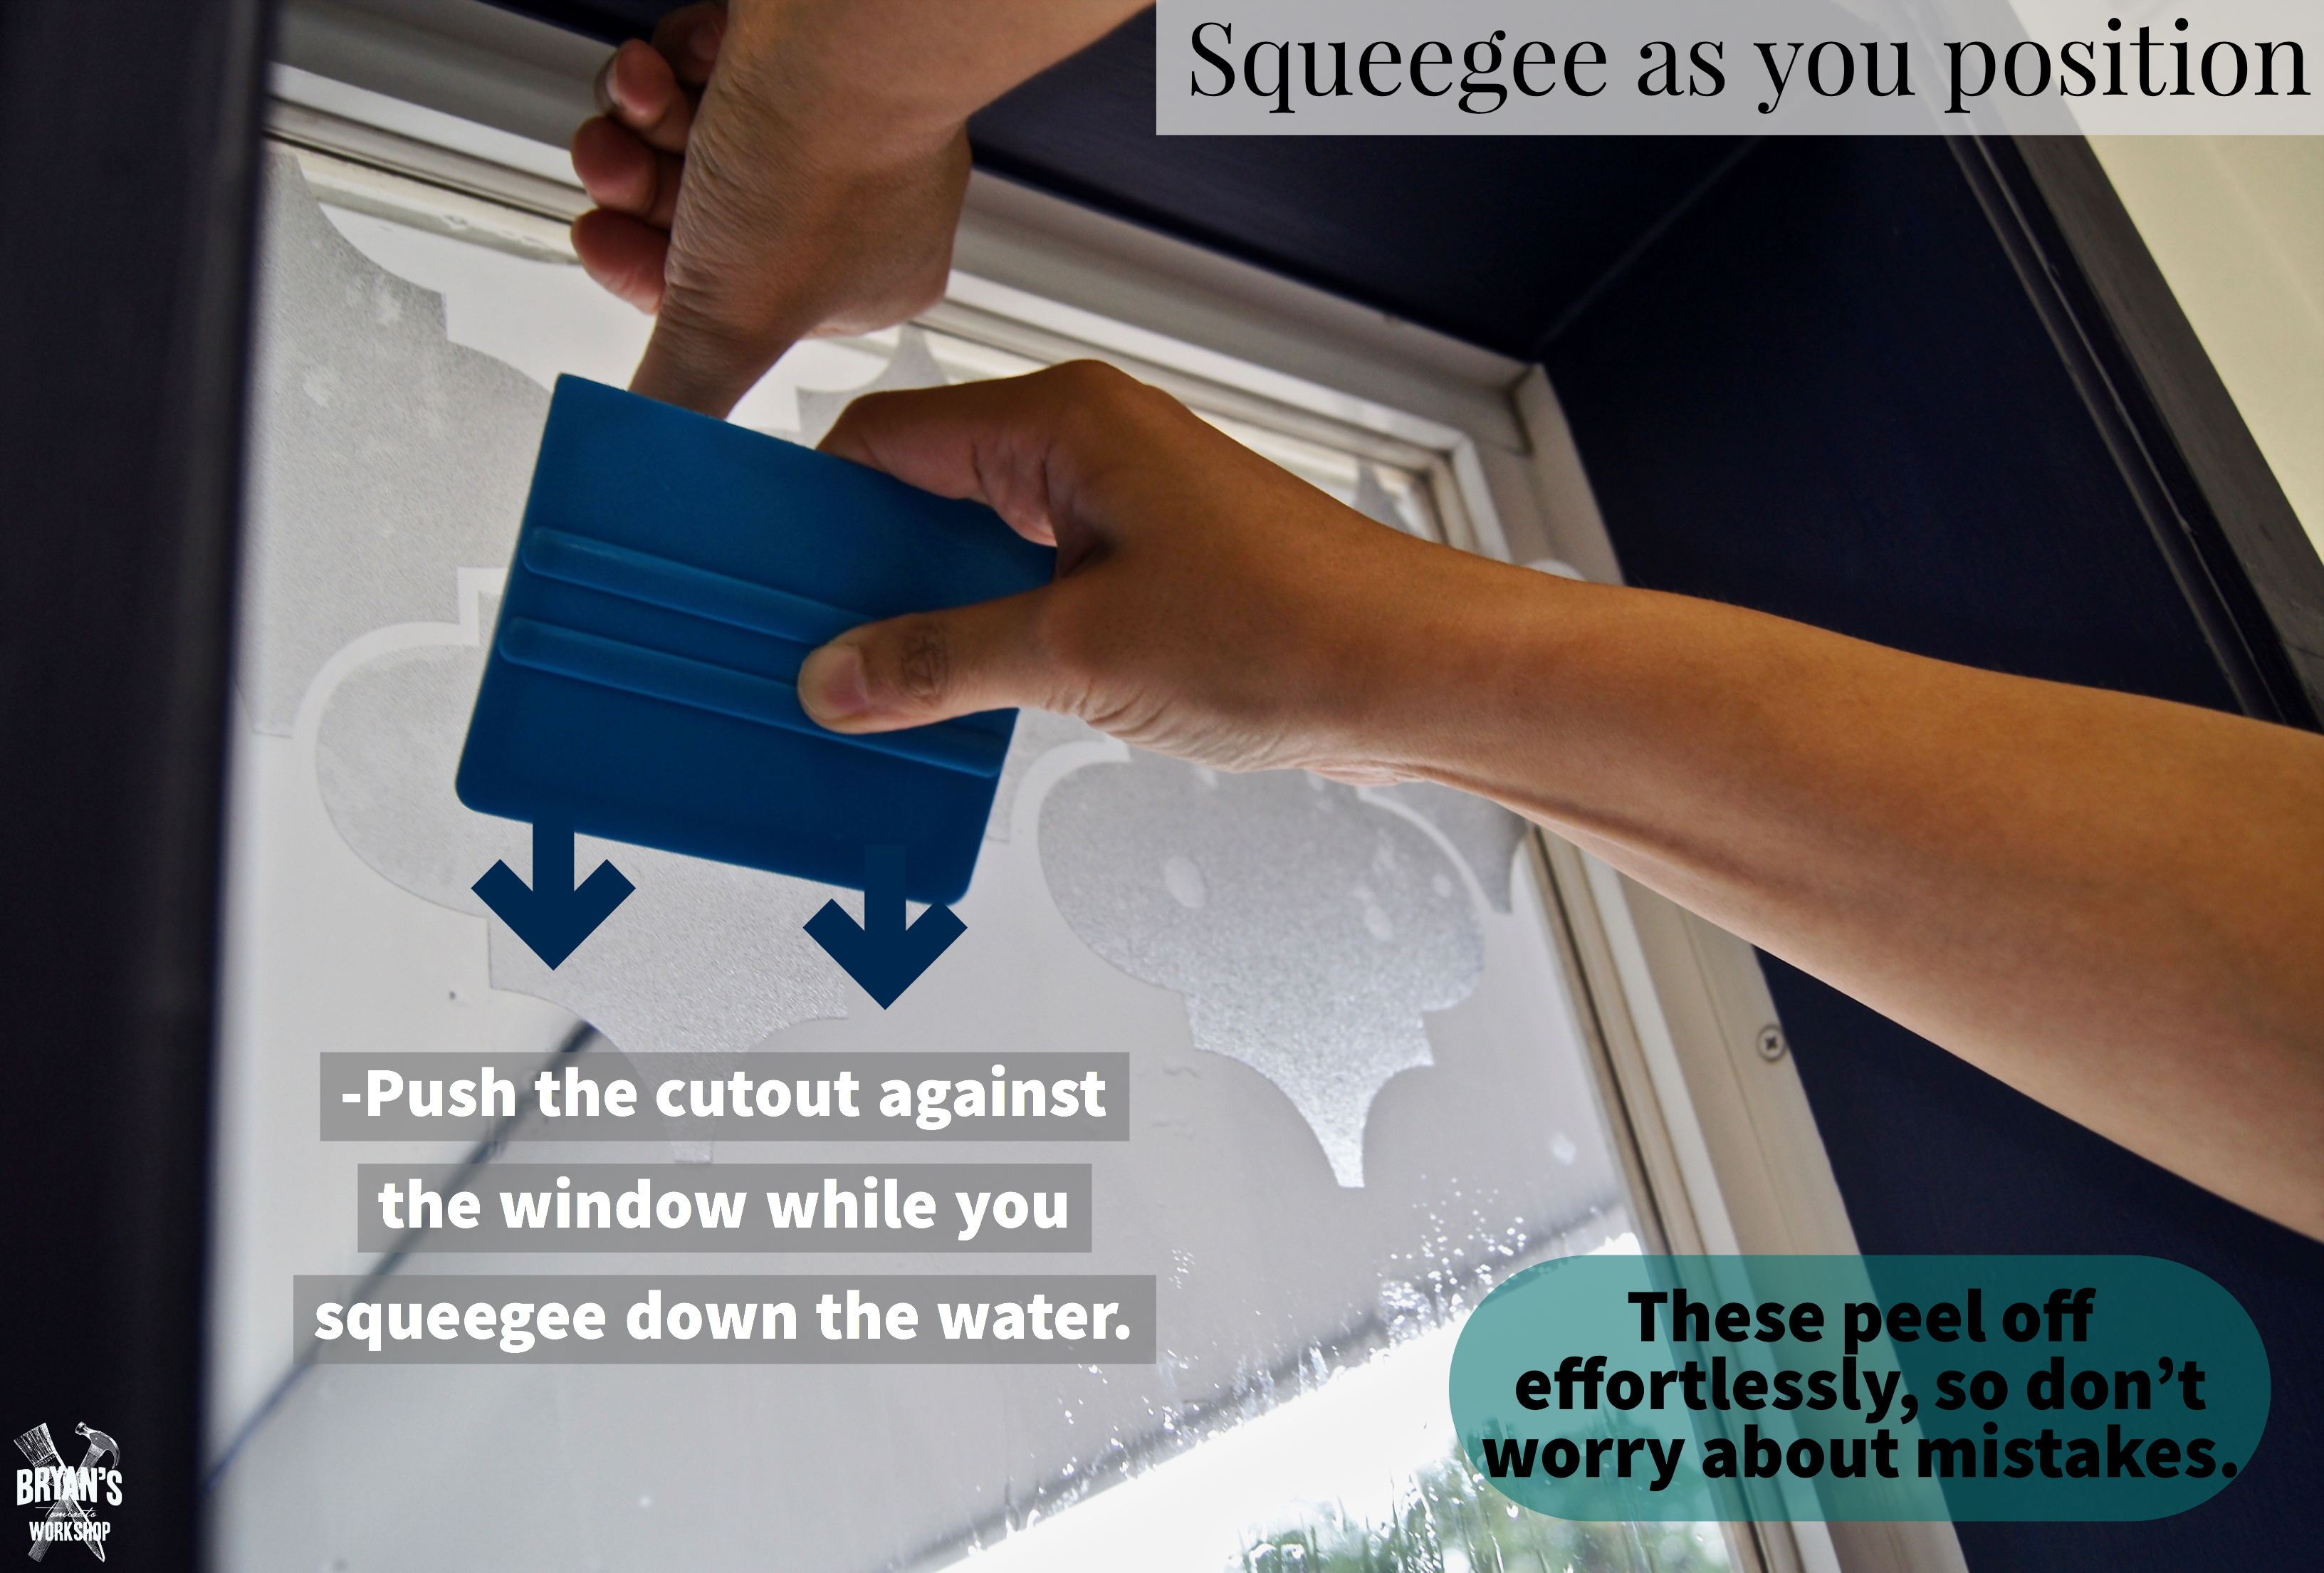
Squeegee time!
Believe or not, but that little thing is a squeegee. Be sure to hold the cutout in place while you're pushing out the water.
Air Bubbles!
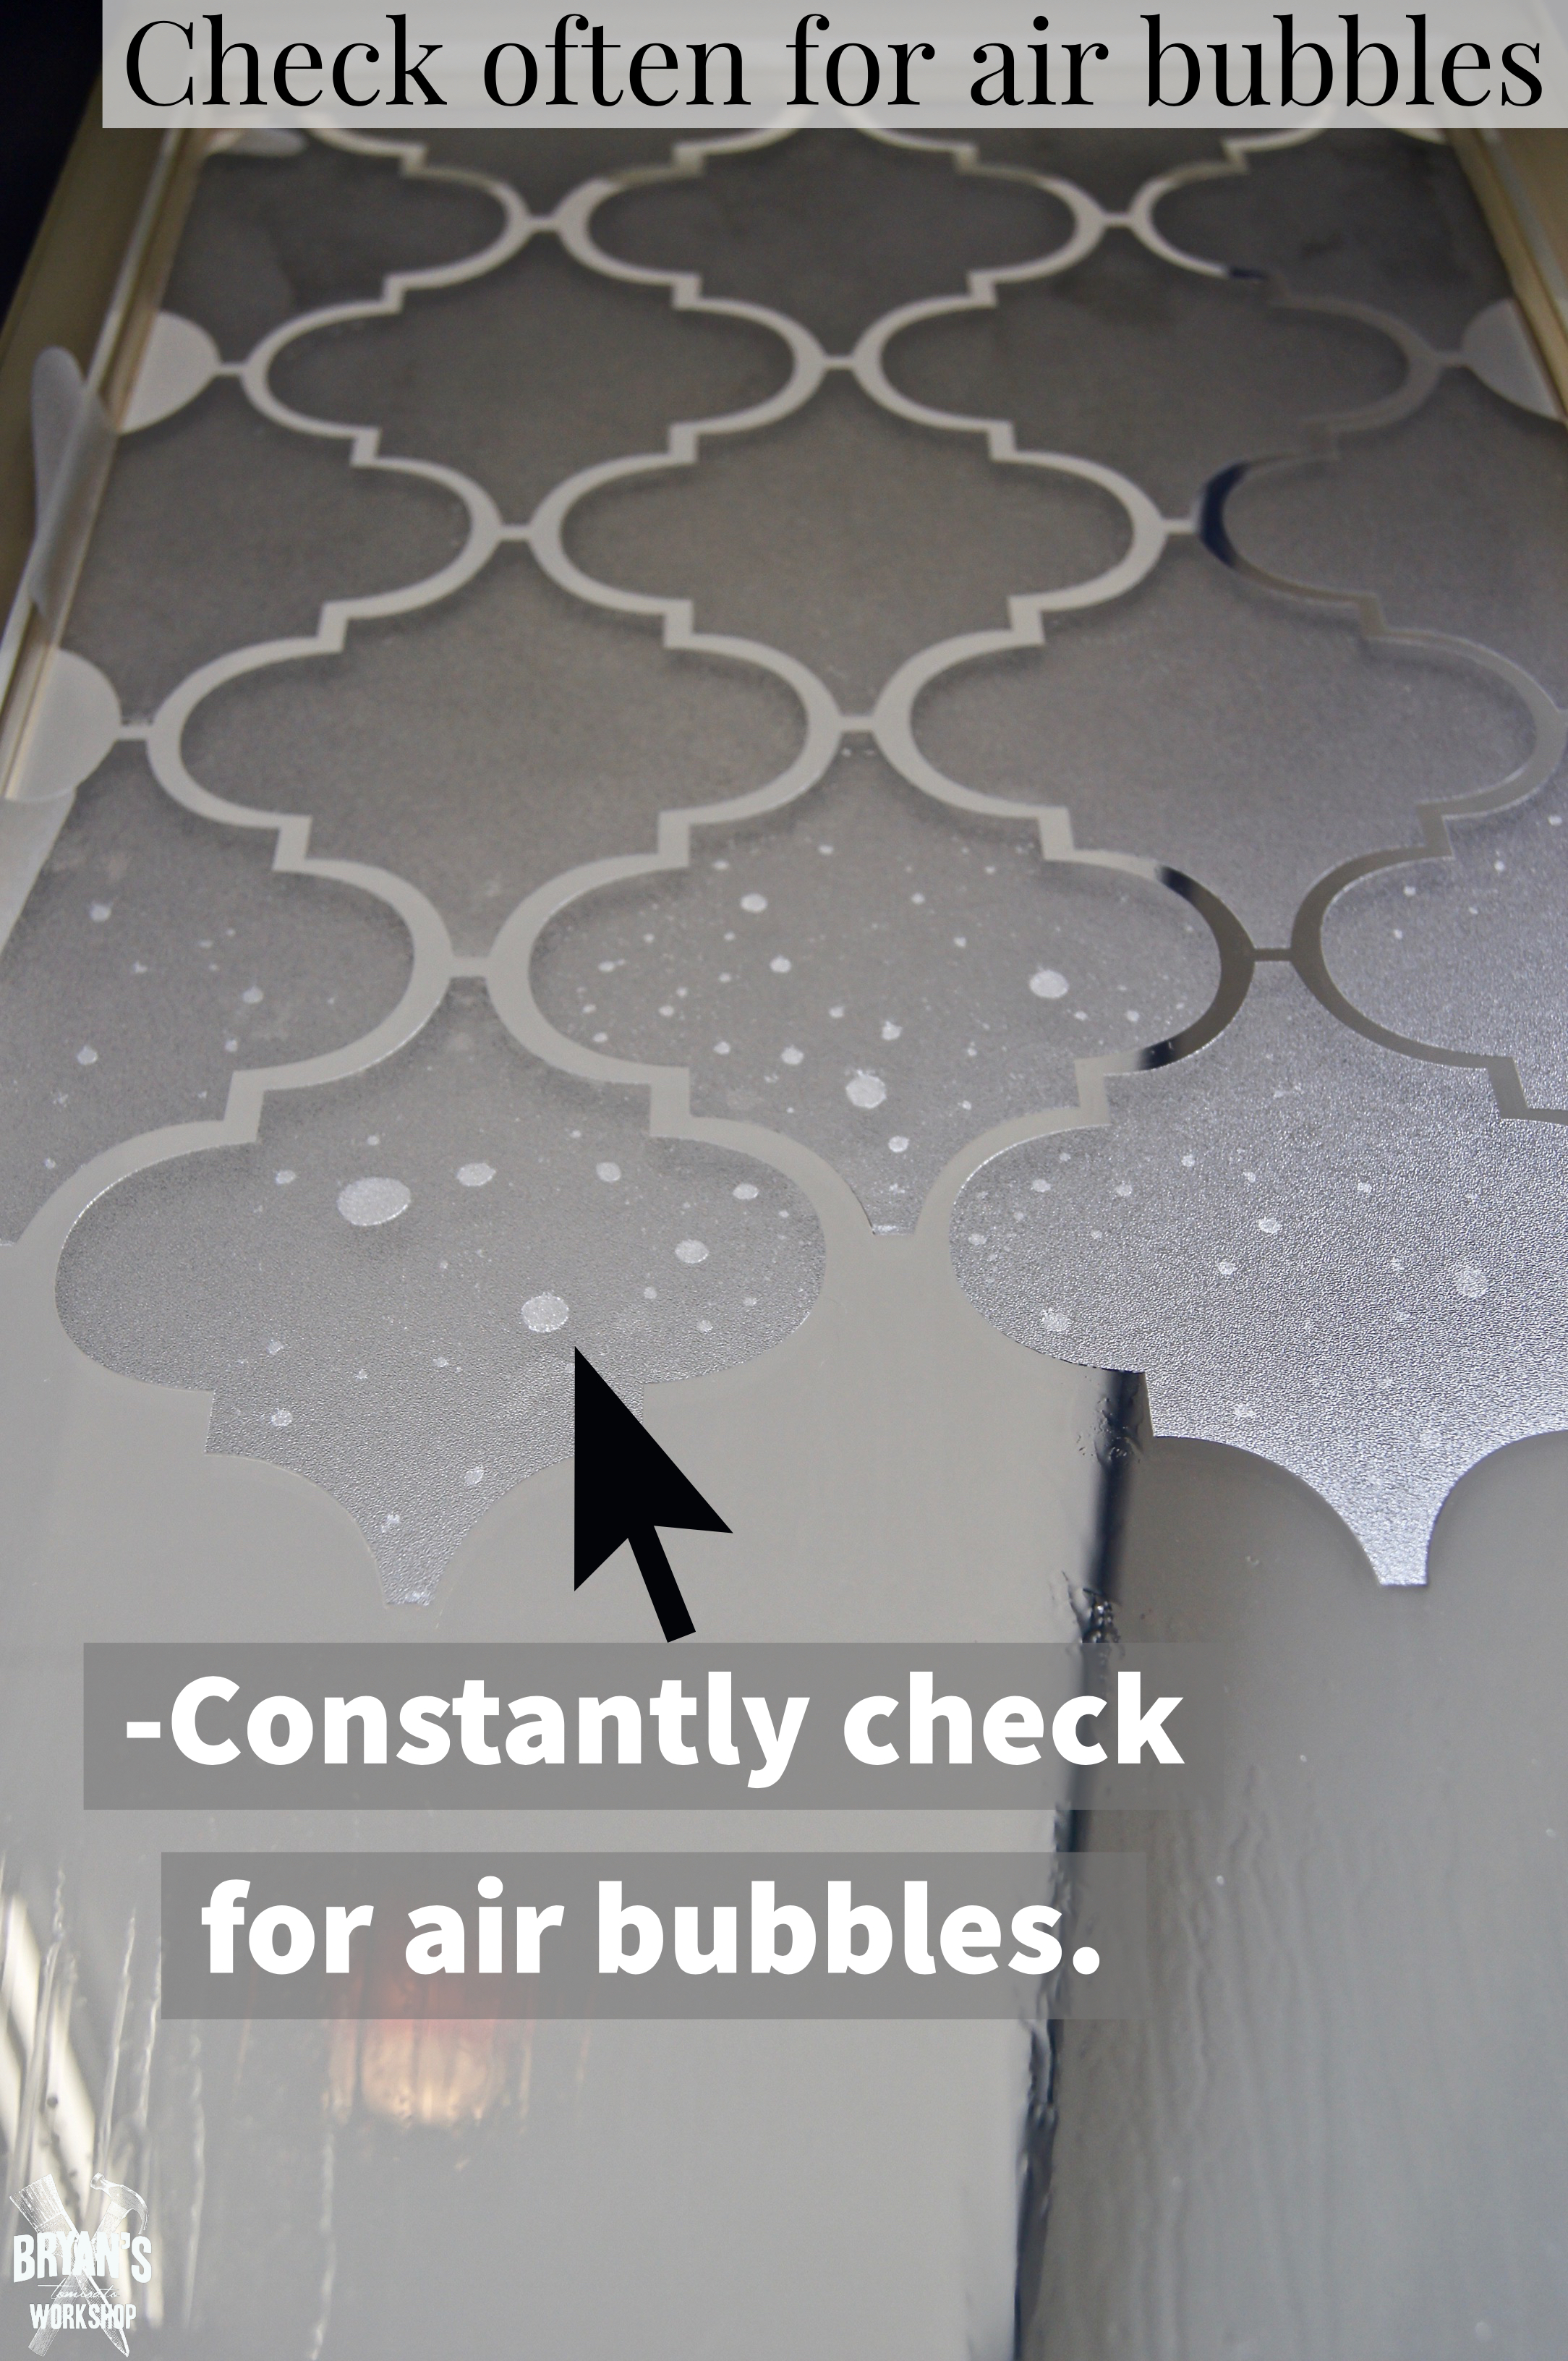
You will have a ton of air bubbles! Get as many out as you can.
Cut!
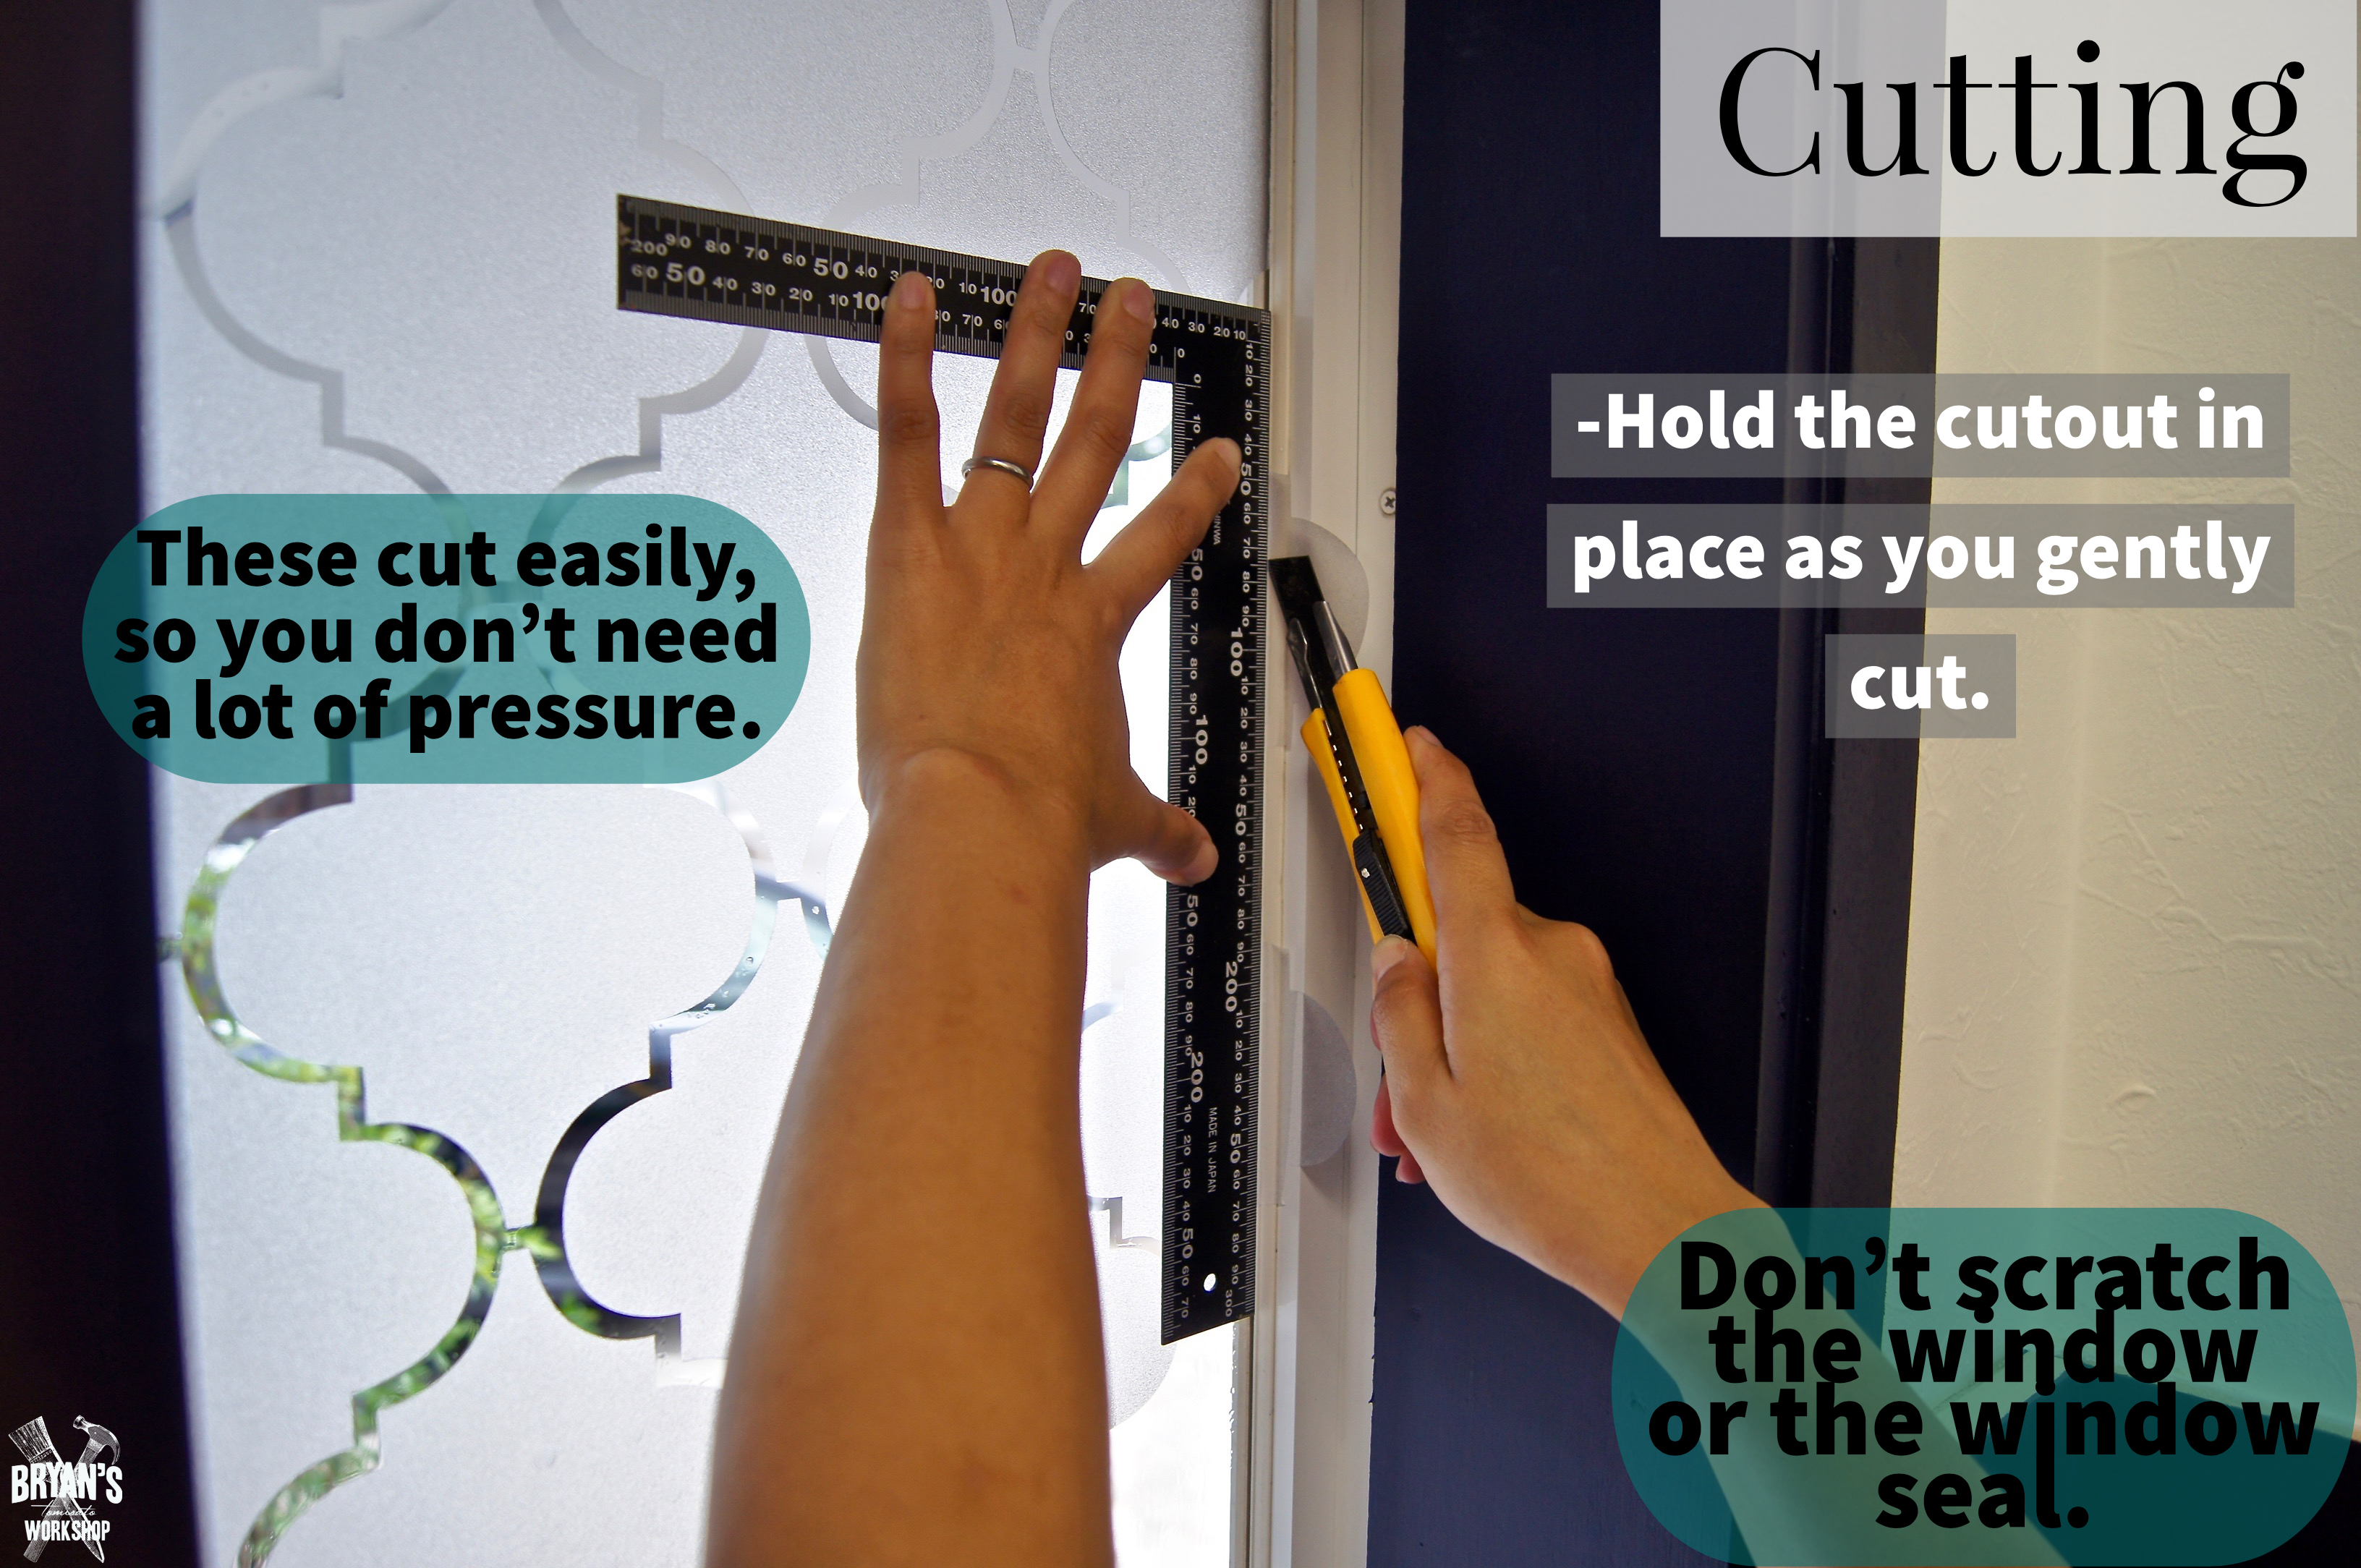
These easily cut, so mind that elbow grease. You don't want to damage the window or seal.
Push down the cutout with the ruler and run the boxcutter down.
Cling Film Vs Contact Paper
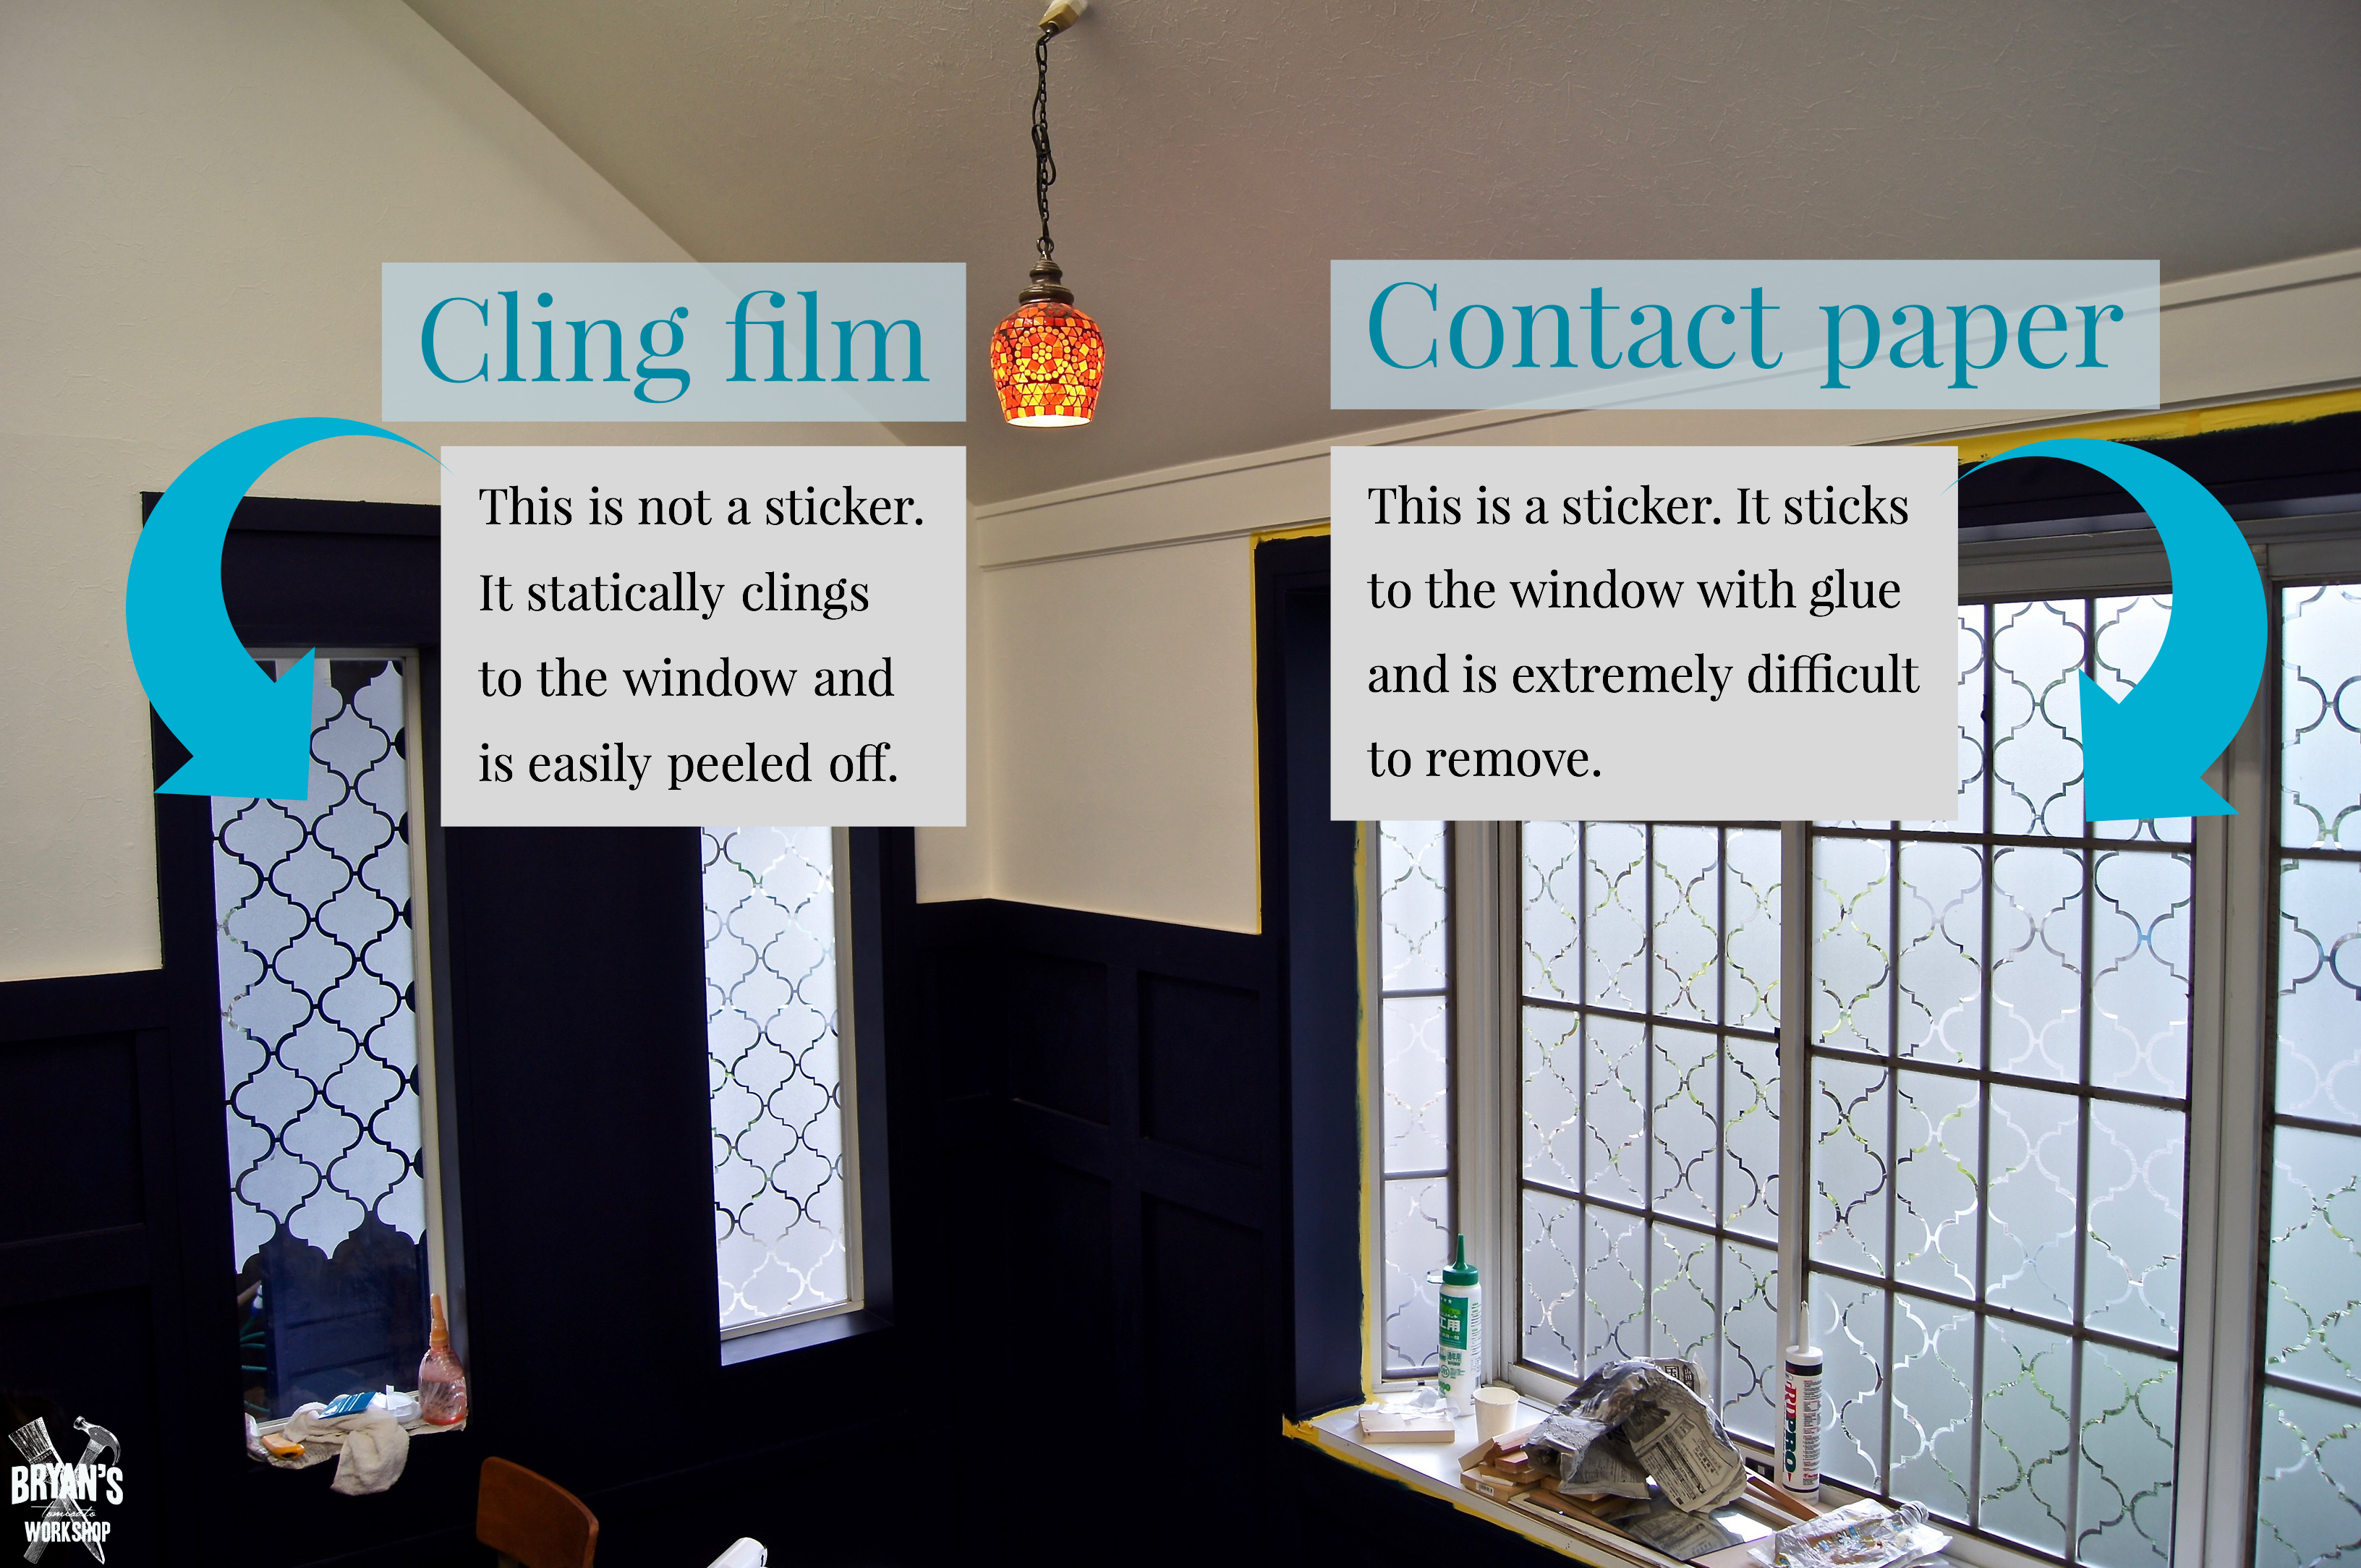
We did this project before by hand cutting the shapes out of Contact Paper.
Finished!
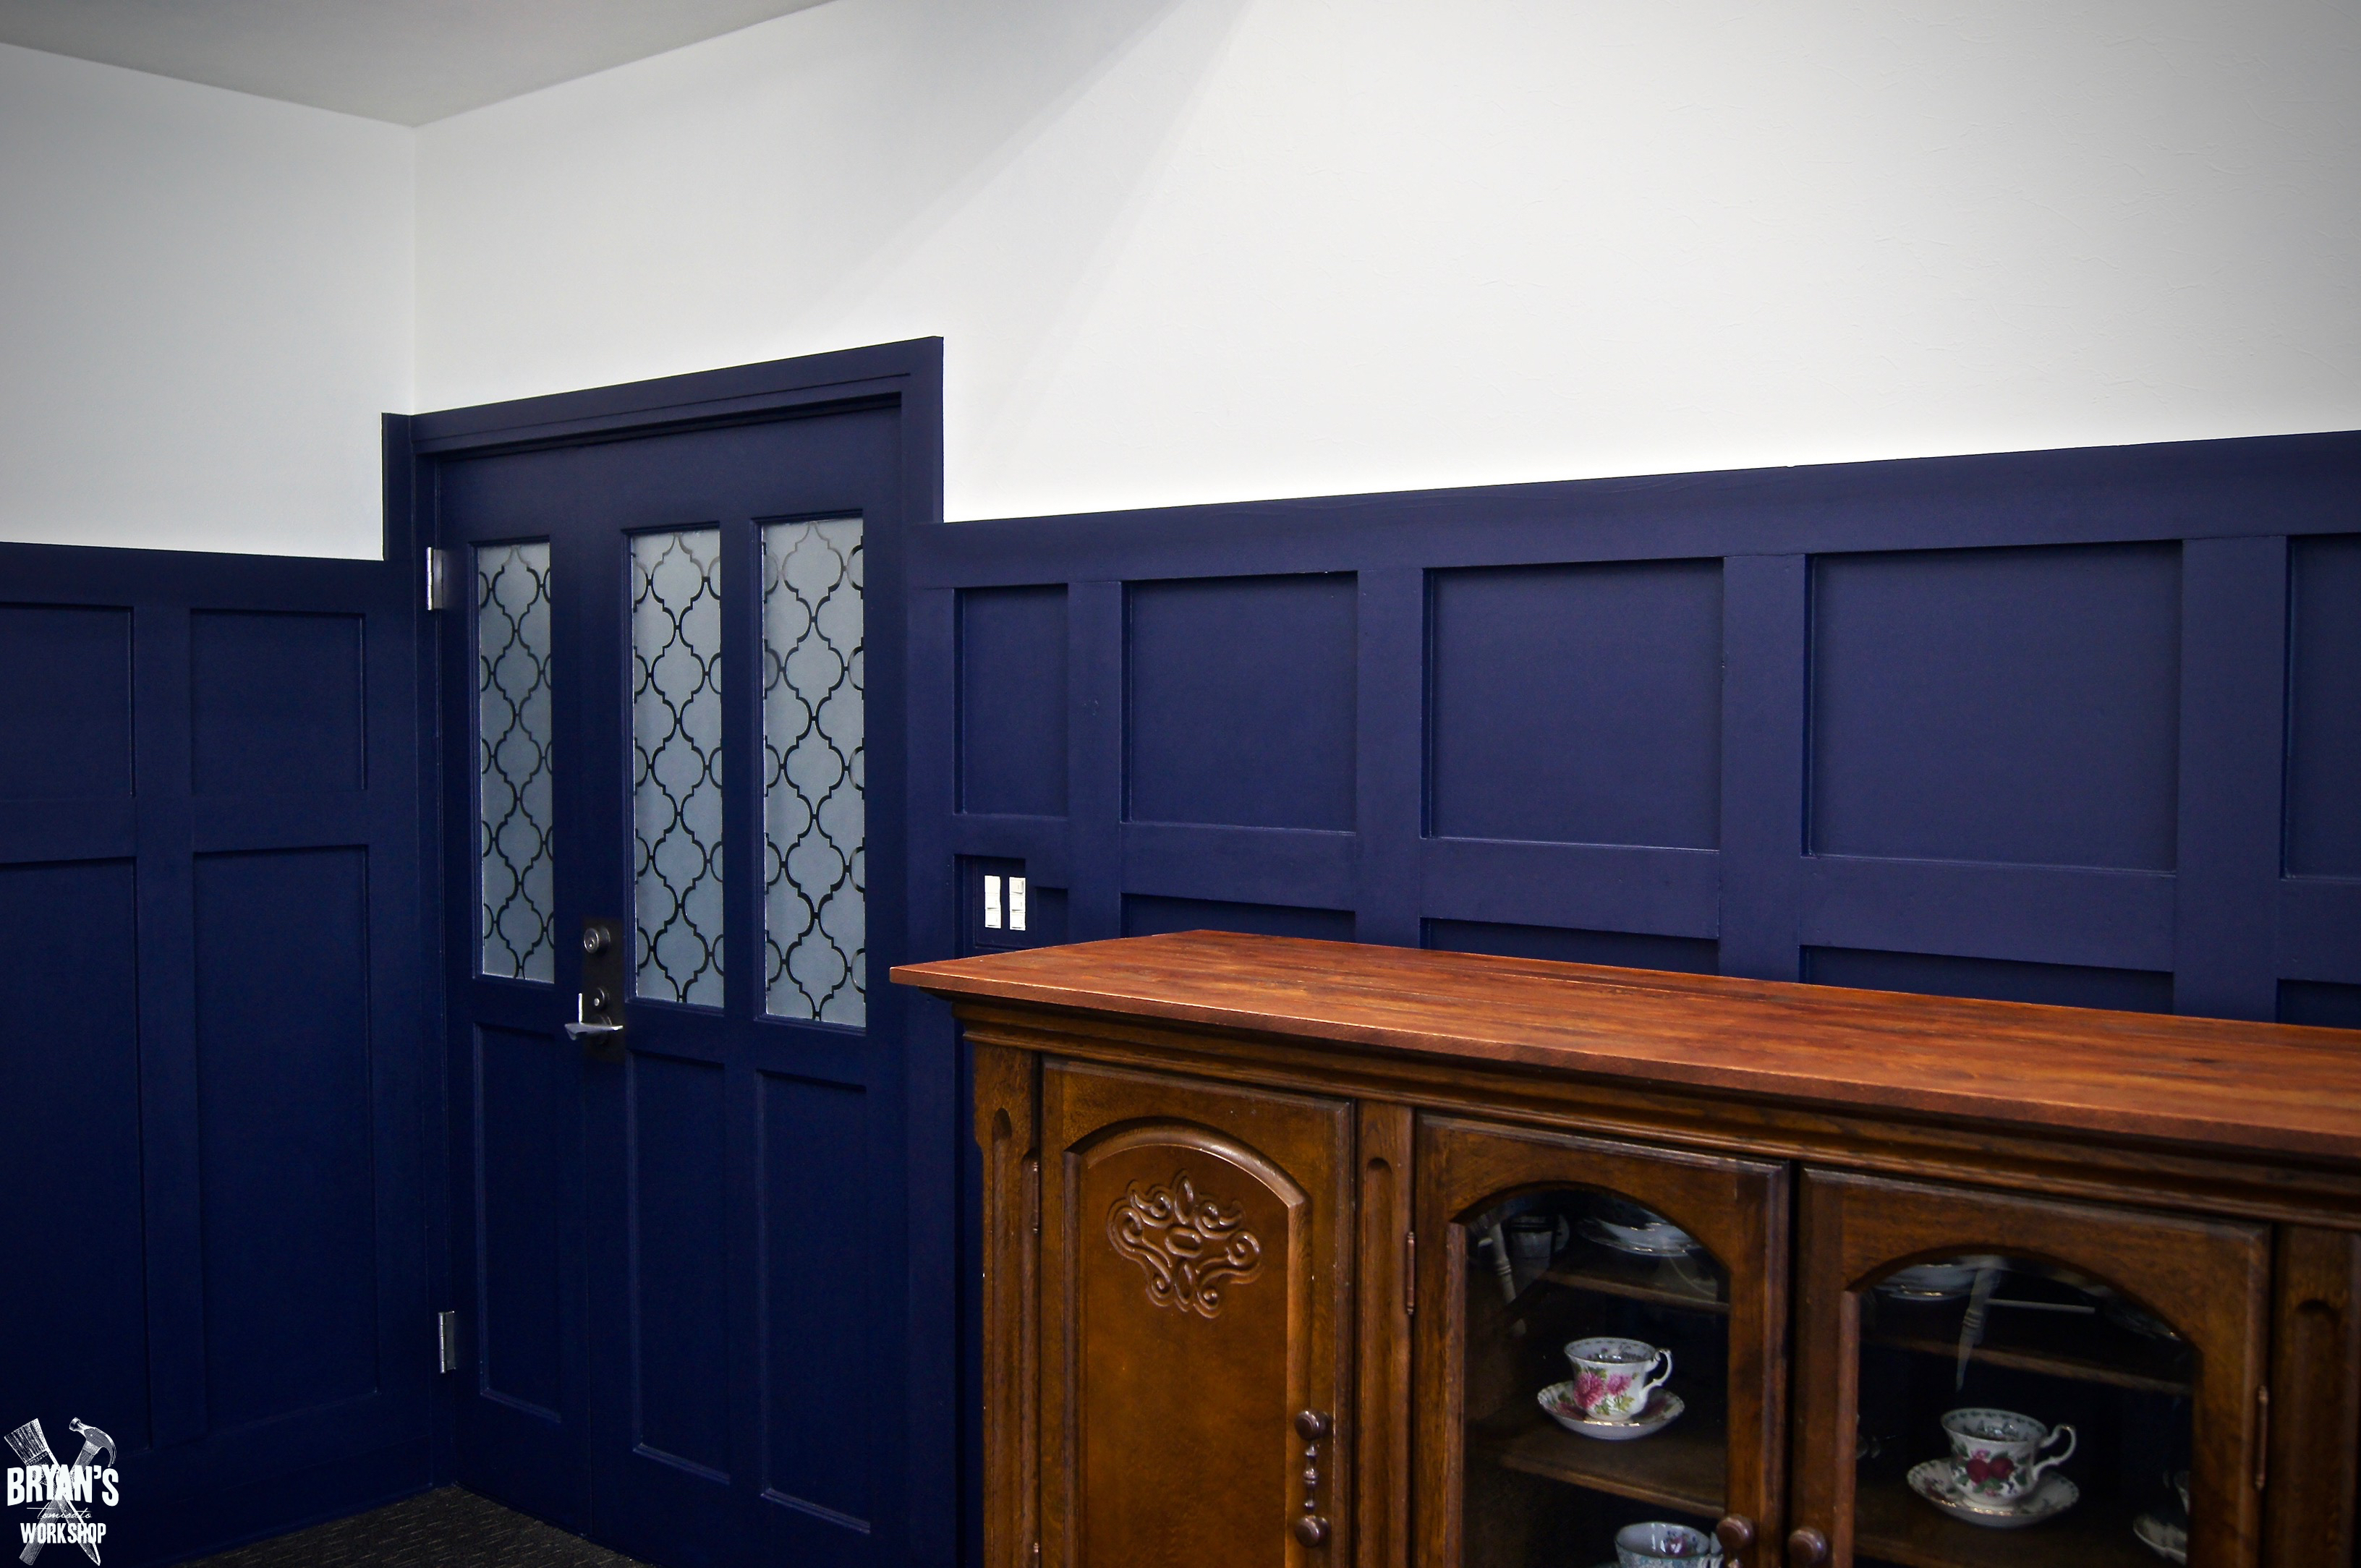
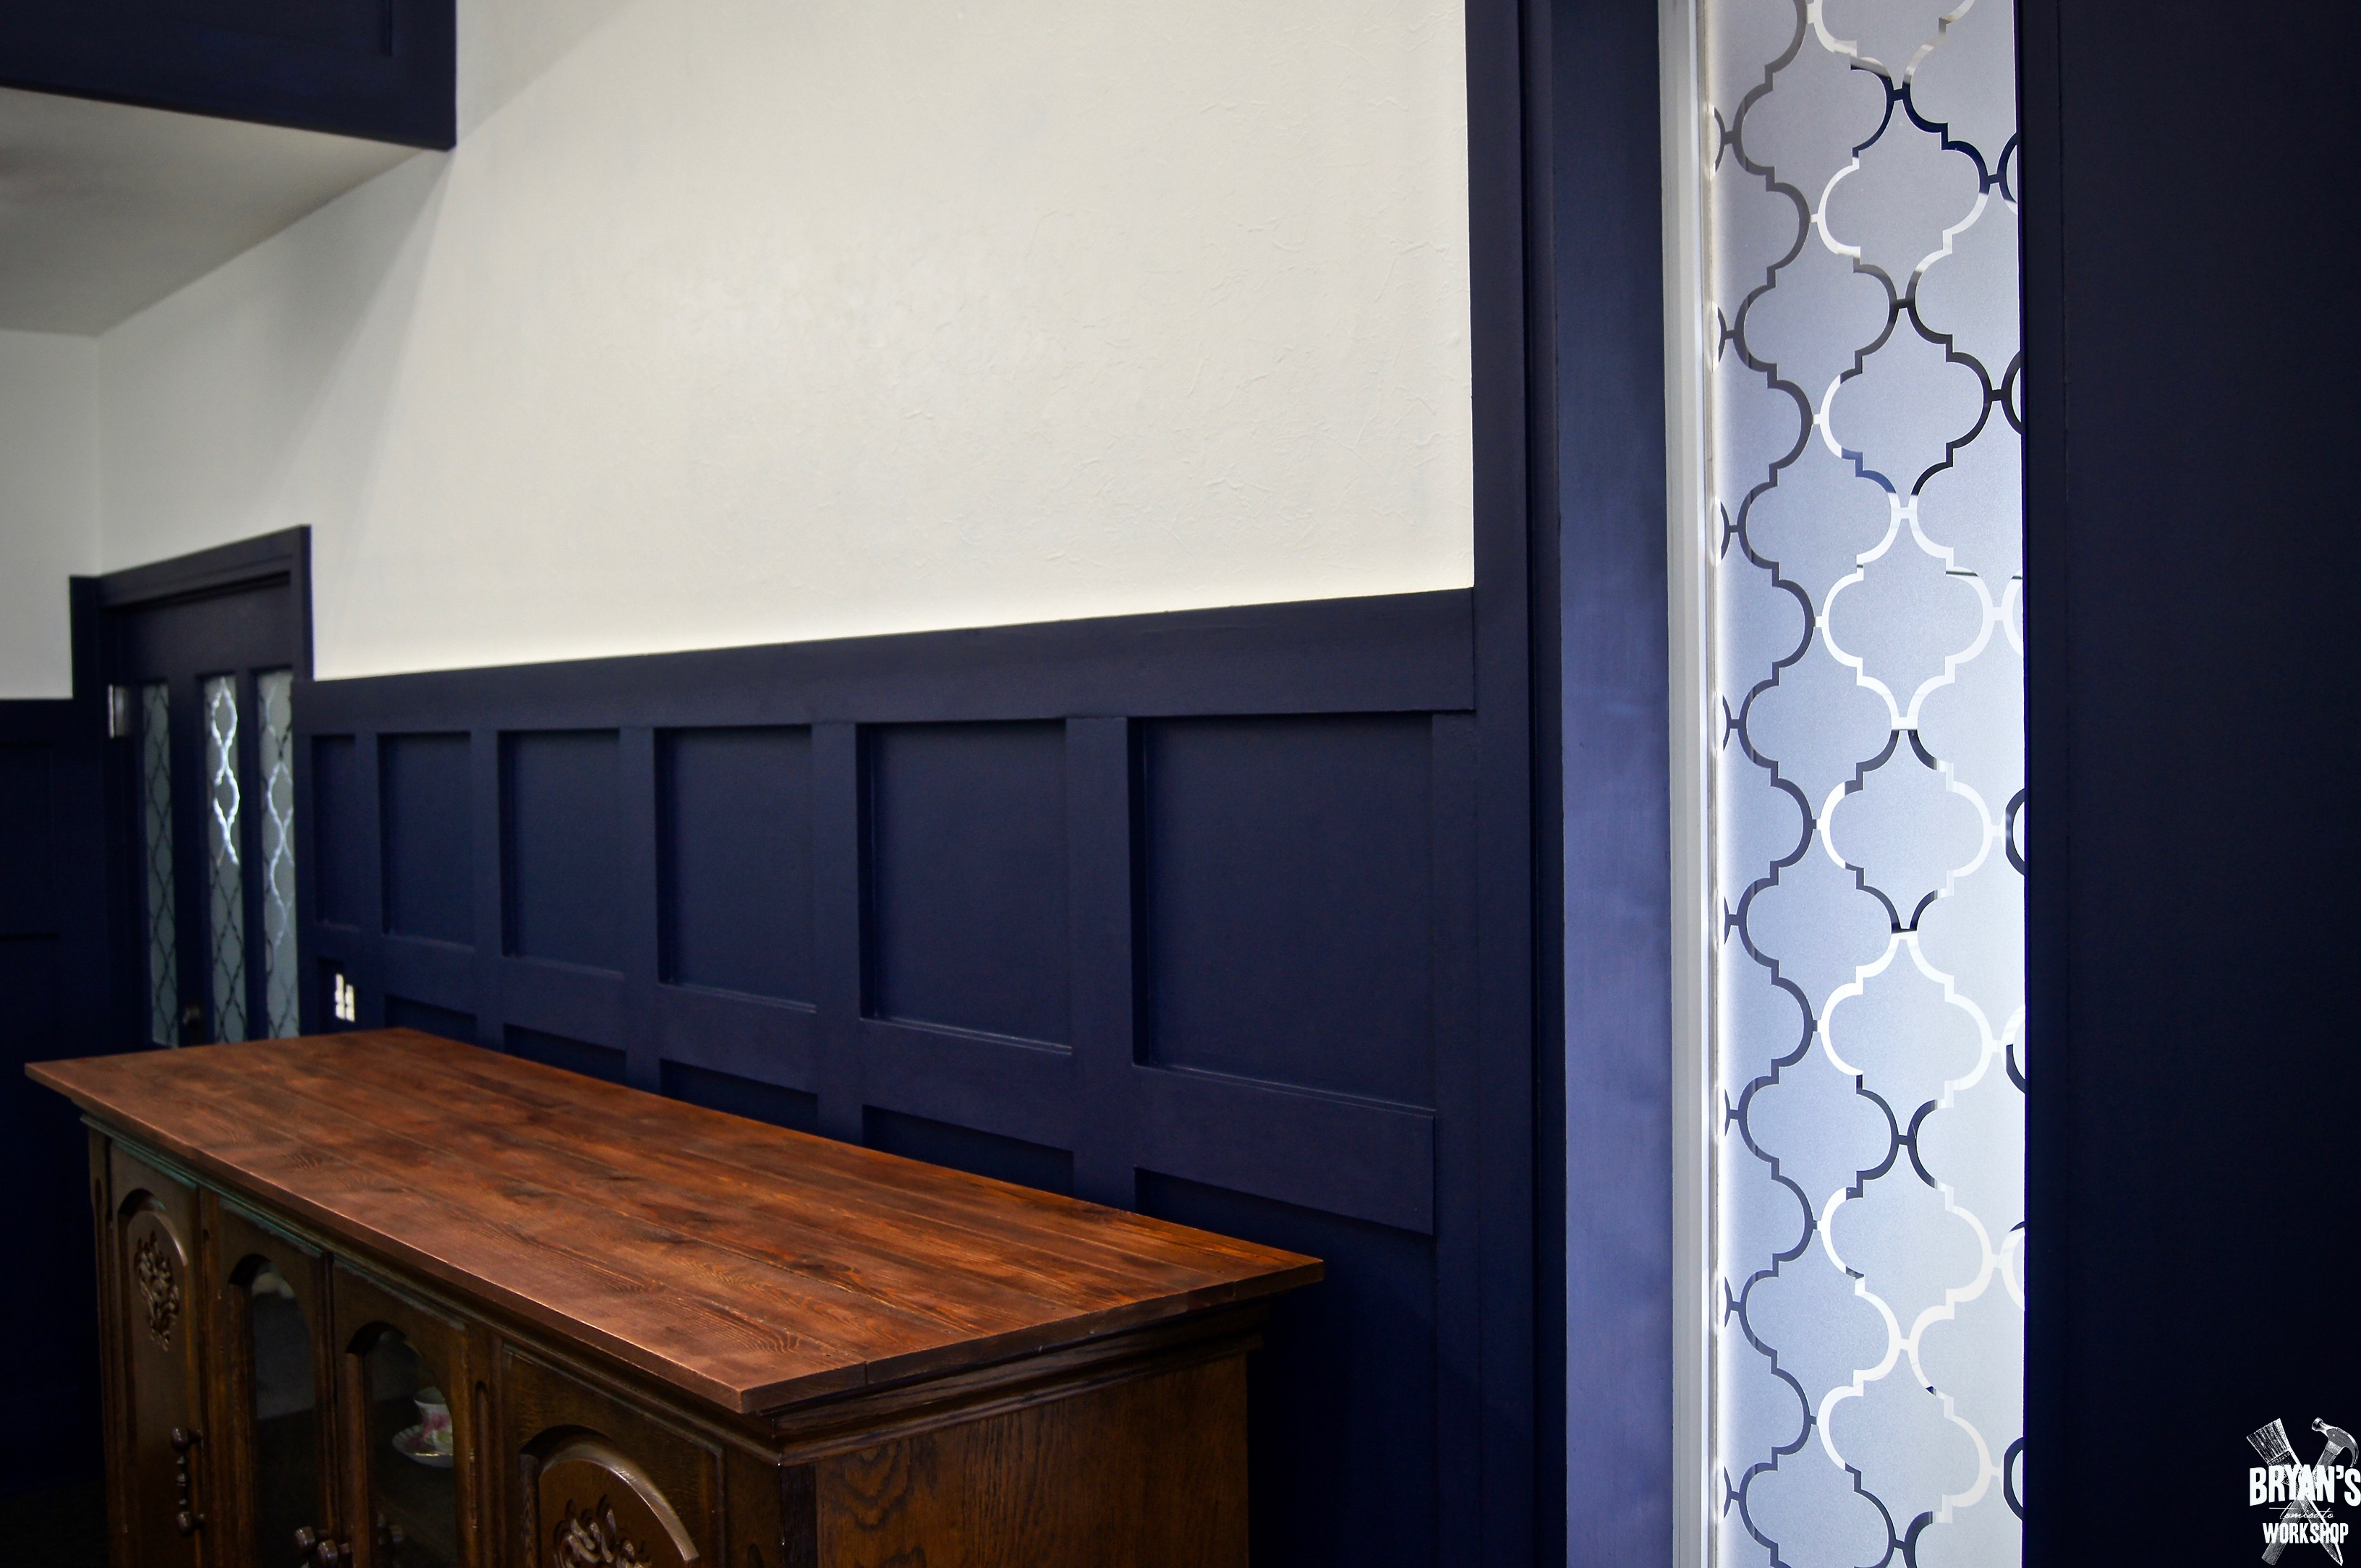
This is a really easy project and the cling film cutouts are reusable!