CNC Art
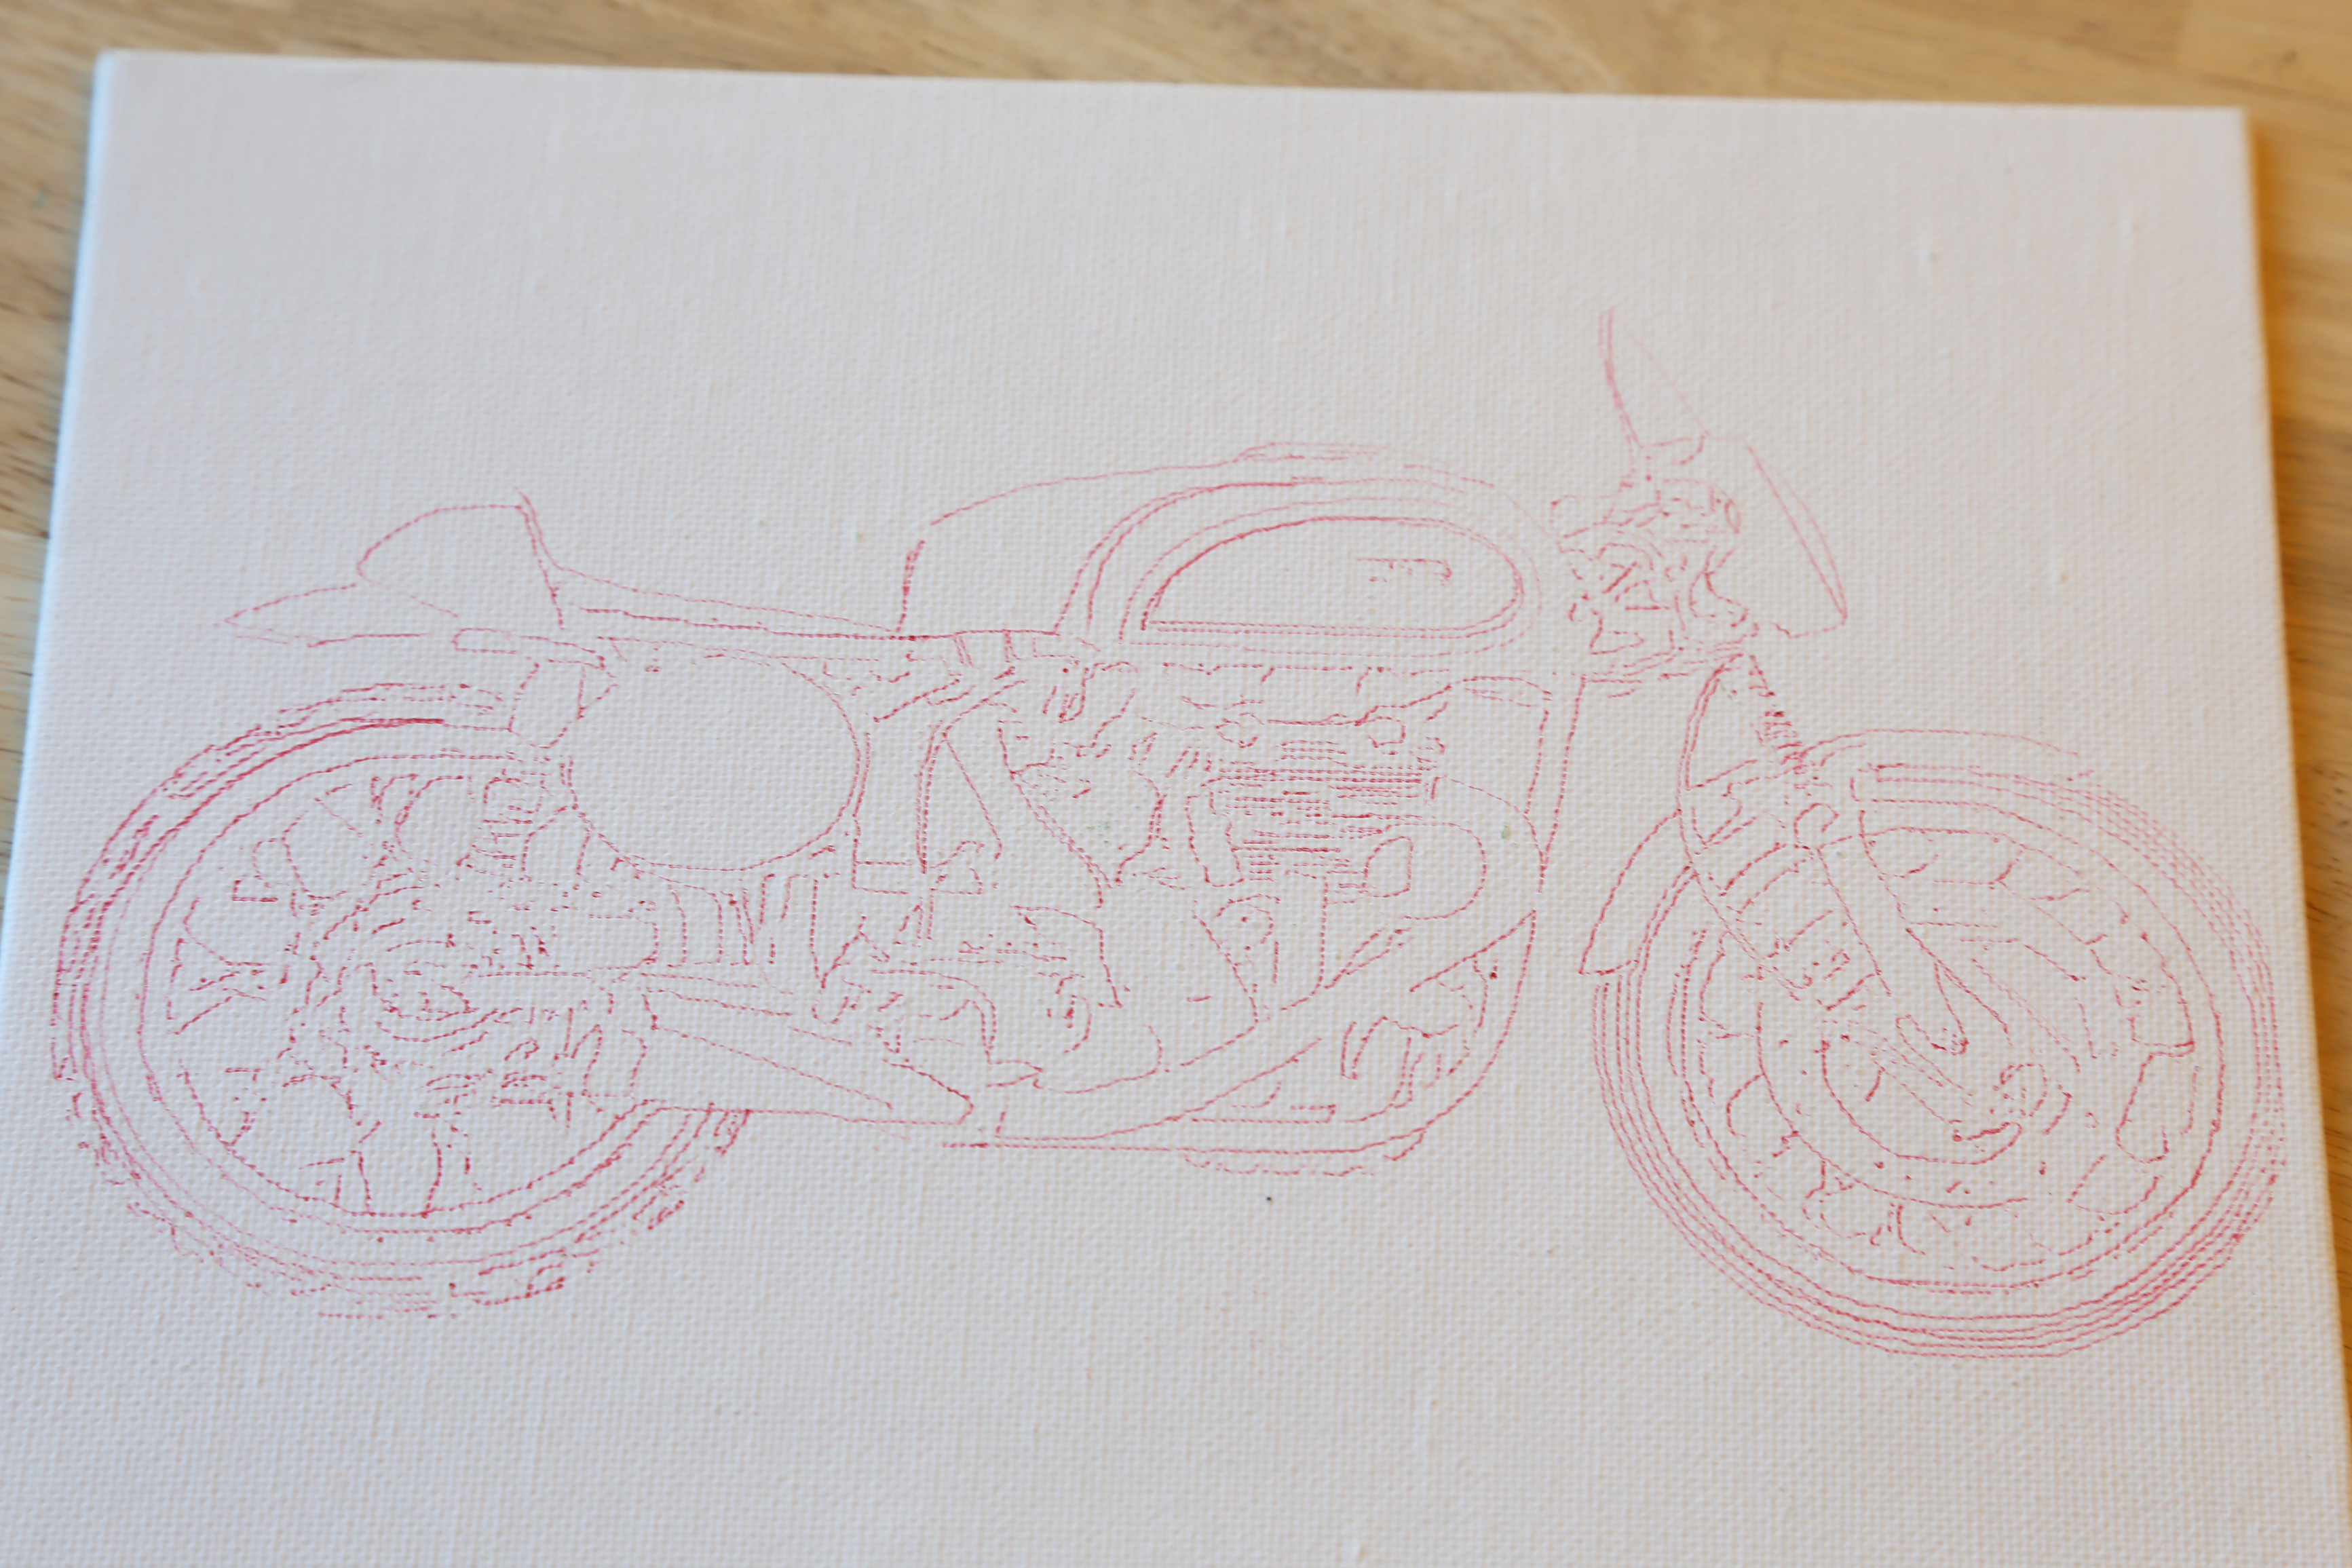
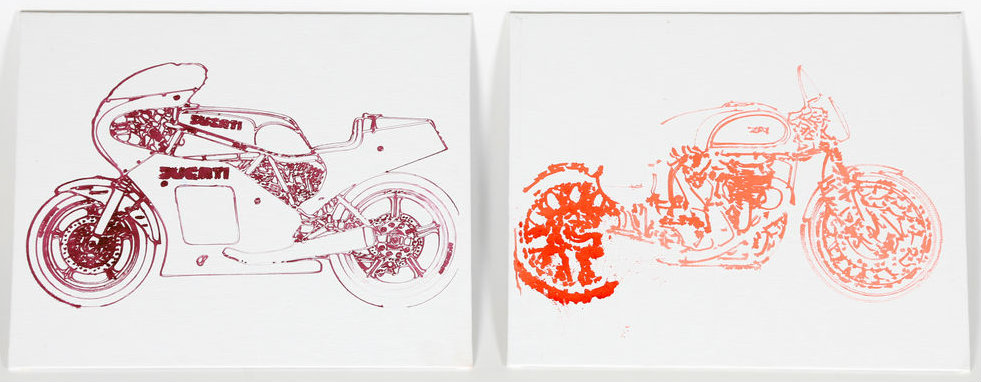
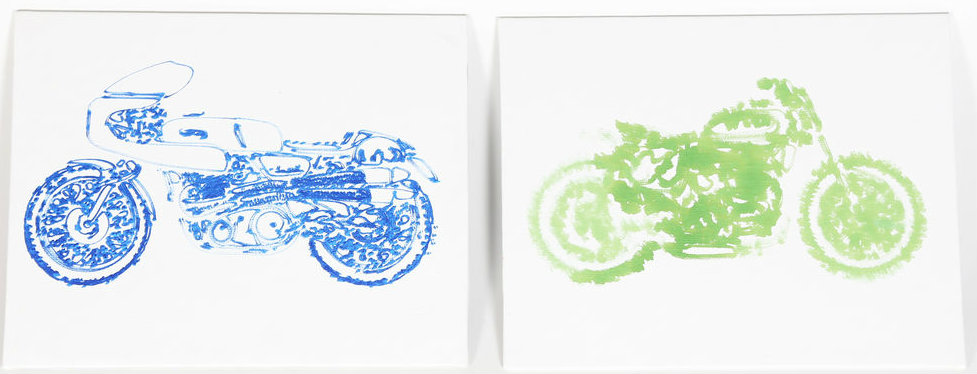
I really wanted to make a few drawing on the CNC router (Shopbot Buddy). I did a few experiments using different techniques and mediums.
I started using simply pen and paper, then refined that technique using a pen with a spring attached, later tried over canvas and finally using different markers. It was a fun and quick project and the best of all you then can hang your art in your home or office.
Here is a preview of my experiments:
Vectorizing Your Work
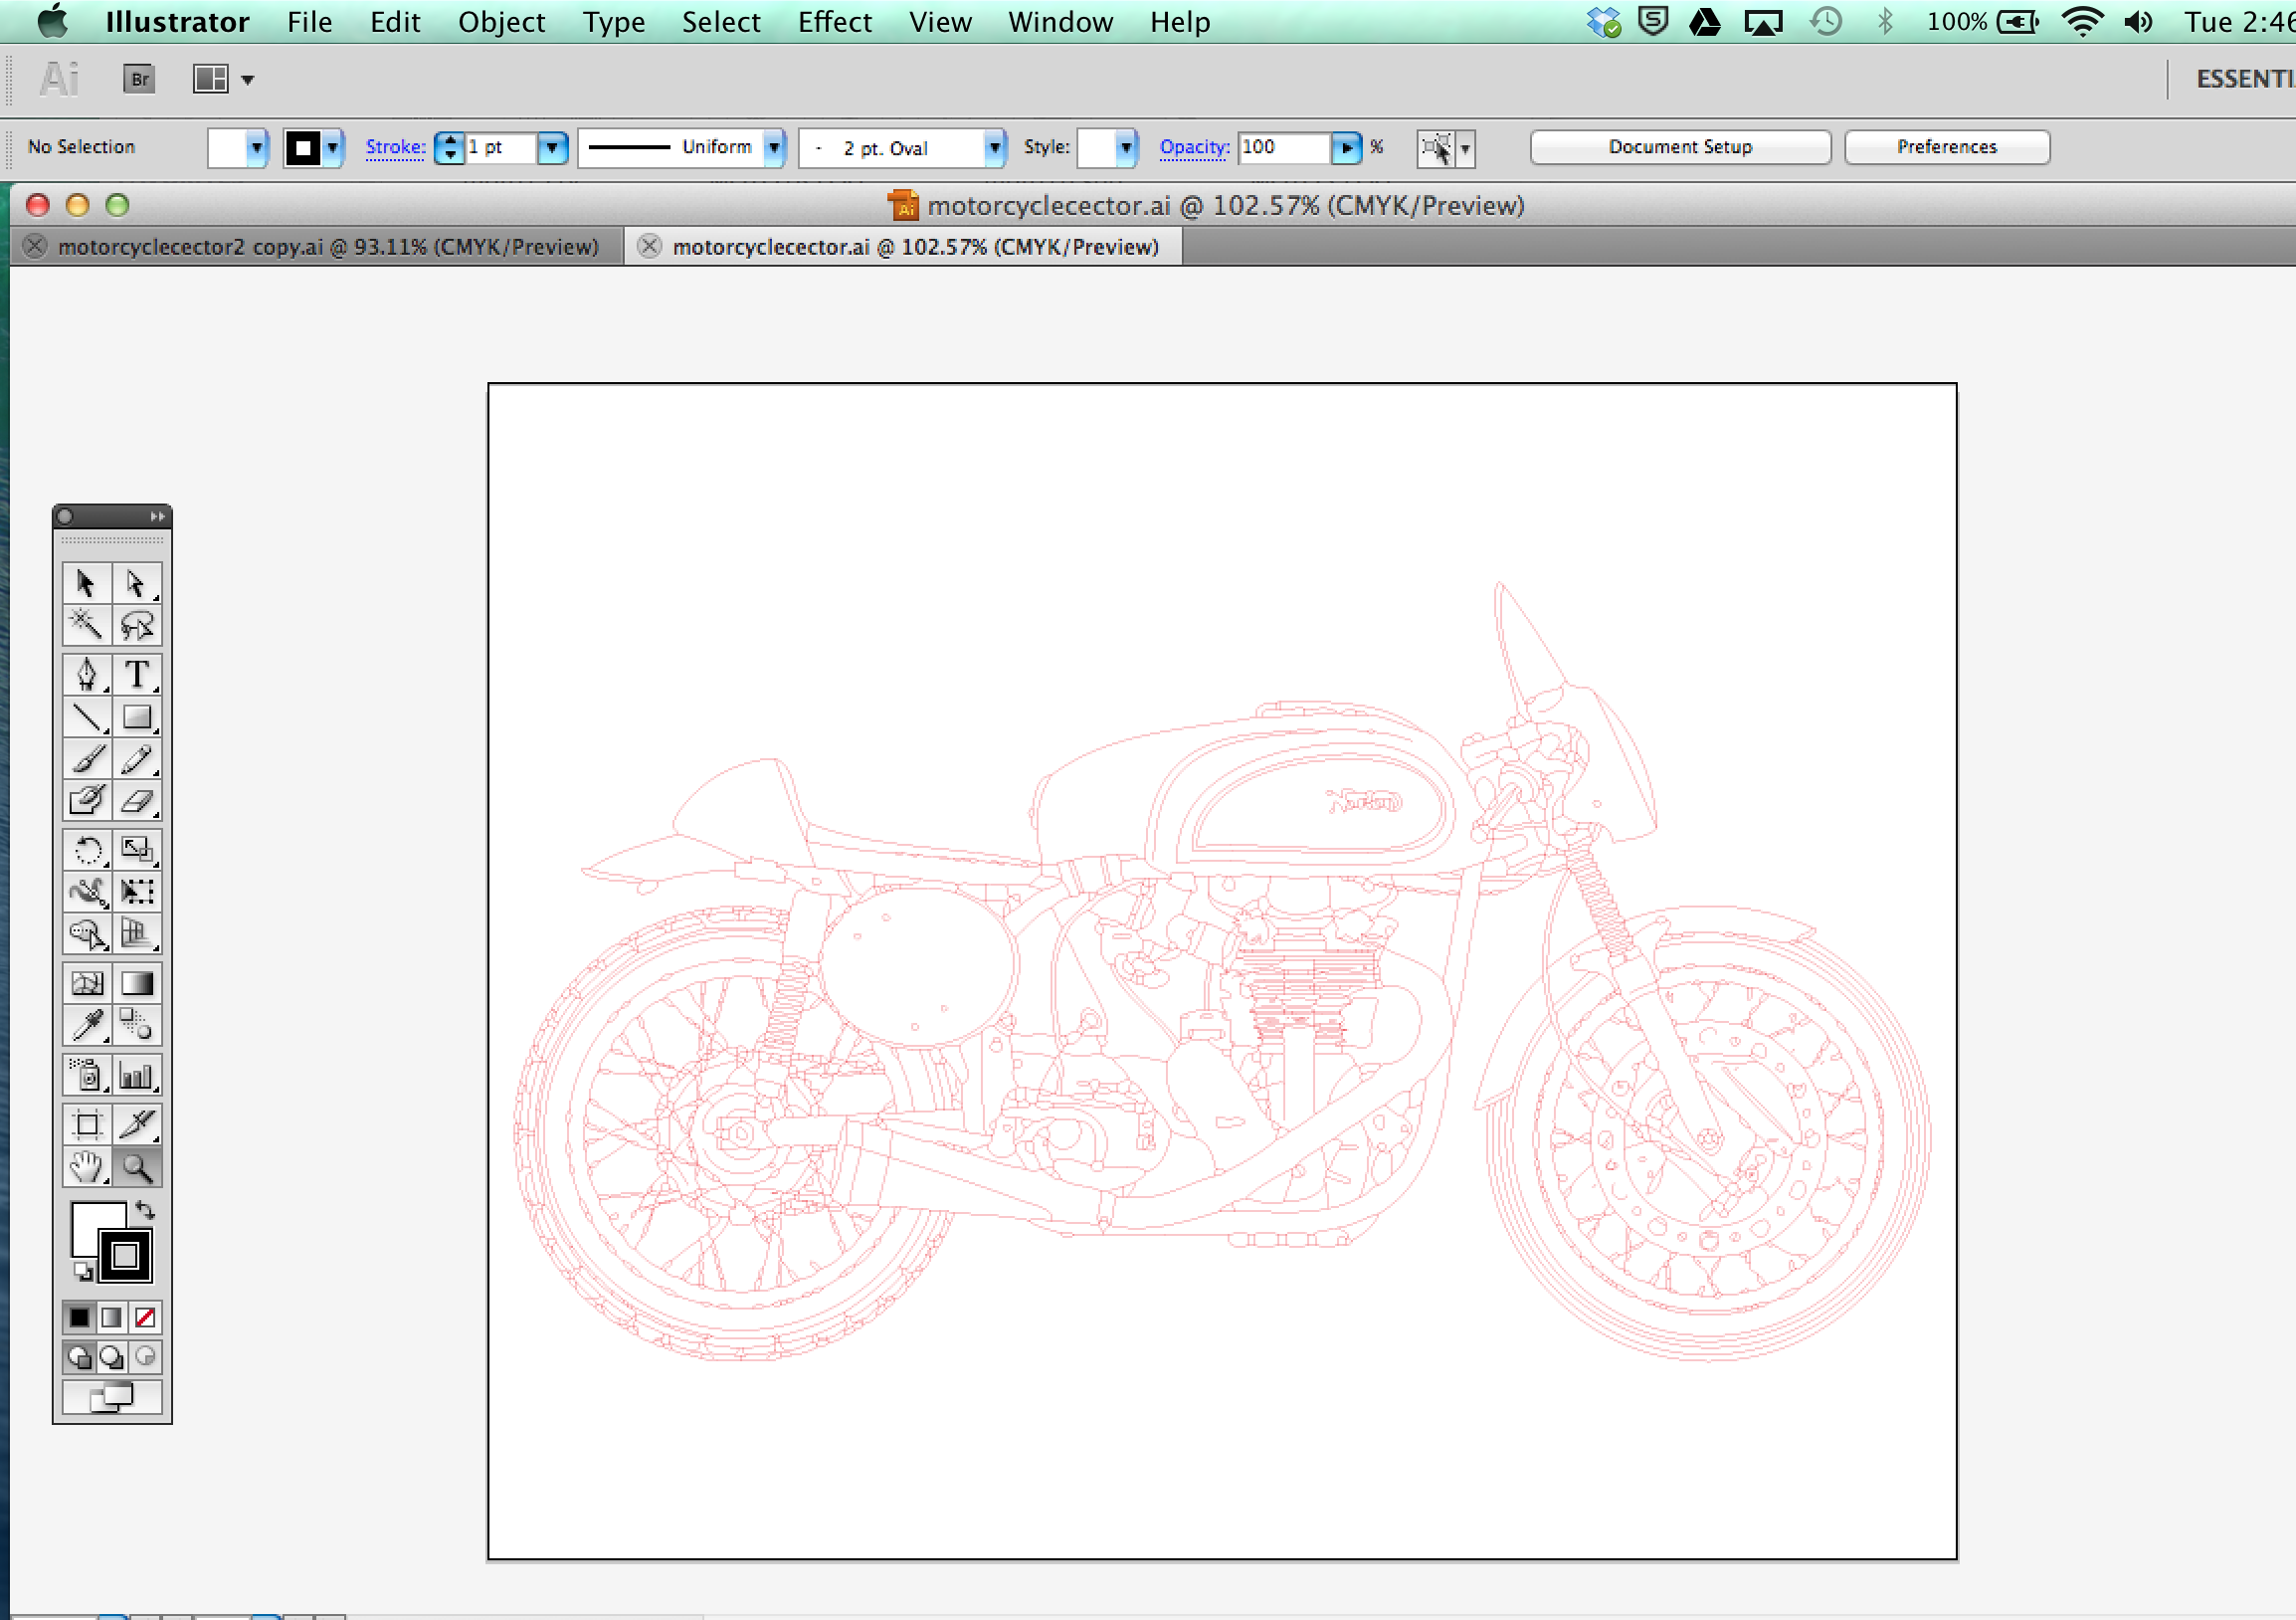
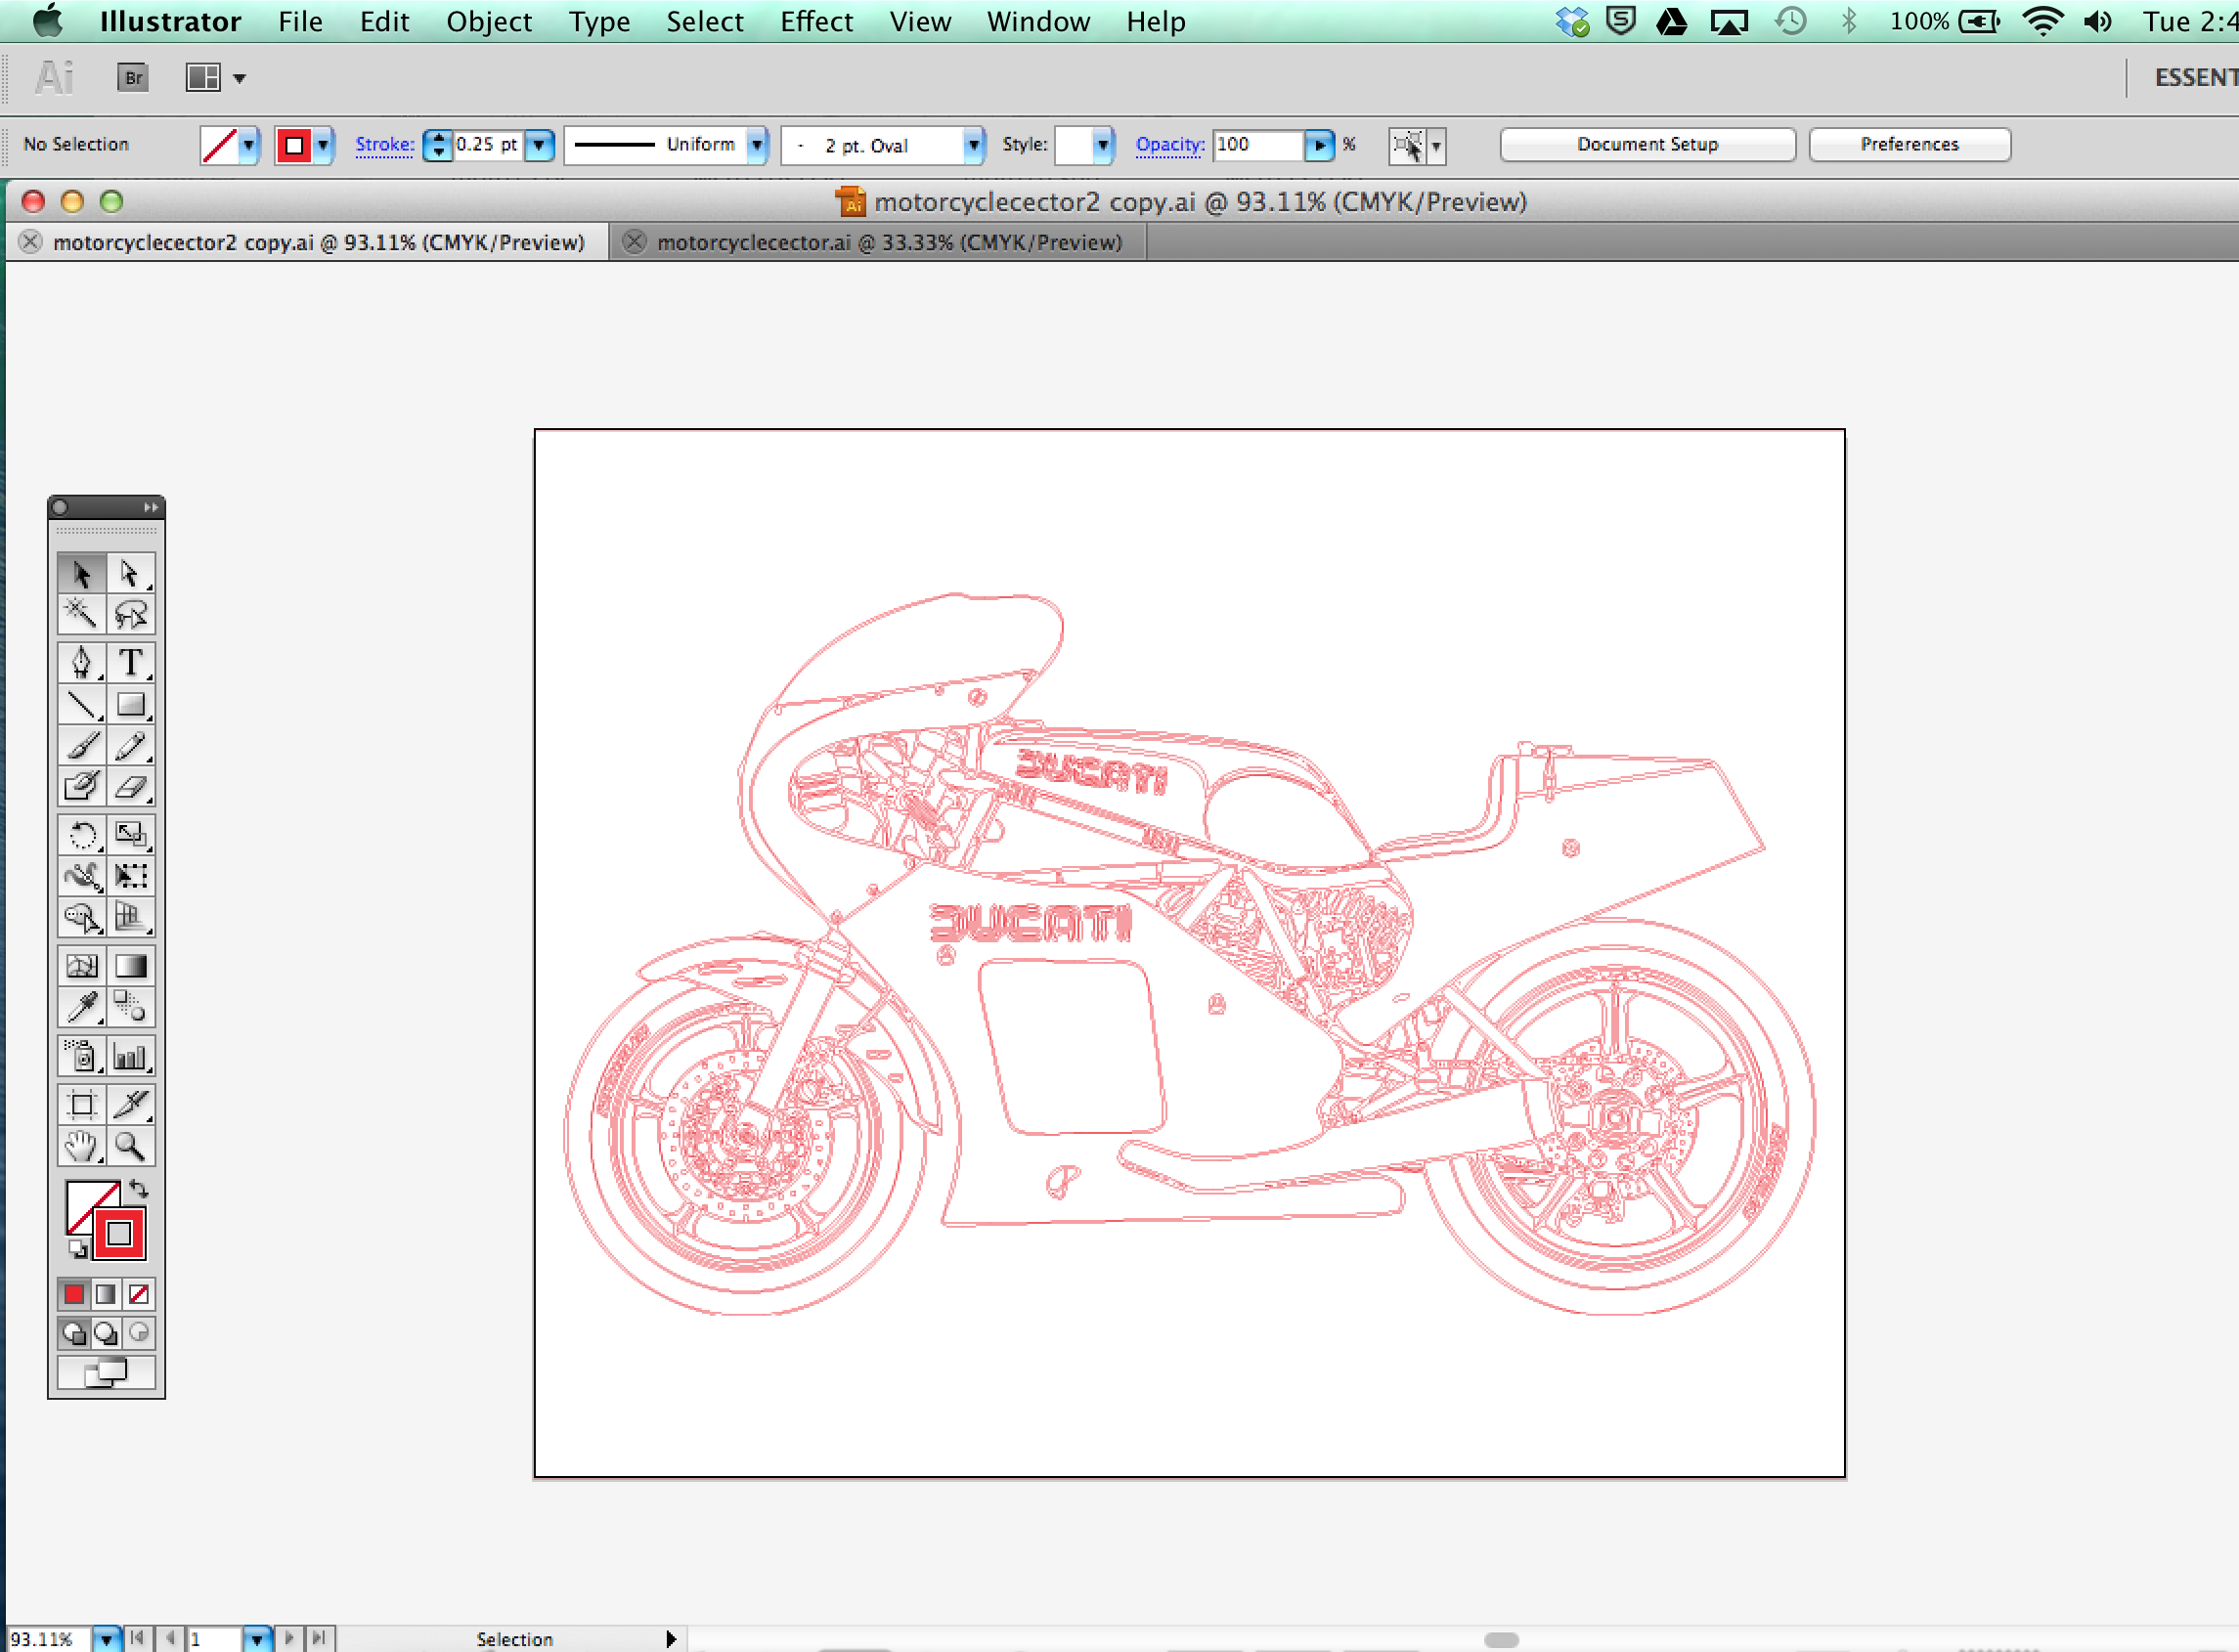
Selecting your artwork: I wanted to make a small set of drawings so I selected a really nice set of line drawings of motorcycles. You can check them out over here: Photos: Some Classic Motorcycle Line Art Drawings
I used LiveTrace from Illustrator to vectorize the image but if you have a vector drawing already, much better.
Canvas: I found these canvas panels: Art Alternatives Canvas Panel - PACK OF 12 that were really economic and good for my paintings. They are really easy to stick to the worktable of the CNC Router. I taped the for edges and stayed really firm.
Making the Toolpaths
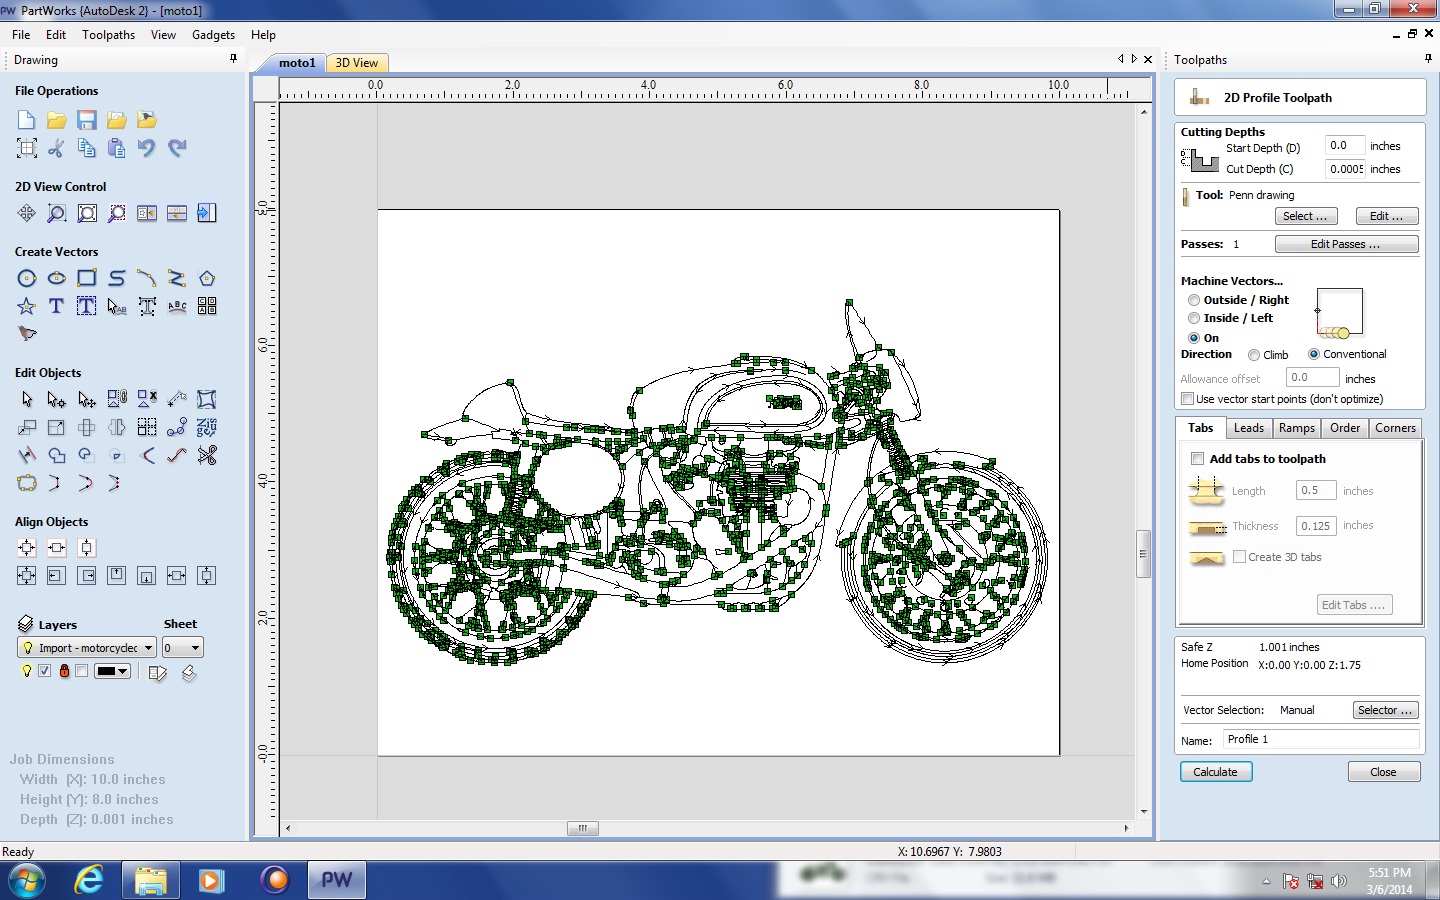
Open Partworks to create the toolpath for your drawing:
Create a New File.
In Job Setup: We will create a file with the size of our material: 8" x 10" (we are going to use these Art Alternatives Canvas Panel - PACK OF 12 ).
Import Vectors files and your vectors will appear on your sheet. Sometimes your vectors might be outside the sheet so will need to zoom out. Another thing you need to do is actually joining open vectors, under the section Edit Vectors. Control+A will select all of the vectors and then hit the Join button. Hit the Join button again. If you need to correct or move some objects around the sheet now is the time to do it. You might want to do this to optimize material. Control + A (select all), click on the right tab: Toolpaths (pin it so you have it open for the rest of your session).
Drawing With Pen and Spring
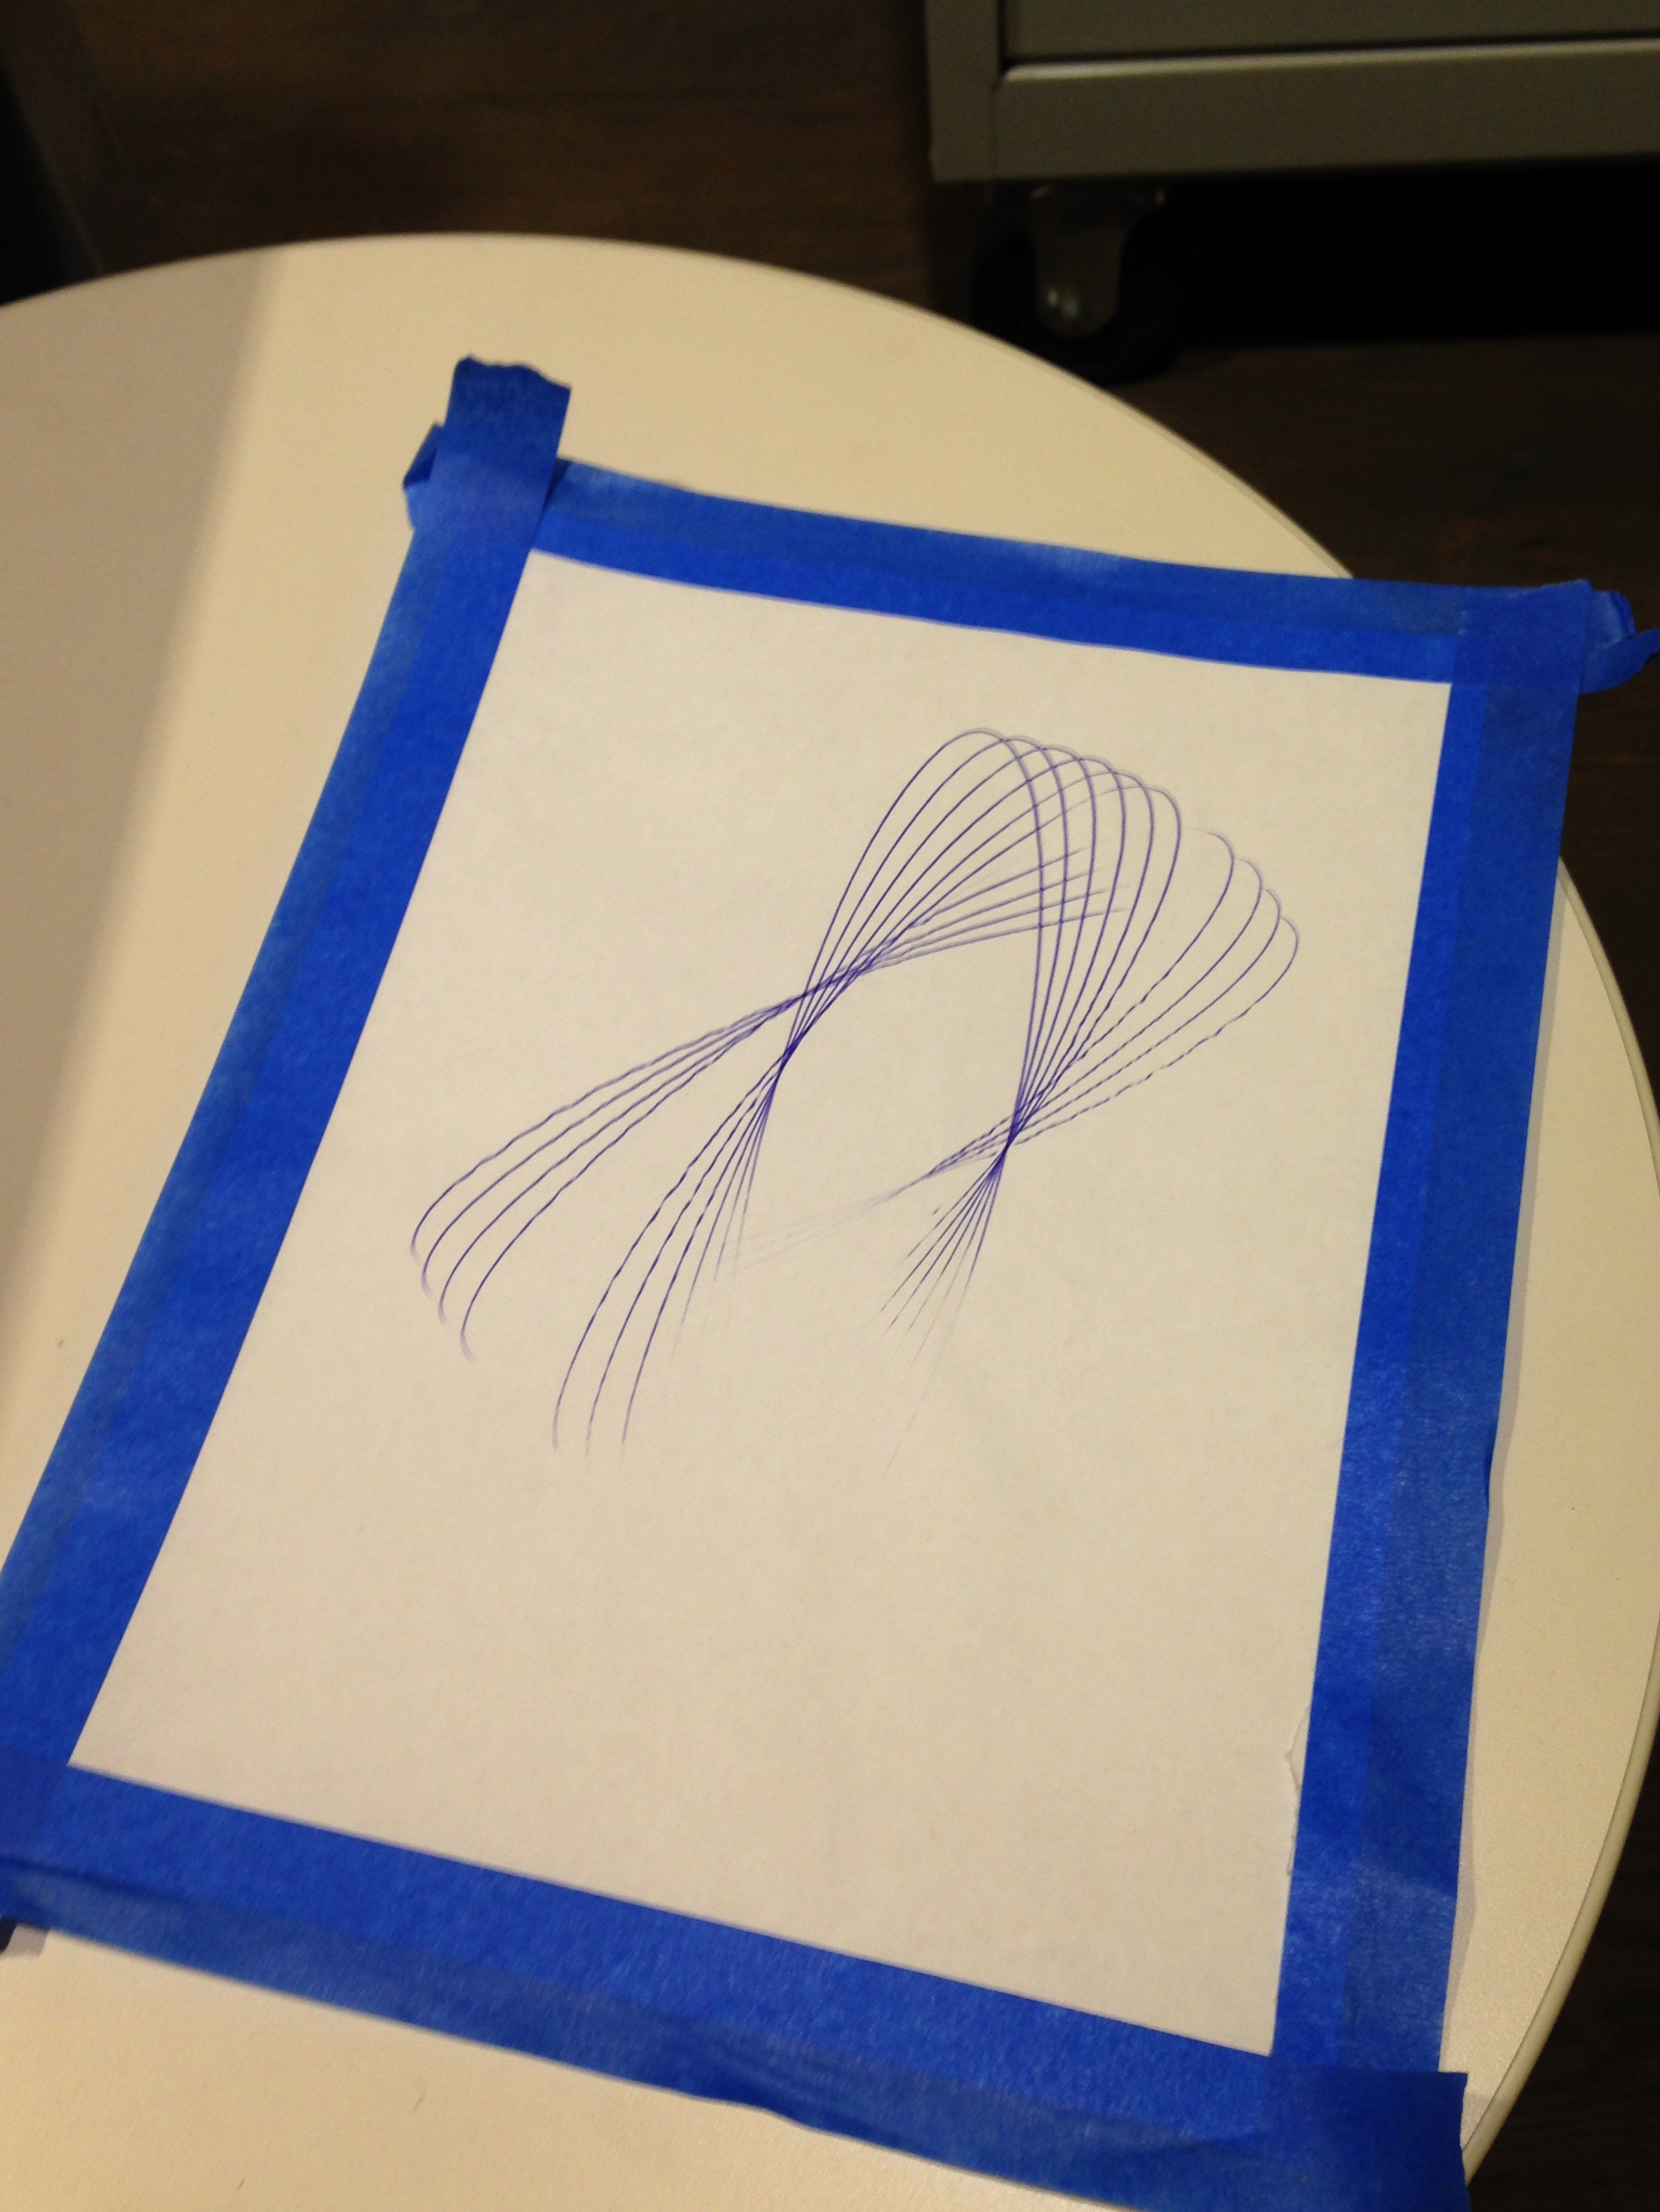
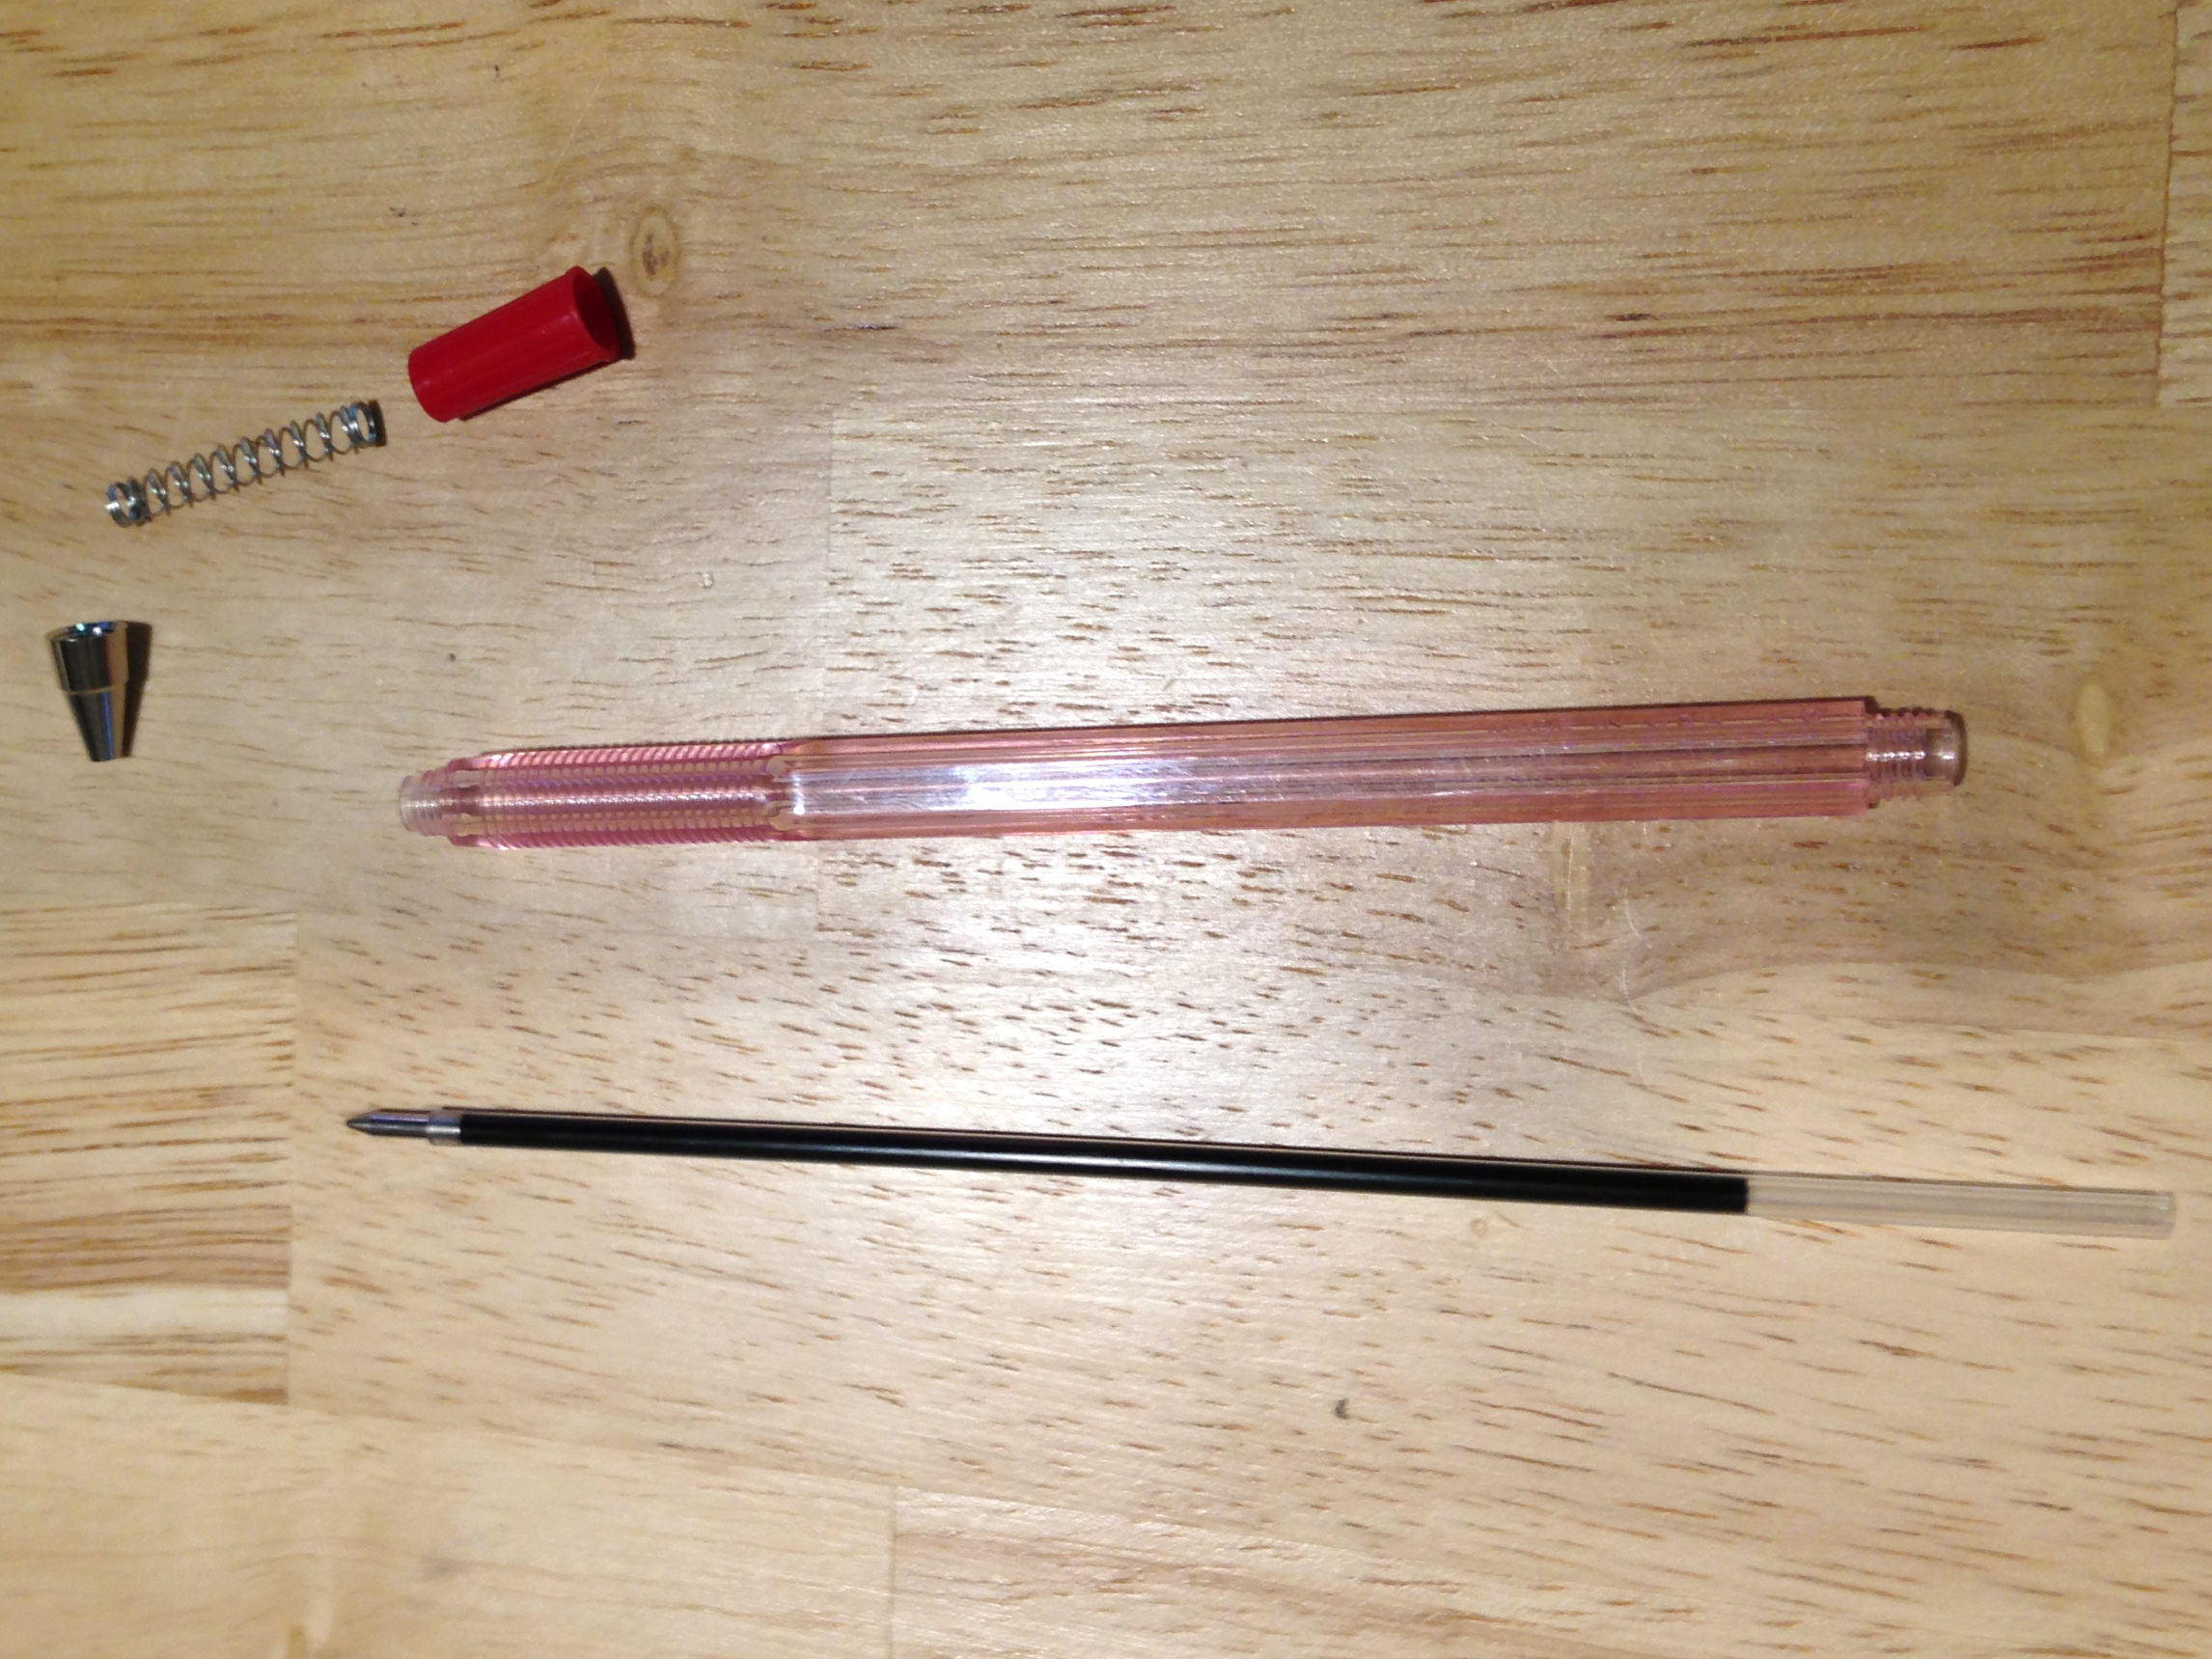
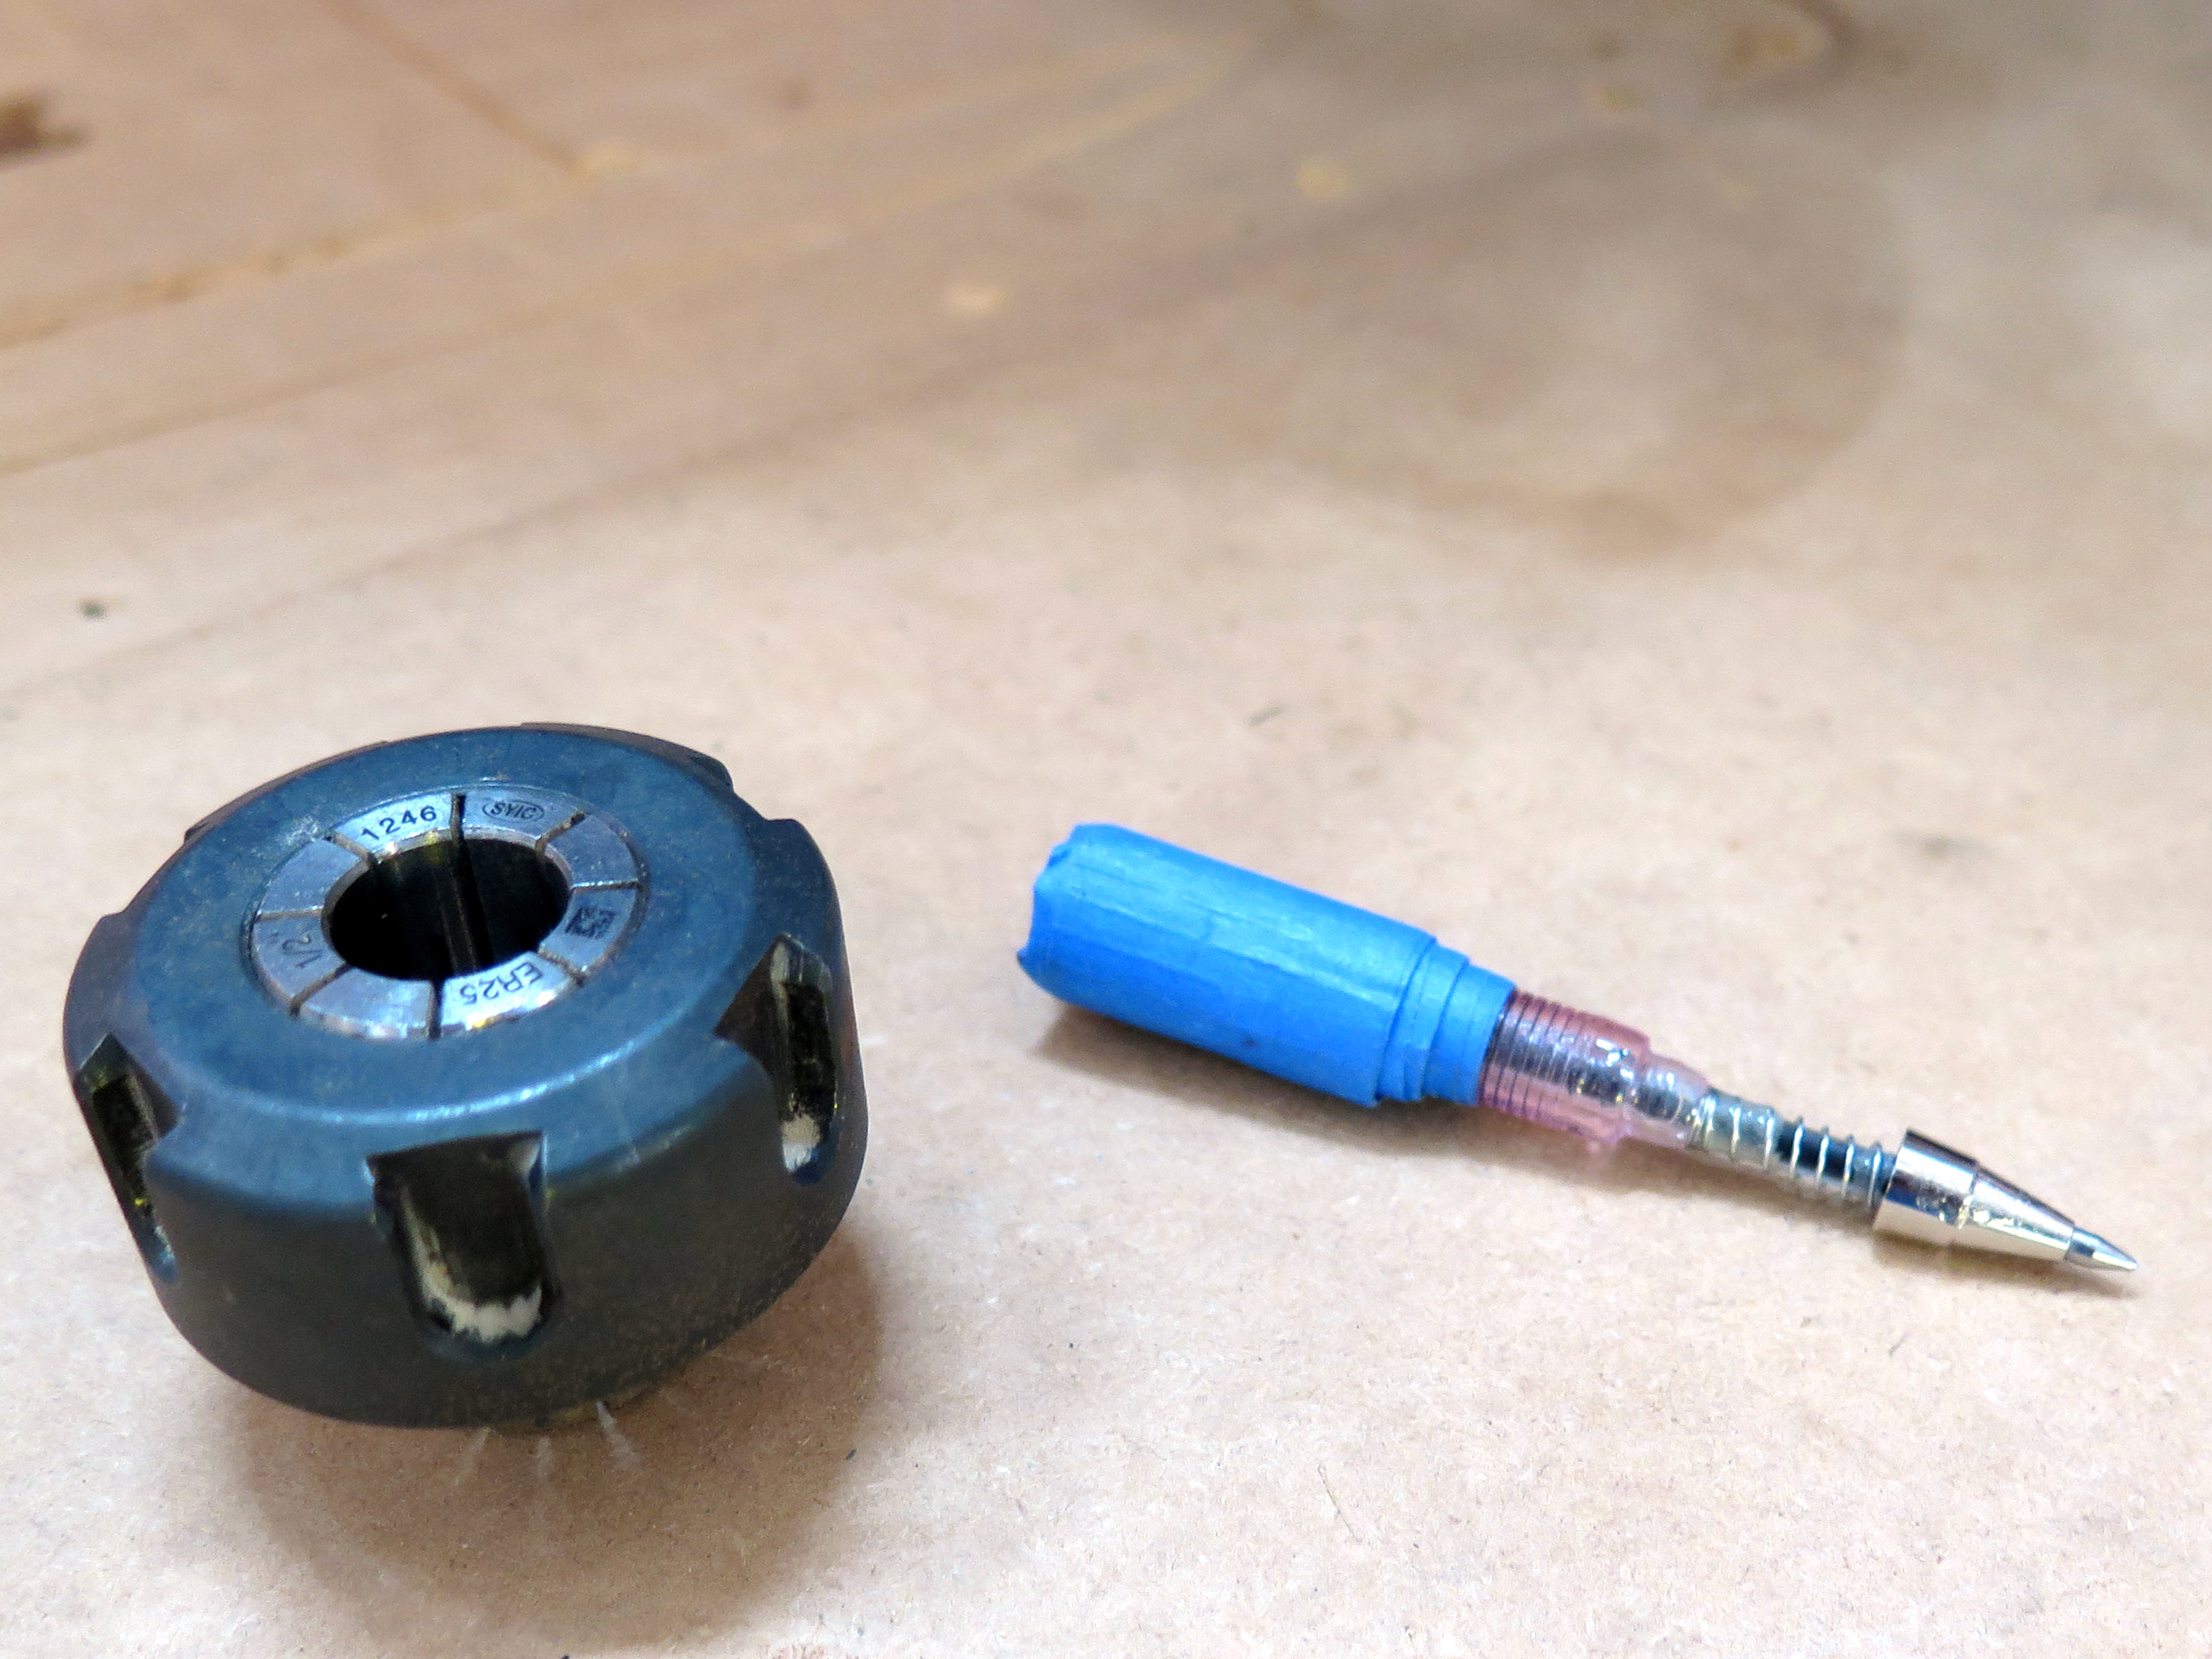
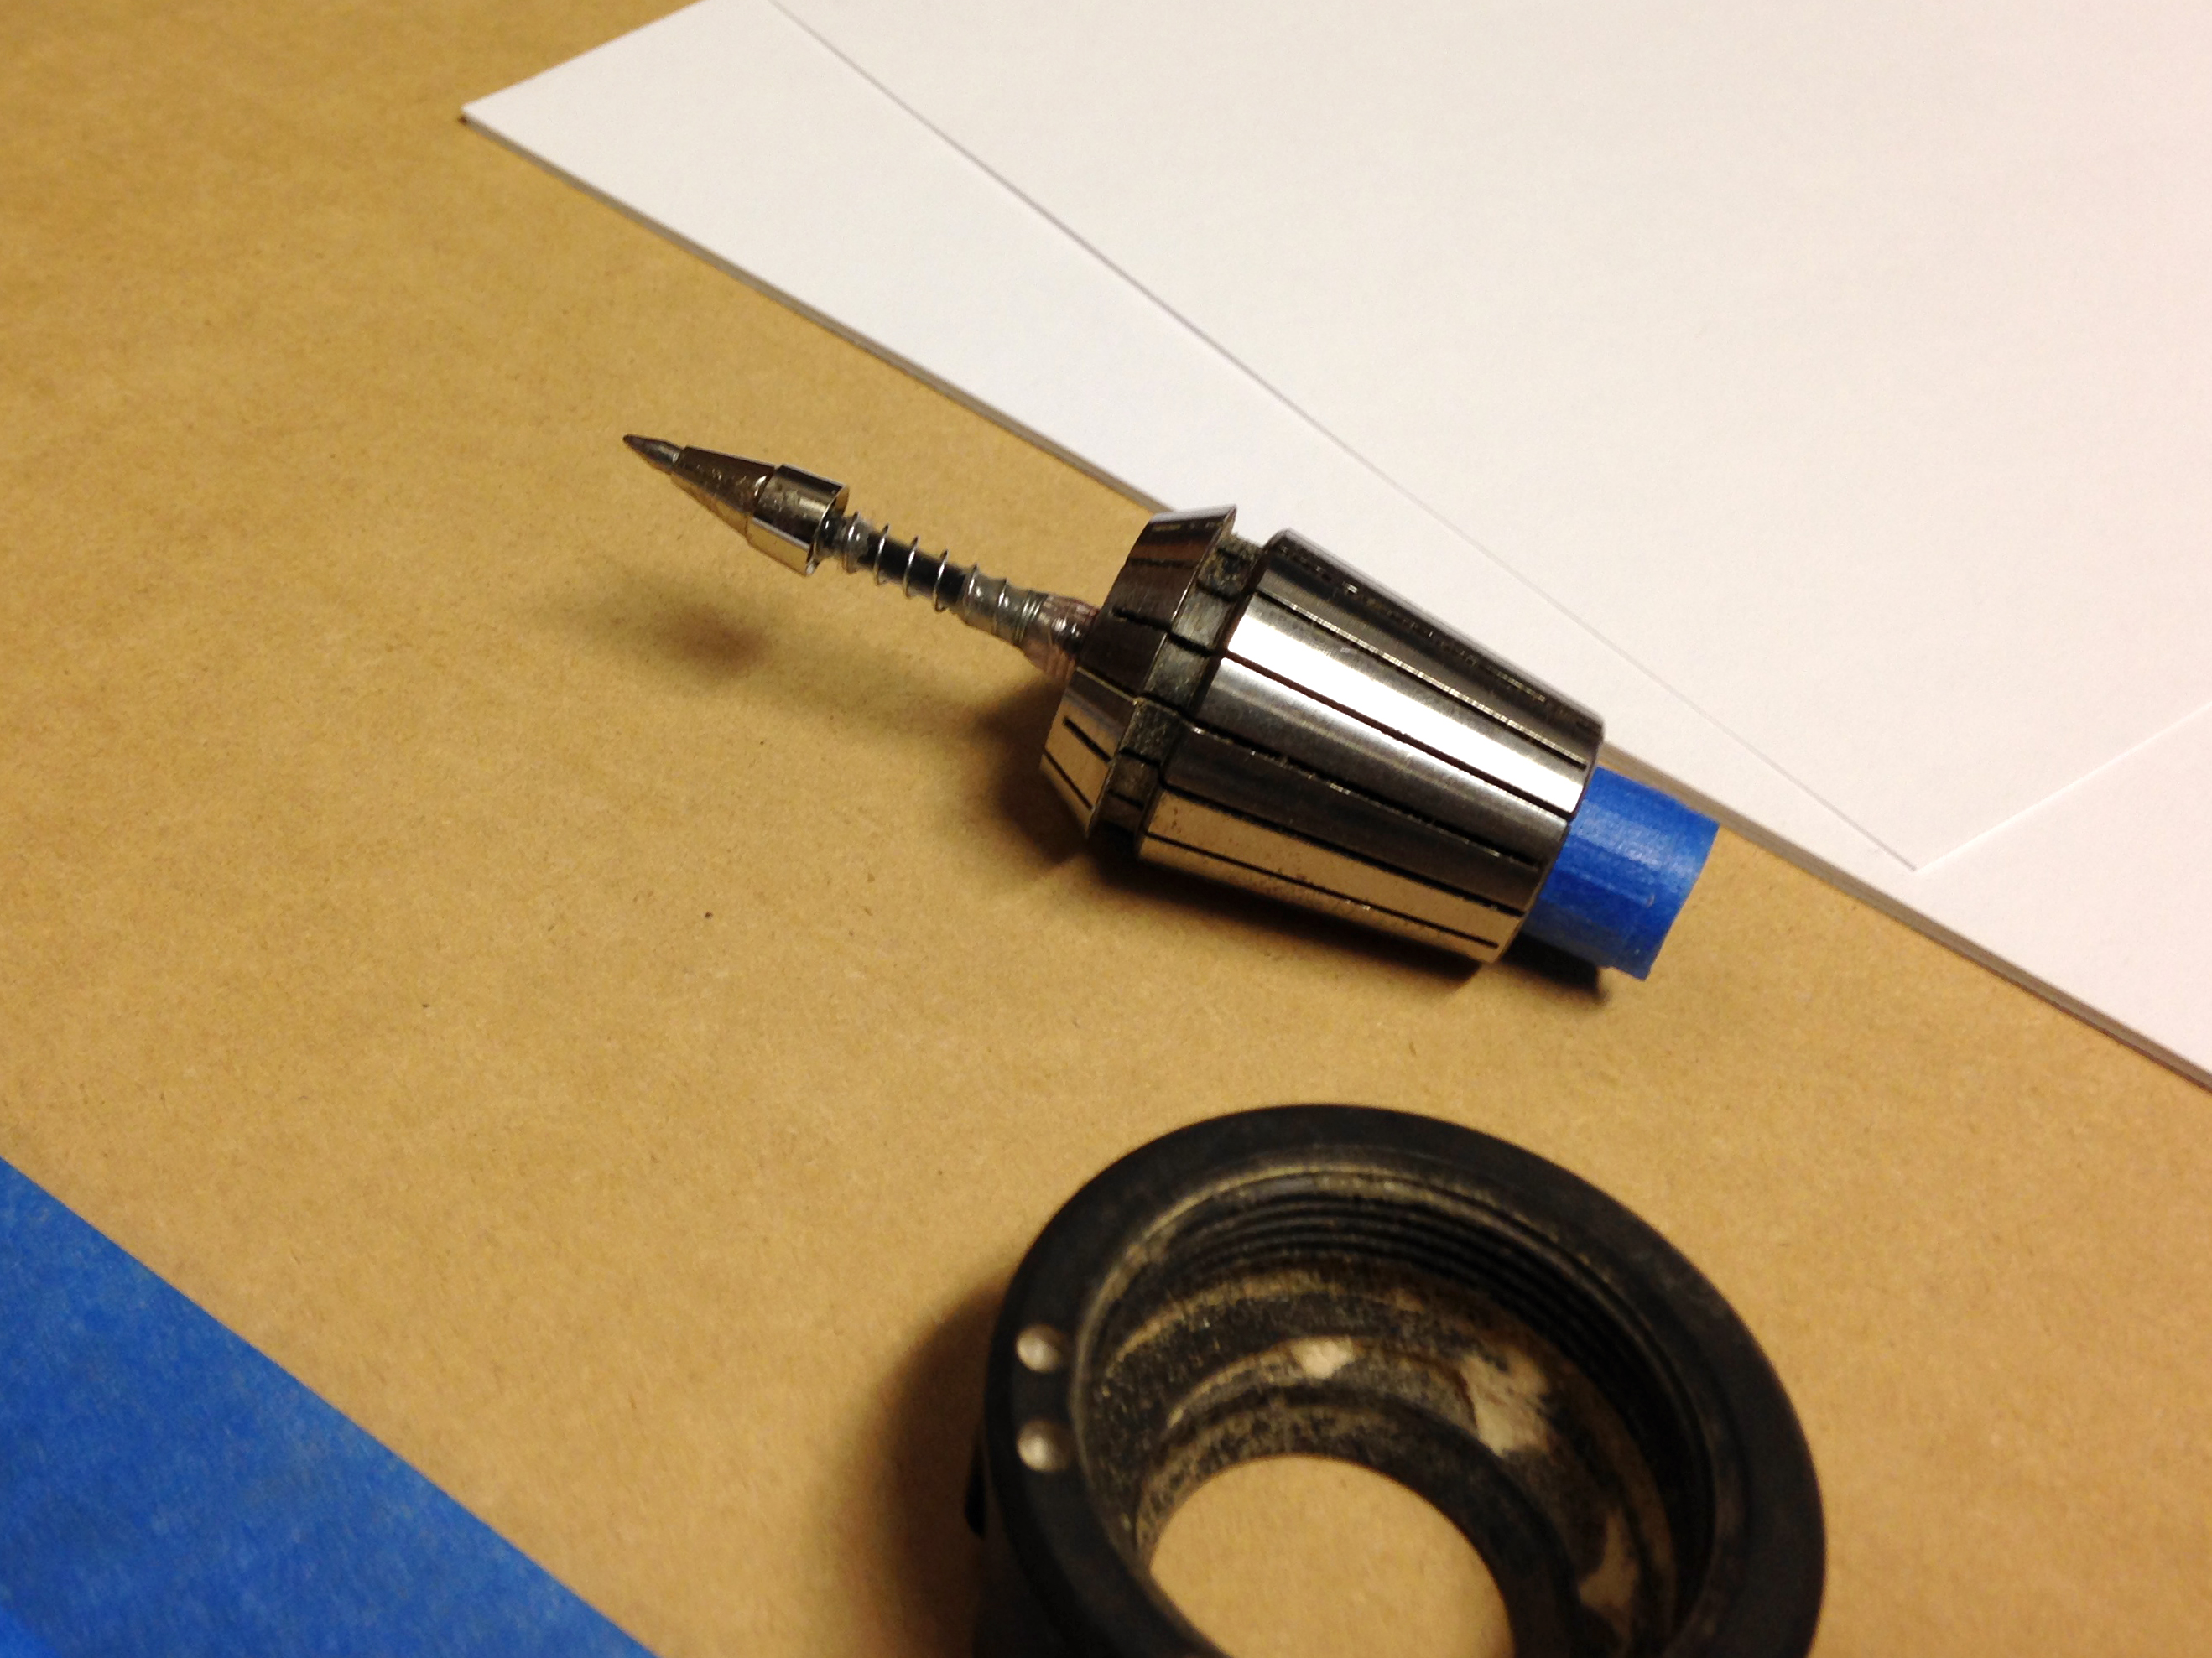
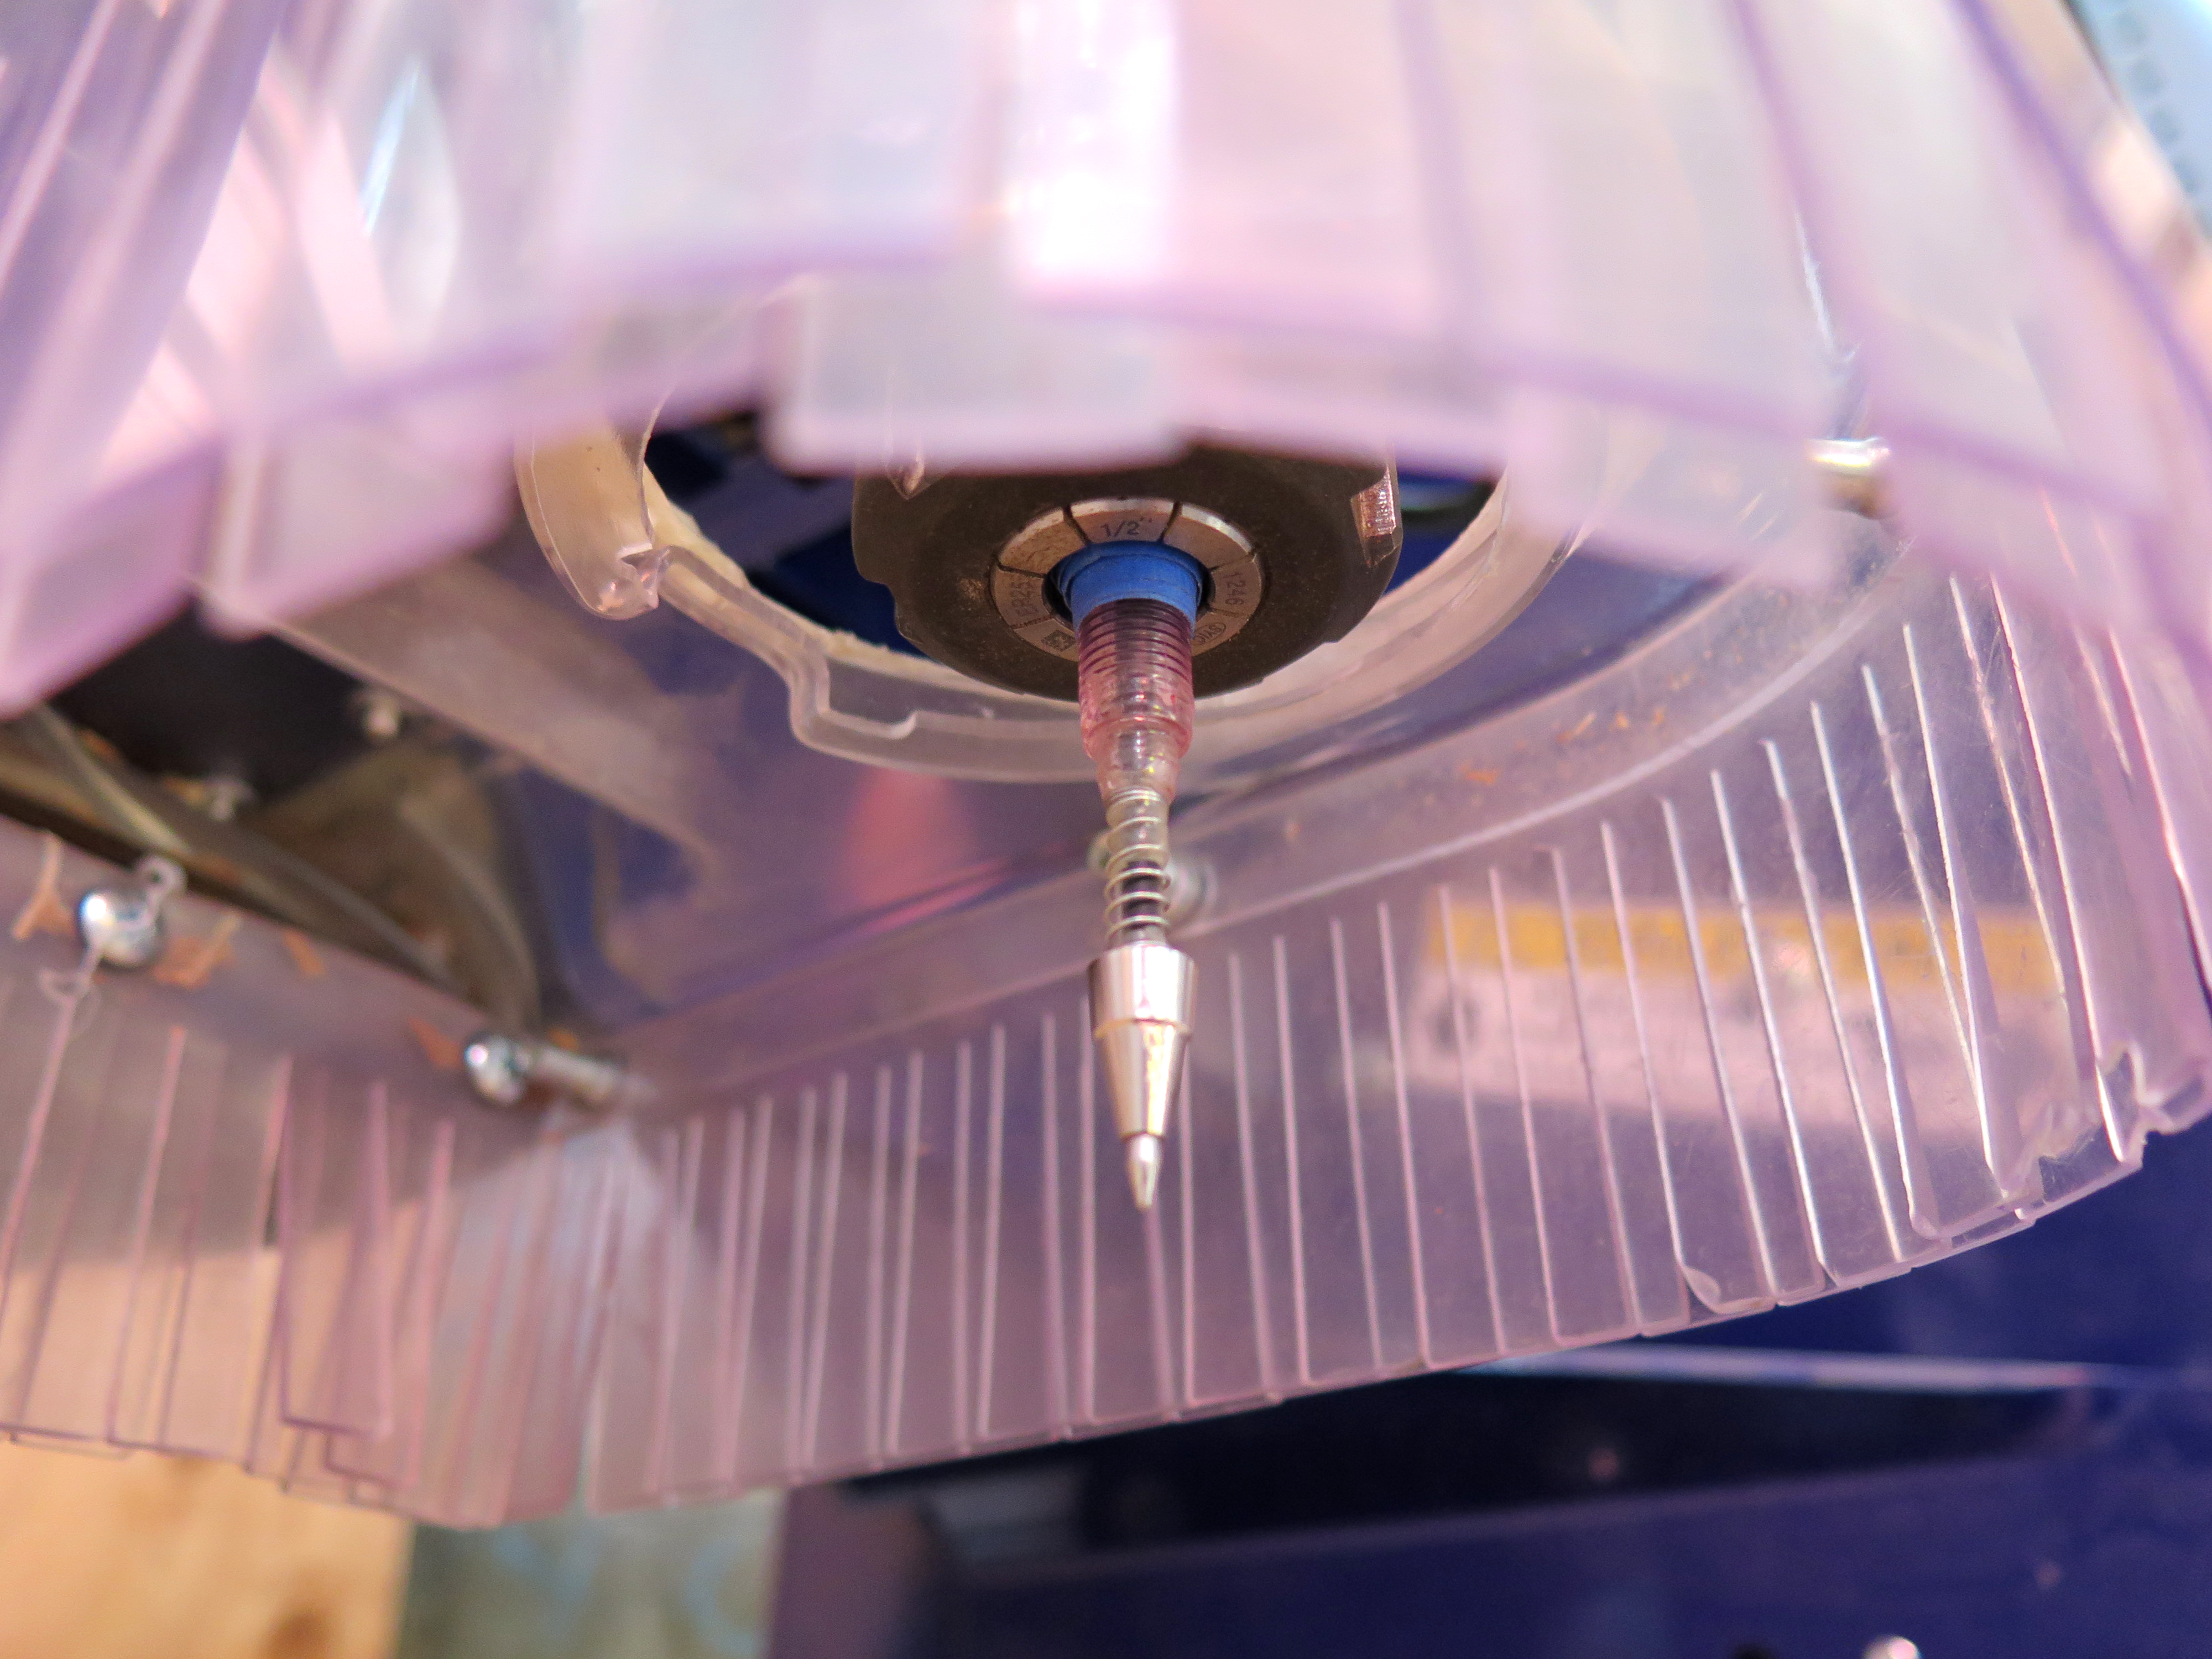
I first tried to attach a en to the collet and draw on paper. I don't recommend this because it will make a lot of force on the pen and tear the paper. So I decided I wanted to add a spring to the pen so every time the pen had a force down the spring will reduce the force on the paper.
For this step you need any ballpoint pen + a spring from another pen. I used one of my favorite pens: Pilot The Better Ballpoint Stick Pens, Fine Point + a spring from an old pen I was almost going to through away. These pens are excellent because they do not rub off your hand or leave marks. They are kind of hard to find in stores but you can get them online at Amazon.
Insert the spring between the pen and metal tip and put some epoxy in so it stays firm. Once is dry put the plastic body of the pen and epoxy it to the spring as shown on the photos.
The setup was really easy. I used blue tape and taped the paper to the worktable so that it doesn't move while it is drawing. Not all collets match the diameter of your pen so you will need to wrap around some tape so that it marches nice and smooth the collet's diameter.
Zeroing and Running the Code
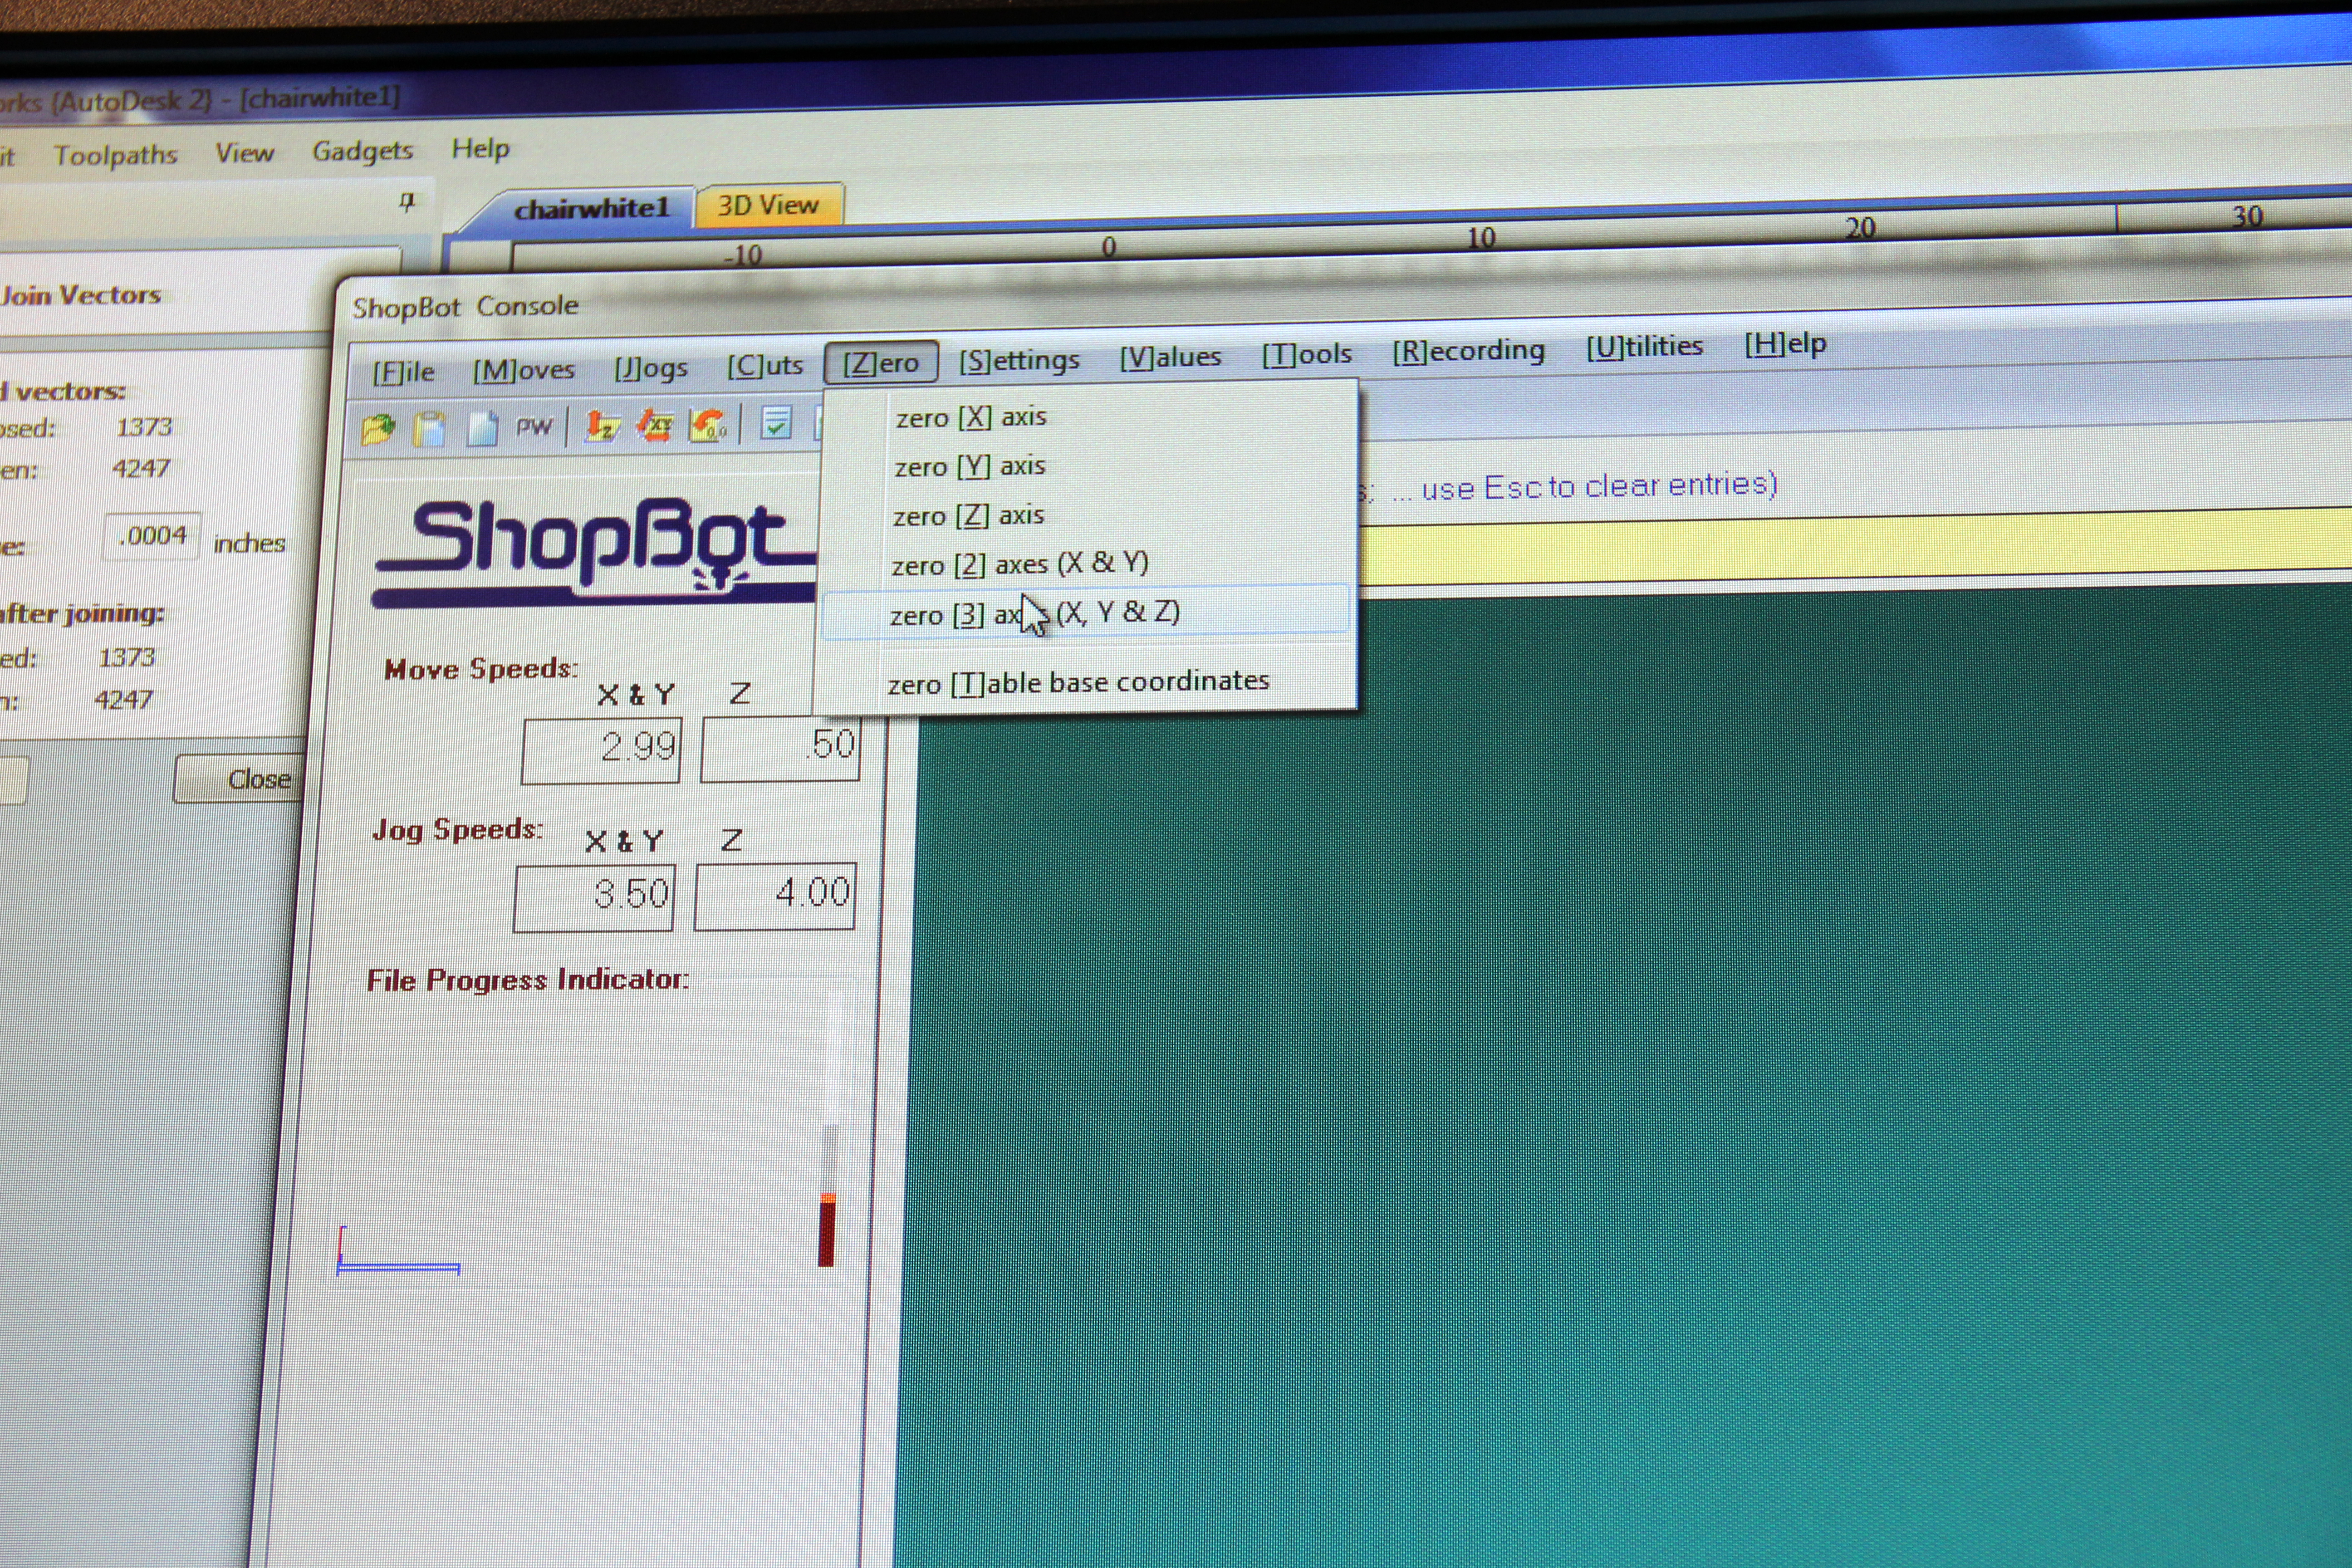
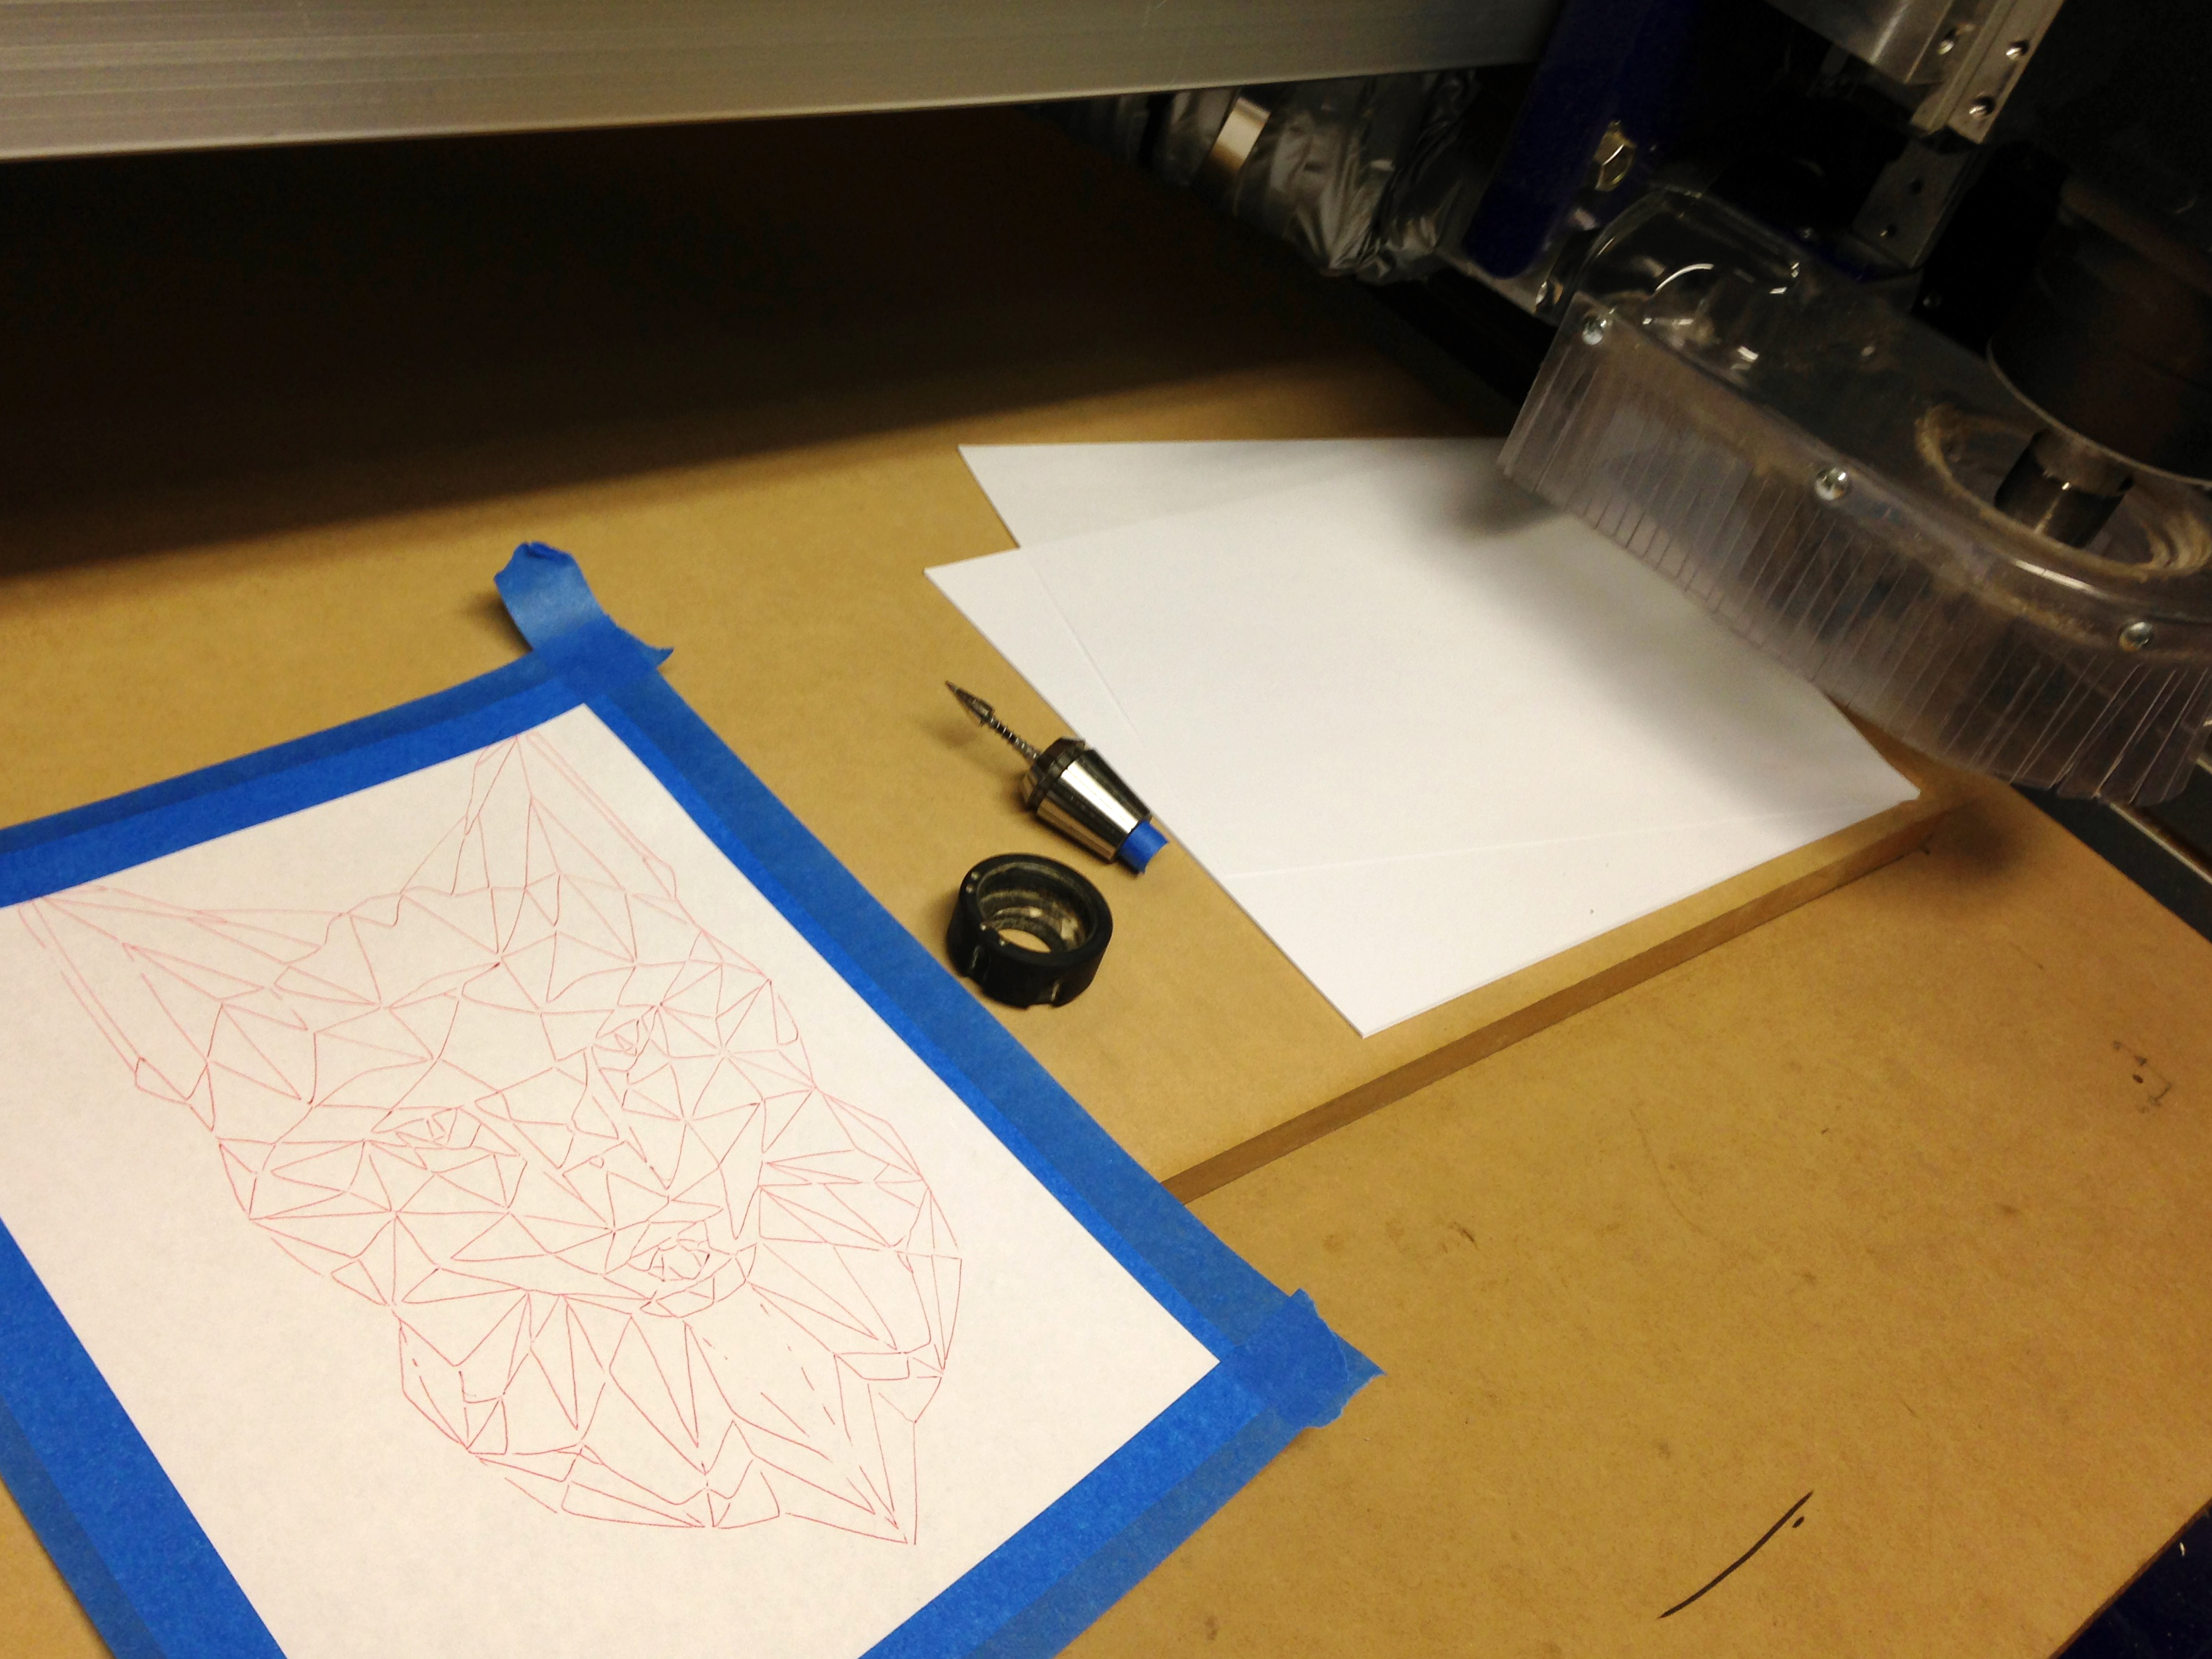
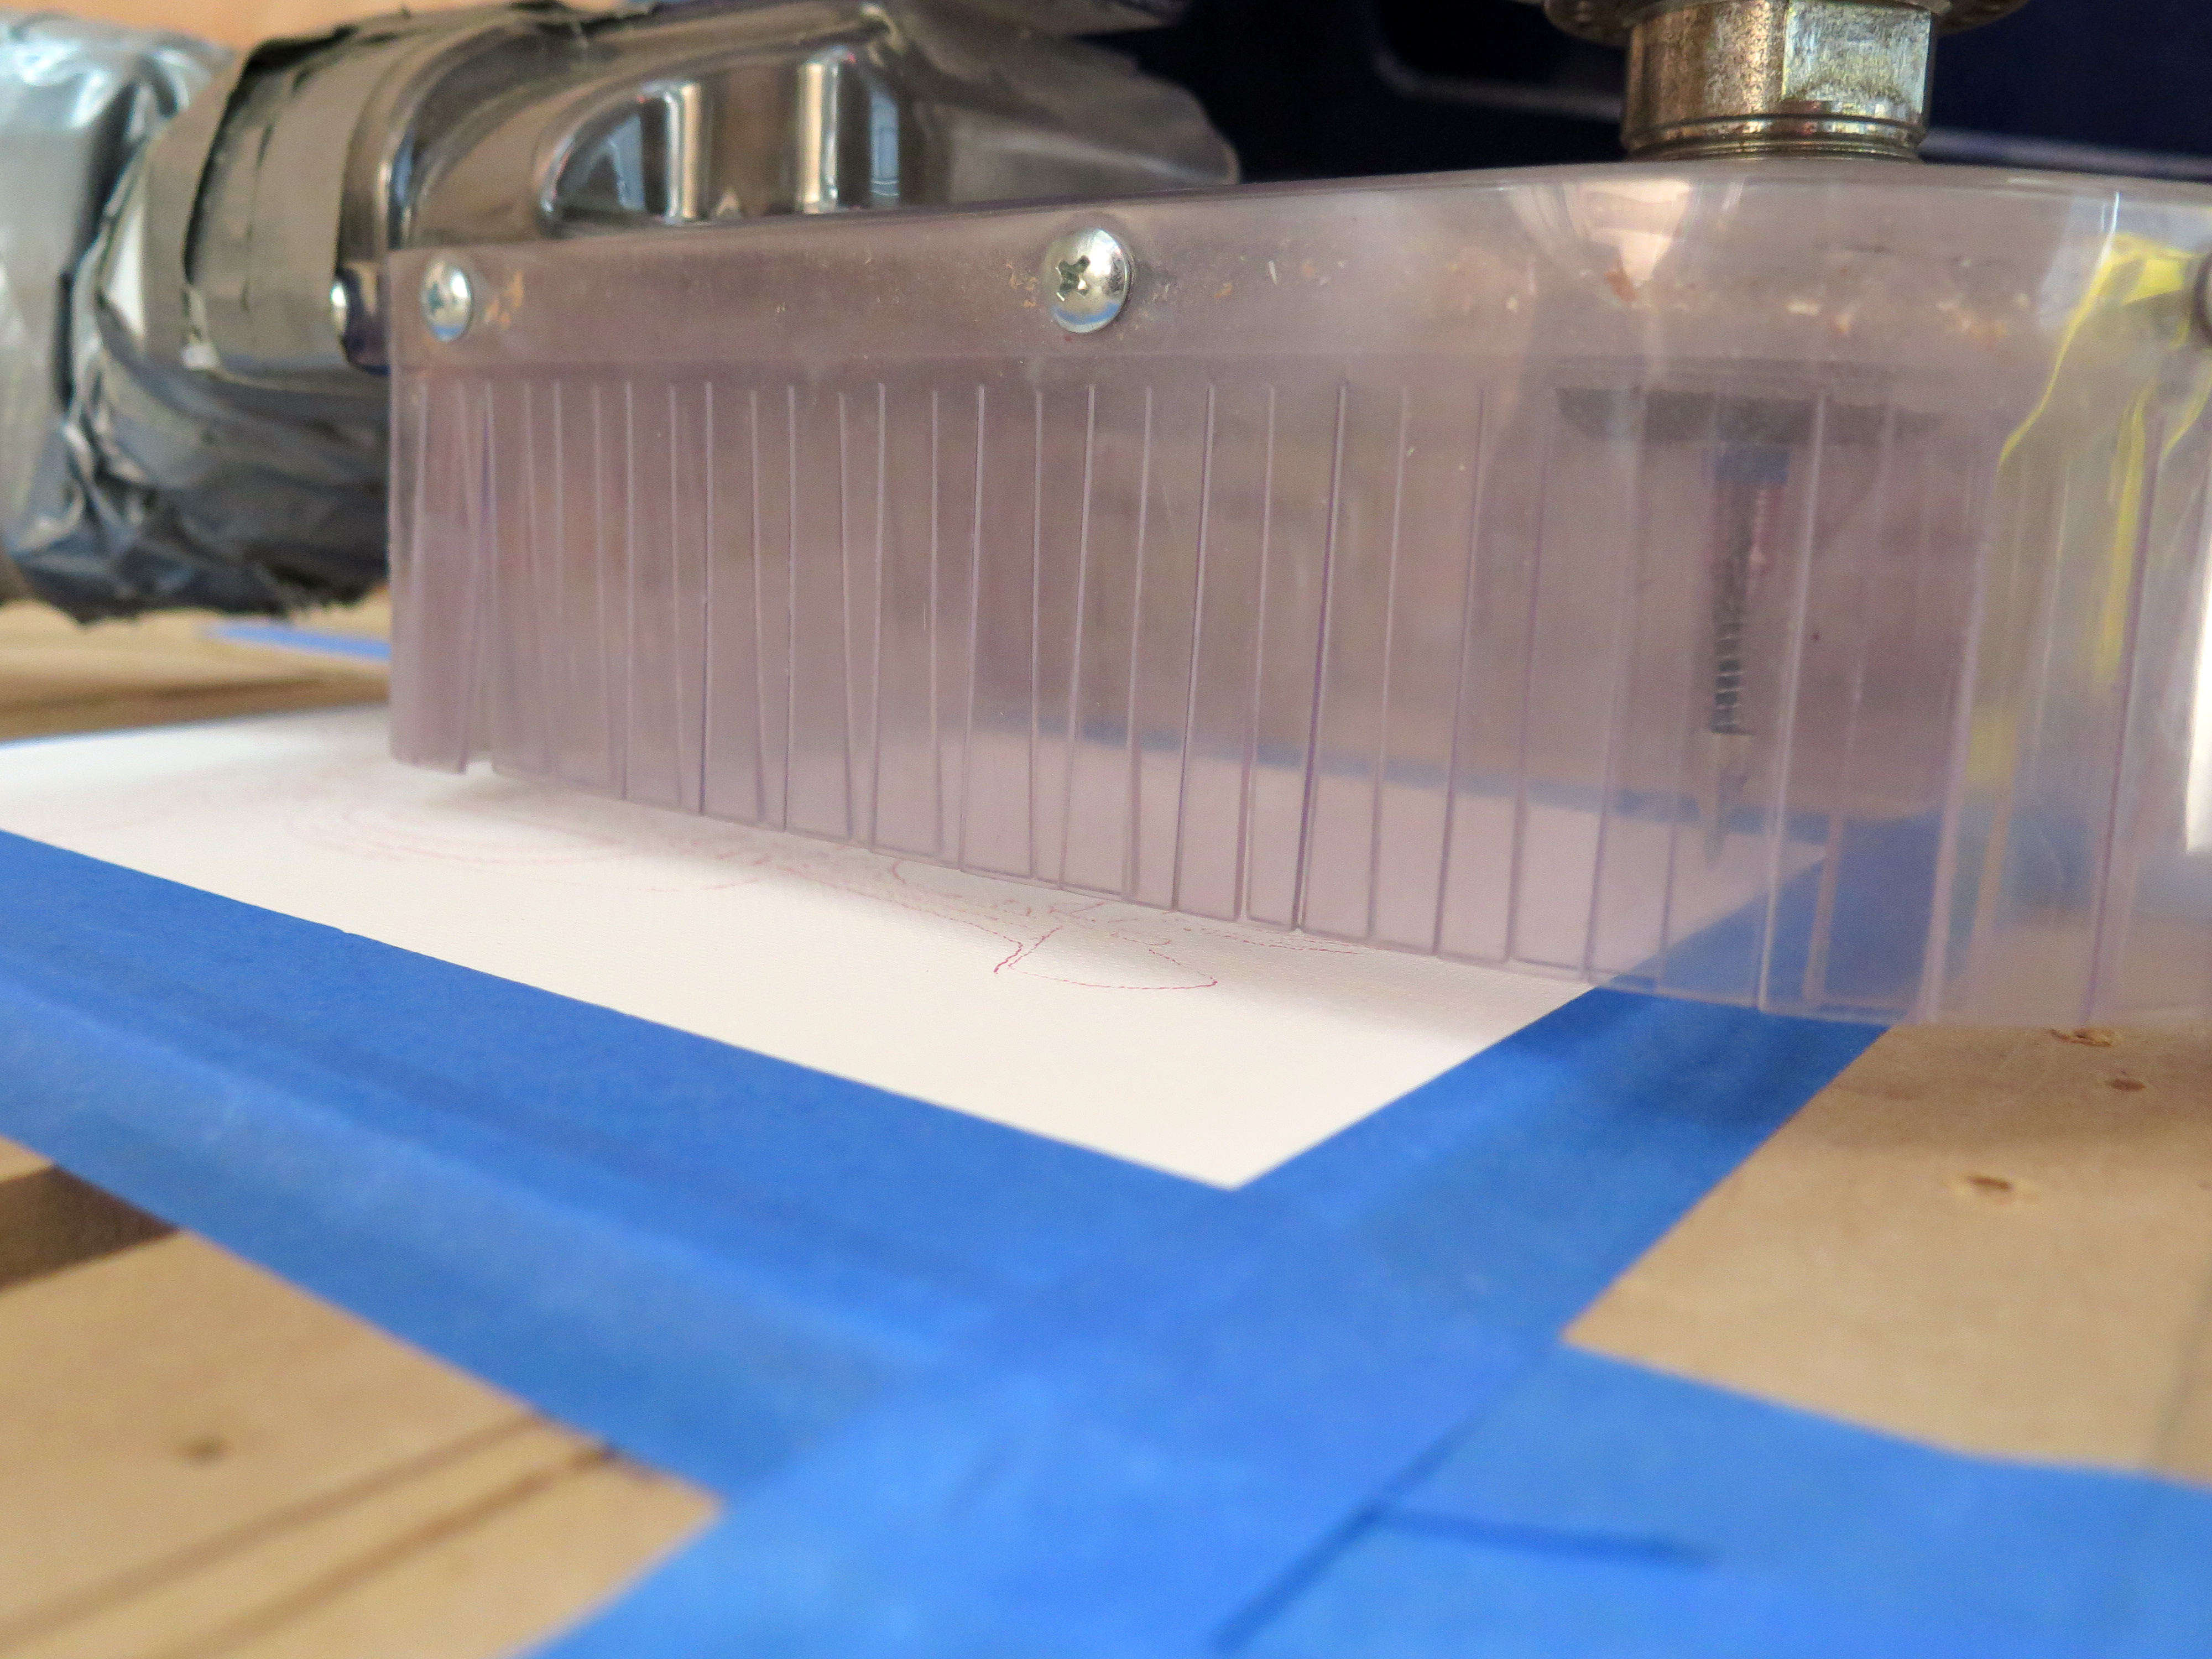
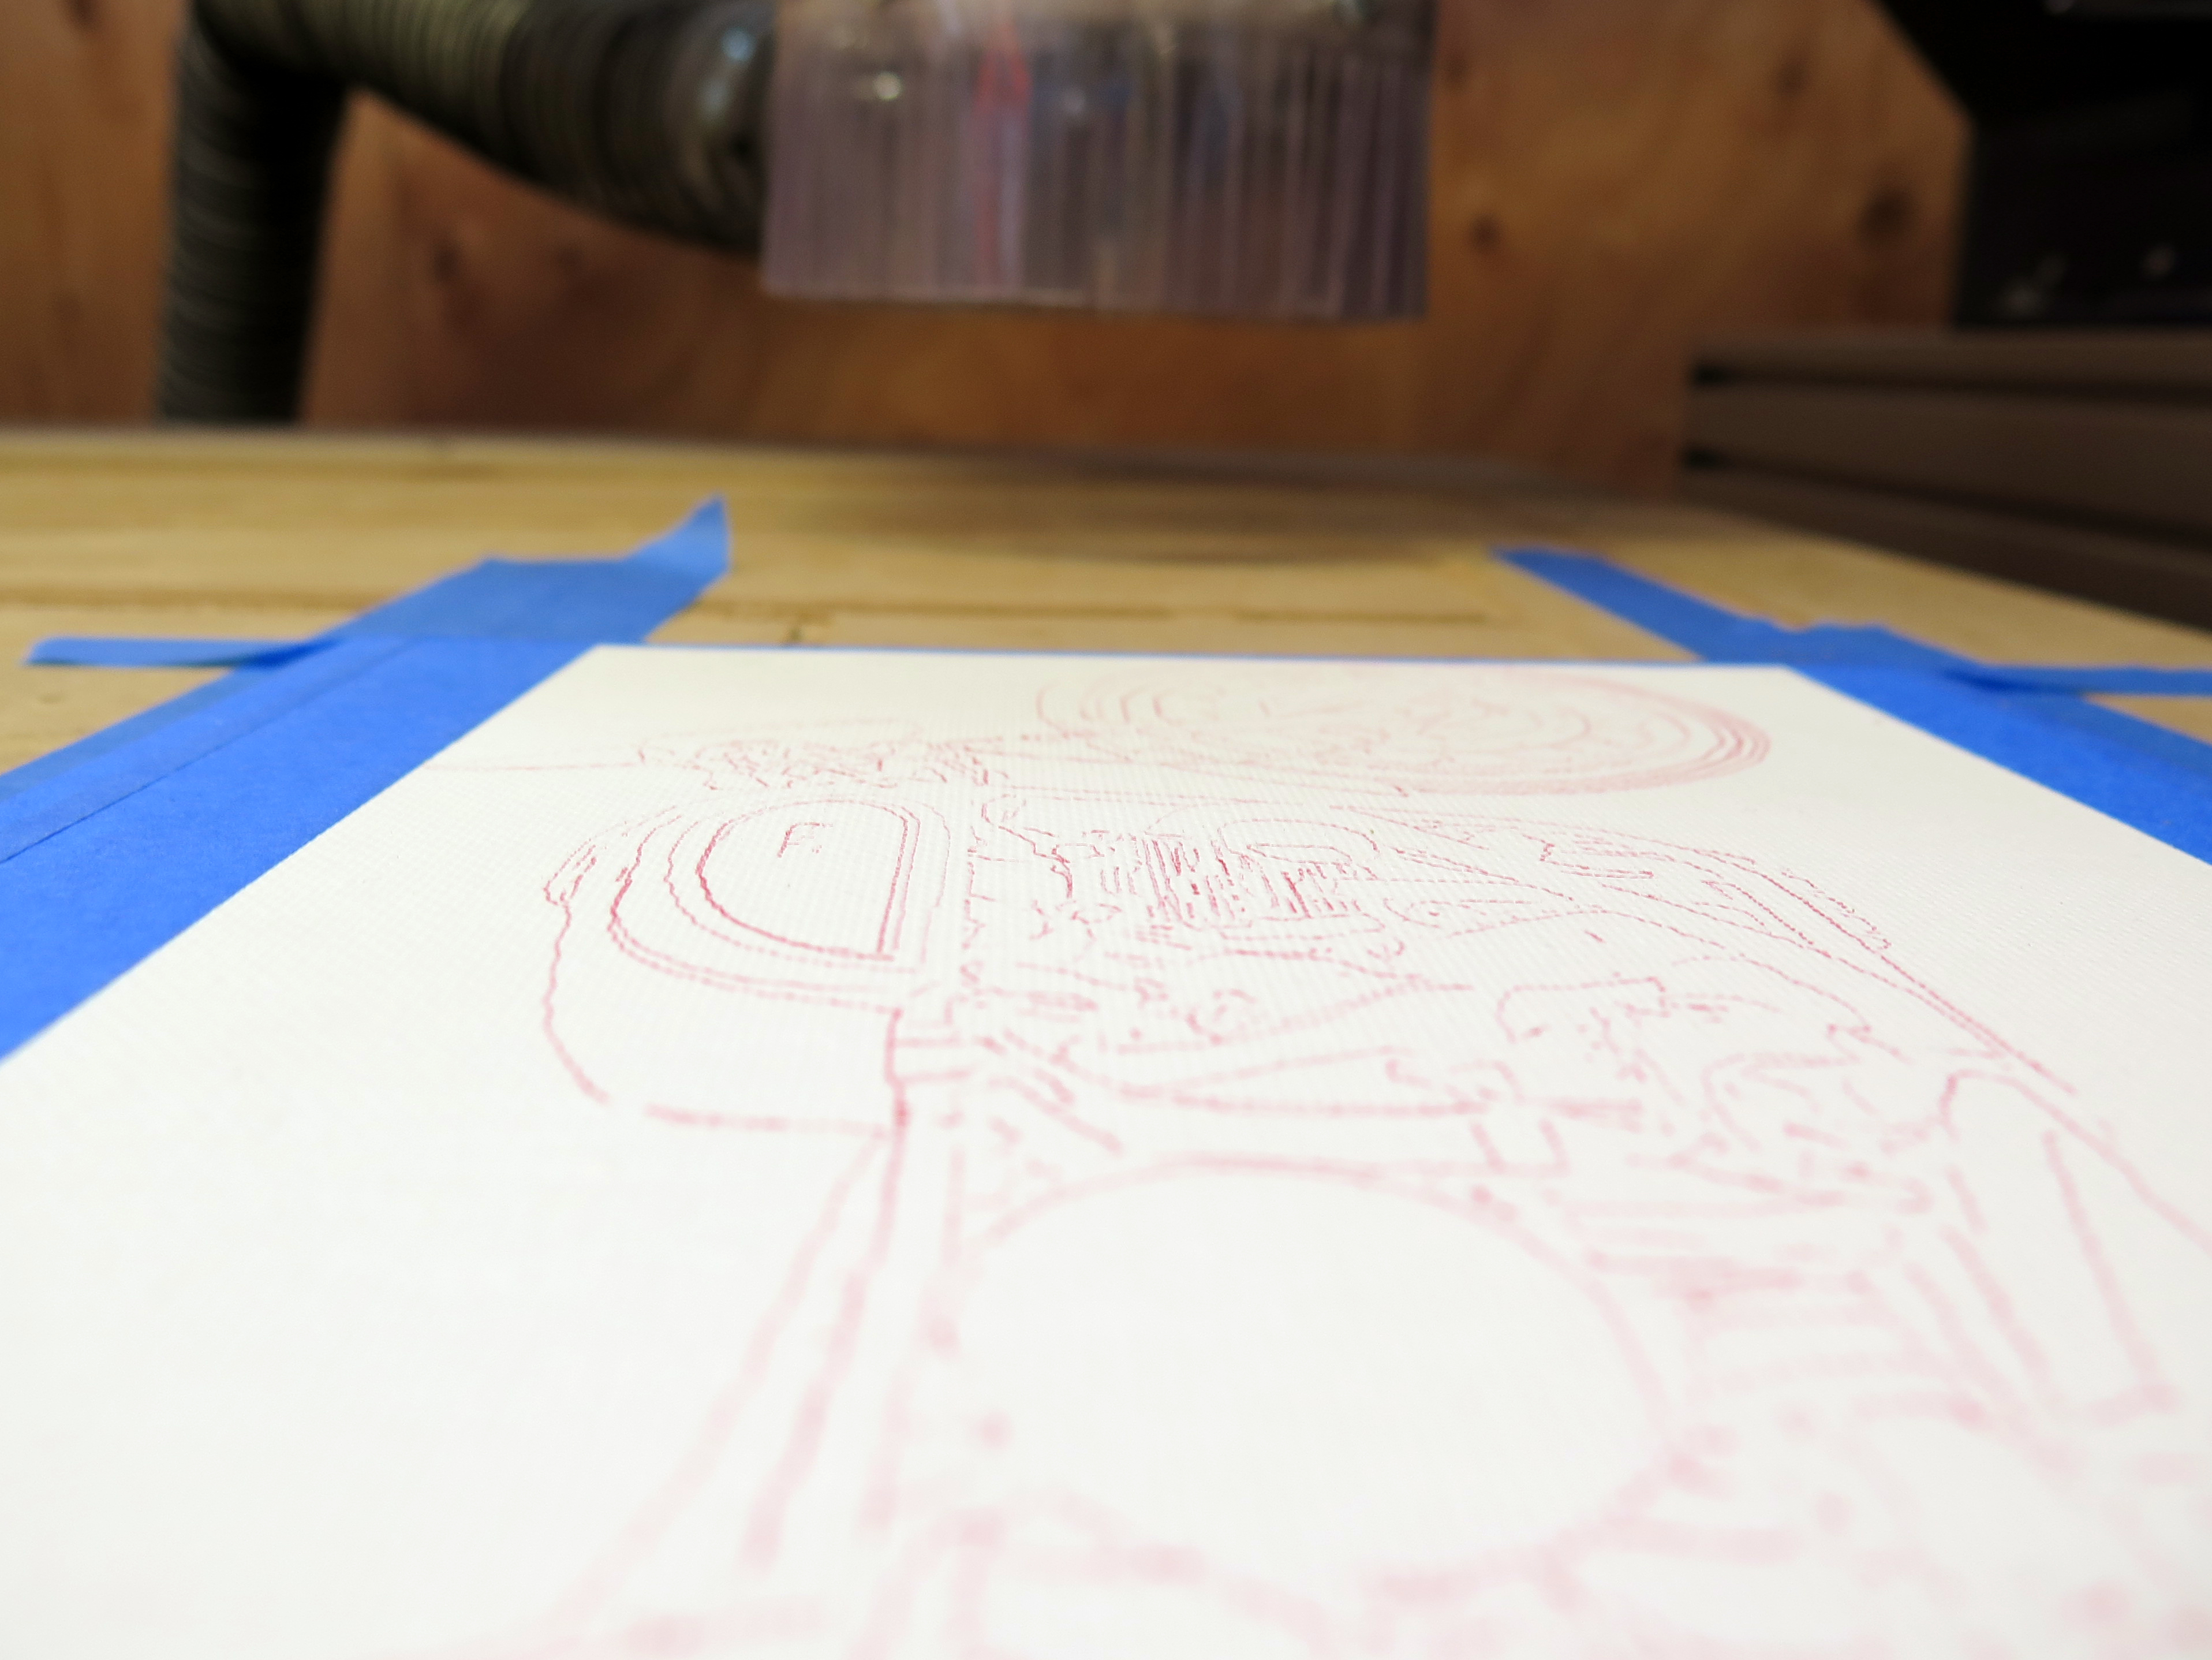
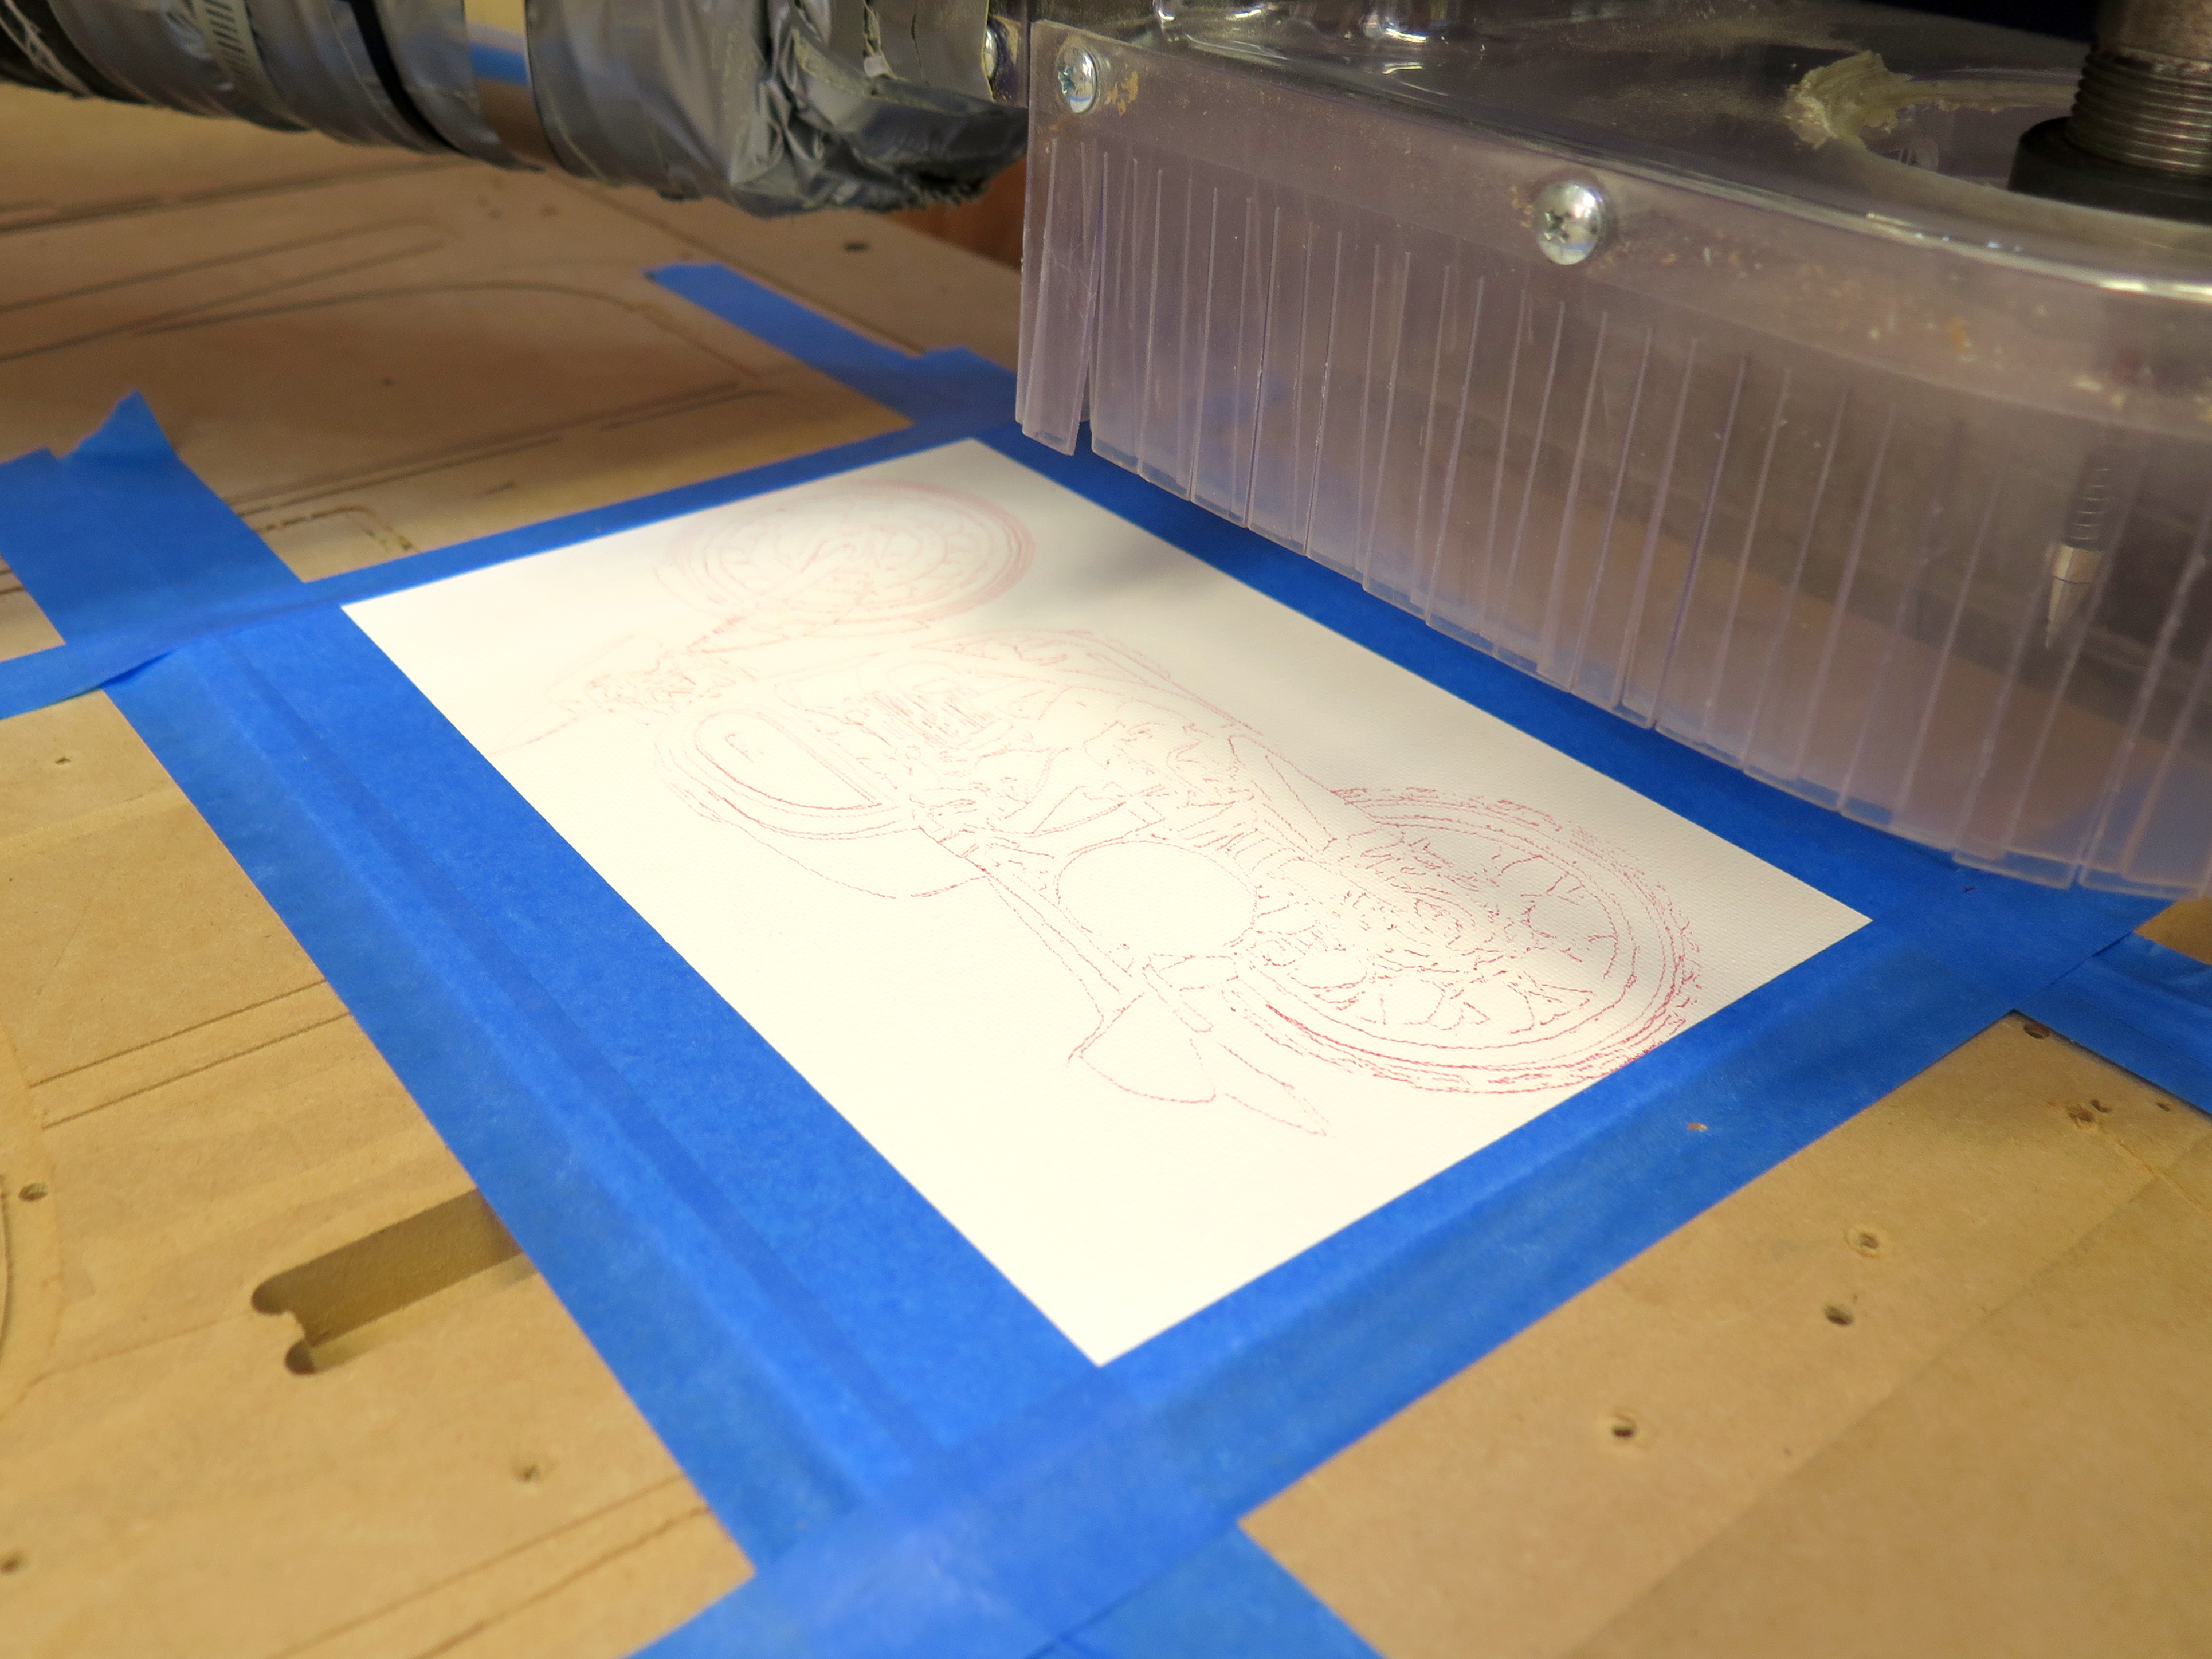
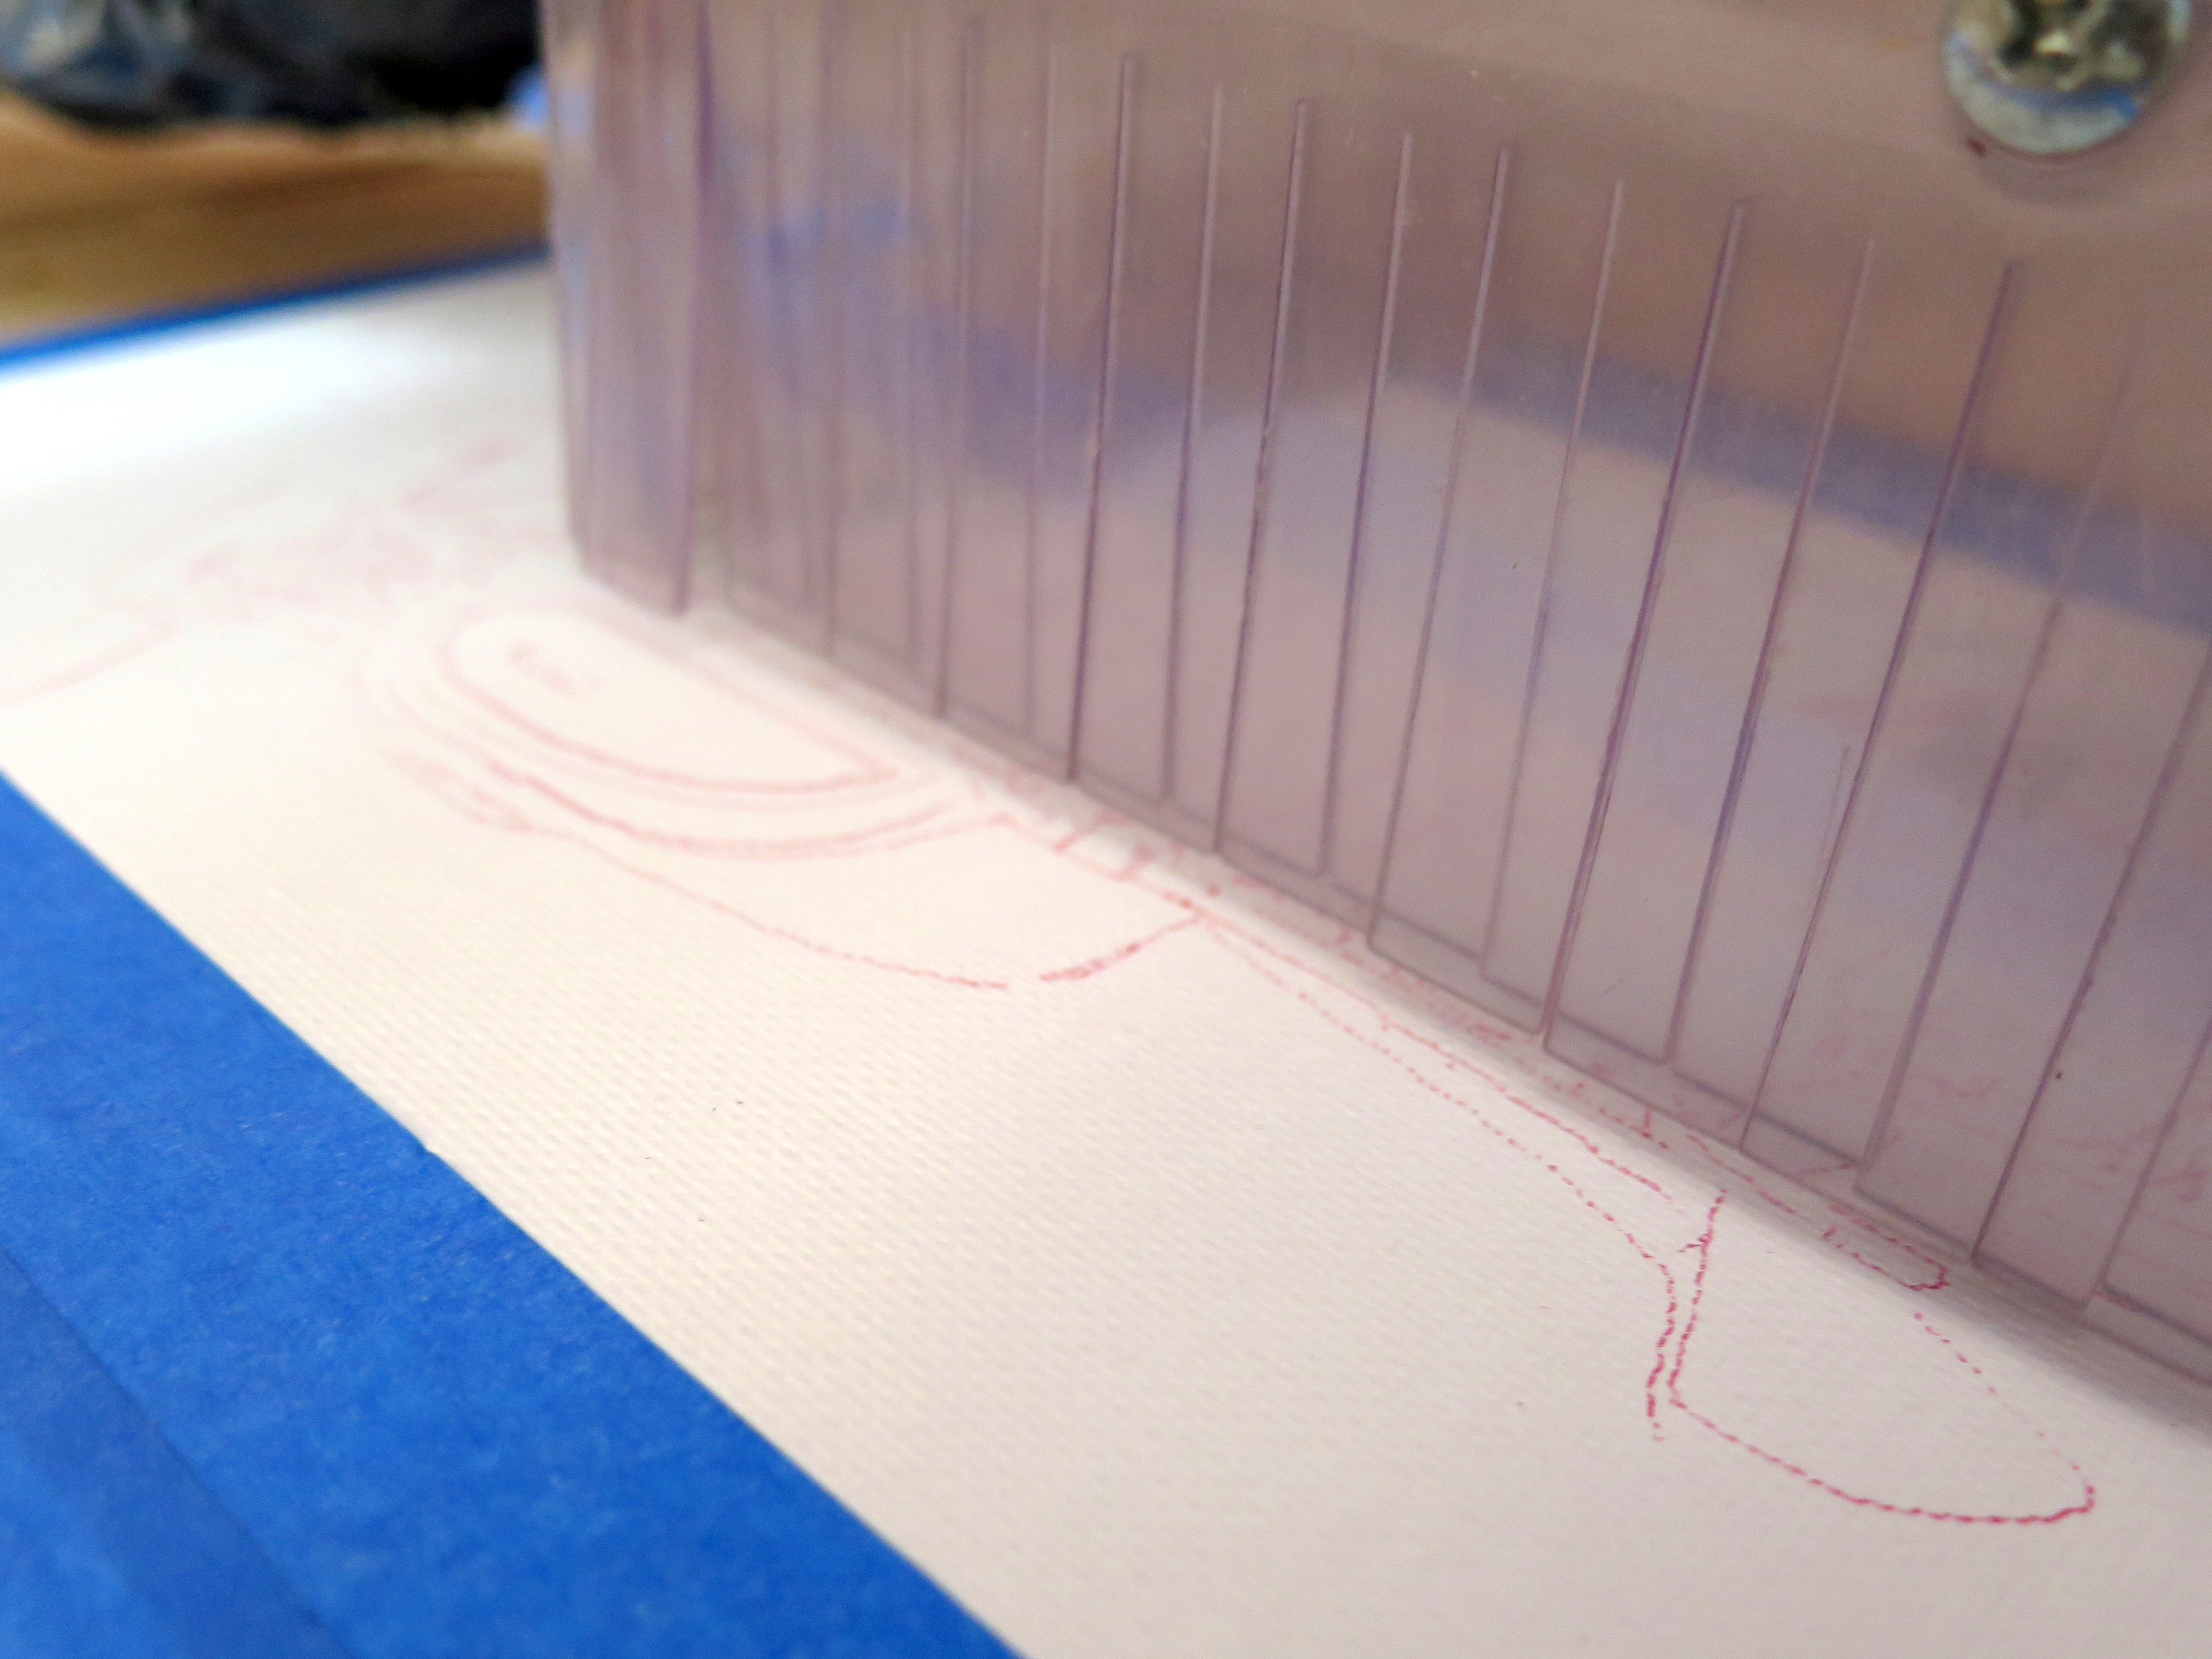
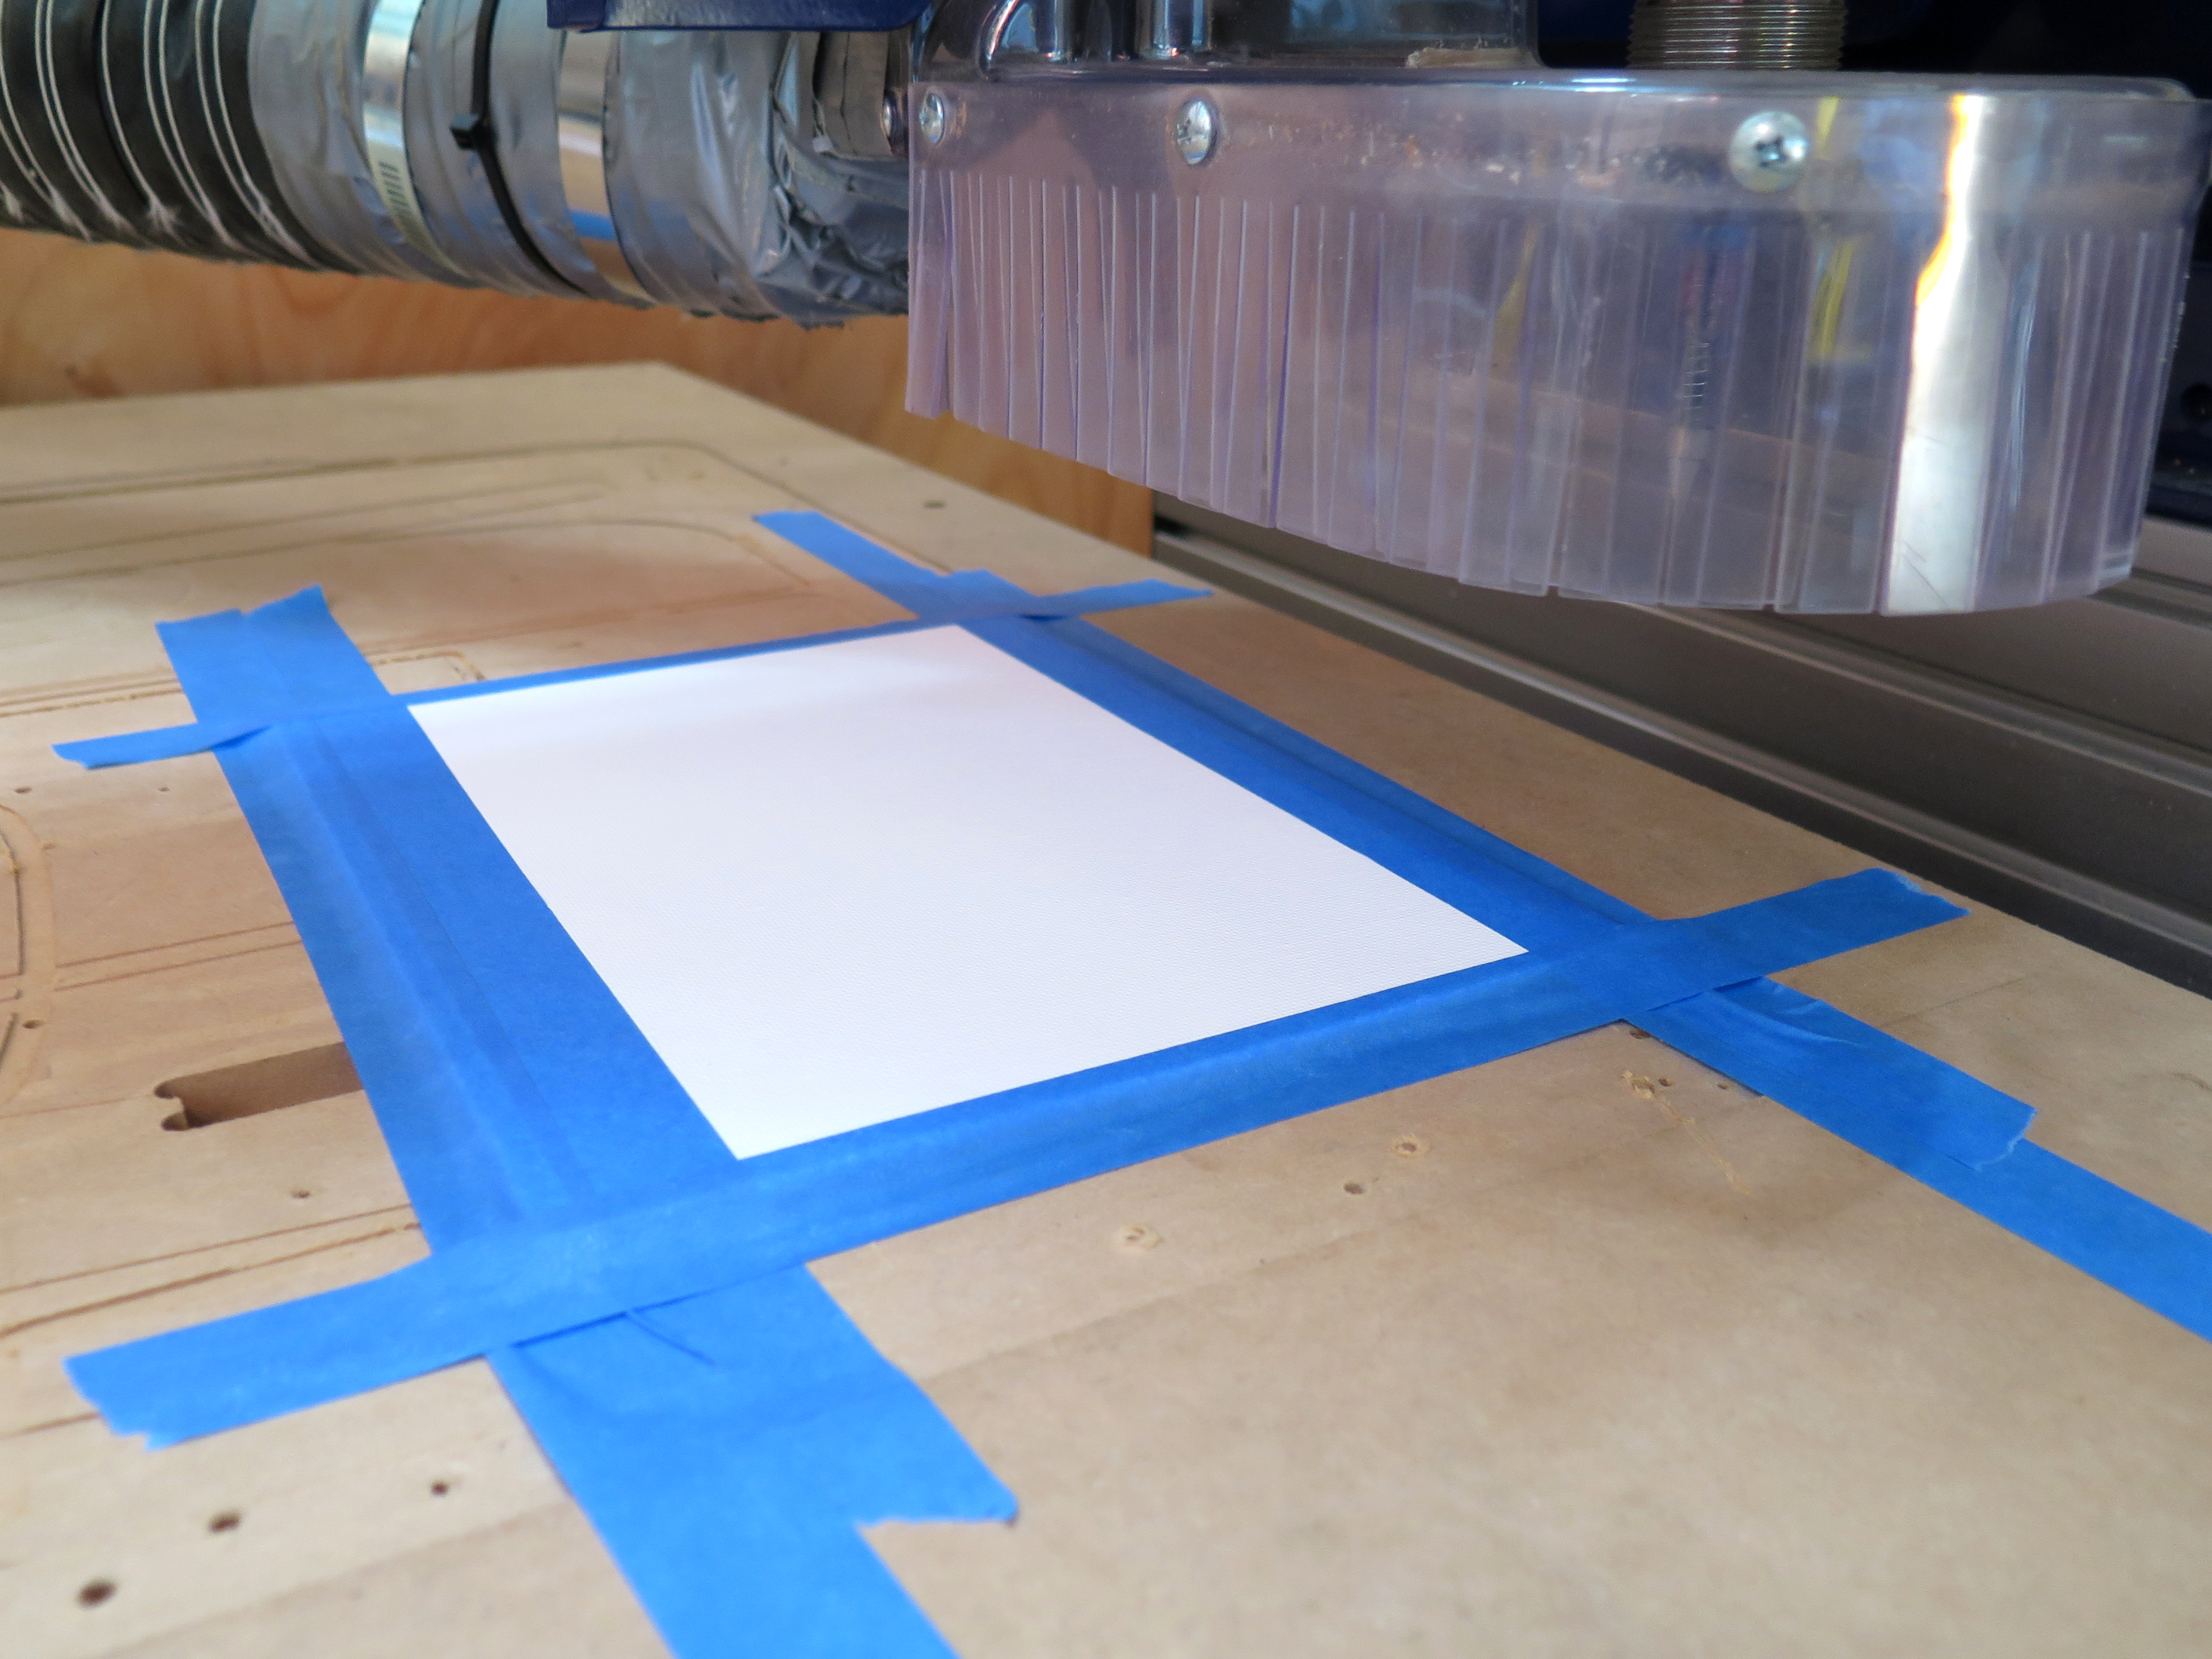
Place your 8" x 10" canvas on the worktable of the Shopbot. Use tape to attach it. Try as best to keep it squared to the table too.
Turn on the Shopbot and the Computer. Open the Shopbot manager. Put the Pen on the Collet and you are ready to Zero the machine in 3 axis. Move X, Y and Z Axis so that you are pretty close to the corner of your canvas. Once your pen touches the edge of the canvas Use Z3 to Zero X, Y and Z axis manually. Awesome, now you are ready to begin the drawings!
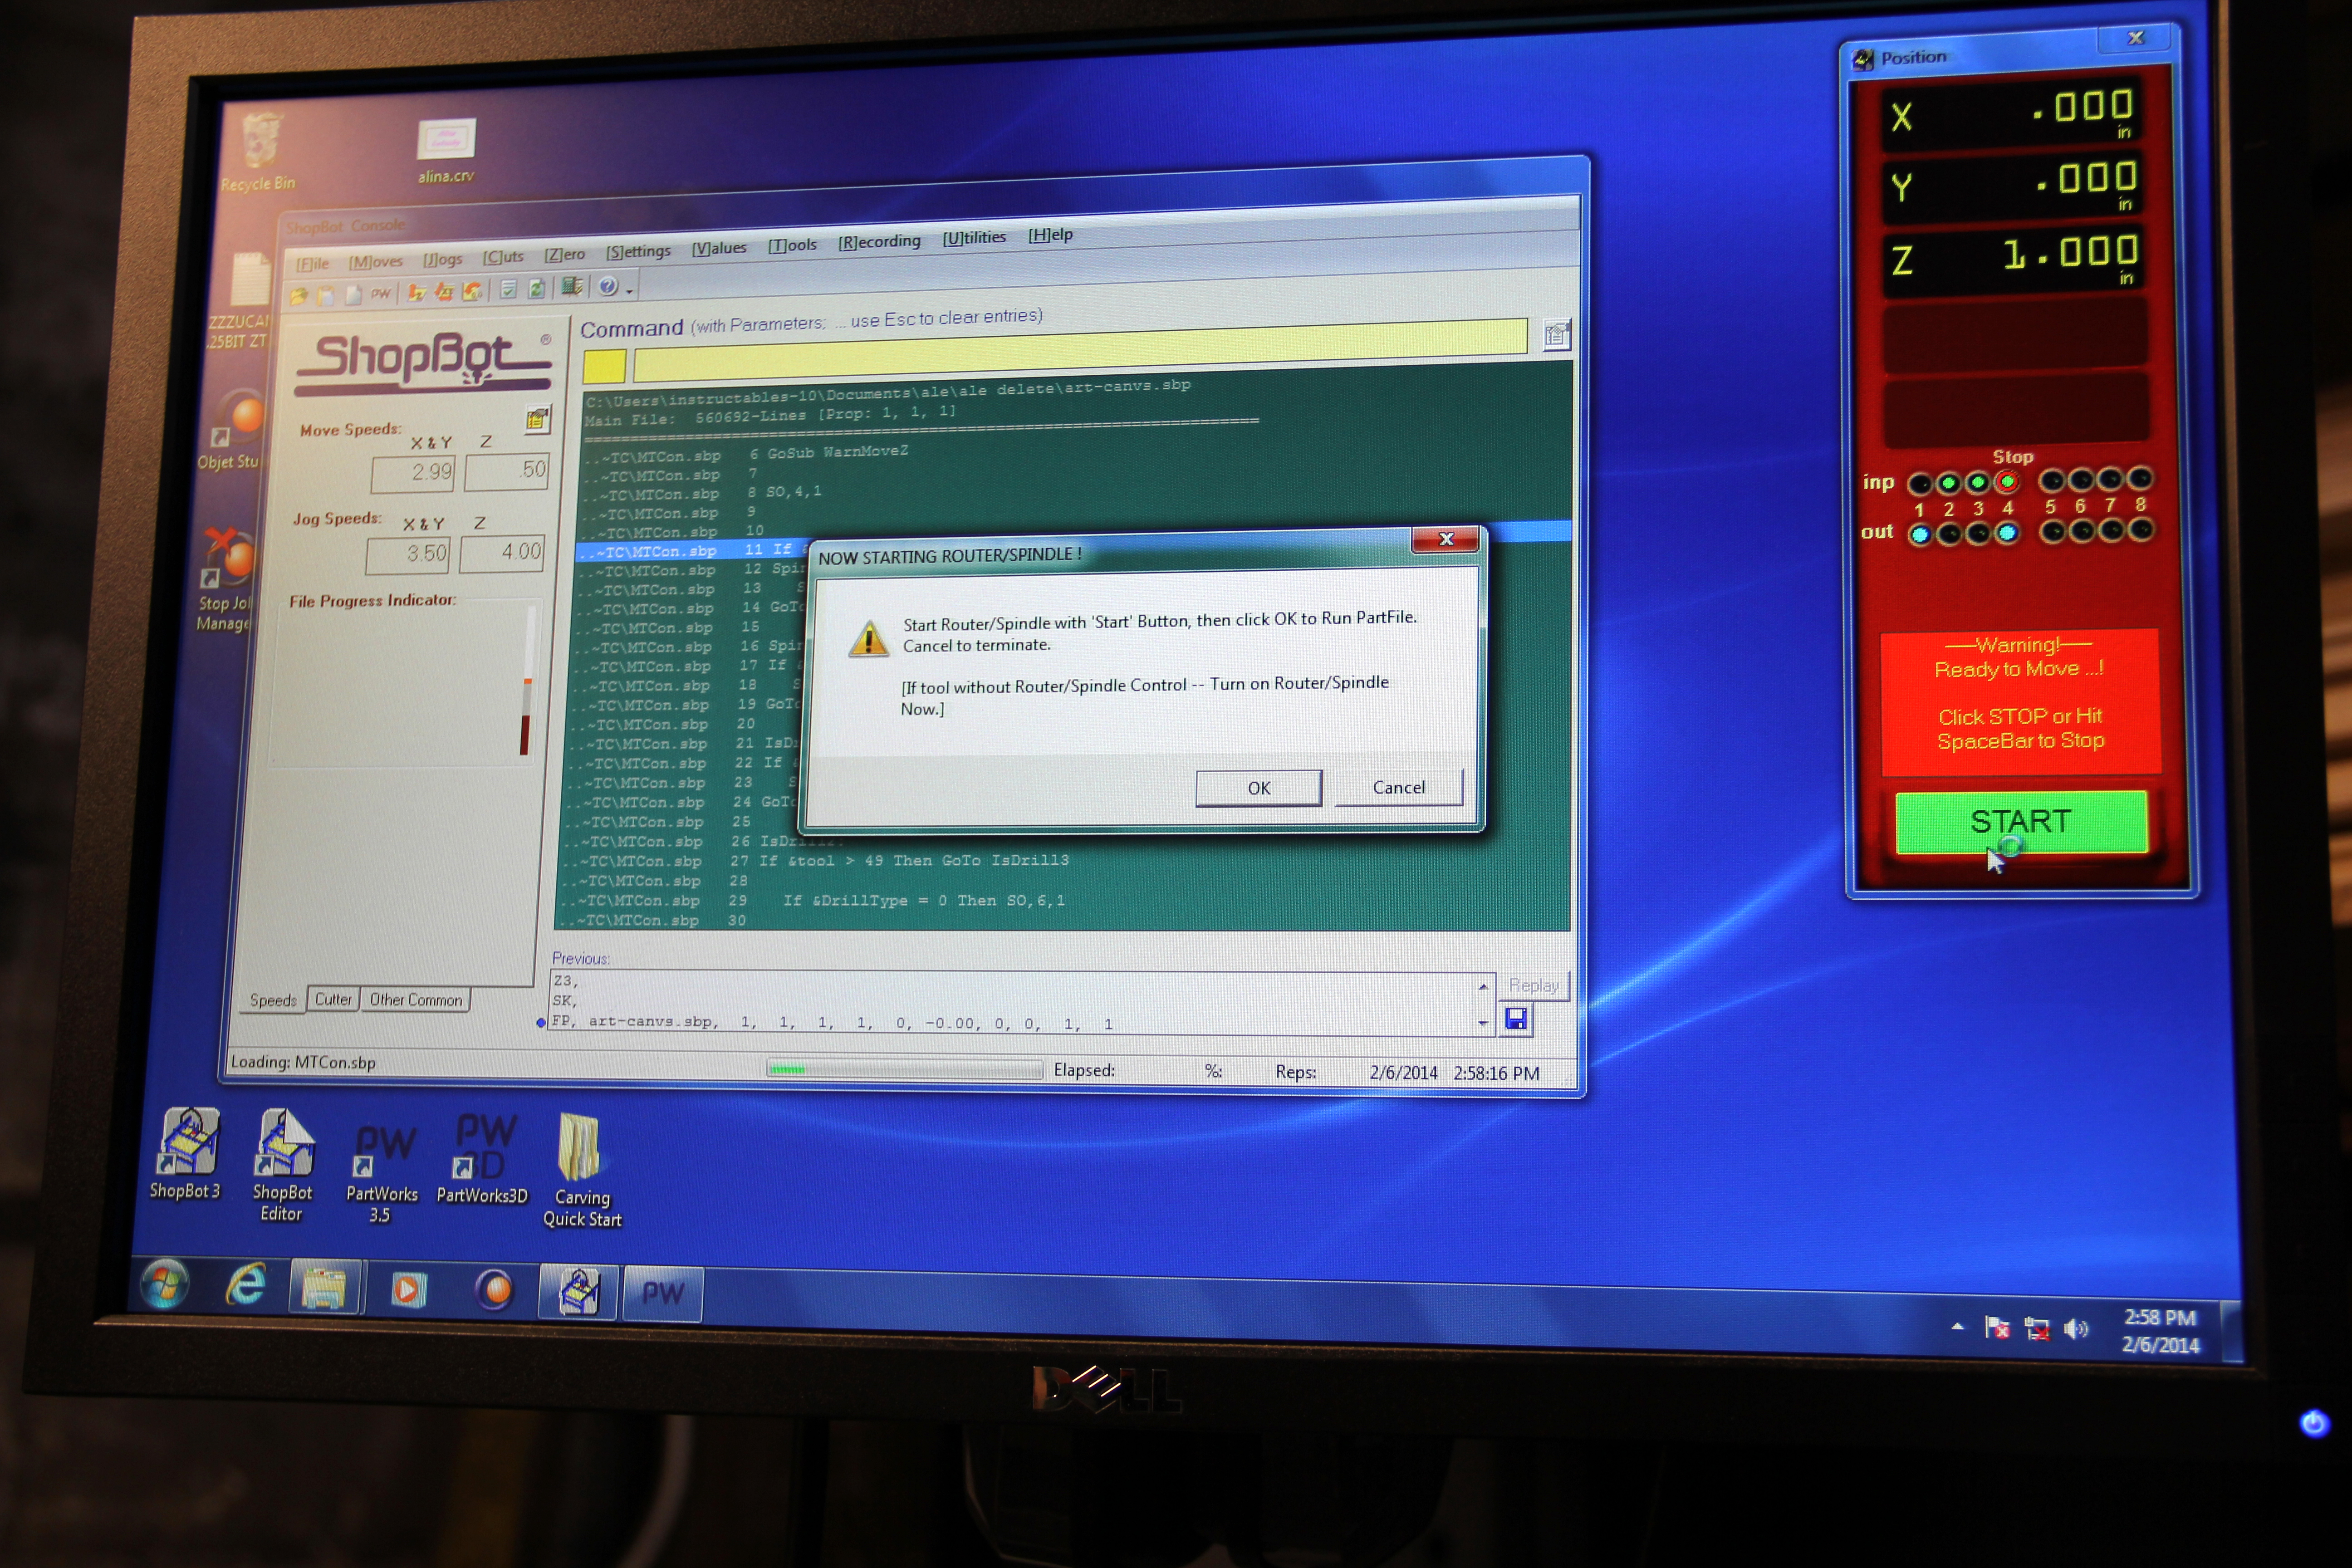
Open your Toolpath file and hit Start. You will be prompted a Warning message to start your Router/Spindle. We are not going to make the spindle run so press OK. The Shopbot will now begin to move and make your drawing.
Brush Marker and Blue Tape
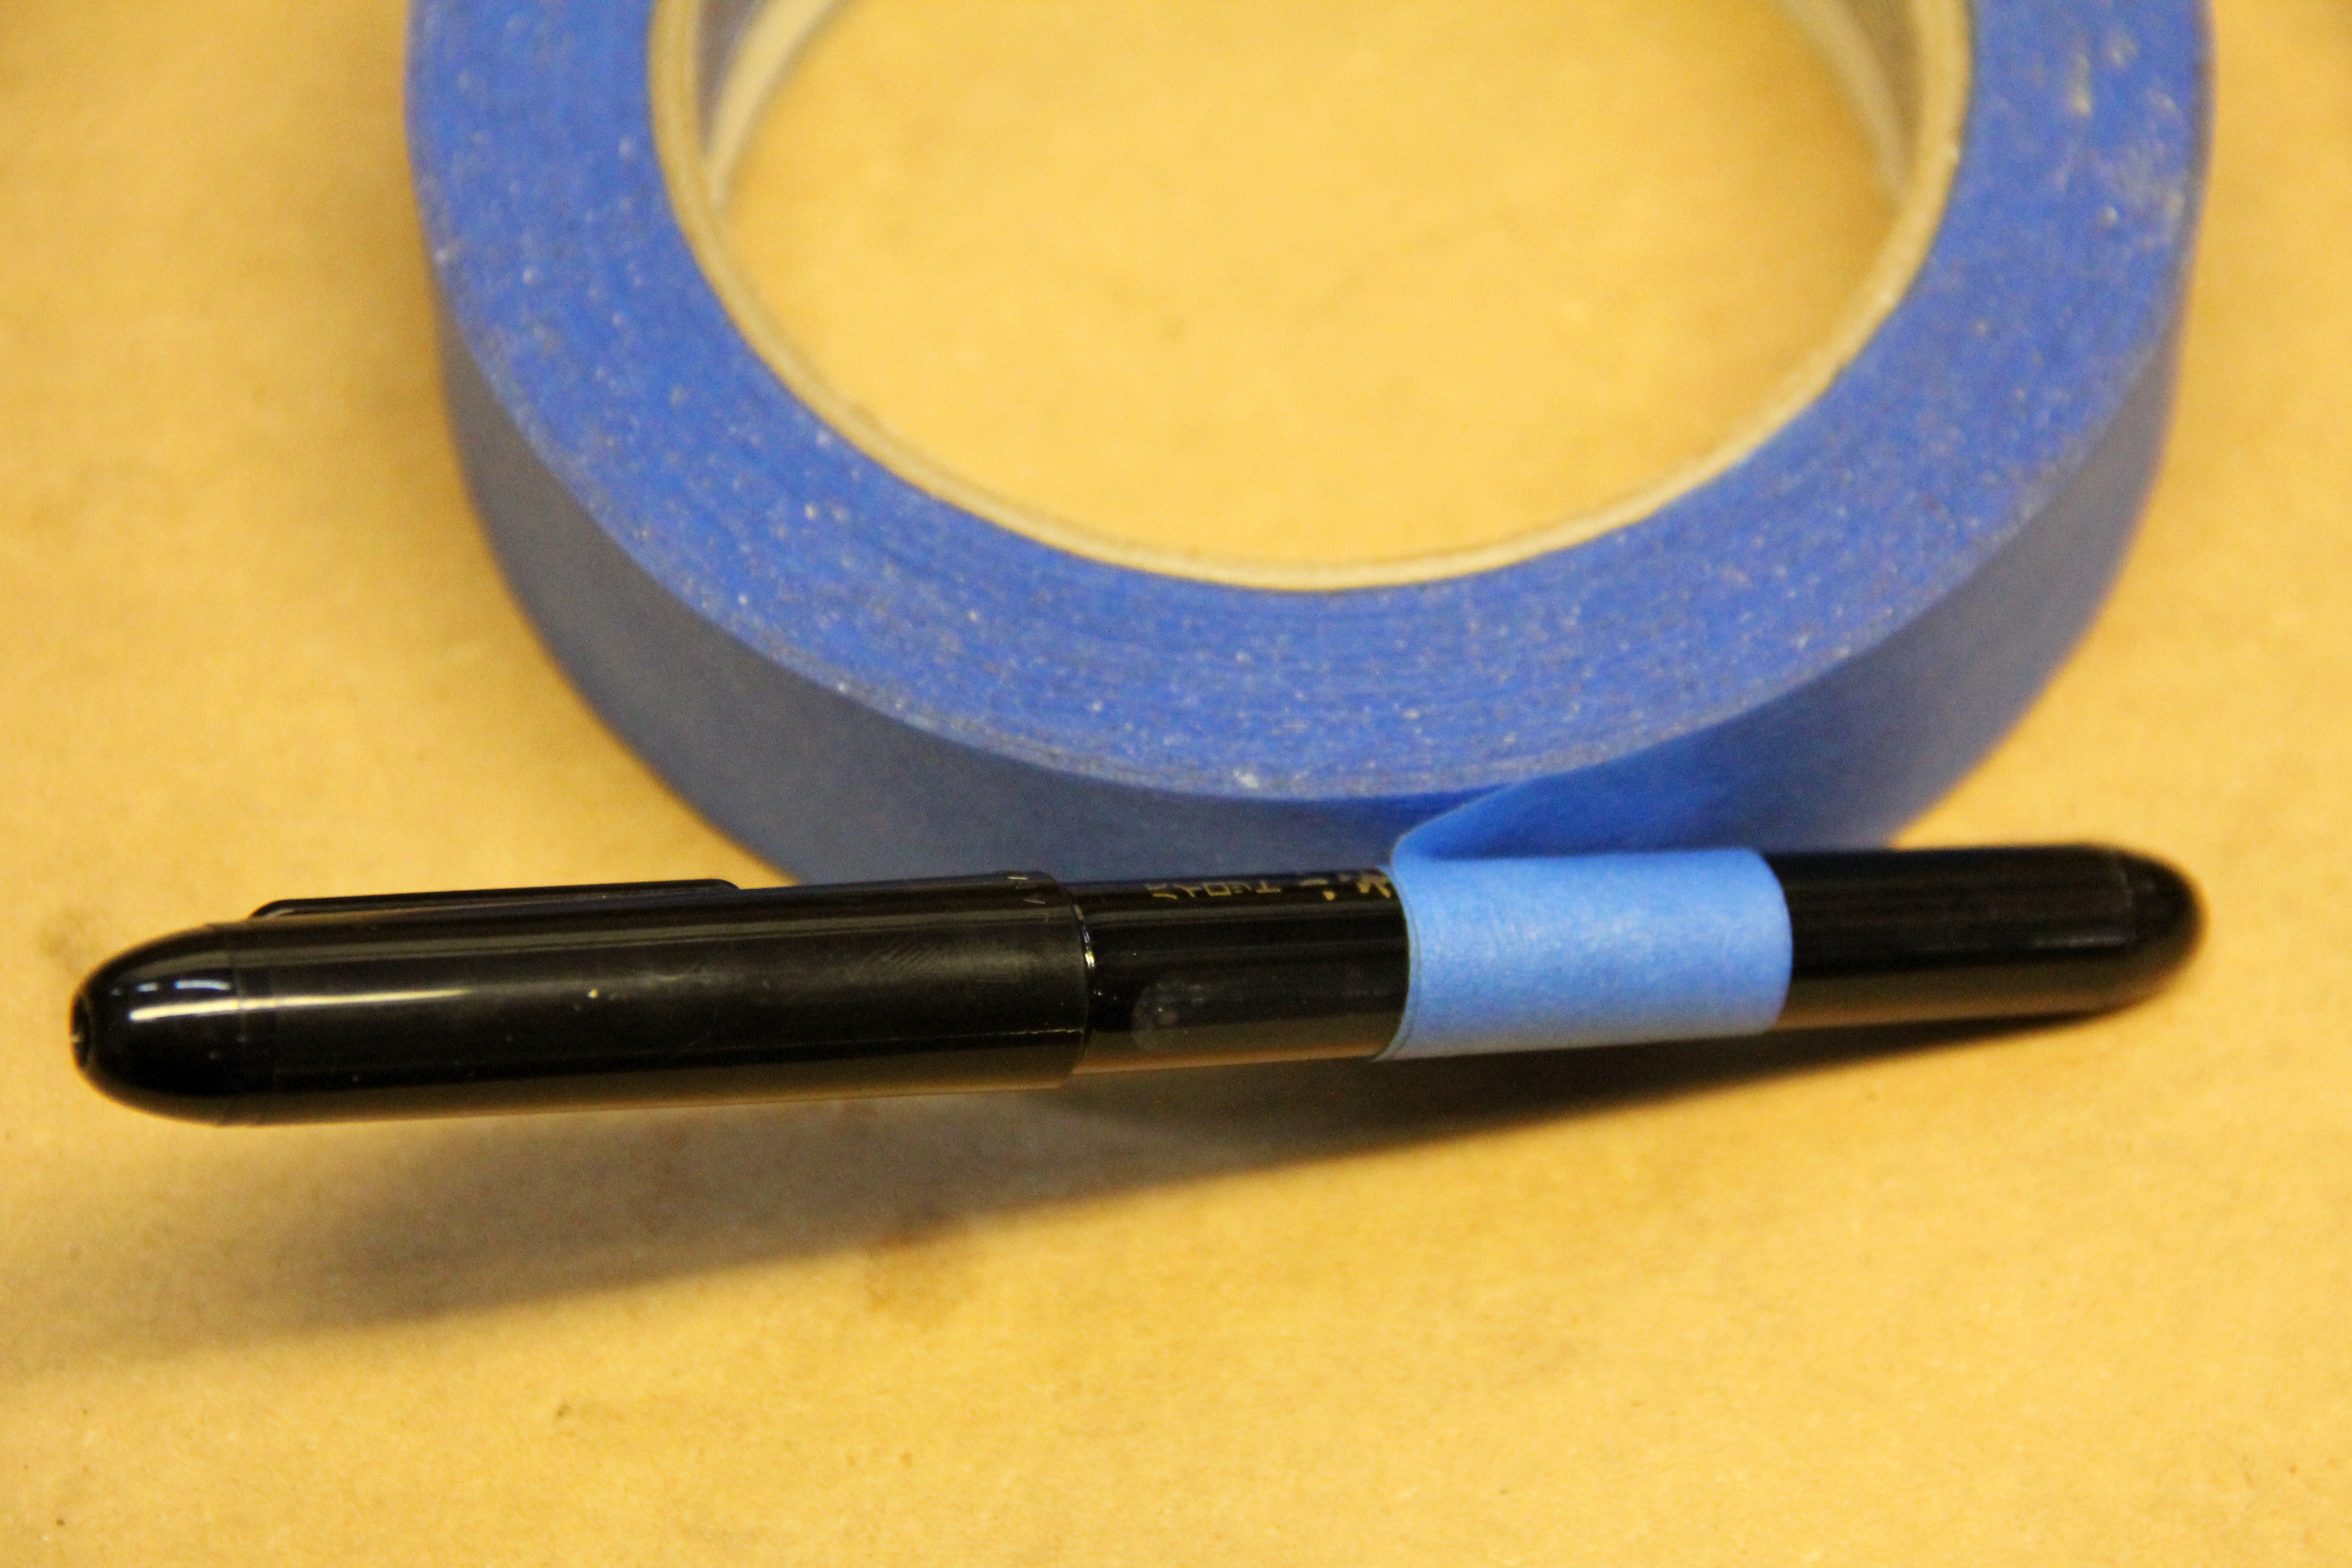
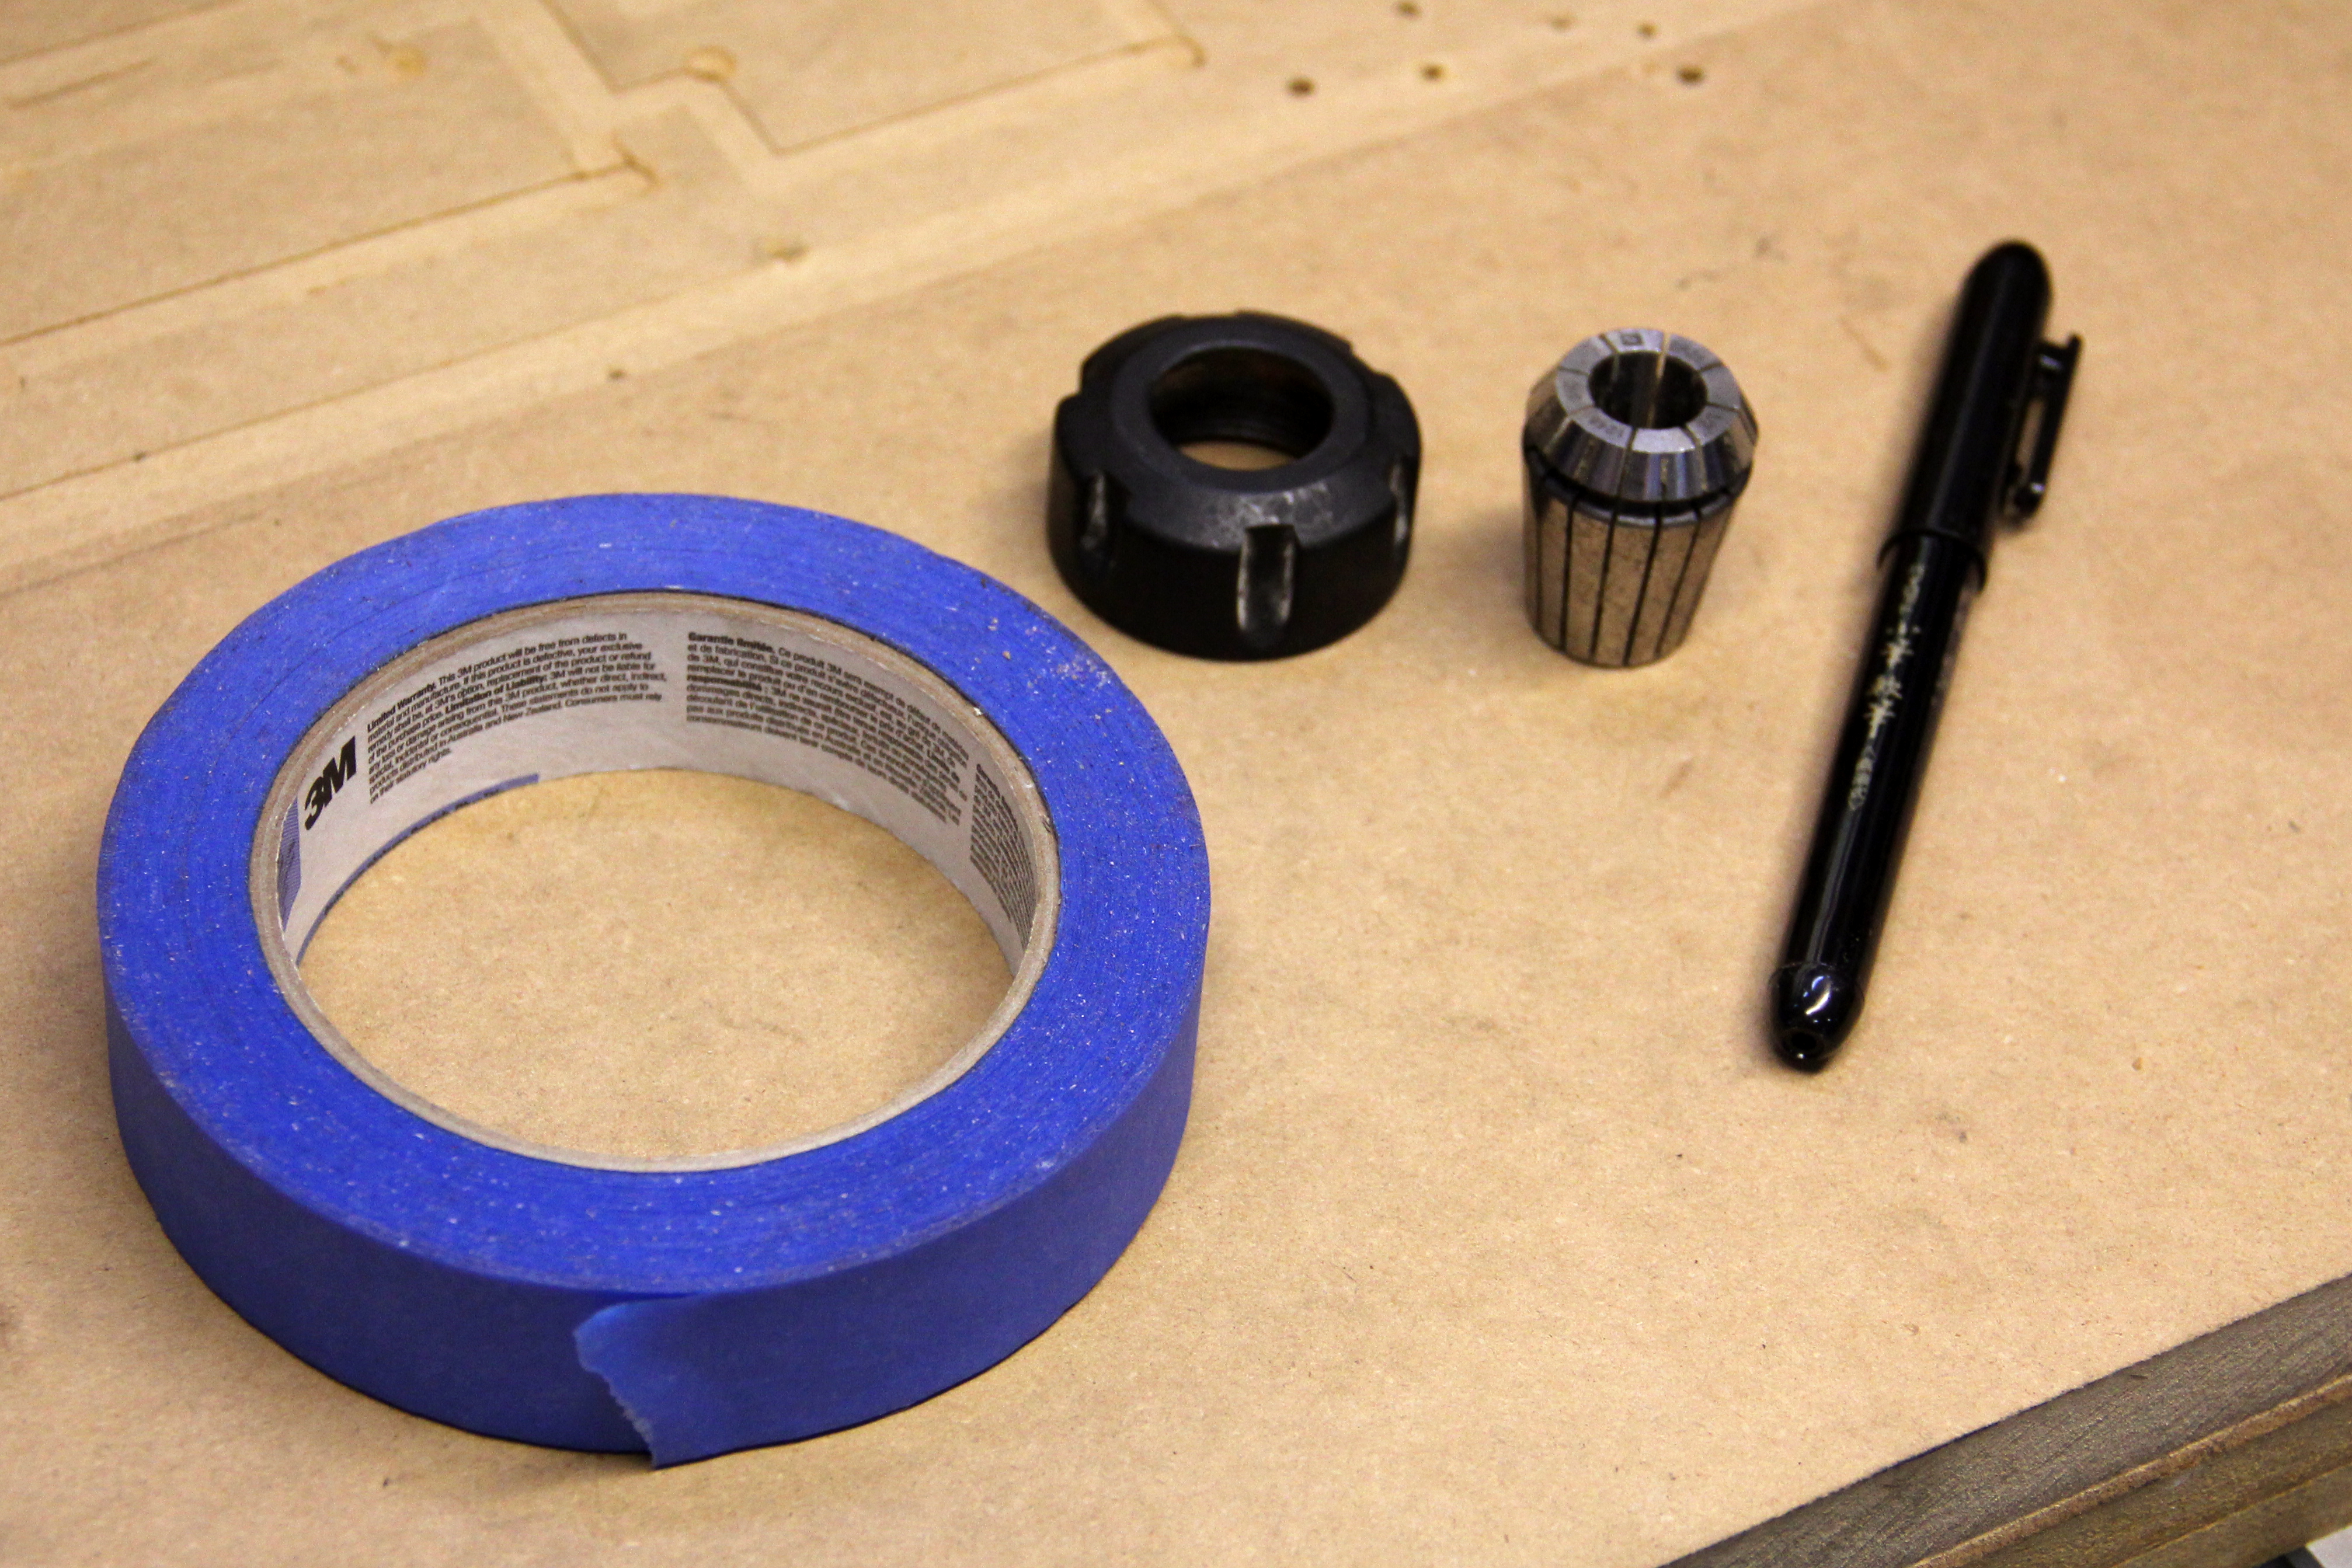
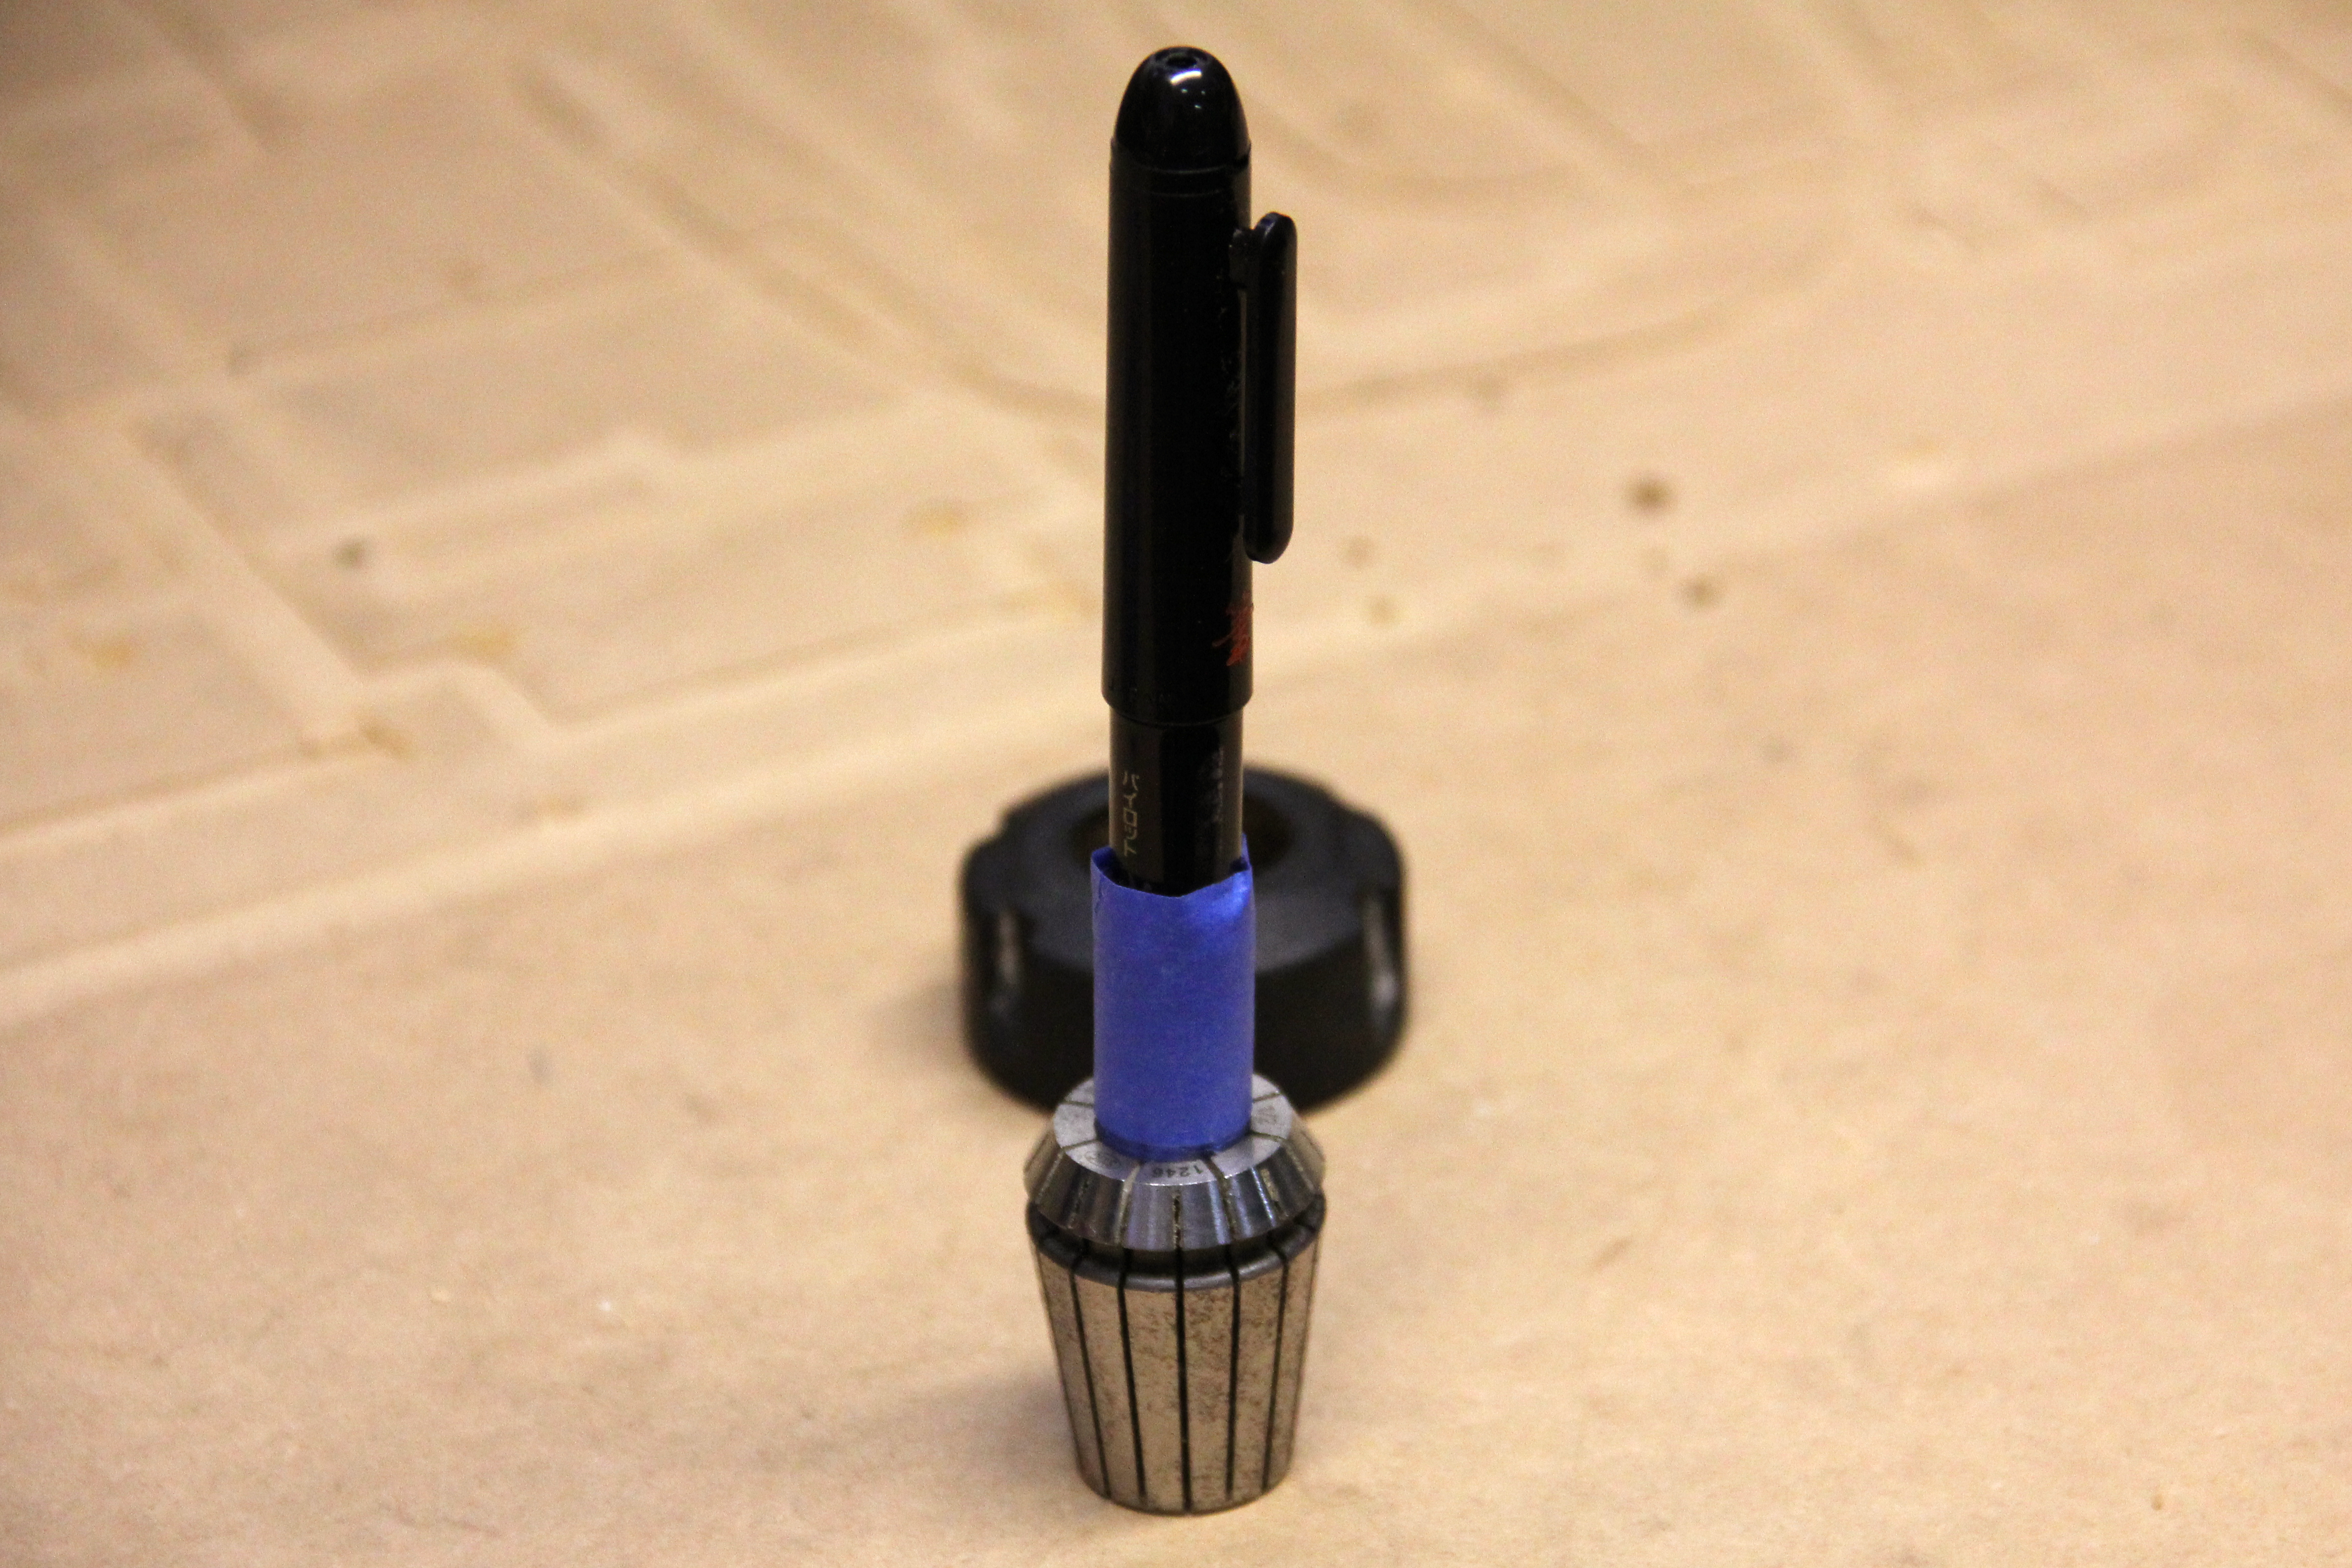
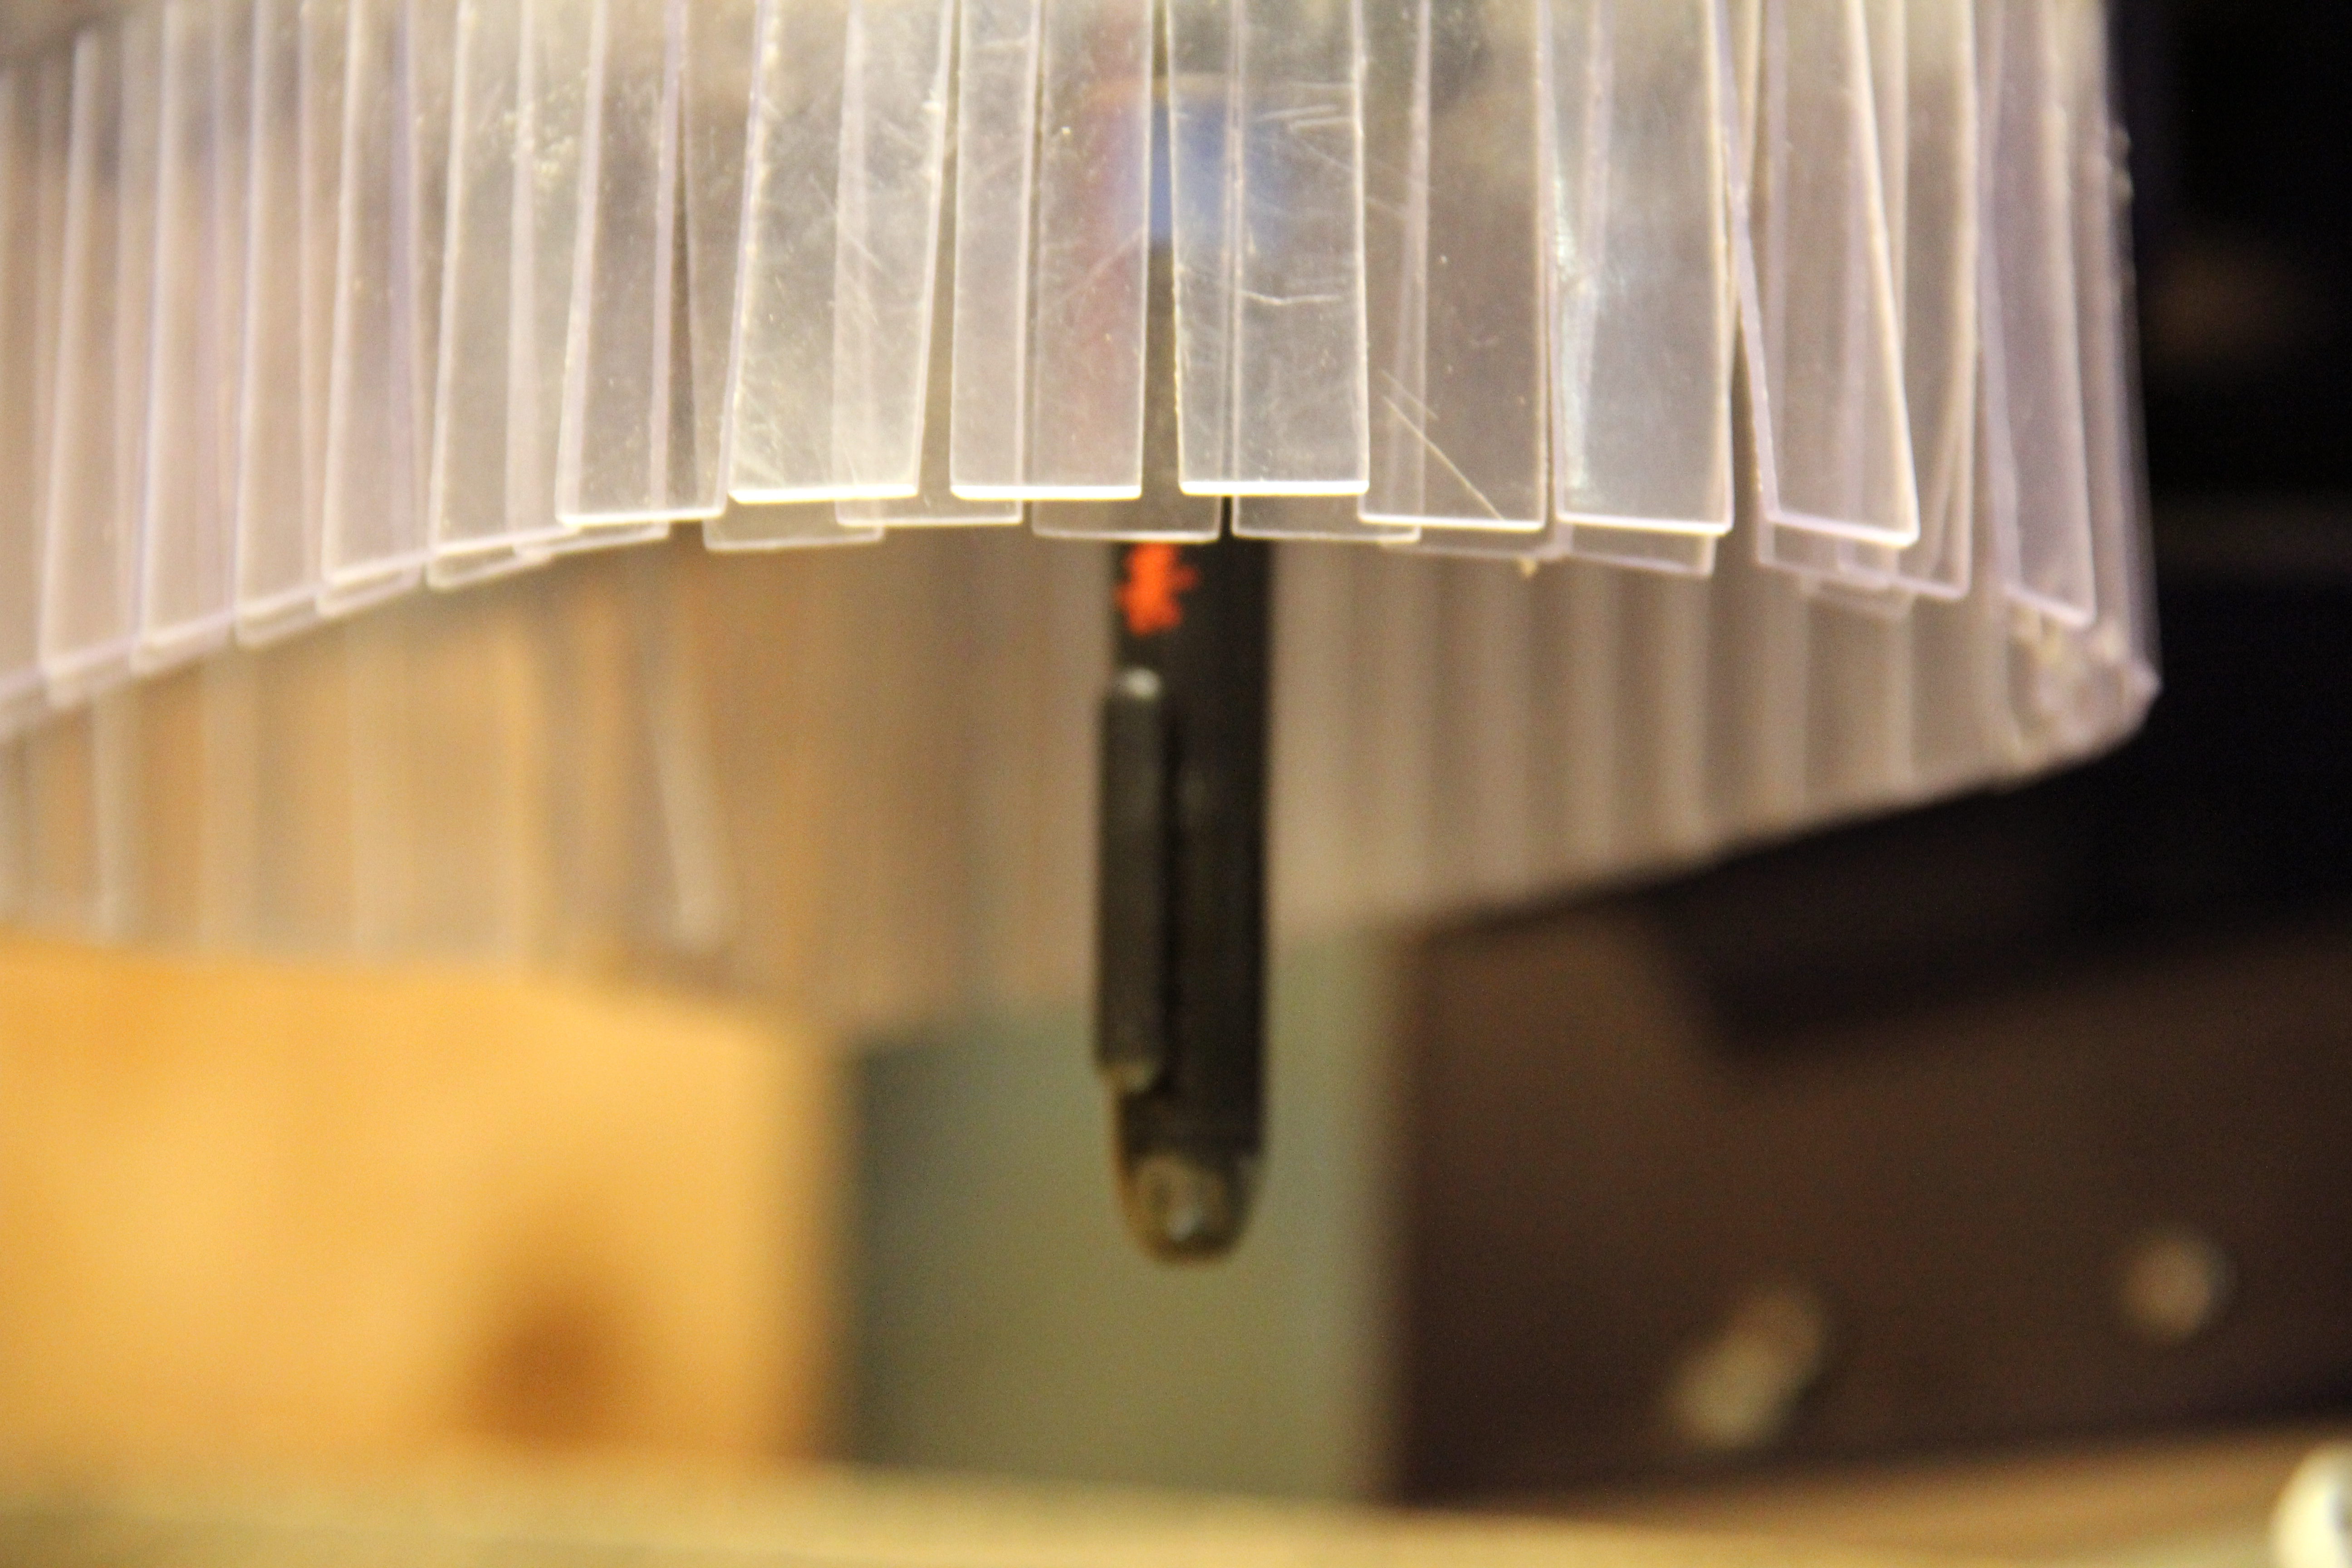
Pen Drawings were fun but I wanted to use some darker and contrasting markers. I did a little research and found this awesome marker: Pilot Pocket Brush Pen - Soft It is short enough to fit inside the collet and had a brush tip that could give an interesting look to the drawing.
I used tape to increase the diameter and make it match the collet as I did with the pen drawings.
Using a Stretched Canvas
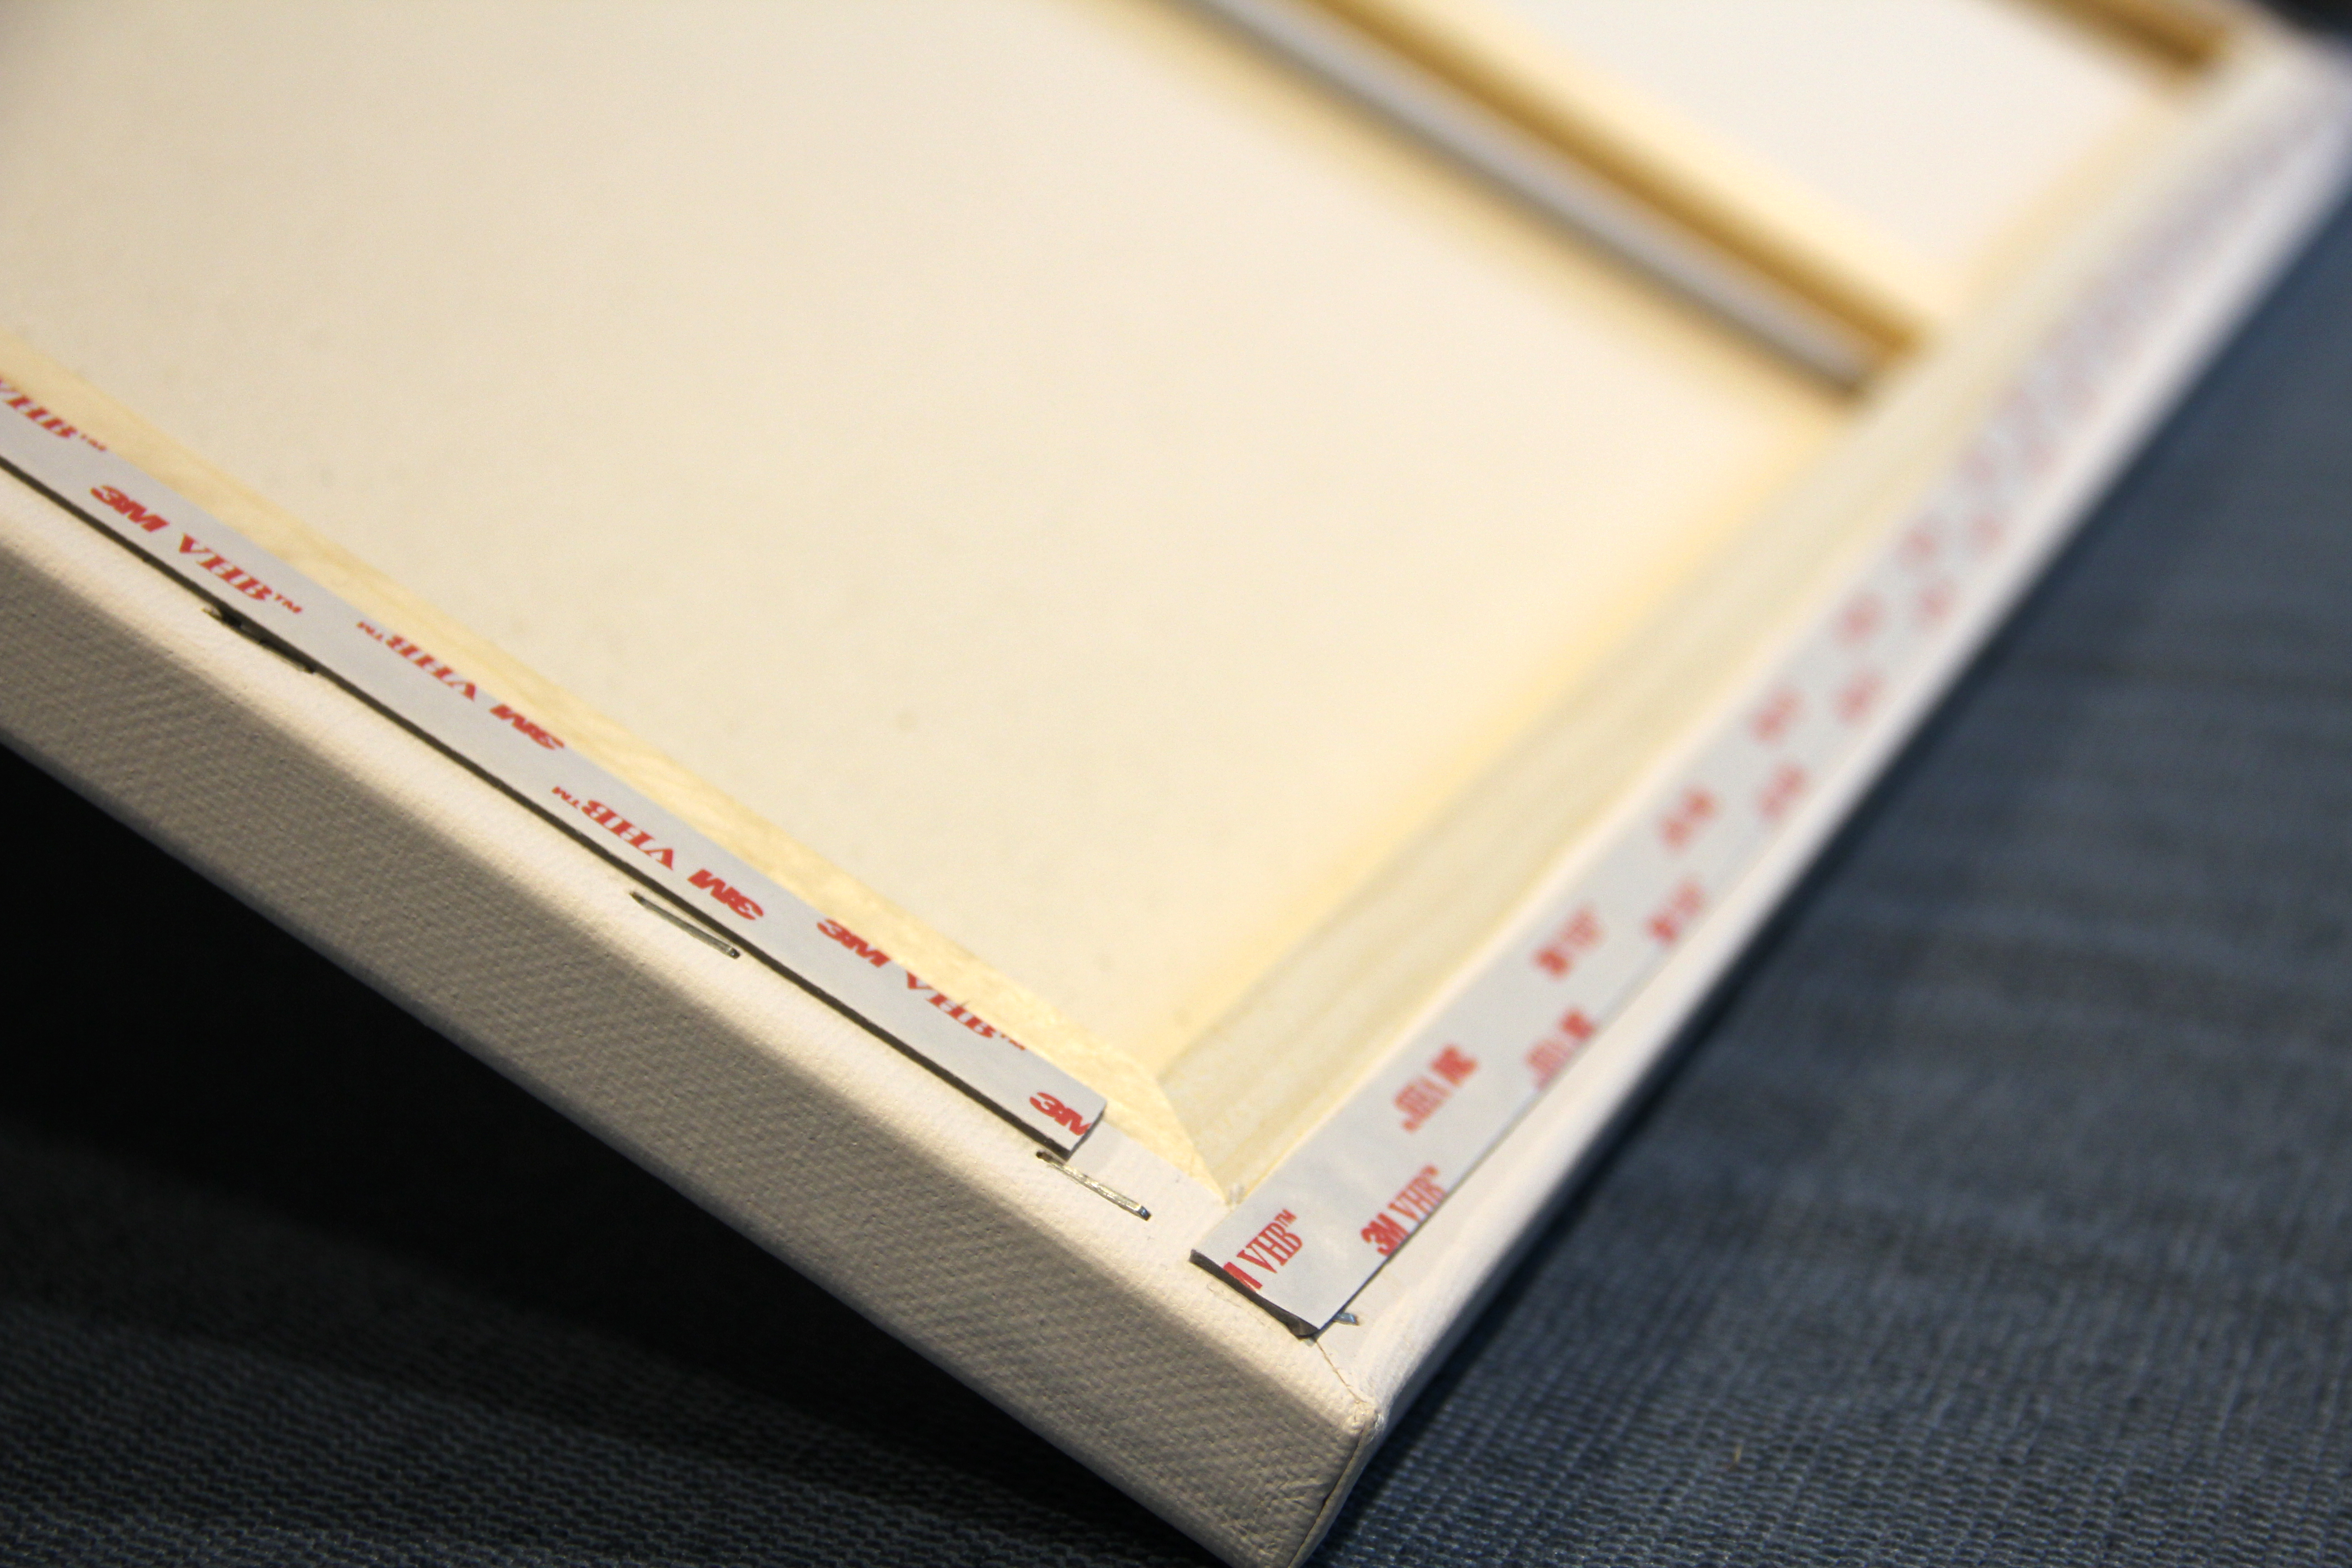
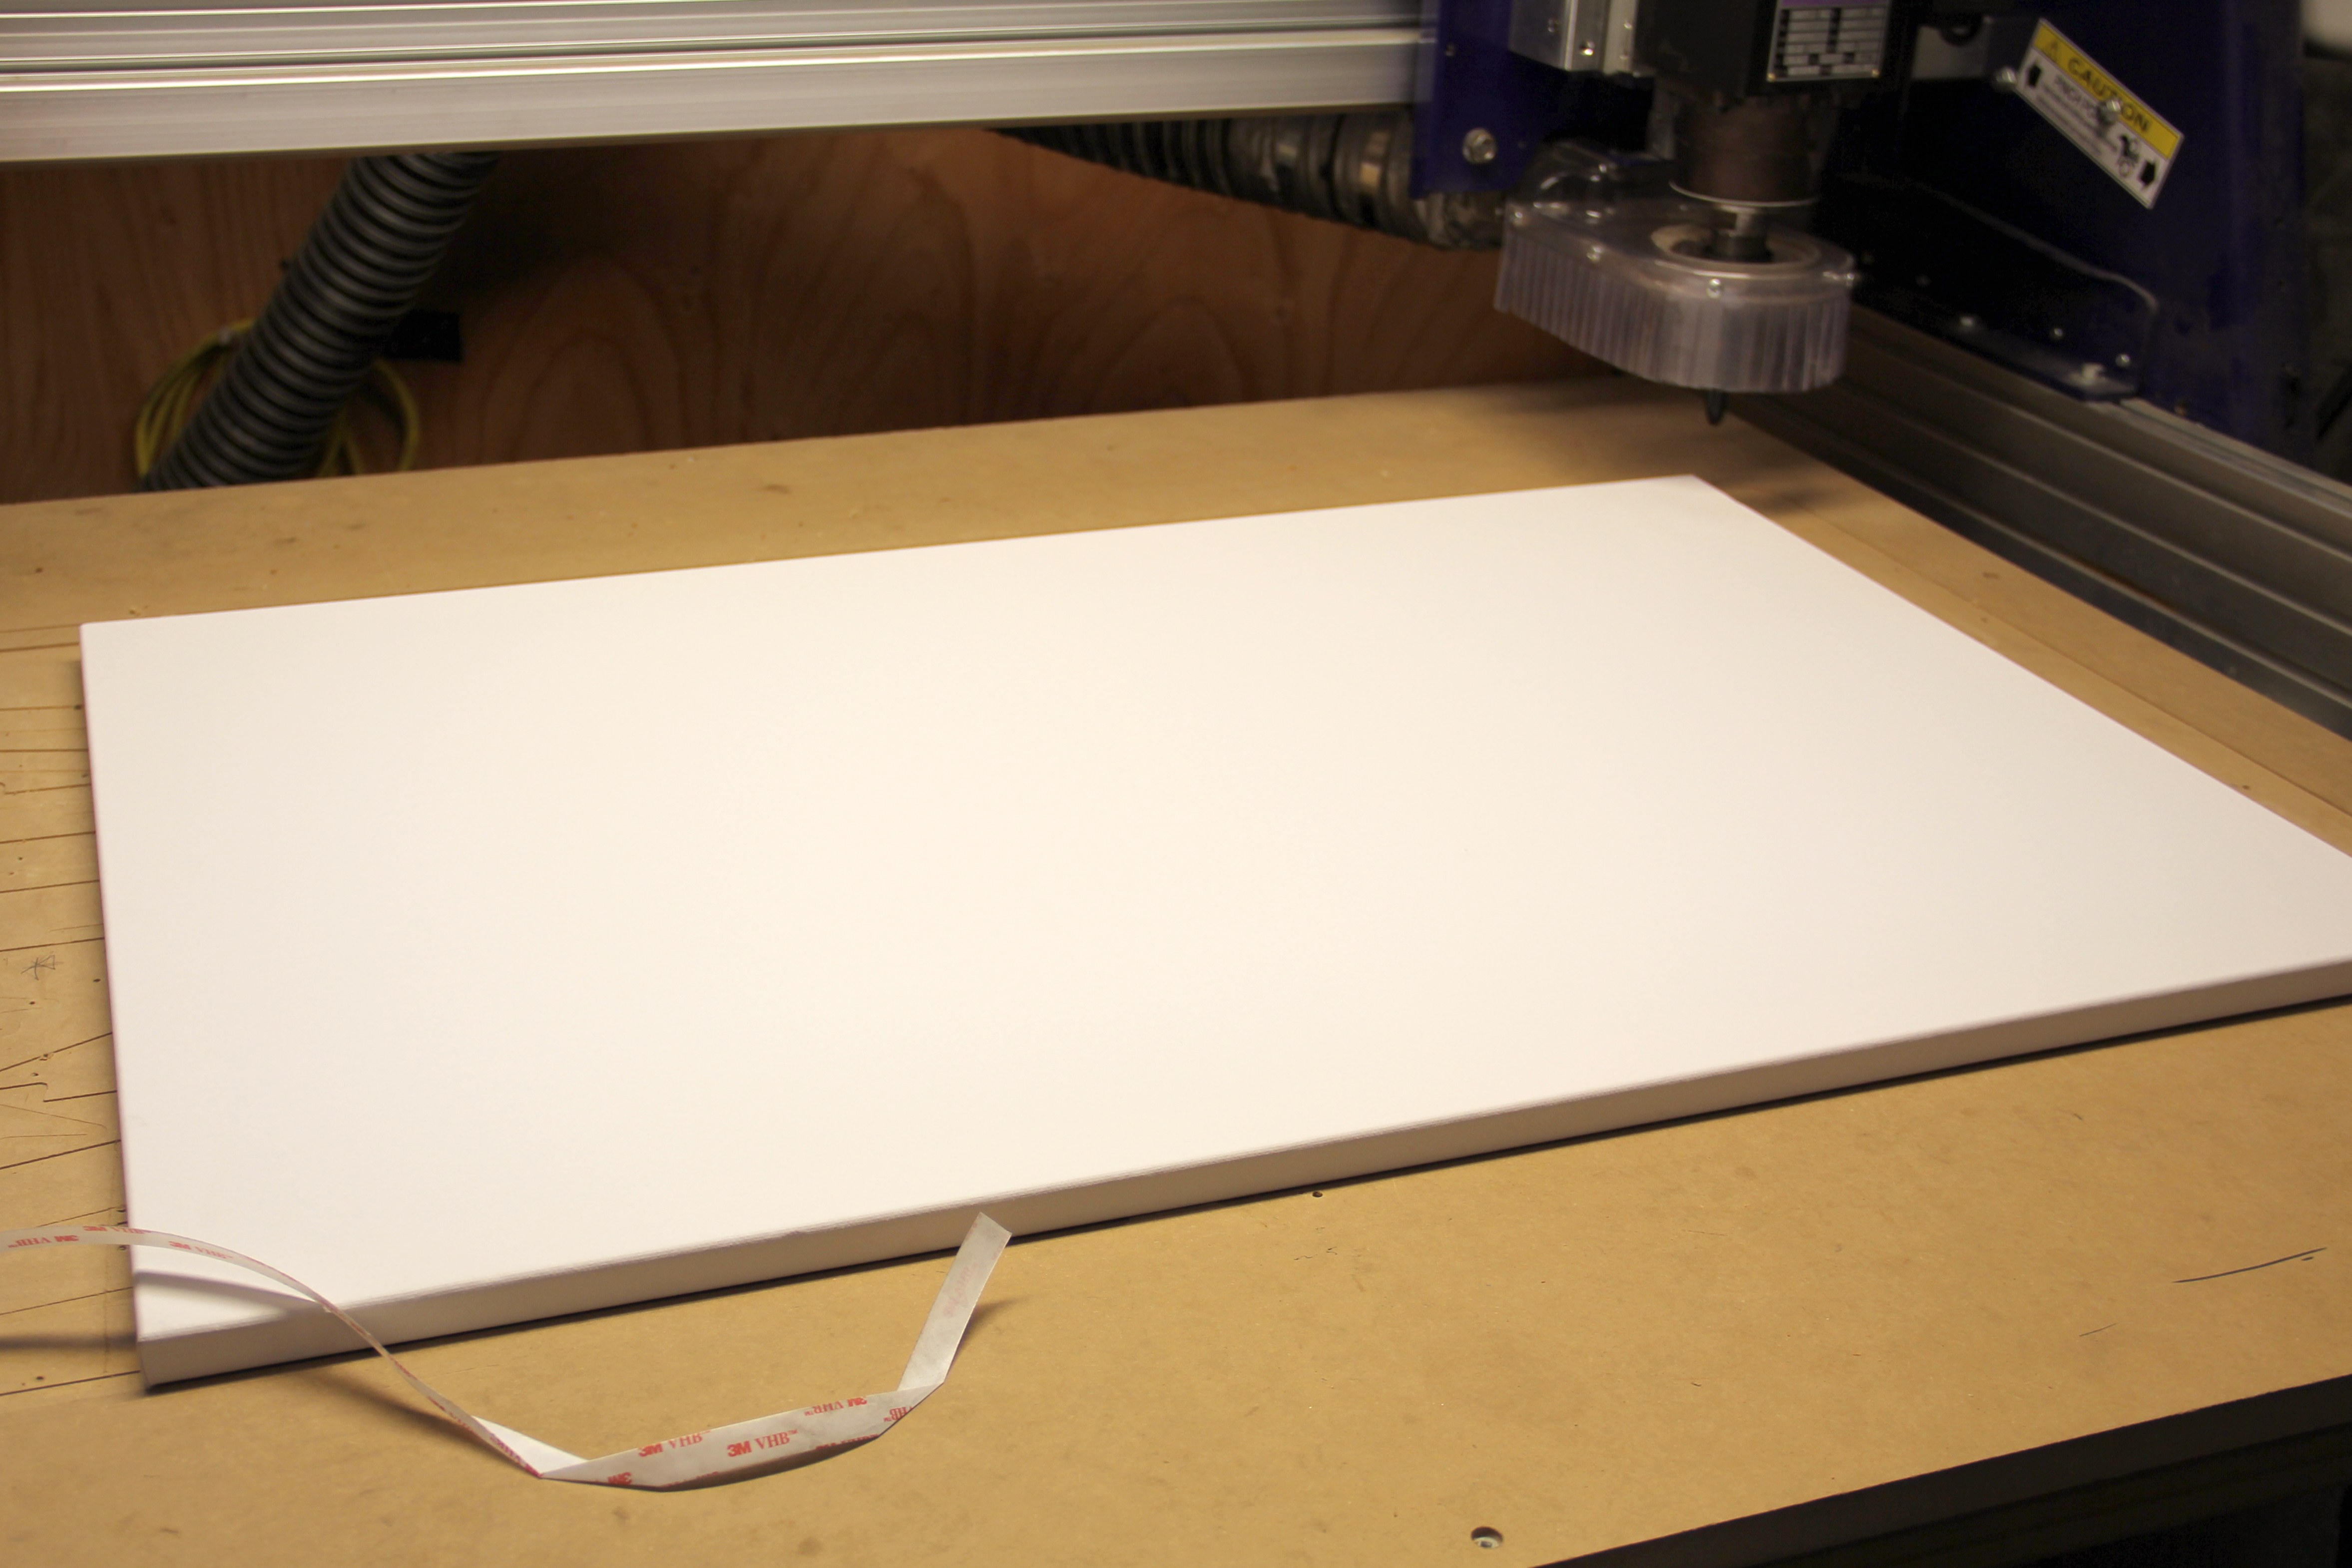
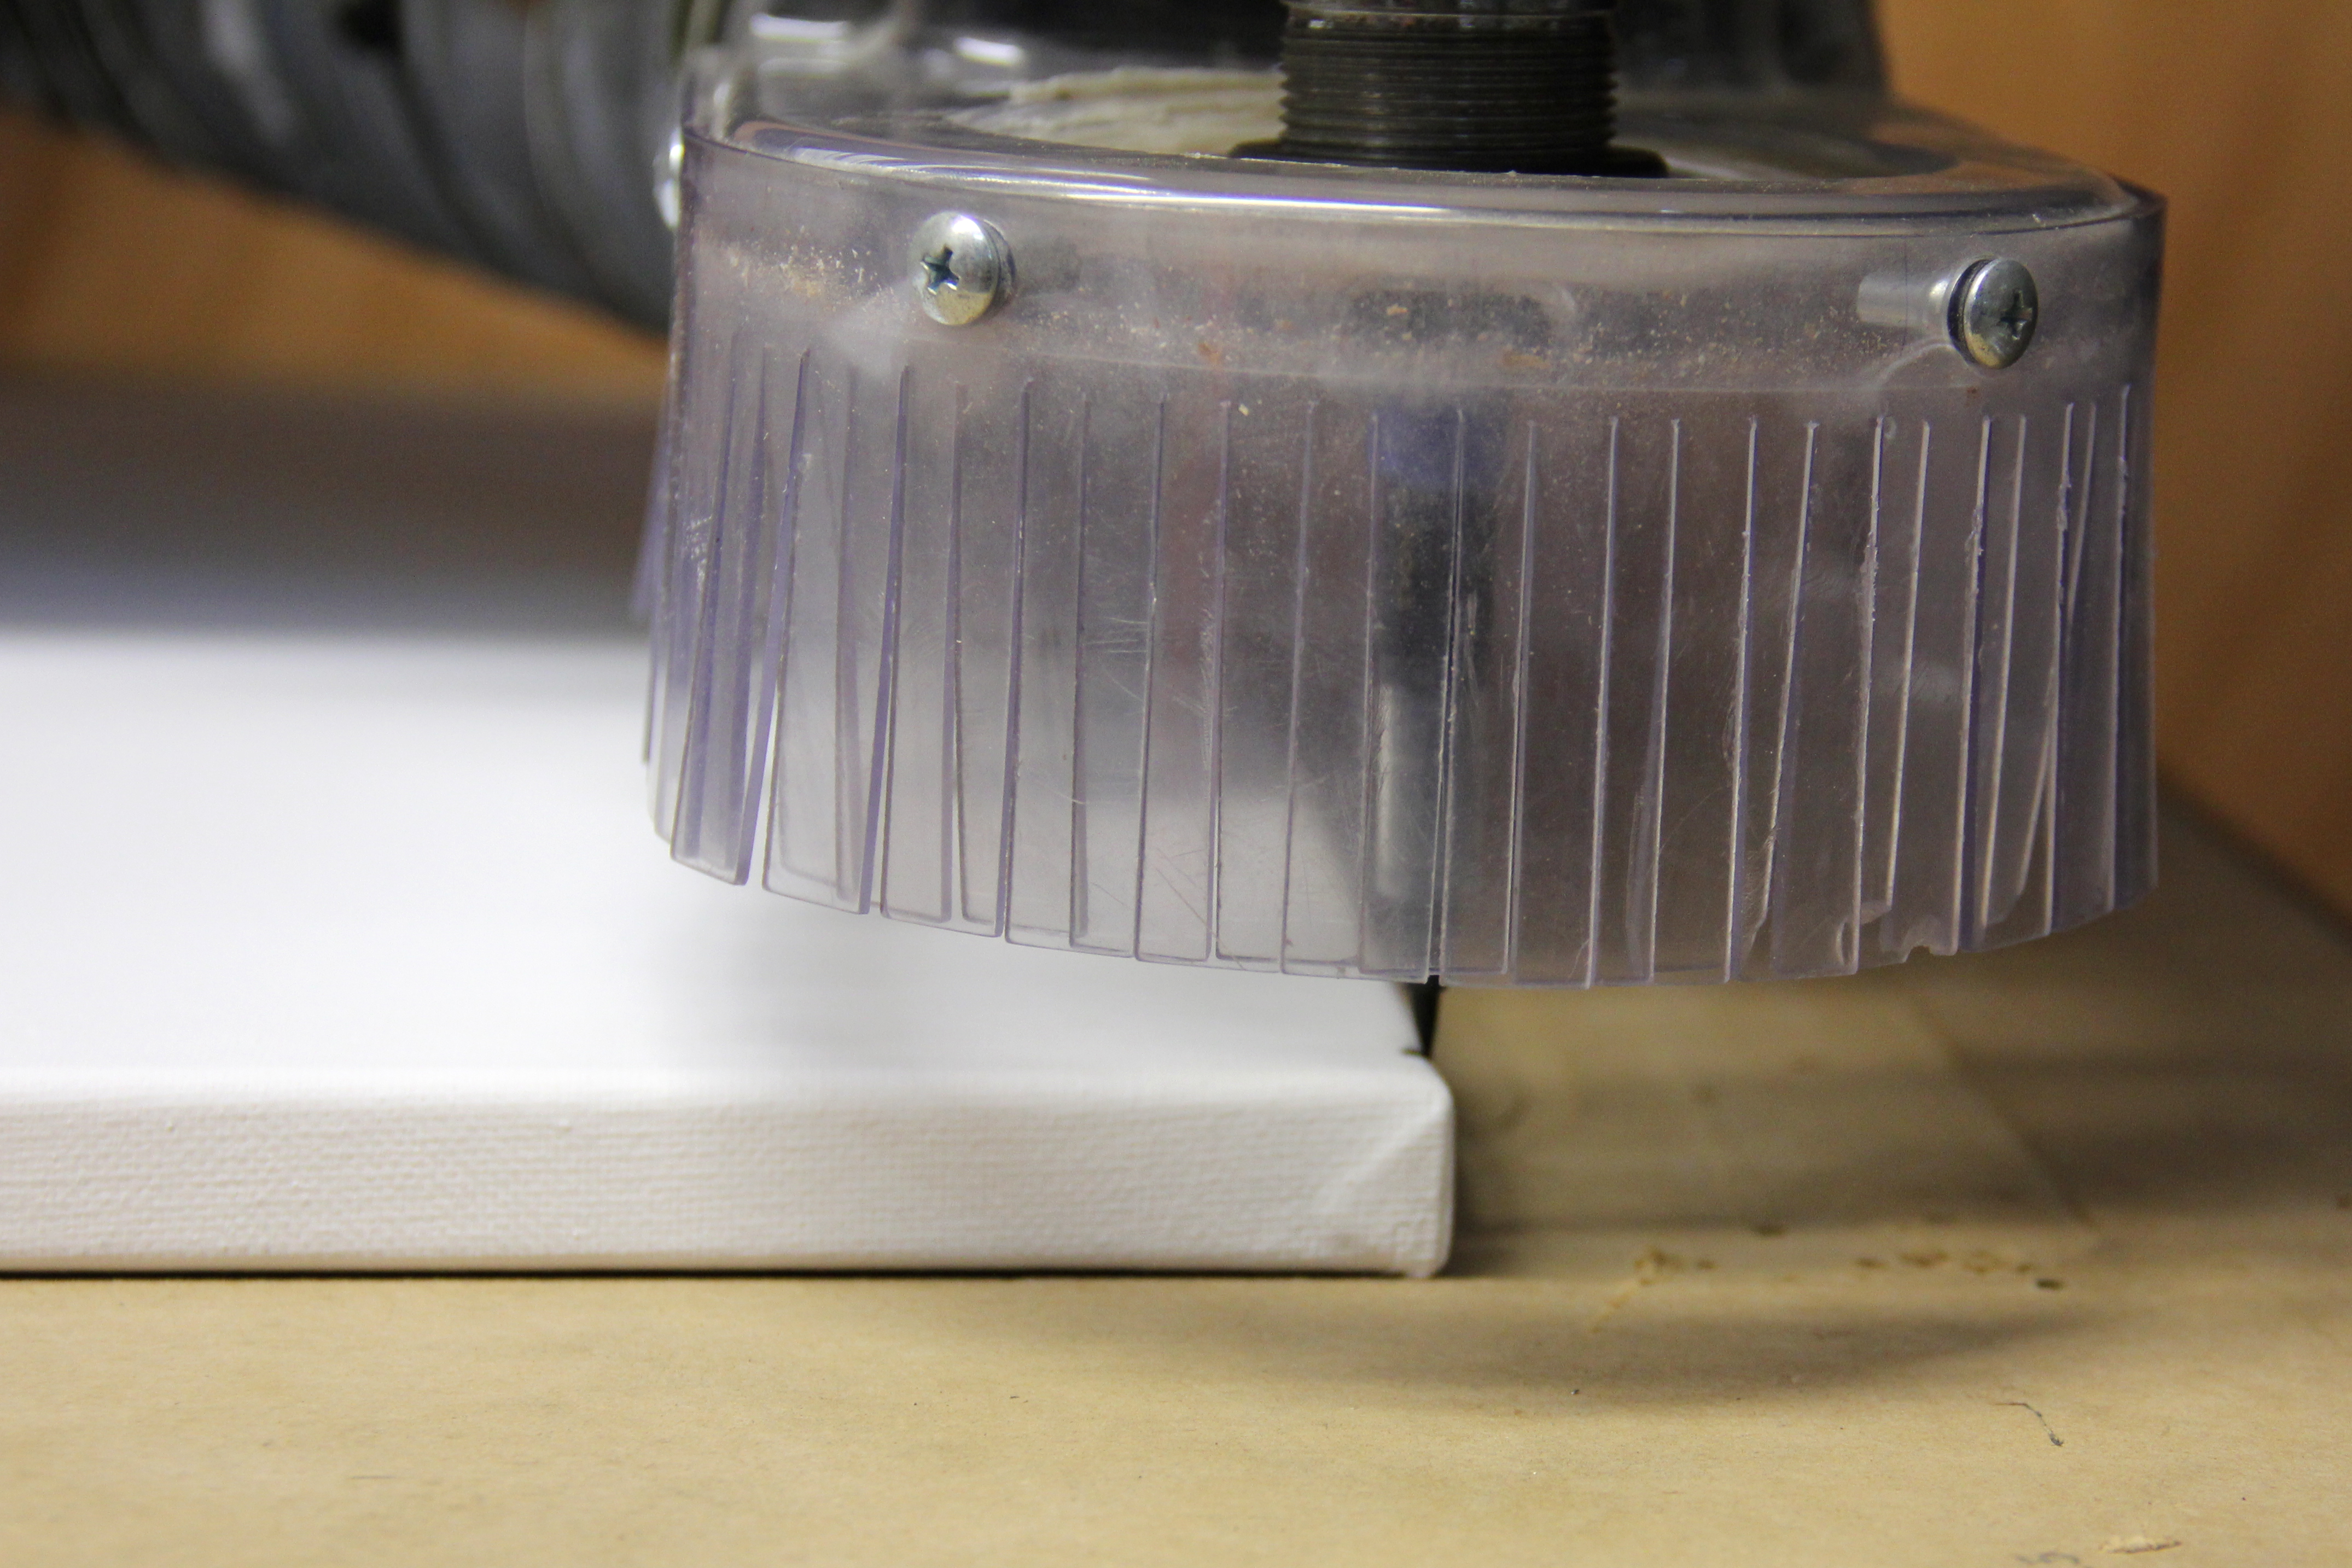

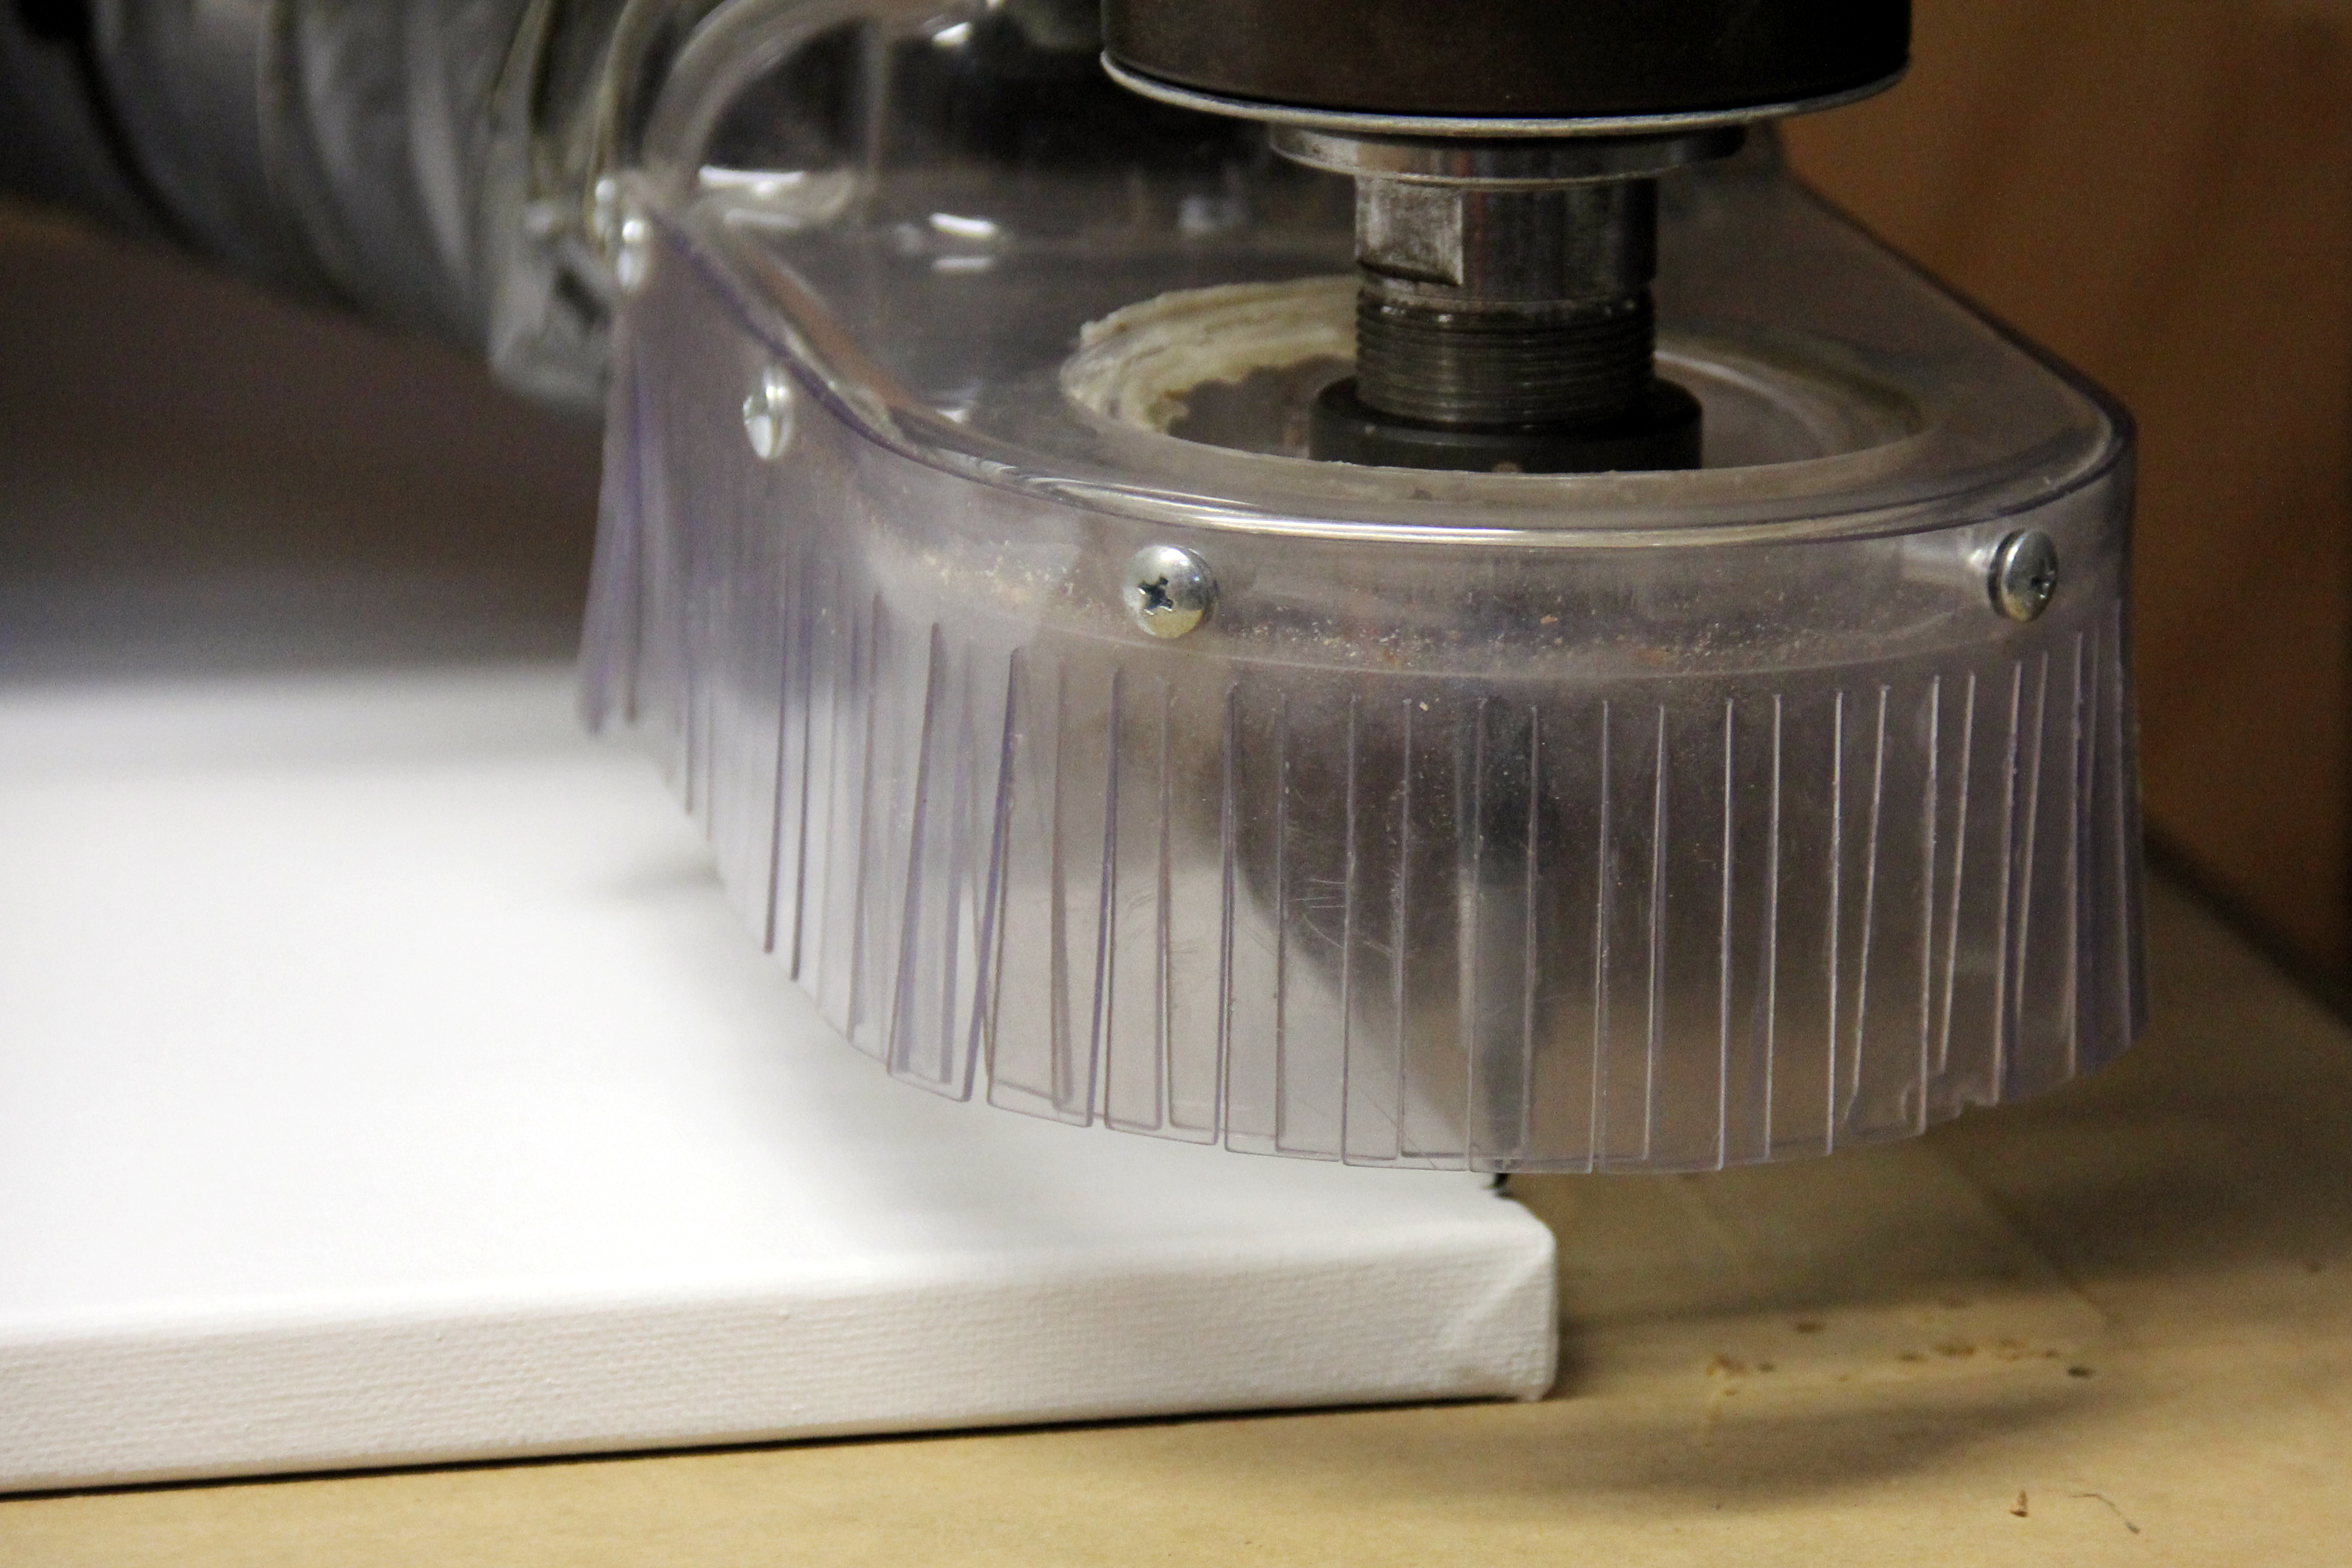
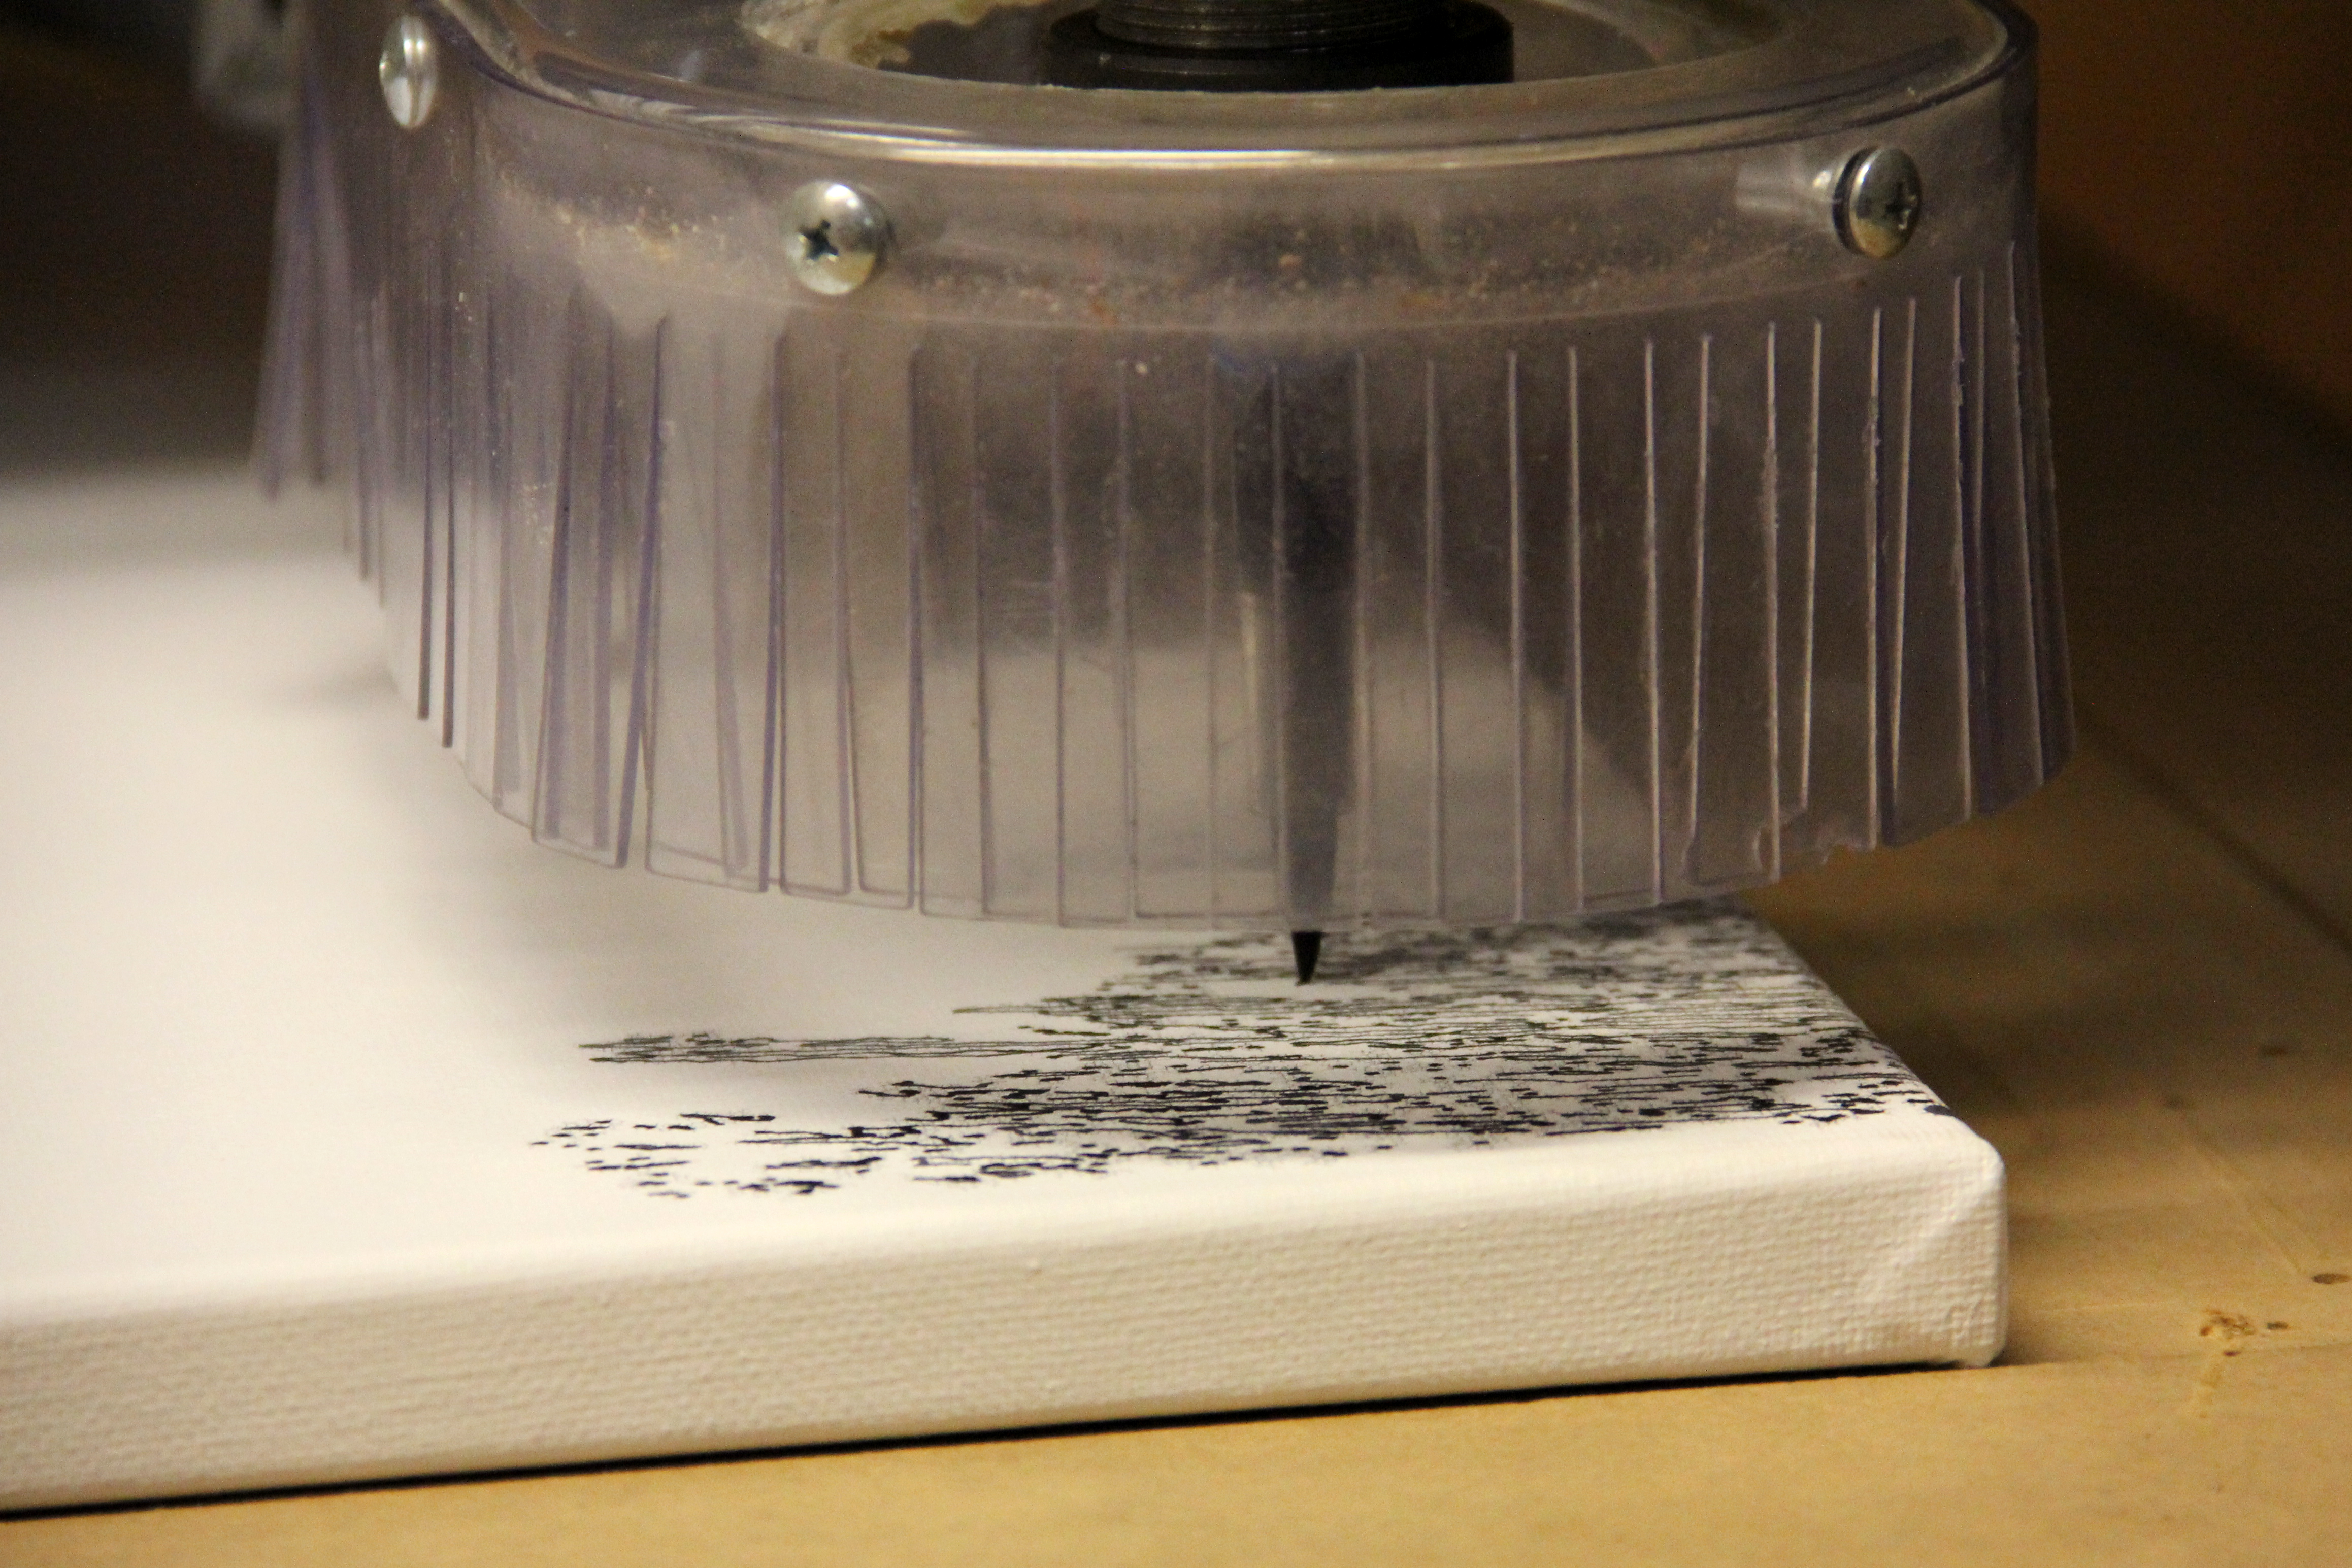
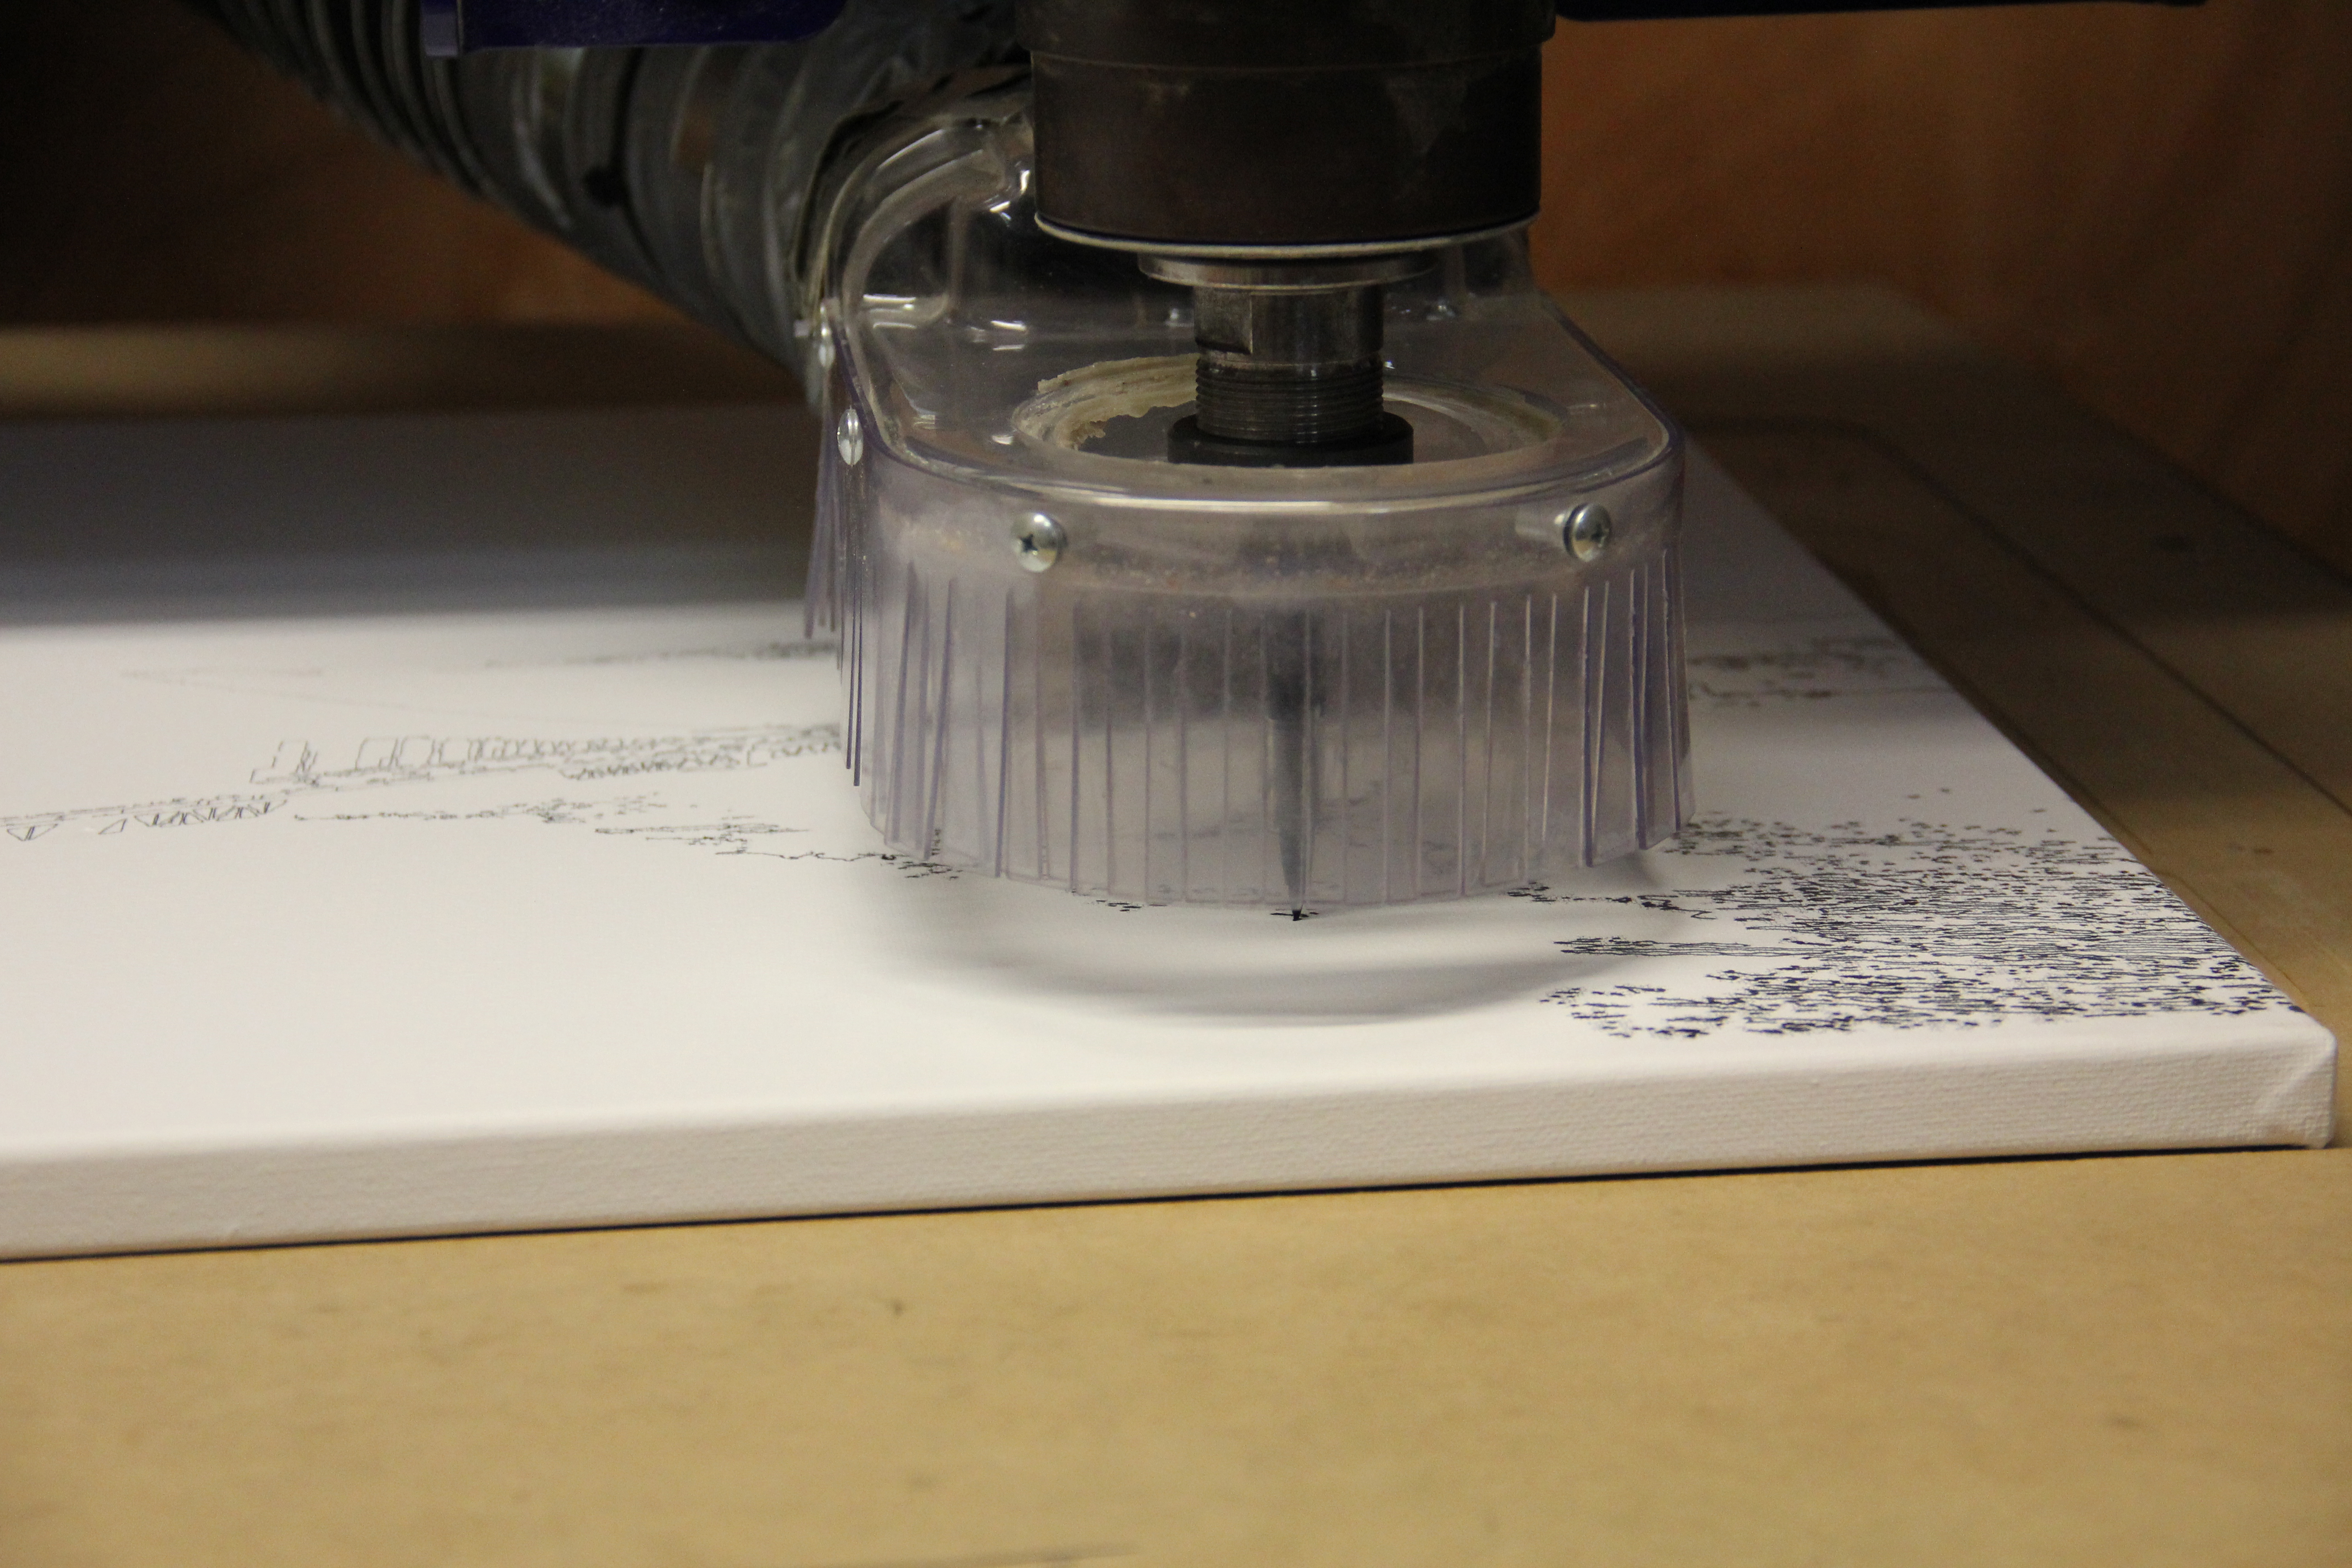
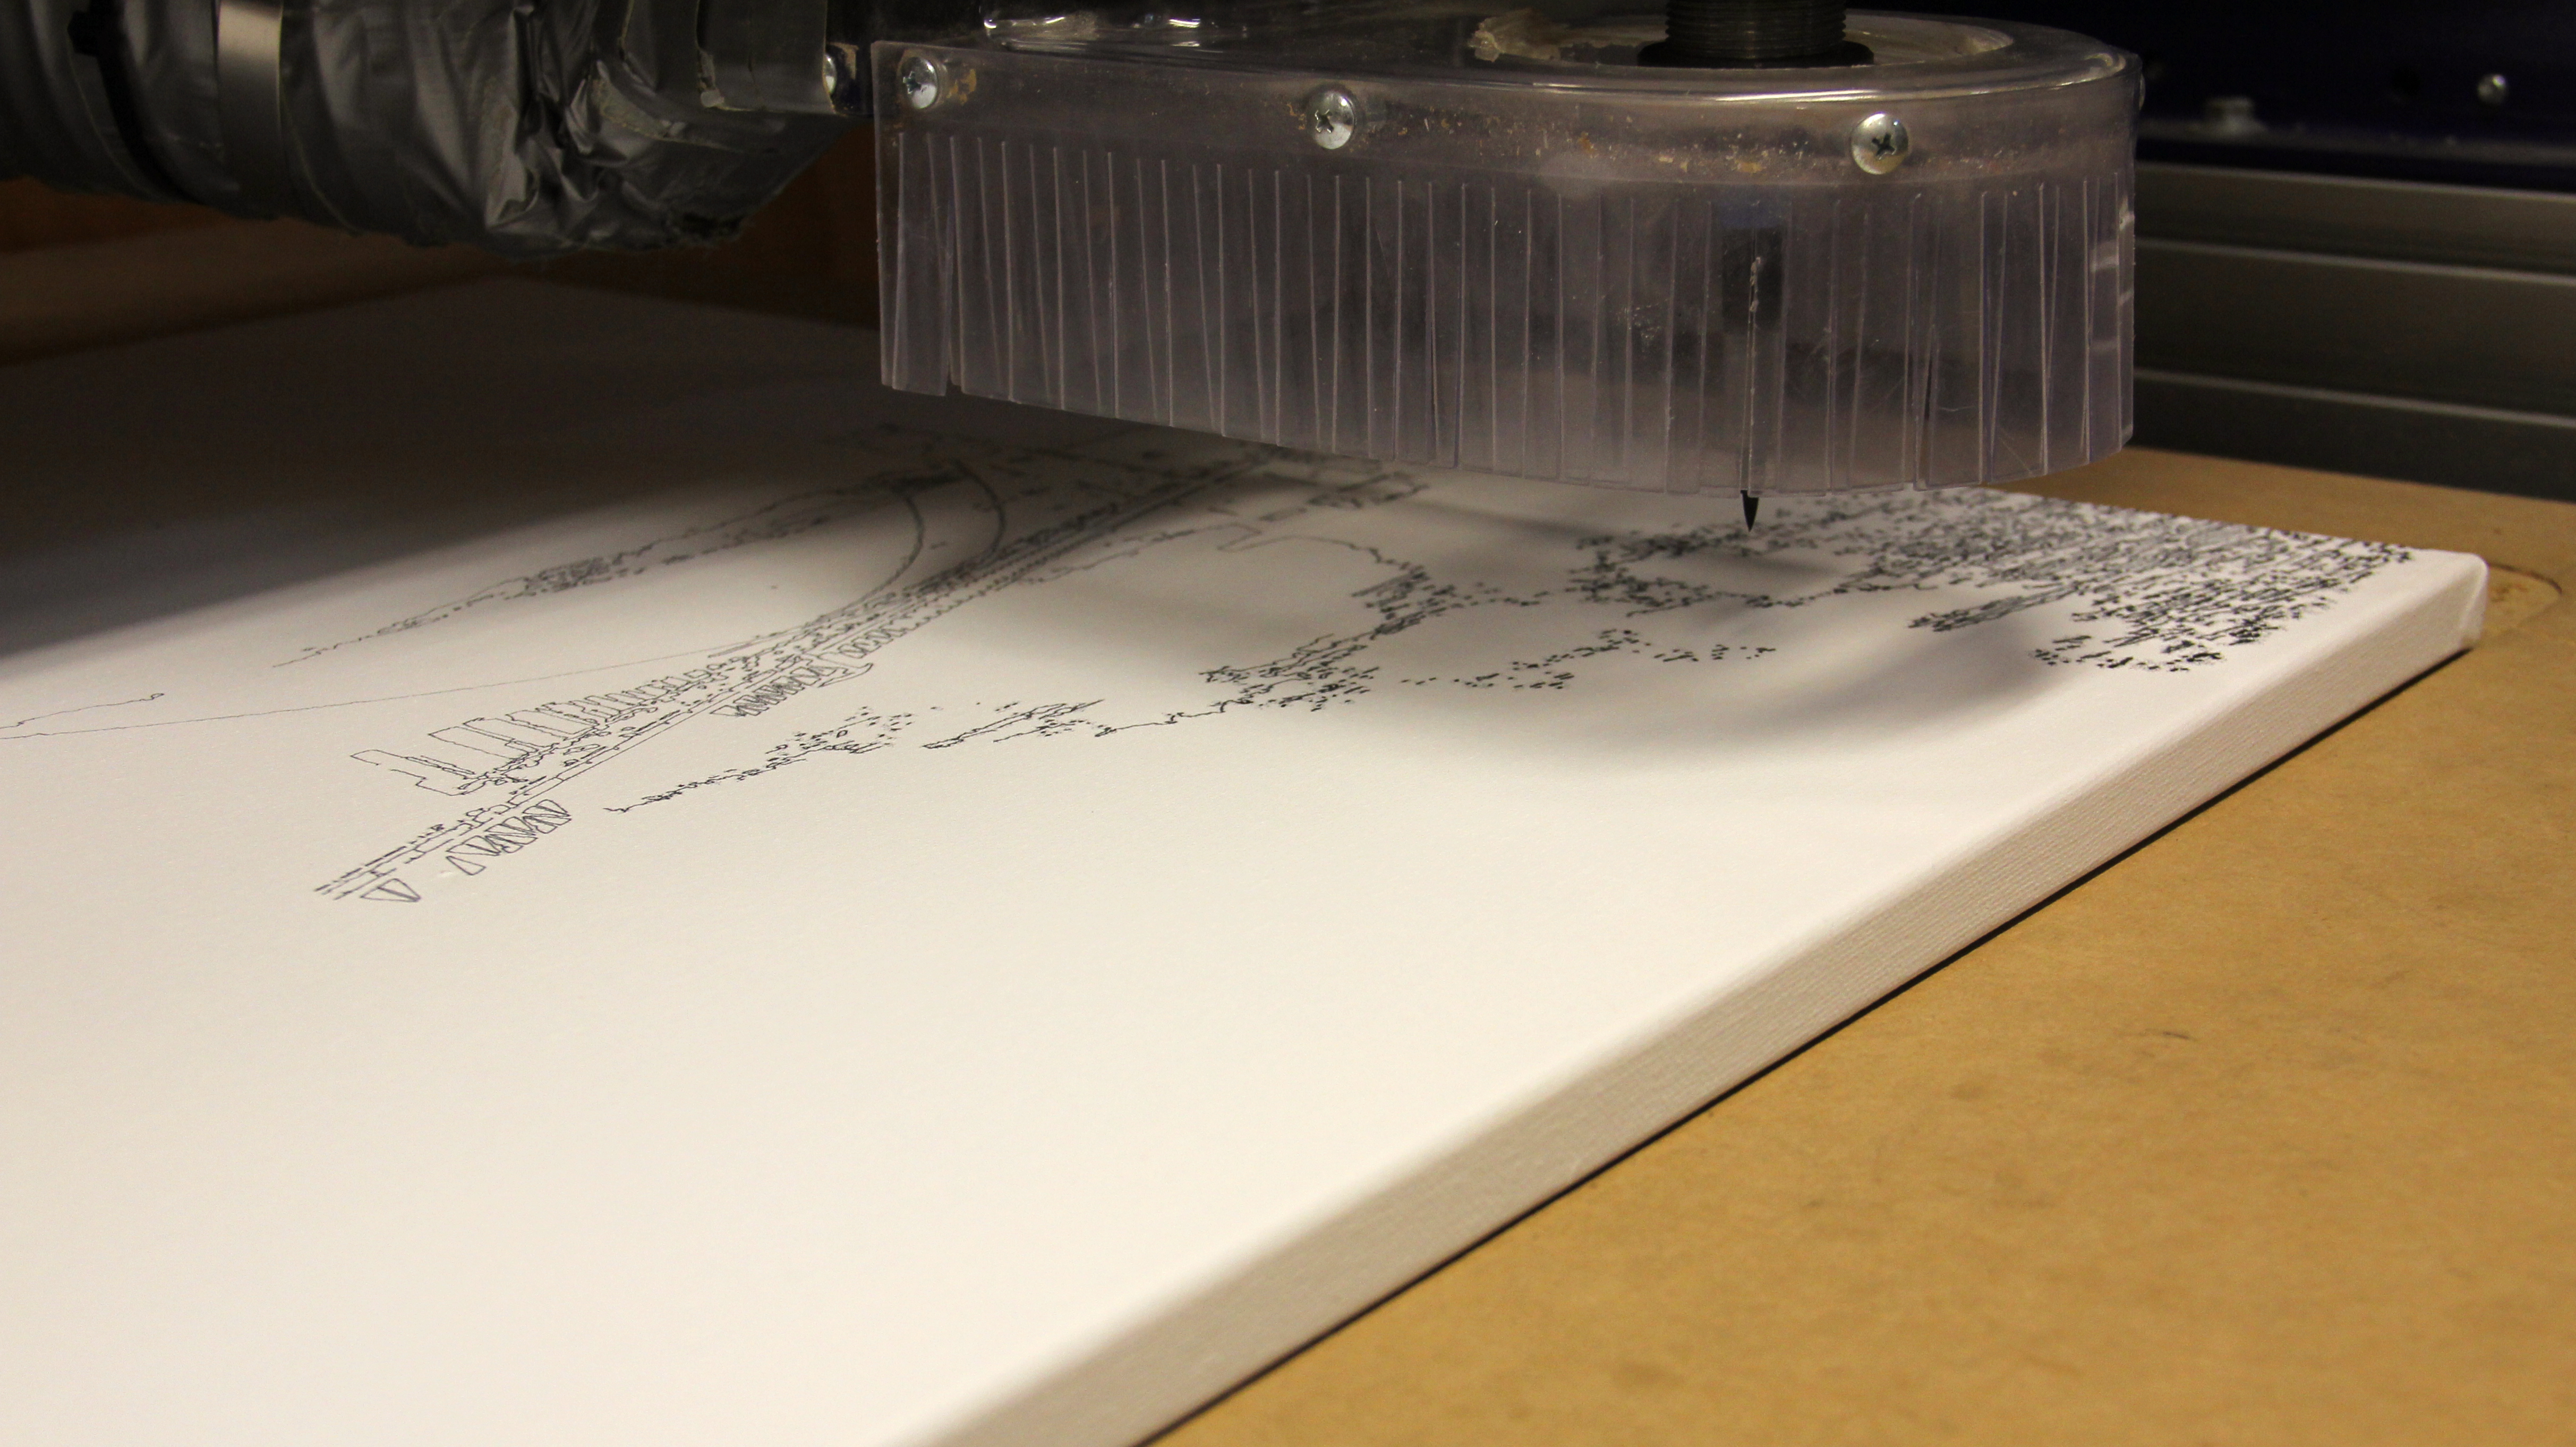
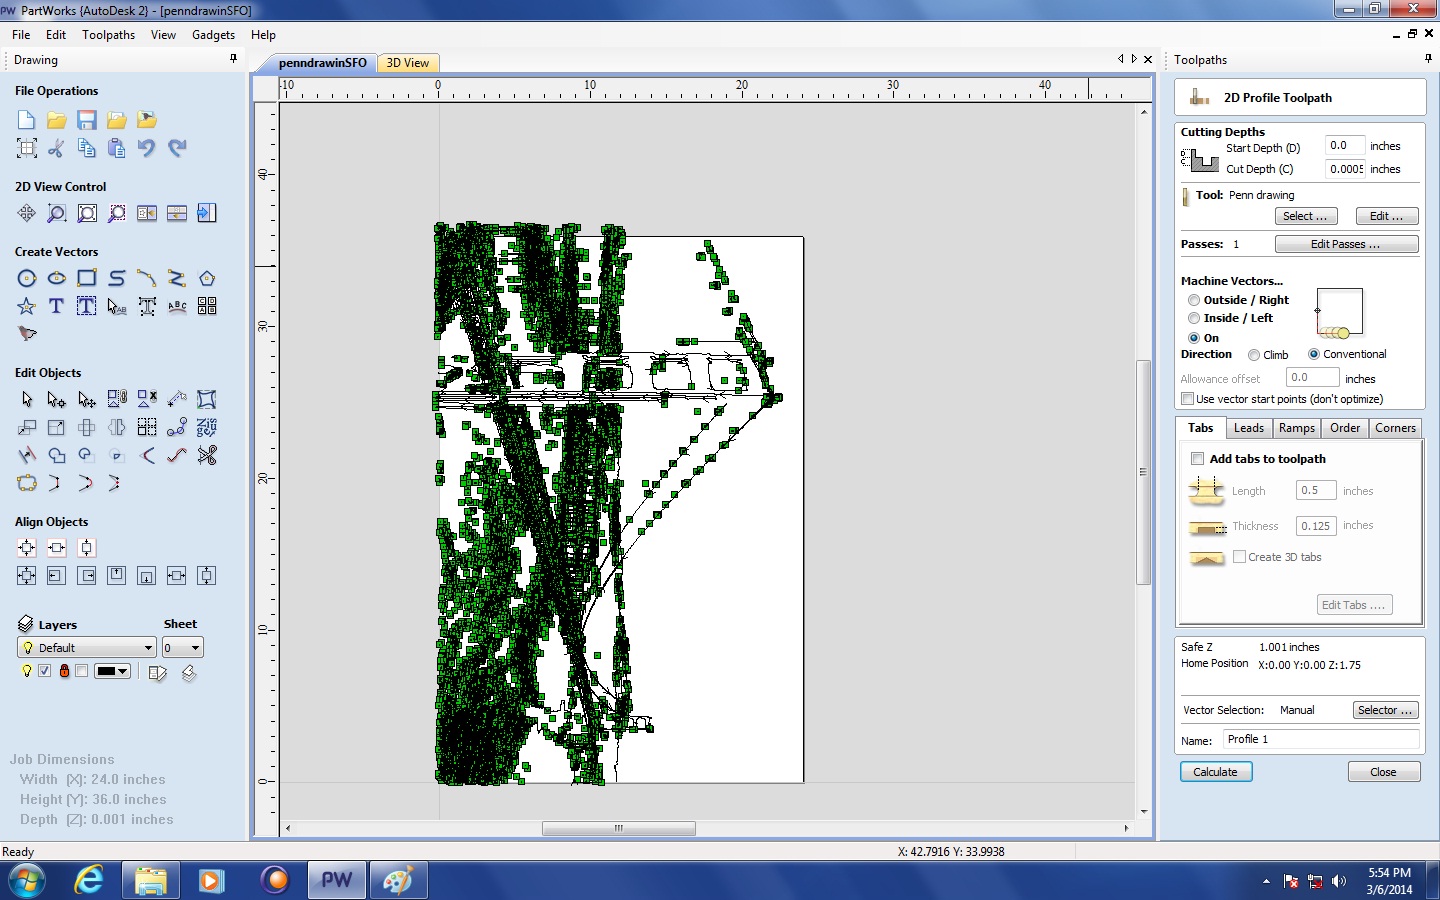
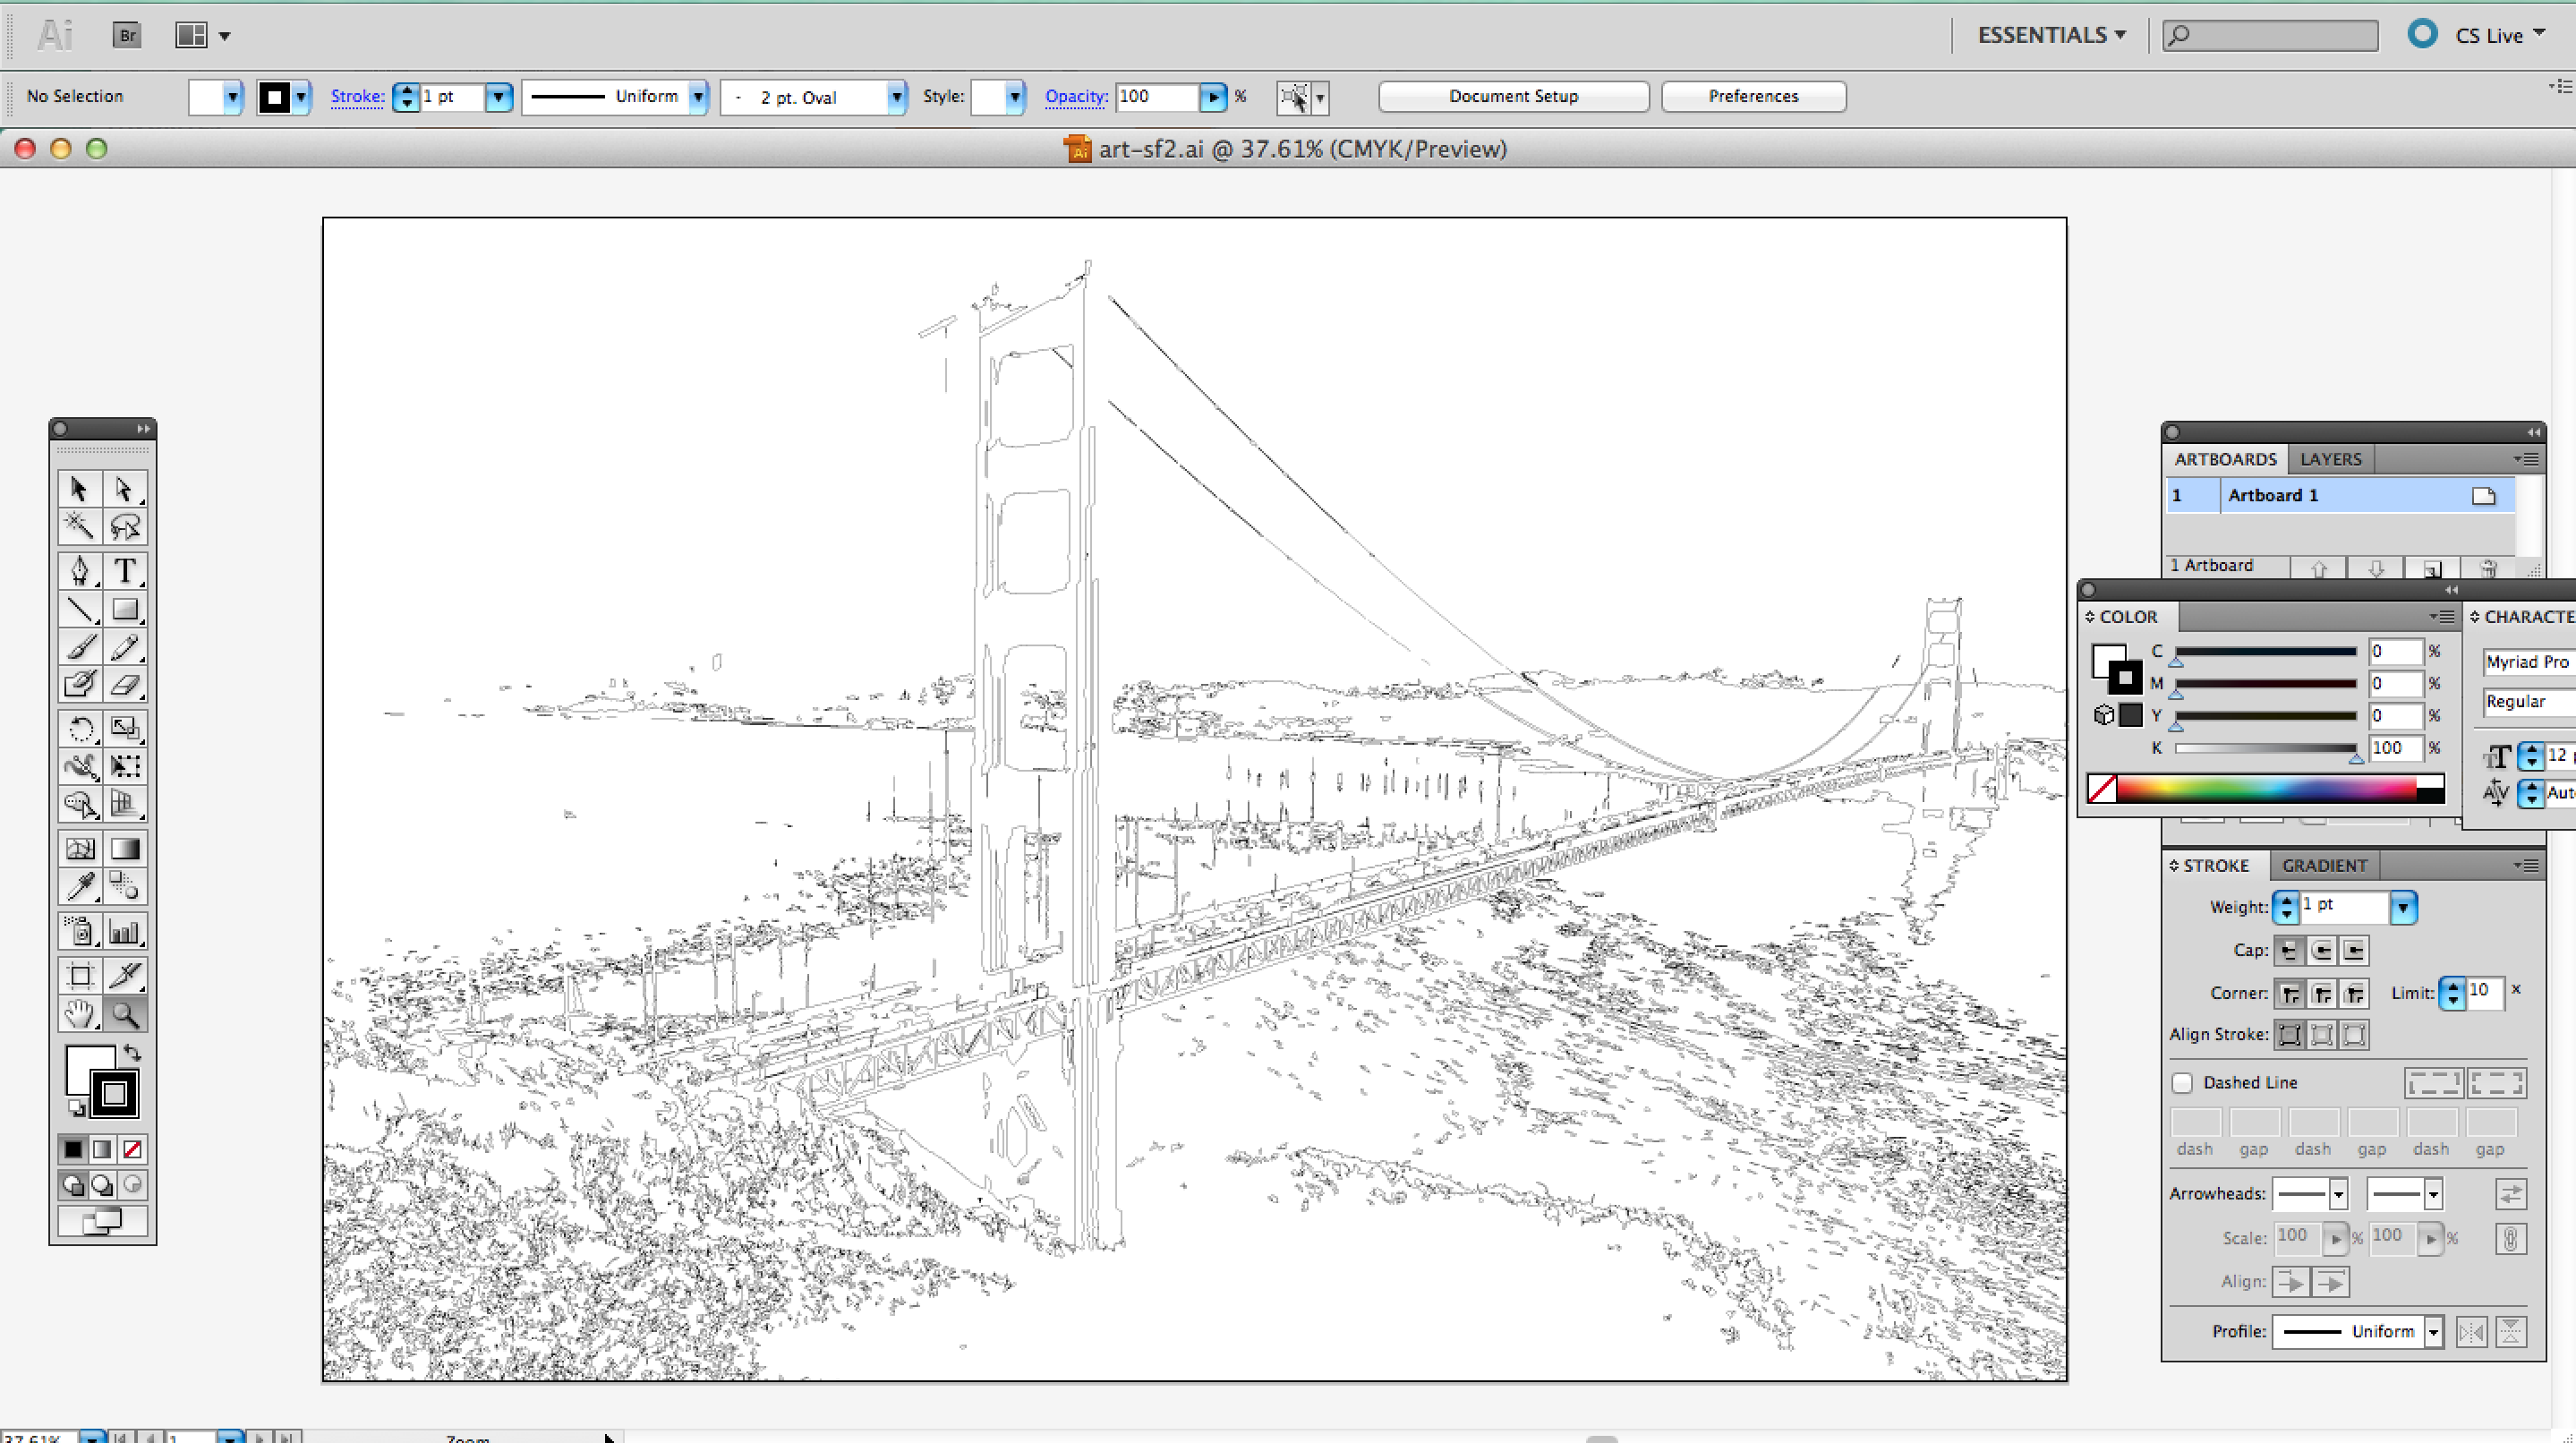
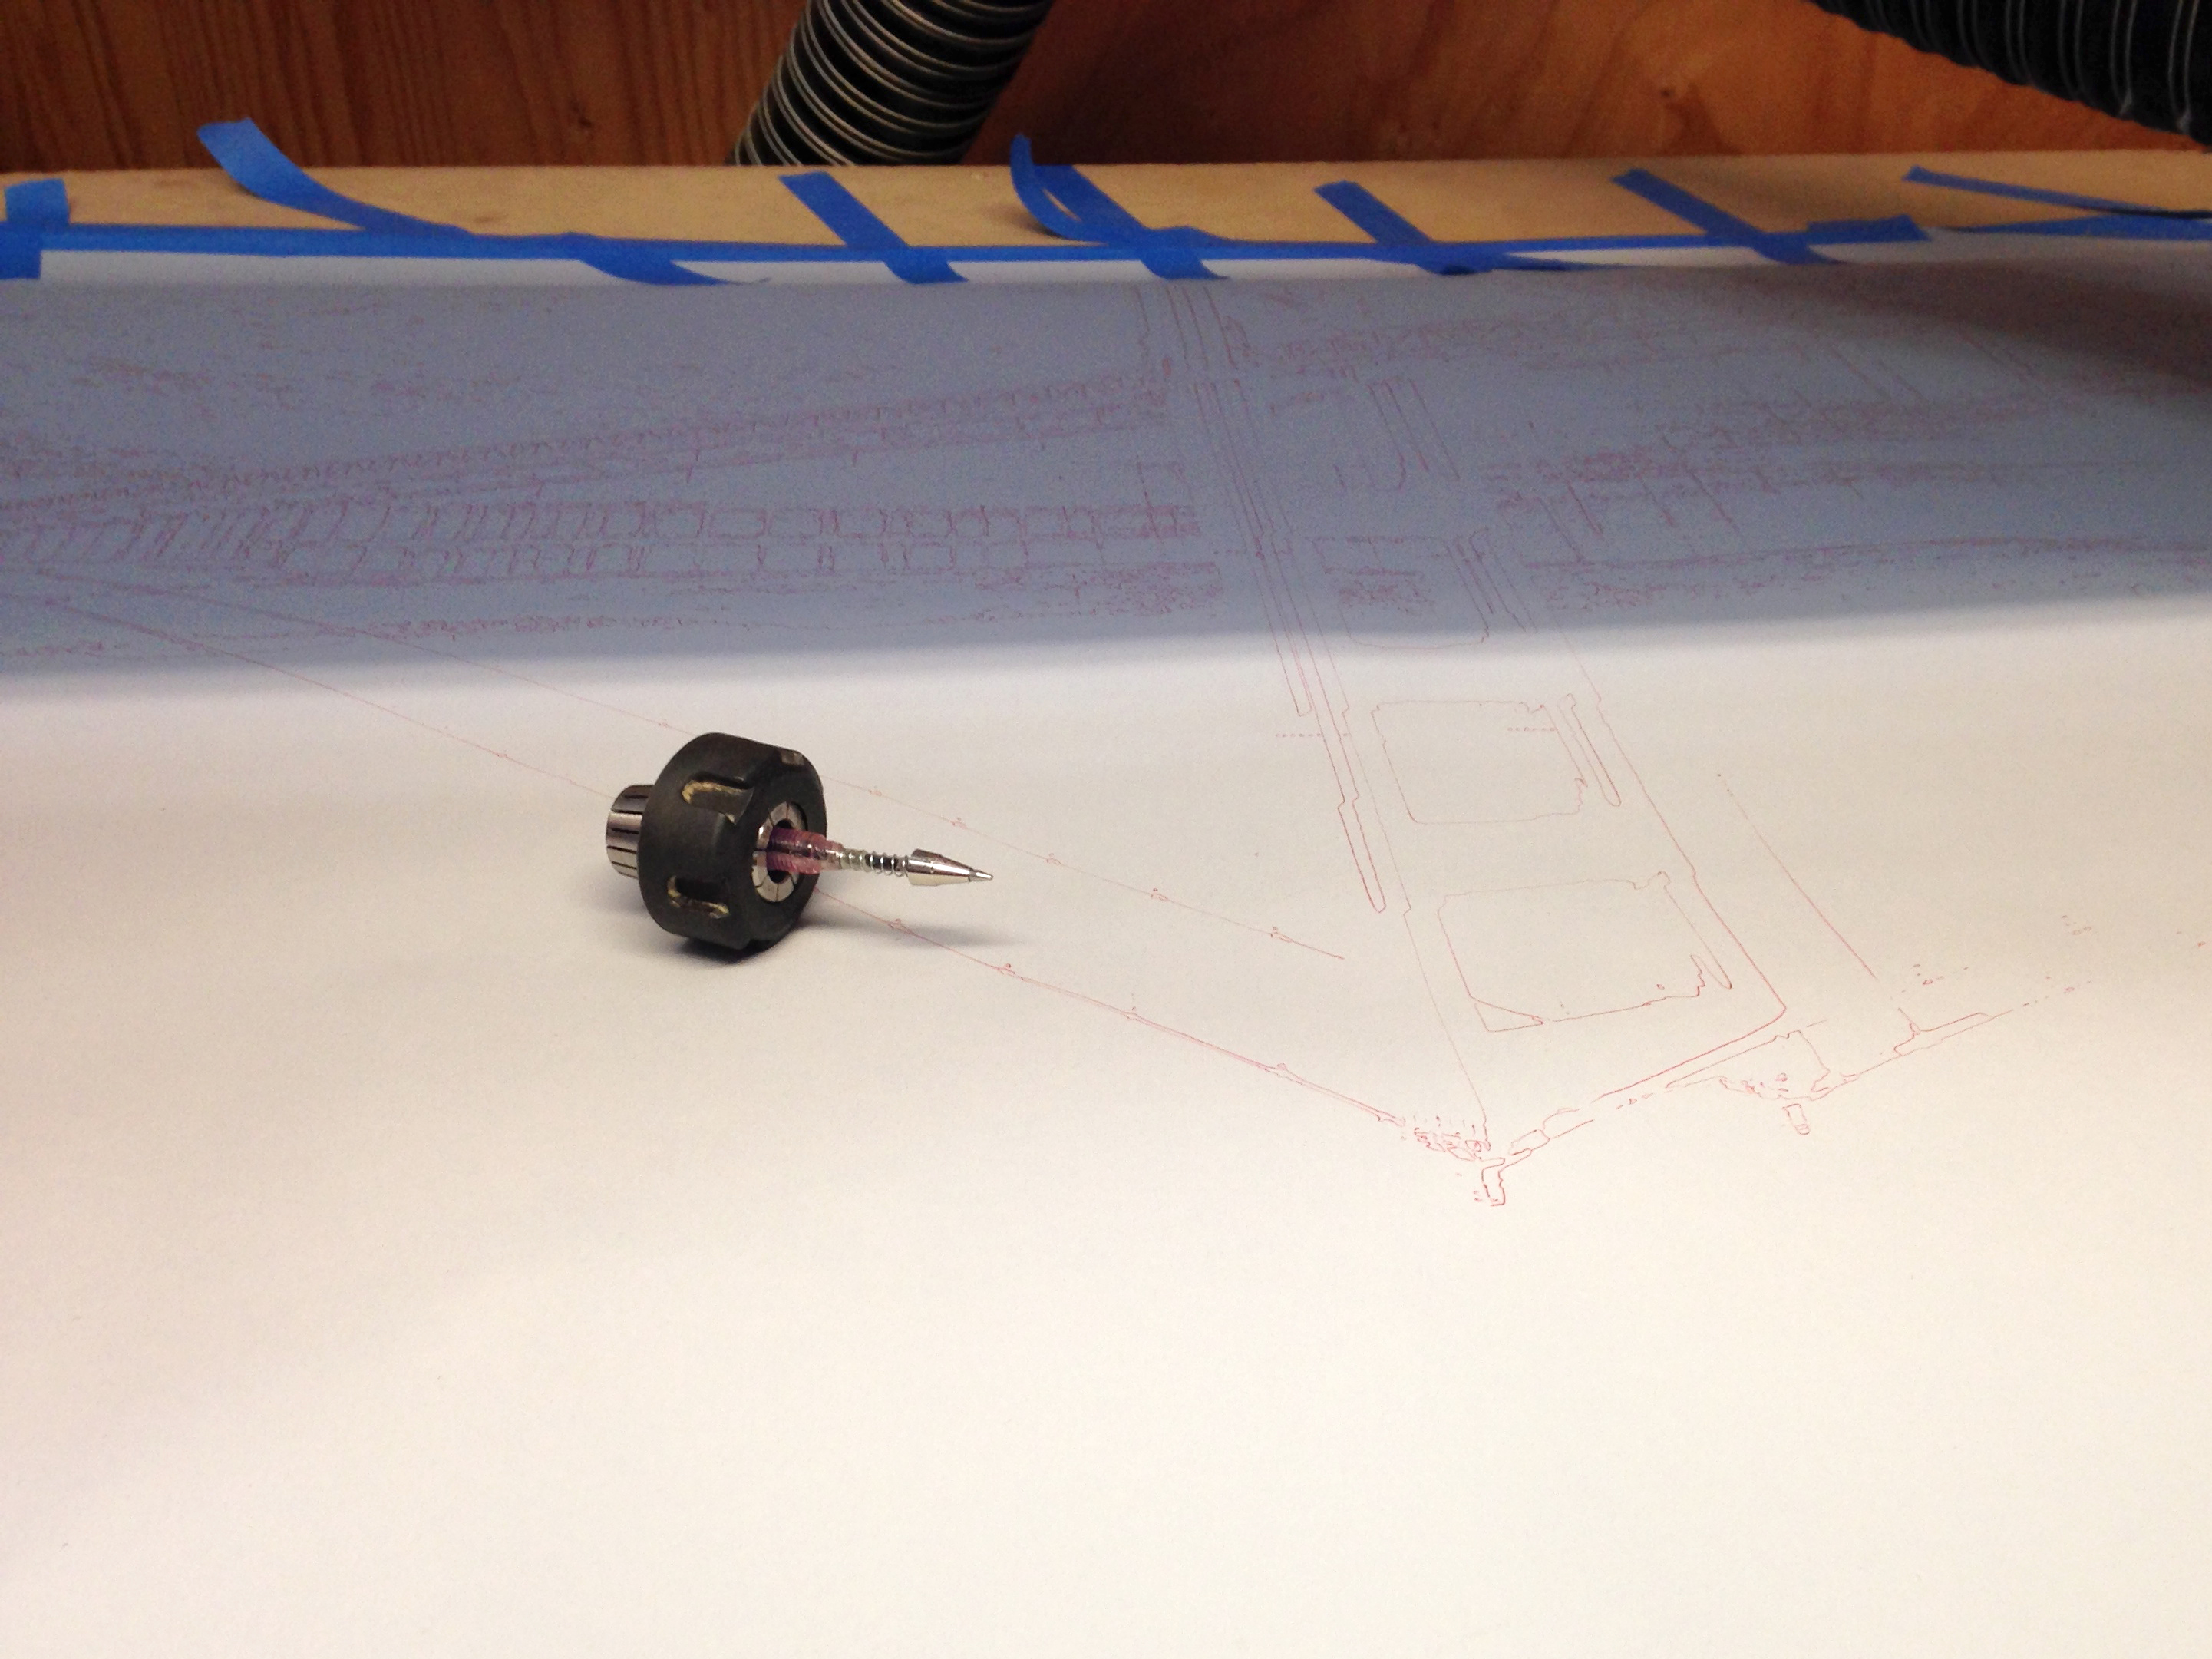
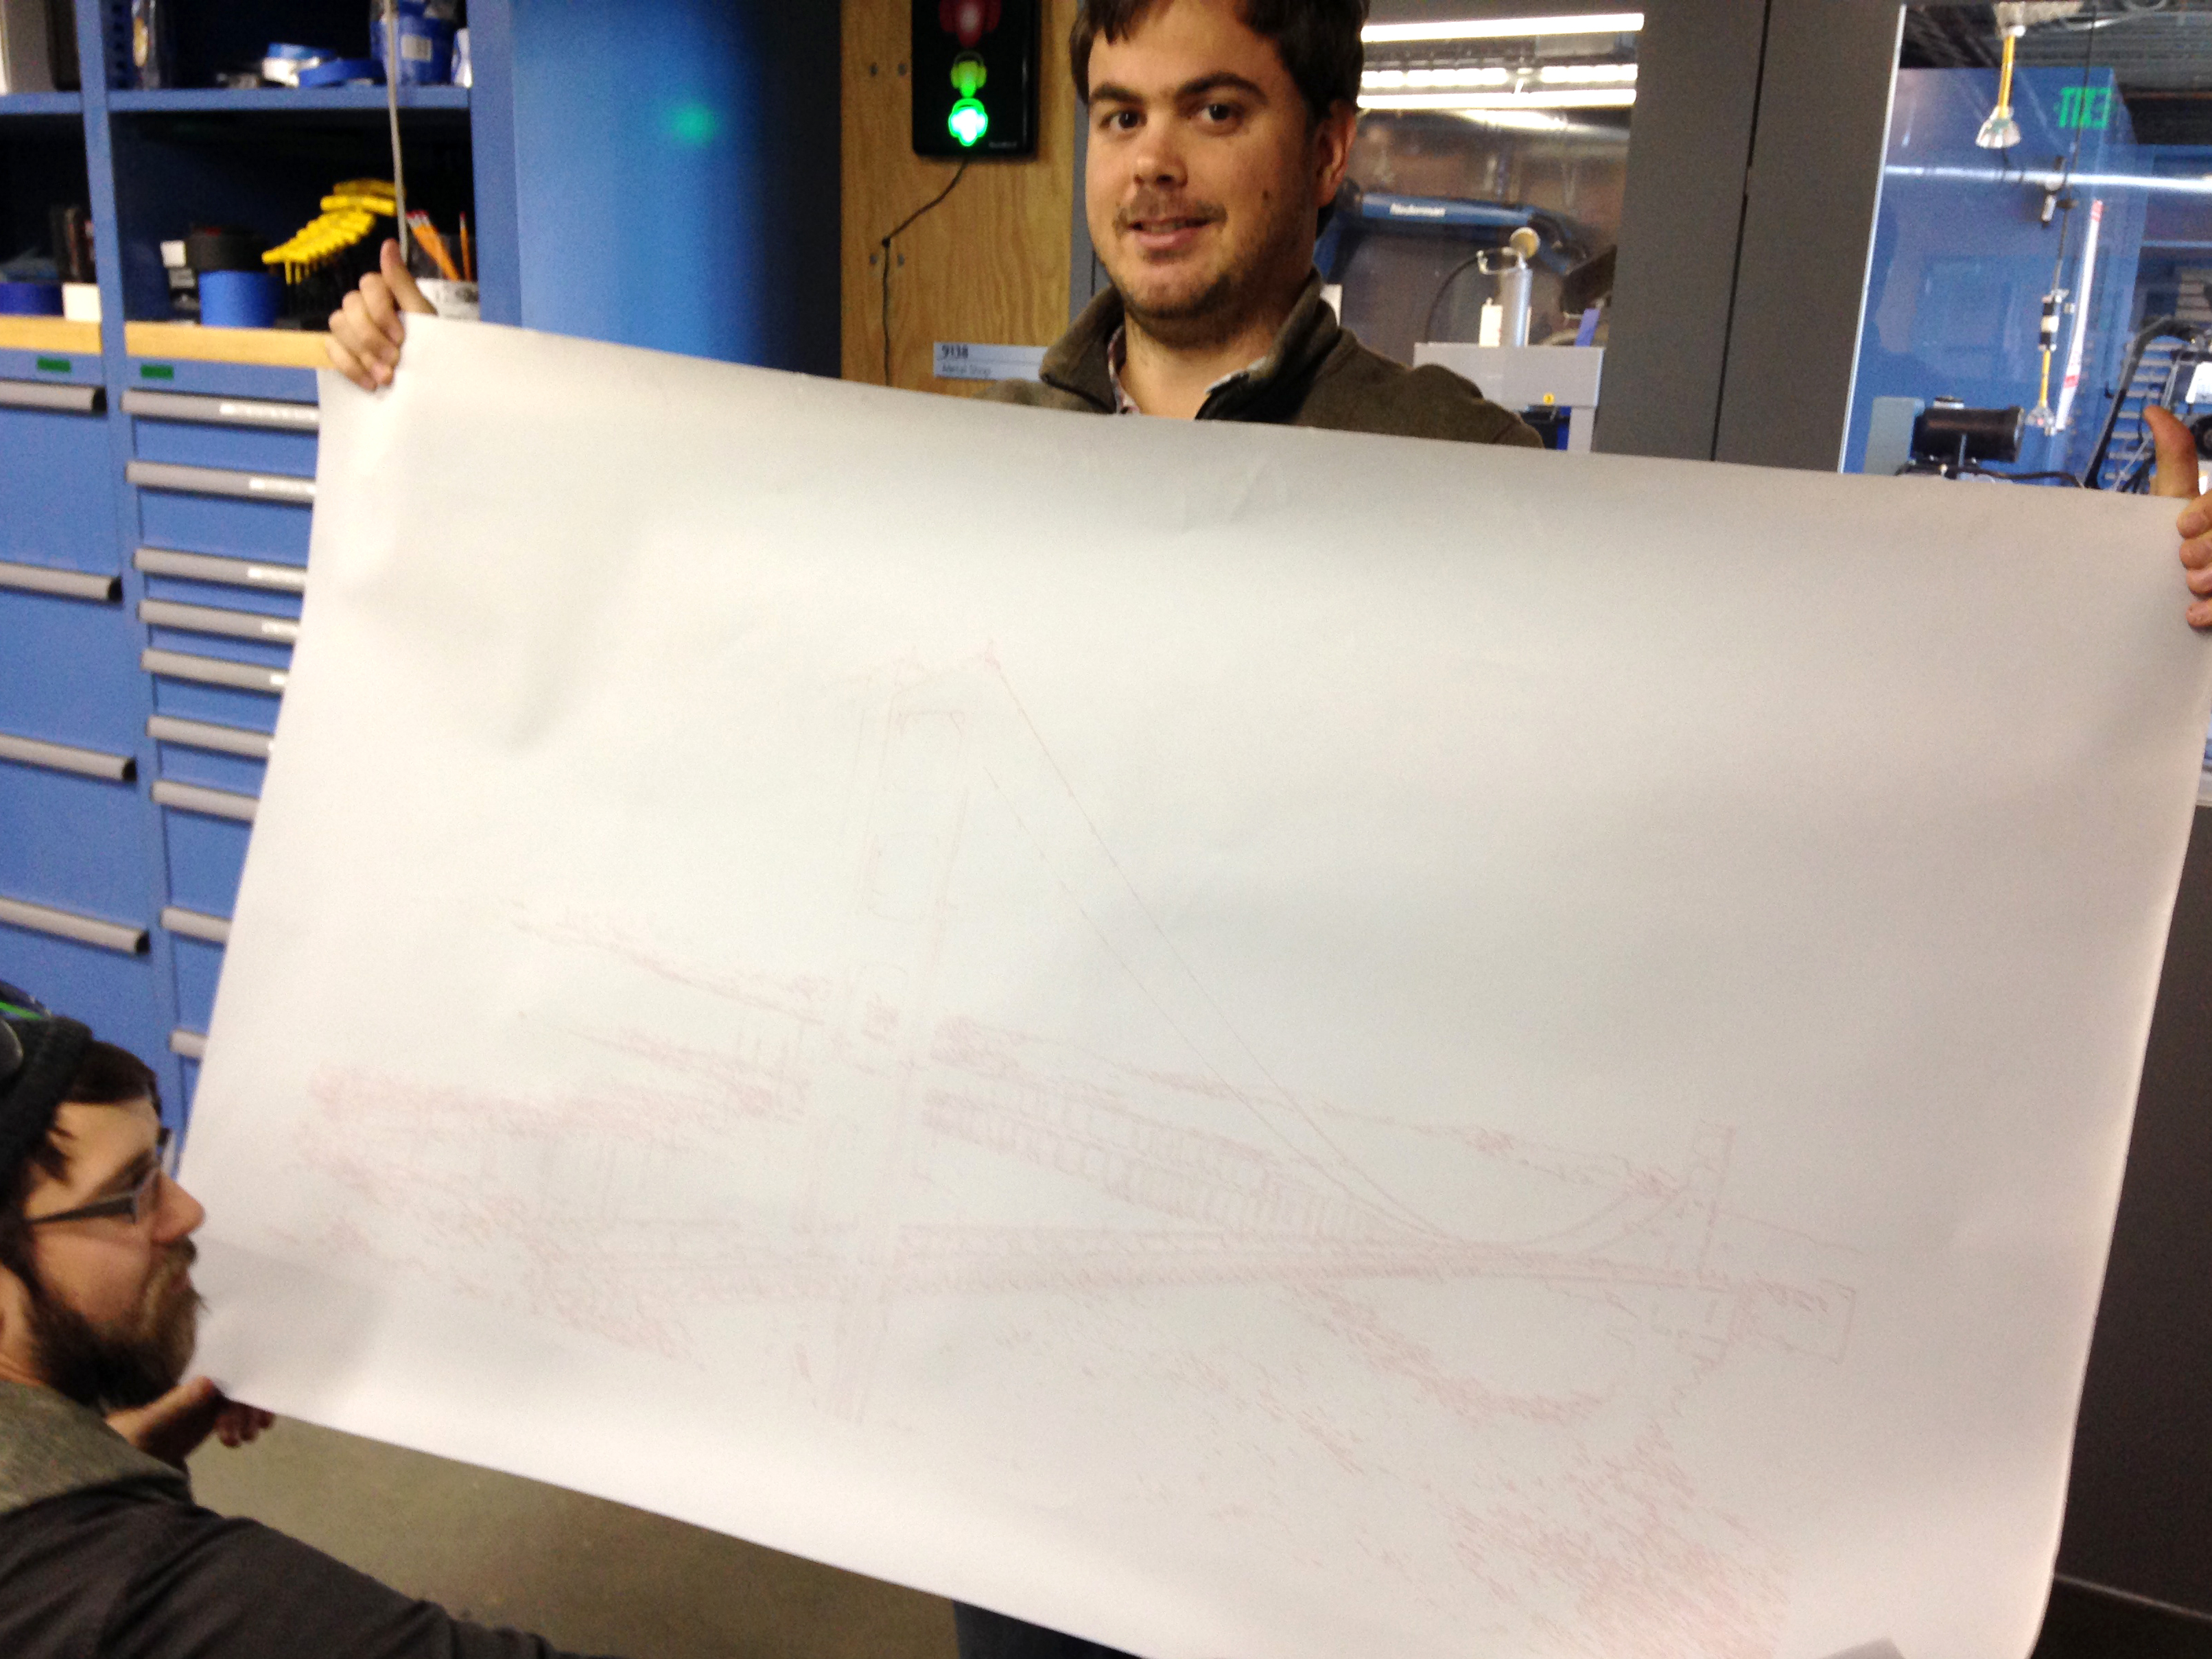
I decided to make a huge drawing for our office at Pier 9. I used Adobe Illustrator to vectorized an image of the Golden Gate Bridge using Live Trace. My plan here was to use a Darice Studio 71 24-Inch-by-36-Inch Traditional Canvas and hang it on the wall. The process was pretty much the same but the results were considerably different.
Downloads
Artistic Style
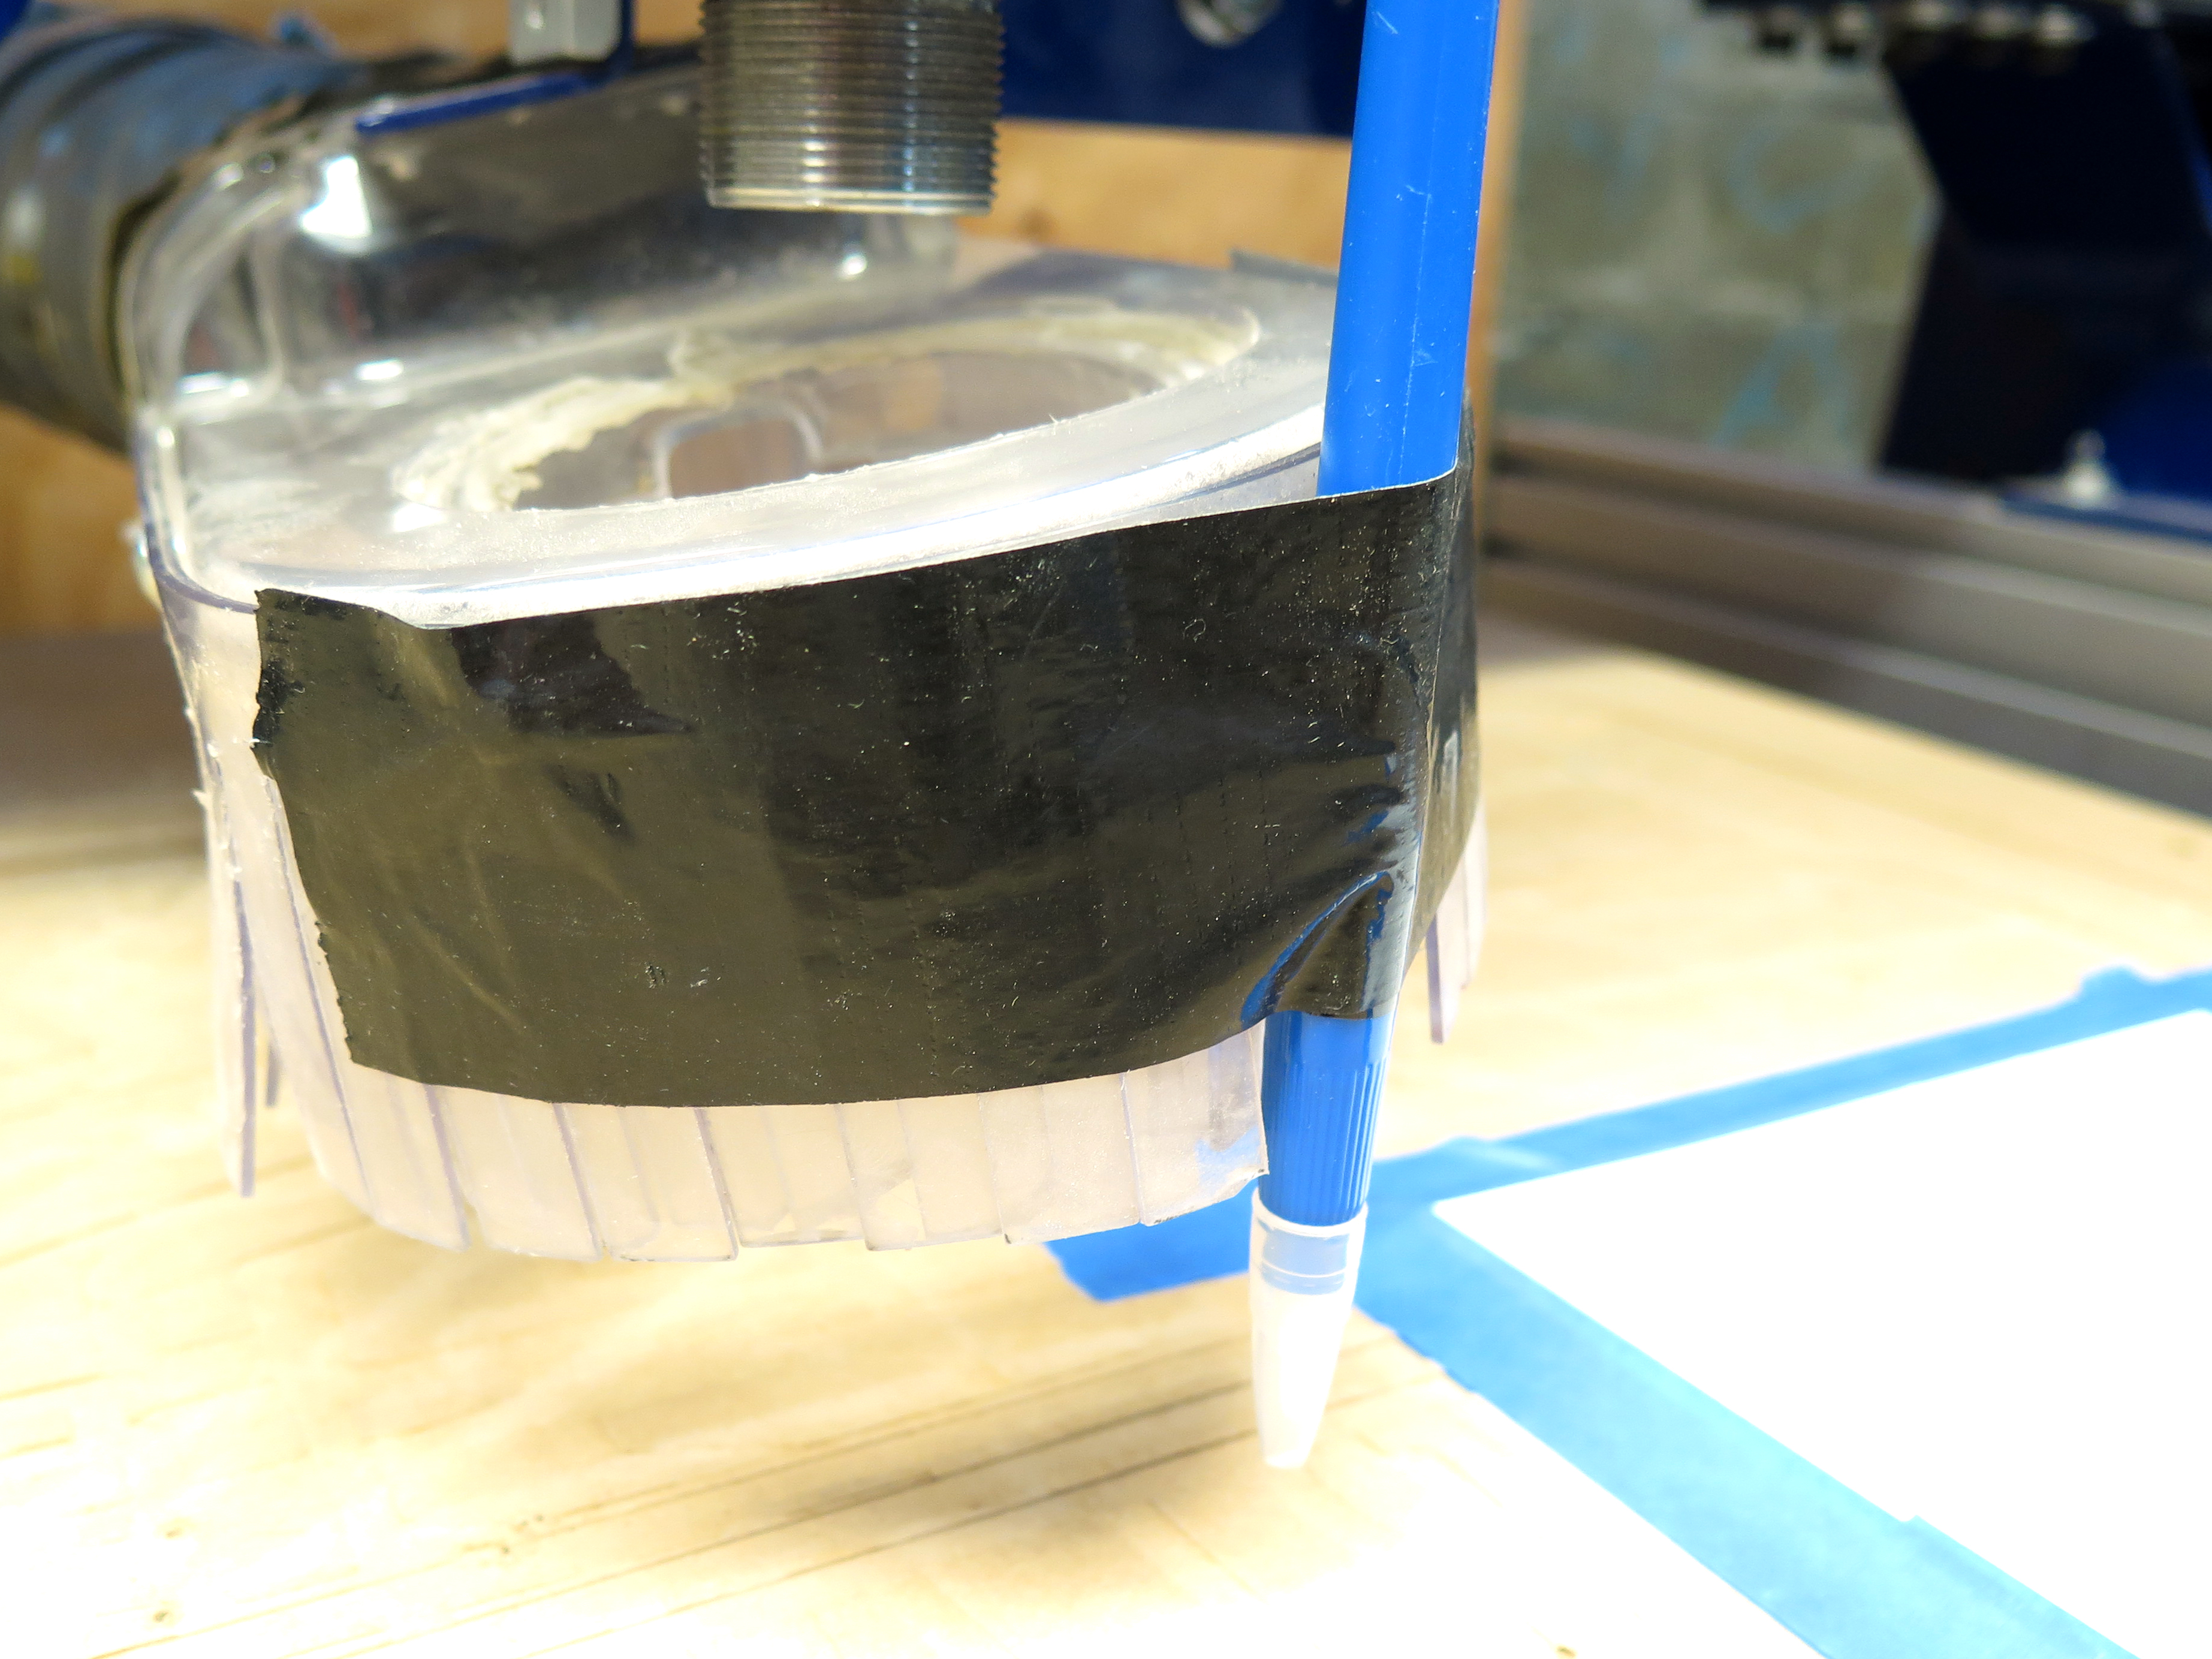
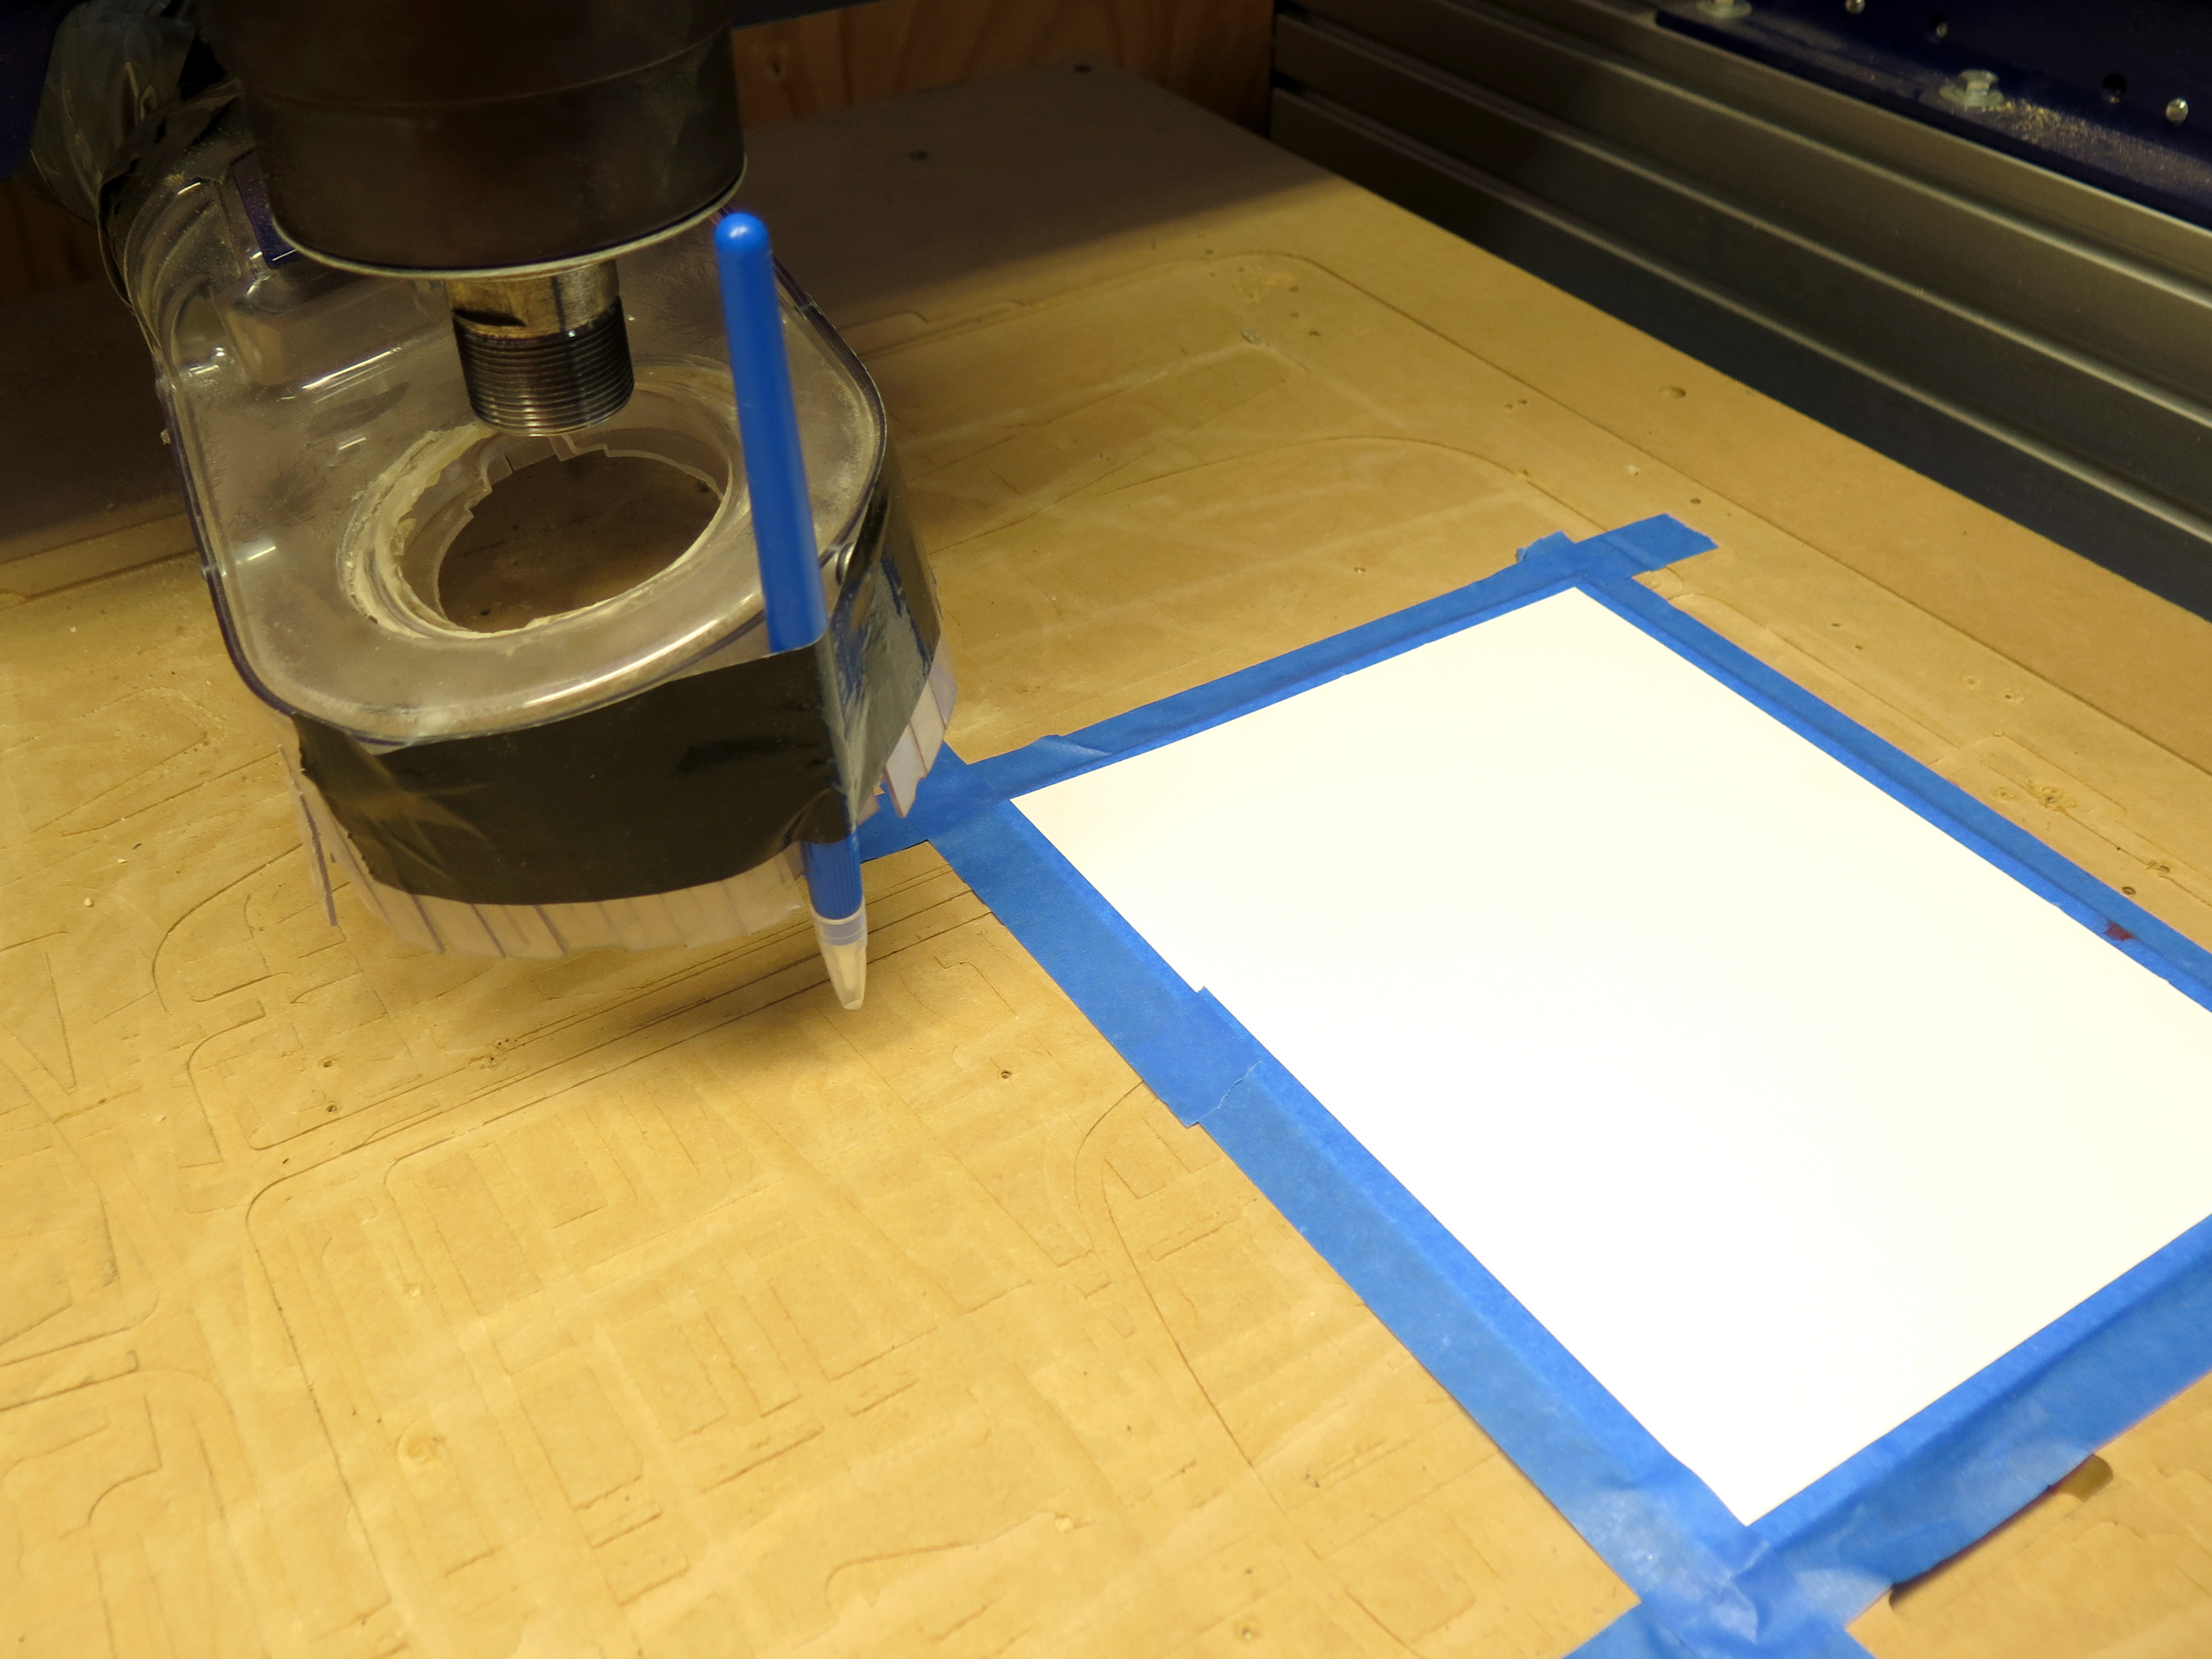
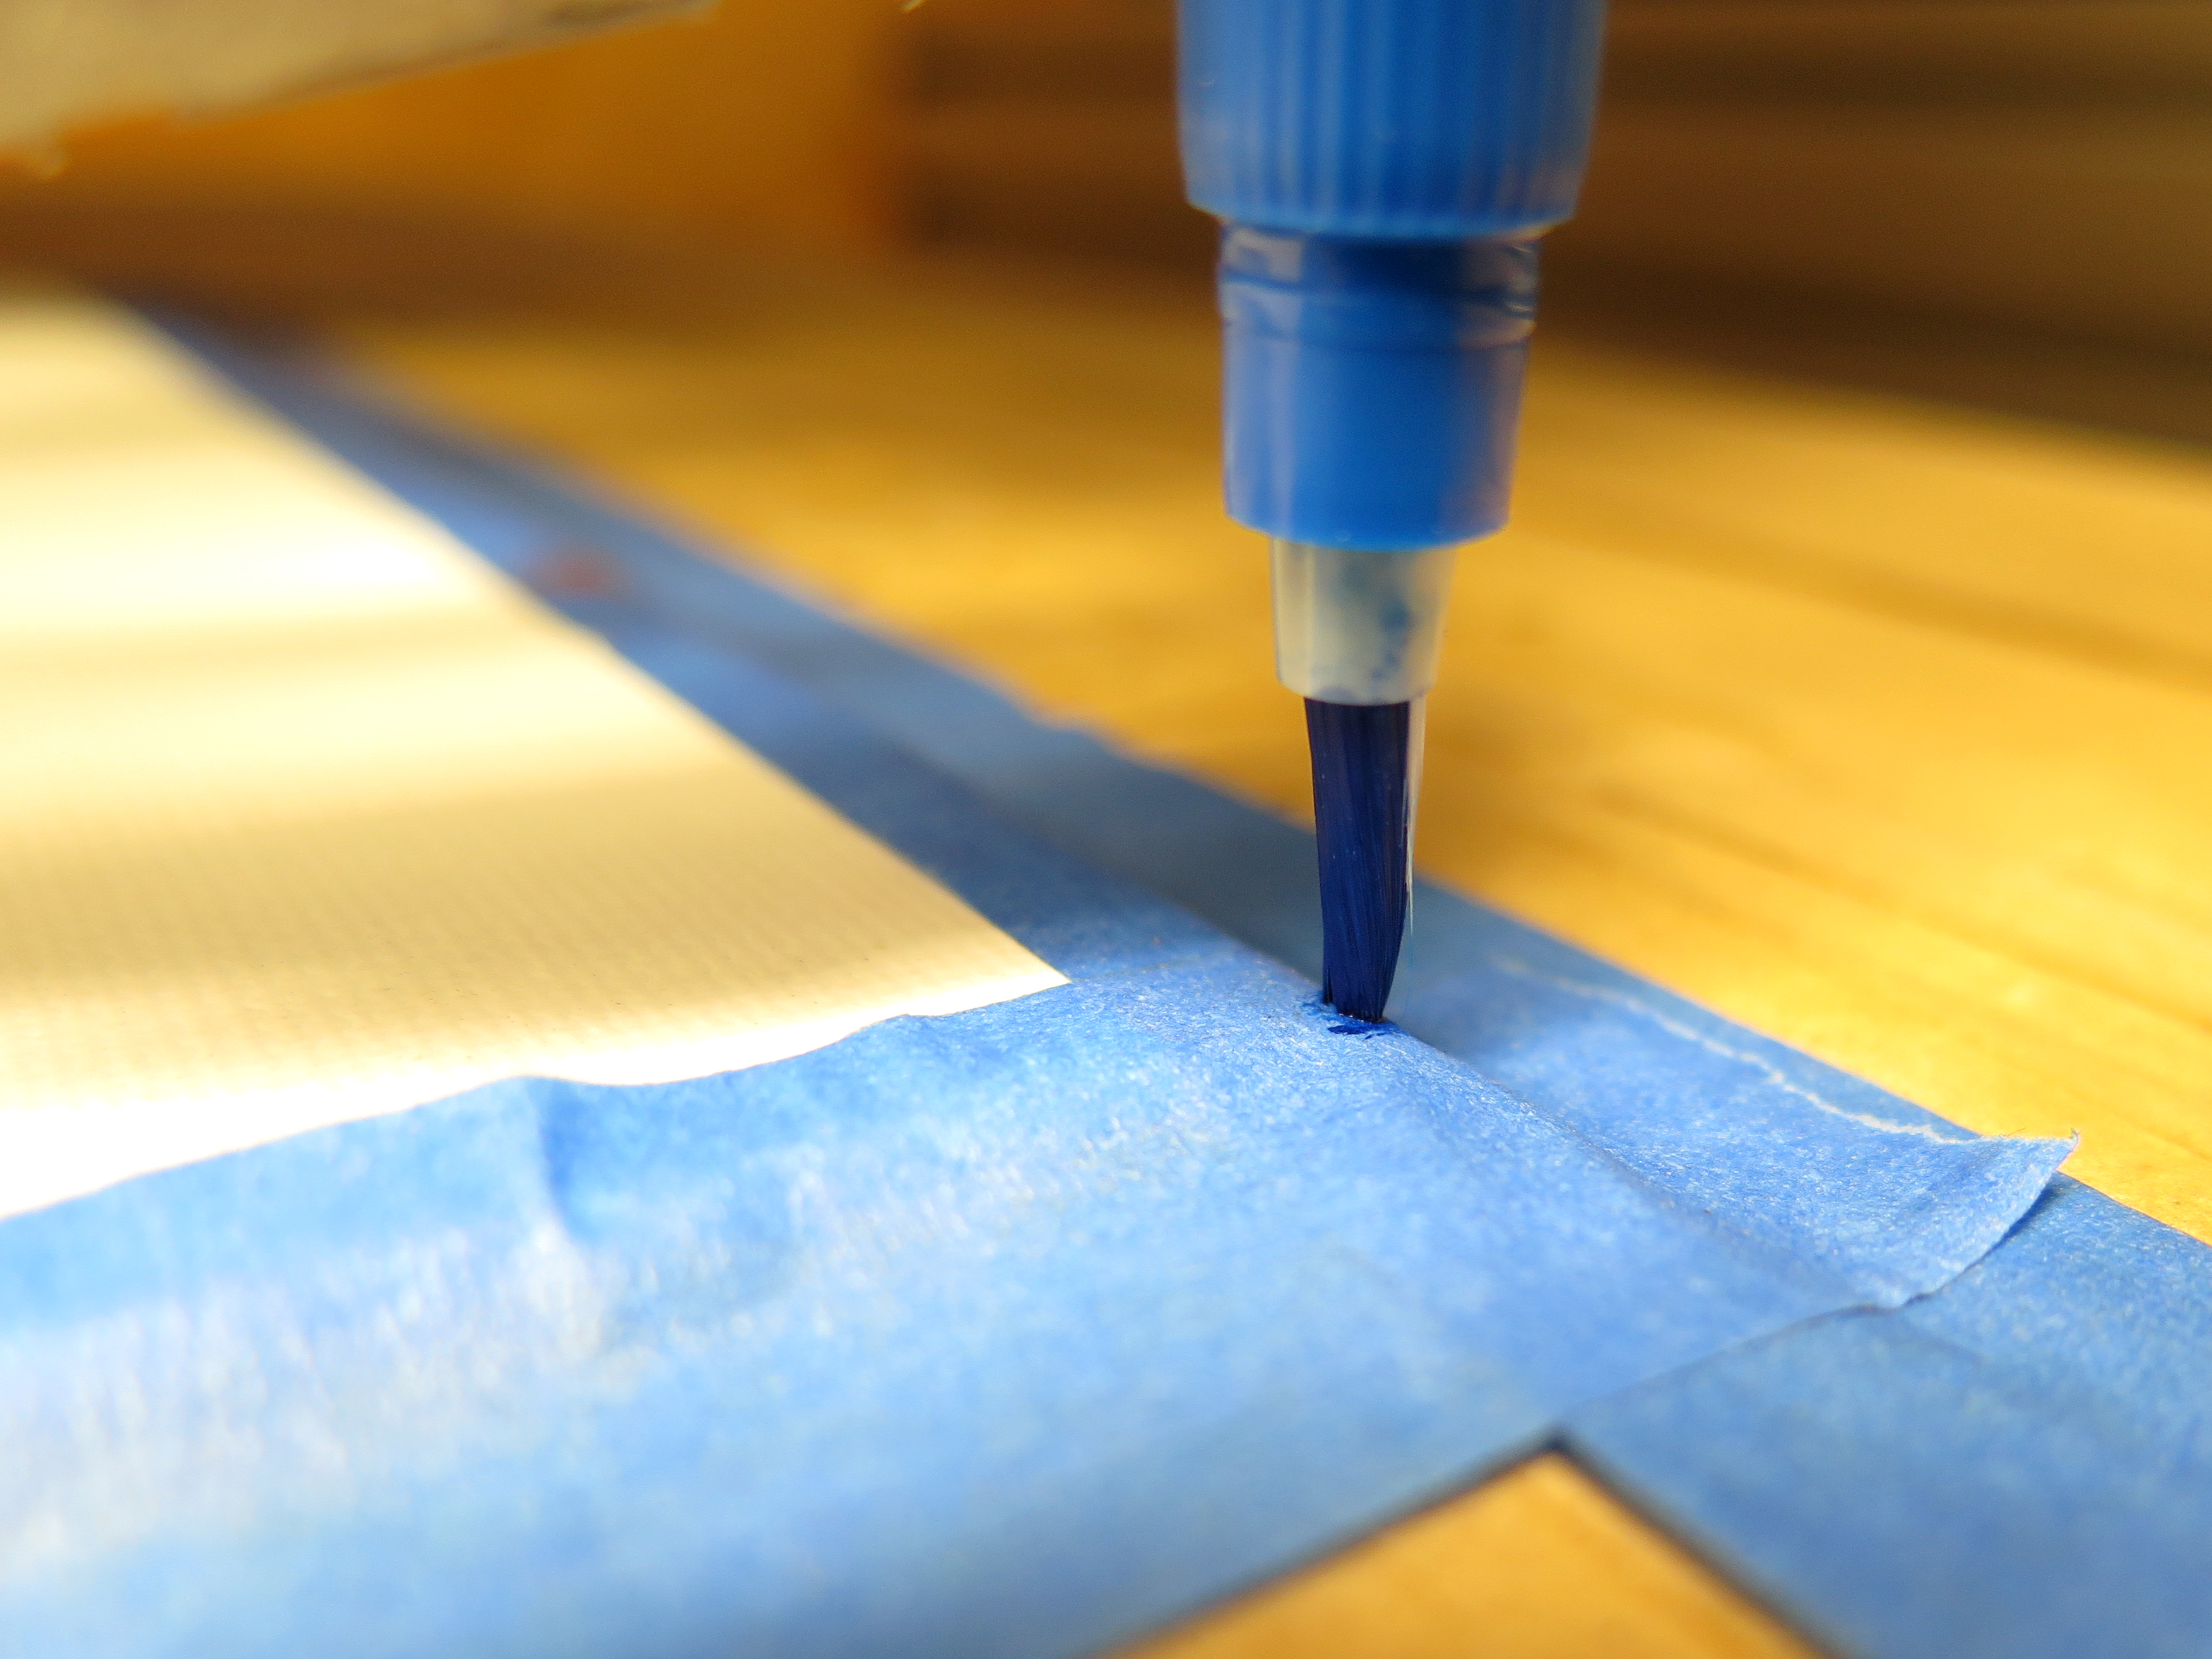
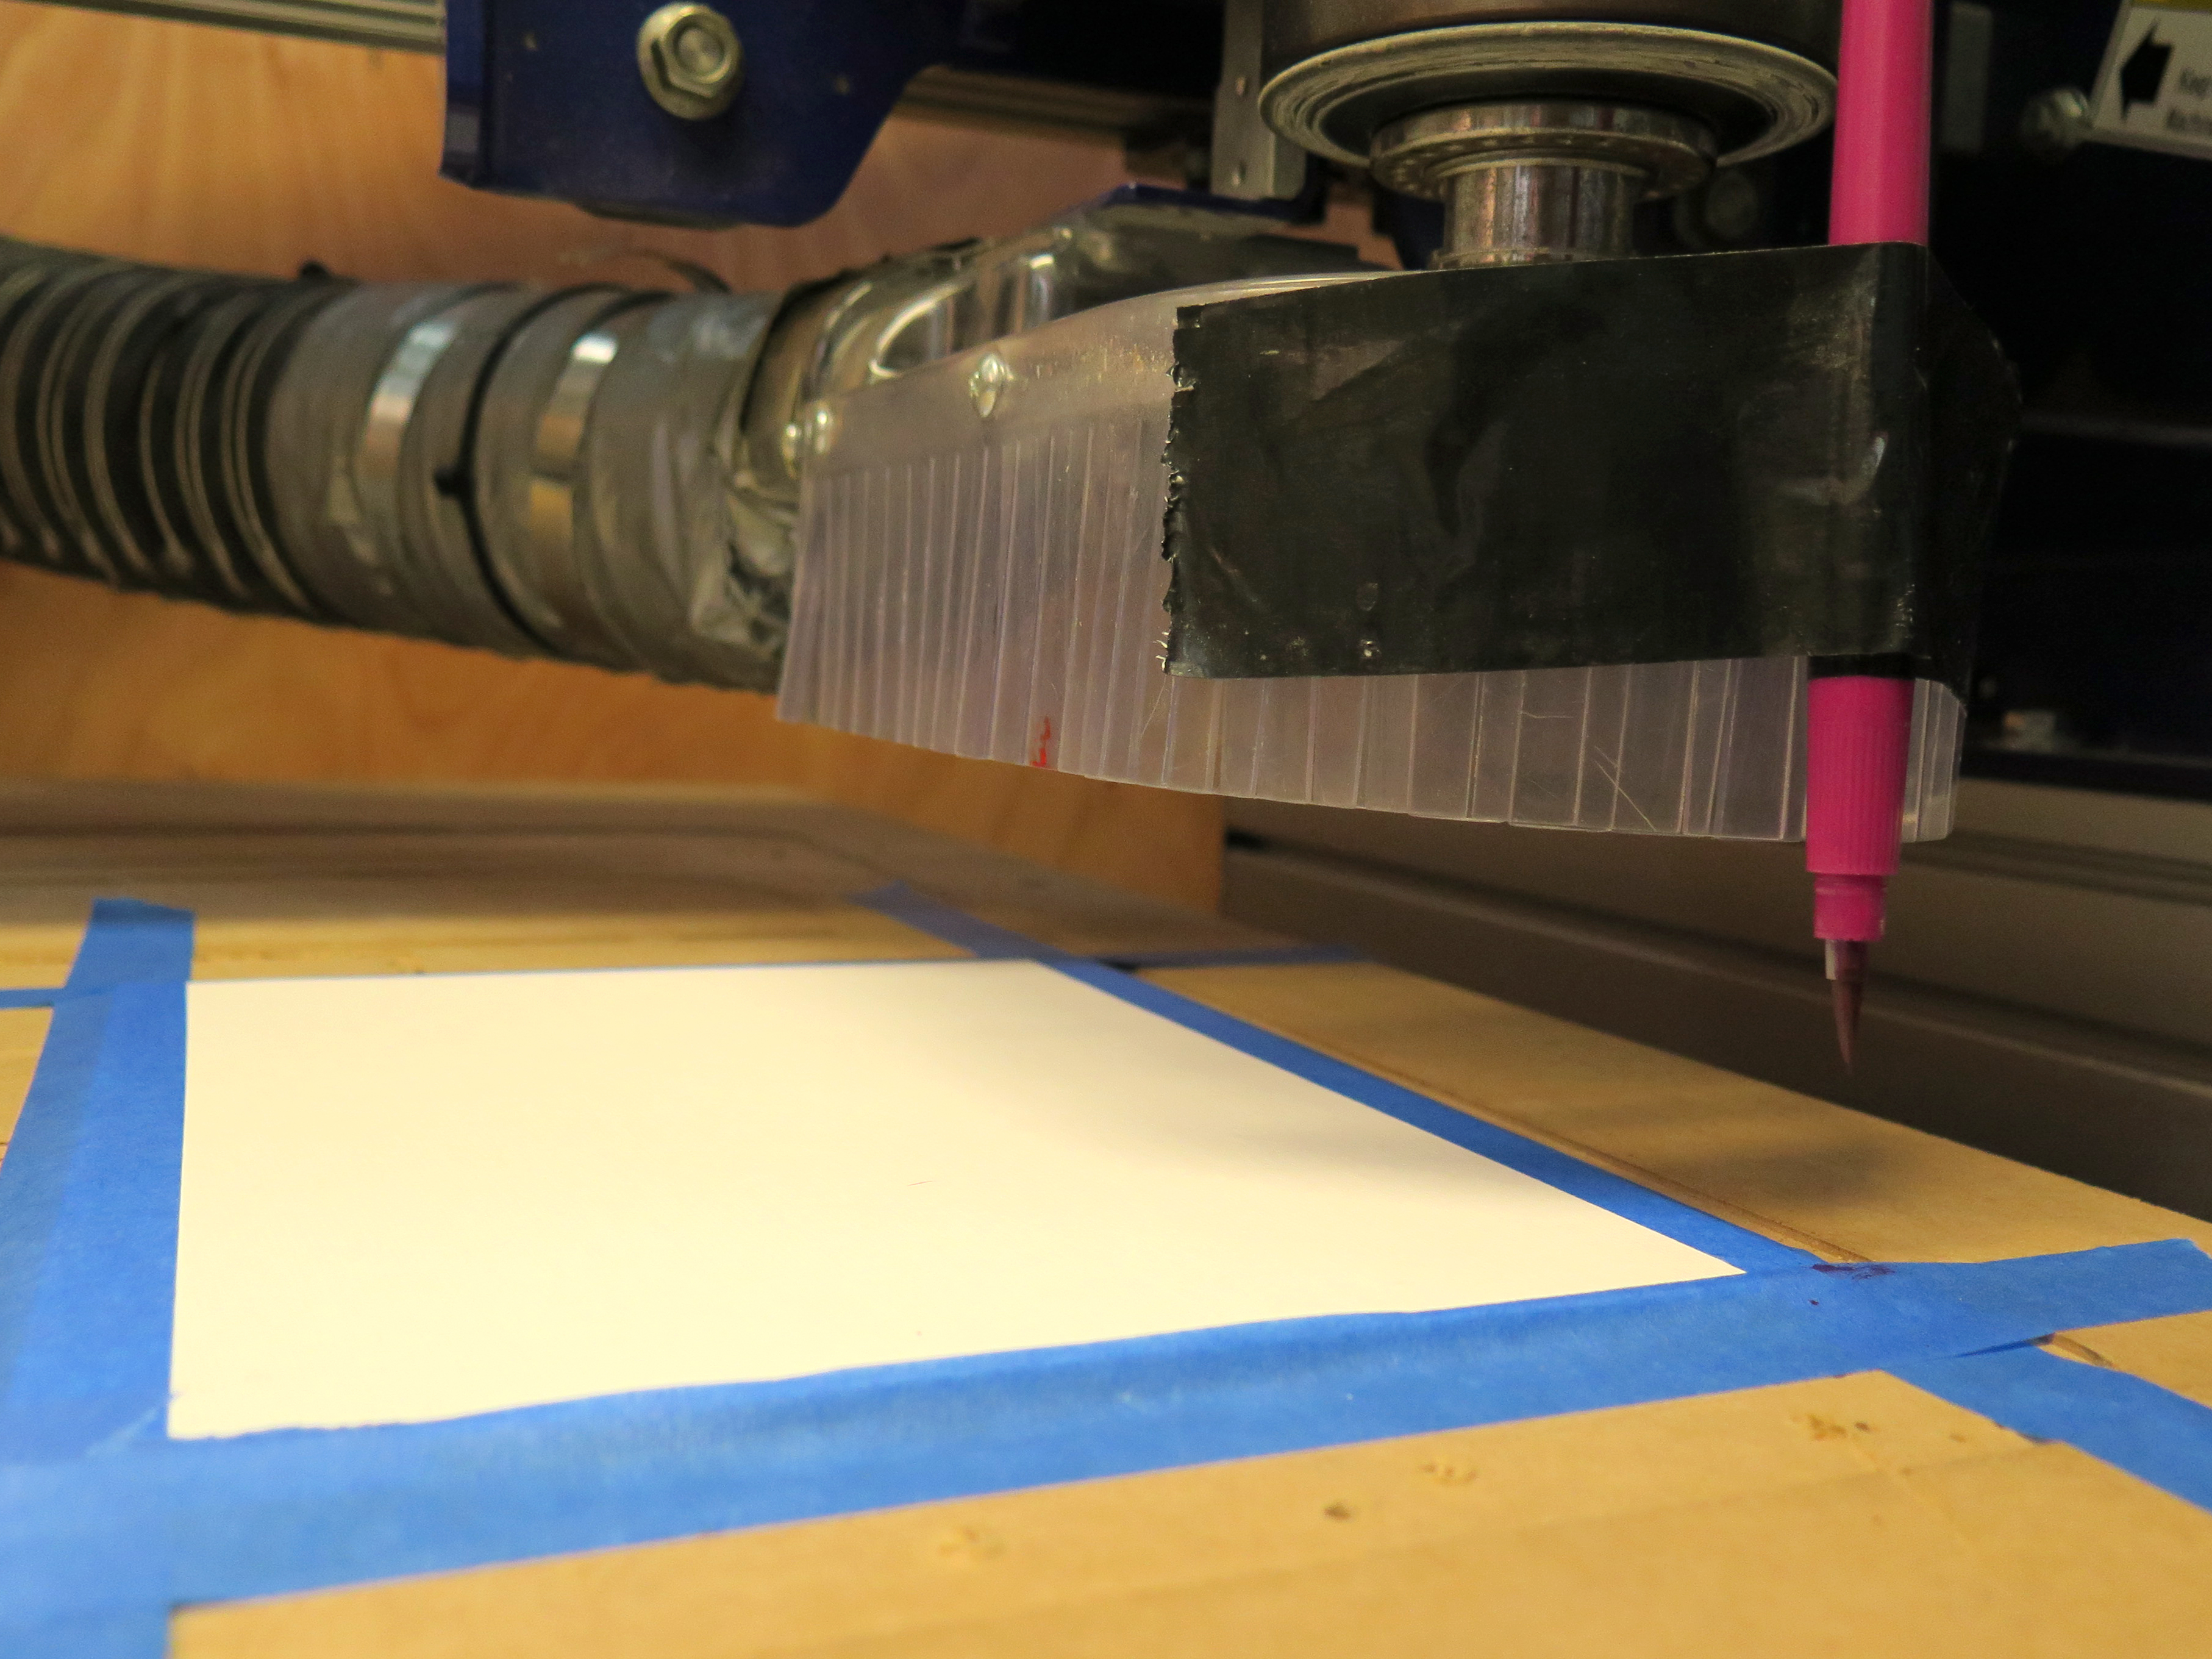
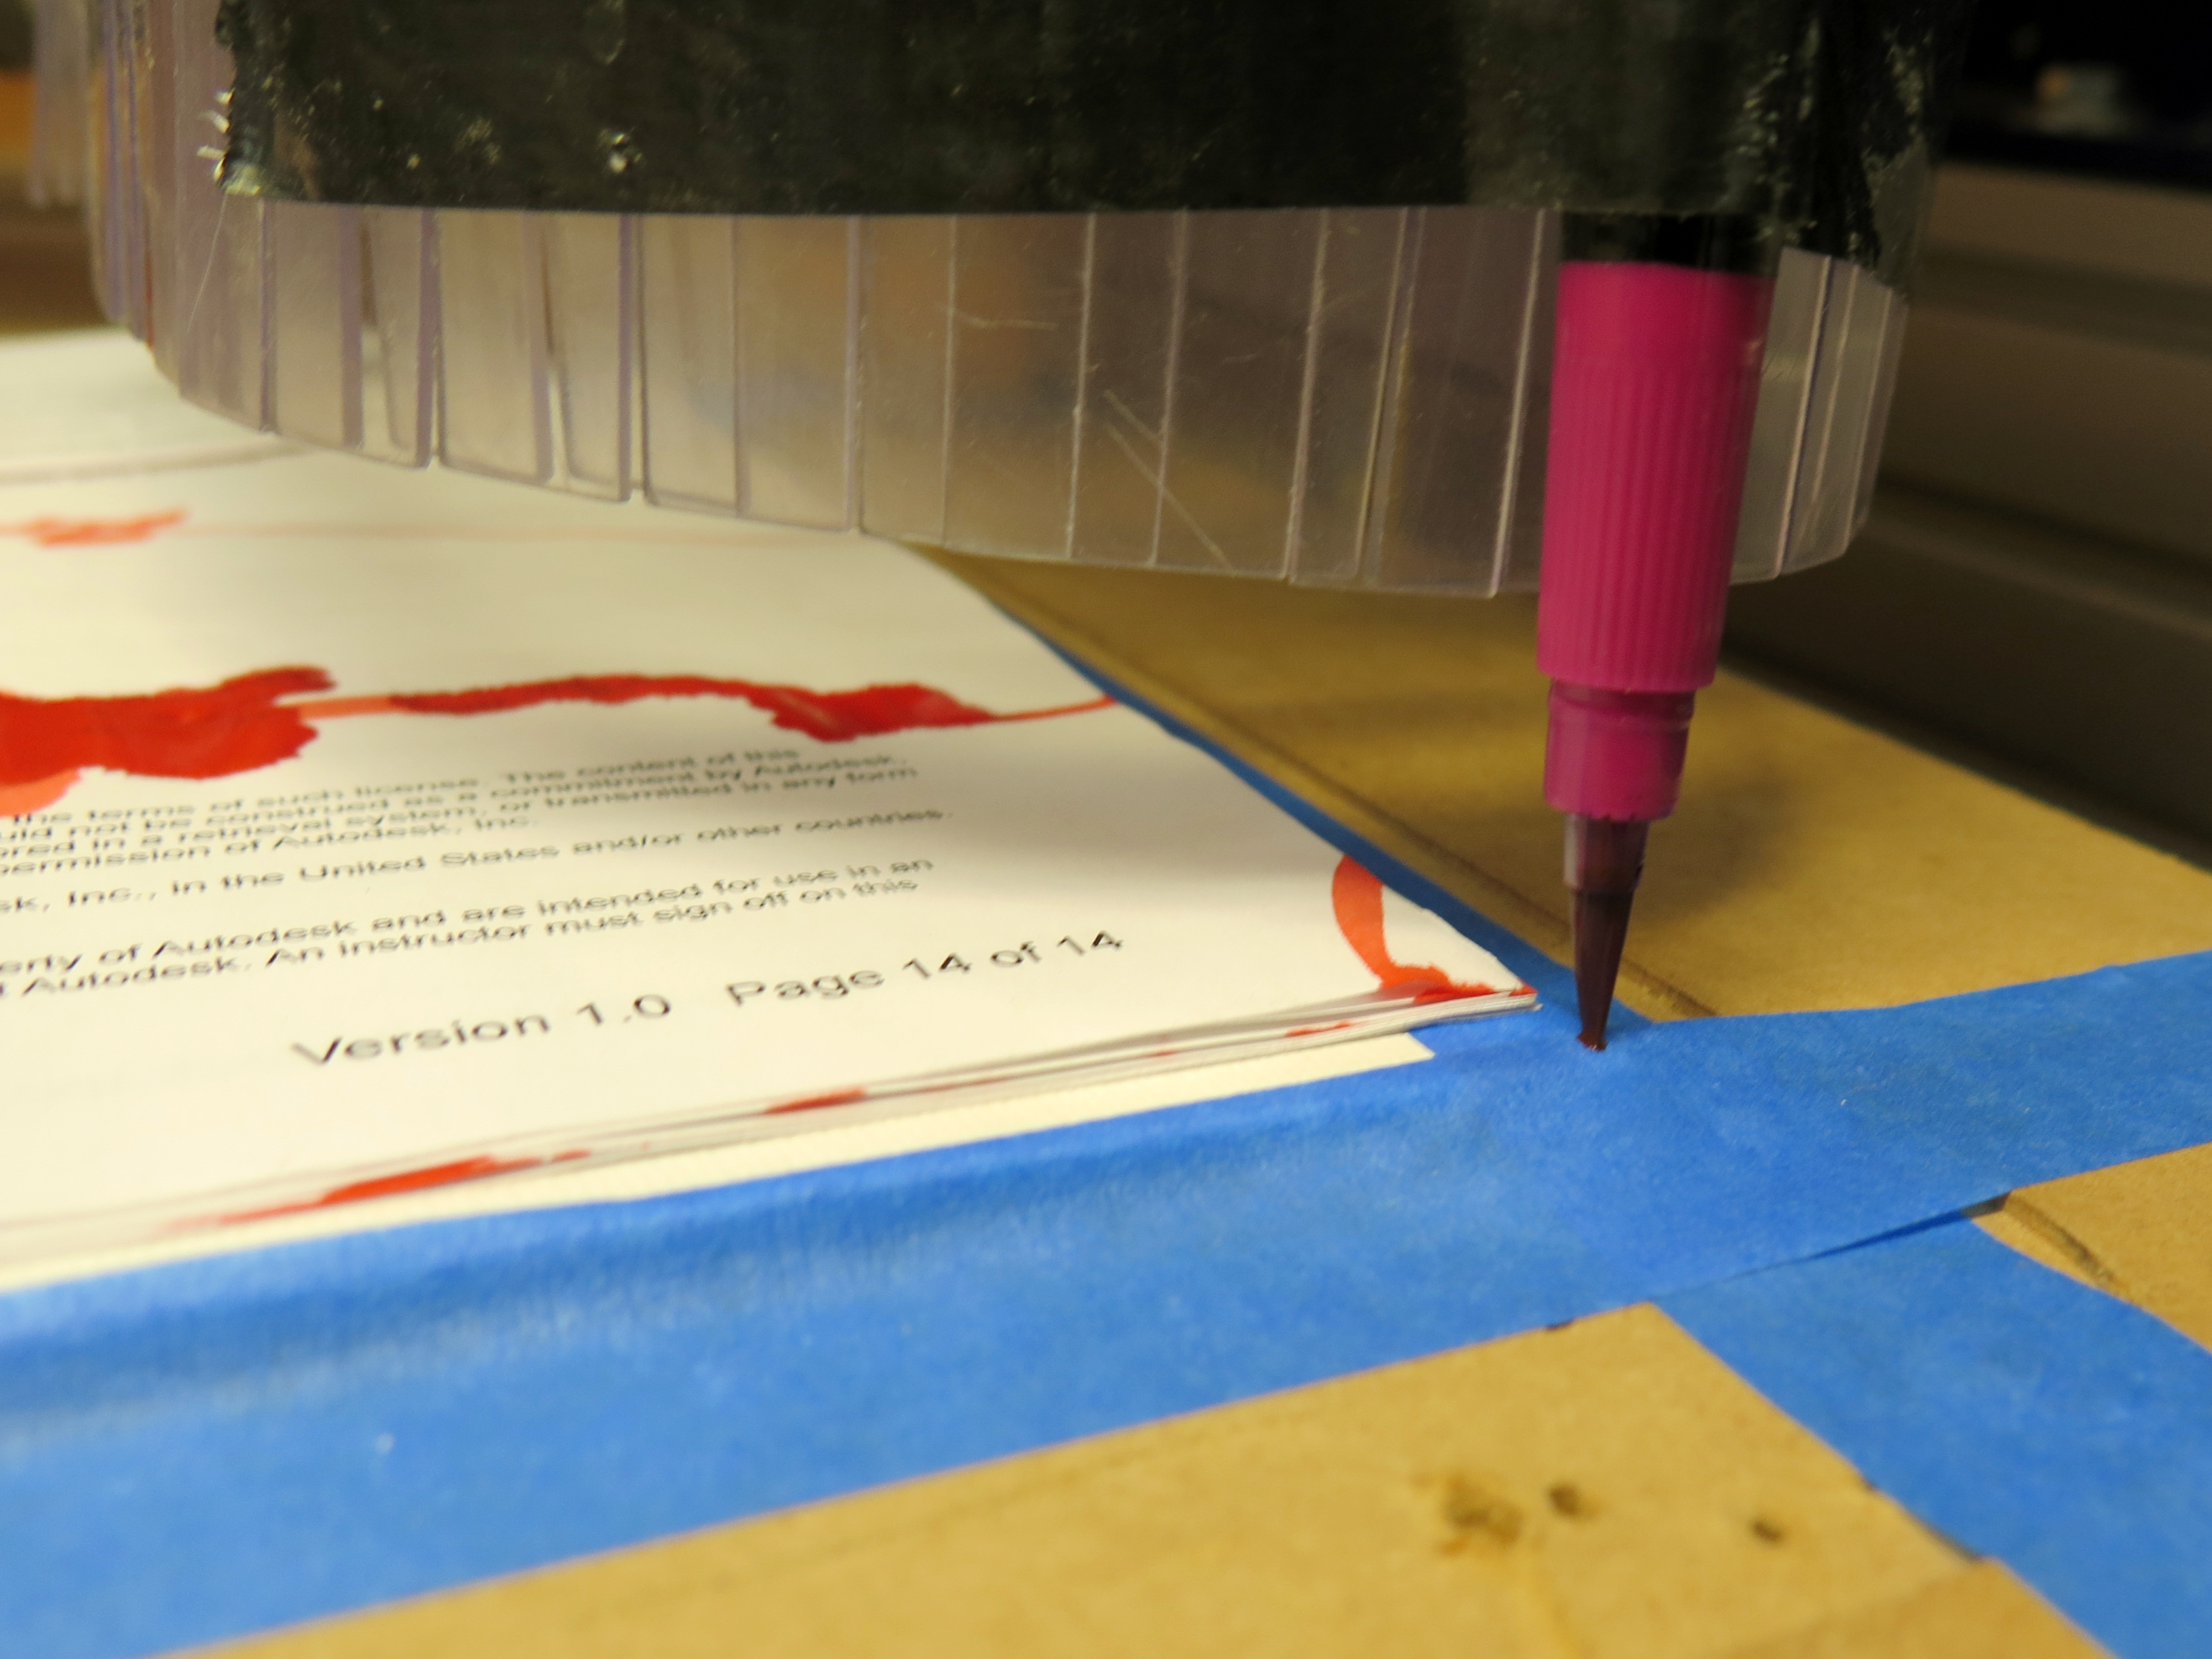
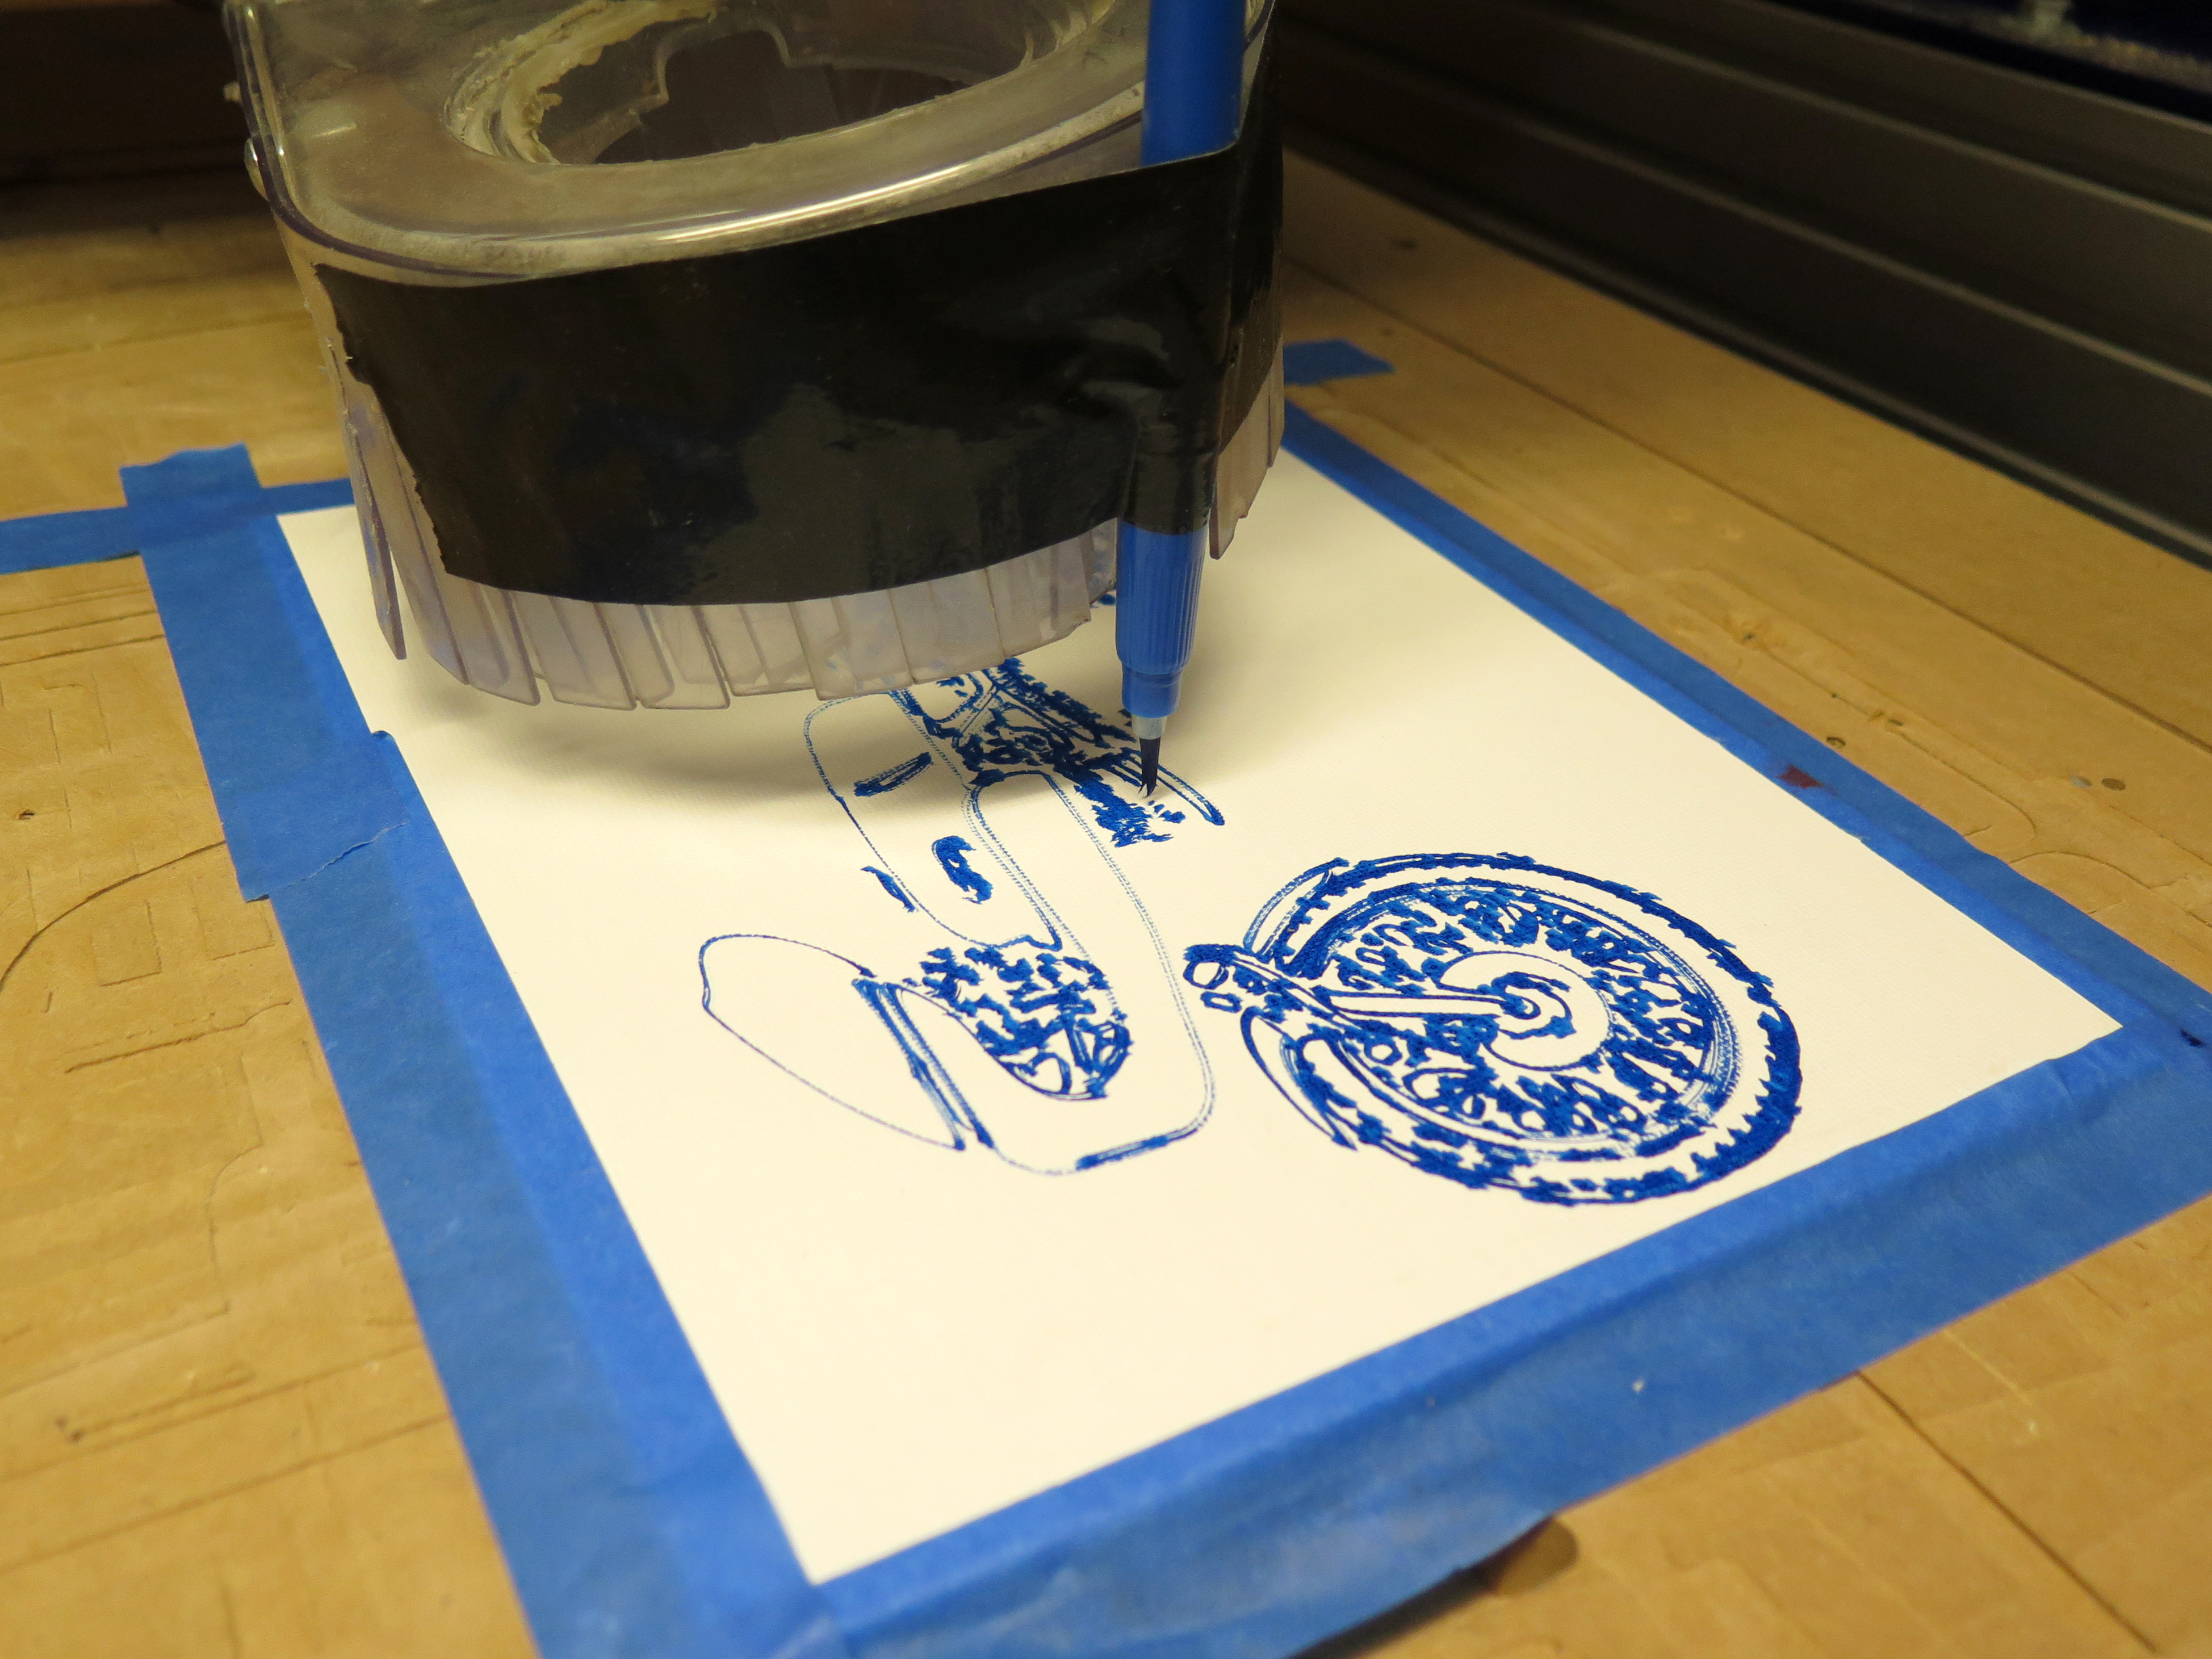
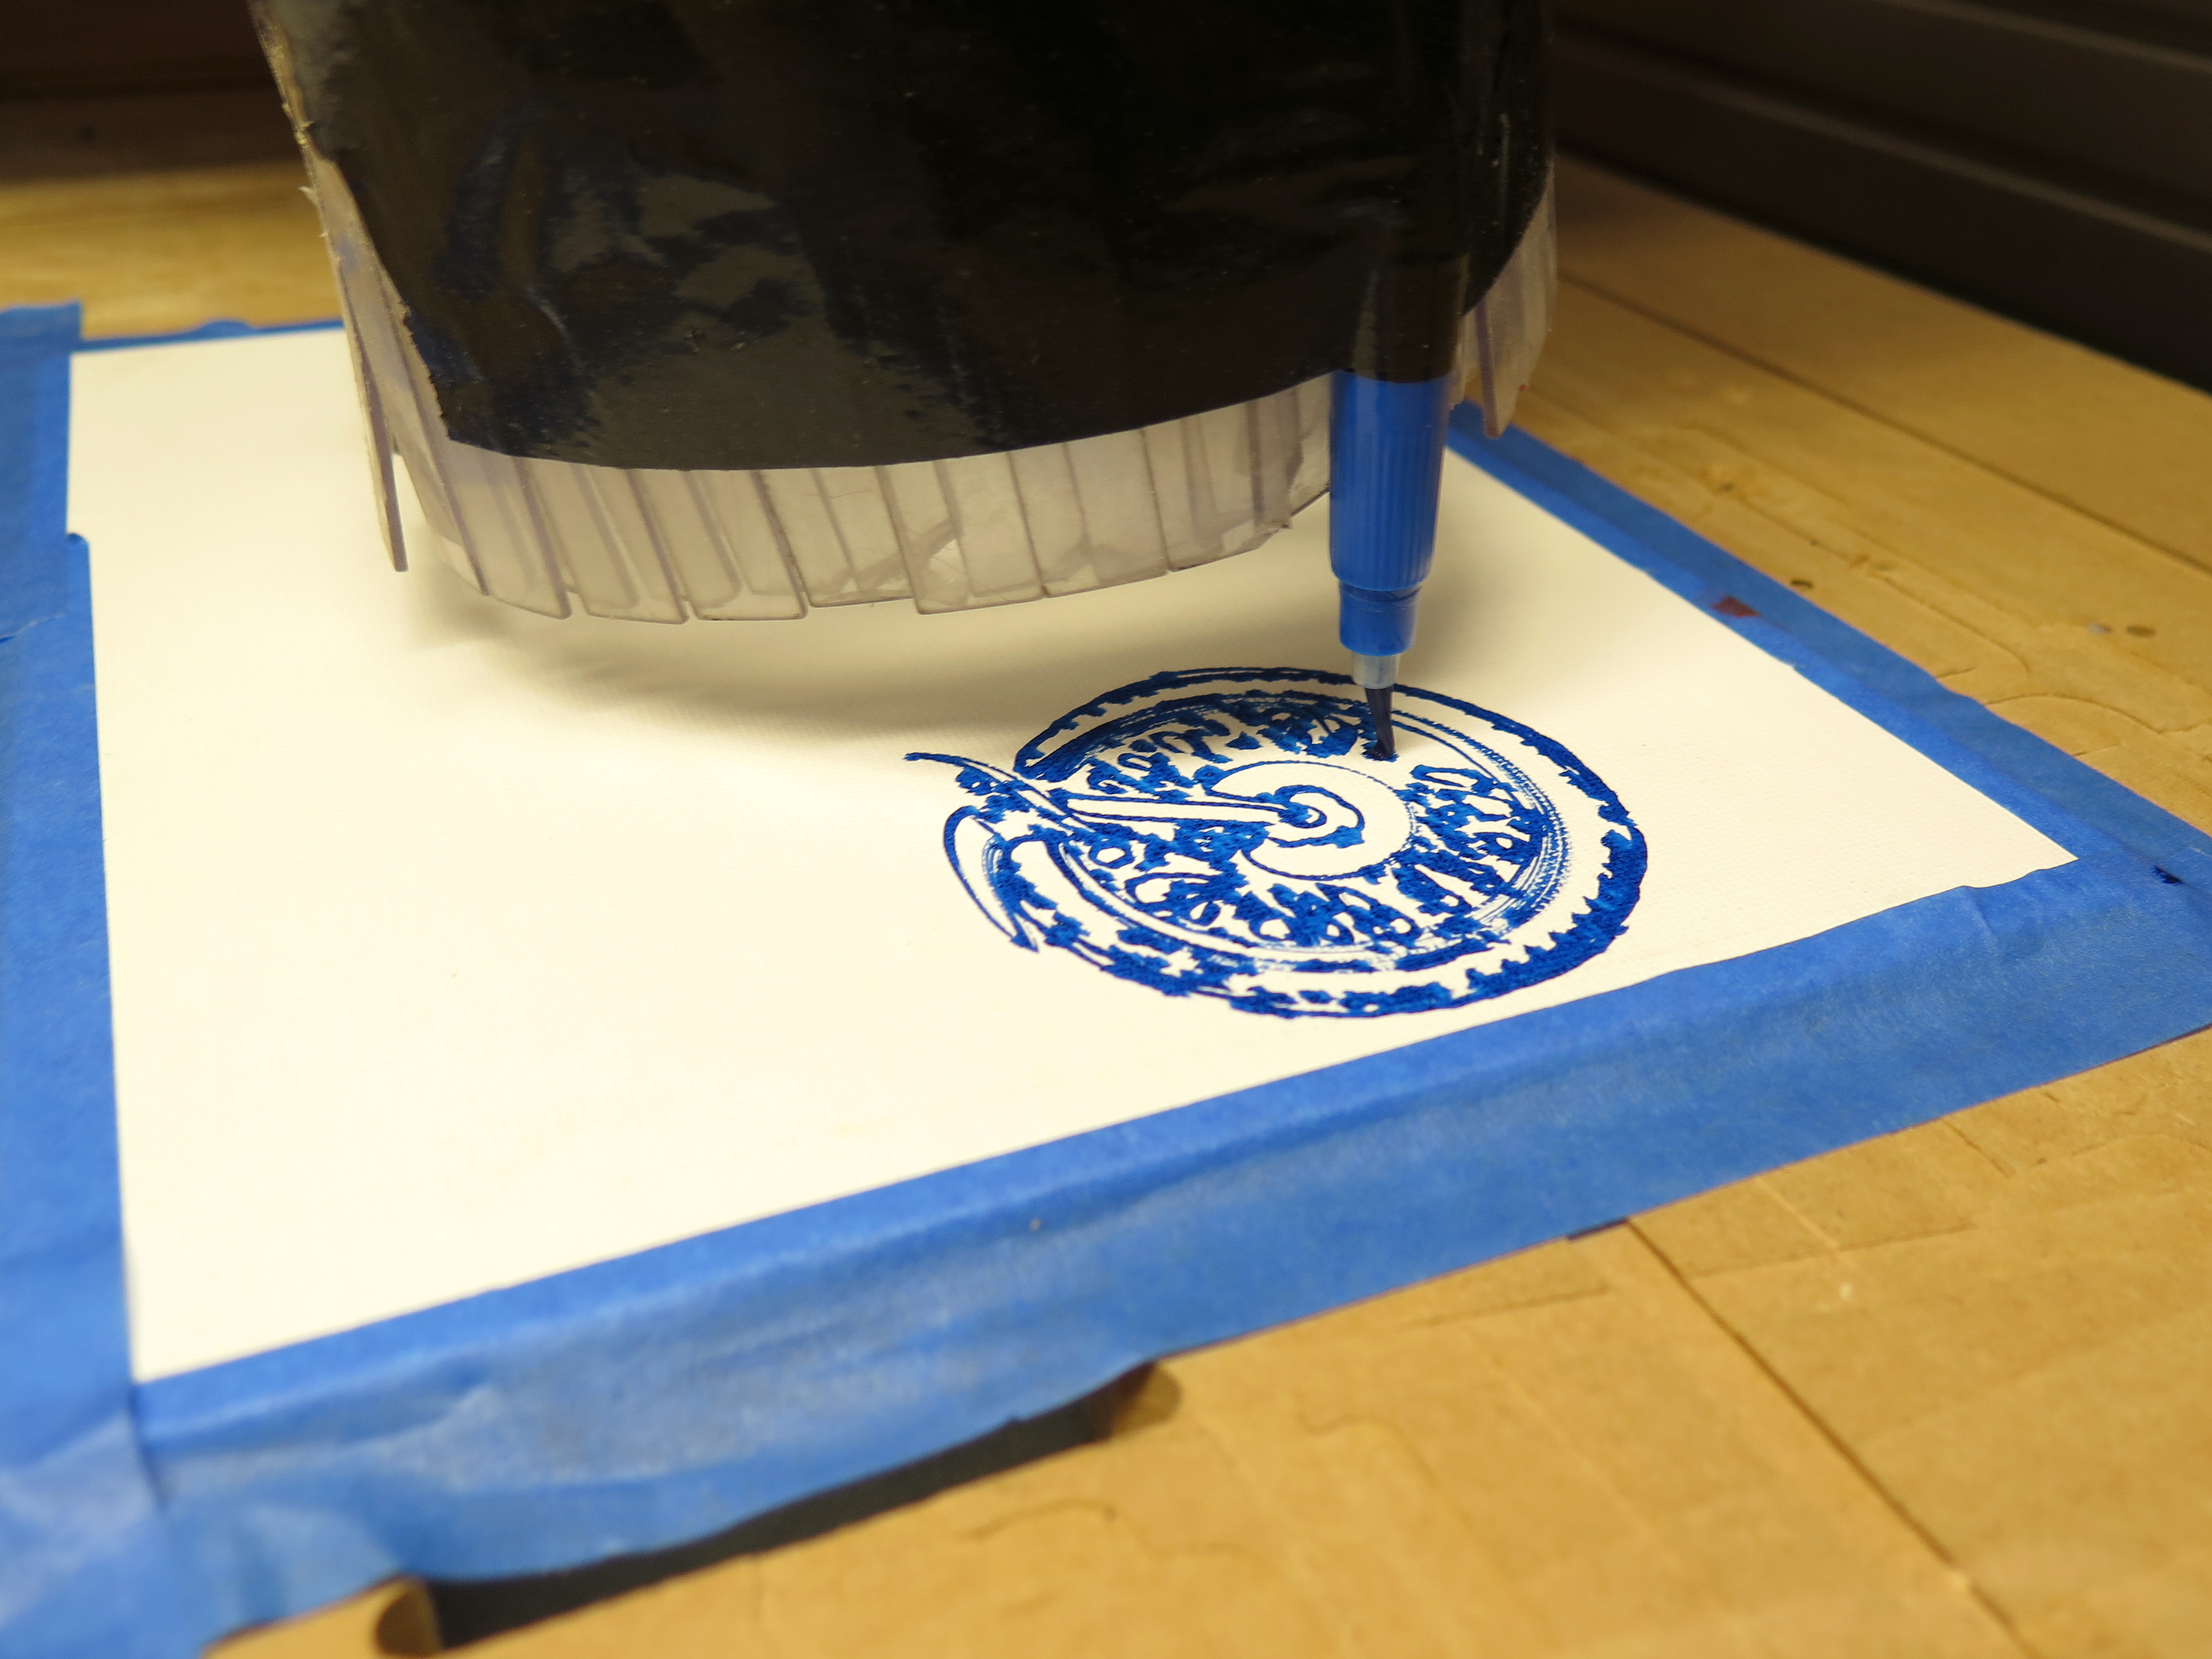
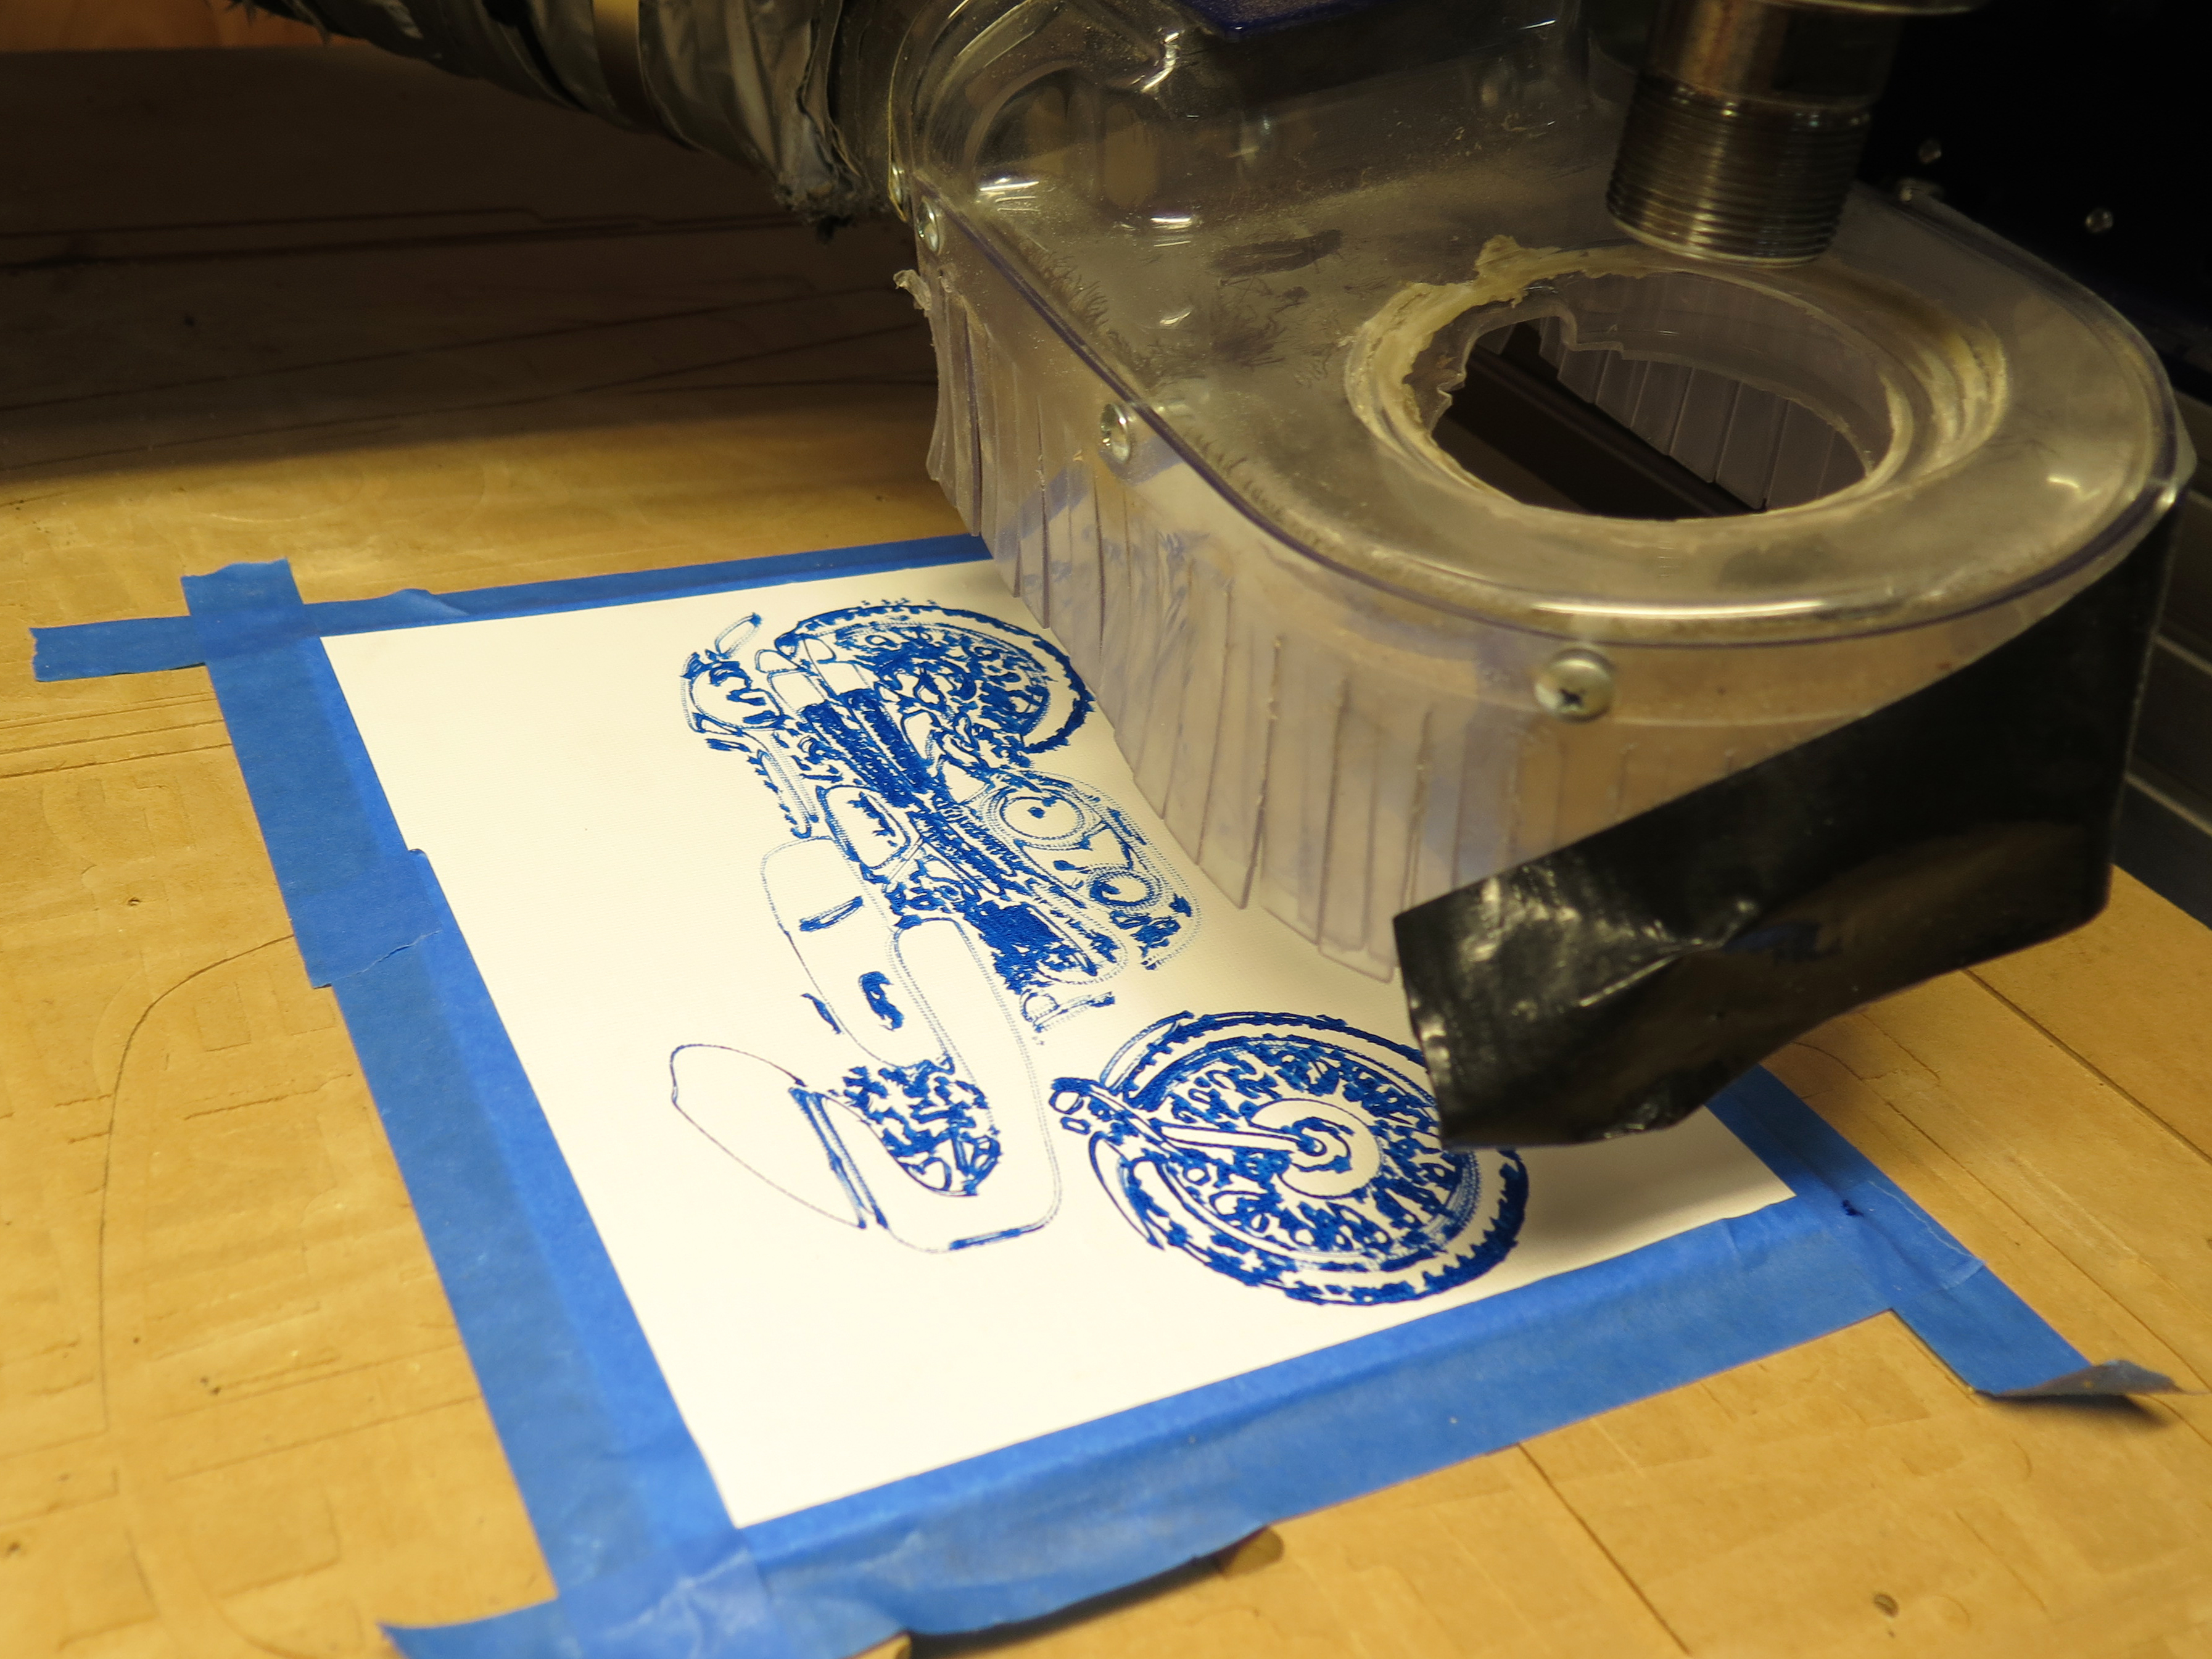
If you prefer a more artistic style you might want to try this technique using Elmer's Watercolor Brush Pen. I was really impressed with the quality of these markers. The only downside is that they are quite long and won't fit inside the collet.
Attaching the maker: I decided to use Duck Tape to attach the marker to the dust collector. This was an OK solution, I also played around tilting the marker to have a different effect.
Hang Your Artwork
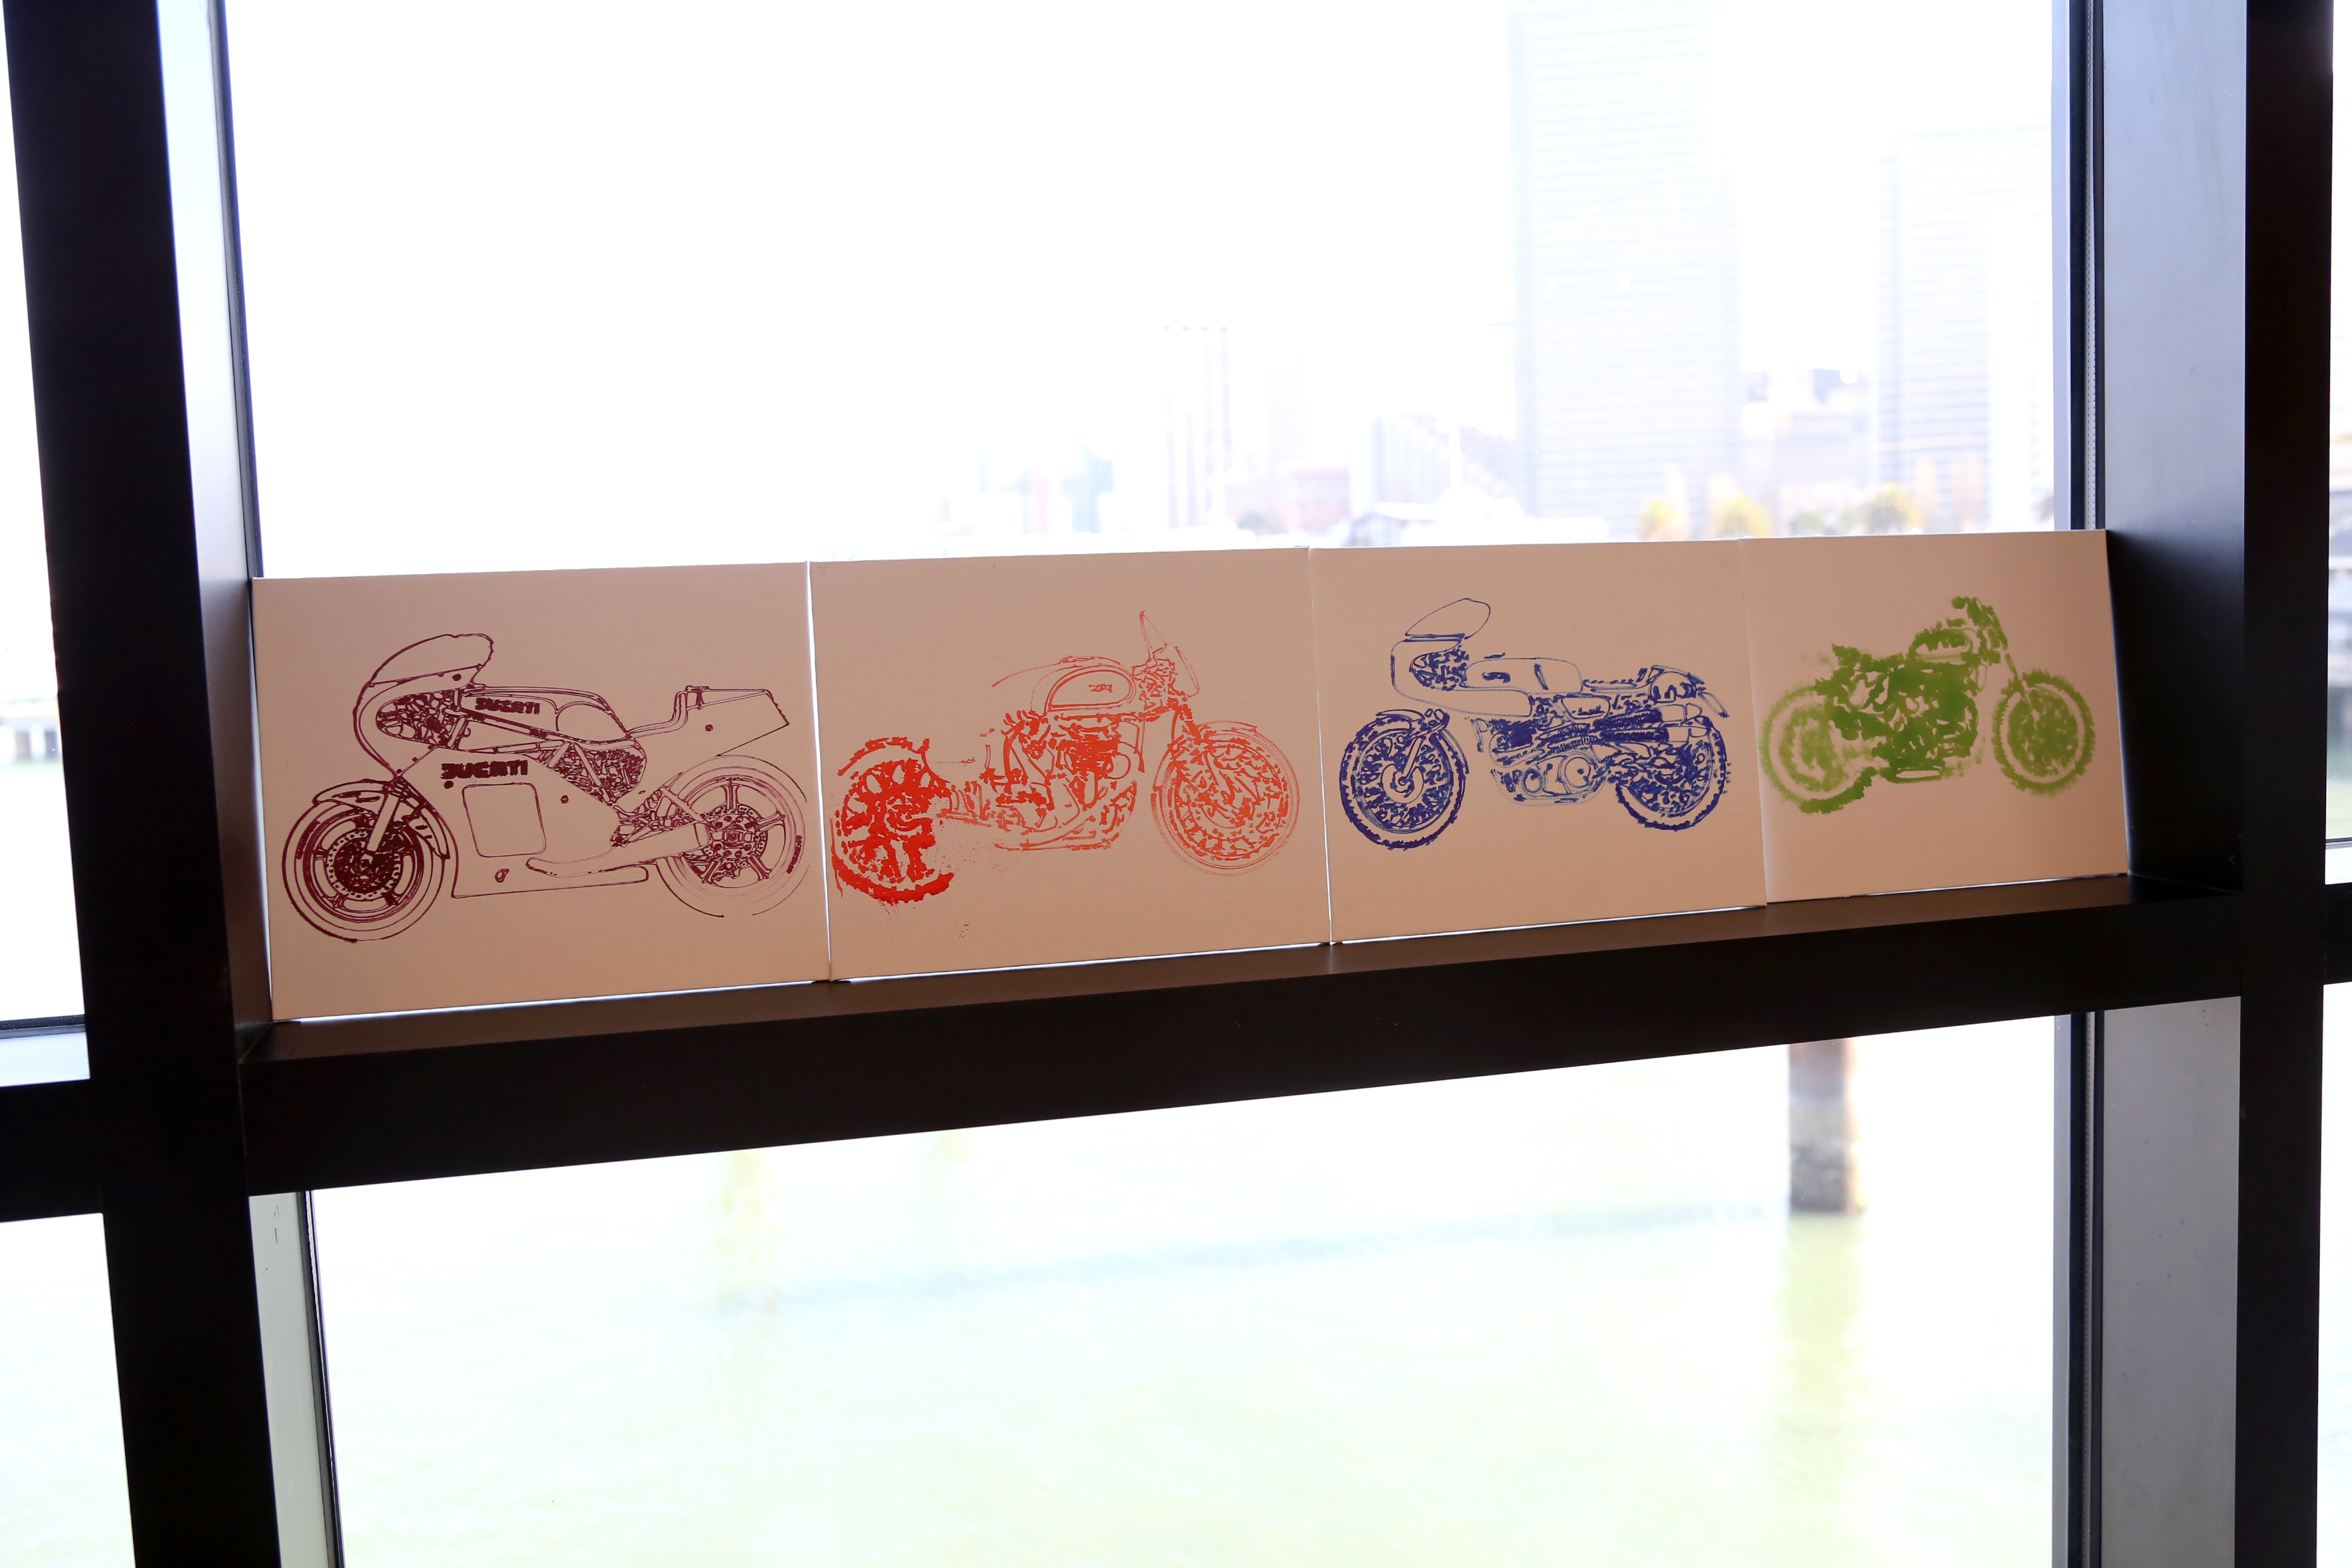
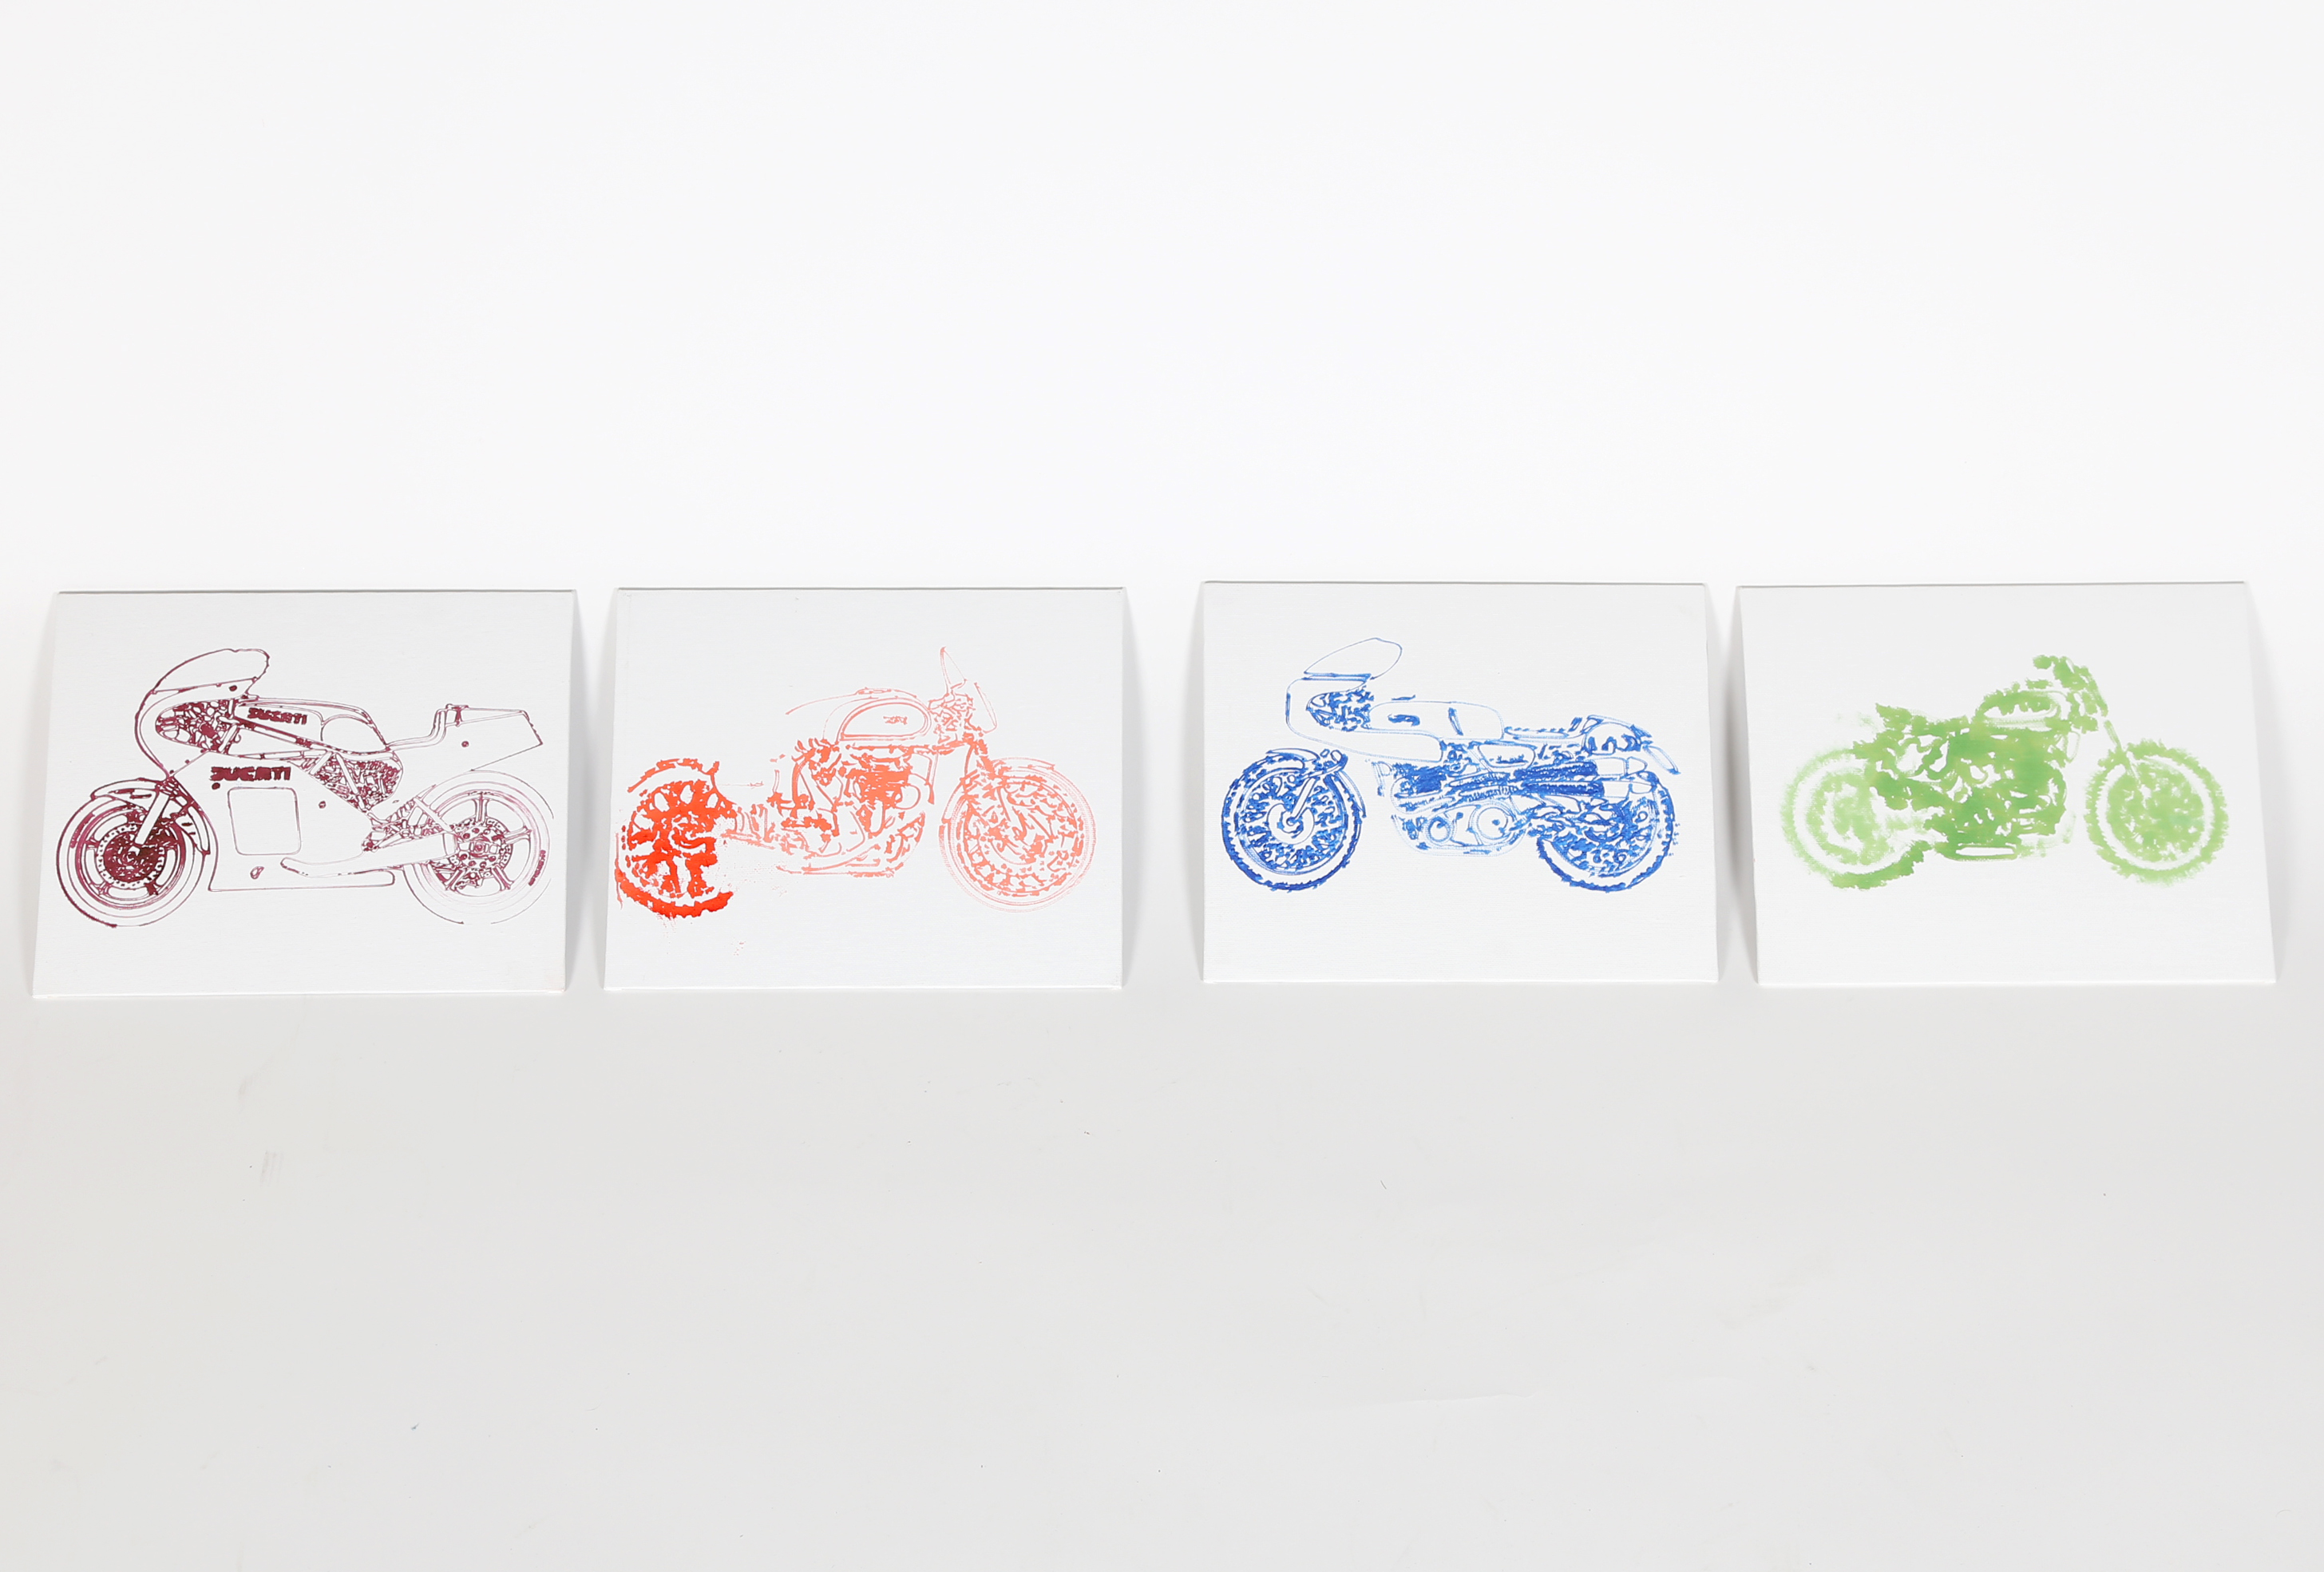
Have fun and hang your artwork!!