CCTV Camera With NodeMCU + Old Laptop's Camera Module (With and Without Using Blynk)
by S3KH4R in Circuits > Electronics
6198 Views, 7 Favorites, 0 Comments
CCTV Camera With NodeMCU + Old Laptop's Camera Module (With and Without Using Blynk)
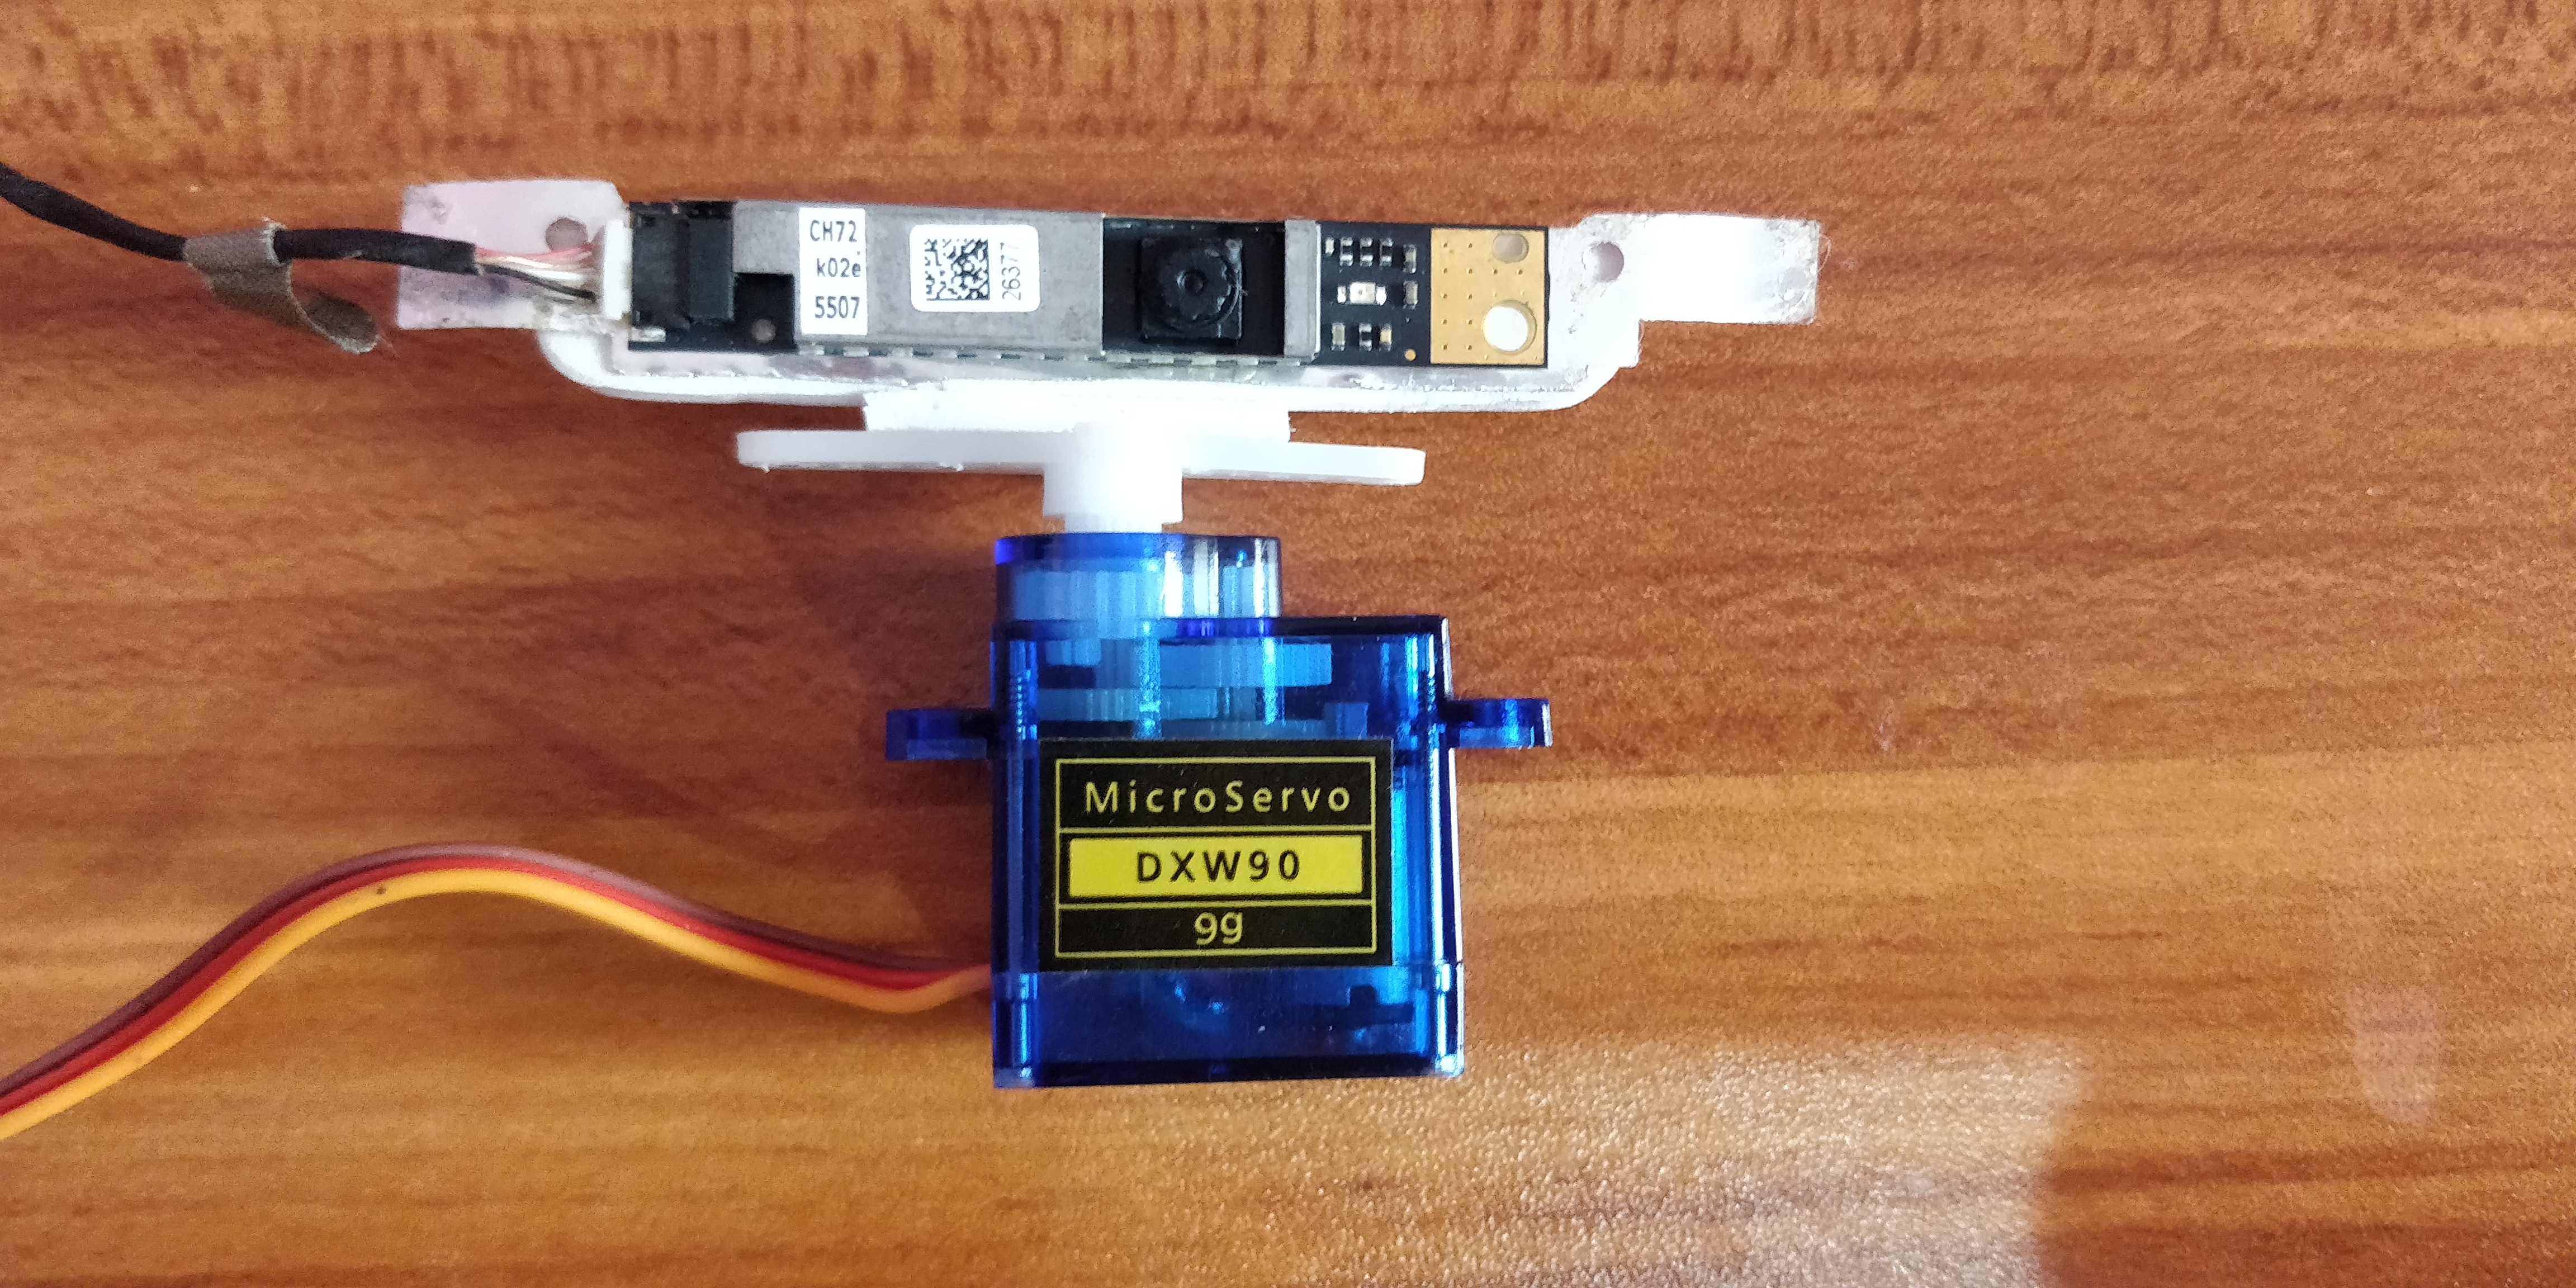
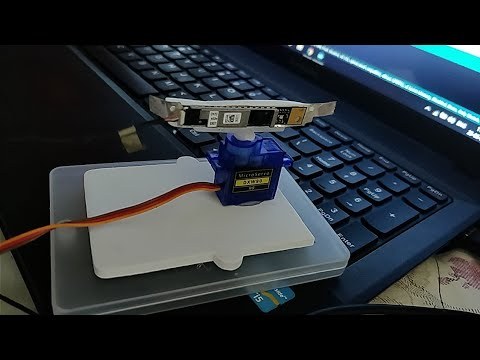
Hi guys! In this instructable, I'm going to show you how I used an old laptop's camera module and nodeMCU to make something similar to CCTV.
Supplies
List of items needed for this project
1. NodeMCU
2. Laptop camera module
3. Servo
4. Old USB cable
5. Breadboard
6. Connecting wires
7. Potentiometer (optional- to control the servo without Blynk application)
8. Arduino ide ( Blynk libraries optional- to control servo through smartphone over the internet)
Converting Camera Module to USB Output
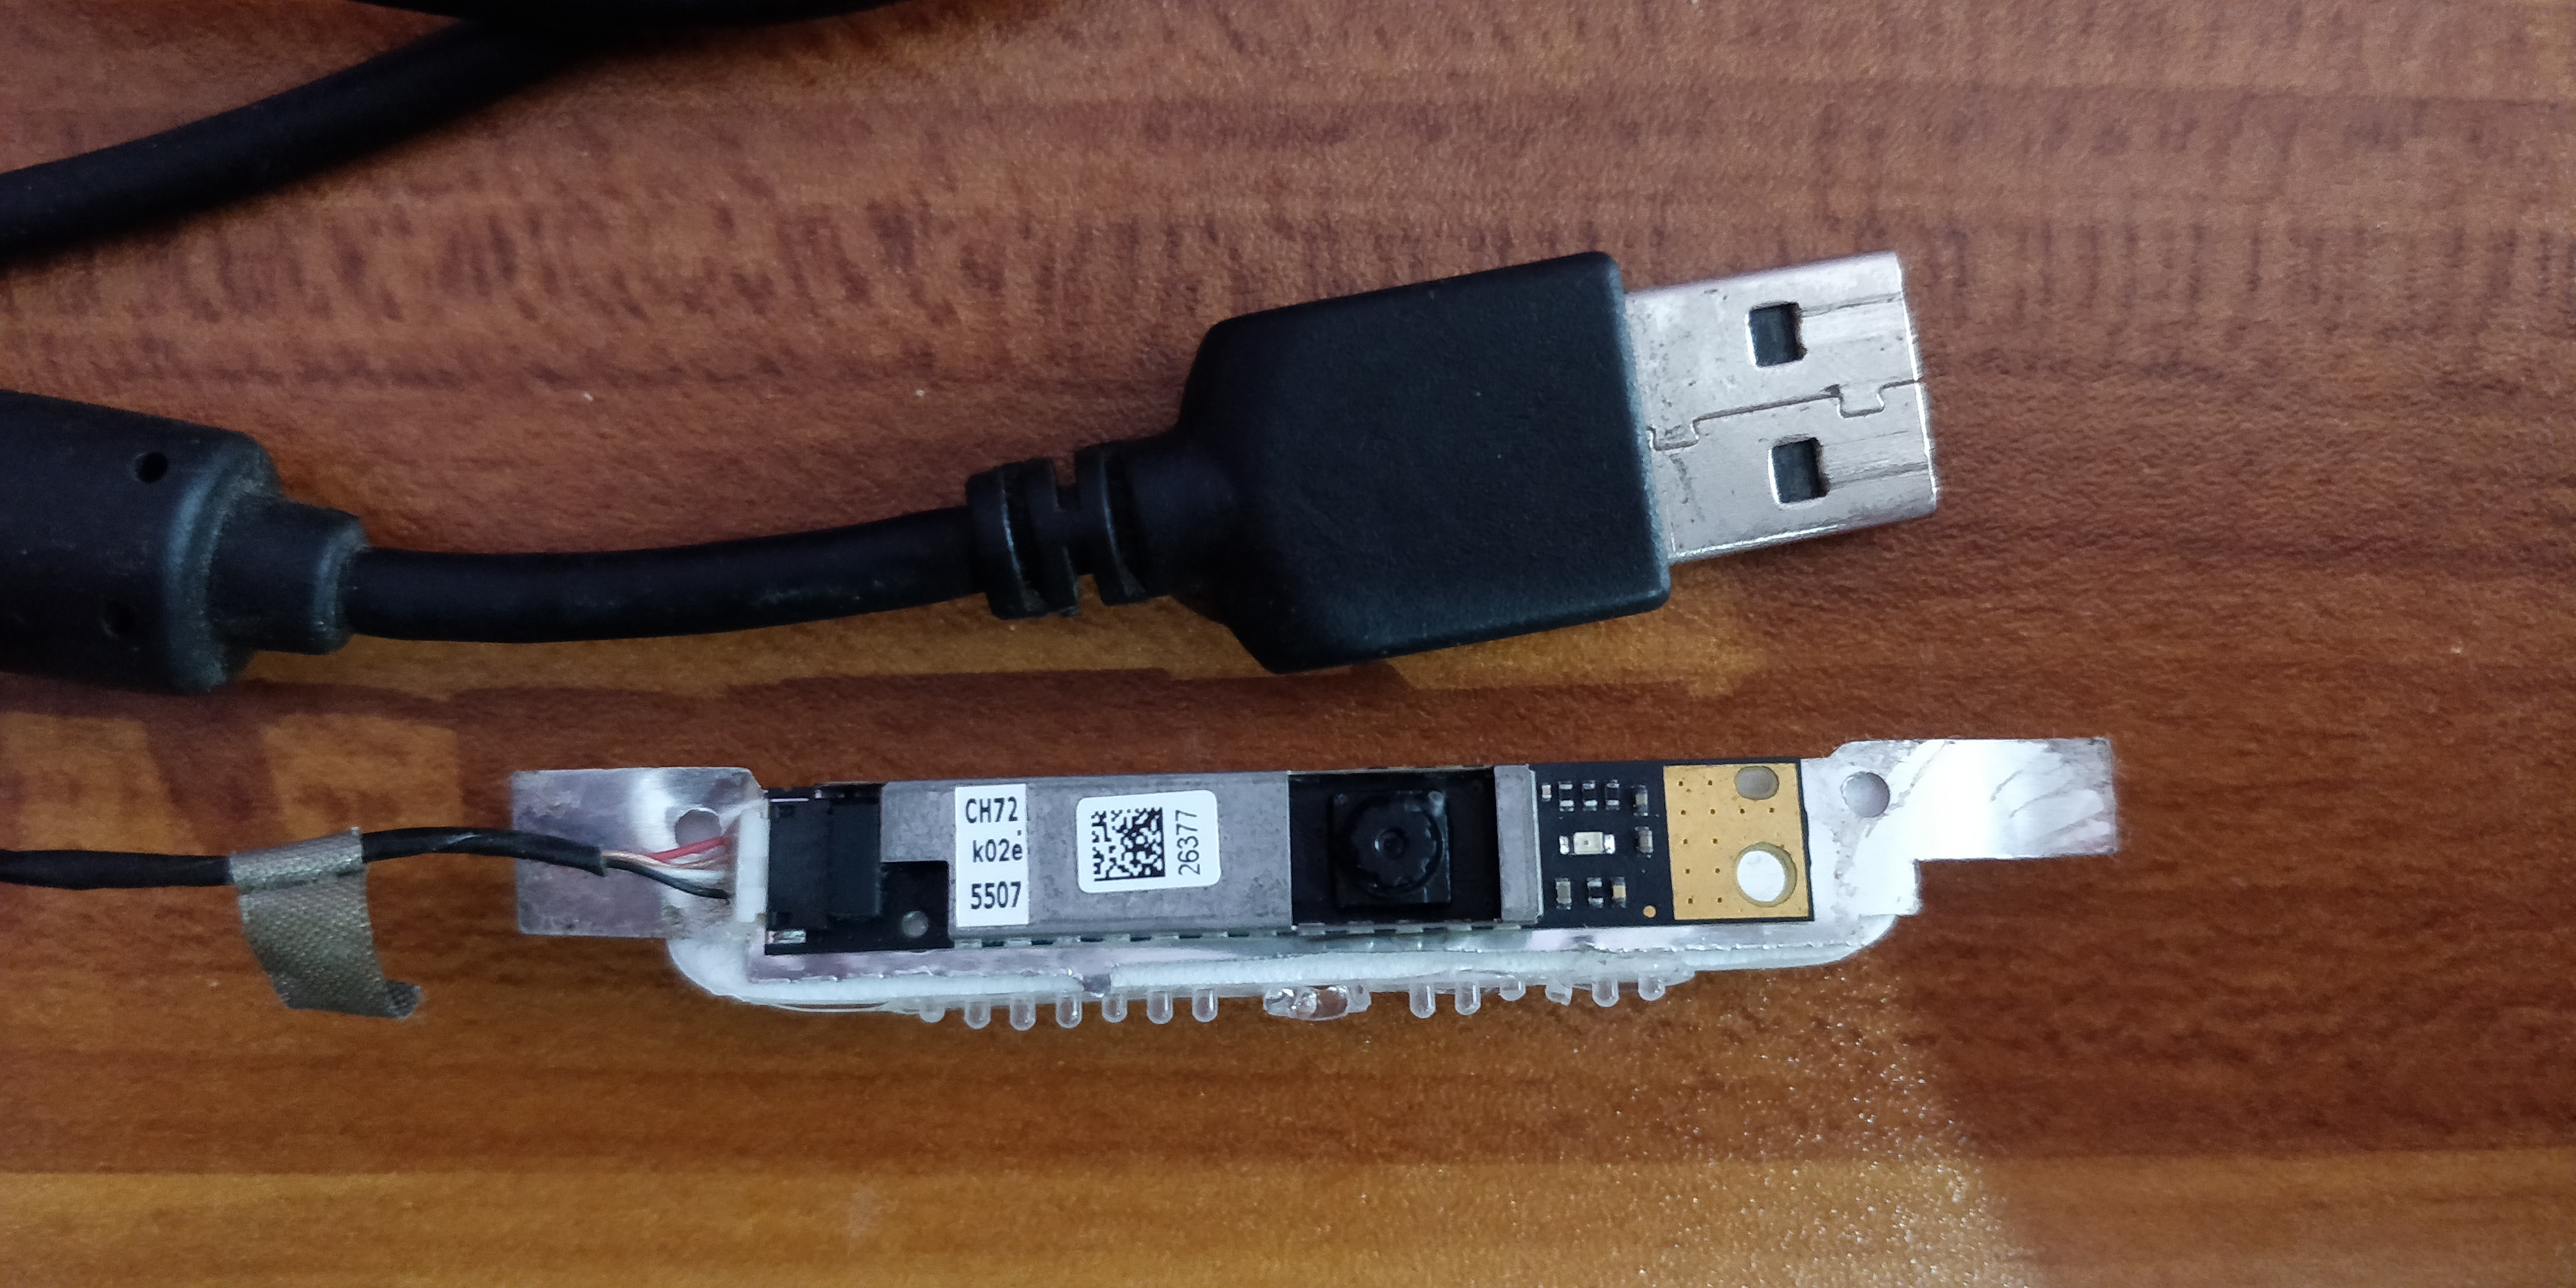
The camera module follows USB standards and has 4 wires, two for power supply, and the other two for data transfer. we can easily identify the data transfer wires as they are coiled together. from the remaining two i.e., the power supply wires, we can identify the ground wire by checking continuity with the ground pad on the camera module and the other will be +5V.
These two (+5V and ground) should be soldered with similar wires on the USB-A of the USB cable.
And what's remaining is the data wires, and identifying which among the data wires matches with others on the USB cable is difficult, So we need to go for trial and error till we get a signal on the camera application on PC.
With this, we have a functioning USB camera, The longer the USB cable, the farther we could place it.
NOTE: Wiring for the camera modules differ from manufacturer to manufacturer. For this project, I'm using the module from old sony laptop.
Circuit Connection to Control Servo (Using Blynk)
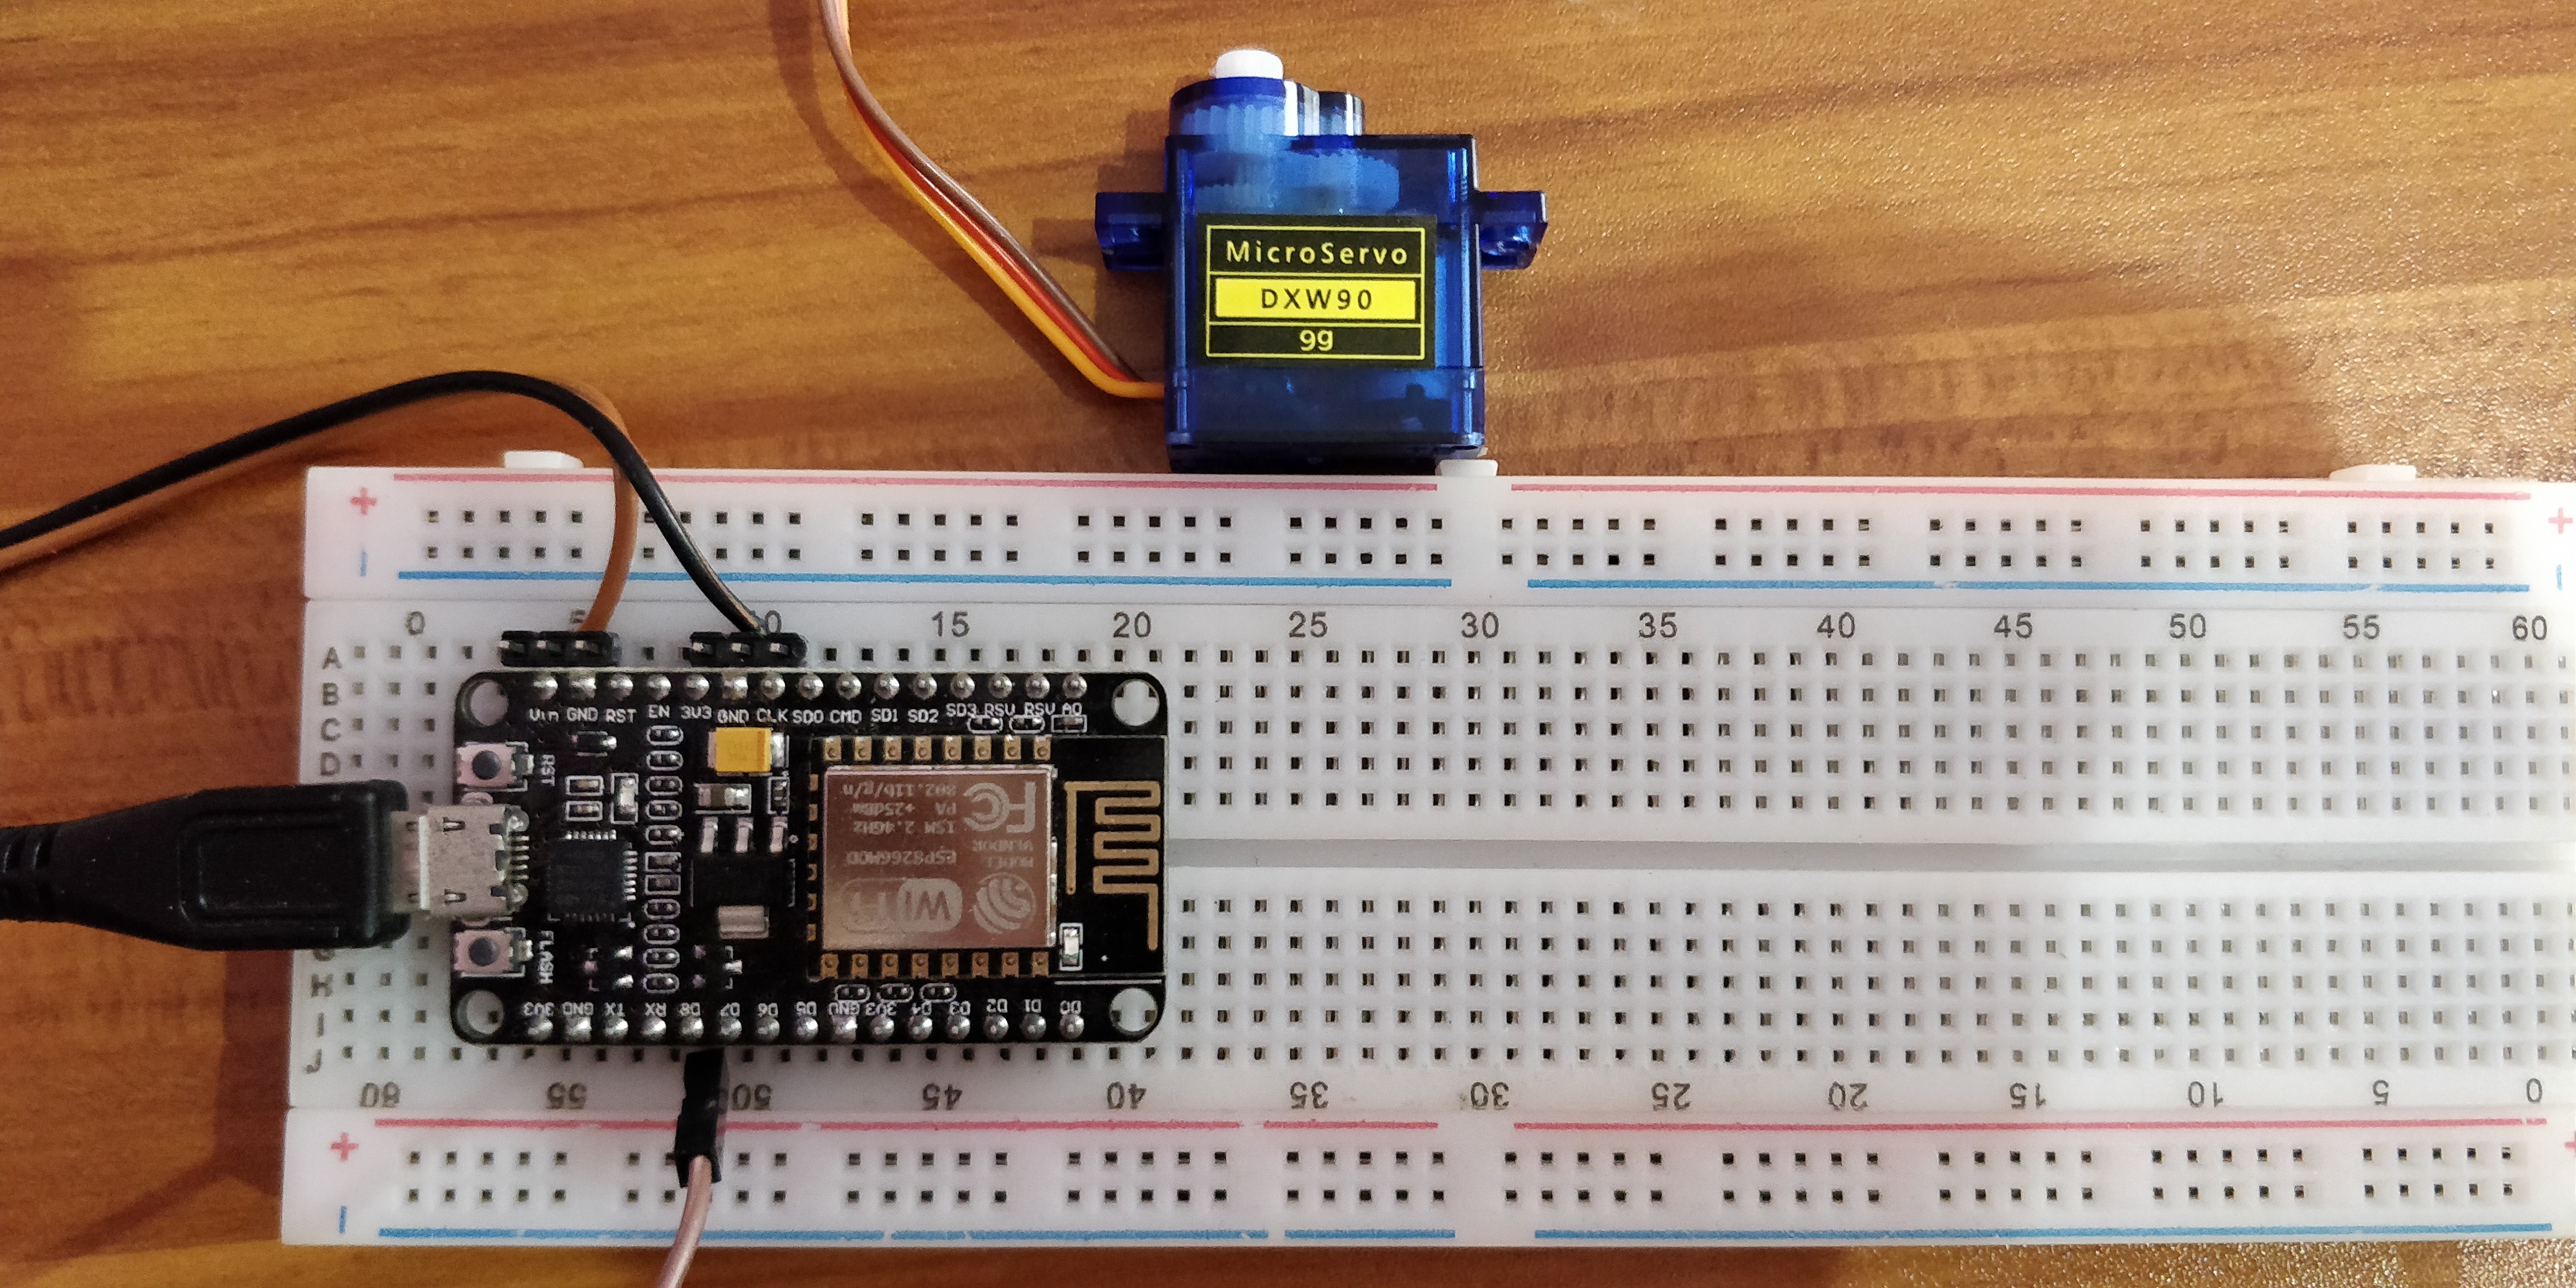
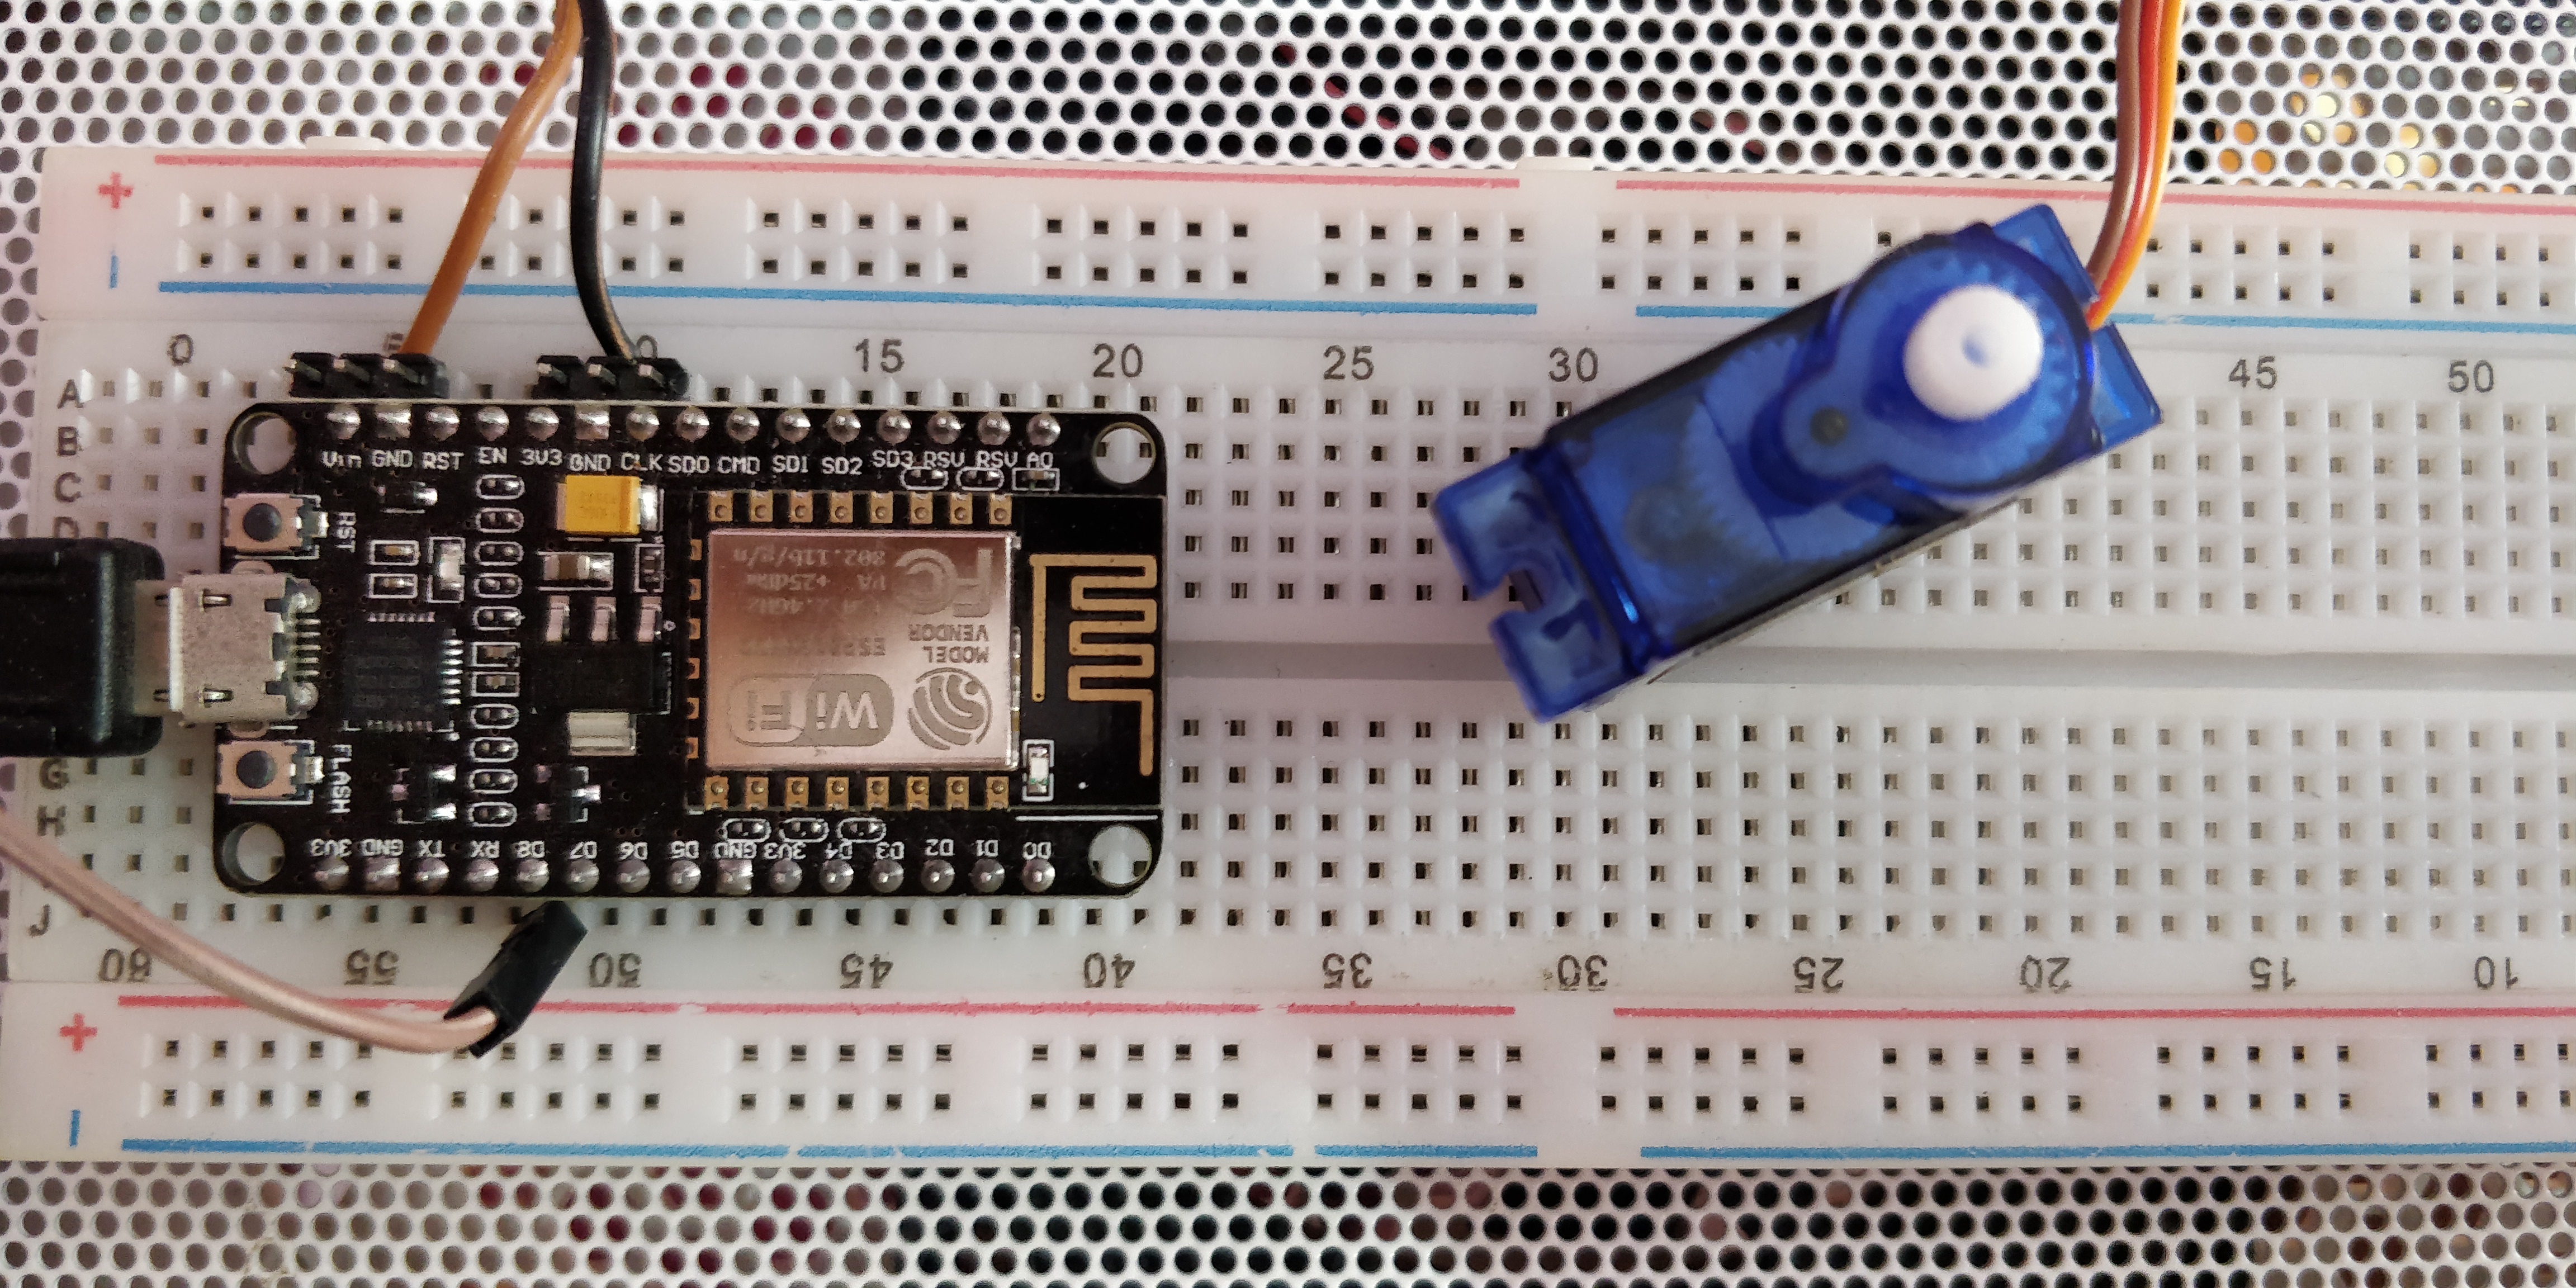
Using Blynk the circuit connections are quite simple.
1. The signal pin of the servo (usually has an arrow on top) is connected to D8 of NodeMCU
2. +5V connected to the middle pin of the servo from Vin of NodeMCU
3. ground pin (wire to the opposite side of the signal wire) is connected to ground on NodeMCU
and we're done with wiring
Code and Setting Up Blynk Application
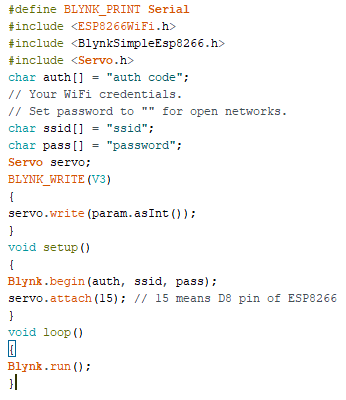
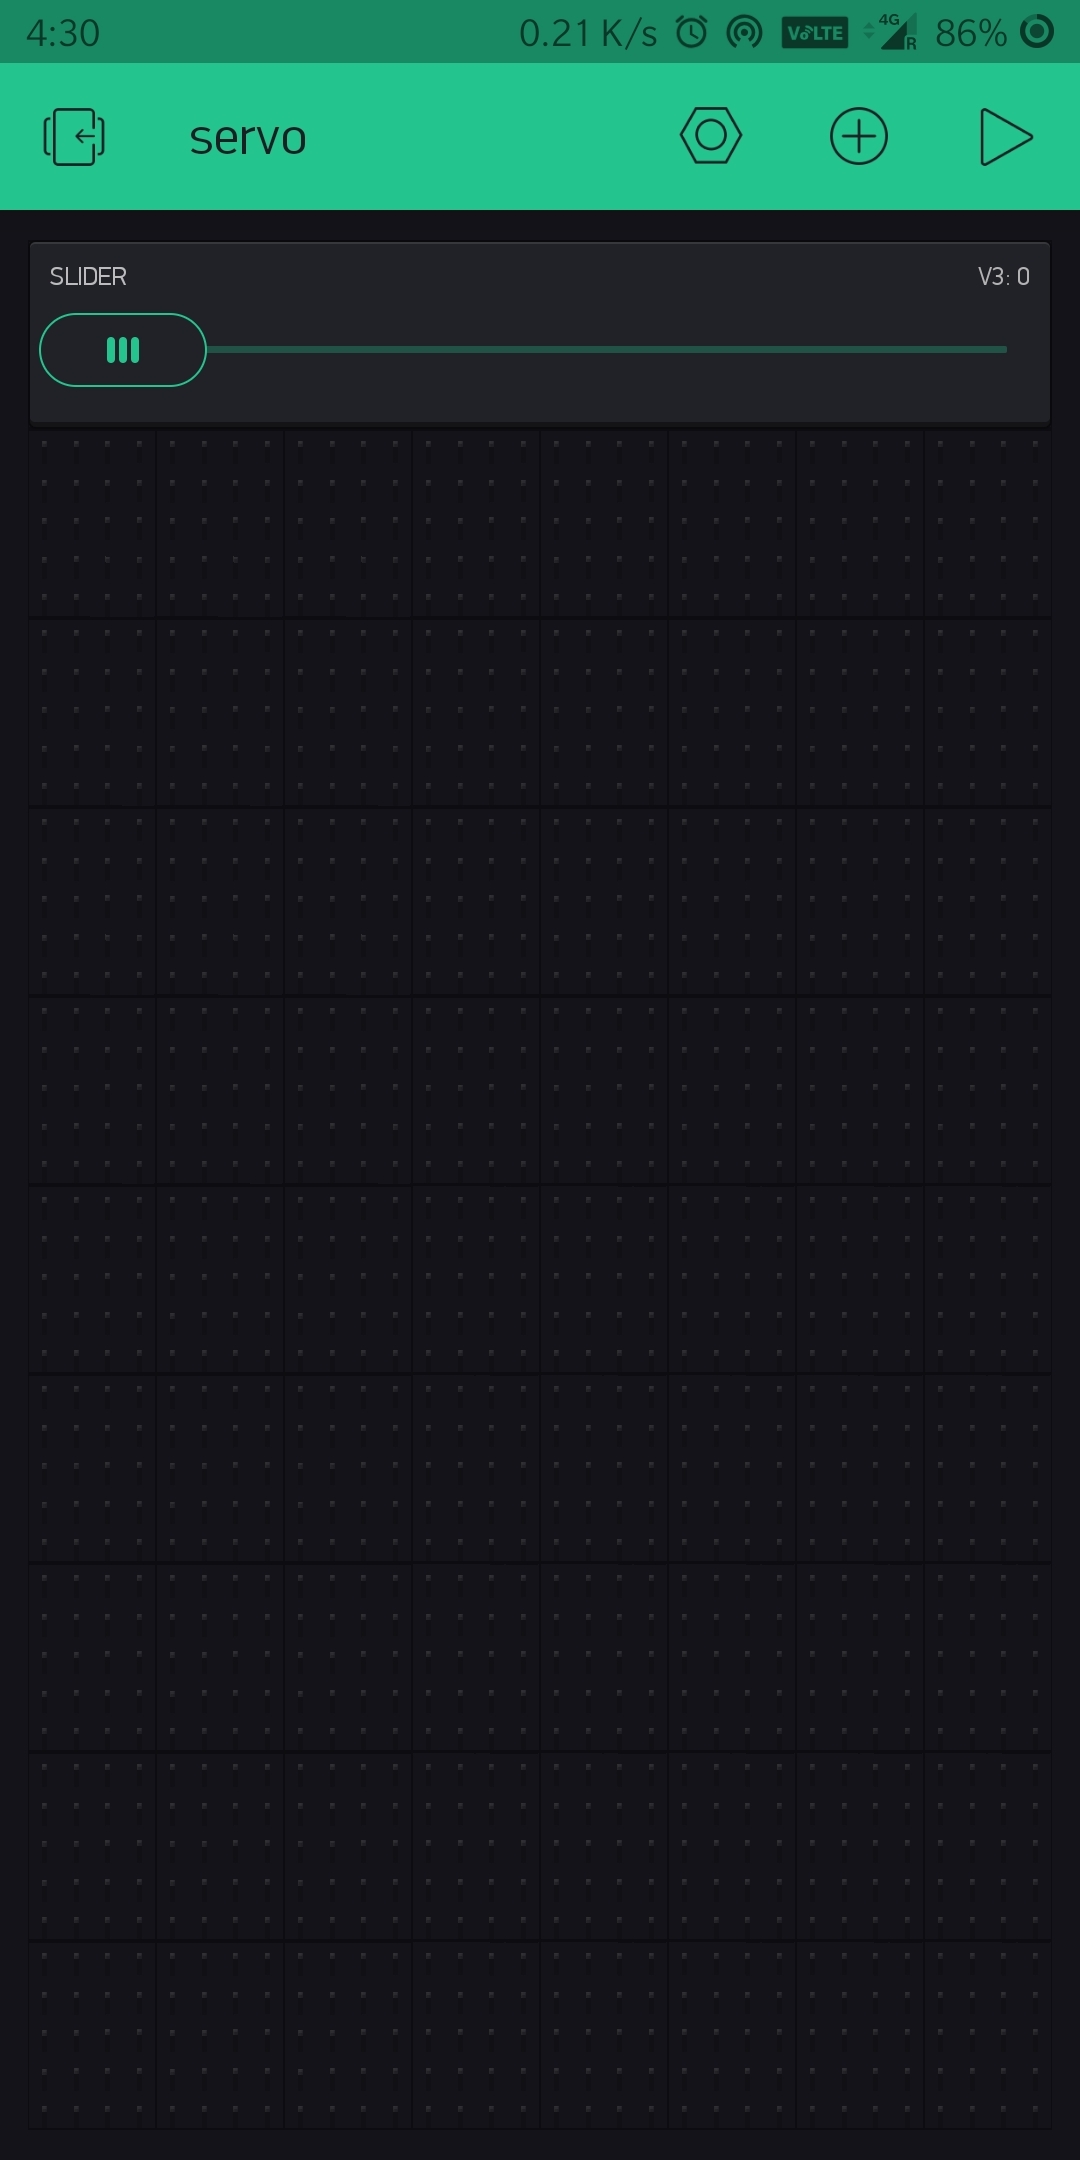
I'll attach a copy of the code here for easy access.
Setting up blynk application is quite simple too,
1. select NodeMCU as board and Wi-Fi as a medium of communication
2. we'll receive an authentication code on mail, which will be needed to add to the code.
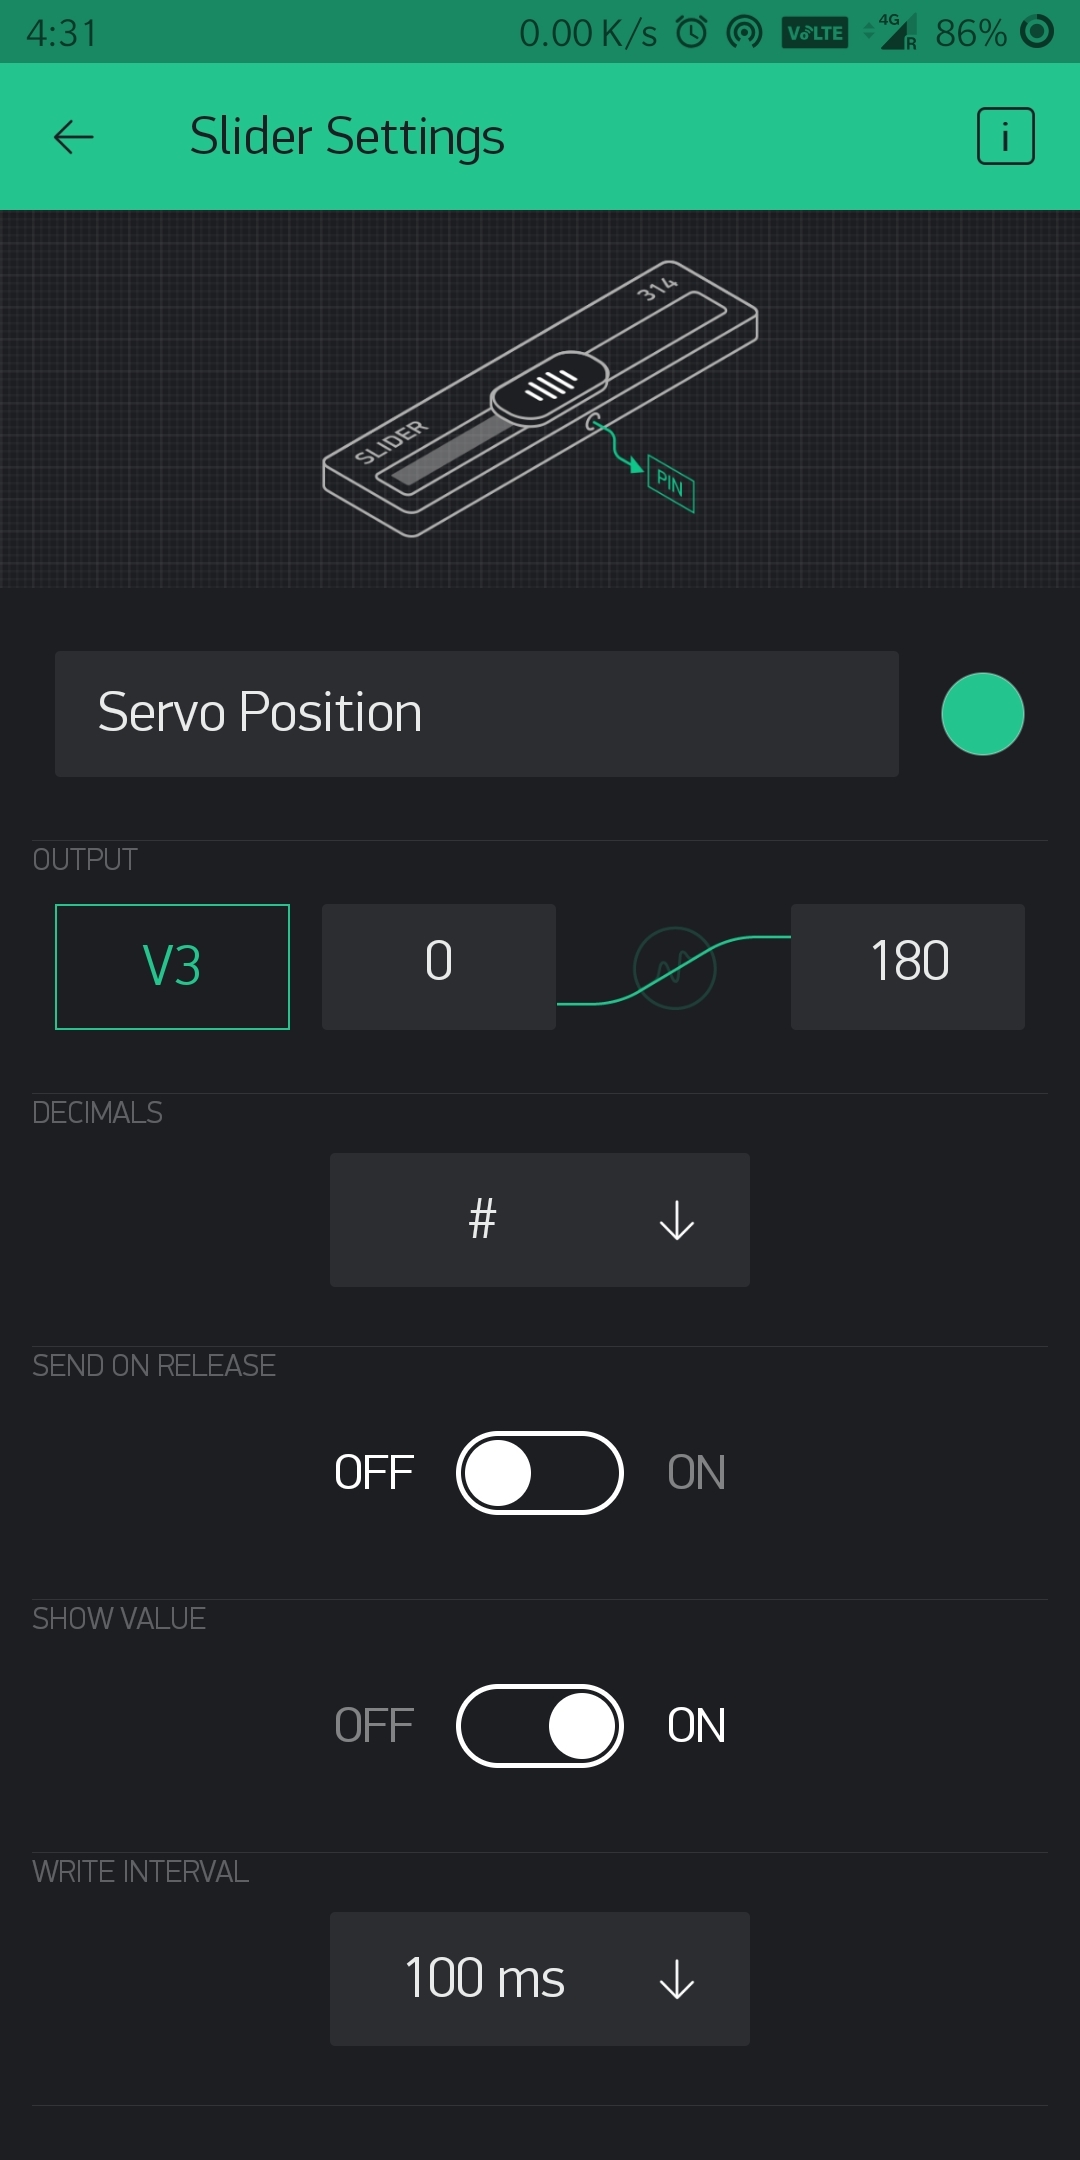
3. add a slider widget on blynk and select Virtual pin V3 for the slider and 0-180 as the output range
4. select write interval of 100ms and turnoff send on release option.
5. upload code with authentication code, SSID, and Password added to it.
with this we're almost done setting up, all that is left is to hot glue that camera module on top of the servo arm and plugin the camera USB cable to a PC.
Downloads
(optional) Circuit Connection to Control Servo With a Potentiometer
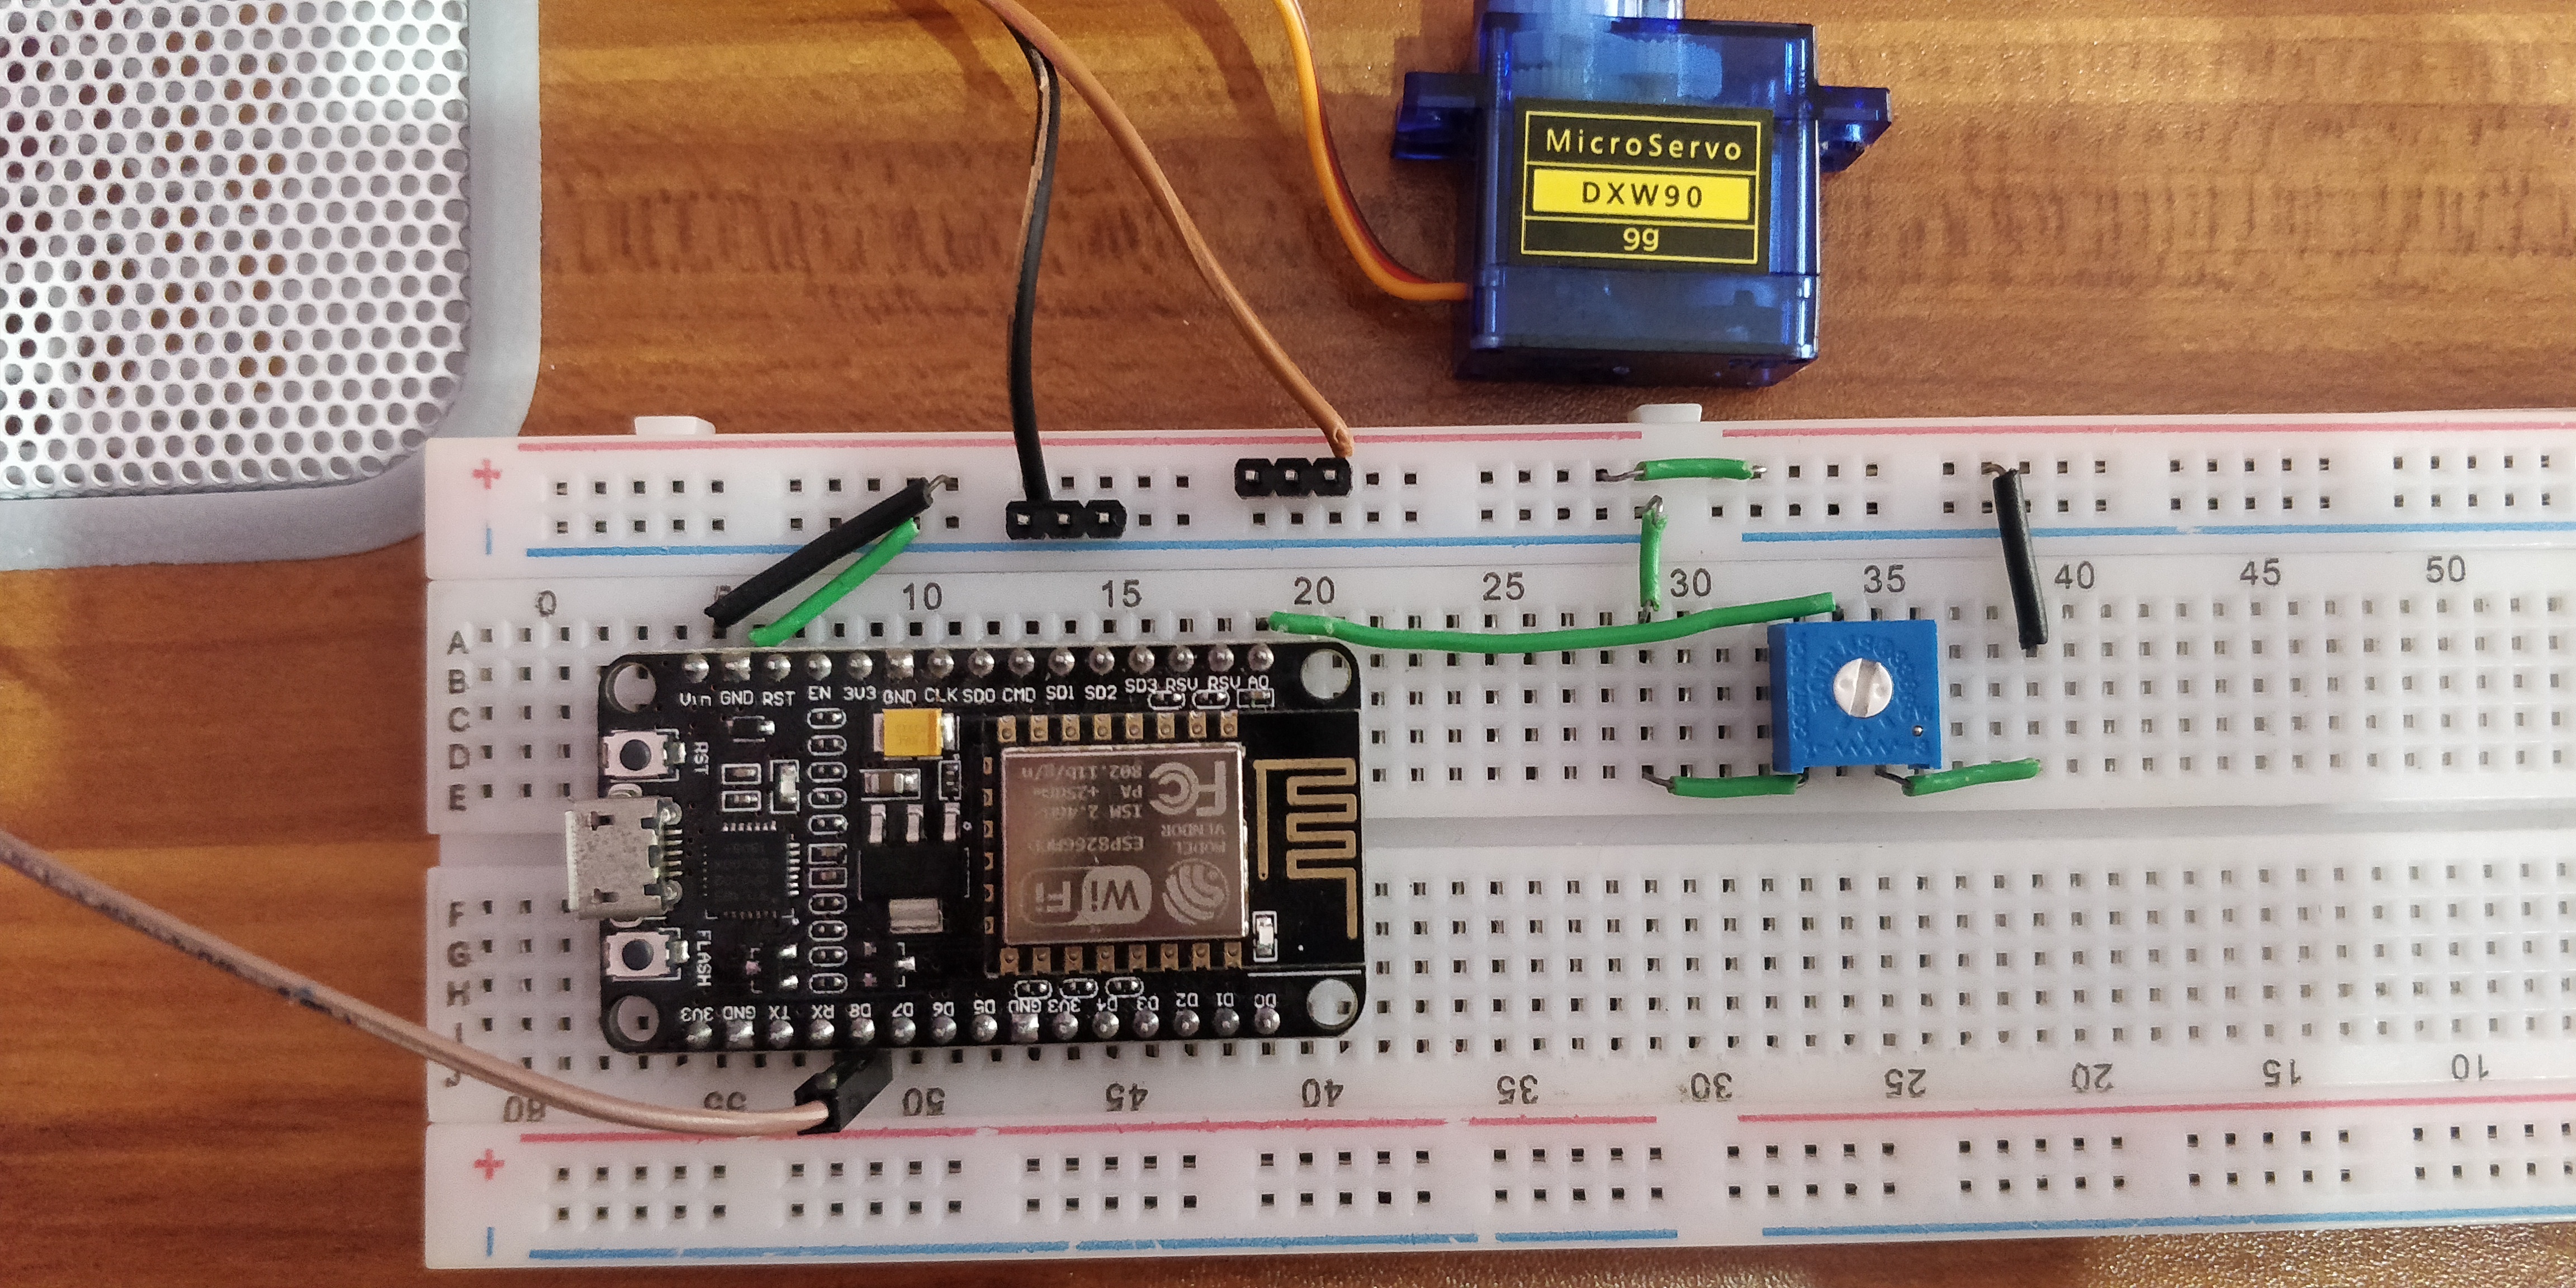
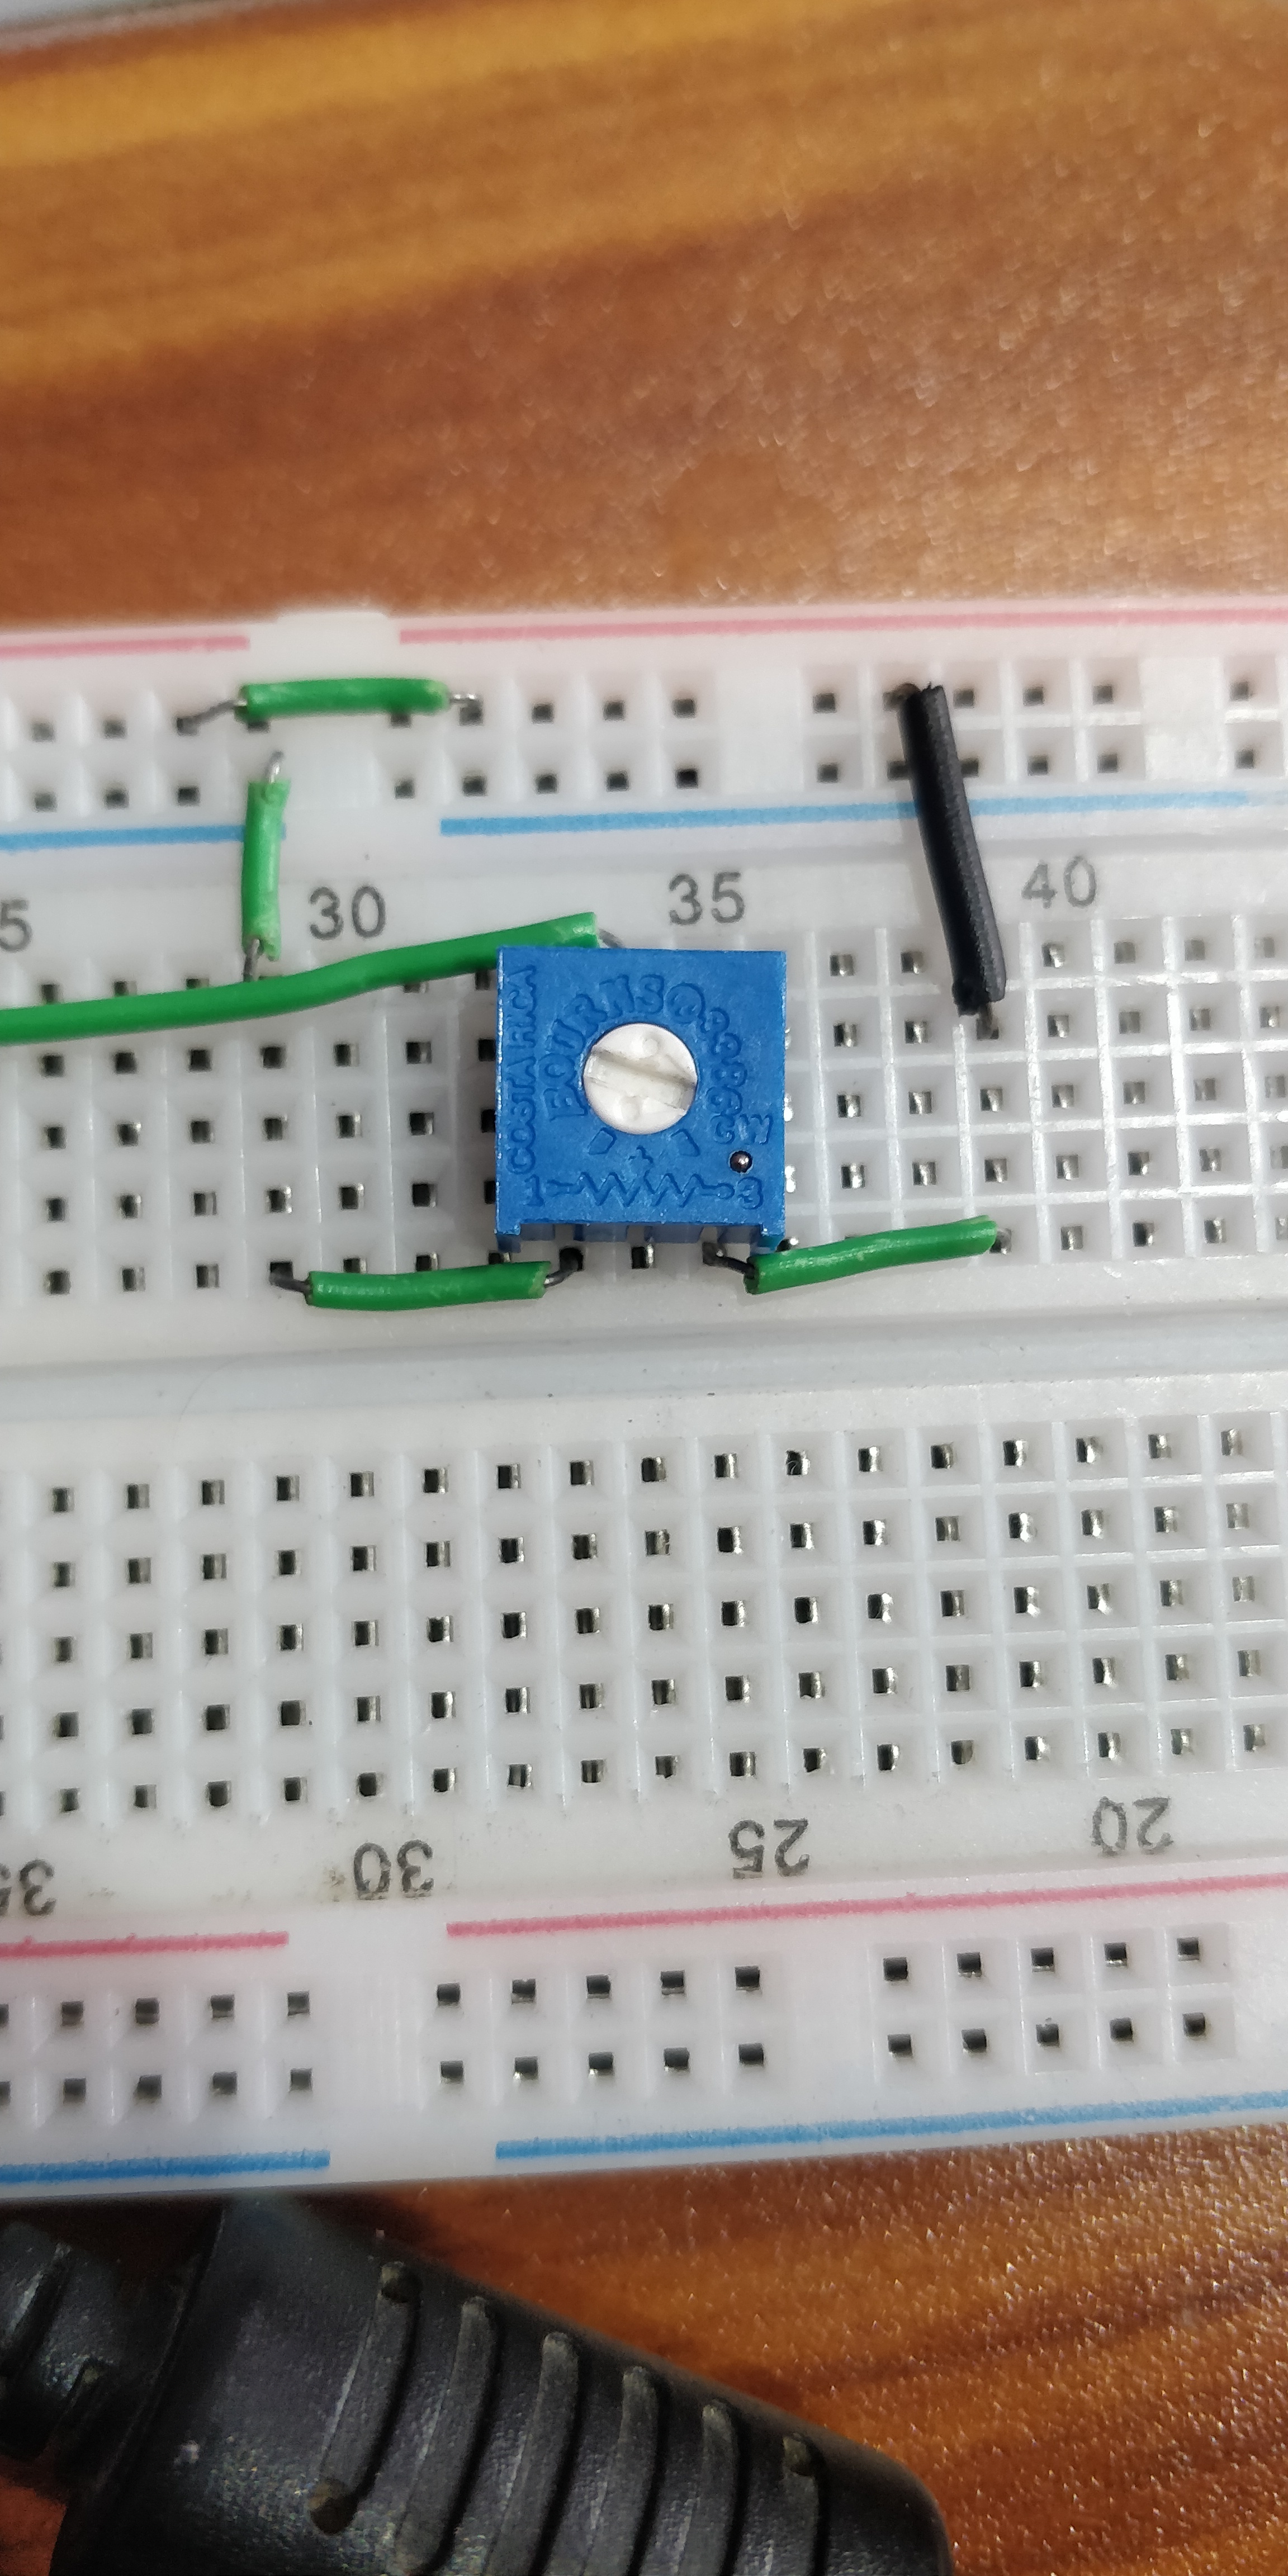
The circuit connection for the servo is similar to that of using blynk, all that is changed is we add a potentiometer to control the servo.
1. The signal pin of the servo (usually has an arrow on top) is connected to D8 of NodeMCU
2. +5V connected to the middle pin of the servo from Vin of NodeMCU
3. ground pin (wire to the opposite side of the signal wire) is connected to ground on NodeMCU
4. pin 1 of the potentiometer is connected to Vin on NodeMCU
5. pin 2 of the potentiometer is connected to Analog pin A0
6. pin 3 of the potentiometer is connected to the ground of NodeMCU
and we are done with wiring.
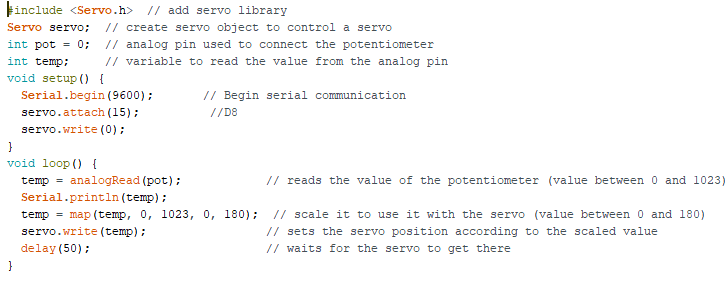
(optional) Code for Controlling Servo Through Potentiometer
Hope you enjoyed this instructable!