CATIA V5 Lightsaber Model Part 2
by whitecat1441 in Design > Digital Graphics
1308 Views, 6 Favorites, 0 Comments
CATIA V5 Lightsaber Model Part 2
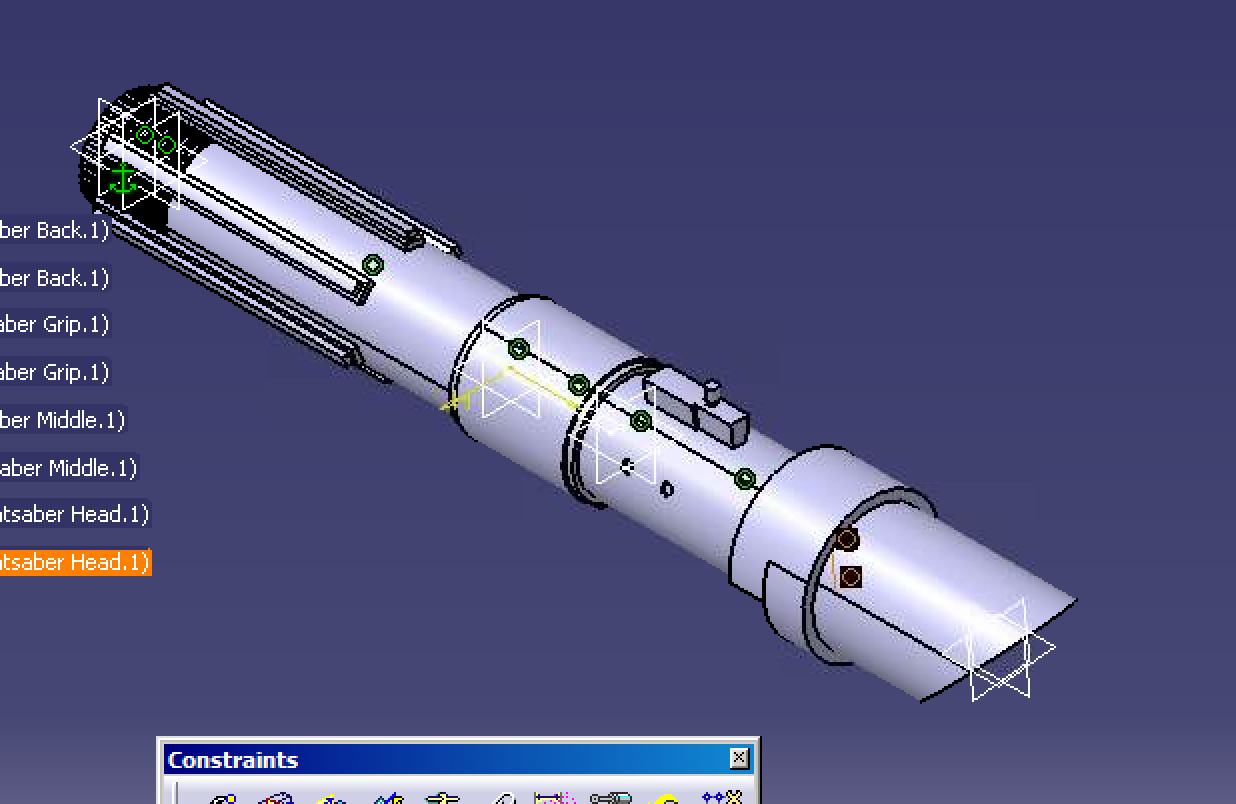

So this is the second part of a series of instructables I've created to use CATIA V5 to model Anakin Skywalker's lightsaber. This part will focus on modeling the back cap of the lightsaber. If you haven't gone through the first instructables I would suggest looking at that one first and then returning to this one. This instructables will focus much more on building the instructable, rather than introducing CATIA V5. The link below will take you to the first part:
https://www.instructables.com/id/CATIA-V5-Lightsaber-Model-Part-1
Creating a Part File

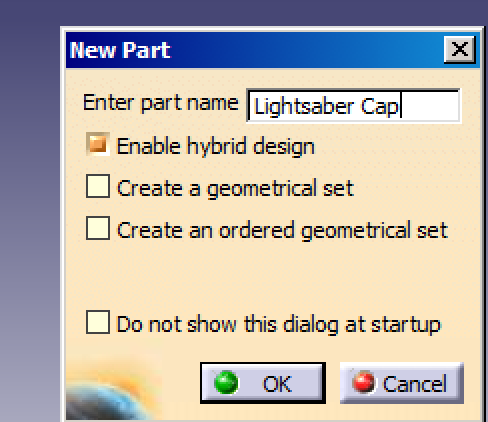
Create the part file for the lightsaber cap
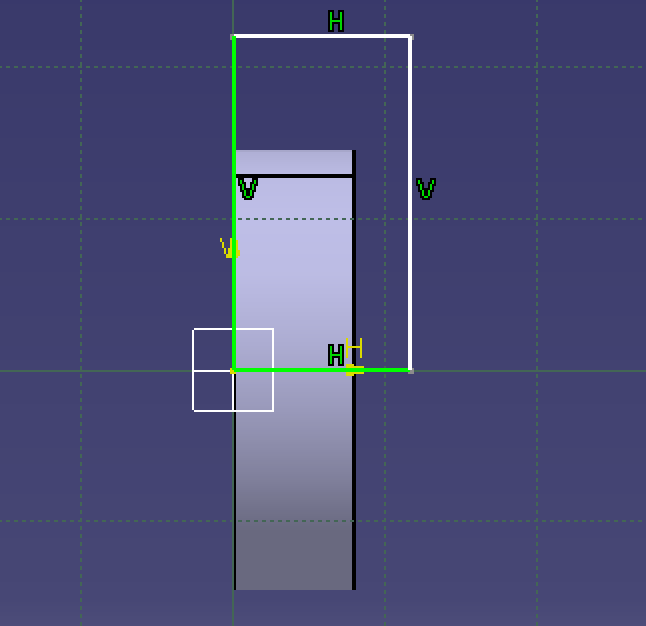
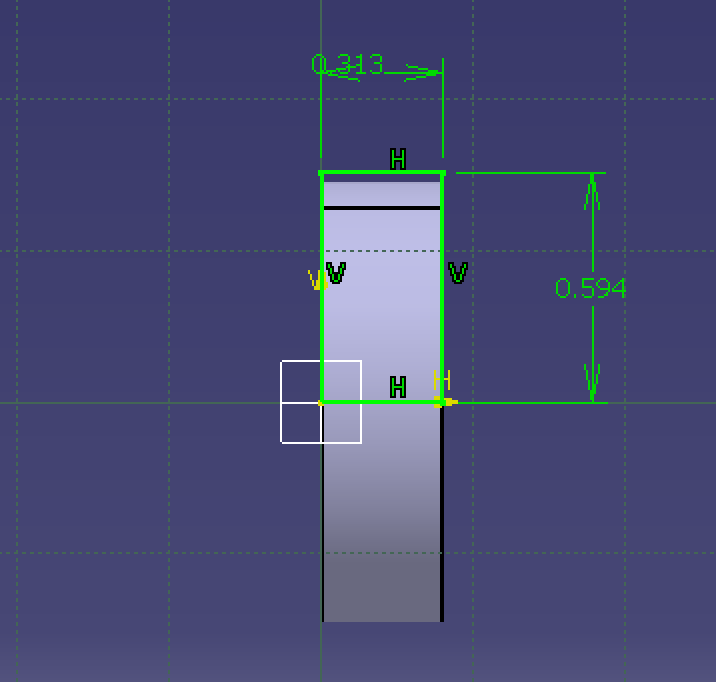
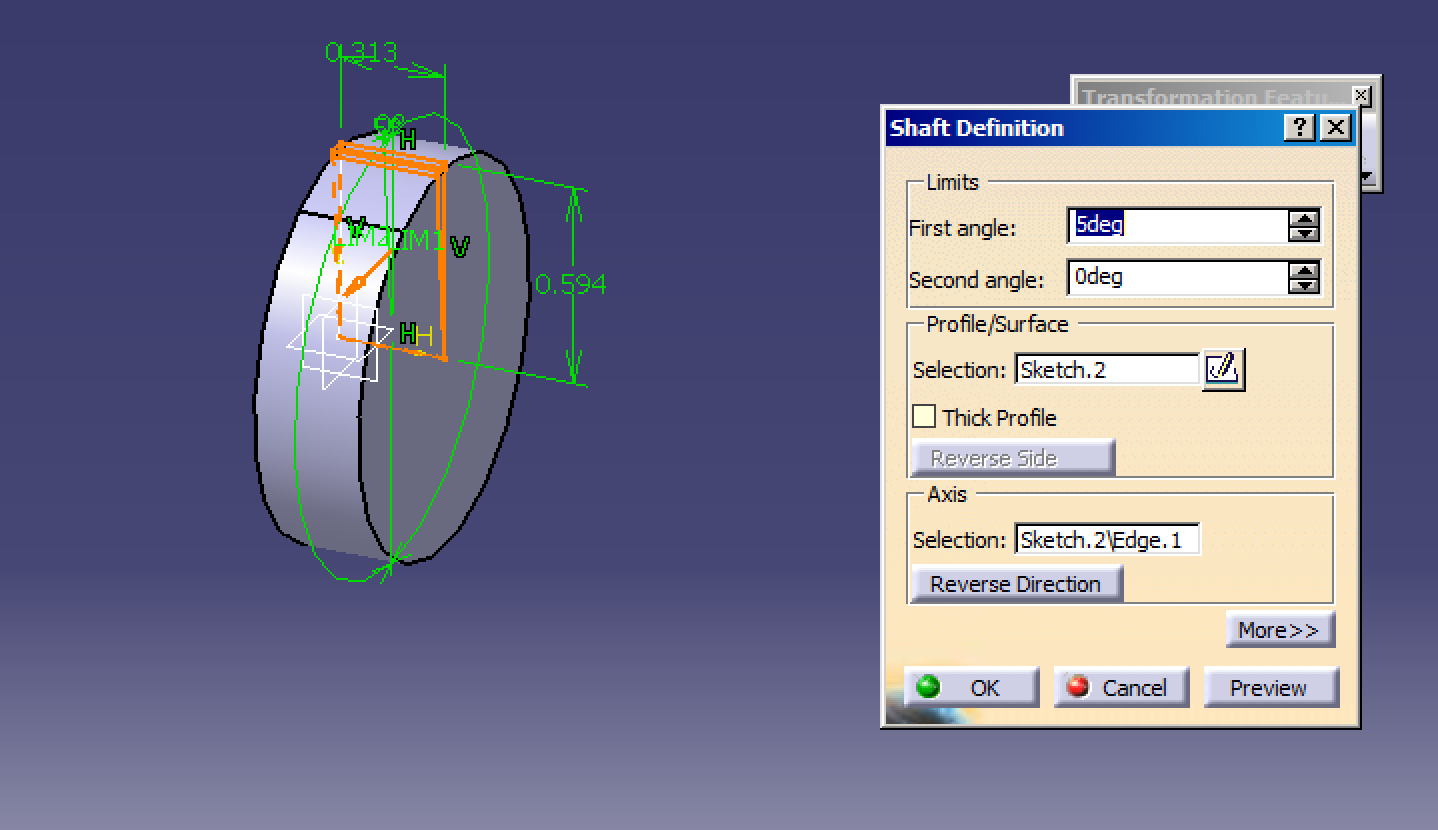
Creating the Cap Base
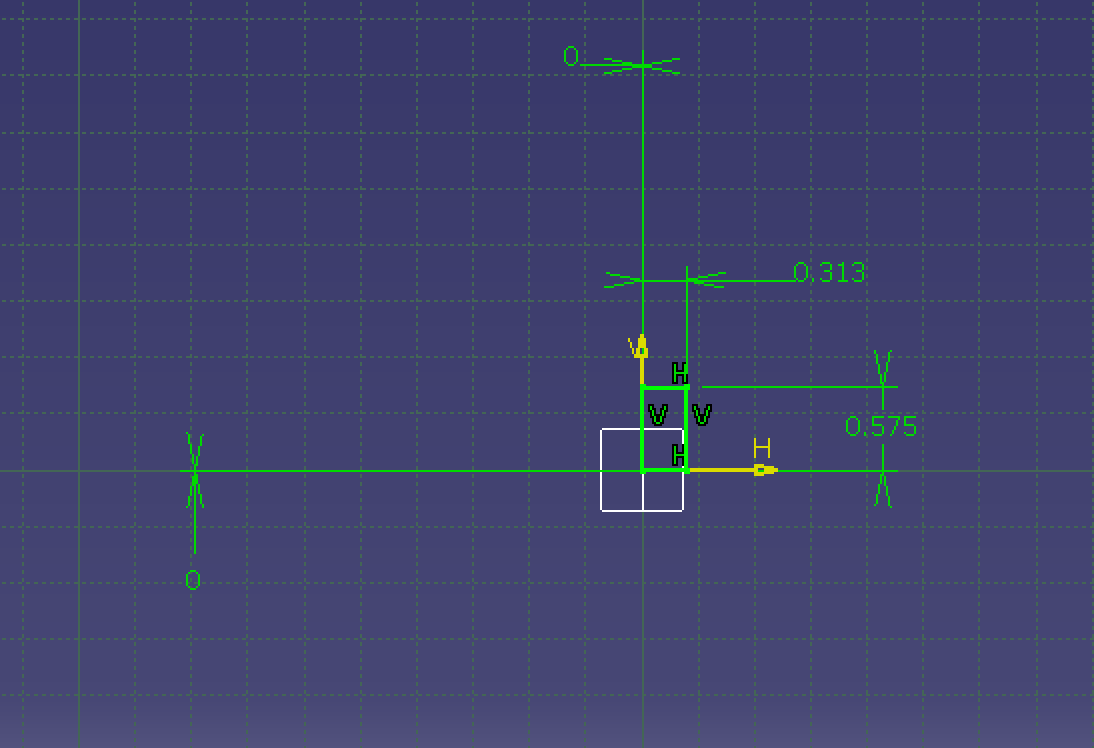
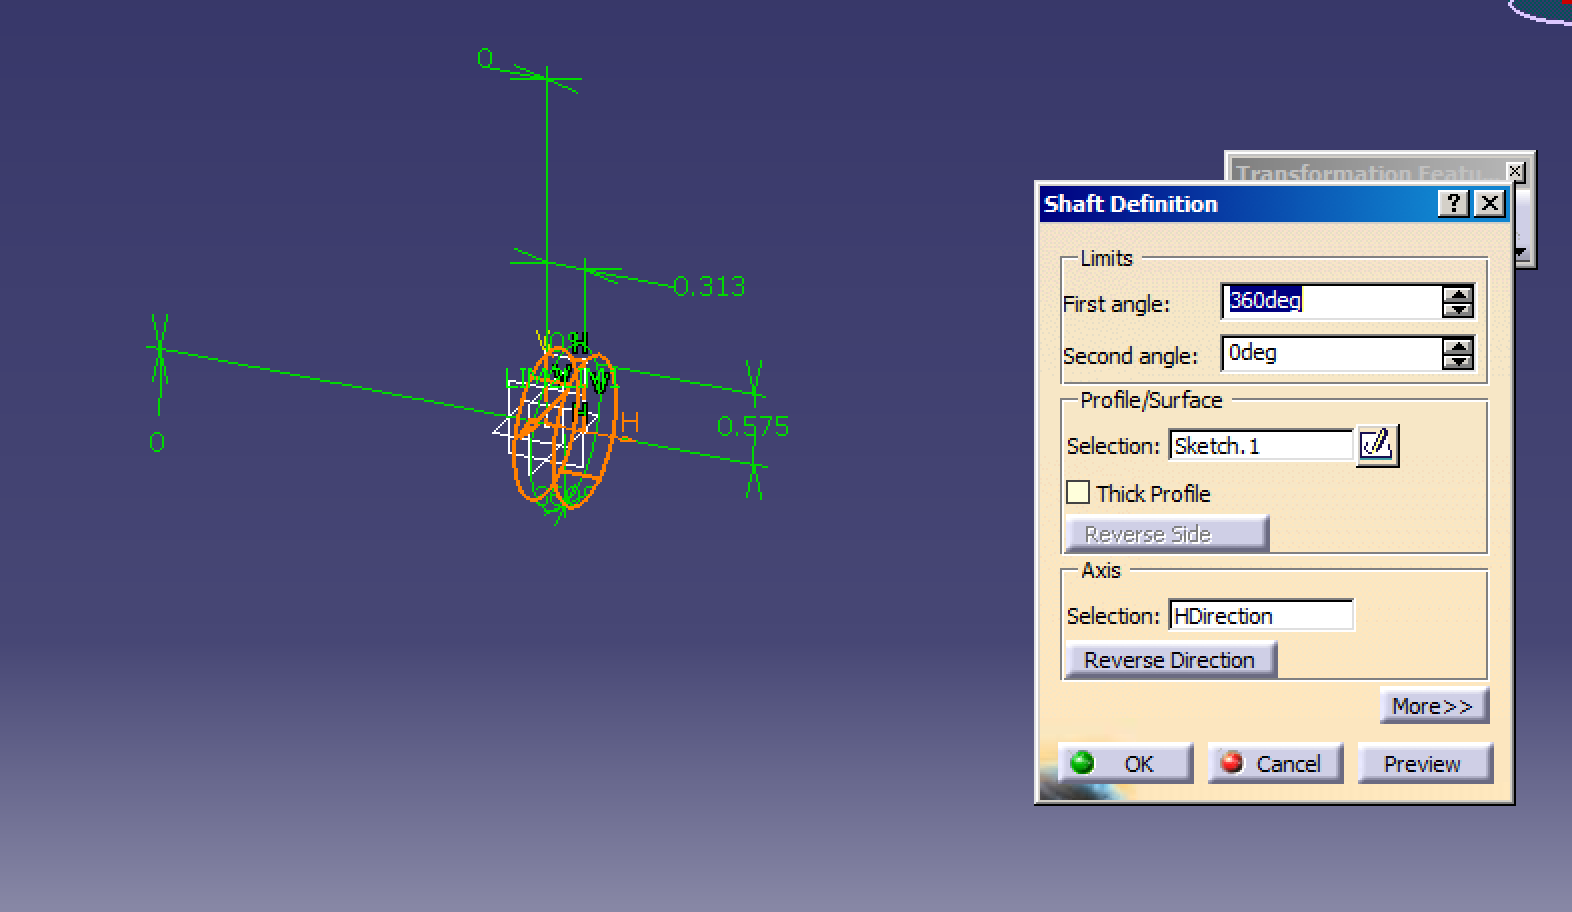
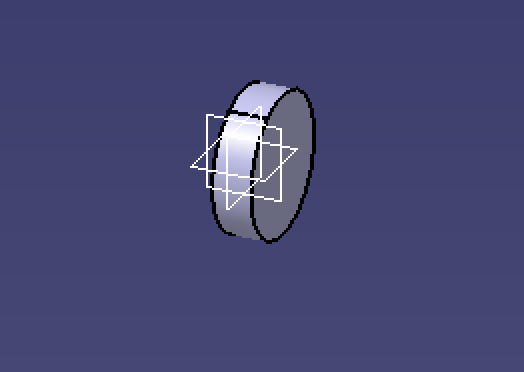
Create the cap base as follows in sketch mode, dimension it, and then rotate it to create an actual part.
Create the Ridging
Create the ridging pattern on the lightsaber first by creating a single ridge.
Creating Multiple Ridges

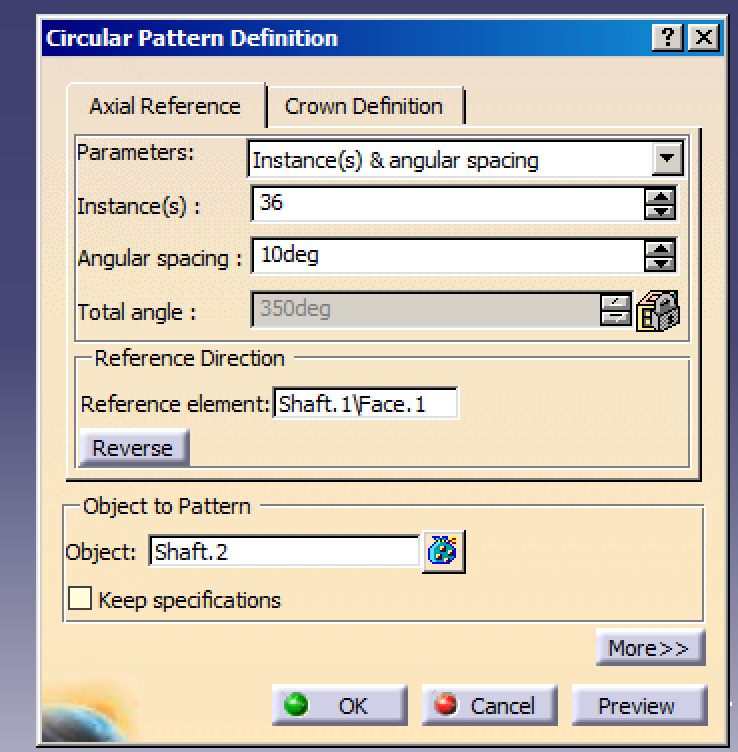
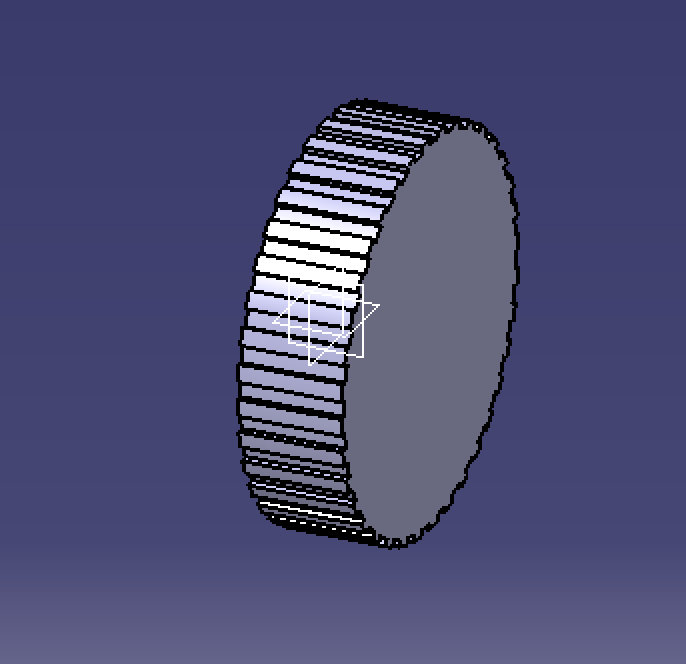
Use the circular pattern tool to create many of the ridges on the back cap
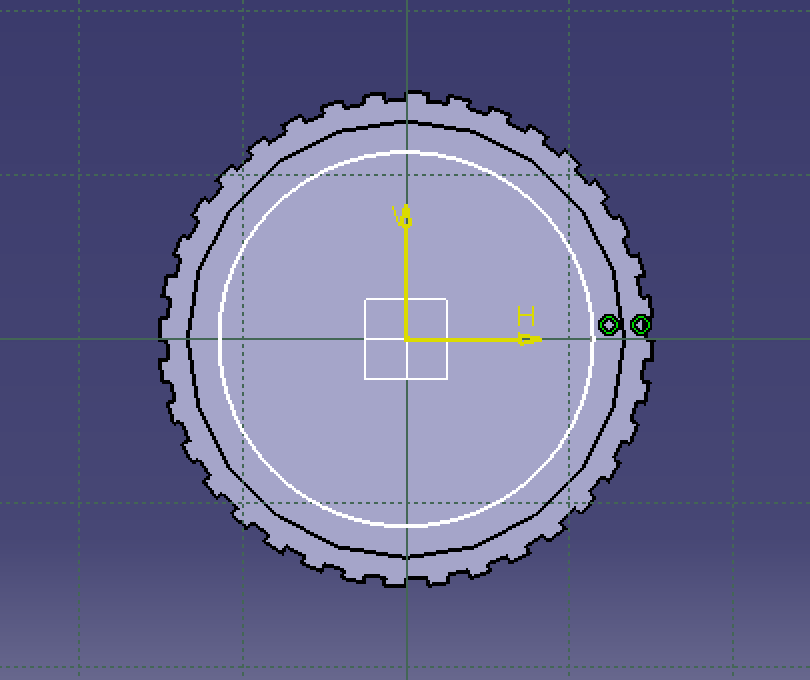
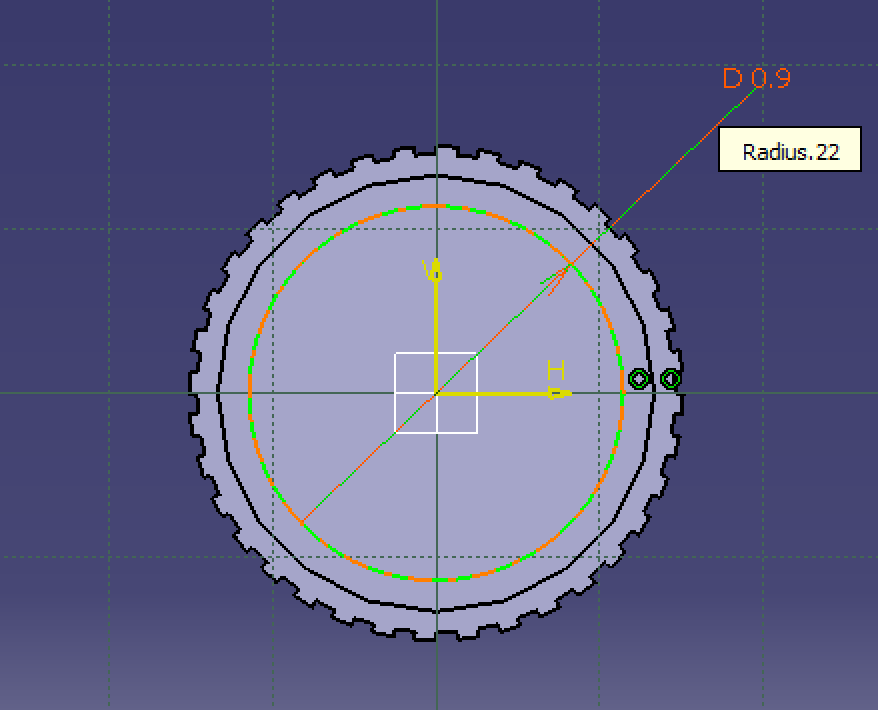
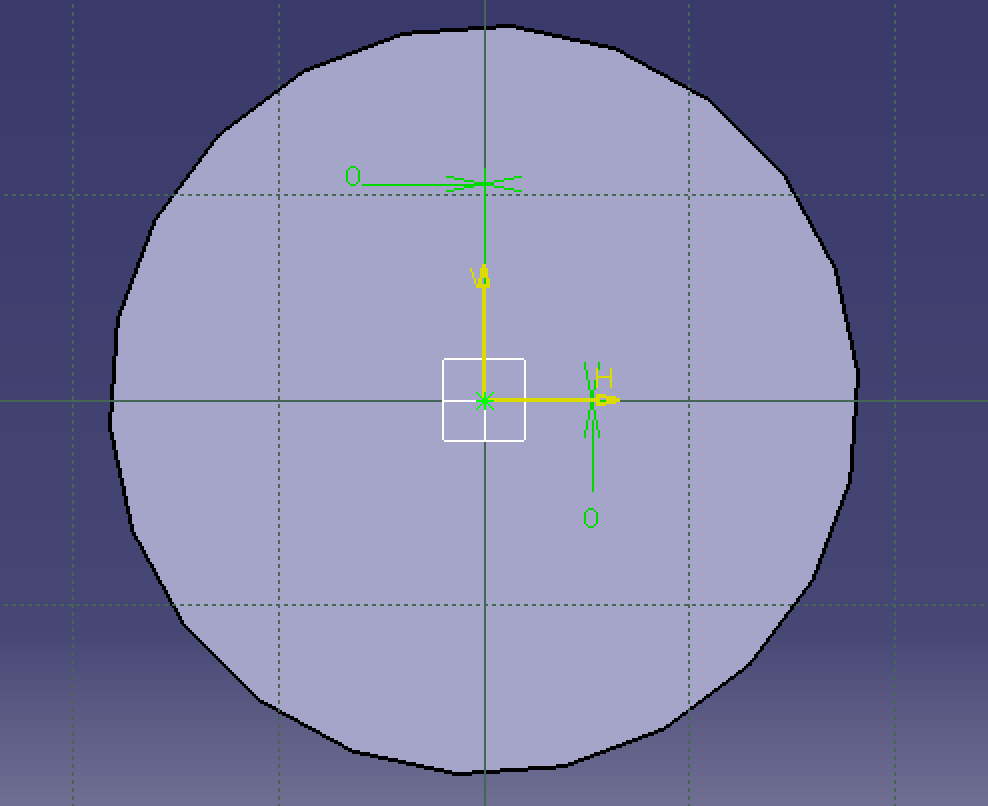
Sketching the Back Feature
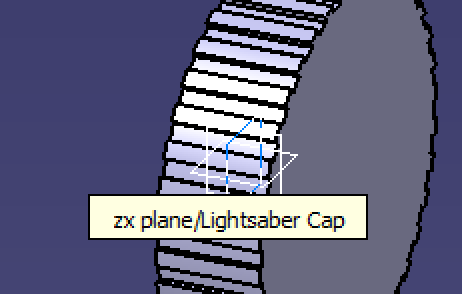
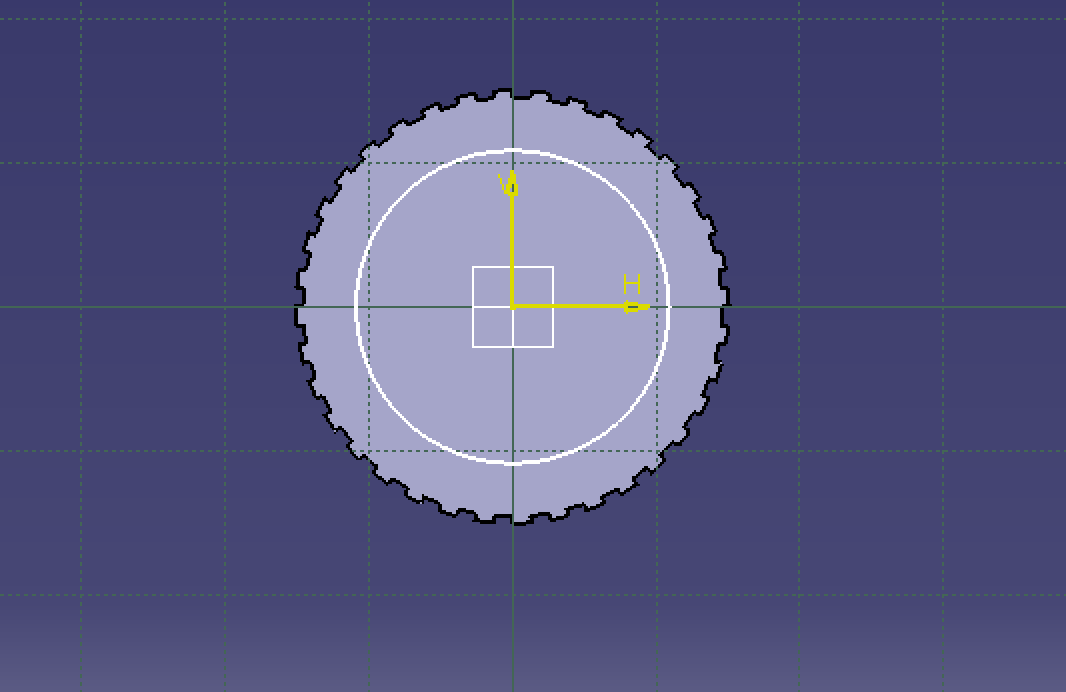
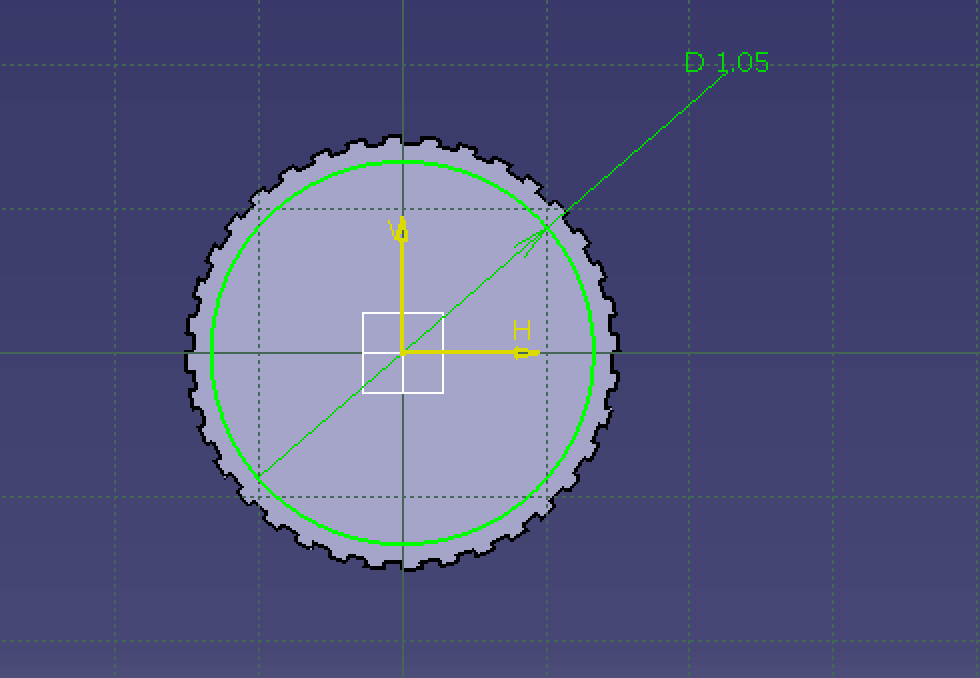
Create a sketch of a circle on the ZX plane
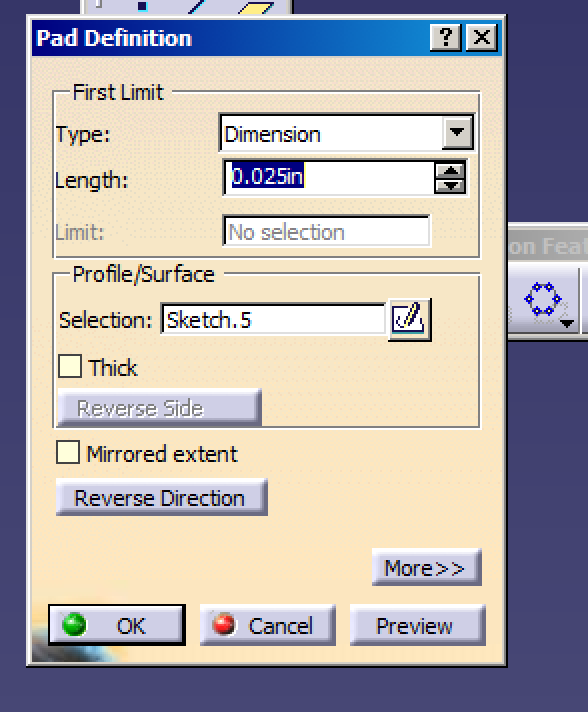
Creating the Back Feature
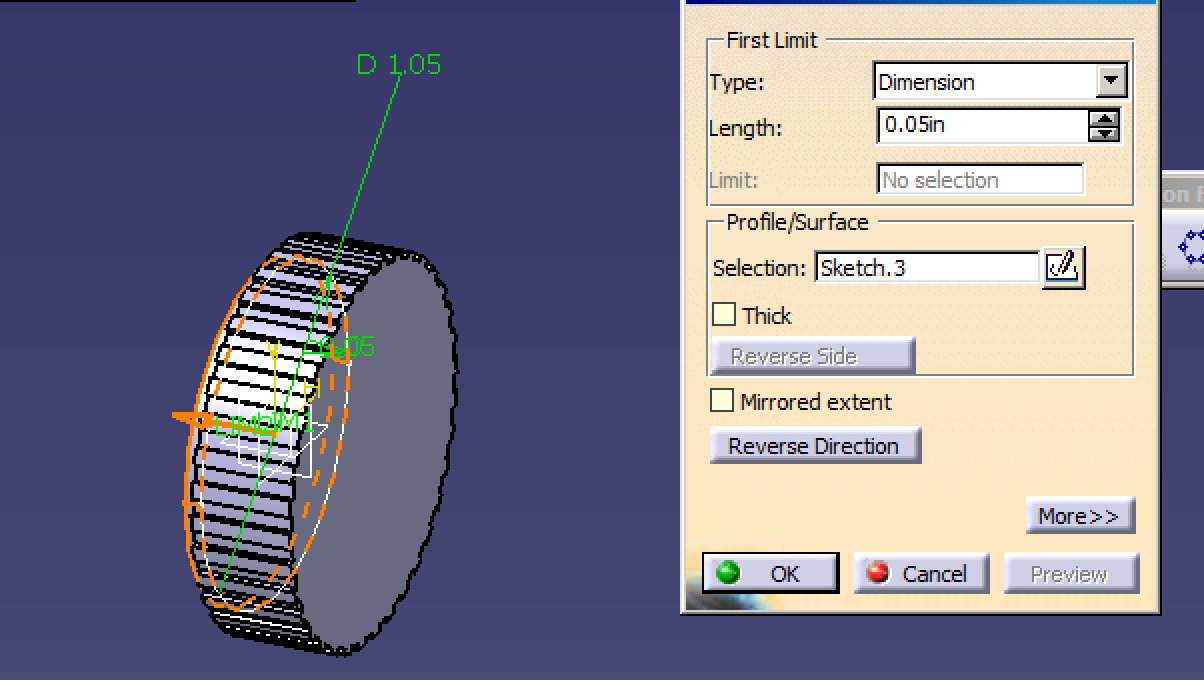
Use the reverse direction button if the pad is going into the cap. If not, the button is not needed.
Creating the Second Back Feature
Create the Second Back feature on the first one.
Create the Main Hole
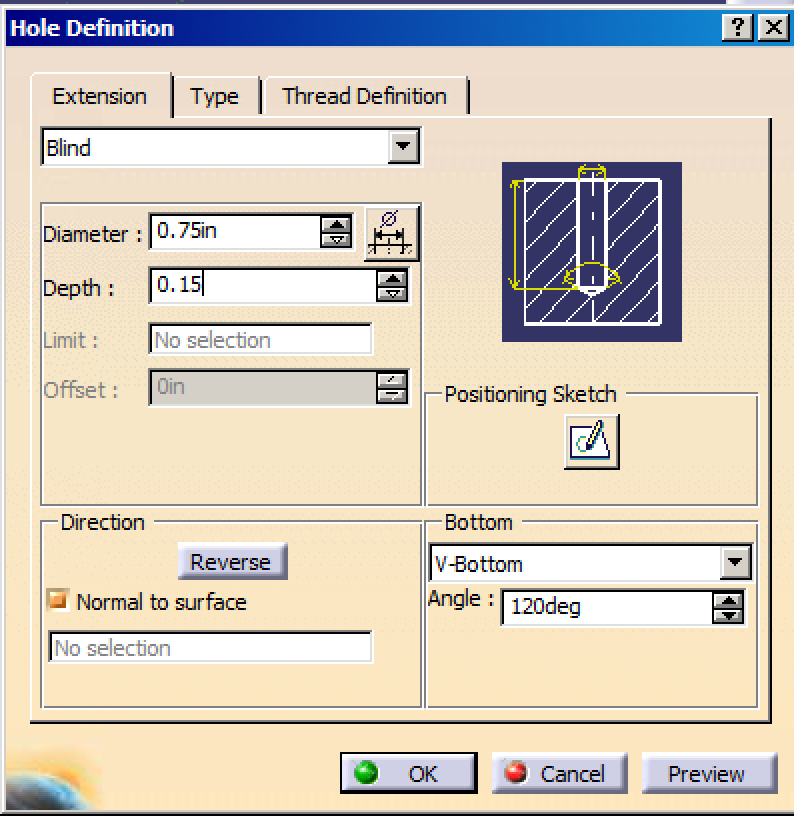
Create the main hole. This one uses a V-Bottom structure. If you like, you can change this to a flat bottom under the "Bottom" section in the bottom right corner, but will work either way for the final product. Once again, make sure the hole is centered and dimensioned.
Final Product
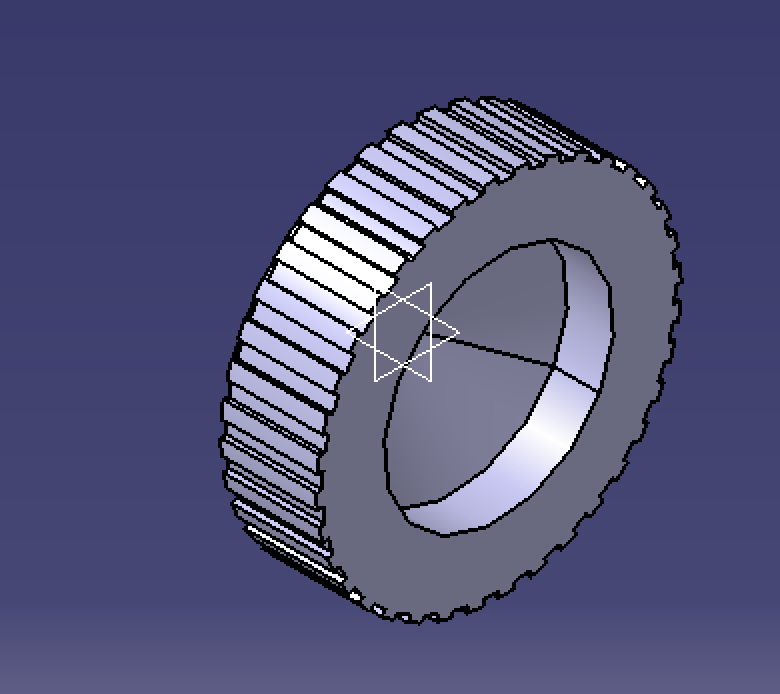
And now you have the final of the lightsaber cap! Make sure to save.