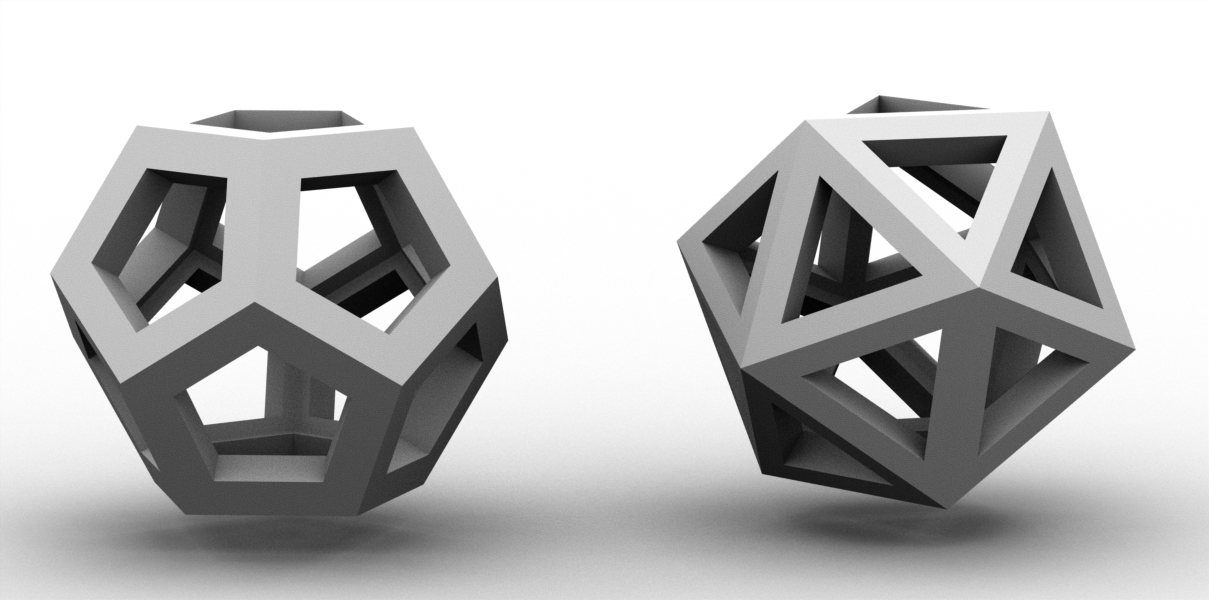
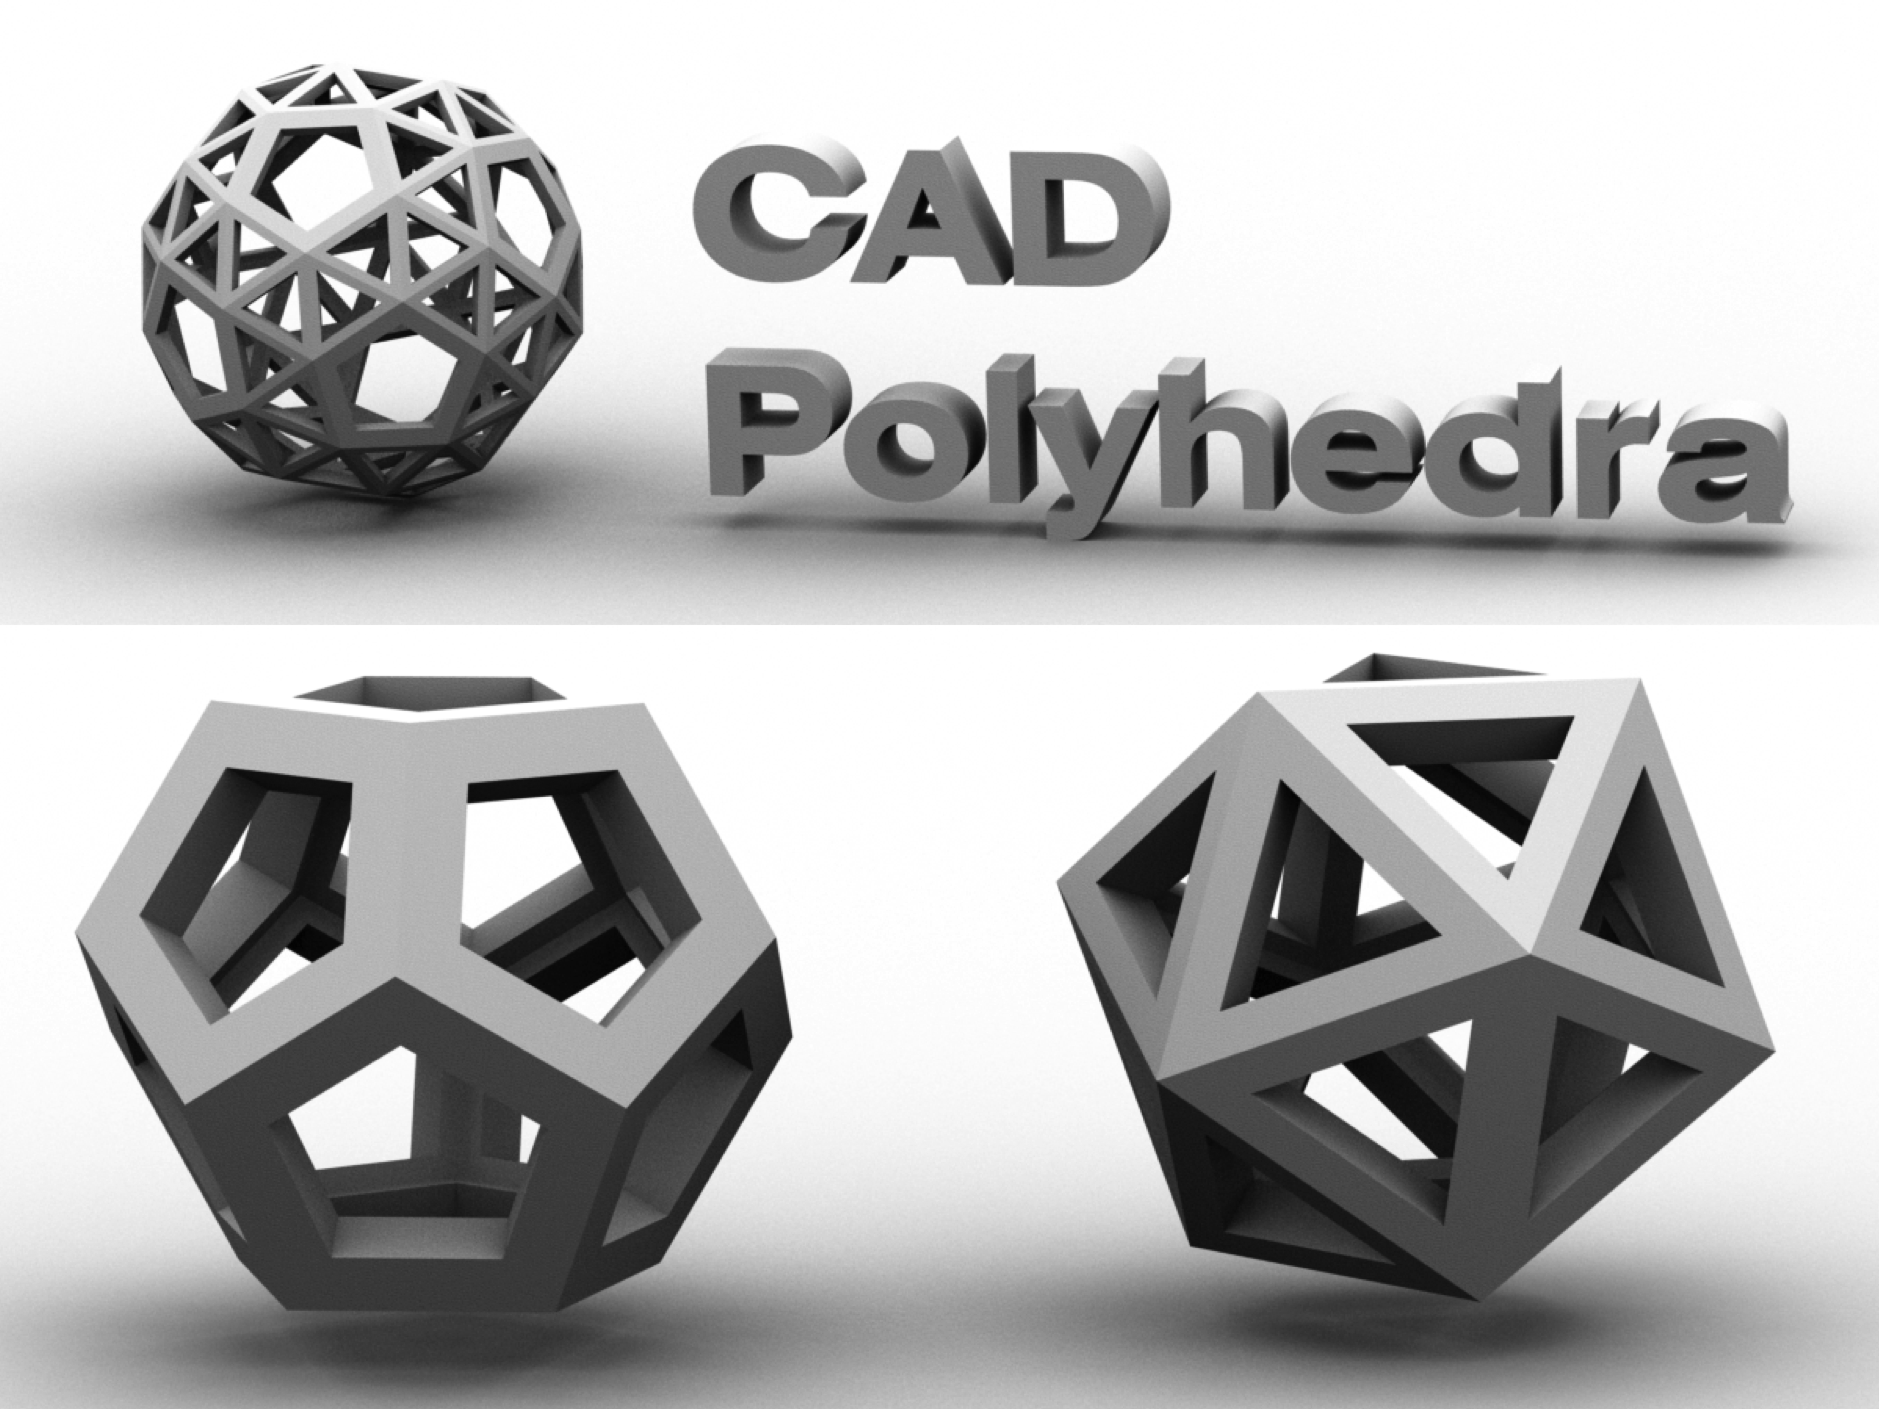
CAD Polyhedra


Anyone else think polyhedra are AWESOME and want to get them in CAD? If you need more motivation, once they're in CAD you can 3D print them or exciting variations of them! Follow along to learn an assembly-based technique that doesn't require researching exact angles and avoids common pitfalls.
If you plan to use Solidworks, read on, but Autodesk Inventor users may prefer rotormind's excellent instructable, unless you hope to make one of the larger polyhedra (20+ sides), in which case you'll need the assembly technique I describe here.
I'd also like to point out that putting the Archimedean or Platonic Solids into CAD can be thought of as a way to numerically approximate the dihedral angles, or the angles between faces of a solid. These can also be expressed as the zeroes of polynomials using advanced abstract algebra methods, as employed by Mathematica. From my snub dodecahedron model, I calculate a dihedral angle of 152deg55`48``, off from wikipedia's reported 152deg55`53`` by 5 arcseconds = 5/3600 = 1.4% of a degree.
Make a Face
I did this in Solidworks, which I prefer slightly over Inventor since it's what I was trained on. Make a polygon with the polygon tool. If you don't see it in your "Sketch" toolbar, go to the insert menu and find it in "Sketch Entities." Dimension a sidelength (I chose 4 inches) and make one edge horizontal so that the face will be fully constrained. This is important to minimize load on the internal constraint solver during assembly of the polyhedron.
Use offset entities to make a smaller polygon inside. Even if you don't want this in your final design goal, it's useful to have some opening in your face during assembly so you can more easily see inside. You'll be able to change it later.
Extrude your face, and add color to the bottom. It's important for you to be able to distinguish the inside and outside, because you'll want all of the faces pointing the same way if you want to edit them later.
Lastly, add a sketch line perpendicular to the face and through its midpoint. You can most easily do this by choosing "Right Plane" for the sketch and making a vertical line through the origin, assuming you chose "Top Plane" for the first sketch. This last piece is crucial for properly constraining your assembly in the next step.
Assemble Your Polyhedron
Save your face part, start a new assembly, and insert a few faces.
The first face you insert starts off fixed; right click it and select "Float." It's a good idea to fix one part in an assembly so that the whole assembly is fixed in the end, but we can't let it start that way because we're going to center this polyhedron on the origin.
Constrain your first two faces to share an edge, and then constrain the lines you sketched to go through the origin of the assembly. You'll want to make sure that you aren't editing the sketch containing the line in the part file, or you won't be able to select it. Make sure that the sketch is also visible. You may need to change your view settings in the assembly to make sure that sketches are shown. You can't select the origin of the assembly in the graphics area, but you can find it in the assembly tree at left.
NOTE: You might think you don't need to bother with the lines through the origin, since in principle if you constrain all the faces to touch, the only solution is the desired polyhedron. What you will find if you attempt this is that after a couple faces, the program stops being able to solve the mates you try to add. Constraining the center lines through the origin makes things much simpler for the solver, because the constraints are much less interdependent.
When you add constraints, they may add in an inverted way. You can always edit a mate to change the mate direction. It is also helpful to position pieces almost correctly before adding the mate. You can do this with the help of the rotate tool (drop-down menu below move) or by using "fix and group" partway down the move dialog box.
It's a bit of a time-saver to save a subassembly after you've made one chunk of your polyhedron, and then insert a few of those into a master assembly to finish it off.
Optional: Merge Bodies
If you want to get a single solid body for export to a 3D printer or any other use, start a new part internal to the assembly, click somewhere in the background to position it, and then right click it to edit within the assembly. Select the join feature, if it is not in your feature toolbar then find it in the "Insert" menu under "Features." Now you need to select all the faces manually. ("Select All" won't work if you used subassemblies, and there's no part filter in assemblies. Let me know if you can figure out a better way). One slight shortcut is to expand all the subassemblies in your feature tree, click the first face, hold shift and scroll all the way down and select the last part face.
Click the check box to add the feature. Now exit the editor for this new part, right click it in the feature tree and save it externally, hide it in the assembly, and open the external file. It is now a single body. If you would prefer it to stay as is and not be influenced by future changes you might make in the assembly, right click the top of the feature tree and choose "list external references". In the resulting dialogue box you can then click "break all references".
Now if you'd like to have a solid without holes, don't break the references, but instead go back to your original part file and modify it to be a rather tall prism. This way after the join step, which will update automatically, the resulting body will be a complete solid. If you didn't build your polyhedron with the color sides out, you'll have to re-do a bunch of your assembly. After editing the part, you may need to push the "Rebuild" button (looks like stoplight) to get things to update.
Optional: Make a Subpart
I have an idea I may eventually follow through with to make a set of identical pyramids with magnets embedded that would enable them to be assembled into a polyhedron. Toward this end, one could define several planes that slice along edges and through the center of the polyhedron, and then use the split feature to save the relevant wedge.