Butterfly, Animated.
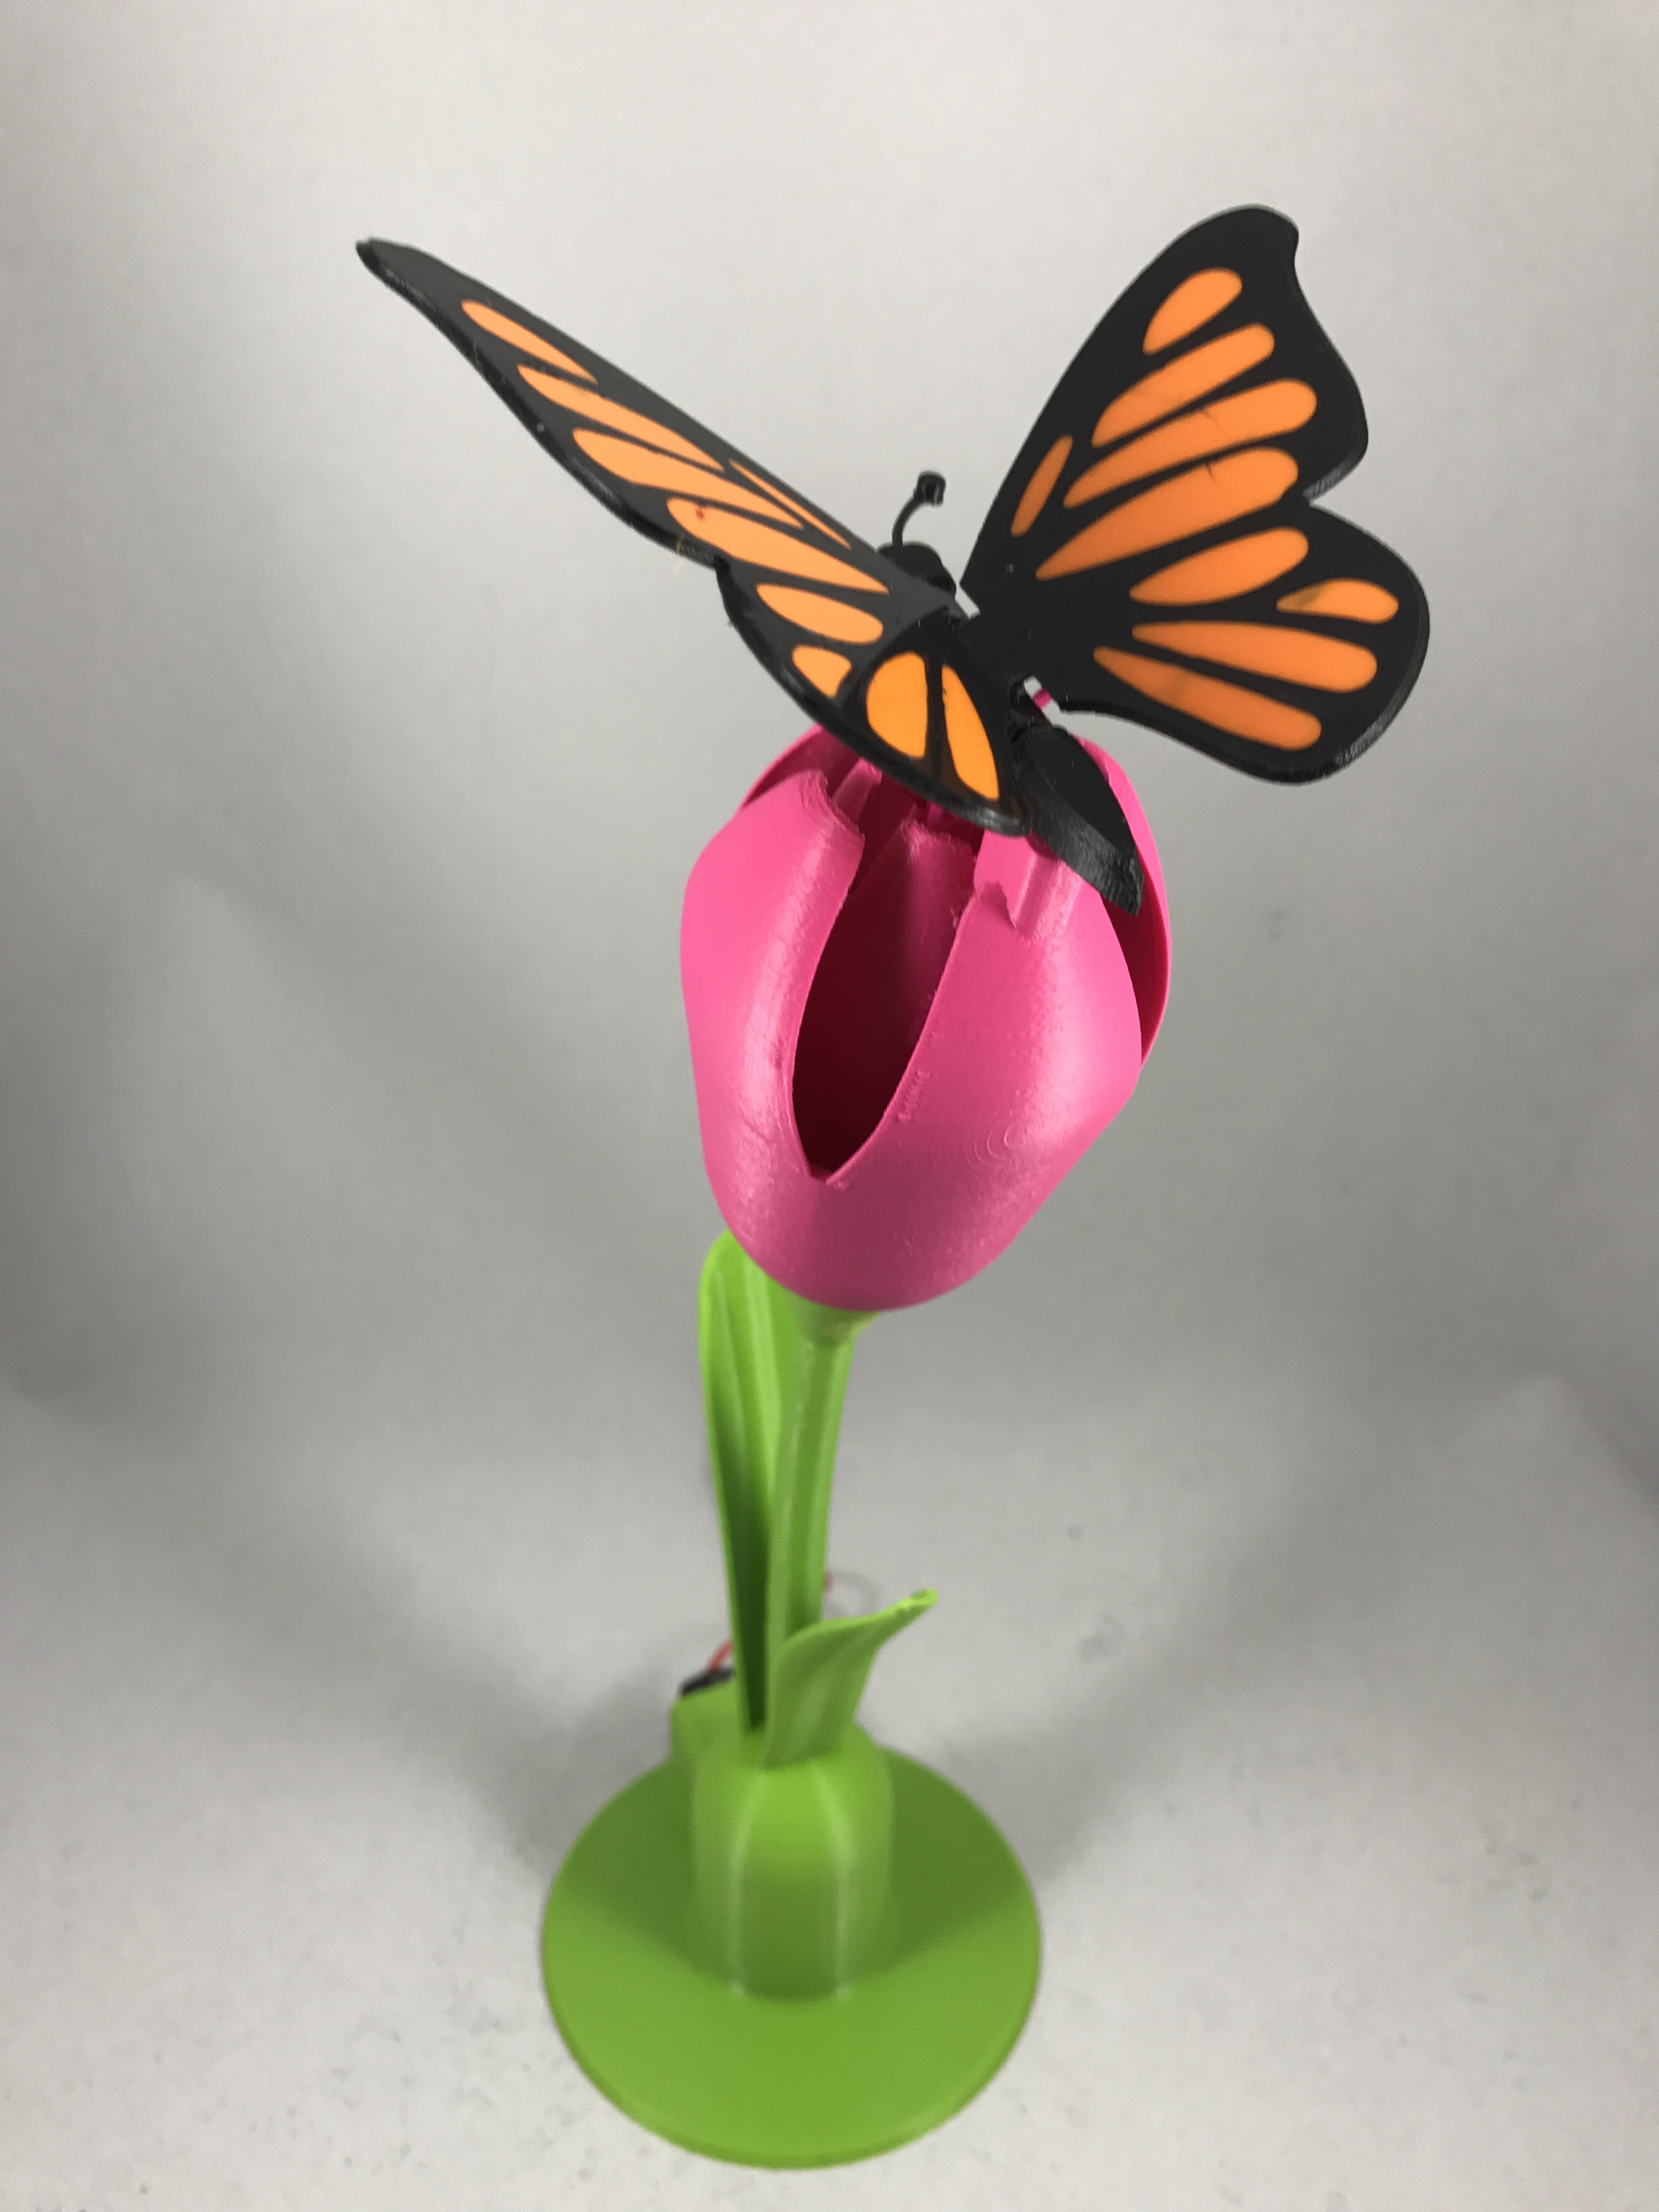
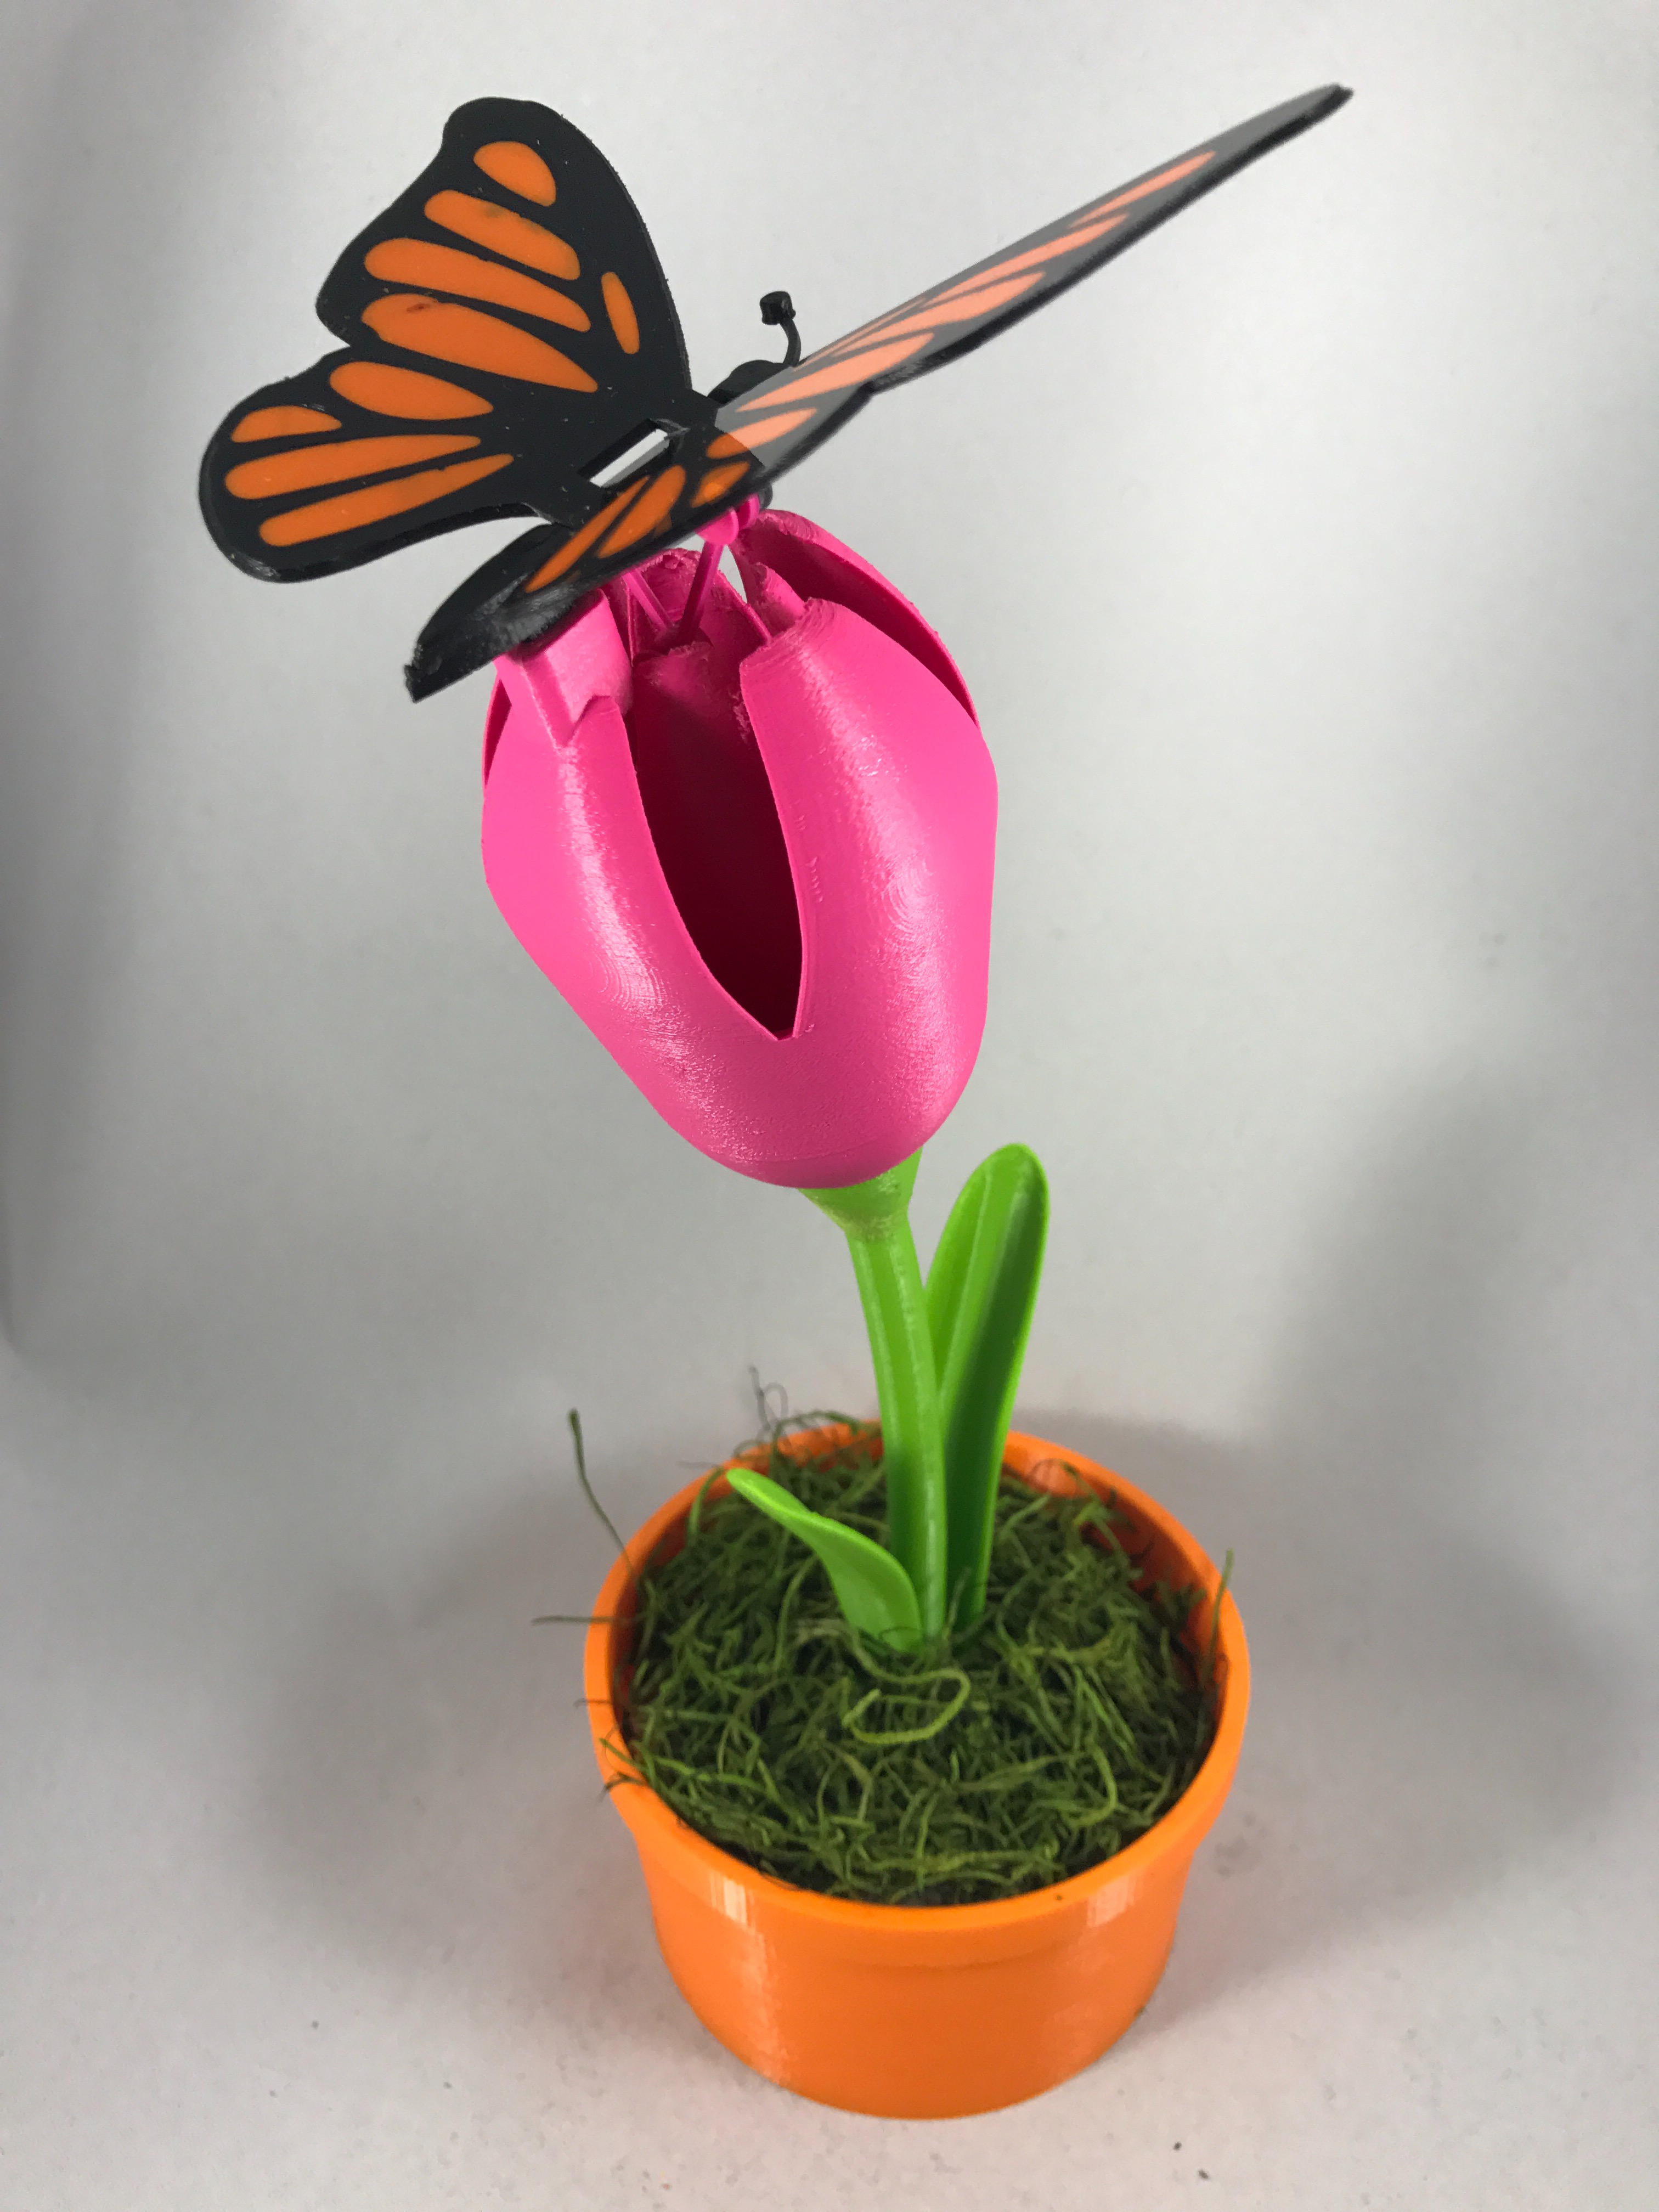
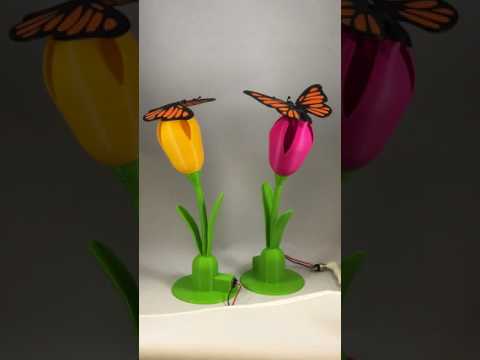
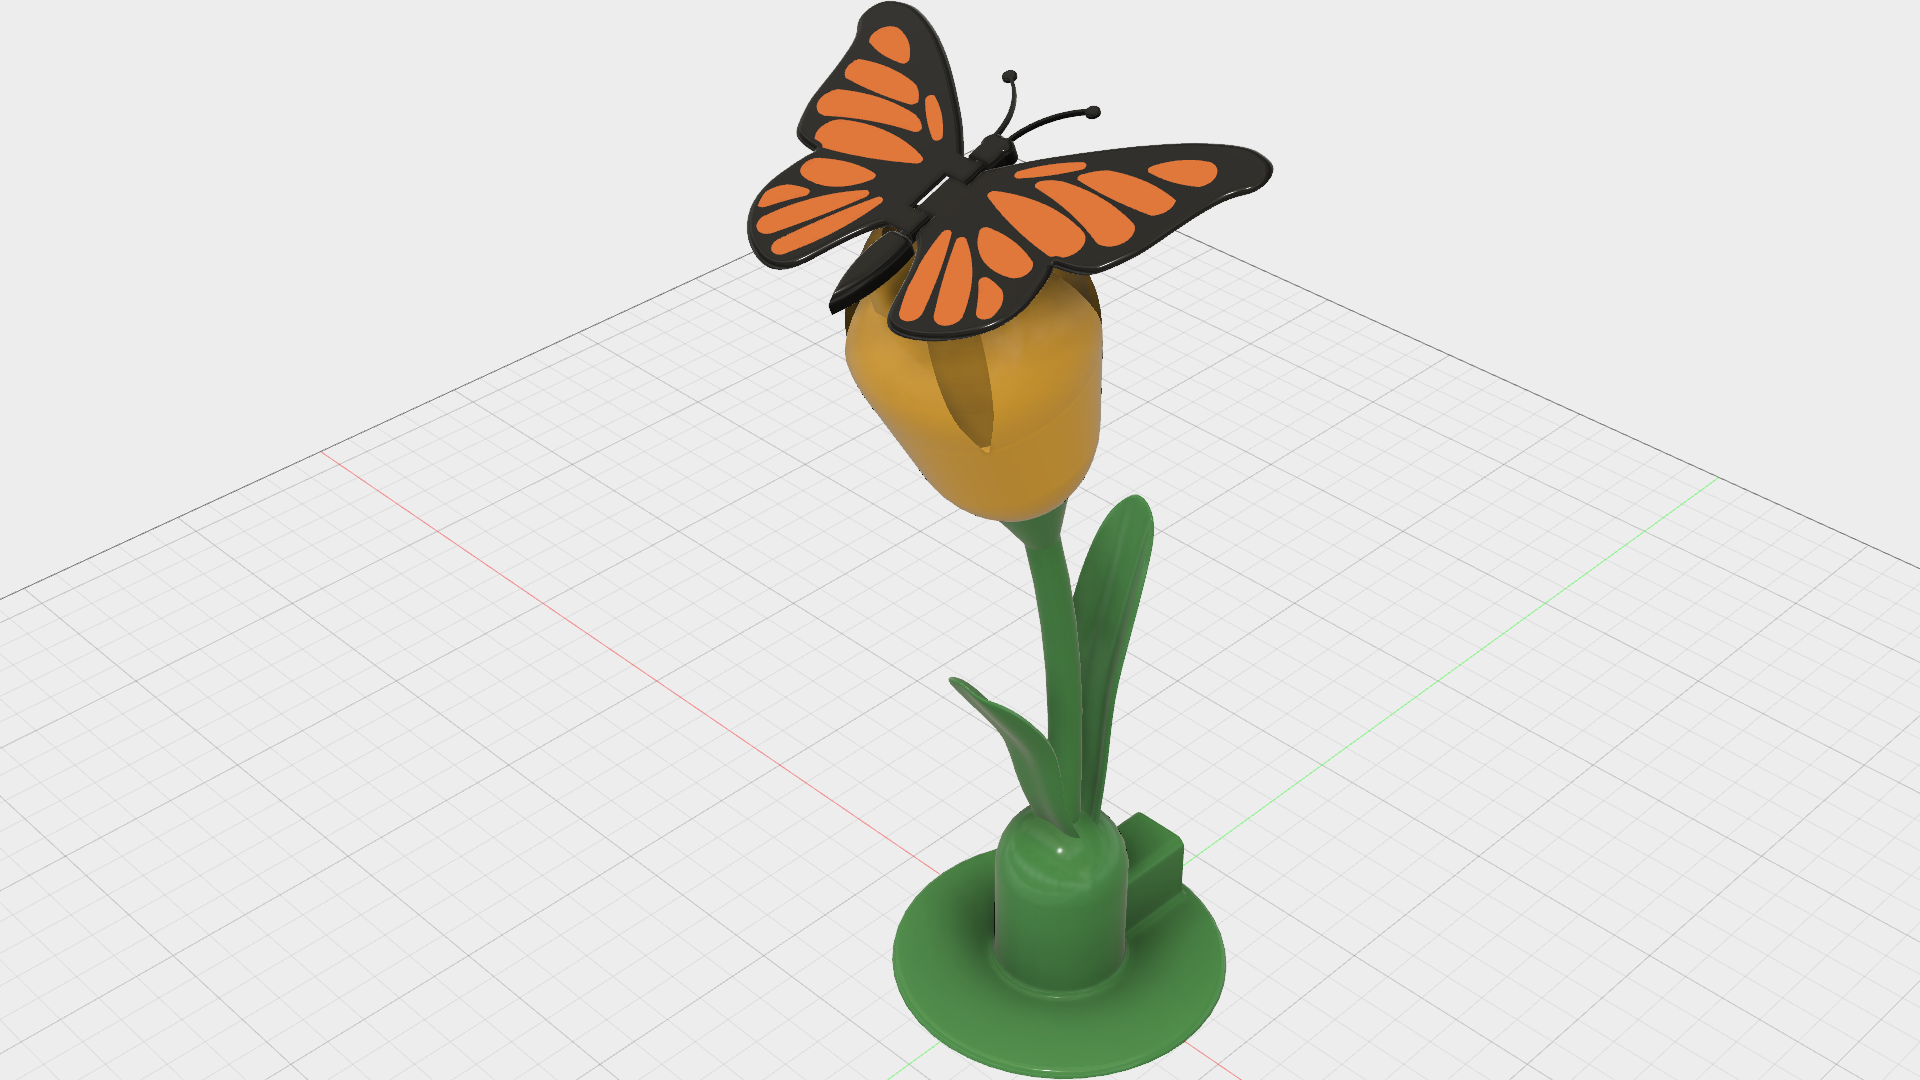
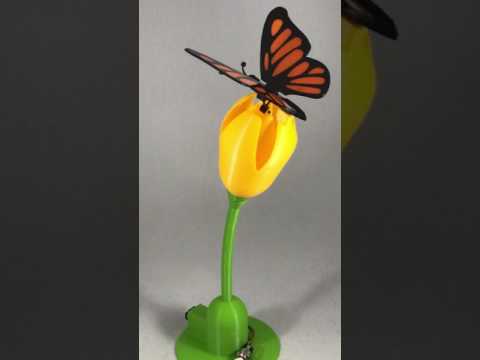
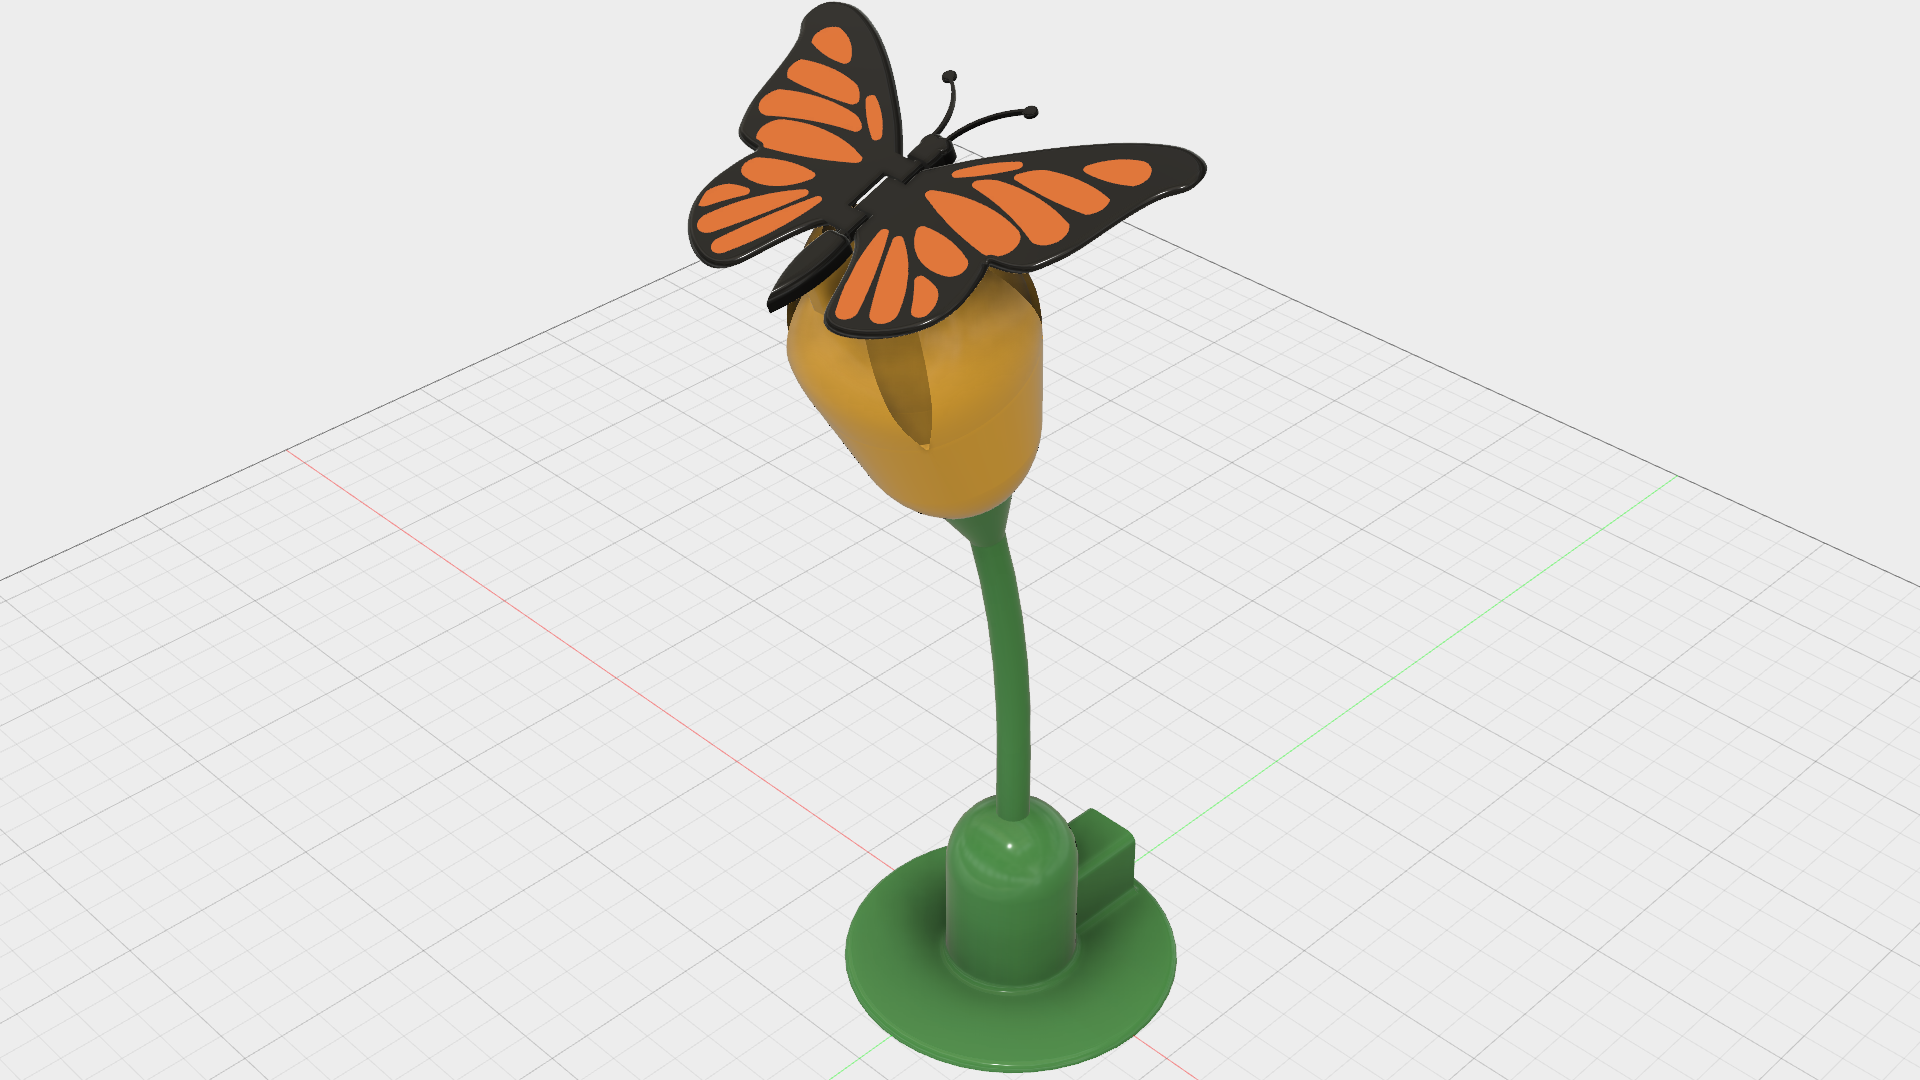
I recently downloaded and installed both software and firmware updates for the Cura slicer and the Ultimaker 3 Extended printer respectively, so I decided to test the limits of the new features of both, and "Butterfly, Animated" is the result. Please keep in mind I'm neither a lepidopterist nor a botanist, as this is my simple interpretation of a butterfly on a flower. However, it is fun to see the looks on the faces of those who see it and think, for a moment at least, that the butterfly is real.
As my goal was to test the limits of the Ultimaker 3 Extended, the file "Wings.3fm" is a dual extrusion file for the wings. I have, however, included the single extrusion "Wings.stl" (the black outline of the wings), and "Wings Infill.stl" (the orange infill for the wings). I've also included the files "Base With Leaves.stl" and "Base Without Leaves.stl" in case you desire leaves or no leaves if you decide to print this model.
I've also included the file "Parts.pdf" indicating the settings I used for the various parts of "Butterfly, Animated".
As usual, I probably forgot a file or two or who knows what else, so if you have any questions, please do not hesitate to ask as I do make mistakes in plenty.
Designed using Autodesk Fusion 360, sliced using Cura 2.6.2, and printed in PLA on an Ultimaker 2+ Extended and a dual extrusion Ultimaker 3 Extended.
Downloads
Purchase, Prepare and Print the Parts.
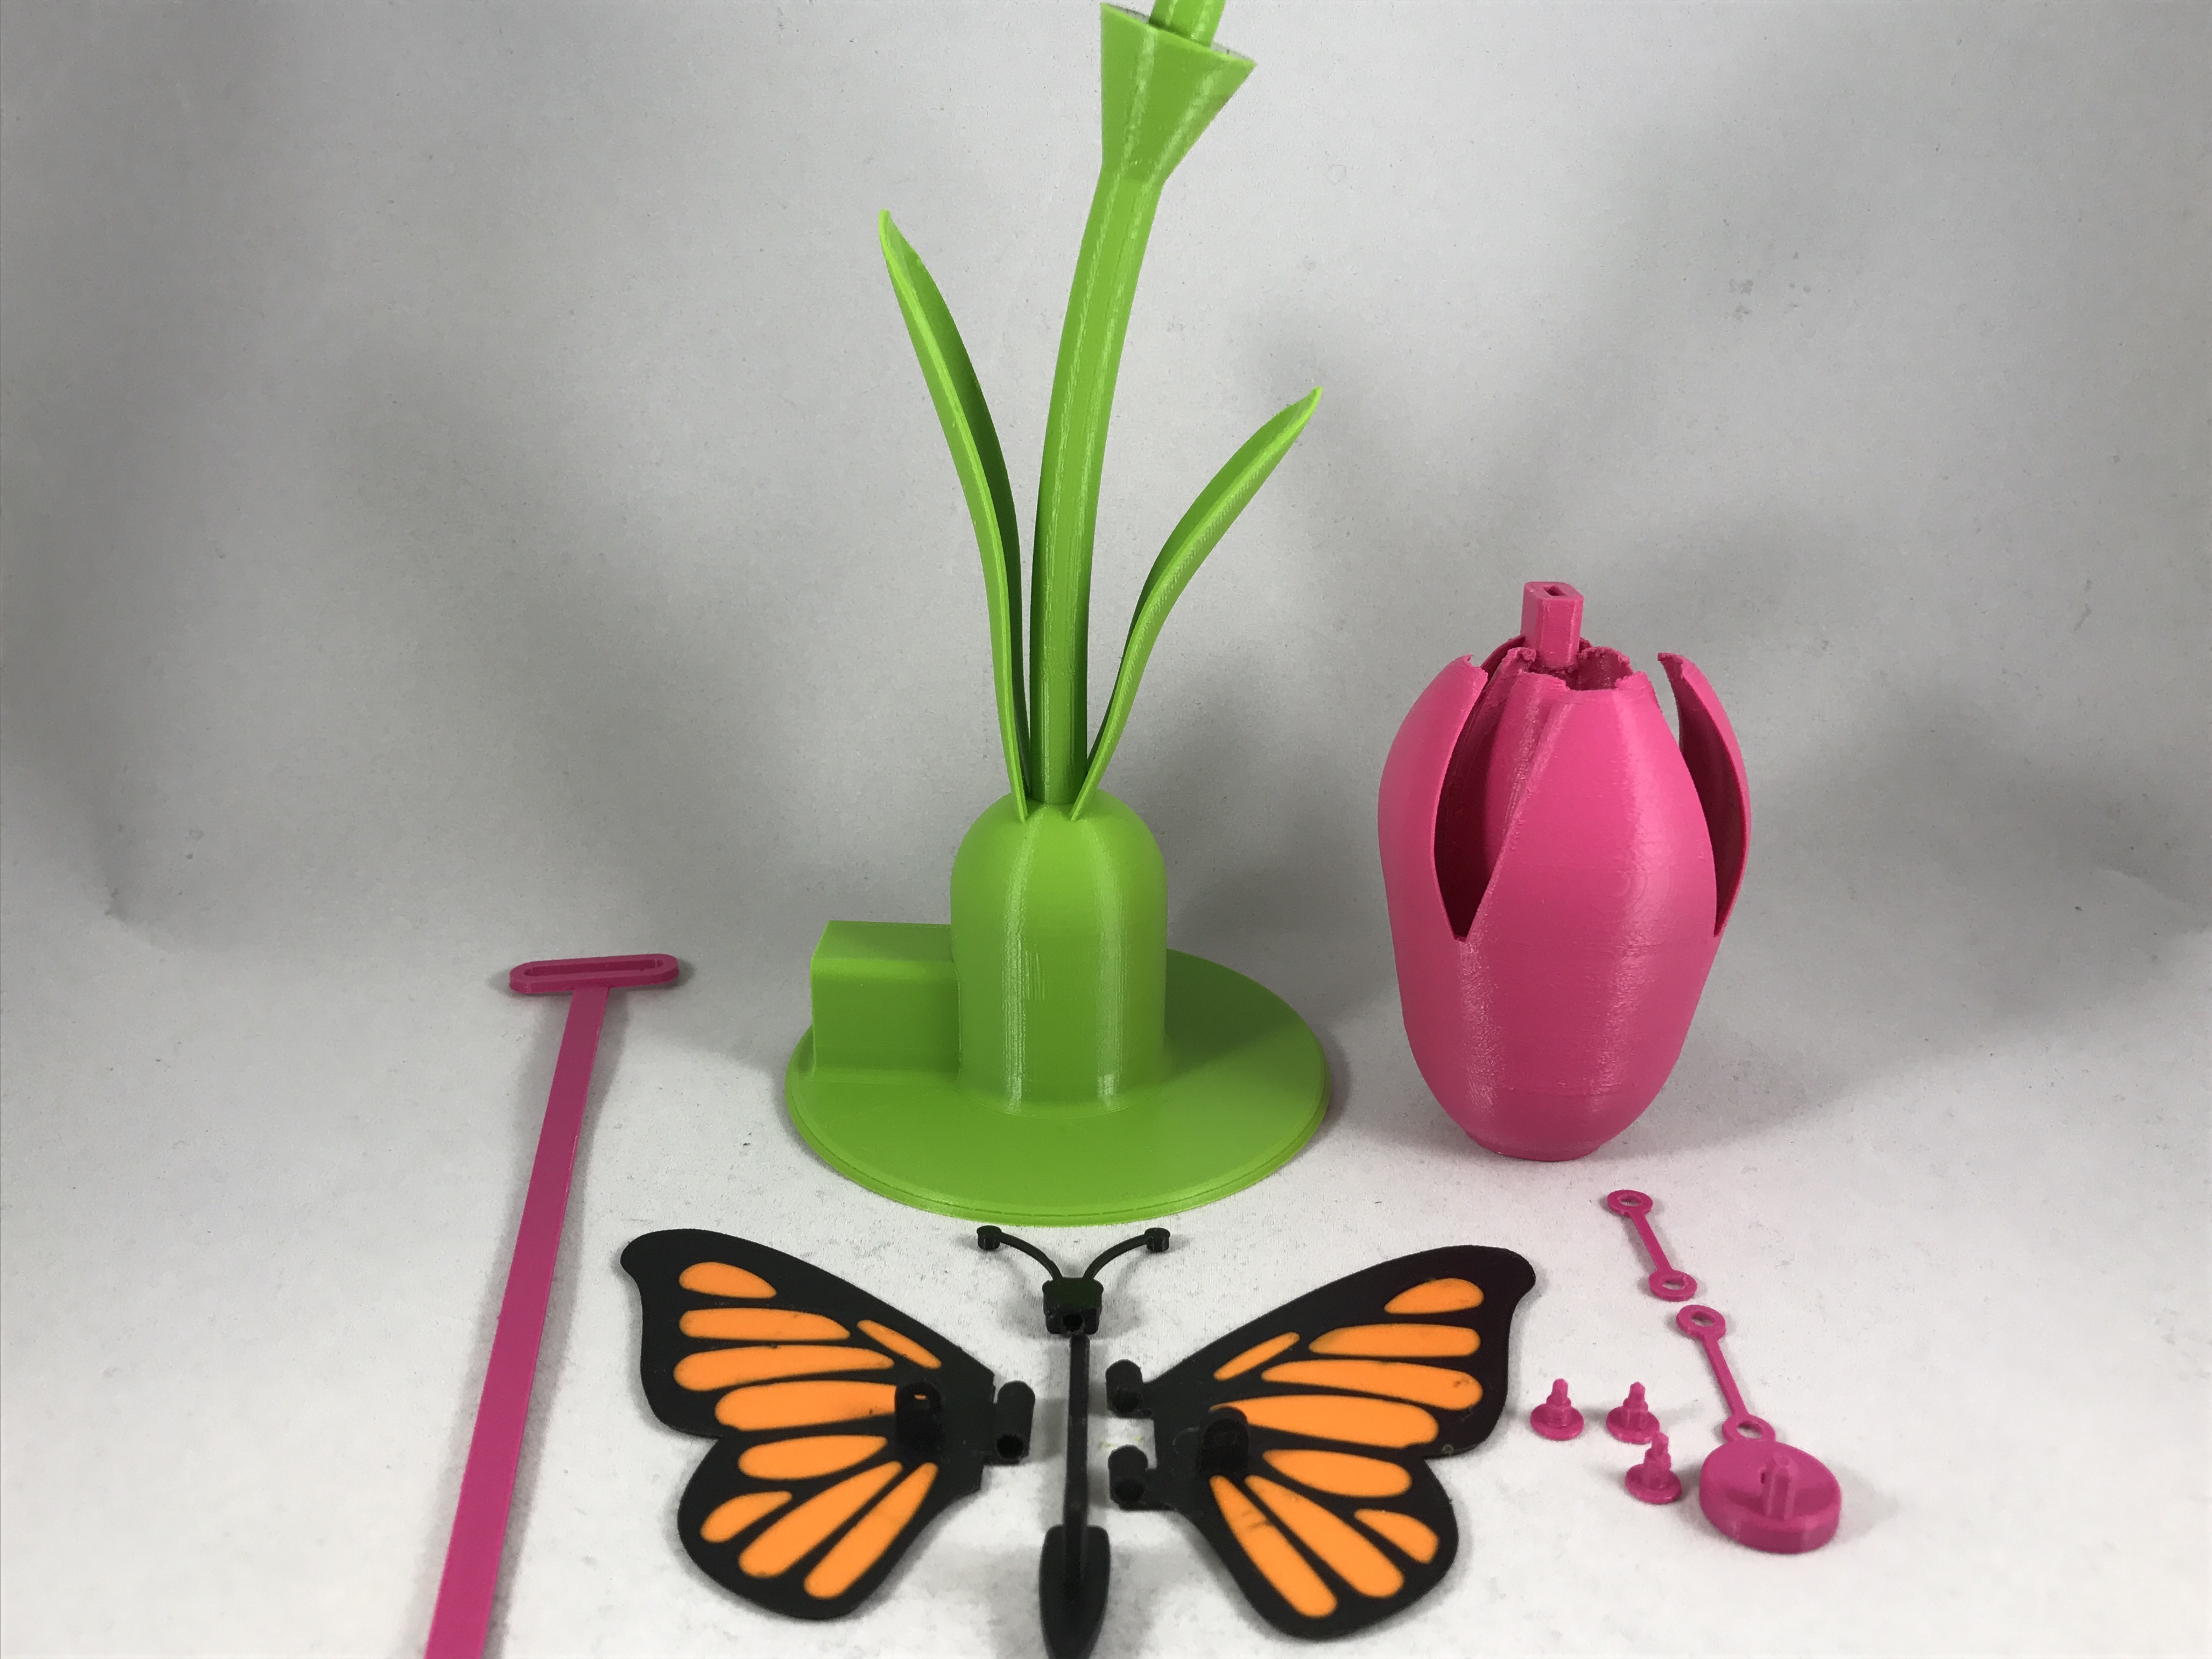
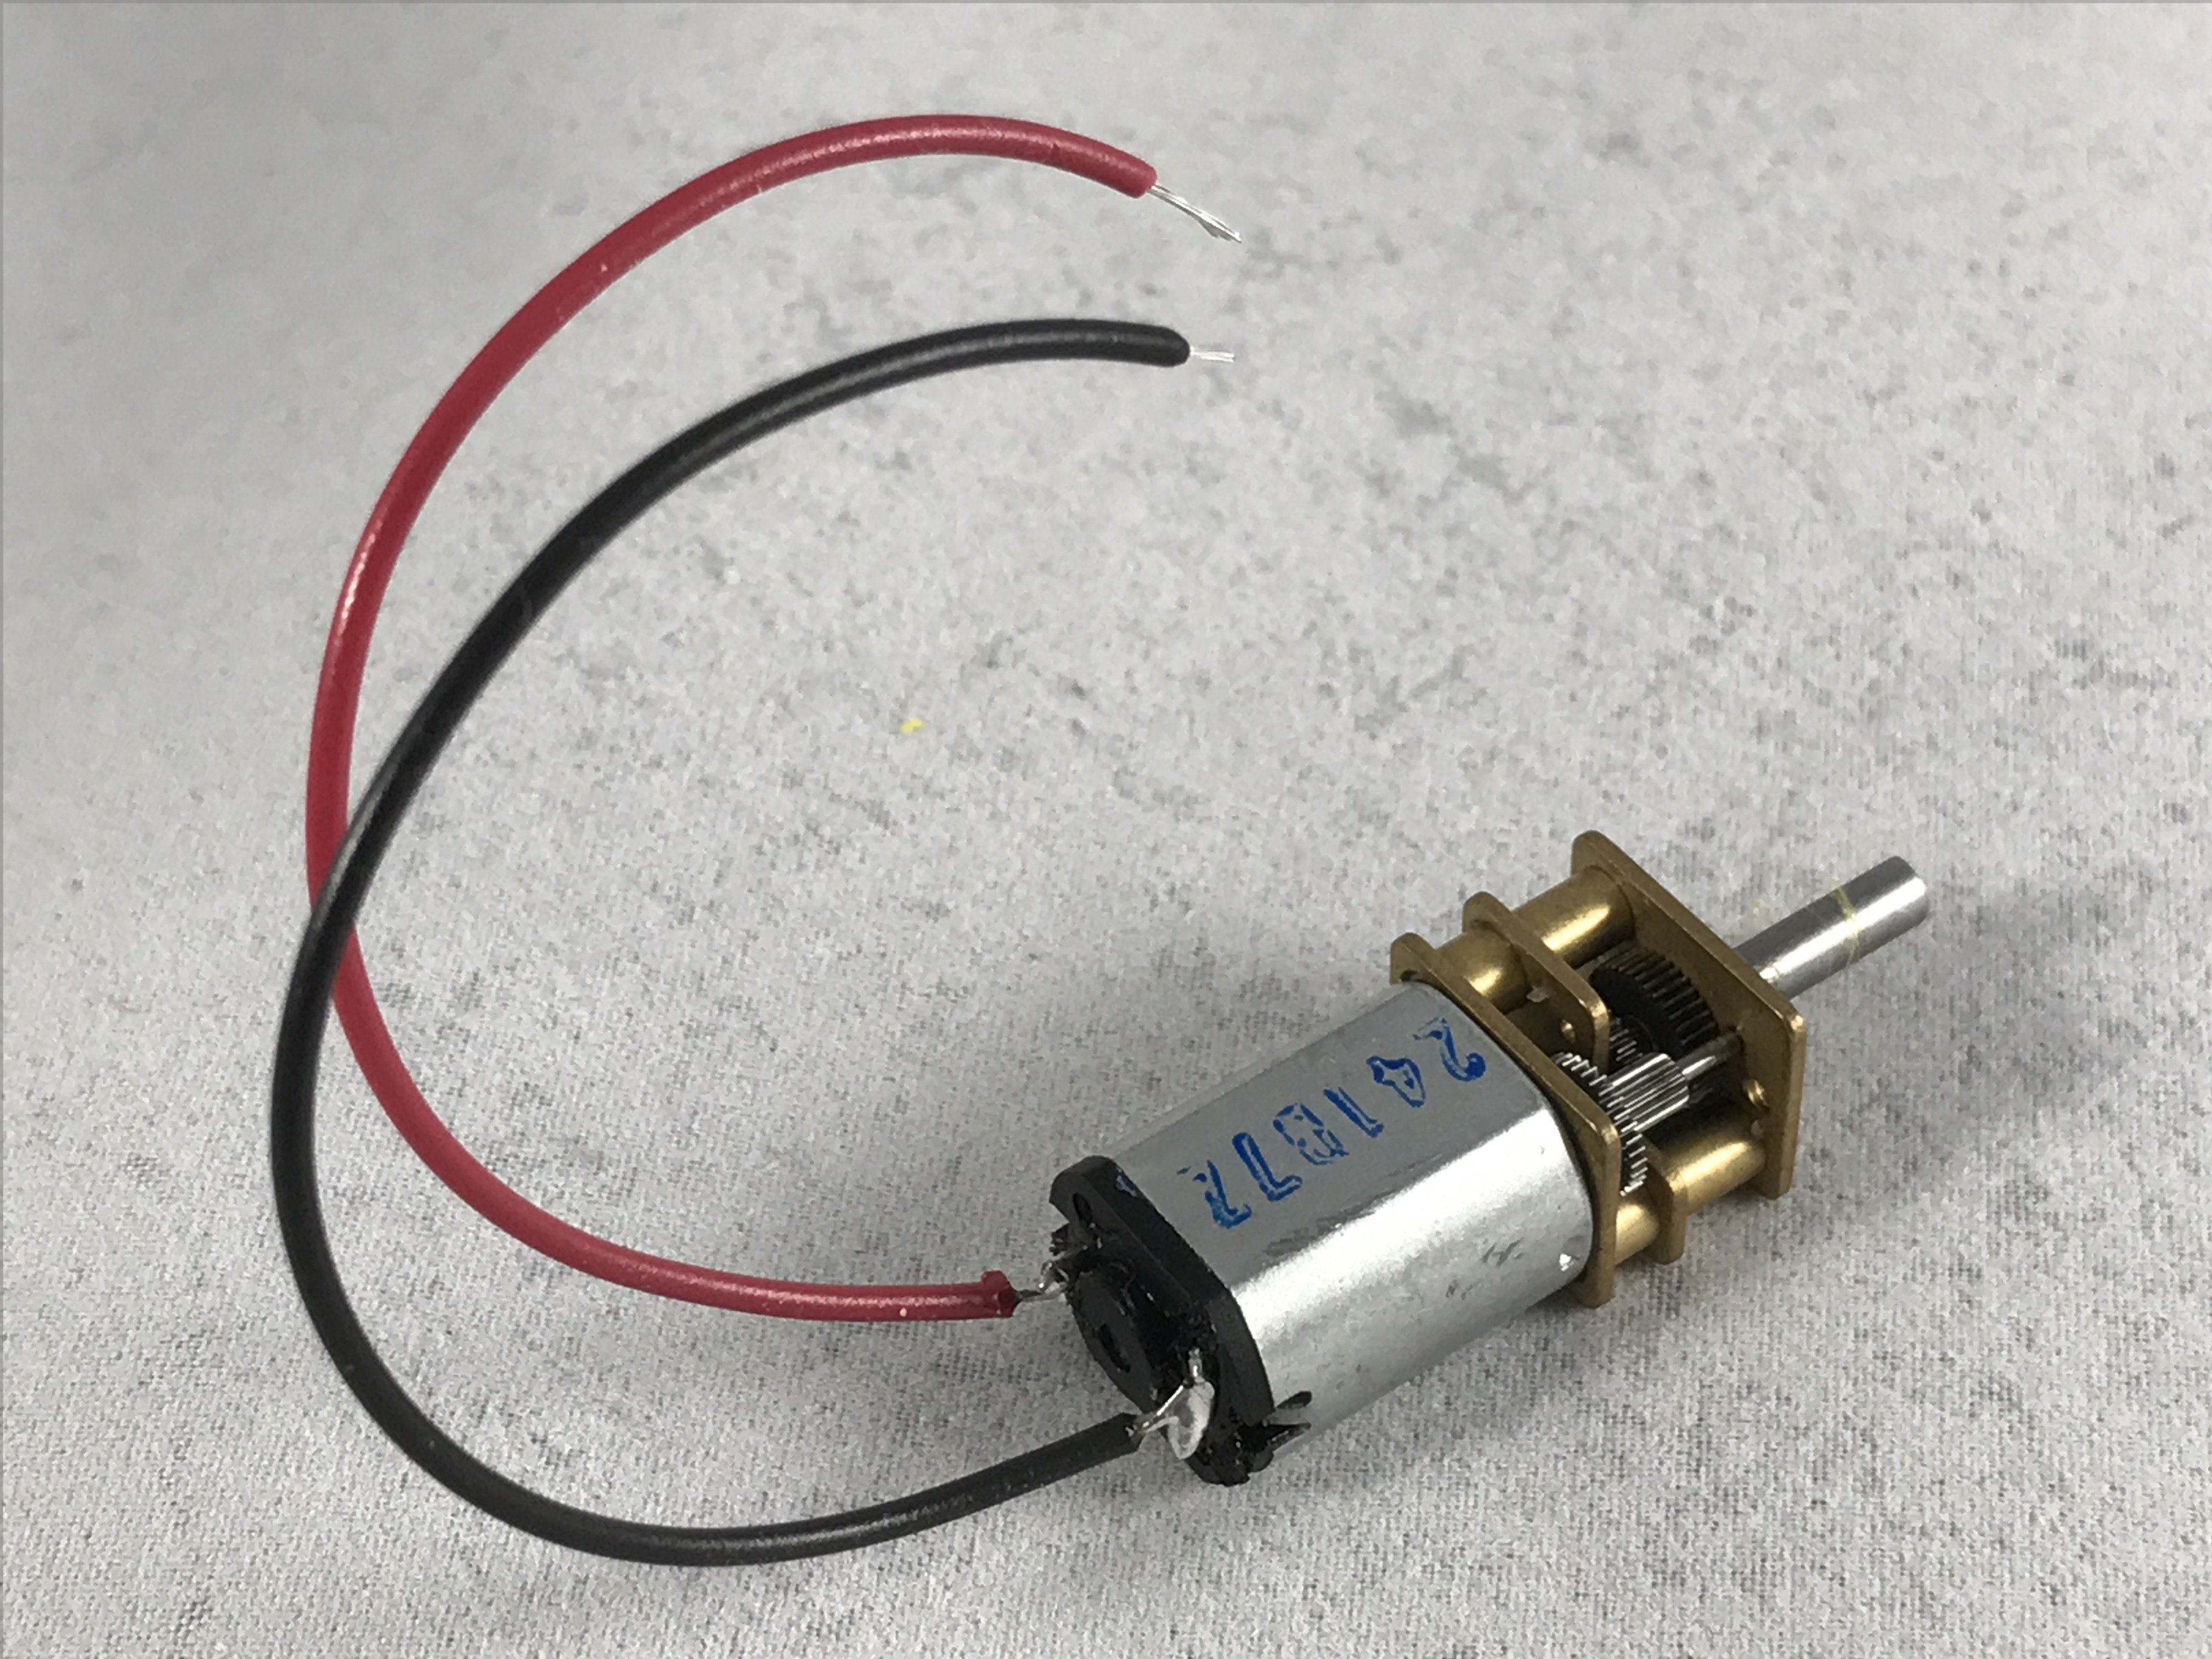
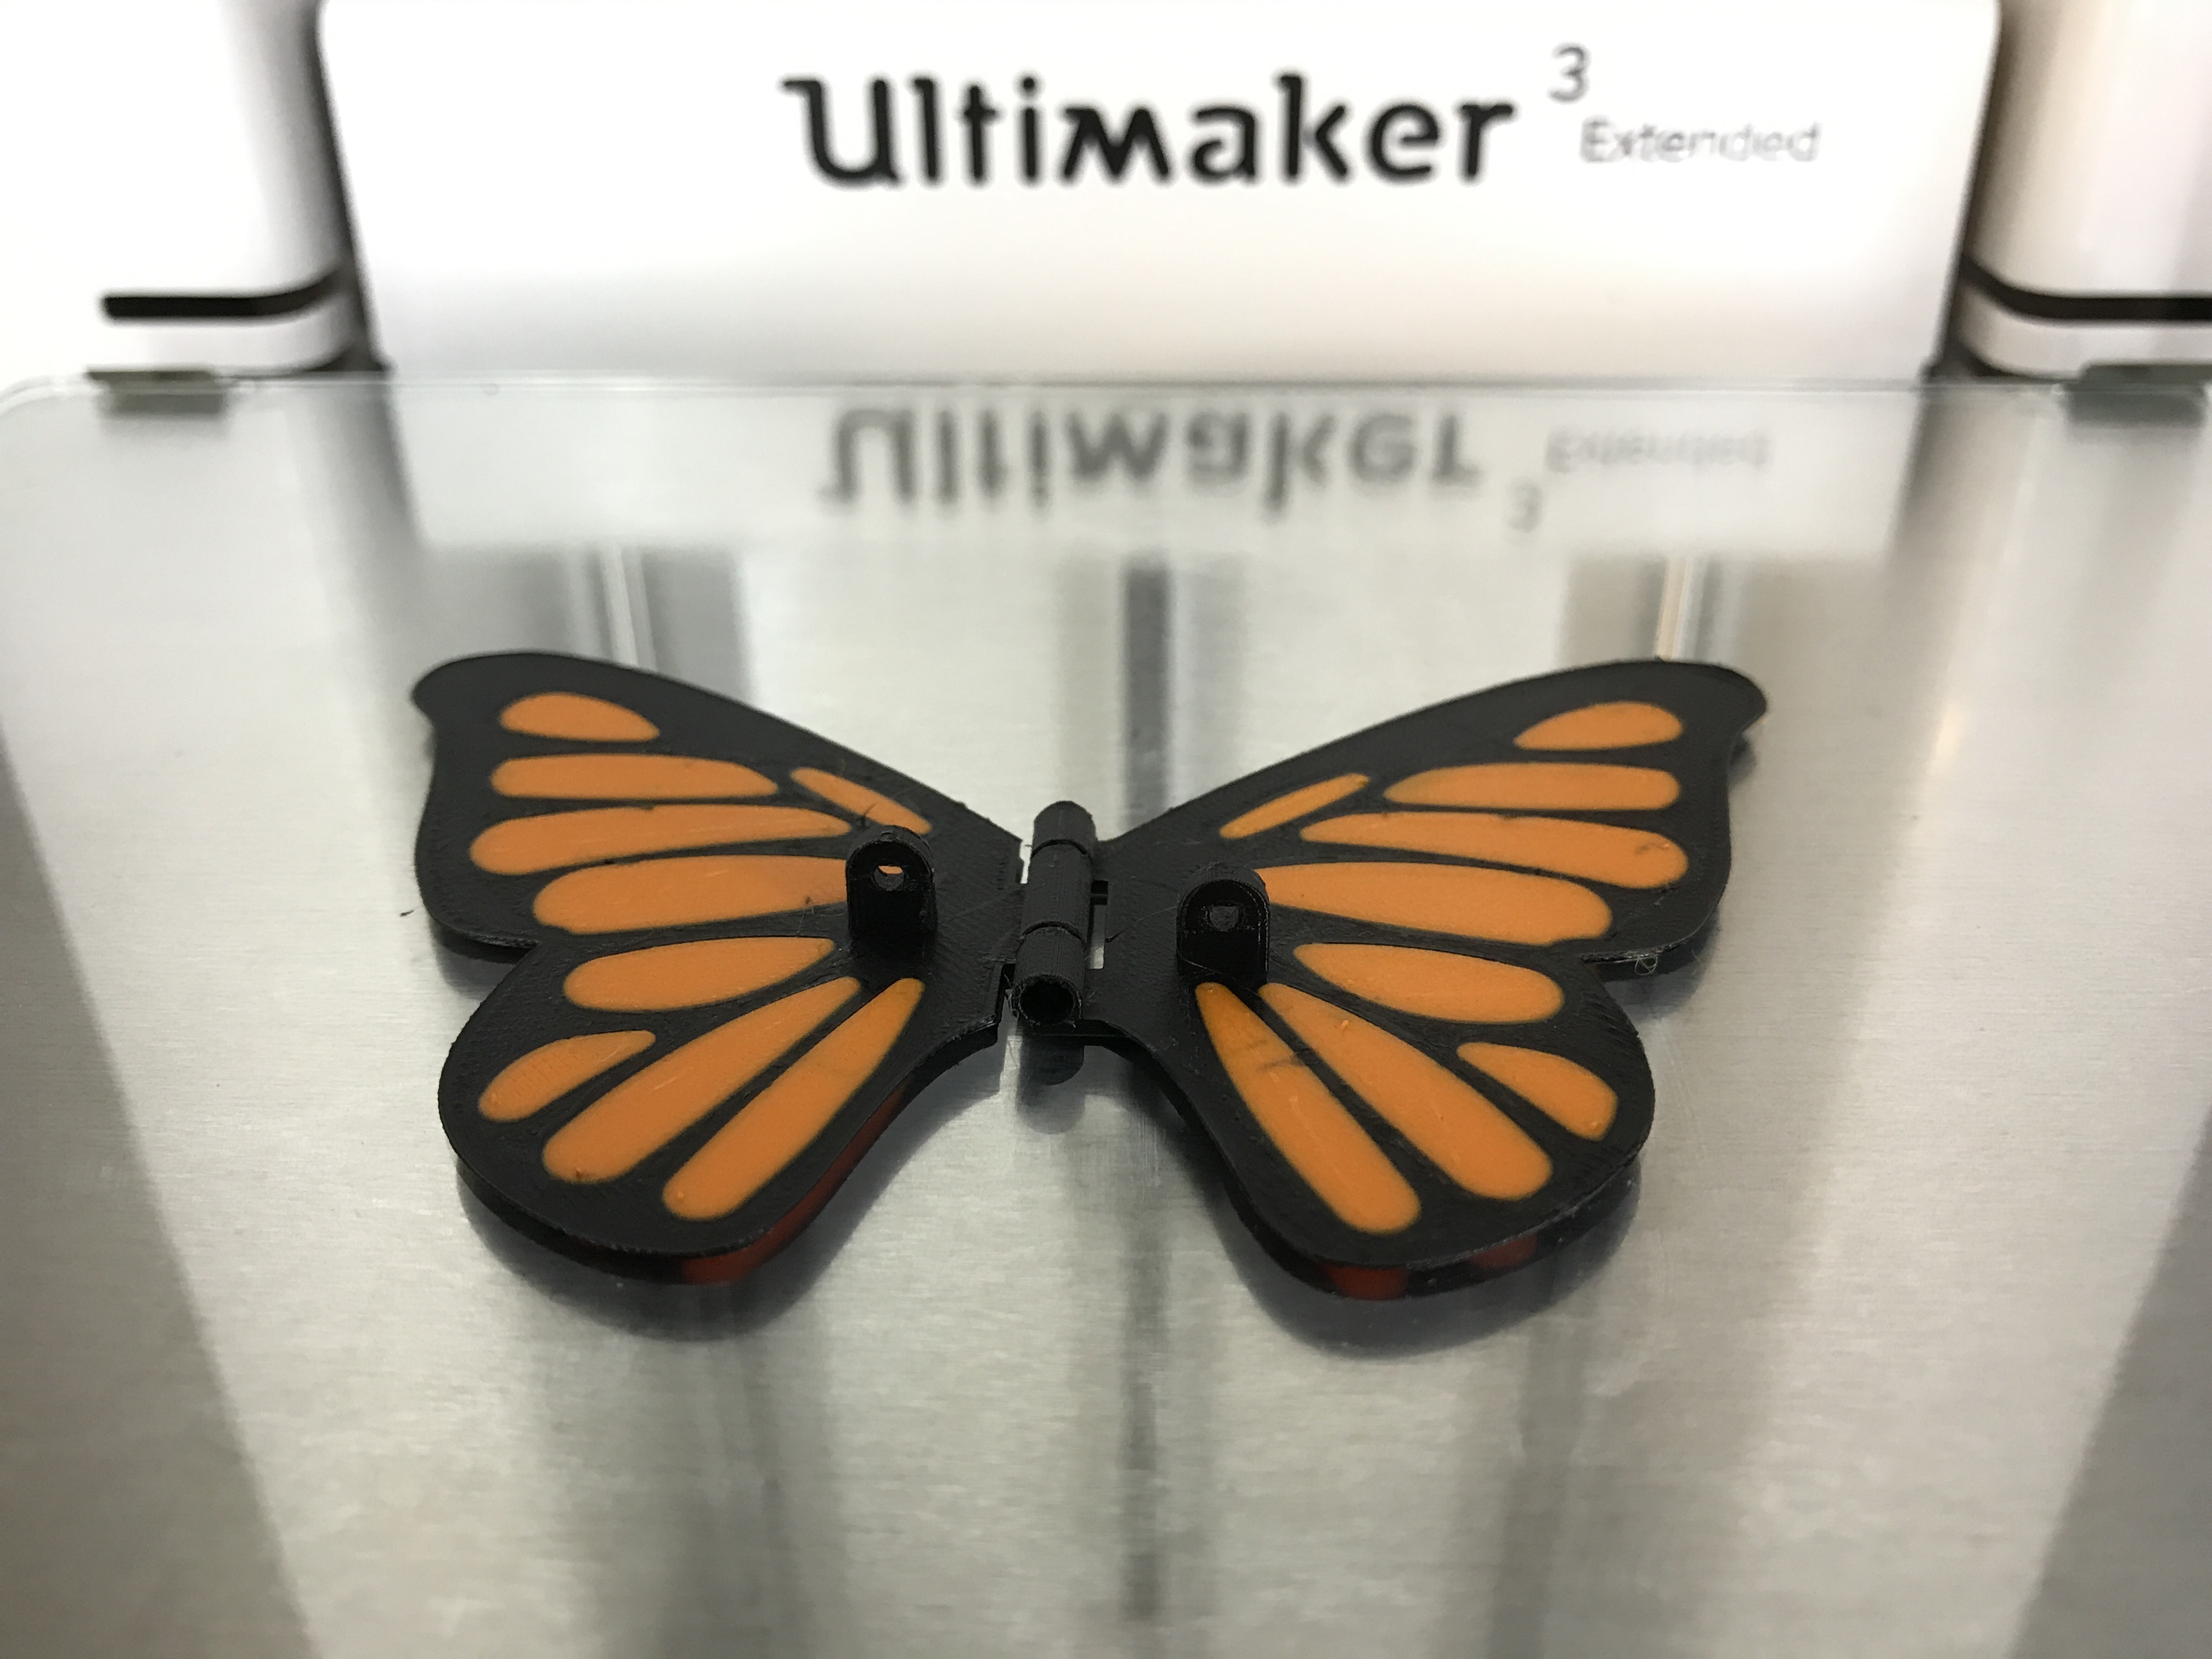
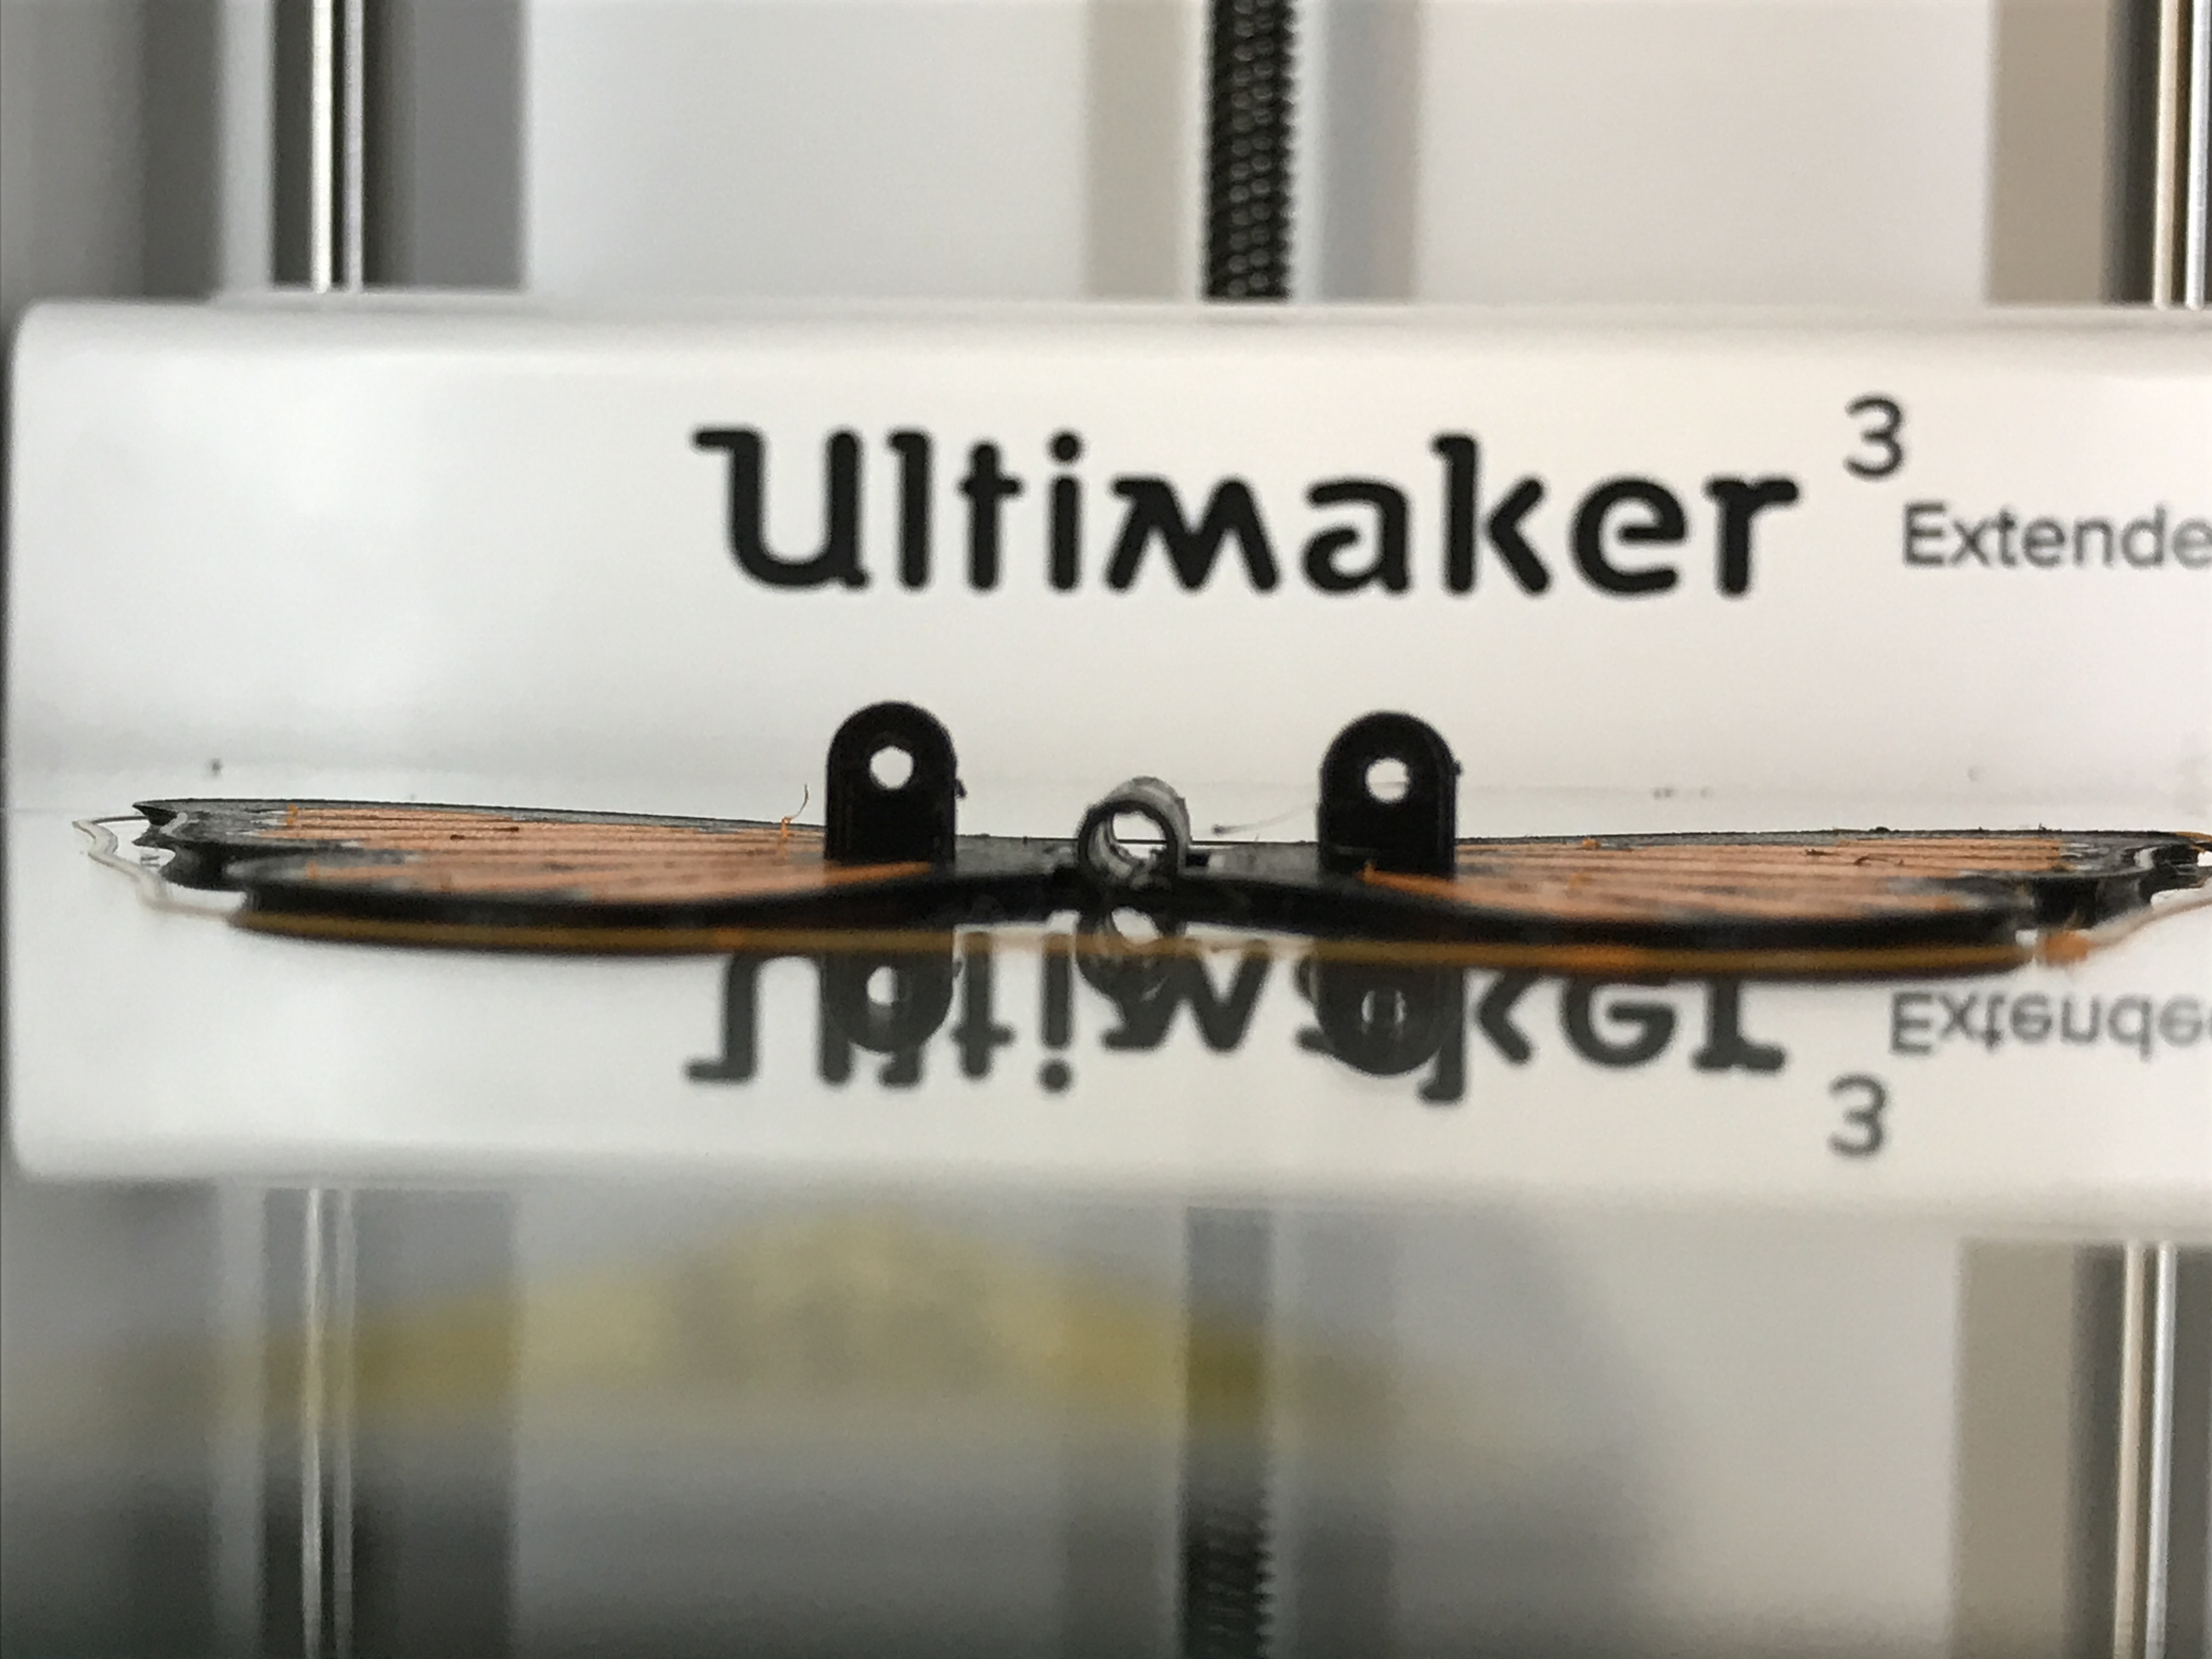
"Butterfly, Animated" requires a small gear motor ("DC 6V 60RPM 3mm Shaft Mini Metal Gearwheel Gear Motor GA12-N20"), a variable power supply (1.5 to 6VDC) and wire.
Note there are some fairly small and finely detailed 3D printed parts in the design. I printed all parts on an Ultimaker 2+ Extended and an Ultimaker 3 Extended. I've attached a PDF containing the settings I used for each of the parts. Prior to assembly, test fit and trim, file, sand, etc. all parts as necessary for smooth movement of moving surfaces, and tight fit for non moving surfaces. Depending on the colors you chose and your printer settings, more or less trimming, filing and/or sanding may be required. Carefully file all edges that contacted the build plate to make absolutely sure that all build plate "ooze" is removed and that all edges are smooth. I used small jewelers files and plenty of patience to perform this step.
This model uses one M8 by1 threaded assembly and may require a M8 by 1 tap and/or die to clean the threaded components.
I soldered a two six inch lengths of wire to the motor; red to the motor "+" terminal, and black to the motor "-" terminal.
I added "Container.stl" as an optional item to hold "Base.stl".
Assemble the Butterfly.
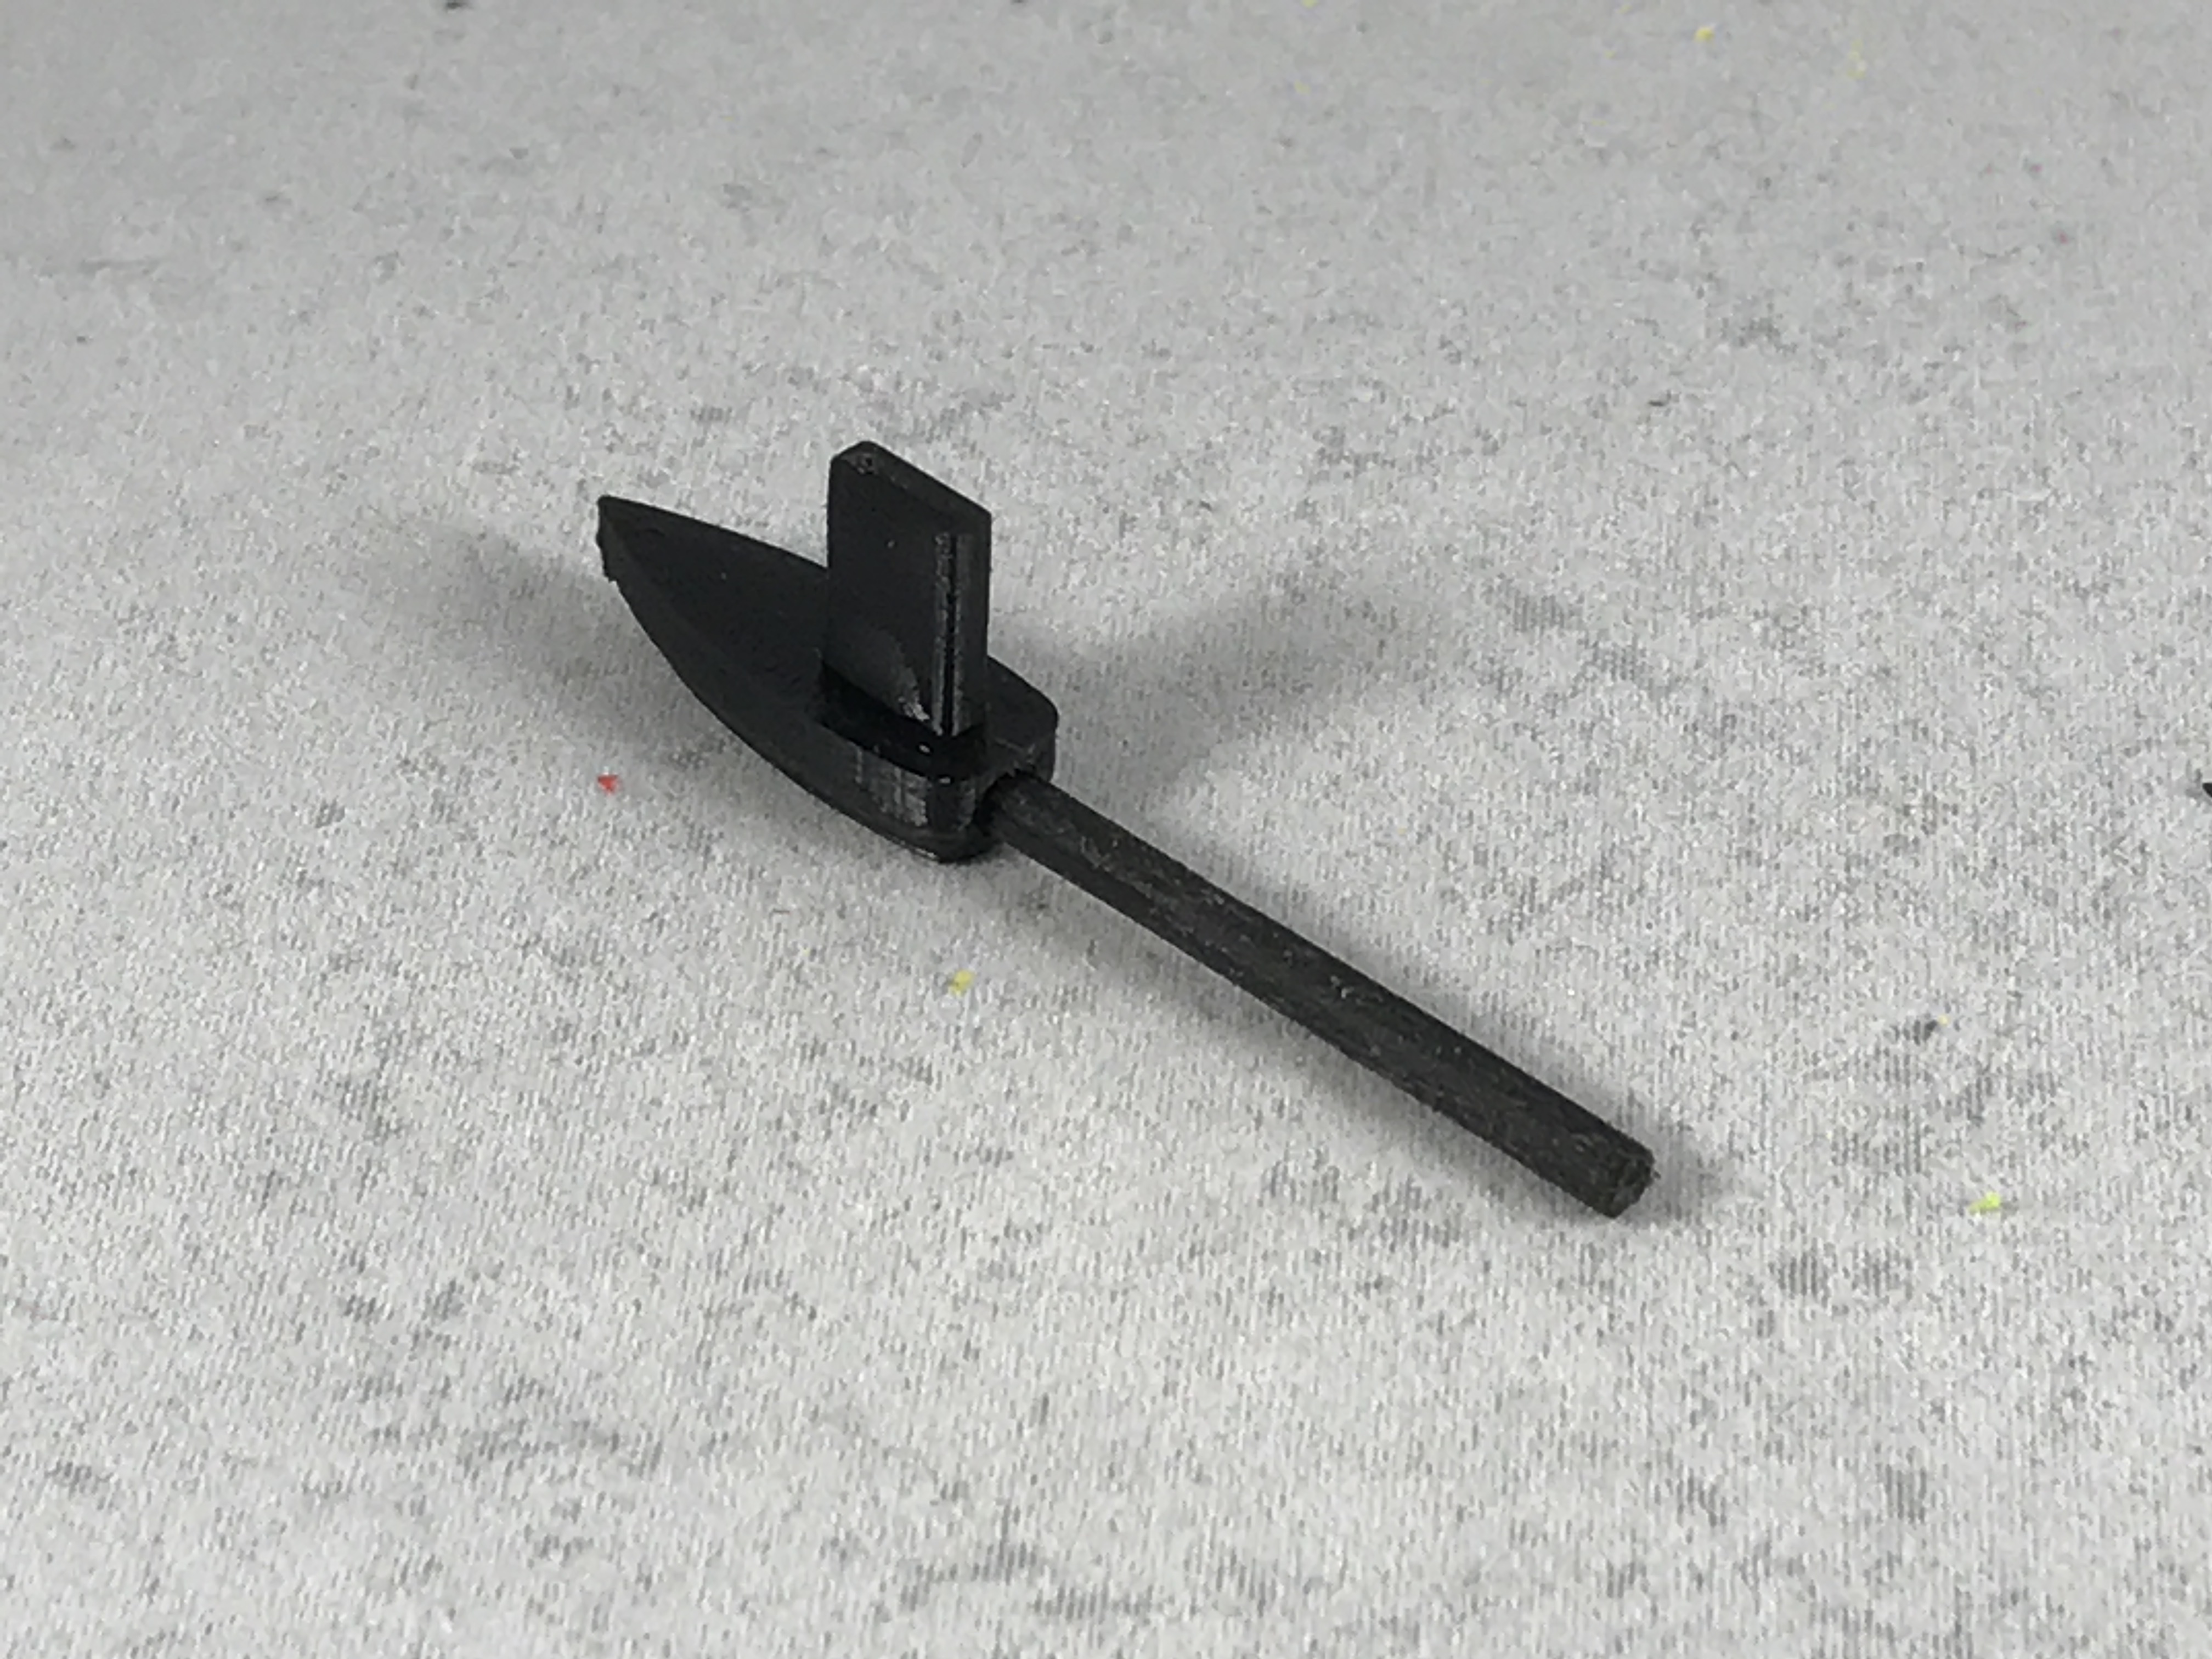
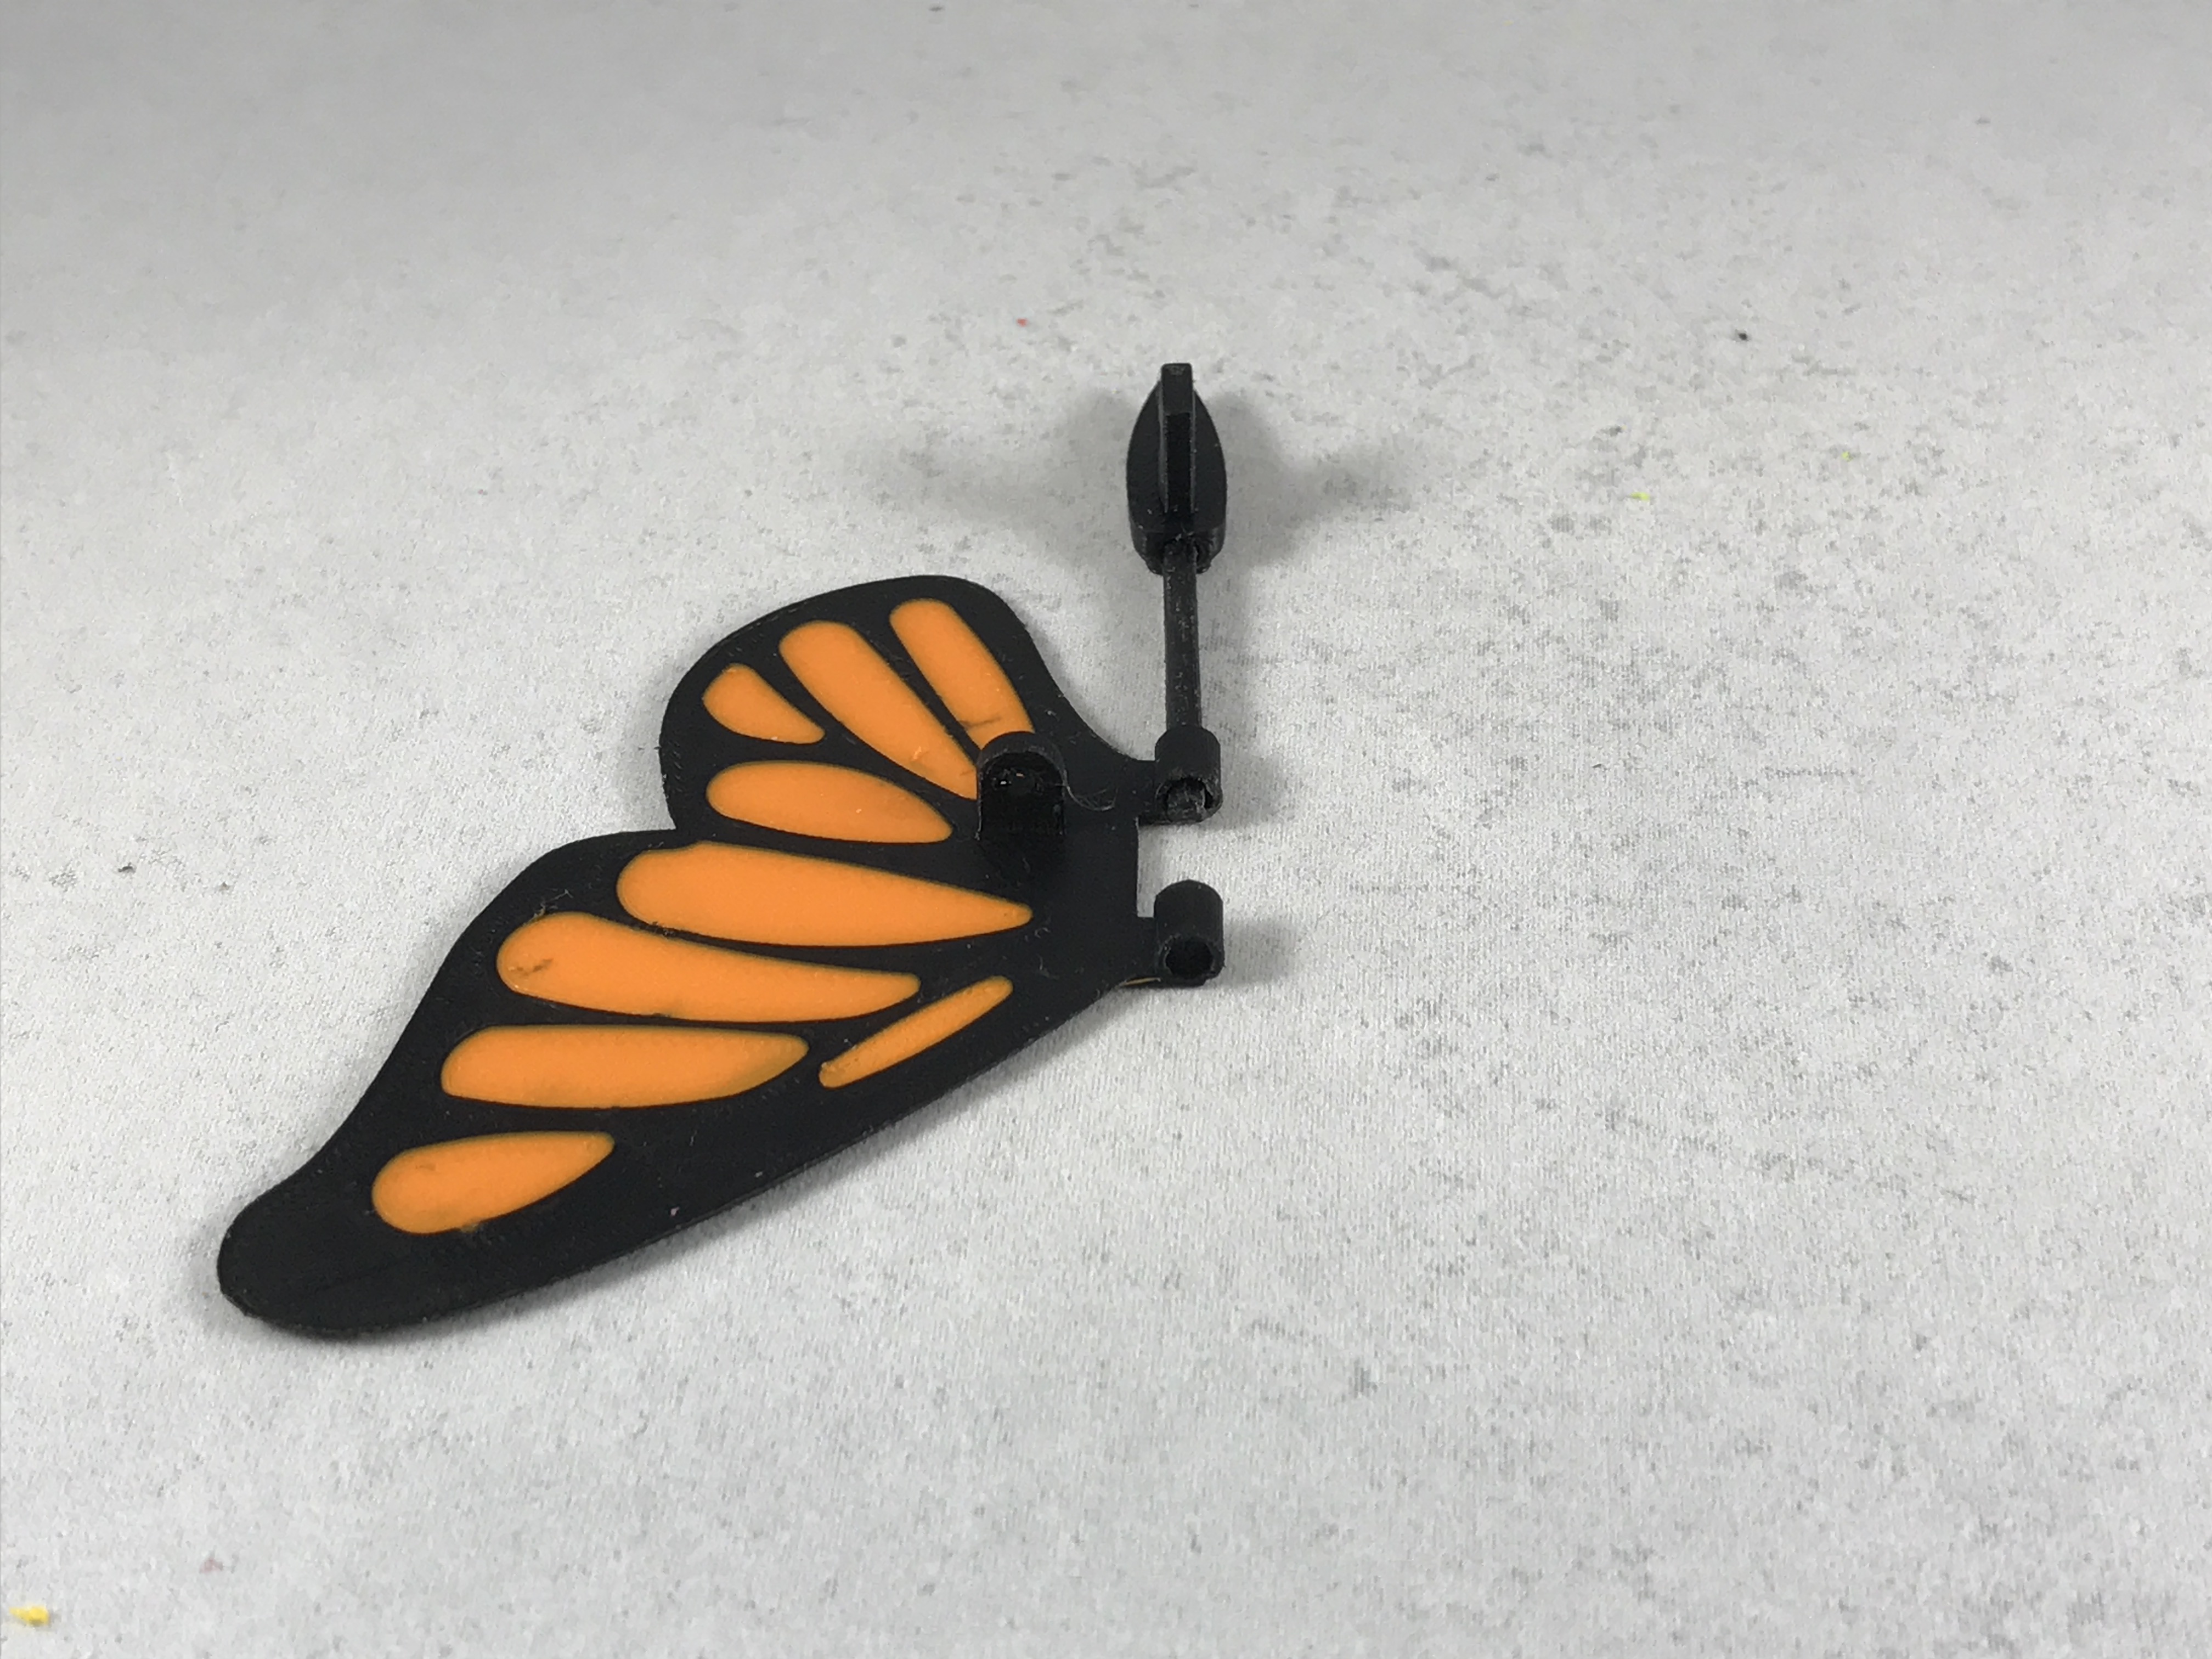
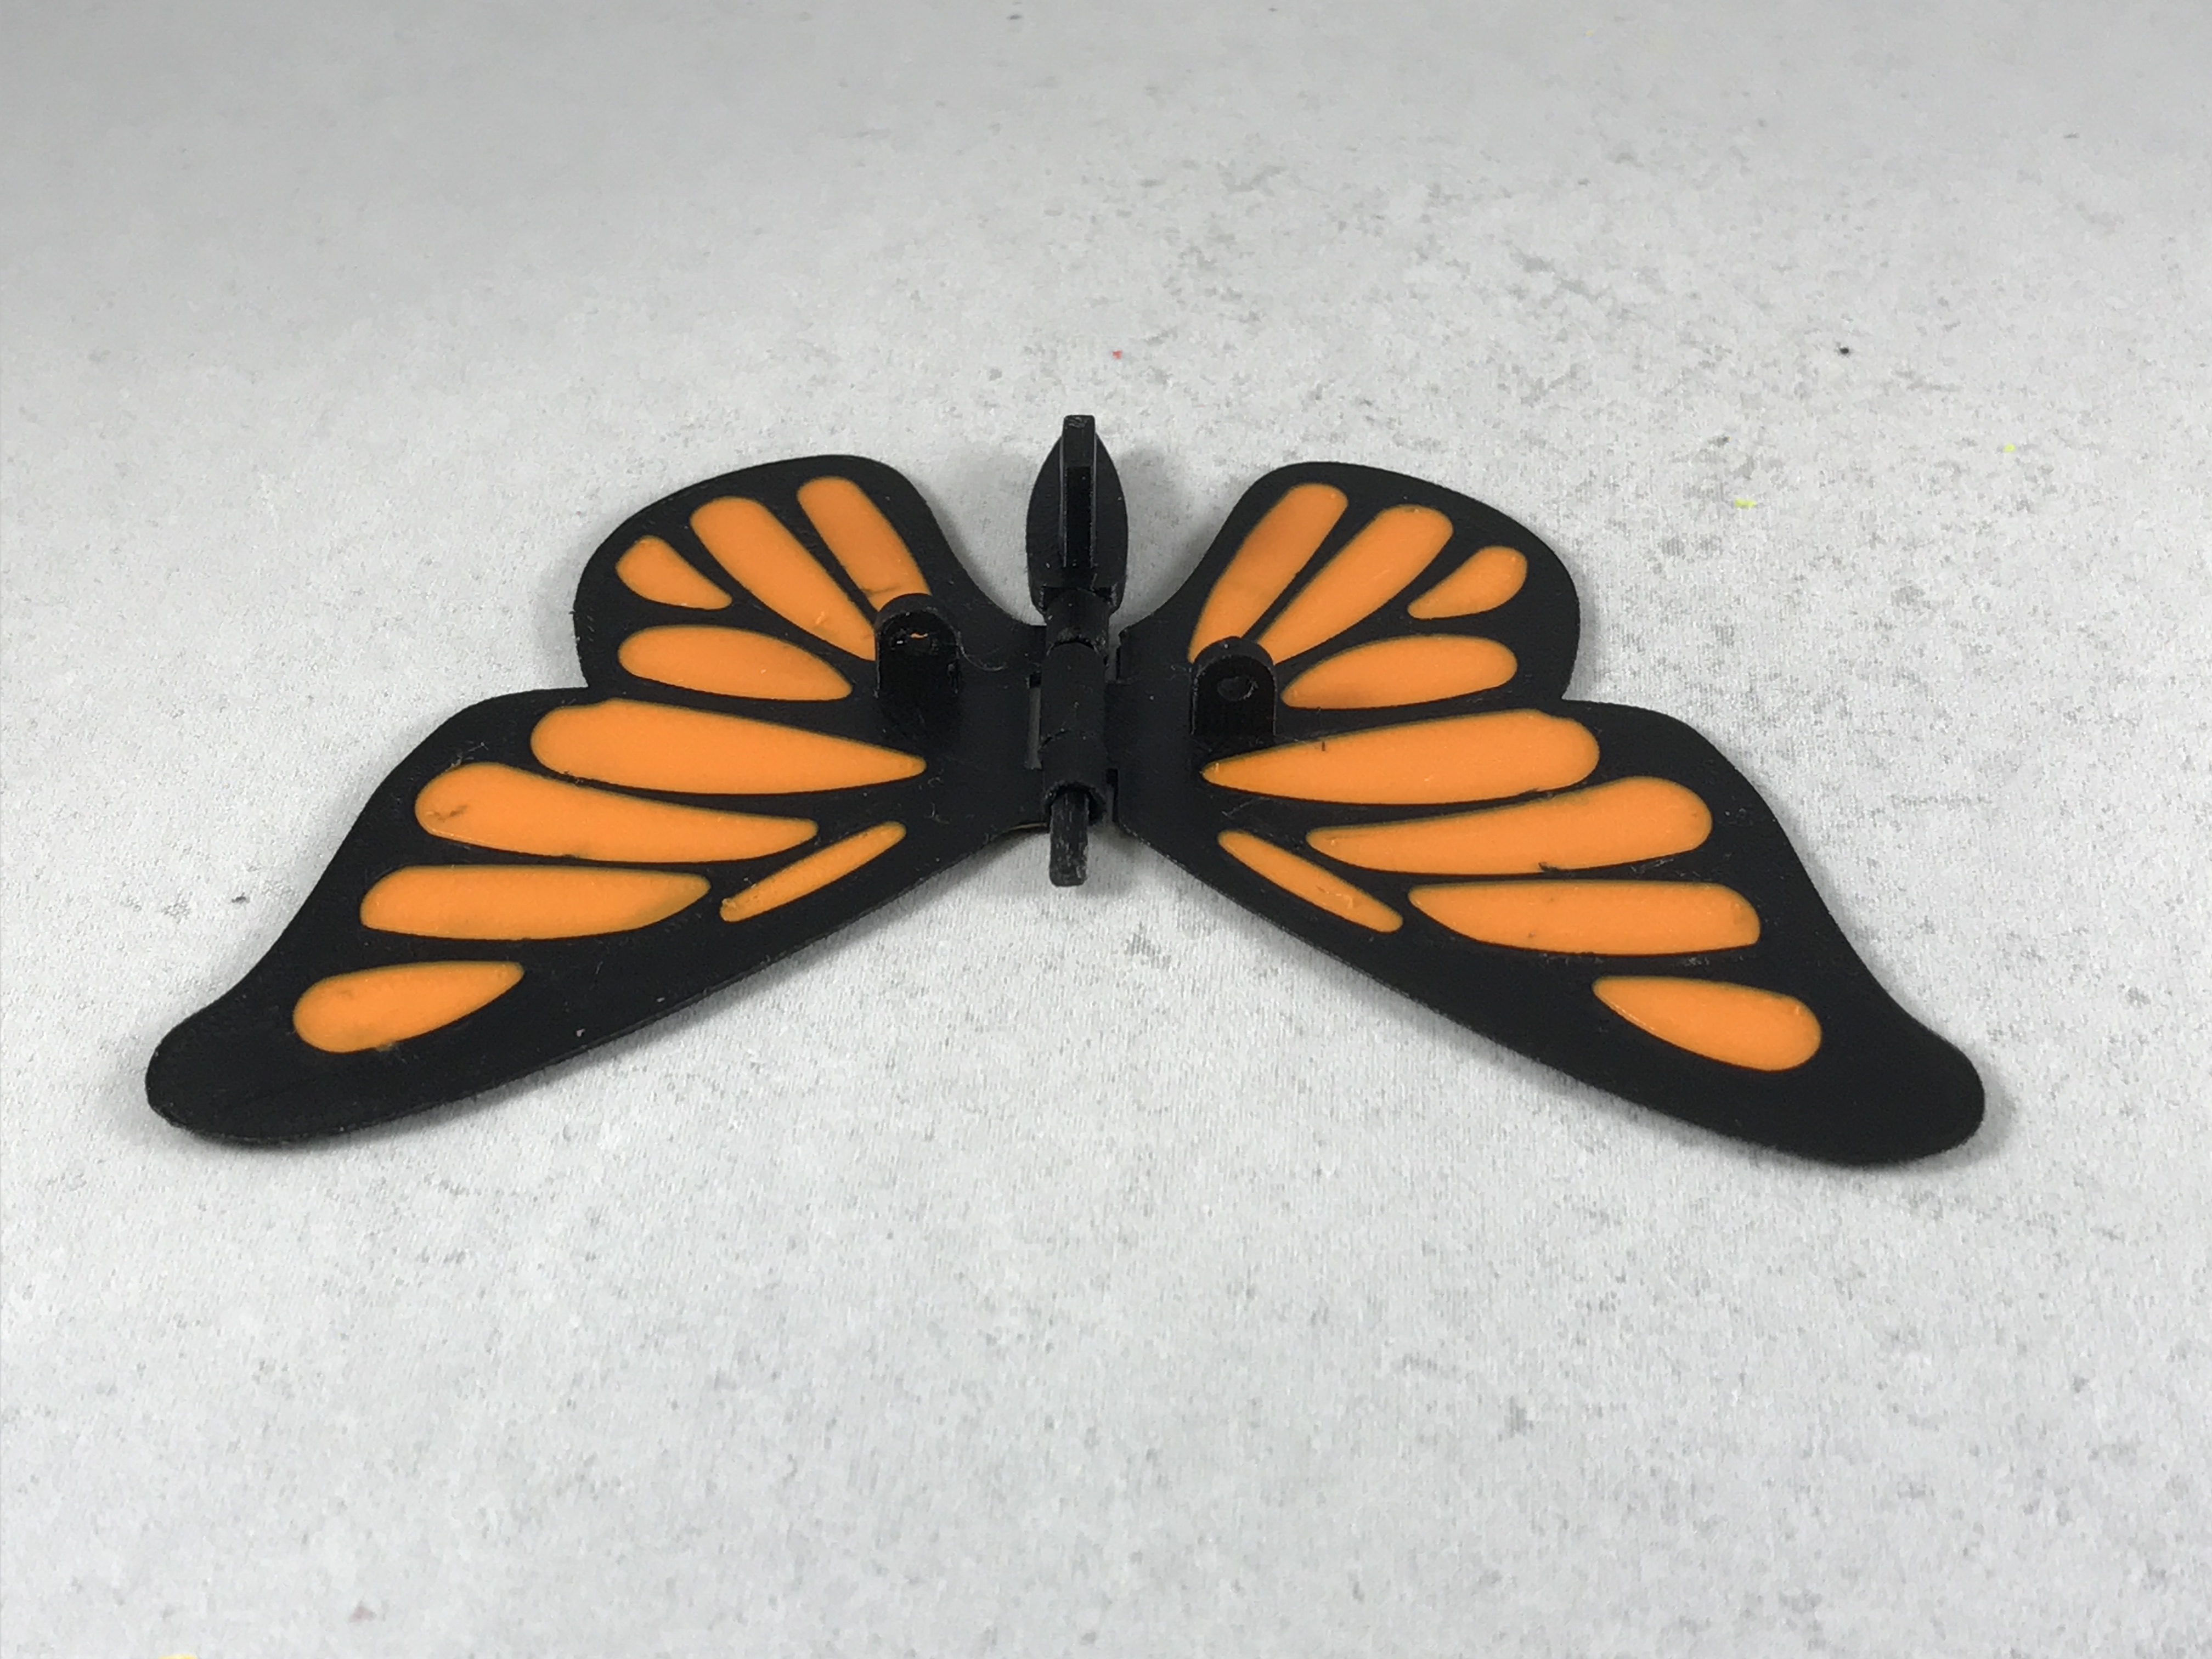
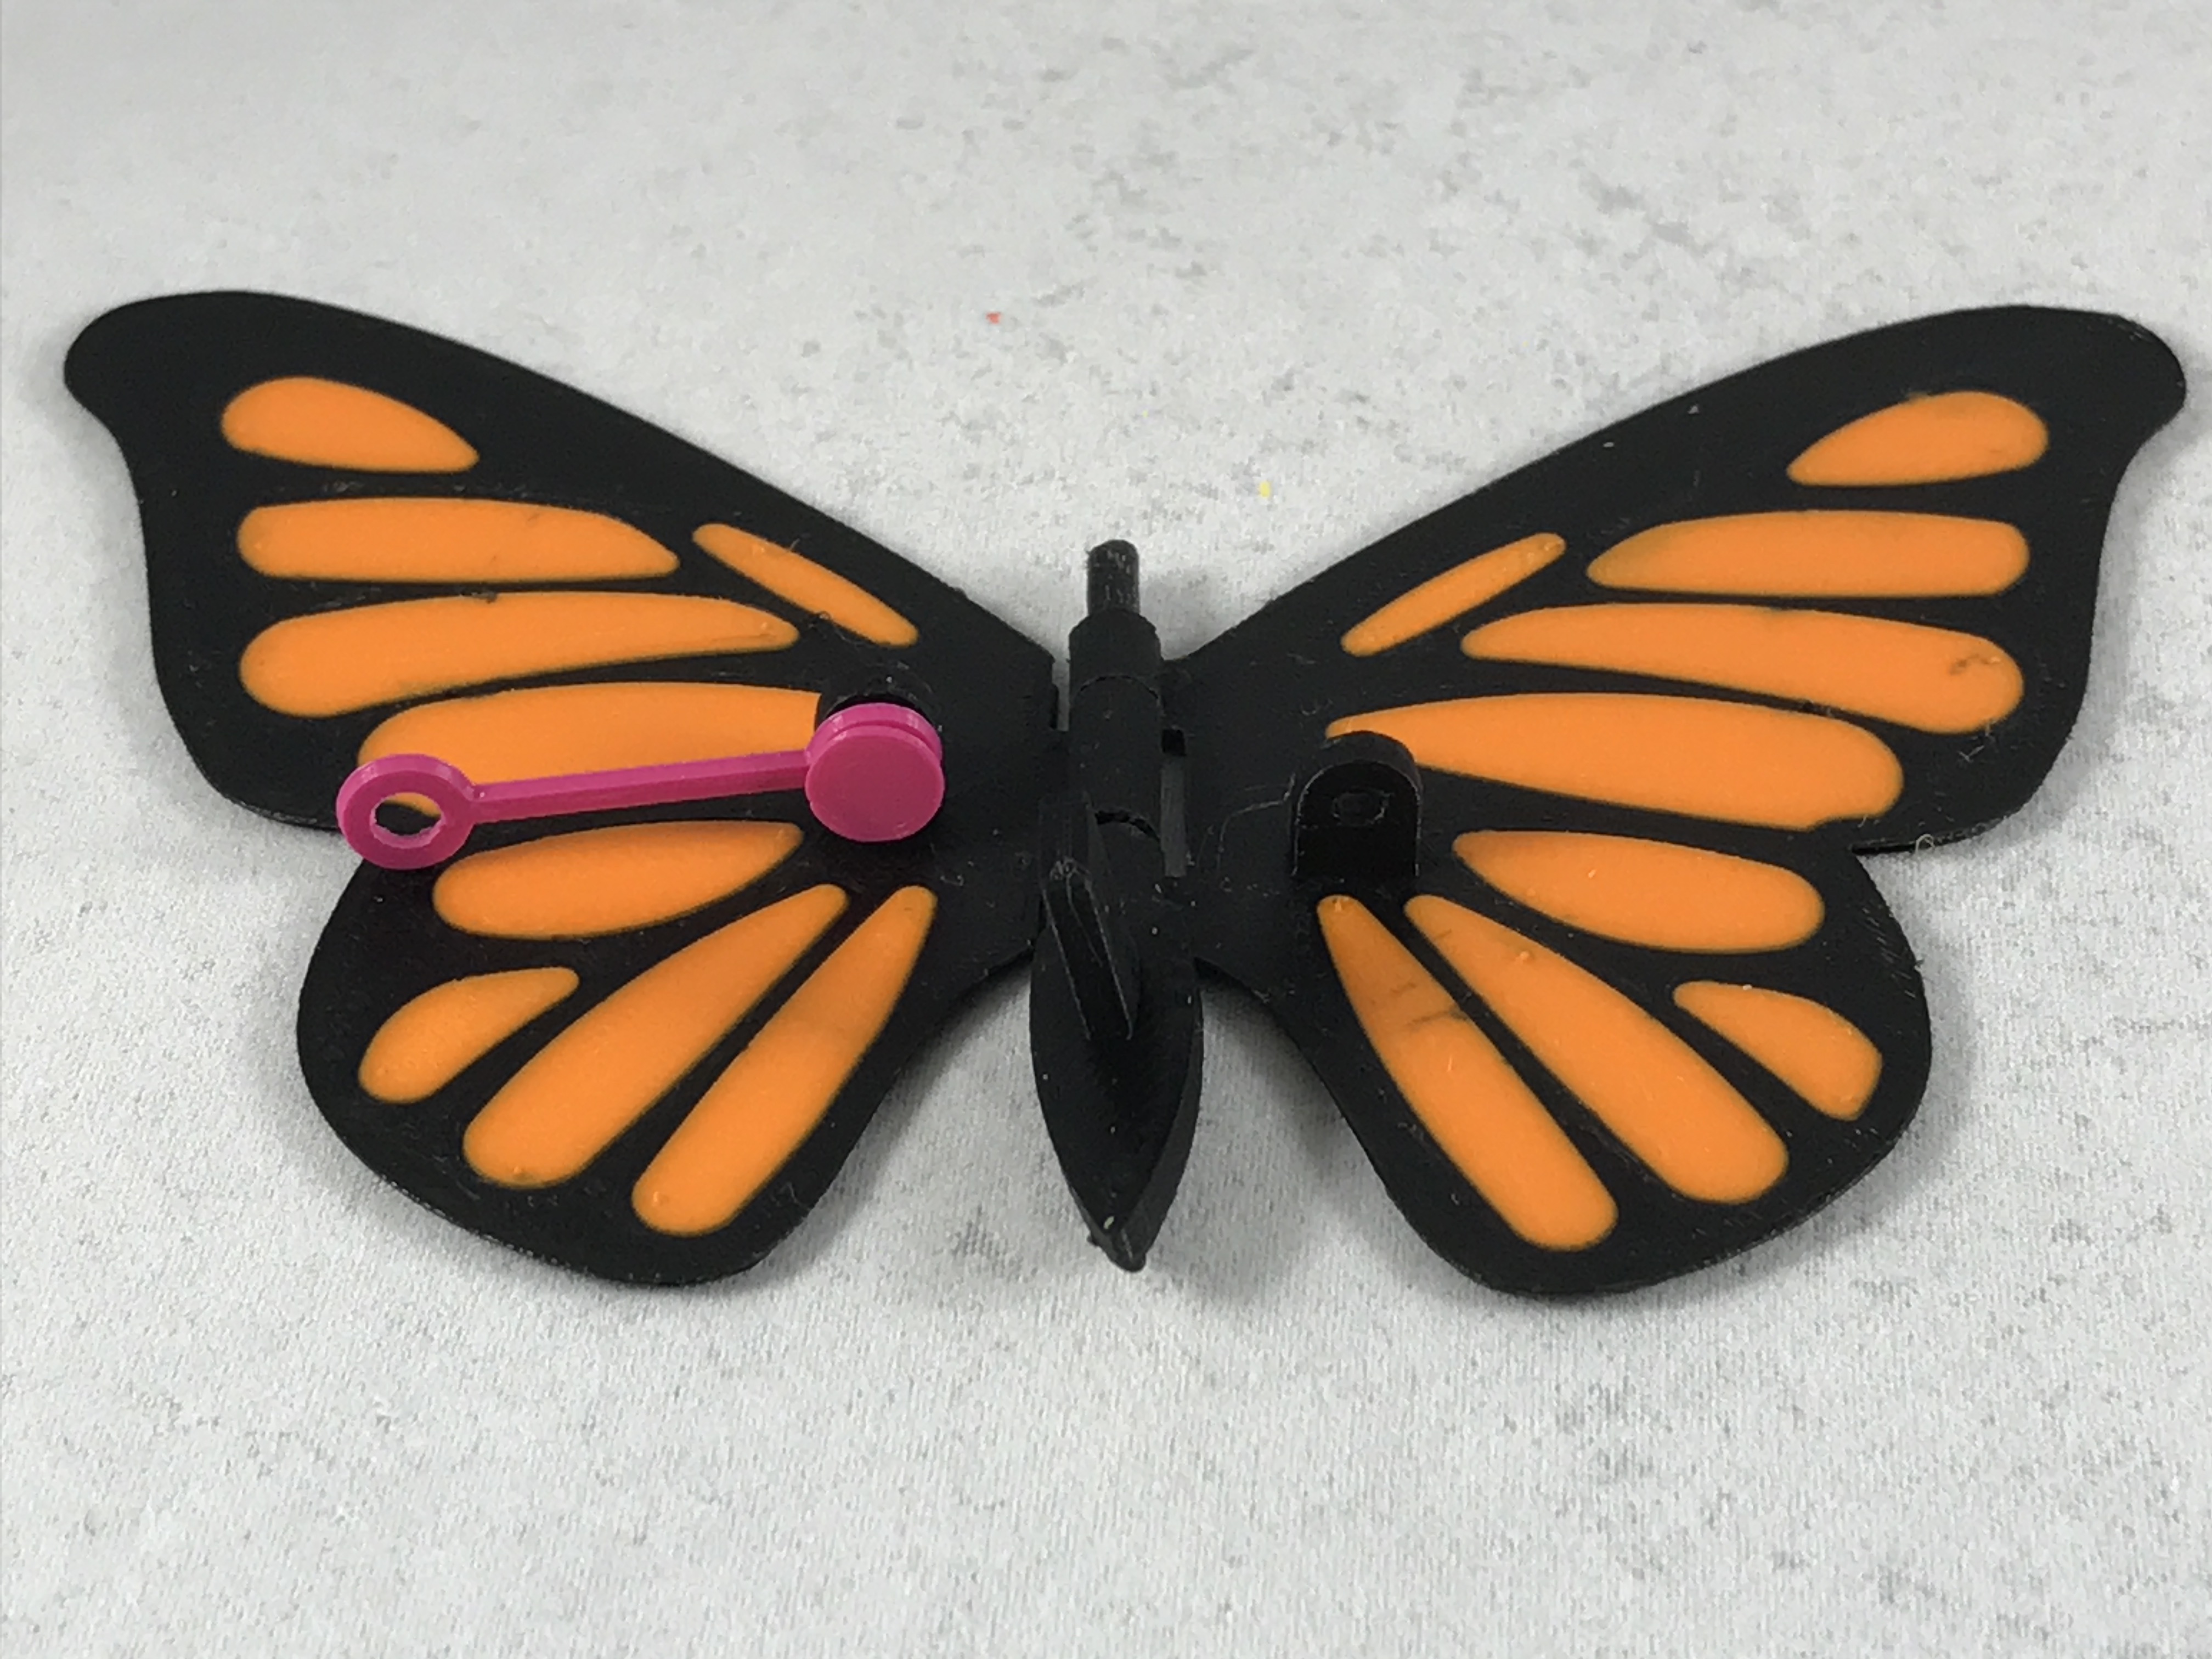
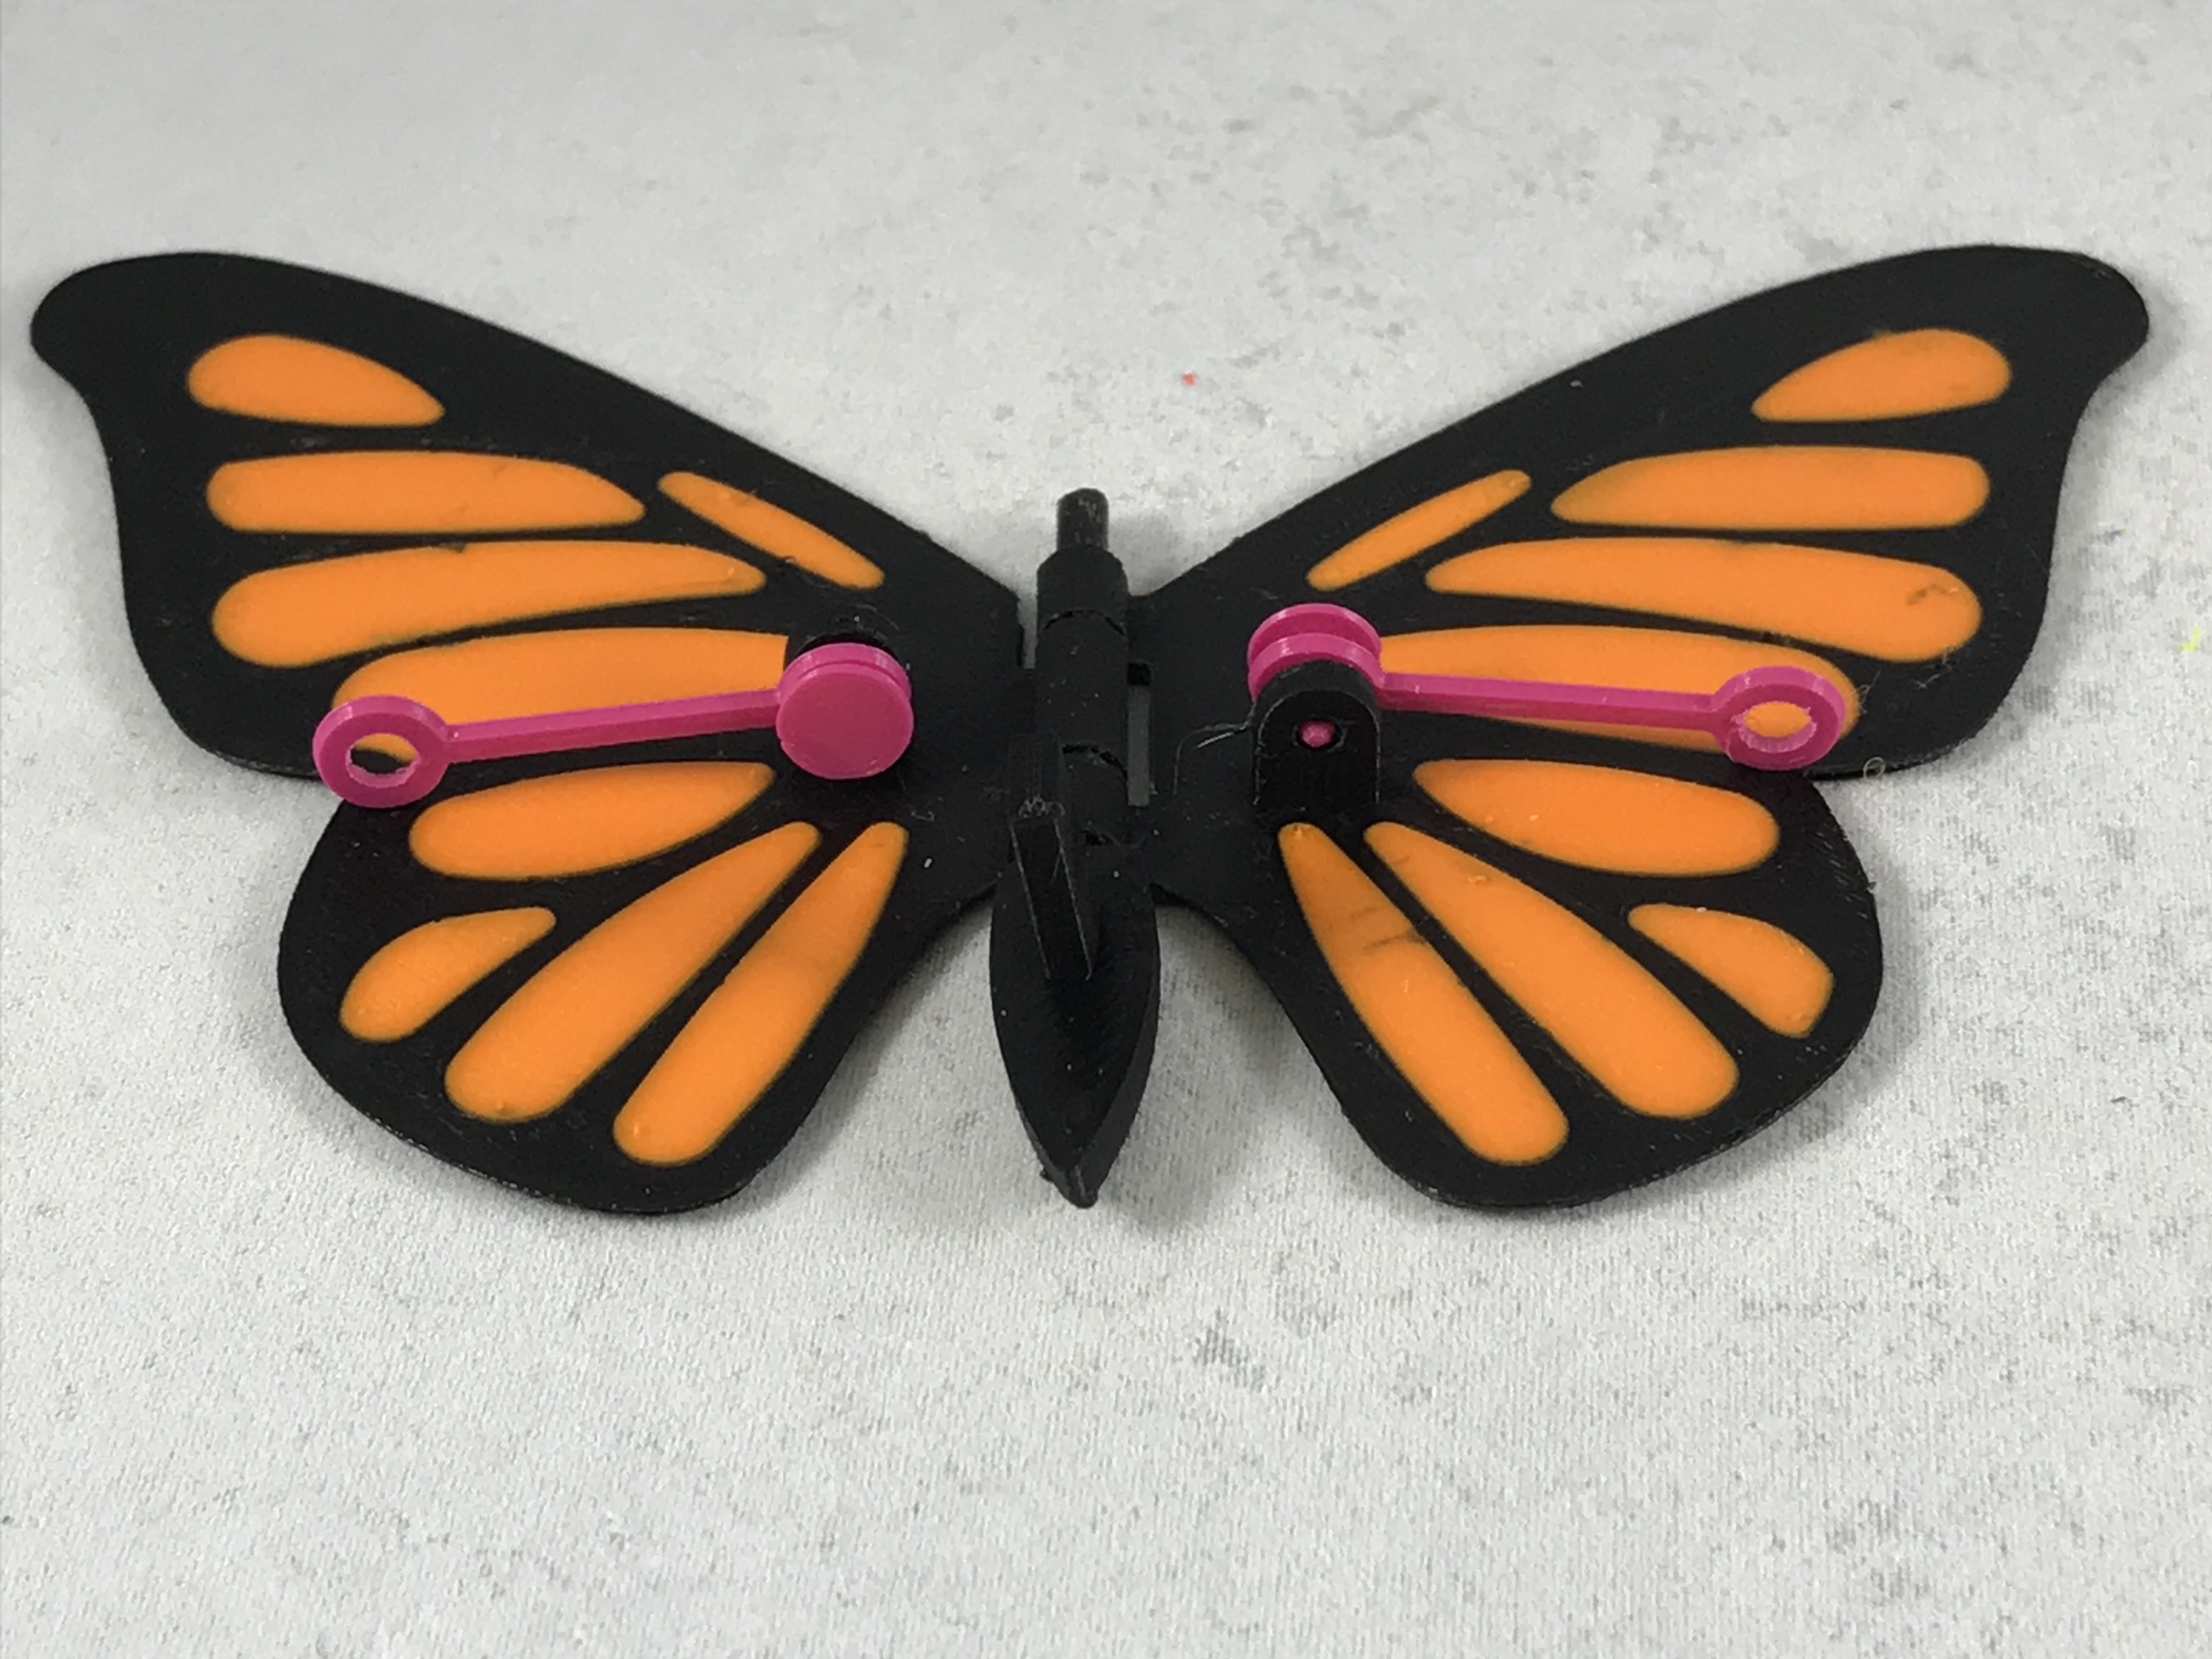
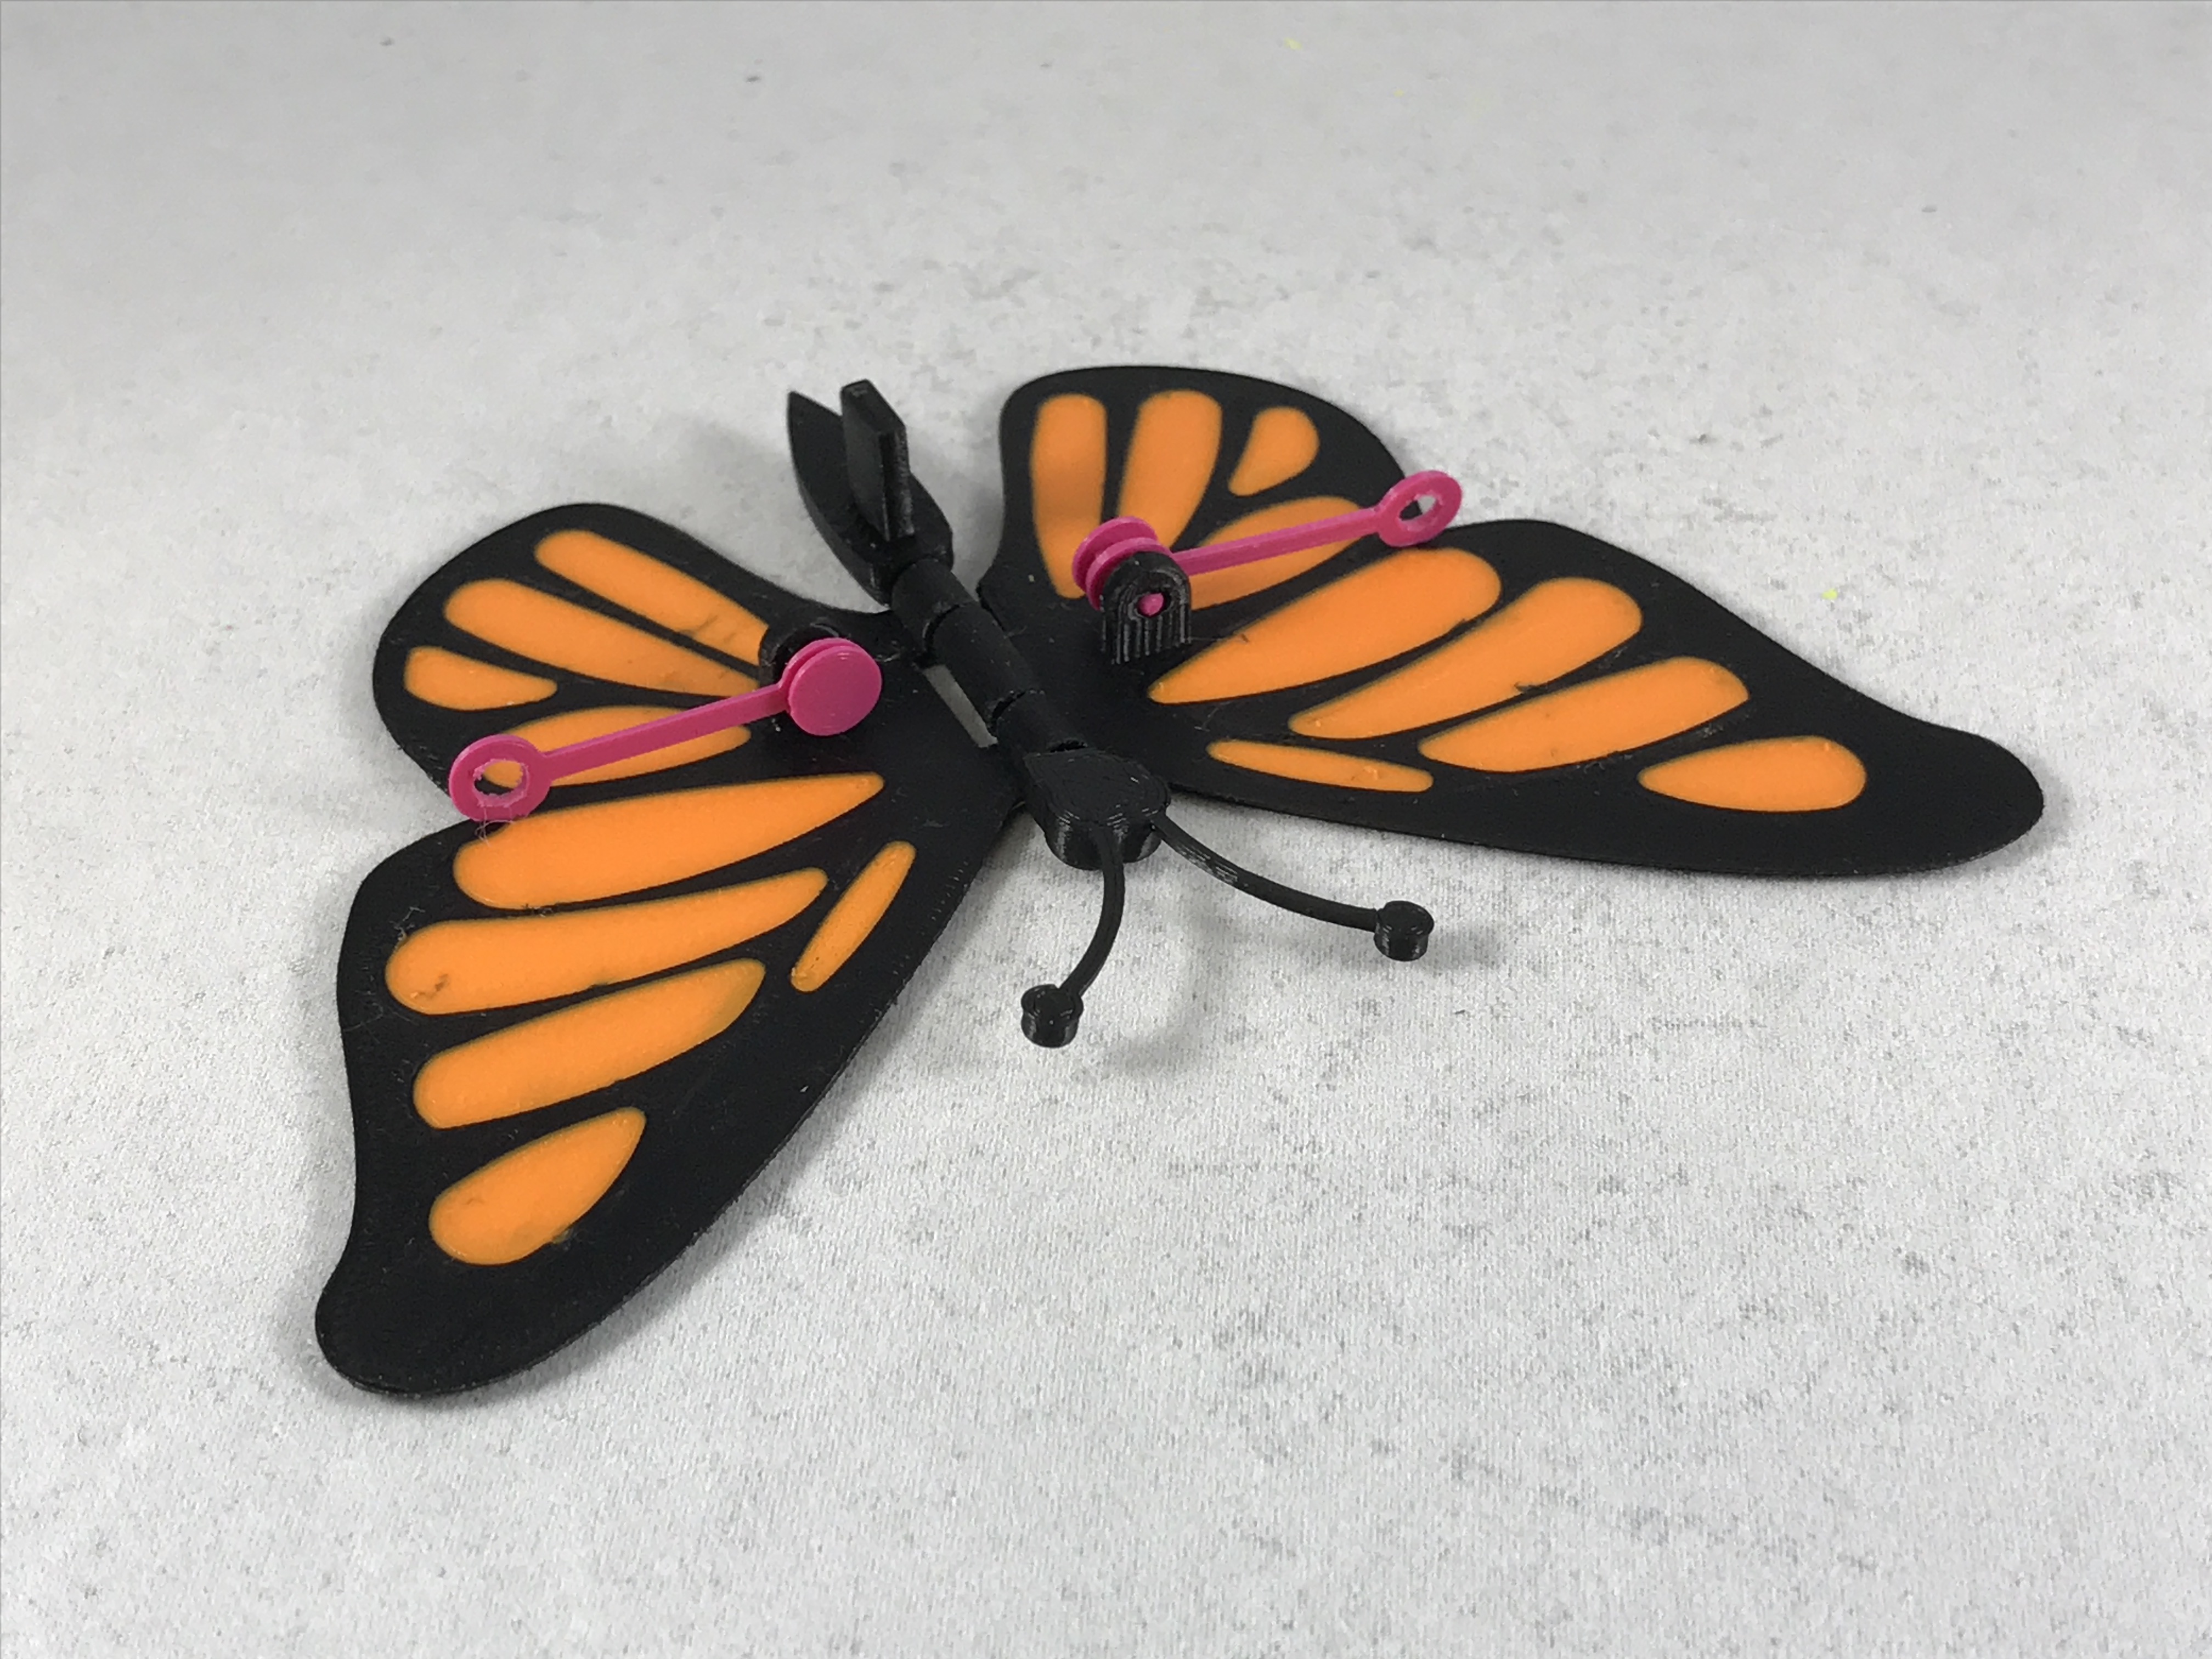
Start by pressing "Axle Wings.stl" firmly into "Tail.stl".
Next, position the left and right halves of "Wings.stl" into position as shown, then slide the axle and tail assembly through both wing halves. The wing halves should rotate freely on the wing axle.
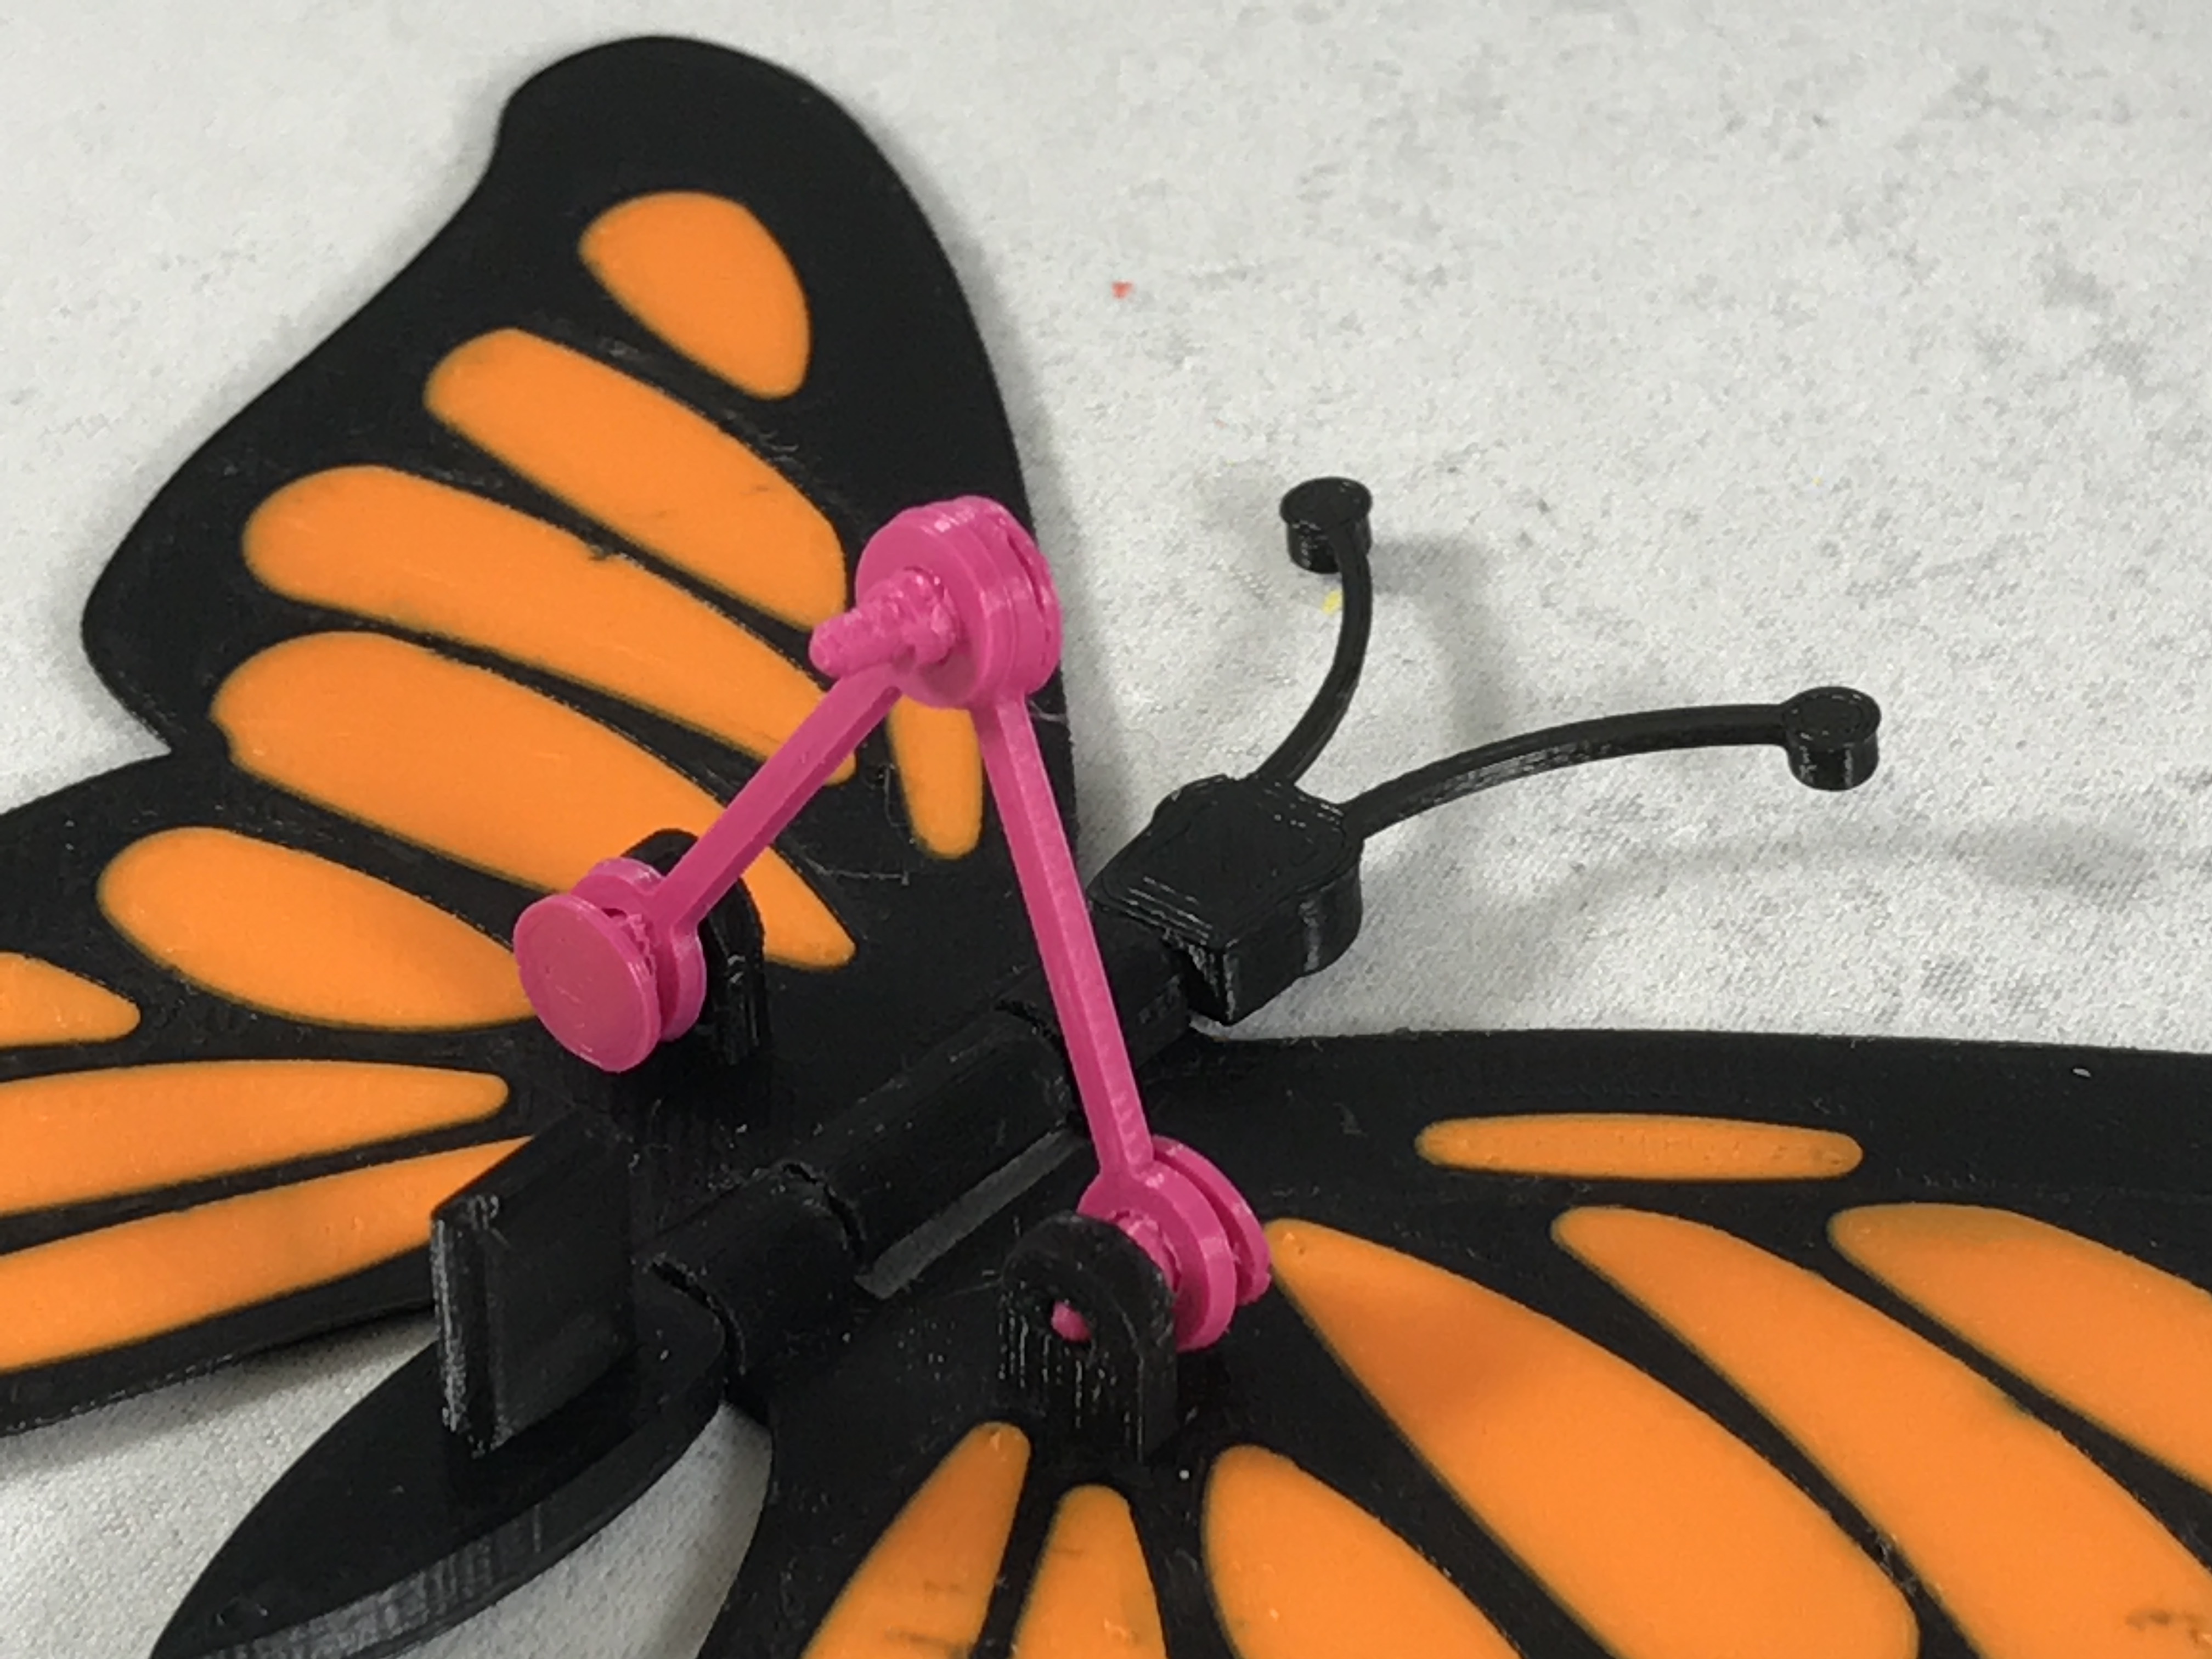
Position one "Arm Wing.stl" into position as shown, then secure in place with one "Pin Wing.stl".
Position the remaining "Arm Wing.stl" into position as shown, then secure in place with the remaining "Pin Wing.stl".
Finally, press "Head.stl" onto the axle and wings as shown.
Final Assembly.
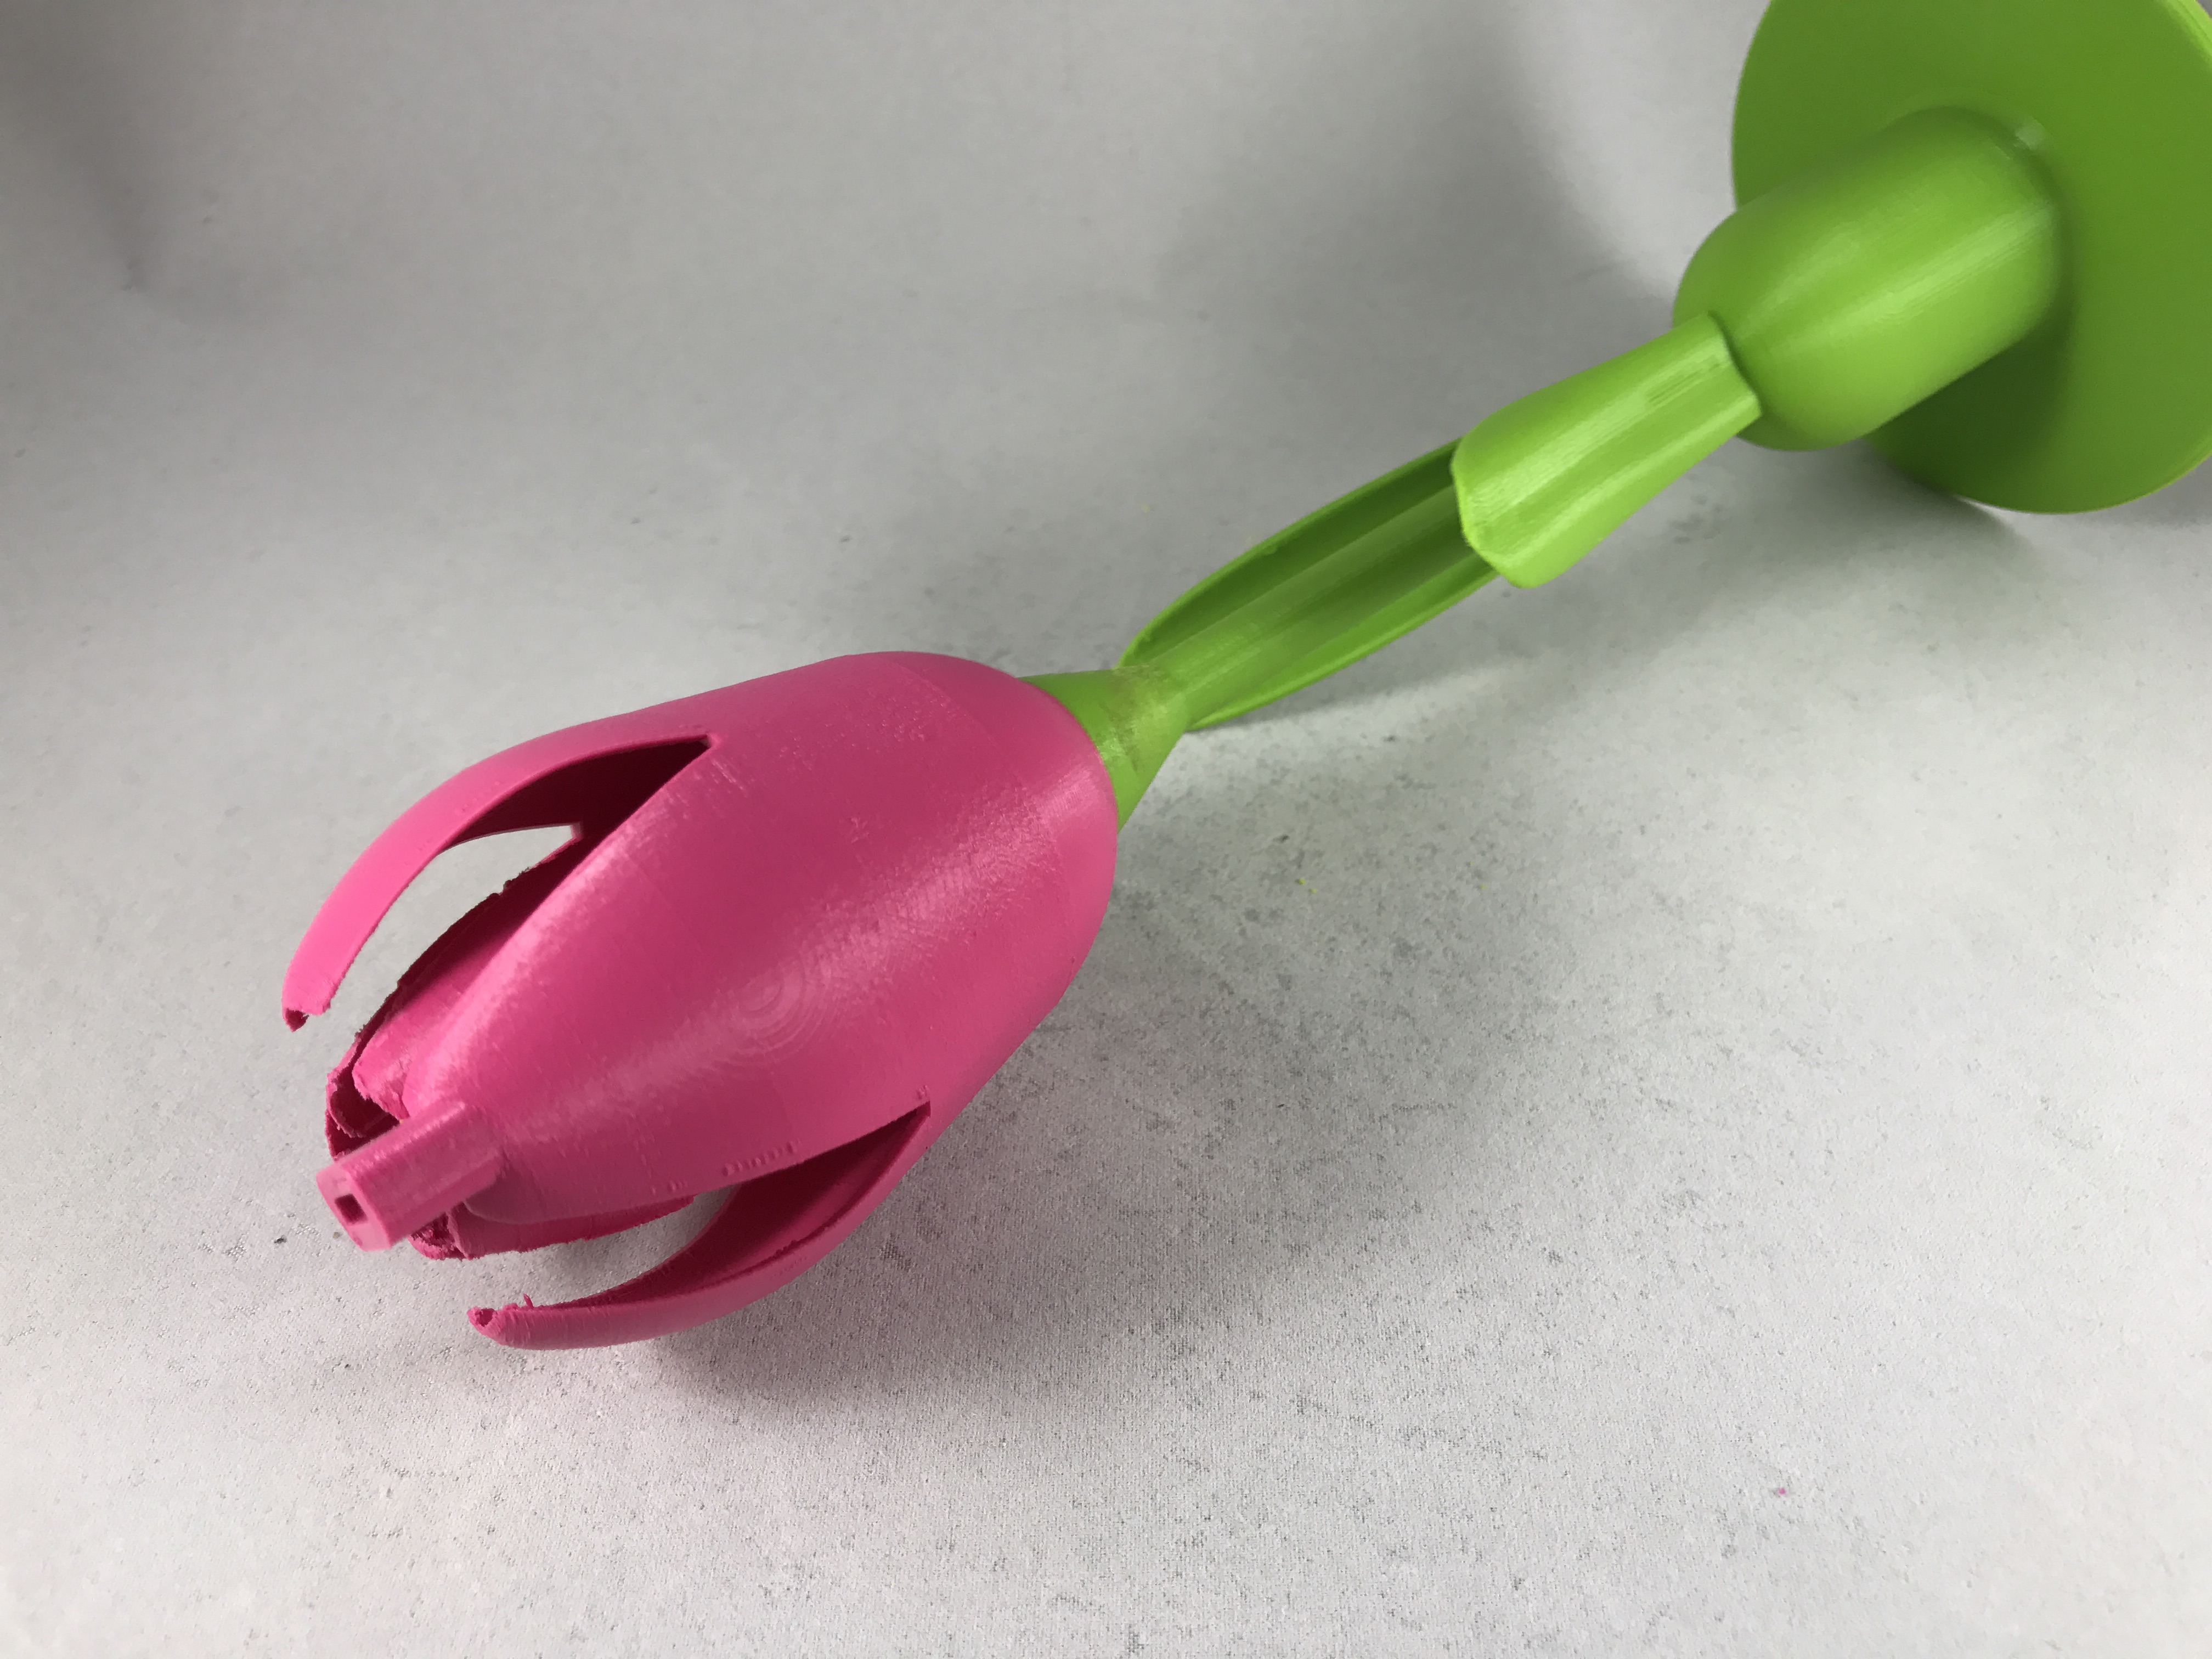
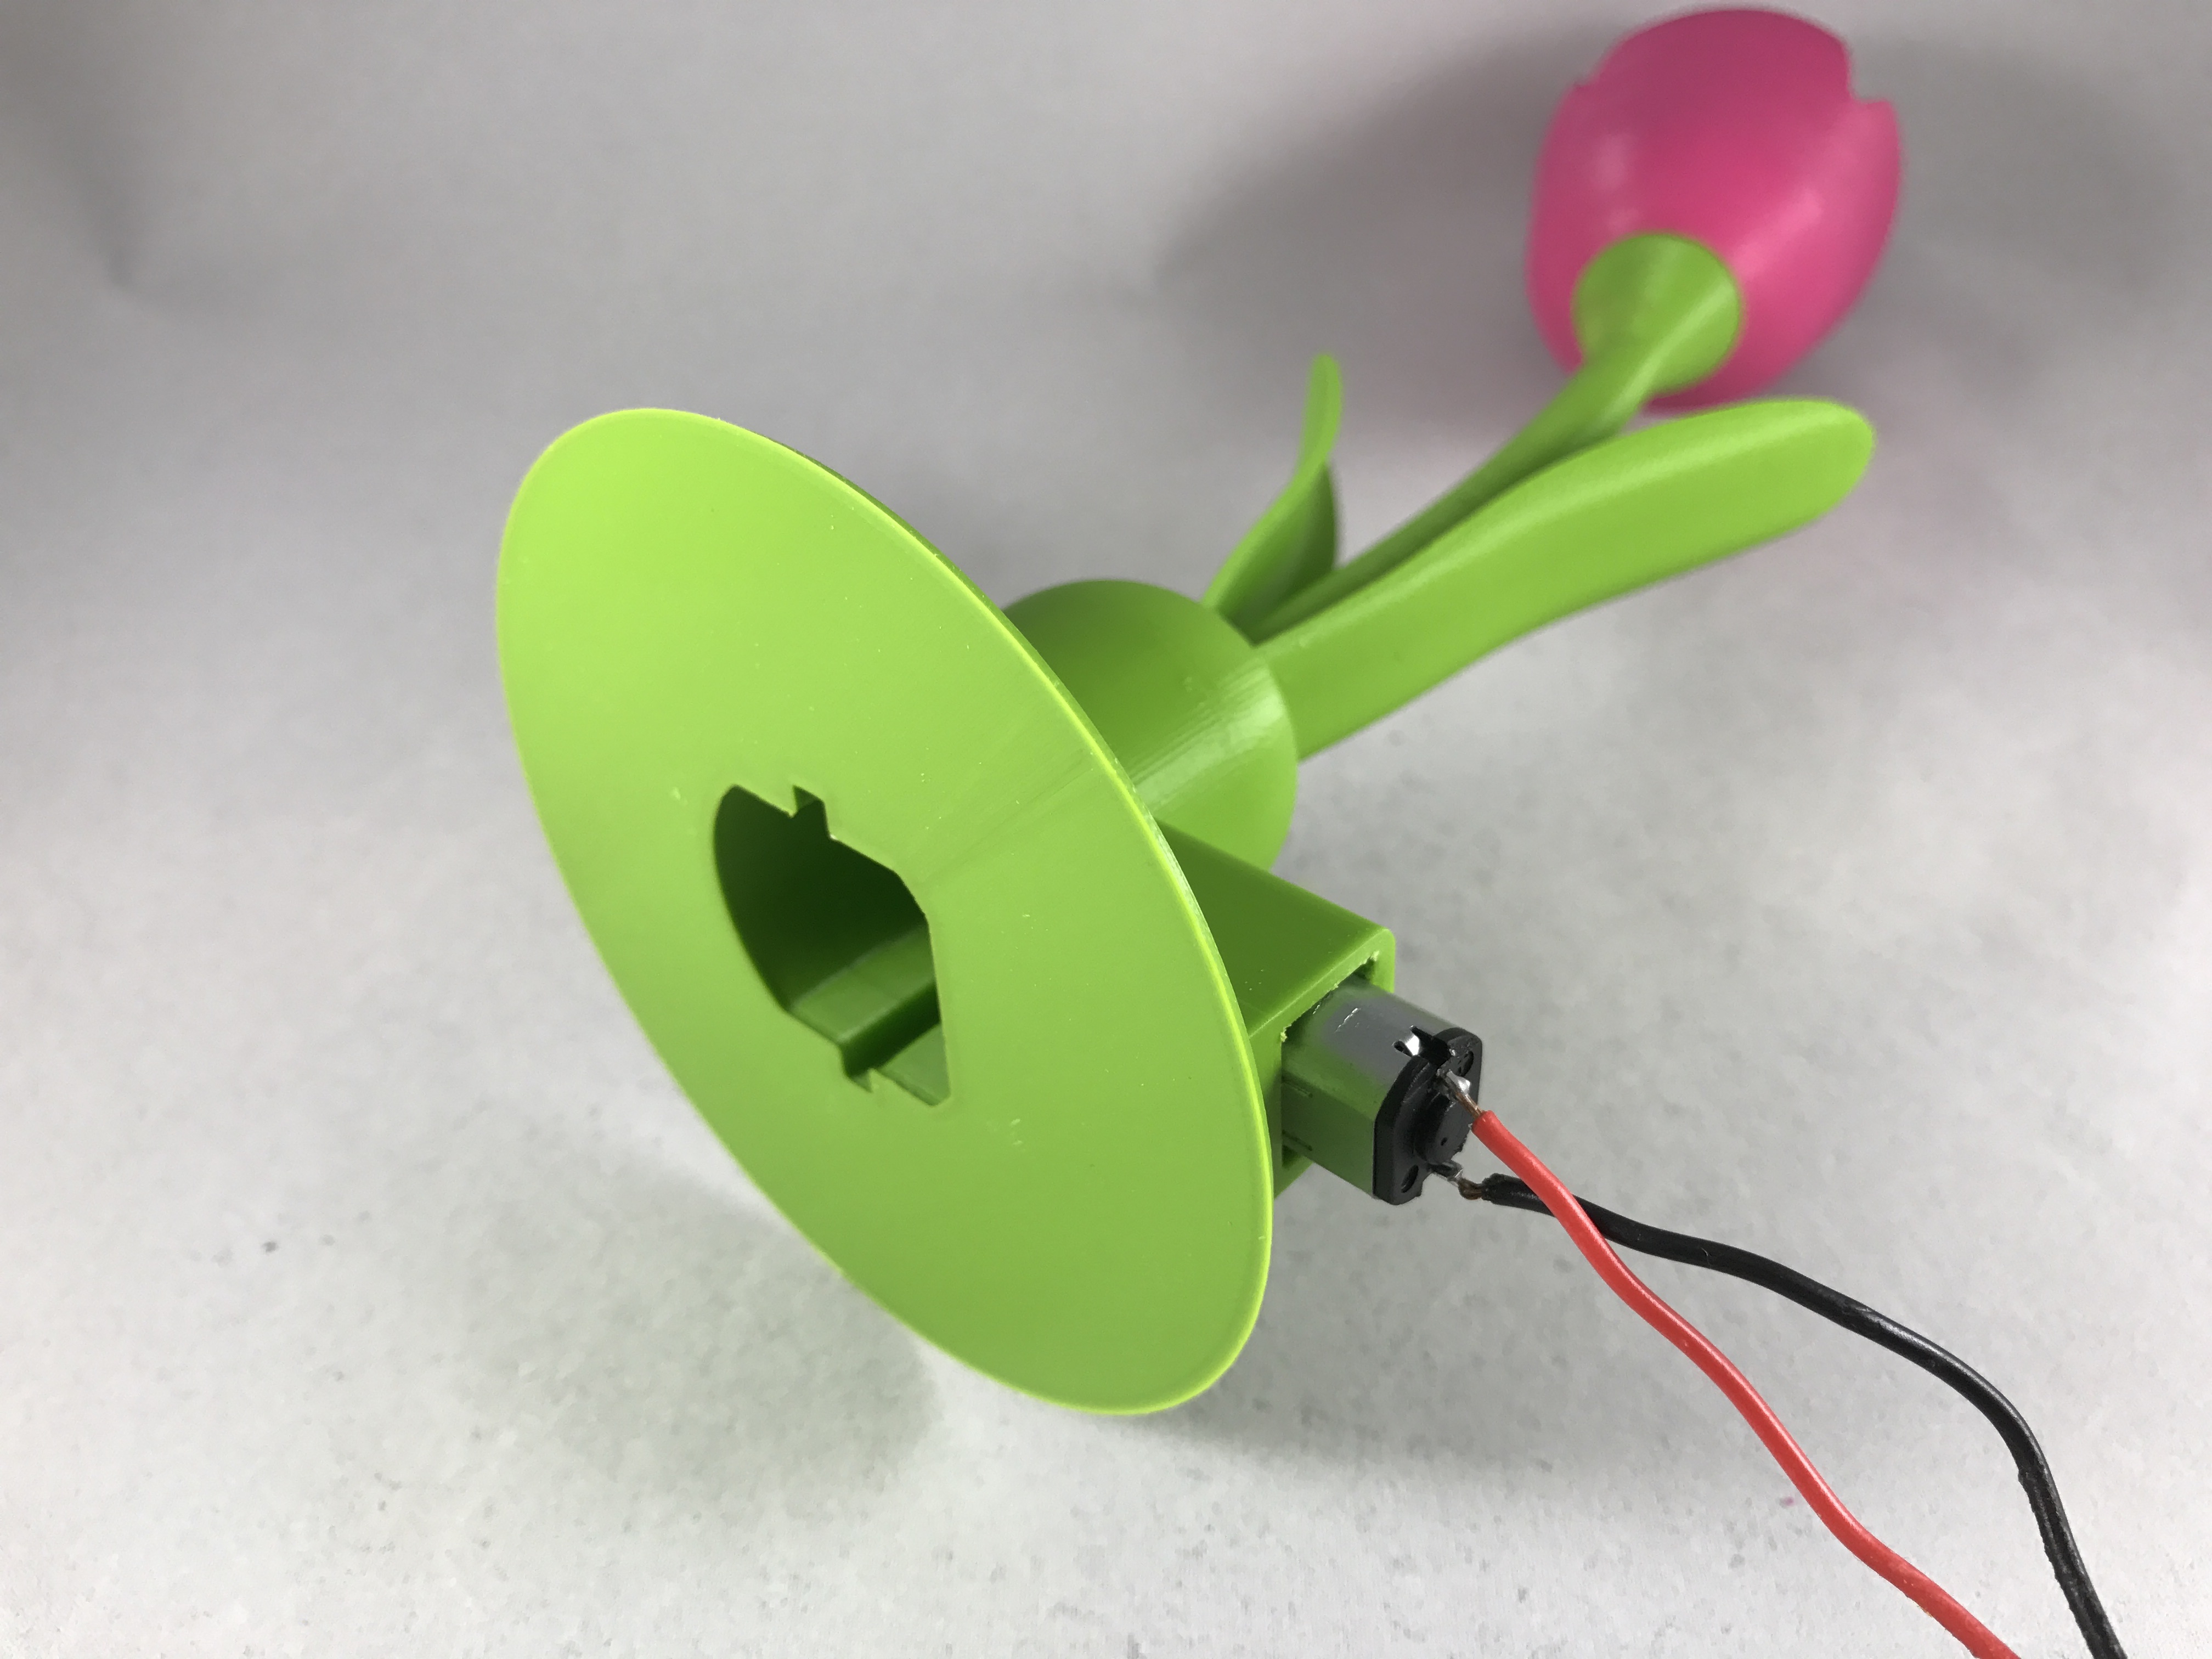
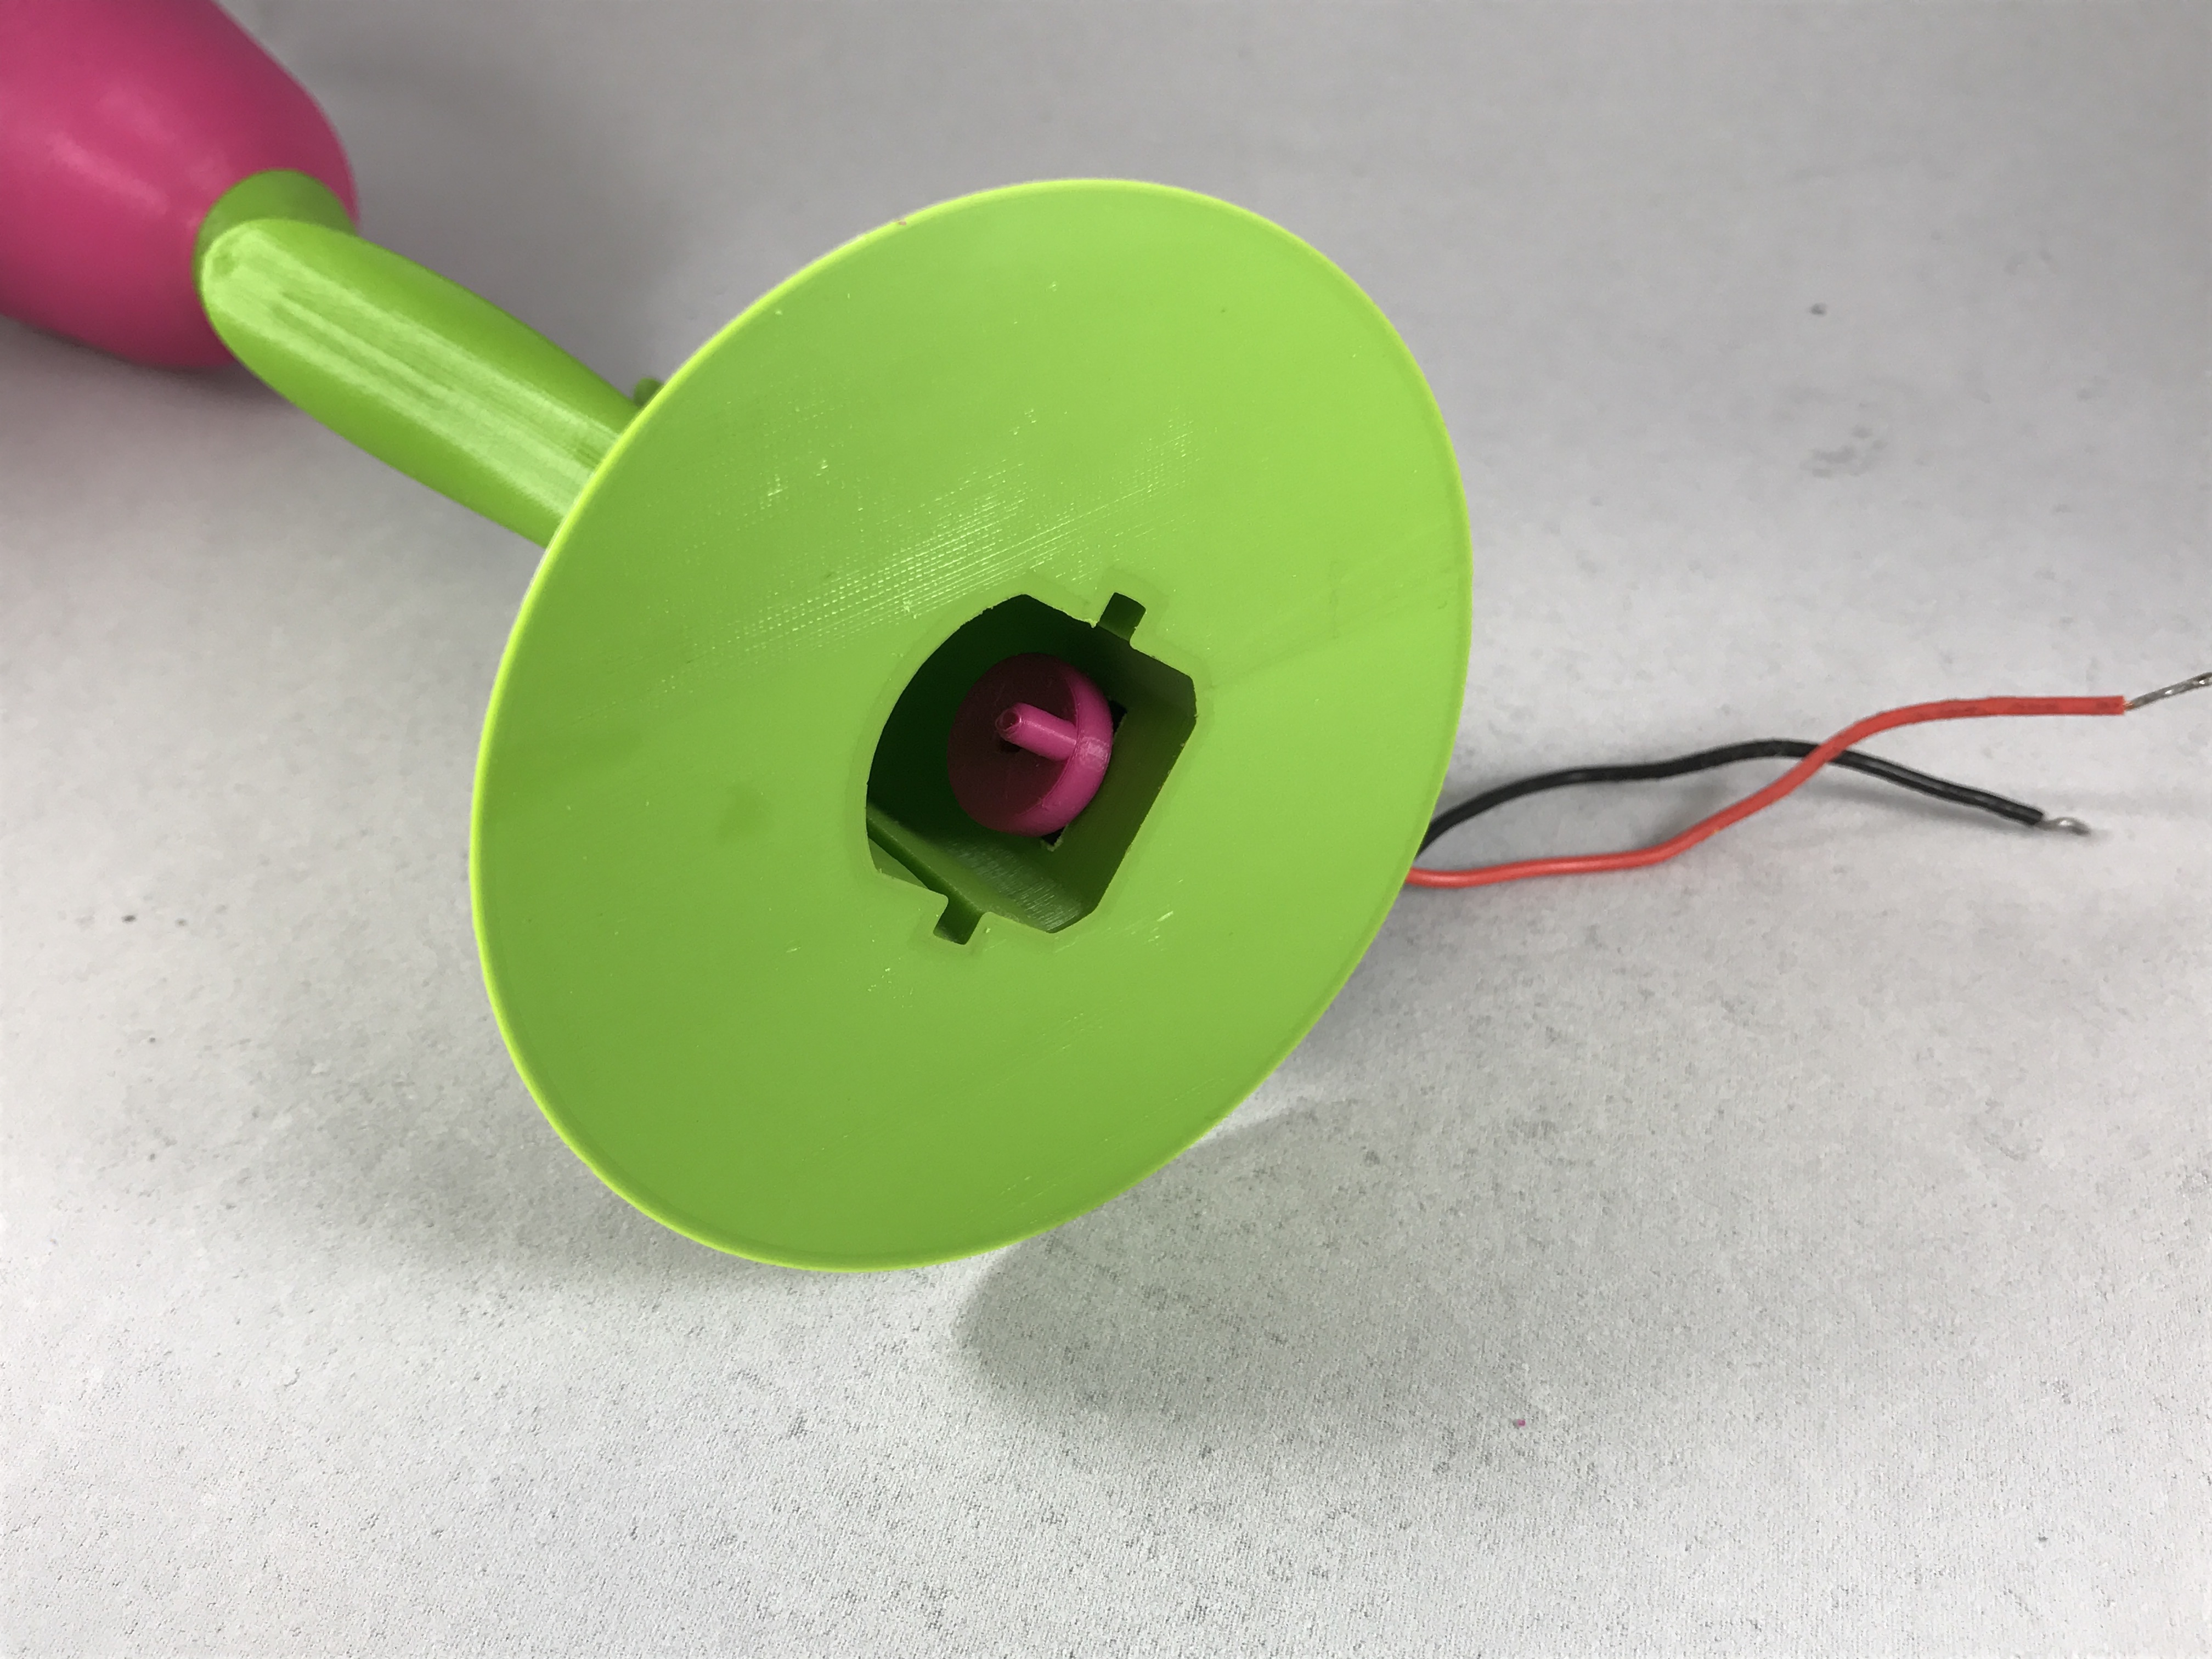
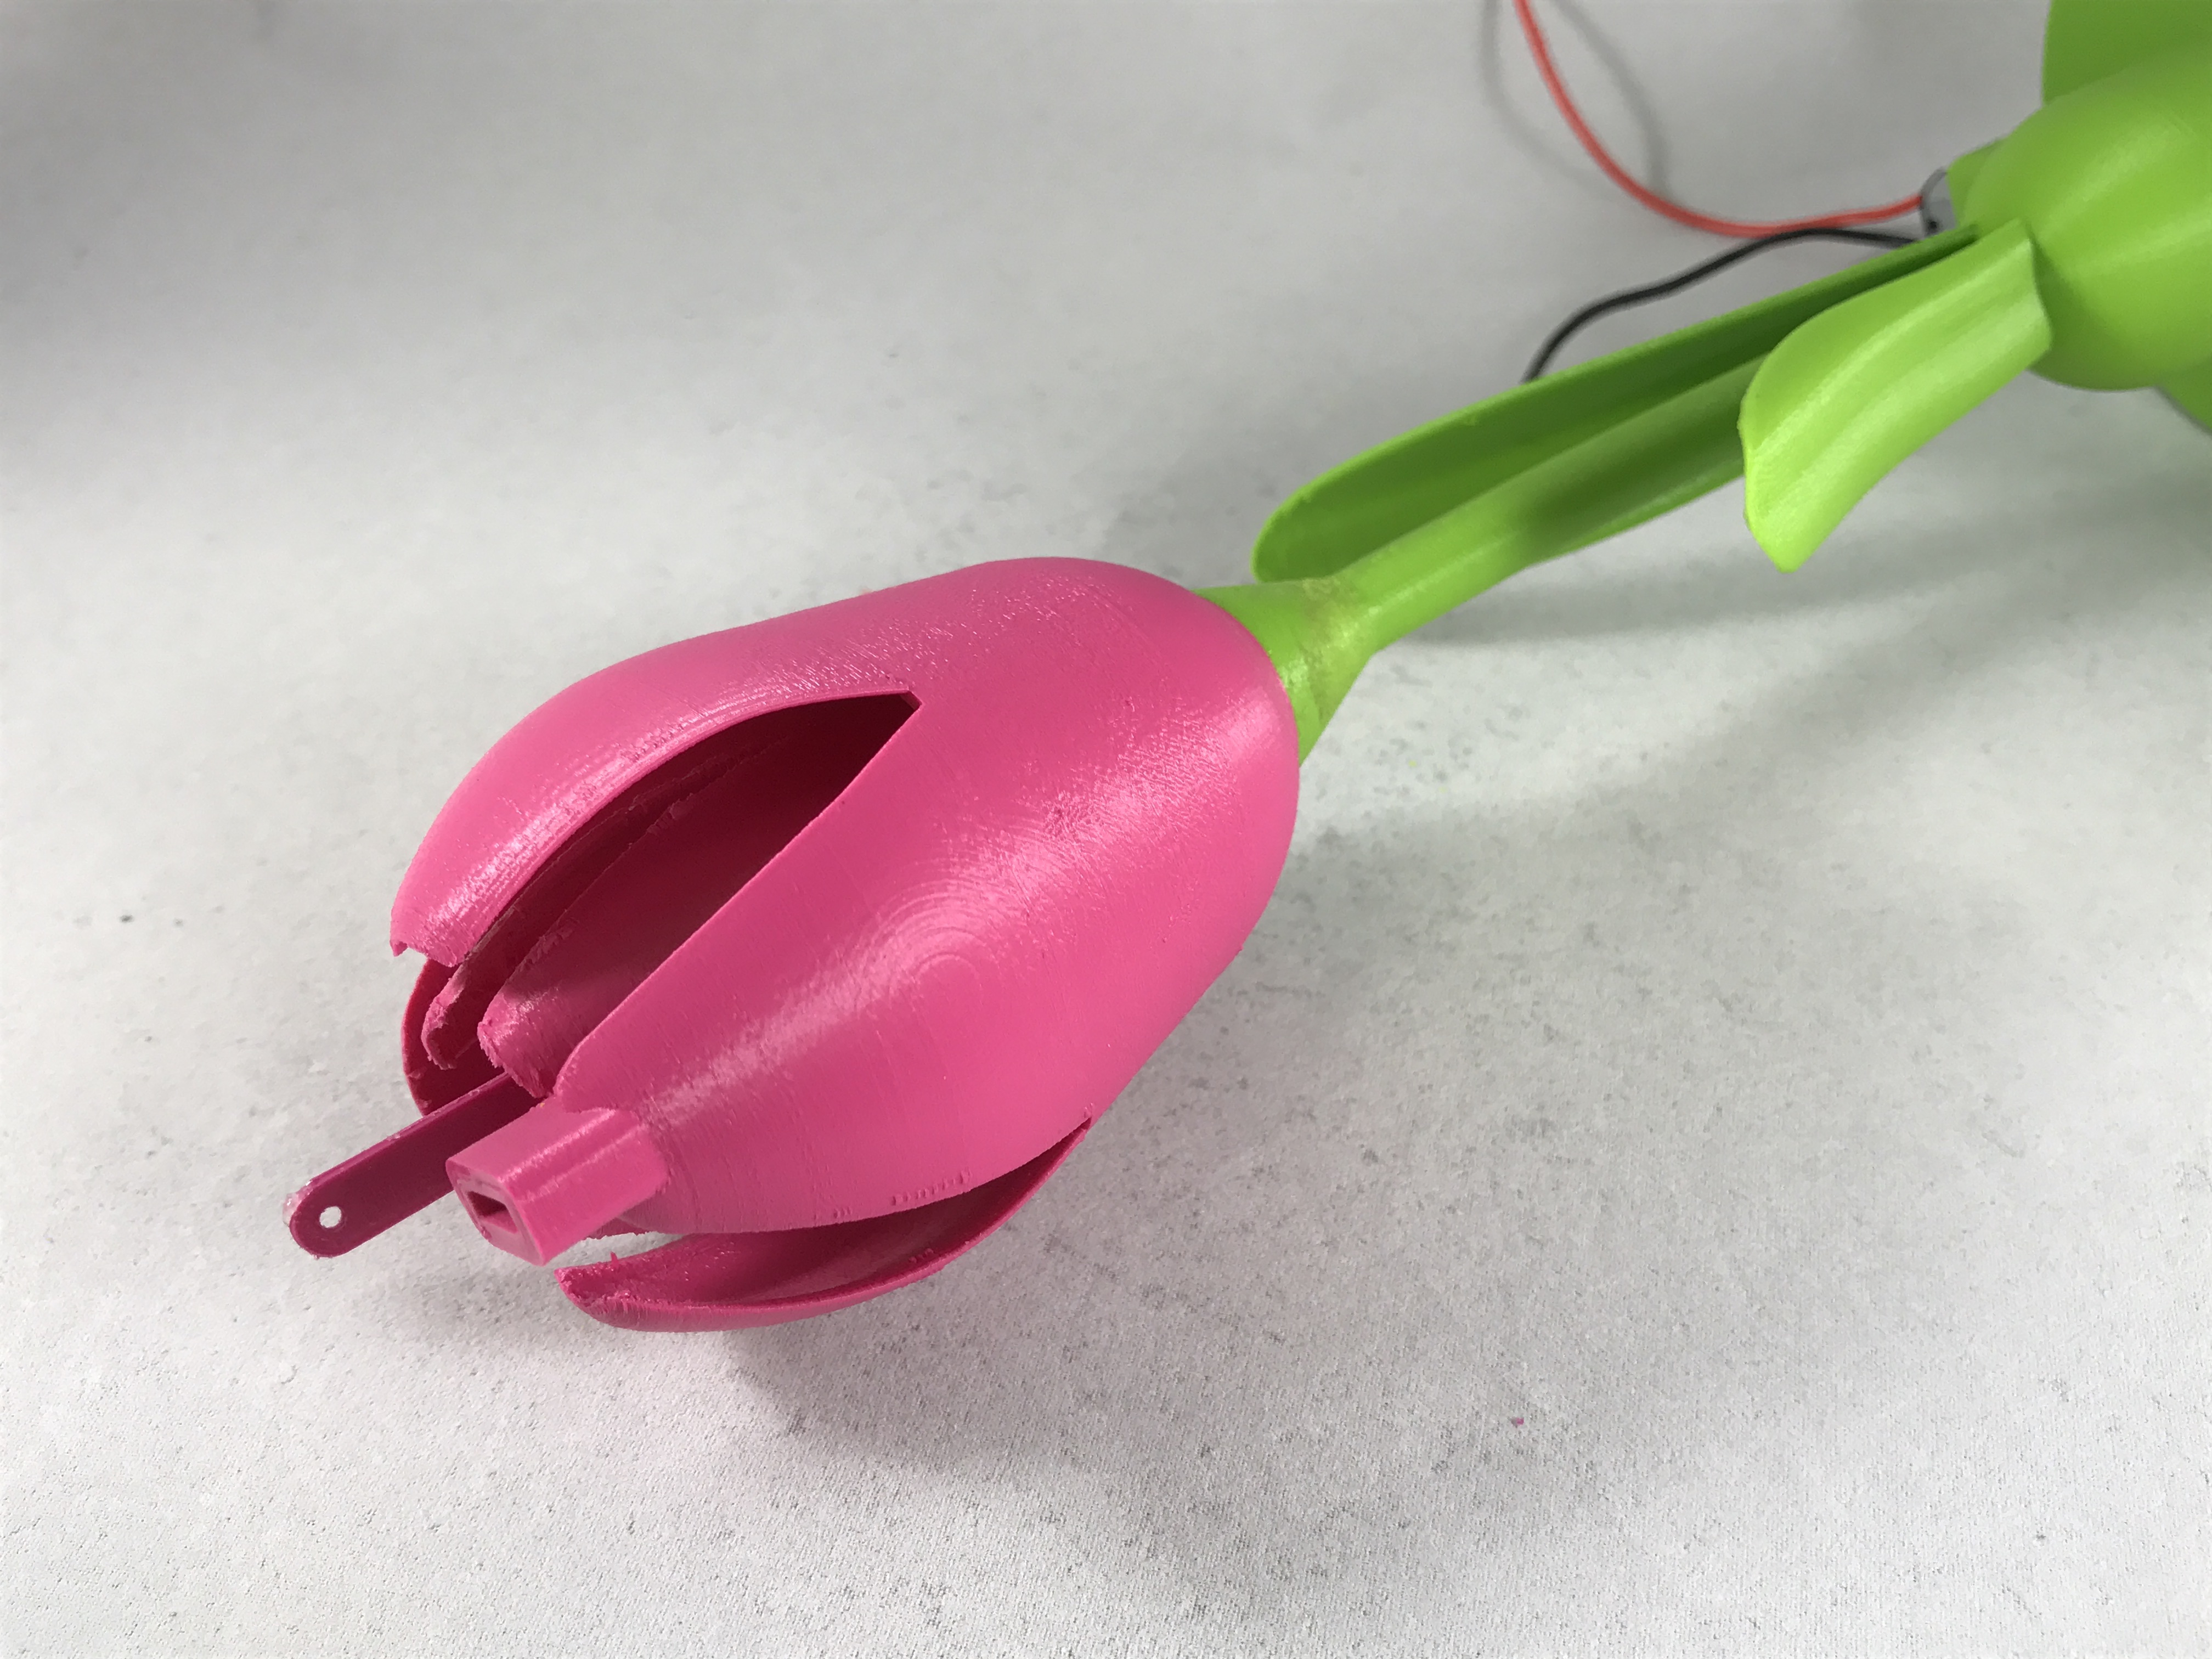
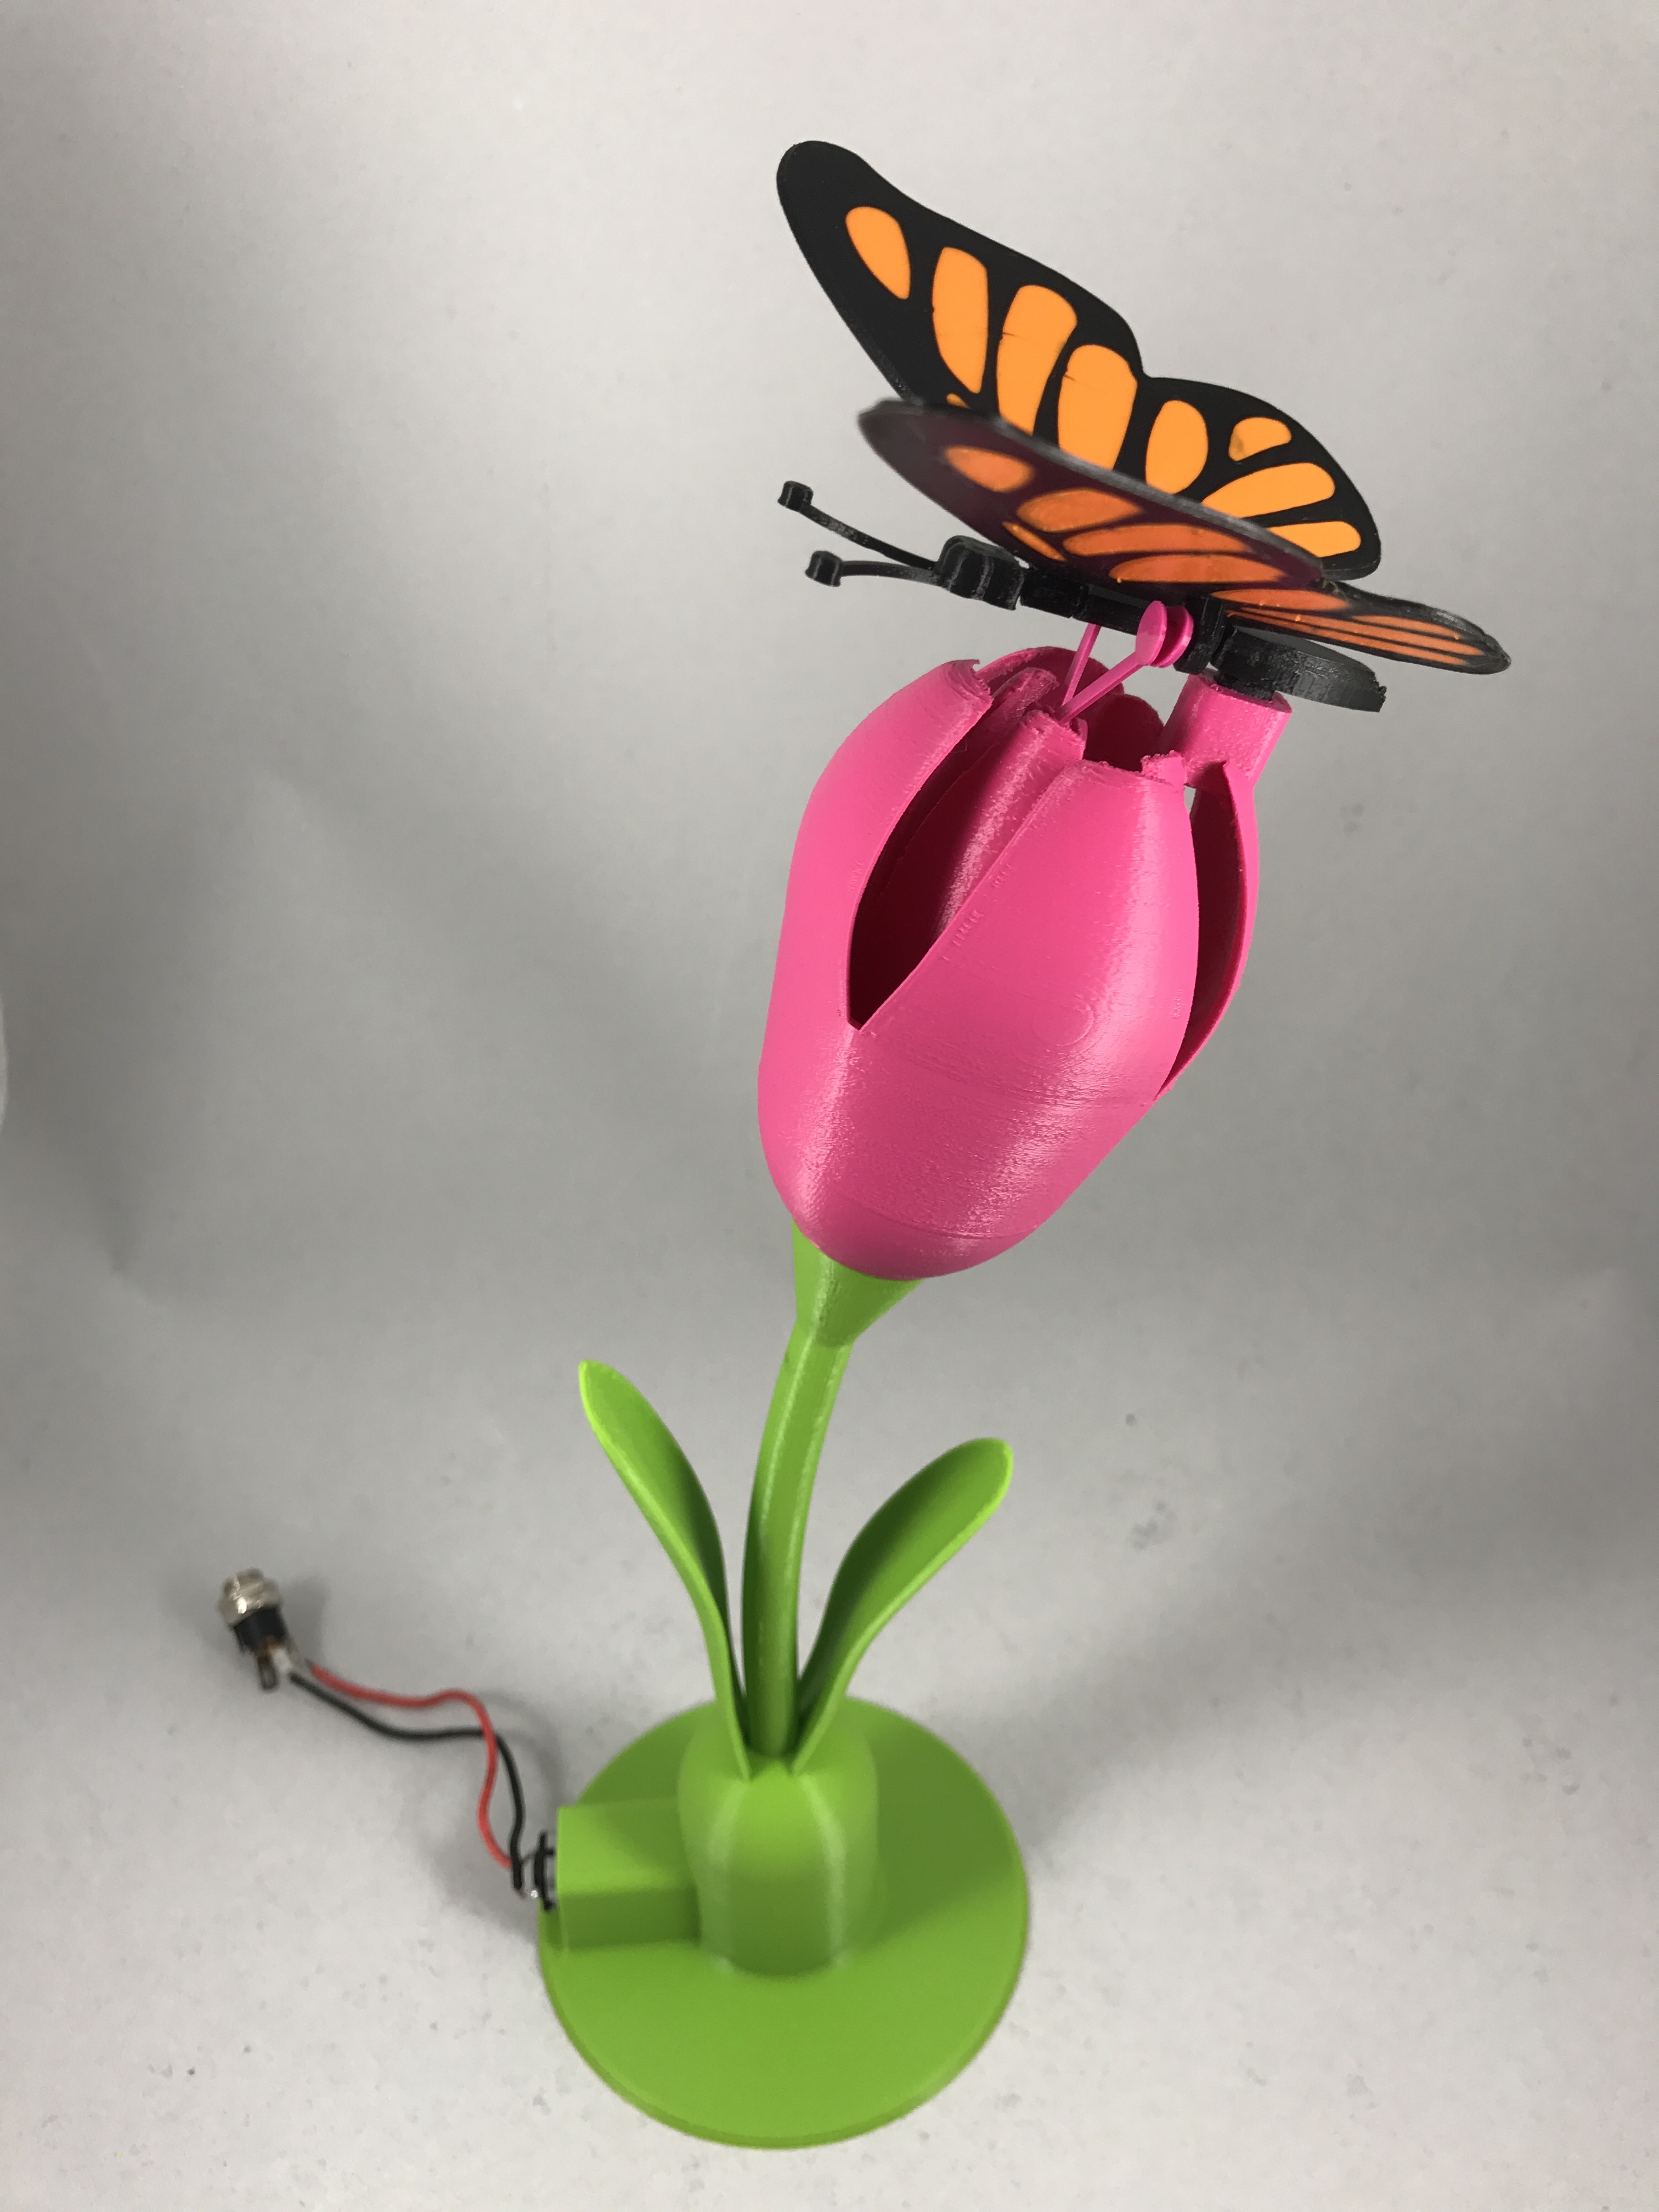
Thread "Flower.stl" onto "Base.stl" as shown carefully noting the alignment of the rectangular socket of "Flower.stl" with the shorter leaf on "Base With Leaves.stl".
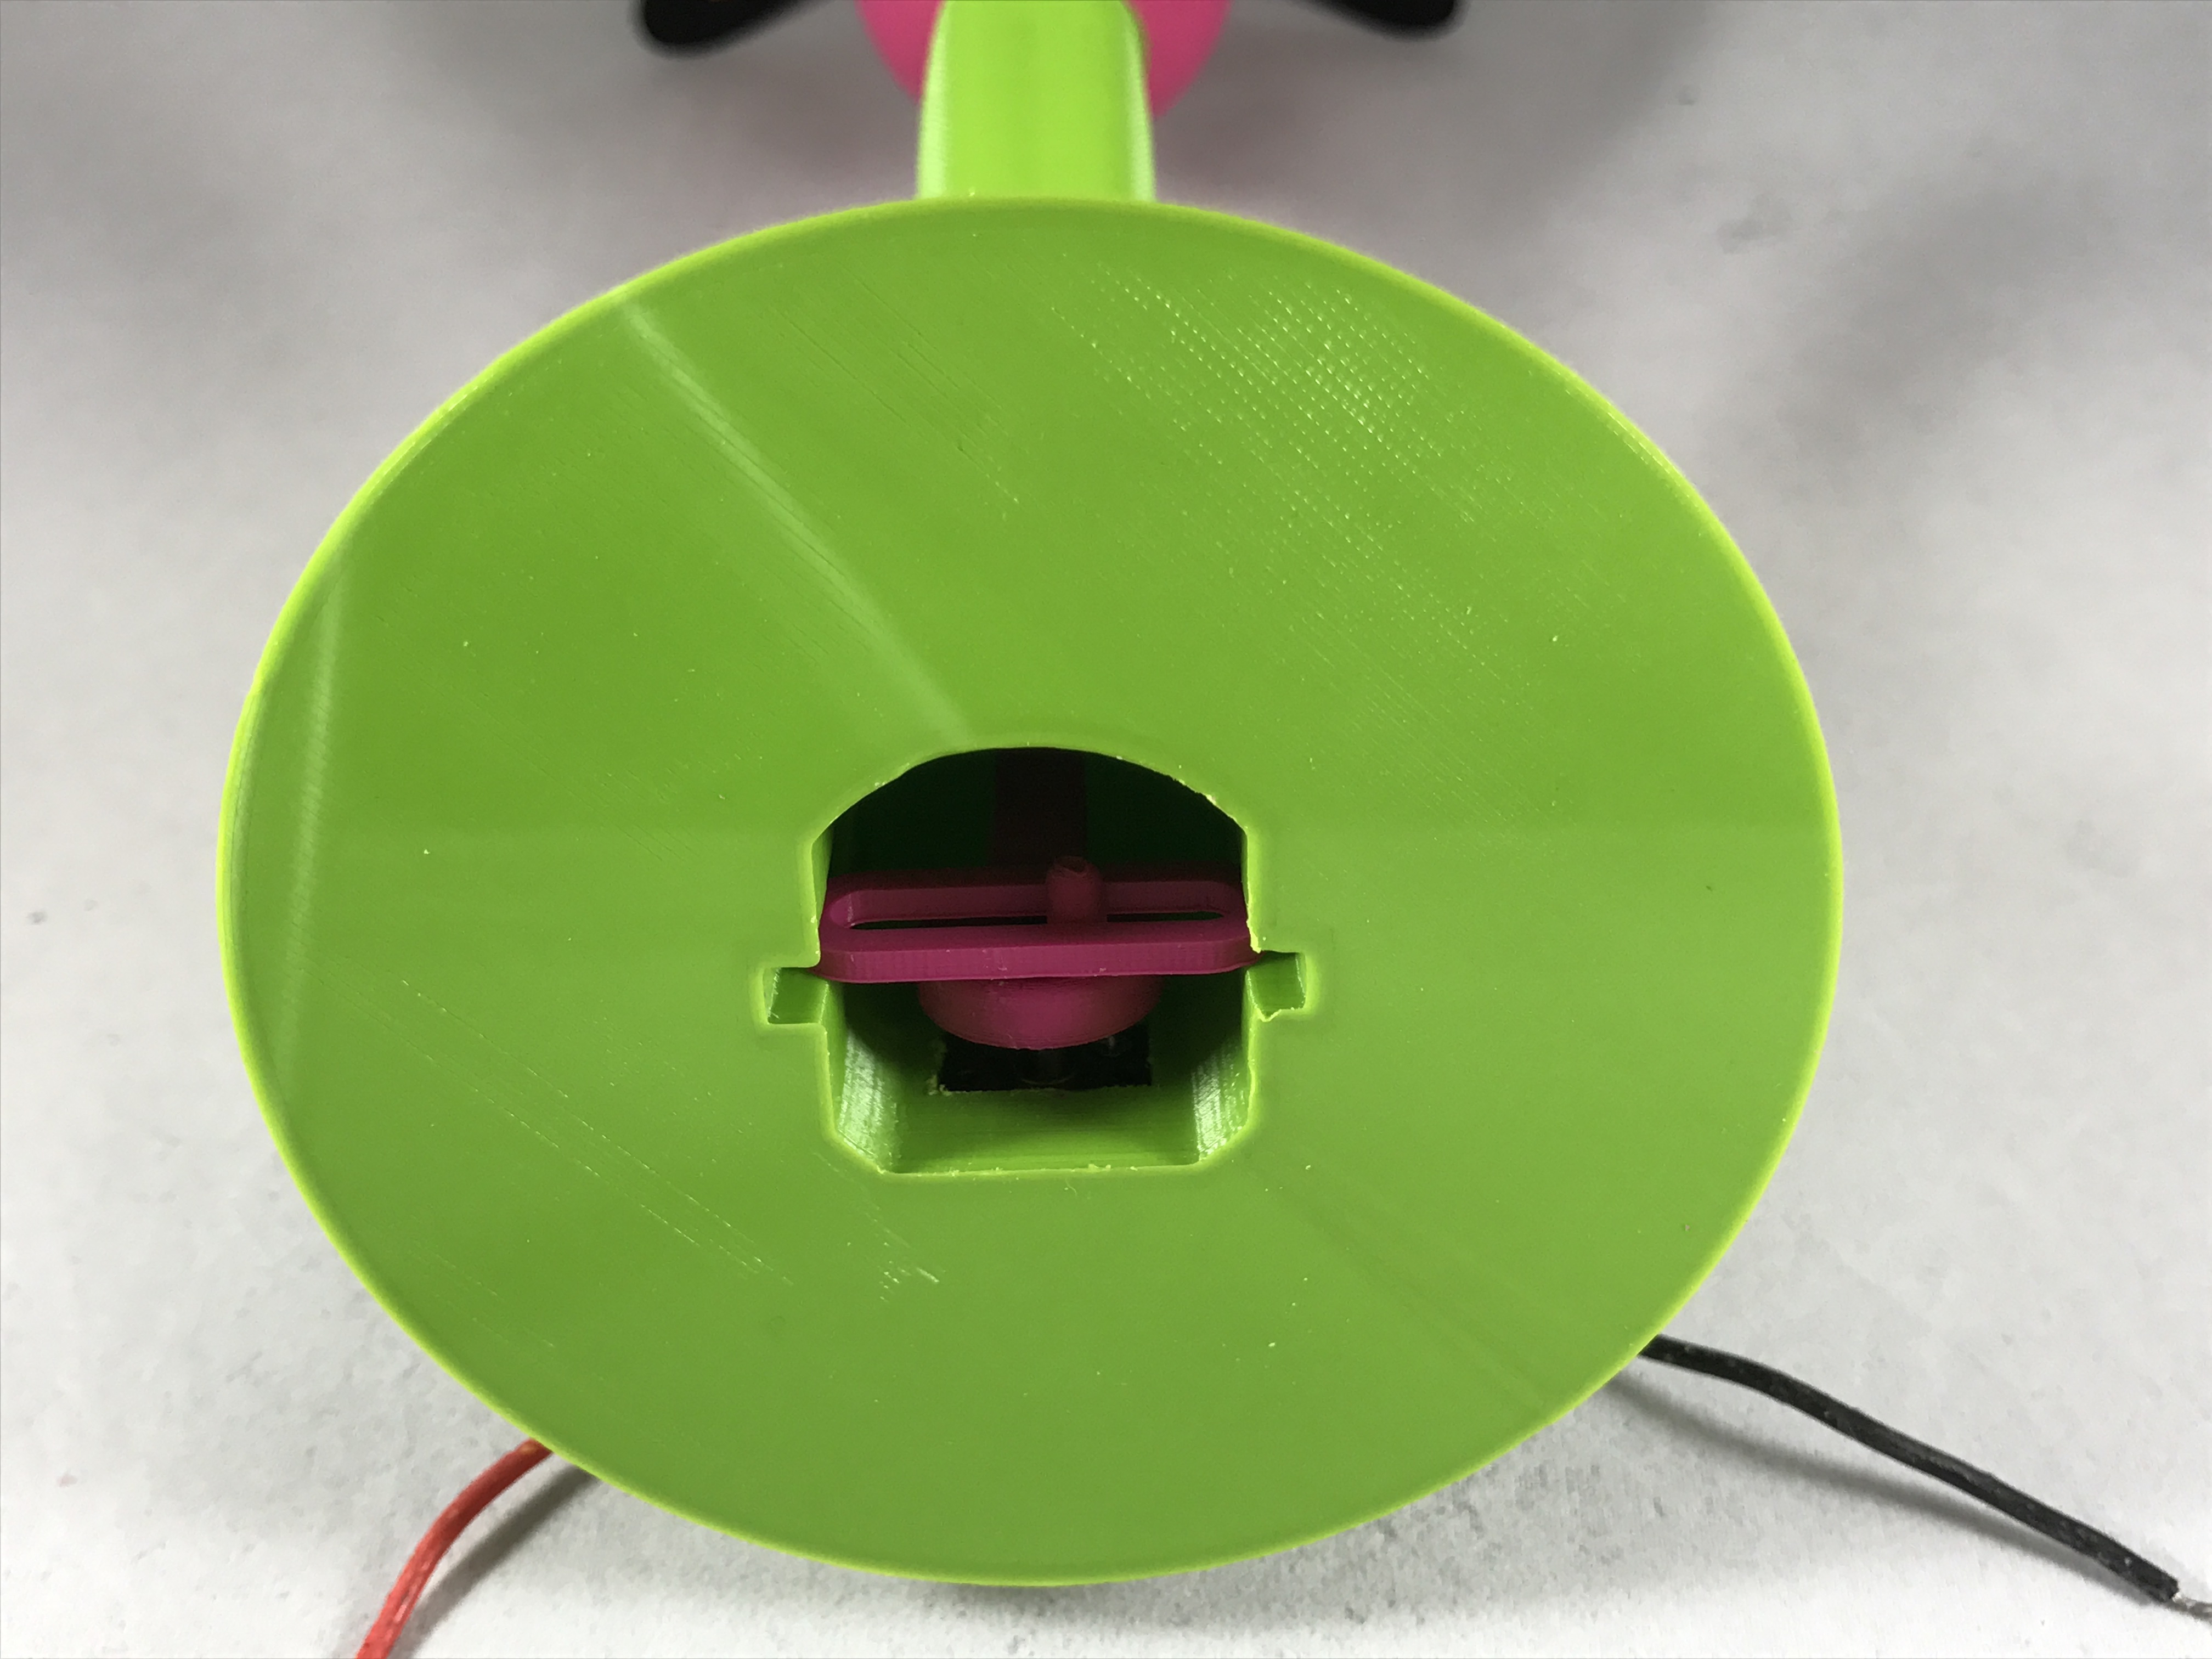
Slide the motor assembly partially into the motor housing in "Base.stl" as shown such that about 4mm of the motor shaft extends into the yoke cavity (this will allow insertion of "Yoke.stl" later).
Press "Cam.stl" onto the motor shaft as shown.
Now slide "Yoke.stl" fully into the bottom side of the base you chose to print as shown. The flat side of "Yoke.stl" should be closest to the motor.
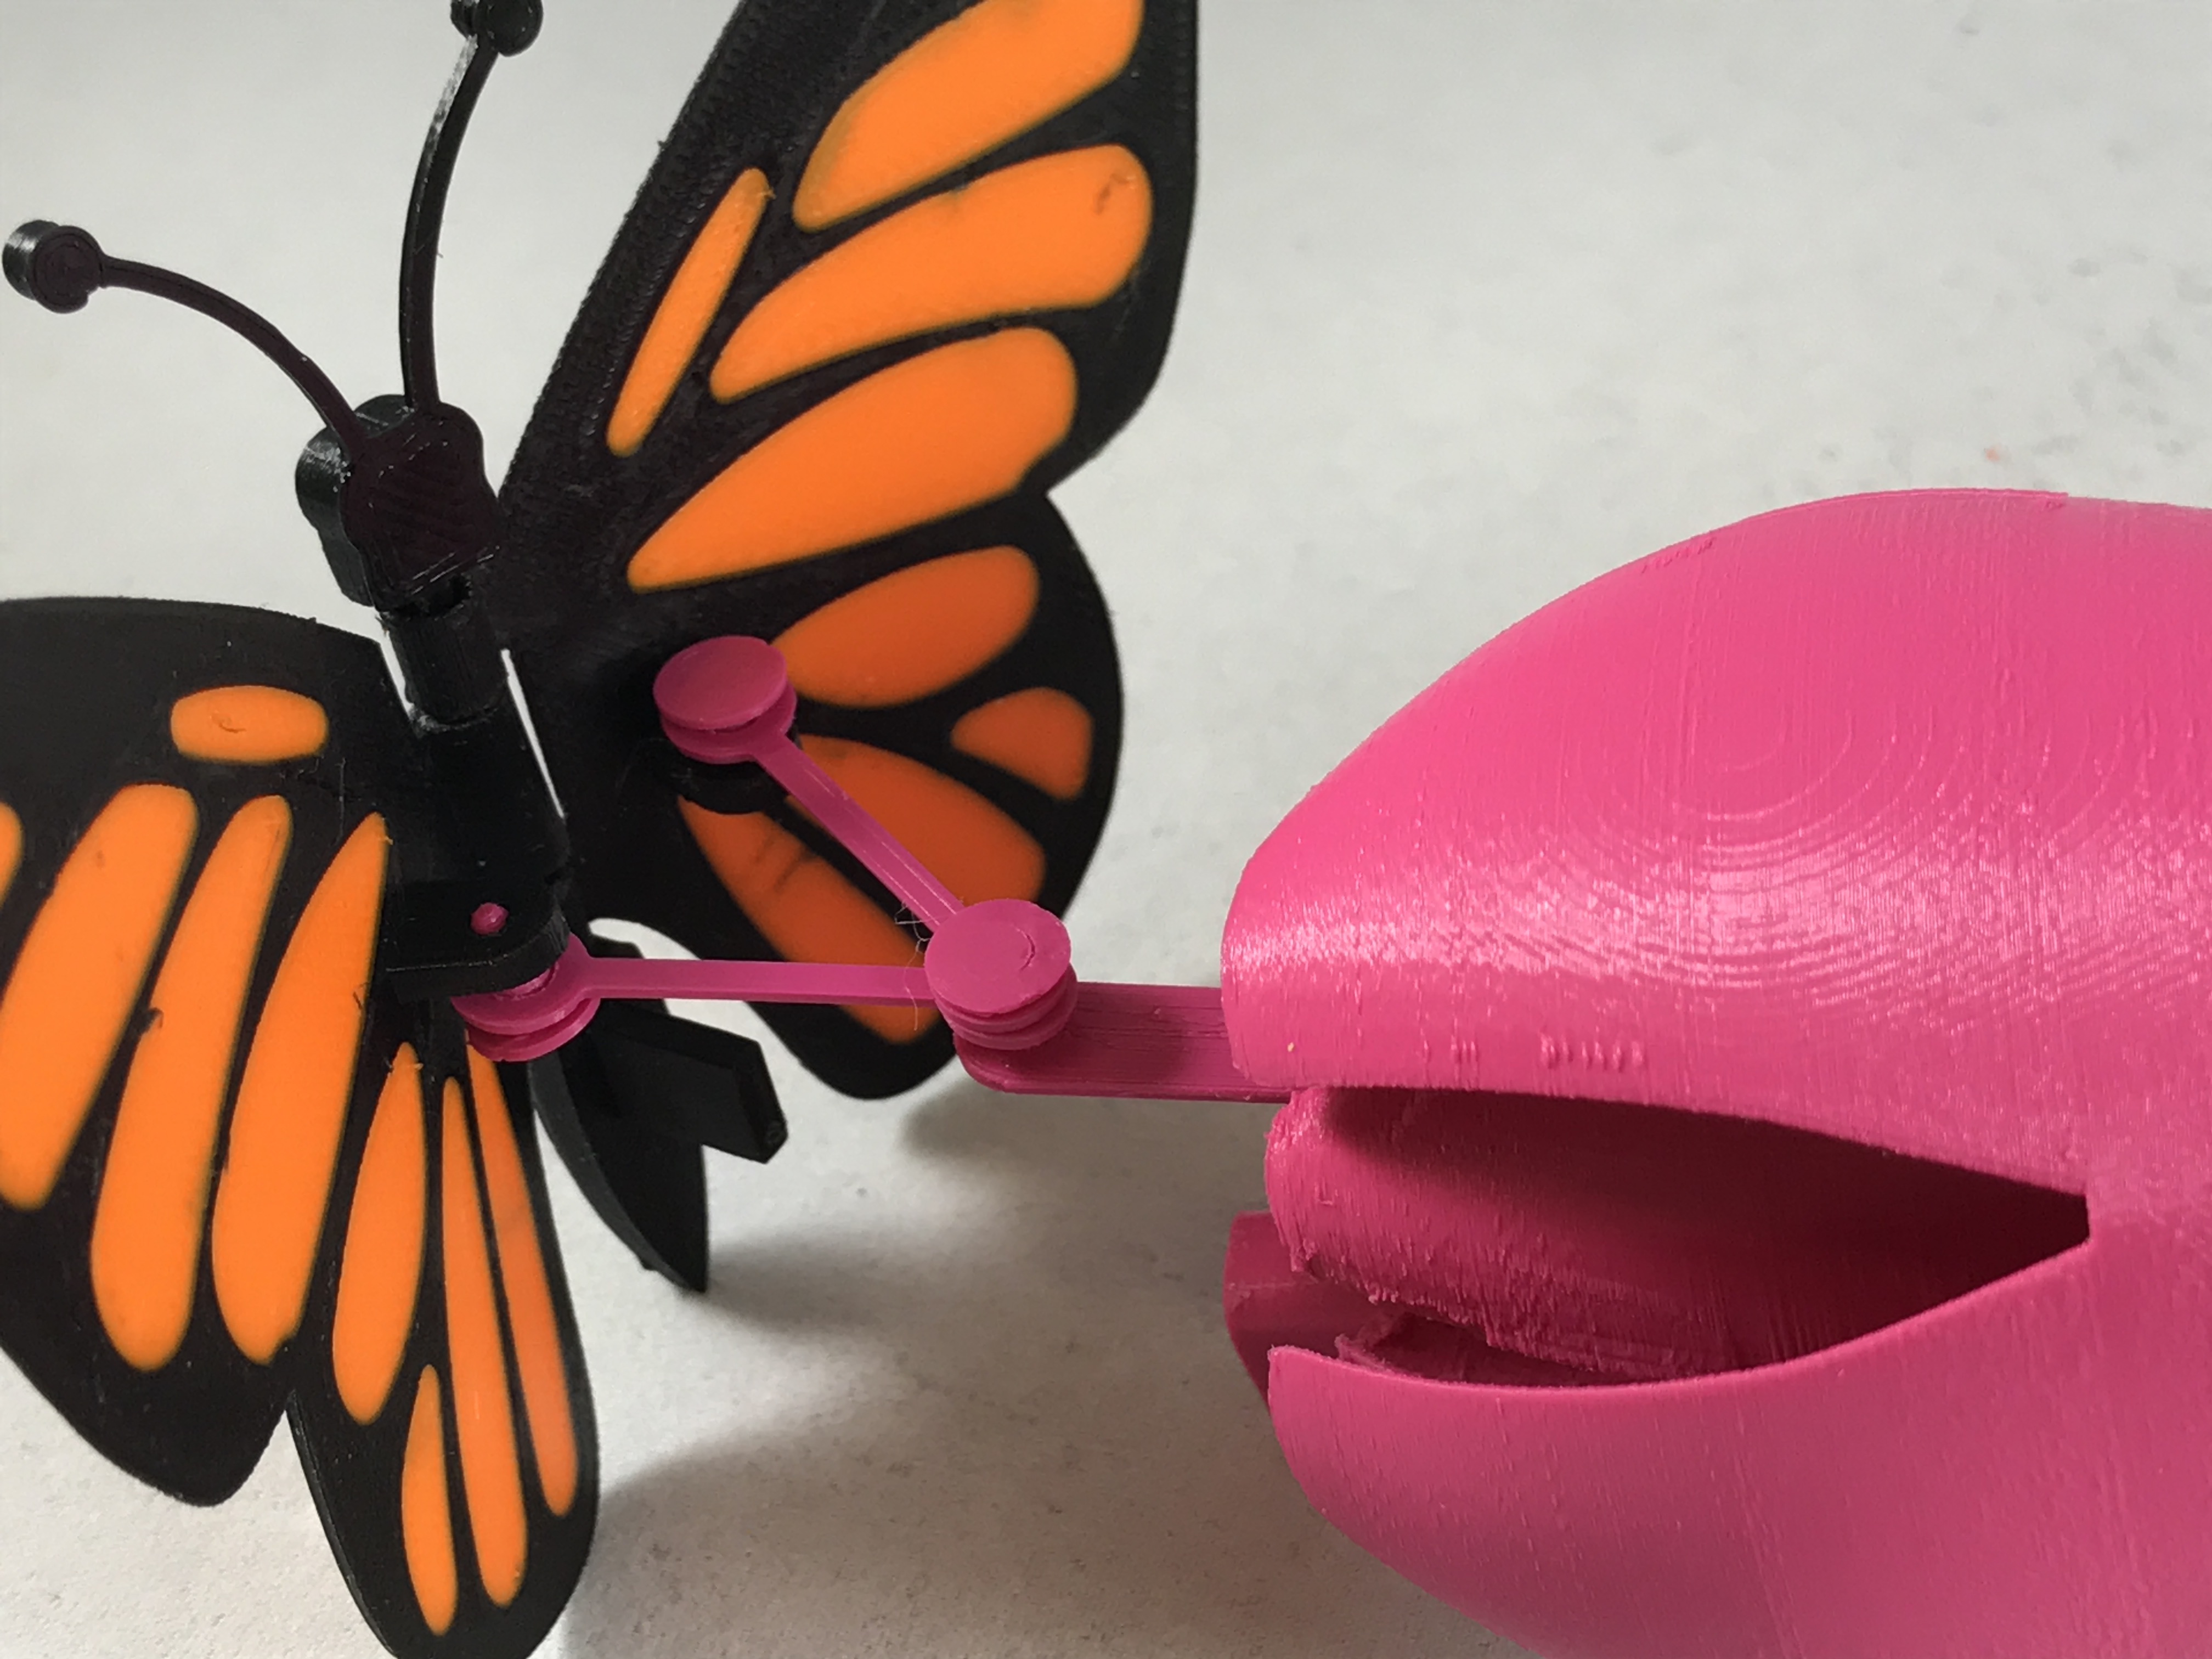
Align both "Arm Wing.stl" then insert "Pin Yoke.stl" into the holes in "Arm Wing.stl" as shown. Carefully position the butterfly at the end of "Yoke.stl", noting the alignment with the rectangular socket, then press "Pin Yoke.stl" into the hole in "Yoke.stl" as shown.
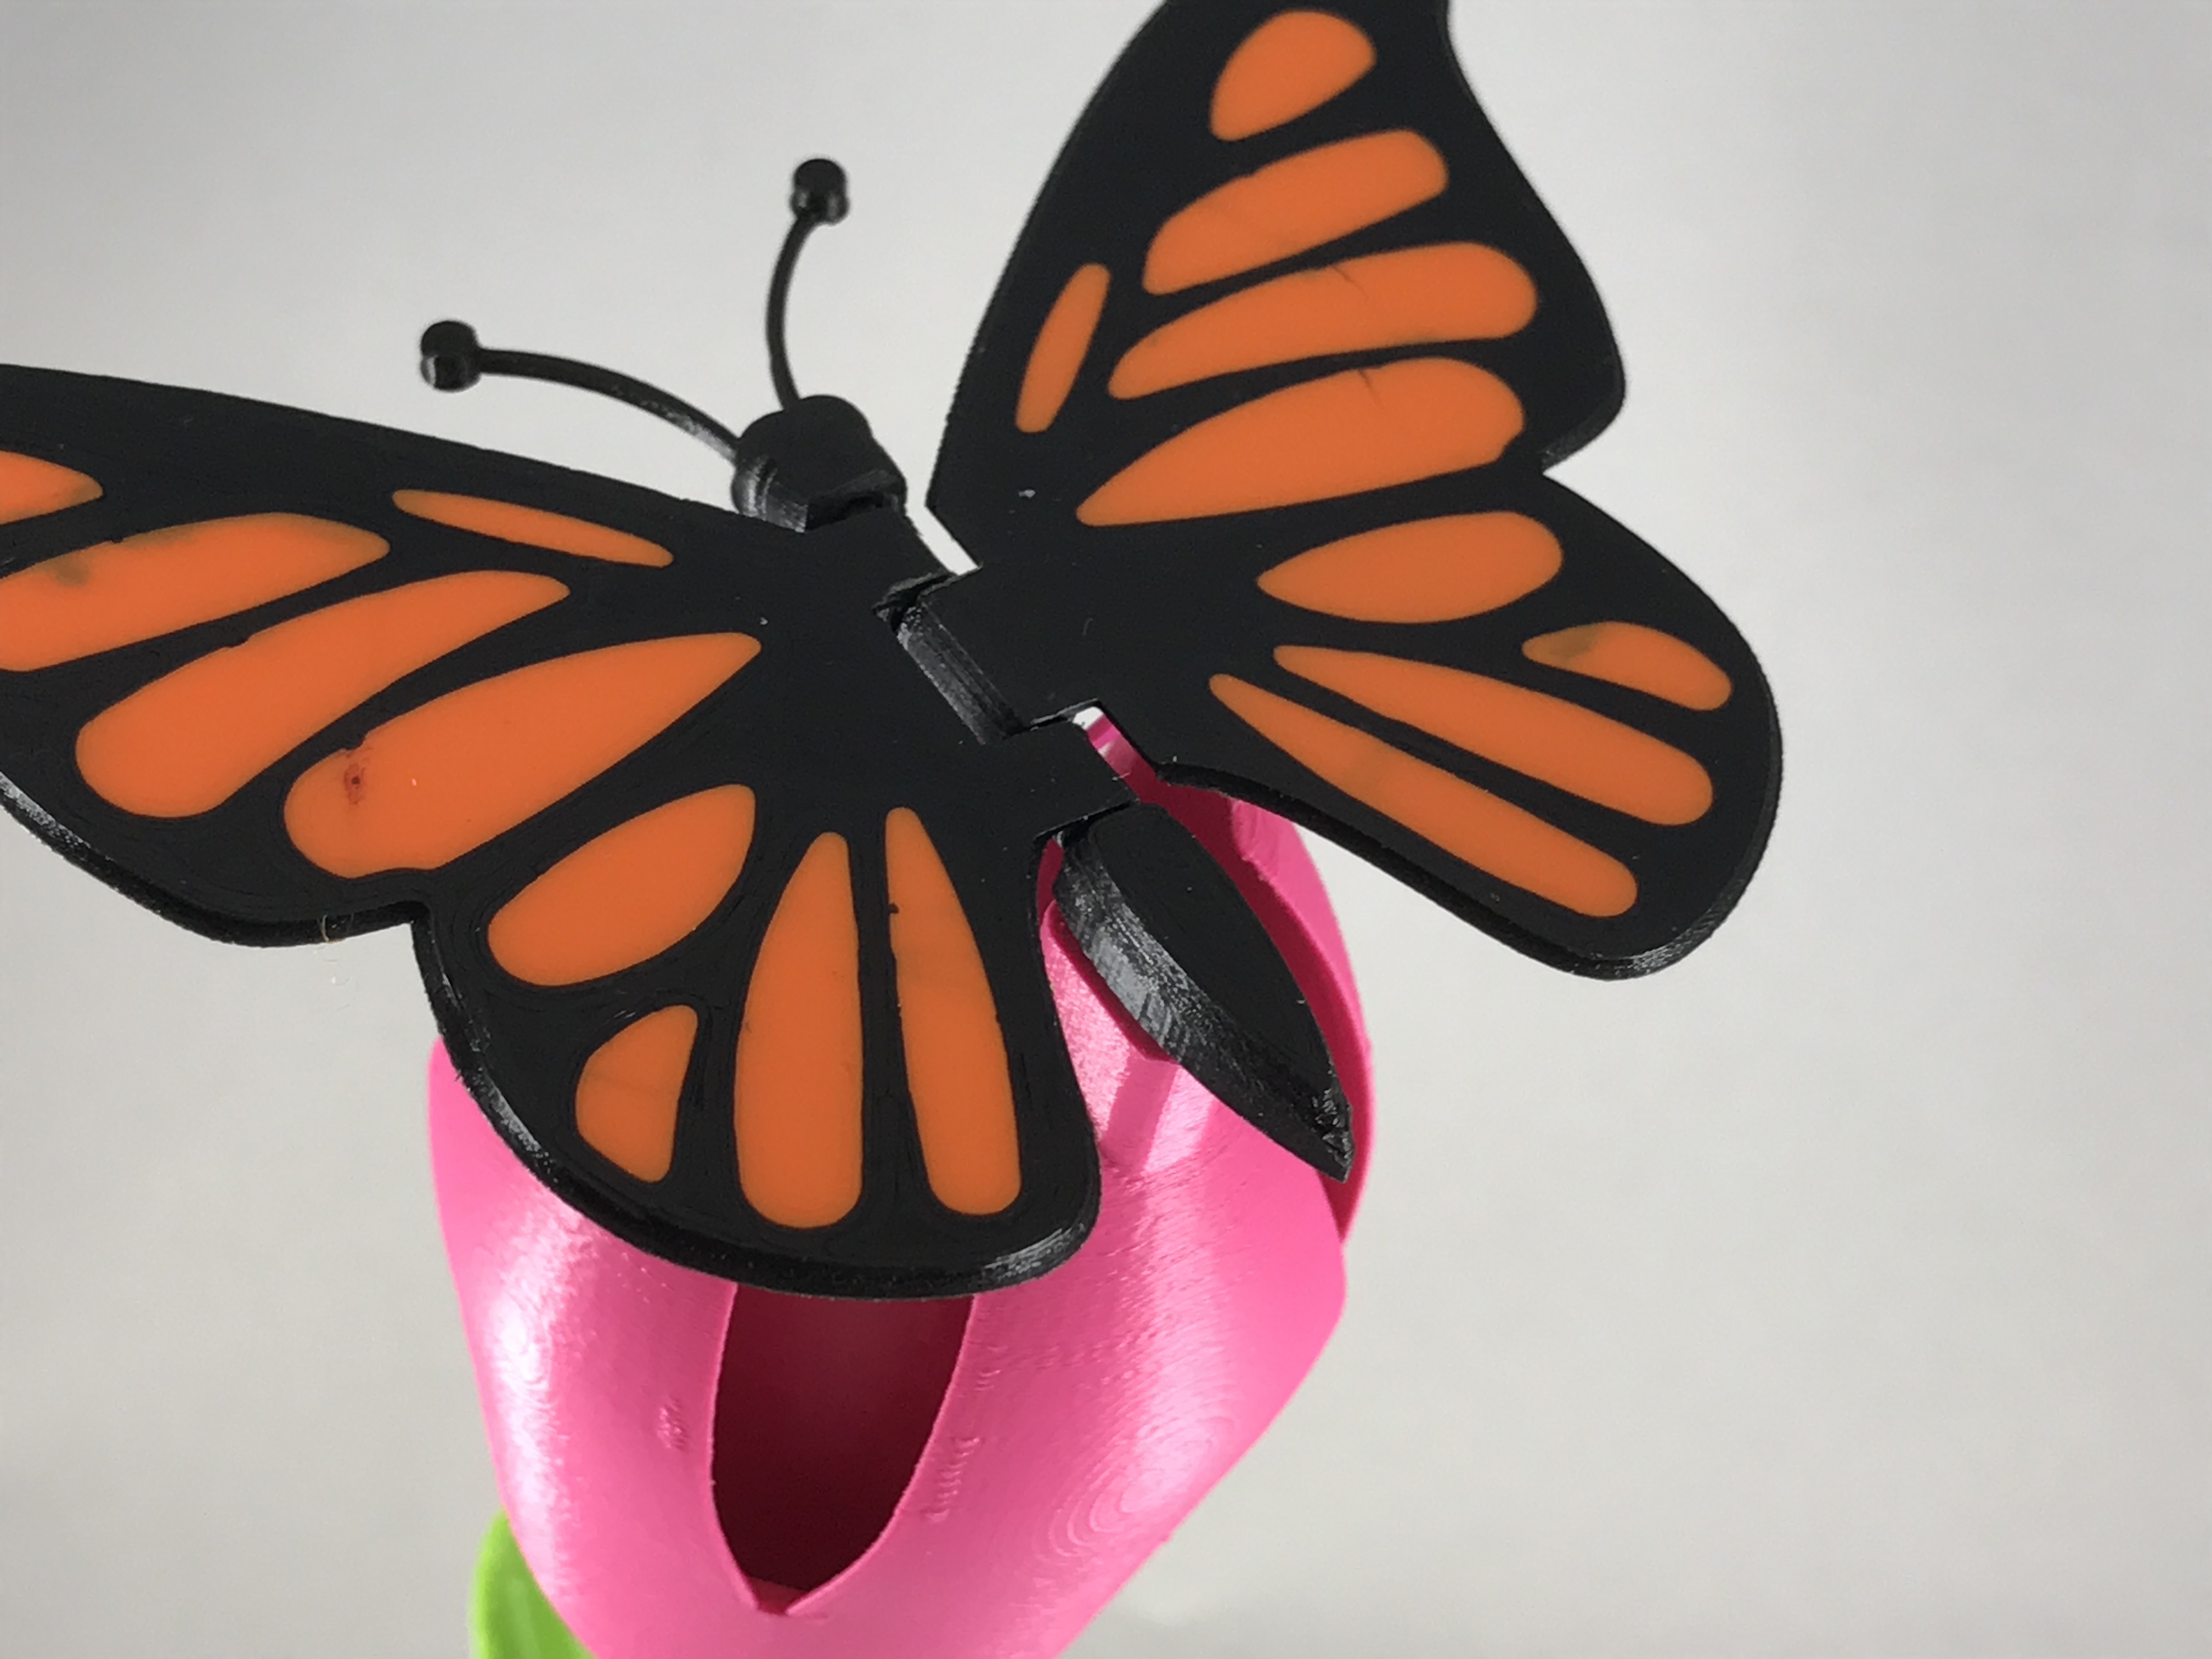
Press the rectangular pin on "Tail.stl" into the rectangular socket on "Flower.stl" as shown. At this time, the wings and yoke should easily move with no binding.
Lower the yoke to the cam pin as shown.
Full insert the motor cam pin into the yoke by sliding the motor assembly towards the yoke assembly.
Attach and turn on your power supply.
Congratulations, you're done!
Hope you enjoy it!