Bus Accessibility

Our mission statement: We aim to create ethical and efficient solutions to everyday problems faced by people with disabilities all around the world.
With this project, we aim to make city buses more accessible for people in wheelchairs and assist bus drivers. In order to make taking the city bus more accessible we will be implementing a light on the city bus that displays if wheelchair spots on the bus are available, and to assist the bus driver we will be implementing a LED wheelchair sign on a bus stop that is triggered by a button that a person with a wheelchair will push to alert the driver that there is a person in a wheelchair at that stop, which can be challenging to do at night, in the rain, or in fog. Also, create a system where when one wheelchair seat on the bus is occupied it sends a signal to an LED panel on the window of the bus to alert that there are limited amounts of handicap seating available.
Supplies
-Computer that can run Arduino (Dell) x2
-Feather HUZZAH x2
-wood box (6" x 4" x 2")
-some type of drill
-magnet
Laser Cut Sign for Bus Stop


.jpg)
Download an image of the wheelchair character. Use a laser engraver to create a wheelchair sign on a clear acrylic board. (ours is 8in x 8in x 0.4cm )
(this will be at the bus stop)
Code Lights and Button


Prep the LED lights for coding by attaching the USB cable to the UNO. Then to your computer, attach jumper wires in the designated spots shown in photos, green and blue attach to button, grey, white, and black attached to led light strip (8 inches long) Using Arduino program on your computer, code in LED light strip to respond to the button being pressed. (code shown in picture 3)
Prep Tube


Cut through the plastic tube to create a slot for the sign. (ours is 8in long by 0.4cm wide) Drill a hole for the wires that connect to the button to thread through.
3D Print Light Holders and Button Holder

.jpg)
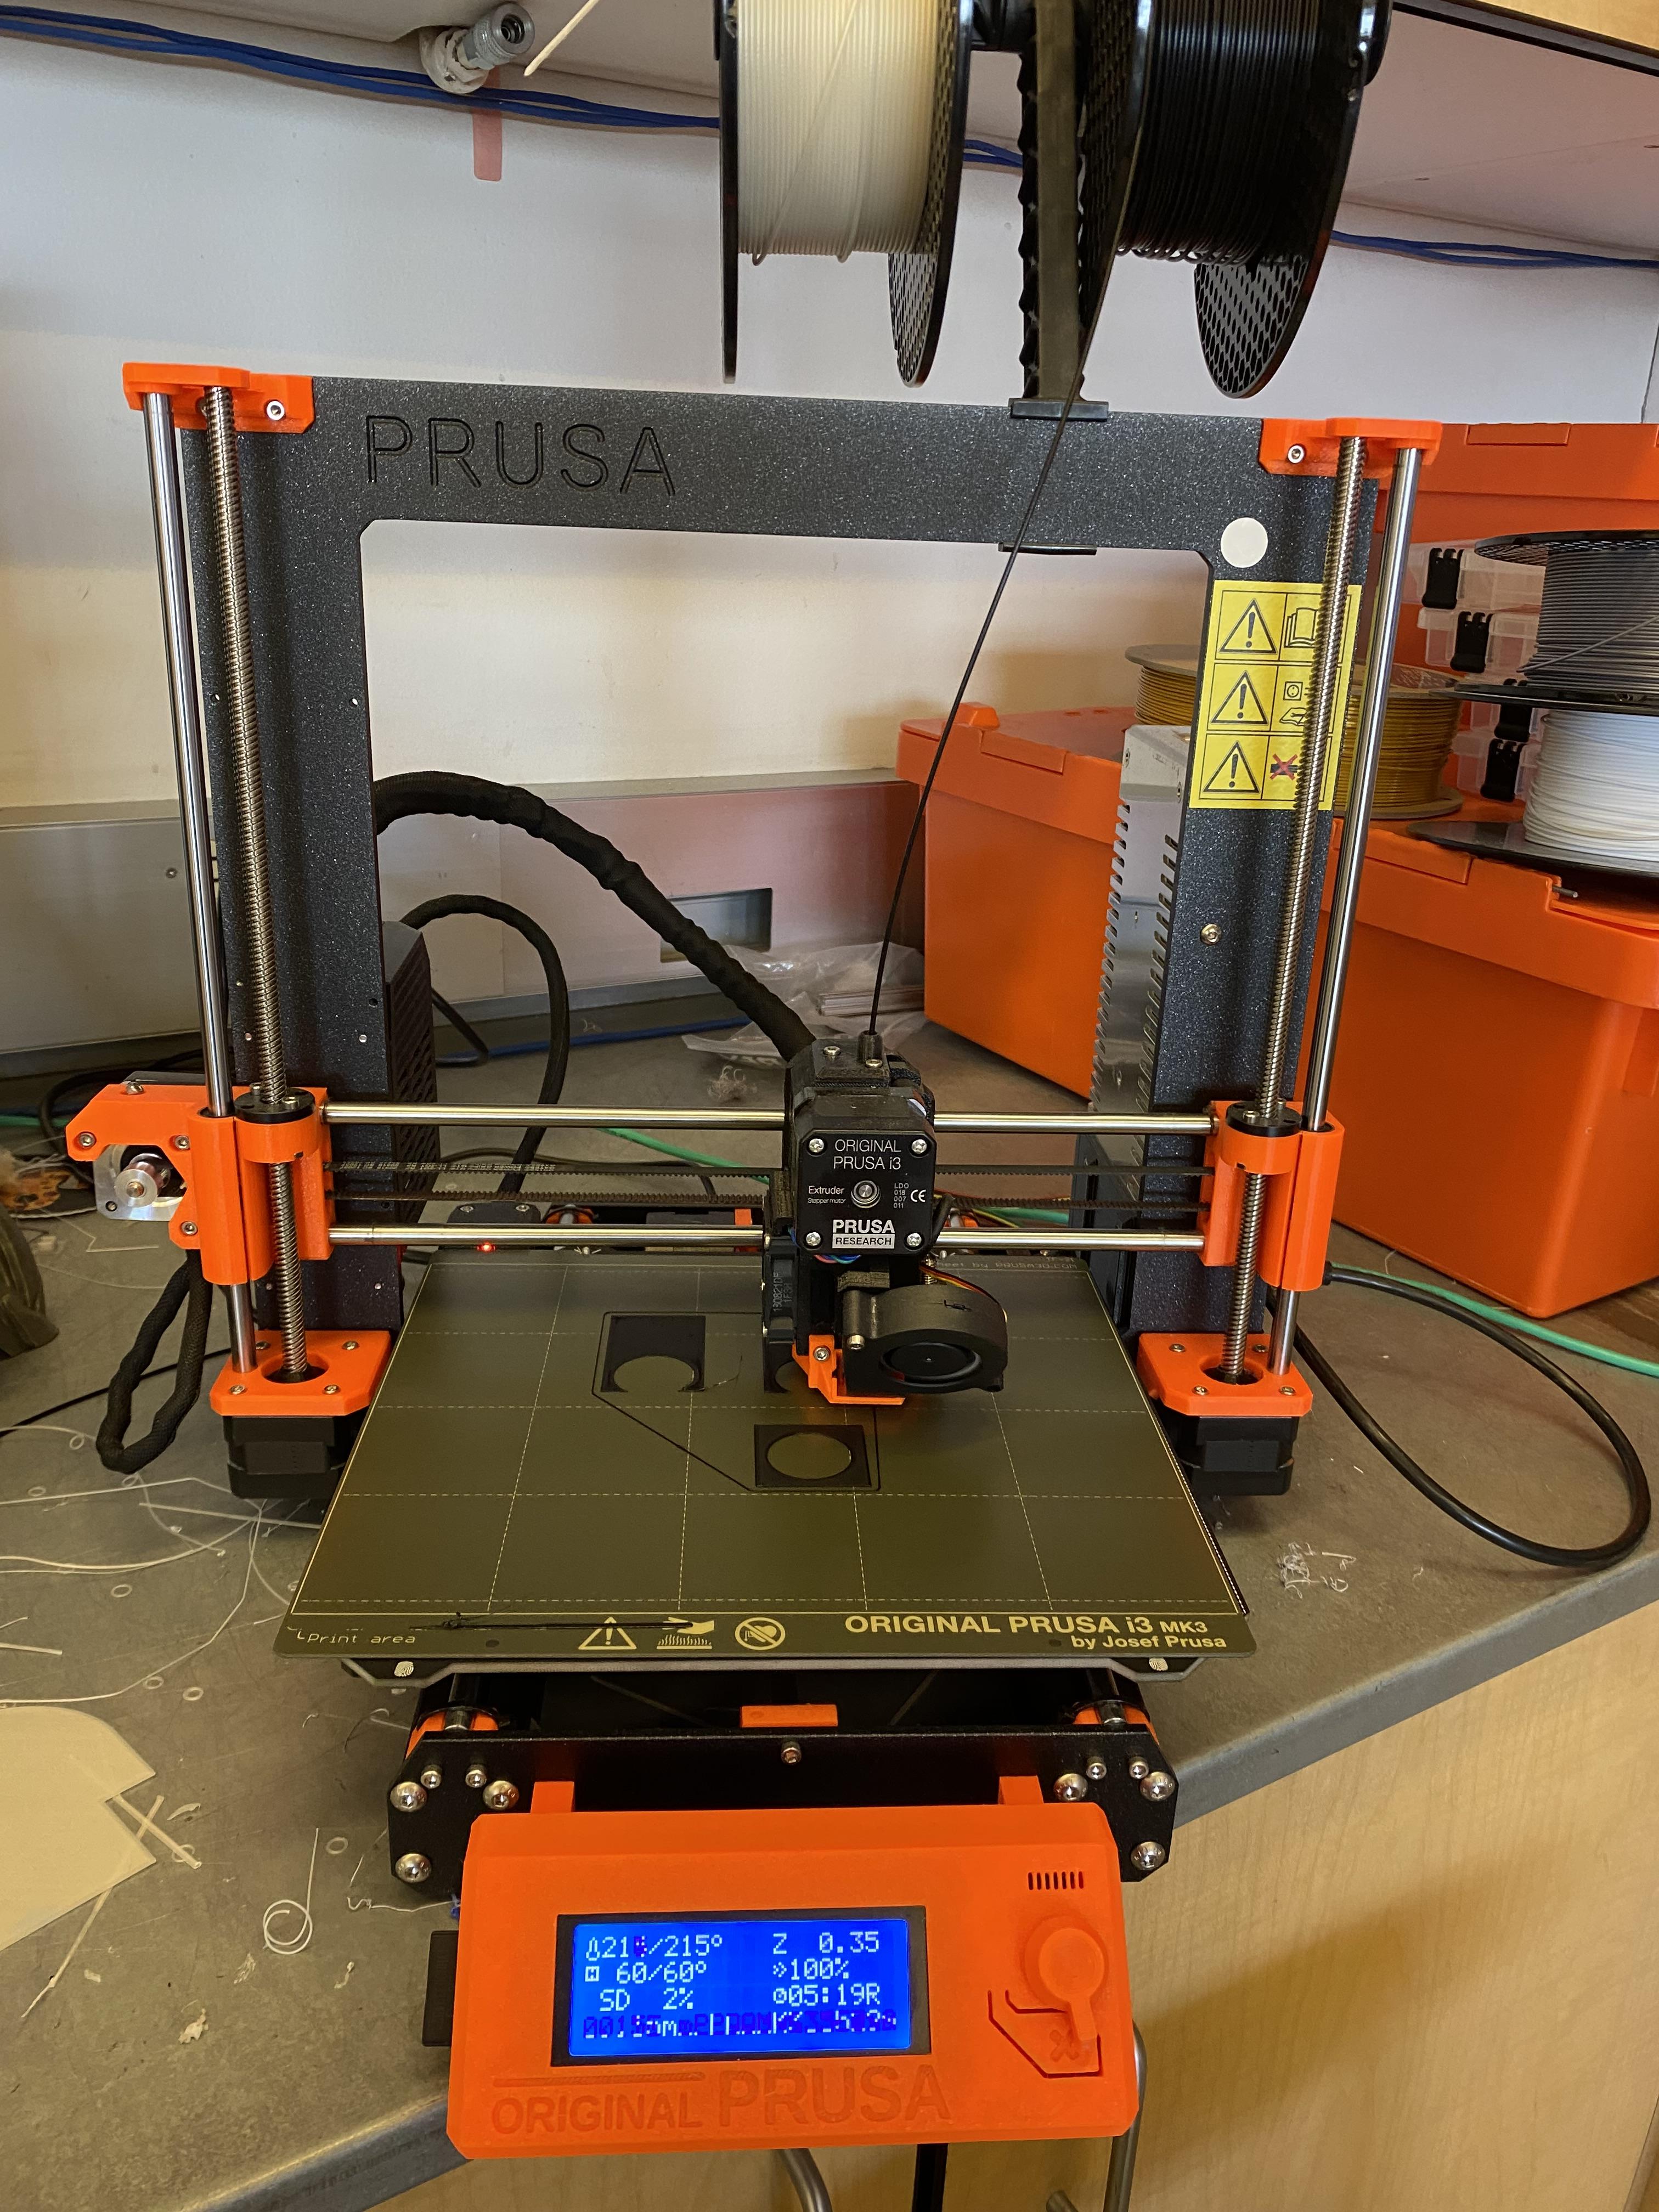
Using a 3D printer create one light holder that will slide onto the side of the wheelchair sign and hold the lights. (each light holder is 4in width so total for the two holders is 8in width)
The light holder will attach to the side of the wheelchair sign.
Laser Cut Box


Using a laser cutter cut a wooden box out with a hole on the side for wires and a hole on the top so the tube can stand. (6" x 4" x 2")
Assemble Sign
Assemble all parts of the sign. Glue the button holder on the tube lined up with the drilled hole. Peel the backing of the acrylic sign-off, slide the LED light strip through the light holders we made earlier, thread the wires down the tube, insert the sign down the slit we made in the tube, and stick the connected button through the tube and the button holder. Place the UNO in the laser cut box. Place the tube in the box so it stands.
Take Measurements of the Bus


This step is optional, but it is good to know how your local city bus caters to those with wheelchairs and to find a good place to put the signs.
Code the Two Feathers Huzzah's Esp2866

Using two feathers assign one of them to be the server and the other feather to be the client. Using custom codes found on (https://siytek.com/communication-between-two-esp8266/) they should connect to each other. Make sure to connect the server before connecting the client or else there will be some errors. Once the two feathers have their codes downloaded it is time to code the lights. Look at the picture attached of the code for the lights.
Downloads
Assemble All Parts

There should be two separate parts to the project. First, have the sign assembled. Second, the two feathers are coded and working together. Finally, the project is finished.