Burning Bootloader to ATmega8 Using USBasp and Arduino (Easiest Way)
by monusuthar2016 in Circuits > Arduino
14044 Views, 14 Favorites, 0 Comments
Burning Bootloader to ATmega8 Using USBasp and Arduino (Easiest Way)
Hello friends Arduino is a good friend of student, but sometimes it become complicated when we want to use ATmega8. Arduino NG comes with atmega8 but it will take 6 seconds for Turn On, but here is a solution. Just follow some steps.
(Must Use Arduino IDE 1.0.6)
Material Required
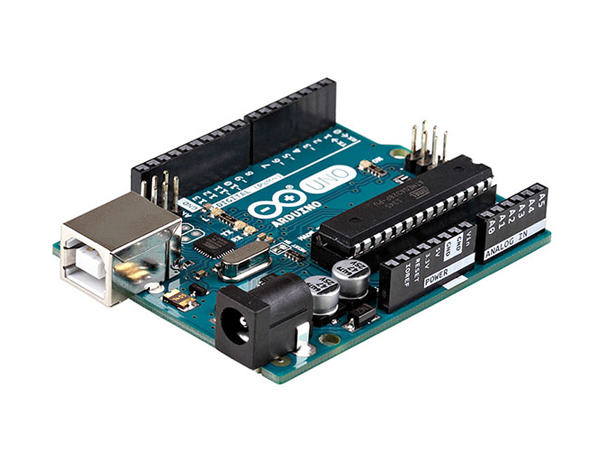
1. Arduino UNO
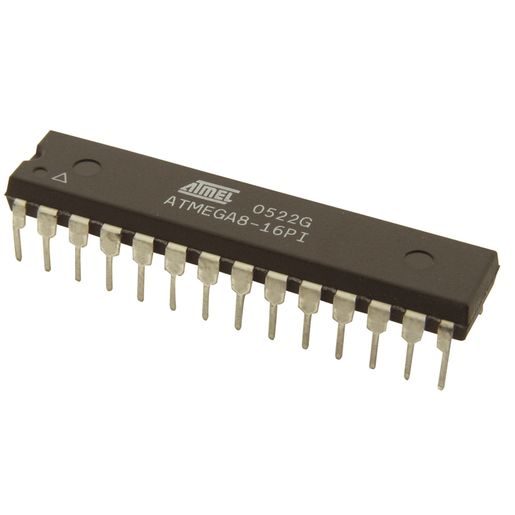
2. ATmega8 Microcontroller
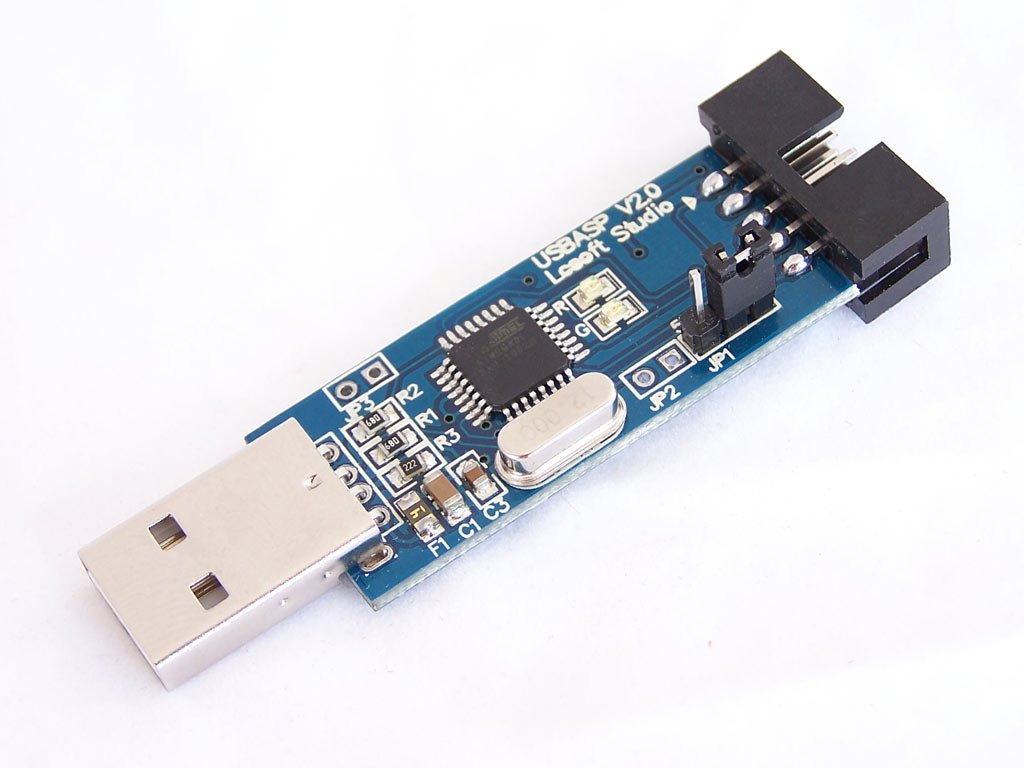
3. USBasp Programmer
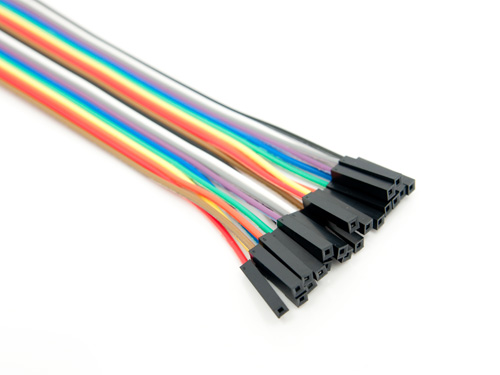
4. Jumper Wire (Female to Female)
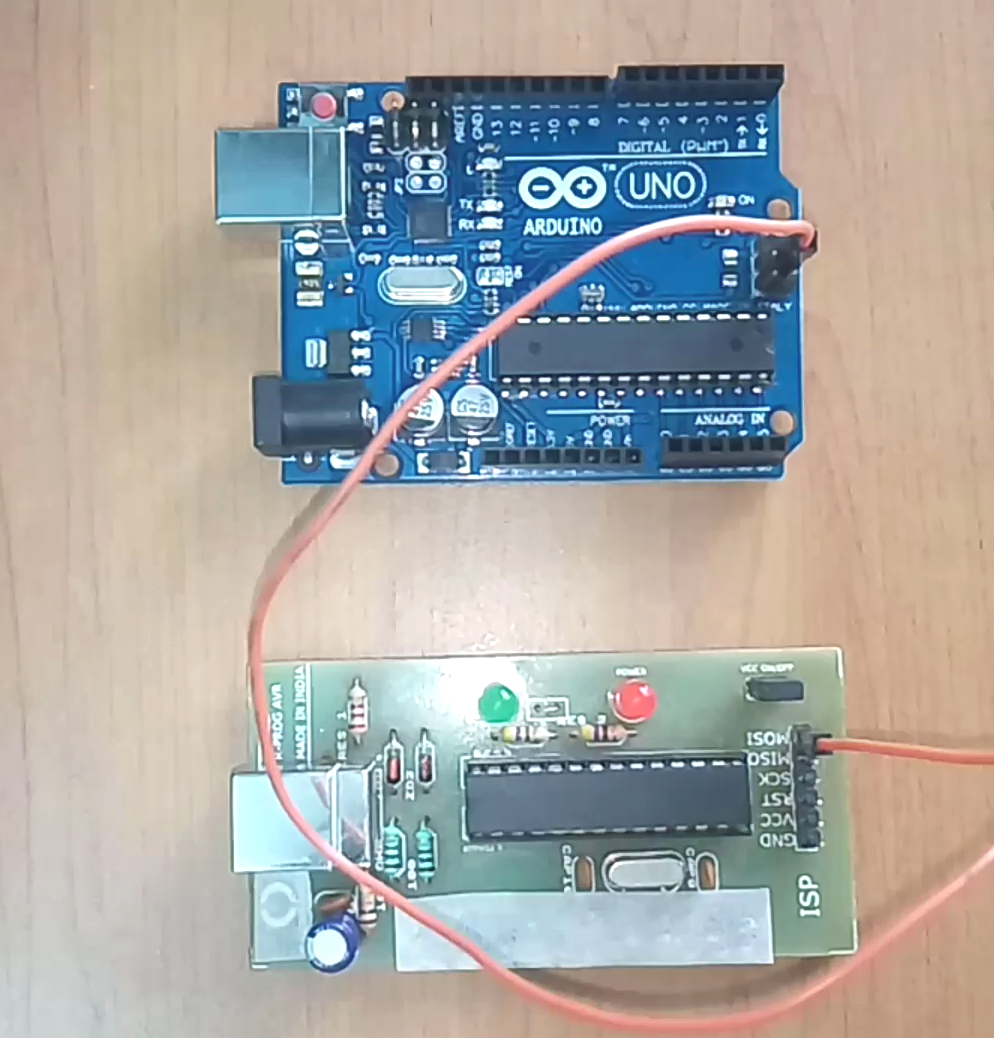
Connect the Circuit (ATTENTION)

circuit shown in video is not correct please refer this circuit (sorry)
Bootloading.....
Please Watch My Video
1. Download AVRDUDESS (Link Below)
http://blog.zakkemble.co.uk/avrdudess...
2. Install Program.
3. Open Program.
4. Select USBasp from drop down menu.
5. Click detect (for detection Microcontroller)
6. Change the values of FUSE BITS as shown below.
L:0xFF
H : 0XDE
E : (empty)
LB : 0x3F
7. Click On "Write"
8. Click On "Read"
9. Select Bootloader File @ Optiboot_atmega8.hex
10. Click On Program.
11. Now ATmega8 is Bootloaded.
Attach Atmega8 Board to Arduino
1. Copy this
##############################################################
atmega8o.name= Atmega8 Optoboot
atmega8o.upload.tool=arduino:avrdude1
atmega8o.upload.protocol=arduino
atmega8o.upload.maximum_size=7680
atmega8o.upload.speed=115200
atmega8o.bootloader.tool=avrdude1
atmega8o.bootloader.low_fuses=0xbf
atmega8o.bootloader.high_fuses=0xdc
atmega8o.bootloader.path=optiboot
atmega8o.bootloader.file=optiboot\optiboot_atmega8.hex
atmega8o.bootloader.unlock_bits=0x3F
atmega8o.bootloader.lock_bits=0x0F
atmega8o.build.mcu=atmega8 atmega8o.build.f_cpu=16000000L
atmega8o.build.core=arduino:arduino
atmega8o.build.variant=arduino:standard
###################################
2. Goto Arduino@Hardware@Arduino and open Boards.txt
3. Paste copied data at the end.
4. Save and close file
1. Open Arduino (Must Use Arduino IDE 1.0.6)
2. Select Board (Arduino Optiboot-Atmega8-16)
3. Upload the code