Bumbler
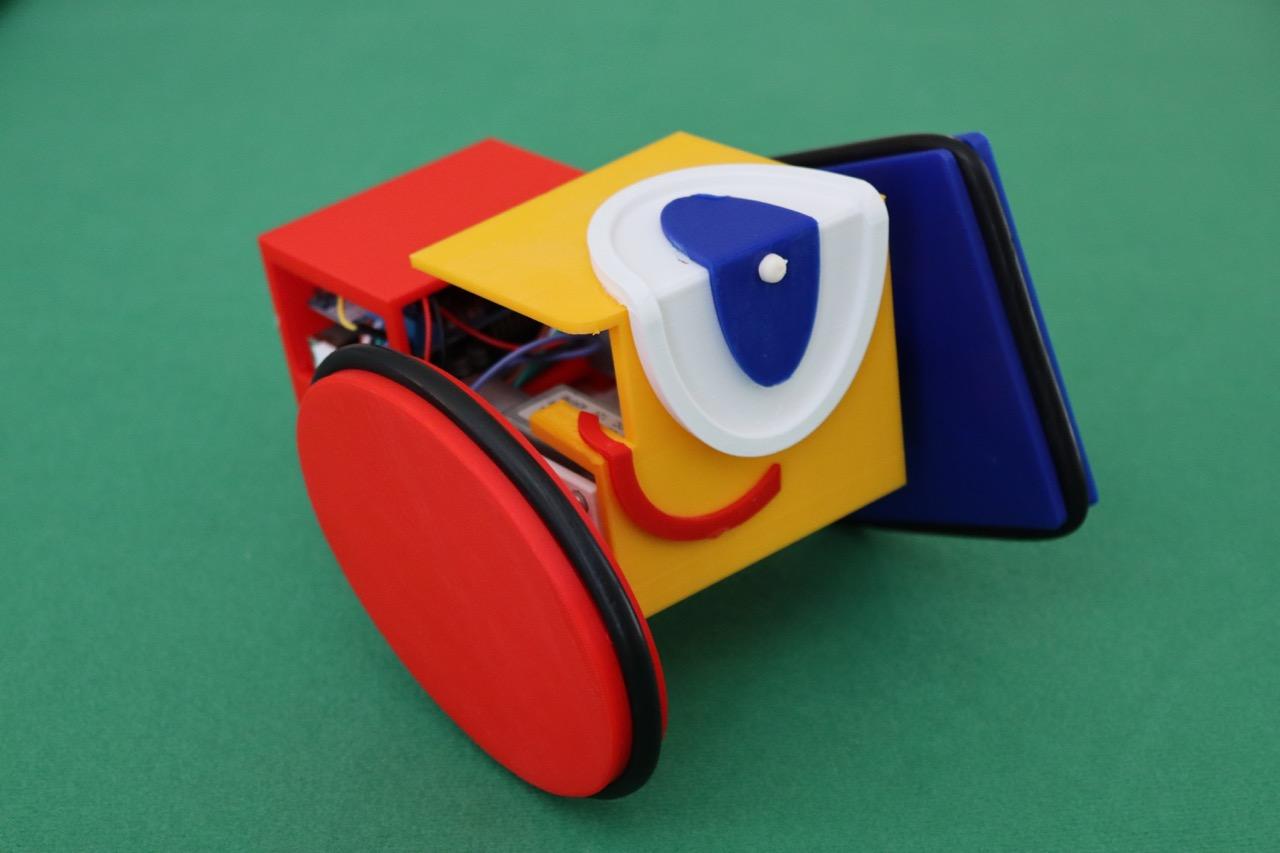
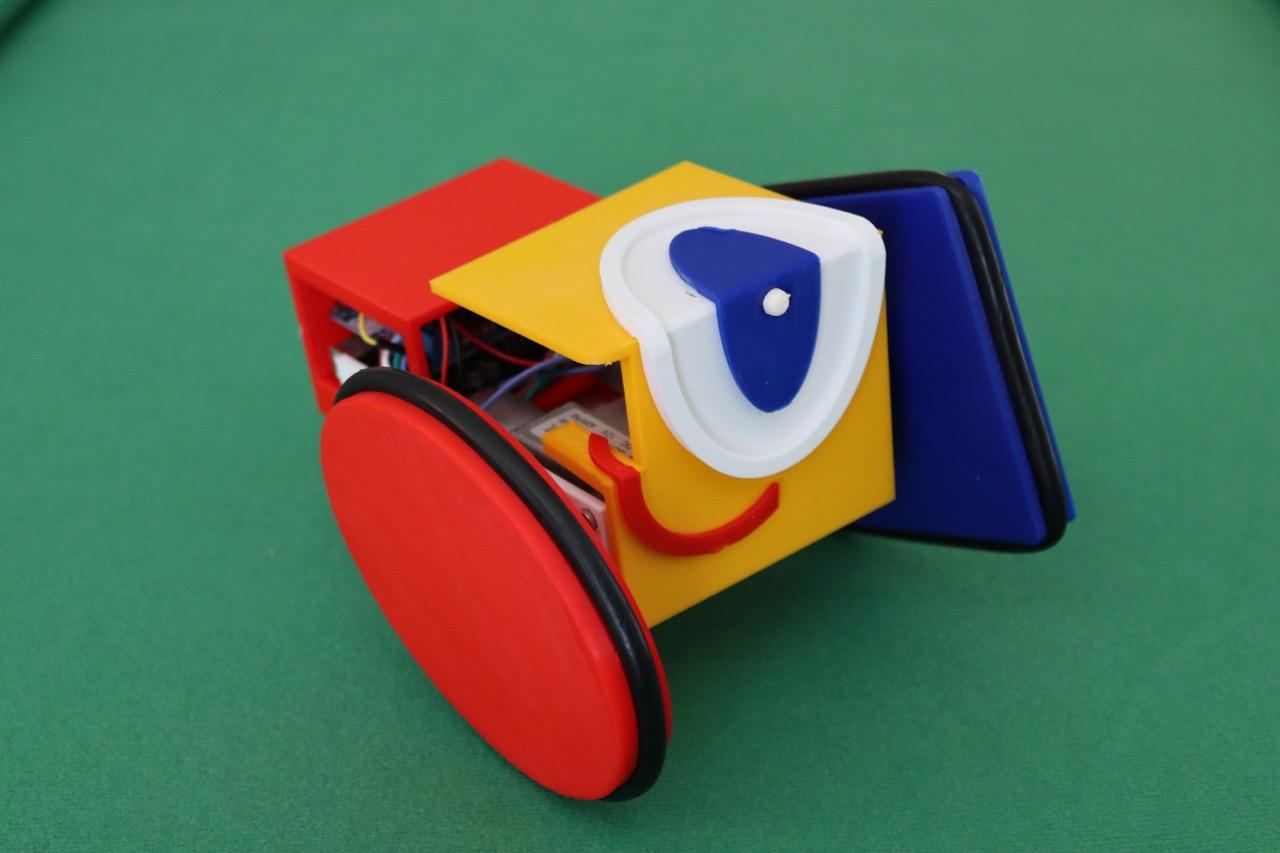
Using square and elliptical wheels, this robot bumbles around the room, backing up and turning when it encounters an obstacle.
Supplies
Arduino Uno
Arduino Motor Shield
(2) 40 rpm 12 volt gear motors
(2) Eureka vacuum belt
9 volt battery
9 volt battery clip
3d printed parts
3mm screws
Print the 3d "stl" files. Most of the files were created using Fusion 360 and the design files are included.
The caster base (print at 81% size) and caster ball (print at 125% size) were reused from other projects I have created.
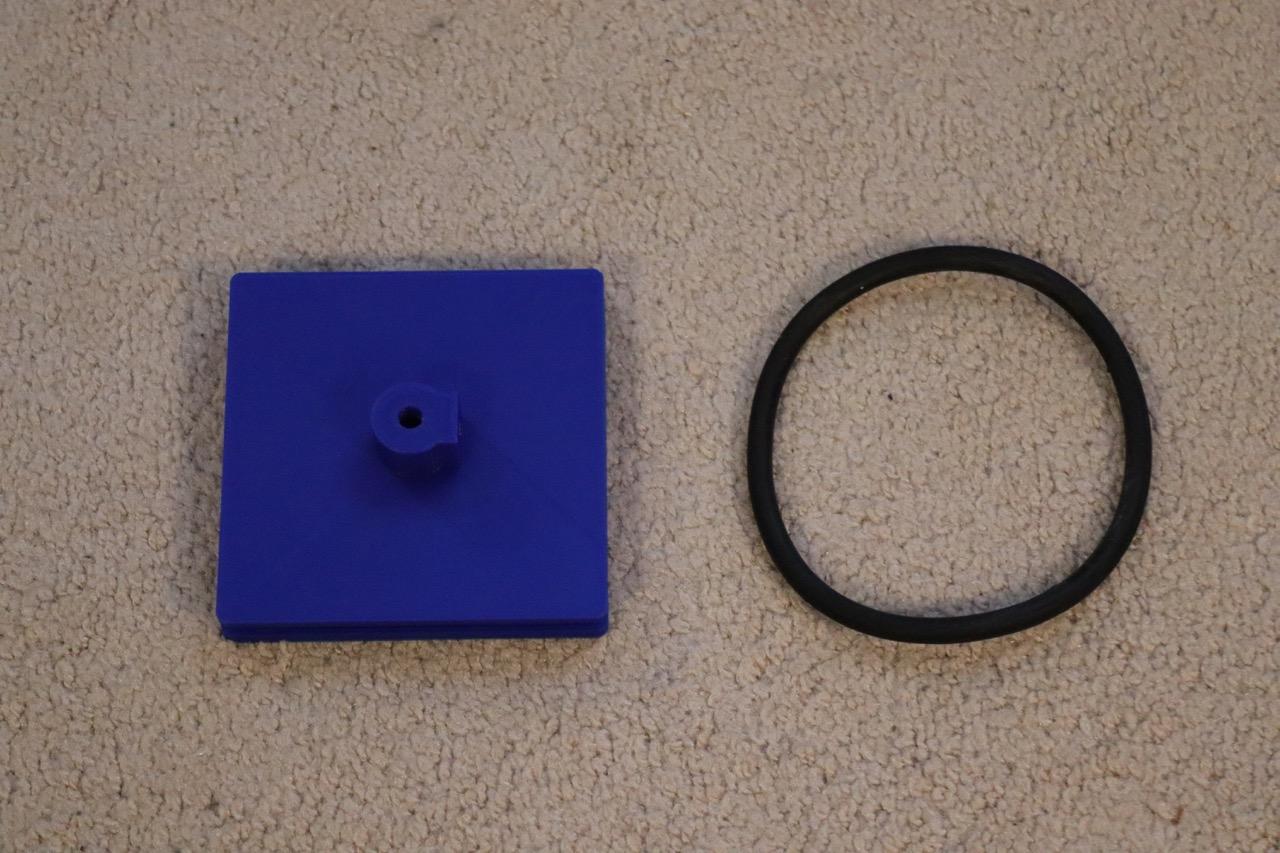
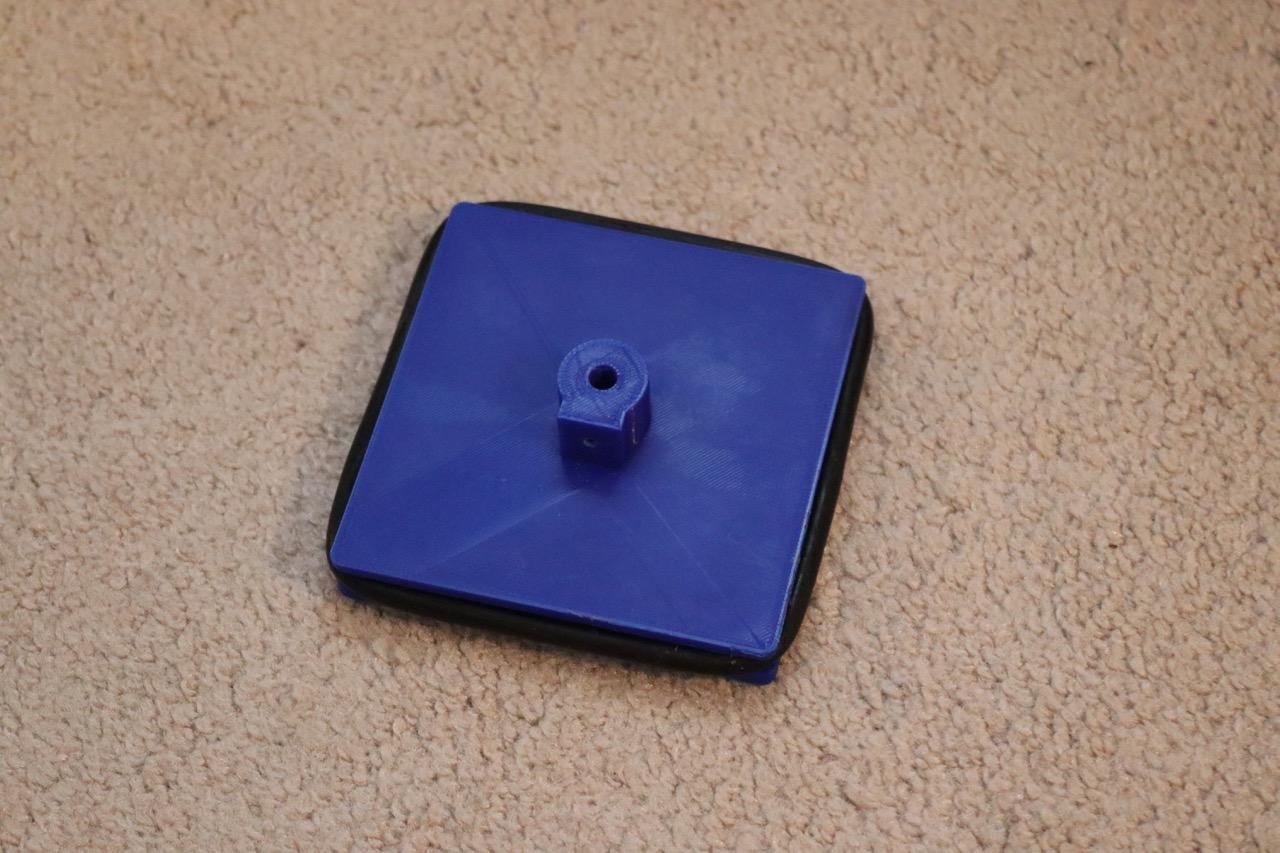
Print the square wheel and add a vacuum belt tire.
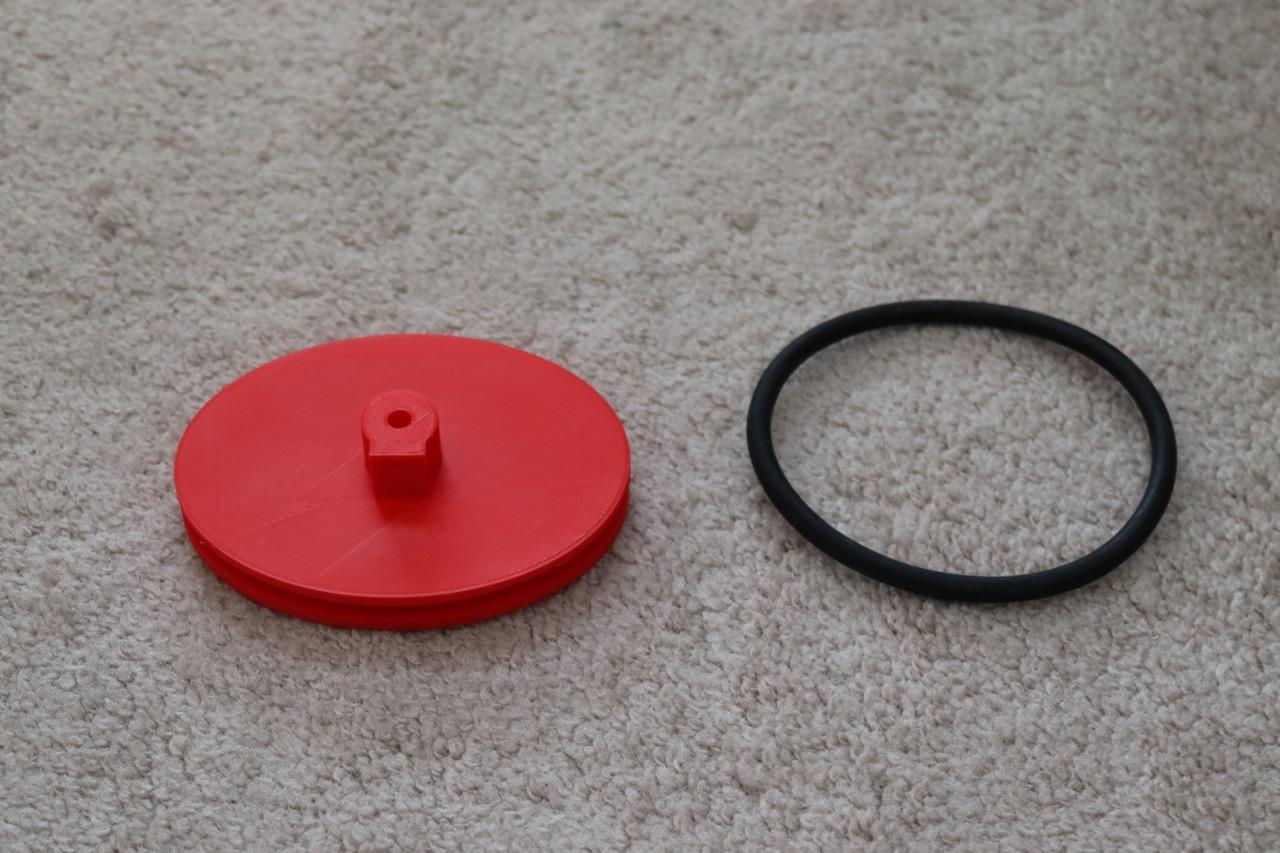
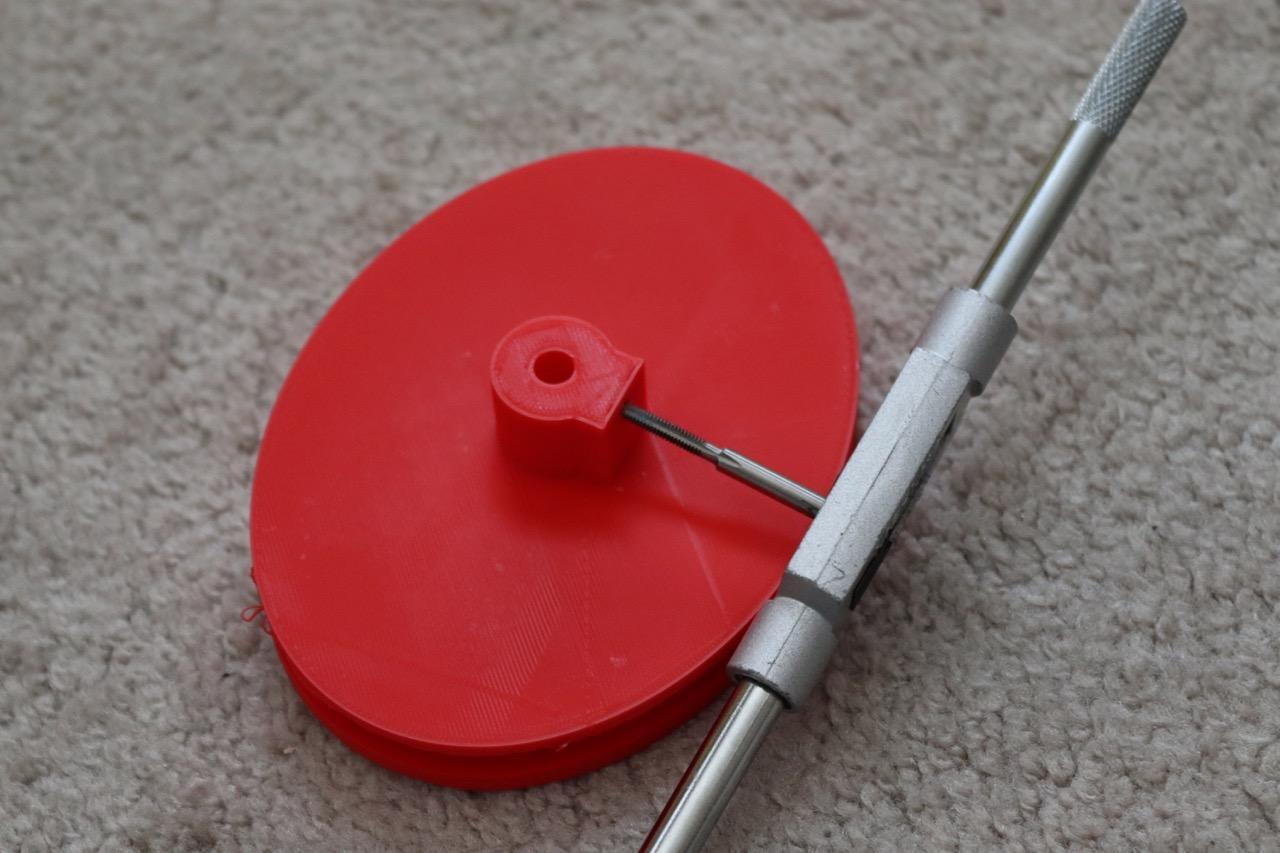
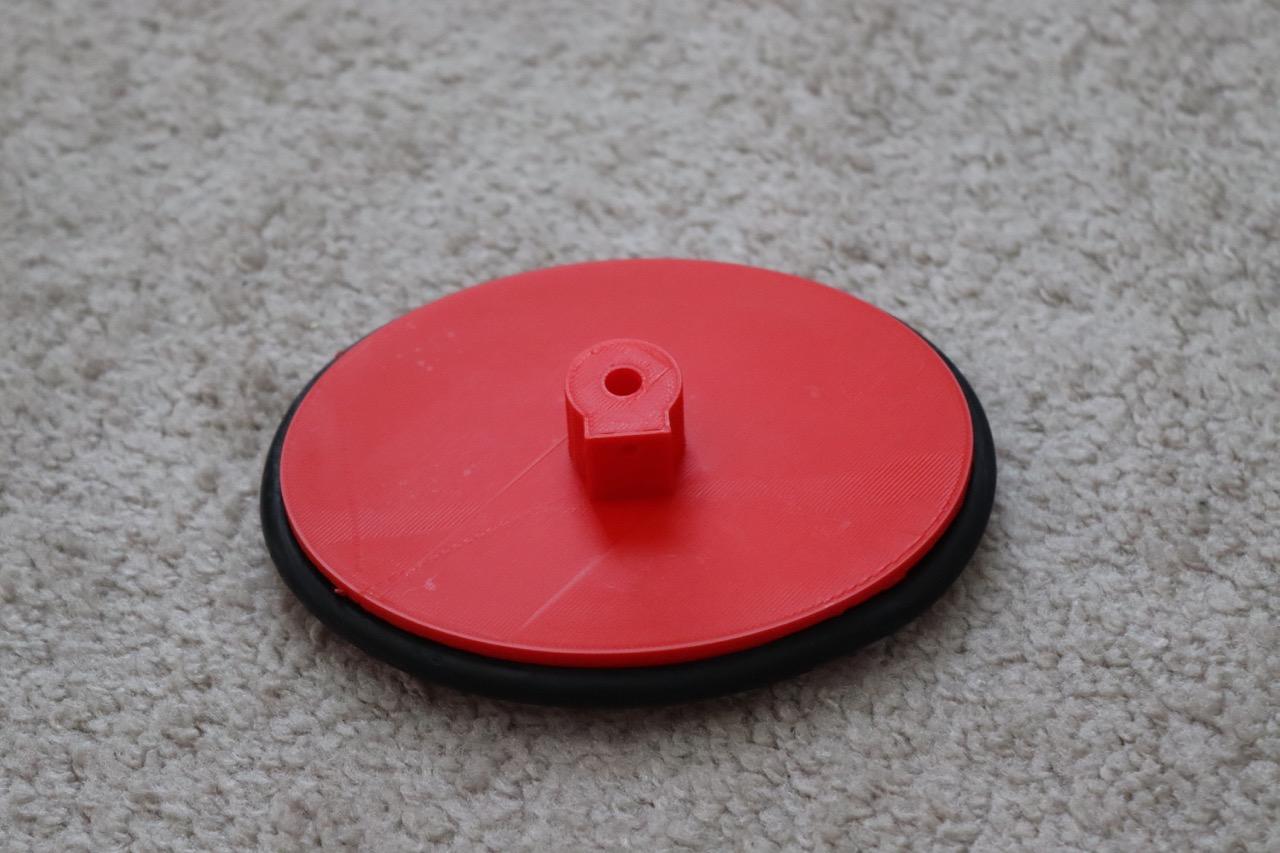
Print the elliptical wheel. Tap the hole for a 3mm screw, then add the vacuum belt tire.
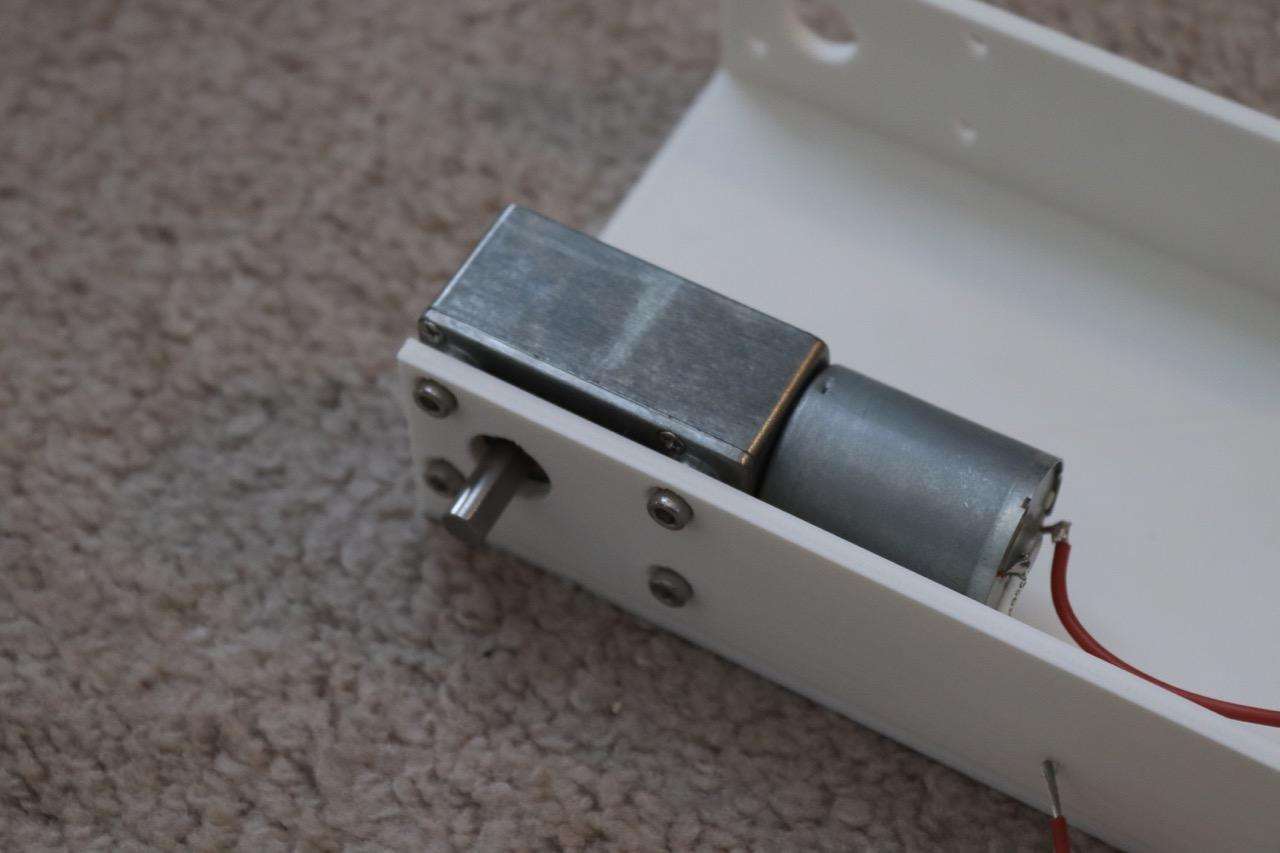
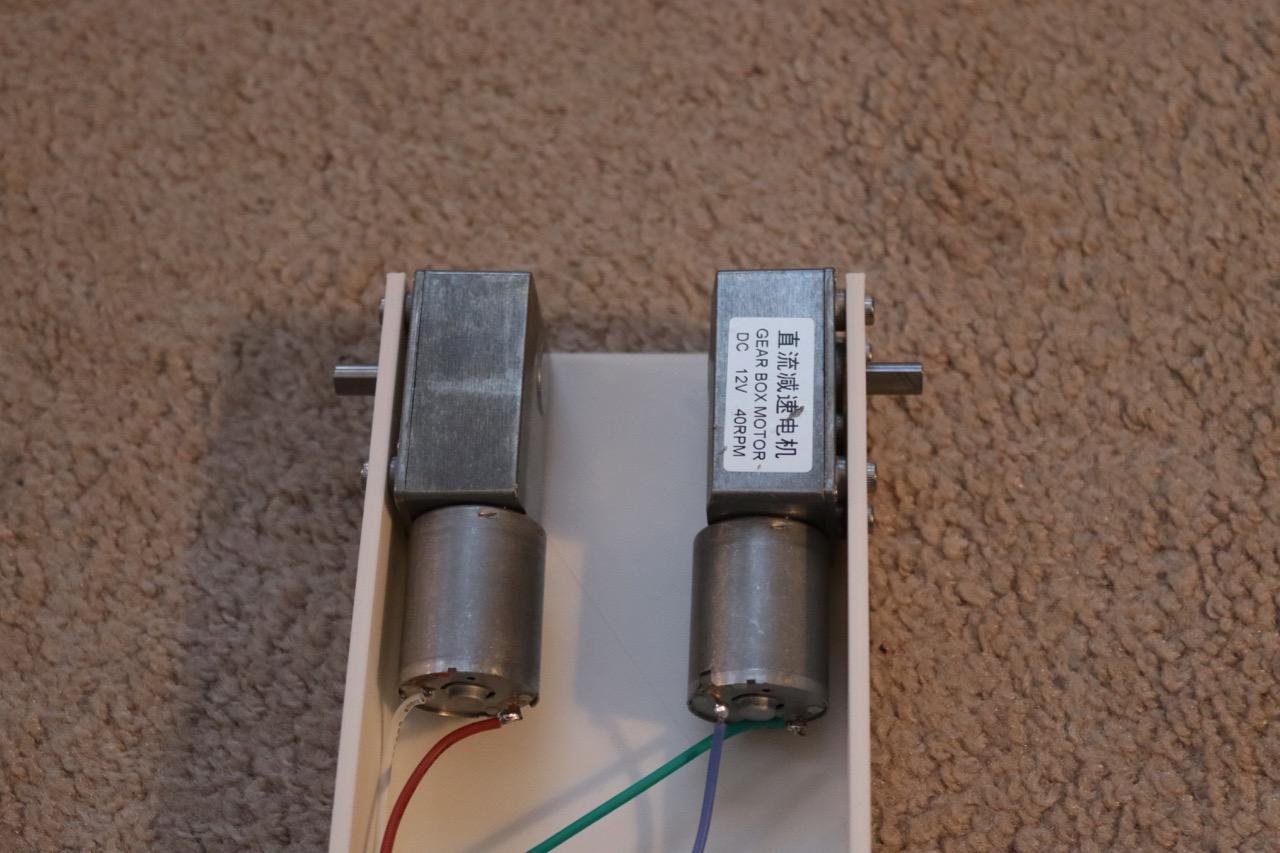
Solder wires to the motors, then (using 3 mm screws) attach the motors to the body.
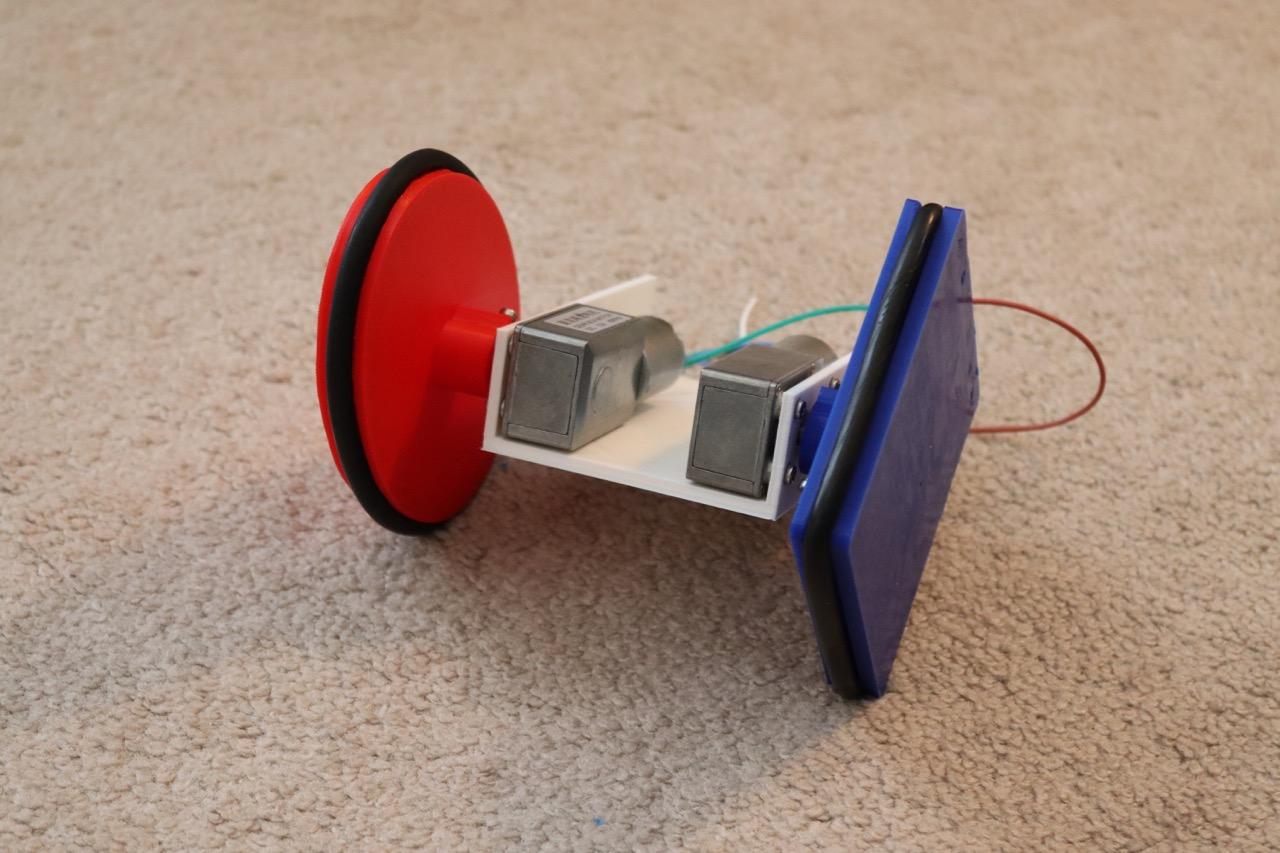
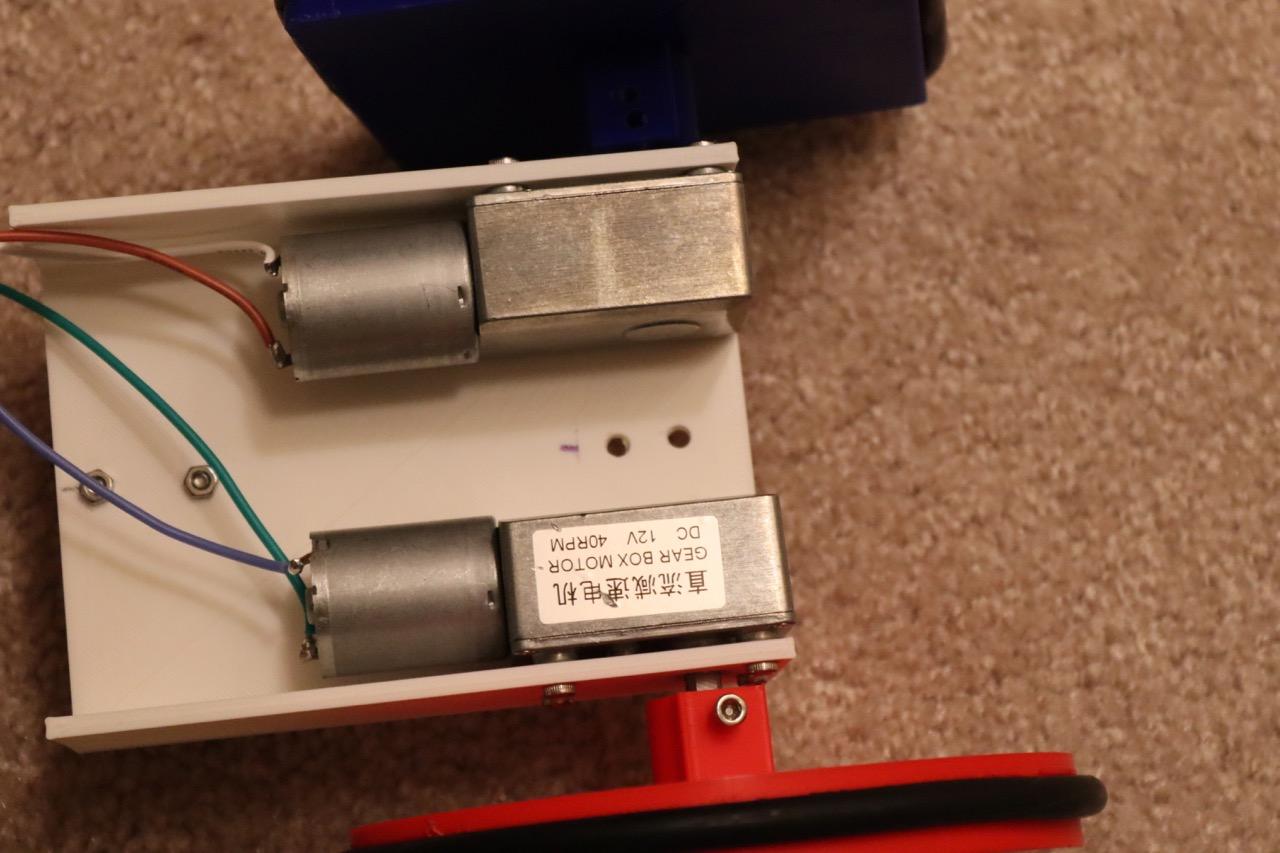
Attach wheels to the motor shafts.
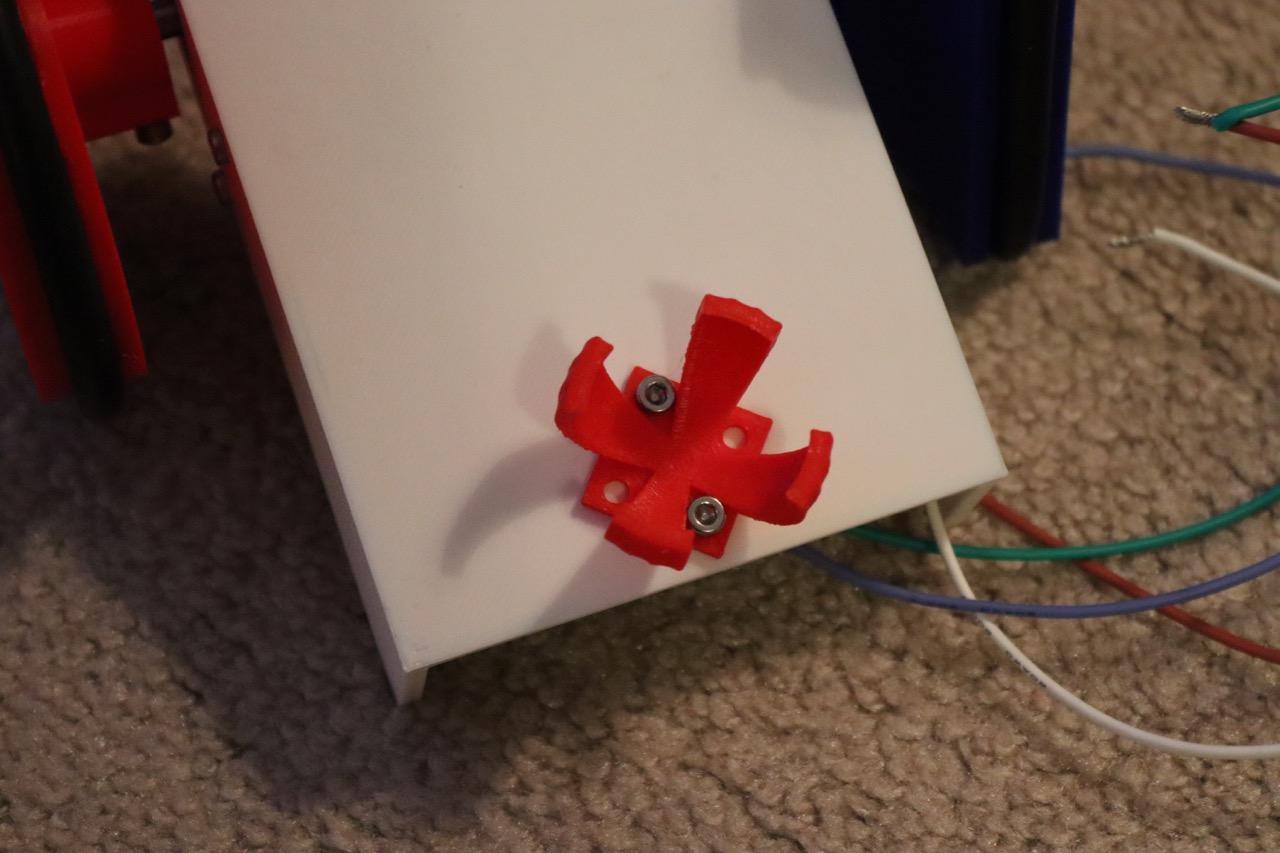
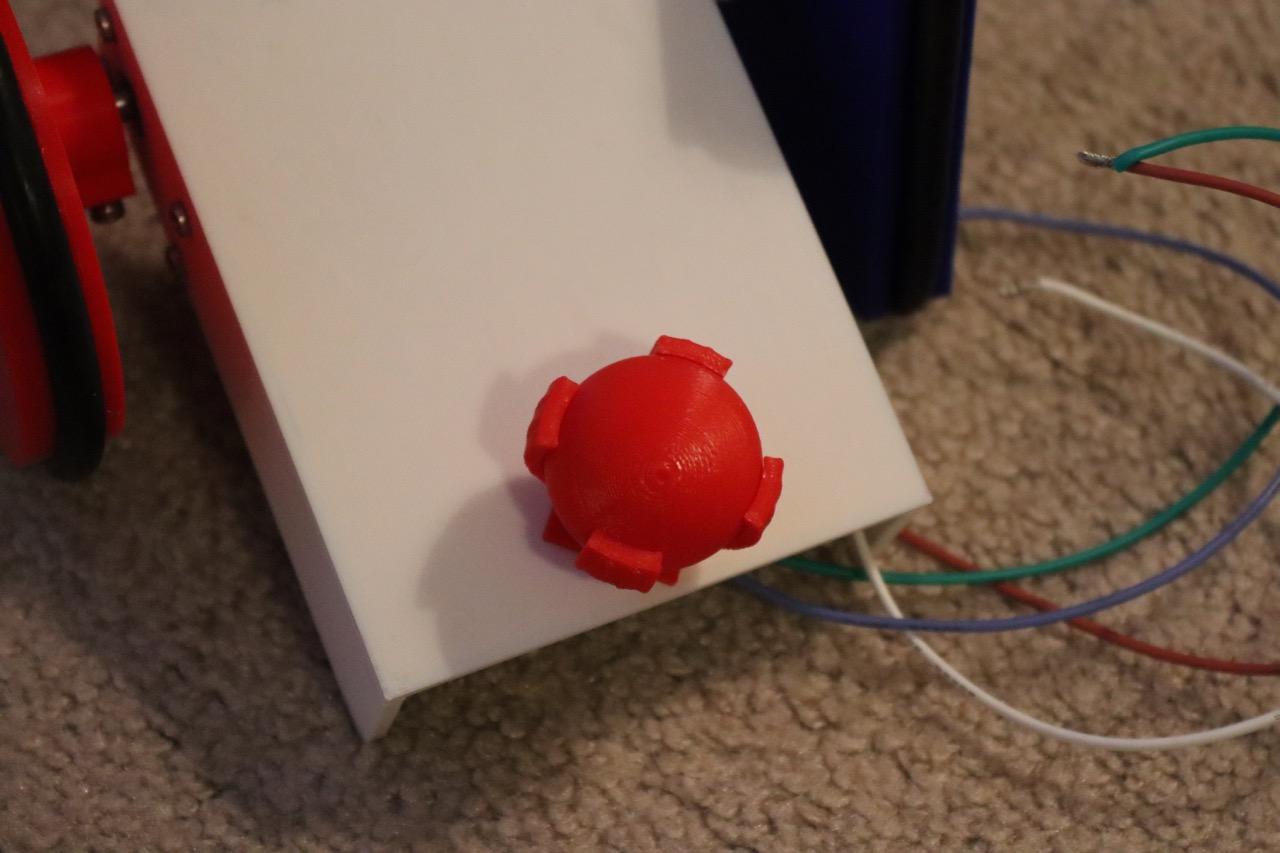
Add the caster ball to the rear.
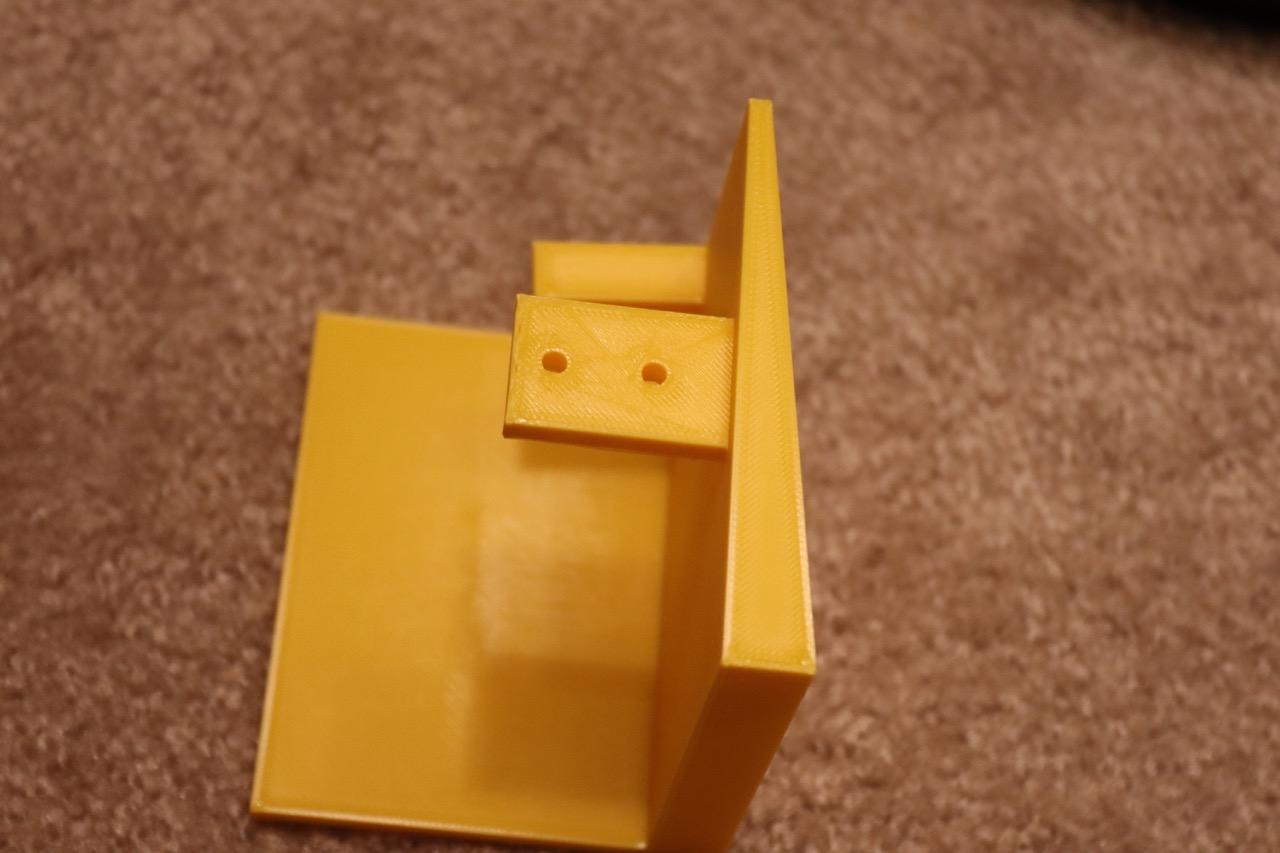
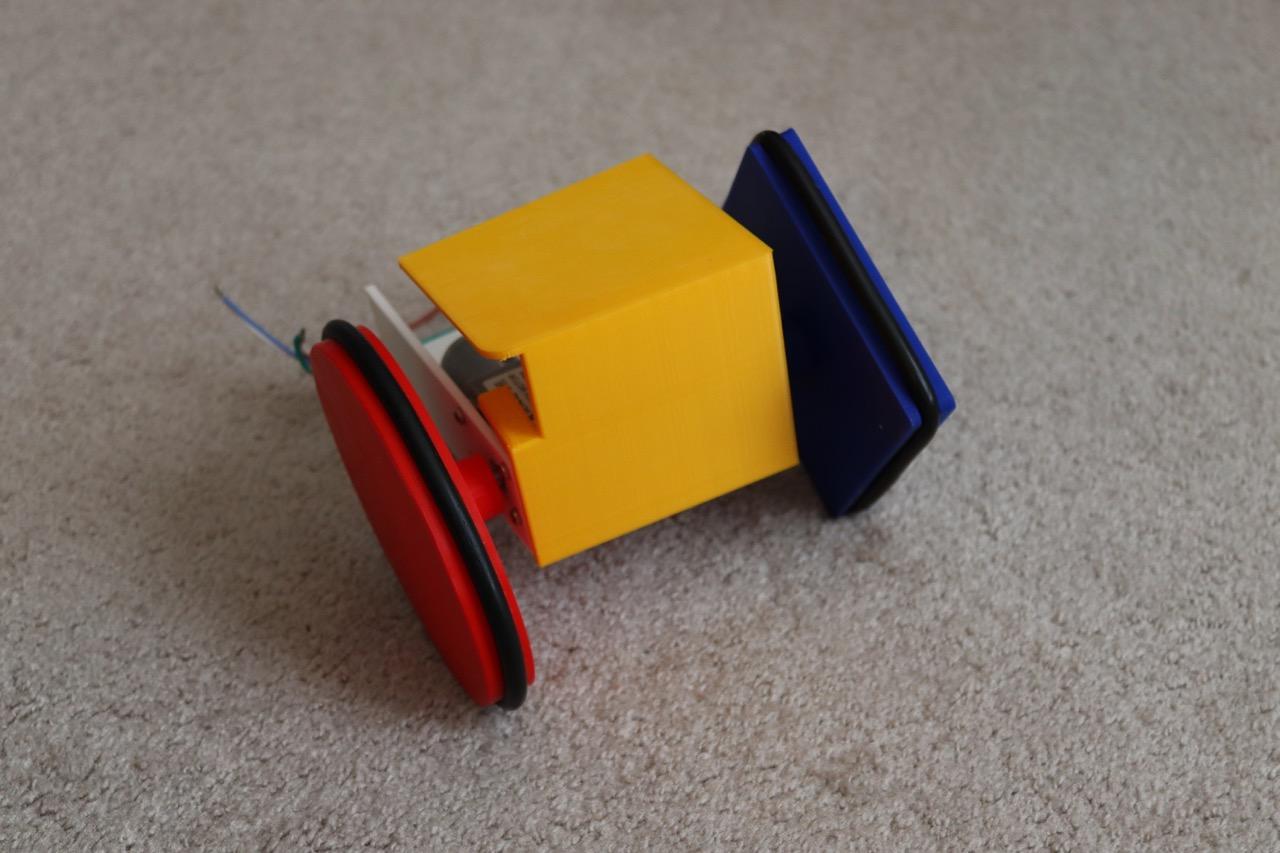
Using 3mm screws, attach the face to the body.
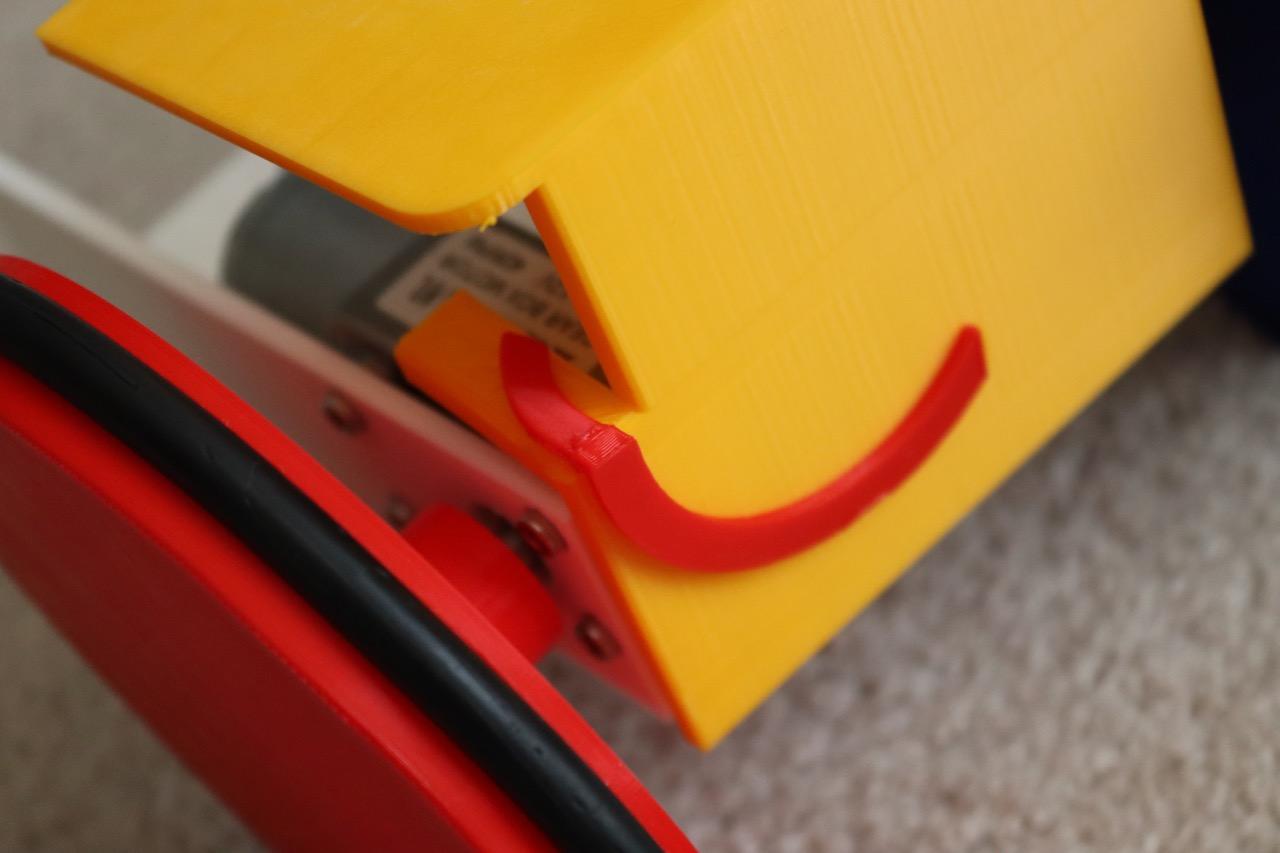
Glue (or melt with a soldering iron) the smile to the face.
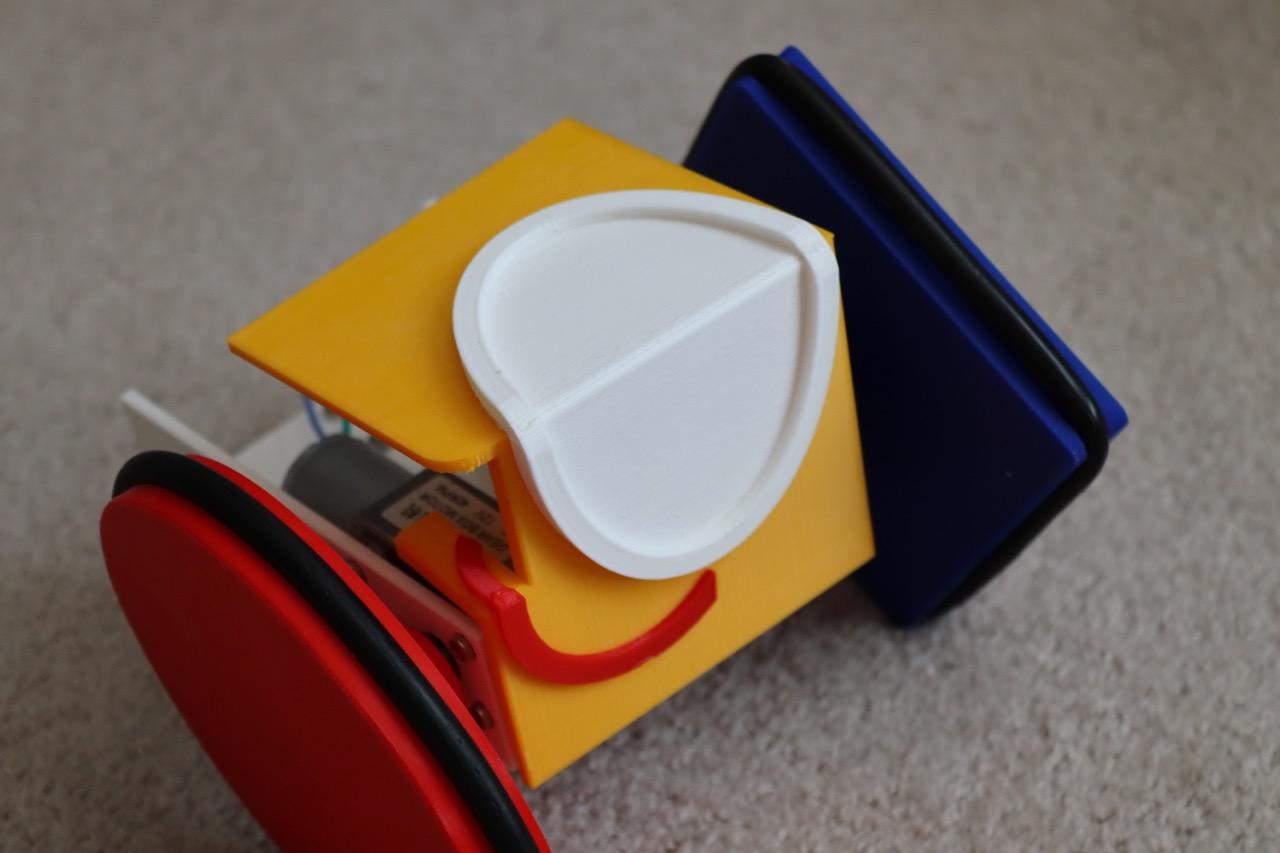
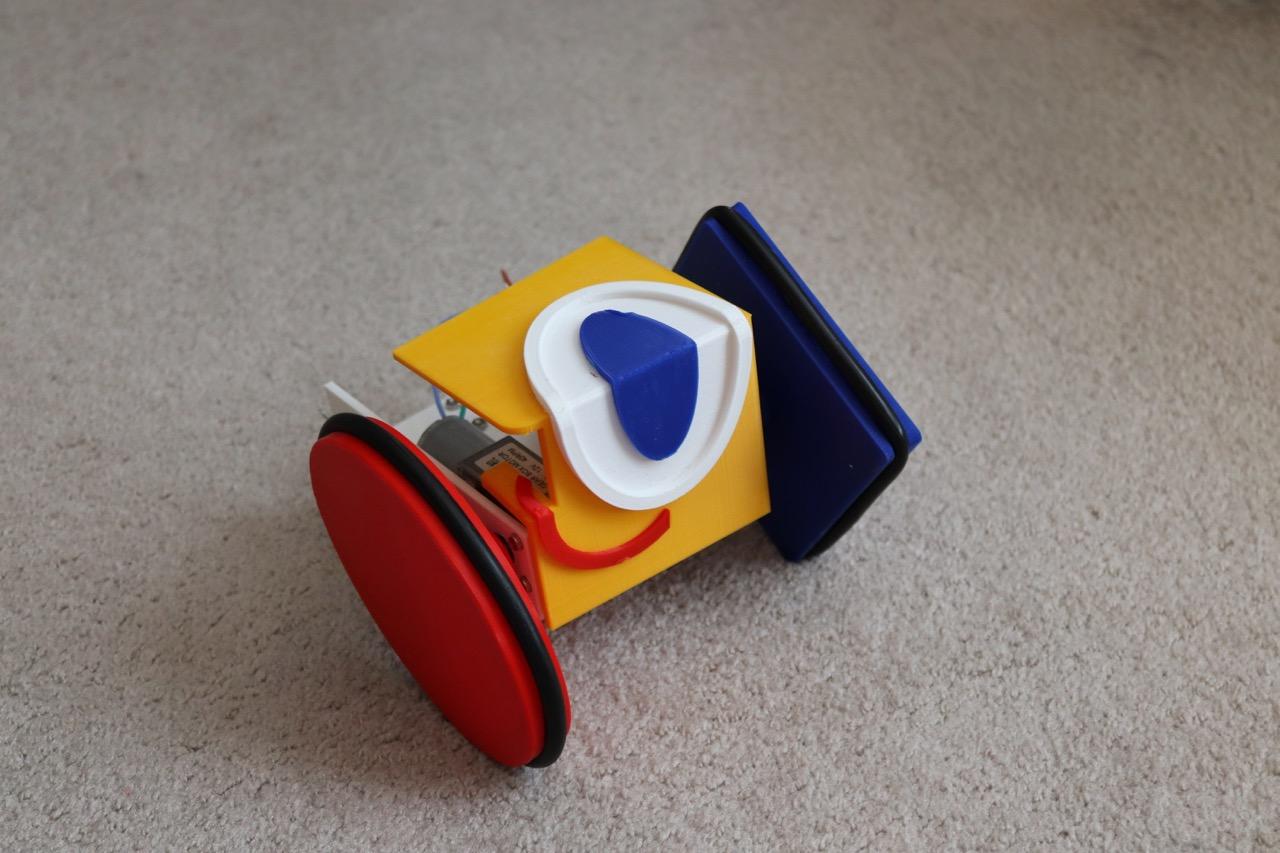
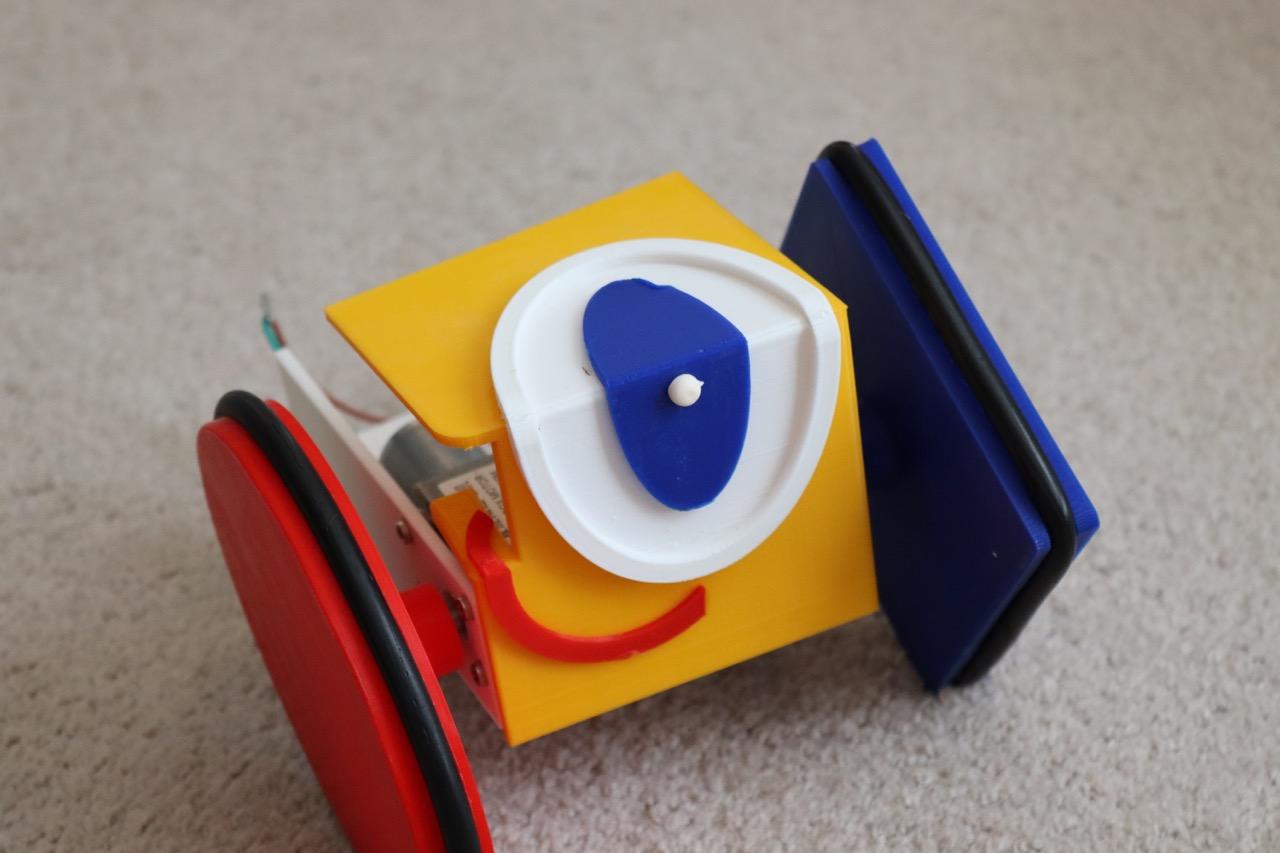
Add the eye, eye center and eye dot.
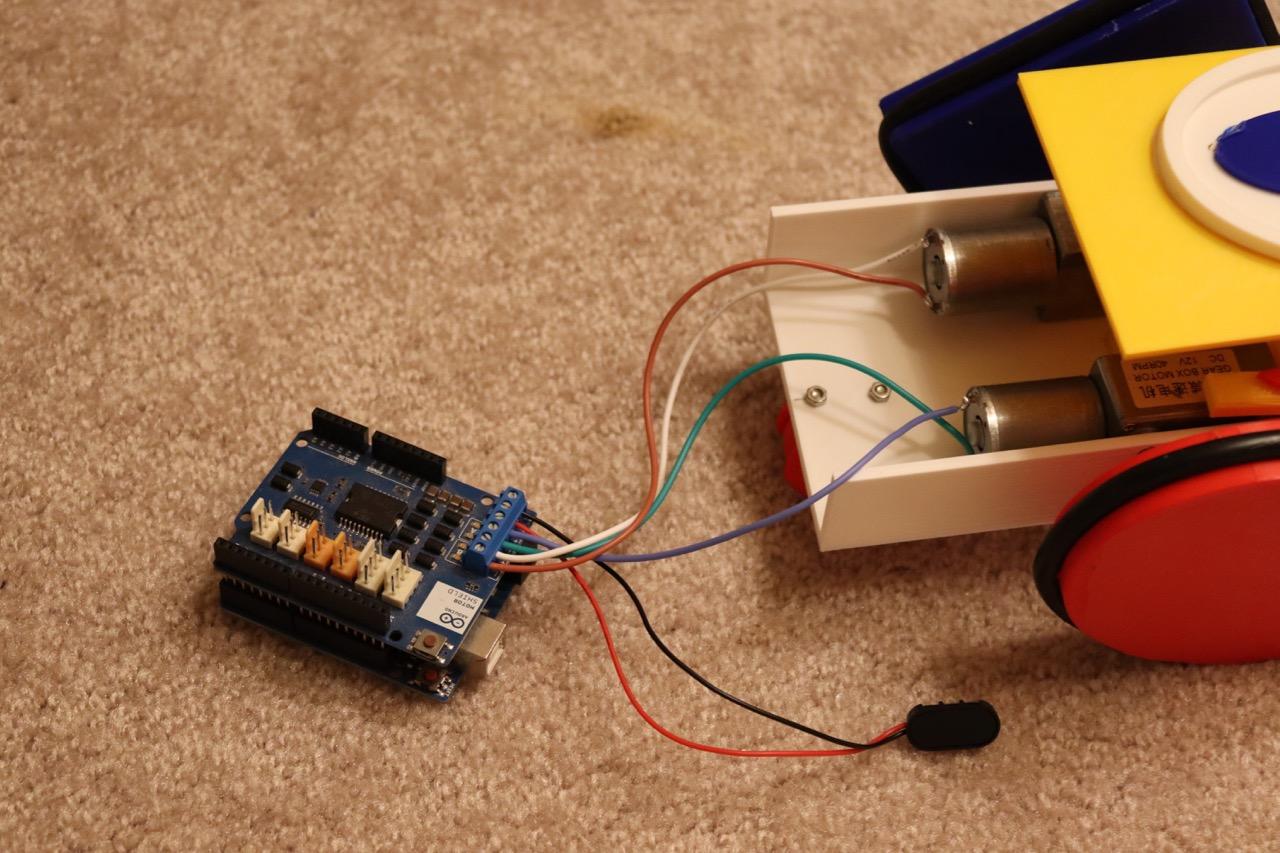
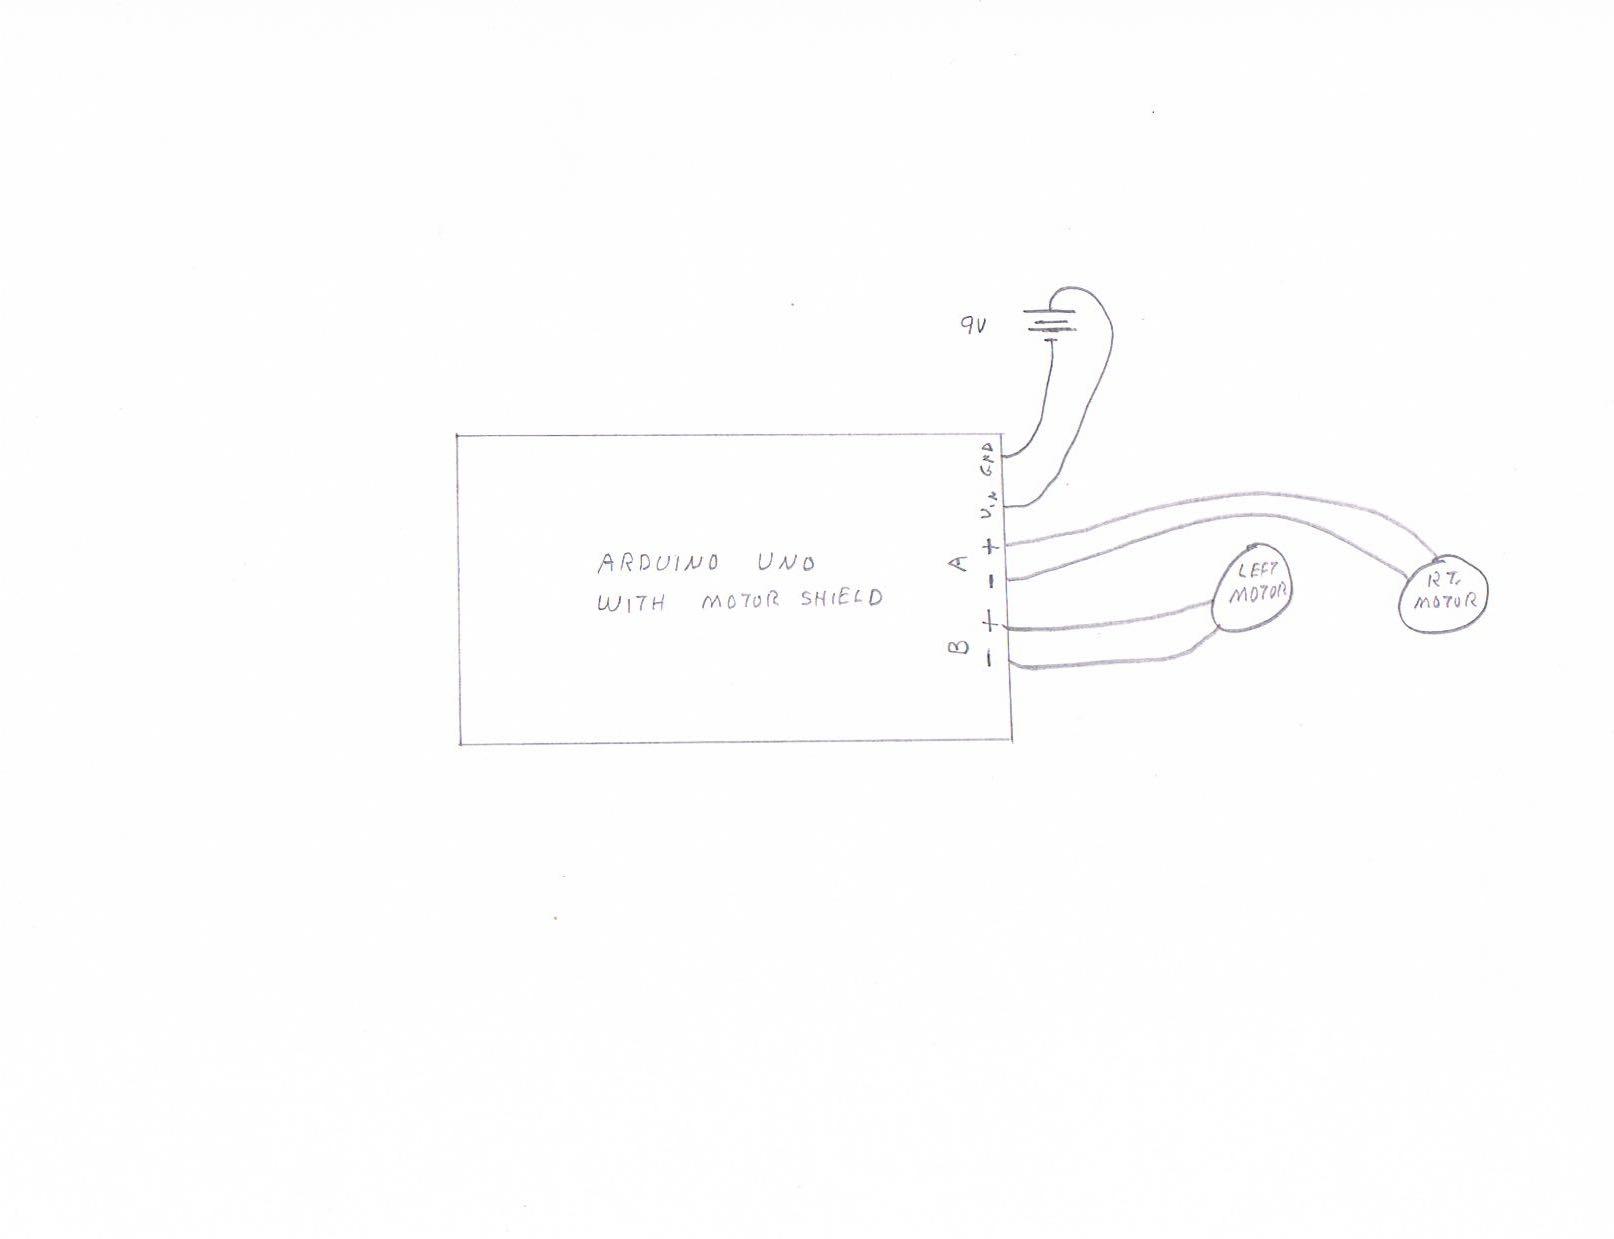
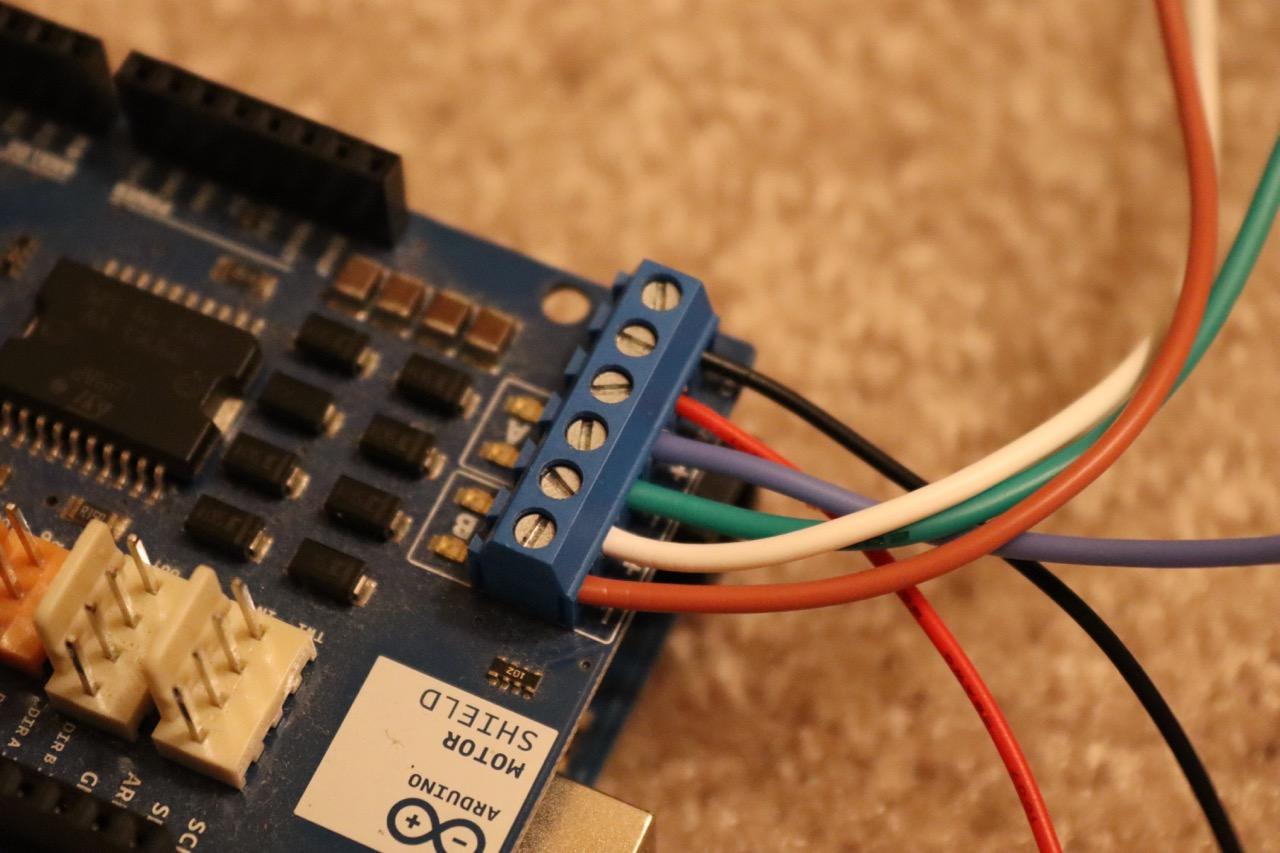
Attach the wires according to the schematic. Load the program into the Arduino.
Downloads
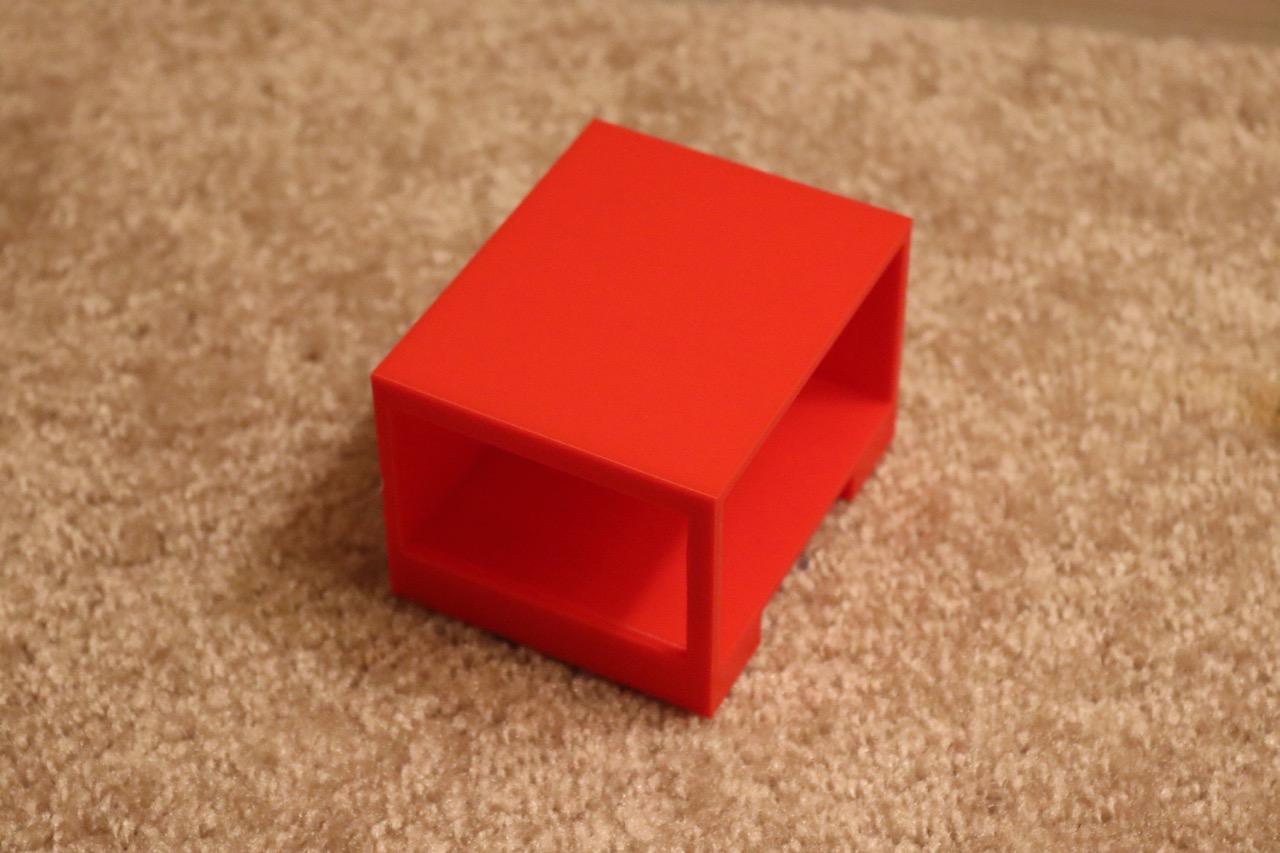
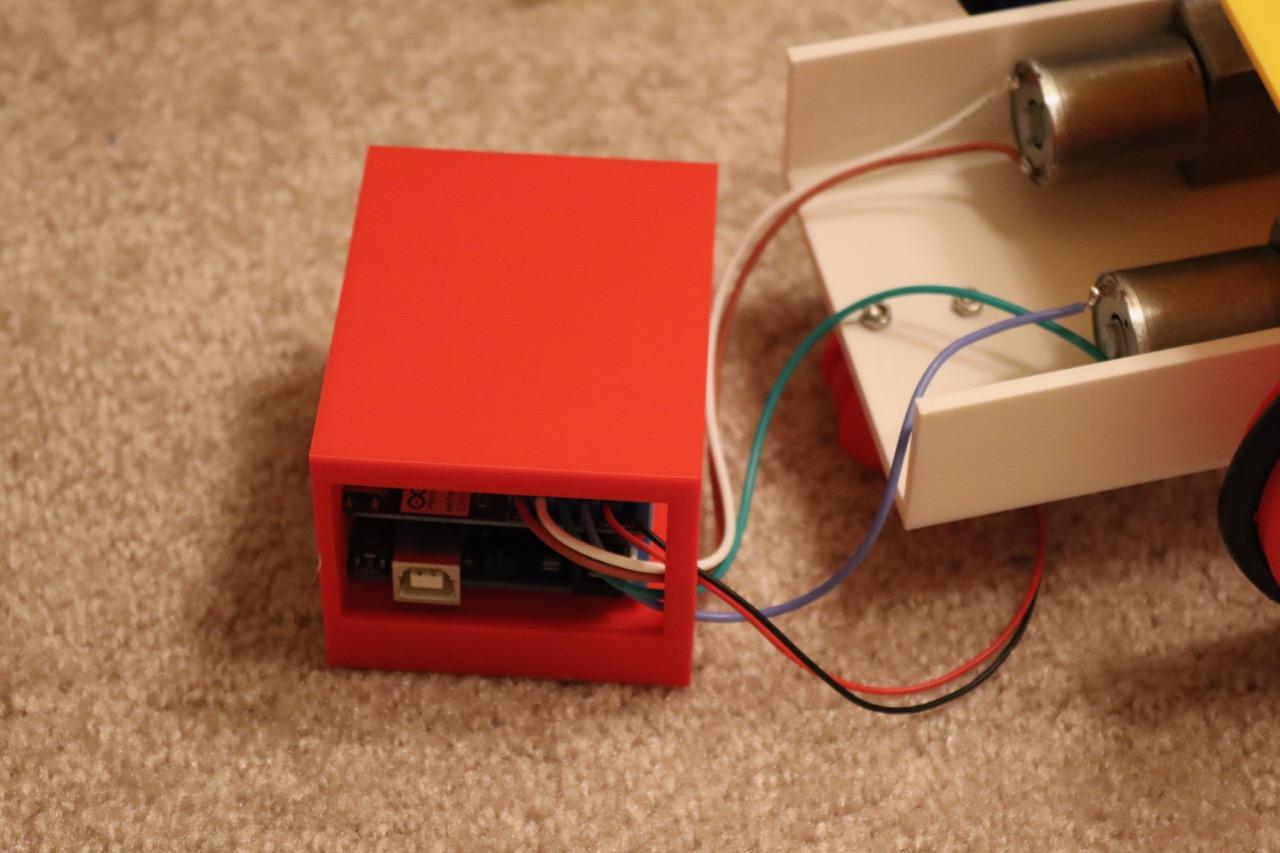
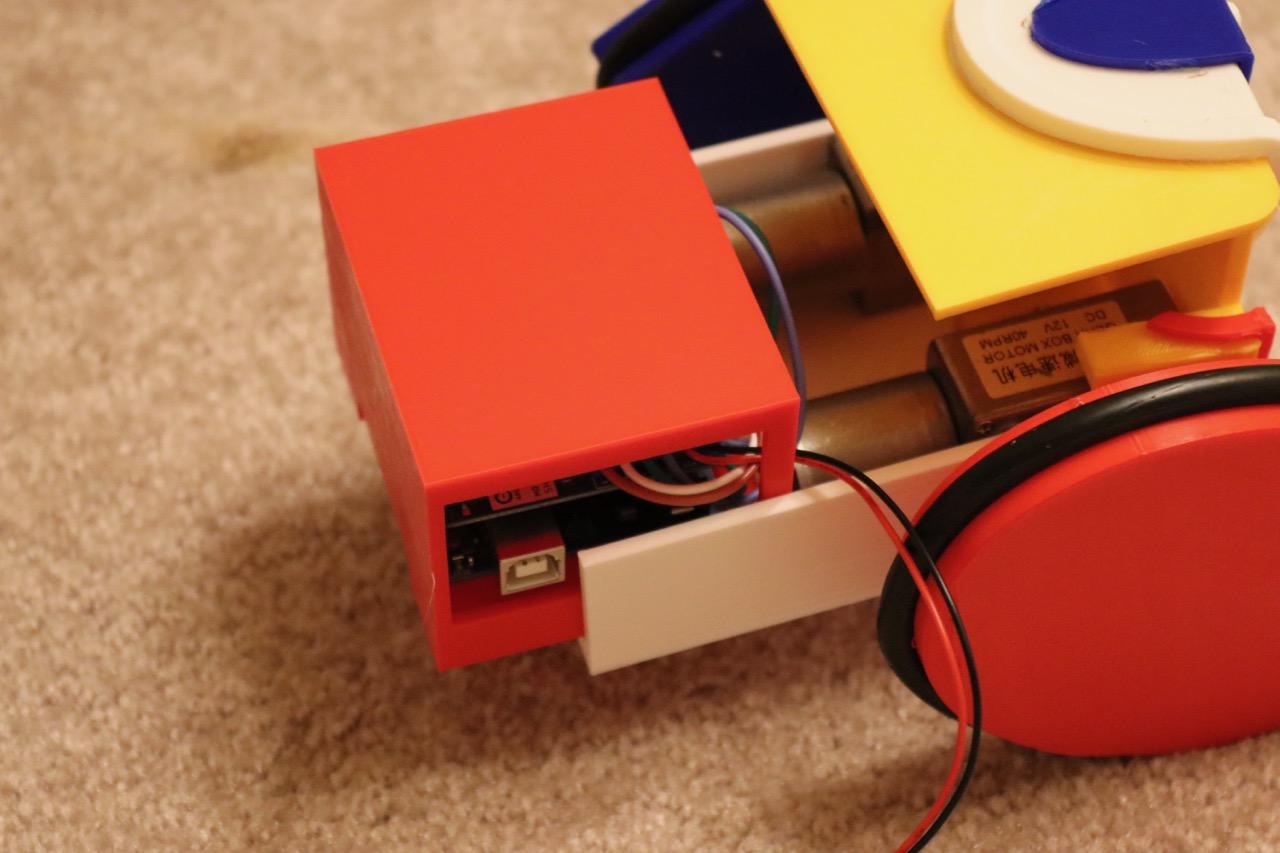
Place the Arduino in the Arduino holder and press to the back of the robot's body.
To operate, insert a 9 volt battery. Five seconds after the battery is installed, the Arduino will check the current going to the motors (be sure the robot is running free and unobstructed at that time). If the current increases (wheels are binding against an obstacle), the robot will back up and try to move in a different direction. After 20 seconds of "no obstacle," the robot will change directions.