Building a Simple Circuit With the Spark Core!
by Louisville Public Library in Circuits > LEDs
1741 Views, 14 Favorites, 0 Comments
Building a Simple Circuit With the Spark Core!
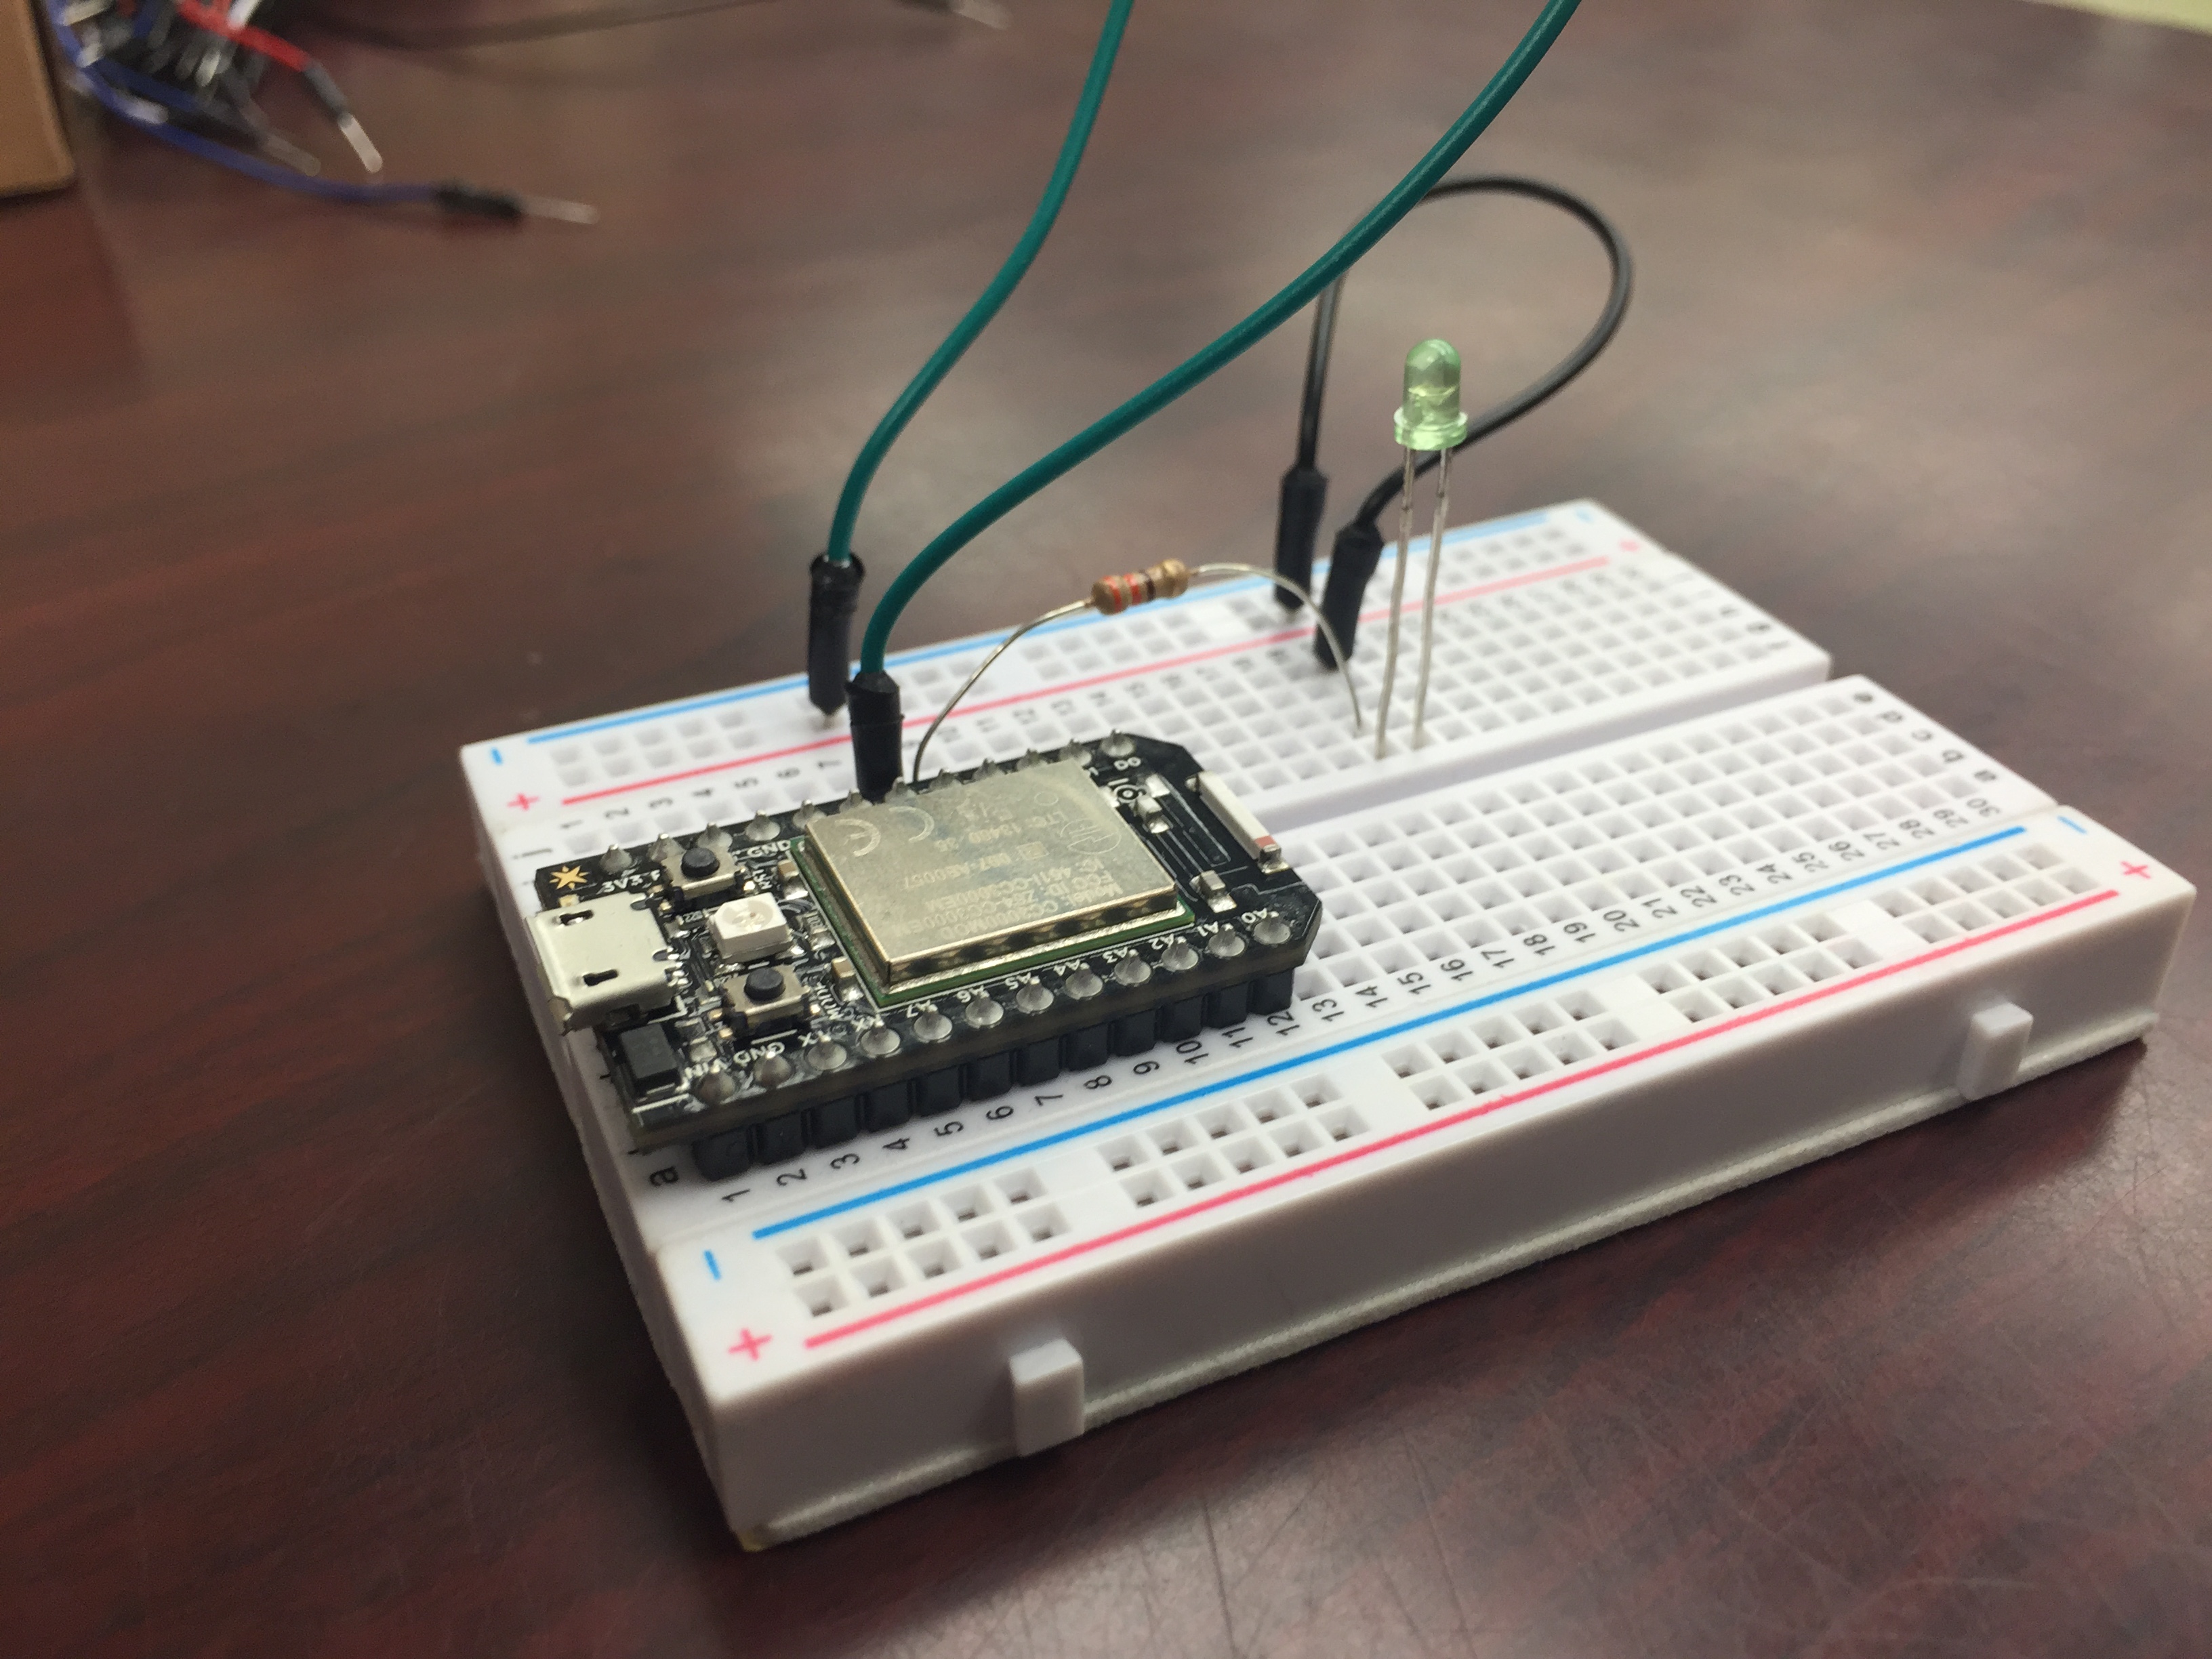
We were able to create a wireless circuit that was will blink an LED using the Spark Core!
You Will Need Some Materials...
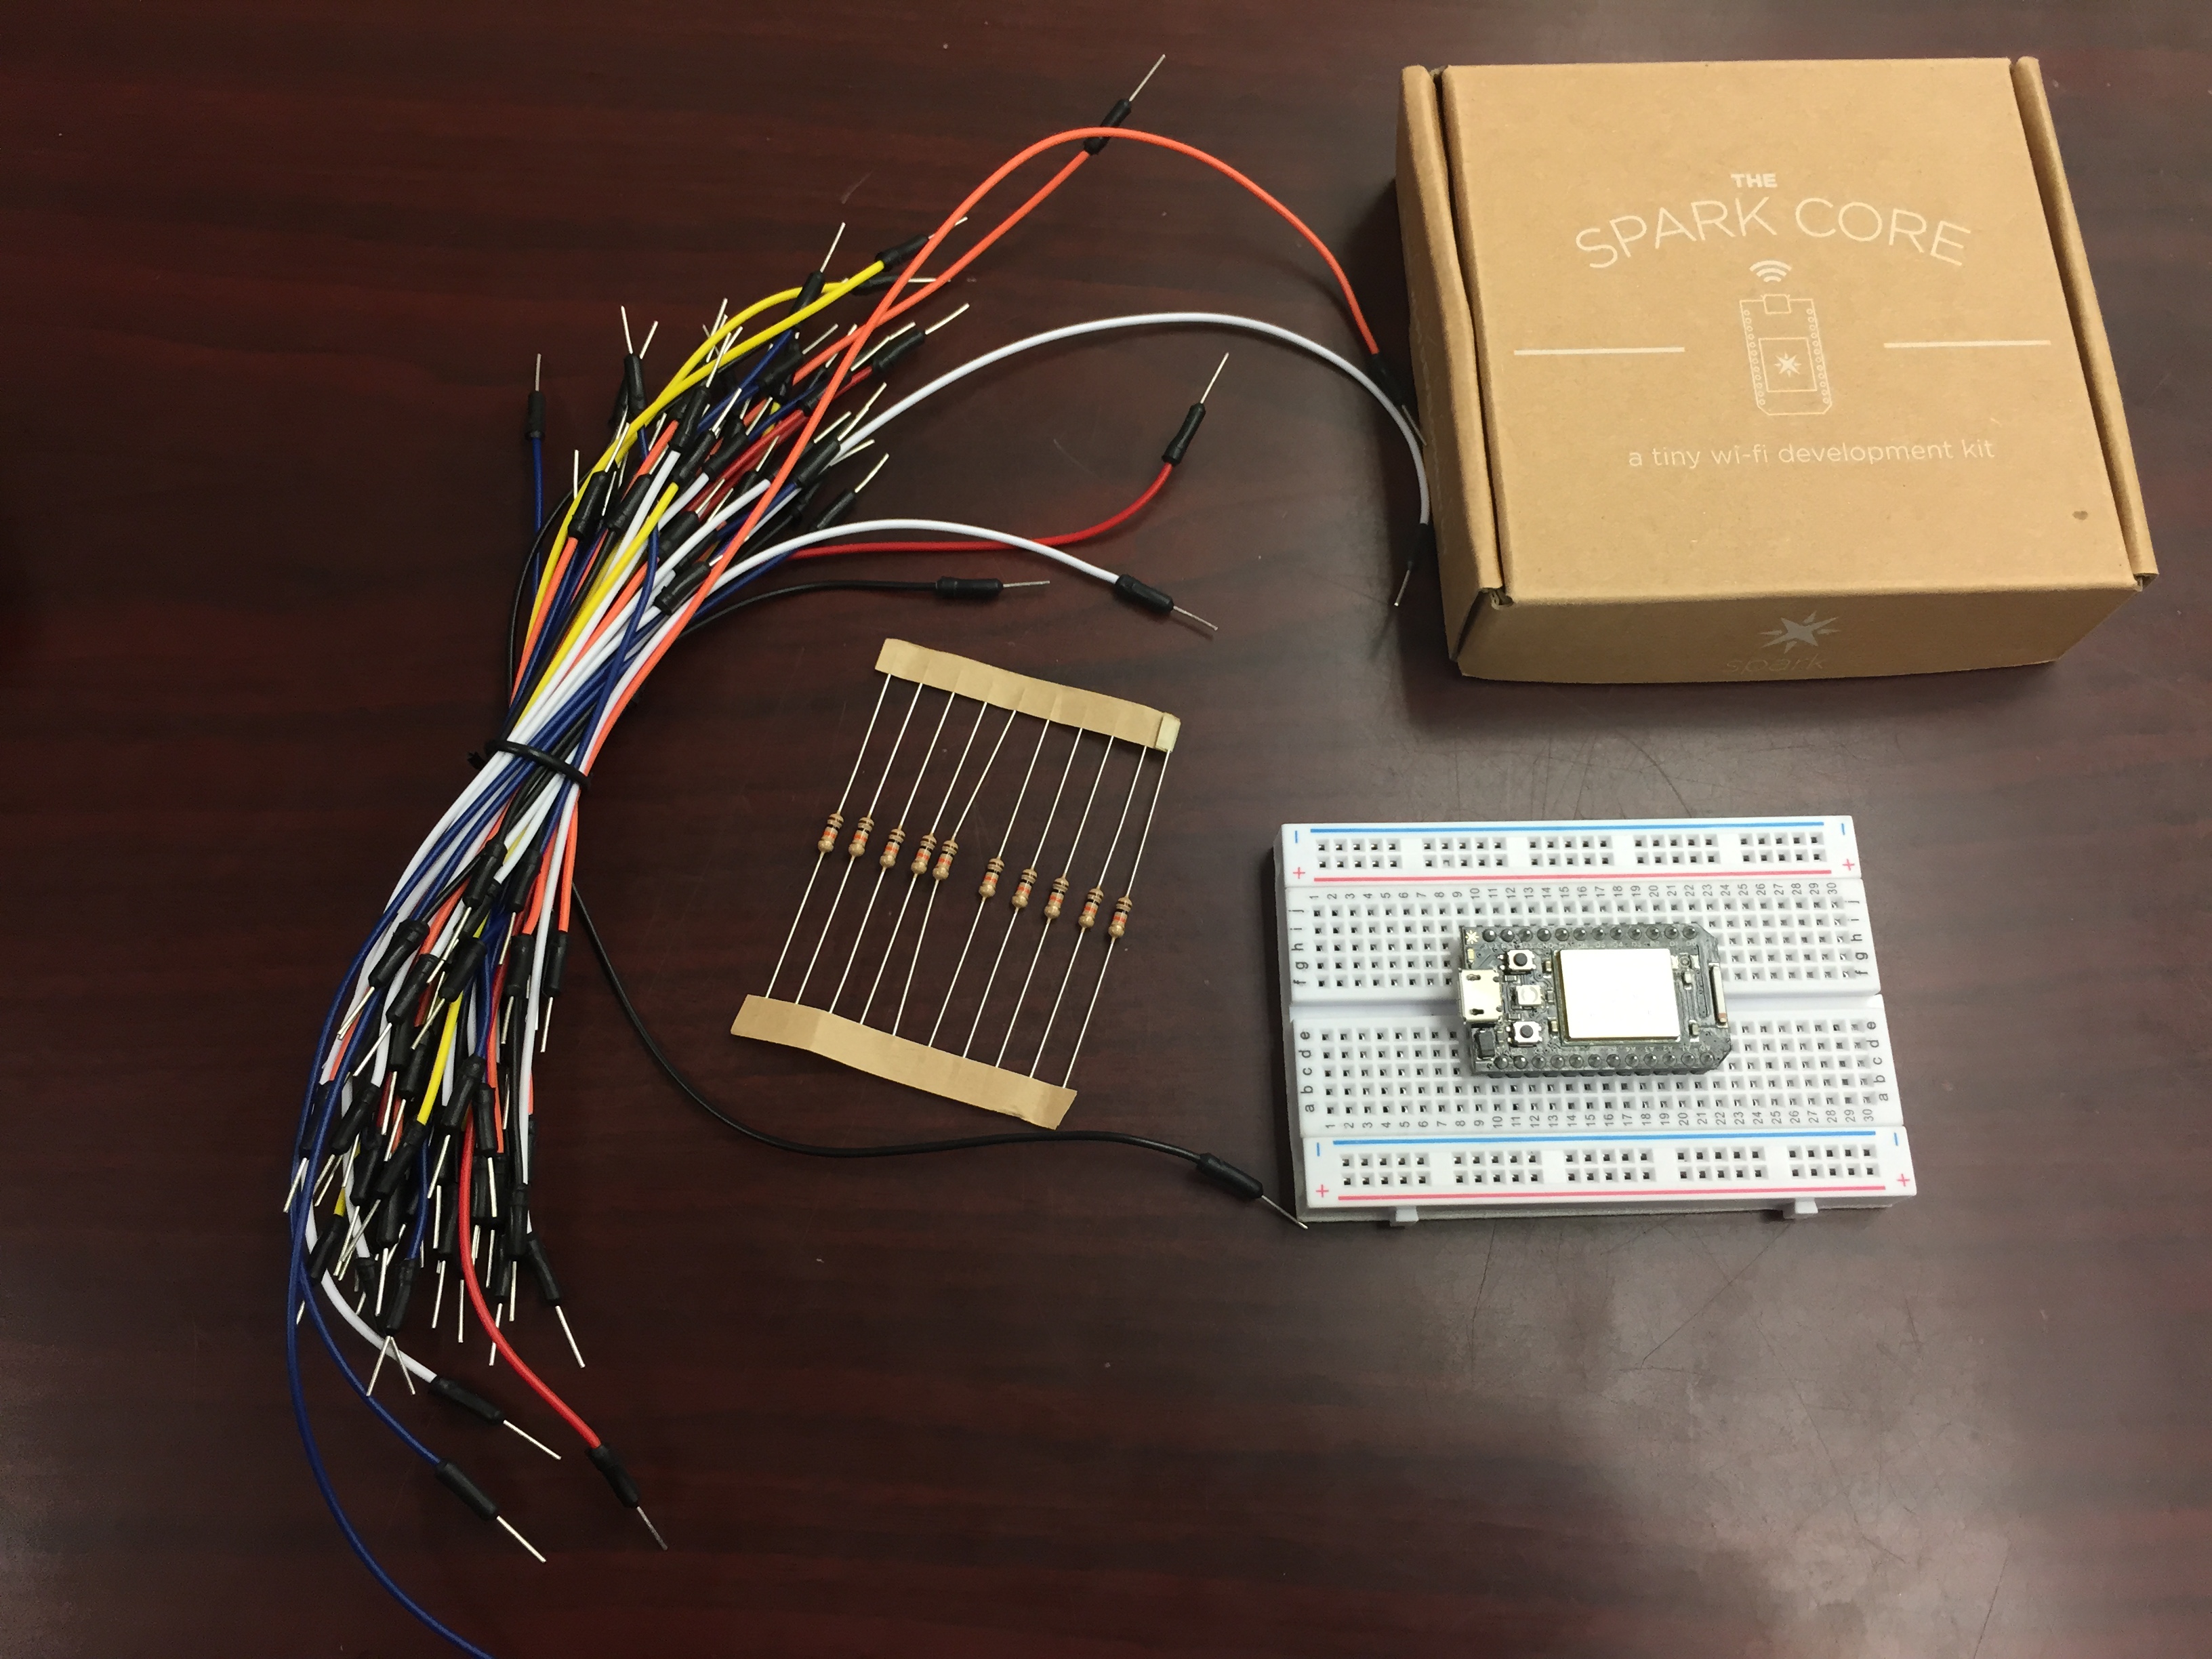
-Spark Core
-Solderless Bread Board
-LED Bulb
-Resistor
-Wire
-Power Source For The Core
-Device To Control Core (We used a Samsung Tablet with the Spark App.)
Plug Your Core Into the Bread Board.
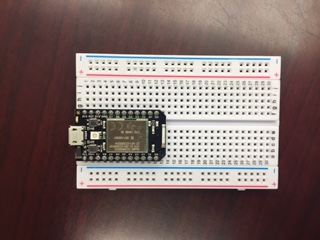
Place the Spark Core in the upper left hand of your bread board.
Plug the Resistor Into the Bread Board.
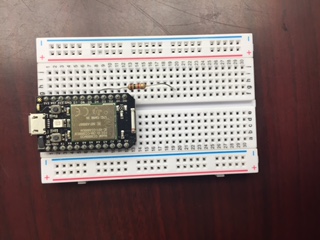
Place one end of the resistor in the G8 slot of your bread board. (This will make it so the D4 header of the Core will control the circuit.) Place the other end of the resistor in the G19 slot of the board.
Placing the LED in the Board.
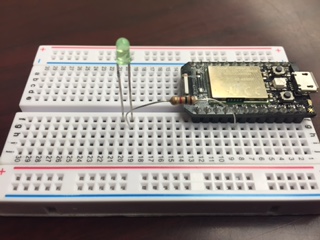
Place the longer stem of the LED bulb in the F19 slot of the board. Make sure that you are using the correct stem (Longer) in this slot. If you use the shorter stem, this will not complete the circuit. This will make it so the shorter stem is located int the F20 slot of the bread board.
Wiring the Bulb Back to the Ground of the Core.
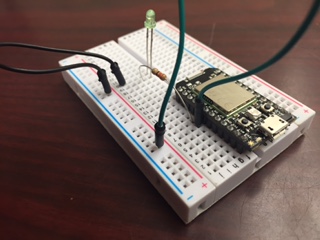
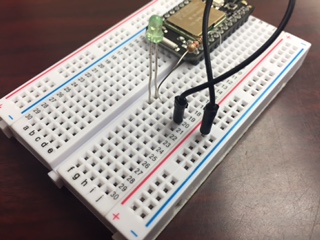
Place your first wire anywhere on the 20th row of your bread board. Make sure that it is located on the same half of the board as your LED bulb. With the other end of the wire, place it anywhere on the red positive strip of the board. (Color coded with a red line and a + symbol at the top of the board.) Now with a second wire, place one end anywhere on the positive strip of the board. Place the other end of this wire next to the ground header of the core. (Labeled GND on the top of the core.) This will complete the circuit.
Turning the LED Bulb on and Off.
With the Spark Core plugged into a power source, connect your core to the Spark App on your electronic device. Once connected, turn the D4 pin on the core to digital write. Once this occurs, your LED bulb should switch on!
Schematic
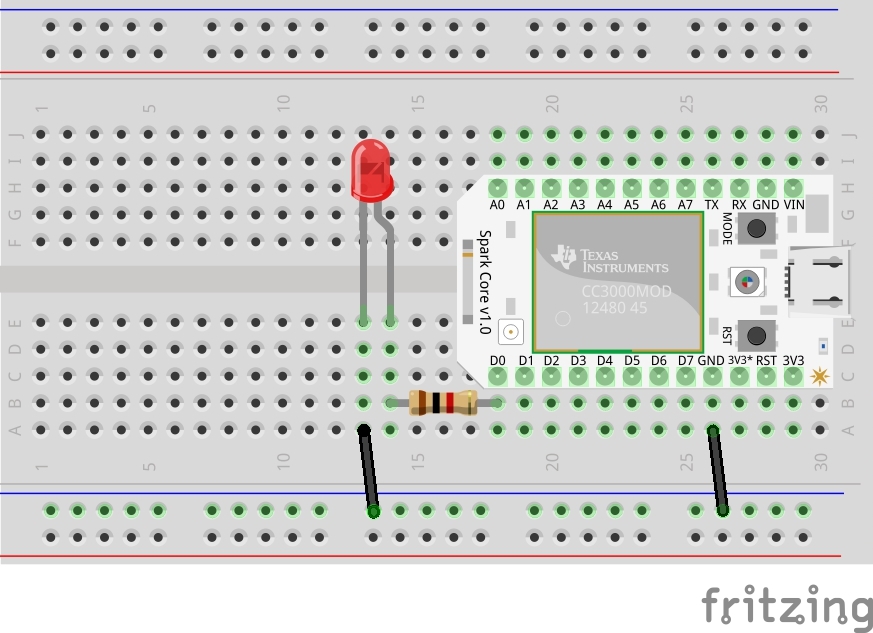
Source: http://docs.spark.io/examples/