Building a Remote BLE Interface: Access BLE Devices From Any Location
15 Views, 0 Favorites, 0 Comments
Building a Remote BLE Interface: Access BLE Devices From Any Location

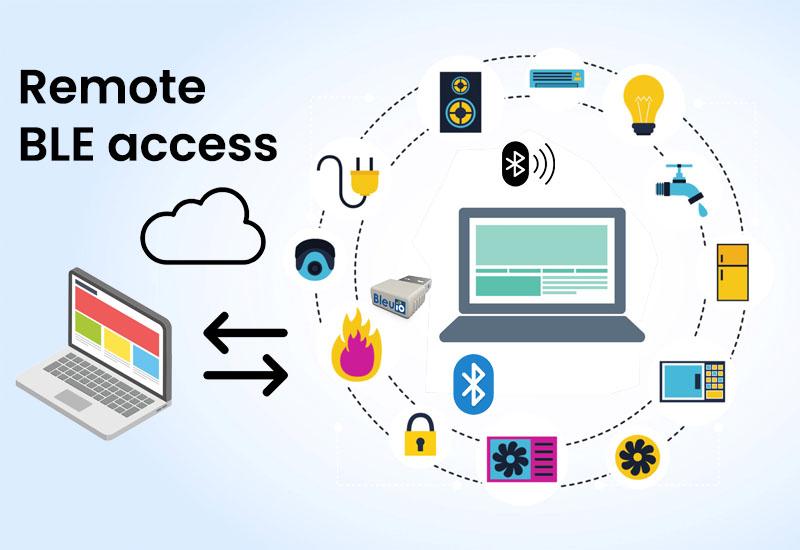
This article will discuss about accessing a Bluetooth Low Energy (BLE) device—specifically the BleuIO BLE USB dongle—from a cloud-based computer. This setup is invaluable for developers, researchers, and organizations that need to control or monitor BLE devices located in remote or hard-to-reach locations. We will explain how to set up both local and cloud servers, and how to establish a secure connection between them, allowing you to send commands and receive data from a remote BLE device with ease.
Supplies
Setting Up the Local Server With BleuIO Dongle Connected to It
Local device is where the BleuIO dongle is physically connected. We’ll set up a Node.js server that communicates with the dongle through the serial port. This server will accept commands from the cloud server and send them to the BLE dongle, then return the response.
Install Node.js (if not already installed) on Local device.
Create a project folder and initialize a Node.js project:
mkdir local_serial_server
cd local_serial_server
npm init -y
Install Dependencies:
- Install serialport to handle serial communication with the BLE dongle.Install socket.io to manage WebSocket connections.
npm install serialport socket.io
Create the Local Serial Server Script:
- Create a file named local_serial_server.js. This script will:
- Listen for WebSocket connections from the cloud server.Accept commands, pass them to the BleuIO dongle, and send back responses.
Find and Set the Serial Port Path:
In your local_serial_server.js, specify the correct serial port path for your BLE dongle (e.g., COM3 on Windows or /dev/ttyUSB0 on Linux).
Run the Local Serial Server:
- Start the server by running: node local_serial_server.js
At this point, the local server is ready, but it’s only accessible to itself. Next, we’ll use LocalTunnel to make it accessible to the cloud server.
Exposing the Local Server to the Internet Using LocalTunnel
Since local device 1 and cloud device are on different networks, we’ll need to create a public URL for the local server. There are several options to make a local server accessible publicly, including tools like ngrok, Pagekite, and LocalTunnel. For this tutorial, we’ll be using LocalTunnel as it’s free and easy to set up, but feel free to explore other solutions if they better meet your needs.
- Install LocalTunnel:
- On local device, install LocalTunnel globally npm install -g localtunnel
- Start LocalTunnel:
- Open a new terminal window on local device and run lt --port 4000
- LocalTunnel will generate a public URL (e.g., https://five-sides-live.loca.lt). This URL will allow cloud device to access the local server running on port 4000 of Local device.
- Save the LocalTunnel URL:
- Copy the URL provided by LocalTunnel. This URL will be used in the cloud server configuration on Cloud device.
Setting Up the Cloud Server on Cloud Device
In this setup, Cloud device will act as the cloud server that connects to local device’s LocalTunnel URL, allowing remote access to the BLE dongle. Cloud device can be any machine with Node.js installed—located anywhere, such as a remote computer in New York. You could also deploy this server on a cloud platform like Heroku, Replit, or Vercel for persistent access.
For simplicity, in this example, we’ll demonstrate how to set up the cloud server on another computer running Node.js, not connected to the same network as local device.
Create a Project Folder on cloud device and Initialize Node.js:
Open a terminal or command prompt on cloud device and create a folder for the cloud server mkdir cloud_serial_server
cd cloud_serial_server
npm init -y
Install Dependencies:
You’ll need express to serve the front-end pages and socket.io to manage WebSocket communication.
Install socket.io-client to allow the cloud server to connect to the LocalTunnel URL created on Local device
npm install express socket.io socket.io-client
Create the Cloud Server Script: In the cloud_serial_server folder, create a file named cloud_server.js. This script will Connect to the LocalTunnel URL (generated by Local device) and forward BLE commands to the local server.Serve the front-end pages (index.html and page2.html) for interacting with the BLE device remotely.
Update the LocalTunnel URL in Cloud Server:
Replace the LOCAL_SERVER_URL in cloud_server.js with the LocalTunnel URL you generated on Local device (e.g., https://five-sides-live.loca.lt).
Run the Cloud Server:
Start the cloud server by running:bashCopy codenode cloud_server.js
This will start a server that listens for connections on Cloud device. You can open a web browser on Cloud device and go to http://localhost:3000 to access the front-end pages.
Access the Front-End Pages:
Open a browser and navigate to http://localhost:3000/index.html (for displaying BLE responses) and http://localhost:3000/page2.html (for sending commands).
Note: If you decide to deploy this server to a cloud platform (e.g., Heroku, Replit, or Vercel), replace localhost with the appropriate URL provided by the platform.
With this setup, Cloud device can be anywhere in the world, allowing you to control and receive data from the BLE dongle on Local device (in Stockholm) remotely.
Source code
The source code is available here at https://github.com/smart-sensor-devices-ab/remote_bleuio.git
Output
This tutorial demonstrates the potential of combining Node.js, BLE technology, and tunneling services for remote BLE access. The BleuIO dongle’s compatibility and simplicity make it an excellent choice for developers interested in building BLE applications across various operating systems.