Building a Discreet Smarthome Status Visualization With Shelly and OpenHAB
by 4vy in Circuits > Soldering
1186 Views, 2 Favorites, 0 Comments
Building a Discreet Smarthome Status Visualization With Shelly and OpenHAB


A friend once asked me about the most useful usecase that I've implemented in my smarthome. I answered him that it is not the most complicated, but the simplest one. In this tutorial I gonna explain it to you and show you how to build your own one. But let's first start with two questions:
- How often did you forget to switch off all lights before going to bed and realized it next morning?
- How often did you forget to close a window over night and woke up in a freezing apartment?
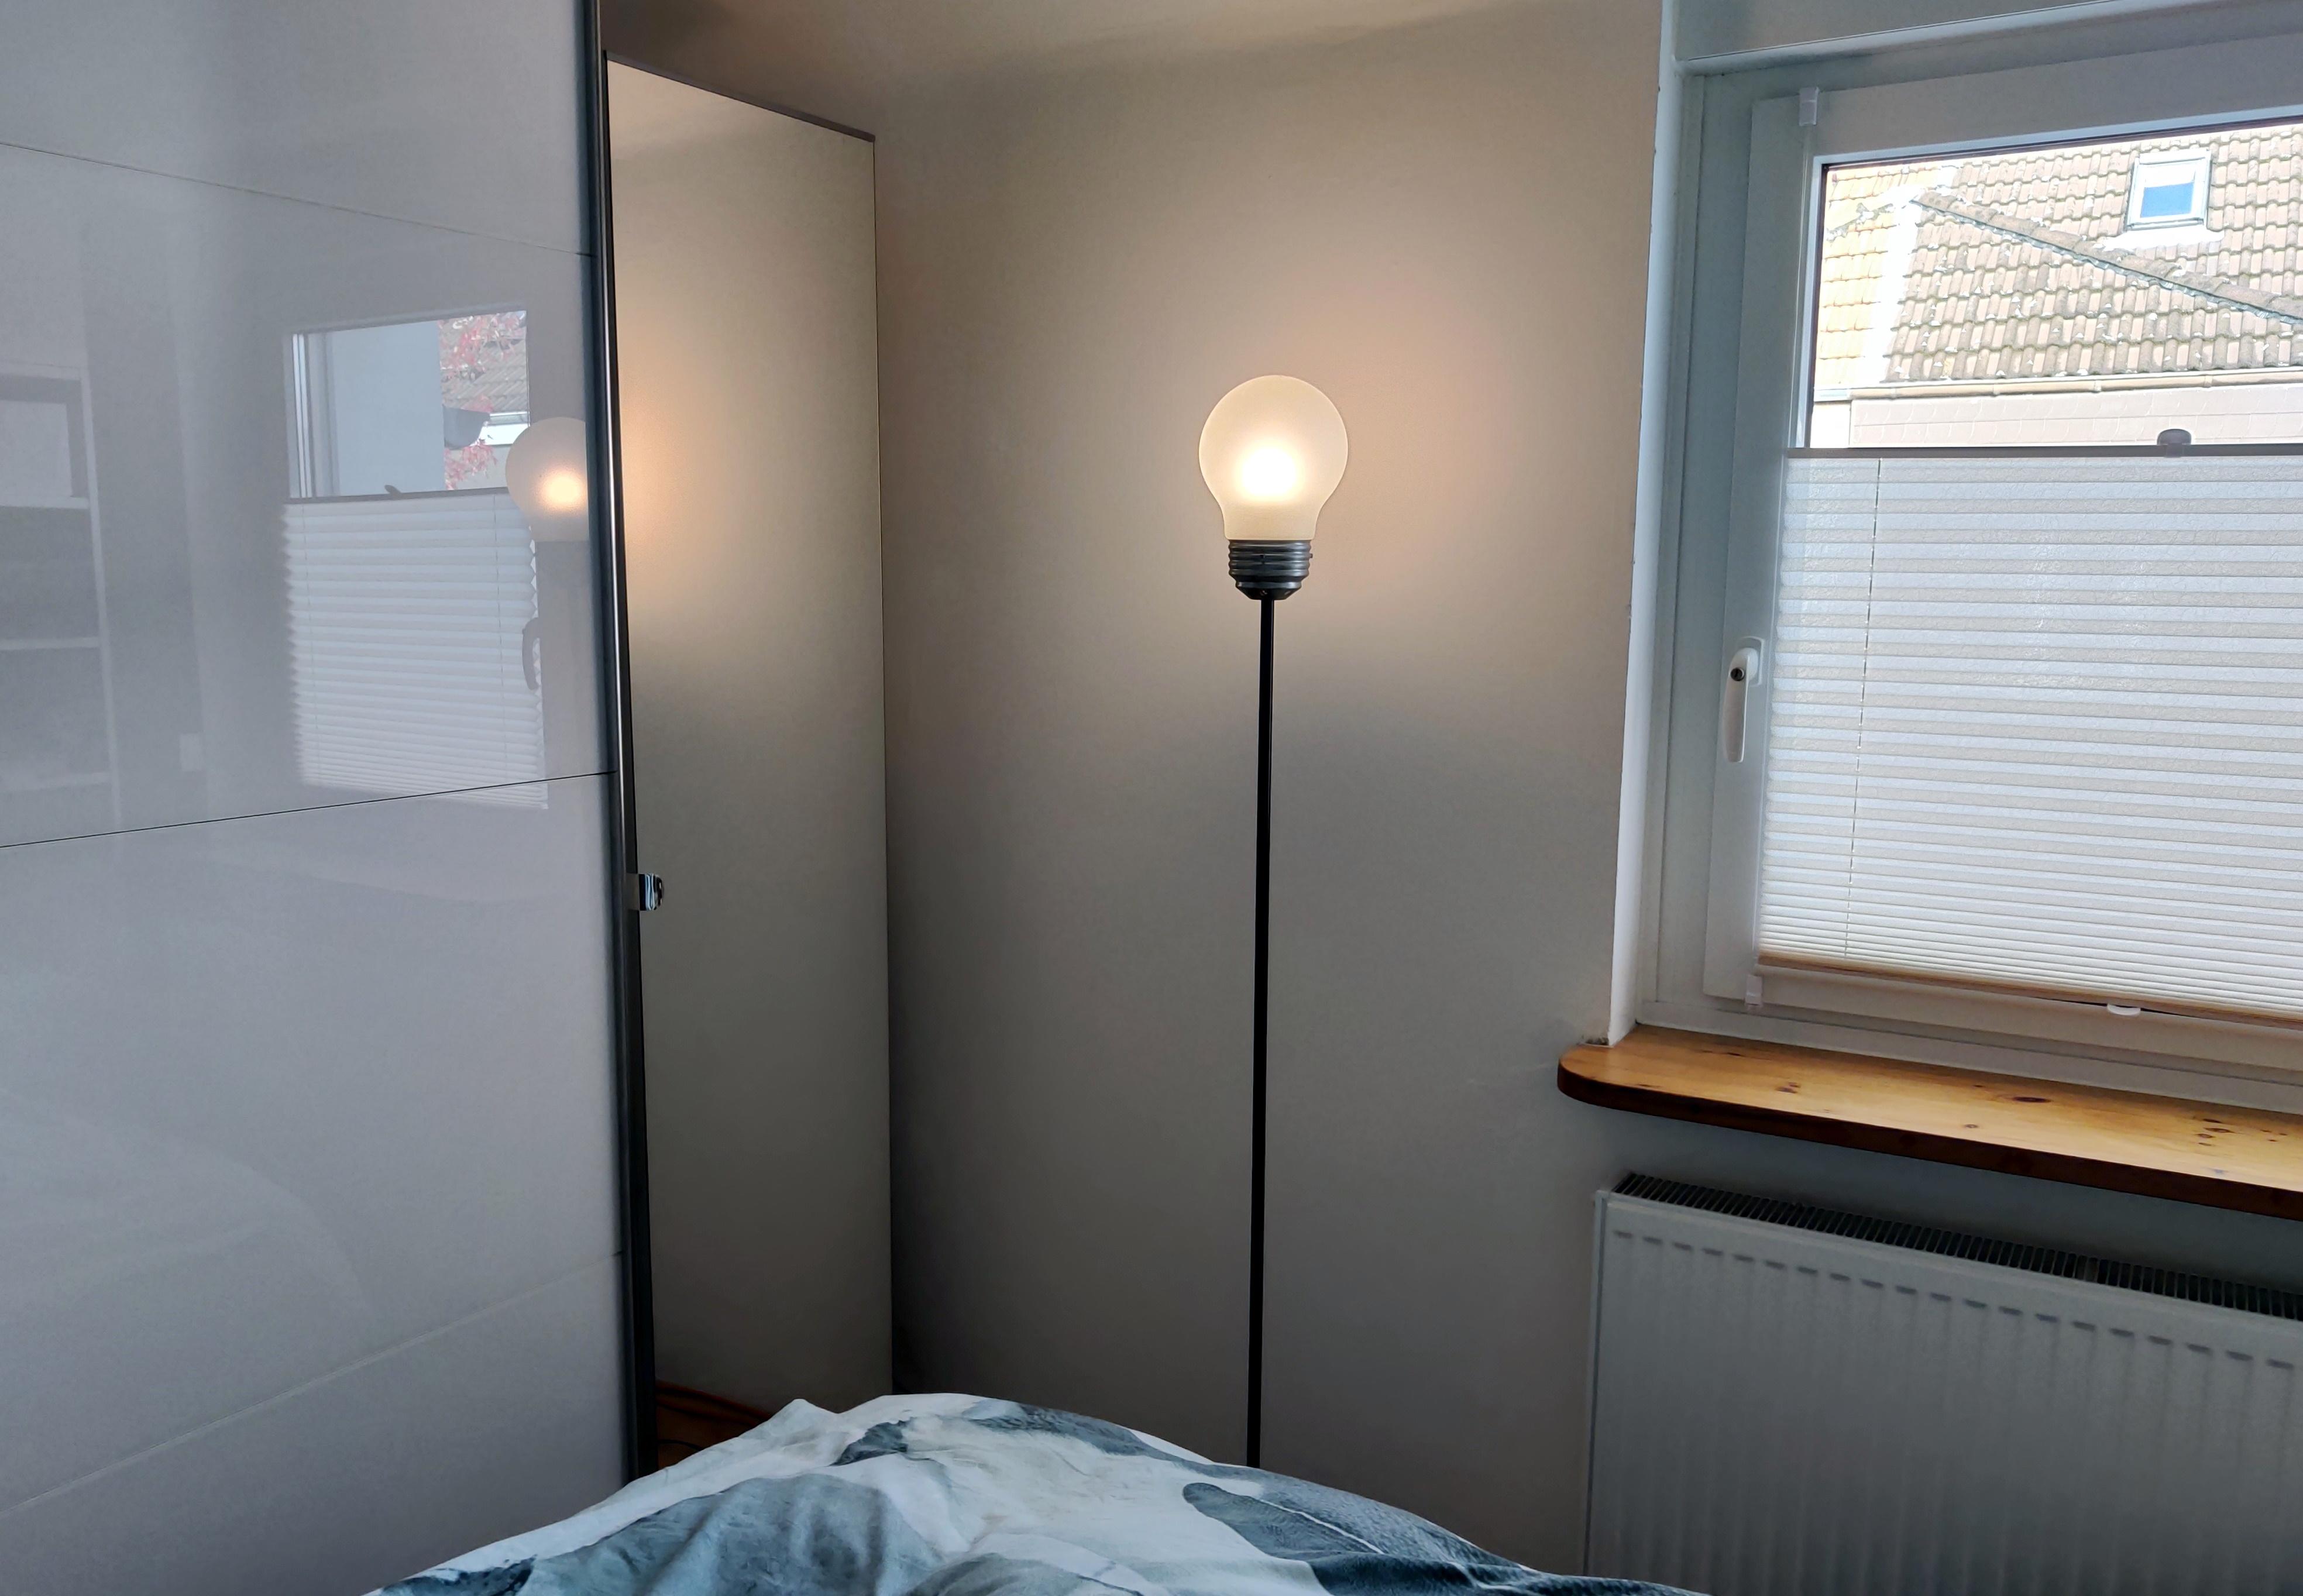
This project will help you, with a simple solution, that reminds you of such things, through a minimal invasive method: A regular lamp is been controlled by a Shelly module and two additional status LEDs will show you what's going on in your home.
The regular function of the lamp (white light) can be controlled via the Shelly 1 actuator. I have a Zigbee power switch, which is connected through OpenHAB to the actuator.
With this extension...
... before you go to sleep, a small blue light reminds you about closing your bathroom window.
...a small red LED reminds you to power off your TV and your kitchen light.
Attention: You are working with 230V main current (at least in Europe). Don't play around with things, that you don't understand. Modifications may only be carried out by authorized trained personnel. Please always remove main current, when working with the device.
Supplies

- A fancy lamp of your choice :)
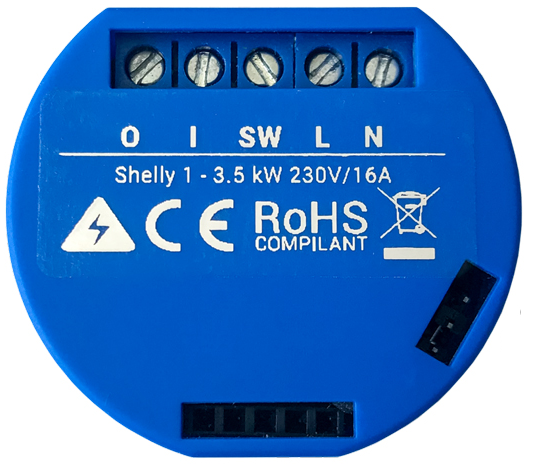
- Shelly 1 (you can use other actuators, but you need to adjust the configuration)
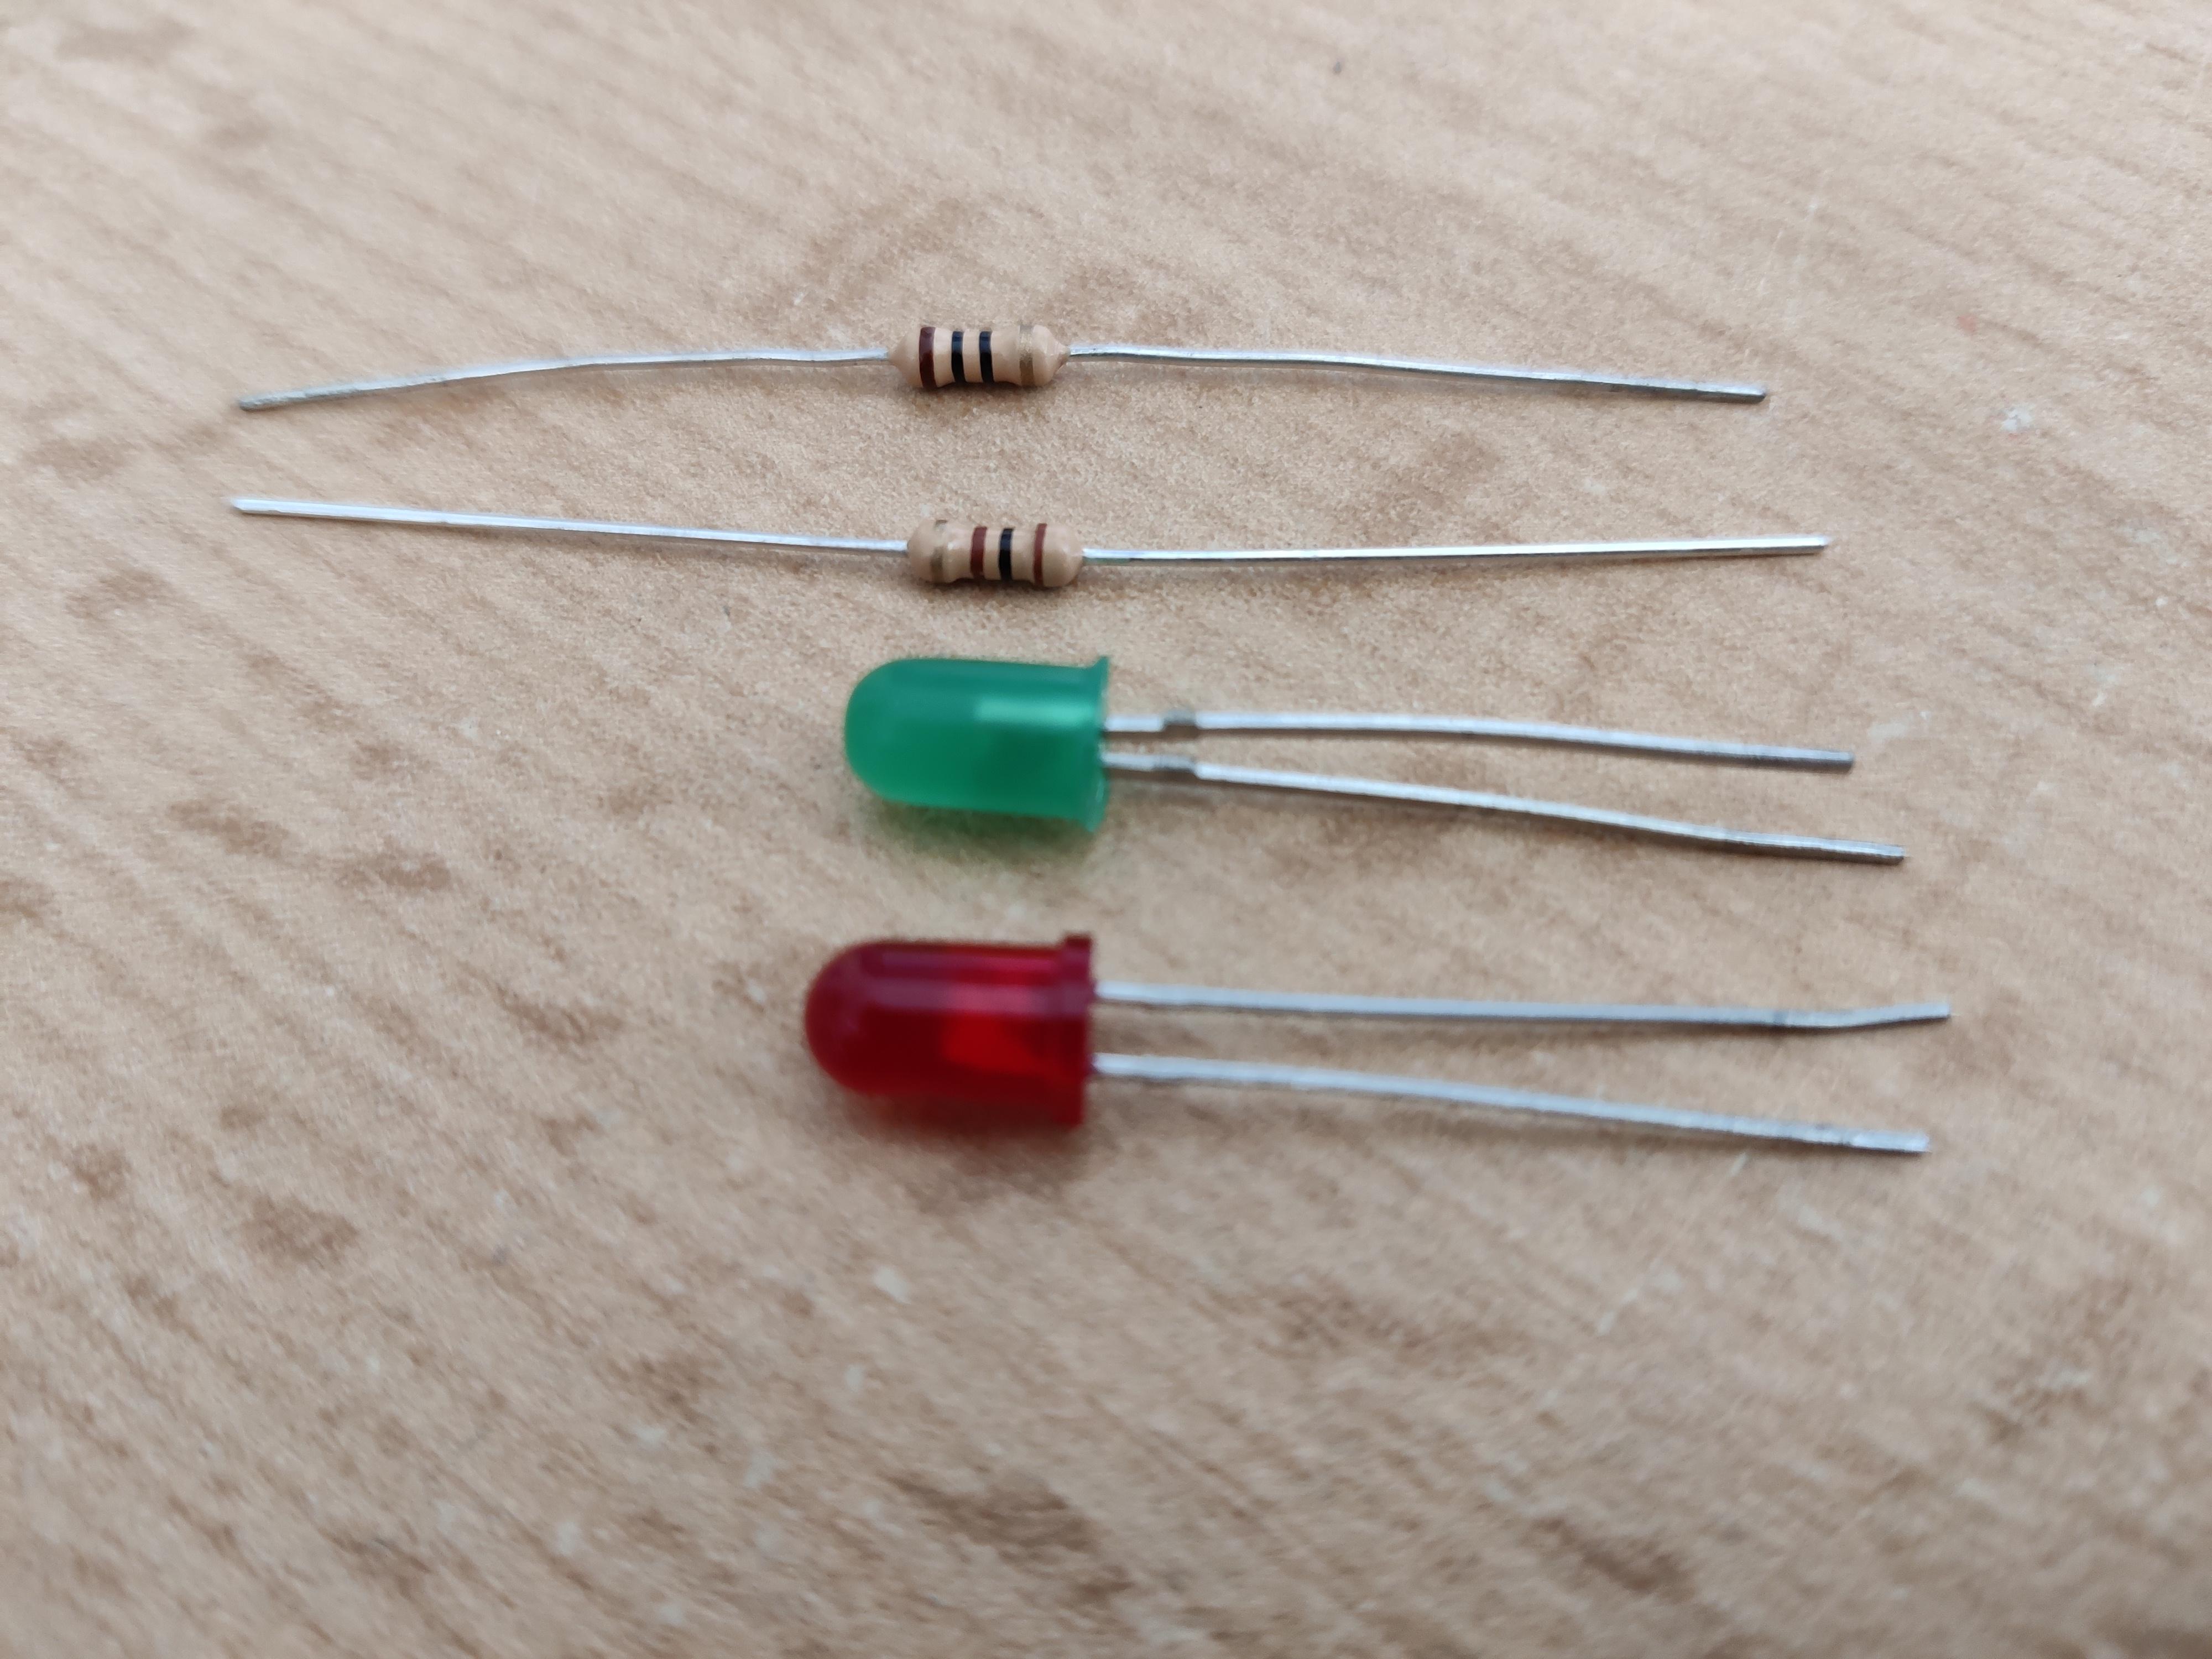
- Blue / Red LED (or whatever color you prefer)
- Two resistors, depending on the LED (for example 100 Ohm)
- A soldering iron + solder + some wire
- Shrink tubes
Schematic
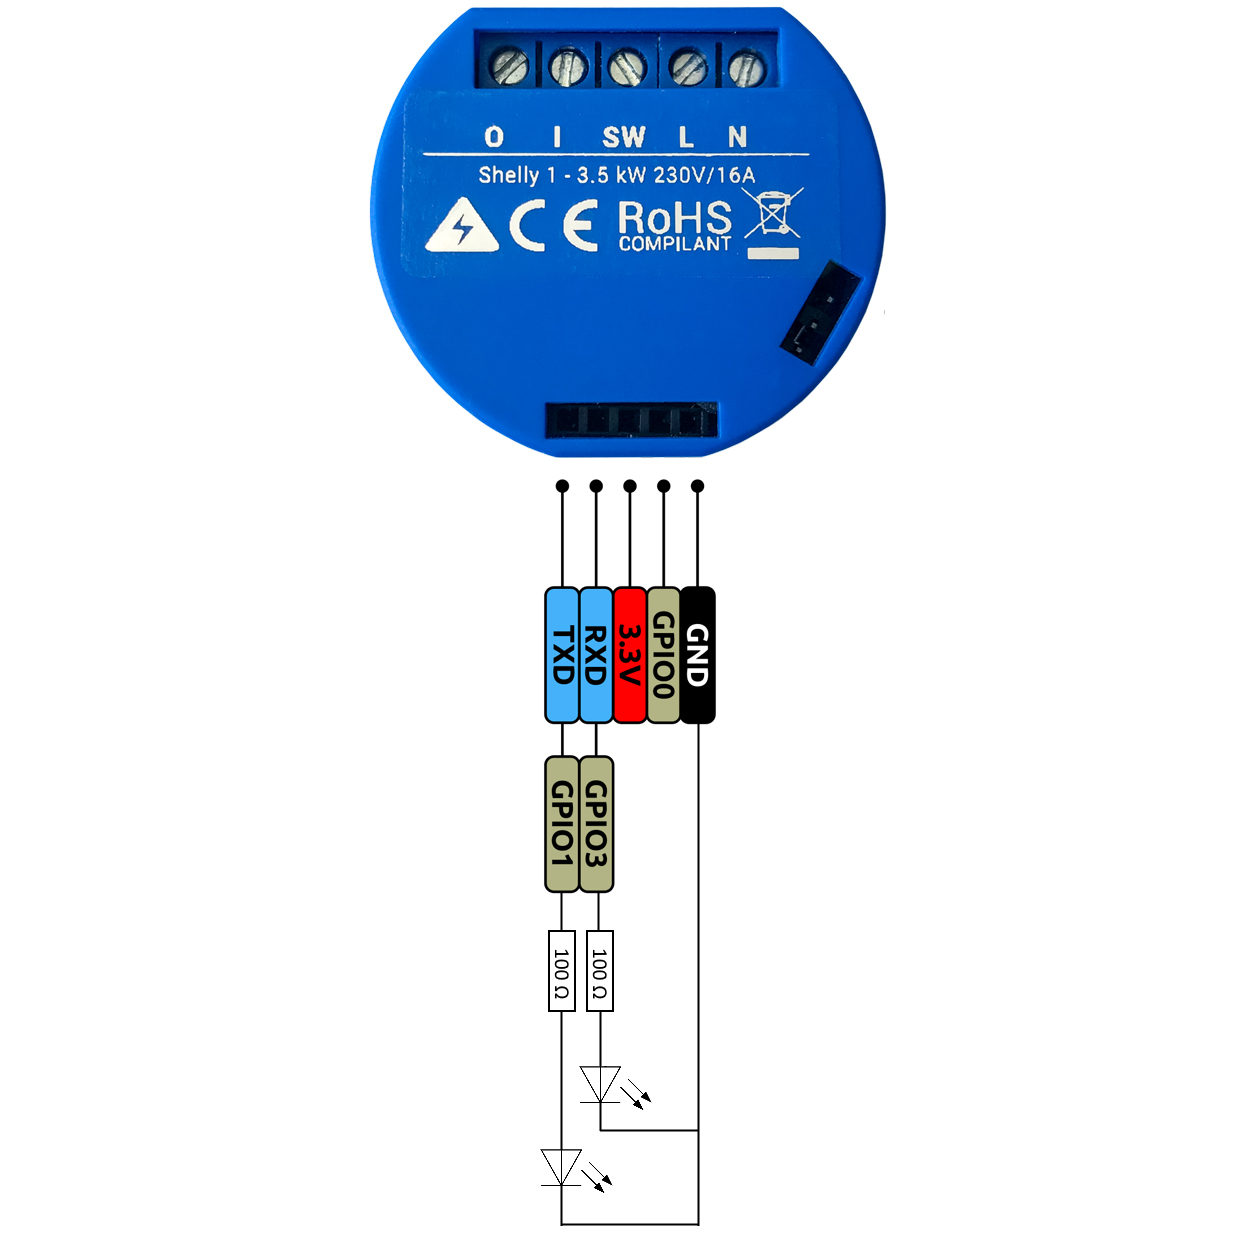
The status LEDs connect to the RX and TX pins of the Shelly module, as they are not necessary during regular usage.
First you need to calculate the resistor according to the voltage of your LED. You can use this calculator for example. The voltage from the pins of the shelly output is 3.3V.
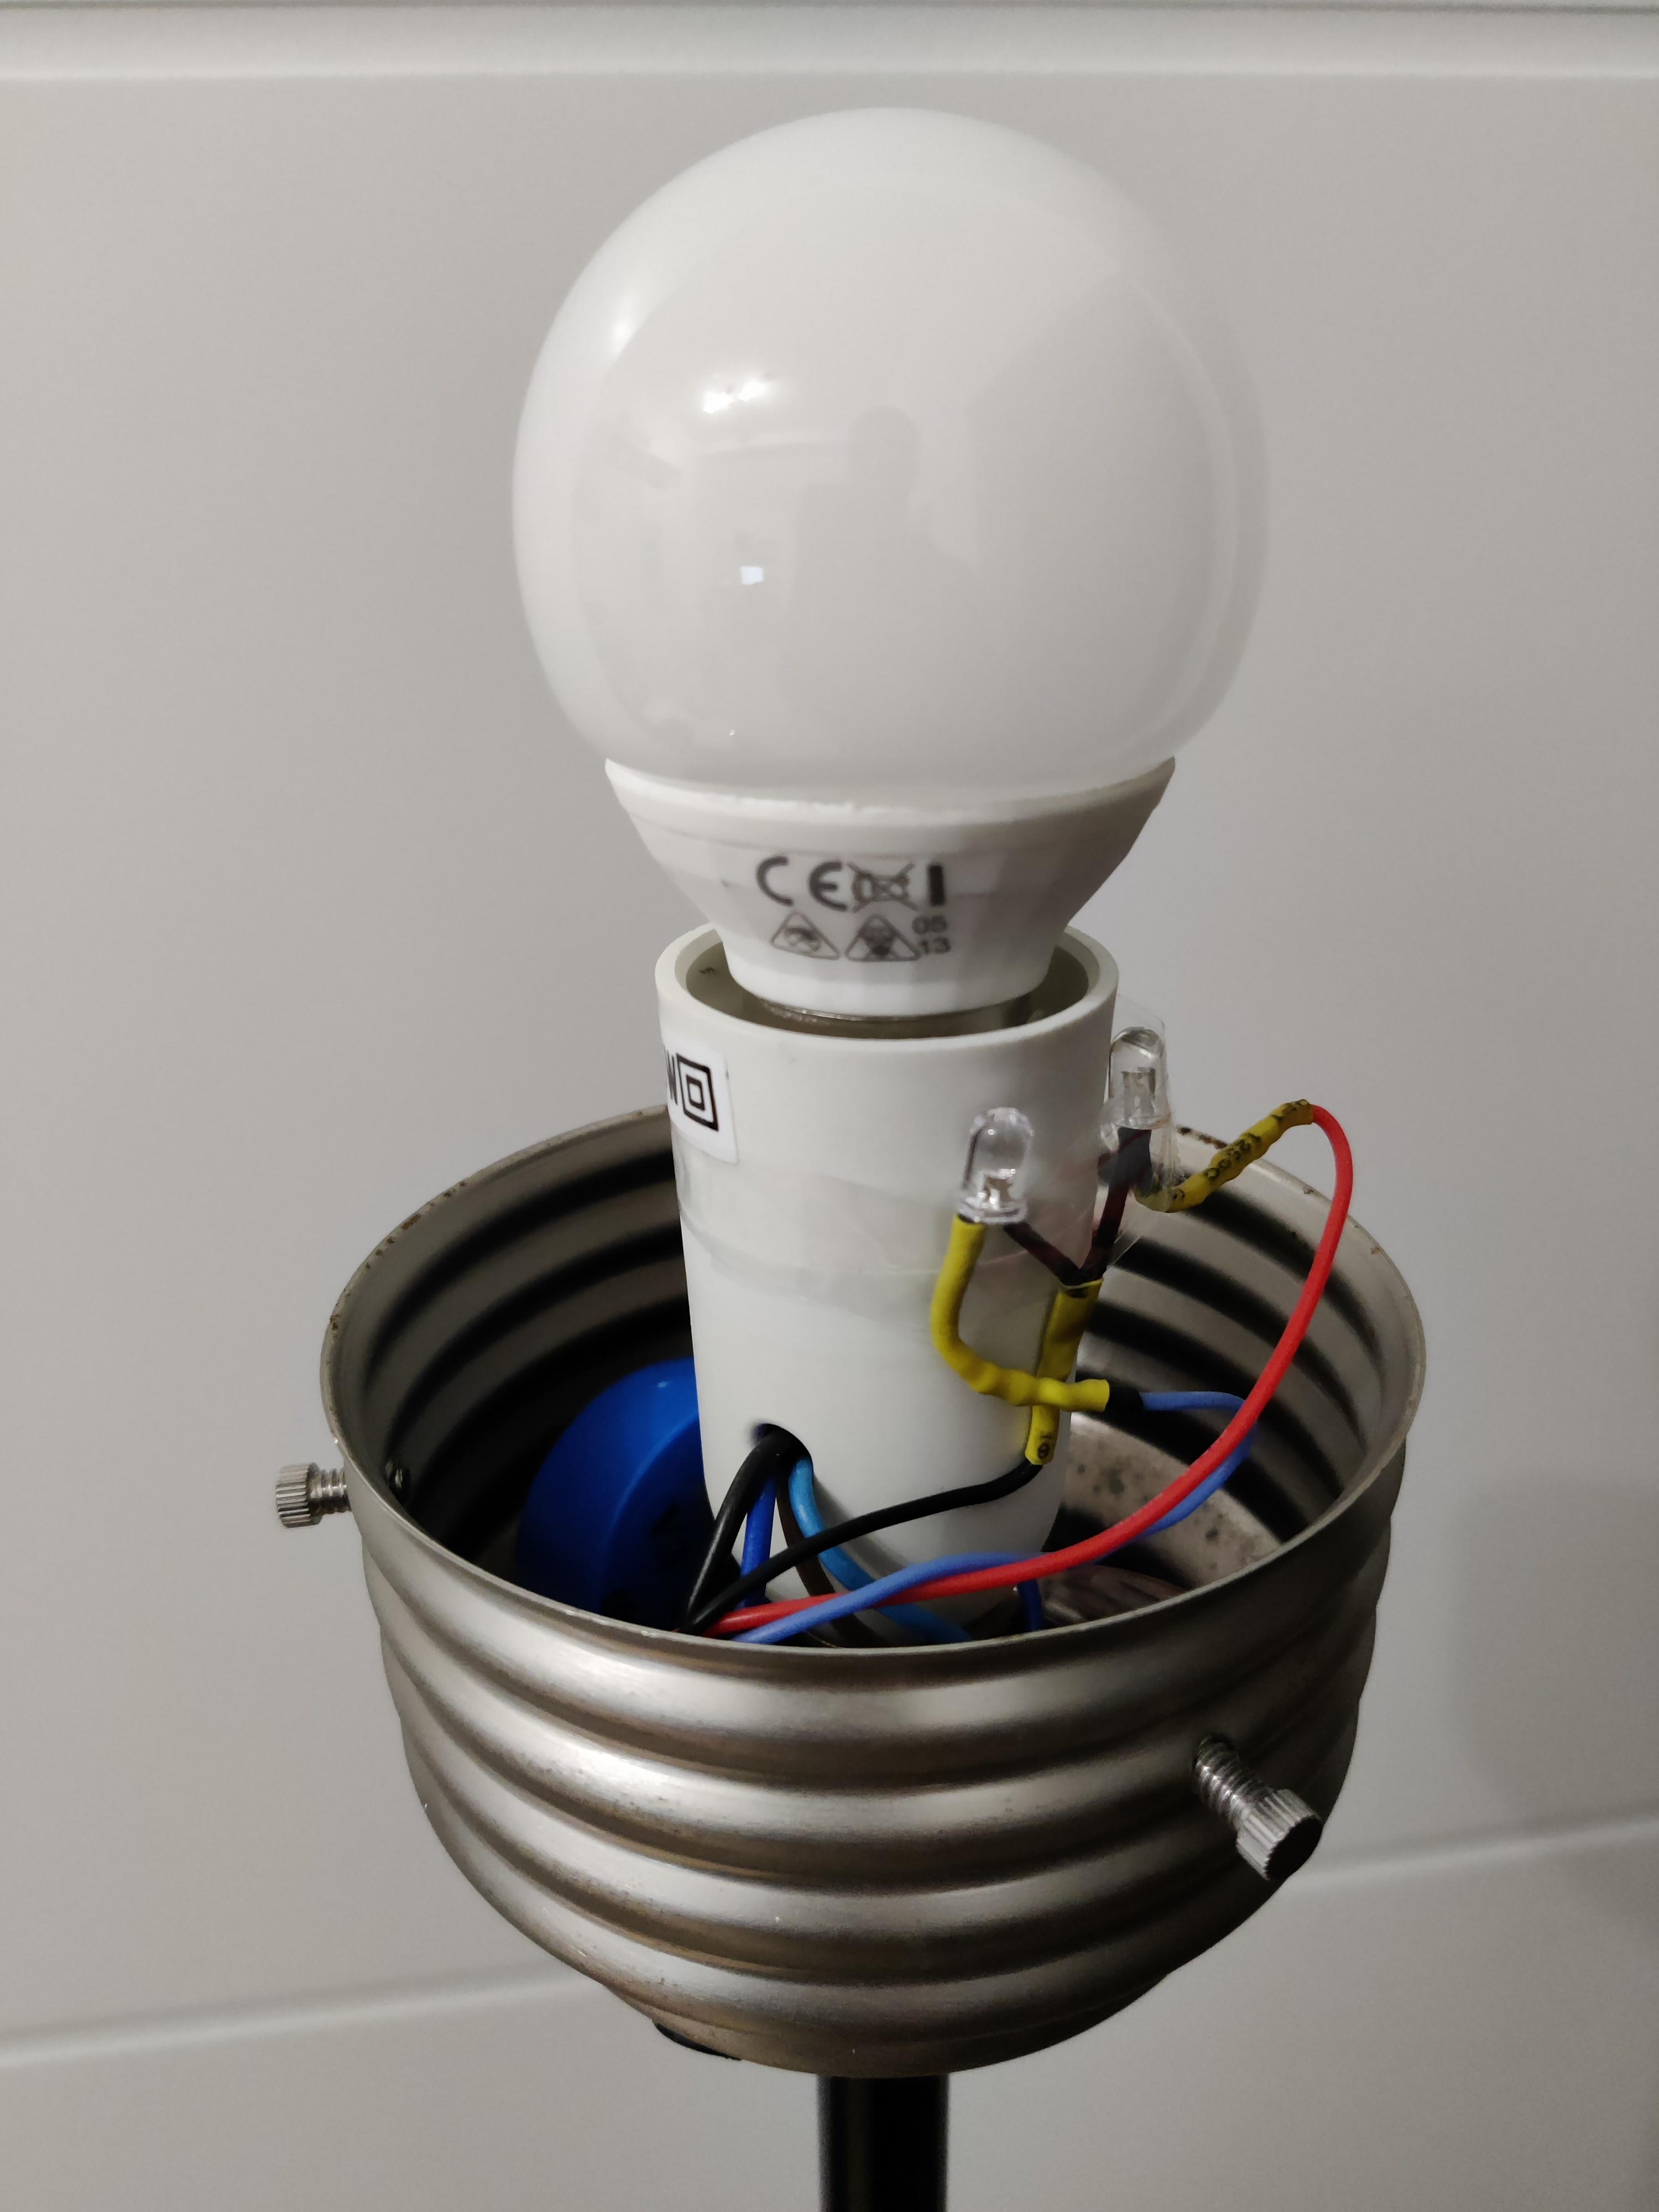
Connect the LEDs like shown in the diagram. I glued the LEDs to the lightbulb like shown in the photo:
Please be aware, that the maxium output current of the ESP8266 pins is limited to 12mA, so don't use high power LEDs. As an alternative, you can use a transistor to drive the LED indirectly.
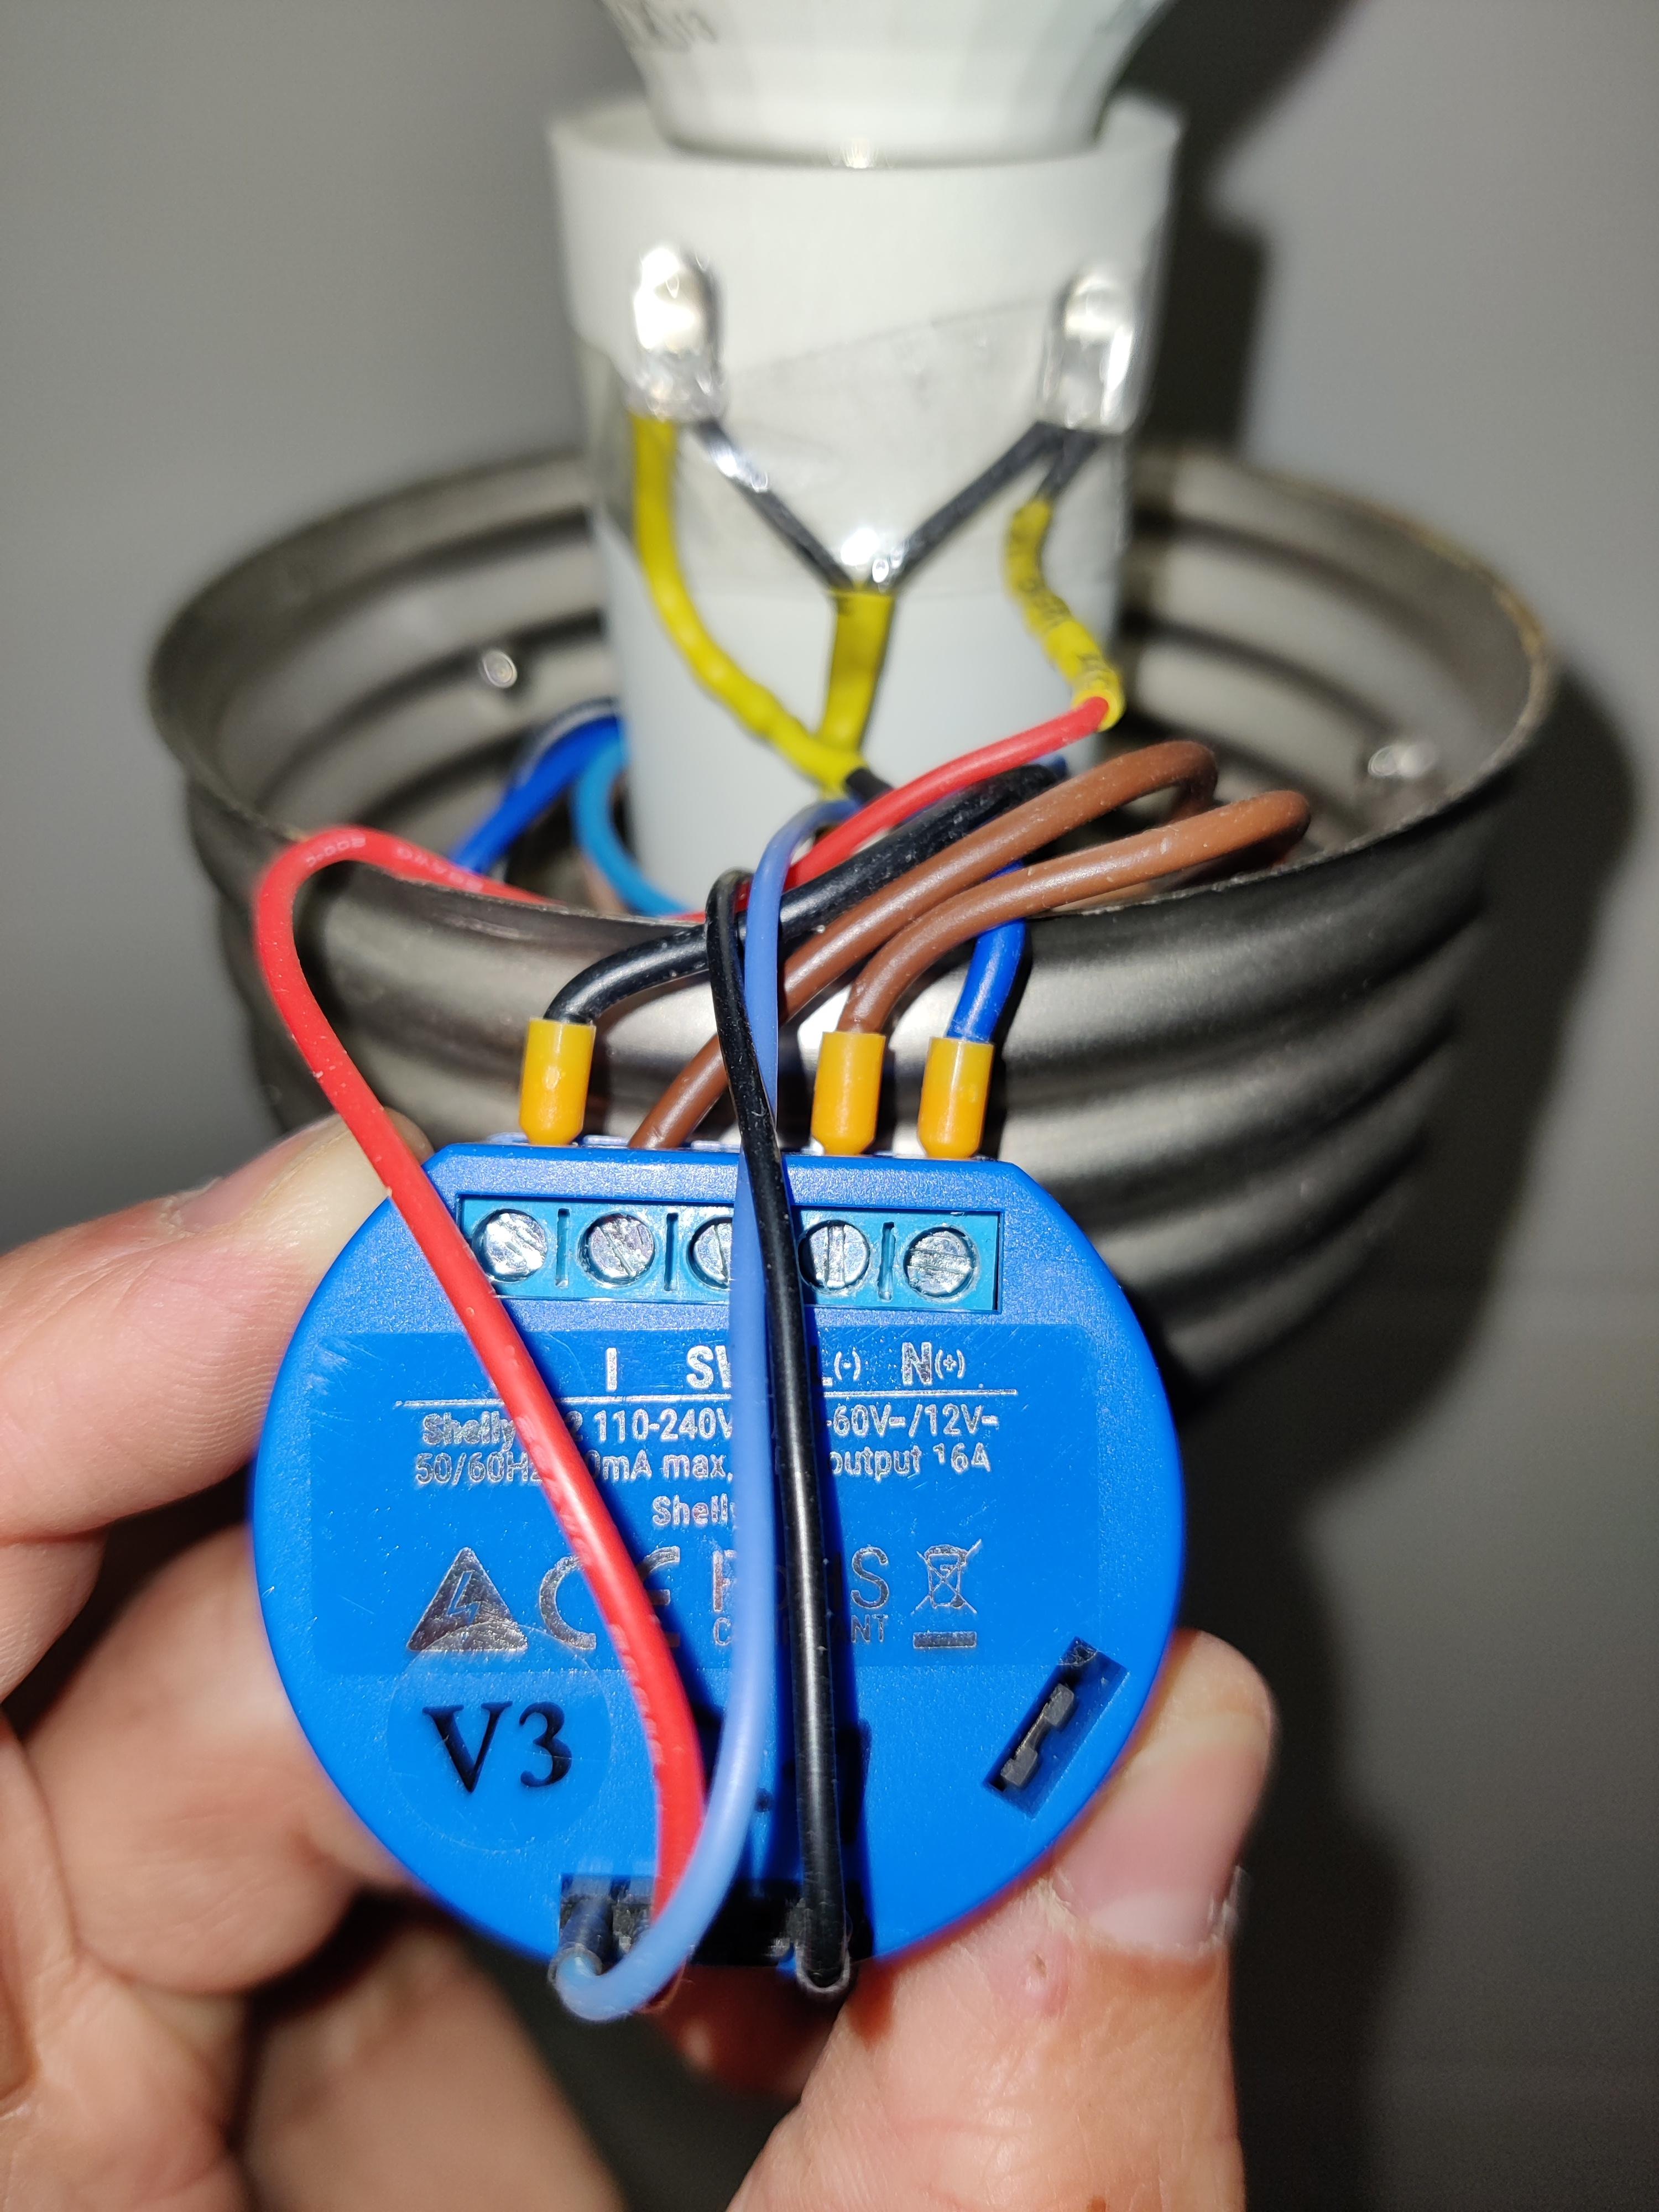
The light bulb is connected to the relais of the Shelly. Please check on the vendor's site how to do this. Shelly's switch port is not connected.
Shelly / Tasmota Configuration
I flashed Tasmota (an alternative Firmware) on all my Shelly, Itead and selfmade devices to get an unified integration to OpenHAB via MQTT. Here is a tutorial, how to flash Tasmota on a Shelly 1.
Please make sure to disconnect the main power (230V), when connecting the Shelly to a computer.
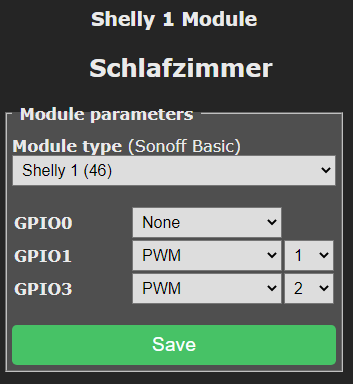
Please configure the module, as shown on the screenshot. The configuration is as shown below:
- POWER1 will now control the relais of the actuator
- POWER2 controls GPIO1 (for example the blue LED)
- POWER3 controls GPIO3 (for example the red LED)
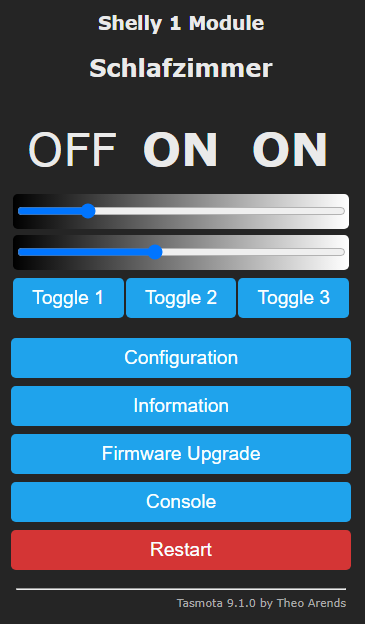
As POWER2 and POWER3 are configured as PWM (Pulse Wide Modulation), you can configure the brightness of the LEDs through the UI or MQTT.
OpenHAB Configuration
Basically you can integrate this lamp in any kind of smarthome systems. As I'm using OpenHAB, here's a sample configuration. The code snippets are only exemplary, you need to adapt them to your needs, according to your OpenHAB items.
mqtt.things
Type switch : SZ_Lamp "Lamp" [ stateTopic="stat/sonoff71/POWER1", commandTopic="cmnd/sonoff71/POWER1" ]
Type switch : SZ_Lamp_blue "Lamp blue" [ stateTopic="stat/sonoff71/POWER2", commandTopic="cmnd/sonoff71/POWER2" ]
Type switch : SZ_Lamp_red "Lamp ret" [ stateTopic="stat/sonoff71/POWER3", commandTopic="cmnd/sonoff71/POWER3" ]
Type string : SZ_Lamp_Stat "Lamp Status" [ stateTopic="stat/sonoff71/RESULT" ] // Status
tasmota.items
Switch SZ_Lamp "Lamp" {channel="mqtt:topic:myBroker:tasmotaThings:SZ_Lamp"}
String SZ_Lamp_Stat "Lamp Status" {channel="mqtt:topic:myBroker:tasmotaThings:SZ_Lamp_Stat"}
Switch SZ_Lamp_blue Lamp Blue" {channel="mqtt:topic:myBroker:tasmotaThings:SZ_Lamp_blue"}
Switch SZ_Lamp_red "Lamp Red" {channel="mqtt:topic:myBroker:tasmotaThings:SZ_Lamp_red"}
status.rules
rule "Windows is open"
when
	Item EG_door_contact changed
then
	if(EG_door_contact.state == OPEN)){
		SZ_Lamp_blue.send(ON)
	} else {
		SZ_Lamp_blue.send(OFF)
	}
end

rule "A light is on"
when
	Item EG_bathroom_light changed
then
	if(EG_bathroom_light.state == ON)){
		SZ_Lamp_red.send(ON)
	} else {
		SZ_Lamp_red.send(OFF)
	}
end
Outlook
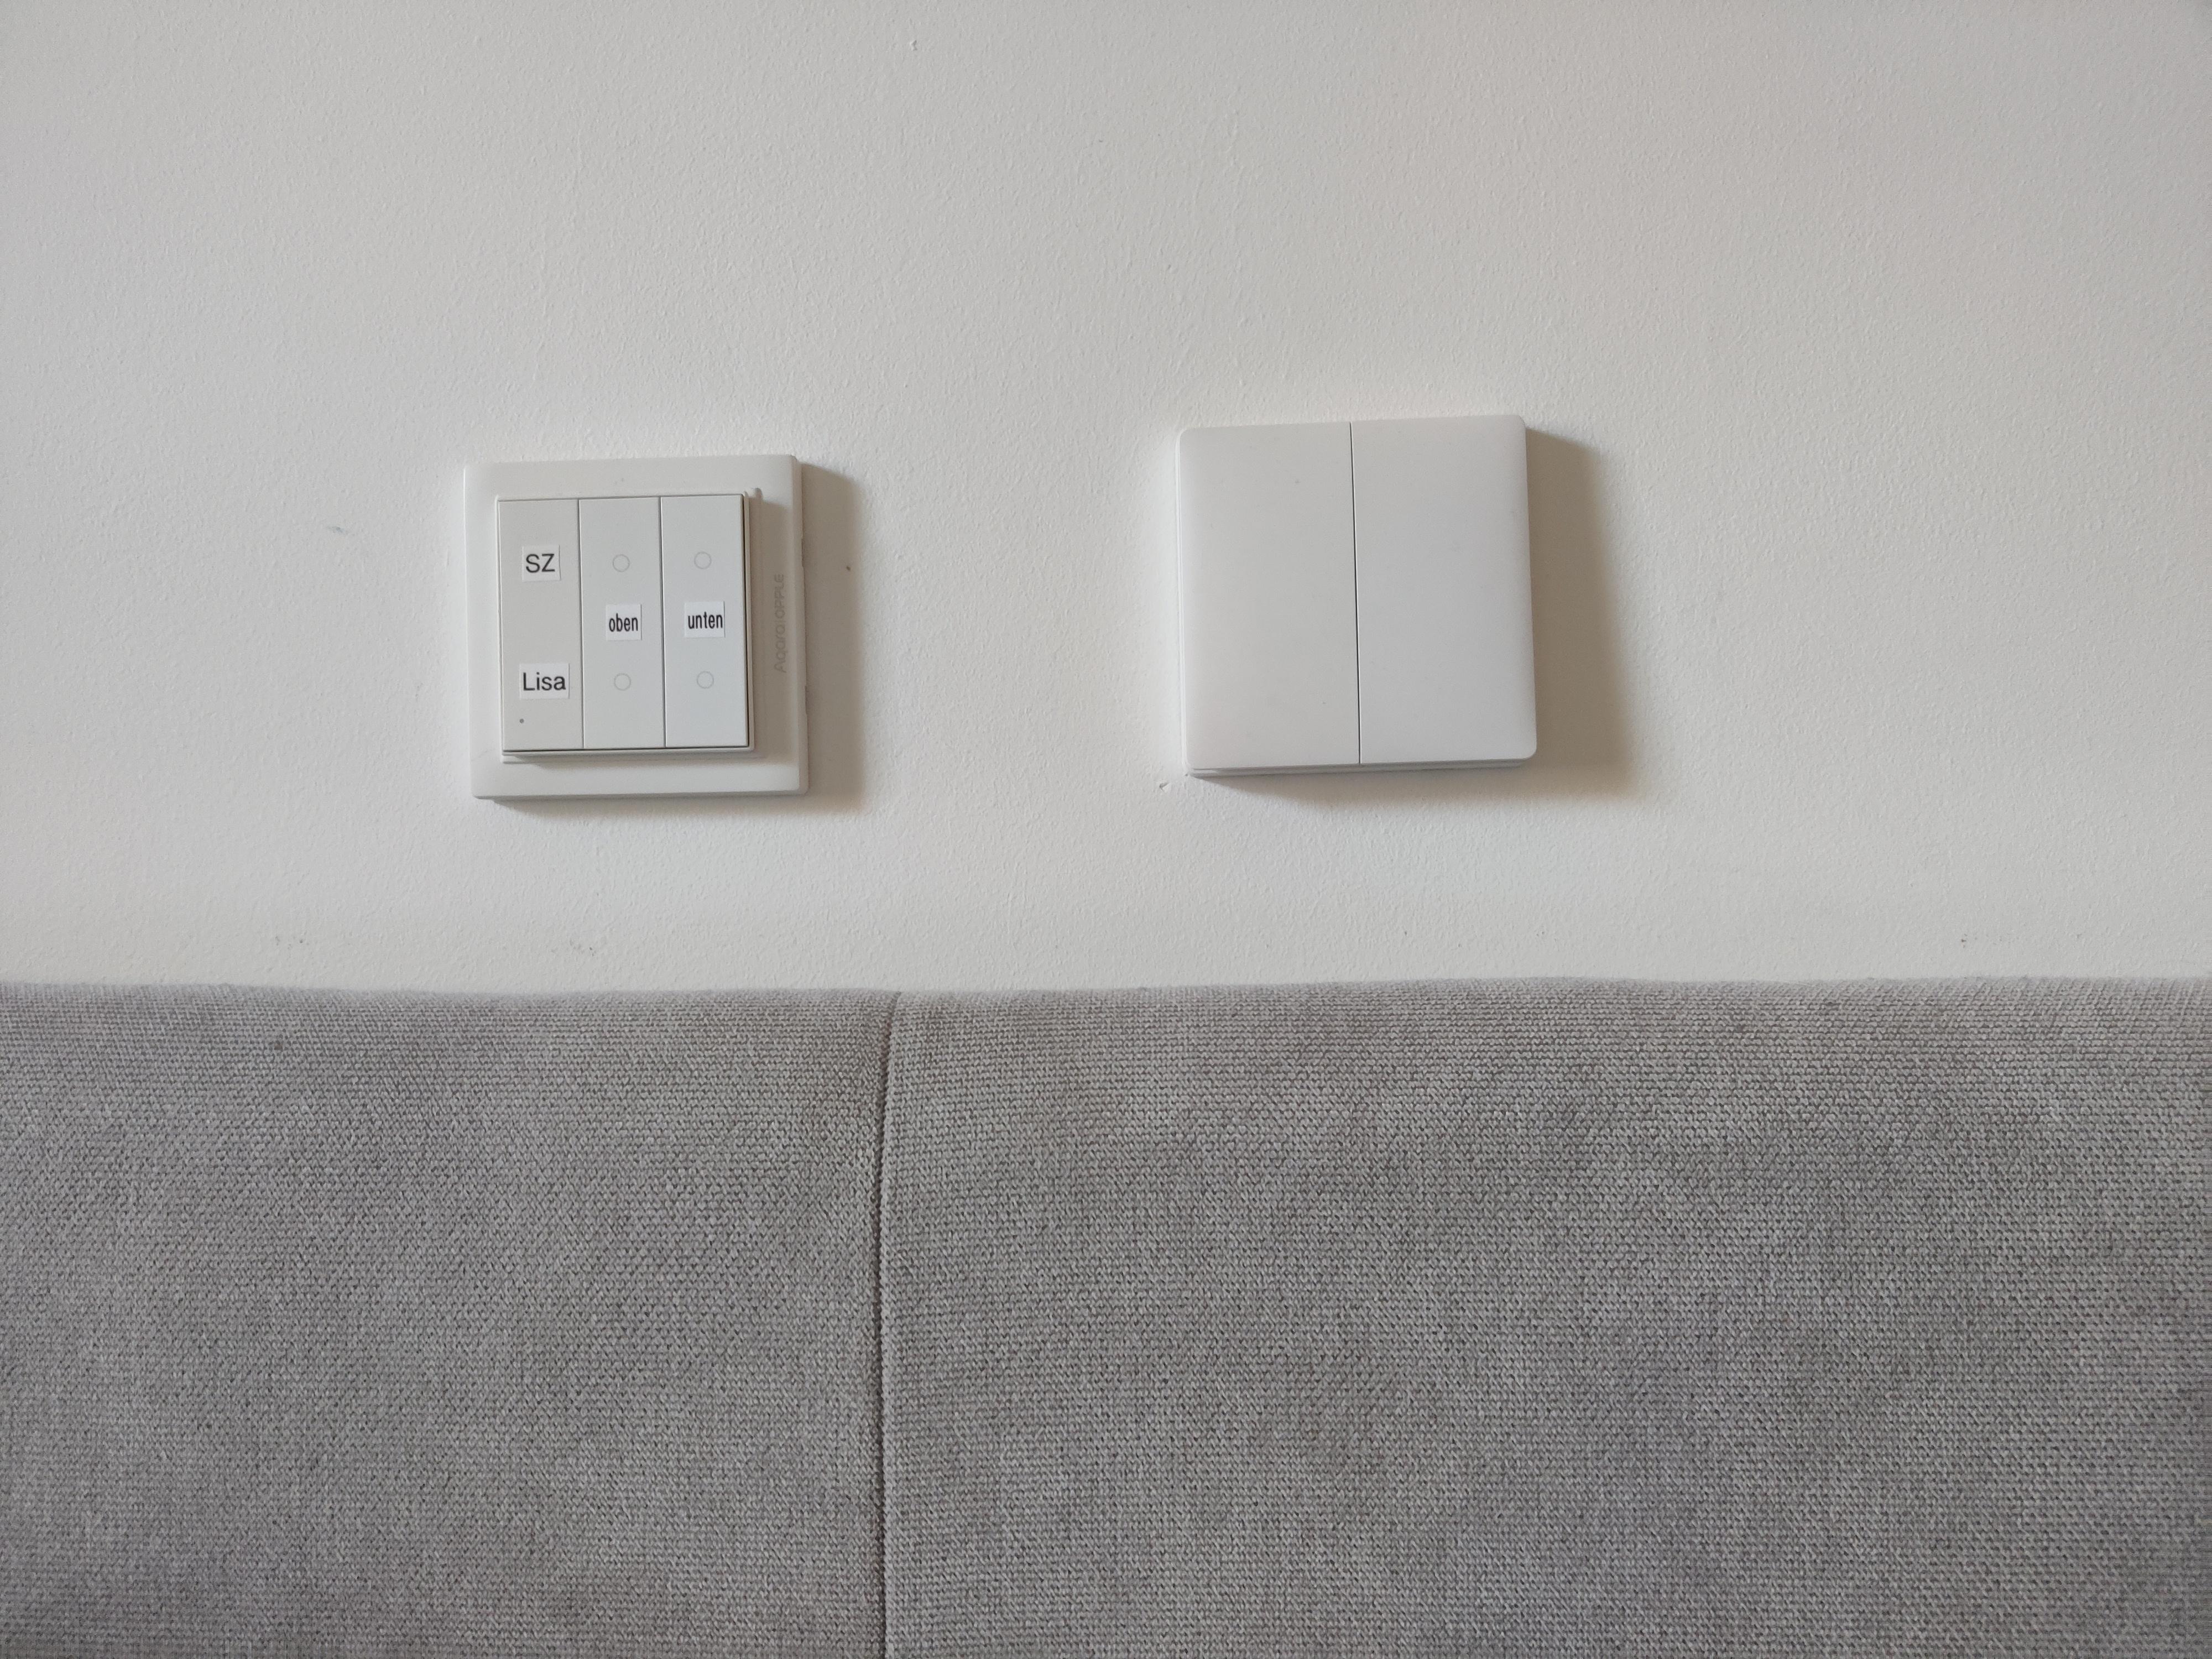
Now, that you know that a light is switched on in your home, you would probably want to switch it off, without getting up again. Therefore I installed a Zigbee switch above my bed to power off all lights at once.
Sometimes you want to leave the windows open at night, so the blue light would shine all night. You can implement an "override" switch, that disables the status LED for the next 12 hours.
If you want to switch the light manually, you need to connect a physical switch directly to the Shelly actuator. I didn't do that, because I only need to control the light through Zigbee switches.